ORIGINAL STOCK PHOTO |
FINAL MINIATURE |
|---|---|
 |
 |
UC Berkeley CS-194 Final Project
Helen Che
December 8, 2017
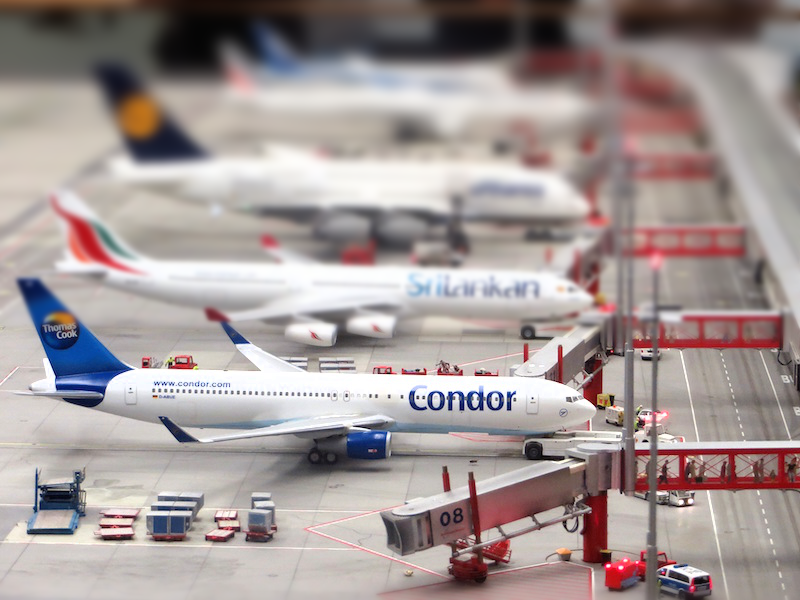
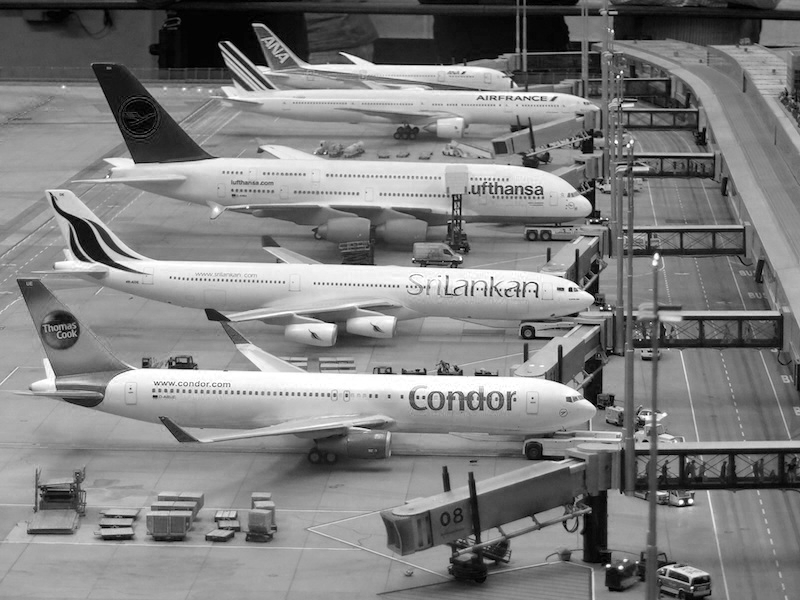
In this project, I took some stock photos of the internet (all stock photos courtesy of Pexels) and manipulated them to look like little toys by mimicing a tilt-shift. I did this by building a gaussian pyramid + alpha mask blending. Below are the steps I took to achieve a toy-like appearance with an airplanes photo (compared directly below are the final result and original).
ORIGINAL STOCK PHOTO |
FINAL MINIATURE |
|---|---|
|
|
before starting, I decided to increase the saturation to produce a better overall effect for the miniature effect. Enhacing the saturation makes objects in the image look more artifical since the colors are much brighter. To do this, I first converted the image from RGB (red green blue) channels to HSV (hue saturation value) channels. I then bumped the saturation channel by 20% and topped off the values so they wouldn't exceed 1. Below are the original image and saturated images side by side.
ORIGINAL STOCK PHOTO |
20% SATURATION BUMP |
|---|---|
|
 |
My code allows someone to choose two points that will define the depth-of-field line. For this particular image, the red lines below indicate the region which remains in focus. The best effect happened with a DOF of 120 pixels above and below the center line.
ORIGINAL STOCK PHOTO |
DOF REGION |
|---|---|
|
 |
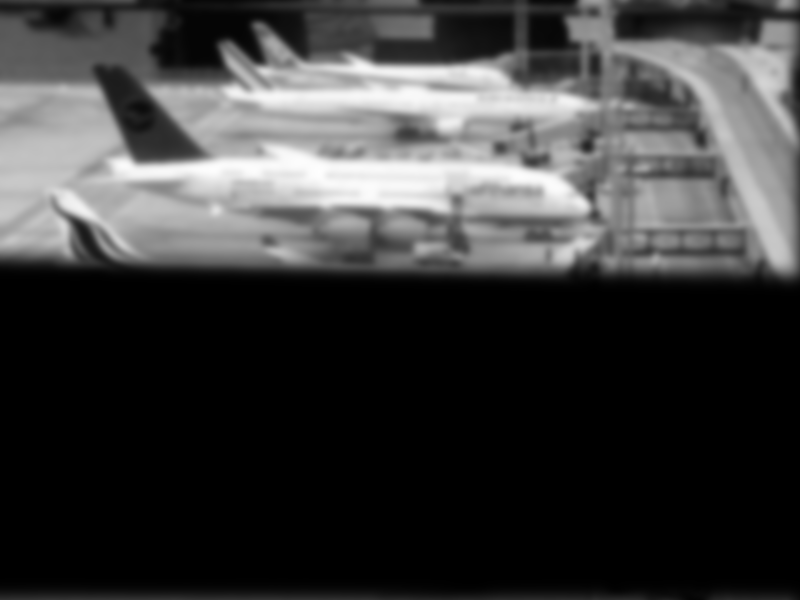
To achieve the blurred effects, I used a guassian pyramid on each channel of the image and then combined the channels. I first seperated the image into a gaussian pyramid with 4 layers. I then divided the images into regions using masks starting from the outer region (furthest from the DOF region). I gaussian blurred the mask with a constant sigma=8. The most blurry Guassian layers were masked in the outer most layers. To combine all the layers, I masked and then recursively overlayed the layers on top of the un-blurred image in order from least to most blurry (below, from right to left):
(pseudocode):
def make_img(image, num_layers=5):
if num_layers=0: return image
else:
gaussian_mask = gaussian_blur(mask(num_layer), sigma=8)
gaussian_img = gaussian_blur(image, sigma=current_layer_sigma)
up_level_gaussian = make_img(image, num_layers-1)
final_img = gaussian_img * gaussian_mask + (1 - gaussian_mask) * up_level_gaussian
return final_img
L4 MASK |
L3 MASK |
L2 MASK |
L1 MASK |
L0 MASK |
|---|---|---|---|---|
 |
 |
 |
 |
 |
L4 GAUSSIAN |
L3 GAUSSIAN |
L2 GAUSSIAN |
L1 GAUSSIAN |
L0 GAUSSIAN |
 |
 |
 |
 |
 |
I ran my code on a couple more stock photos from the internet and tweaked constants to get the most toy-like effects.
ORIGINAL STOCK PHOTO |
MINIATURIZED, DOF=90px |
|---|---|
 |
 |
ORIGINAL STOCK PHOTO |
MINIATURIZED, DOF=120px |
 |
 |
ORIGINAL STOCK PHOTO |
MINIATURIZED, DOF=50px |
 |
 |