Jingxi Huang cs194-26-aap
Overview
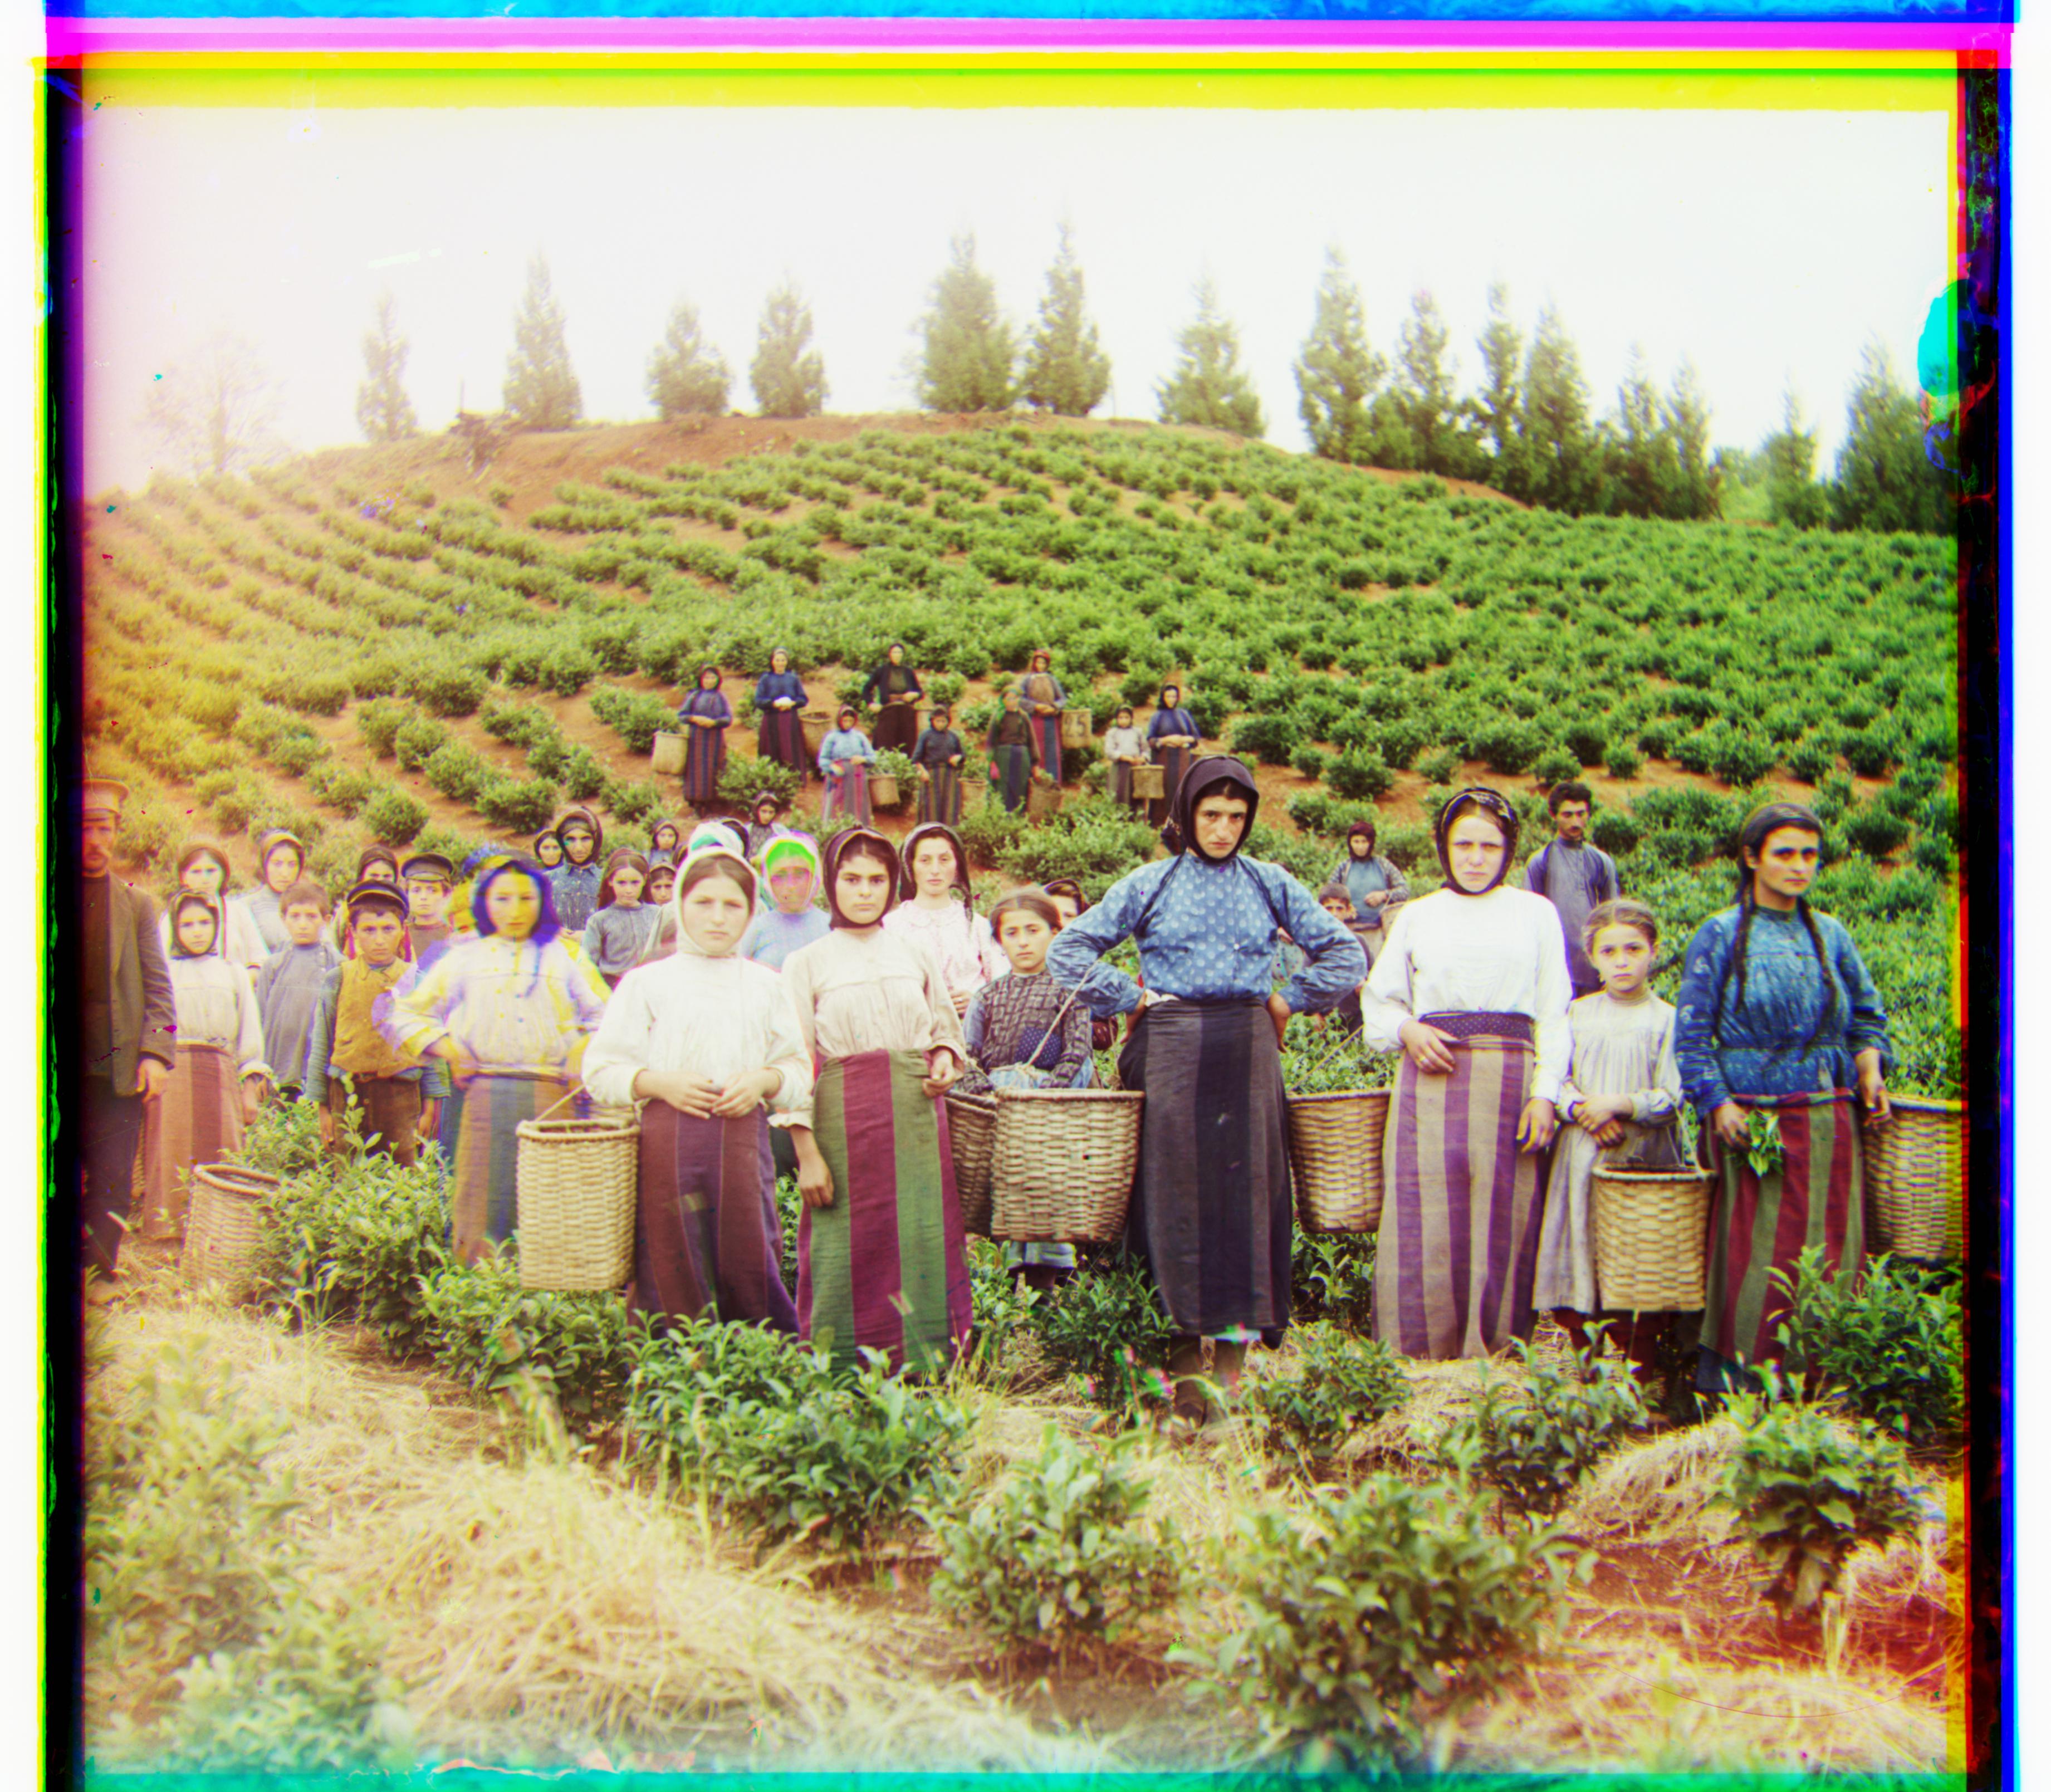
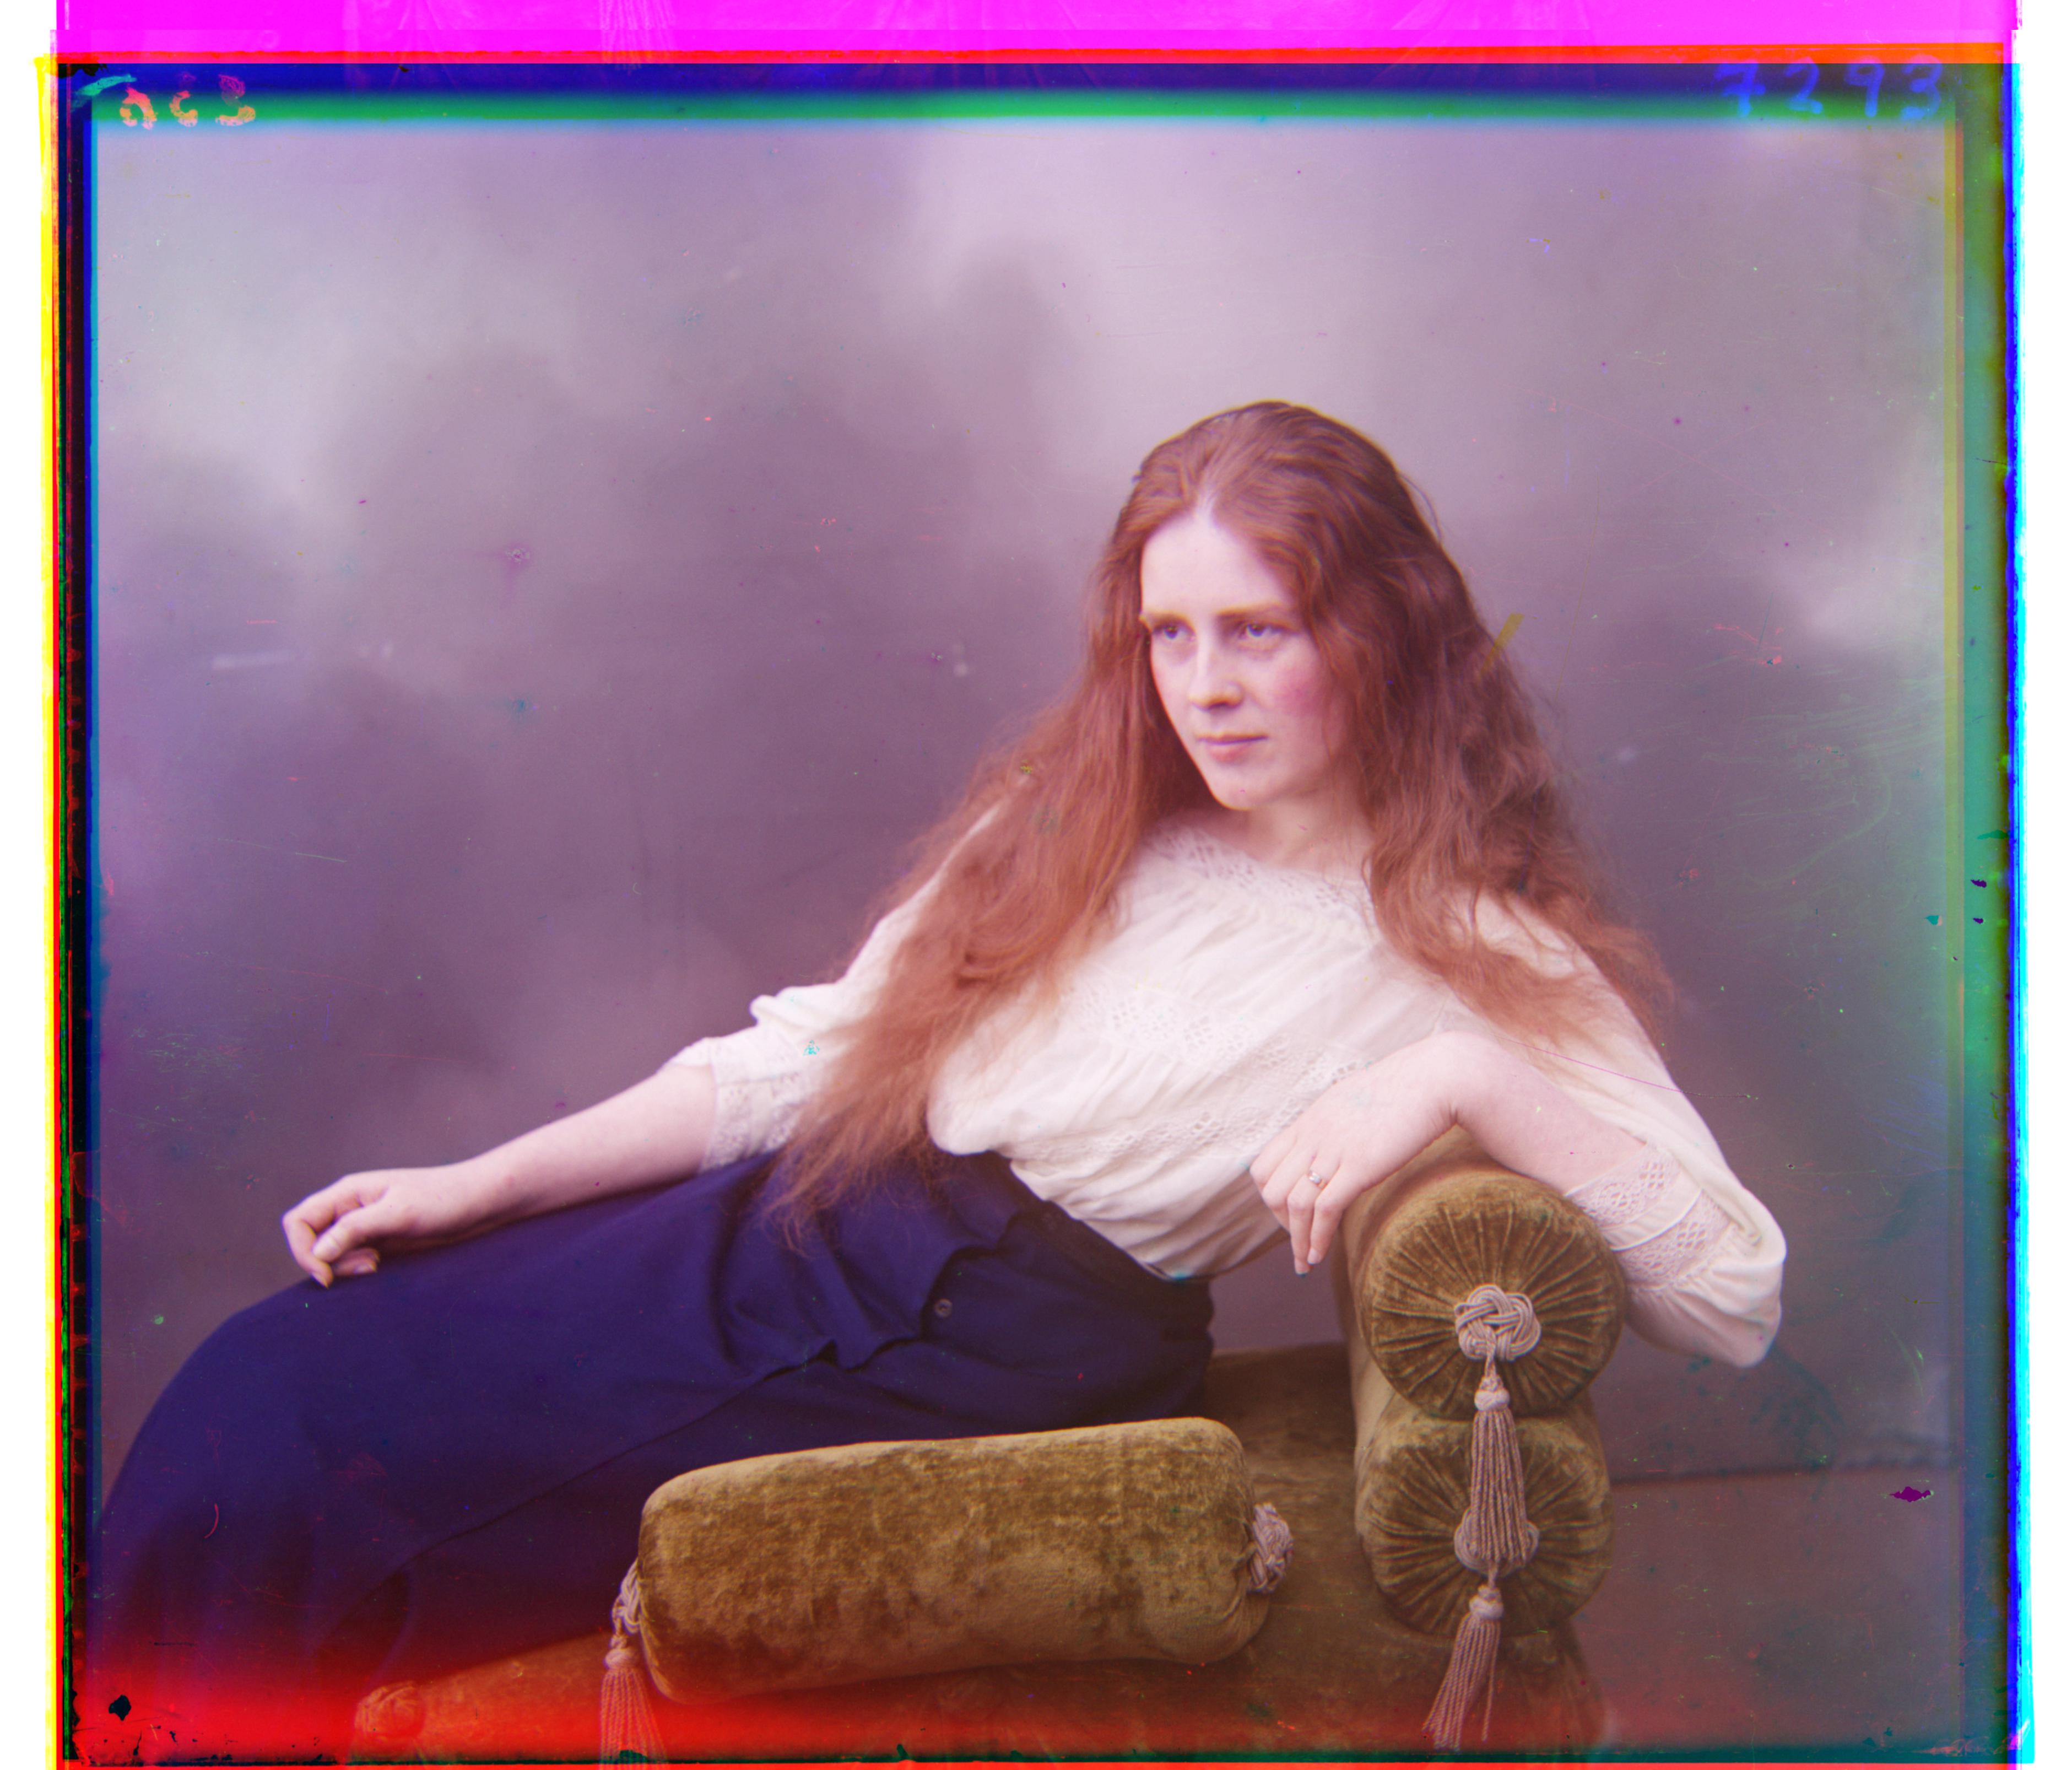
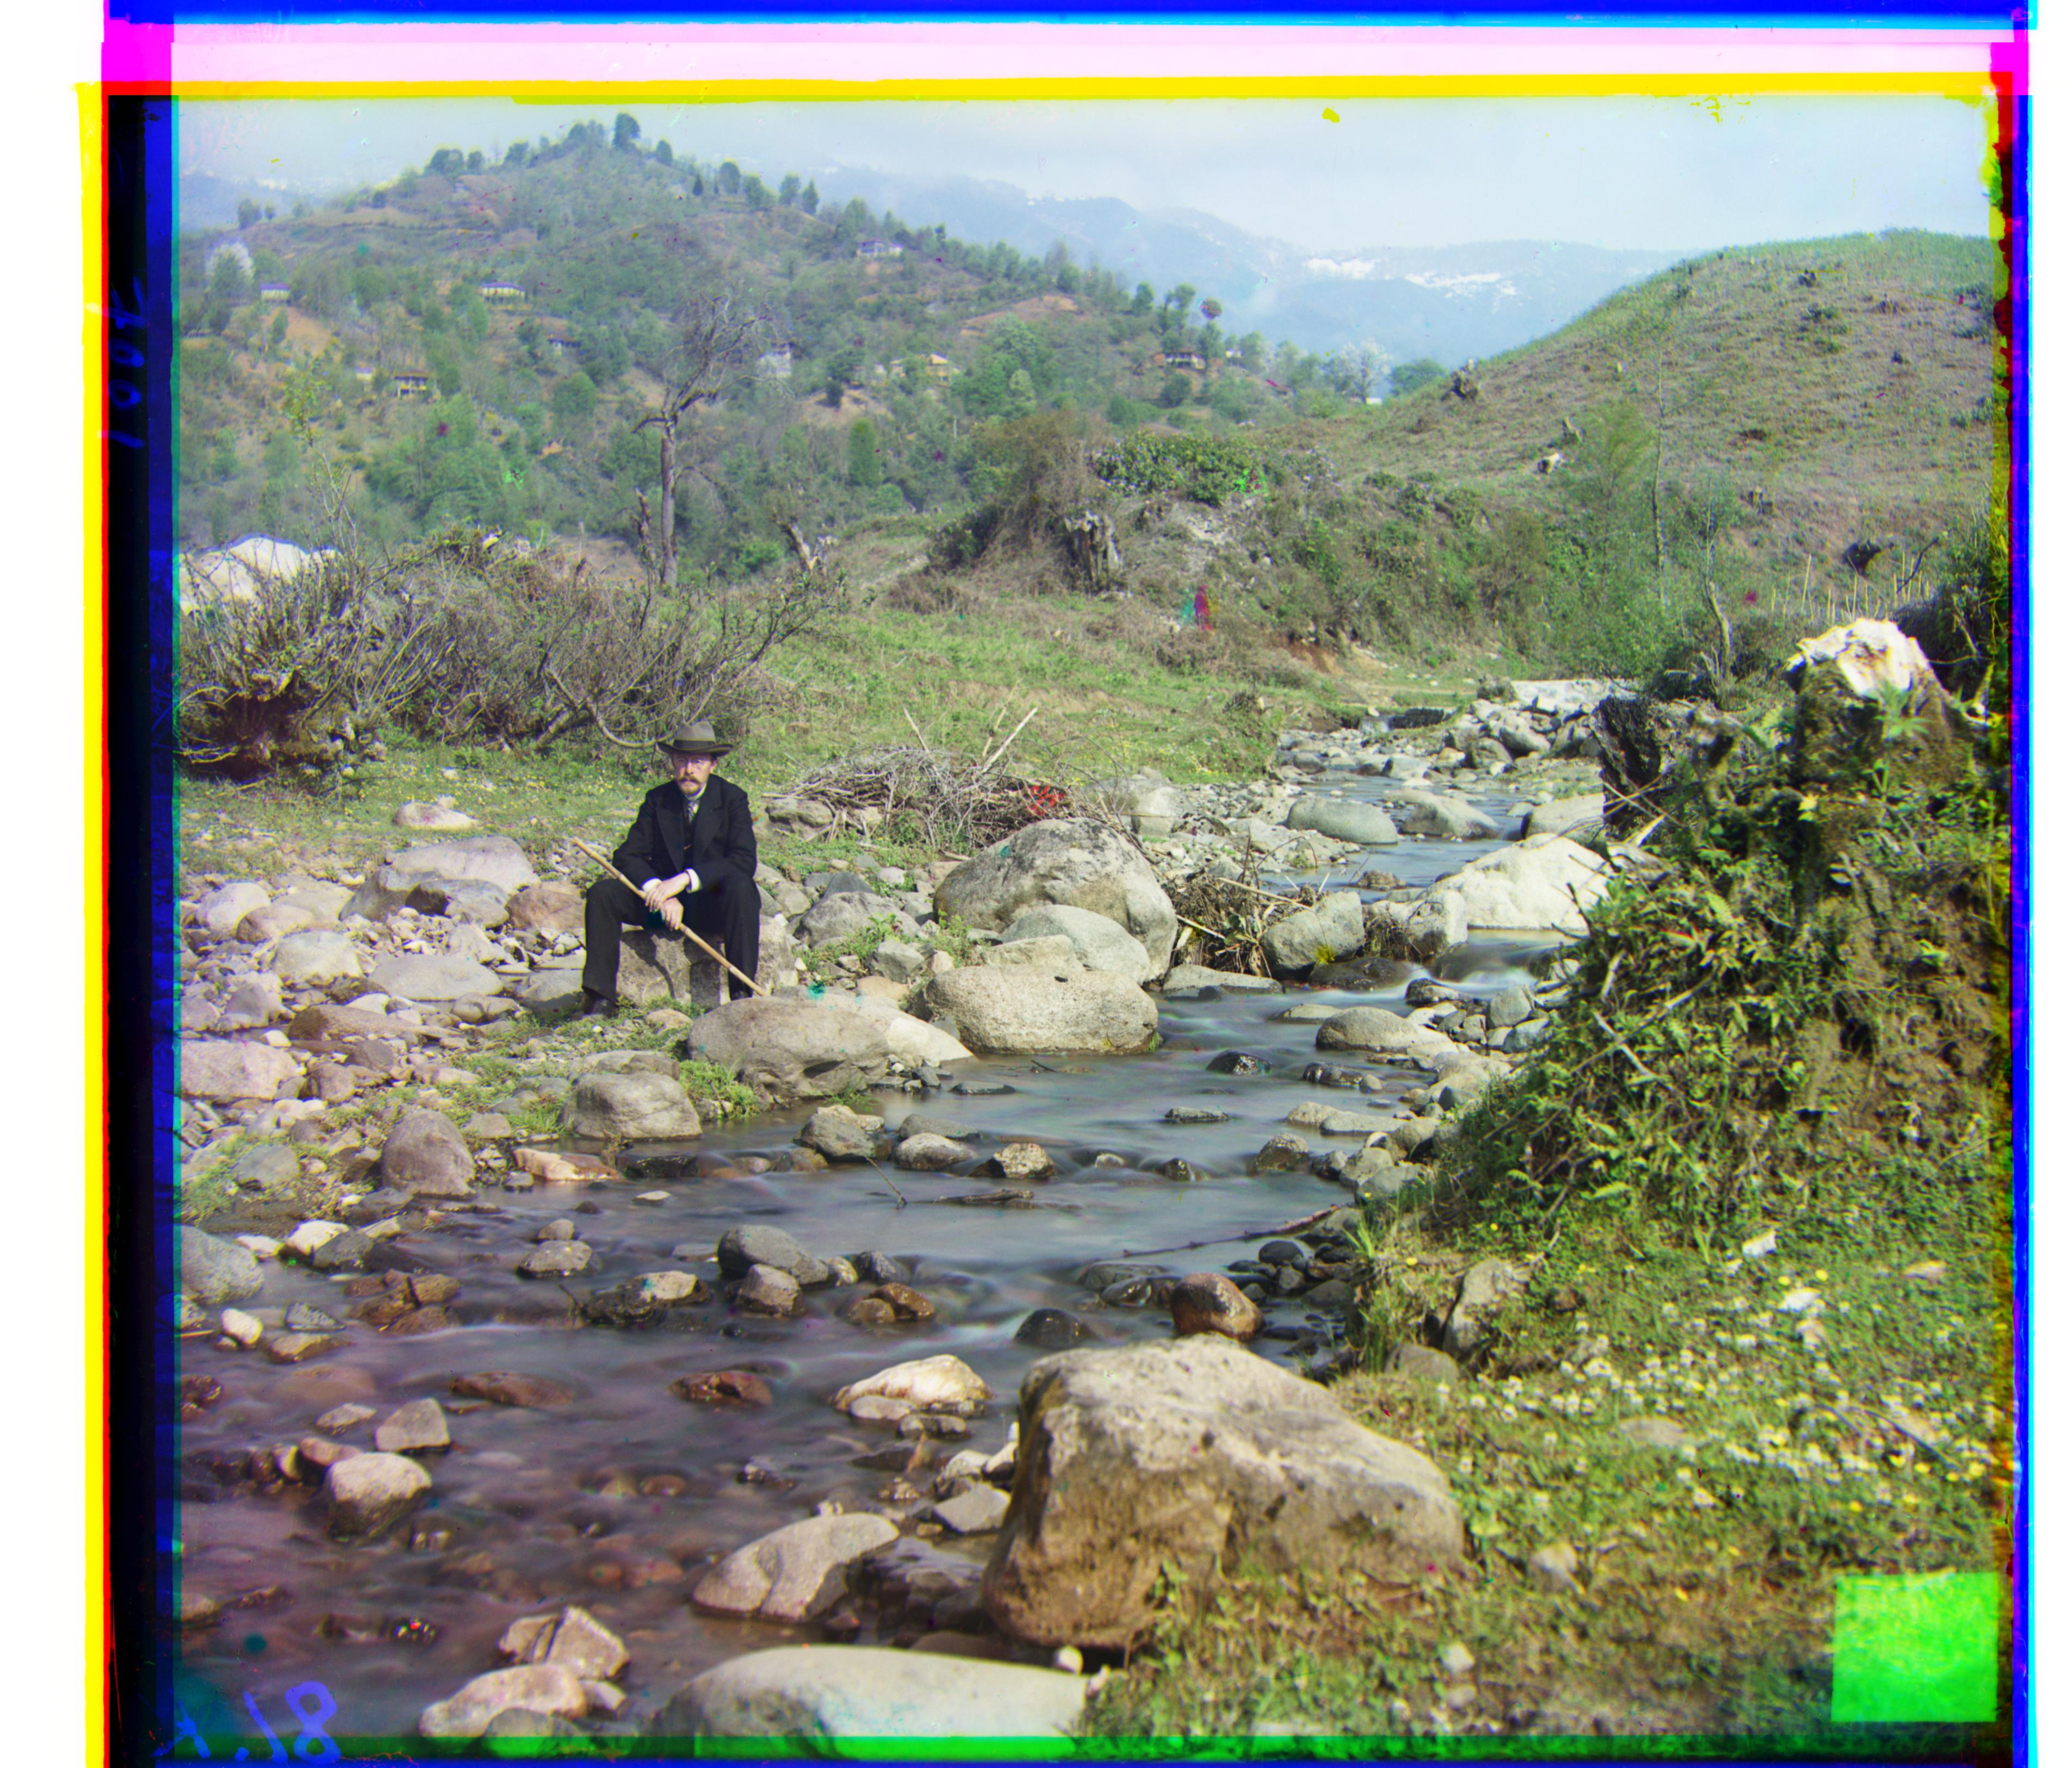
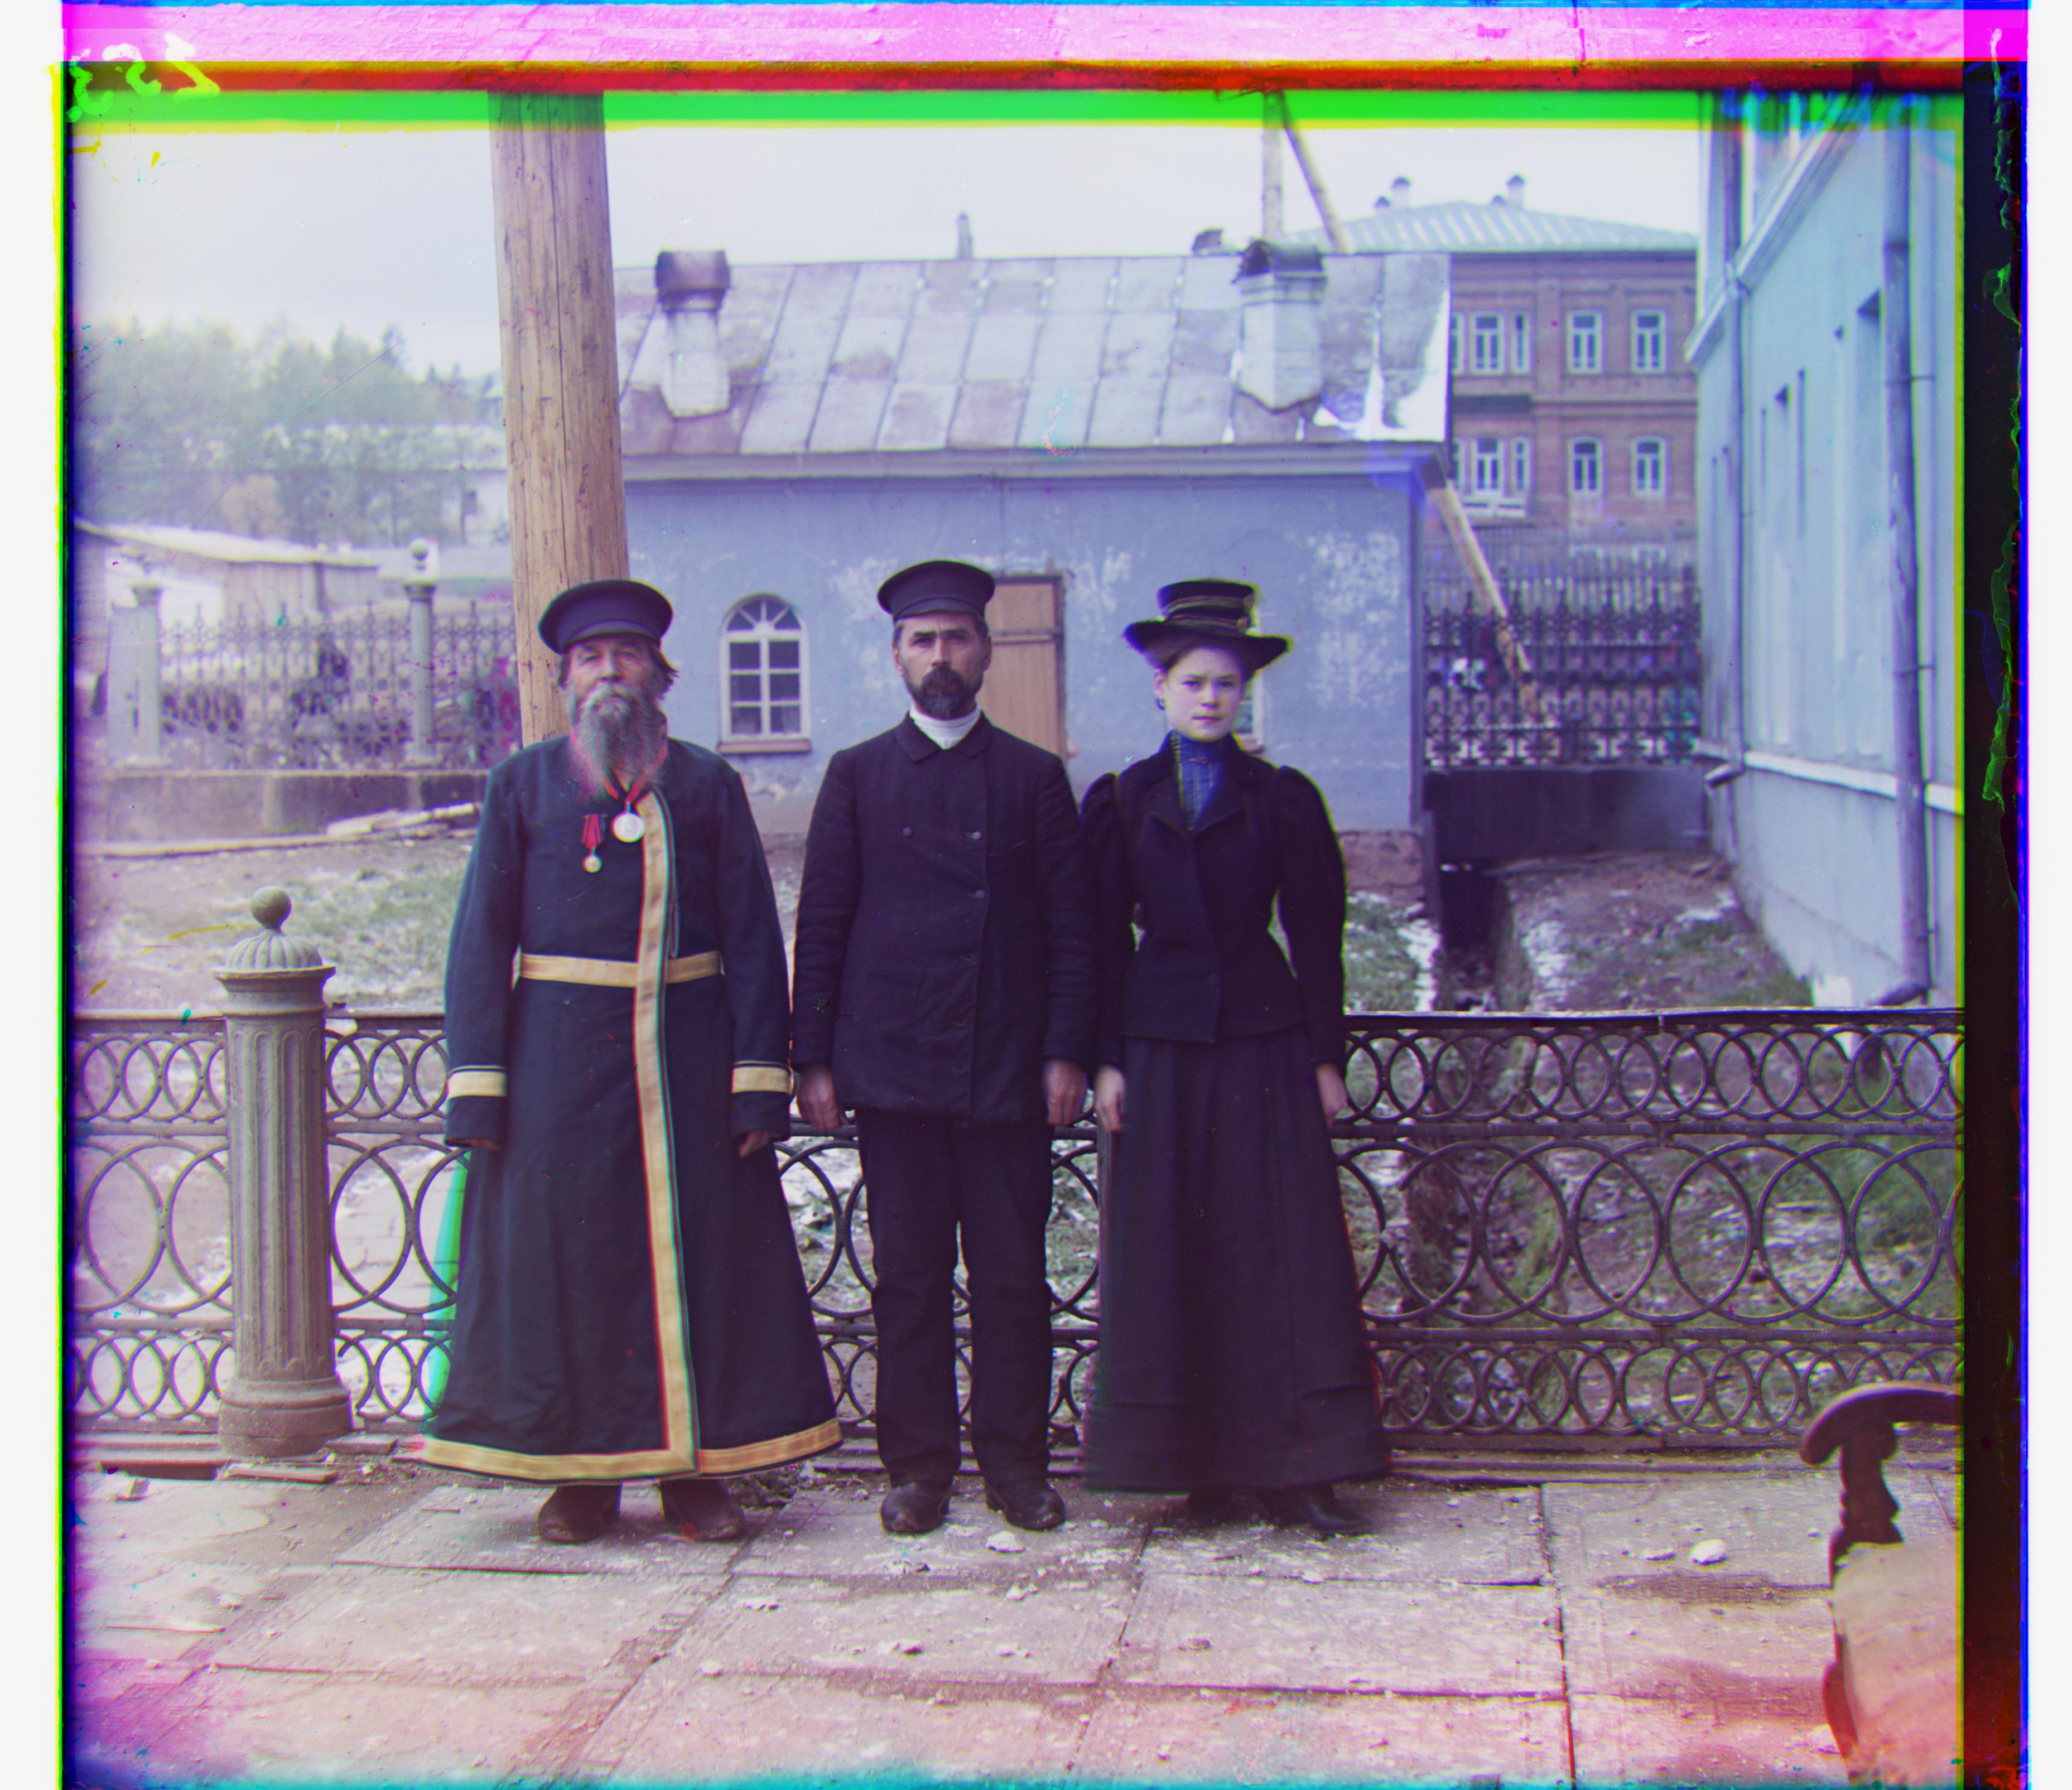
The goal of the project is to use image processing techniques to colorize photos from digitized Prokudin-Gorskii Photo Collection. To achieve this, I will extract the three color channel images, align them by placing them on top of each other to form a single colorized image. This project will automate the process of colorizing the images by using single-scale implementation on small images and multi-scale implementation on larger images with image pyramid. The project also implemented automatic contrast and better features for aligning such as using edge detection of rgb channel images.
Section I: Implementation Approaches

|
|
|
I. Single-Scale implementation
The single-scale implementation is a naive algorithm that align the red, green and blue channels of the images by exhaustively searching over a window of possible displacements. In this case, a window size of 20 is used and [-20,20] pixels is the searching window, which works for all pictures below. During the process, each alignment is given a matching score by a image matching metric. This project is using normalized cross-correlation(NCC) as the image matching metric, for each two images from different channel, I compute the dot product between the two normalized vectors (image1./||image1|| and image2./||image2||) and larger dot product implies greater similarities between the two images therefore implies a better alignment.
II. Multi-Scale Implementation
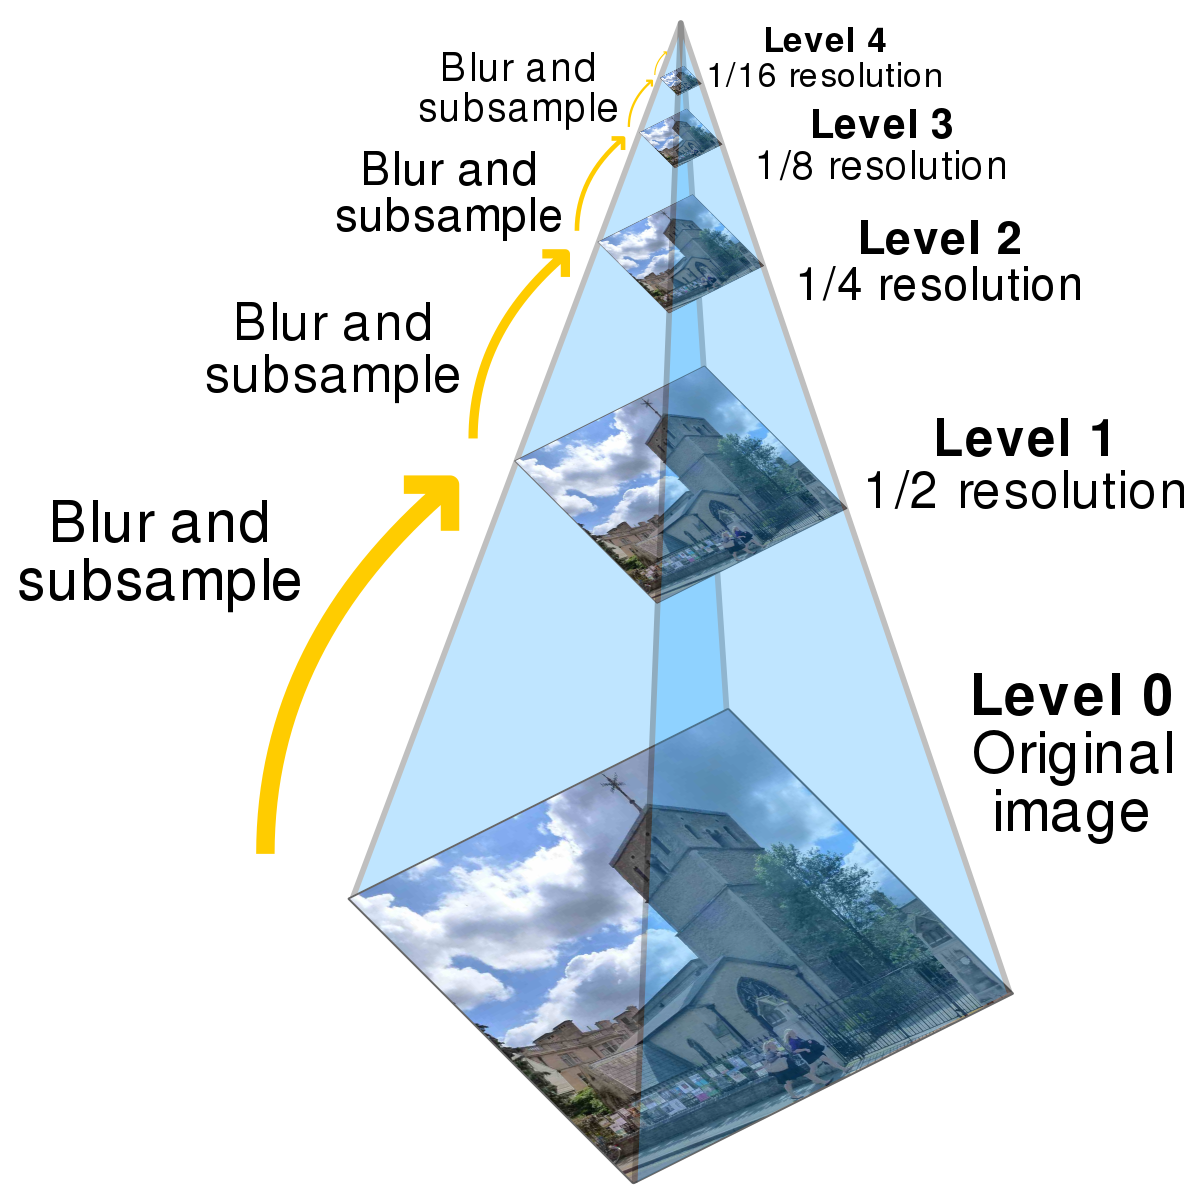
The single-scale implementation doesn’t work well on larger images with high-resolution since the algorithm isn’t fast enough to perform the exhaustive search. Instead, a faster search procedure image pyramid is needed. When the program gets an image that is too large, it rescales the image by a factor of 2 and recursively passing in the rescaled image to the program until the image is small enough to perform the exhaustive search on the window size of 20. And with this process, we only need to perform the search window of [-20, 20] on the smallest image and [-1, 1] on the other larger scales of the image. Starting from the smallest image and going down the pyramid, the optimal displacement is passed from the smallest image to the original large image. A shift of x pixels in an image downsampled by 1/2 would correspond to a 2x pixel shift in the undownsampled image.
Section II: Problems & Solutions
1. The searching algorithm doesn't work well when we are searching for the entire image since the border of the image will hurt the result. To solve this problem, I crop the image so that we are only compute the image processing metric on the internal pixels only. Each image is cropped so that the 1/6 border of each side is not included when computing the metric and the result is showing below.
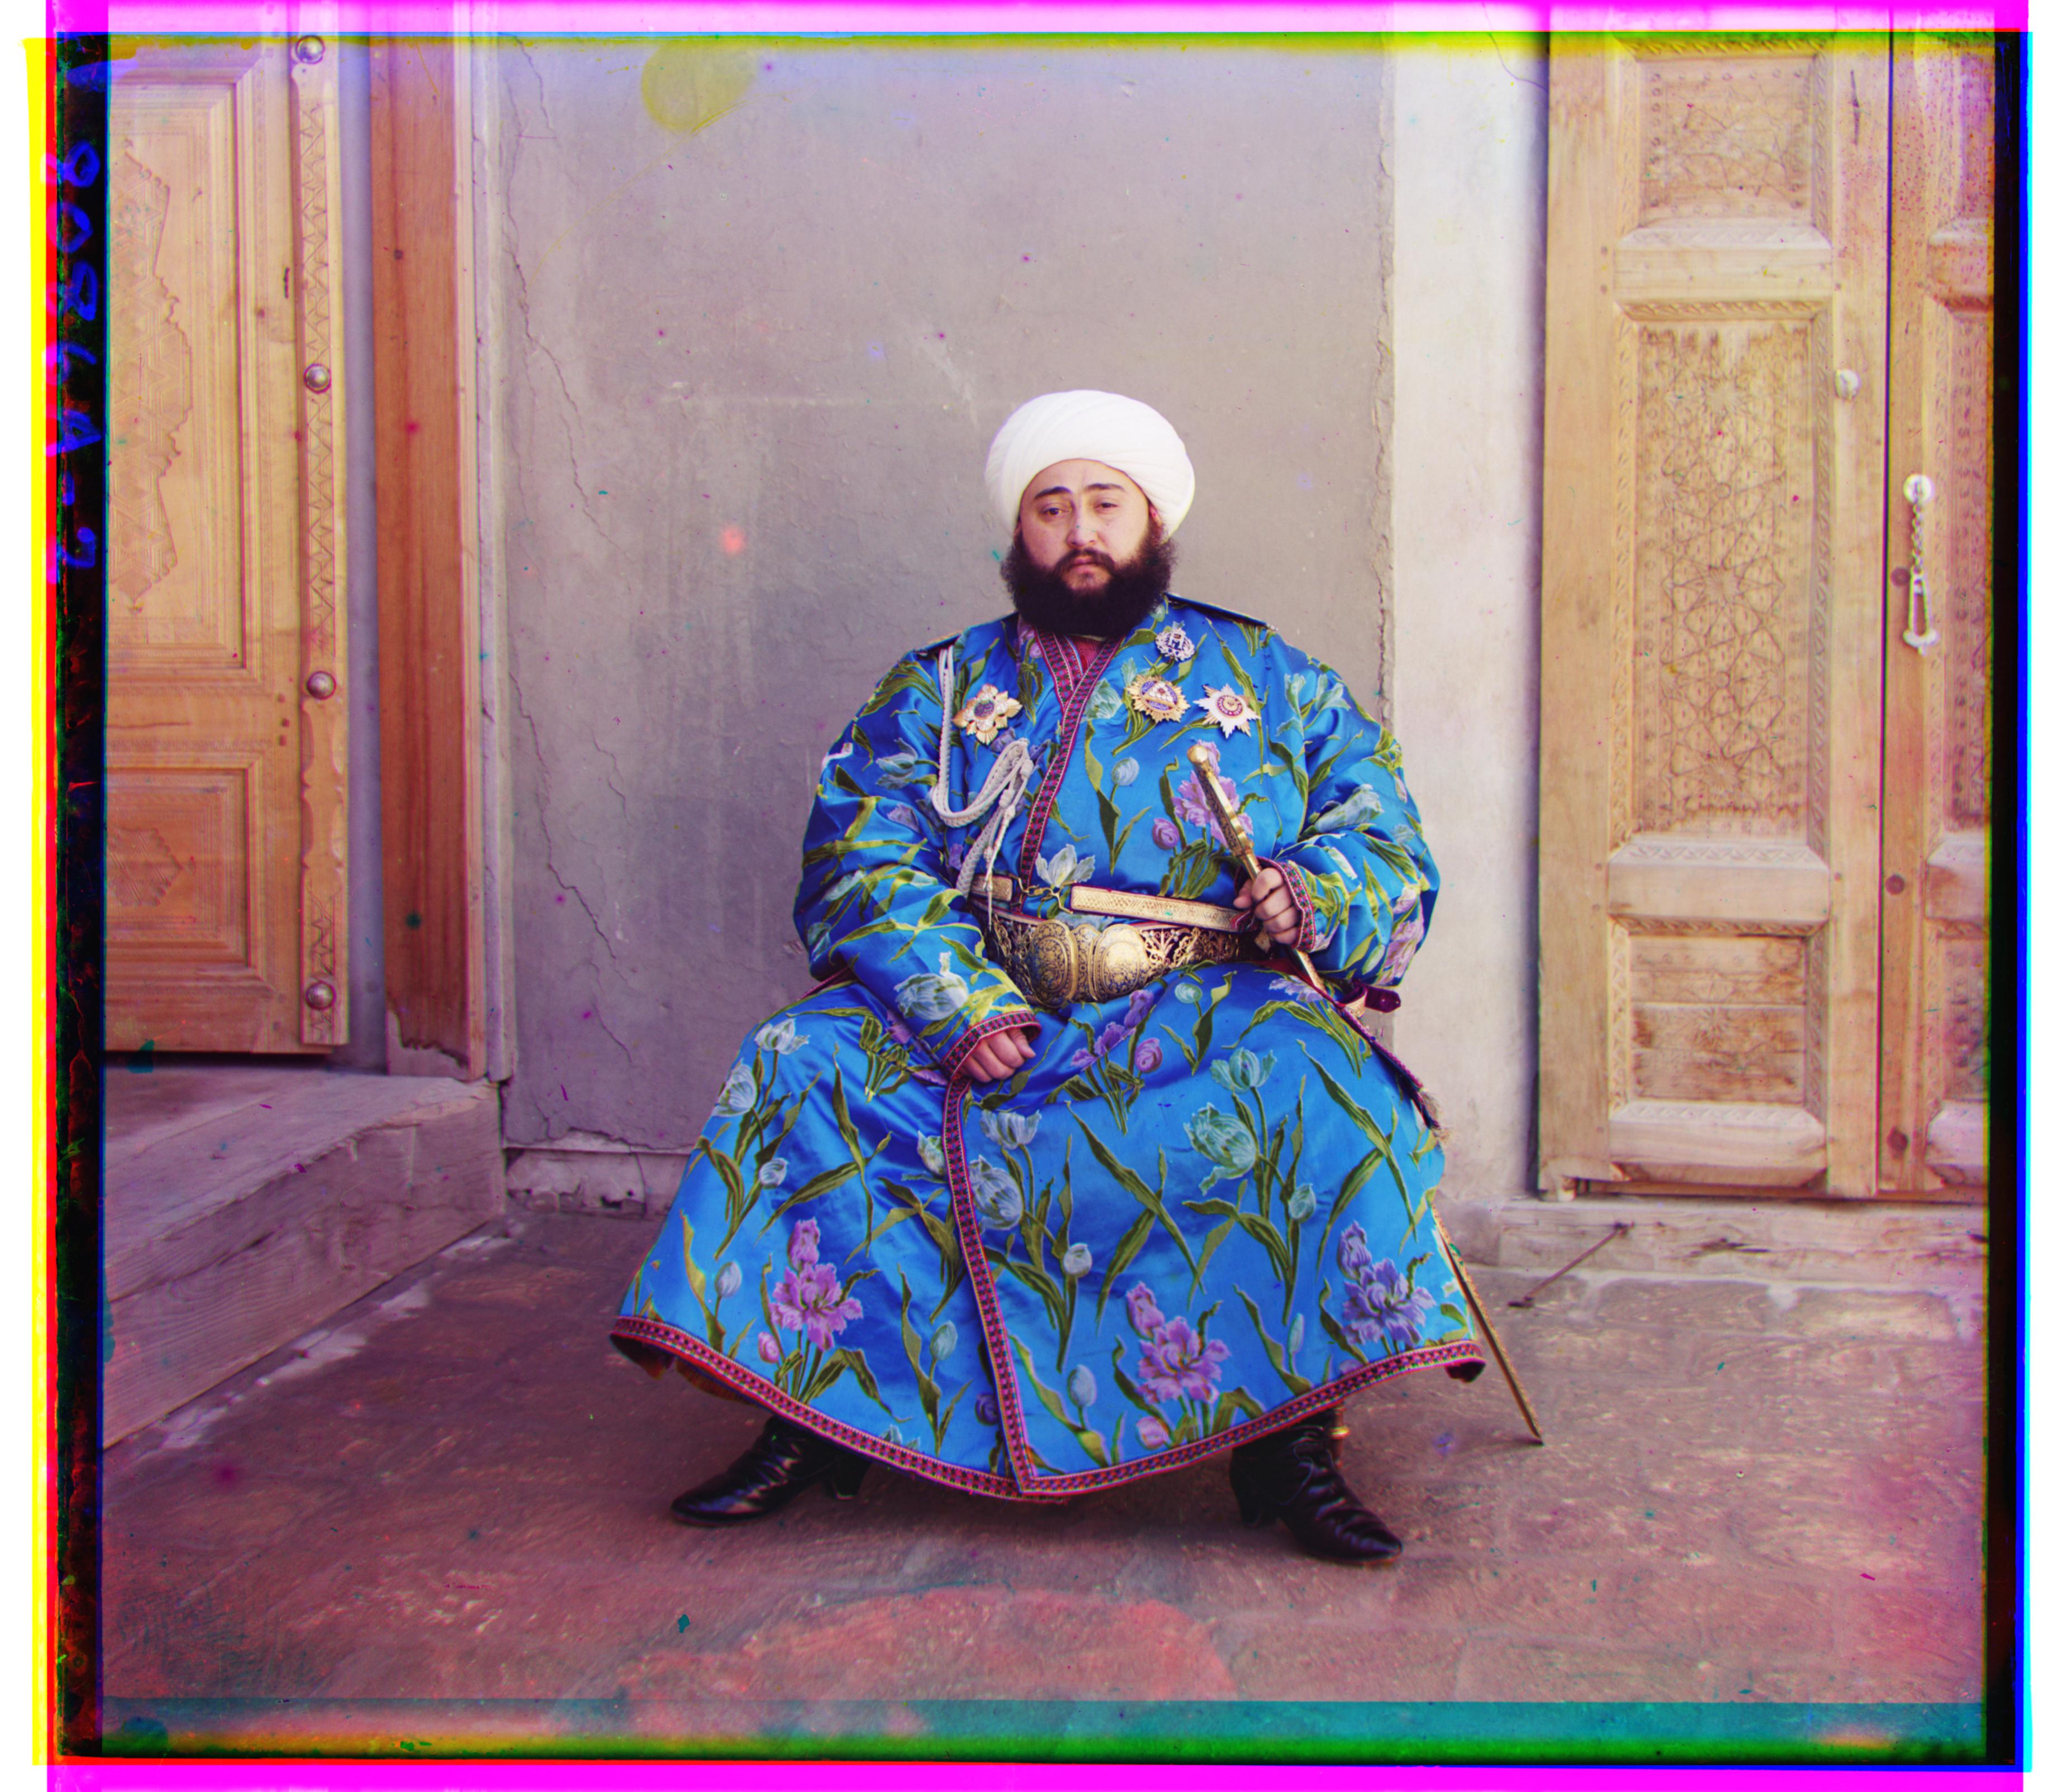
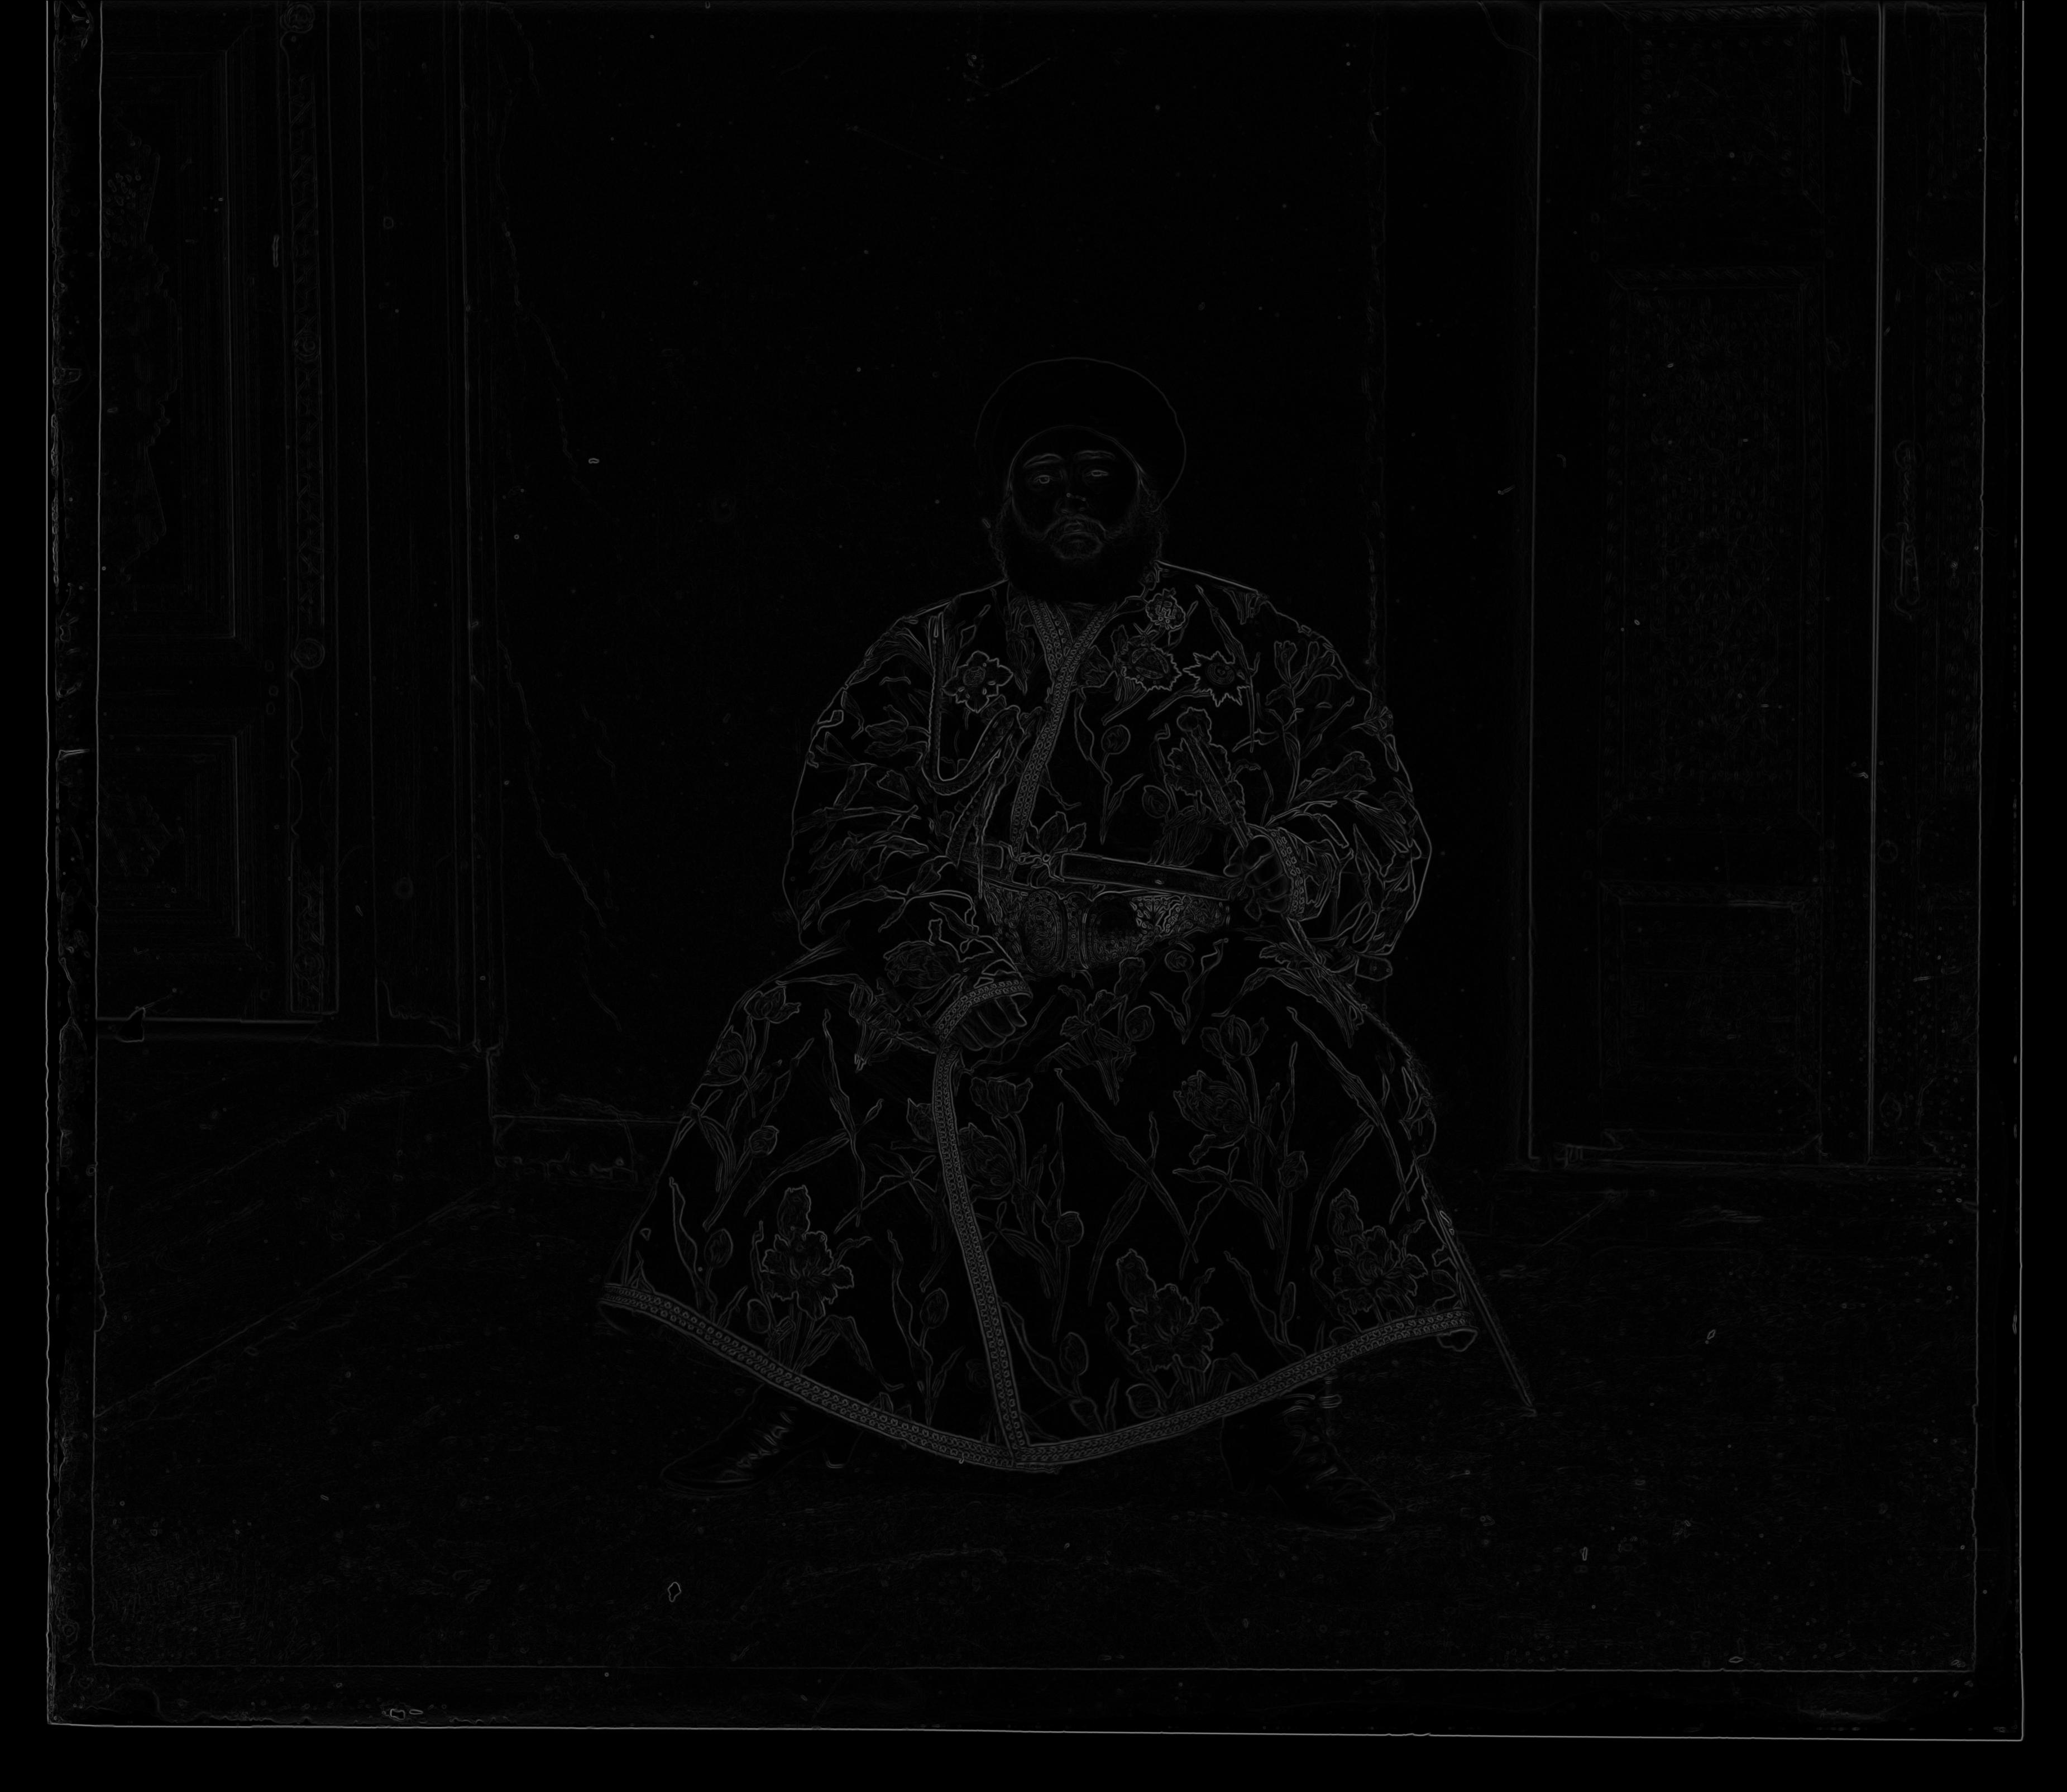
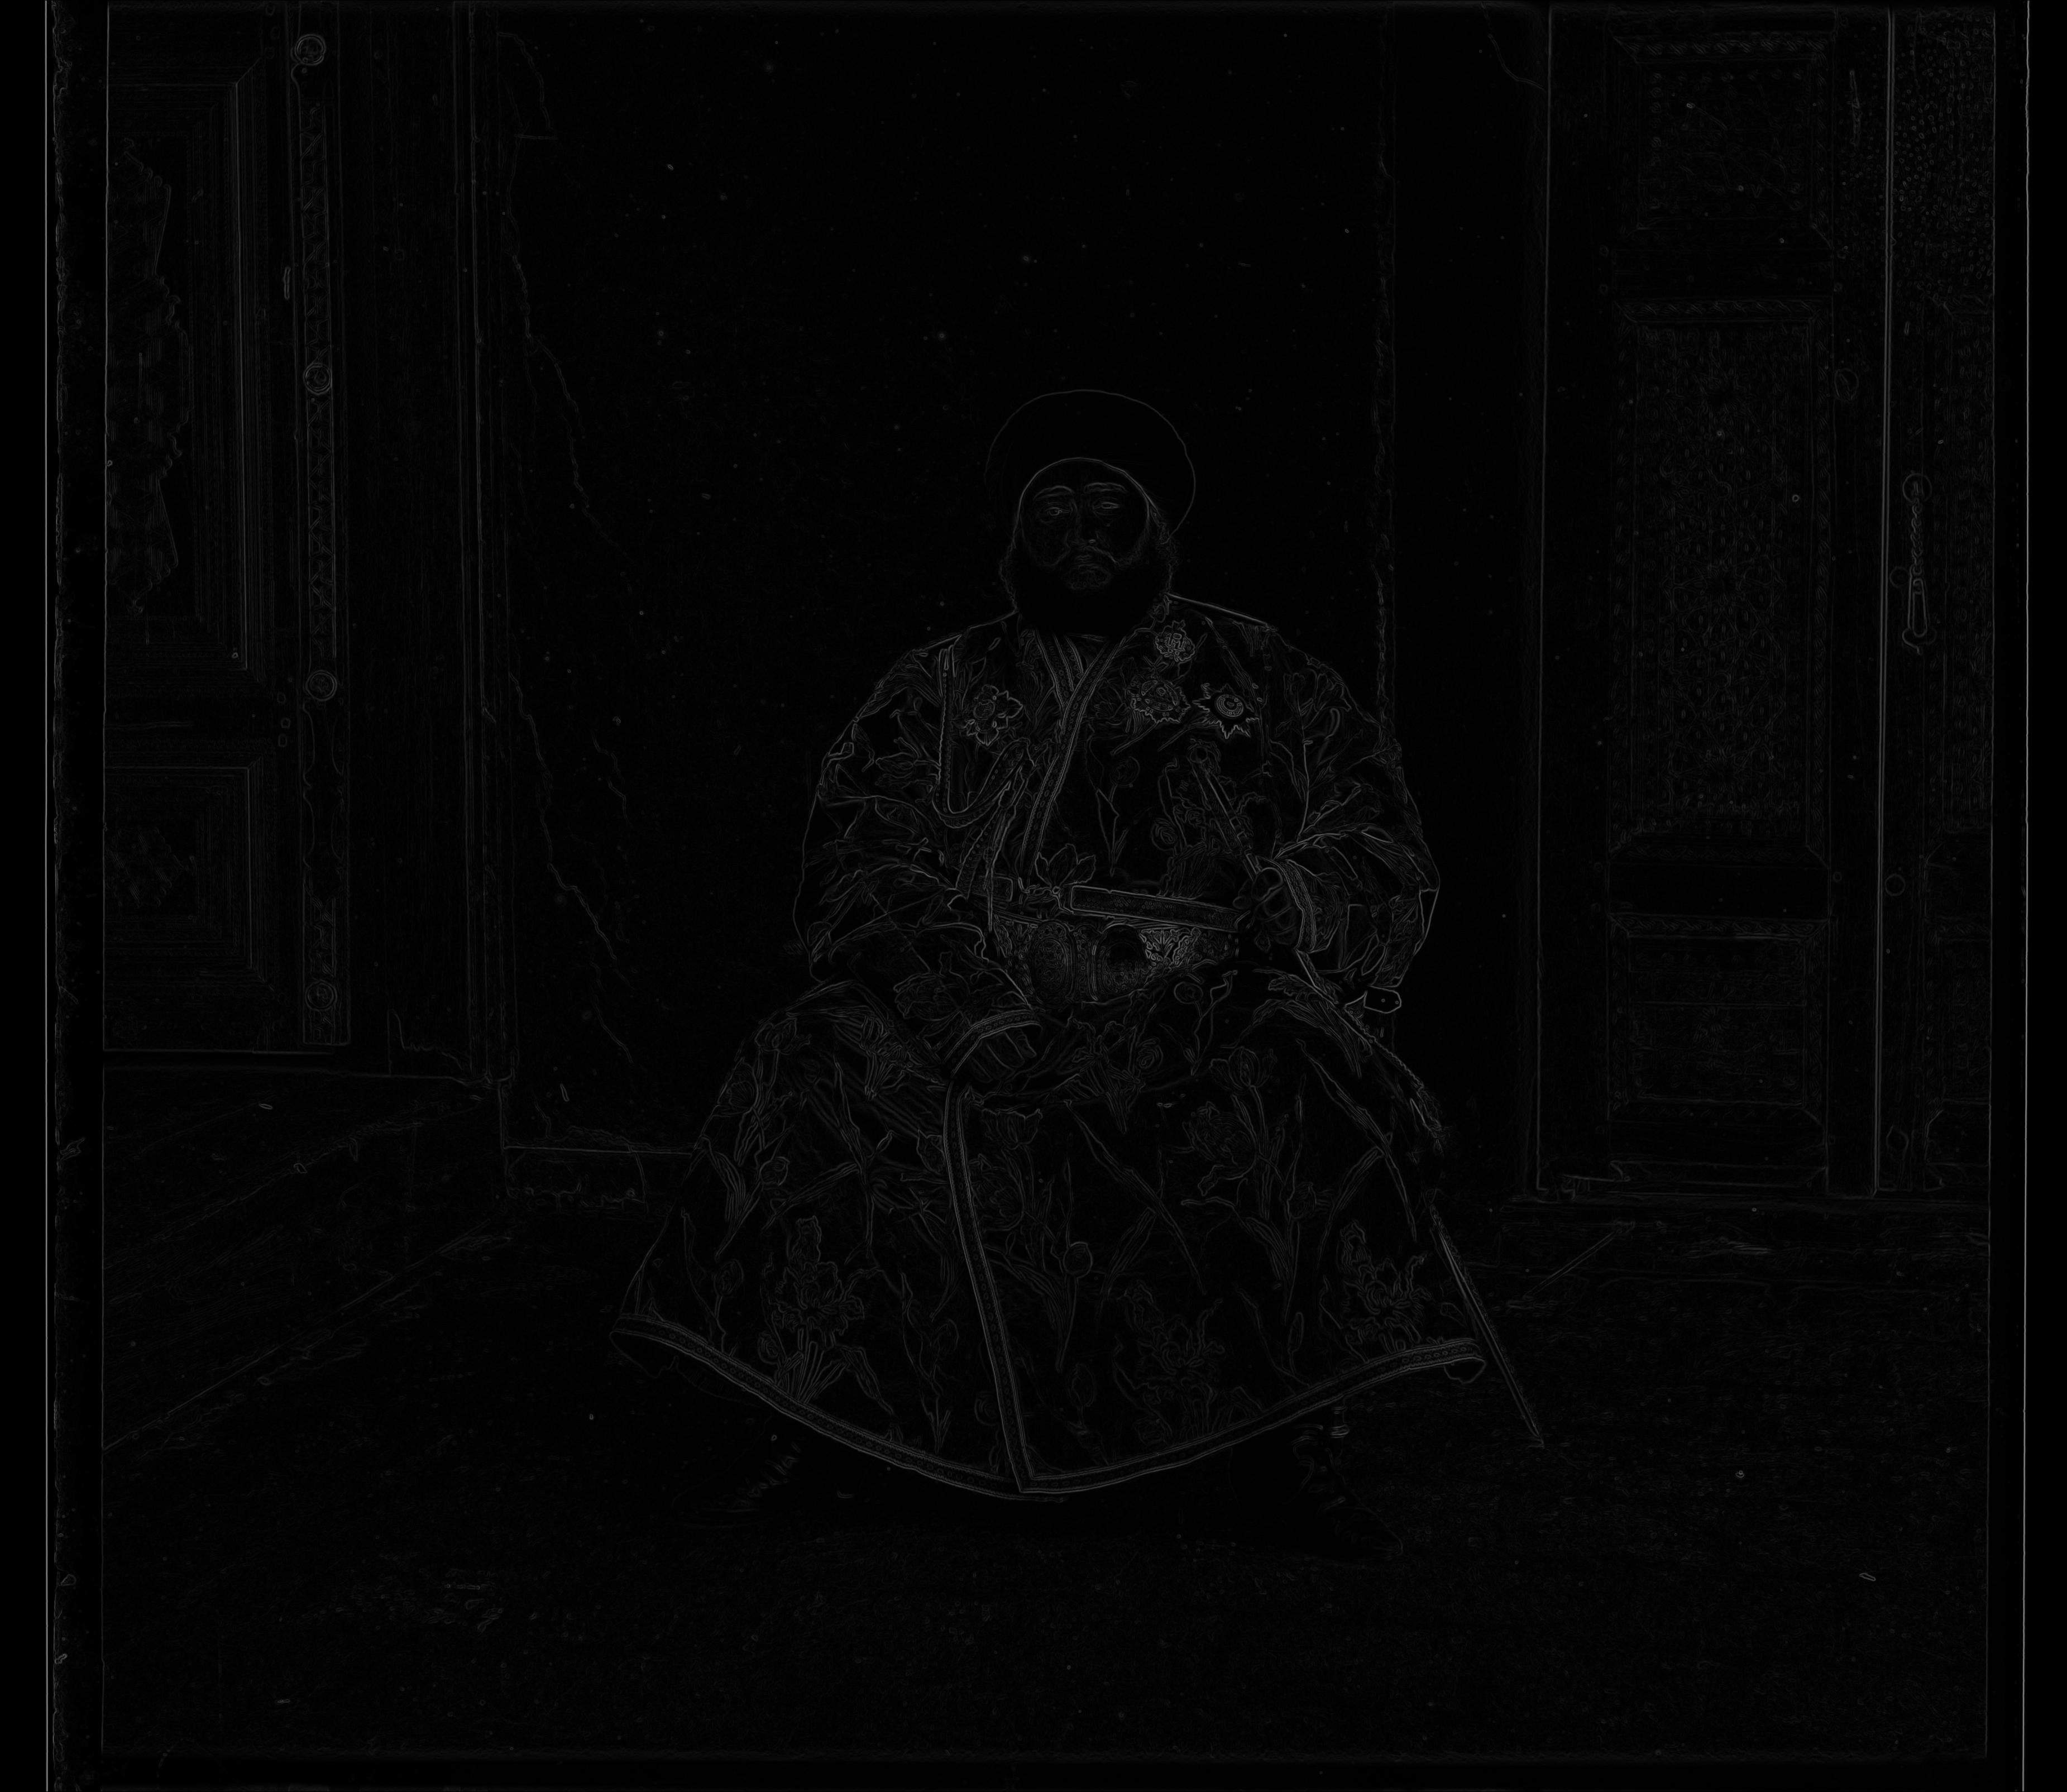
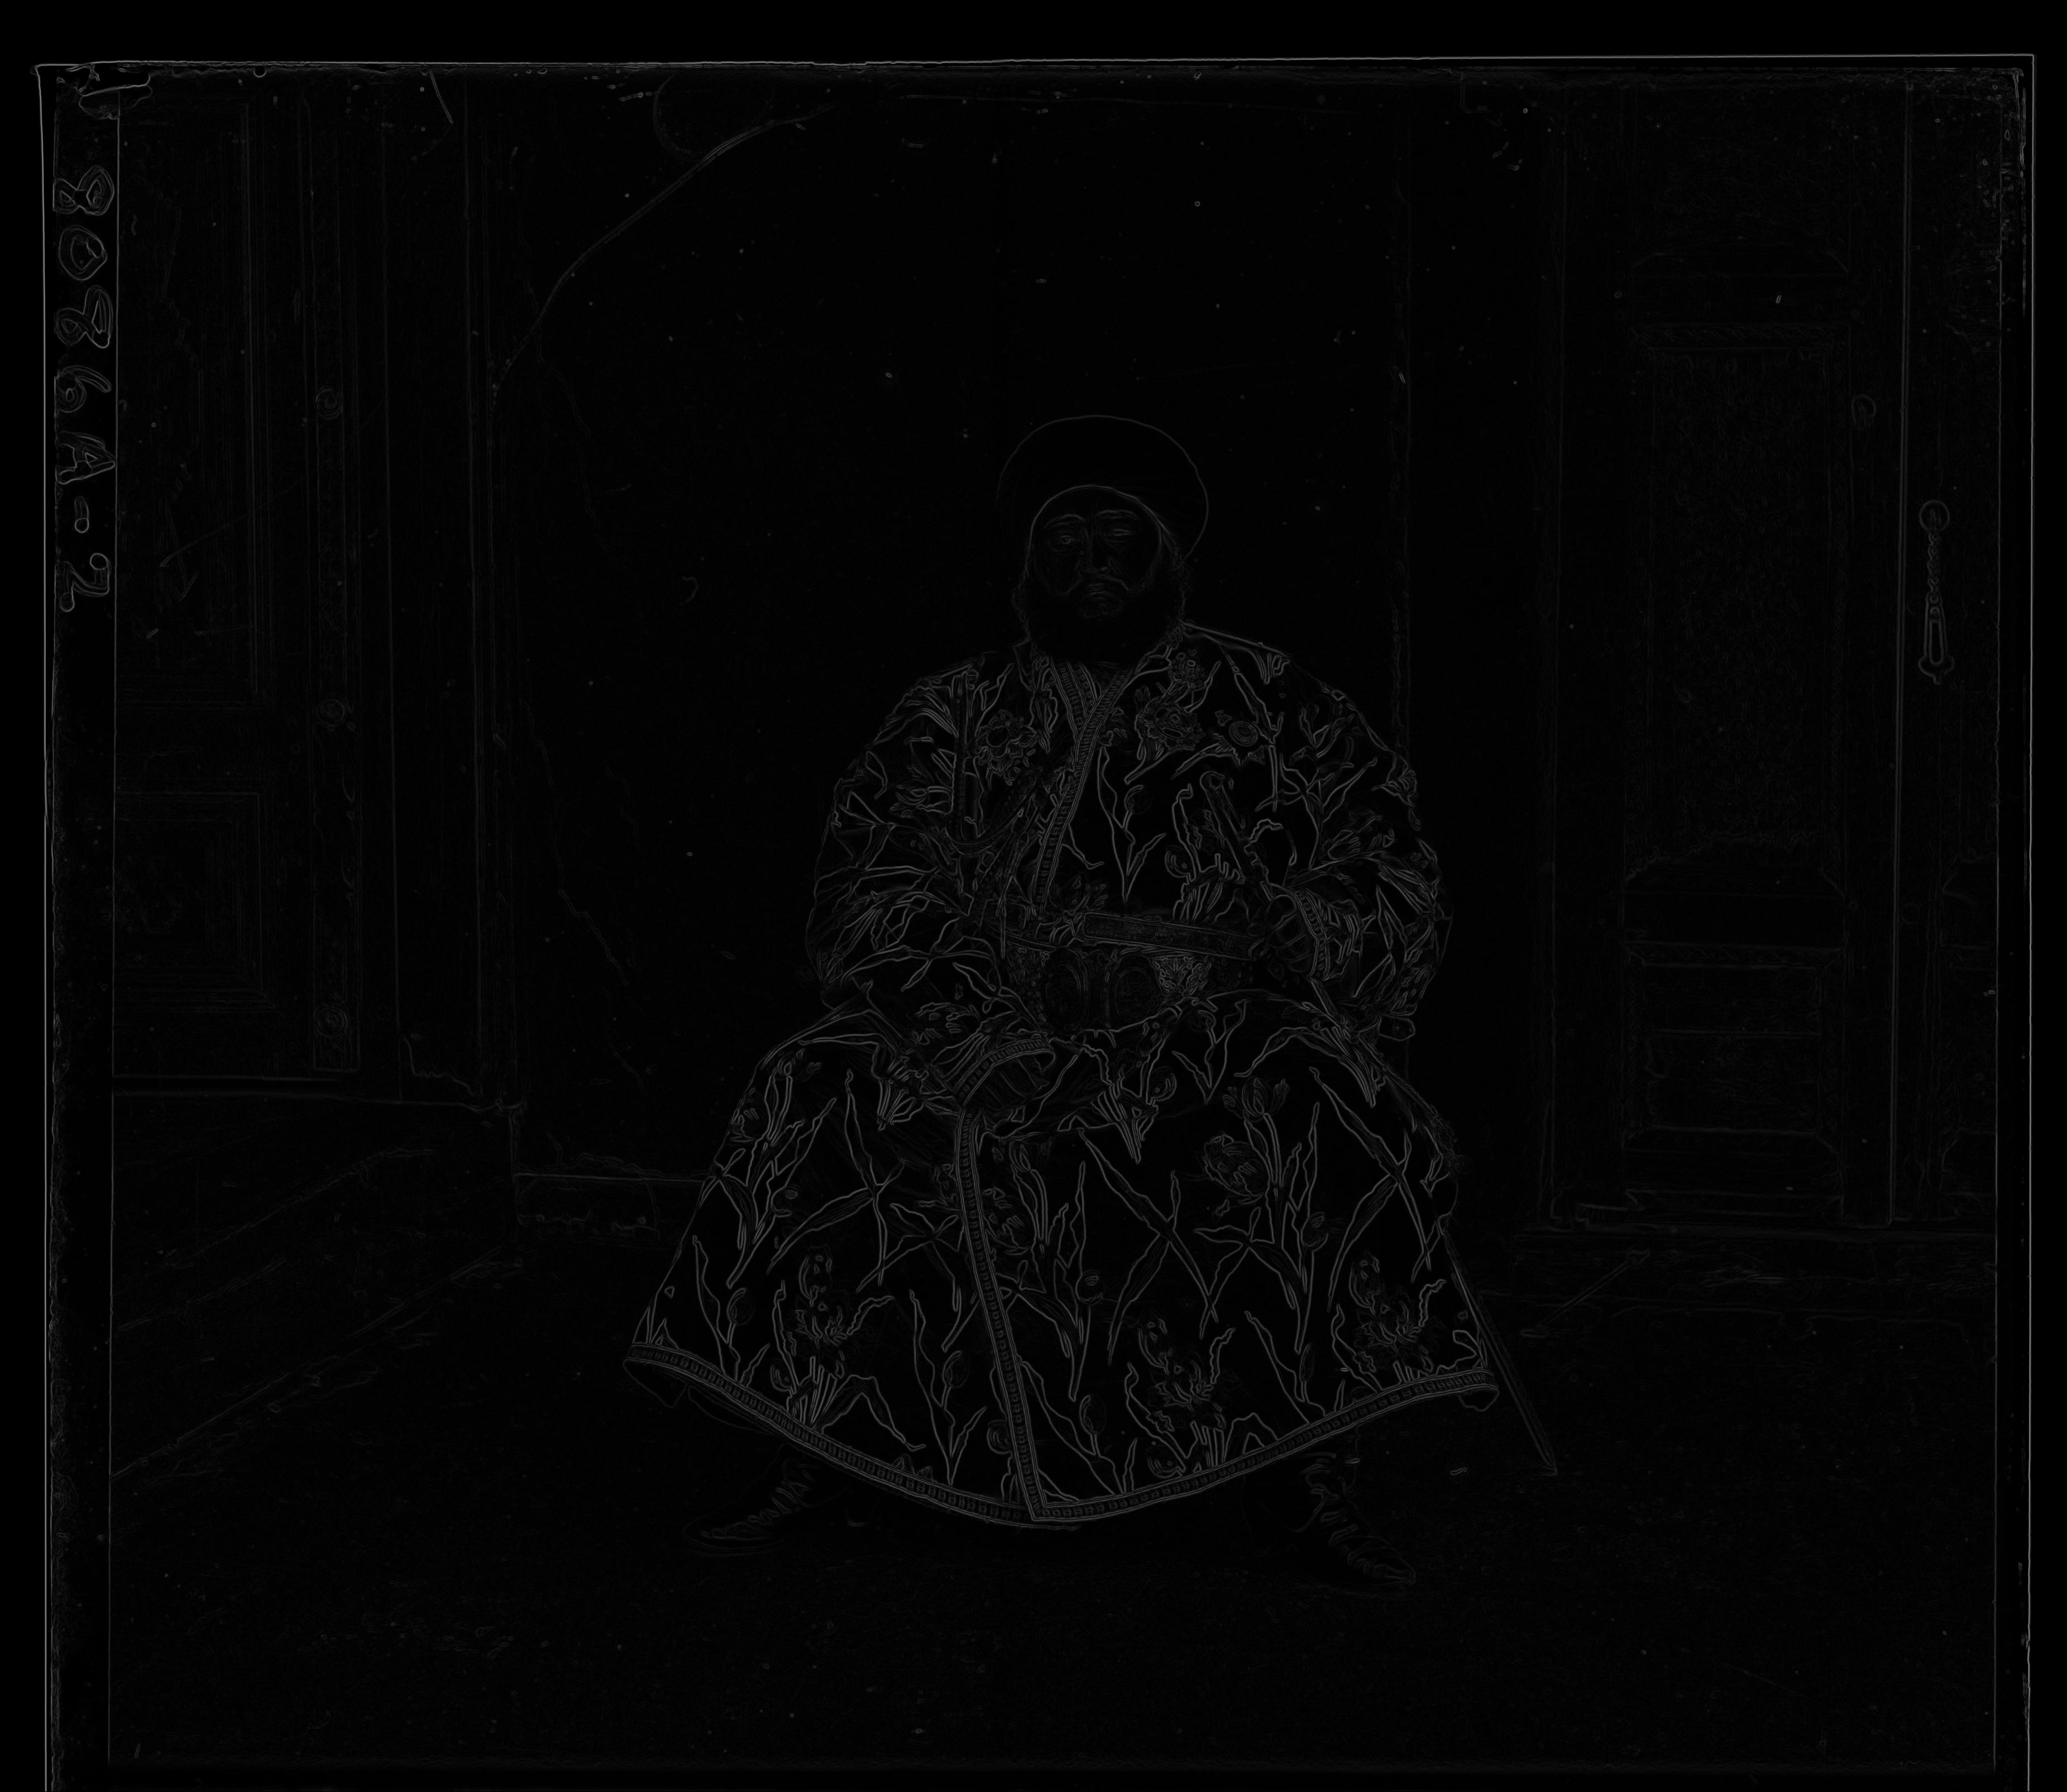
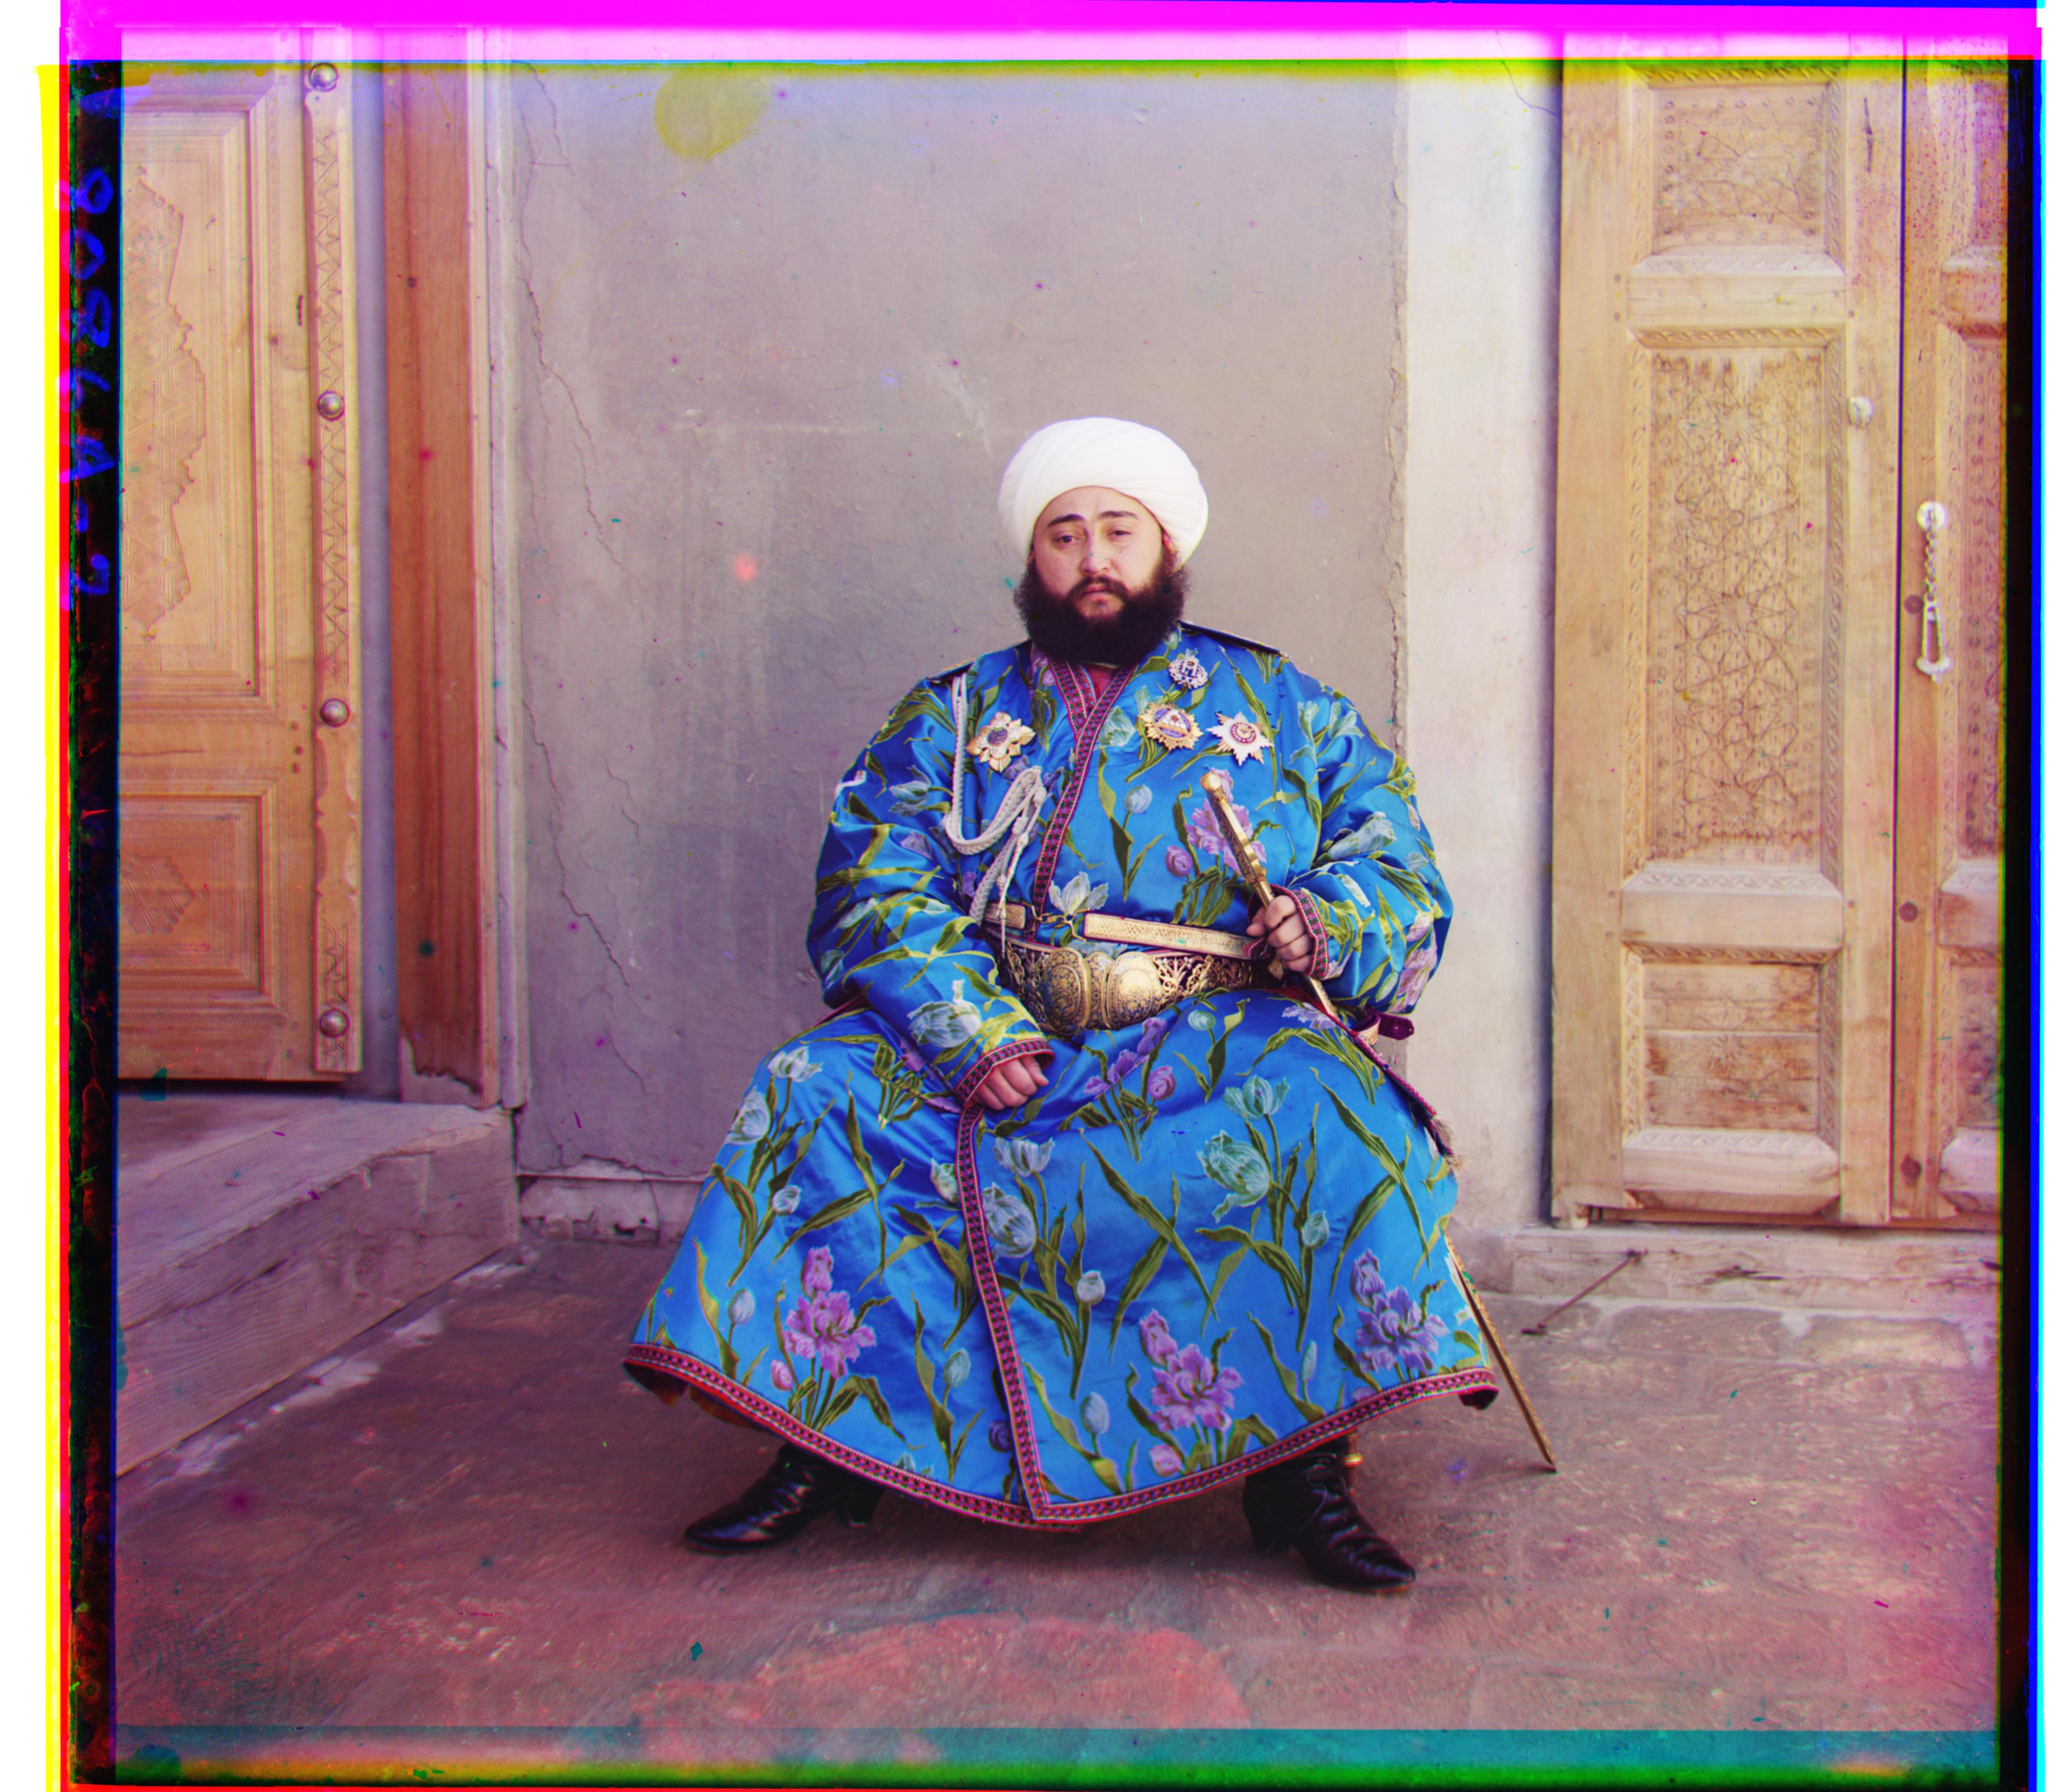
2. When performing the alignment process on Emir of Bukhara, the images to be matched do not actually have the same brightness values. Since the picture is saturated with blue, the channels are not aligning when using our previous image matching metrics. The solution to this problem is to align against the green channel rather than the blue, or to use better features such as aligning with the edge detection of the three different channels, as described in the extra credit section.
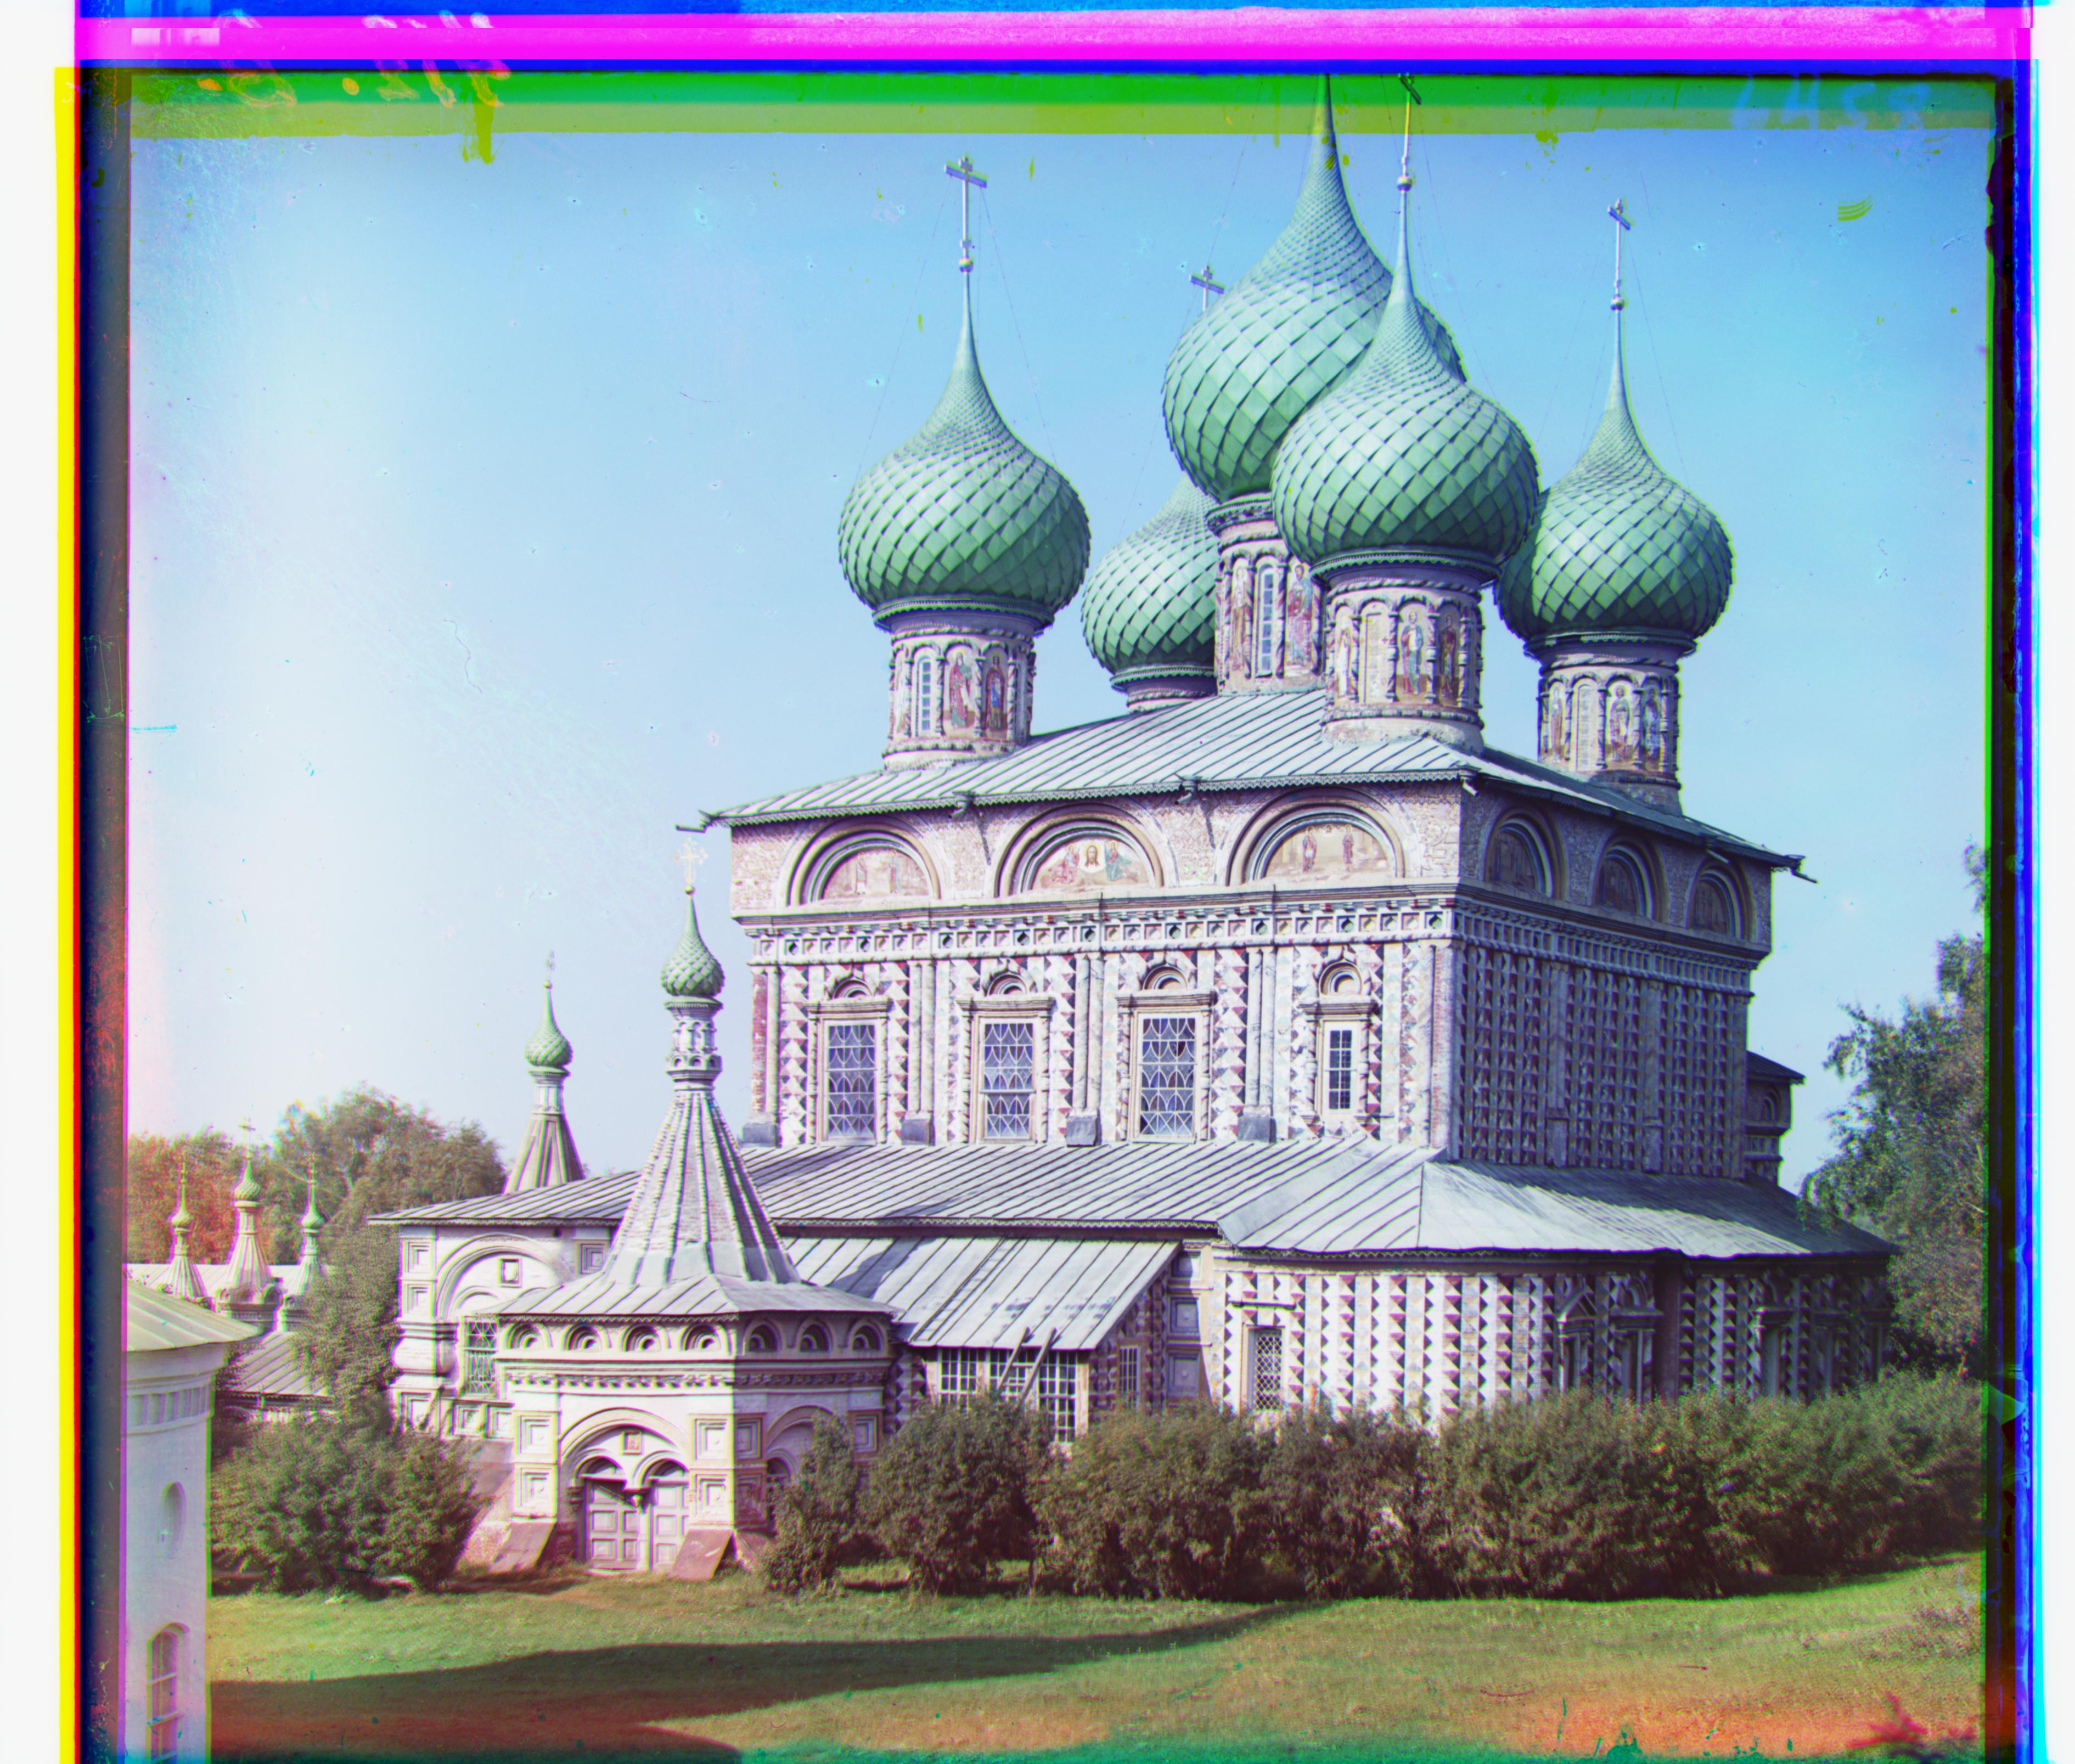
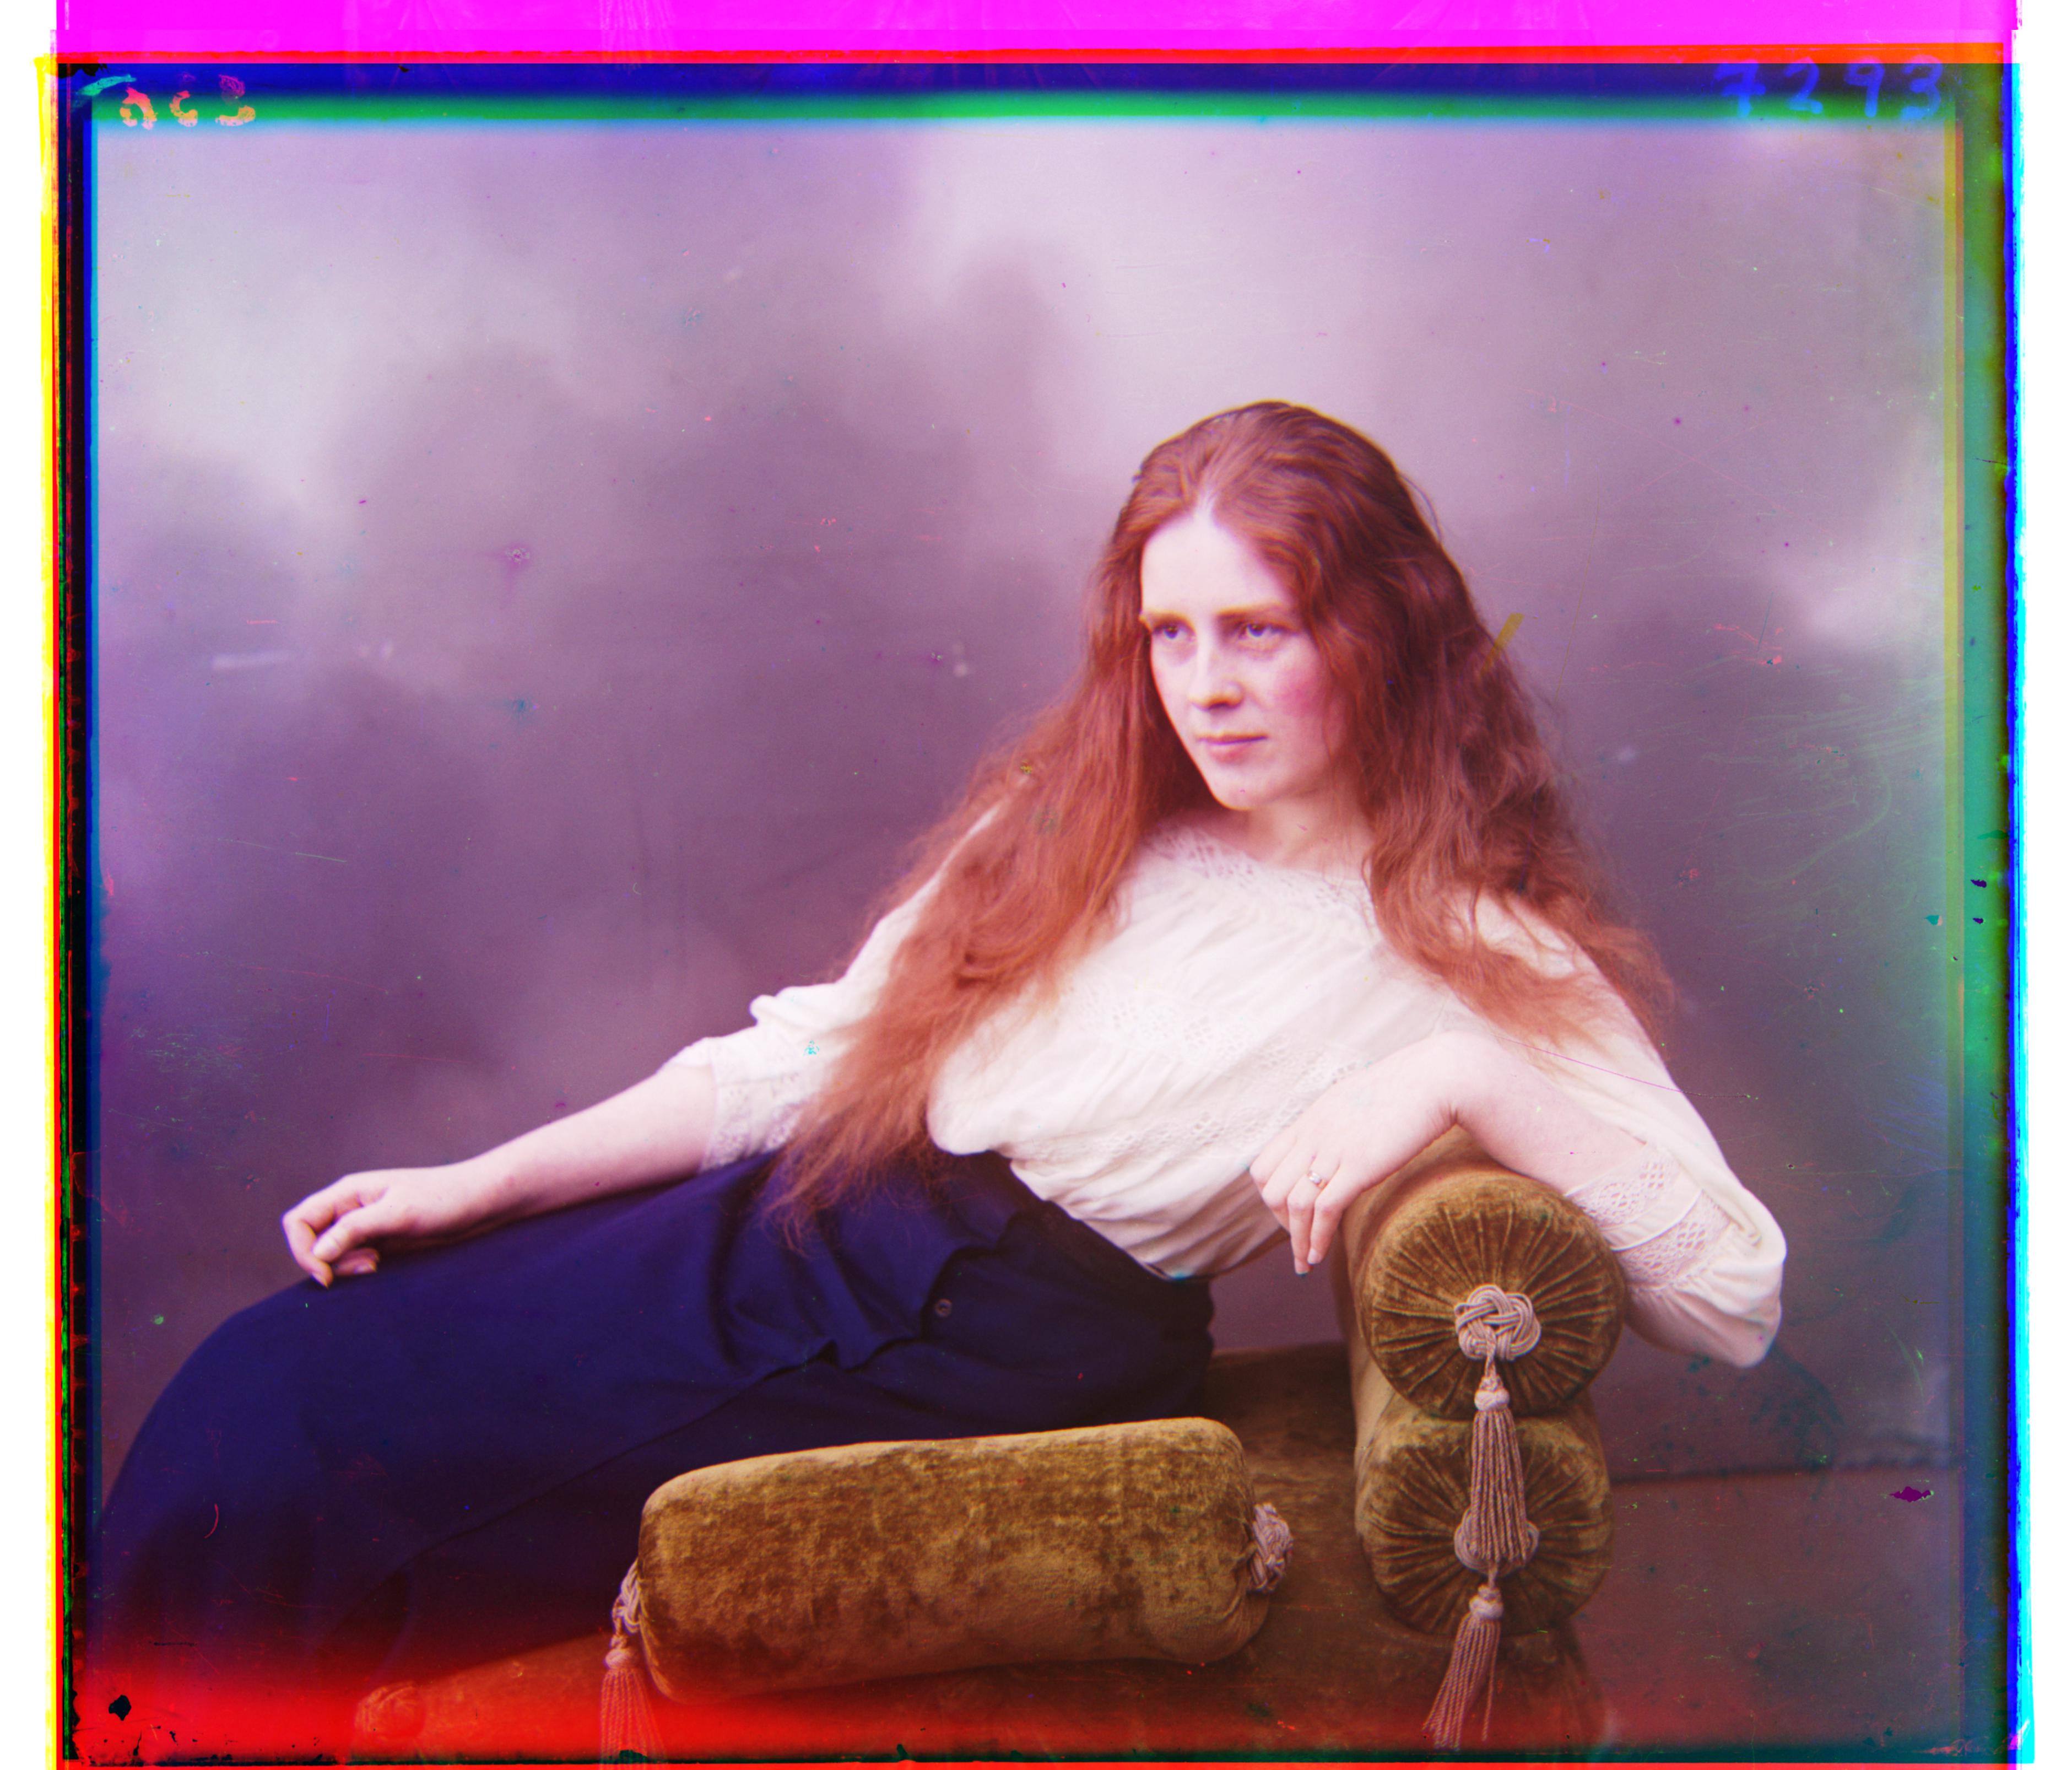
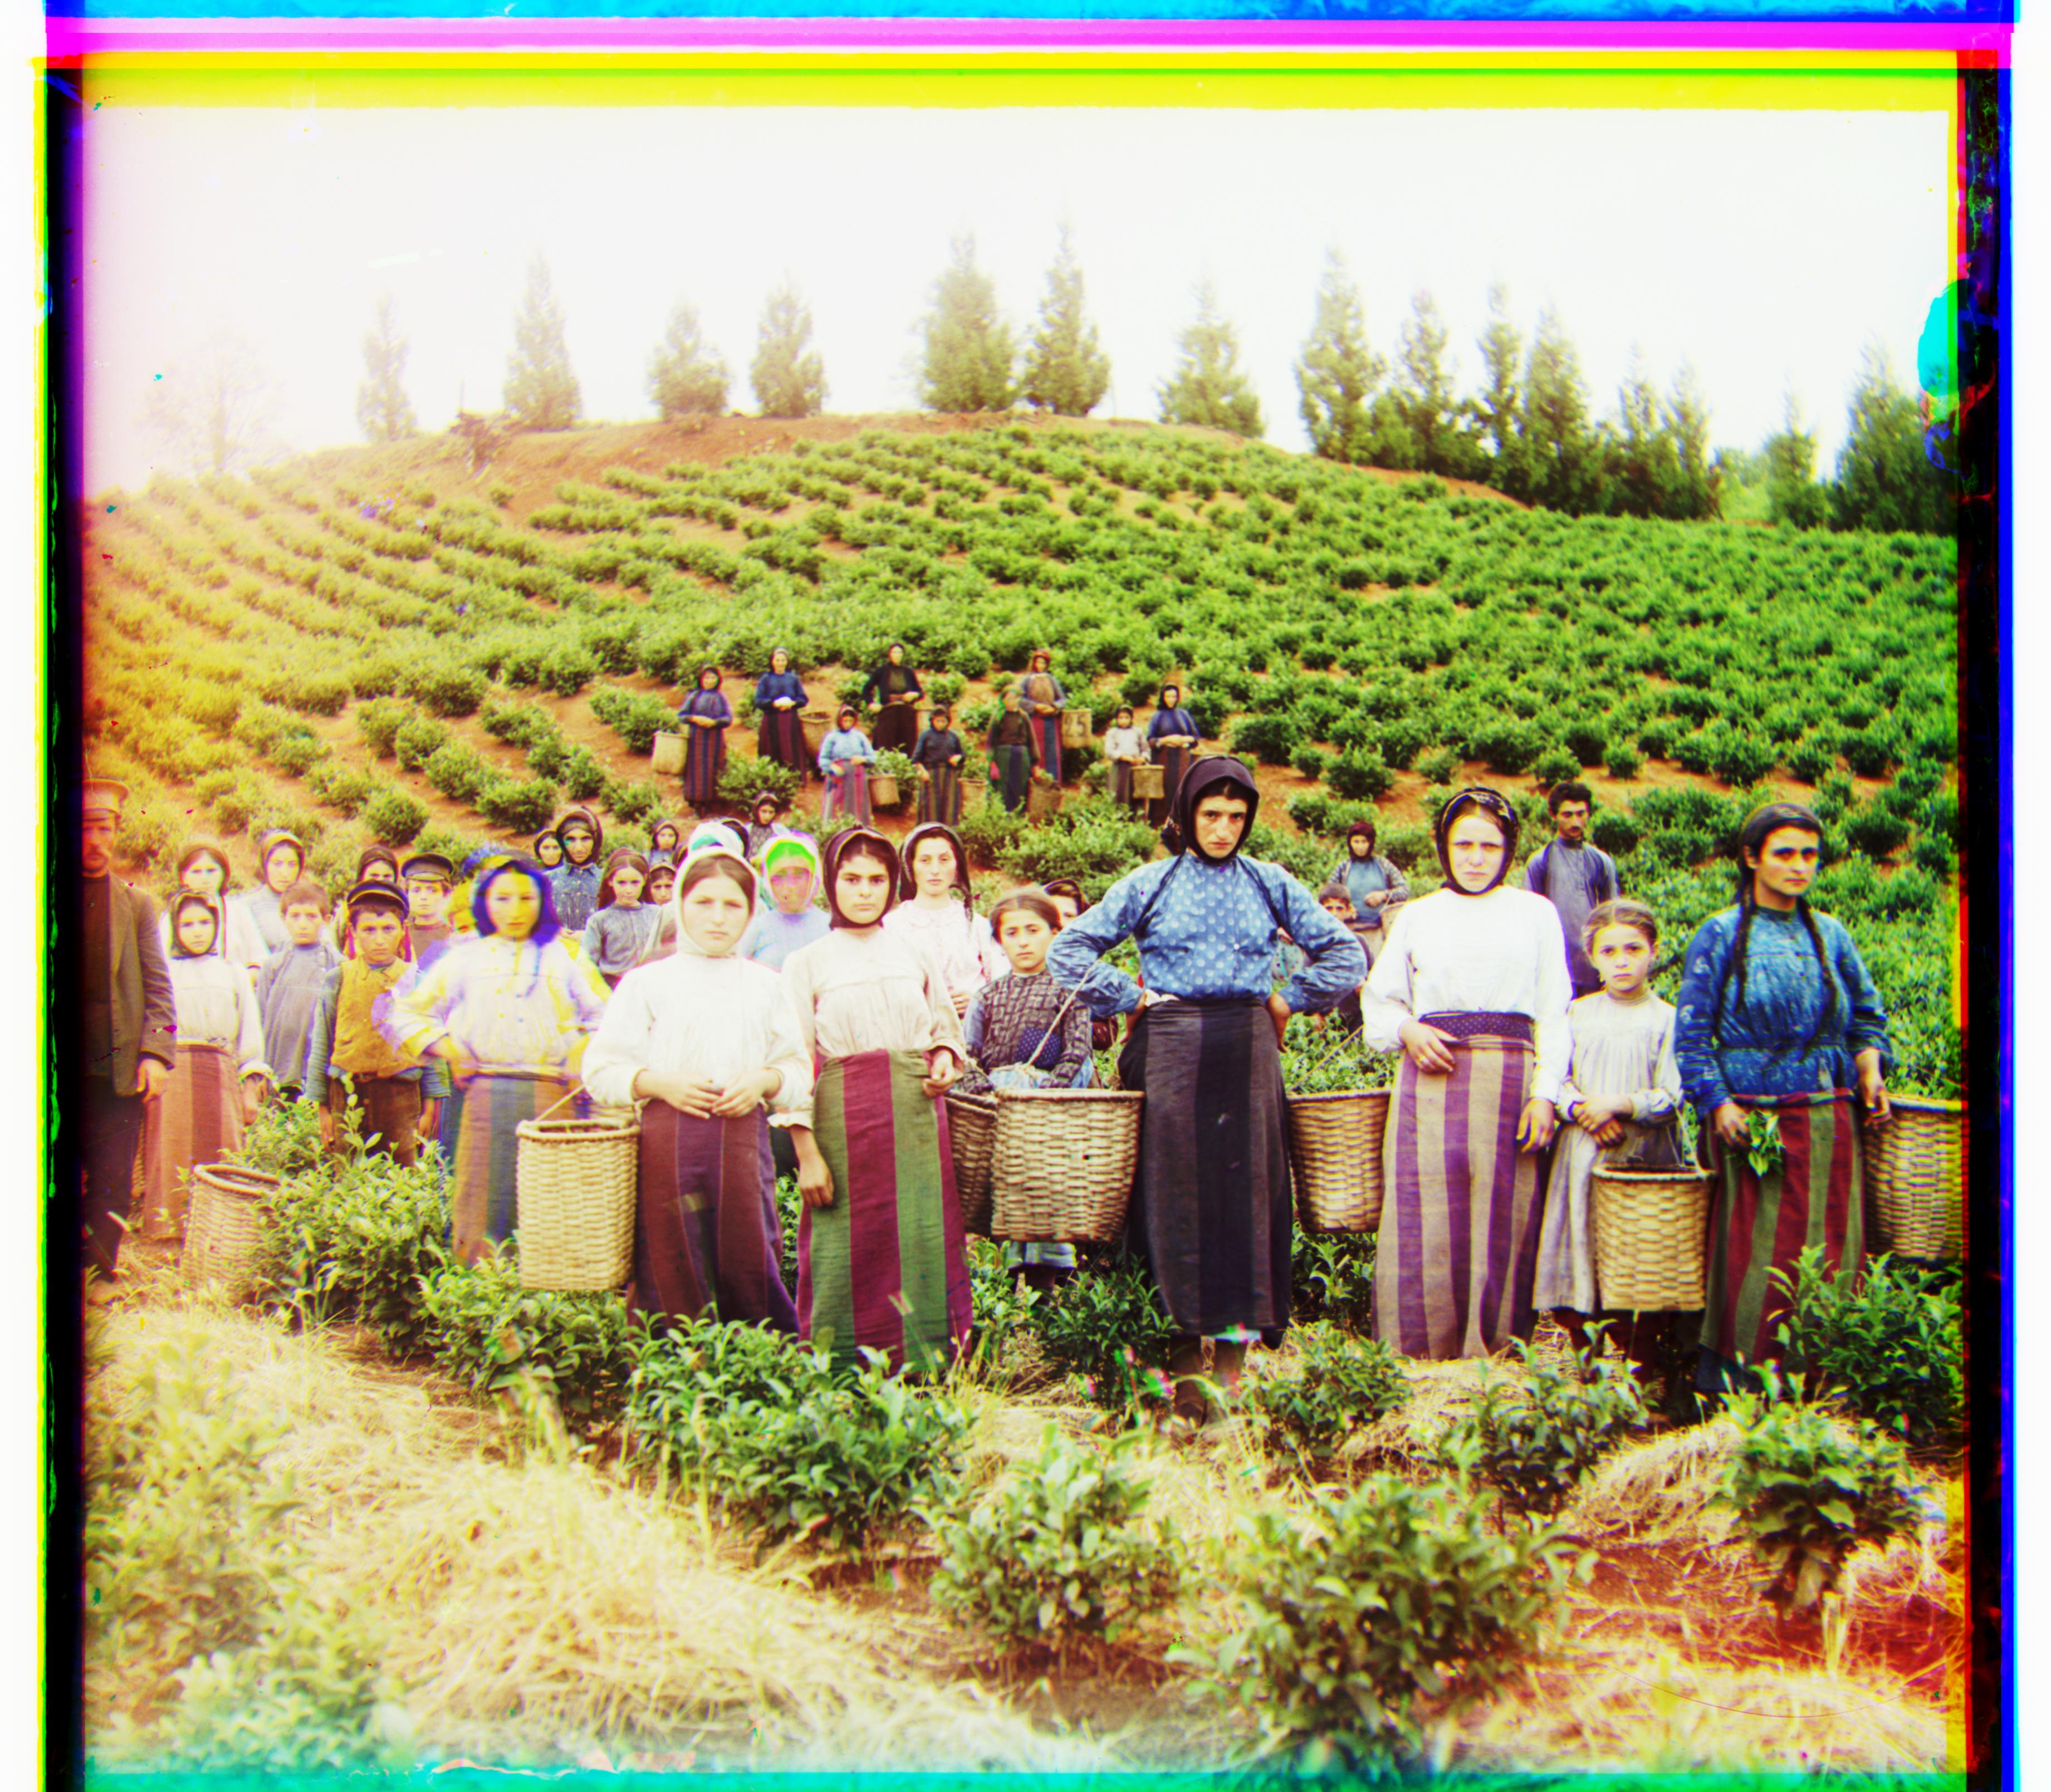
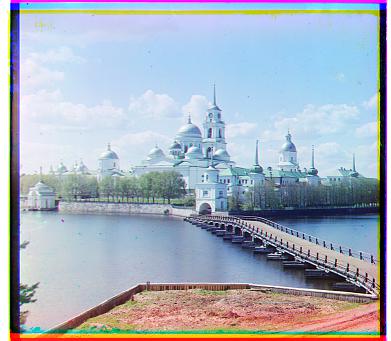
Section III: Final Results
These are the final results of colorized images after aligning them based on the NCC image matching metric. Also all of the displacement vectors are the shifts when aligning against the blue channel except for the Emir.tif, which is aligning against the blue channel.
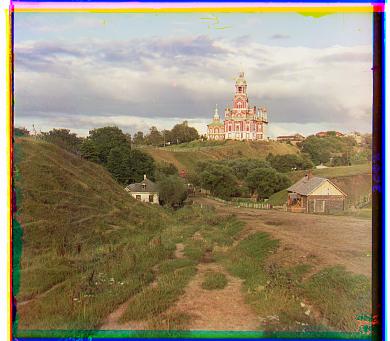
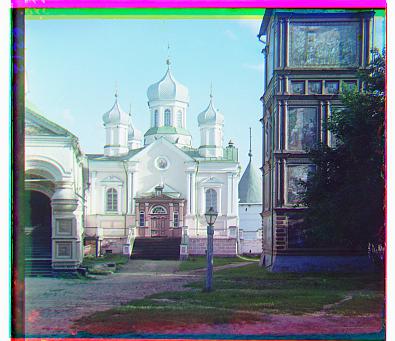
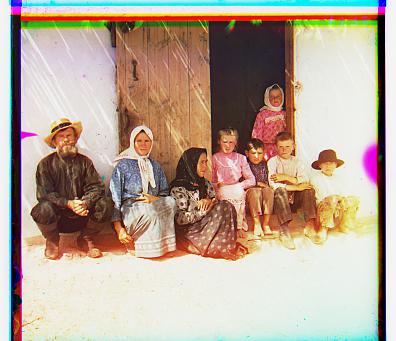
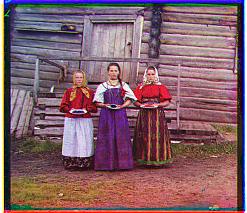
I. Small Images
|

|
|
|
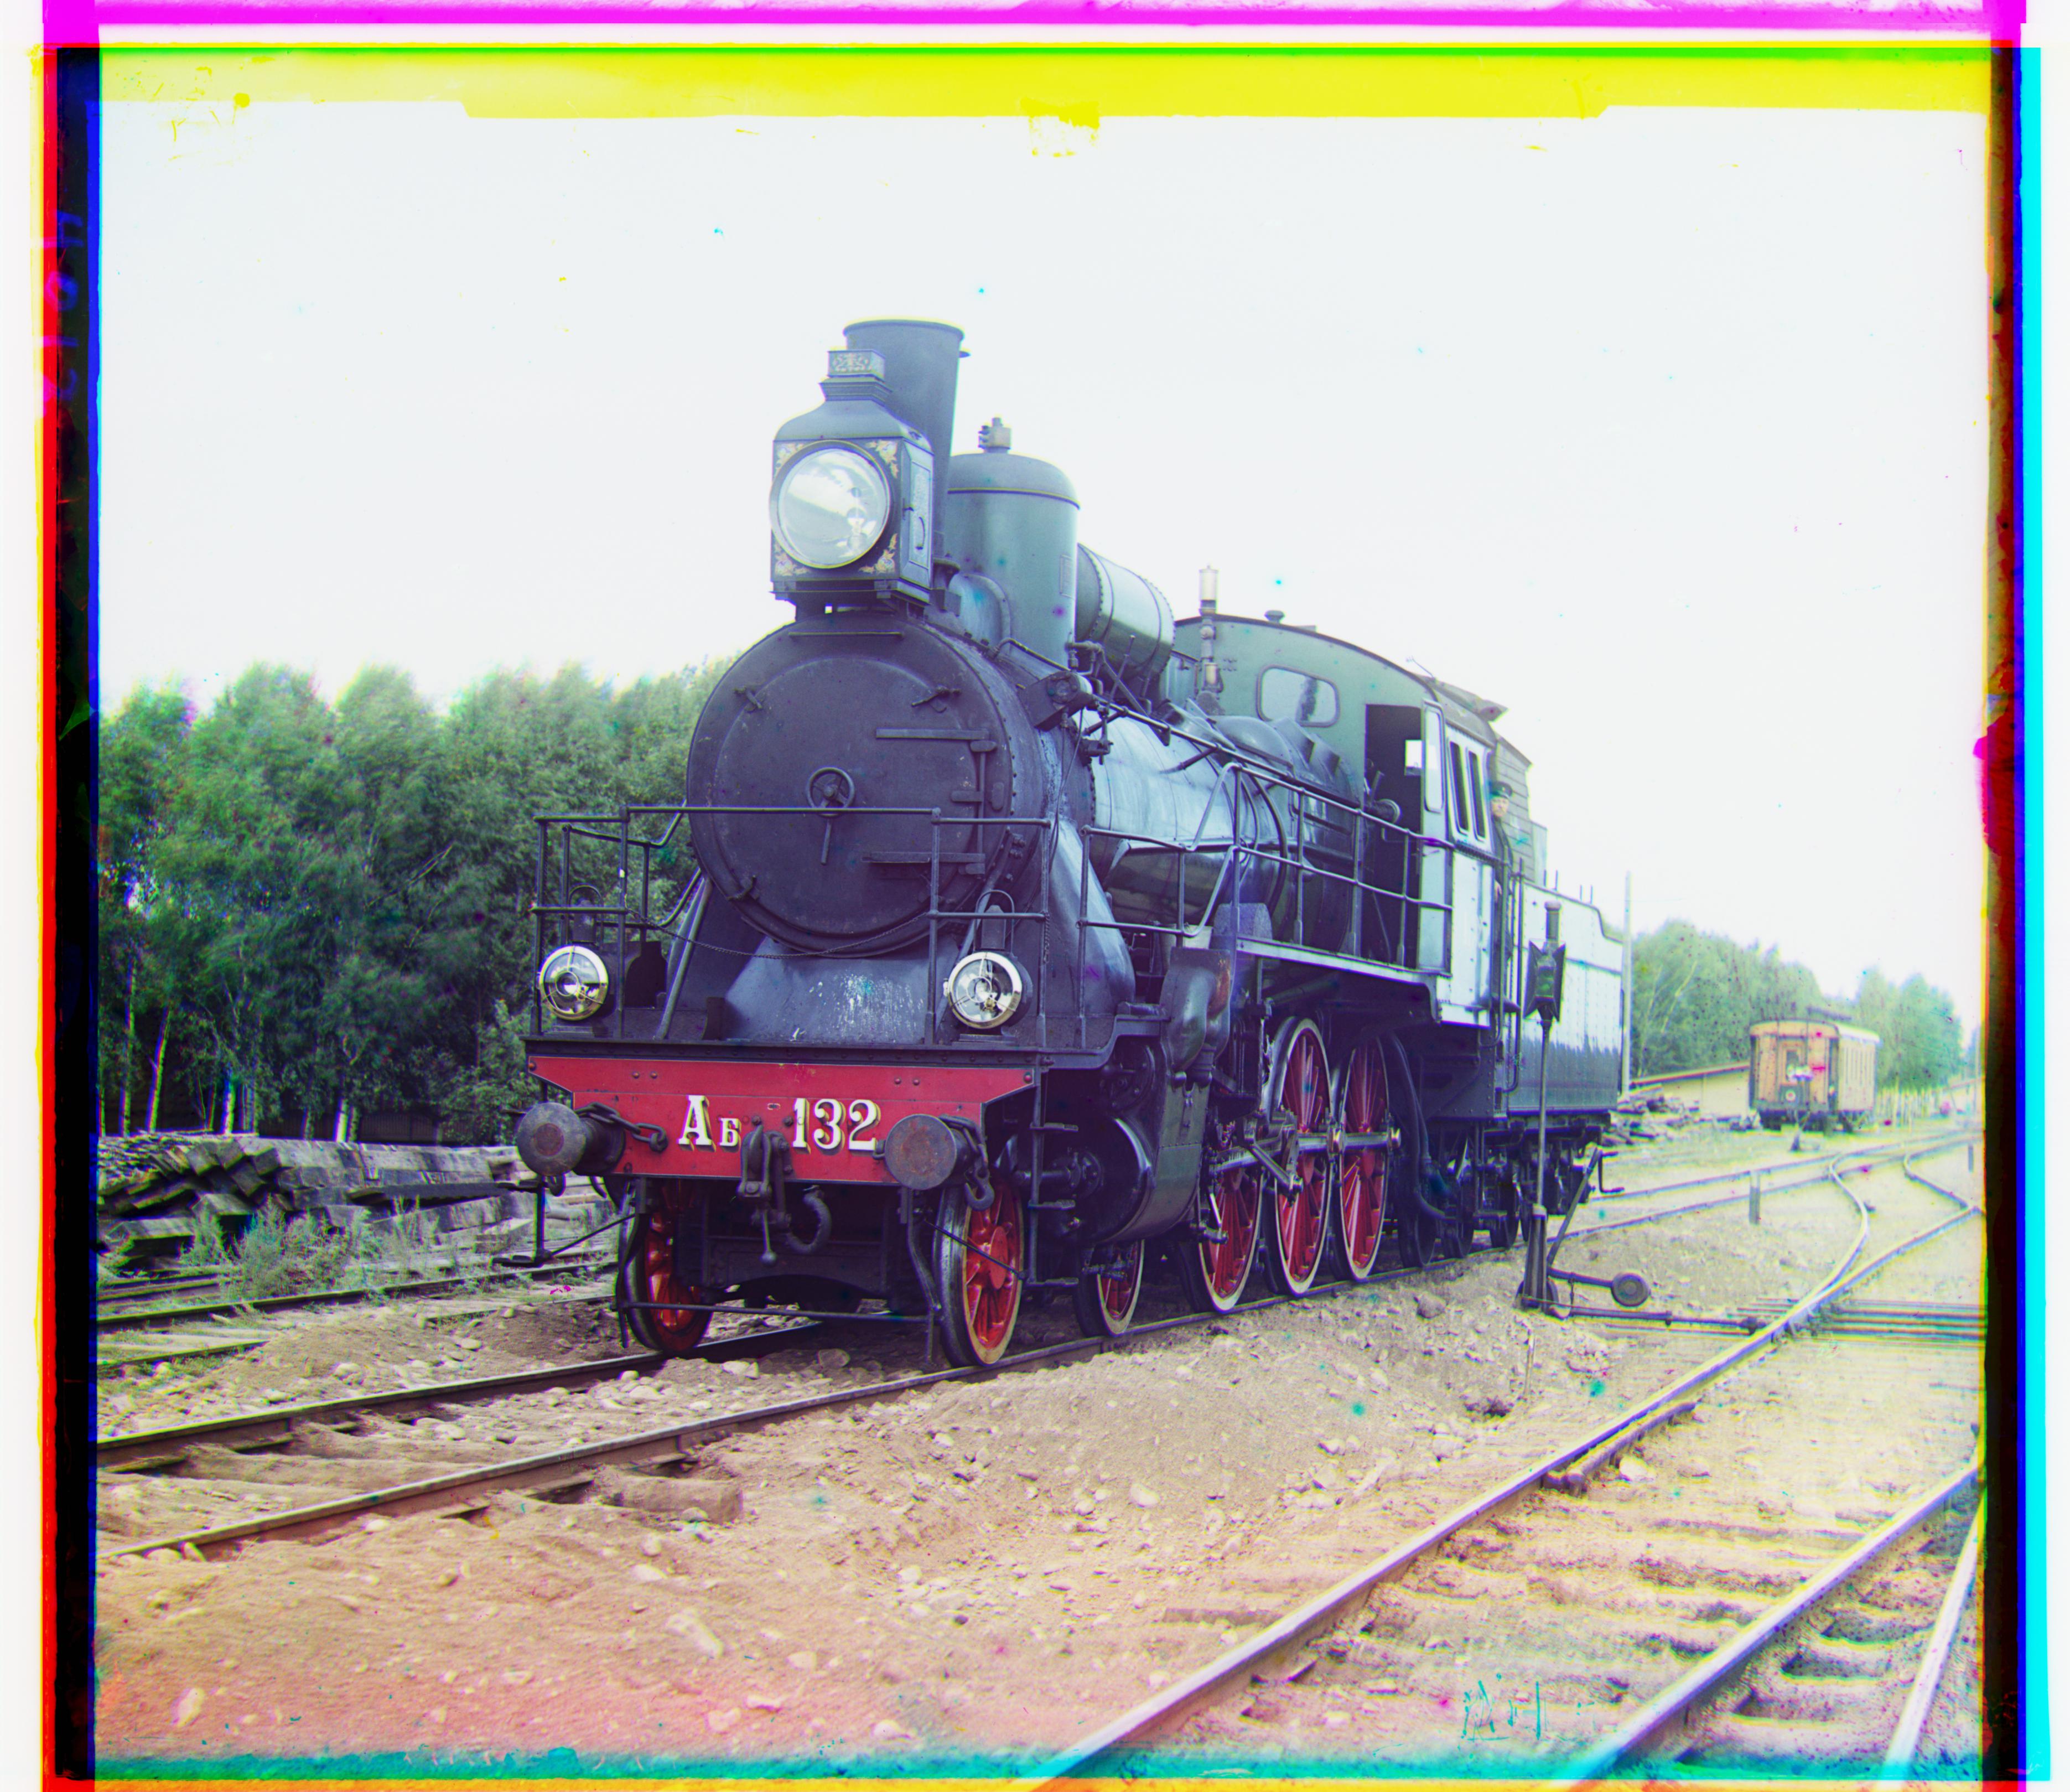
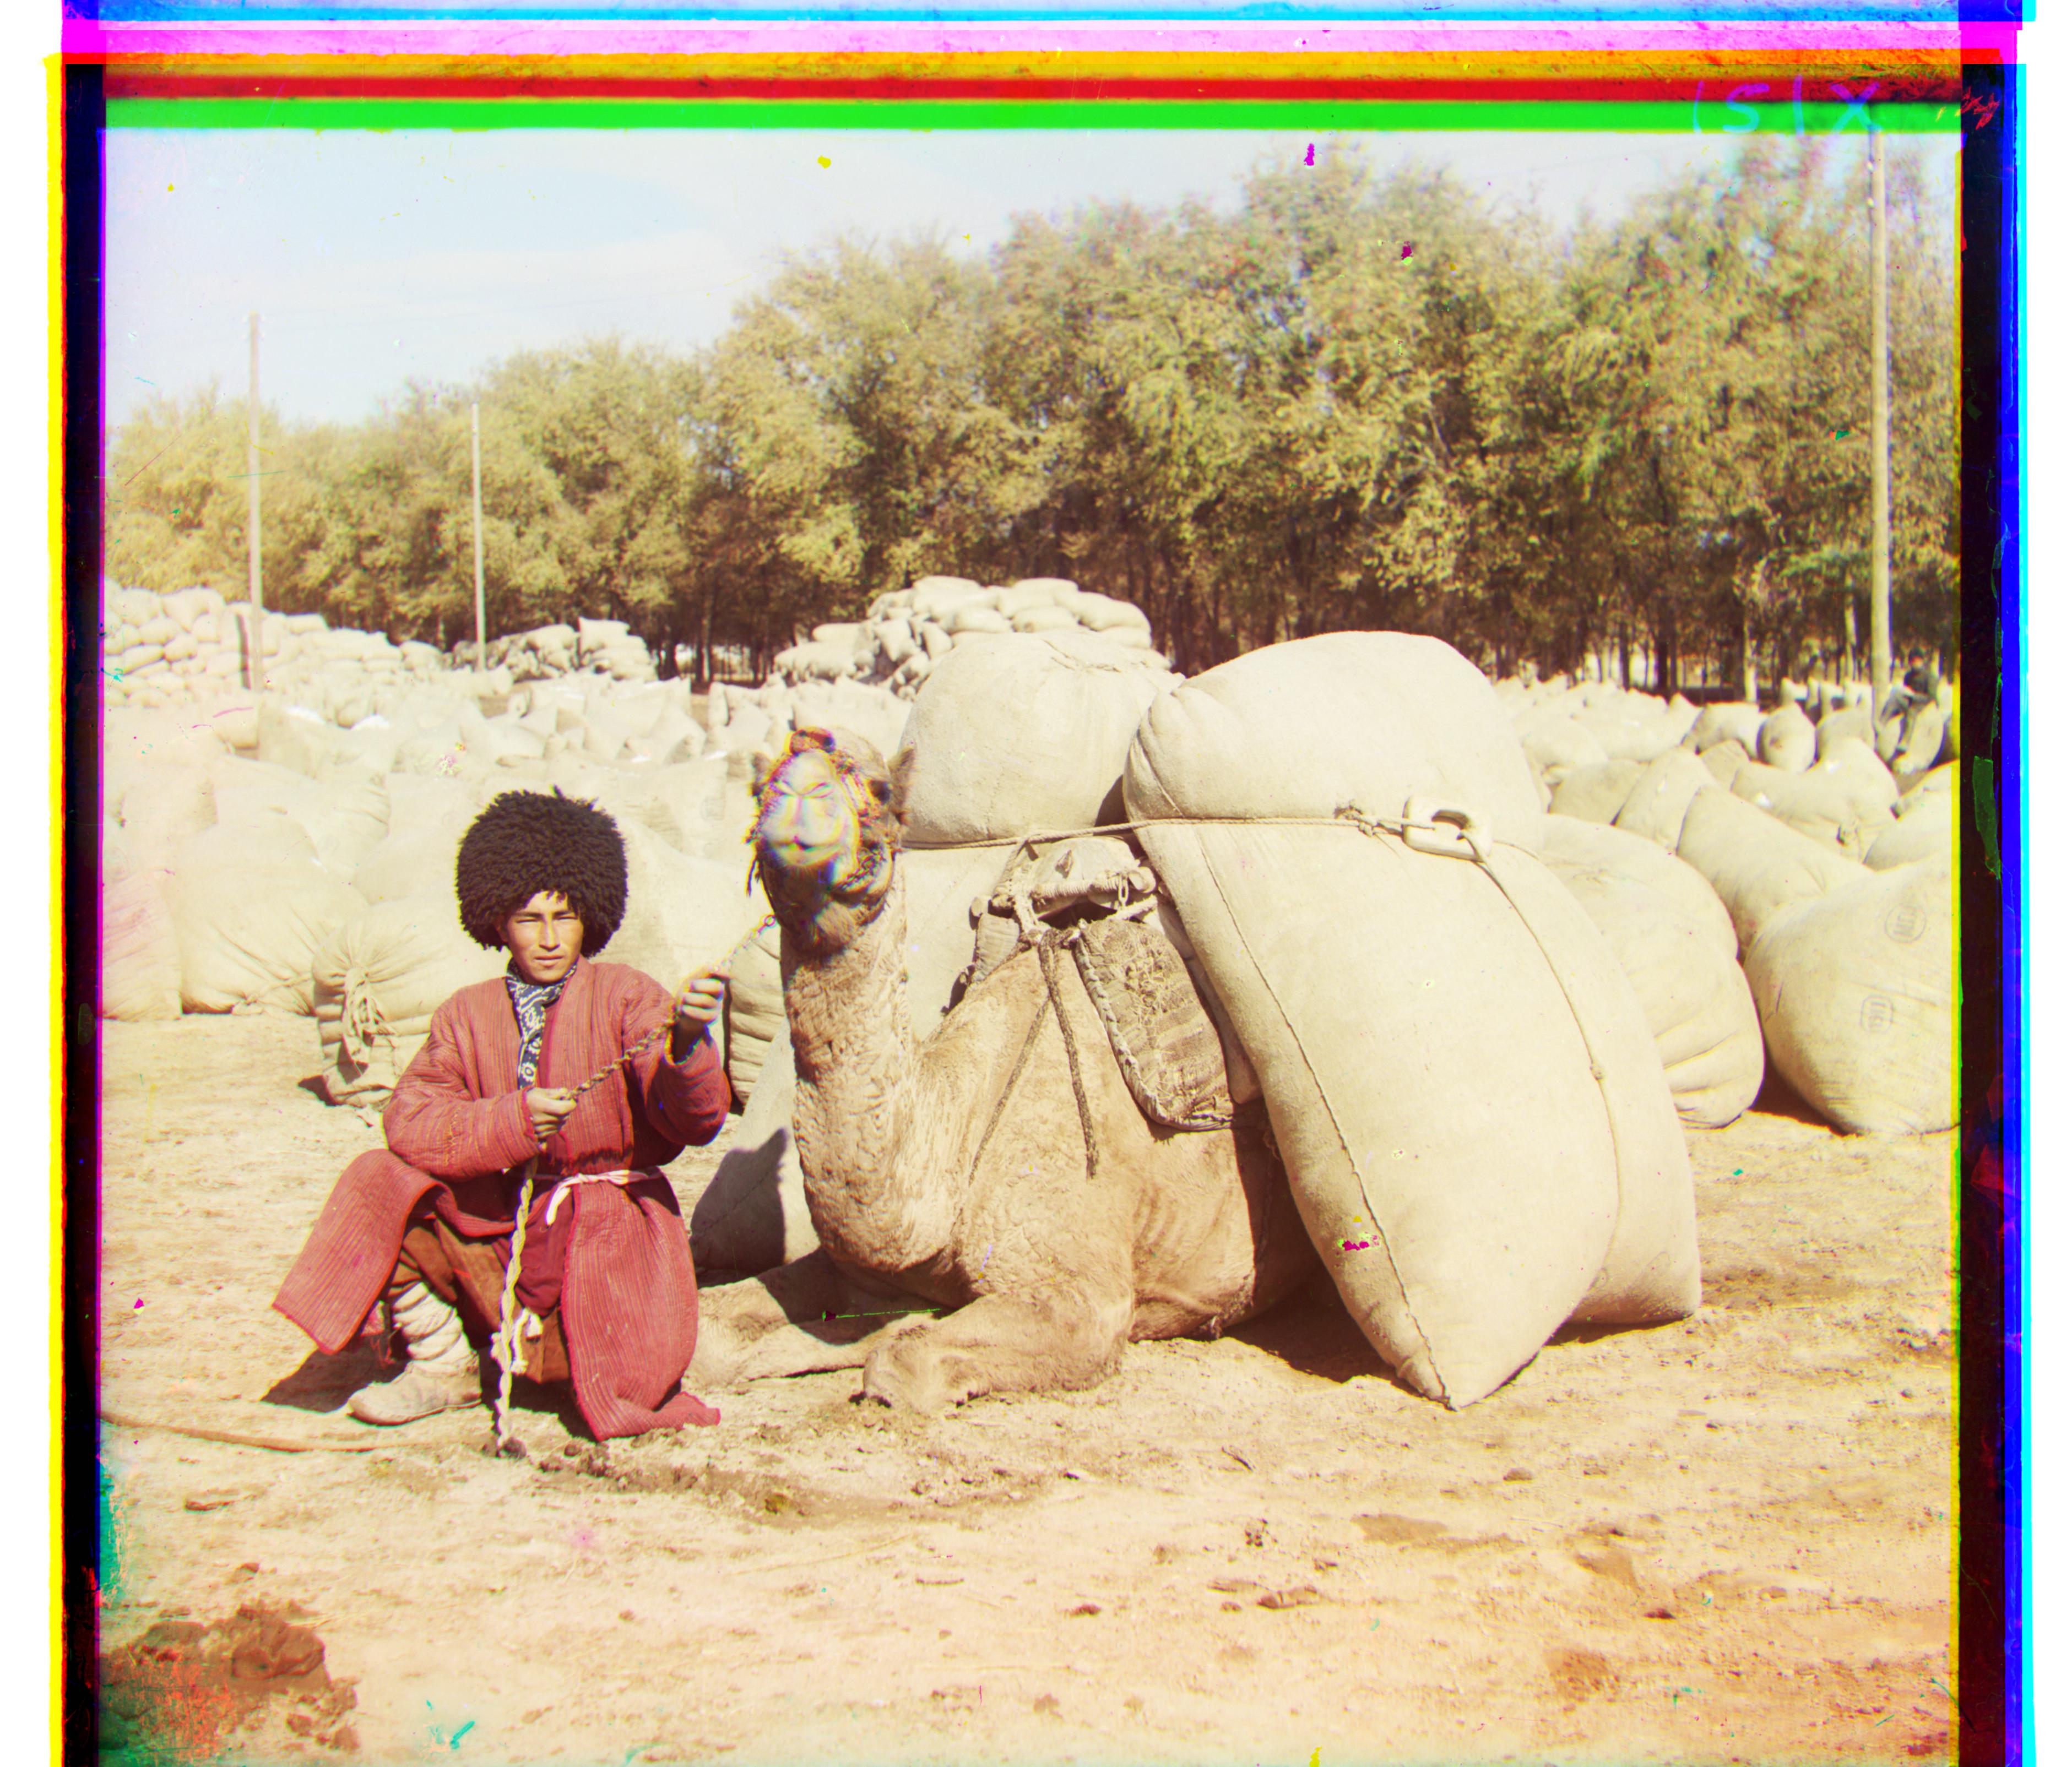
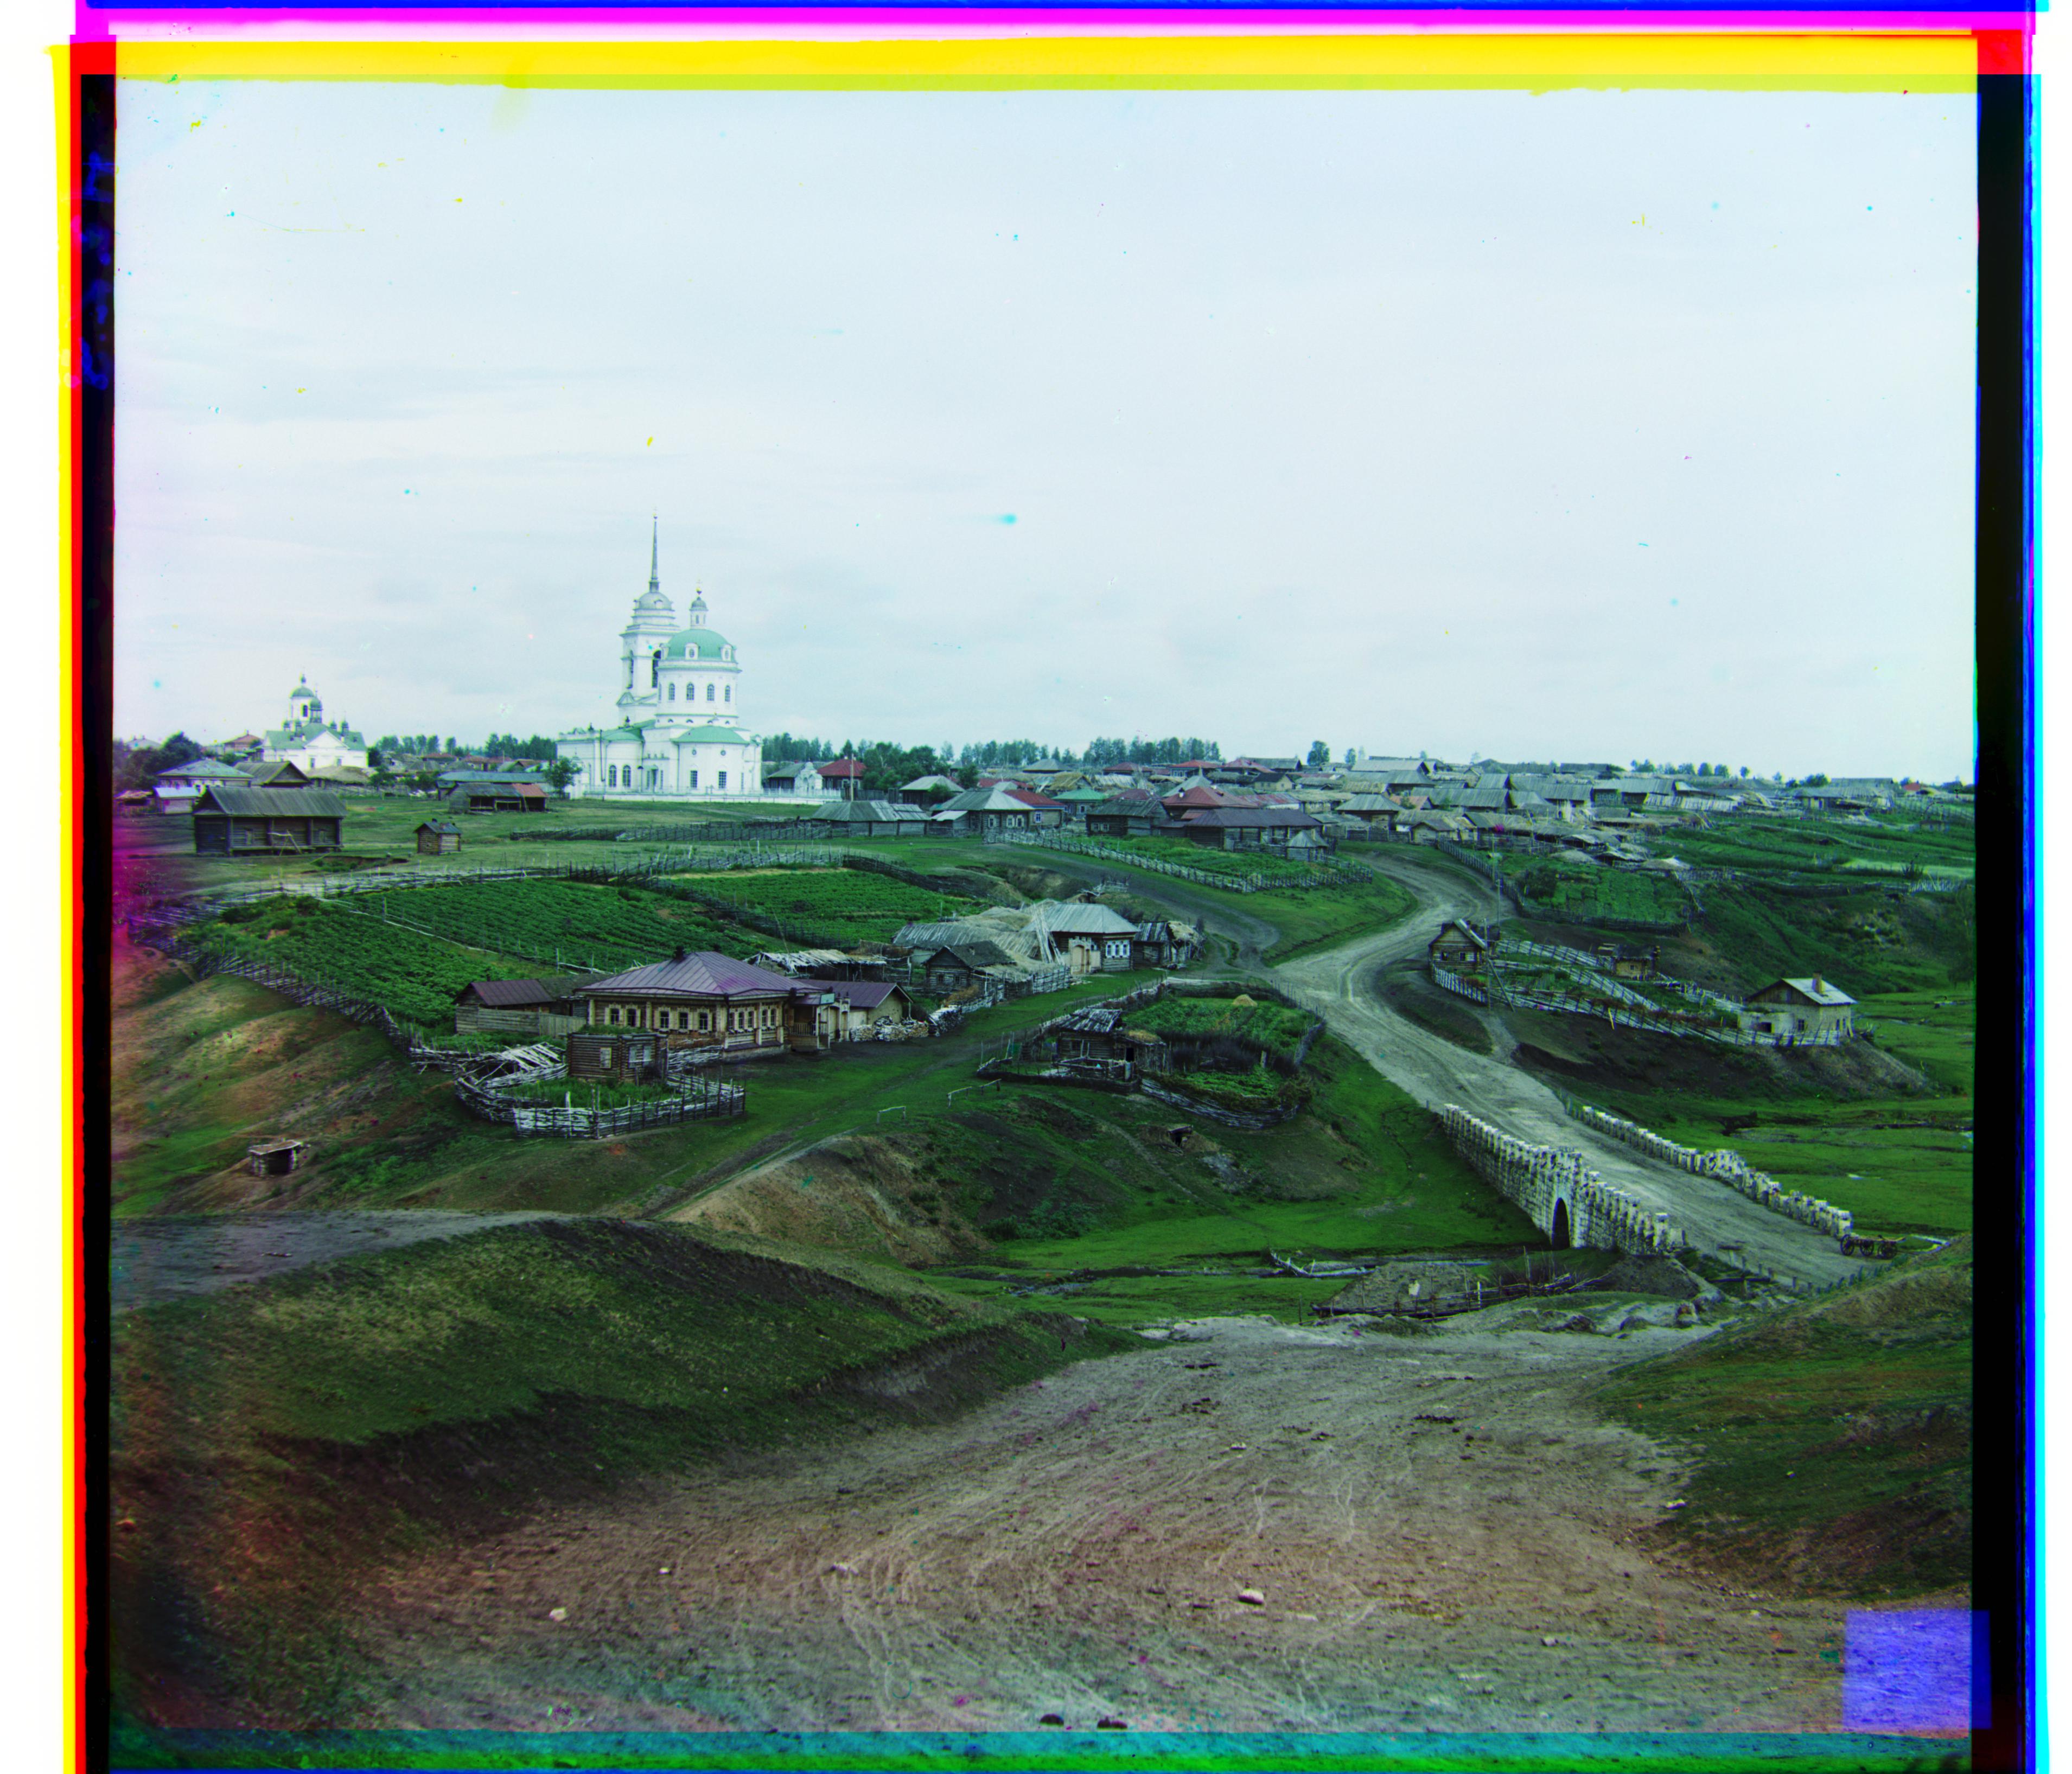
II. Large Images
|
|
|
|
|
|
|
|
|
III. Extra Custom Images
|
|

|
|
|
|
Section IV: Extra Credit Improvements
1. Automatic Contrasting
To achieve automatic contrasing, I first tried to rescale image intensities such that the darkest pixel is zero and the brightest pixel is 1. However, this doesn't produce significantly different result. After that, I tried to implement the automatic contrasting by applying a function to each pixel that makes the dark pixels darker and bright pixels brighter instead of just focusing on the darkest and brightest pixels. The results are showing below.
|
|
|
|
|
|
|
|
|
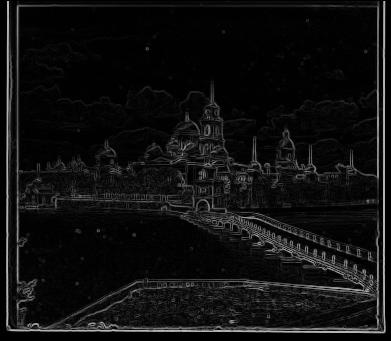
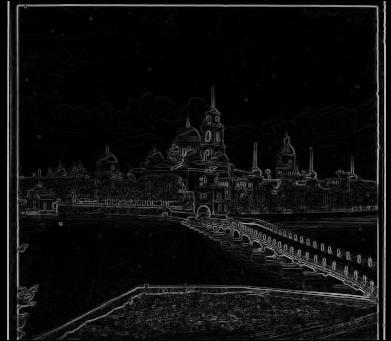
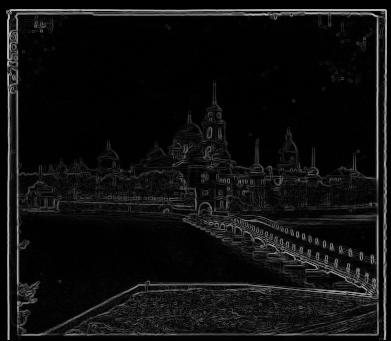
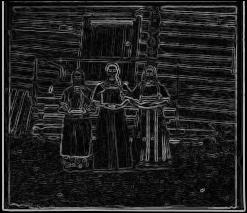
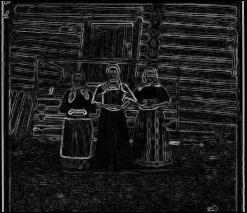
2. Aligning with edge detection
Instead of aligning based on RGB similarity, we can also use better features to align images, for example, using the edges of each three channels and perform the same alignment process using their edge detection images.
Edge detecing results
|
|
|
|
|

|

|

|
|
|
|
|
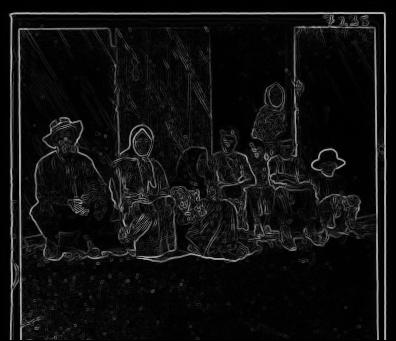
Edge detecing results
|

|

|
|