Preprocessing: Contrast Adjustments
Given a digitized glass plate image, I divide the image into 3 equal parts - the green, red, and blue channels. I then adjust the contrast of each part and rescale the pixel intensities such that the darkest pixel is 0 and the brightest pixel is 1 by doing a linear transformation over the image matrix. By adjusting the contrast of the images, the images' qualities are improved and the lines and edges are more prominent, and this will help with the next steps in image processing.
Cropping
Cropping help to eliminate solid colored borders on image edges, so that processing and alignment can focus on the actual content of the image. Cropping is used in two parts of my image processing process: 1) I crop the channel images before aligning them together, and 2) I crop the final colored image to get rid of extra borders.
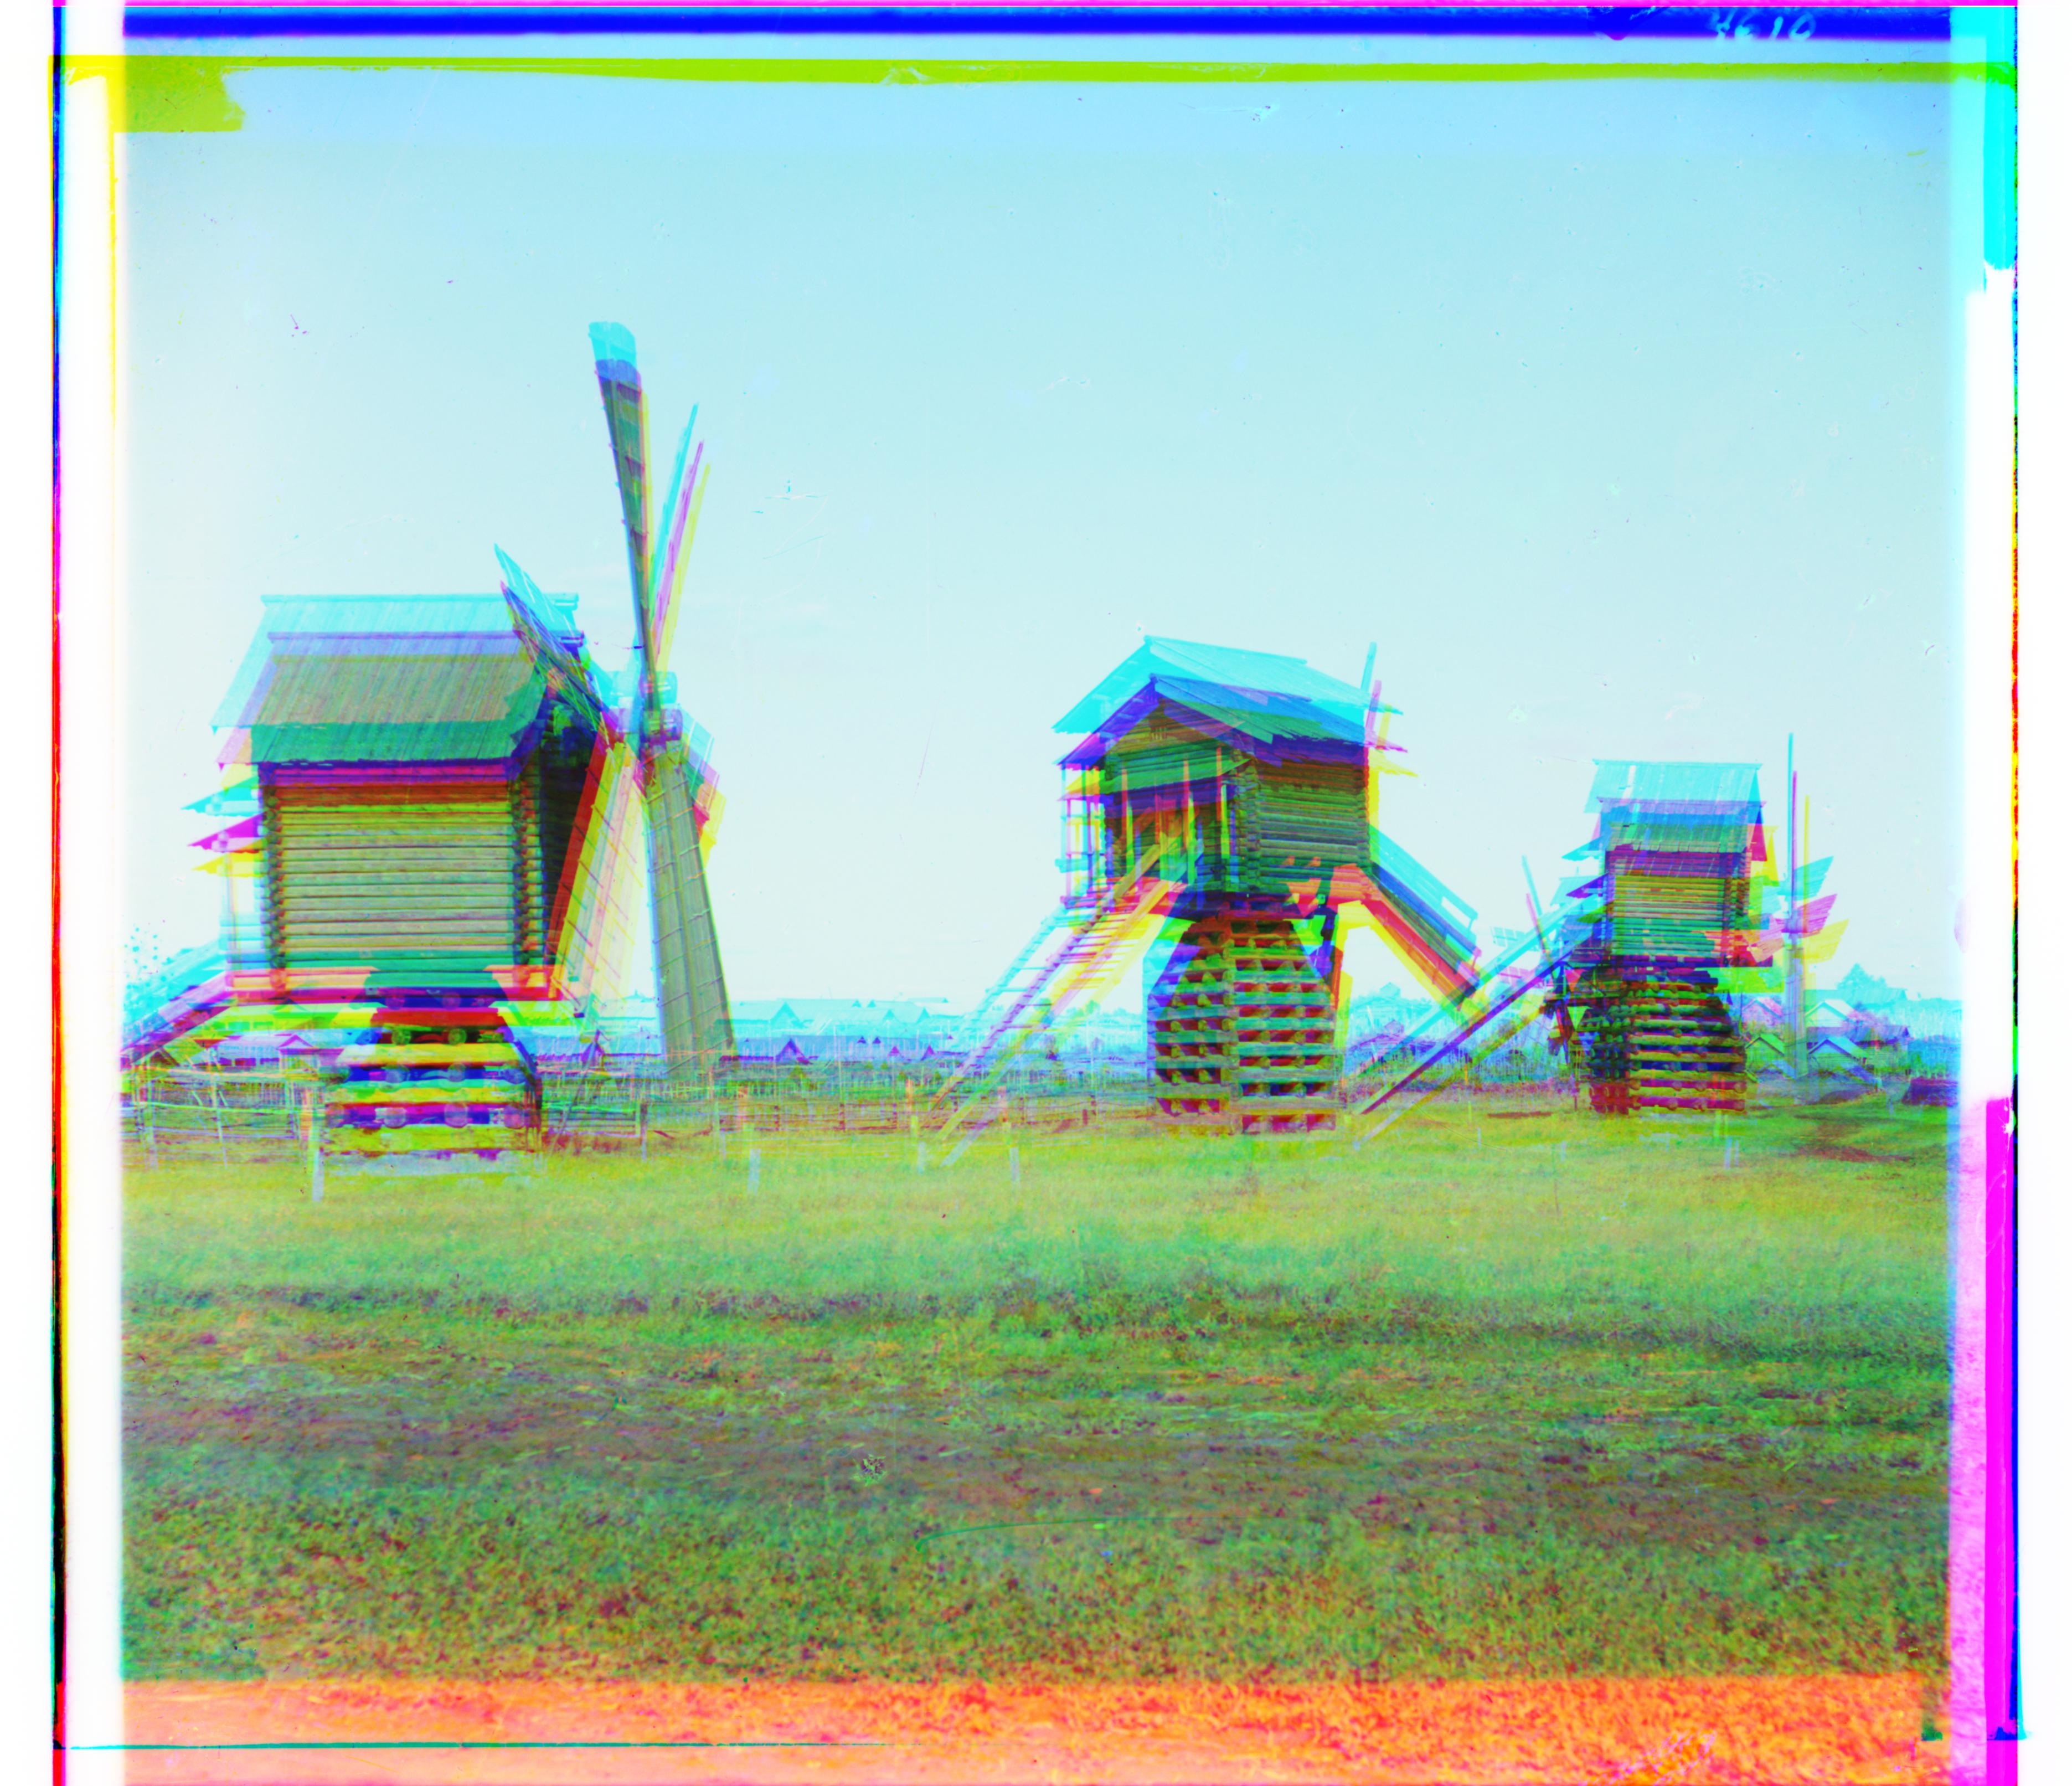
windmill without initial border crop.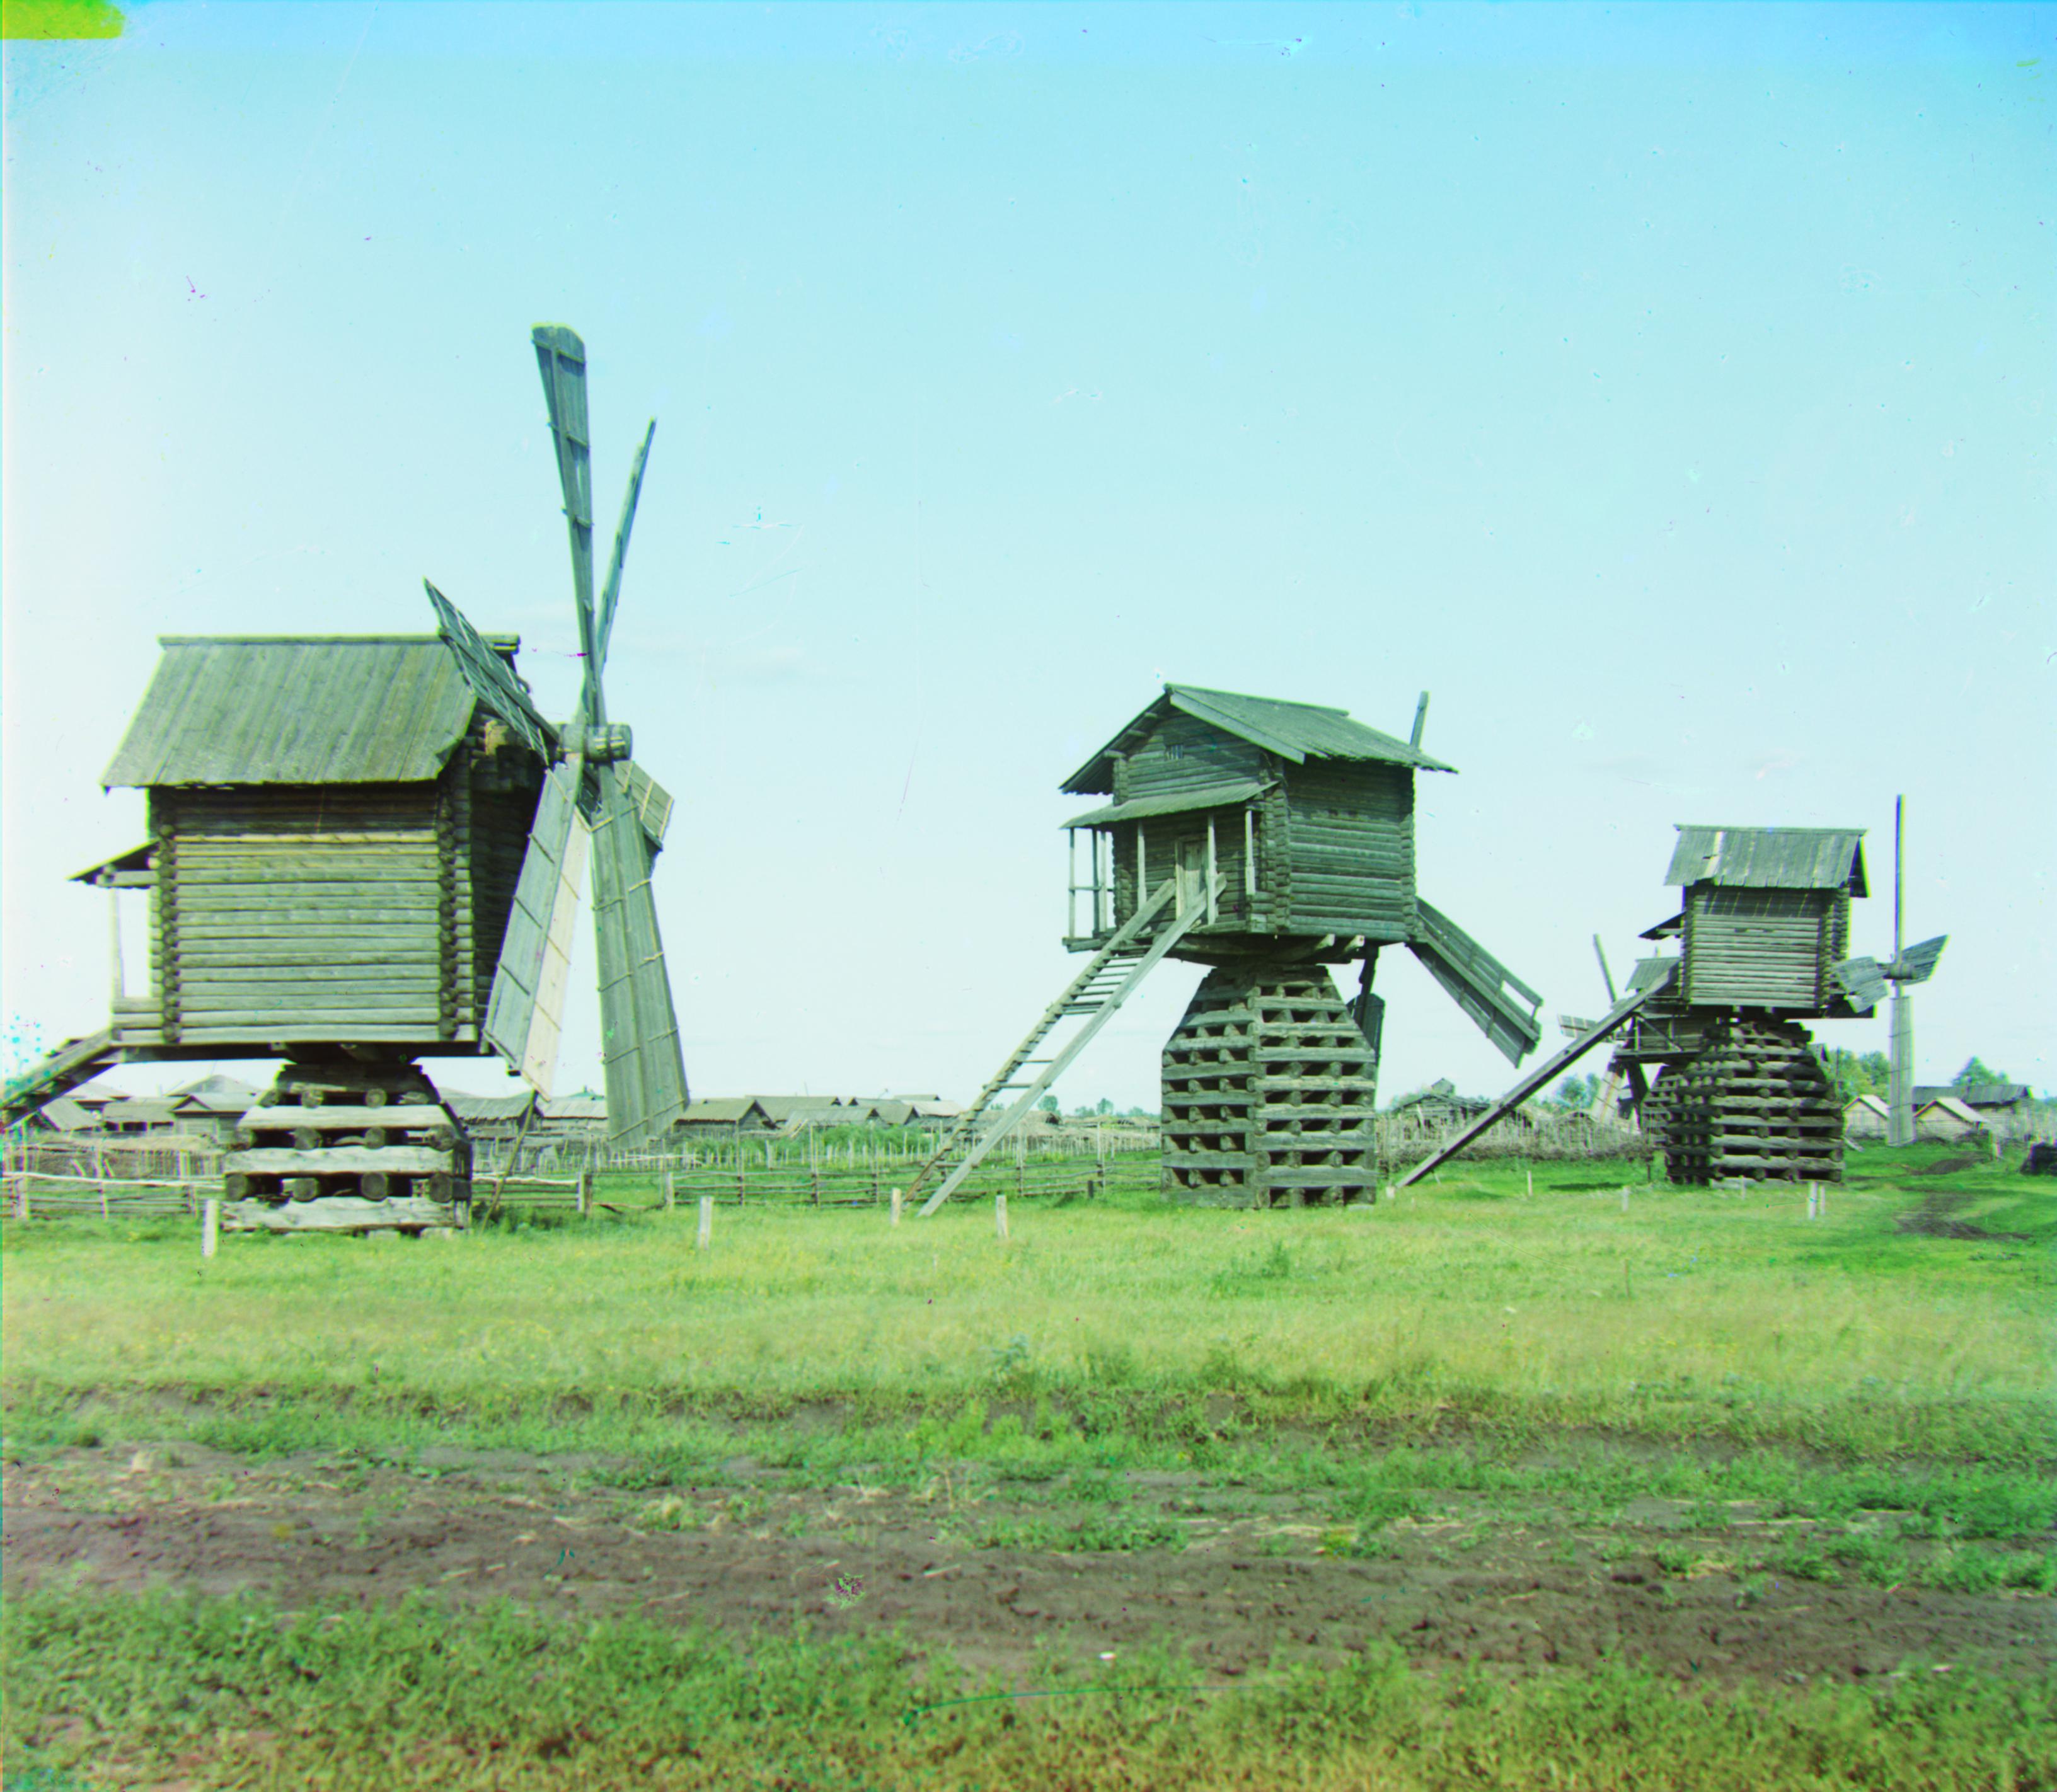
windmill with initial border crop.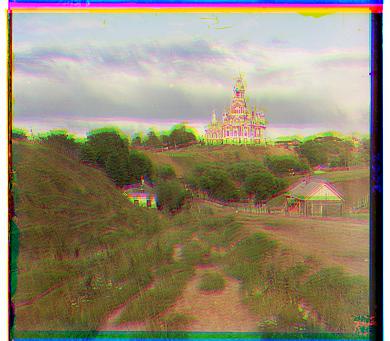
cathedral without initial border crop.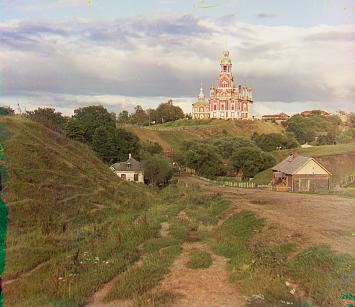
cathedral with initial border crop.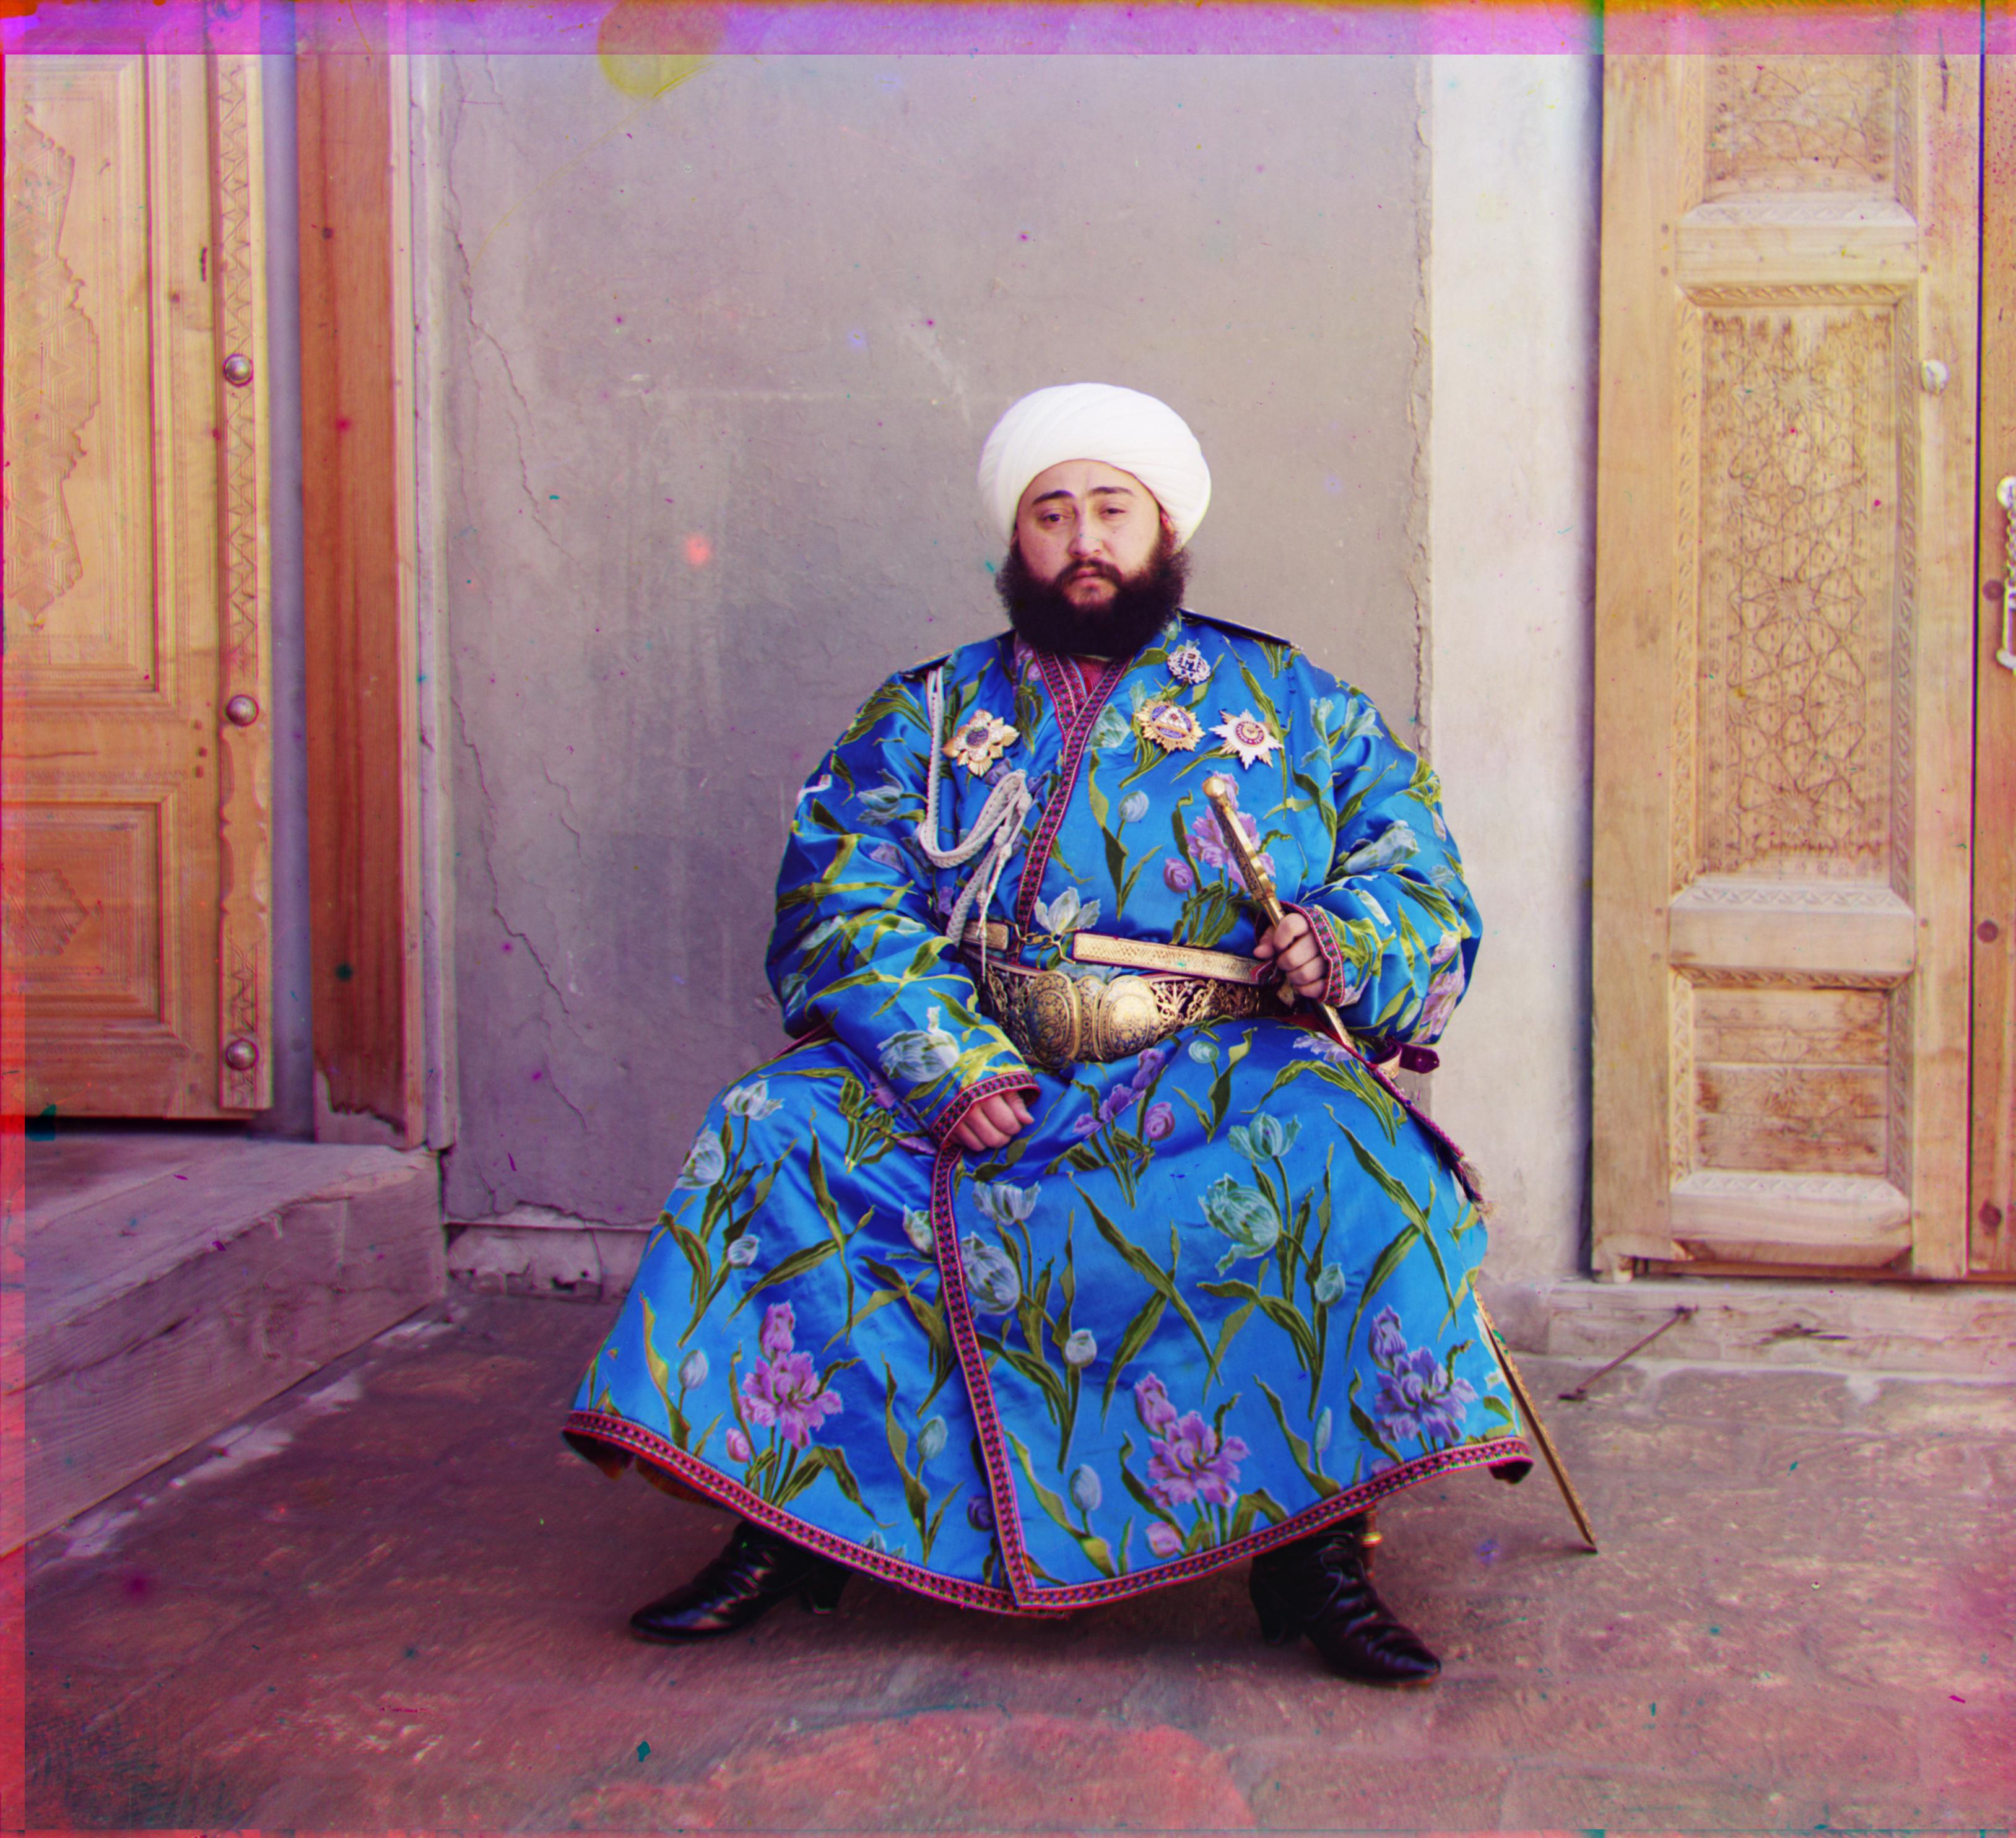
emir before final crop.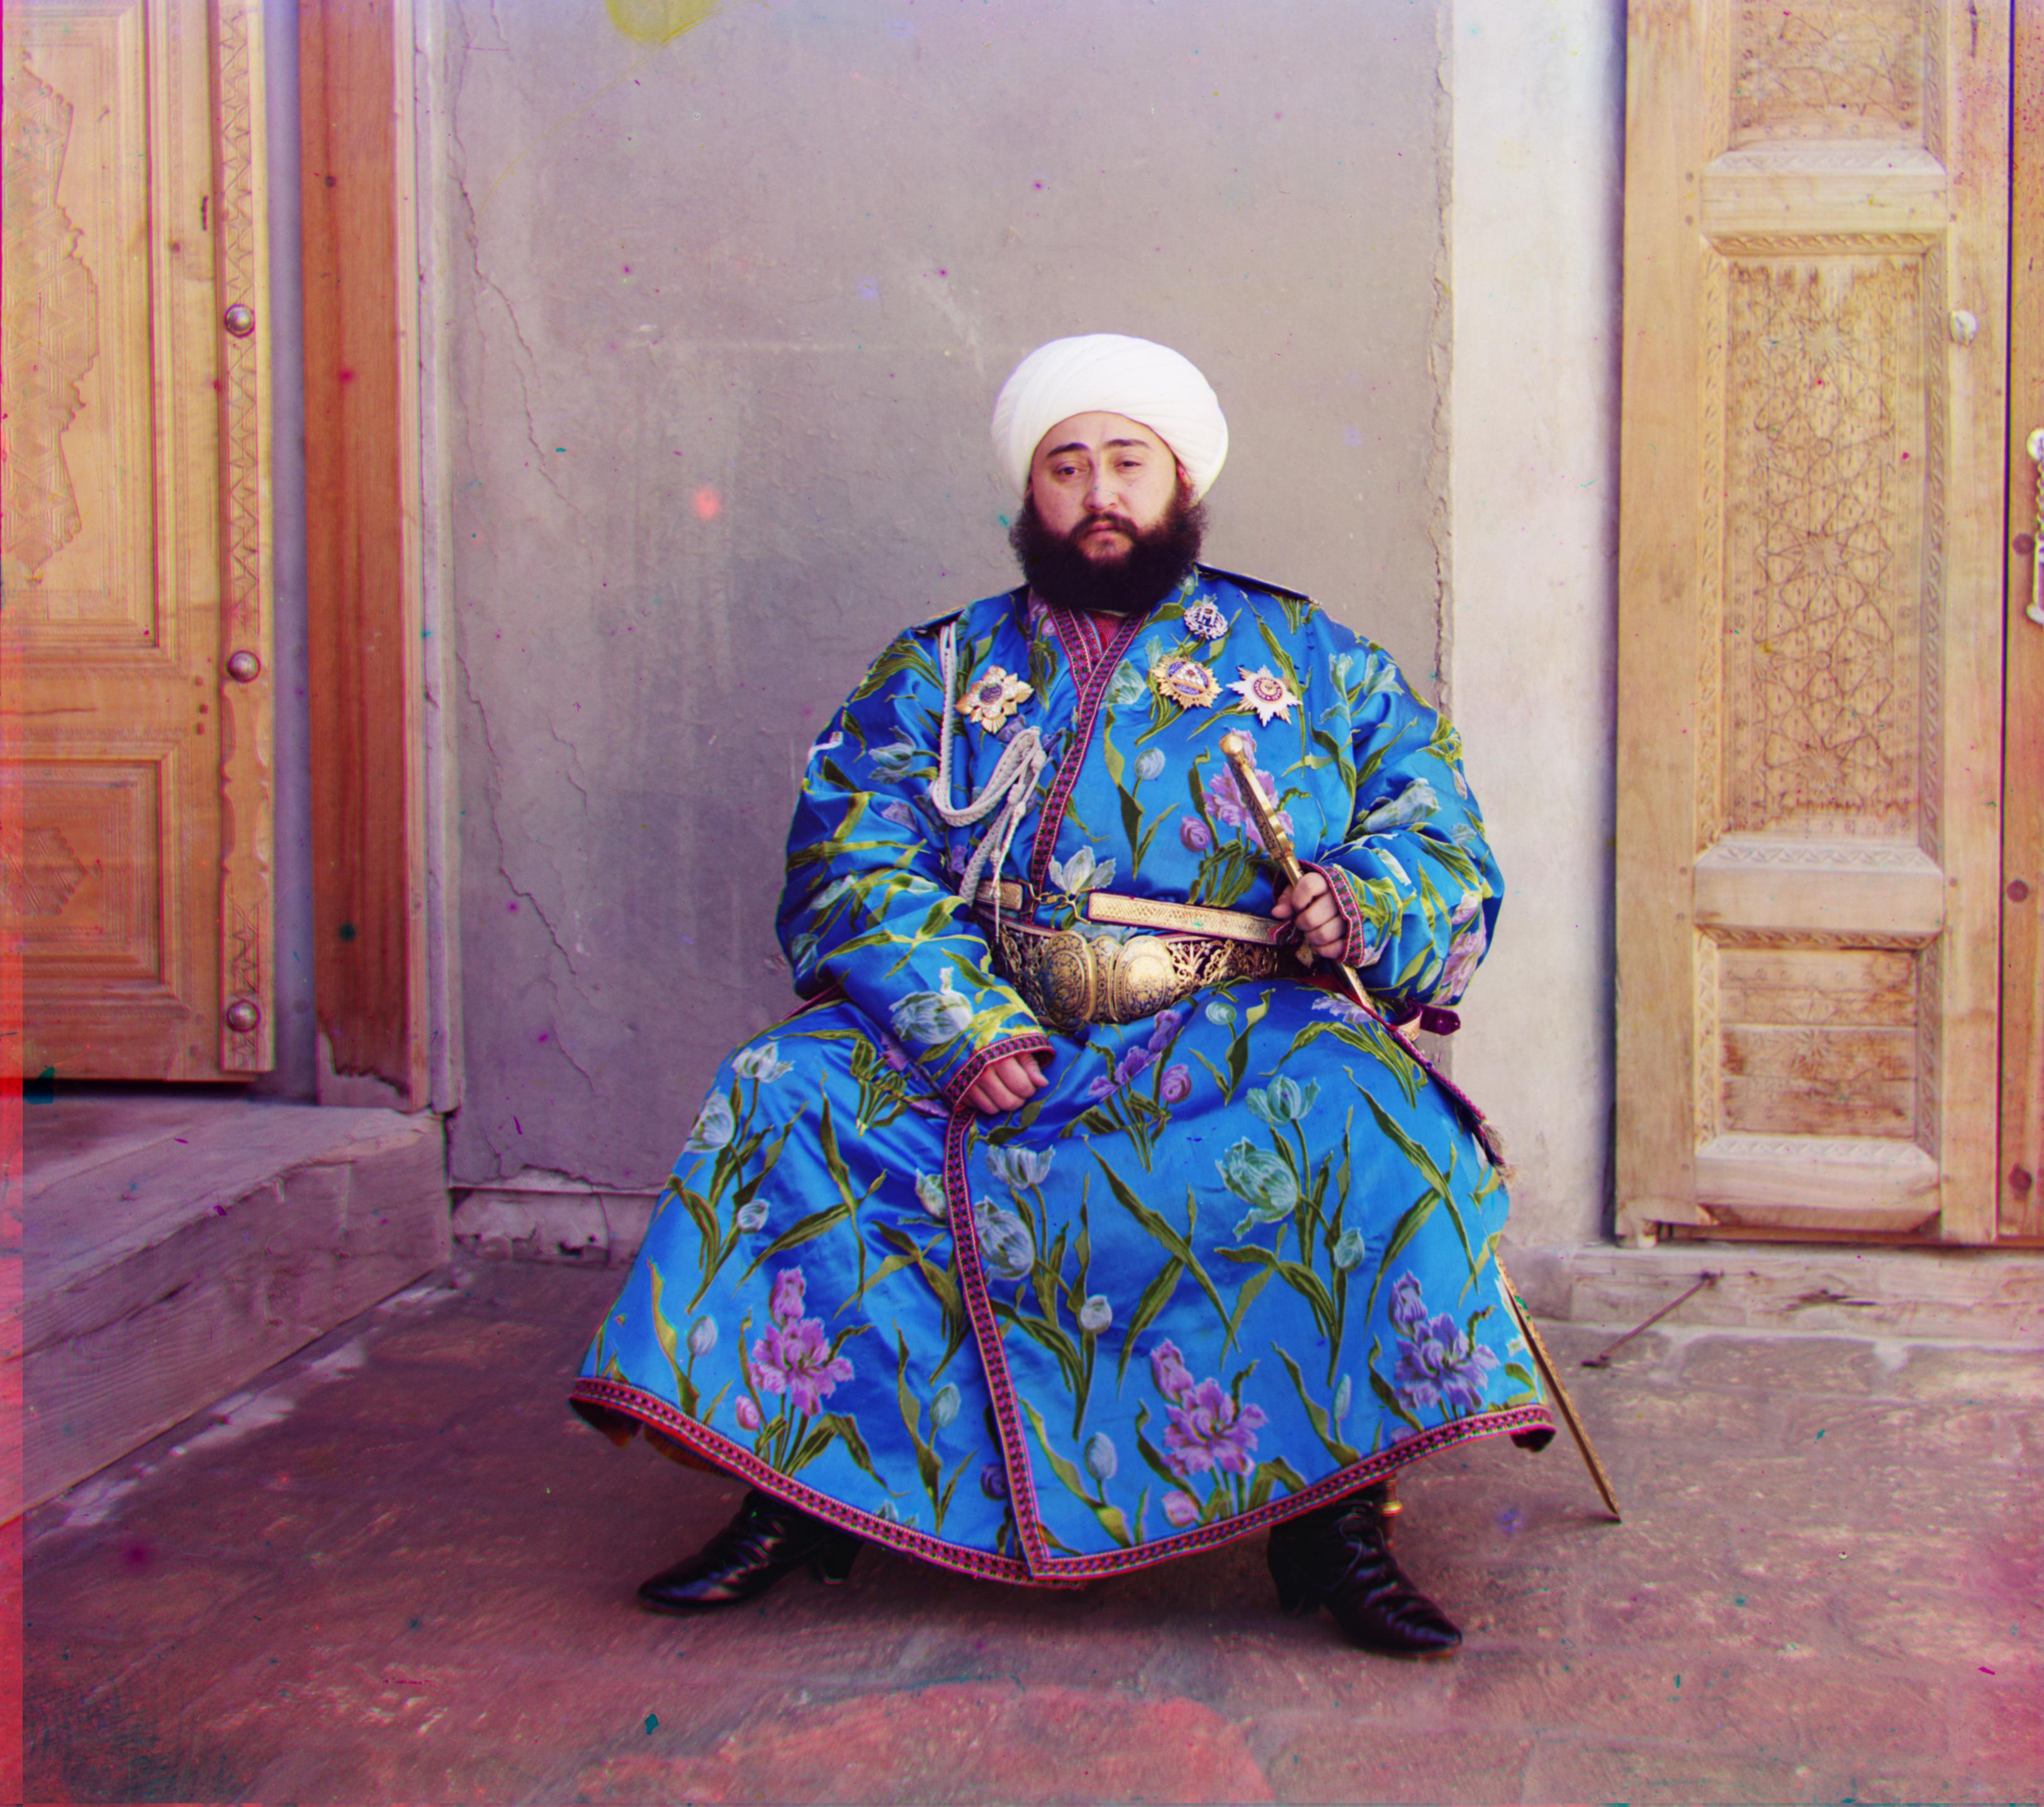
emir after final crop.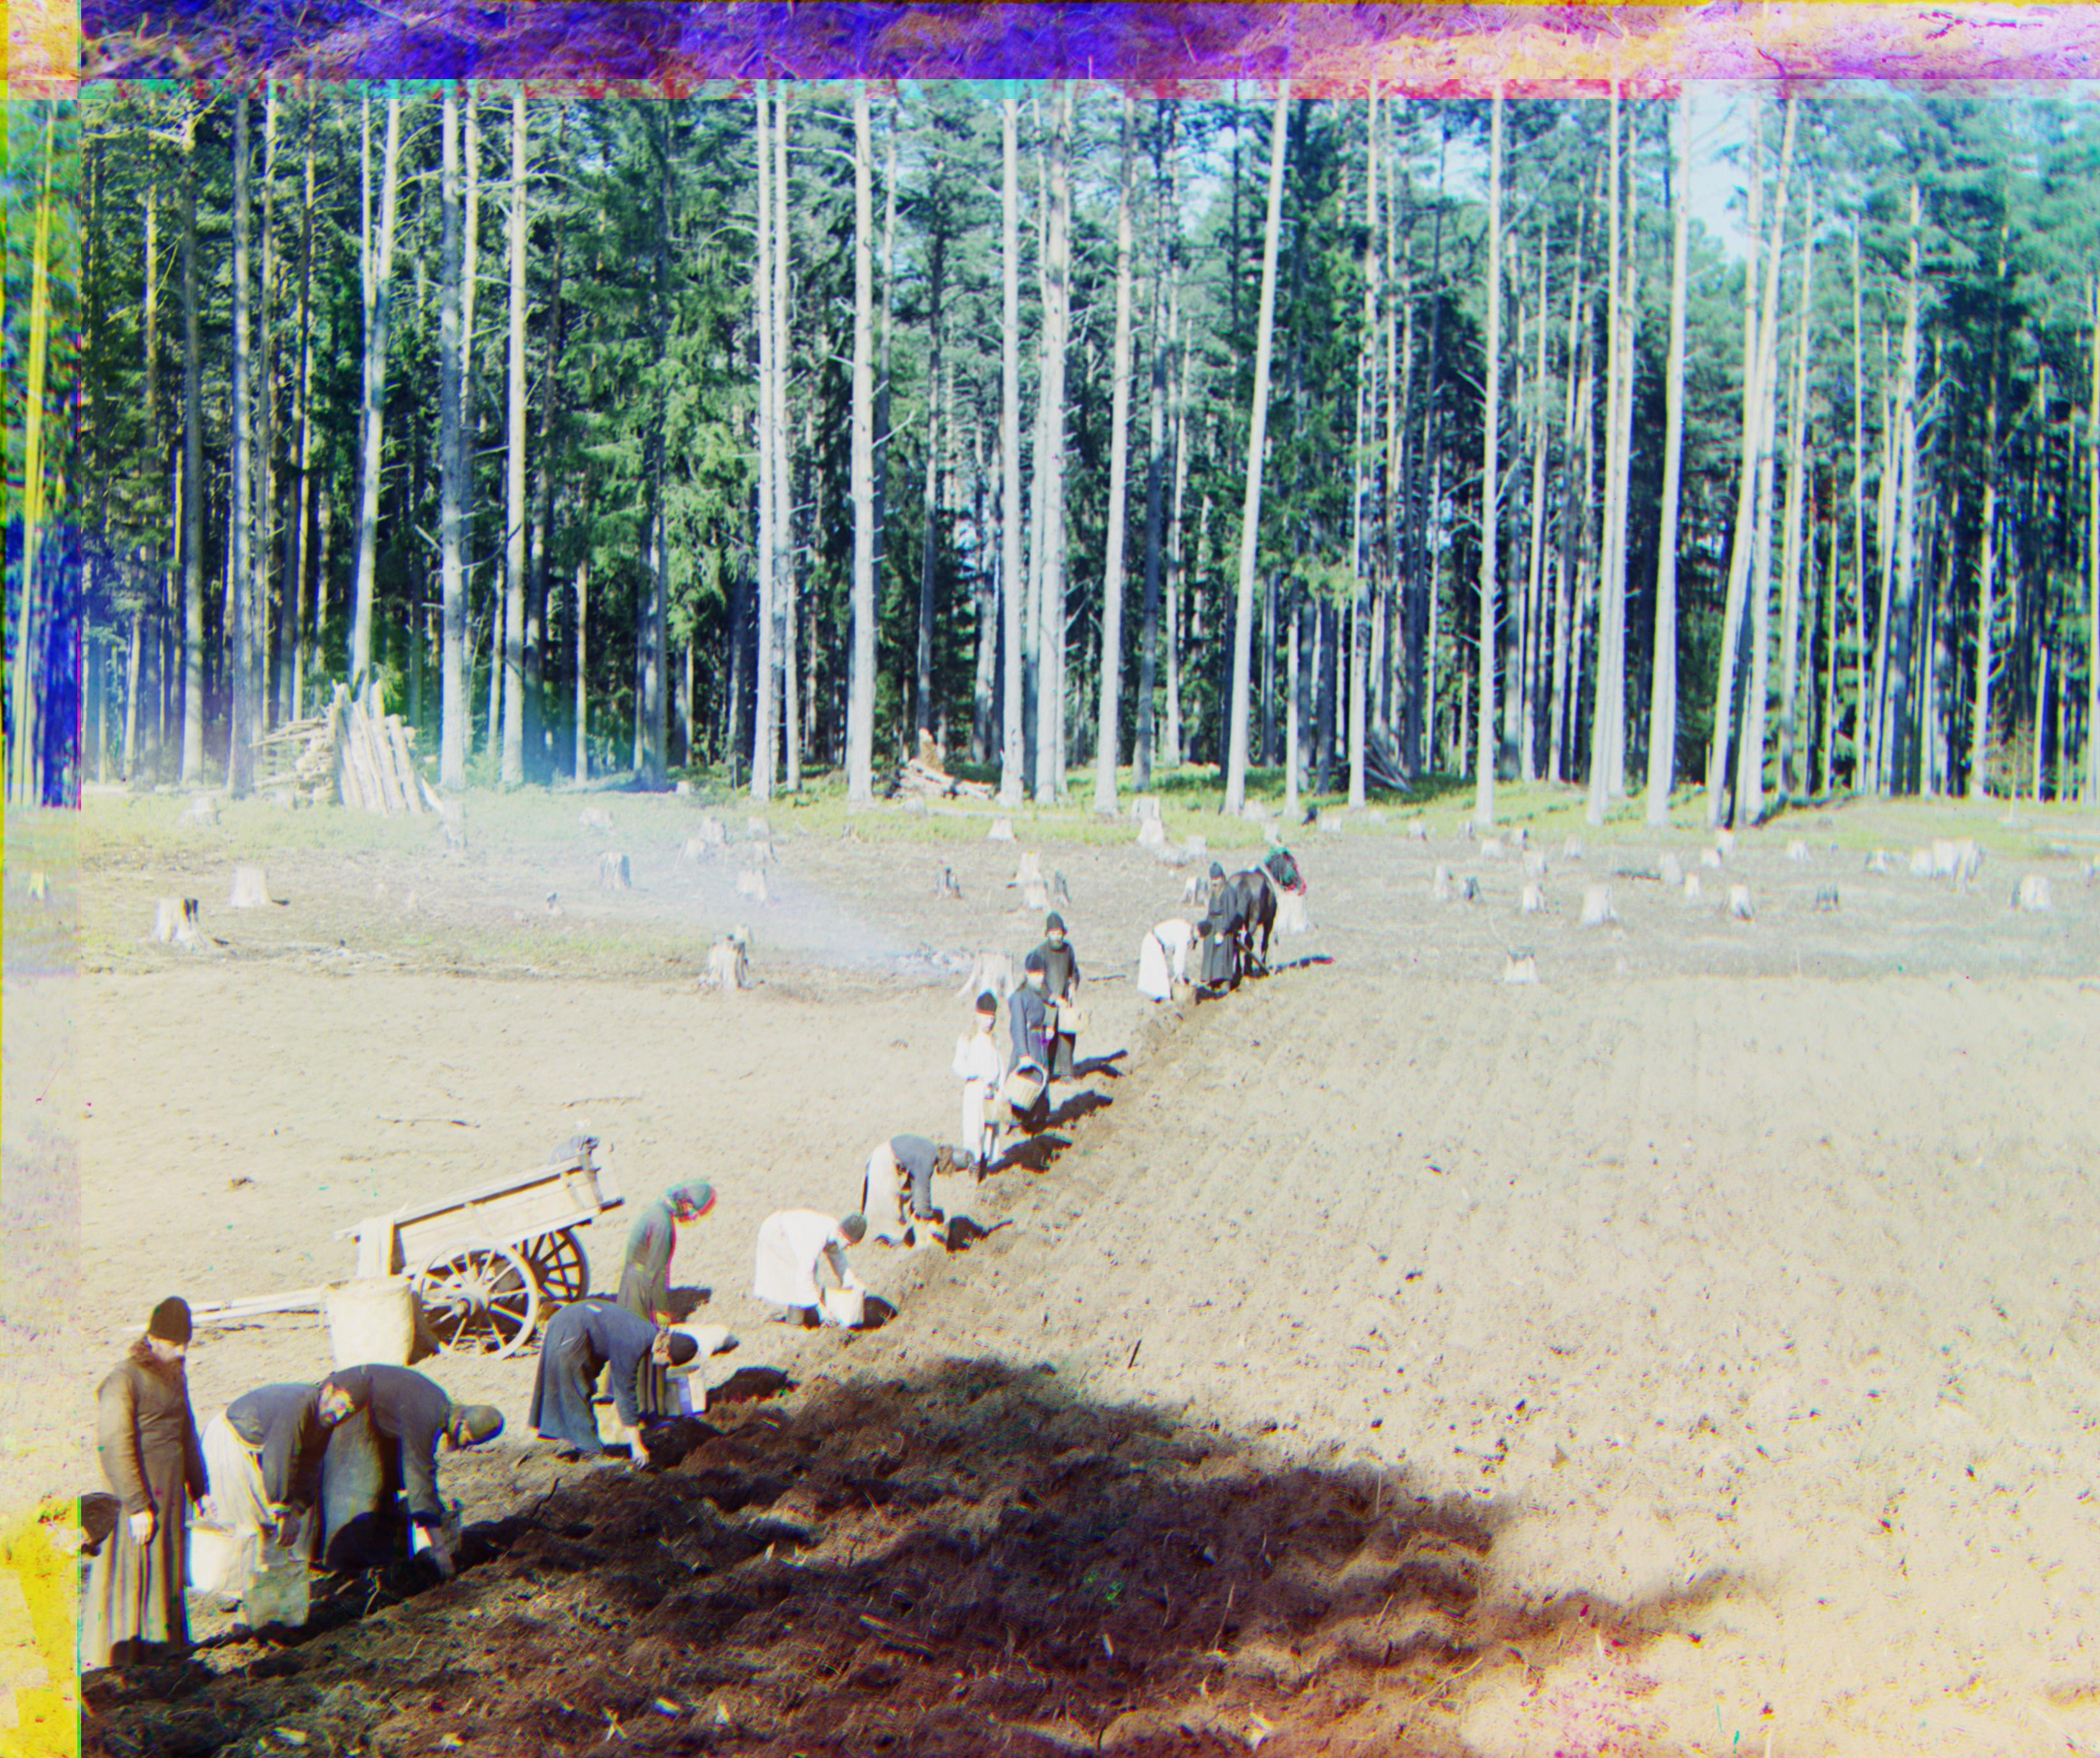
trees without initial border crop.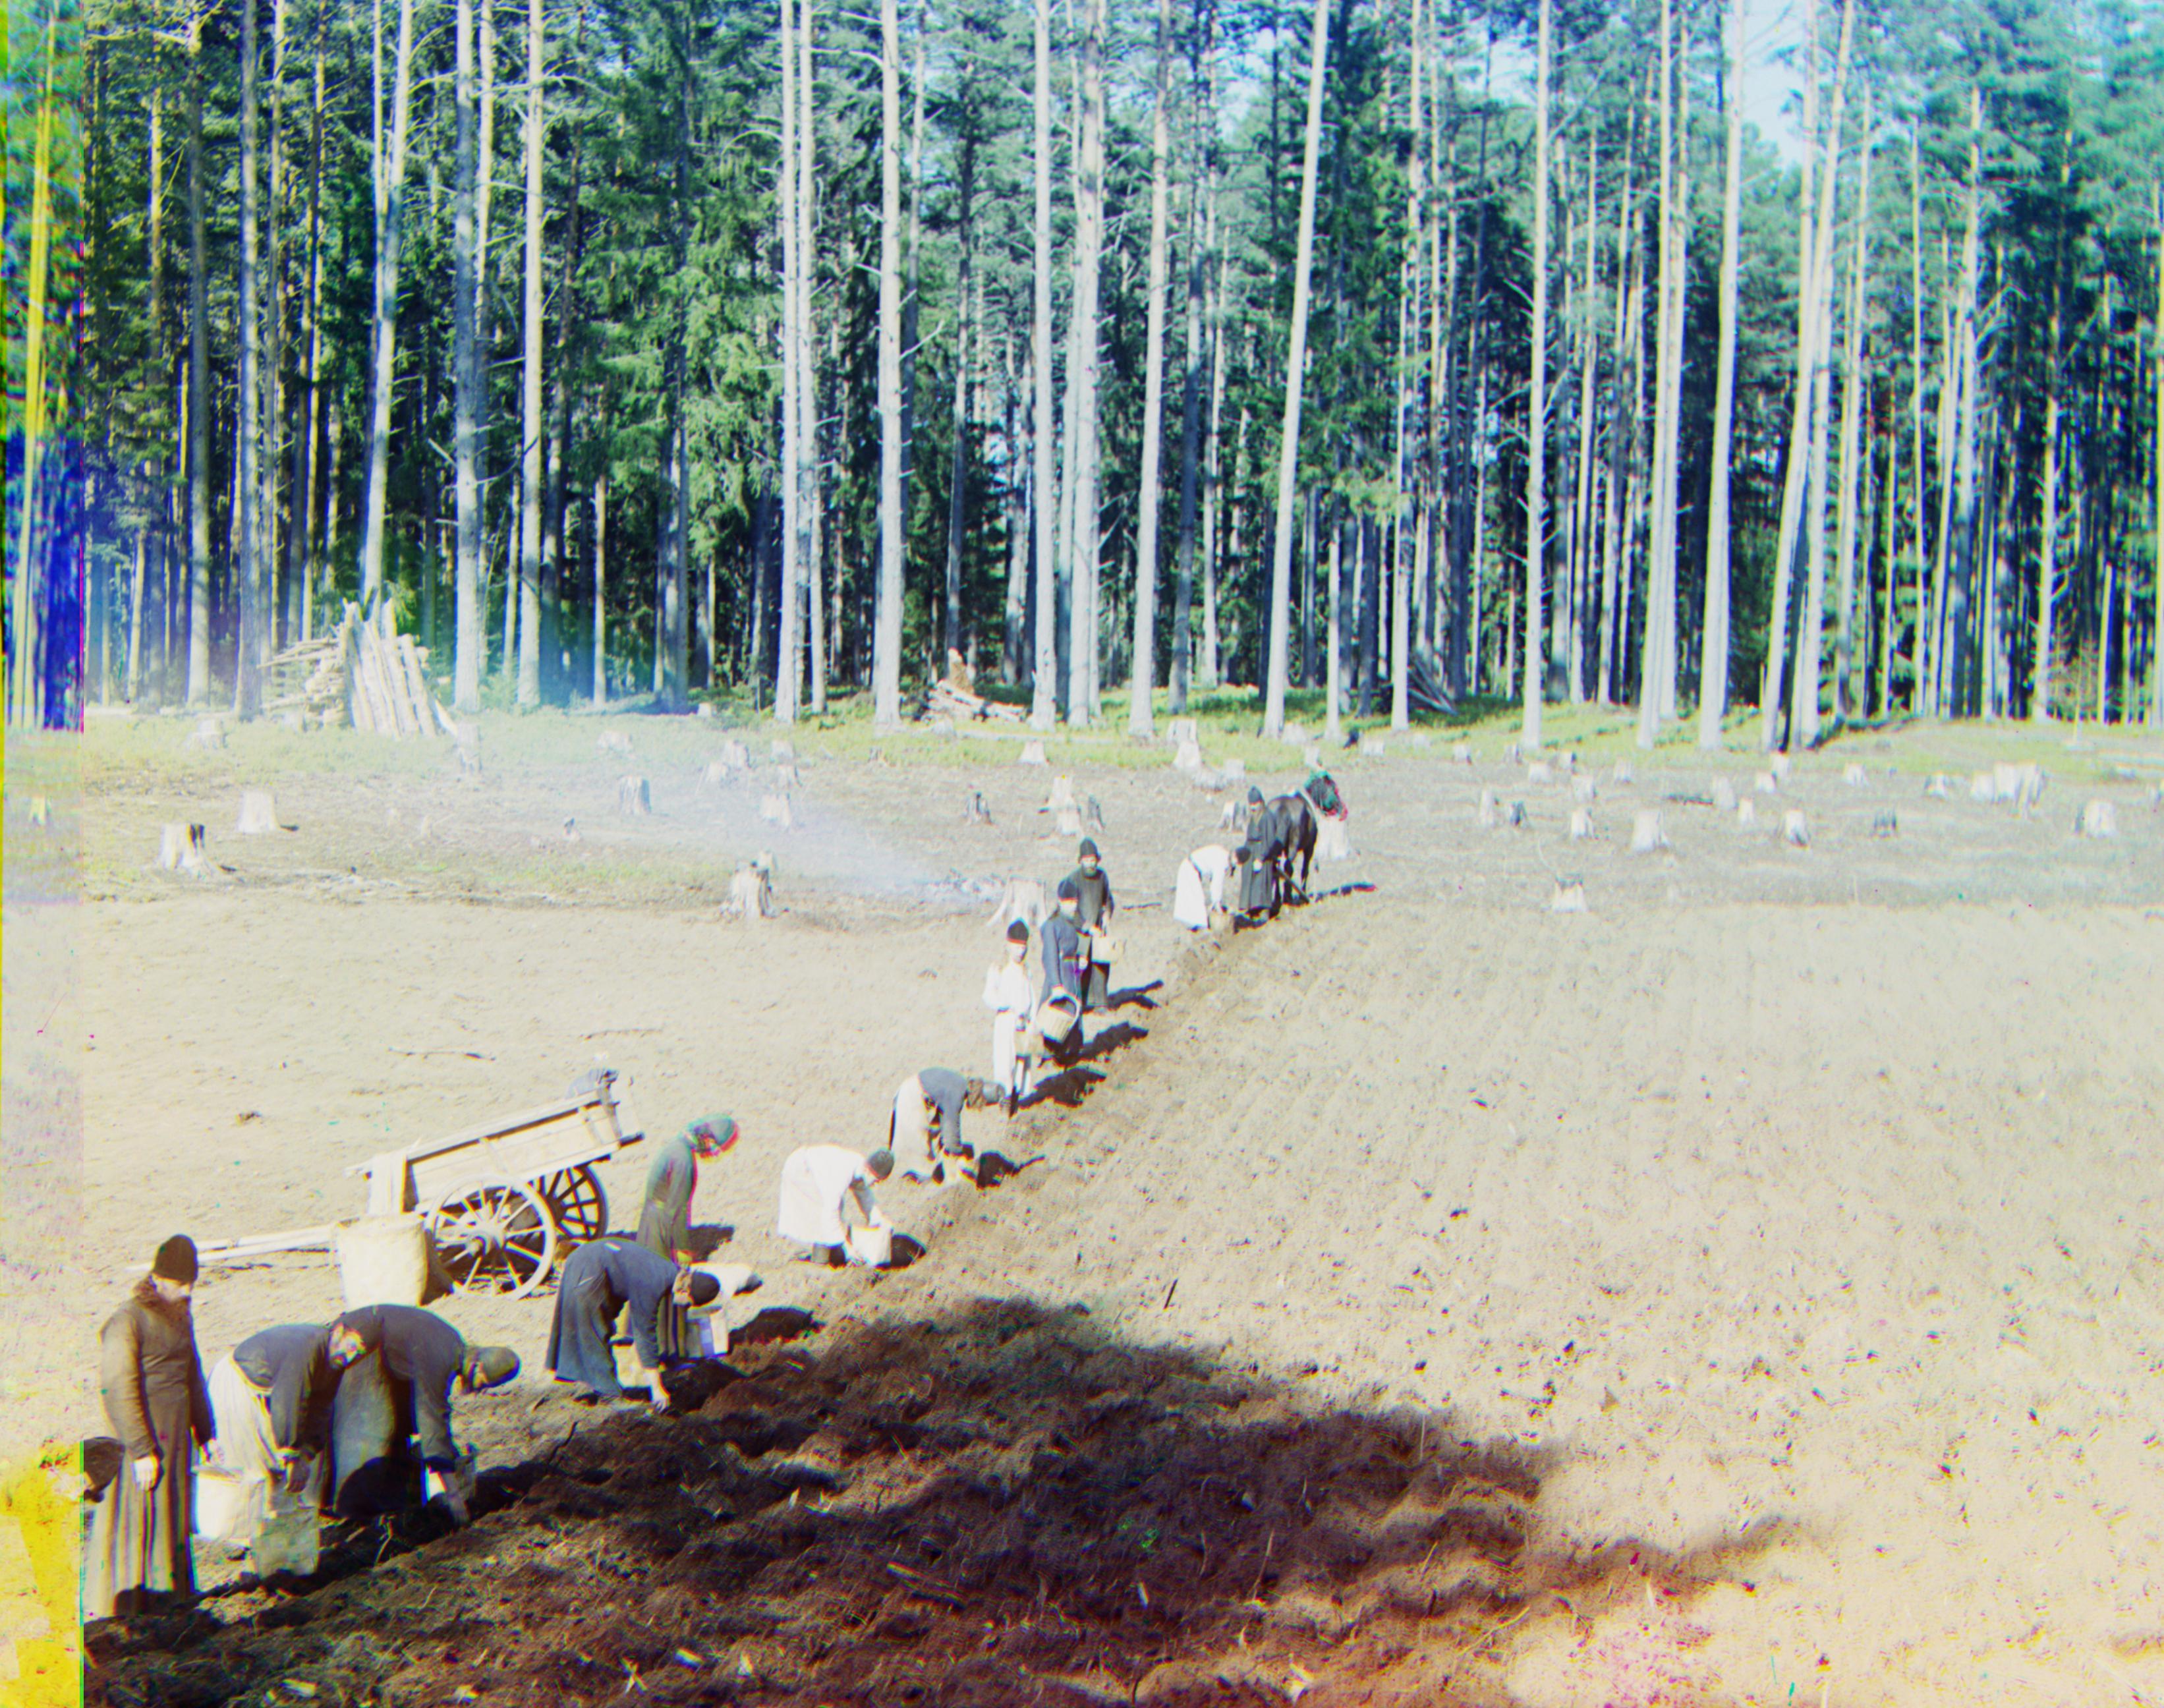
trees with initial border crop.To determine the borders of an image, I first apply the Canny edge detection to outline the prominent edges of an image, I then apply a probabilistic Hough line transformation to extract the edges that are horizontal or vertical lines. From there I filter for the straight lines that are within 10% of the image edges and determine the best dimensions to crop an image.
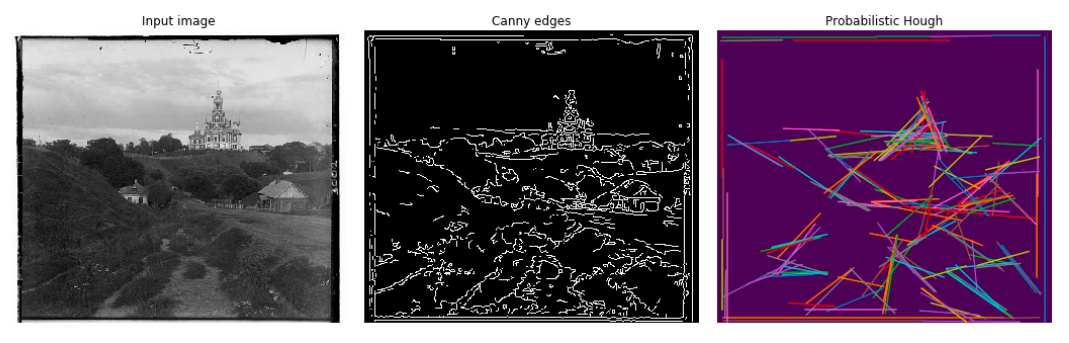
monasteryHowever, probabilistic Hough line transformation produces inconsistent crop results each time, causing my alignment algorithm to also return different results. I tried increasing the threshold of what's considered a straight line in order to reduce inconsistency, but this more or less worked. My end result is that sometimes the probabilistic Hough line transformation produces good crop outputs which enable the alignment algorithm to better align the pictures together, while other times it doesn't, causing my aligned image to look blurry.
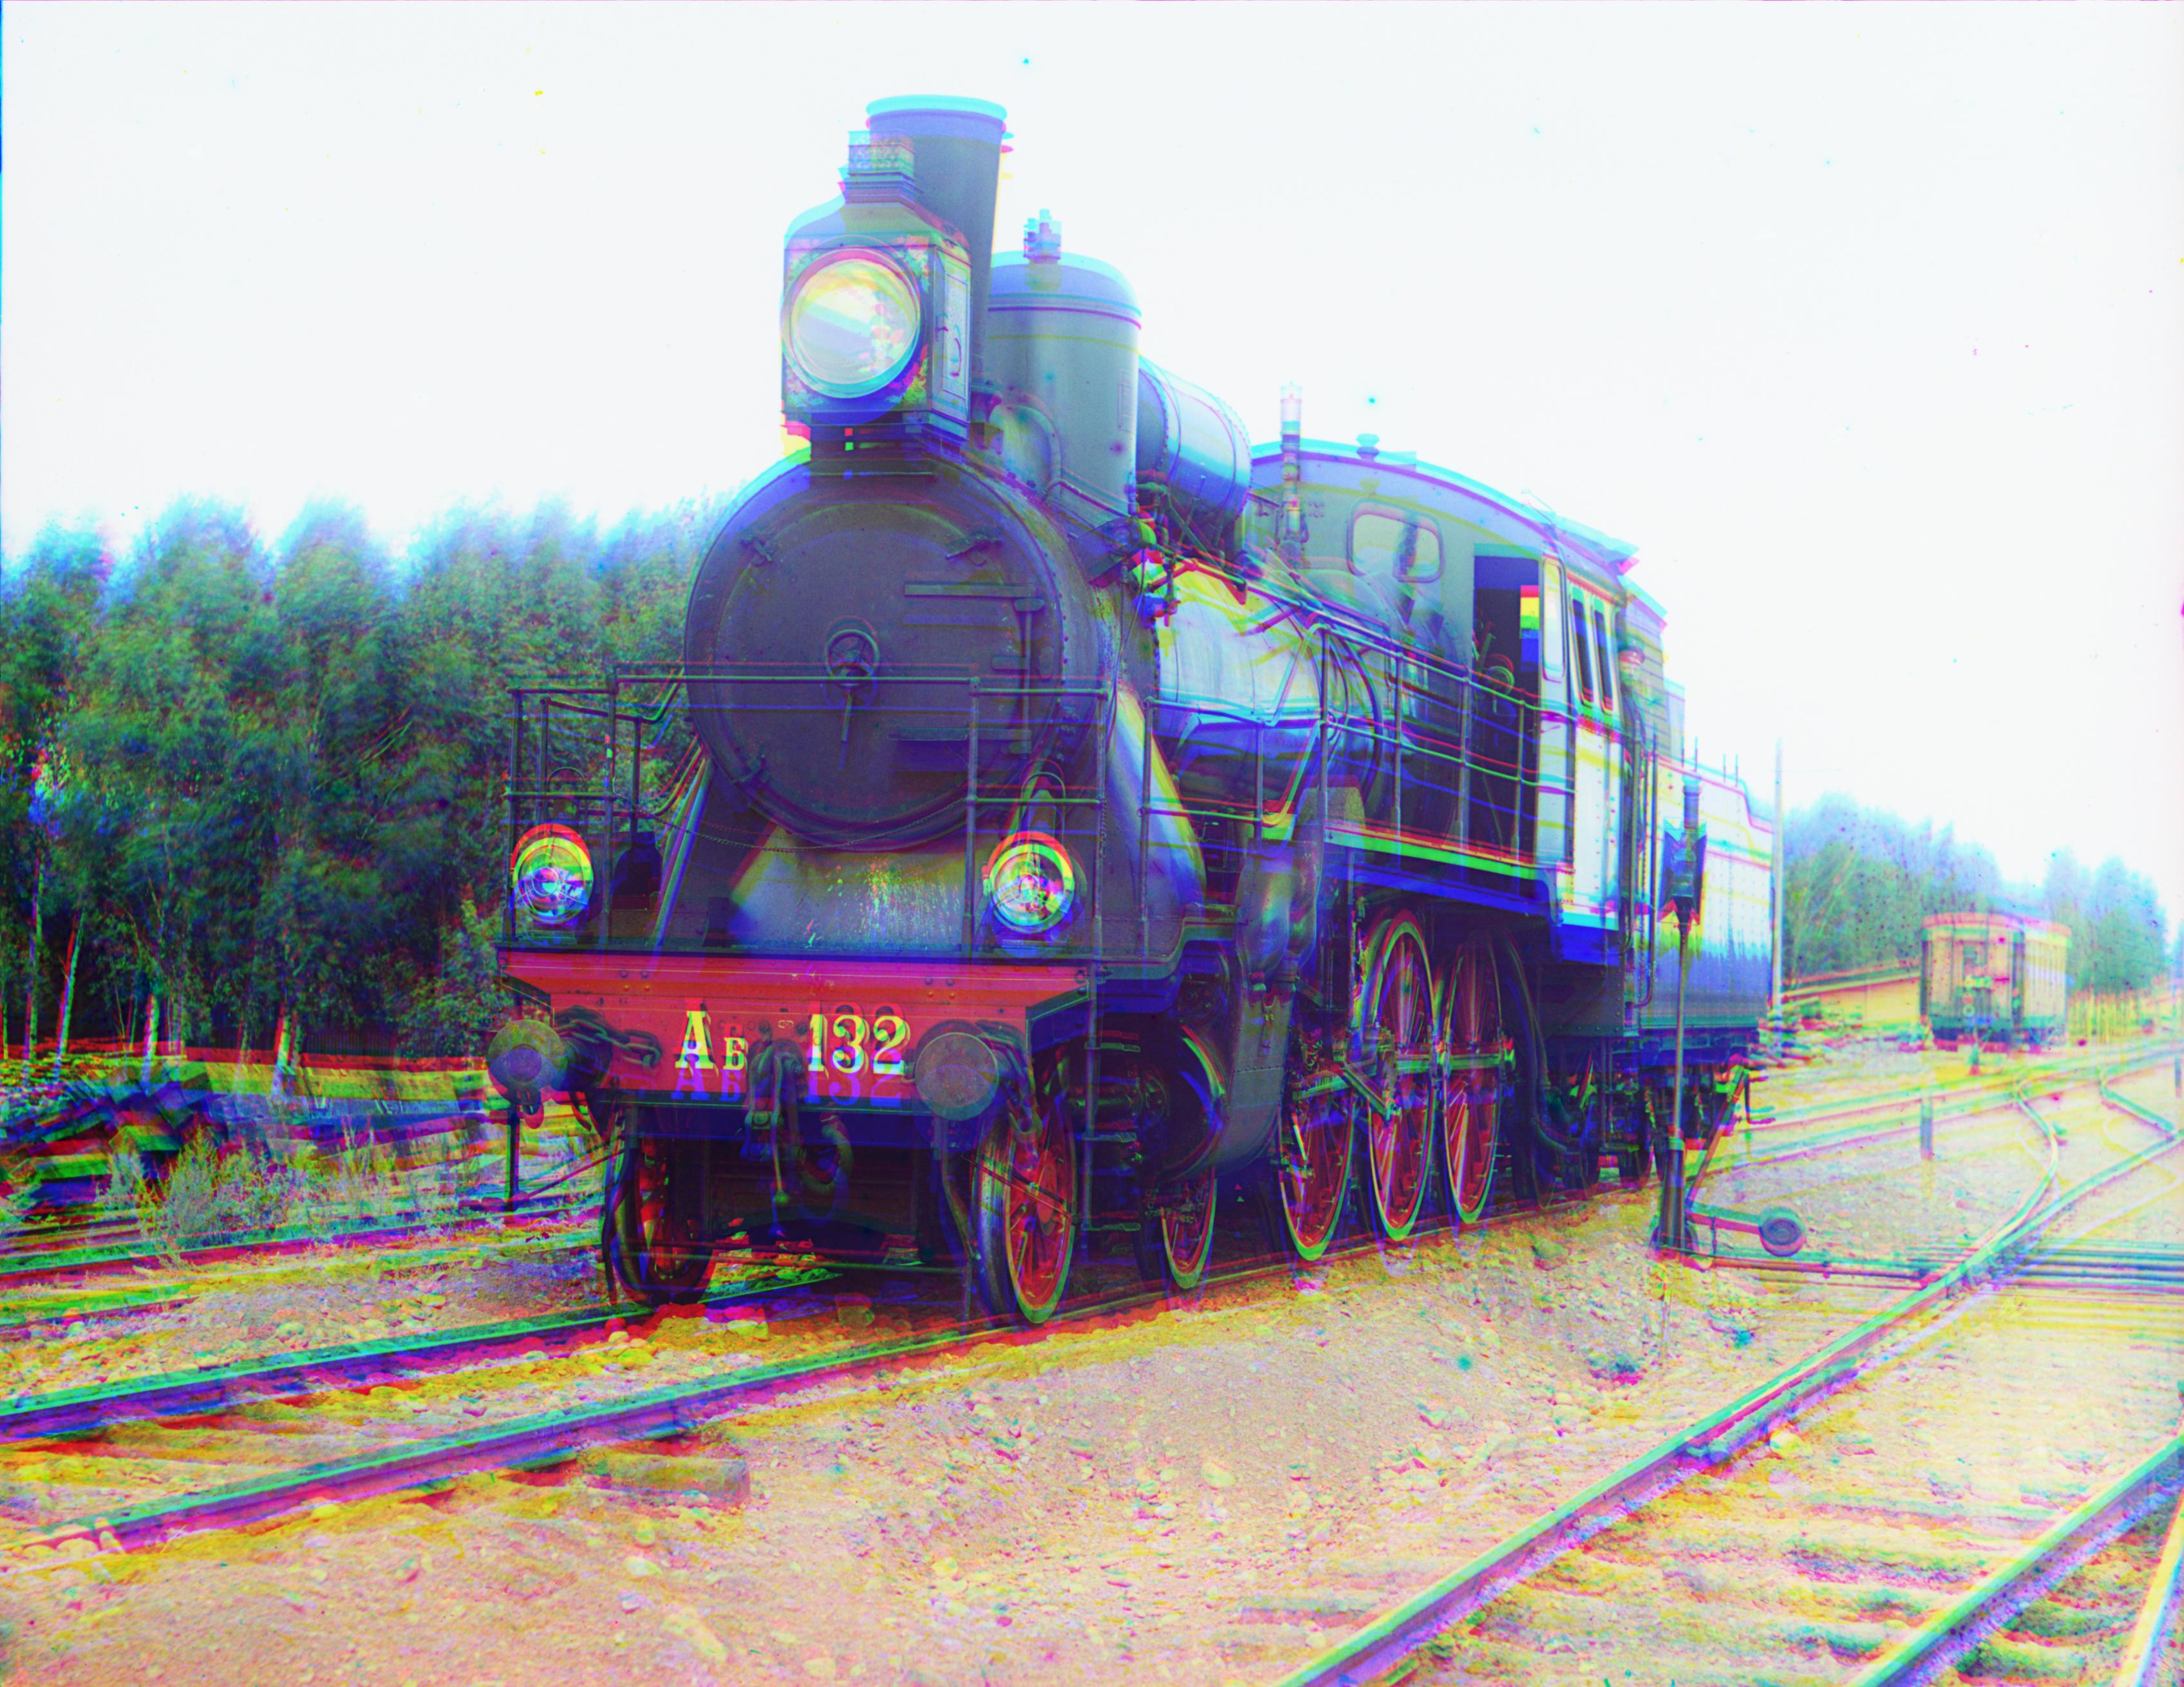
train blurry because bad initial crop.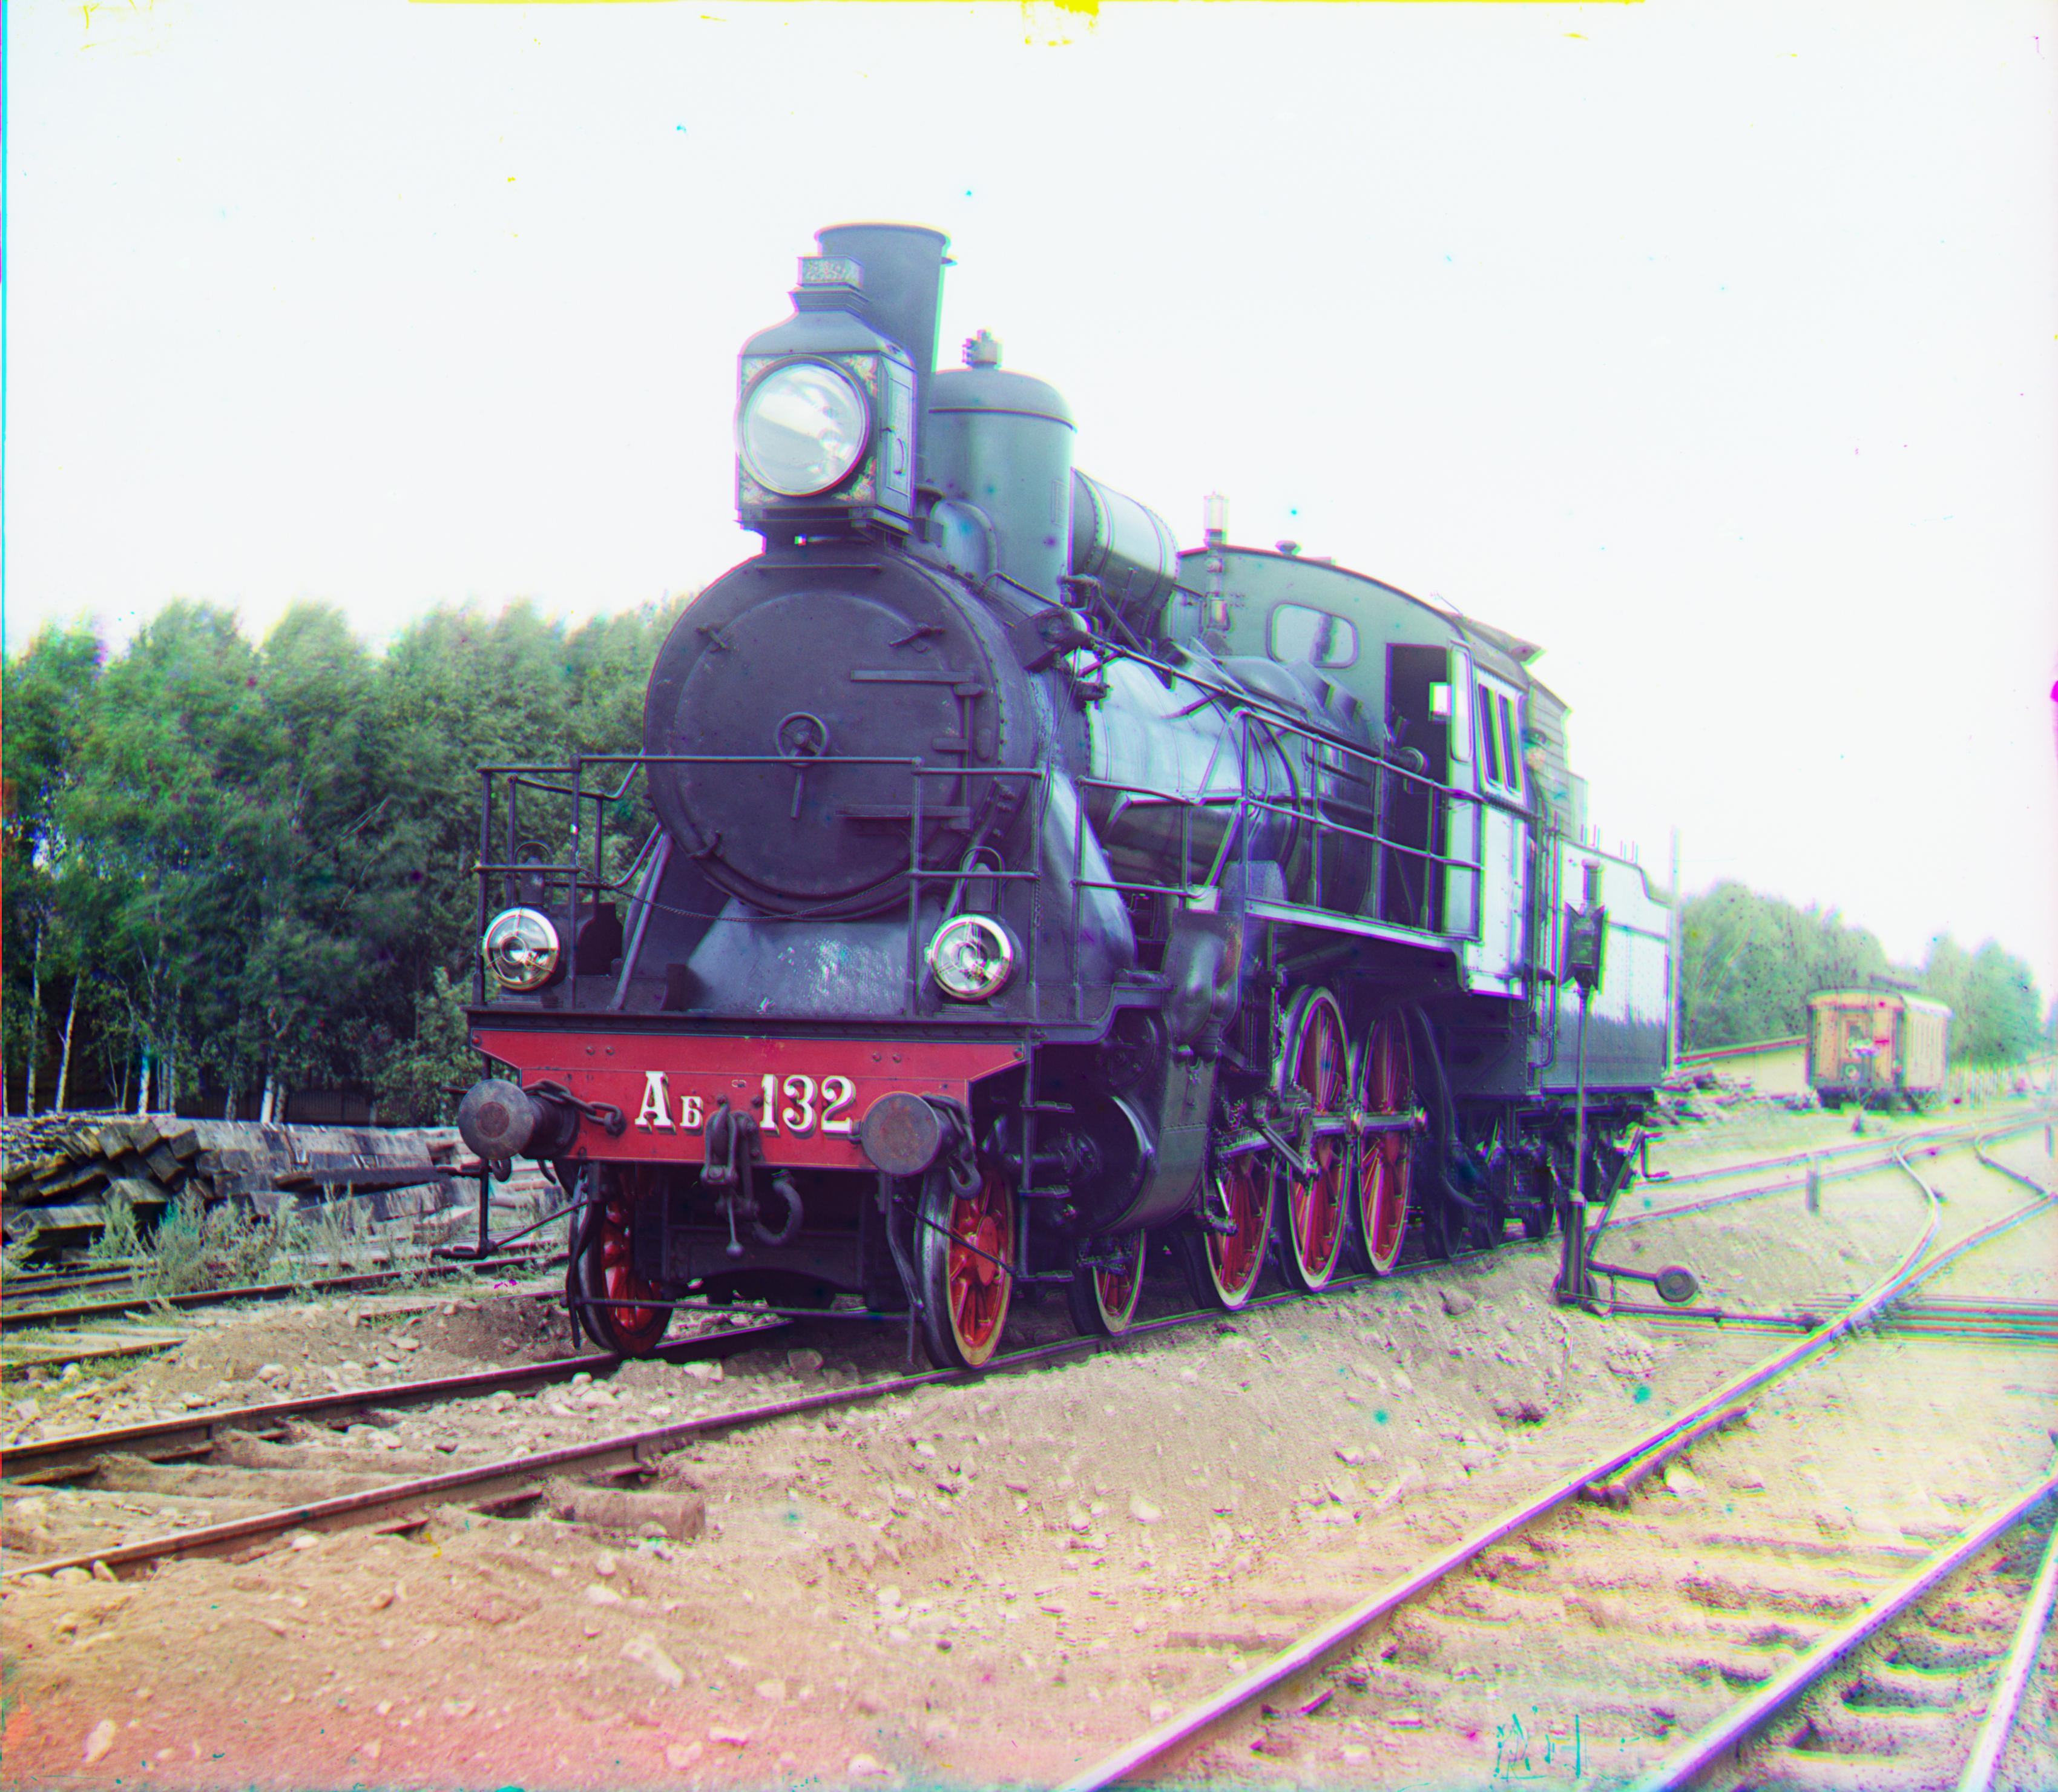
train with better initial crop.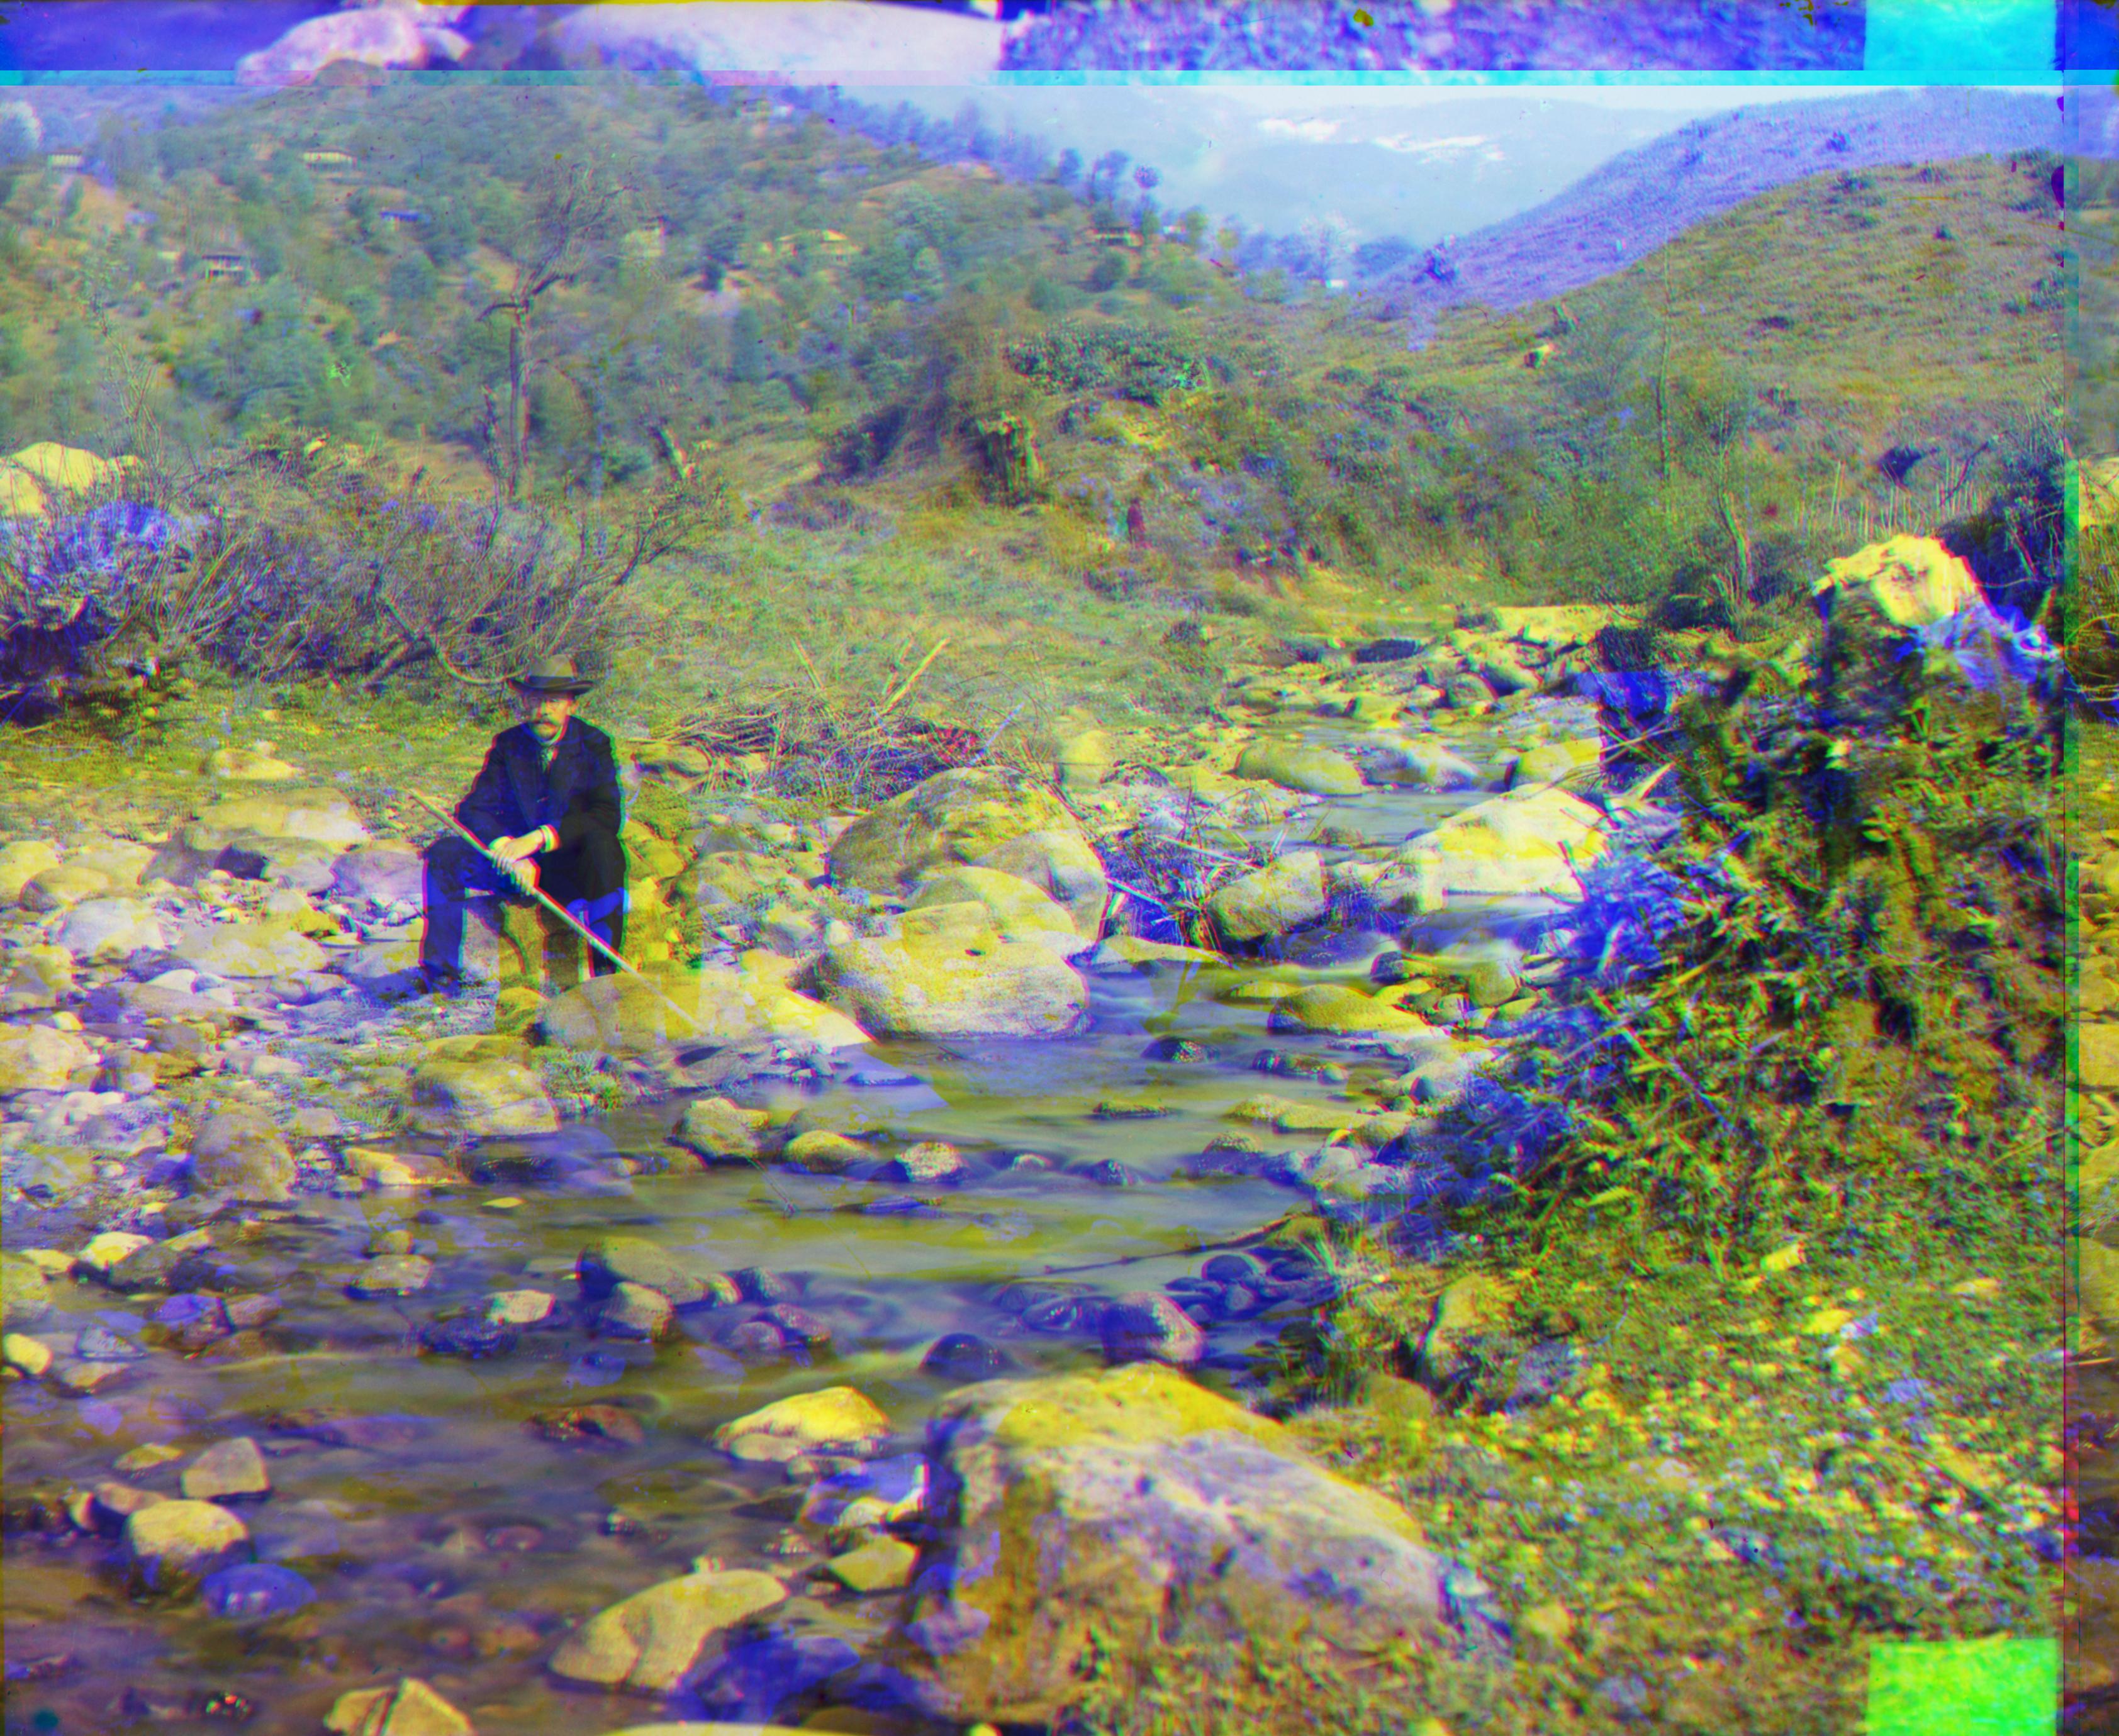
self_portrait blurry because bad initial crop.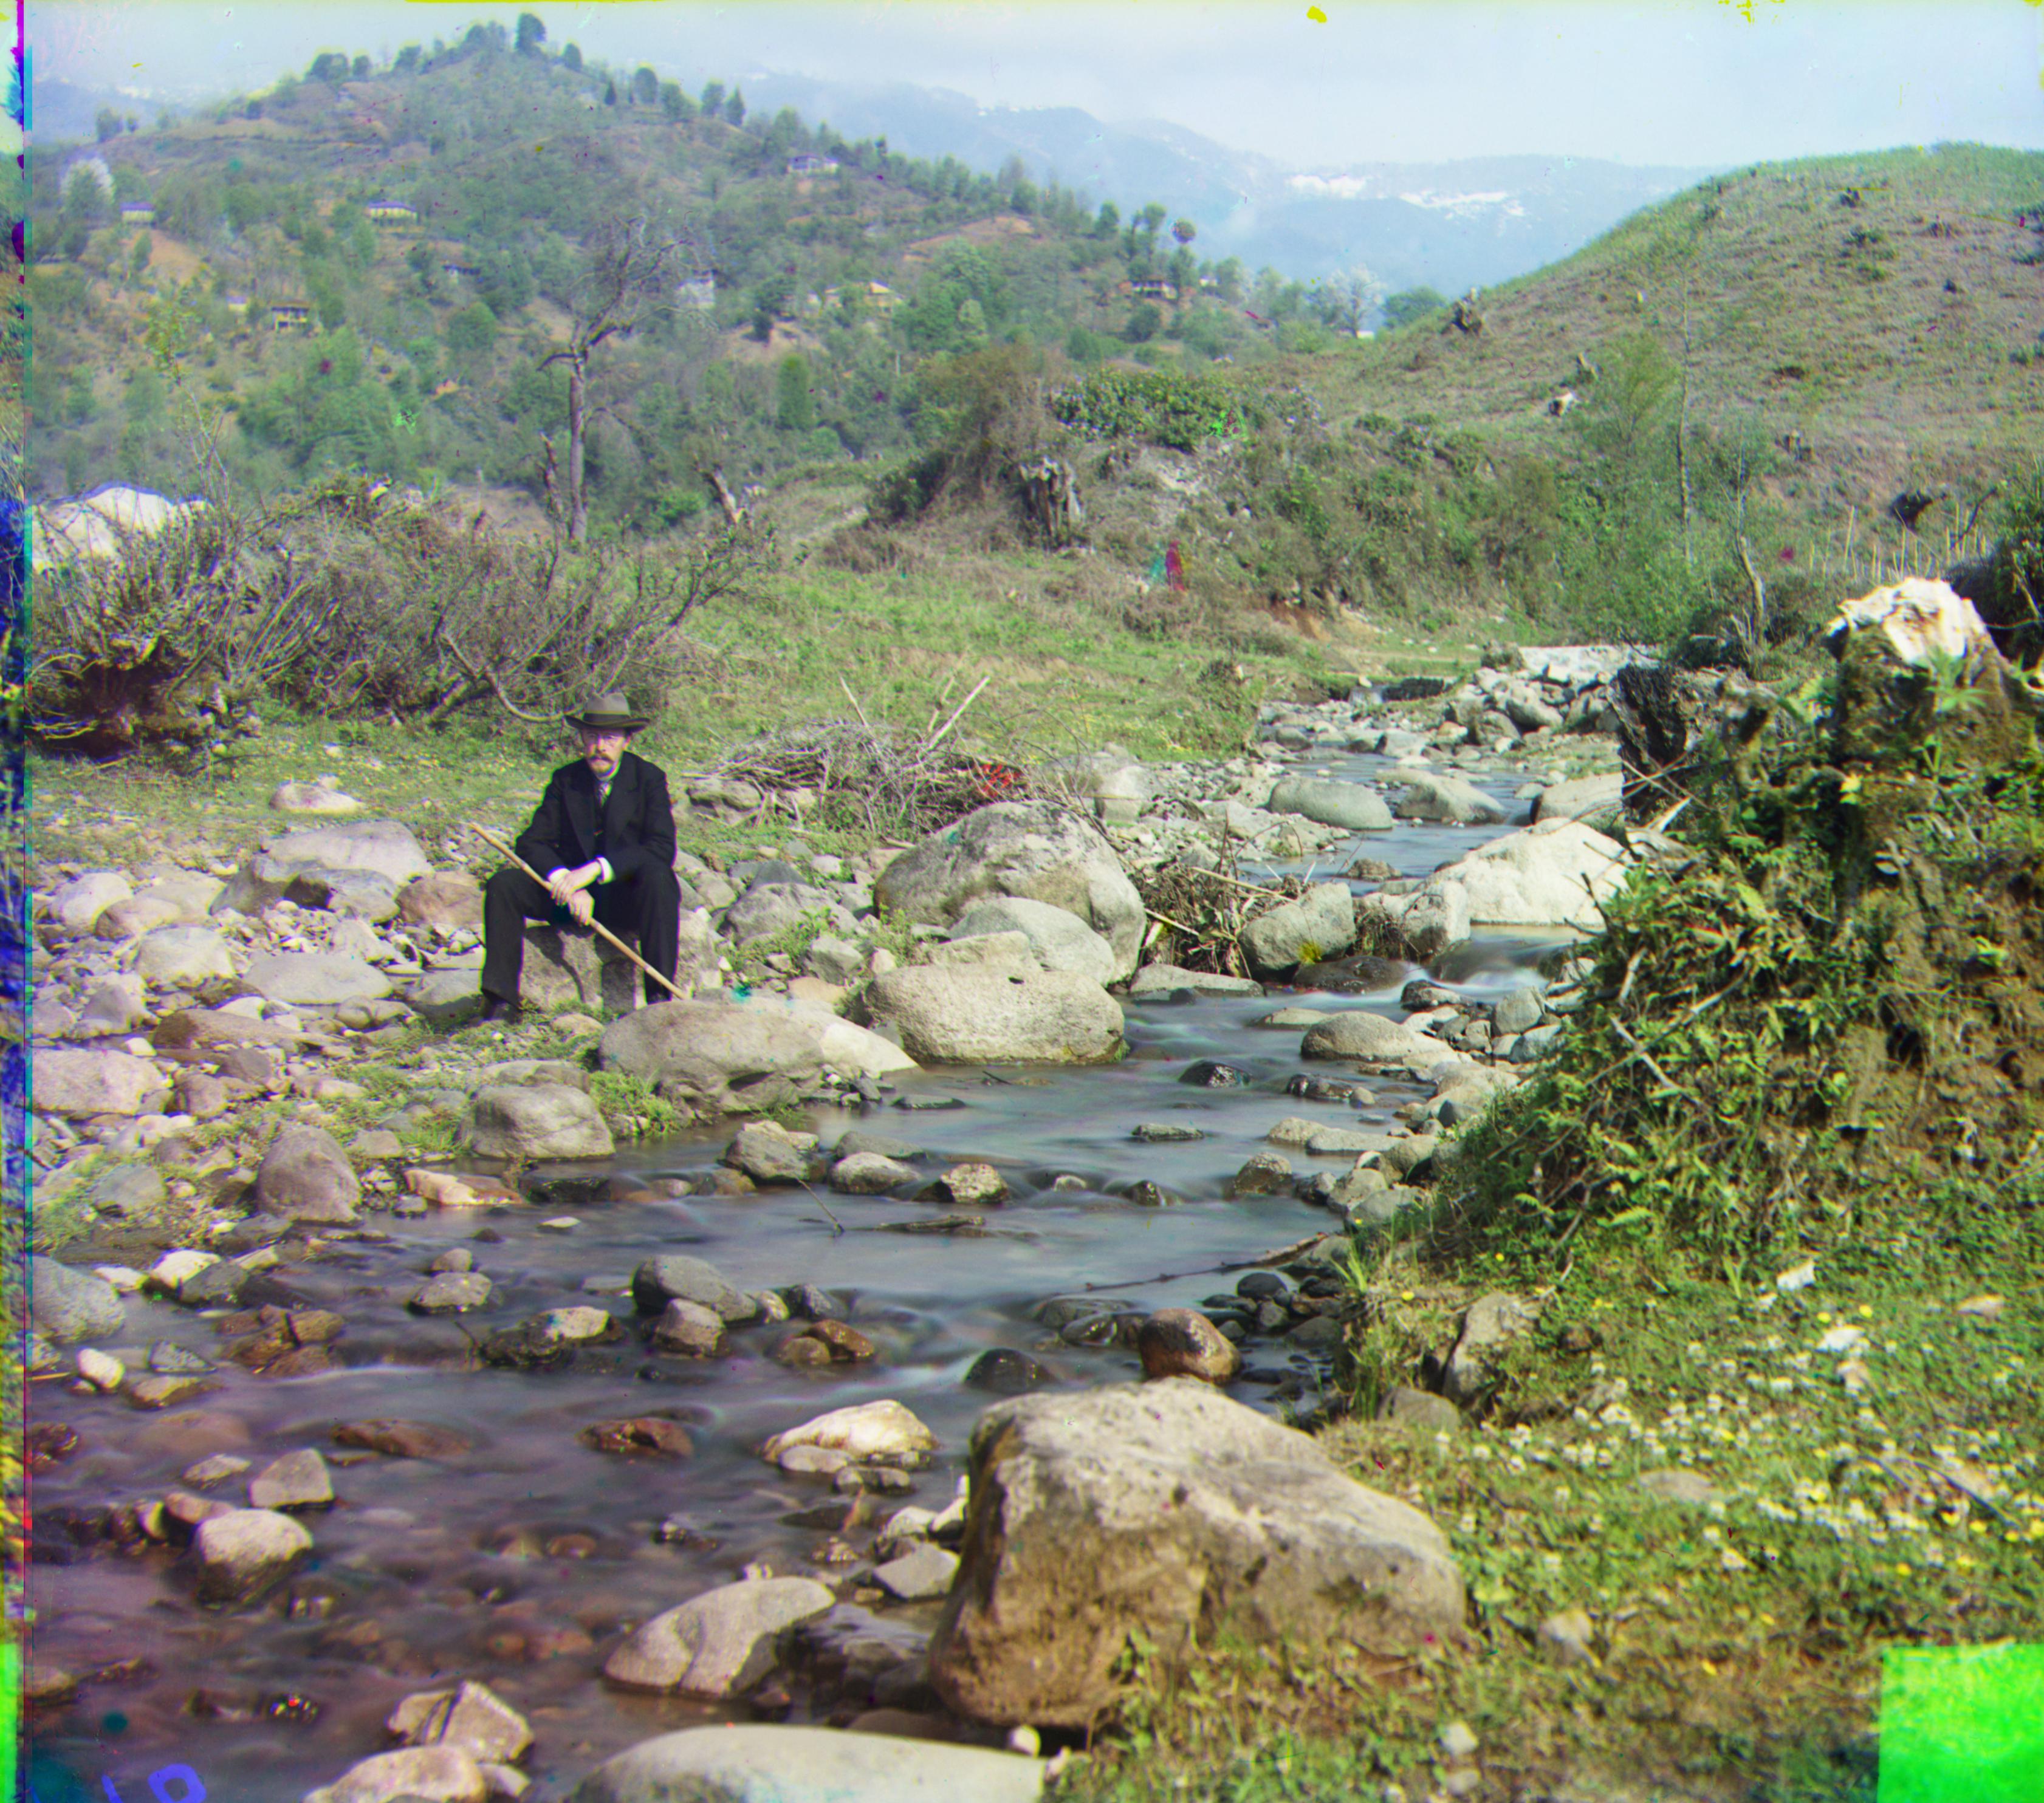
self_portrait with better initial crop.Also, since each channel image within a set has borders of different widths which cause each image to have different crop dimensions, I made sure to crop each channel image so that the would still have the same size for alignment.
Straight line detection is efficient for a small image but not for bigger images. Thus for big images, I first resize it to less than 200x200 pixels and find the crop dimensions for the smaller image. I then scale the crop dimensions for the smaller image by a factor then apply it to the original big image.
Alignment
I started by simply aligning the green and red channels over the blue channel, and then stacking all three channels together to create a colored output. To do this, I iterated over a [-15, 15] window to see which possible displacement of the green or red channel would align best with the blue channel and produce the best result or the smallest l2 norm.
Feature Detection
I initially aligned channel images based on RGB similarities, but this did not work well with channel images with drastic differences in colors, such as Emir.
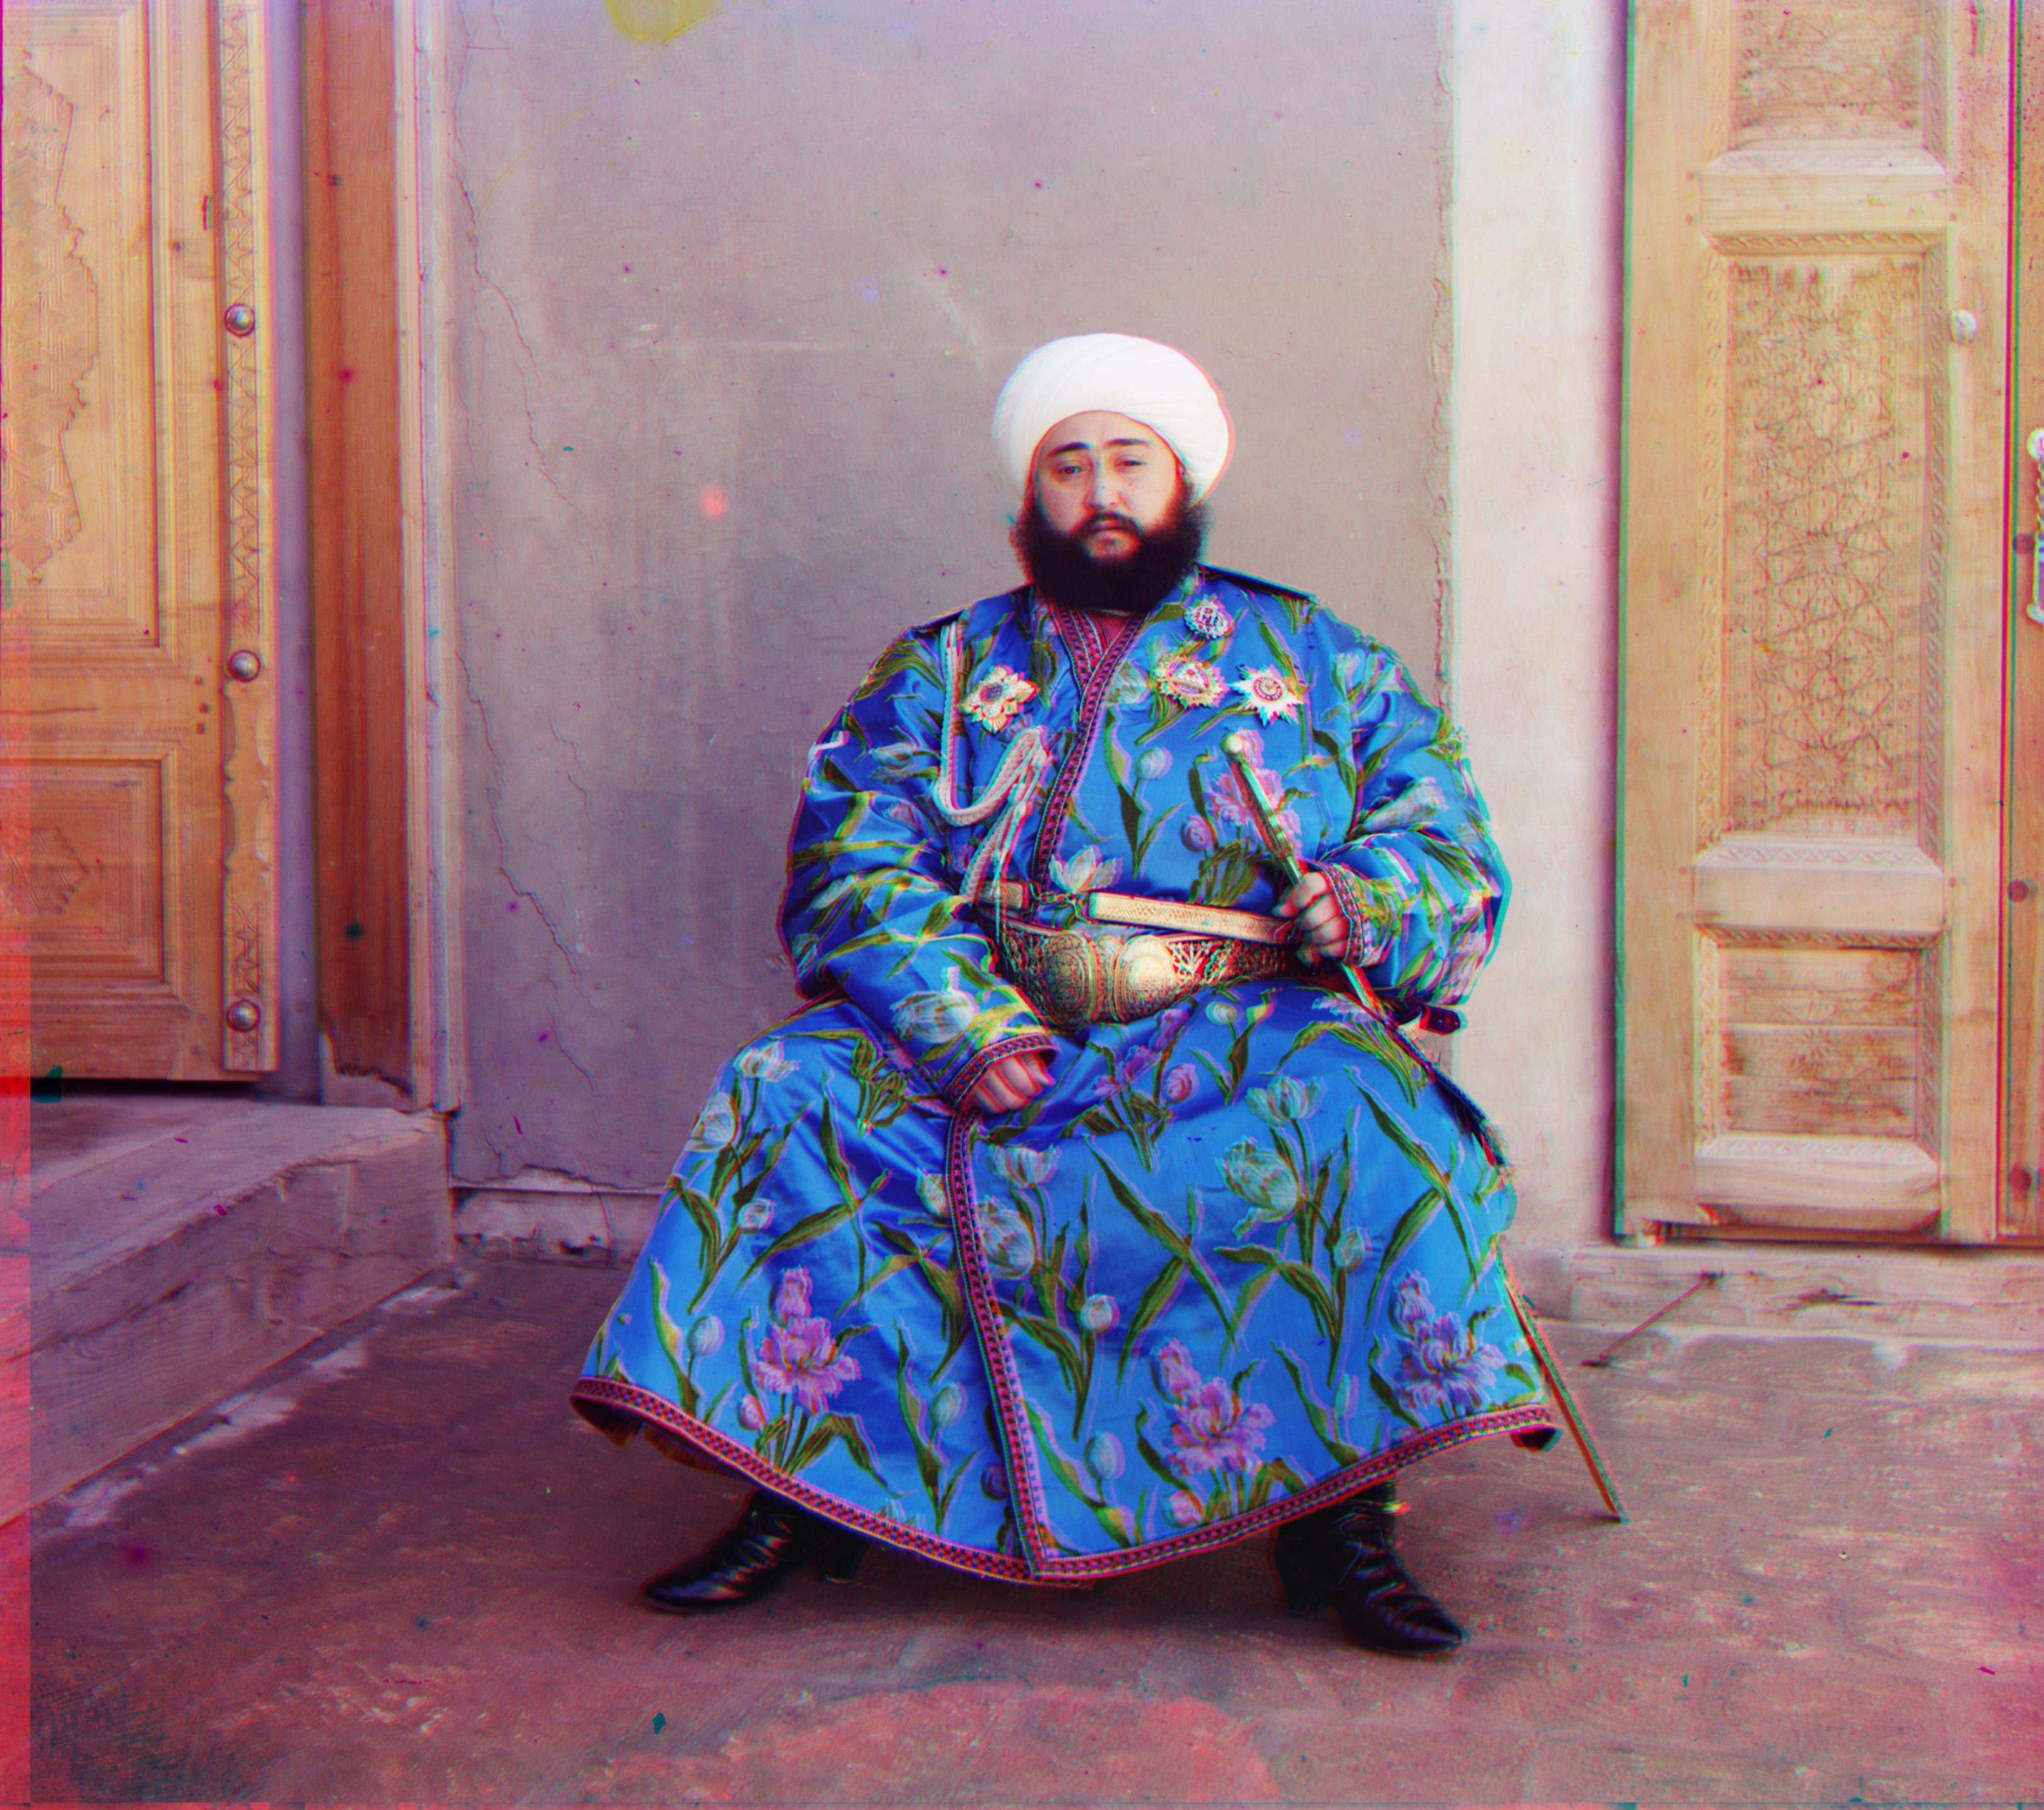
emir aligning based on raw pixels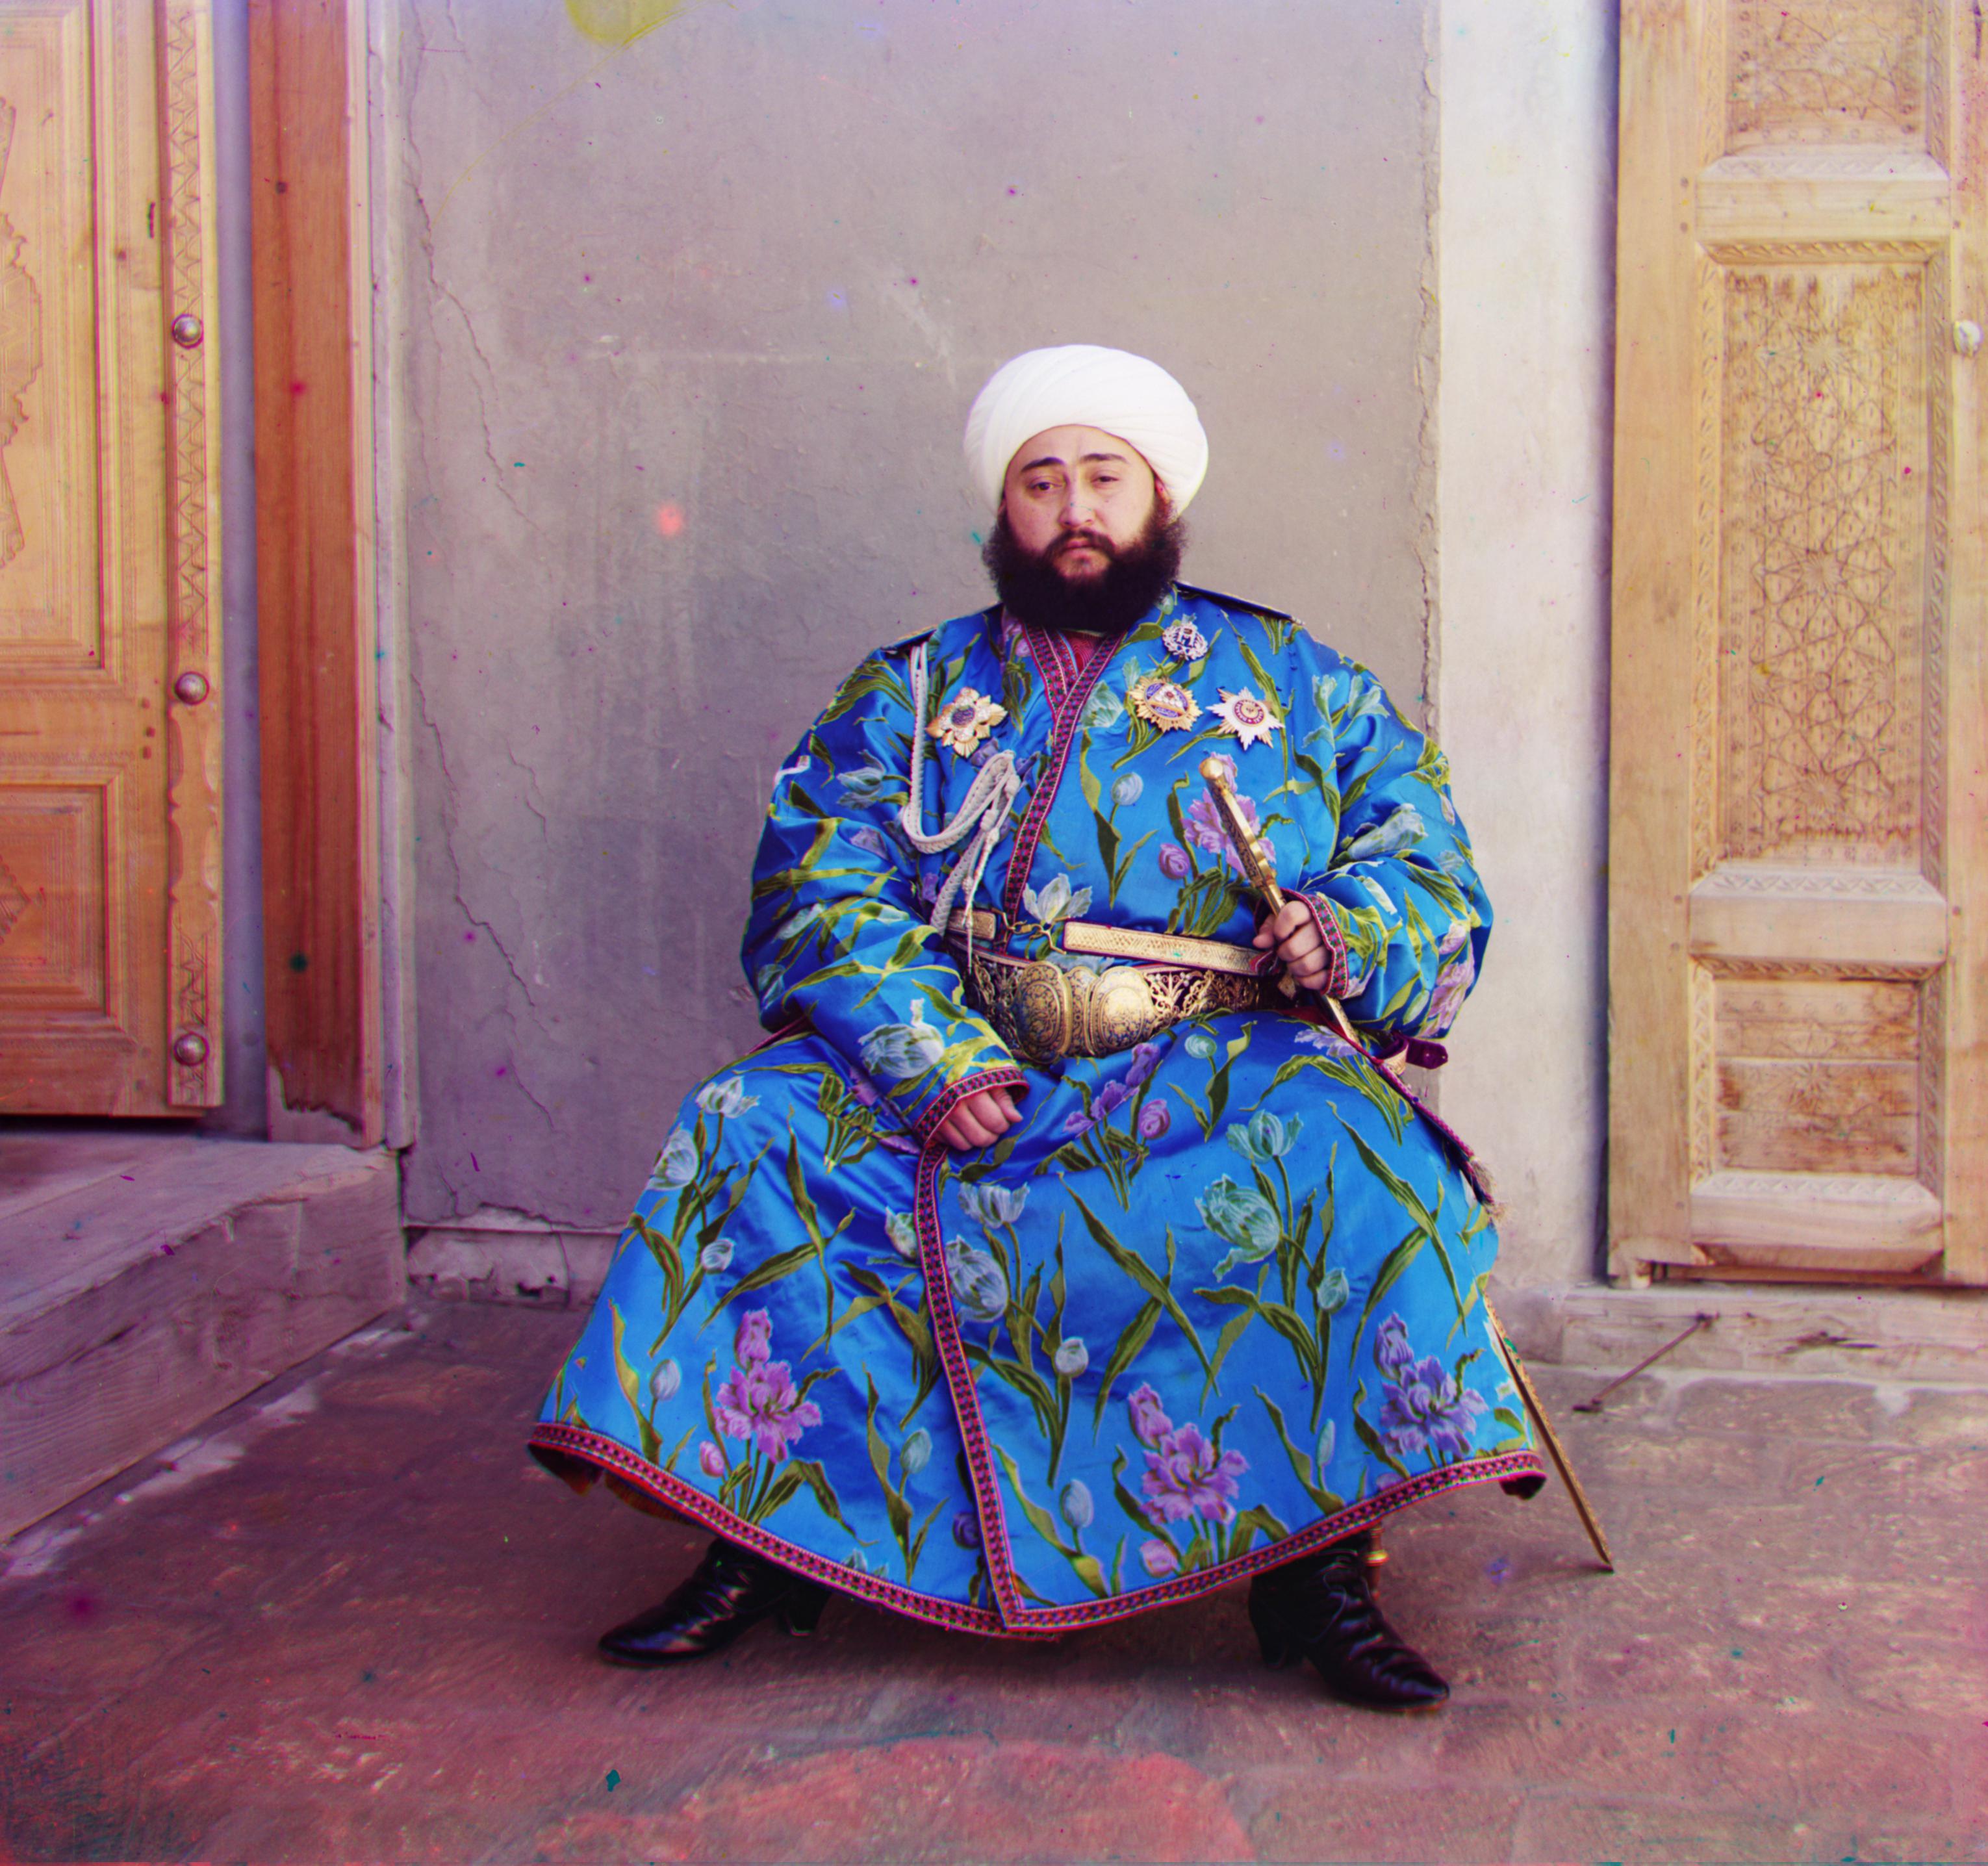
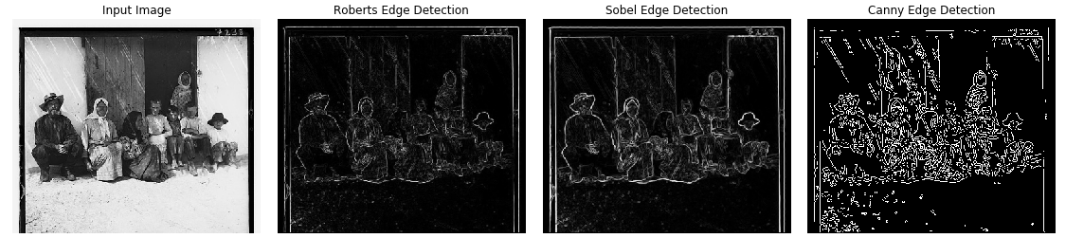
emir aligning based on image featuresI then decided to align images based on features of their contents, specifically, the edges contained in the images. To do so, I applied the Sobel filter which created an outline of the original image, and aligned the images based on the similarities between the outlines. I chose the Sobel filter because it produced better results than the Roberts filter and was easier to work with than the Canny transformation.
settlersImage Pyramid
The simple aligning approach worked fairly well with small (400x400) .jpg pictures, but took too long with big (4000x4000) .tif pictures because there were too many possible displacements. Therefore, I used an image pyramid processing approach to accomodate the bigger pictures.
I first shrank the images to around 200x200 pixels, and then ran my alignment algorithm to find the best displacement vector within a [-15, 15] displacement range for the shrunken image. I then doubled the size of the image and reran the alignment algorithm, but this time, the origin of the displacement is set to the twice the displacement vector of the previous layer, and the displacement range is halved to [-15/2, 15/2]. I continue to double the size of the image and rerun the alignment algorithm on the new layer, halving the displacement range each time and using the previous layer's vector to compute the new layer's displacement vector, until I reach the original size.
Using an image pyramid greatly sped up my computation from around 1.5 min to around 50 seconds.
Results
cathedral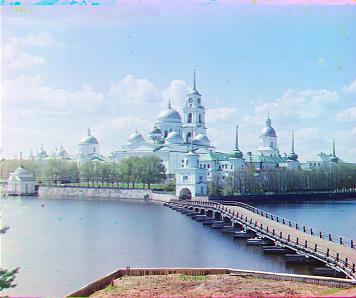
monastery
nativity
settlers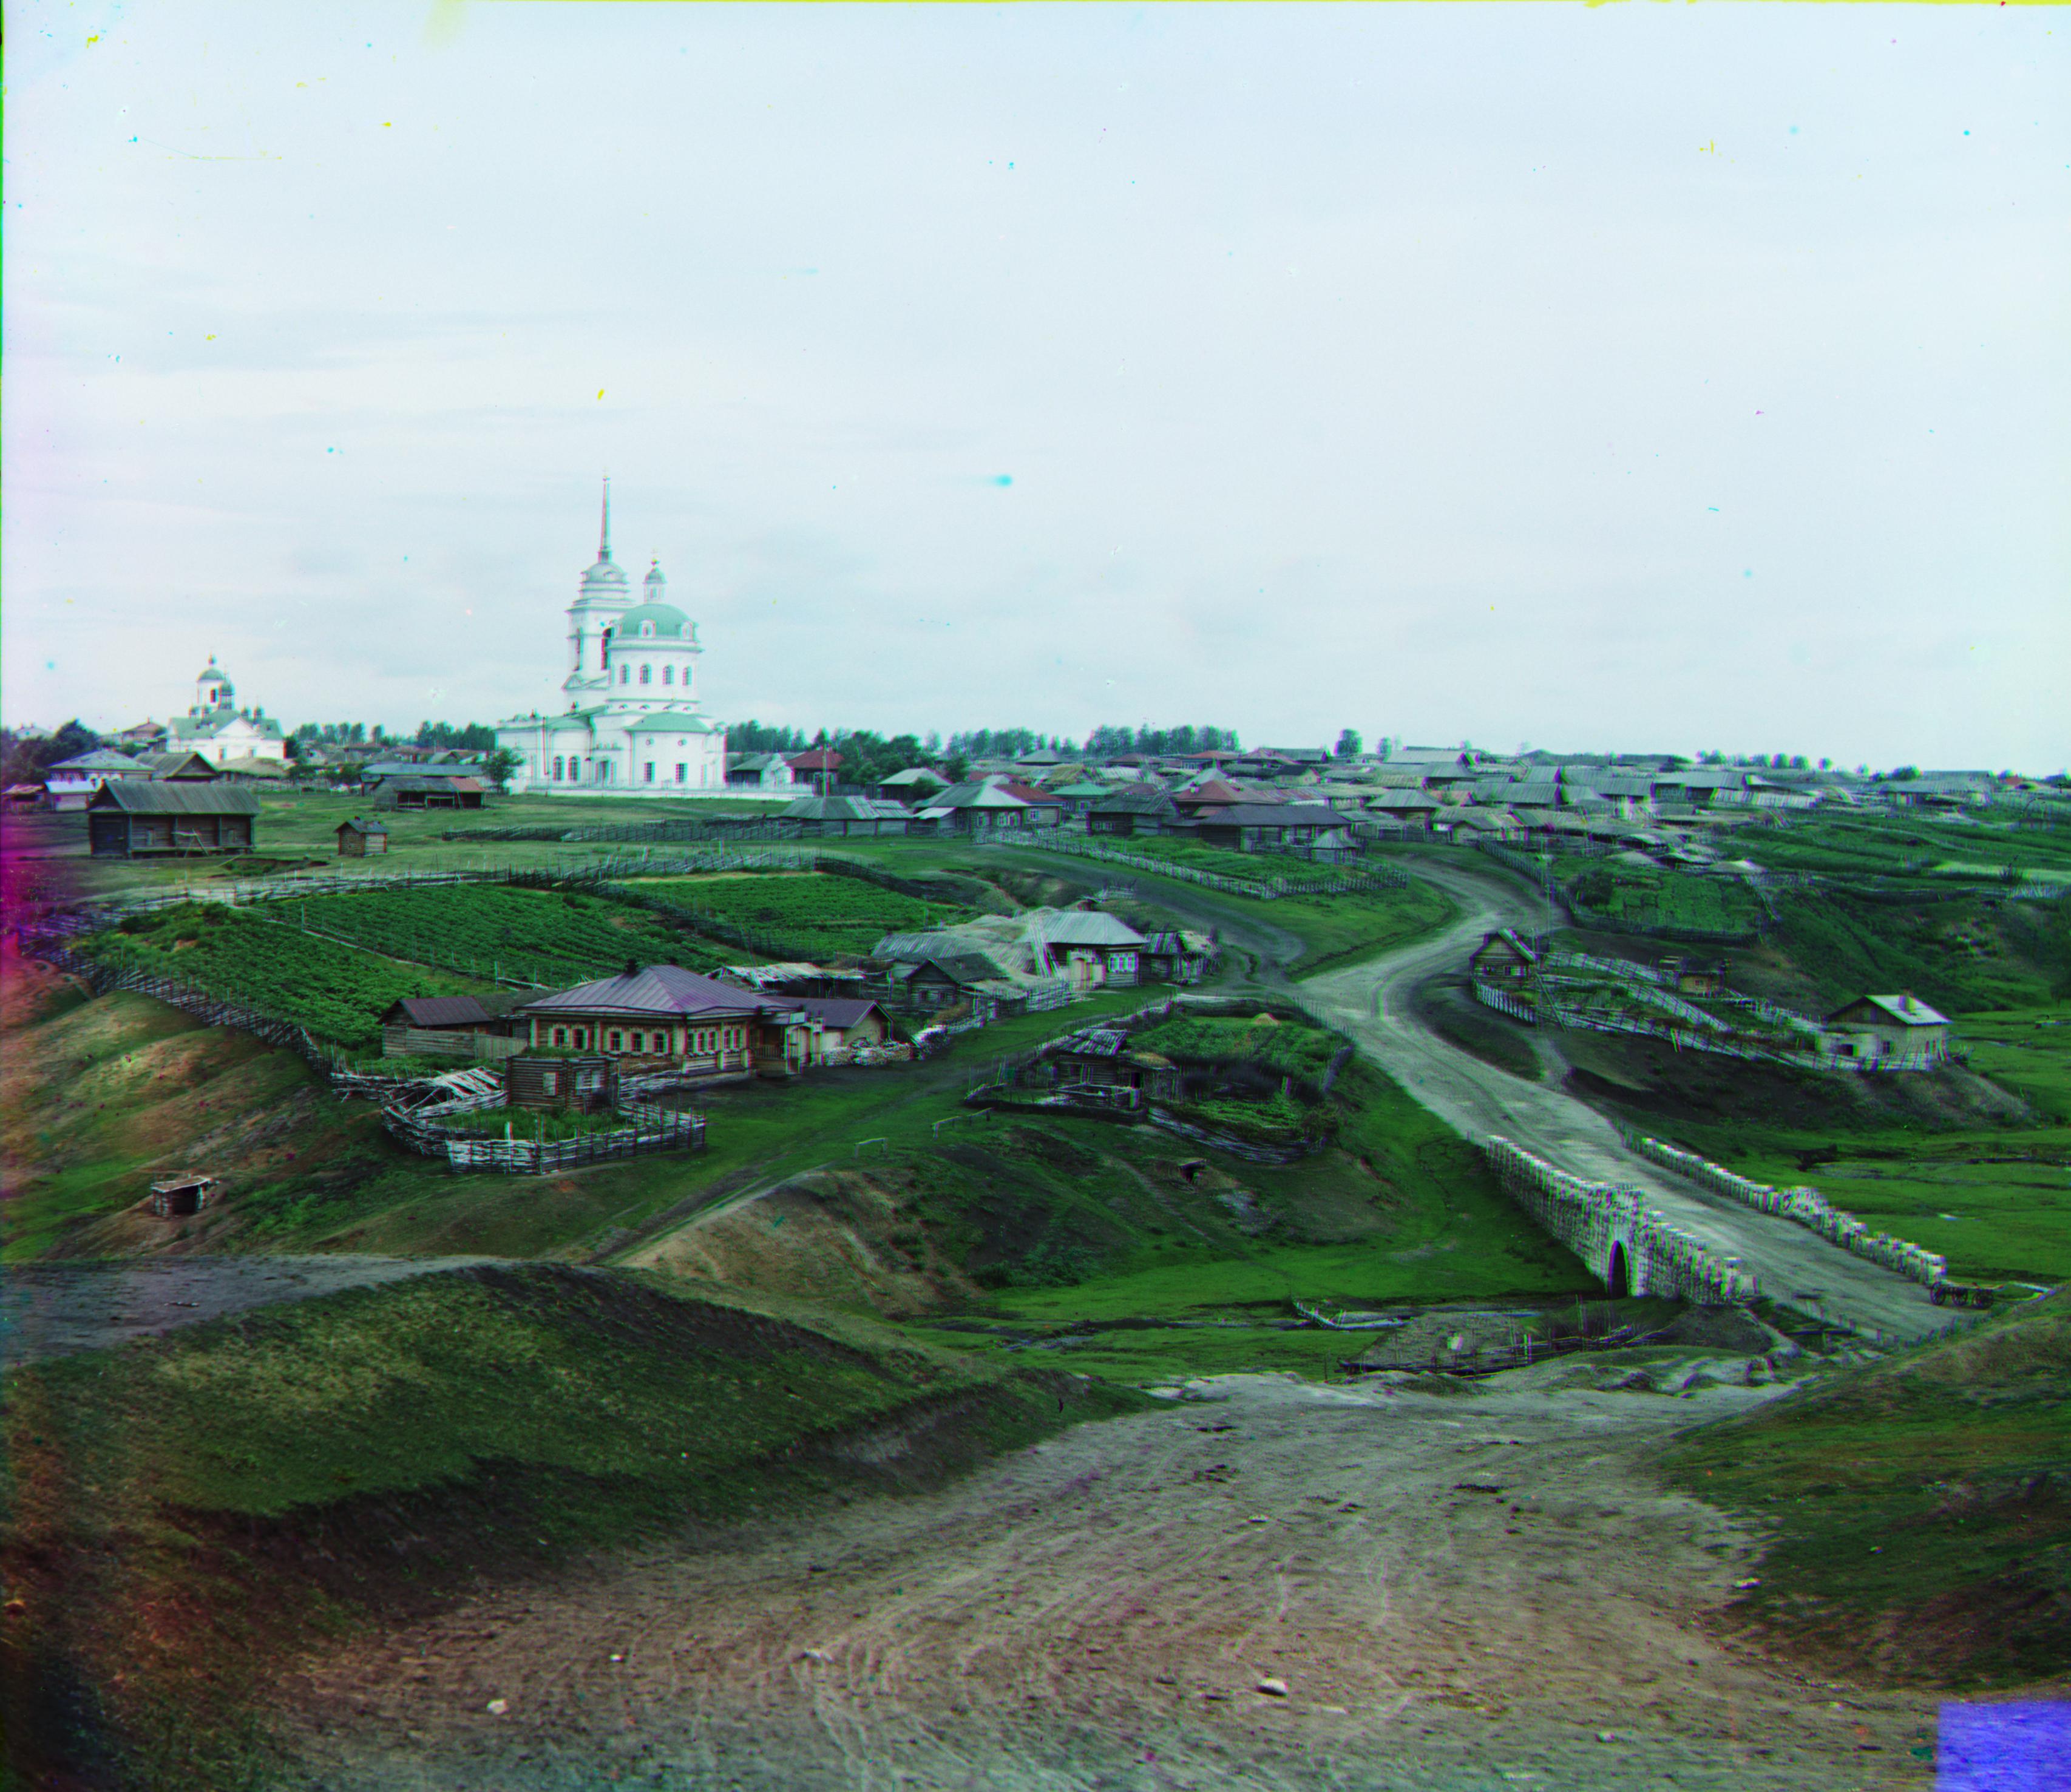
village
emir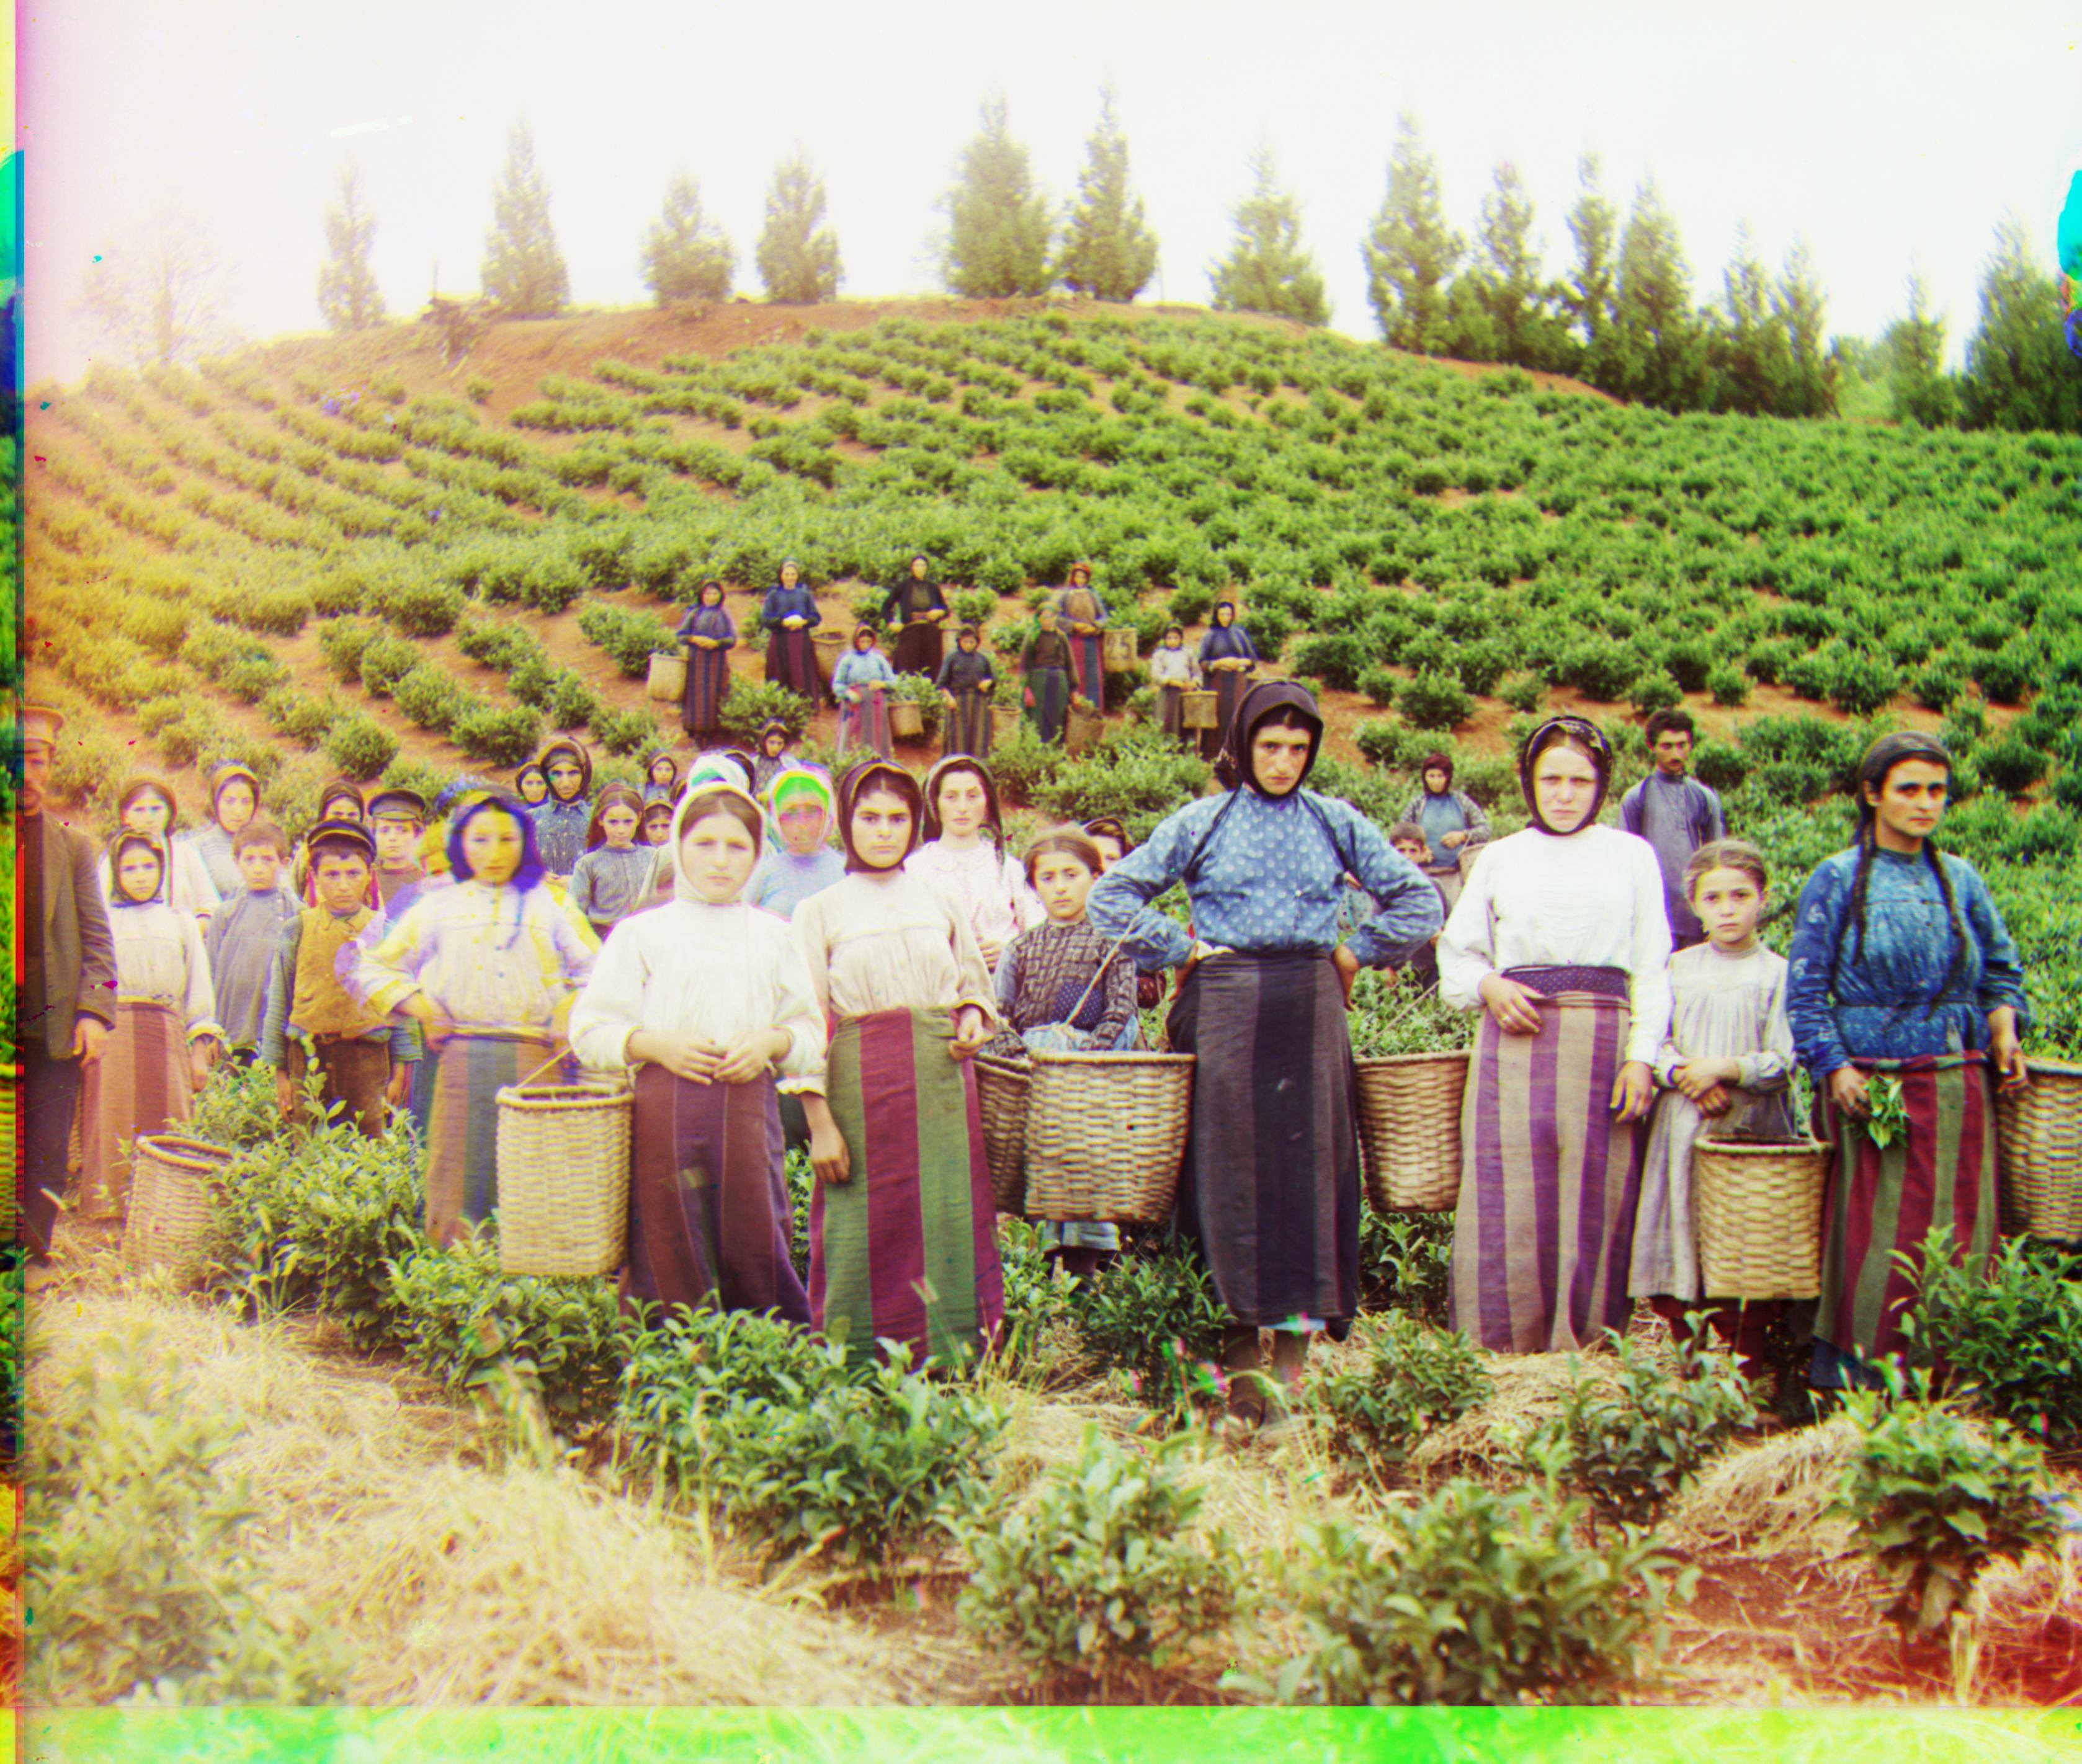
harvestersicon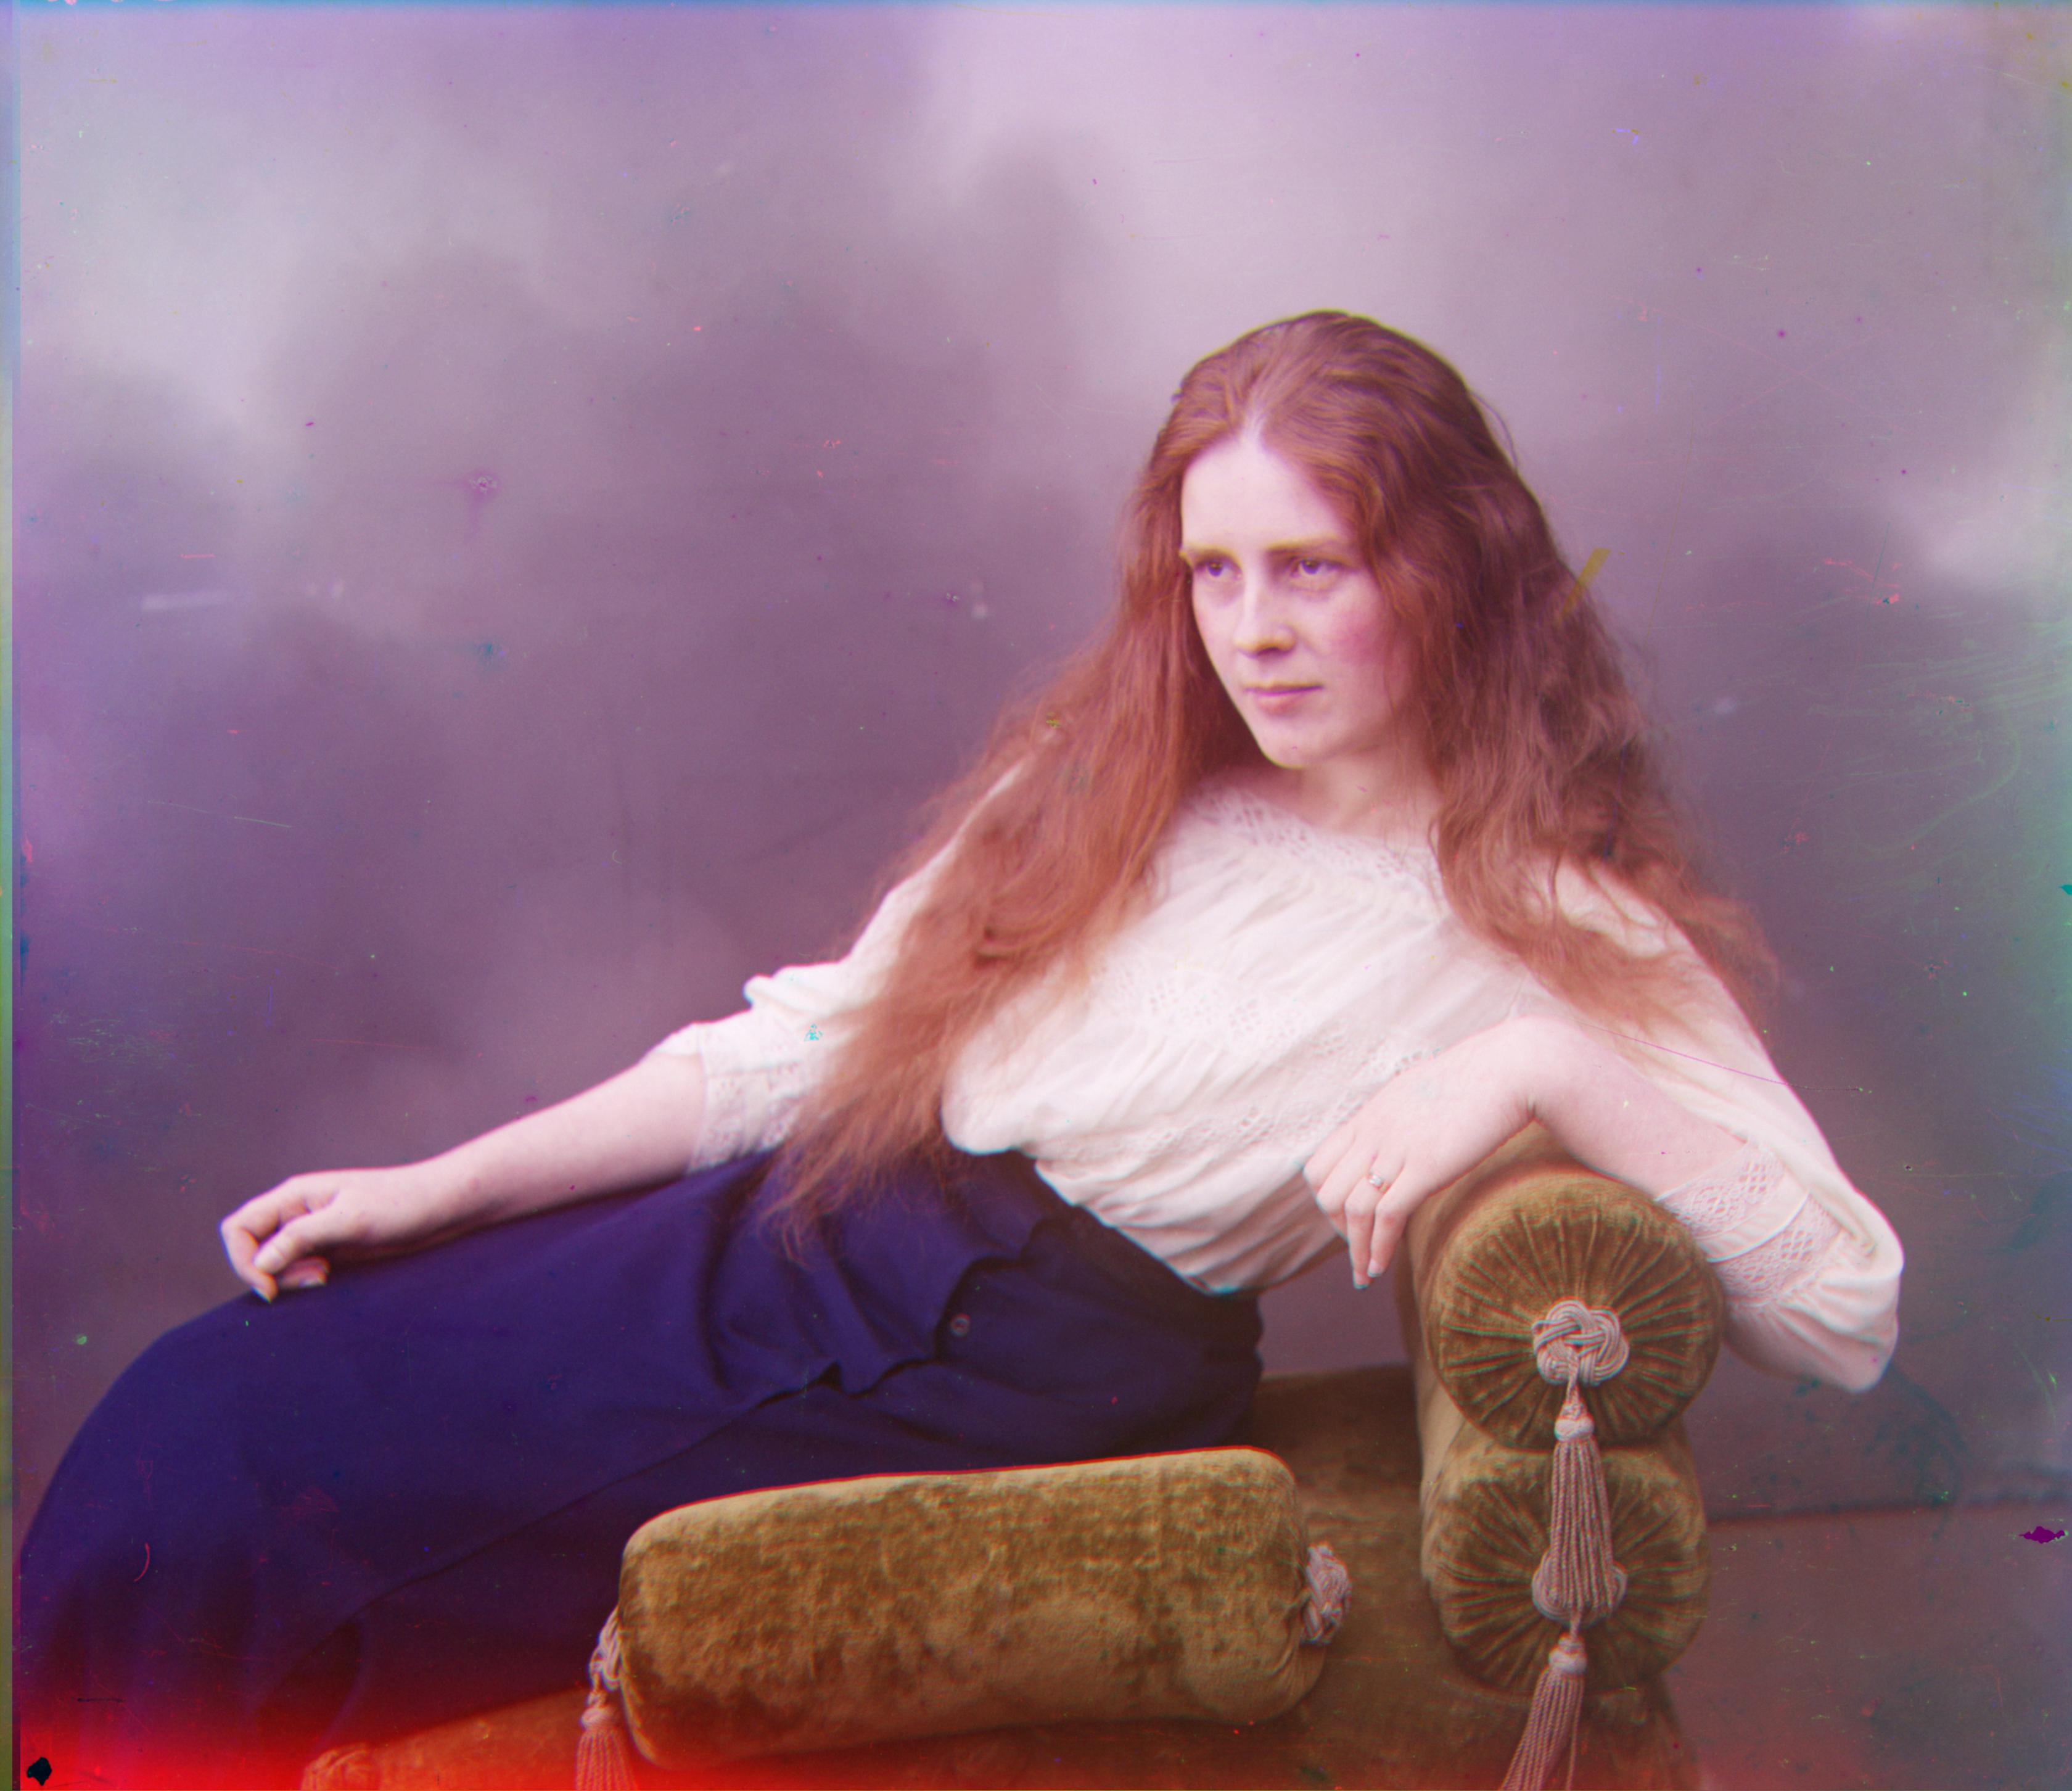
lady
self_portrait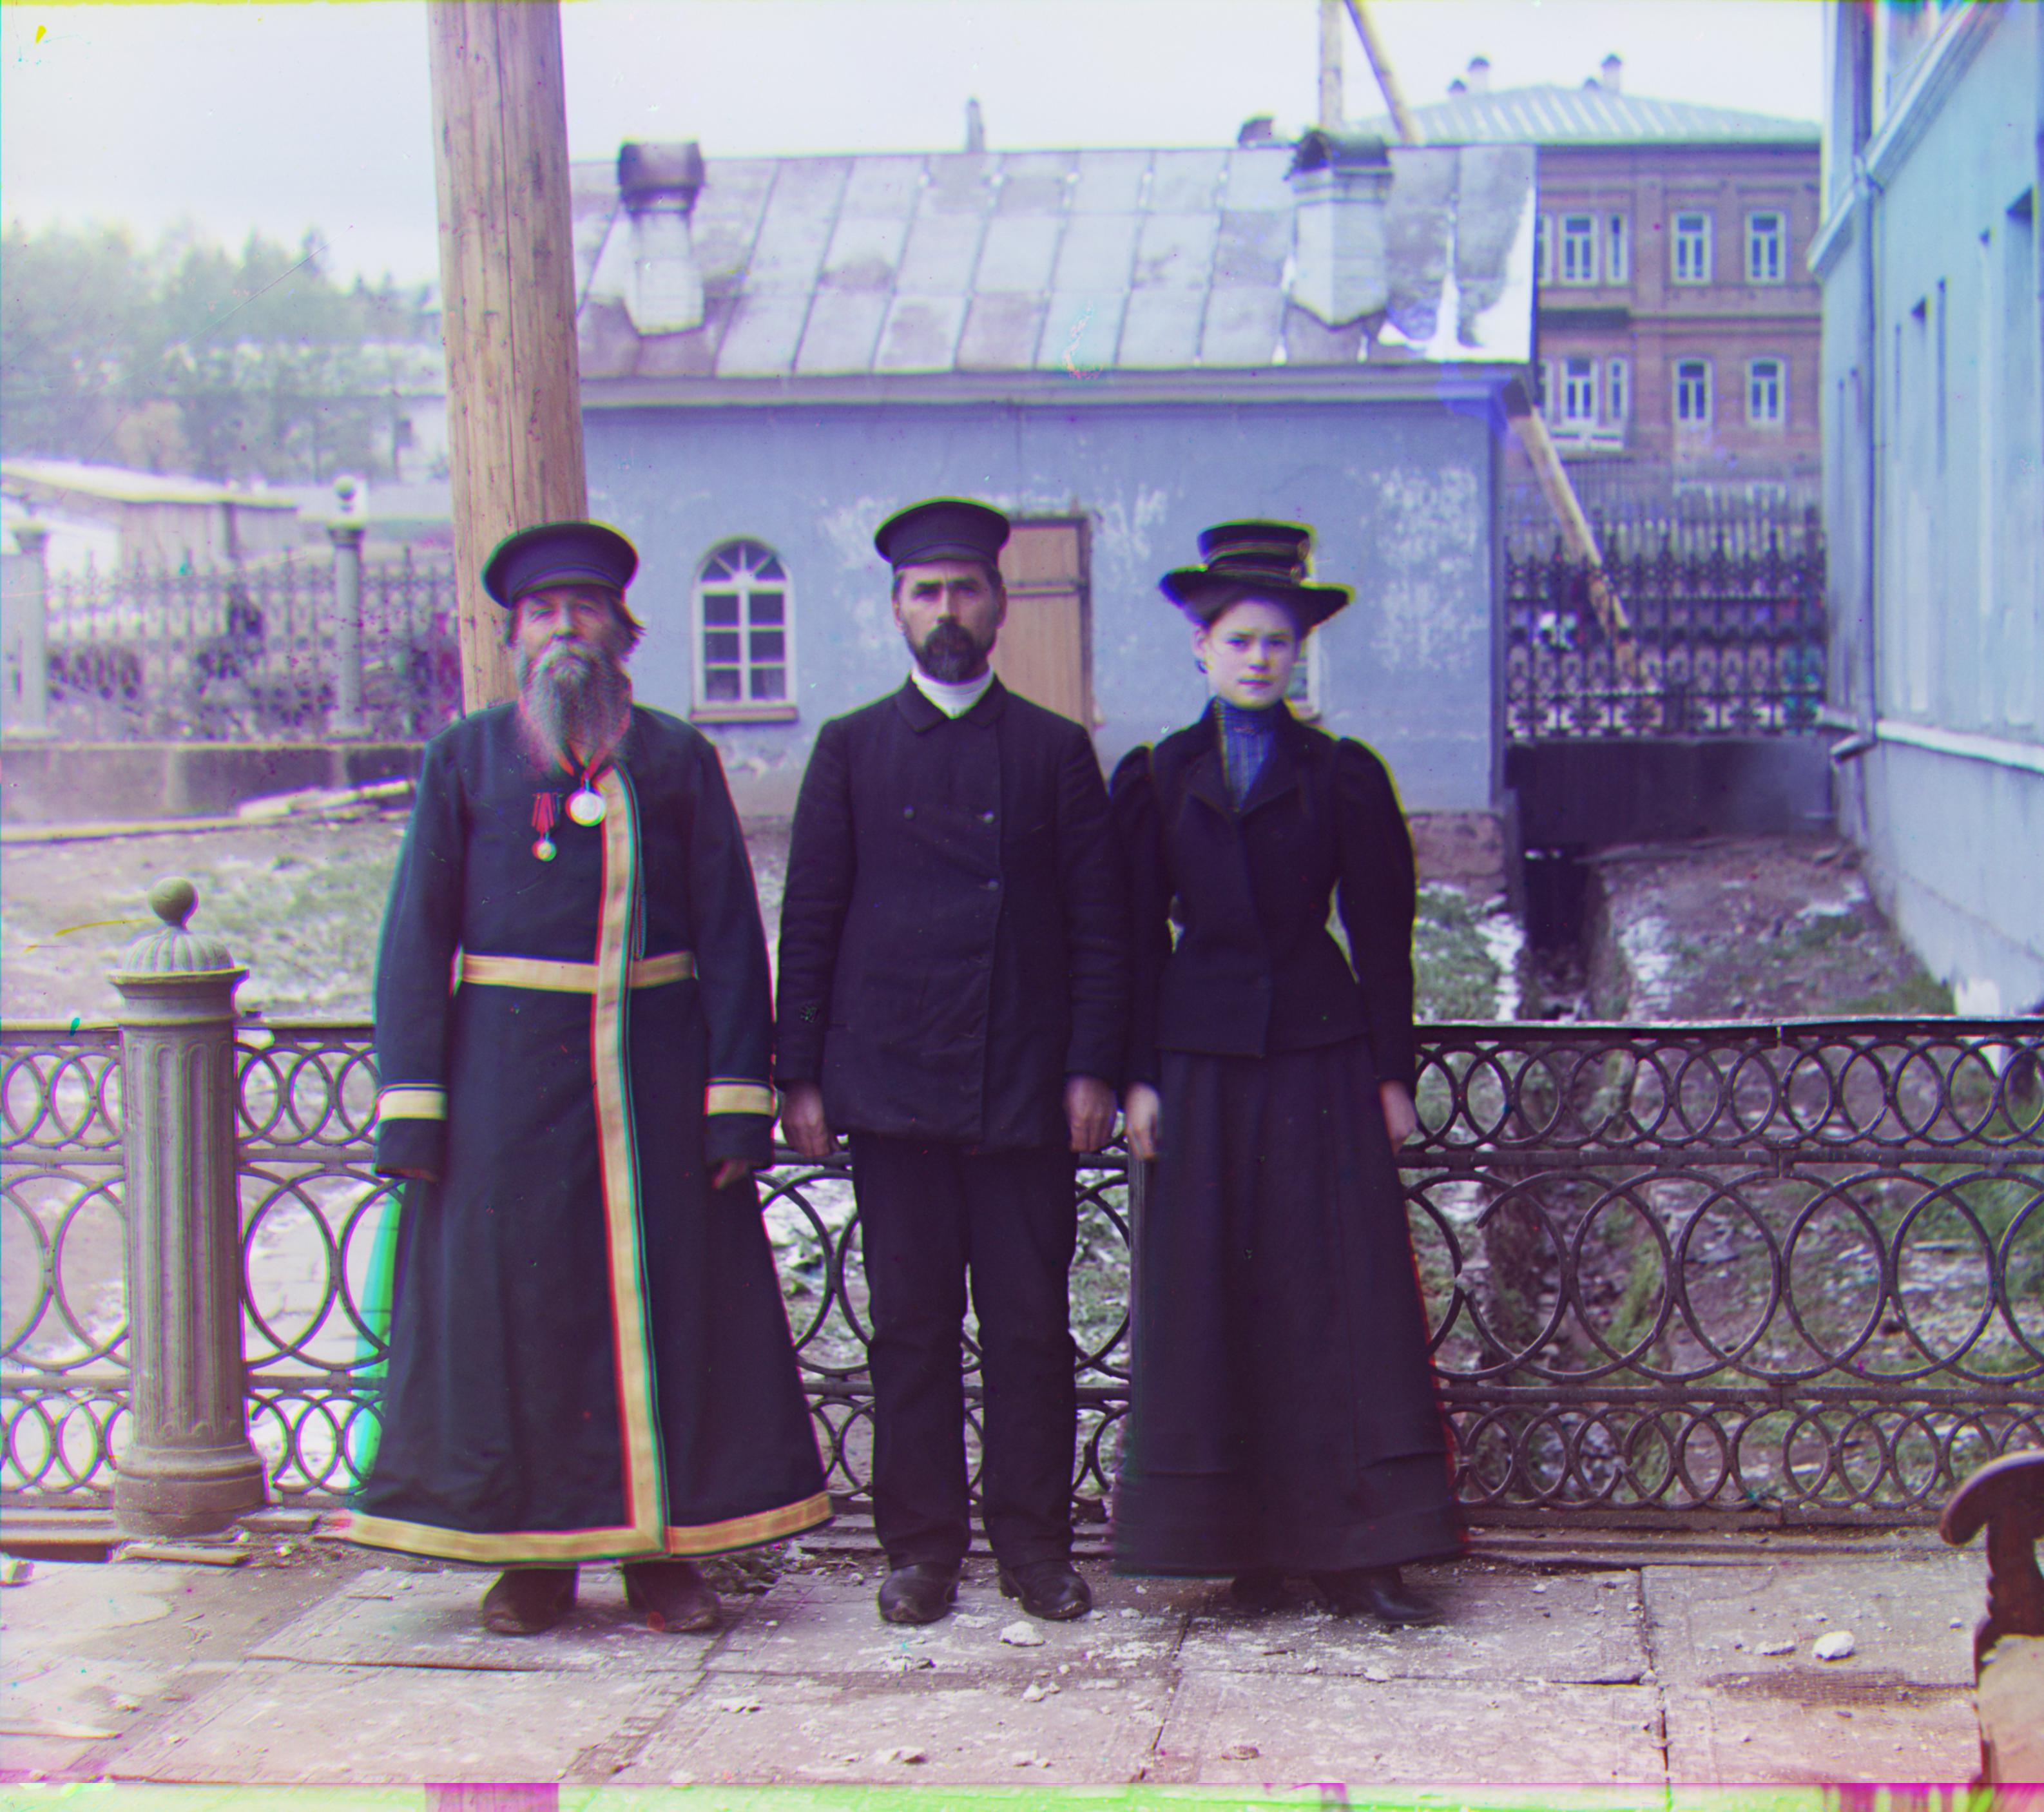
three_generations
train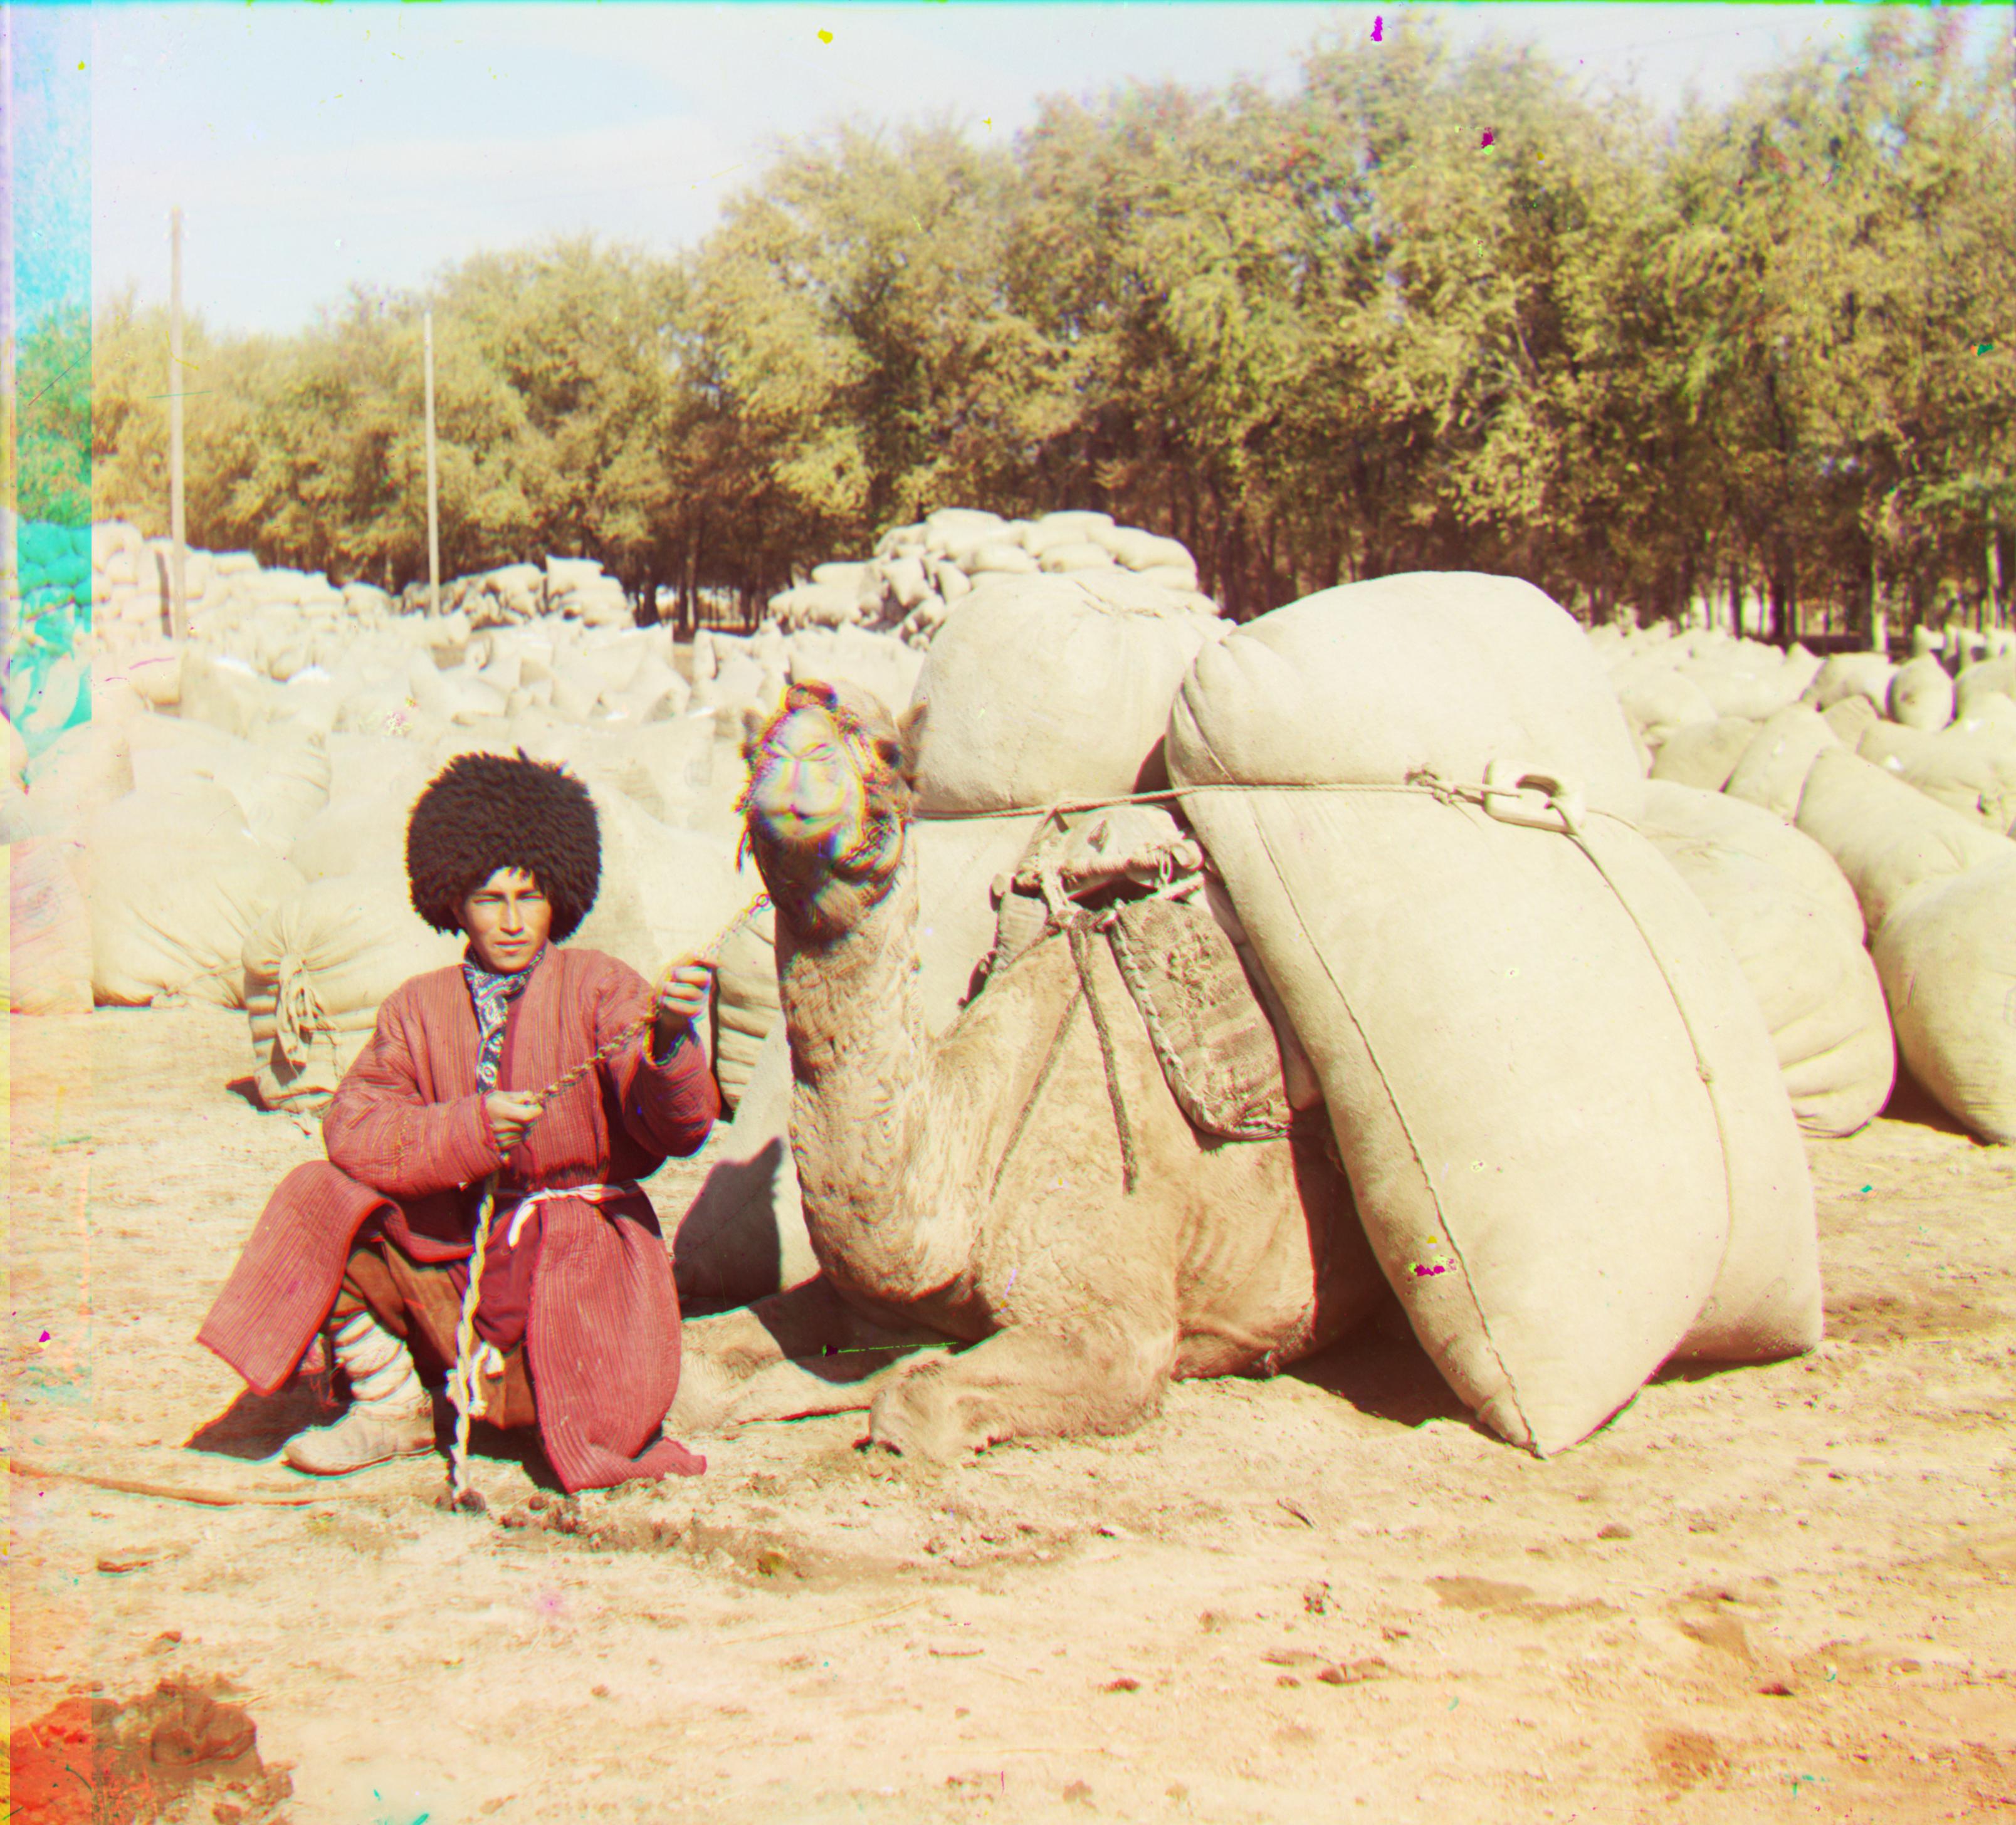
turkmenExtras
trees
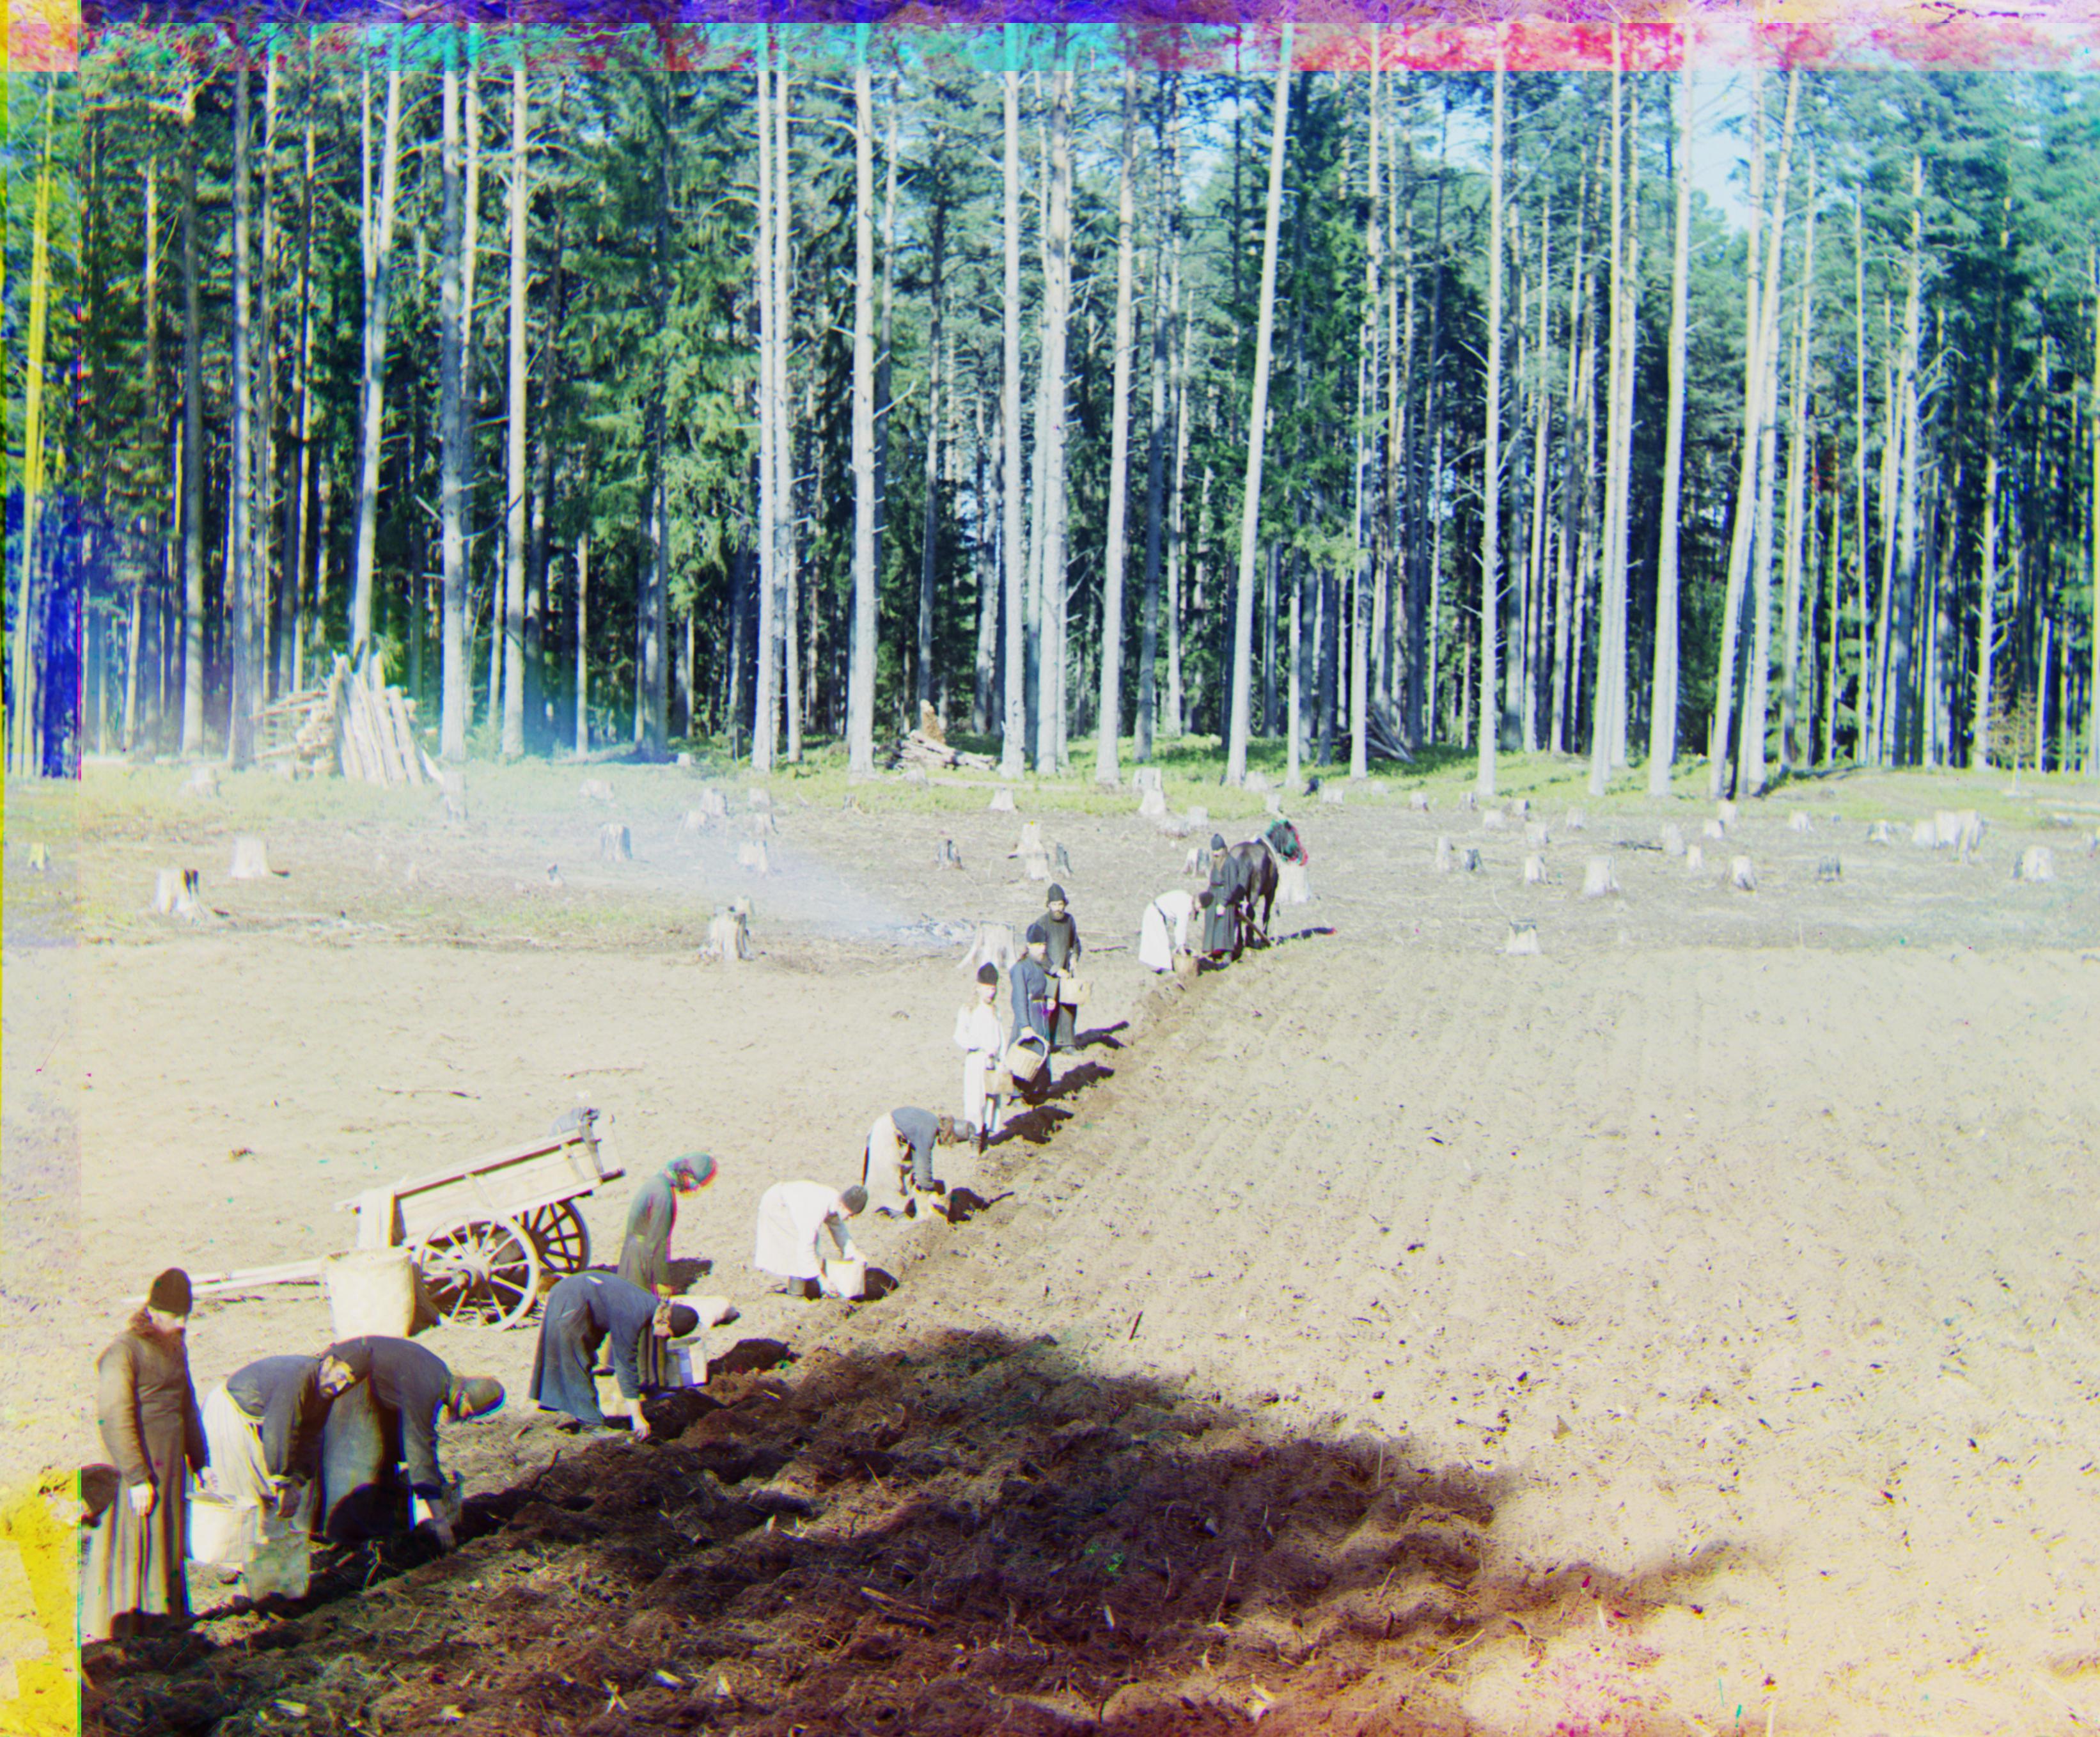
work
windmill