Overview
Sergei Mikhailovich Prokudin-Gorskii had the foresight to photograph many of his subjects three times. Once with a red filter, once with a green filter and once with a blue filter. The goal of this project was to able to combine those digitized glass plate images and create one unified colored picture. This required aligning the colored channels in order to place them on top of each other in a way that makes a clear colored image.In other words, we wanted to prove that Prokudin-Gorskii was indeed correct in his foresight. His taking three images gives us incredible insight into the past! After all, pictures are worth a 1,000 words and many, many pixels :)
My Approach
In order to align the images, I started with a naive exhaustive search over a search range (15, as suggested). This meant that I would try to align the red/green channel with the blue channel by moving the red/green channel up to 15 pixels in the left, right, up, and down directions. I would choose the offset based on the one that better matched the blue channel based on my chosen similarity metric. I tried both the SSD and NCC similarity metrics. At this point, neither seemed significantly better than the other. To be honest, when I saw the output I was already happy -- it was really, really cool to see a colored image pop out from what seem to just be three gray-scale images.The next step, to make sure that I could color larger images as well, was to create an image pyramid. An image pyramid would allow me to scale down the image repeatedly, until the image reaches some base image size. Then, I would calculate the offset for this base image size. Using this offset, I would align the image right above the base image size in the image pyramid (so of a larger size) based on the calculated offset and again calculate the offset for this new image. This process would continue until I got back to my regular image size and calculated the offset for that.
The key in this algorithm is noticing that at lower sizes, each pixel value actually represents multiple pixels of the original image size, so moving over by one pixel is actually moving a lot more! This is helpful because we start with a coarse approximation of the offset and move to a finer grain result without having to actually comb through an insane range of pixels at the original image size.
With the approaches that I described so far, I got some results, but there were two problems.
1. They seemed visibly improvable
2. My algorithm was too slow
The following describes how I fixed those problems.
I originally implemented an algorithm to resize the images myself. In this approach, I took the average of every four original pixels to create an "average" new pixel value. However, this was too slow, so I ended up using the transform.resize method instead.
Optimizing my code with the introduction of a new "get_center_image" was very helpful. Previously, I was using the entire image to figure out what the offset should be, but because the edges have different artifacts, this was not as accurate as it could be. This also definitely helped with speed, as I took the center 1/2 of the image only, so there were 1/2 less data values to deal with when calculating the offset!
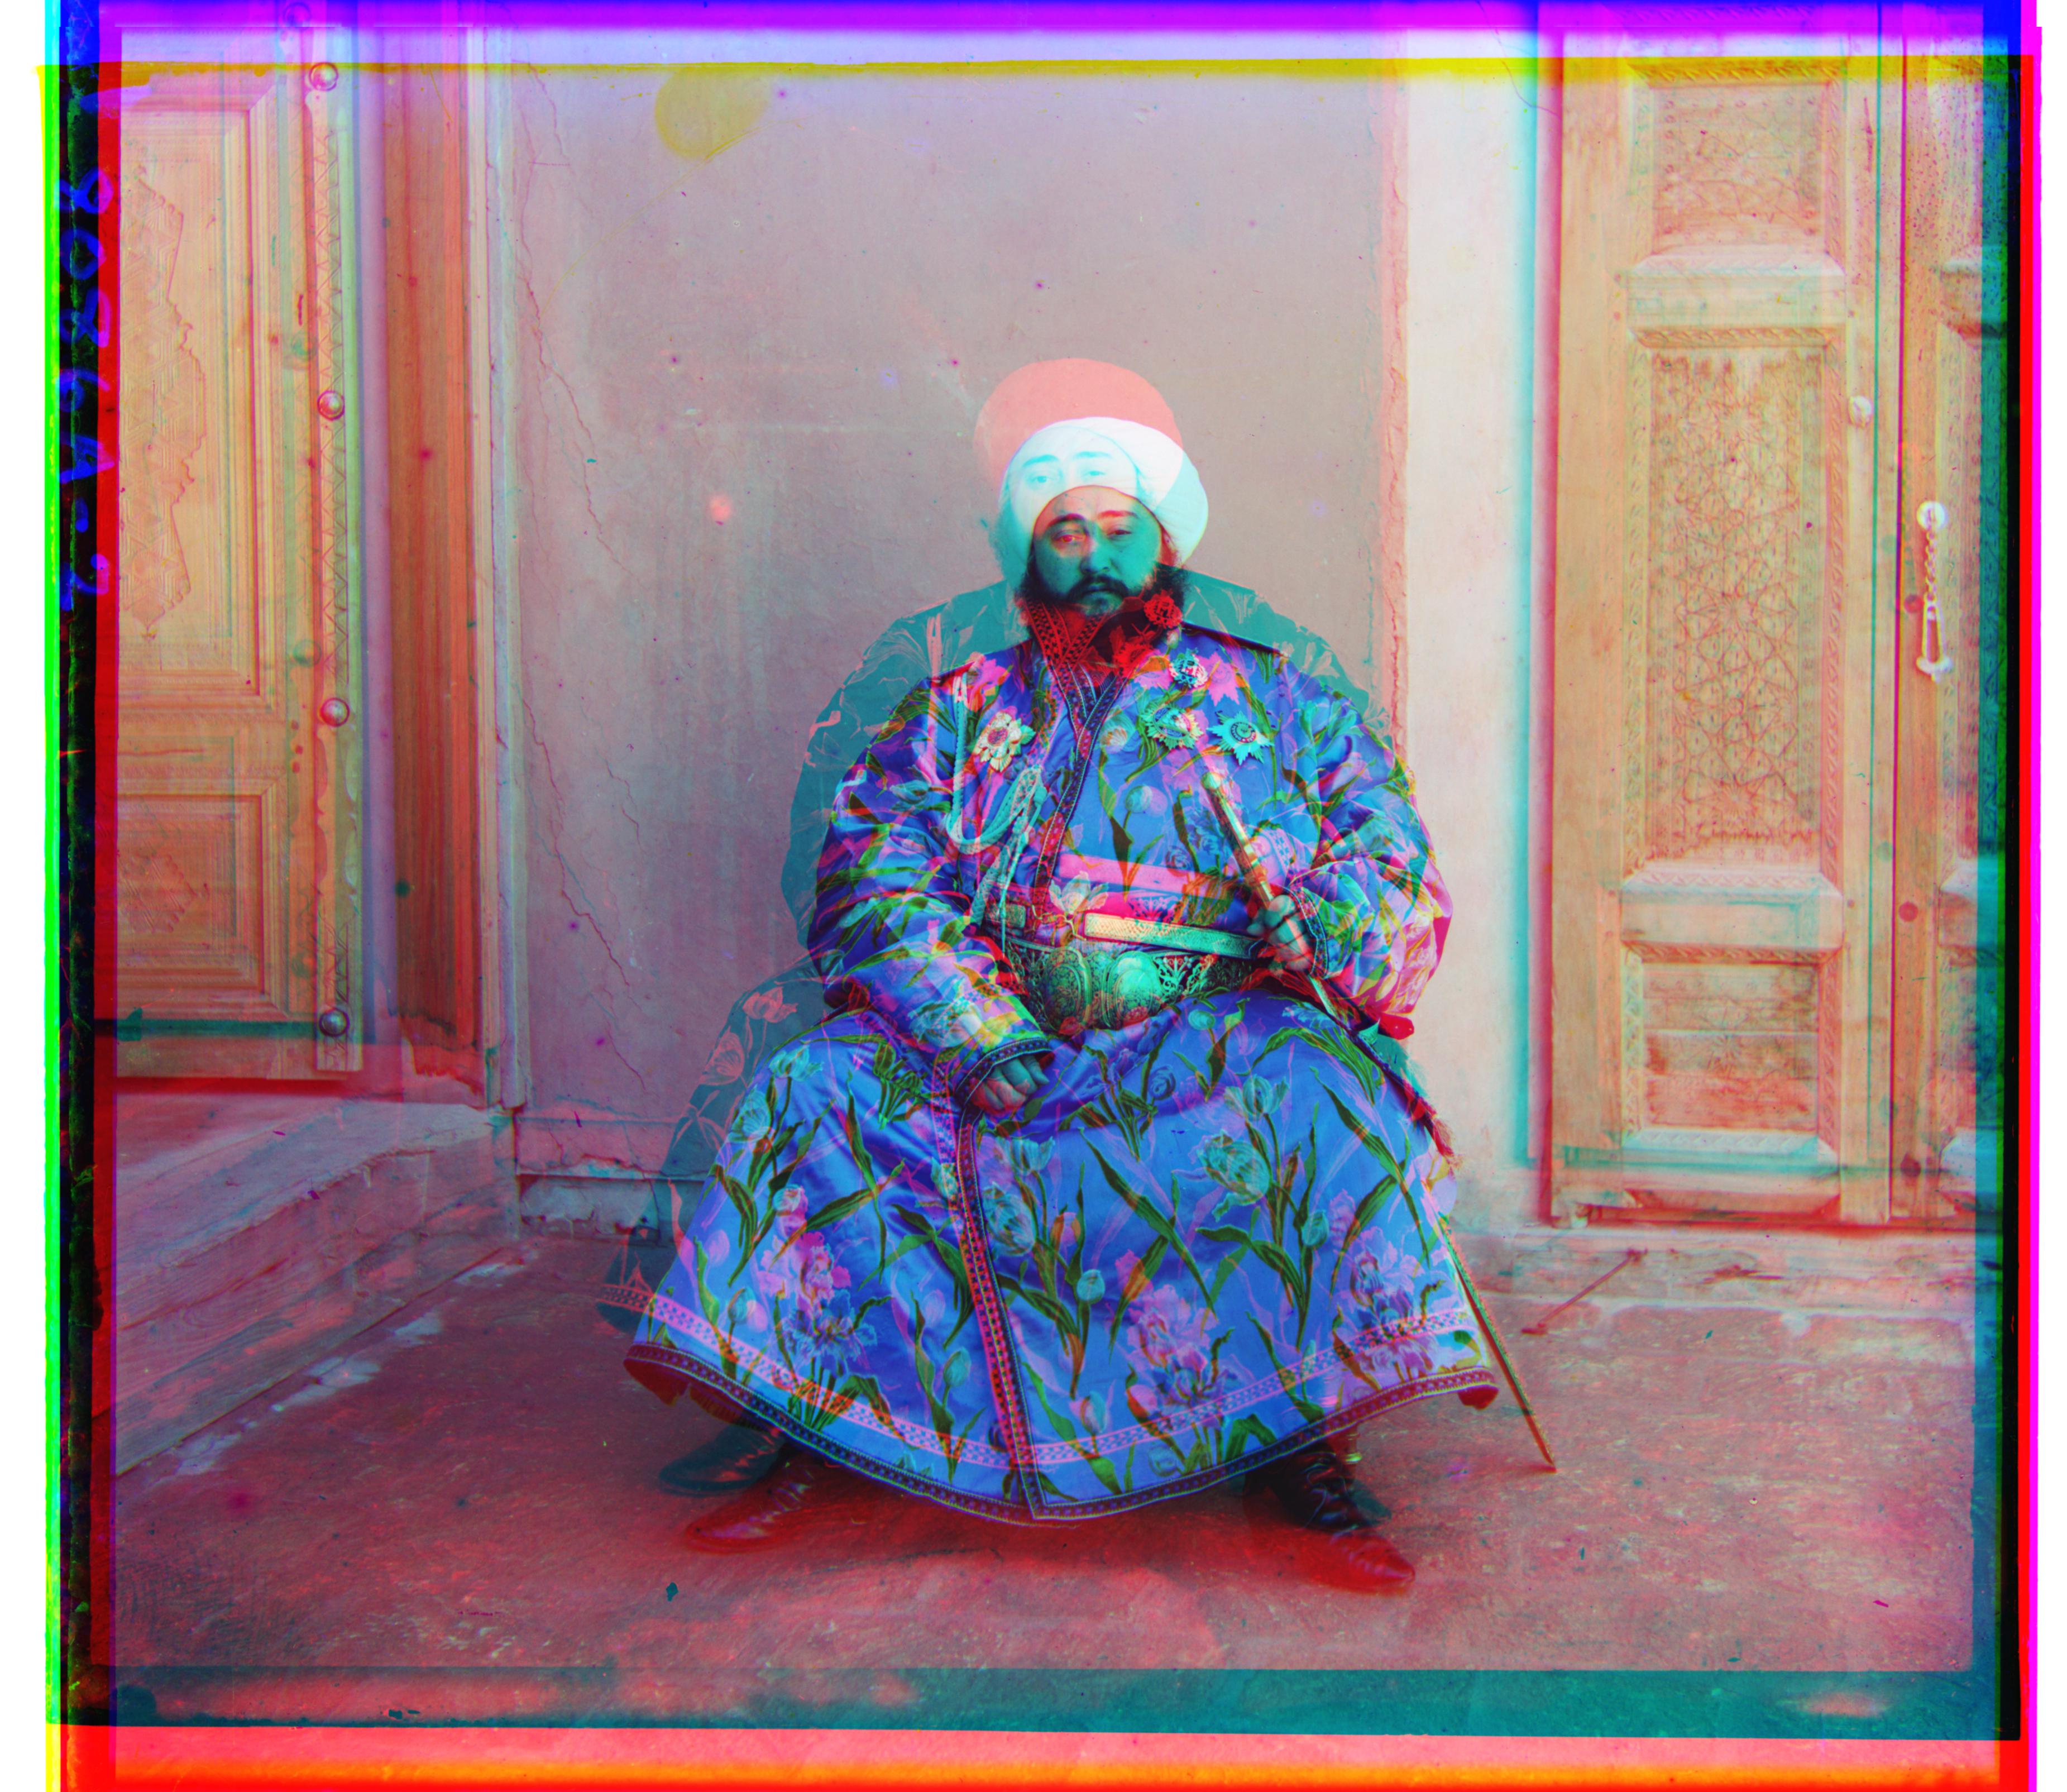
Of the example images, the only image that my algorithm seemed to fail for was the Emir image. Thanks to Taesung, I learned that this was a side-effect of the blue costume being so bright in the picture. The basic underpinning of the algorithm I used relied on different channels having similar intensities, because this was how their similarity was being calculated. The algorithm was trying its hardest to find a location such that the intensities could be as close as possible, even though the intensities weren't the same. In the future, I could use a similarity metric that measured relative intensity differences between neighboring pixels. I hypothesize that this would work well!
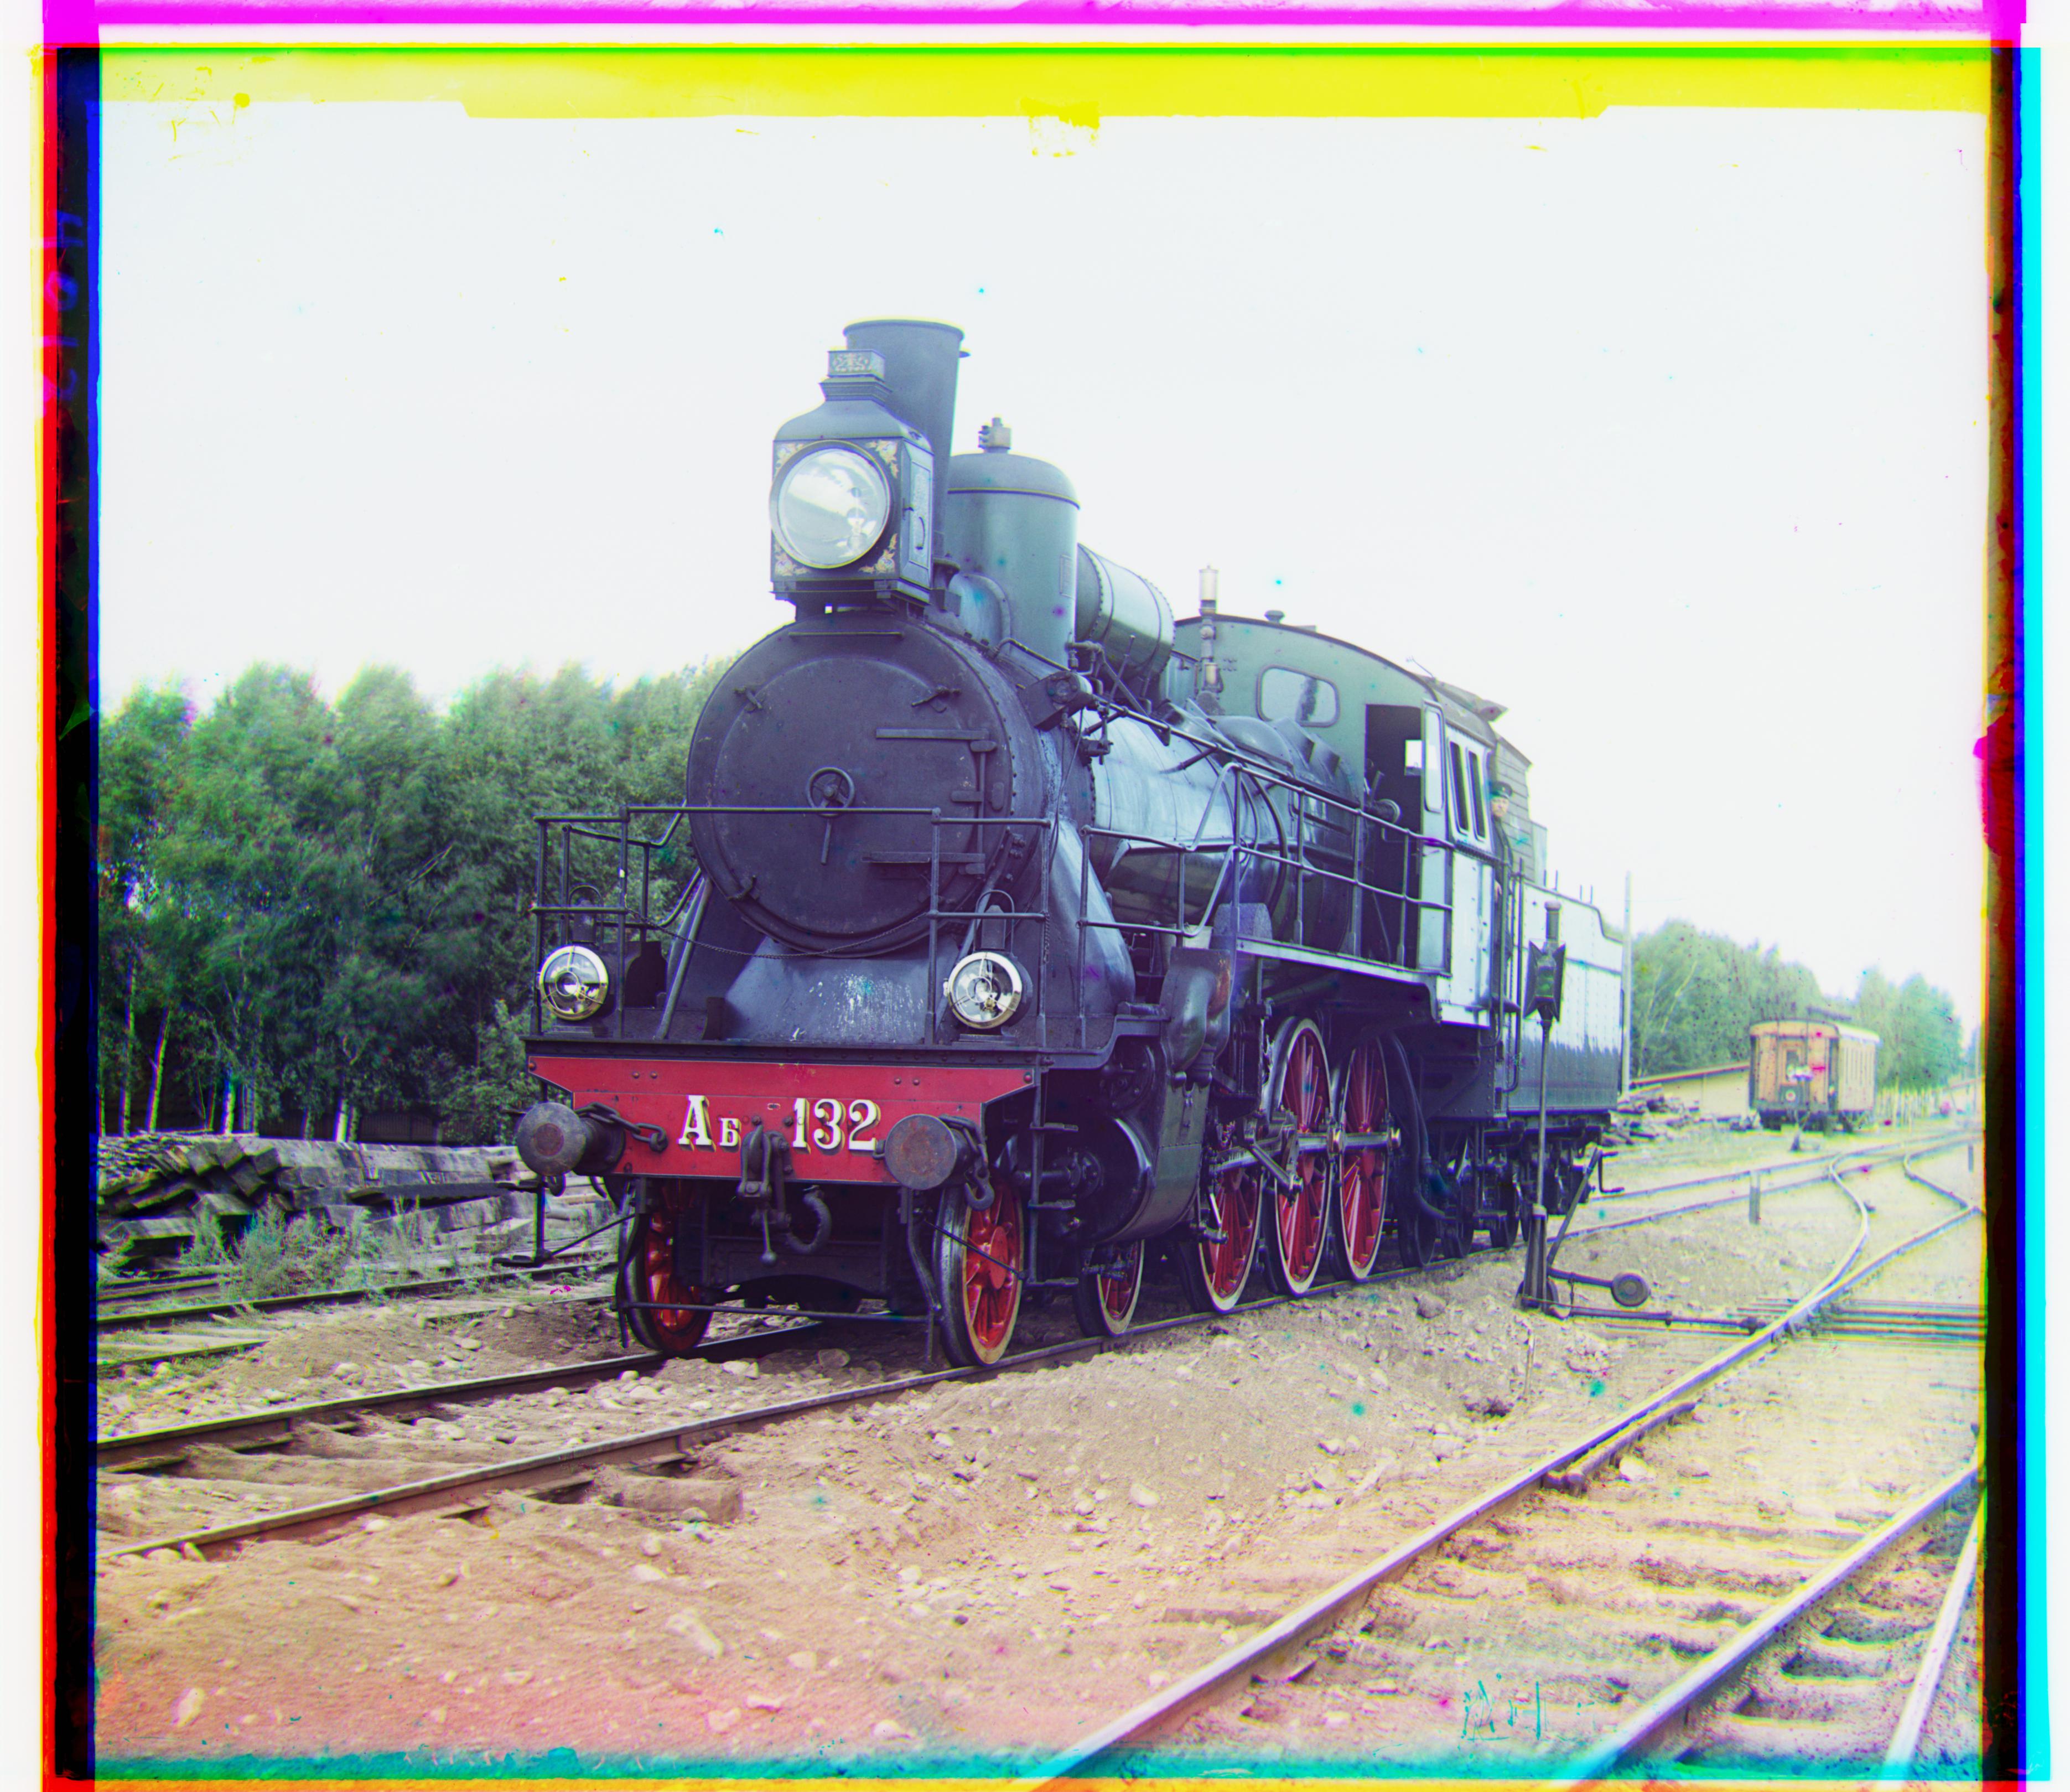
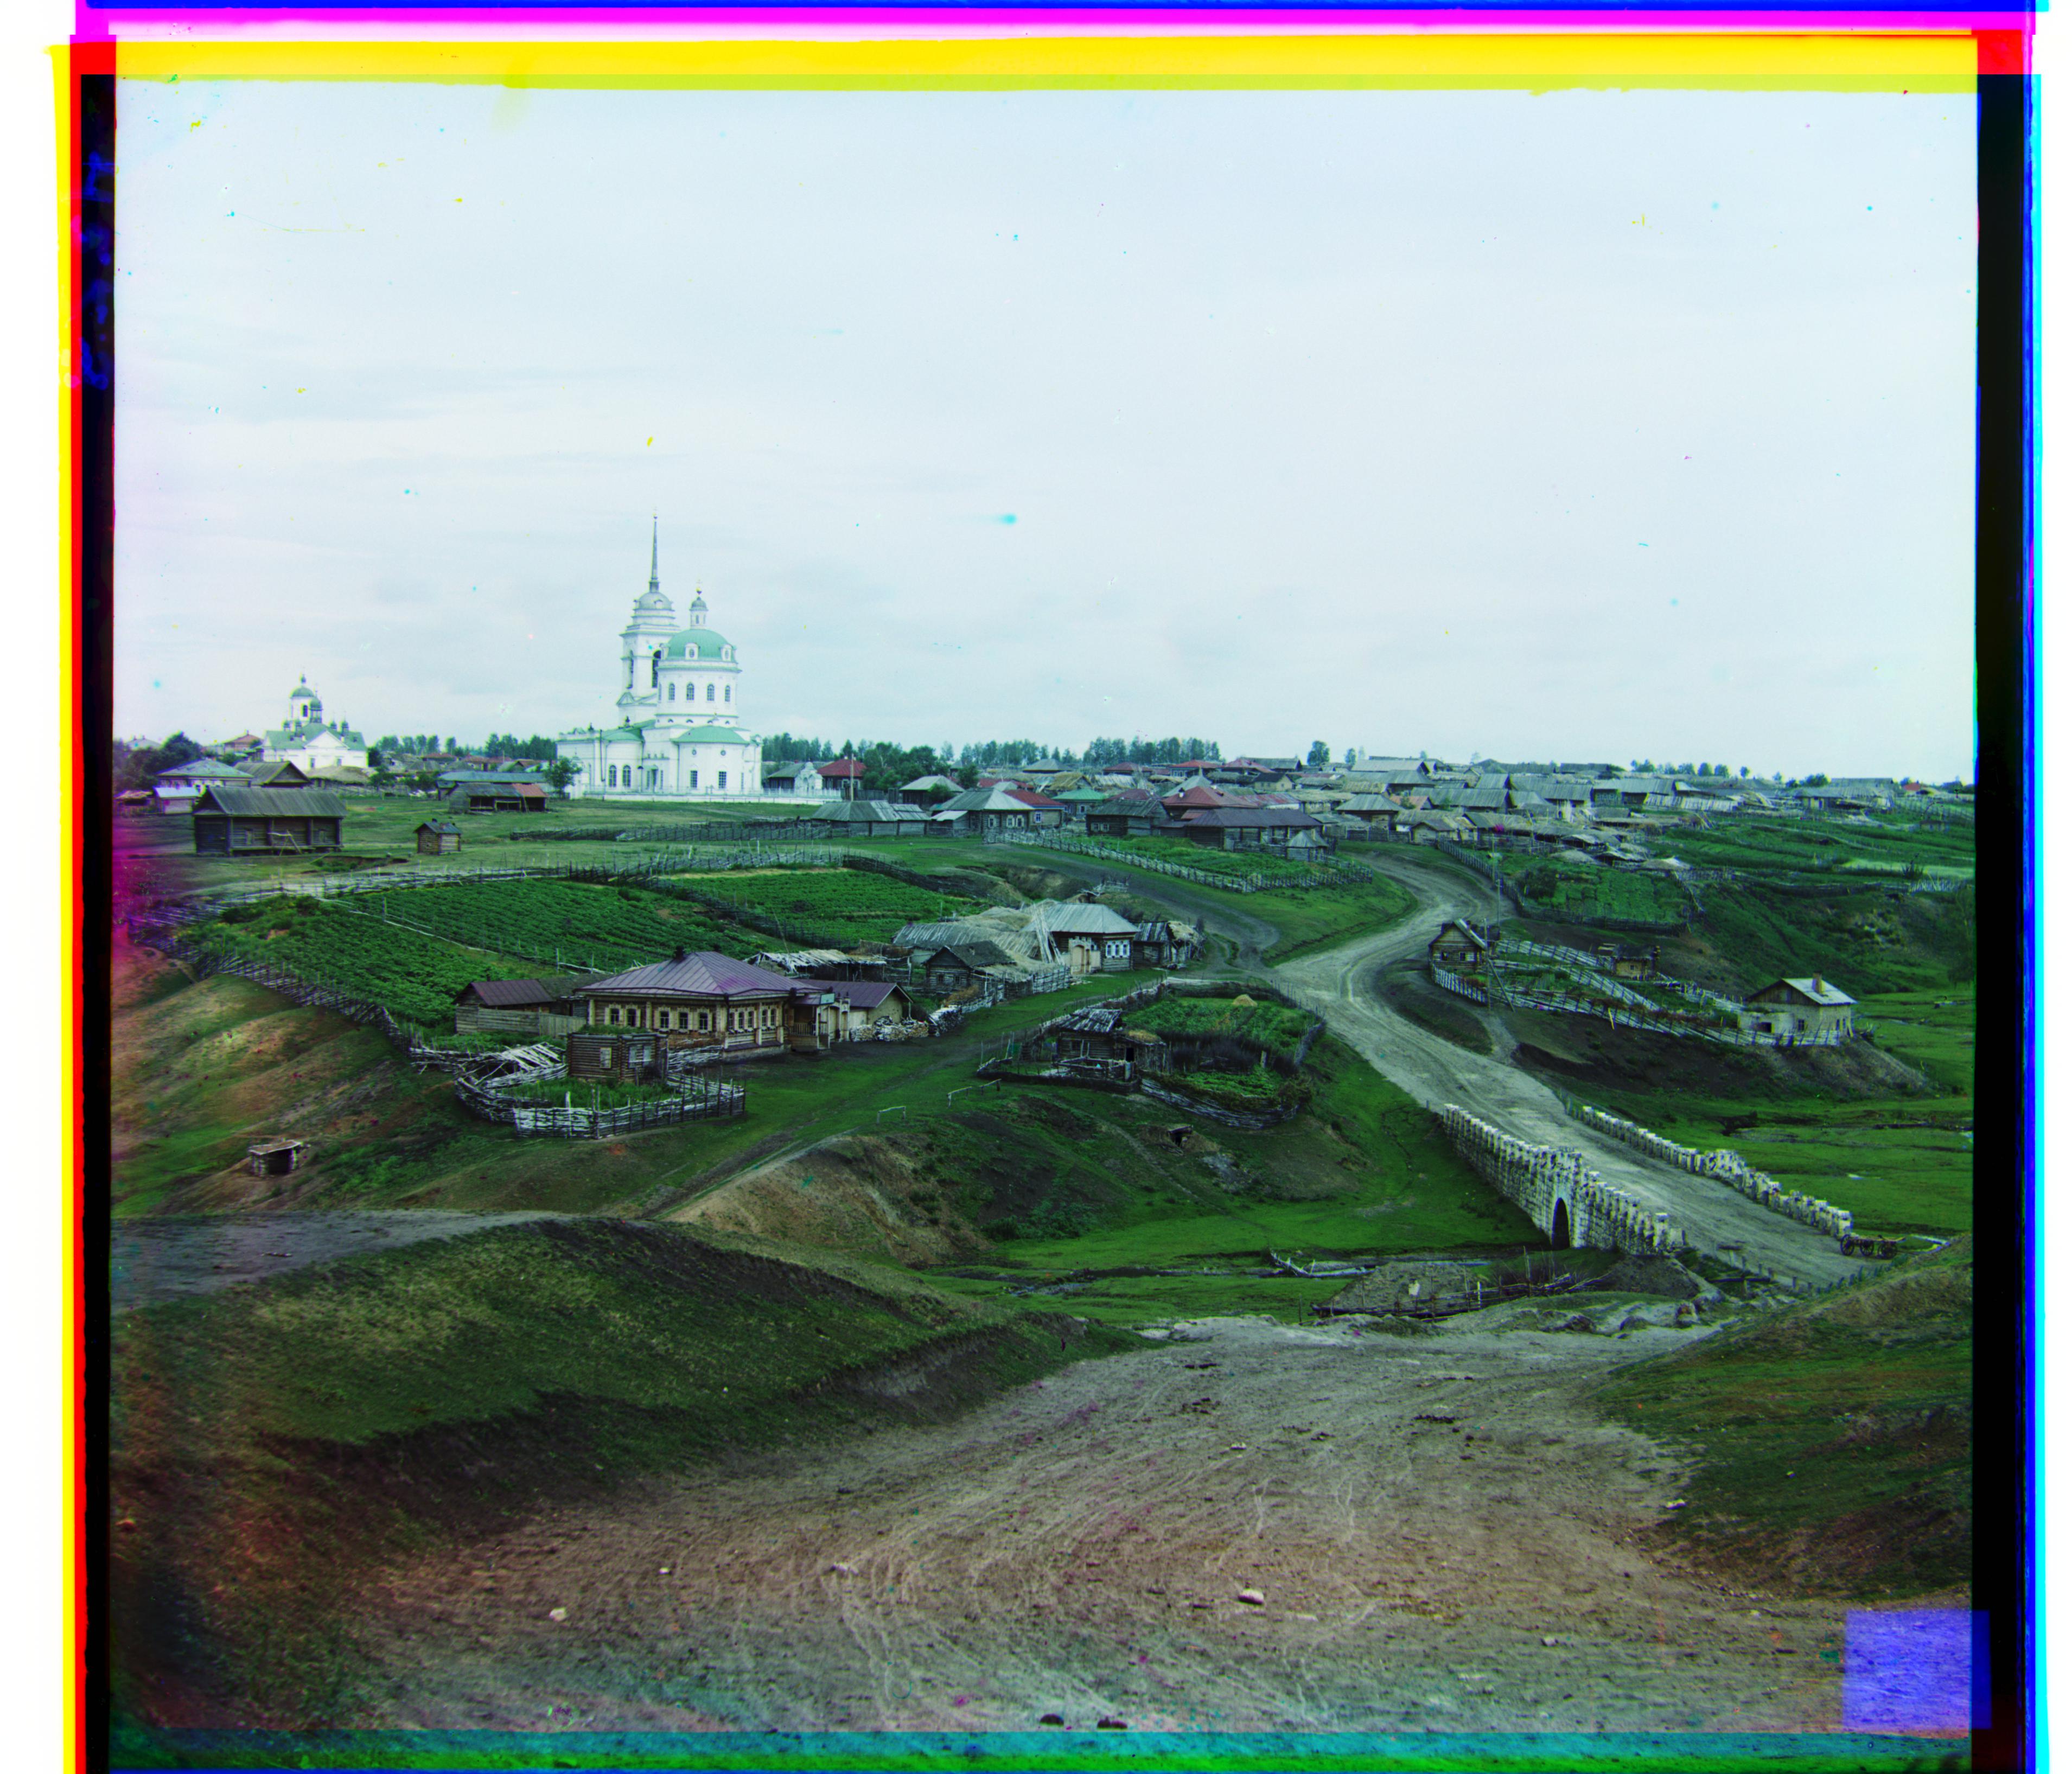
Example Images
In the images below, I've listed the offset, which is the displacement of the red and green channels from the blue channel used to get the image shown. The 'G' represents the green channel, and the 'R' the red channnel. The offset is given in [x, y] form.
|
|
|
|
|
|
|

|
|
|
|

|
|
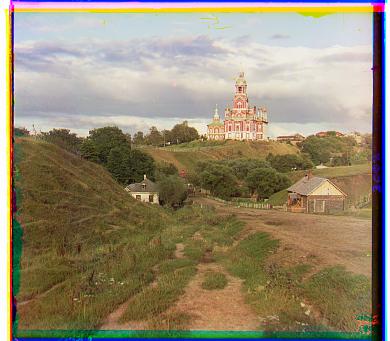
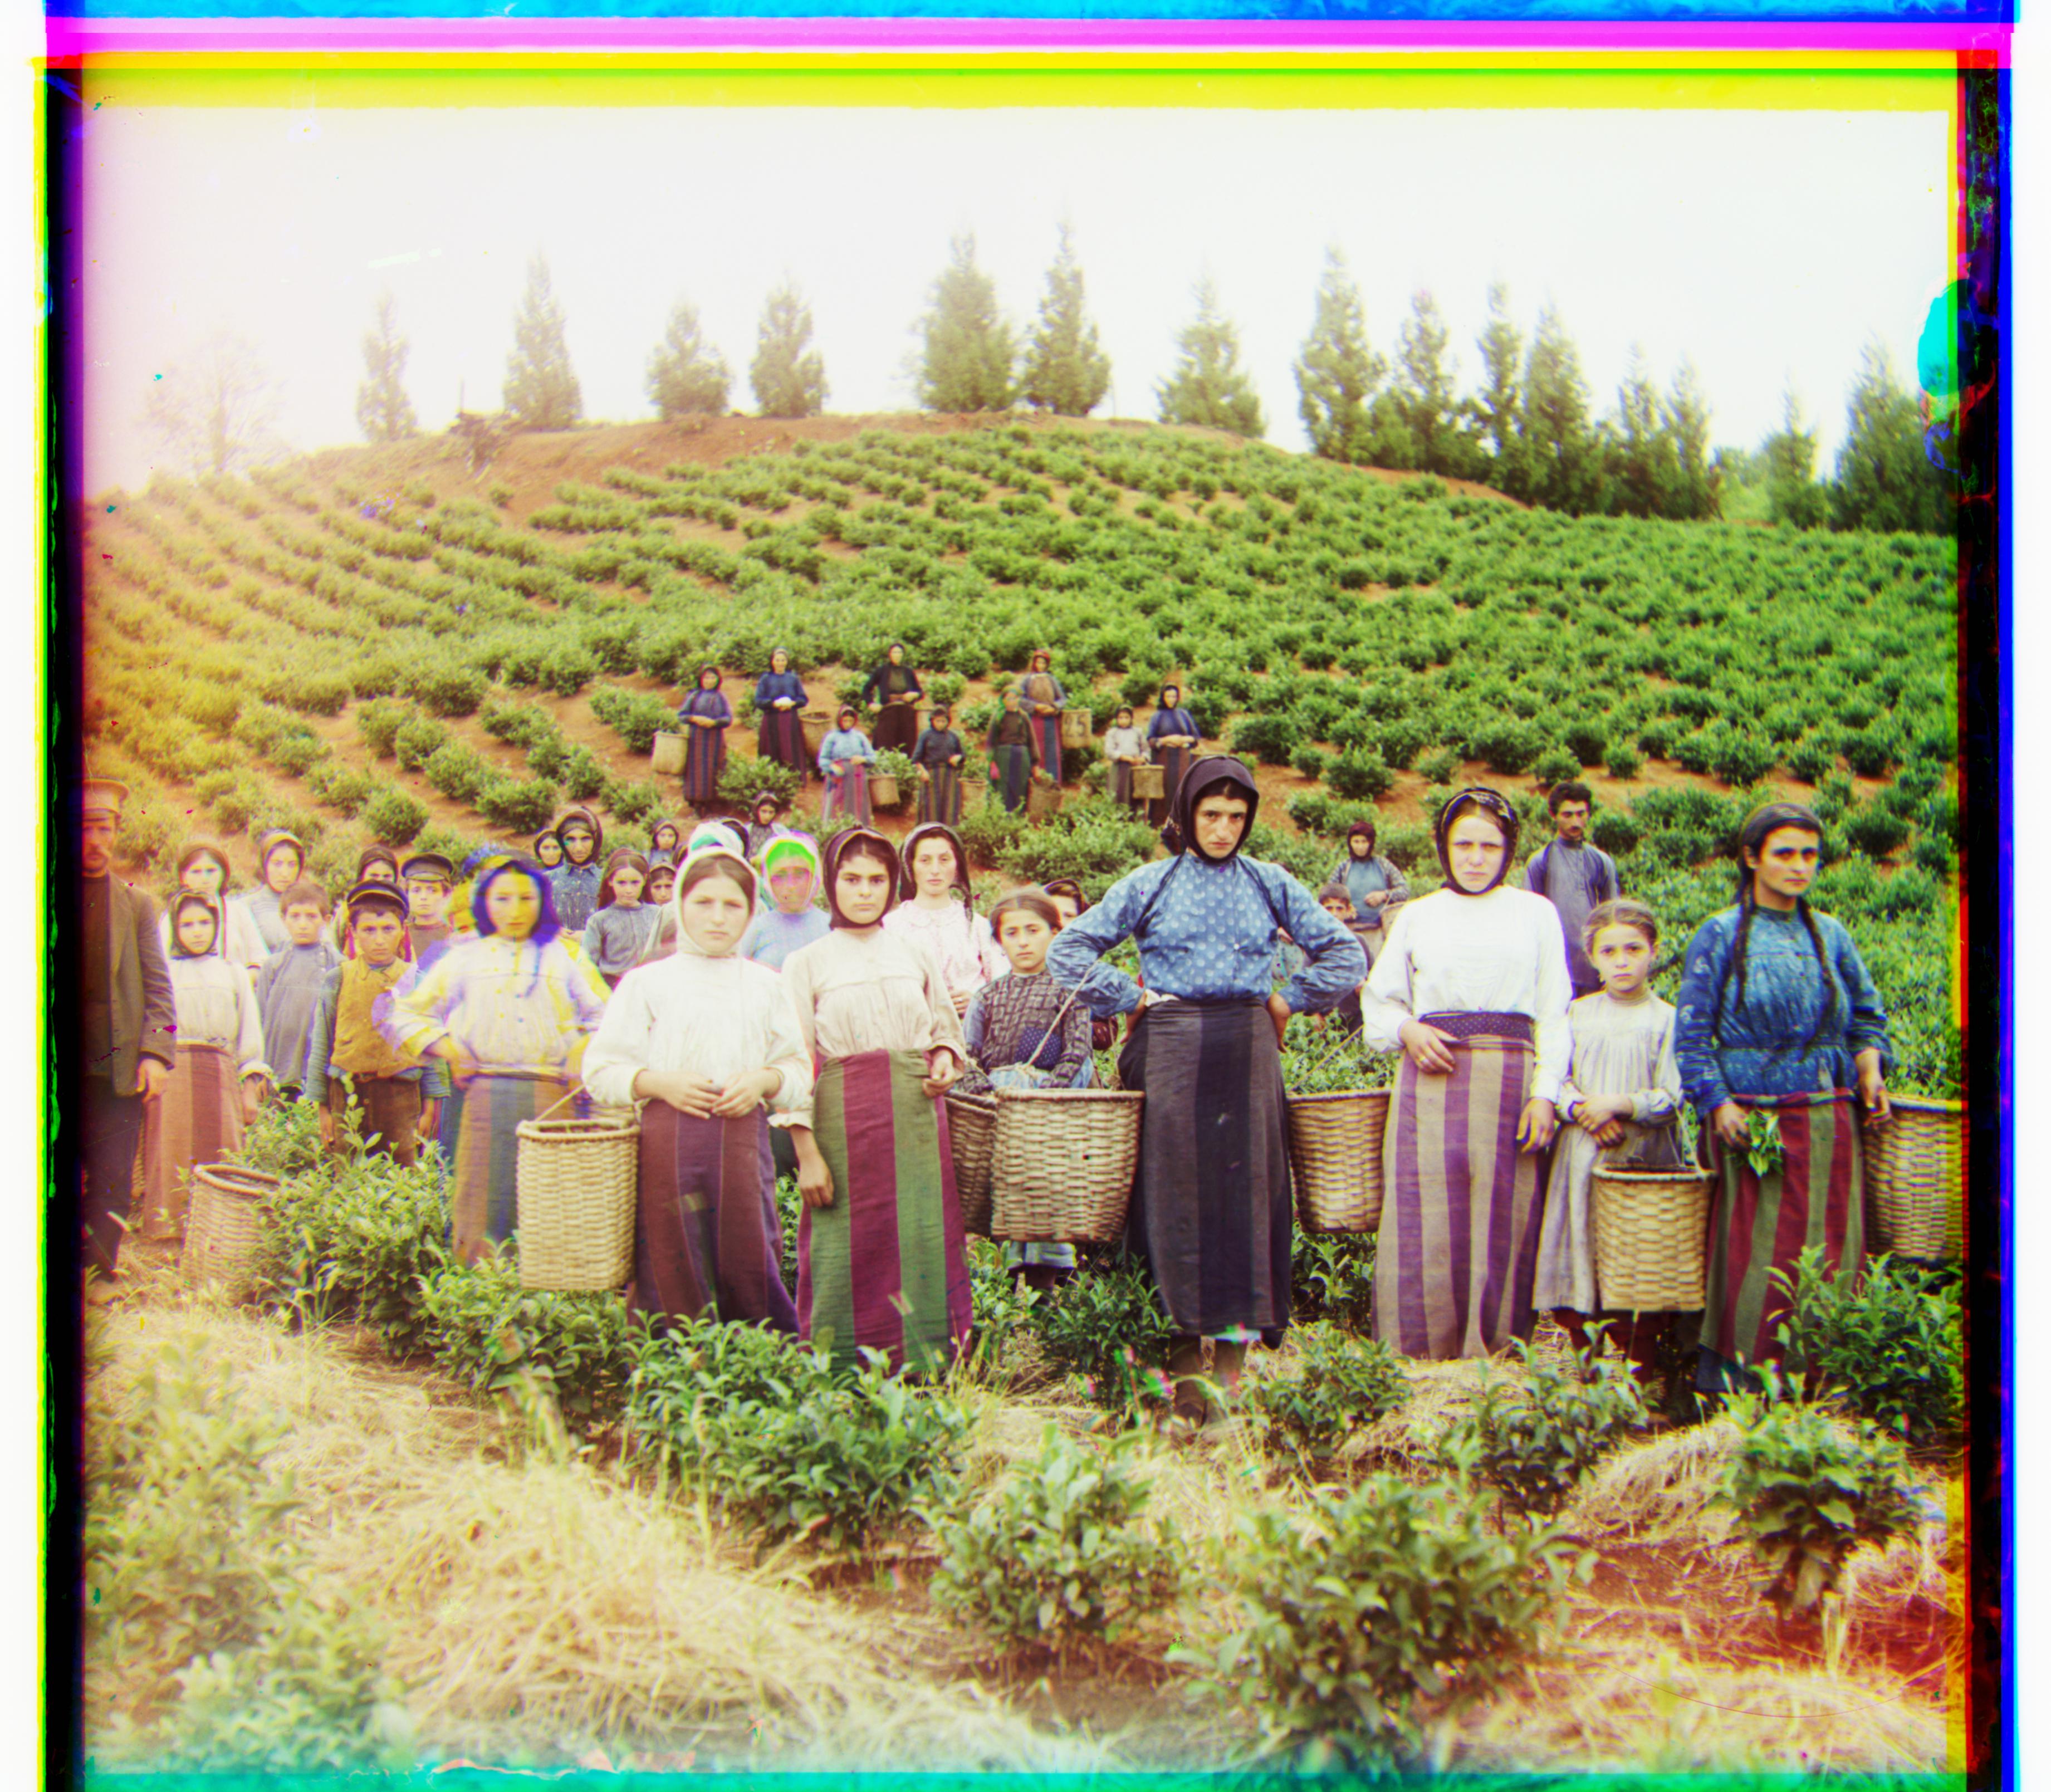
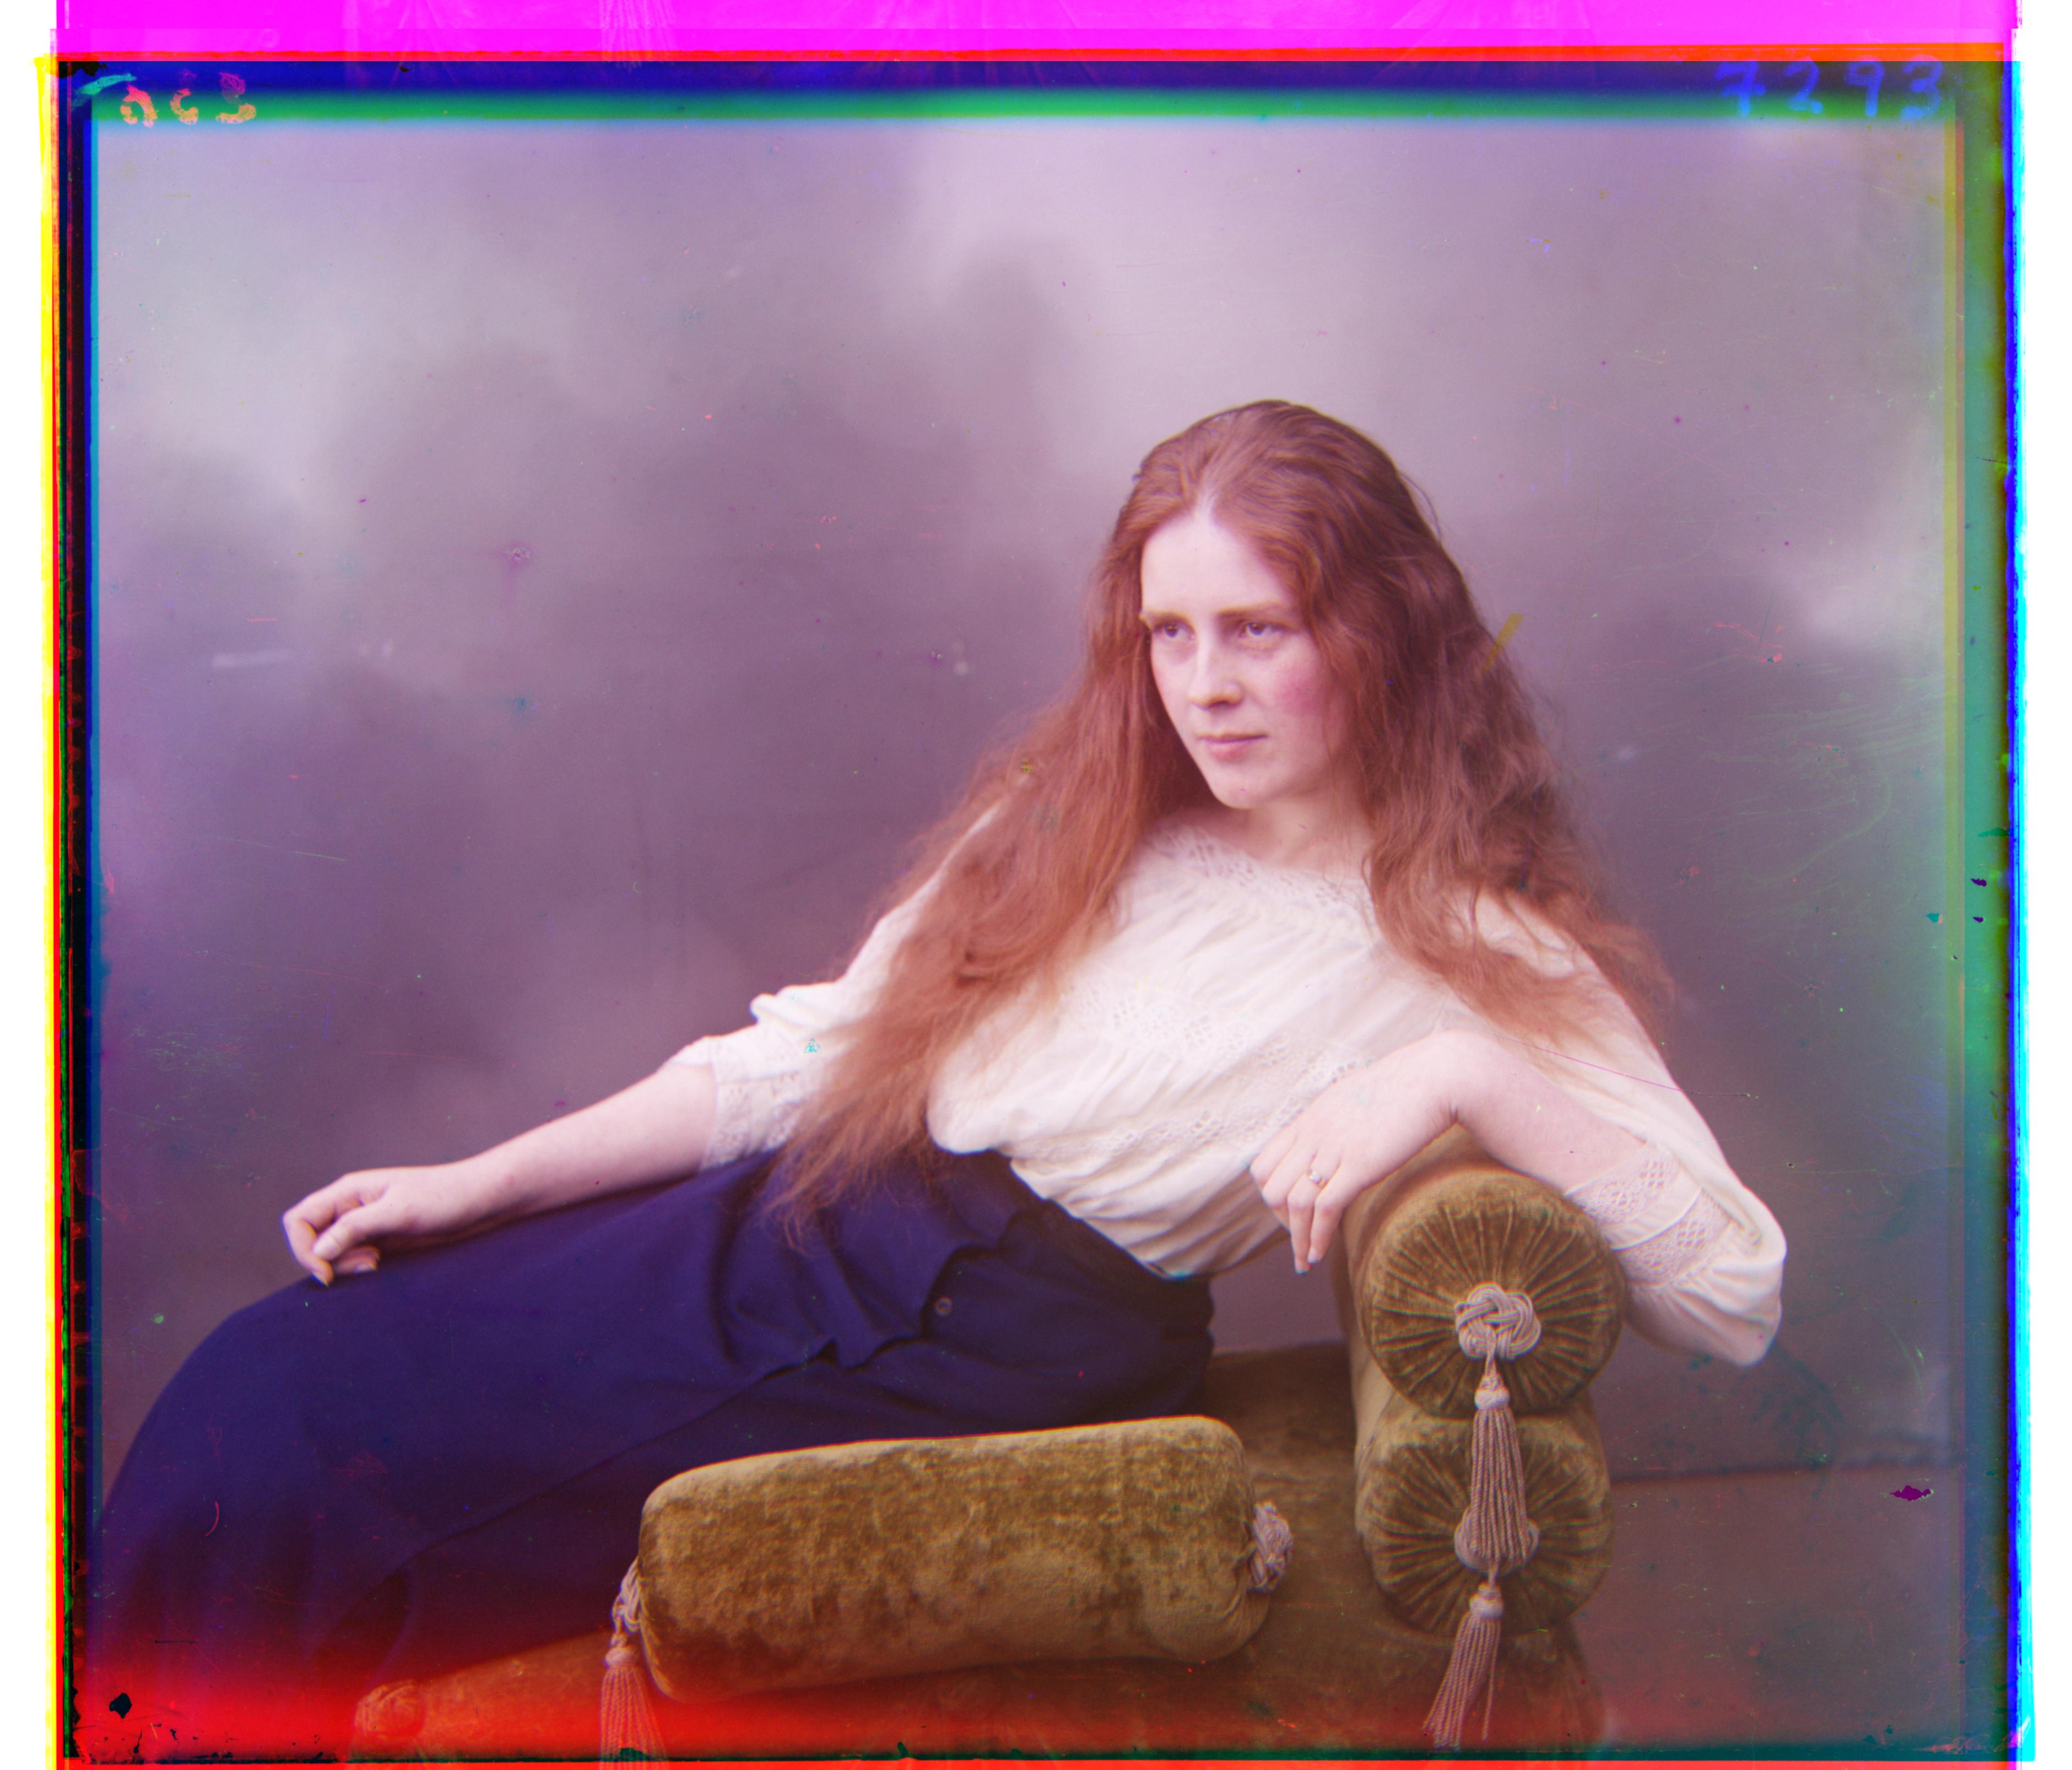
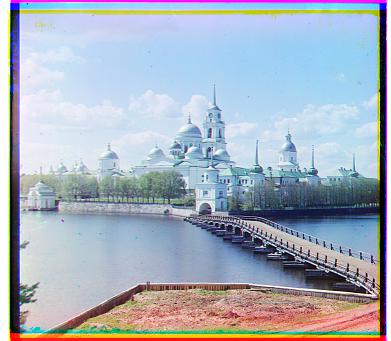
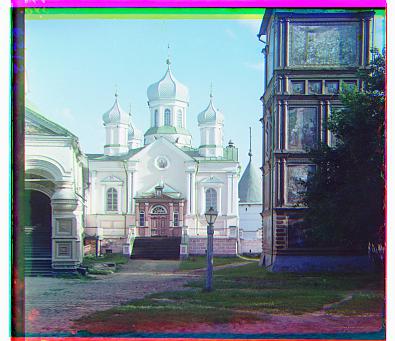
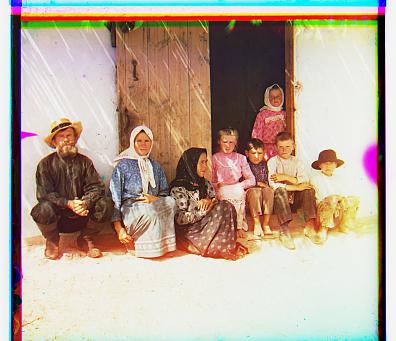
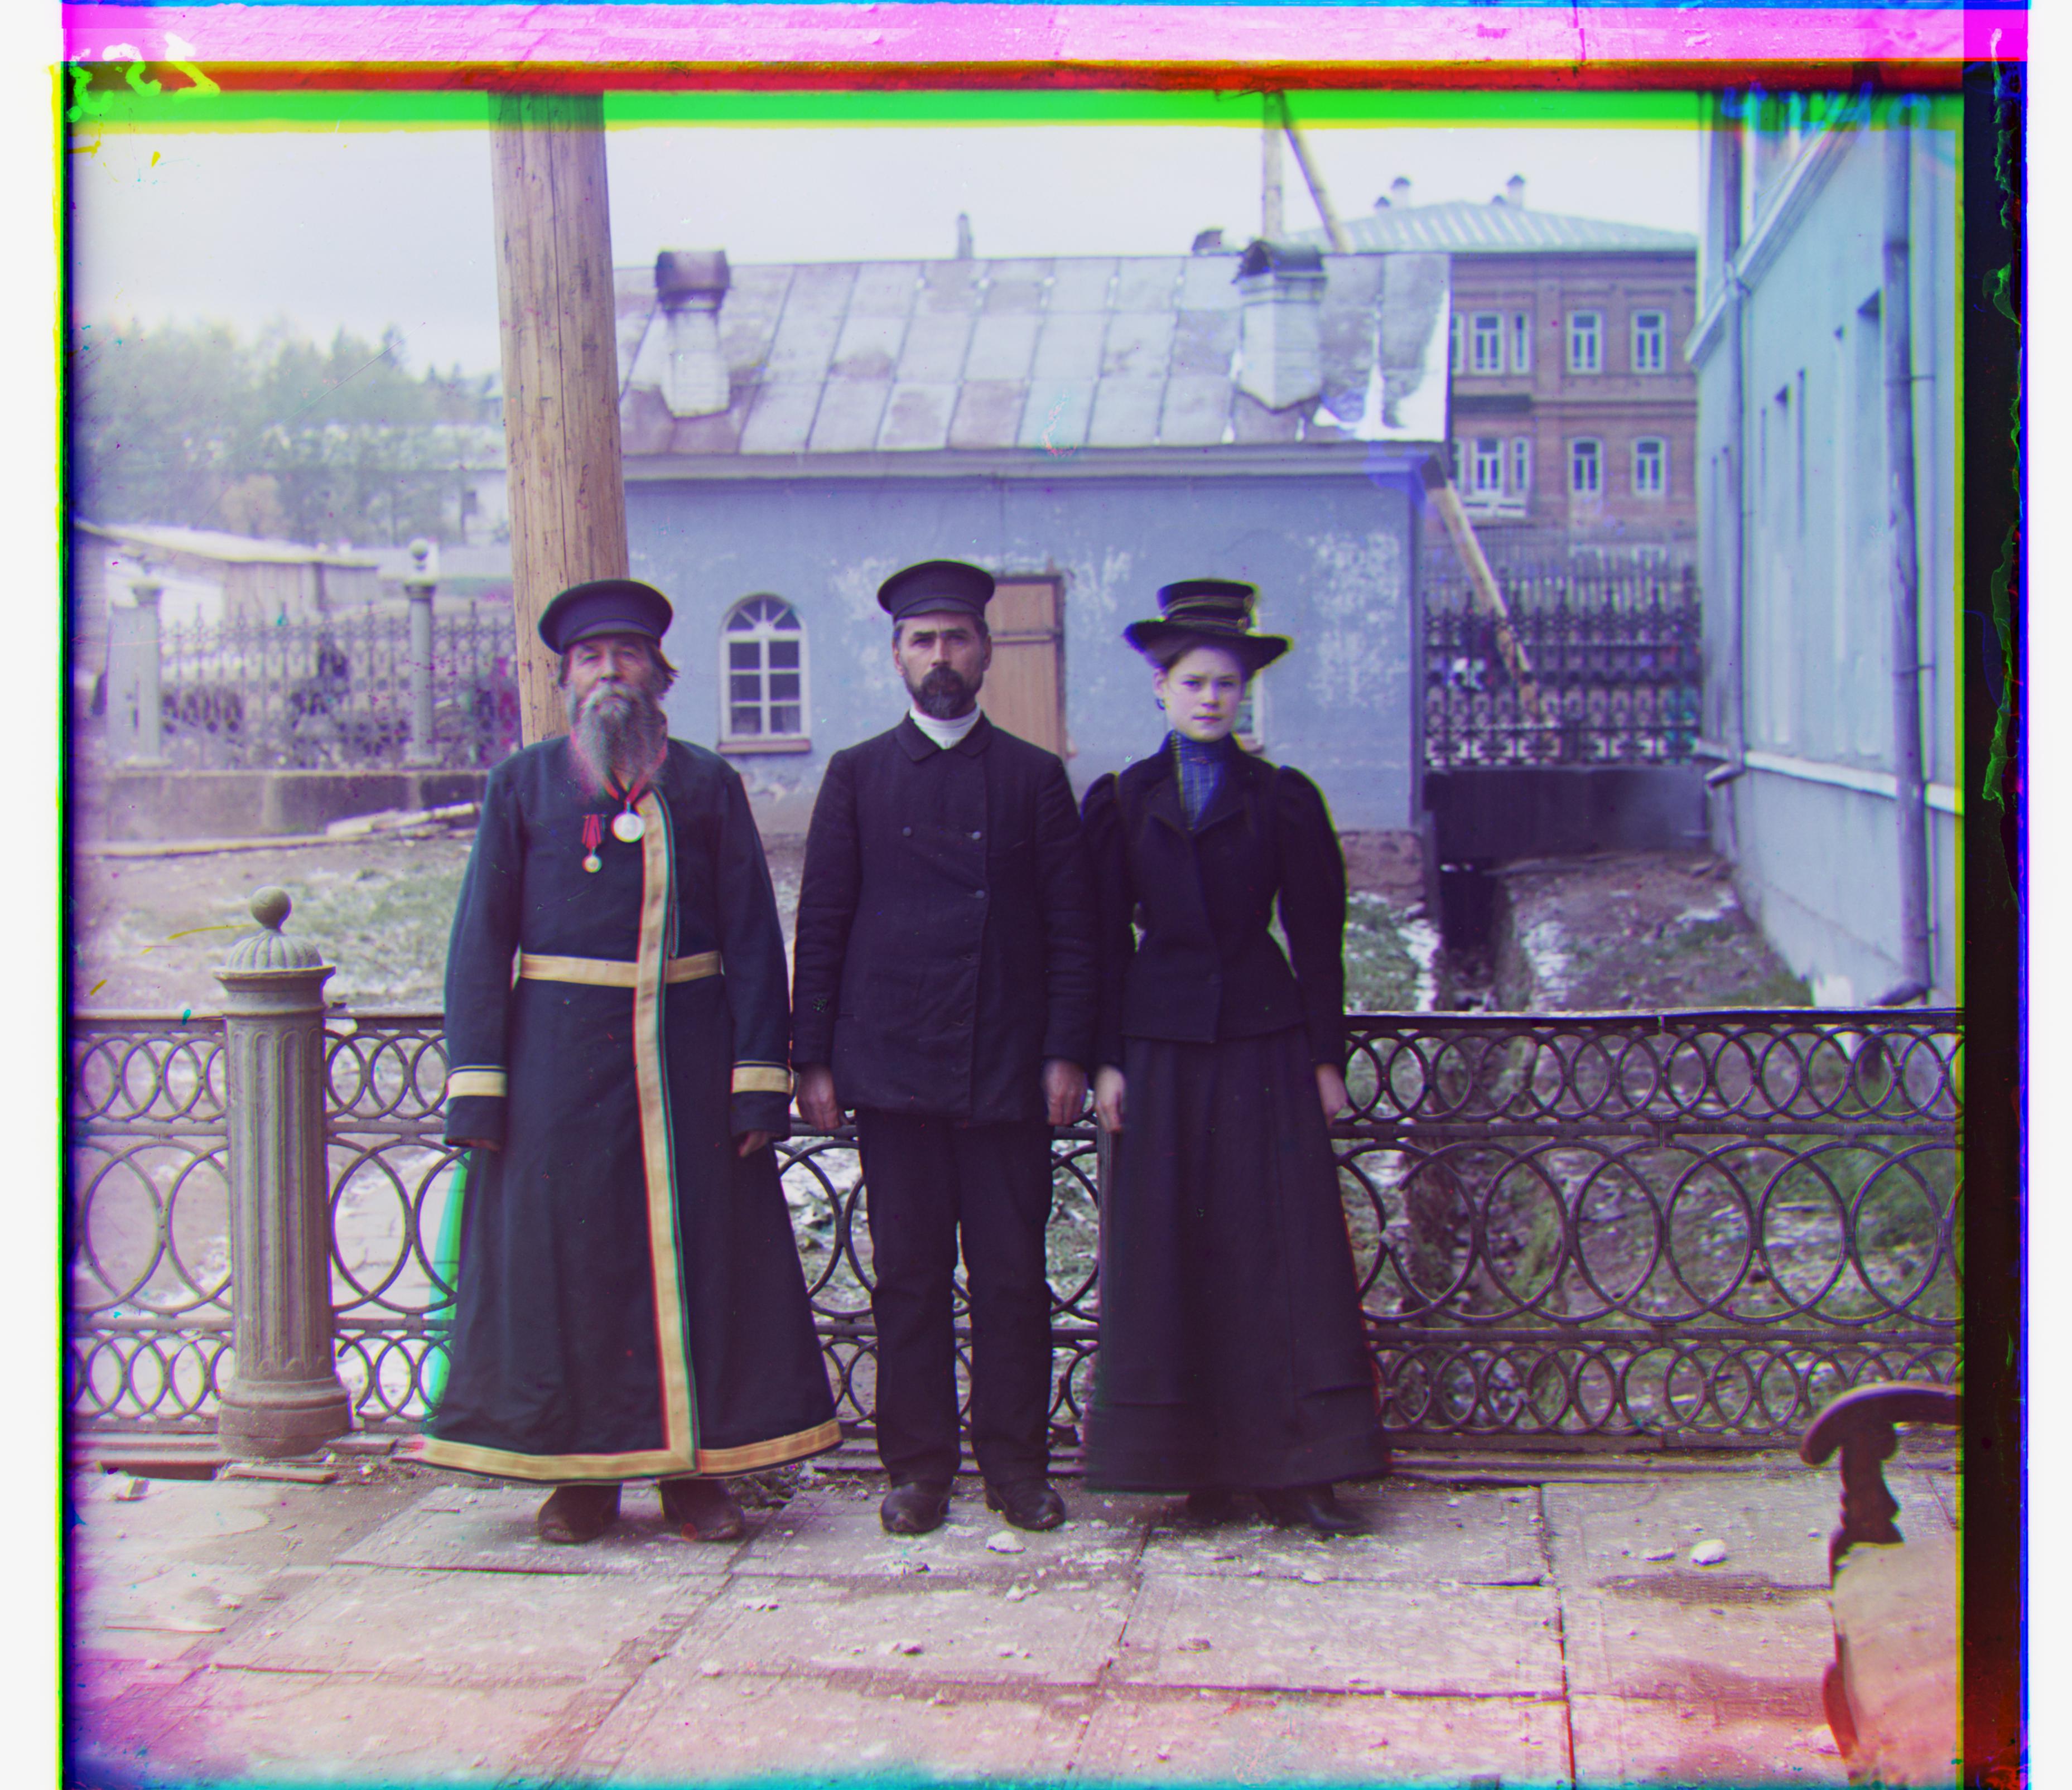
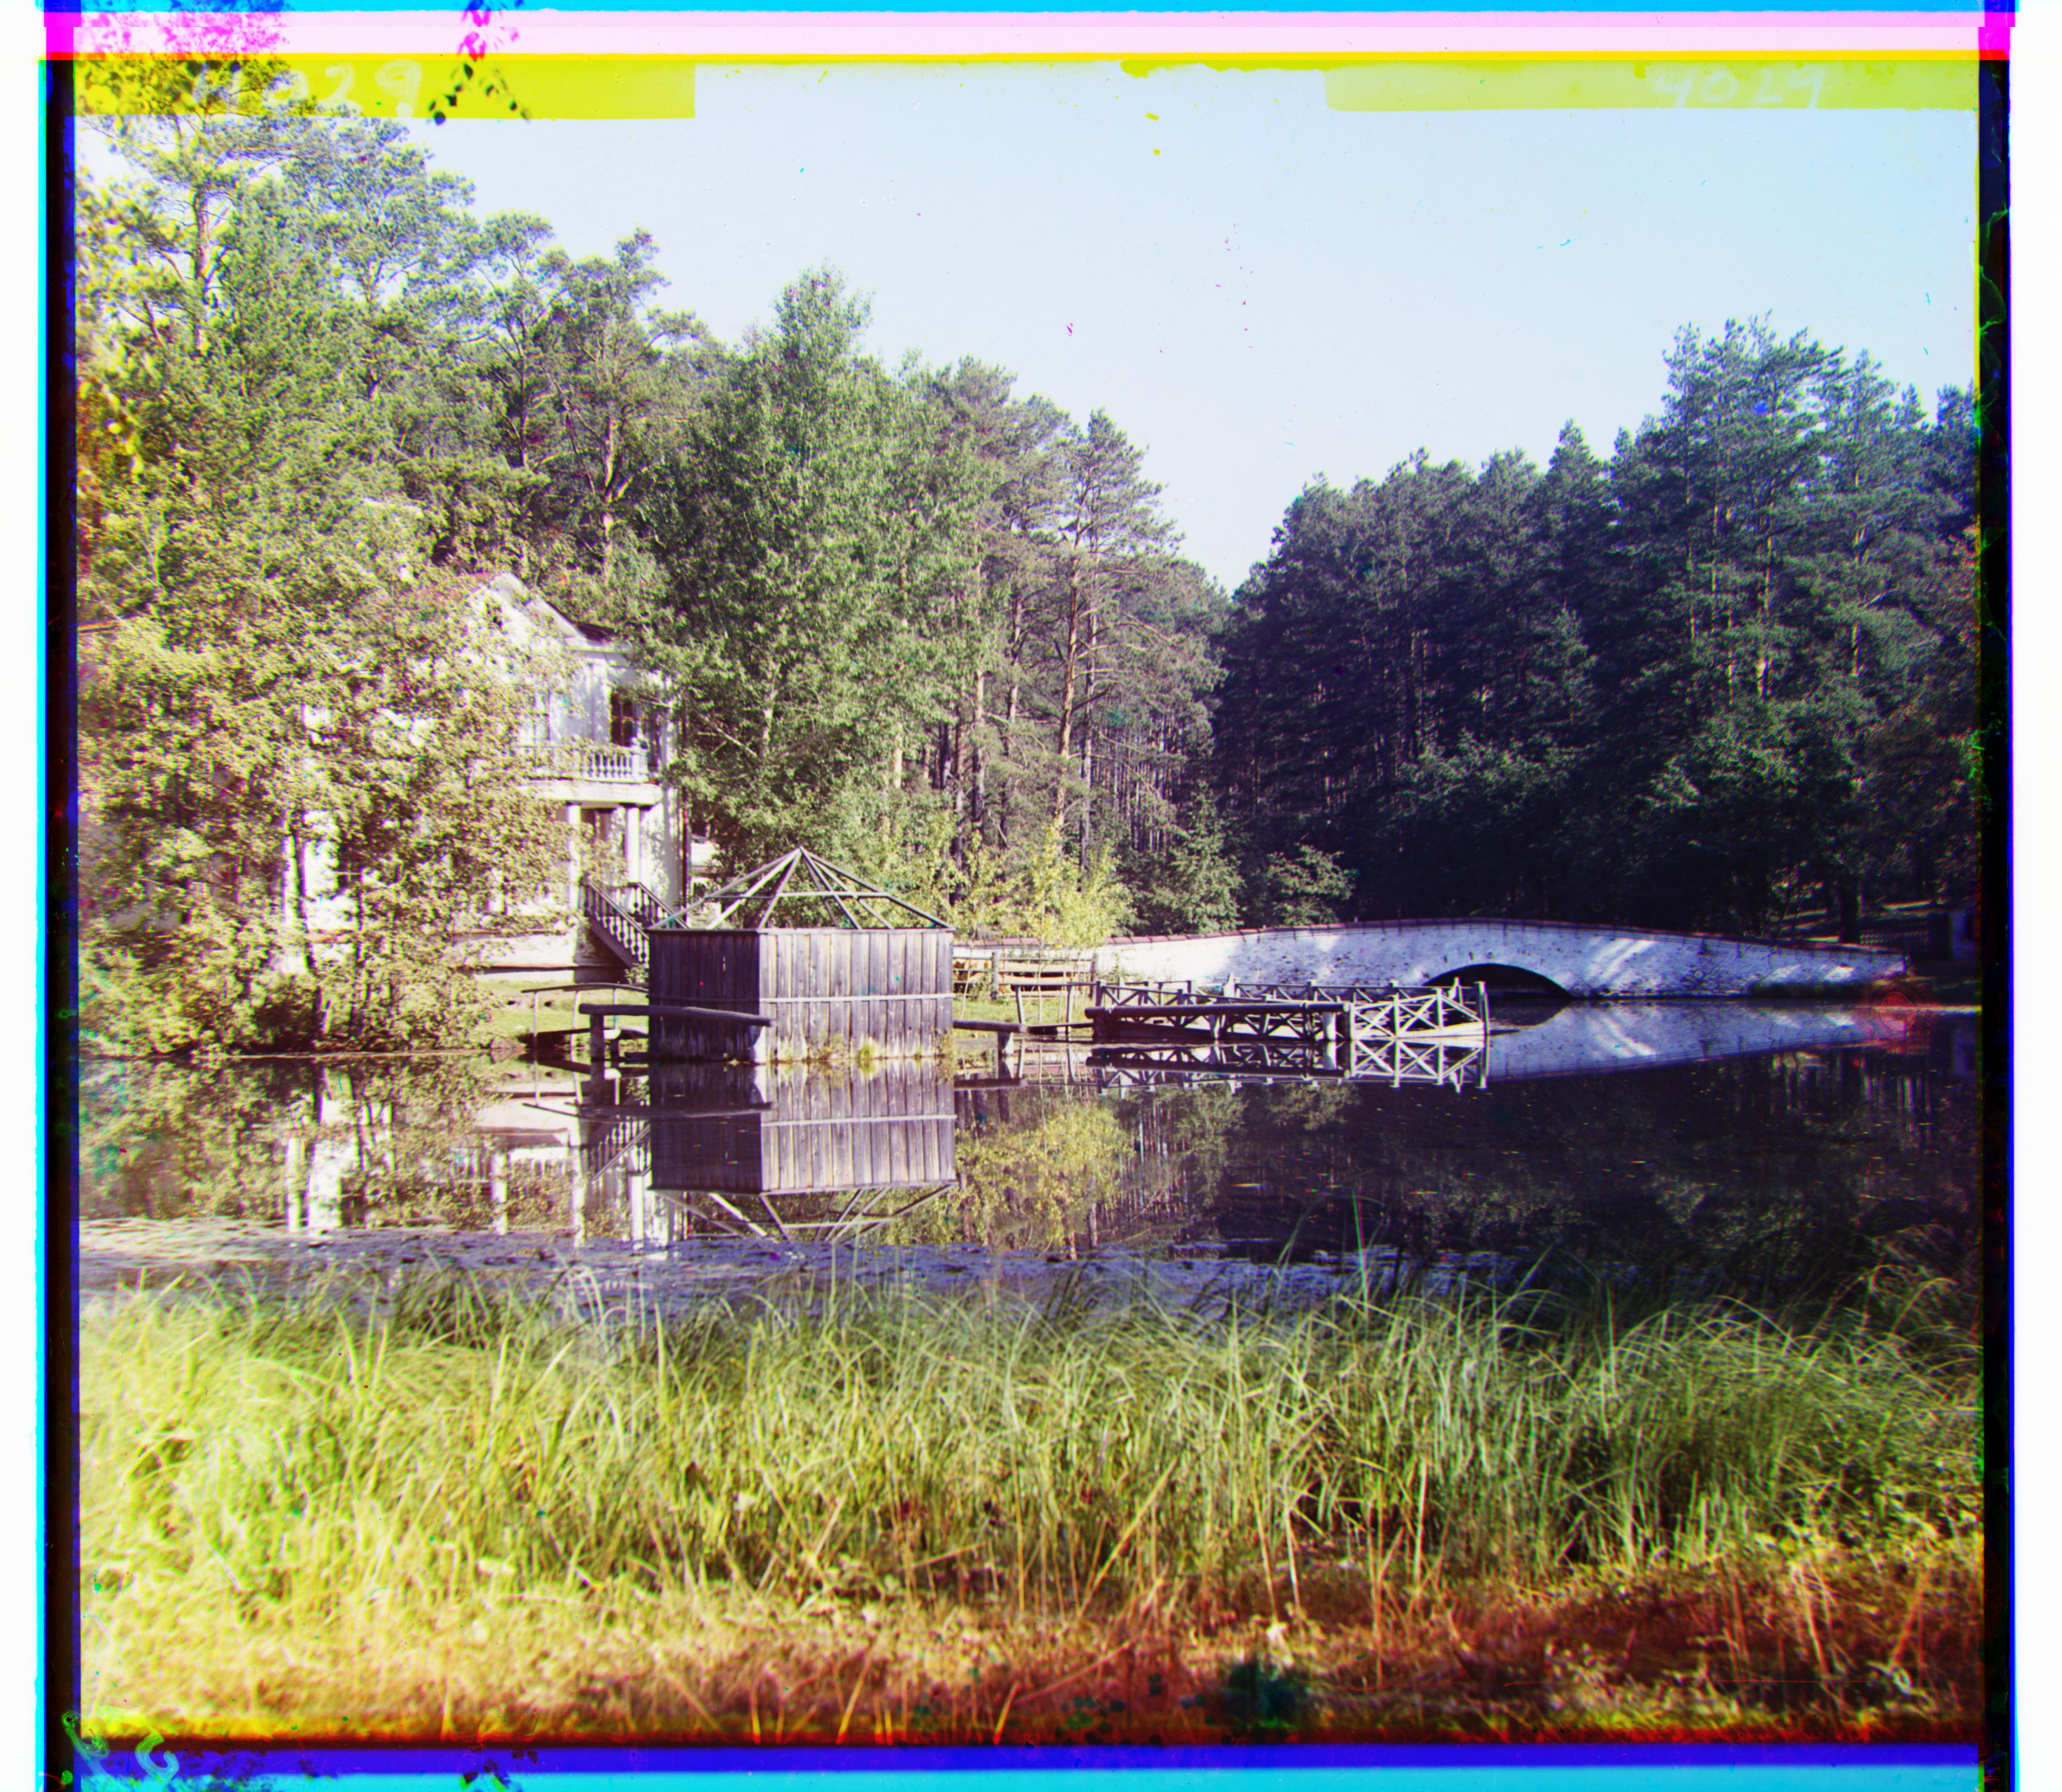
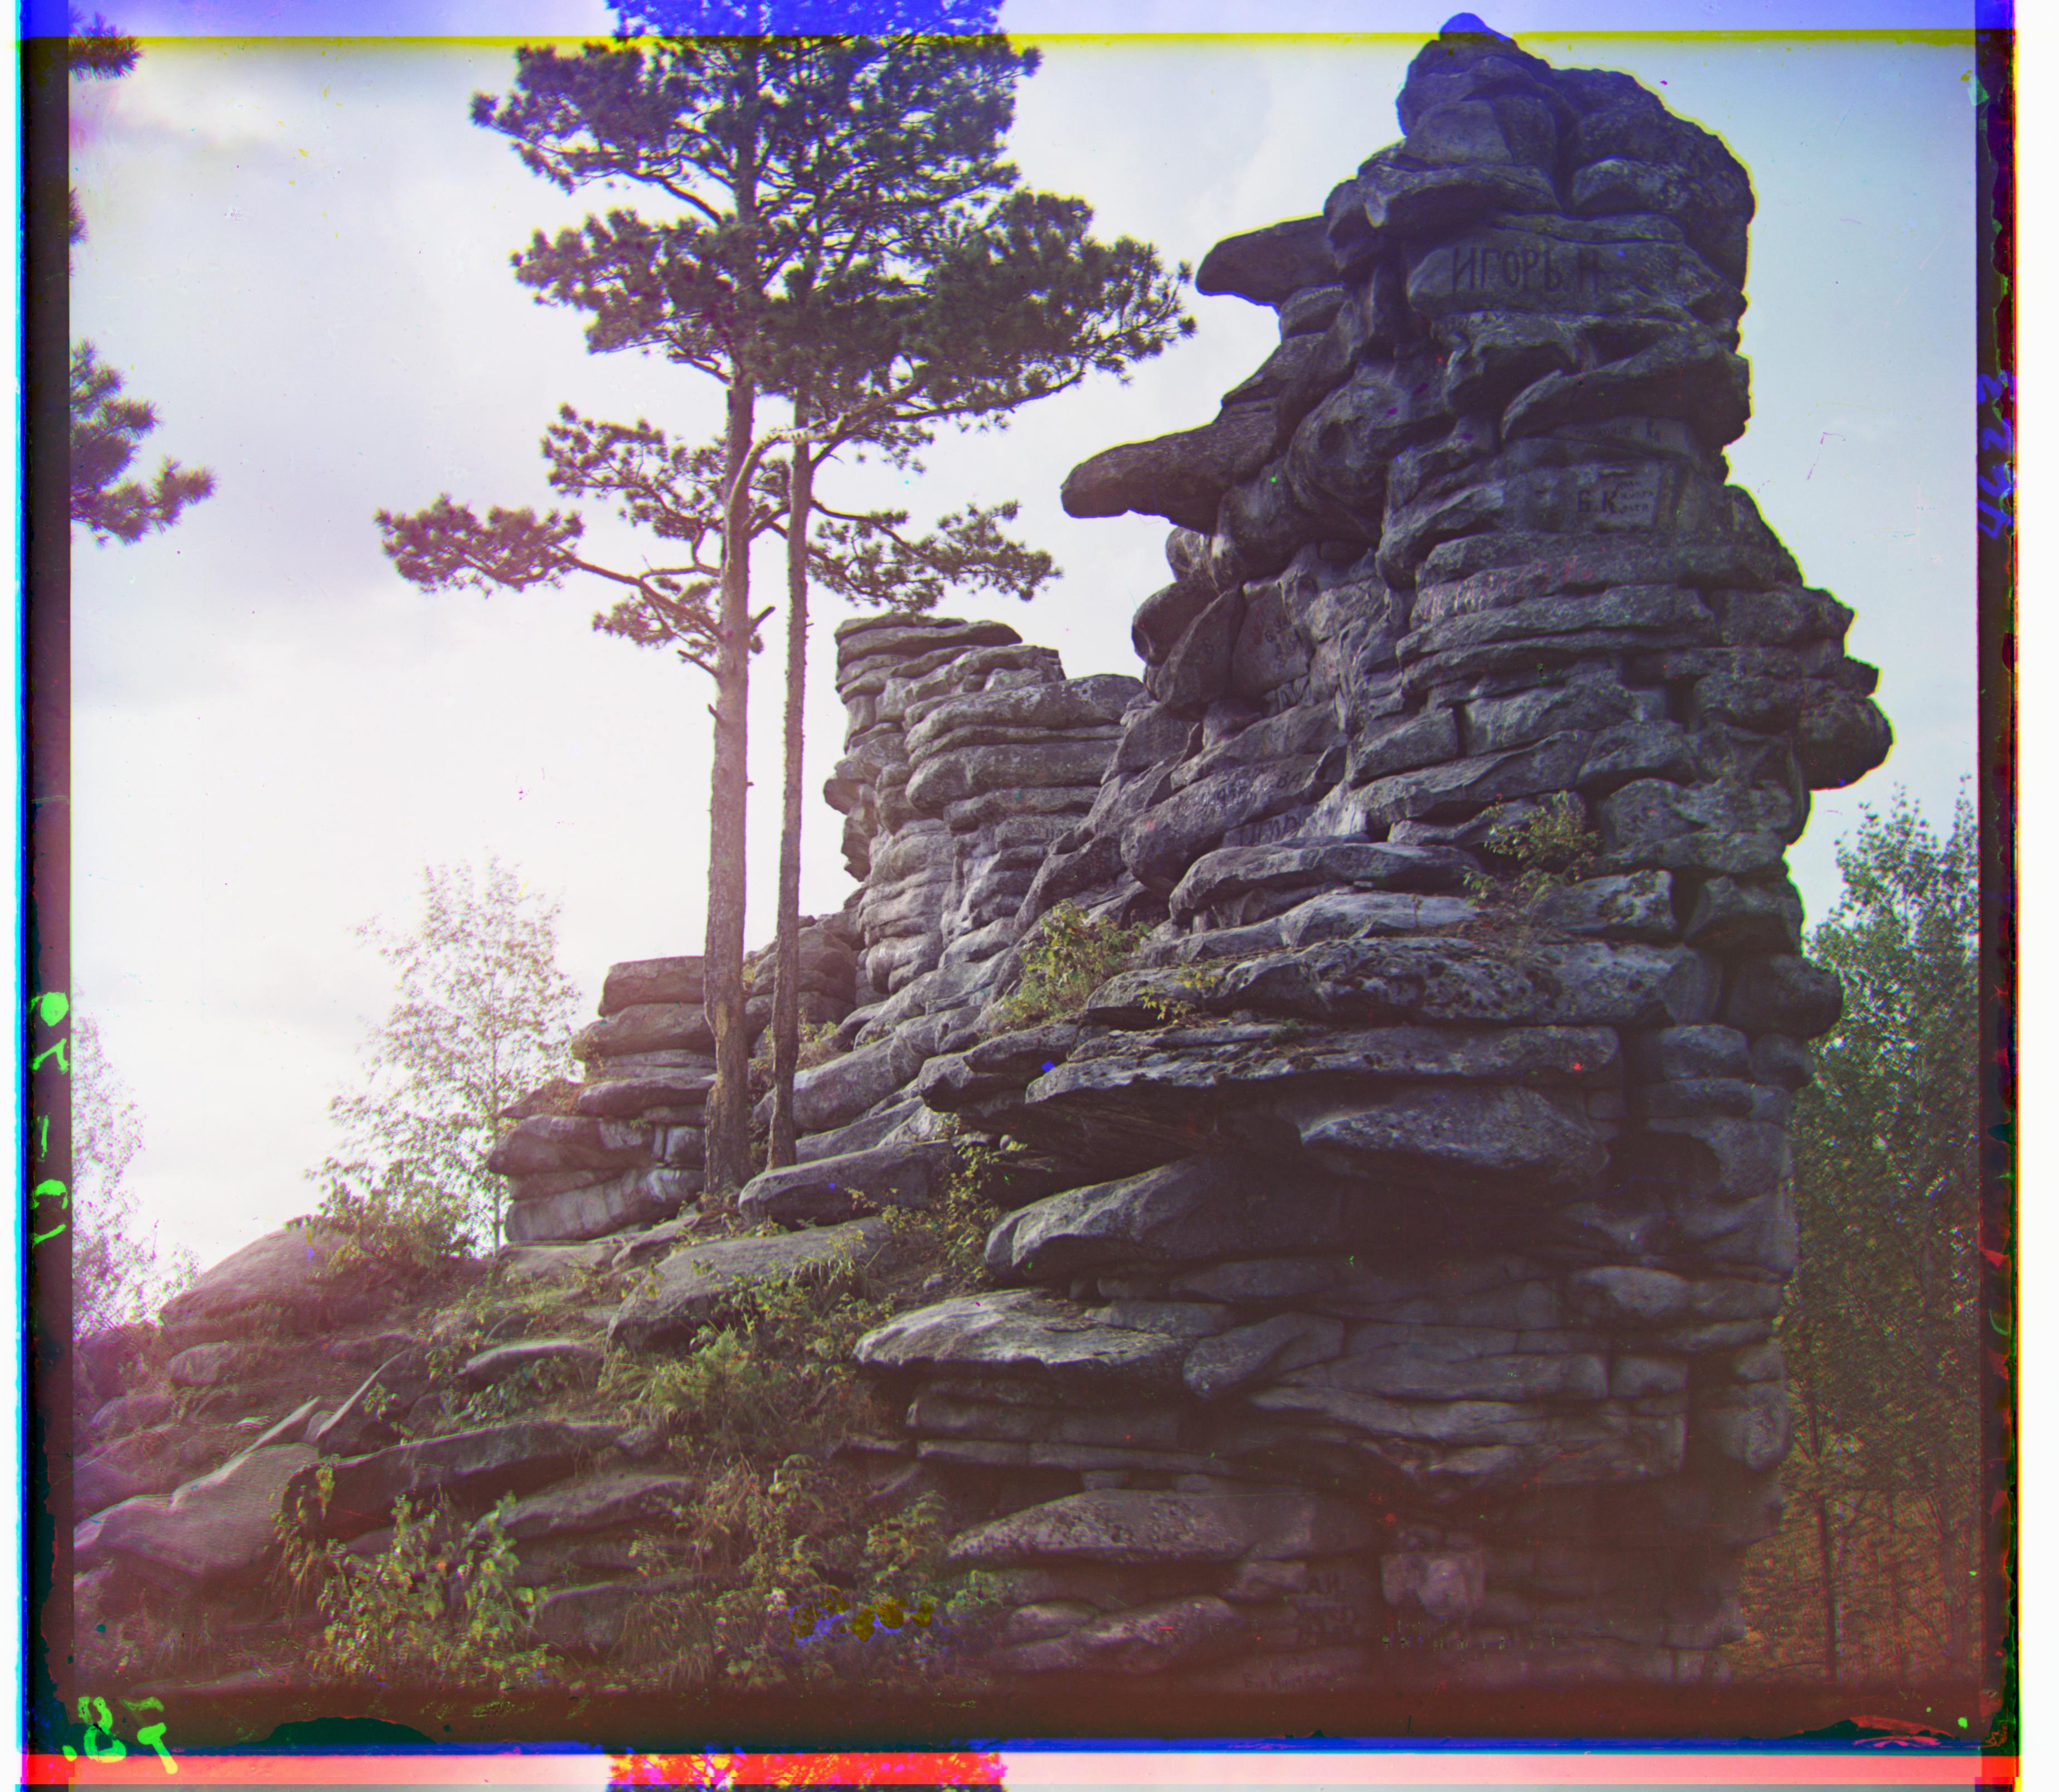
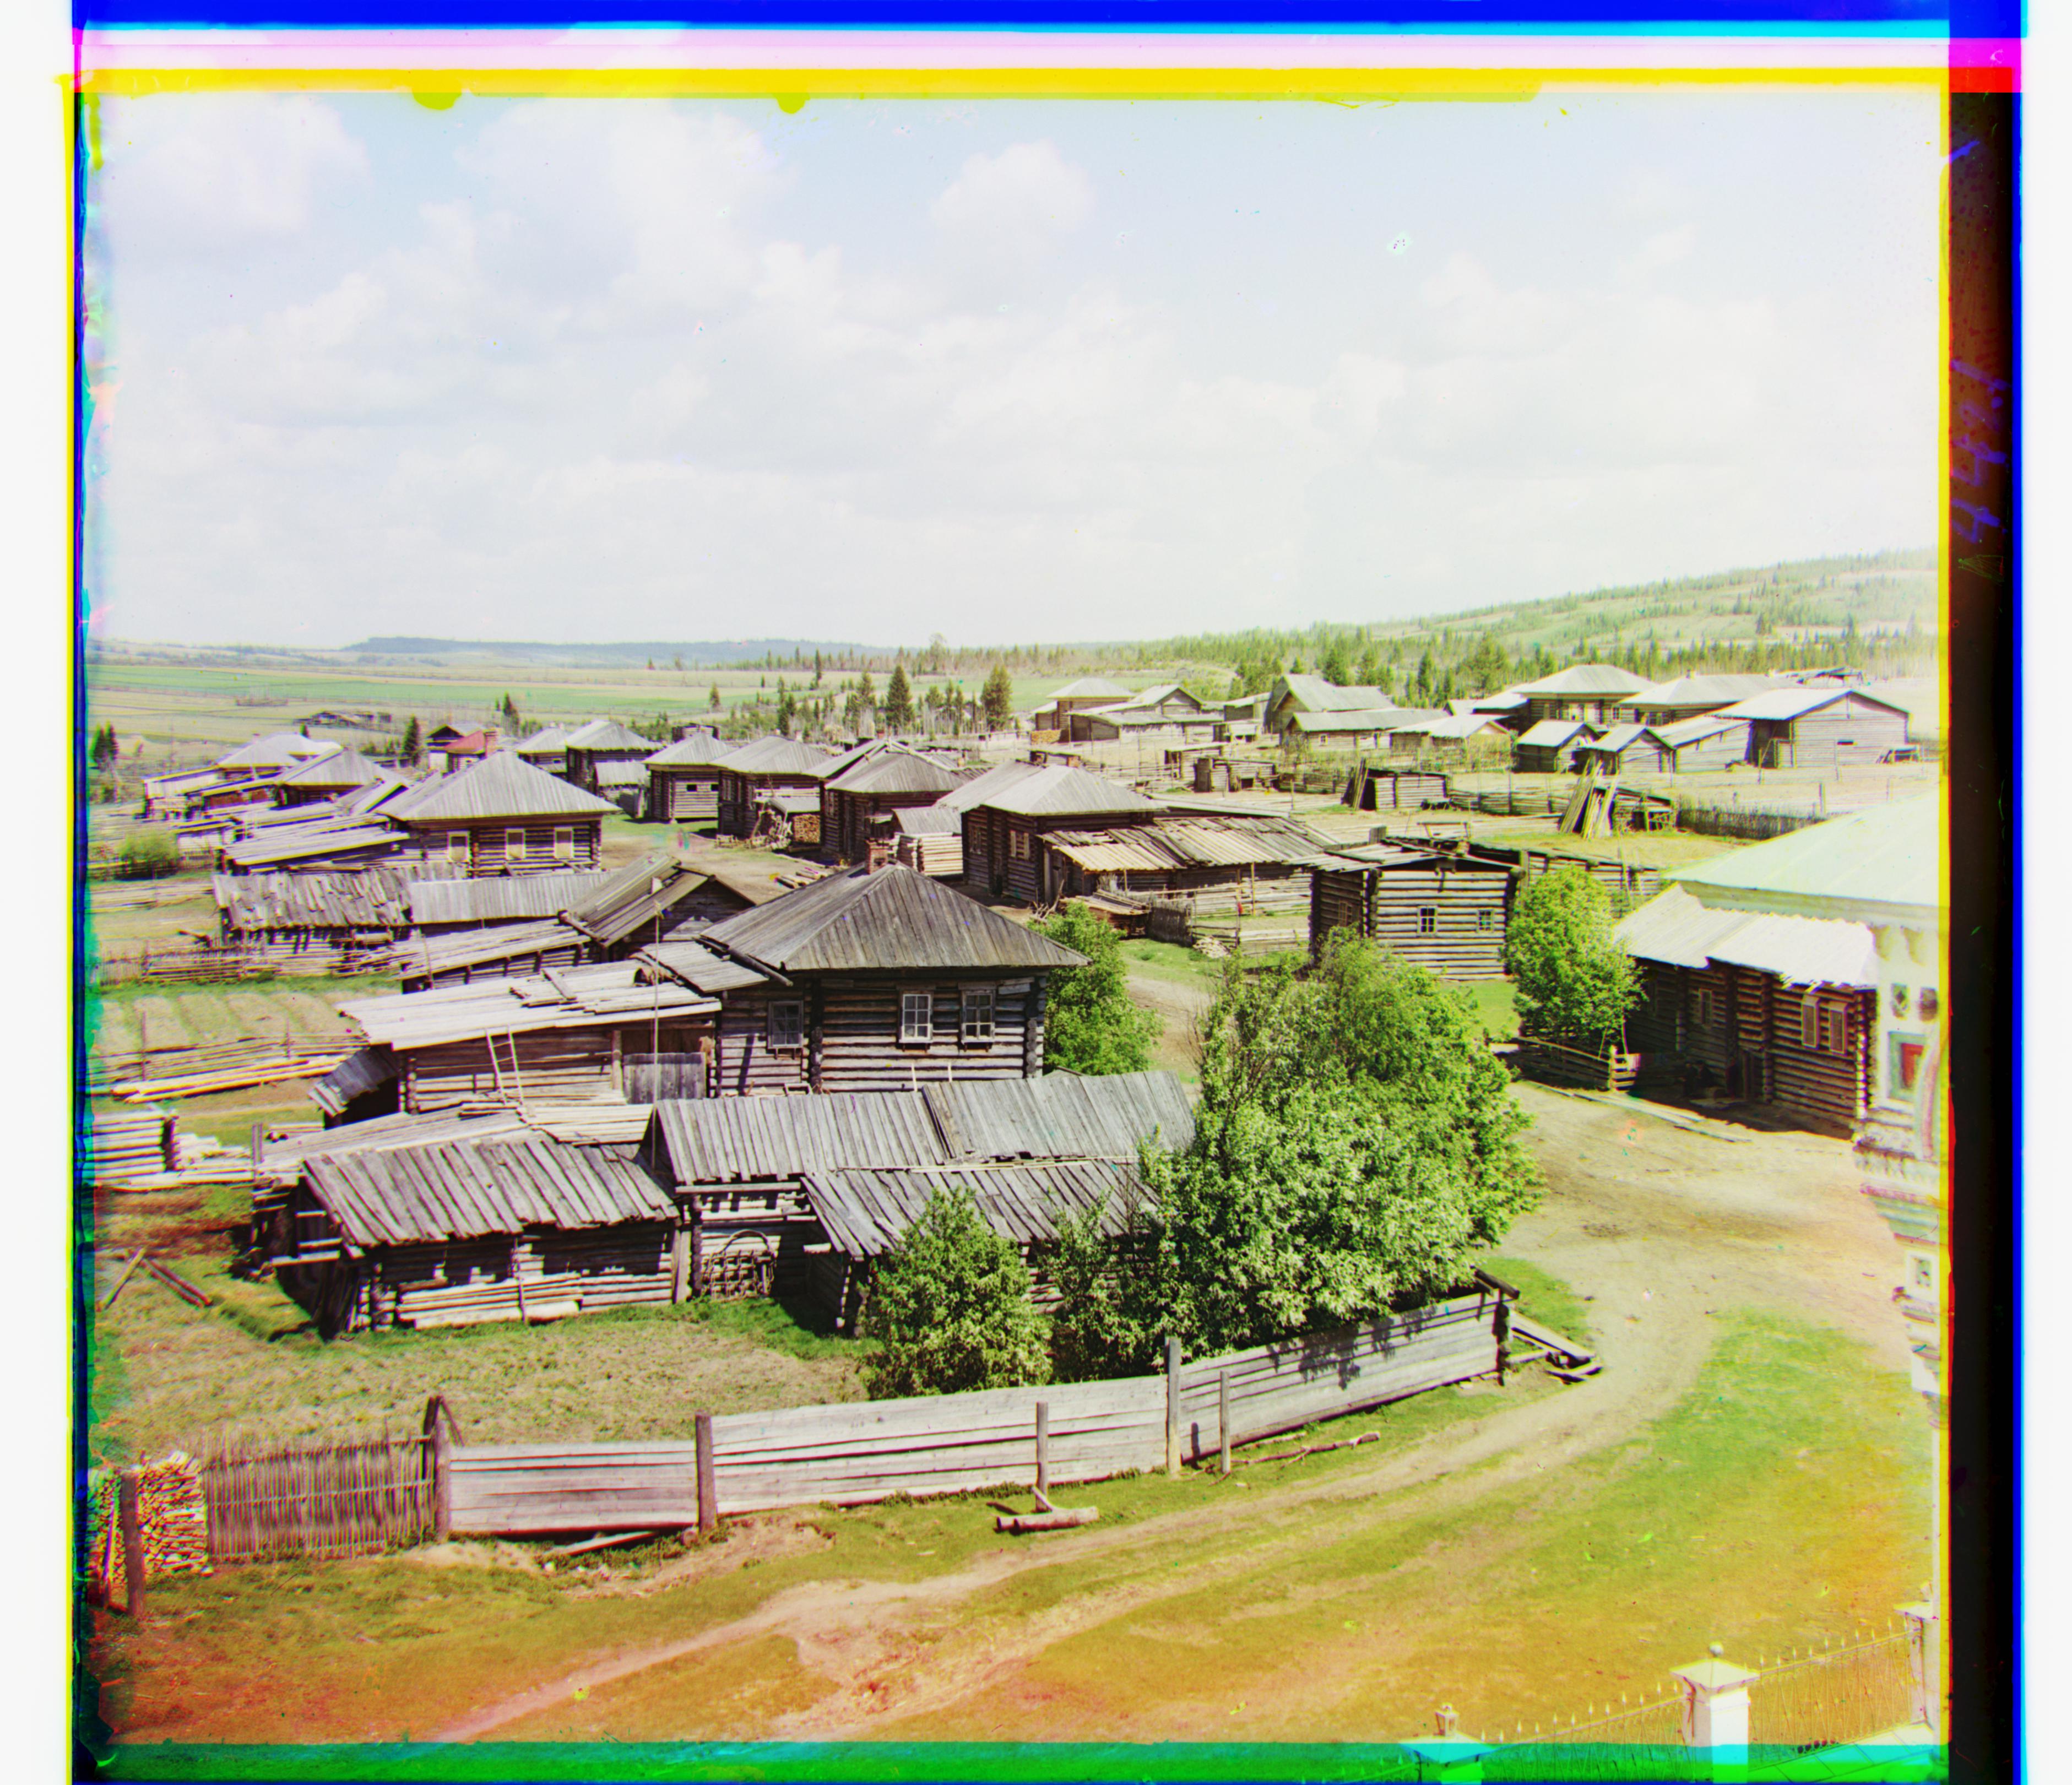
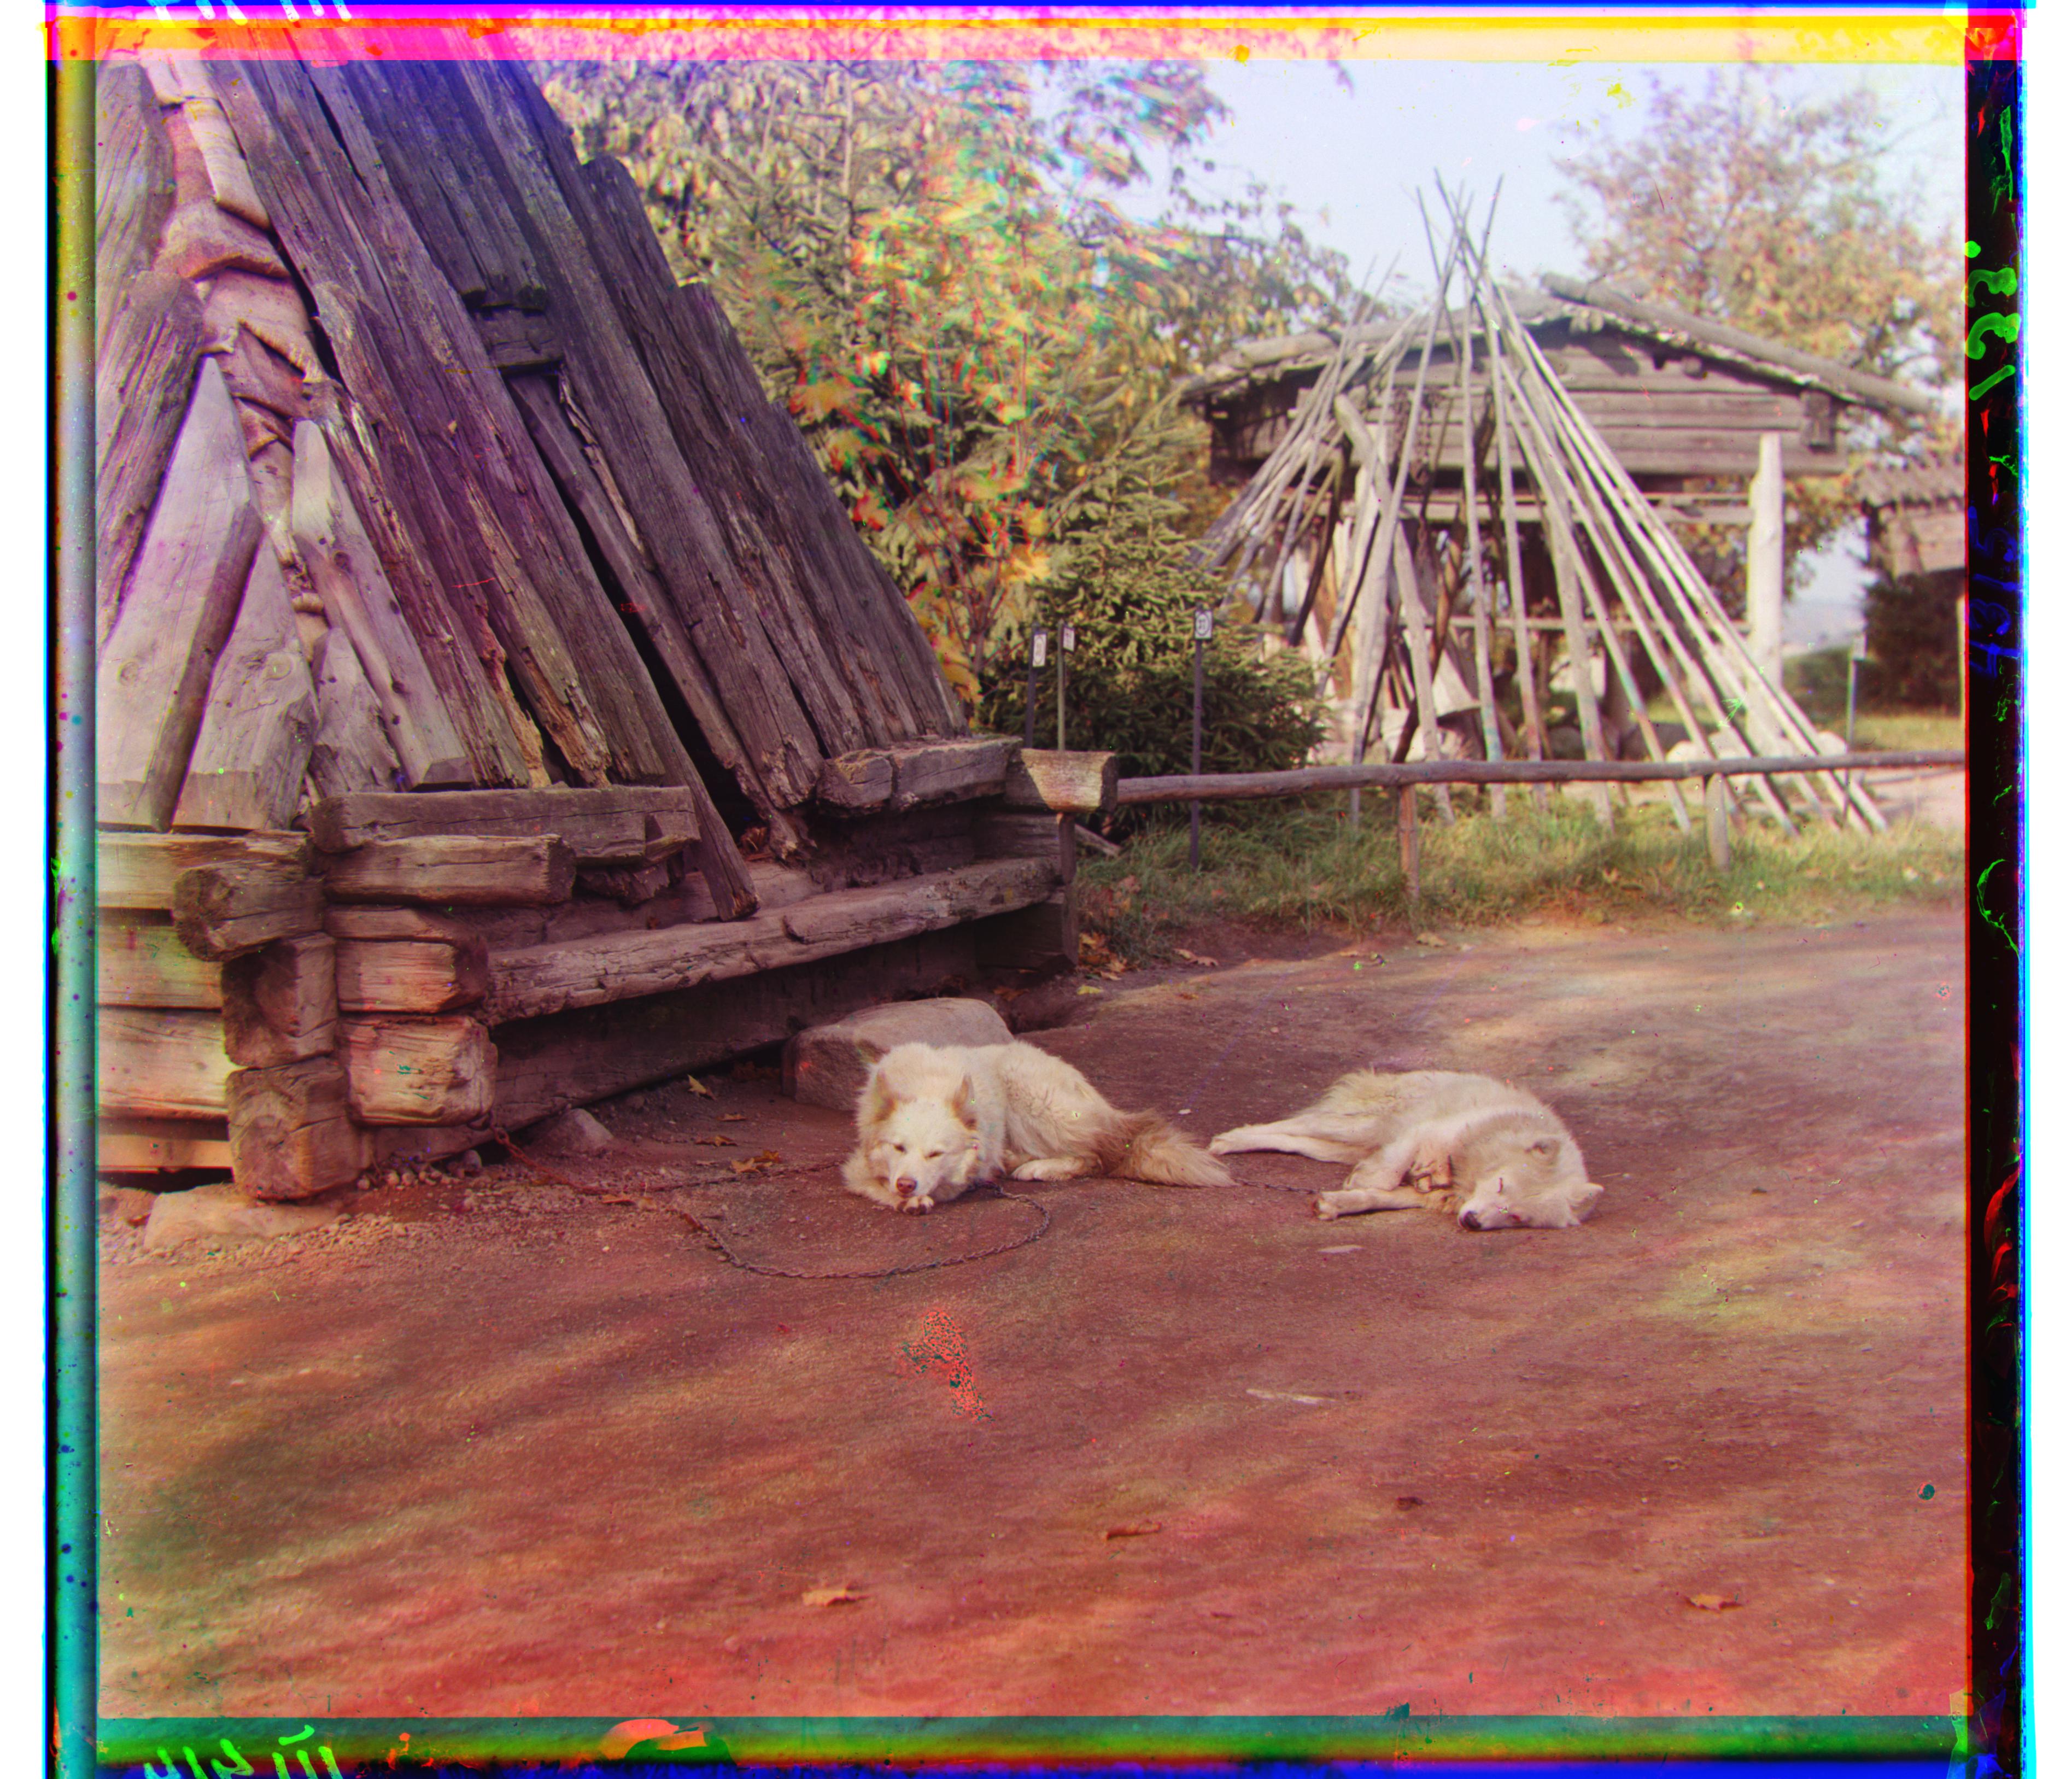
Other Images from the Collection
|
|
|
|

|