CS194-26 Project 1
by Jacqueline Forsberg
About The Project
Starting in 1907, Sergei Mikhailovich Prokudin-Gorskii travelled across Russia taking pictures that could one day be converted into color photographs. He took 3 exposures of each scene using 3 different filters: red, green, and blue. His plans for color photographs did not happen during his lifetime, but the Library of Congress has made his RBG glass plate negatives available online. We will attempt to reconstruct the color photographs using the RBG negatives.
About The Algorithm
We assume each of the RBG negatives corresponds to the appropriate RBG color channel. The user tells the algorithm which of the color channels to align the other color channels to. The other color channels are translated by an (x,y) vector where -15=<x,y=< 15 so they align with the chosen color channel. The translation is chosen as the one that maximizes the normalized cross correlation between the color channel that we are aligning and the color channel chosen by the user.
We assume that the two color channels are the most similar when they are properly aligned. To avoid the borders and artifacts adding noise and corrupting the NCC values, we crop the color channel images to take only center pixels. The images are cropped by removing the outer 0.3 of each dimension split evenly between both ends (0.15 per end). This proportion was chosen arbitrarily and works in experiments. We are assuming that the
pixels near the center are accurate and should be aligned for a clear image.
For images larger than 400x400 pixels, we apply pyramid image processing. After cropping the image, we downsample by 1/2
the image recursively until it is smaller than 400x400 pixels. On the smallest downsampled image, we find the best translation vector (x,y) where -15=<x,y=< 15. We than scale (x,y) by 2 and search for the best vector (i,j) where -3=<i,j=< 3 such that (x+i,y+j) is the best translation vector on the next larger downsampled image. We repeat the scaling the translation vector and adding (i,j) until we reach the original image size. The (x',y') calculated by the recursive pyramid image processing is used to align the color channels on the original image.
After the two translation vectors (x,y) and (n,m) are found for aligning the two color channels to the user specified base color channel, the translations are applied to the original uncropped color channels. Then all three color channels are stacked and the color image is displayed.
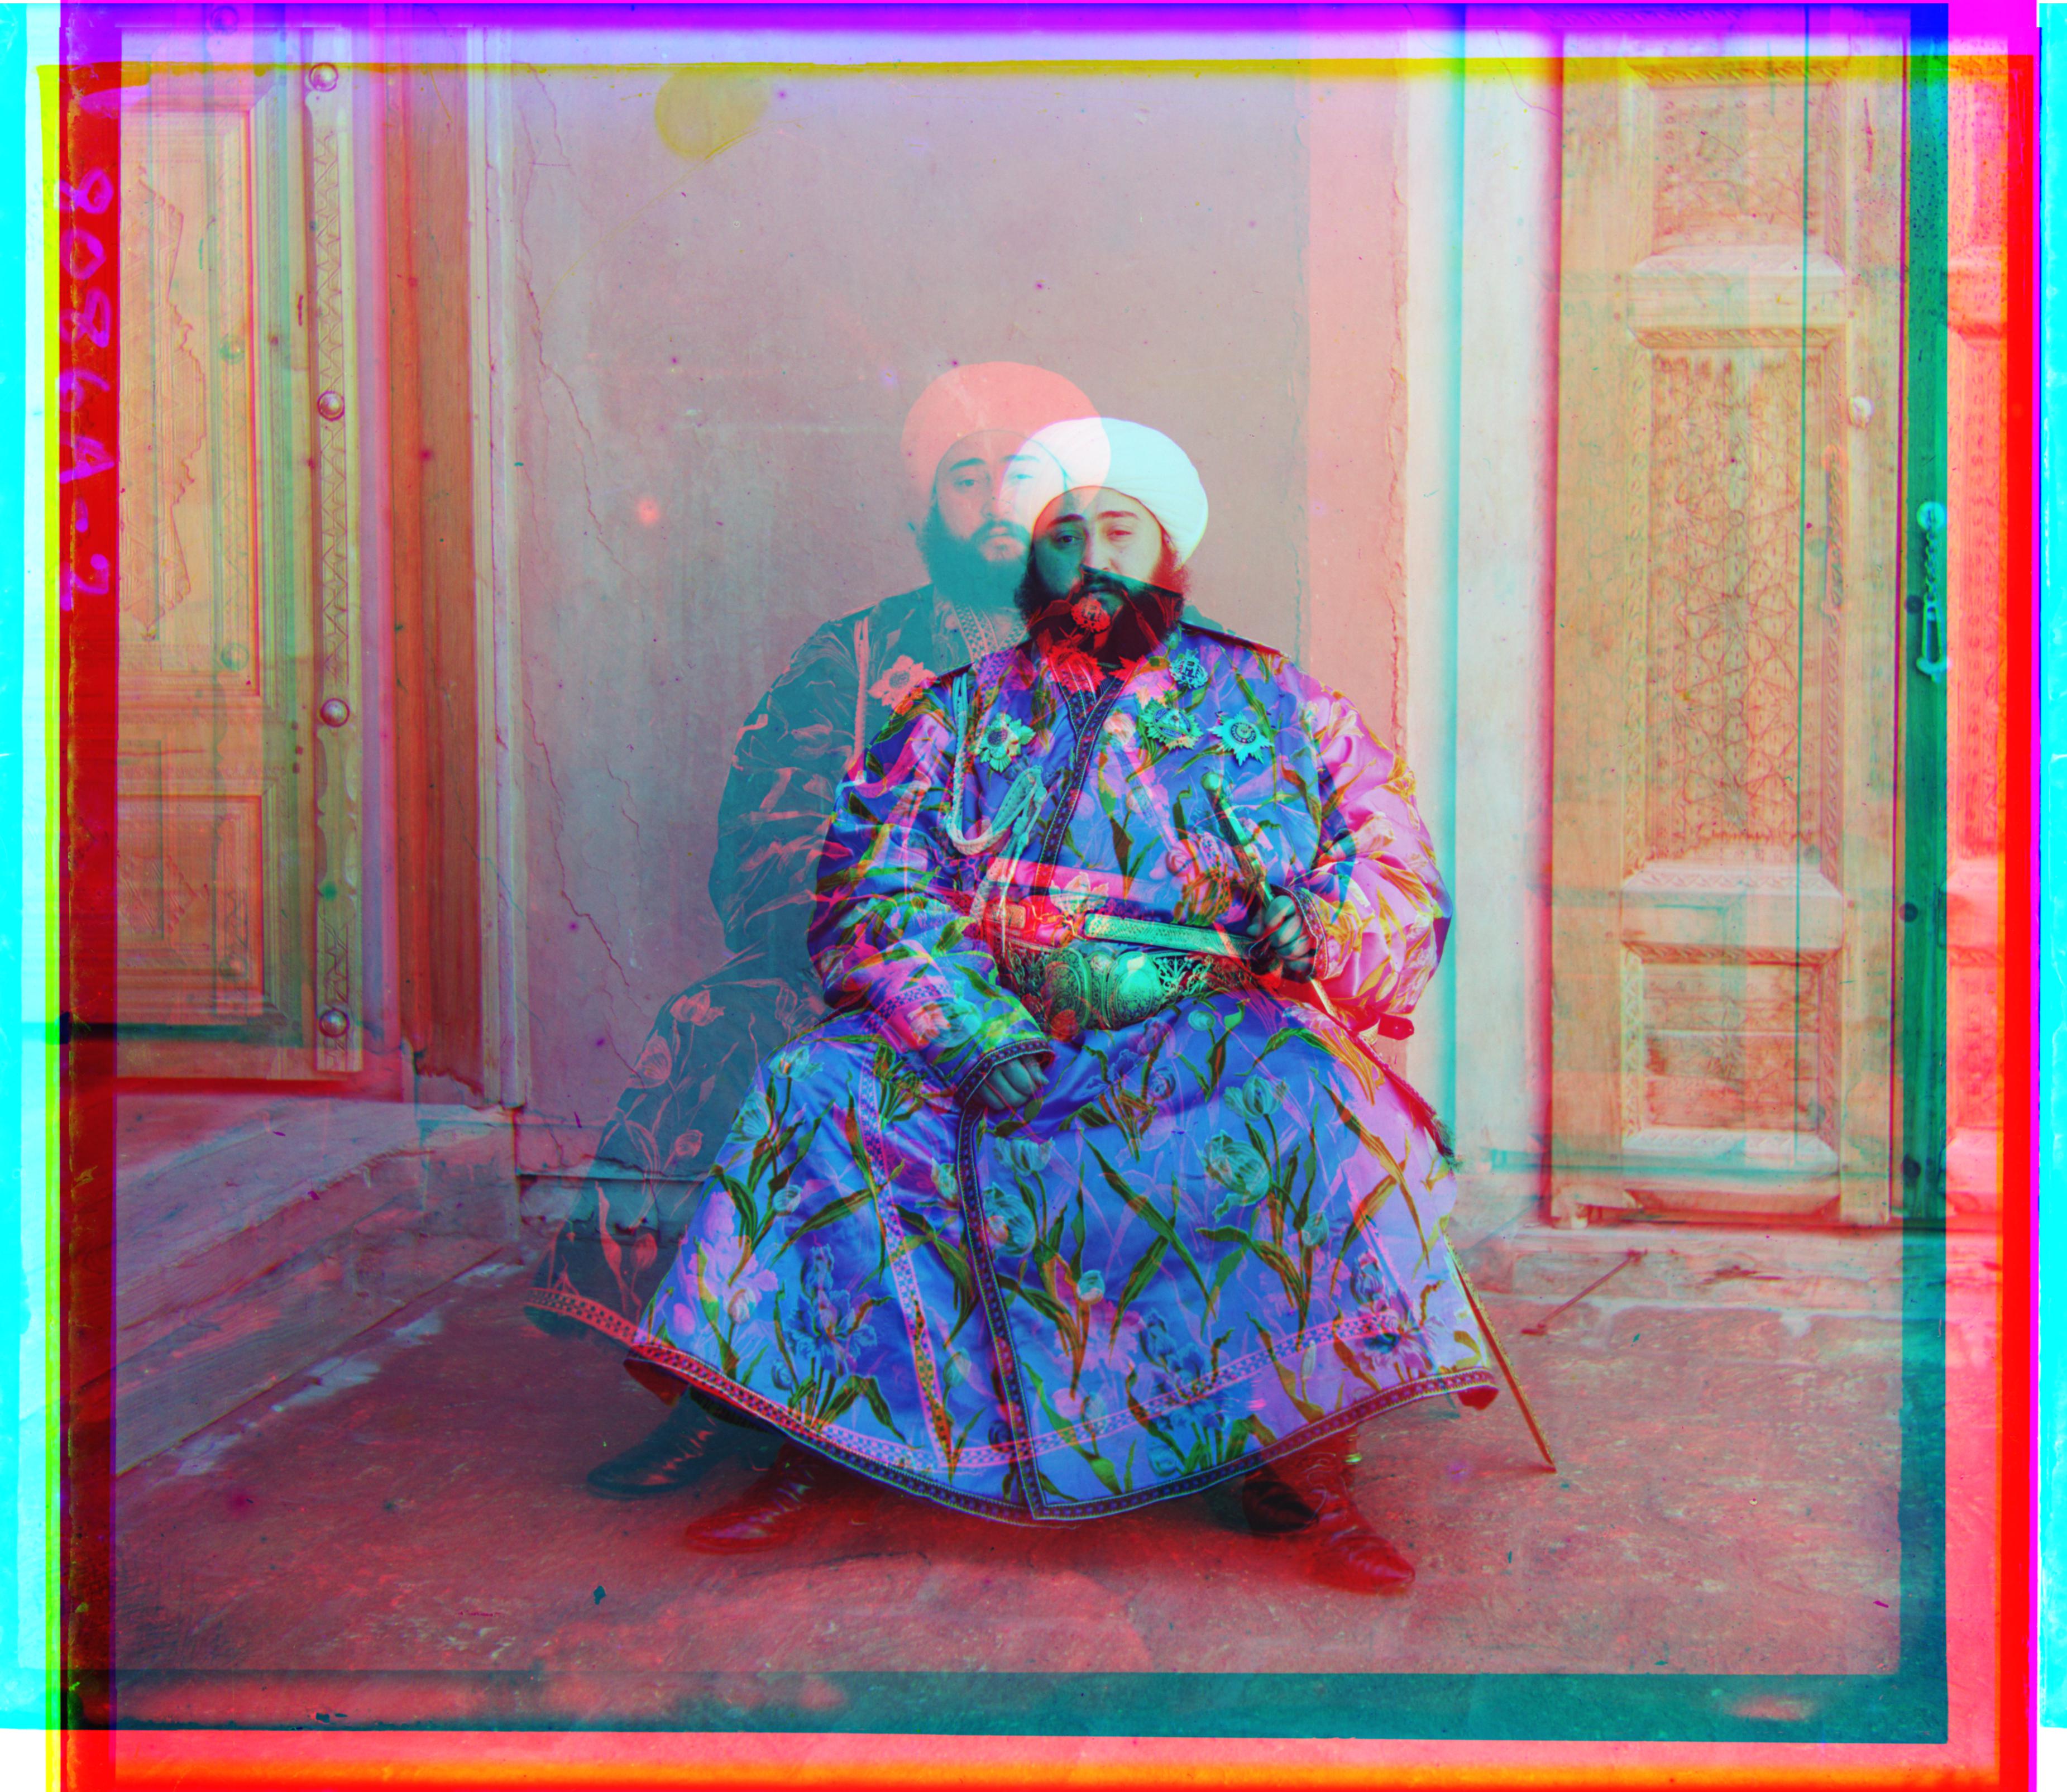
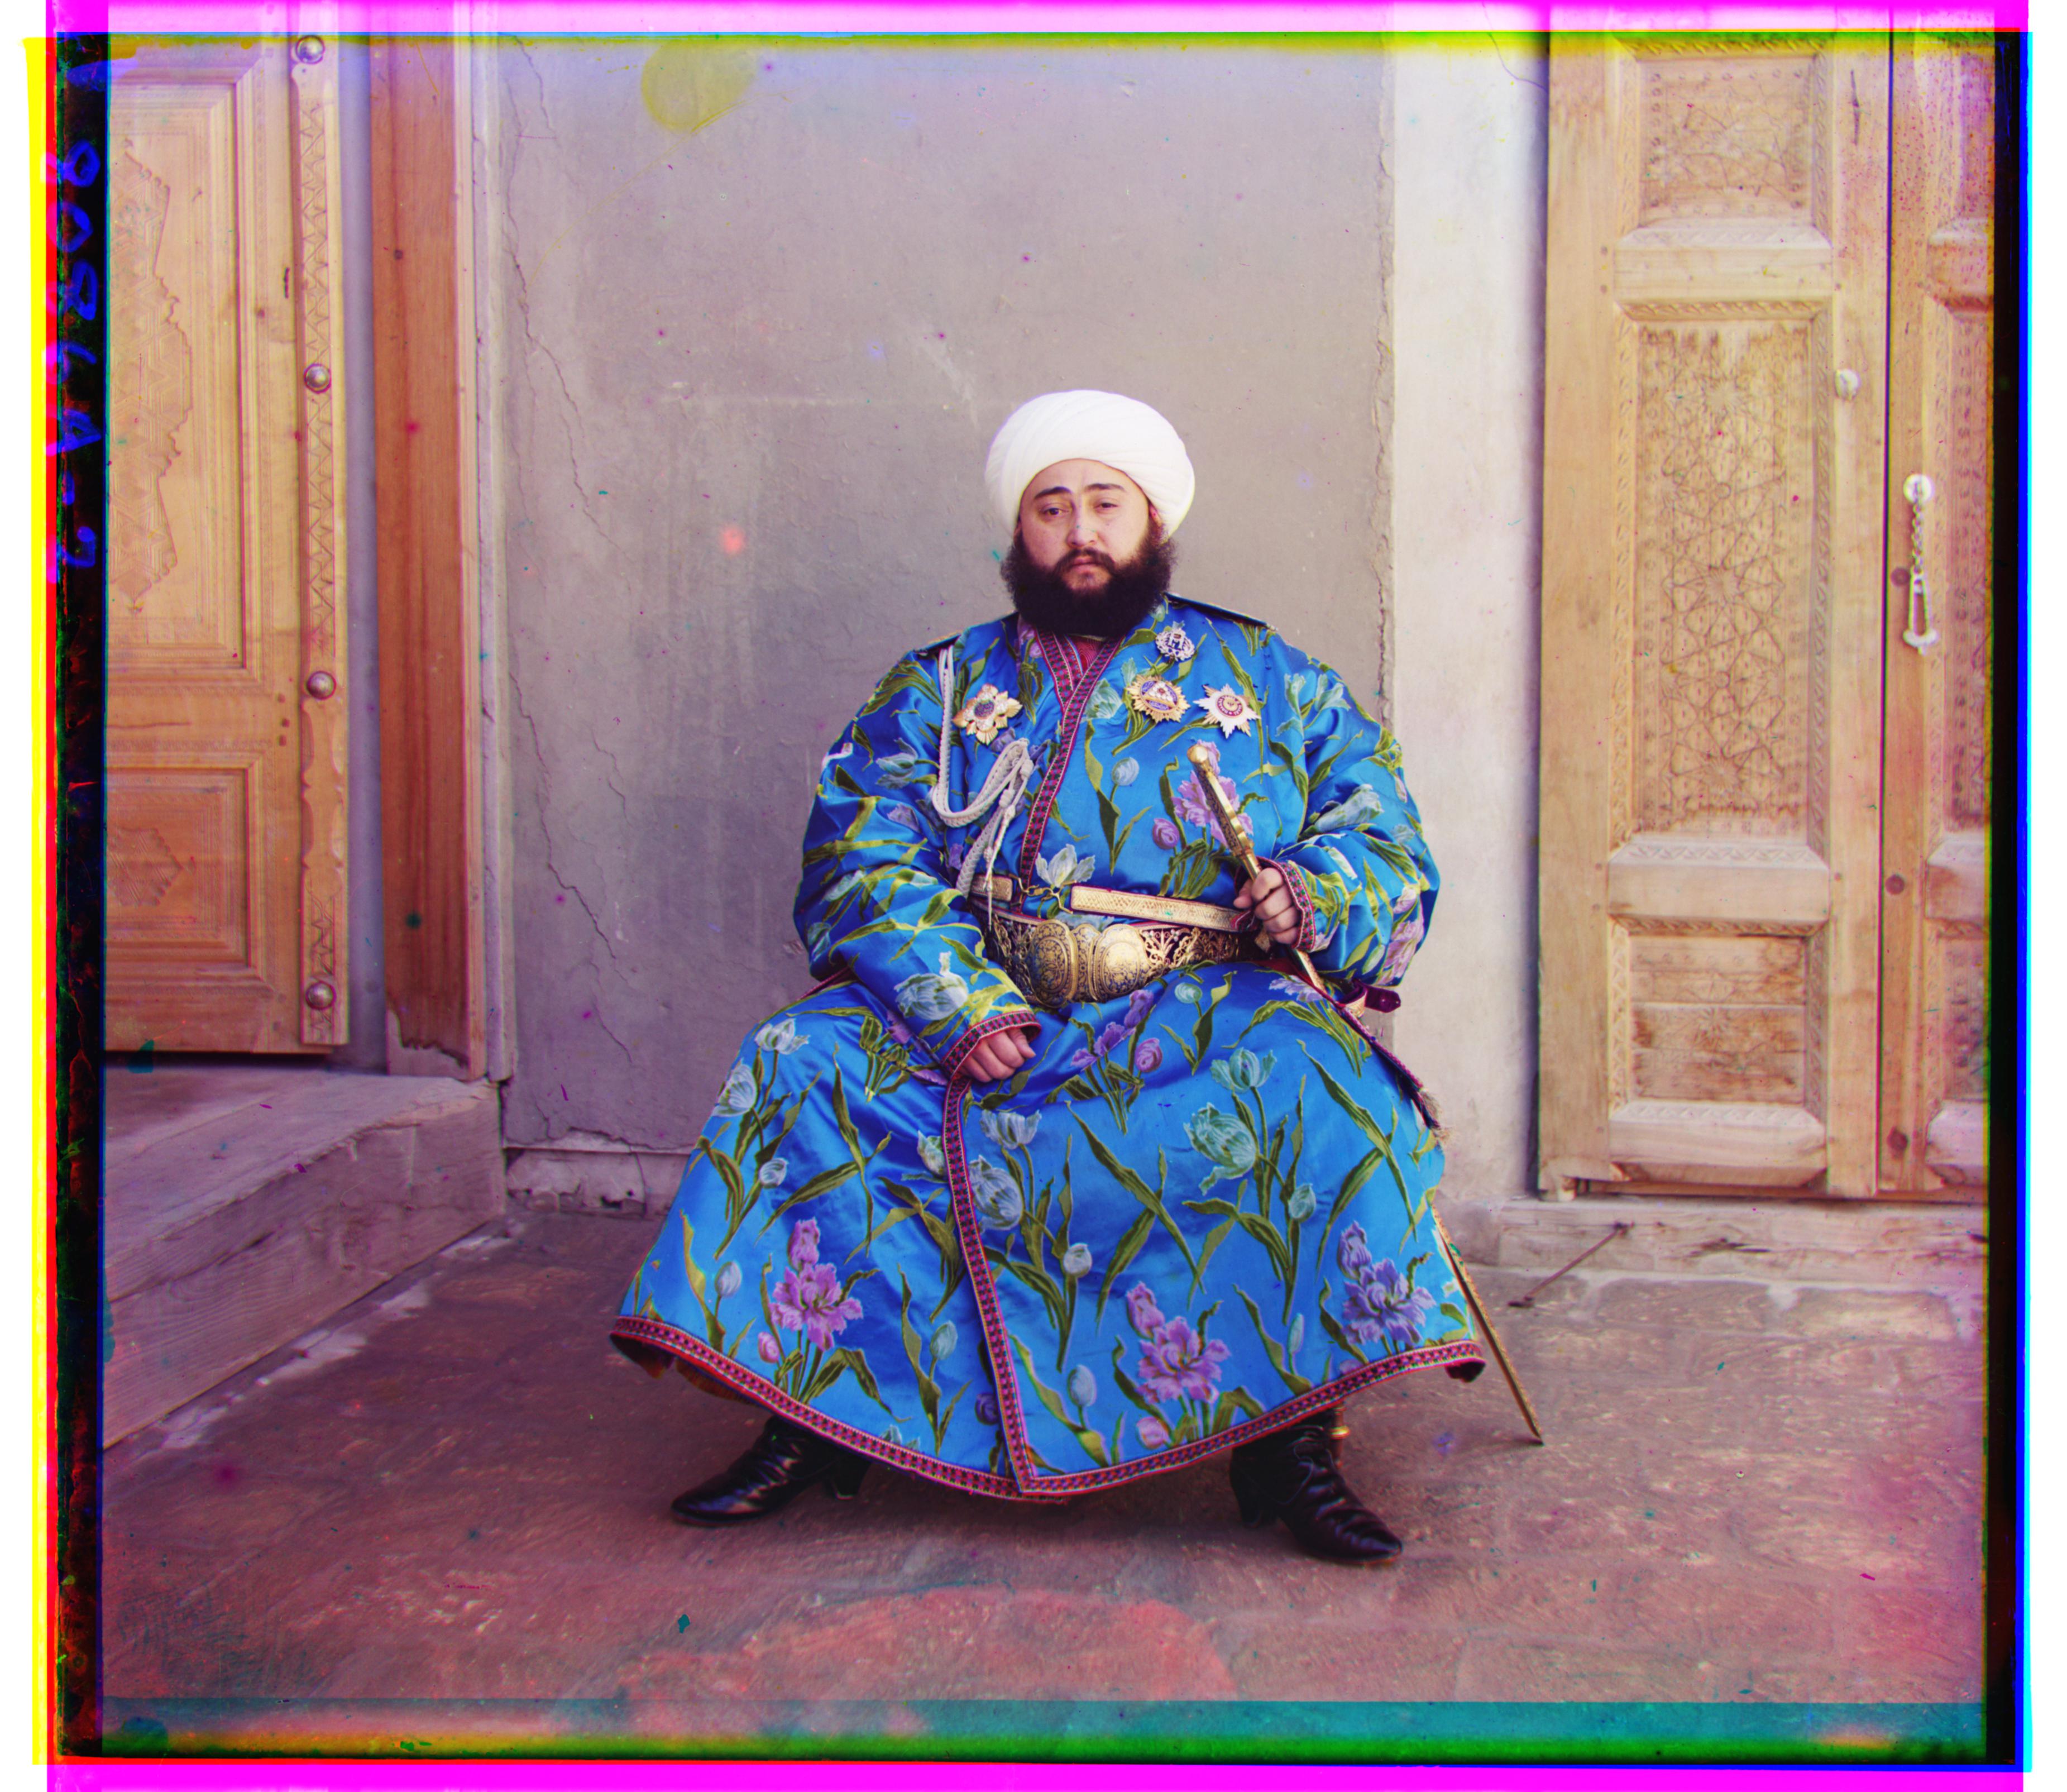
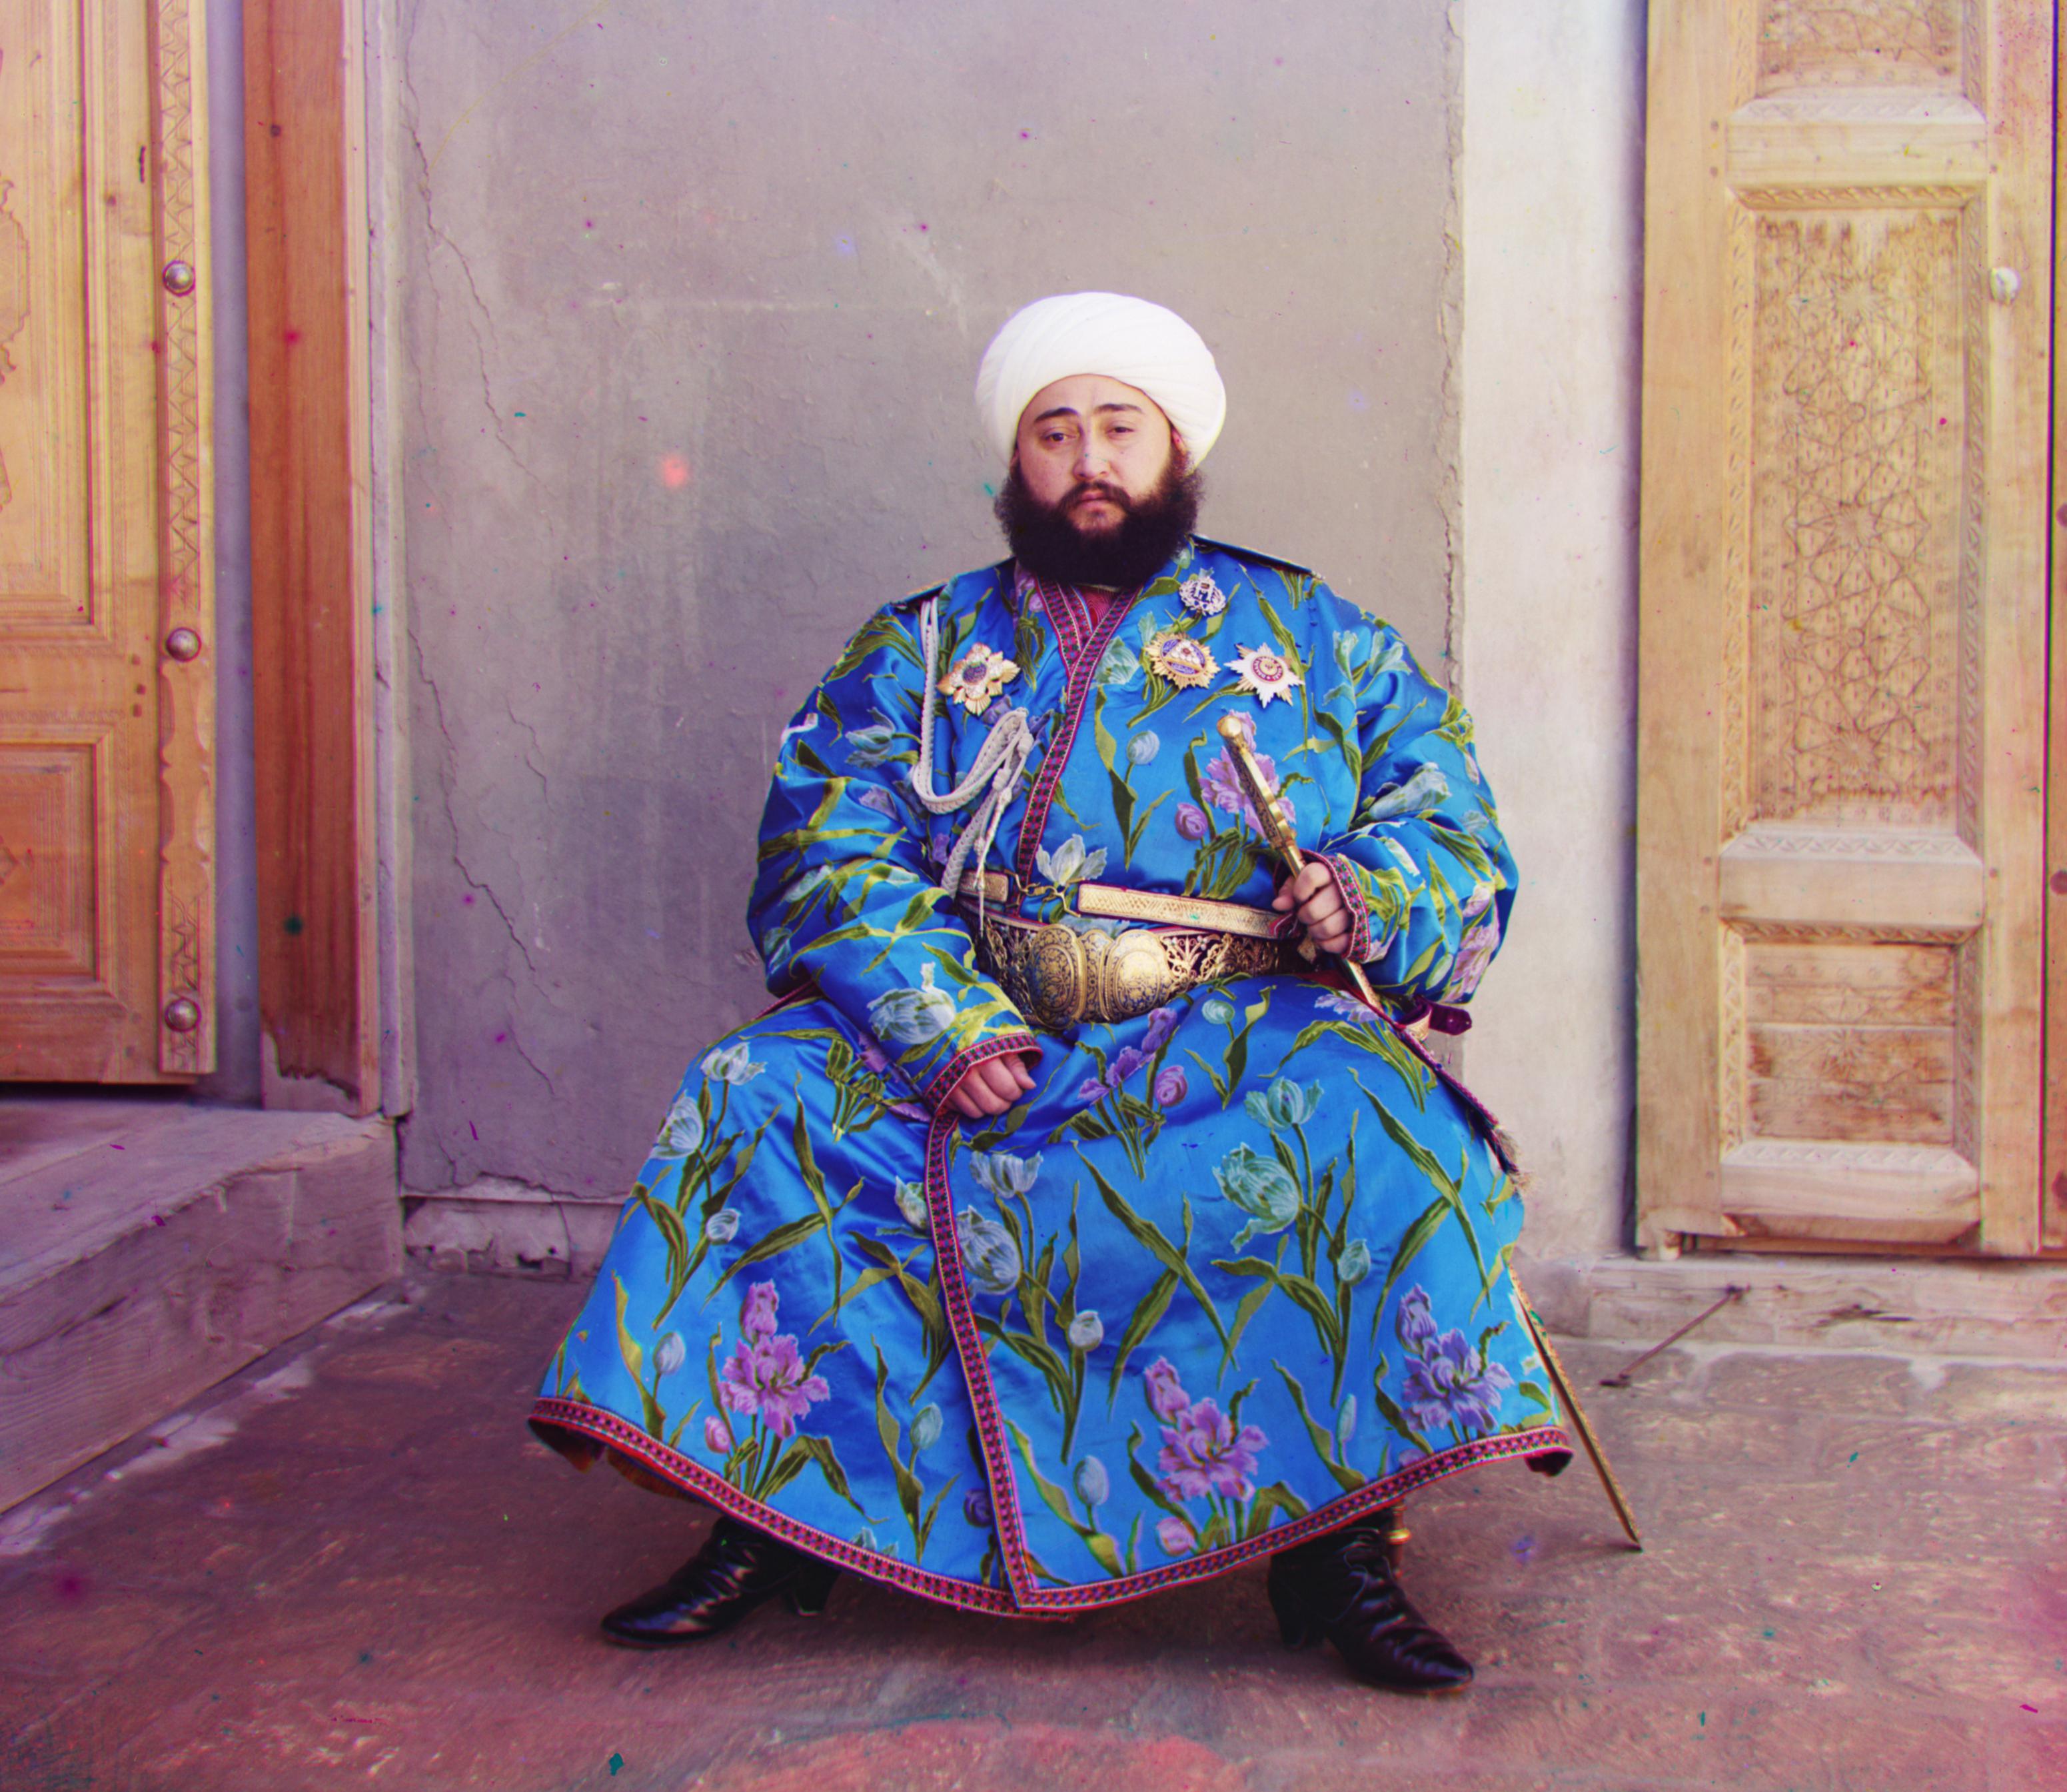
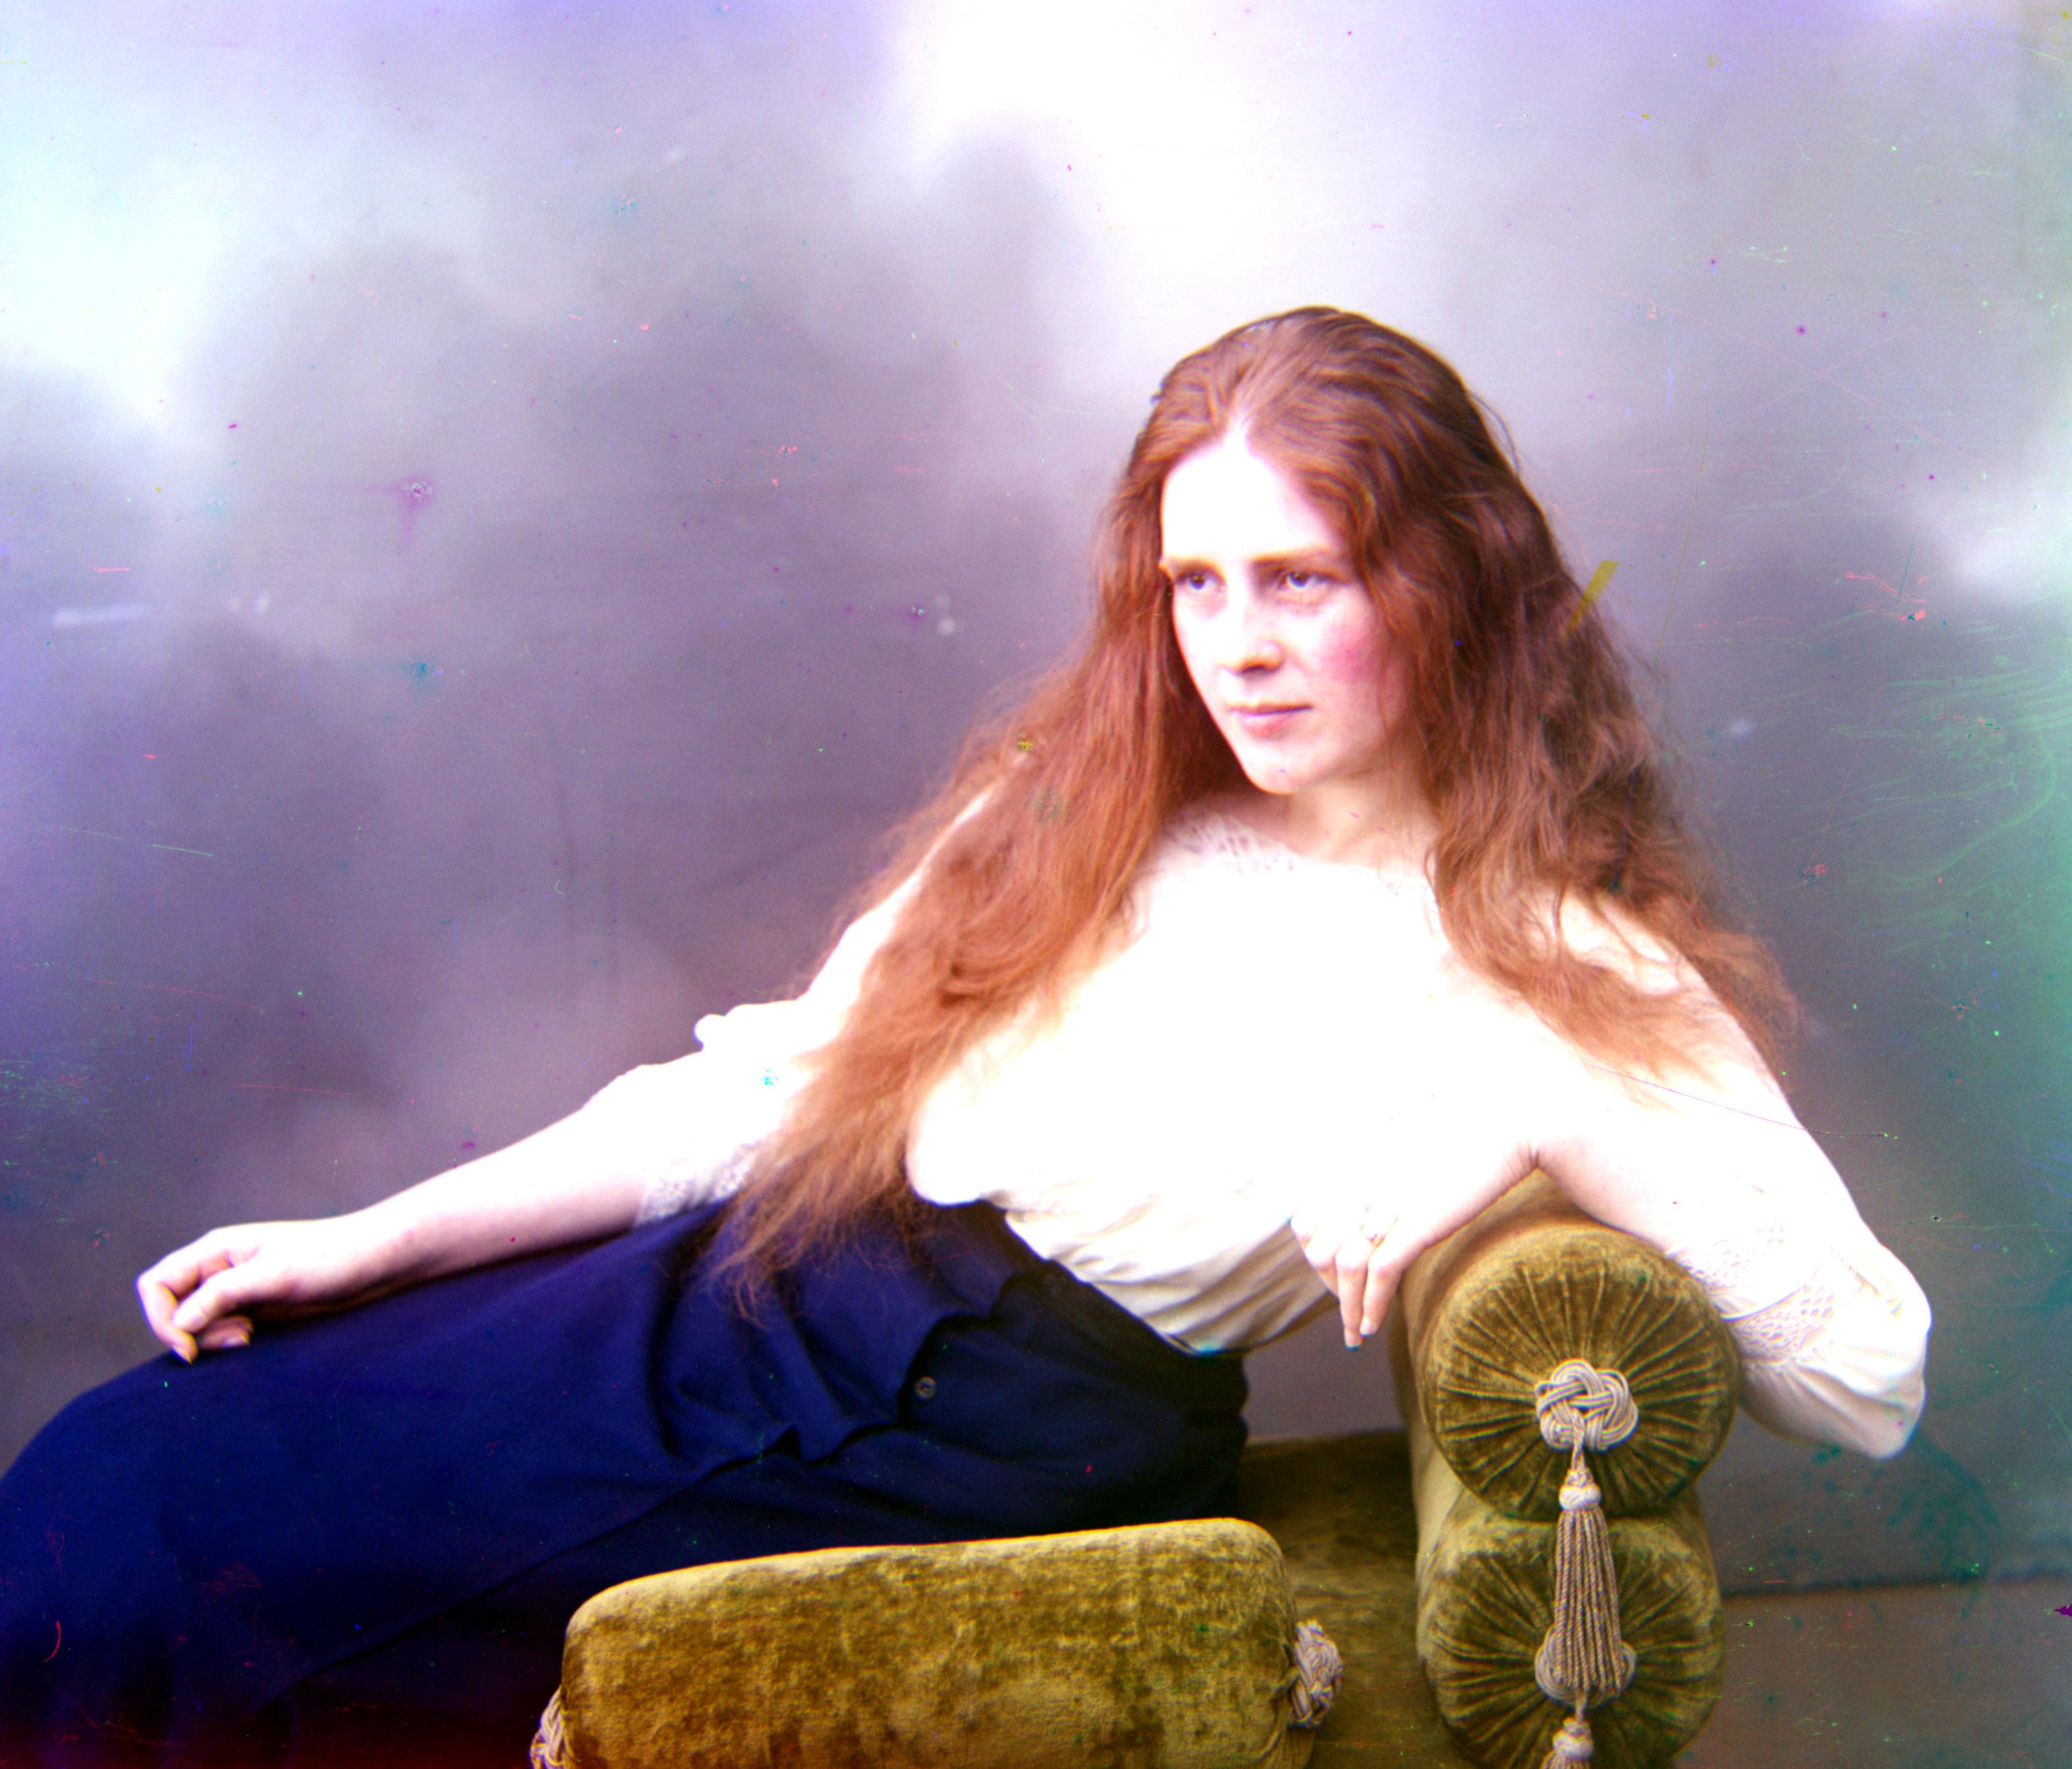
The user specified color channel is used to allow images that have strong intensities of only one of the color channels in the center of the image to be aligned. For example, both the self_portrait.tif and emir.tif were blurry when I tried to align them to the blue color channel. However, when I aligned them to the green color channel, the images were clear.
Alligned to Blue Color Channel
Alligned to Green Color Channel
Alligned to Blue Color Channel
Alligned to Green Color Channel
Bells and Whistles
Automatic Cropping
Cropping is done on the entire image after it has been aligned. We automatically crop on each side individually by removing pixels until the Sum of Square differences (SSD) between all color channels is minimal.We are assuming the color borders will have large total SSD and the image will have small total SSD.
Mathematically, if g,b,r are our three color channels, I cropped till SSD(b,g)+SSD(g,r)+SSD(r,b) is minimal.
This is a better detection of solid color borders than trying to find minimal color variance since it does not rely on finding a color variance threshold such that the image has more variance and the border has less. Originally, I tried finding minimal variance, but I could not determine a working threshold. The threshold would either be too low and I would crop everything or be too high and I would crop nothing.
To avoid this over-cropping problem in the SSD method, I restricted the amount I could crop to at most 10% of each dimension on each side. To reduce runtime, I restricted us to only be able to crop at certian intervals, specifically every 2% of the dimension. This prevented us from checking every single pixel individualy and still produced decent cropping. To speed up calculating the total SSD, I restricted each color channel to the closest 1/5 to the dimension we were cropping.
Examples
Automatic White Balance
Automatic White Balance is done to the images after they have been aligned and cropped. I used the technique of finding the illuminant and making it appear white. I used a heuristic to estimate what pixel is the illuminant that worked decently in experimentation. I estimated the pixel at the 90th percentile in the gray-scaled image is the illuminant.
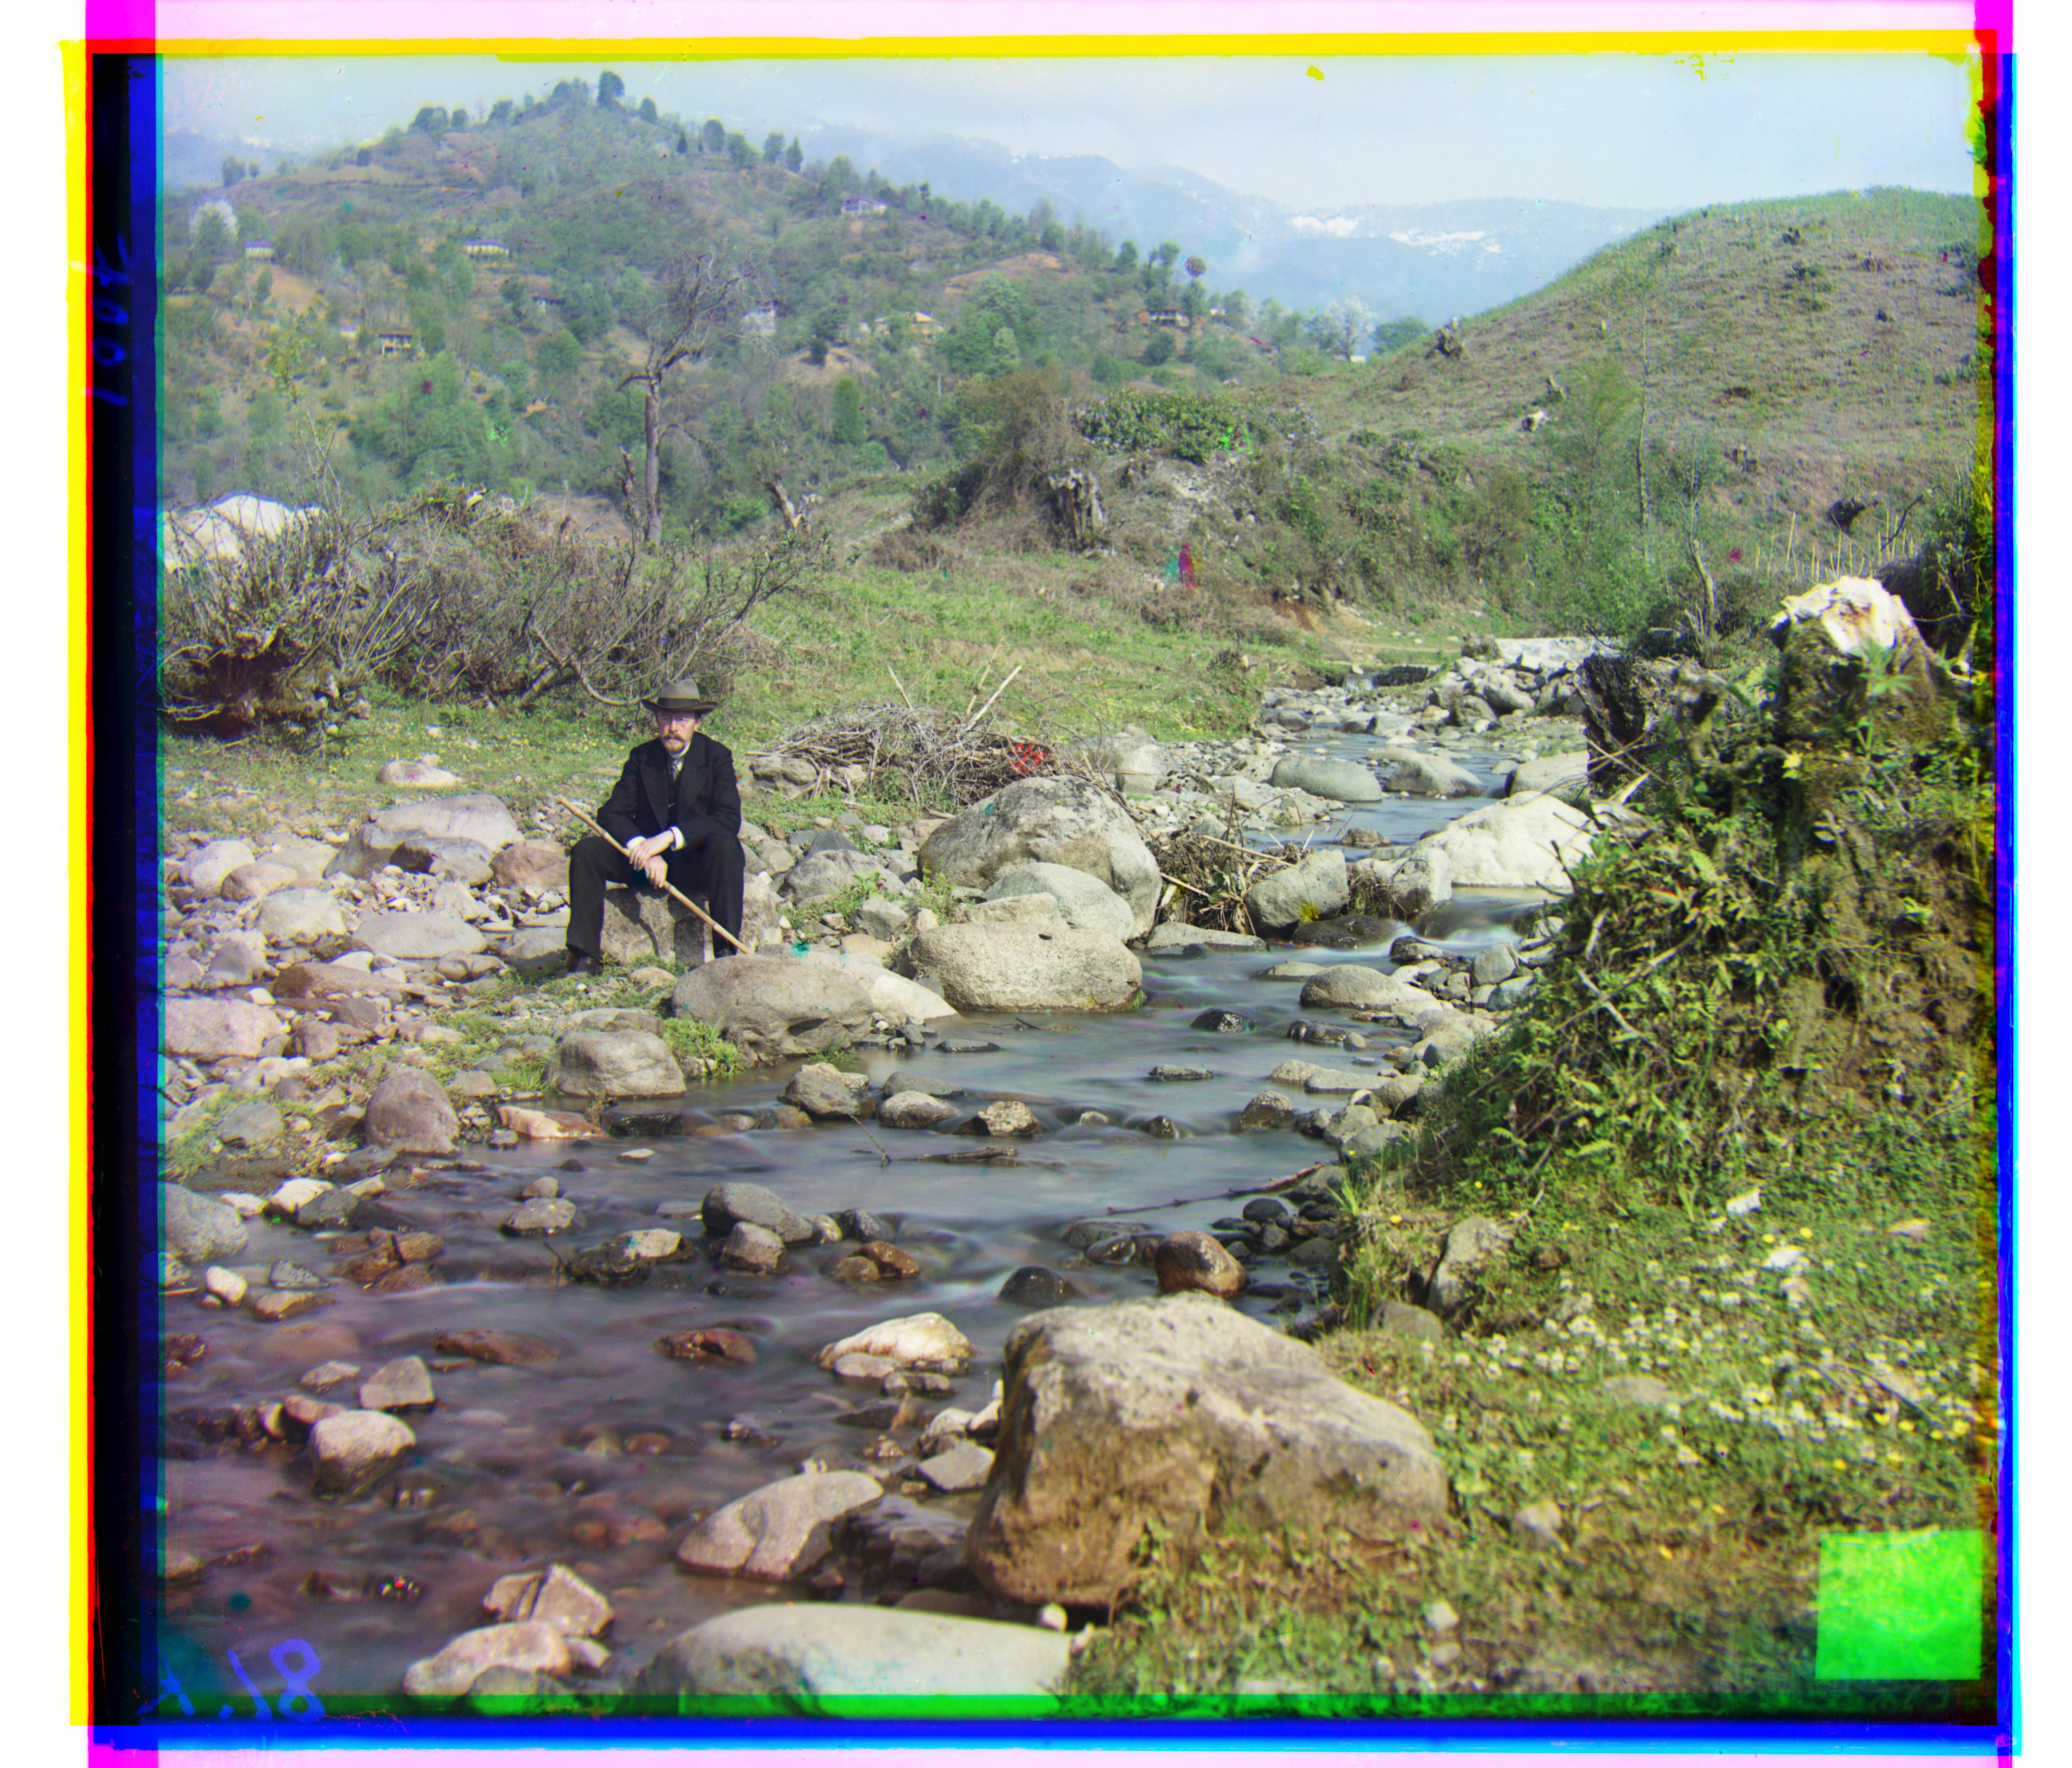
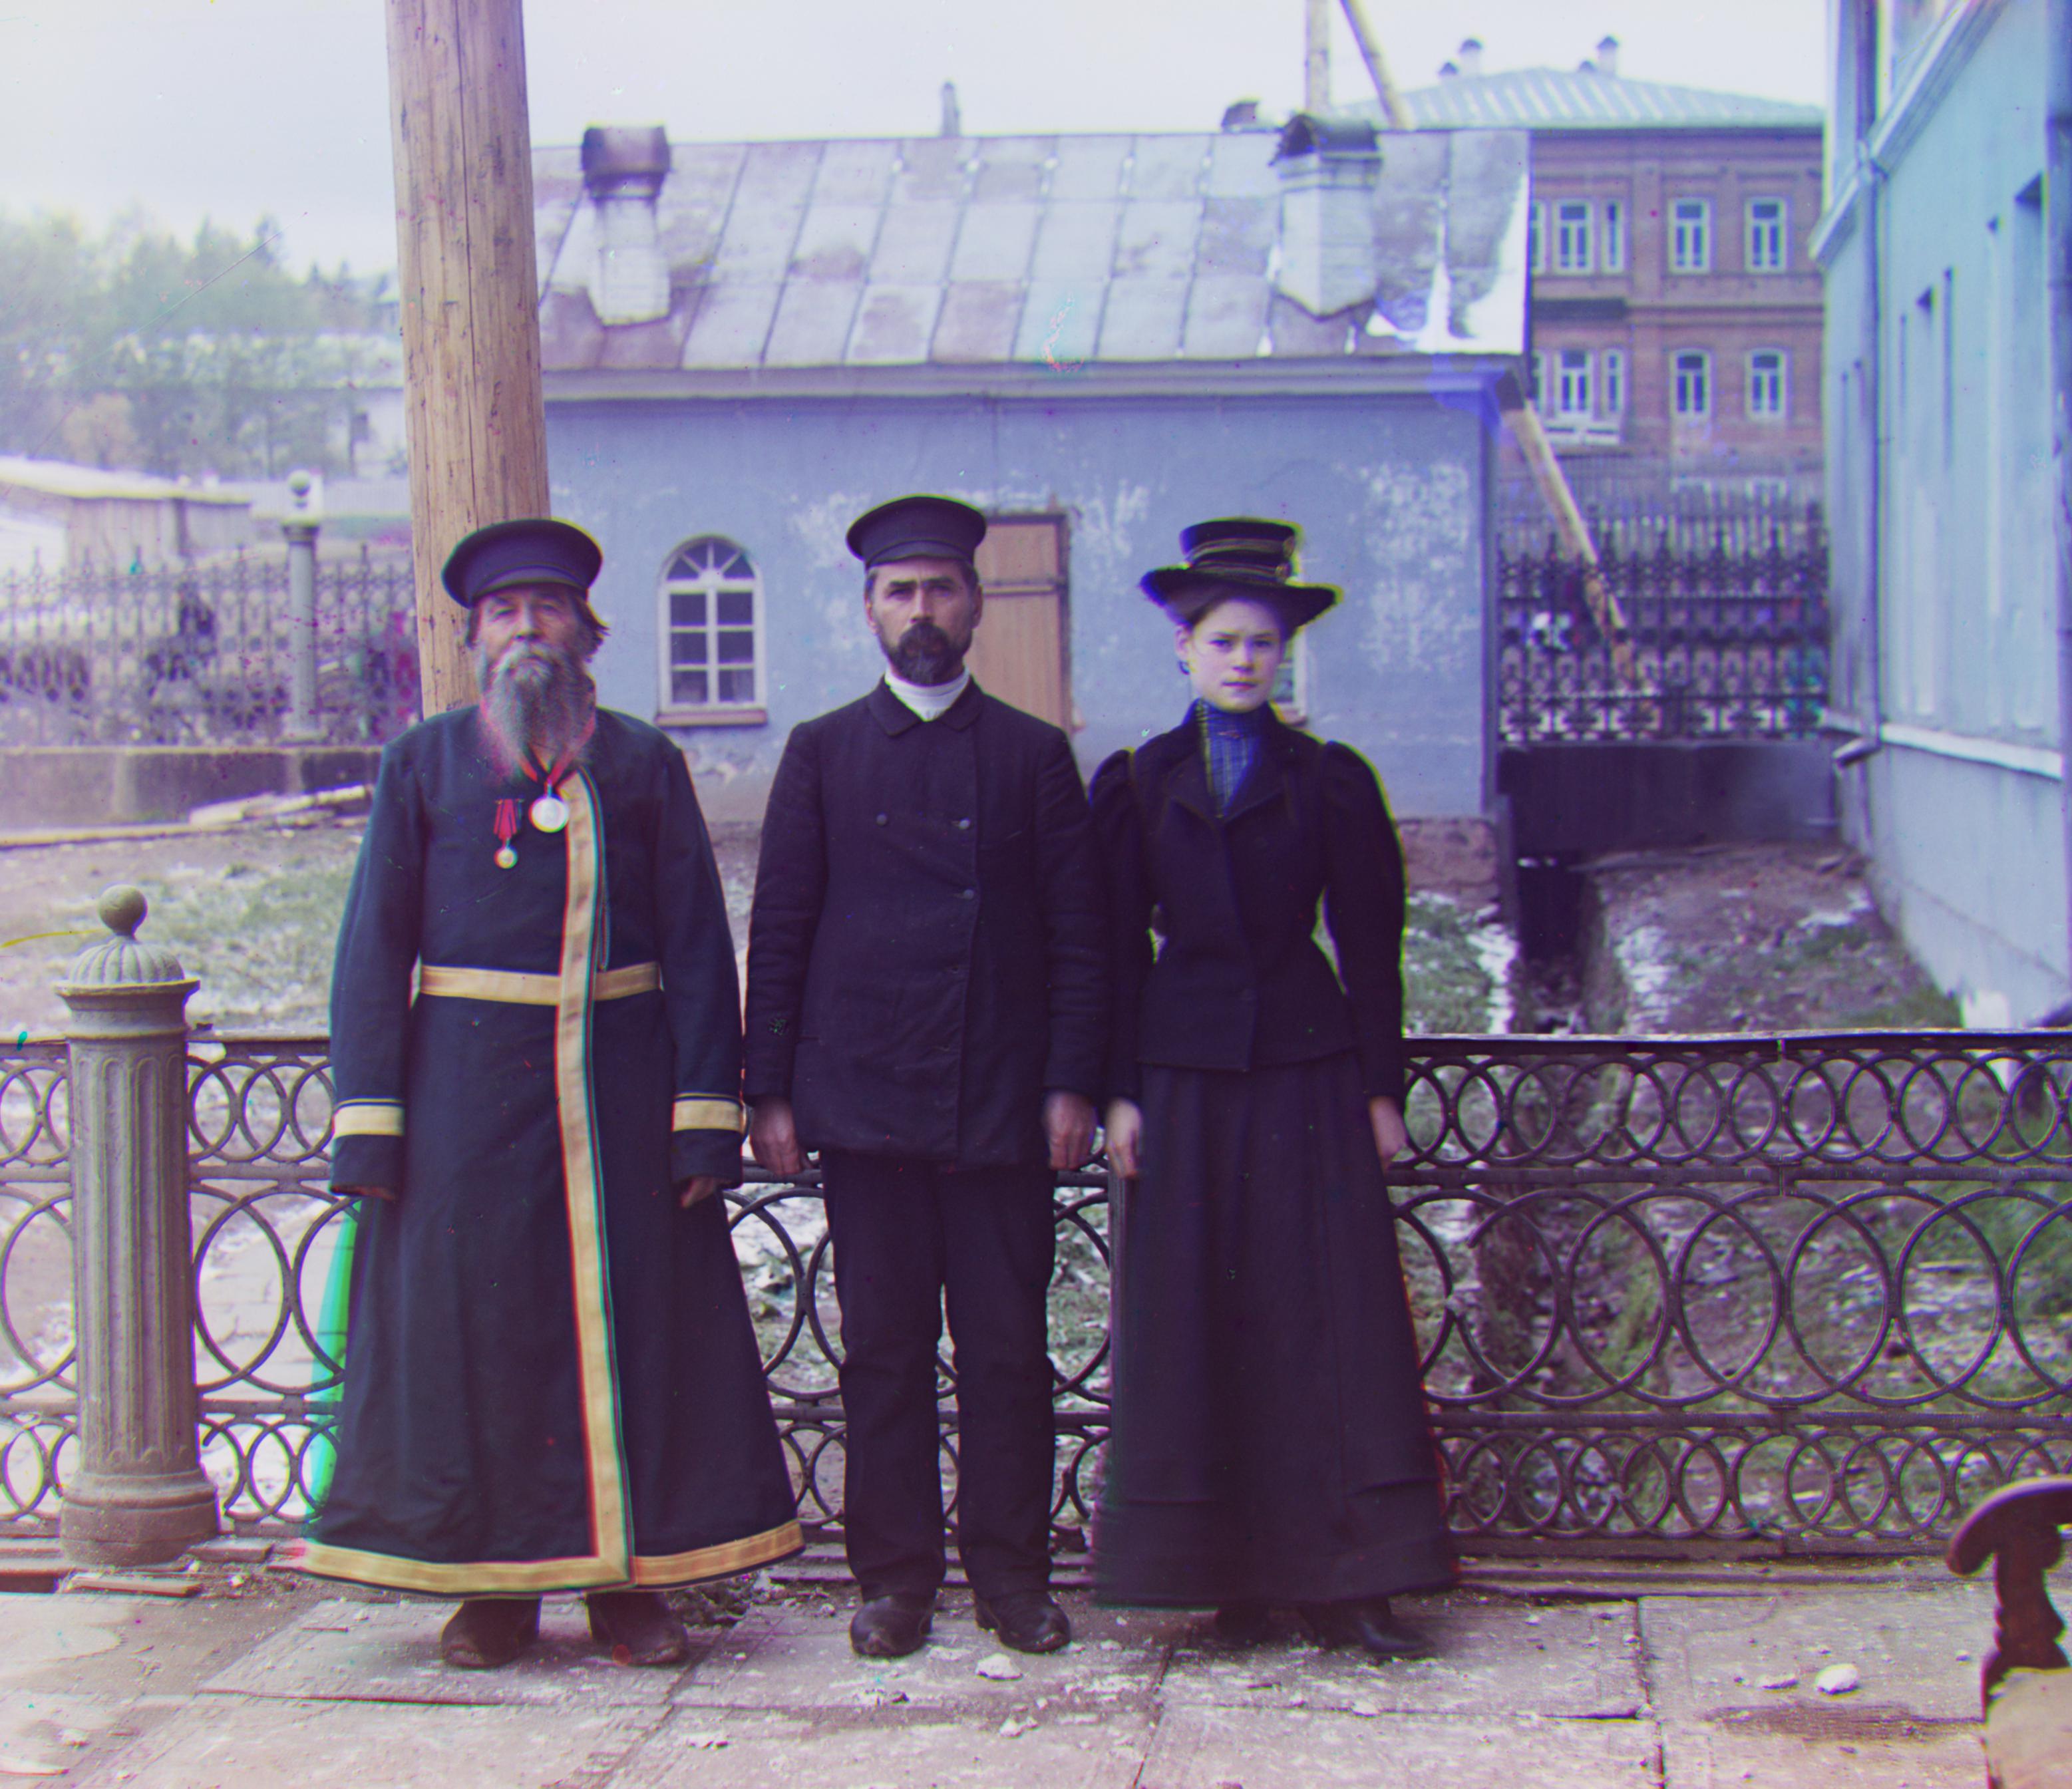
To whiten images, I first convert the image to gray scale using skimage.color.rgb2gray. Then I find the pixel that is at the 90 percentile in intensity. This pixel is close to white, but is not exactly white (1.0). We are assuming this pixel is the illuminant and is not already white. I then calculate the scaling to make this mid white pixel white (1.0/mid_white_color) and multiply the original image by this scaling constant.The white balancing helped the most in images that had a gray lighting in them such as three_generations.tif and monastry.jpg.
The effects of whitening are seen most clearly in the skys and other places that were shadowy.
I had difficulty finding the desired pixel to make map to white. In most images, the lightest pixel is white (1.0) and mapping white to white had no effect. I tried taking the average pixel intensity and mapping it to gray, but it did not work as well as mapping an off-white pixel to white. The 90th percentile was chosen randomly and seems to work fine in experimentation.
Examples
Before
After
Before
After
Automatic Contrast
At first, I tried mapping the lightest and darkest pixels in the grayscale image to white and black using a linear transformation, but that typically had no effect as most images contain white and black already. I then tried mapping the darkest and lightest intensity in the image's color channels to 0 and 1, but again most images alreay had 0 and 1 as intensities and a change was not visible. I then decided to
contrast each color channel individually after it has been aligned and cropped. This assumes that we can create contrast in the image by increasing the contrast in the individual color channels.
To contrast a color channel, I first average the darkest 5% of the pixels to get a number close to 0.0. Call this value the darkest_color. Then I average the lightest 5% of pixels which is approximately 1.0. Call this value the lightest_color. Then I use the linear transformation defined by mapping lightest_color to 1.0 and darkest_color to 0.0. Mathematically, im = im*1.0/(lightest_color - darkest_color) - darkest_color/(lightest_color - darkest_color). Finally all the contrasted color channels were combined to create one image. We used the average since in most color channels there is already a pixel close to 0.0 or 1.0, so using the darkest/lightest pixel will give an approximation of the identity transform.
Examples
Before
After
Before

After
Results
Required Images are first with Extra Images at the End
cathedral.jpg
Vector for aligning g to b is (2,5)
and
Vector for aligning r to b is (3,12)
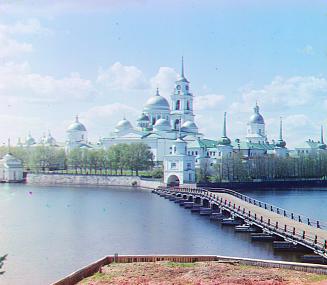
monastery.jpg
Vector for aligning g to b is (2,-3)
and
Vector for aligning r to b is (2,3)
nativity.jpg
Vector for aligning g to b is (1,3)
and
Vector for aligning r to b is (0,7)
settlers.jpg
Vector for aligning g to b is (0,7)
and
Vector for aligning r to b is (-1,15)
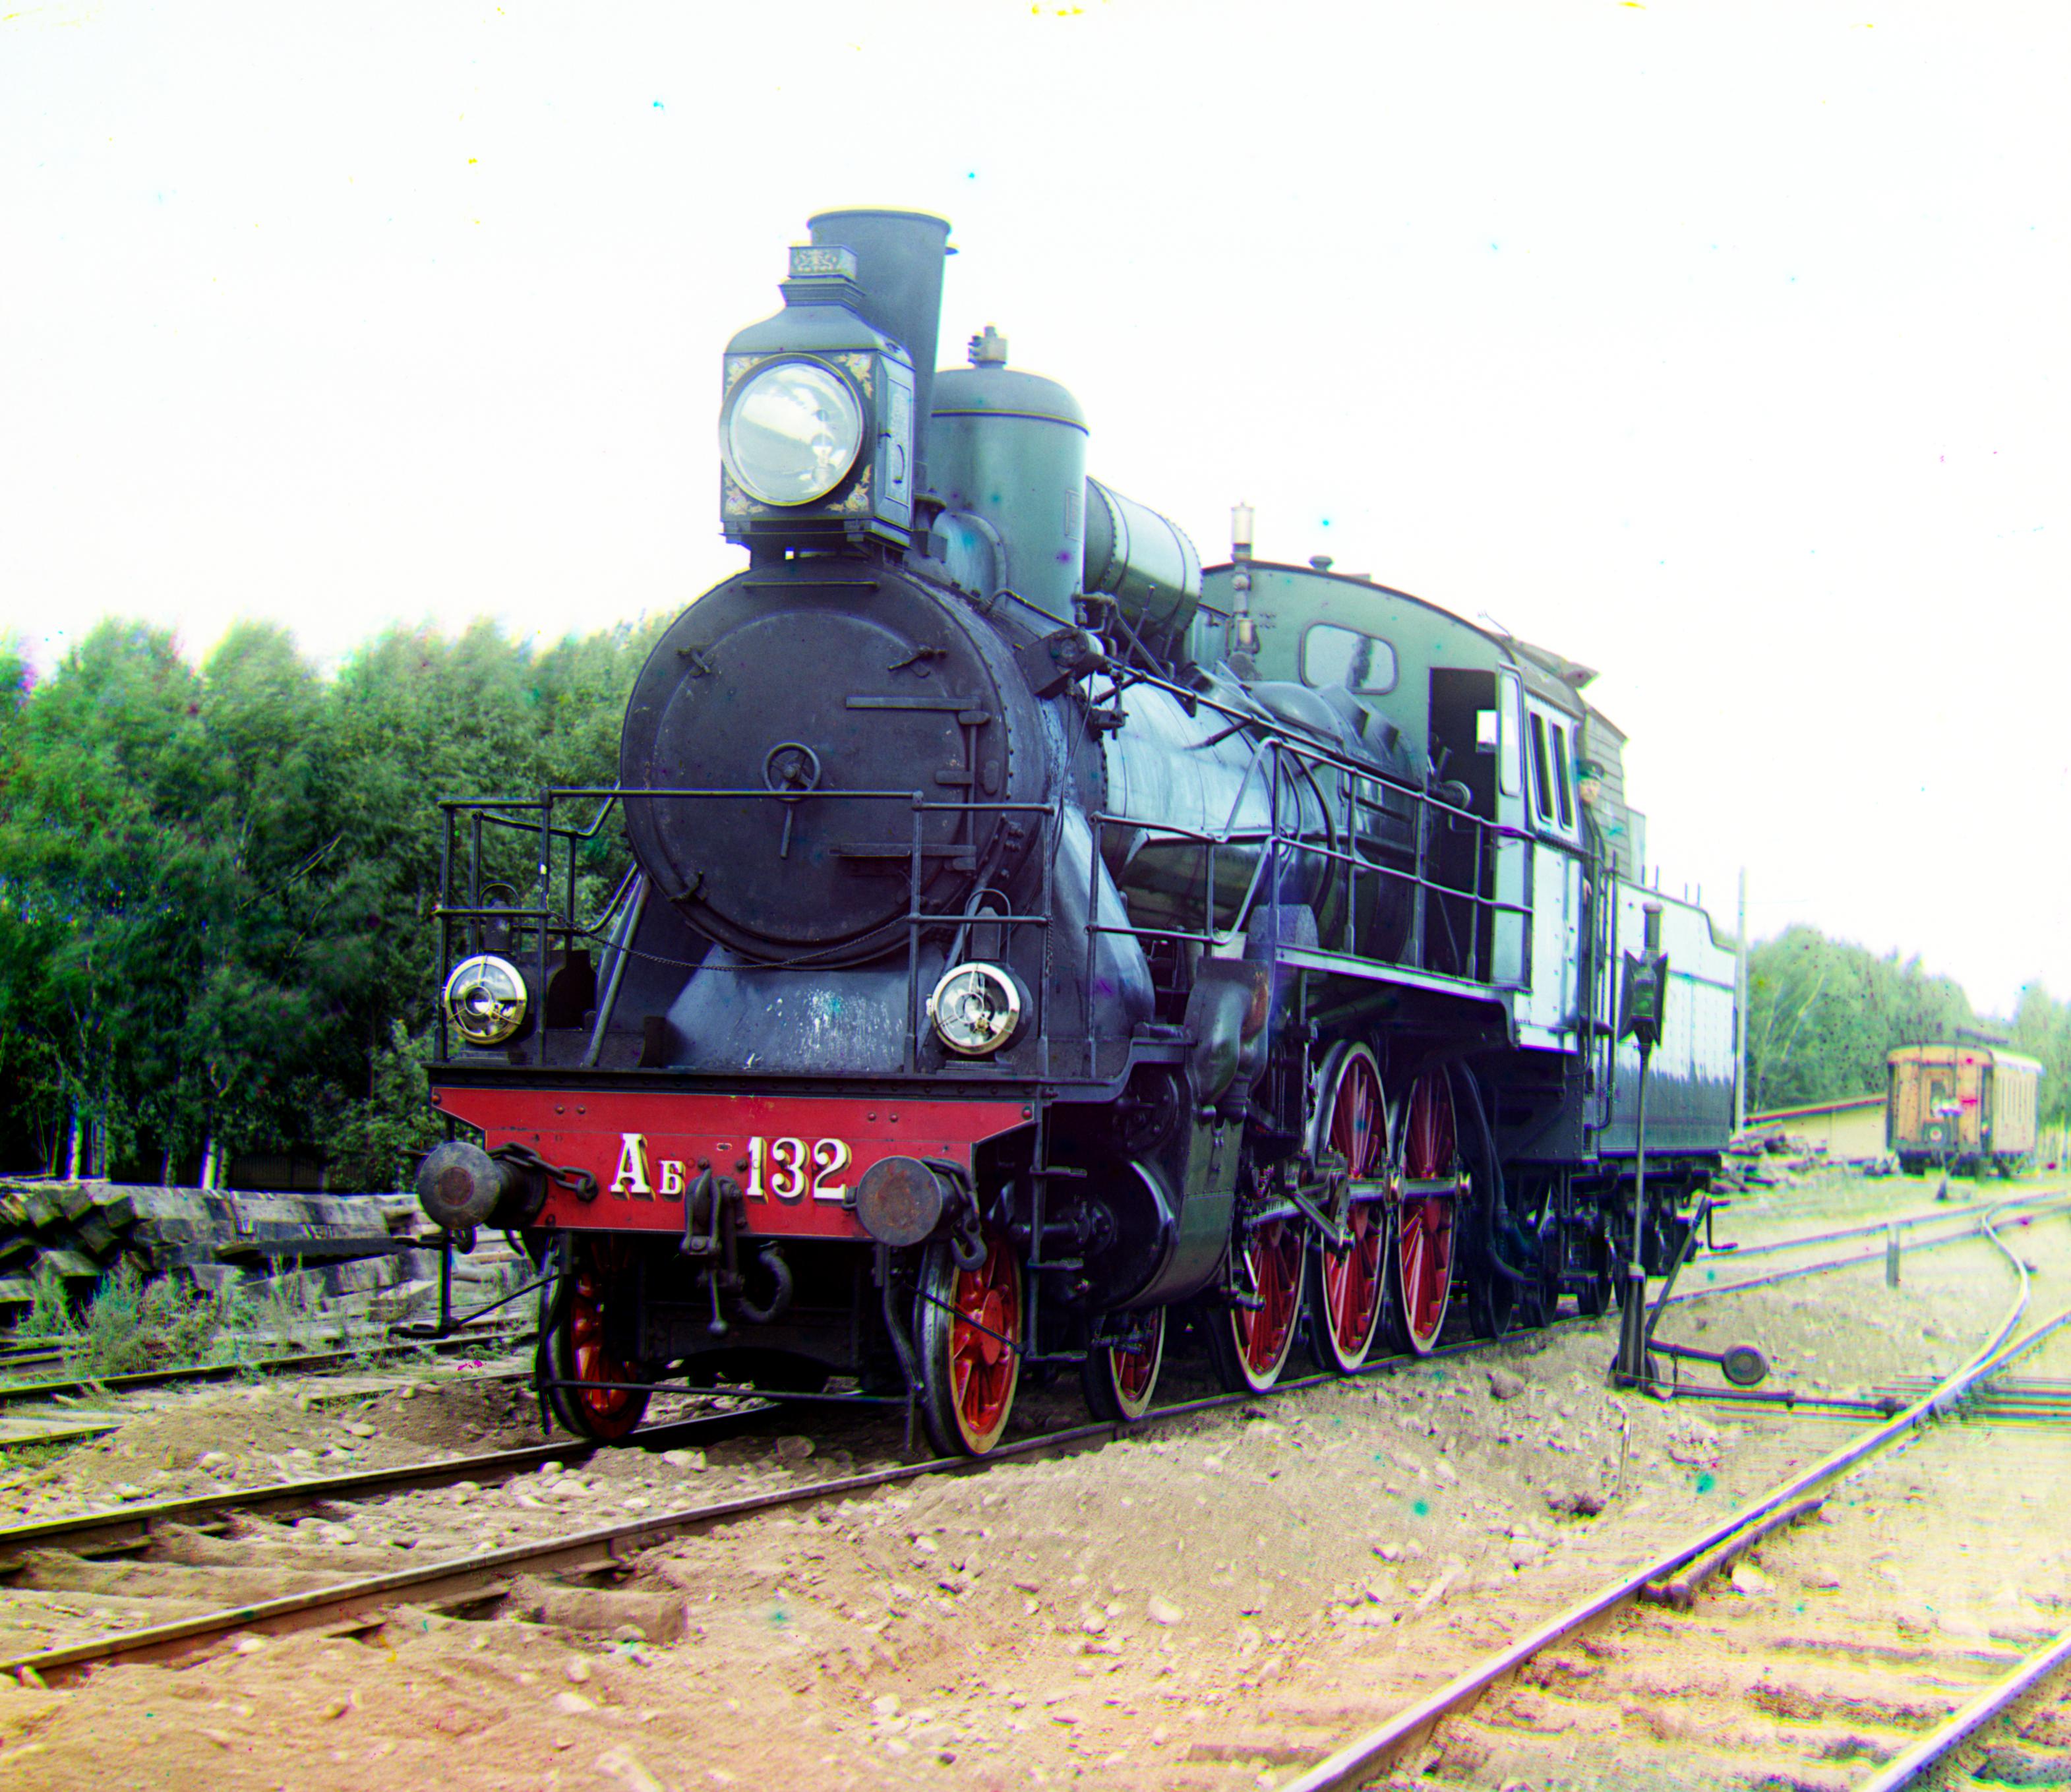
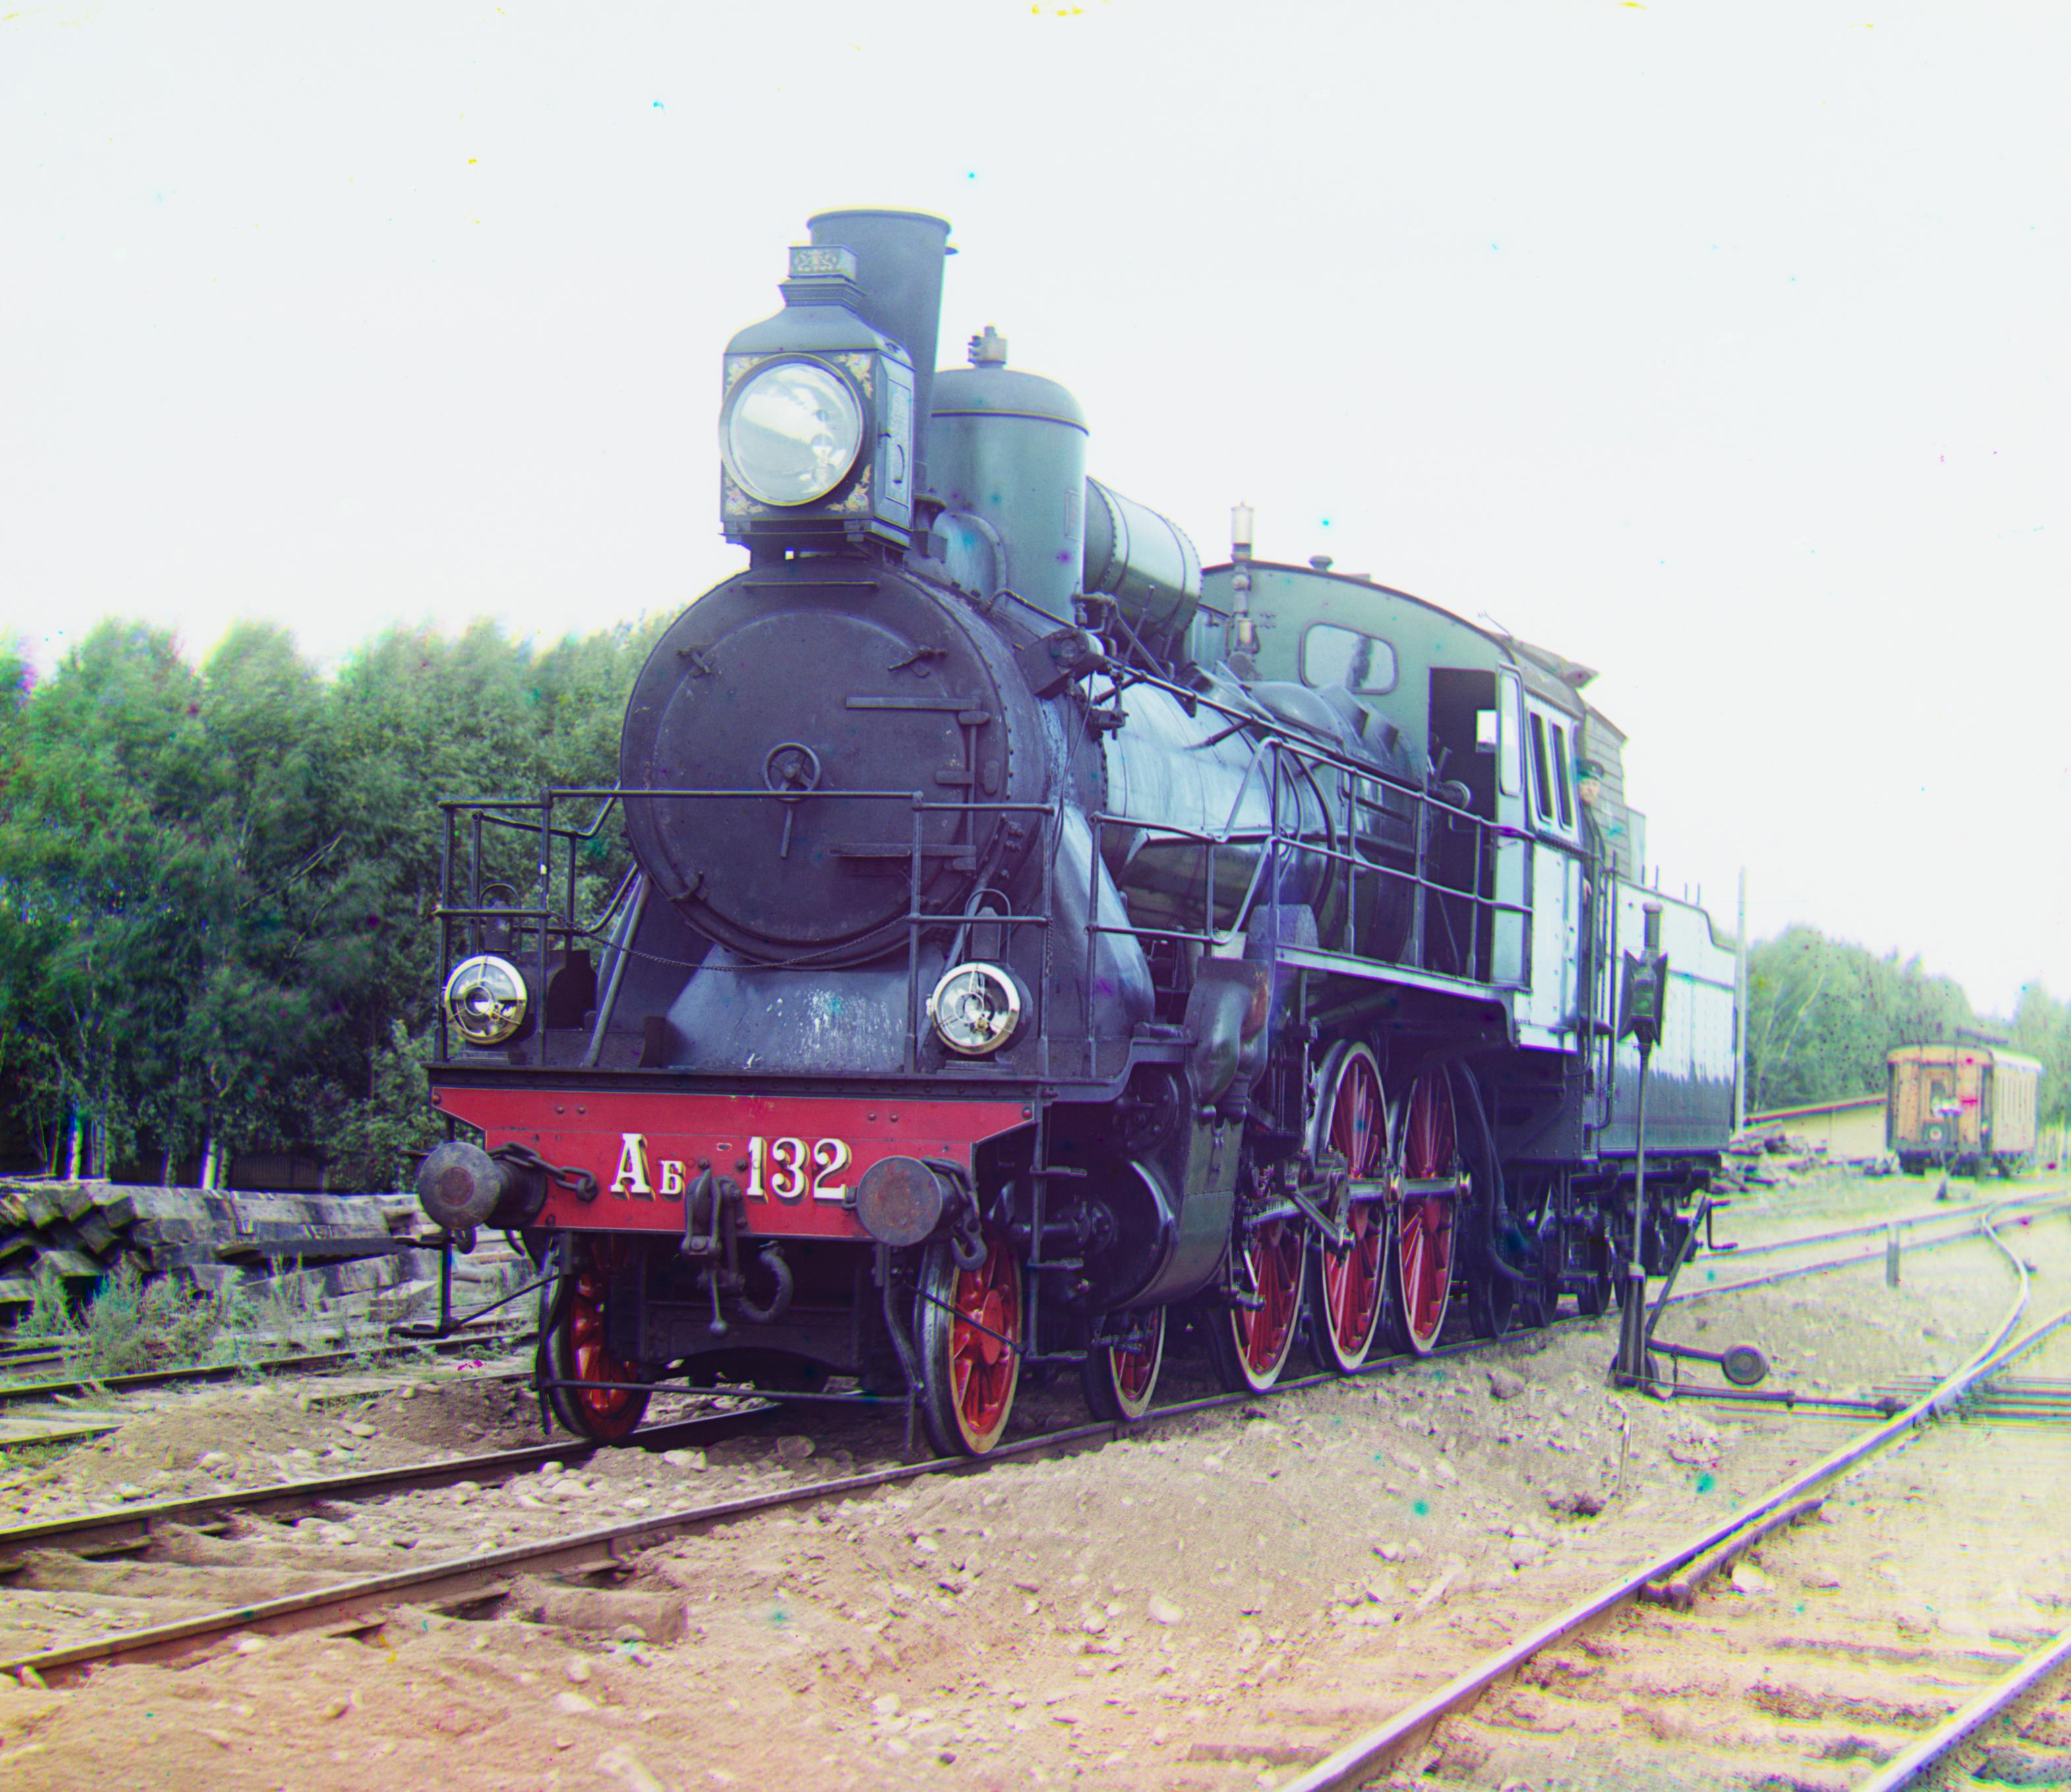
train.tif
Vector for aligning g to b is (6,42)
and
Vector for aligning r to b is (32,87)
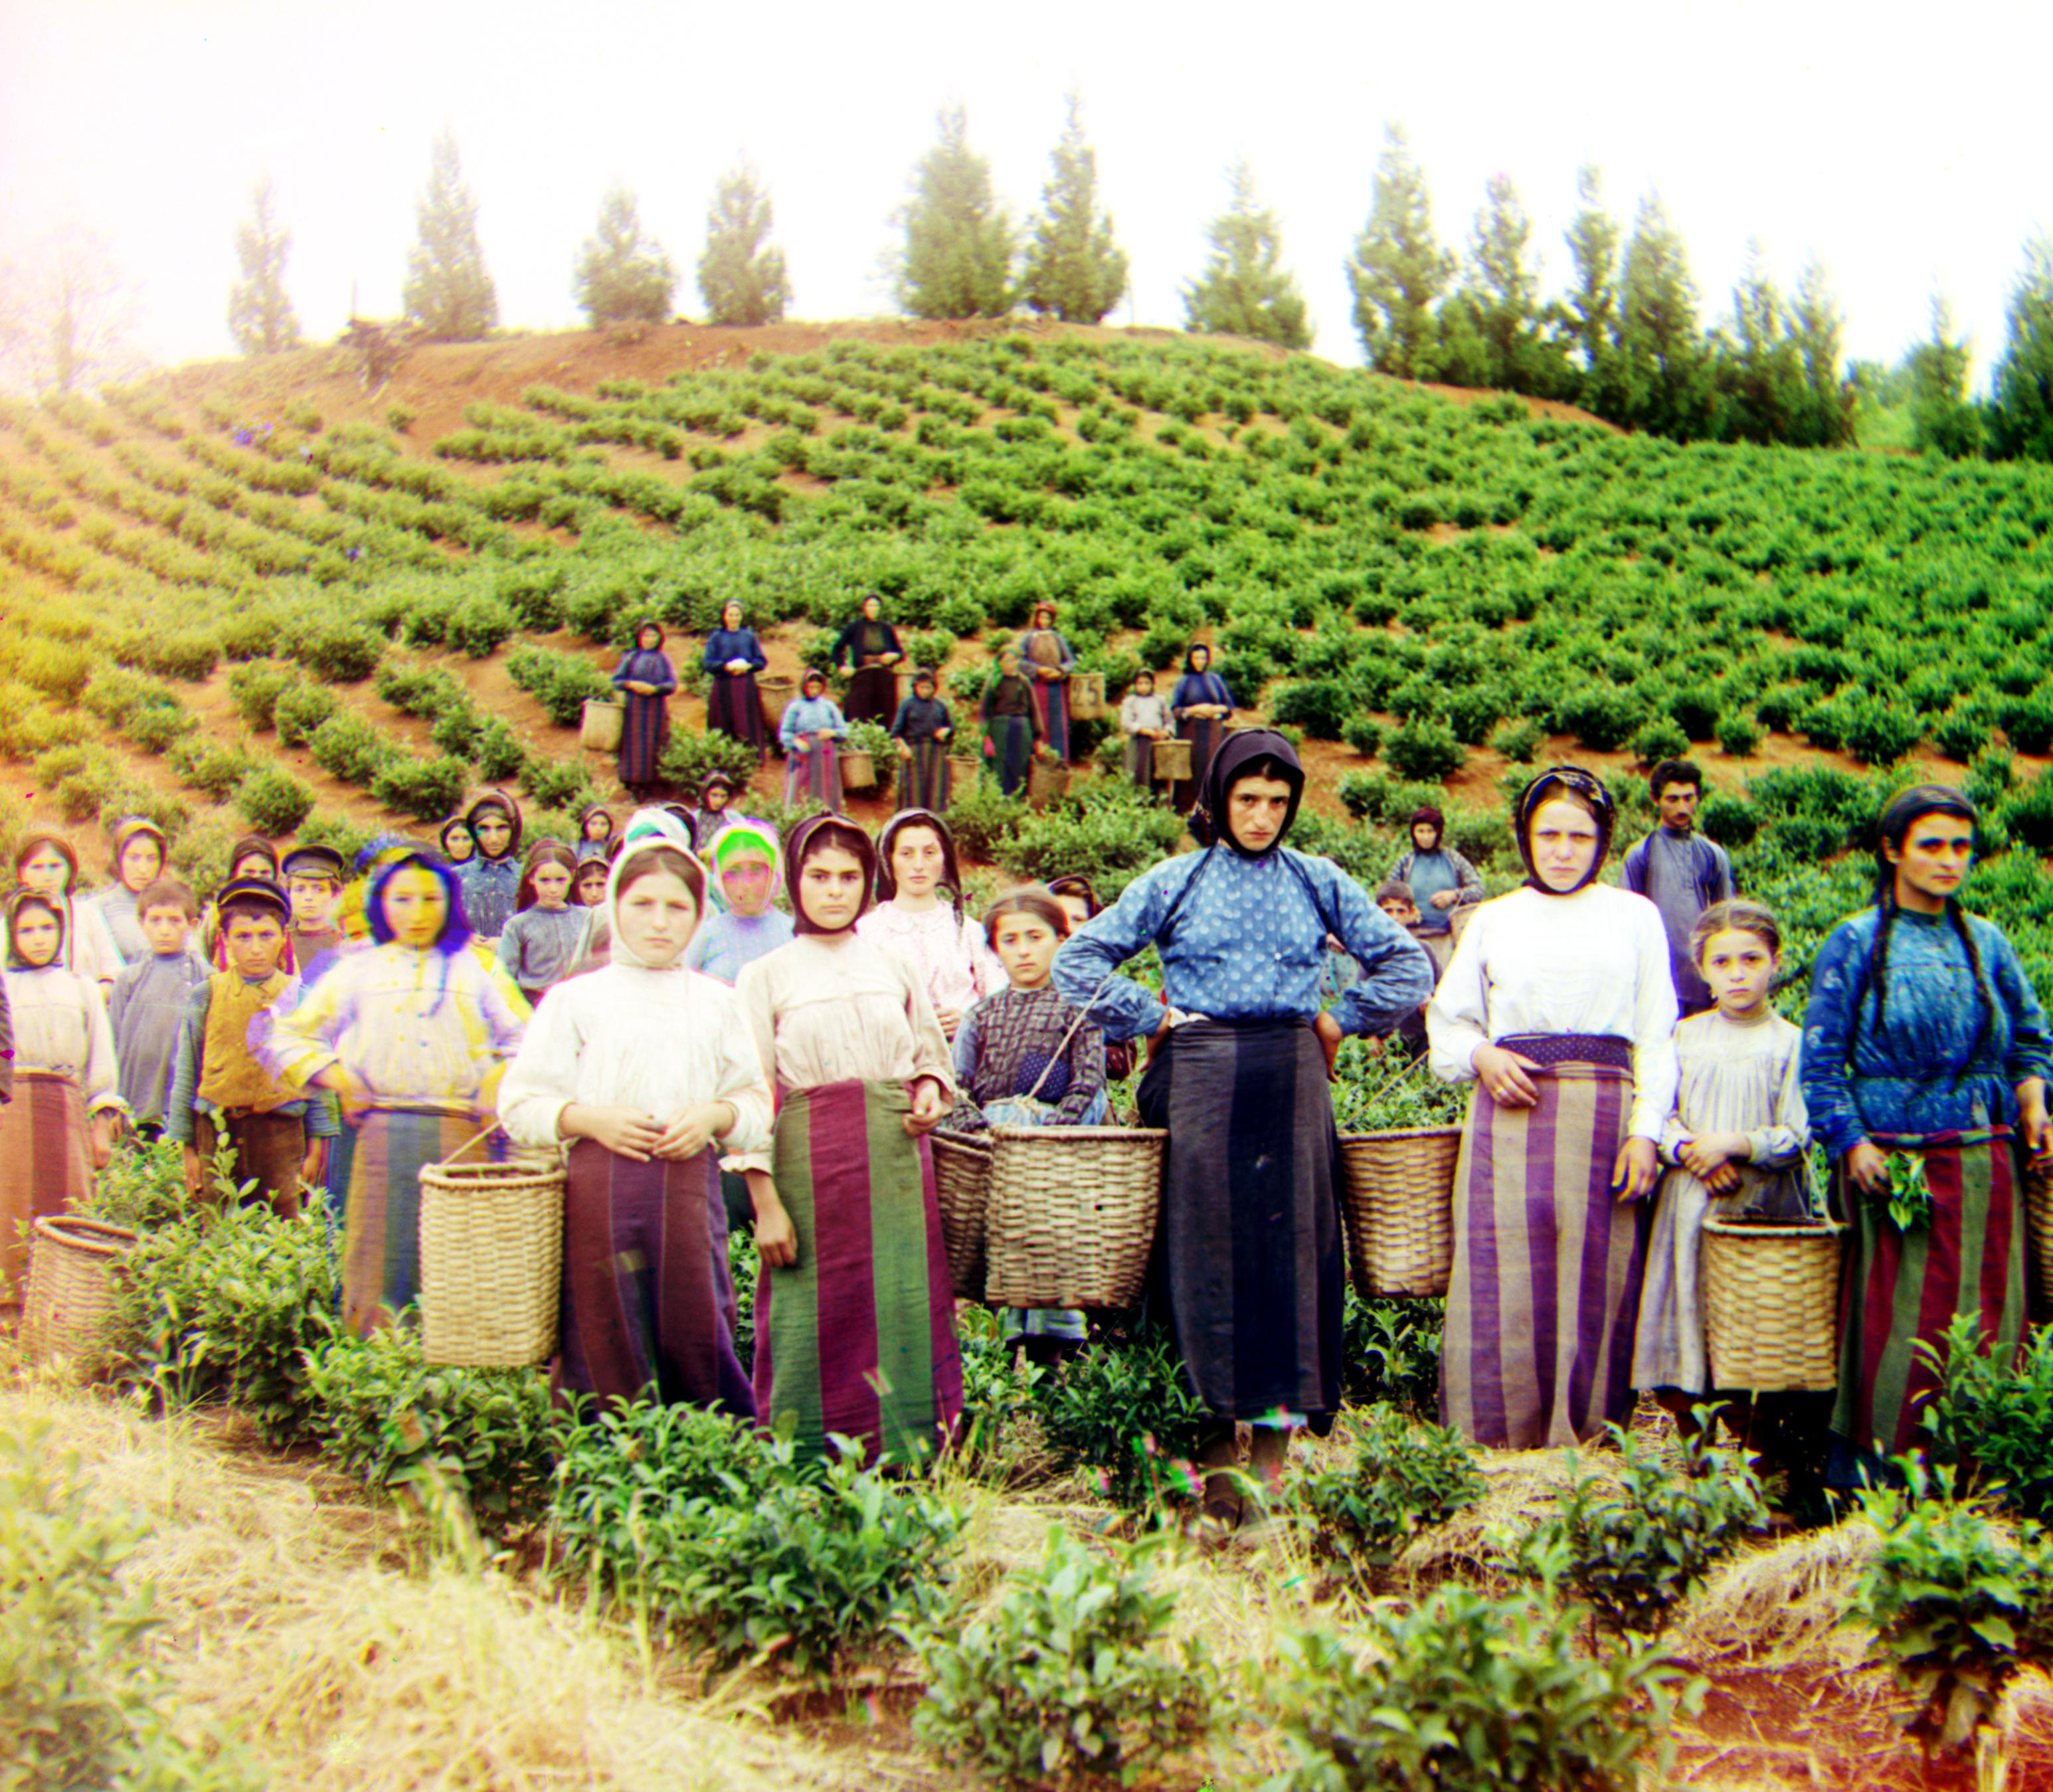
harvesters.tif
Vector for aligning g to b is (17,59)
and
Vector for aligning r to b is (13,123)
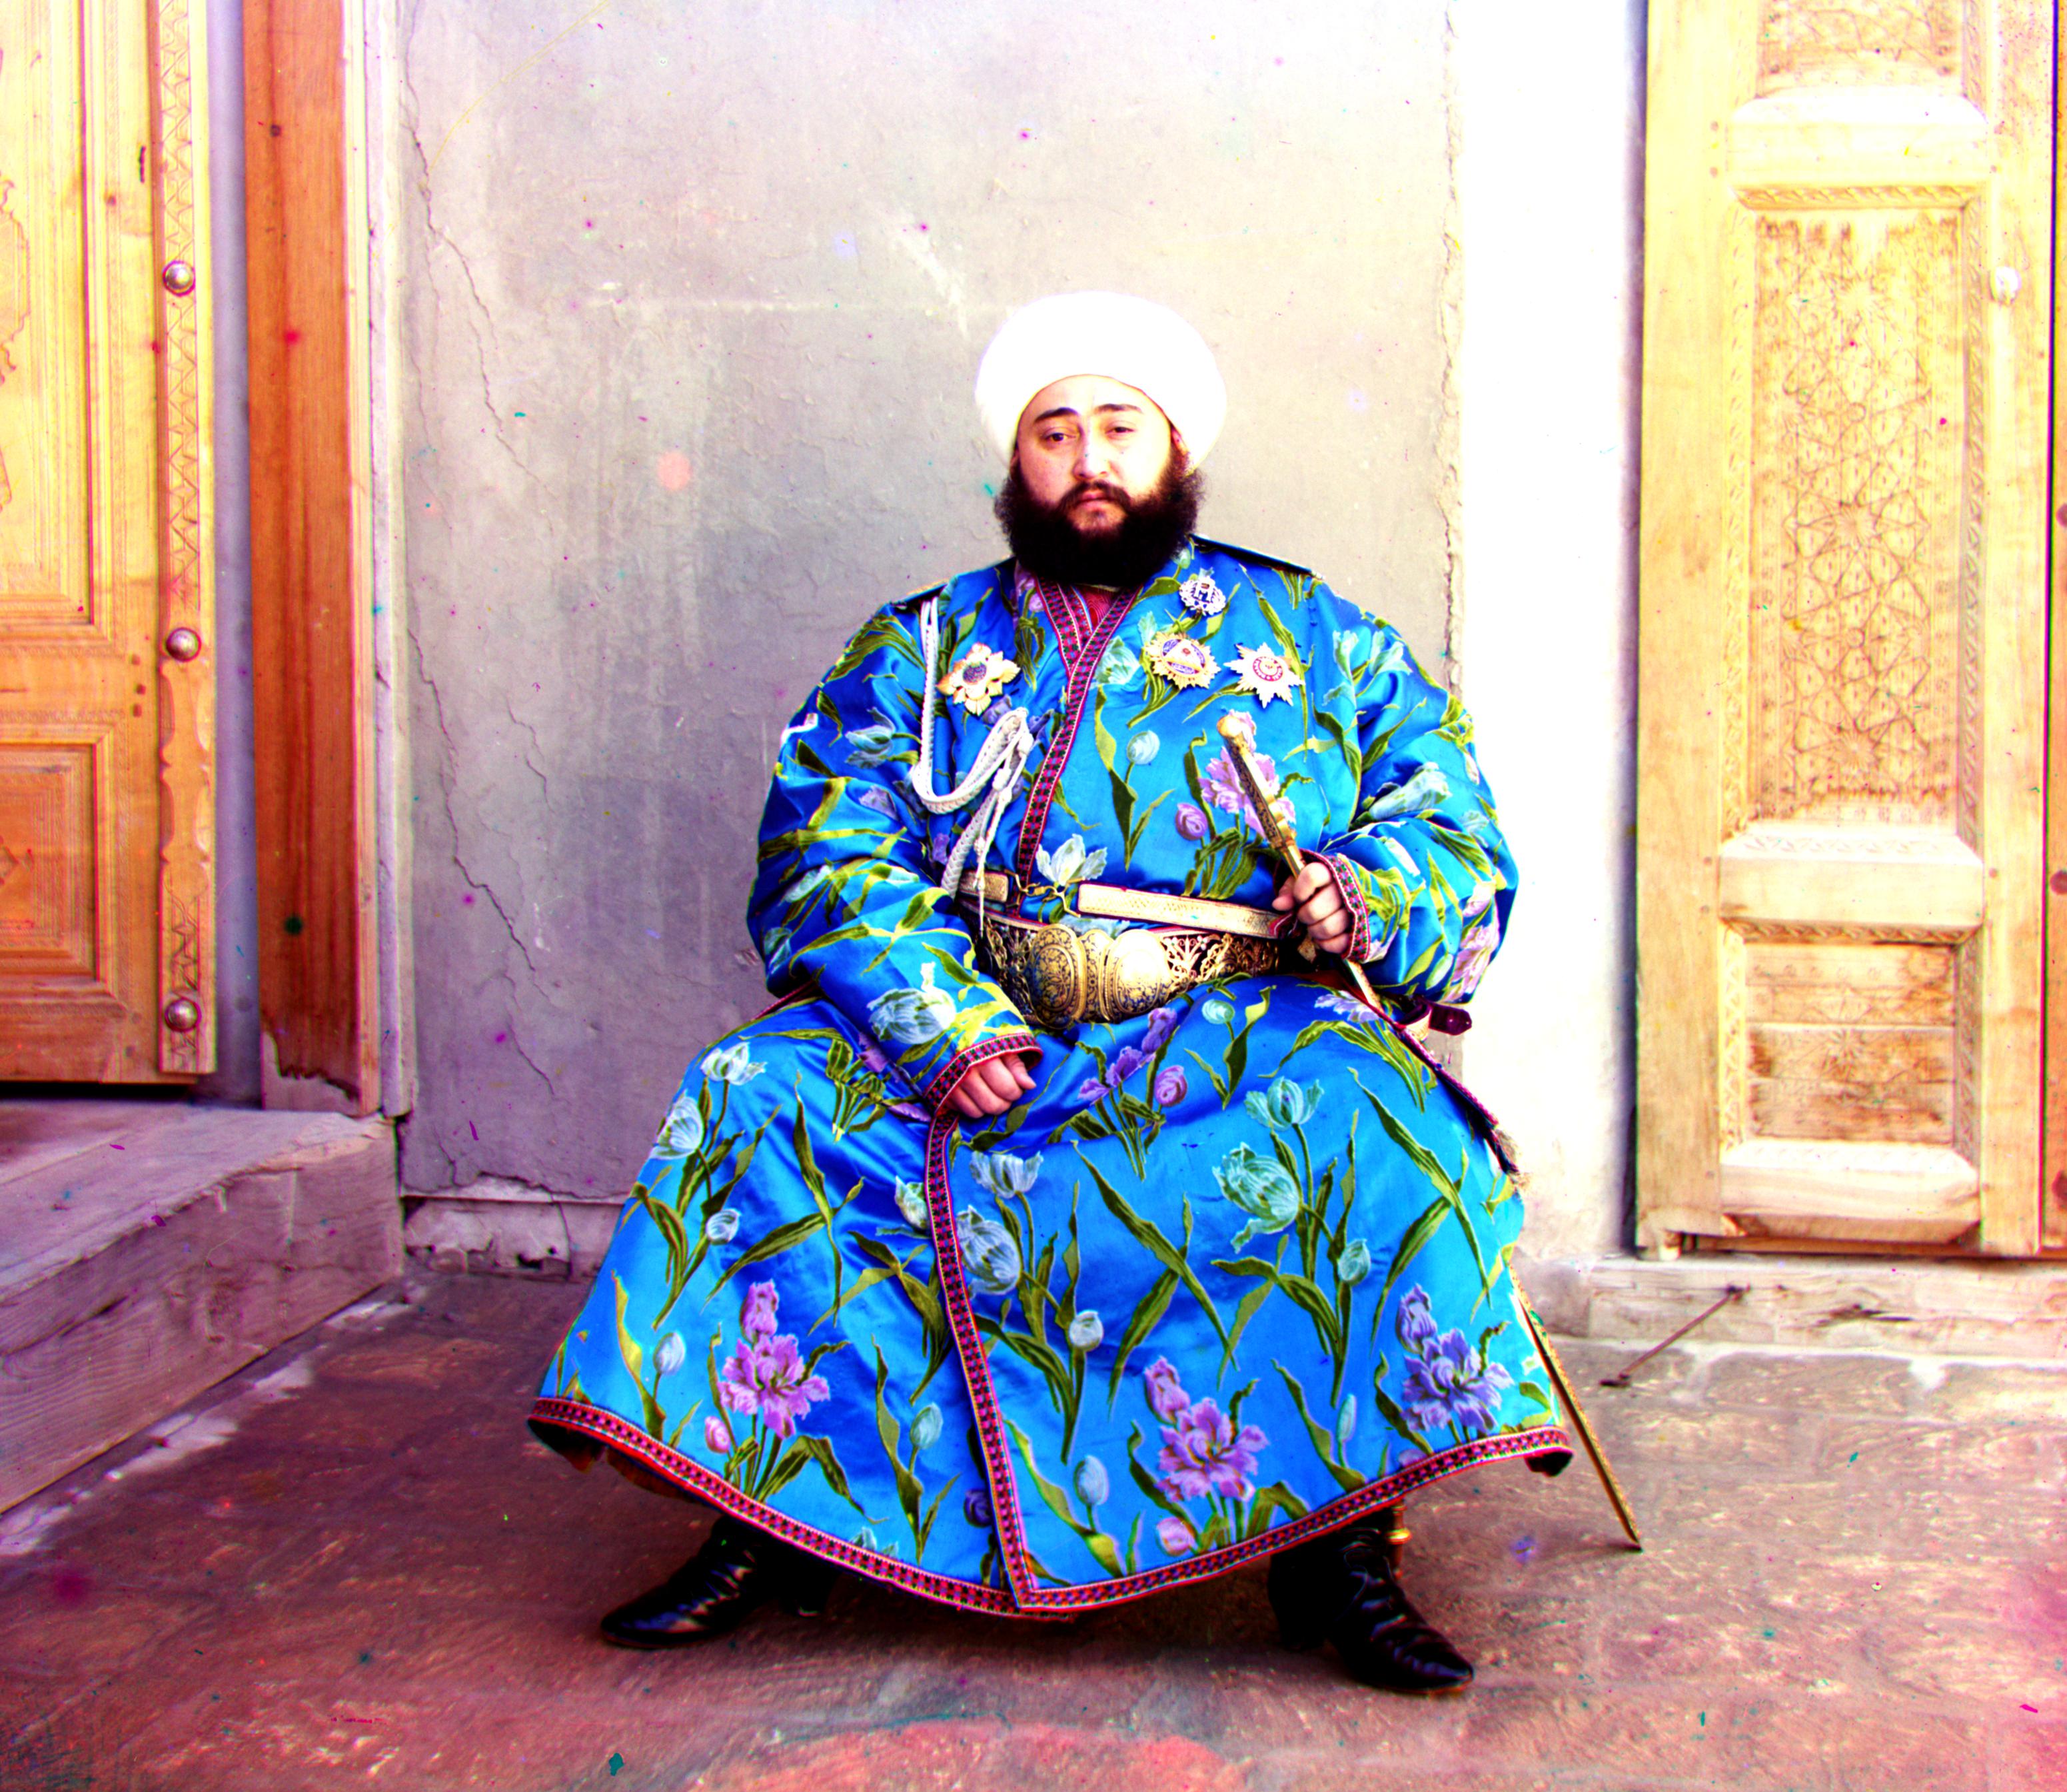
emir.tif
Vector for aligning b to g is (-24,-49)
and
Vector for aligning r to g is (17,57)
icon.tif
Vector for aligning g to b is (17,41)
and
Vector for aligning r to b is (23,89)
lady.tif
Vector for aligning g to b is (8,52)
and
Vector for aligning r to b is (11,113)
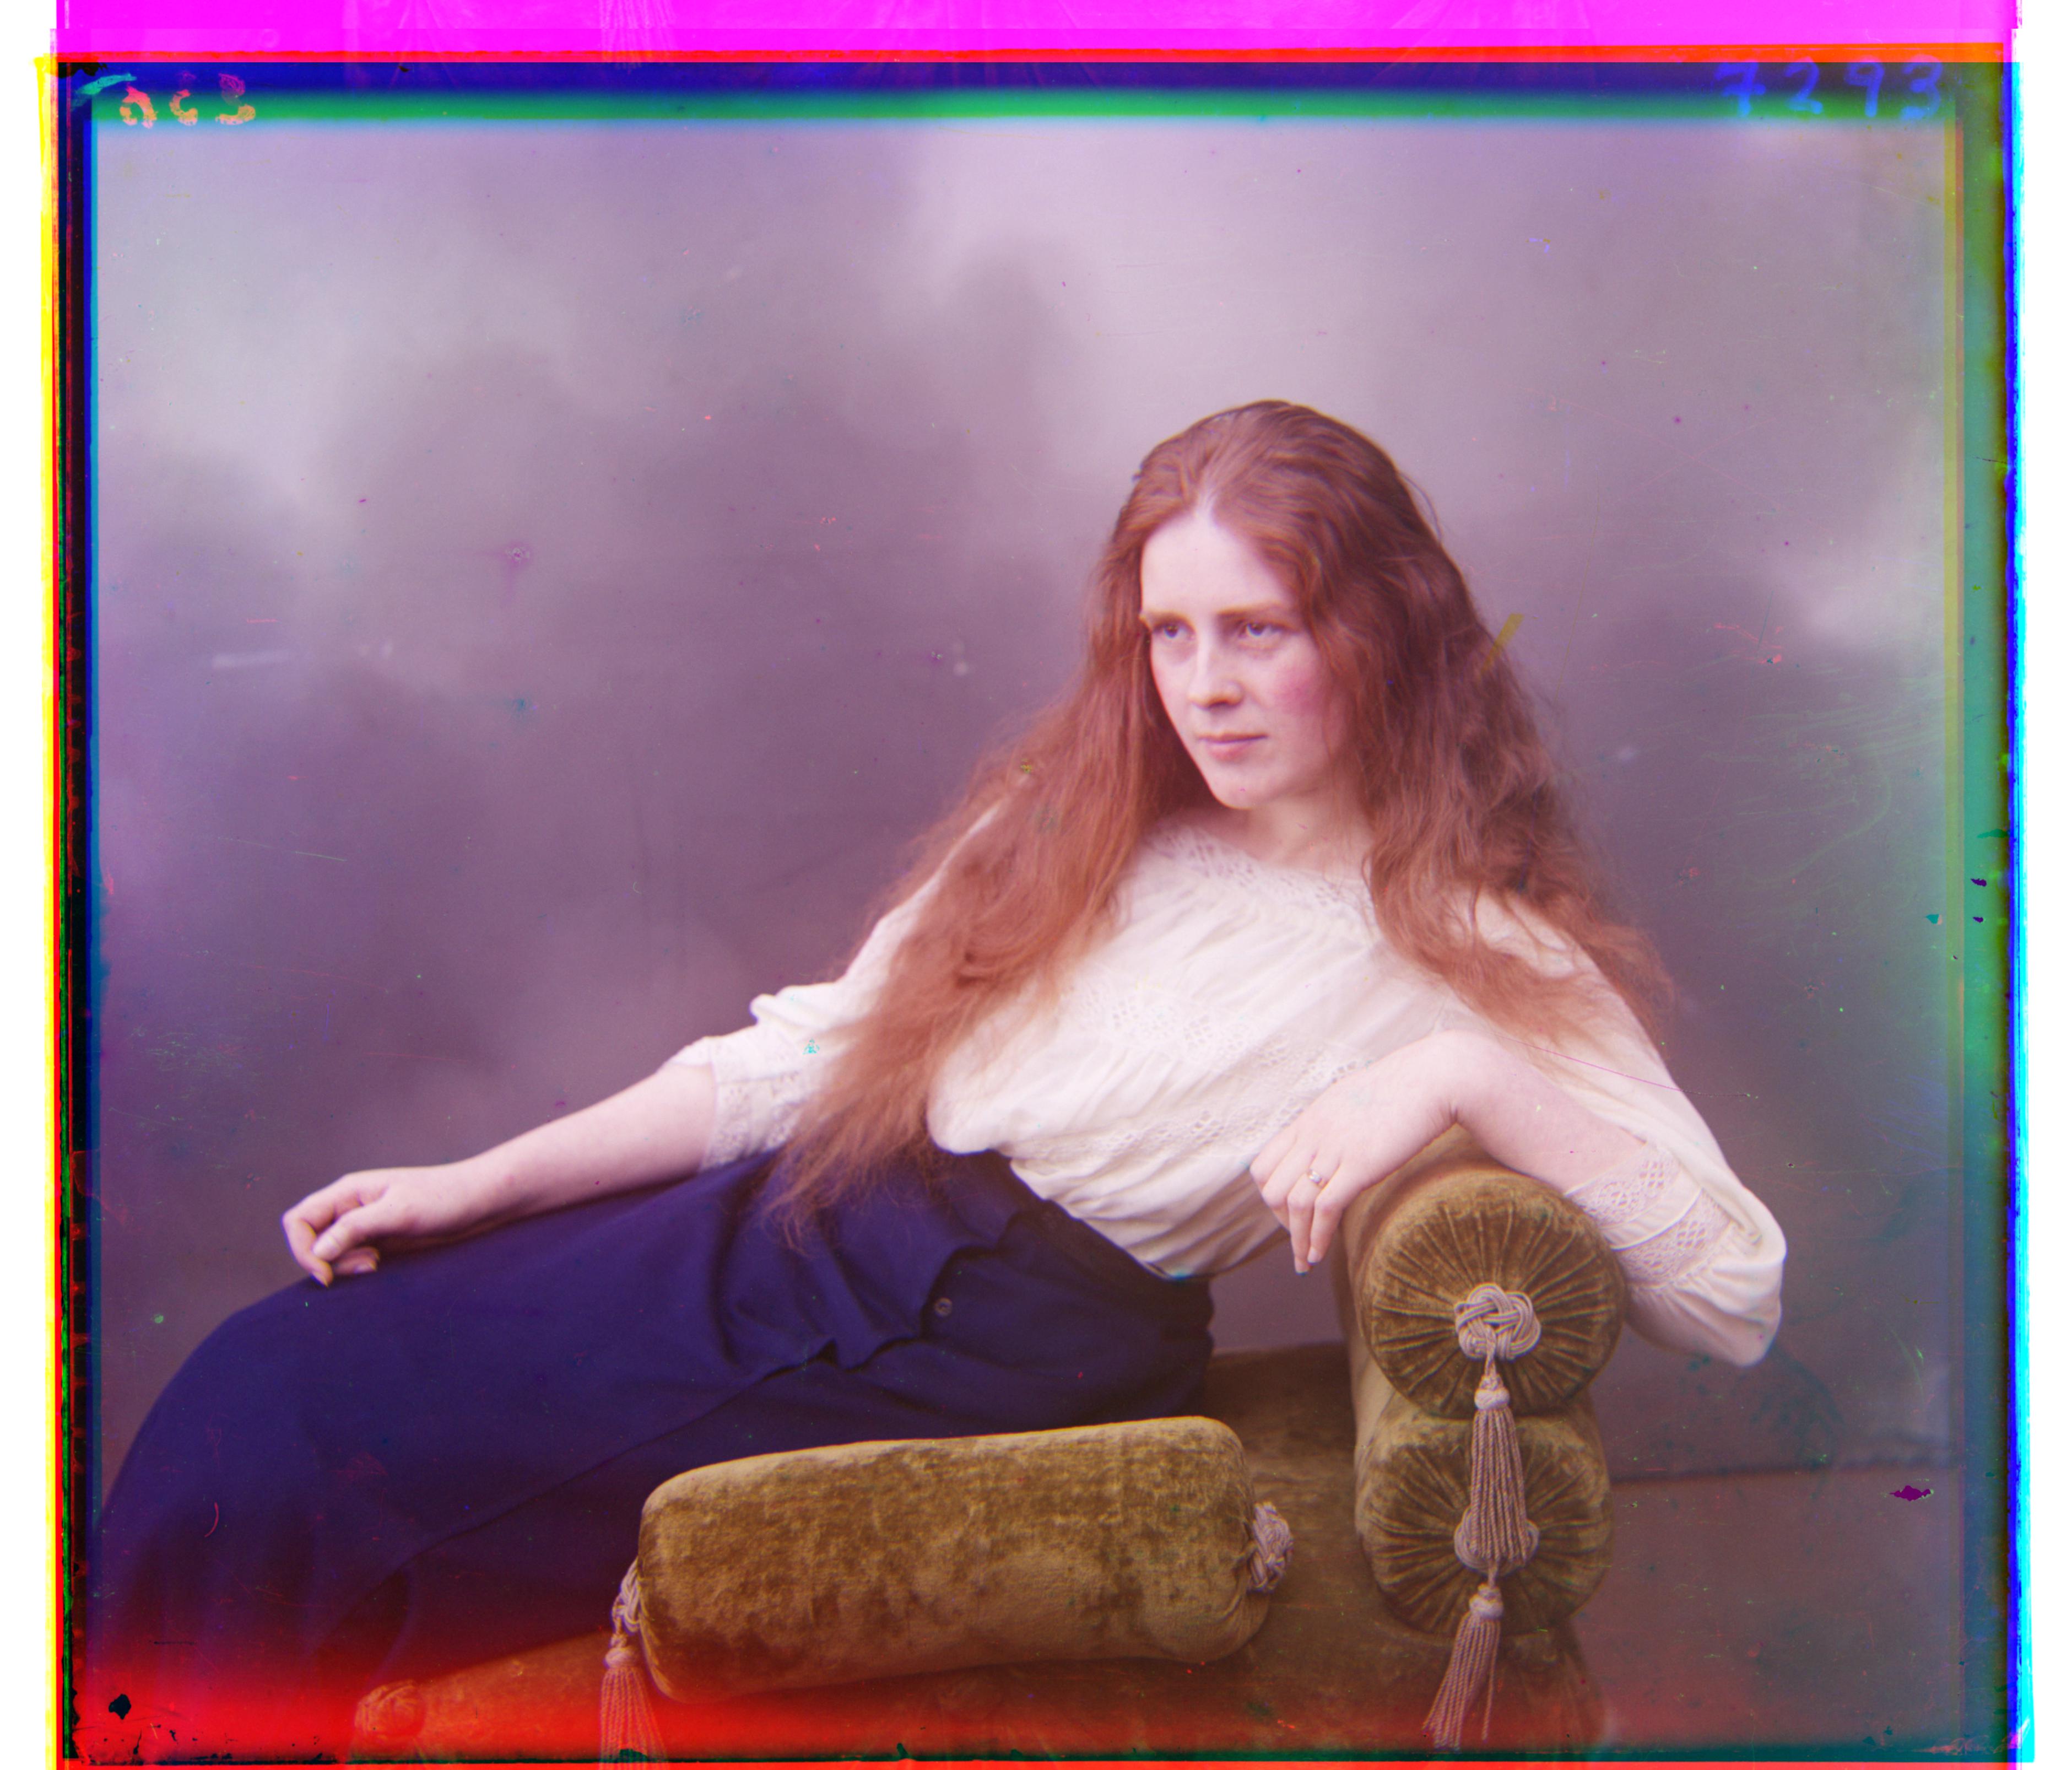
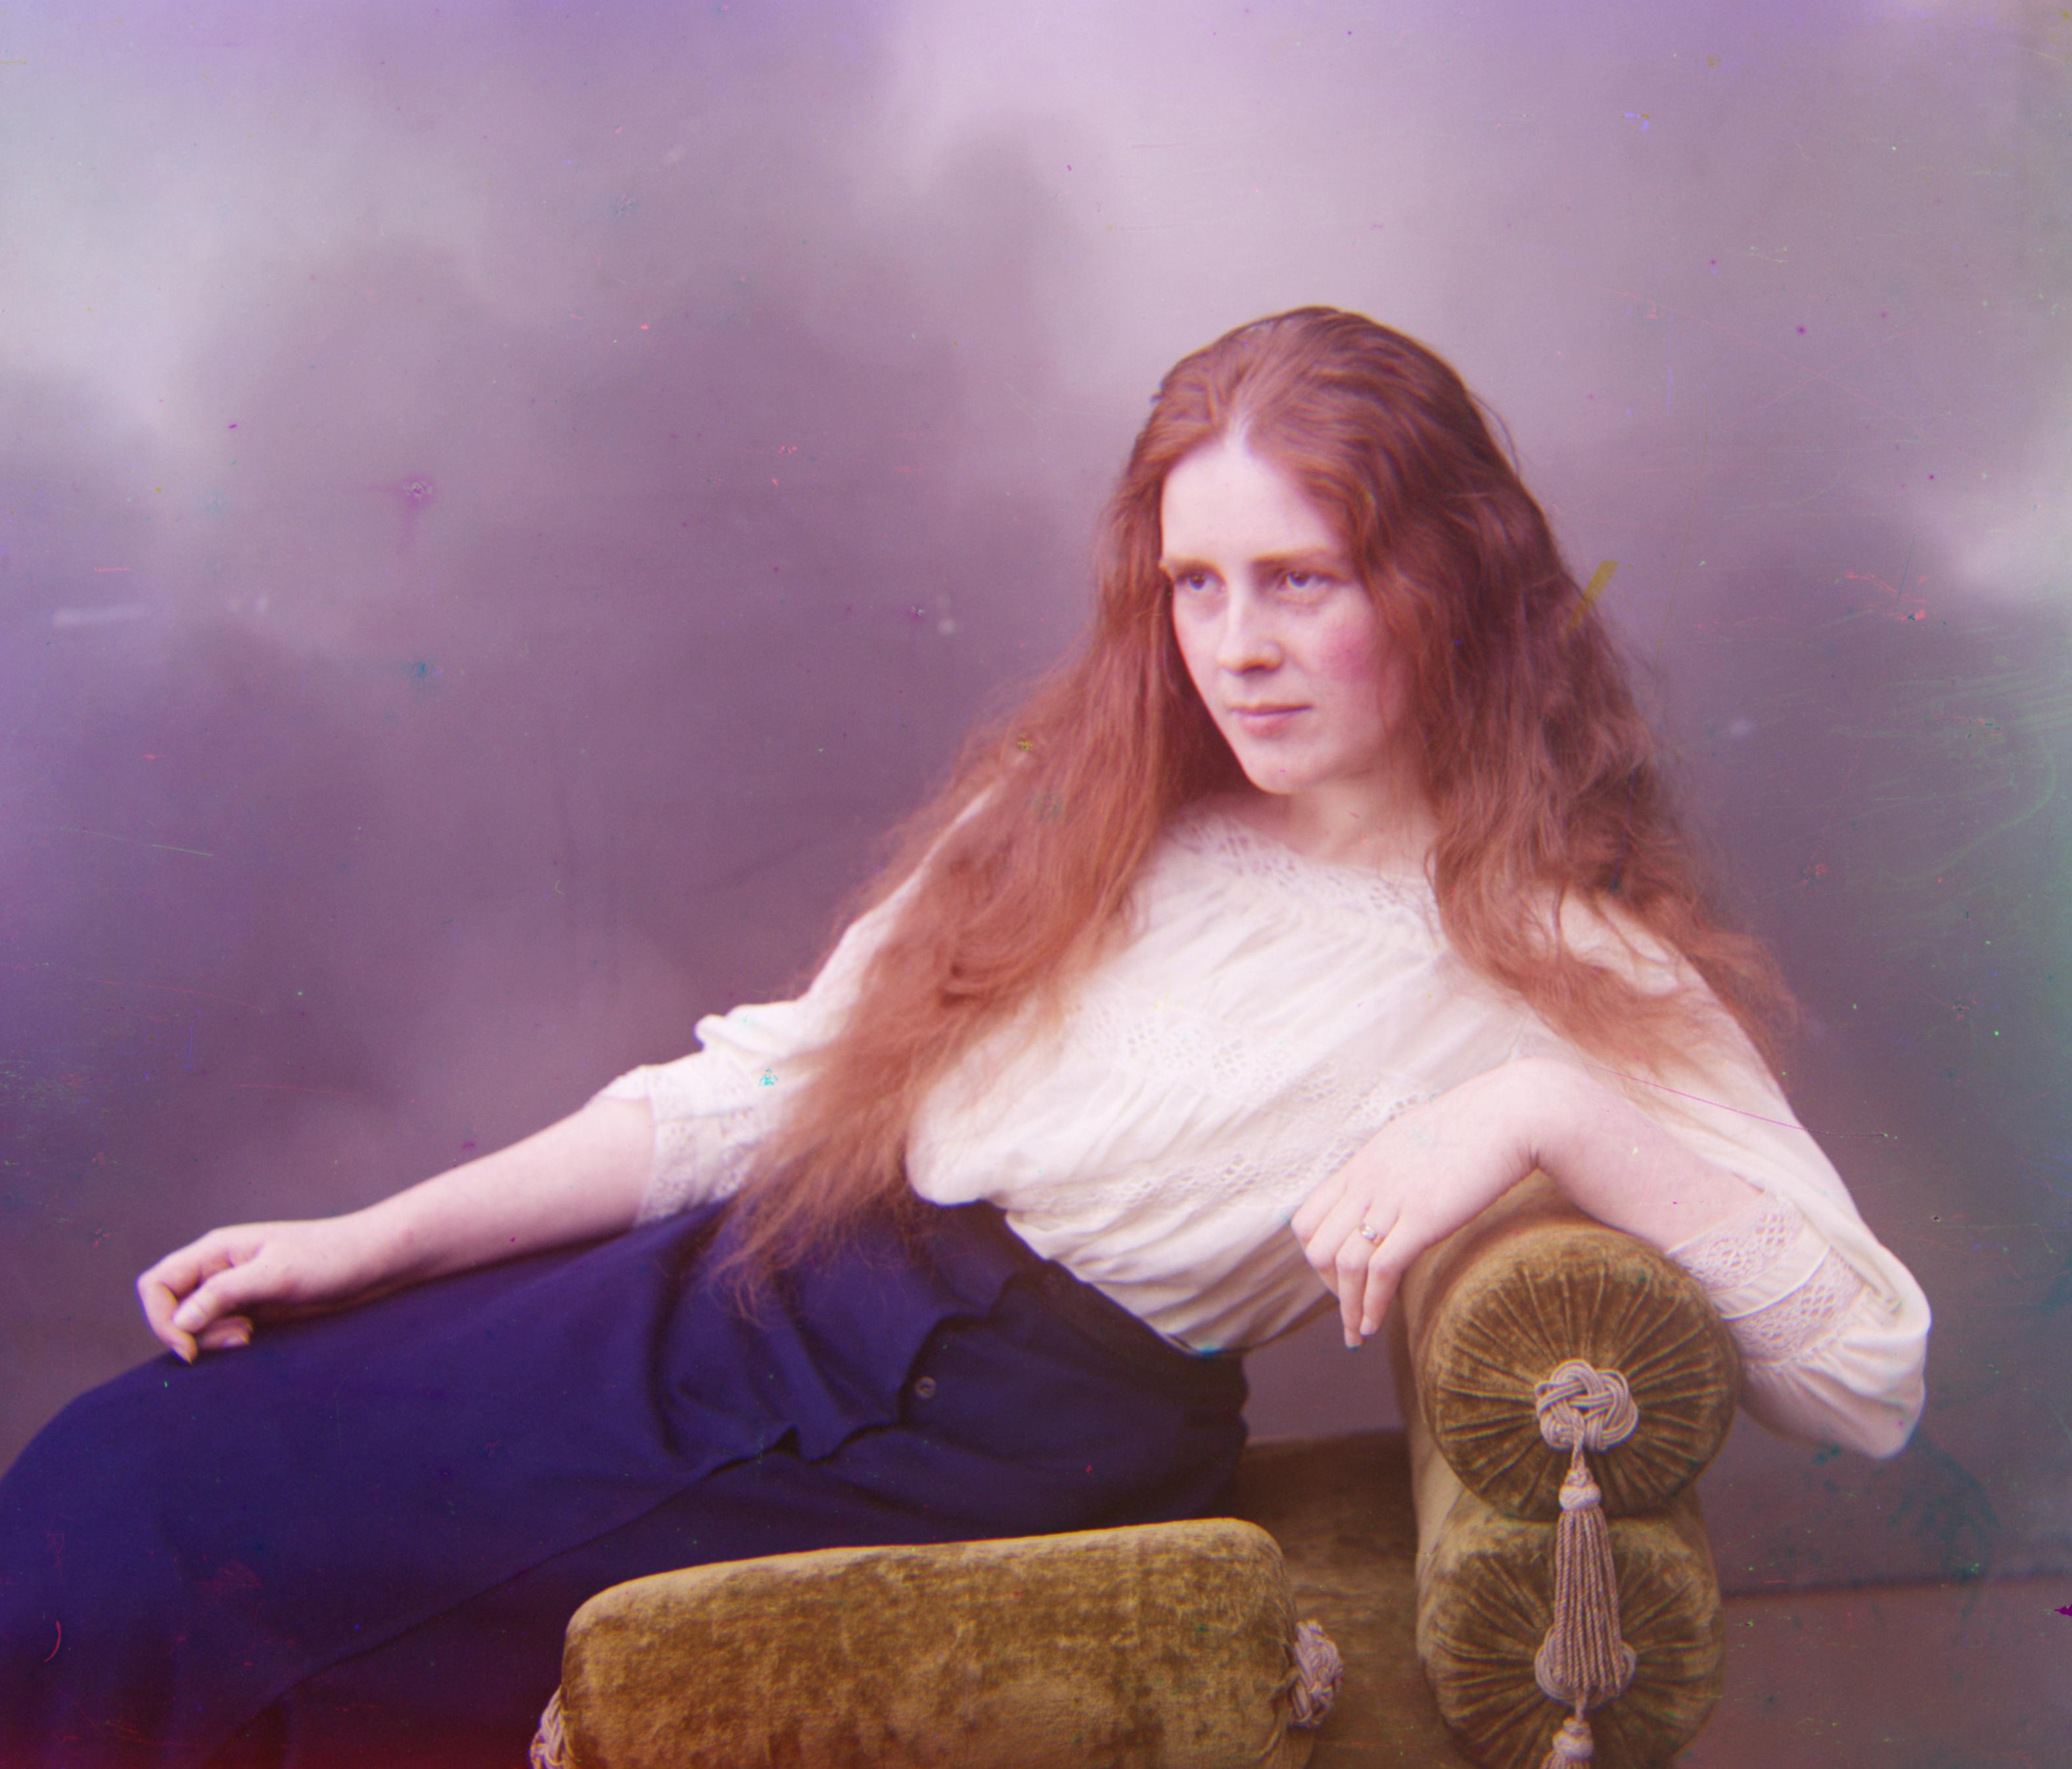
self_portrait.tif
Vector for aligning b to g is (-29, -78)
and
Vector for aligning r to g is (8, 98)
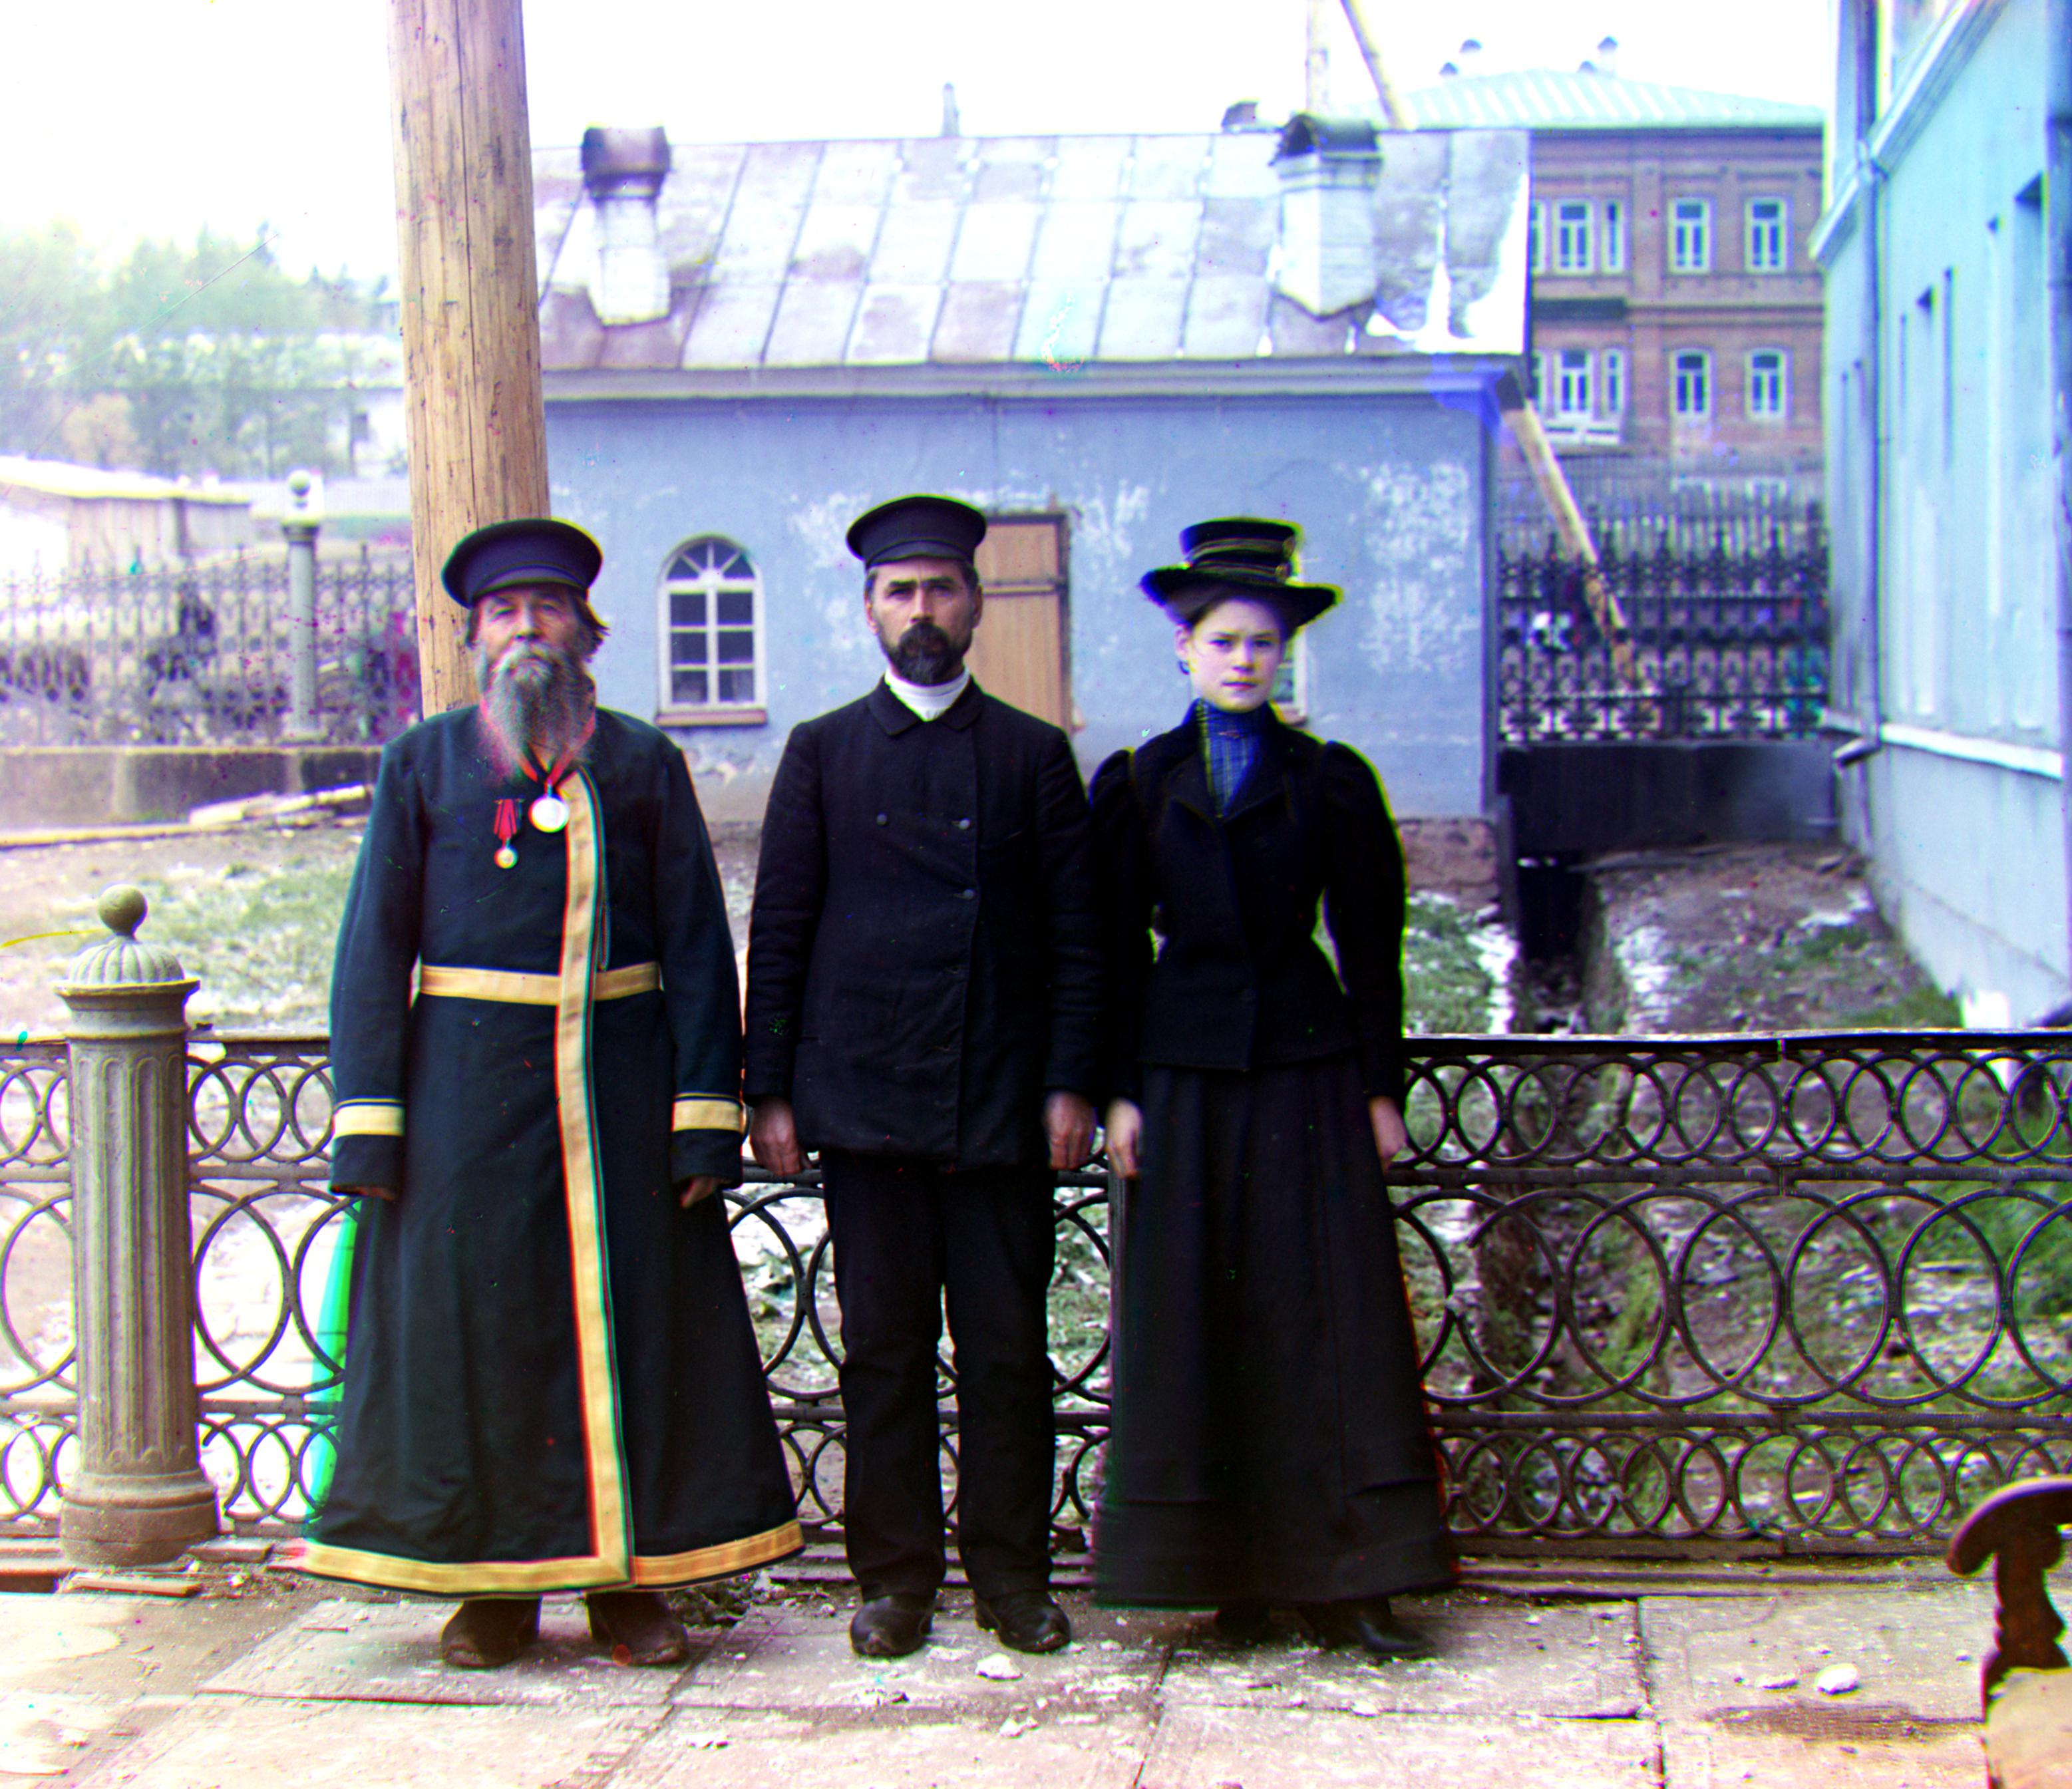
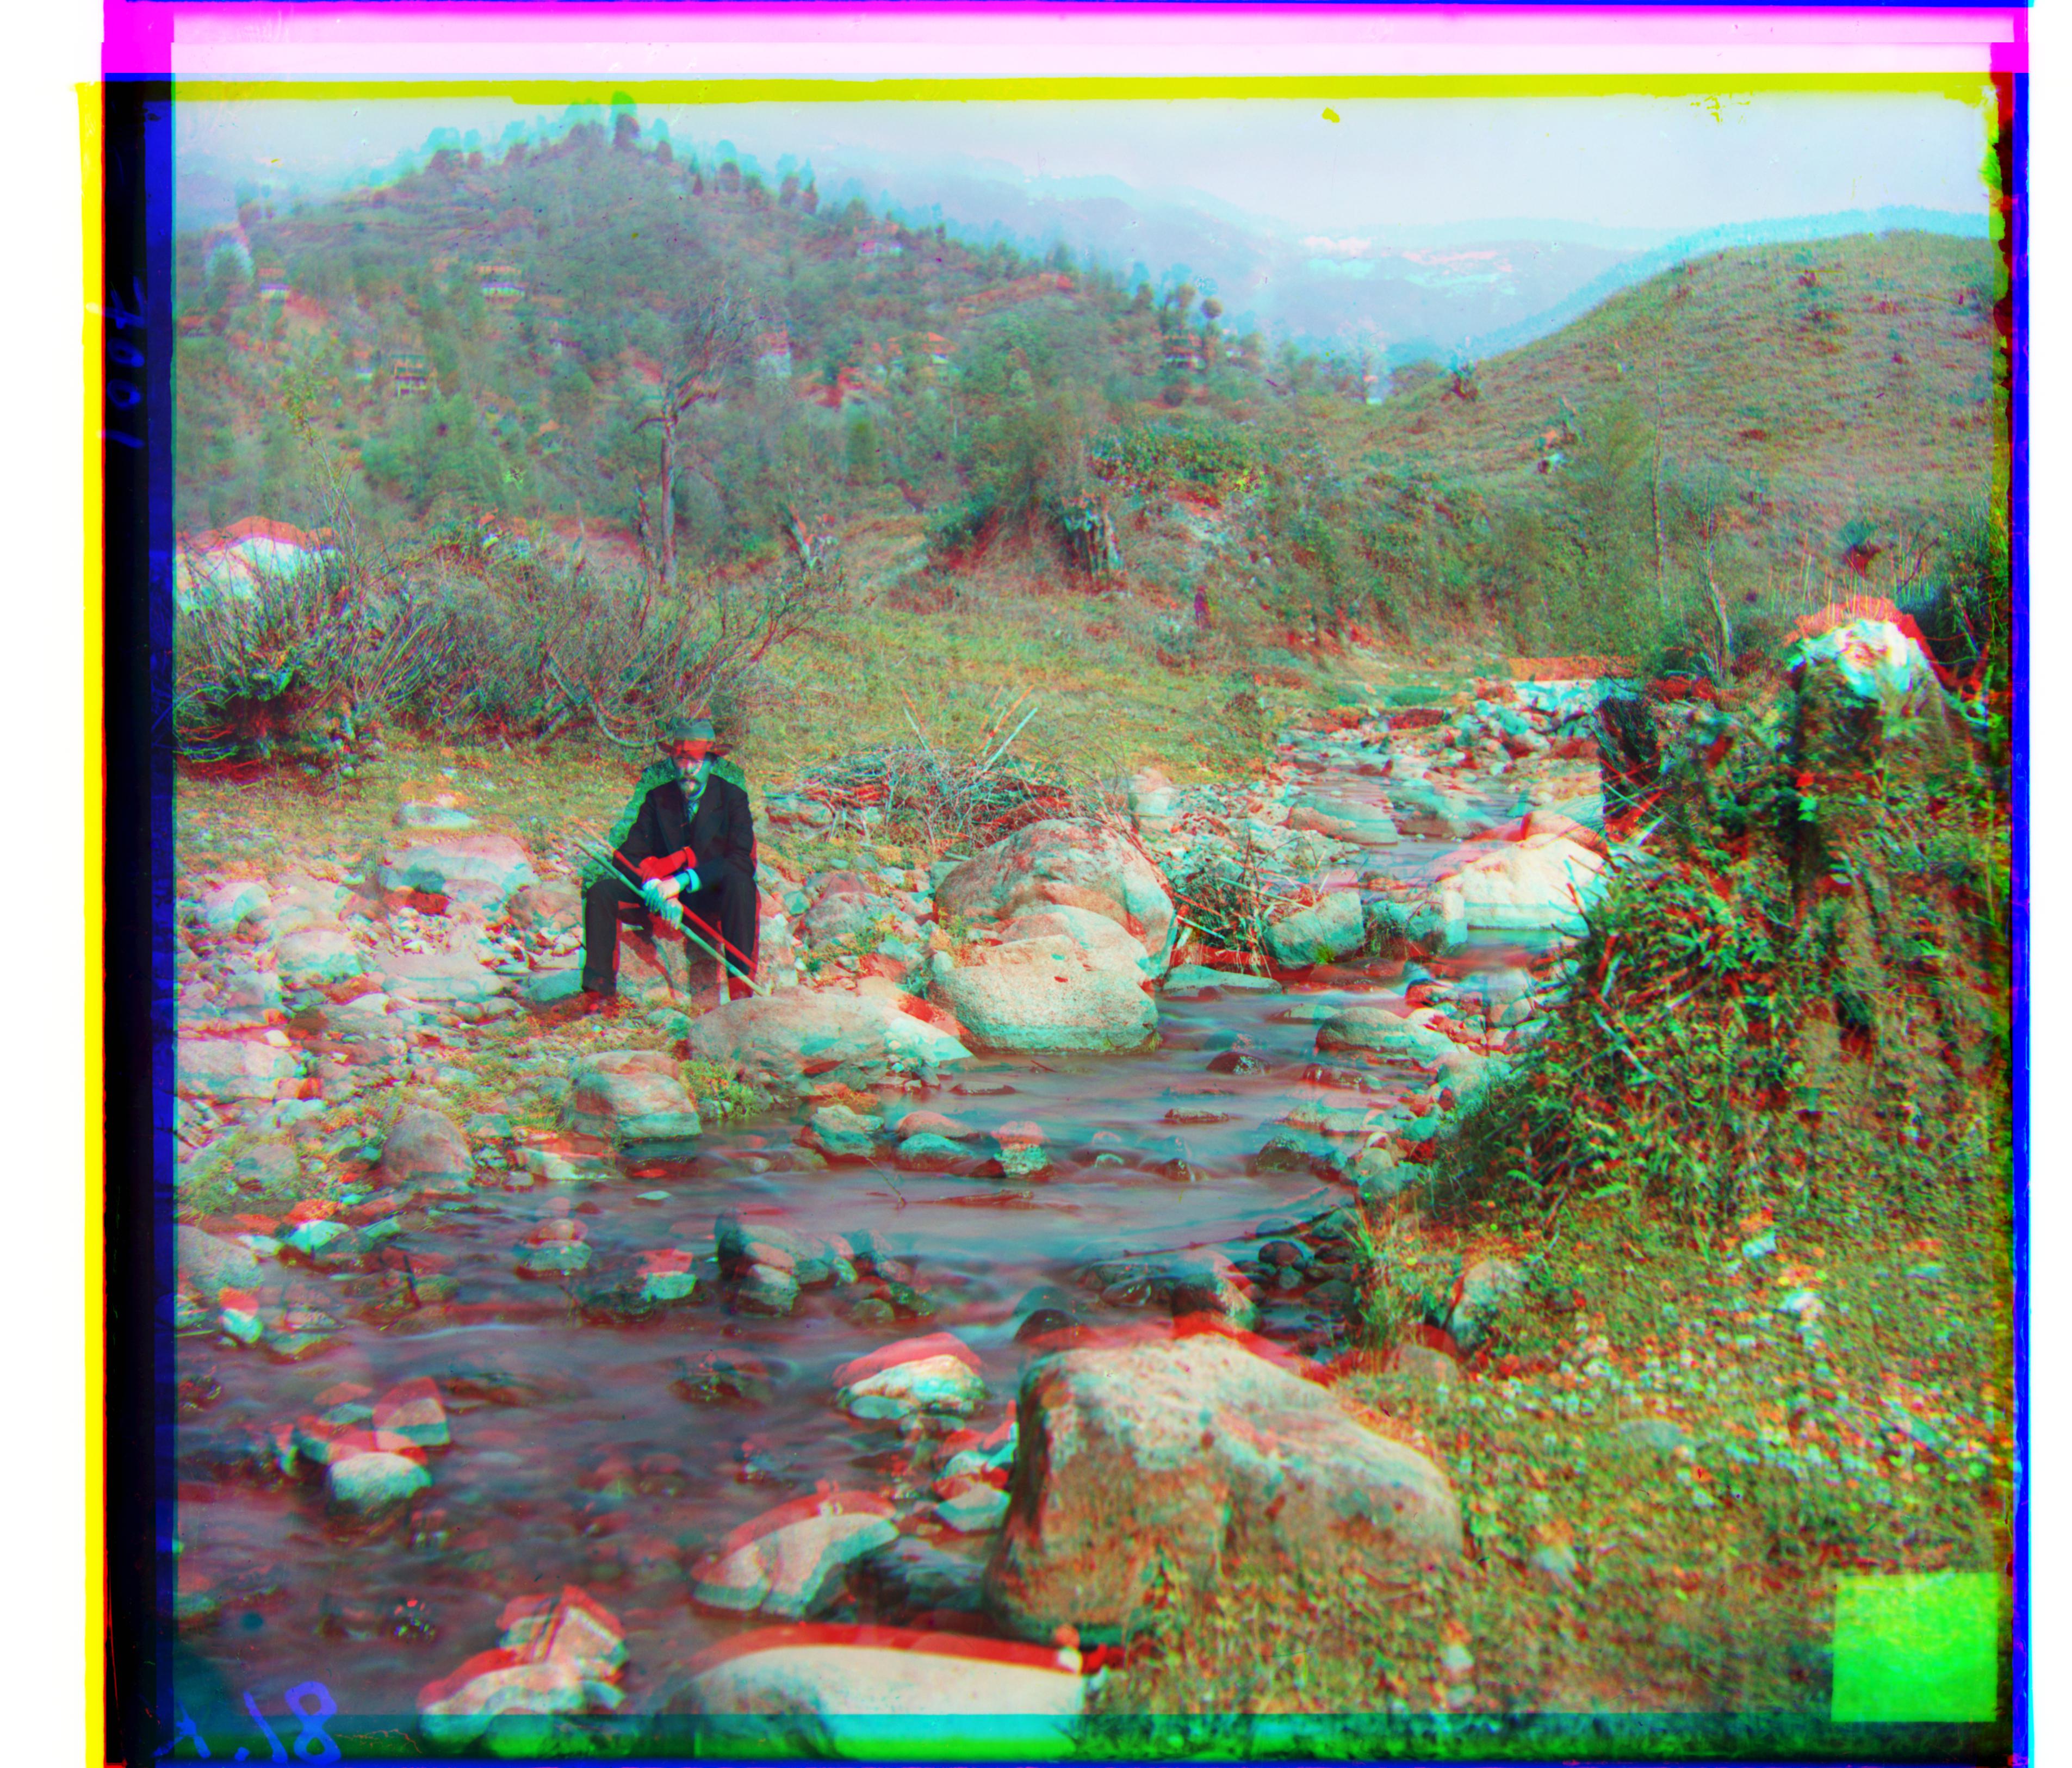
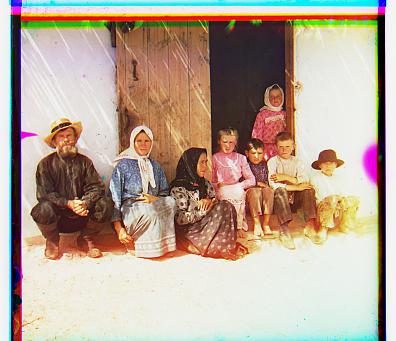
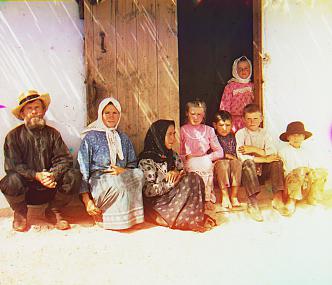
three_generations.tif
Vector for aligning g to b is (13, 52)
and
Vector for aligning r to b is (11,111)
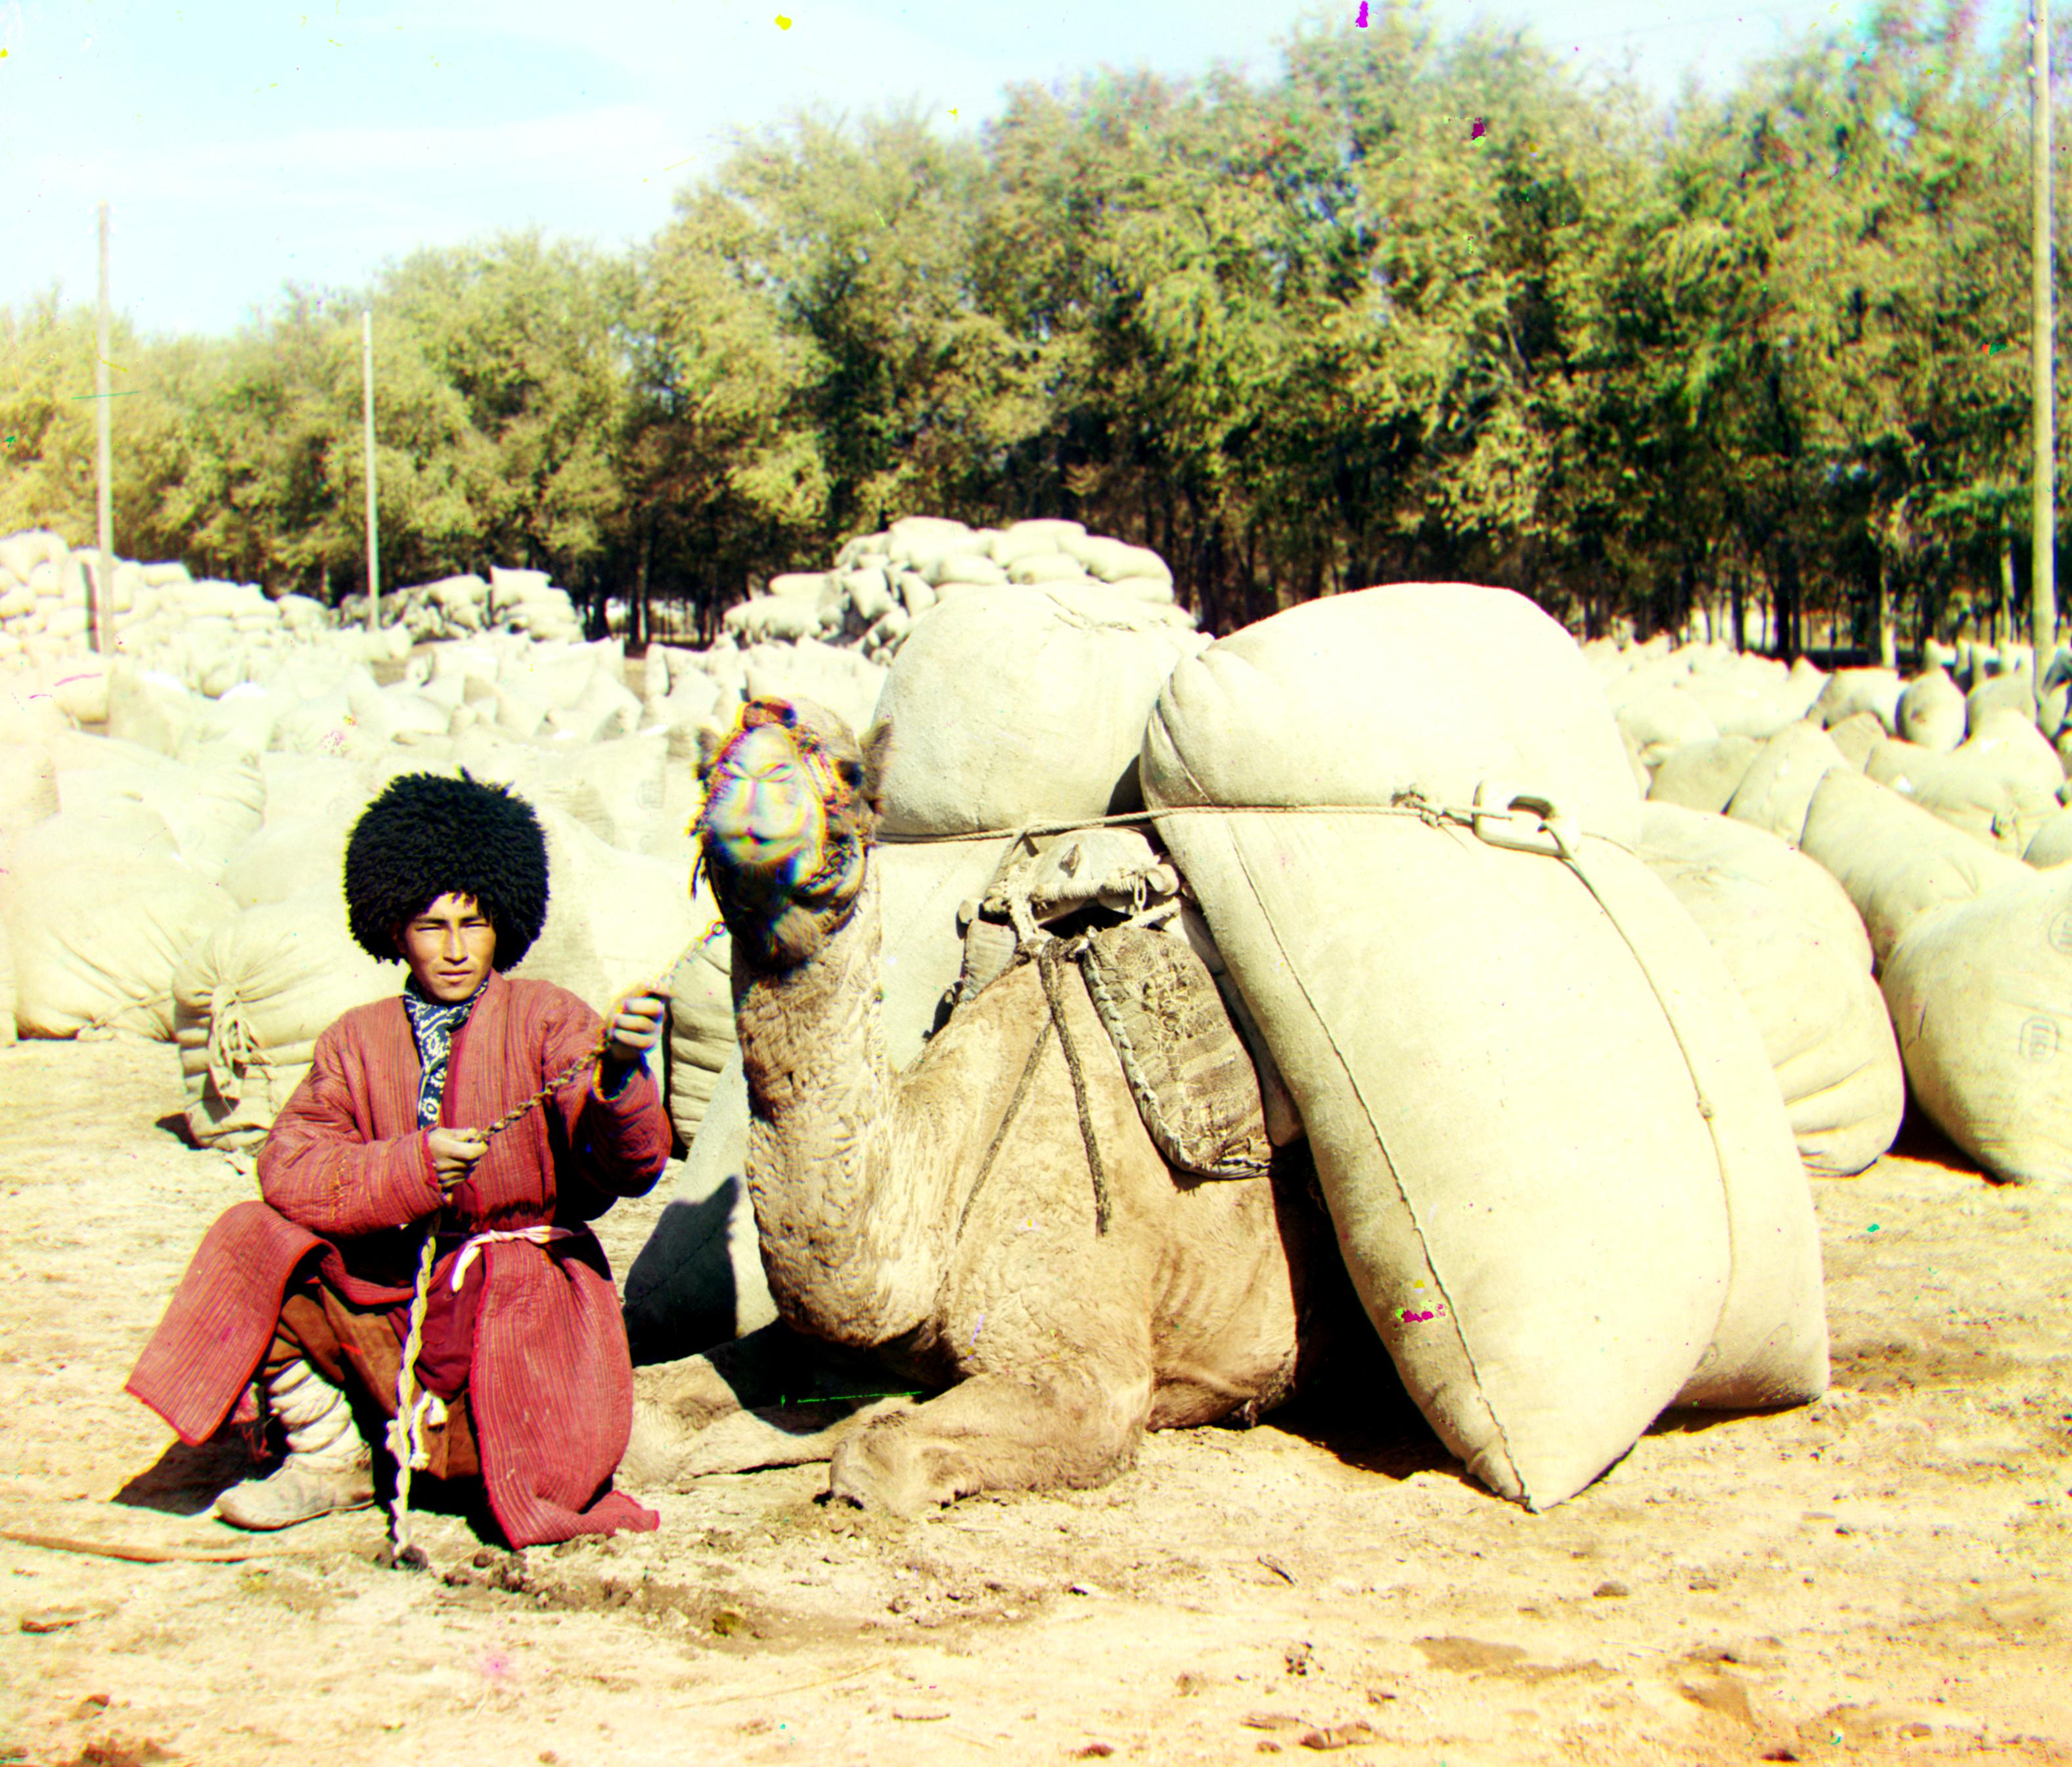
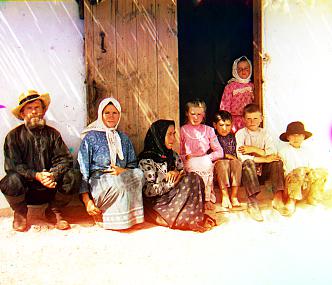
turkmen.tif
Vector for aligning g to b is (21,56)
and
Vector for aligning r to b is (28,116)
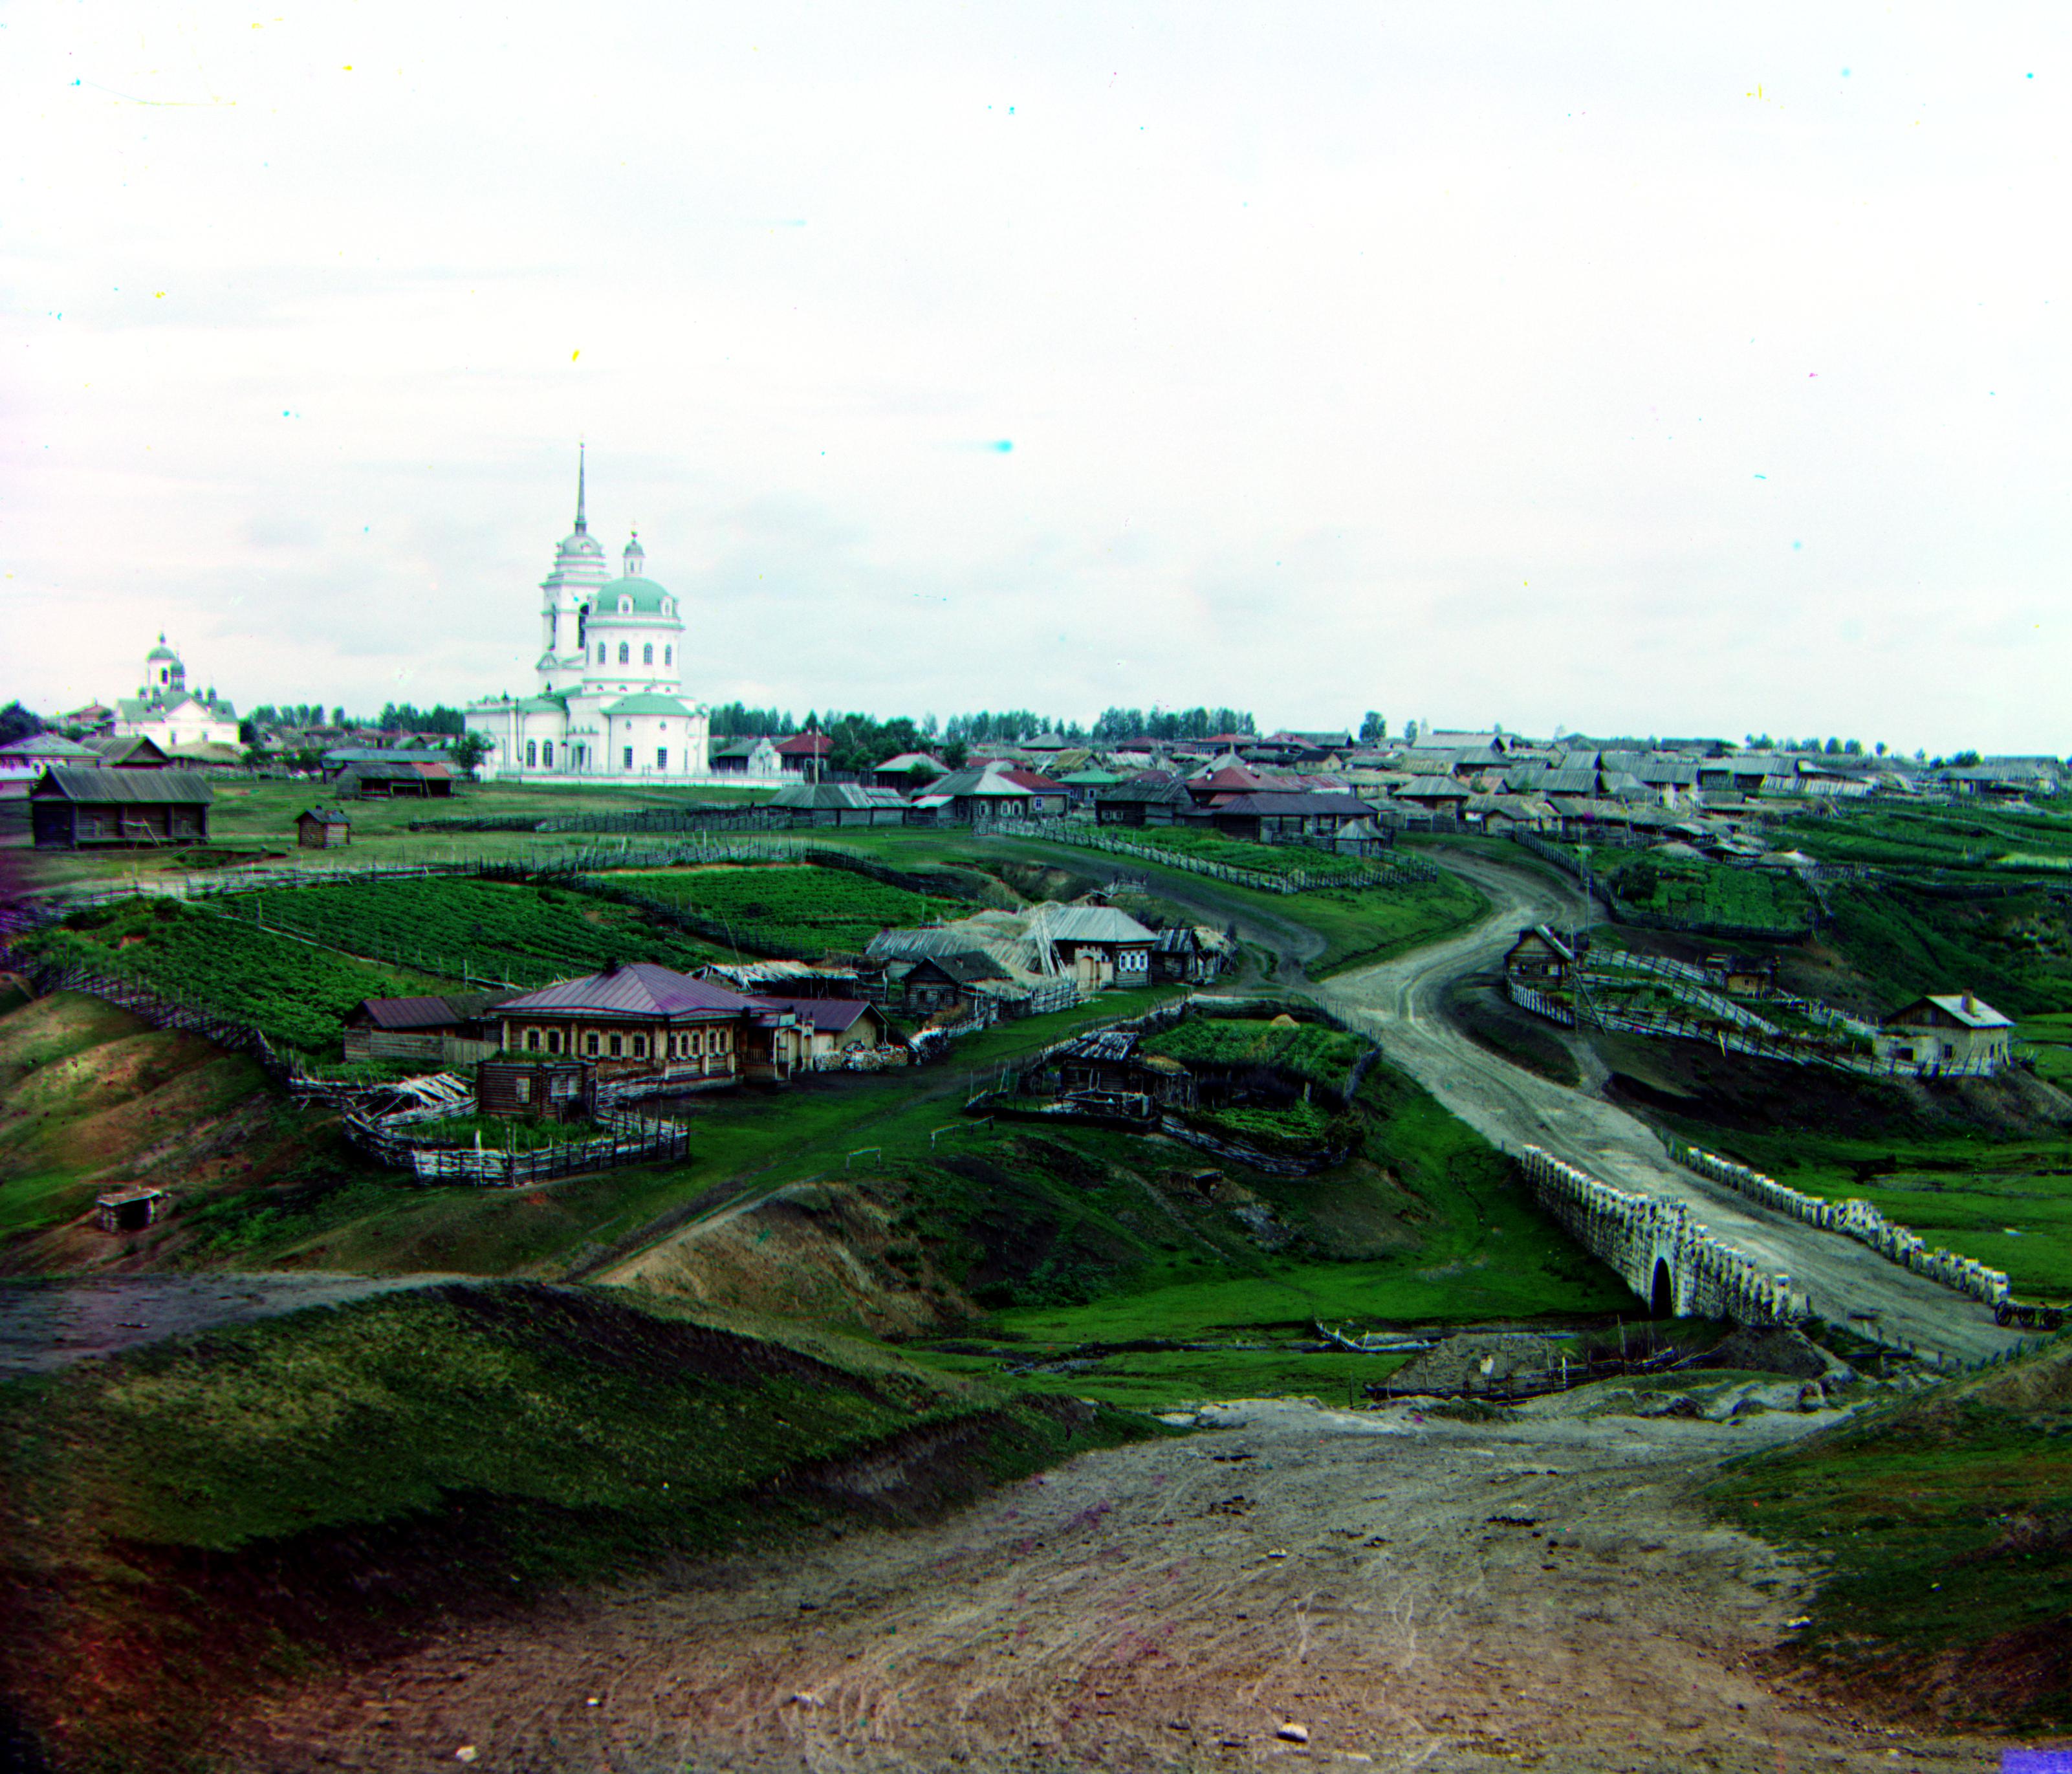
village.tif
Vector for aligning g to b is (12,64)
and
Vector for aligning r to b is (22,134)
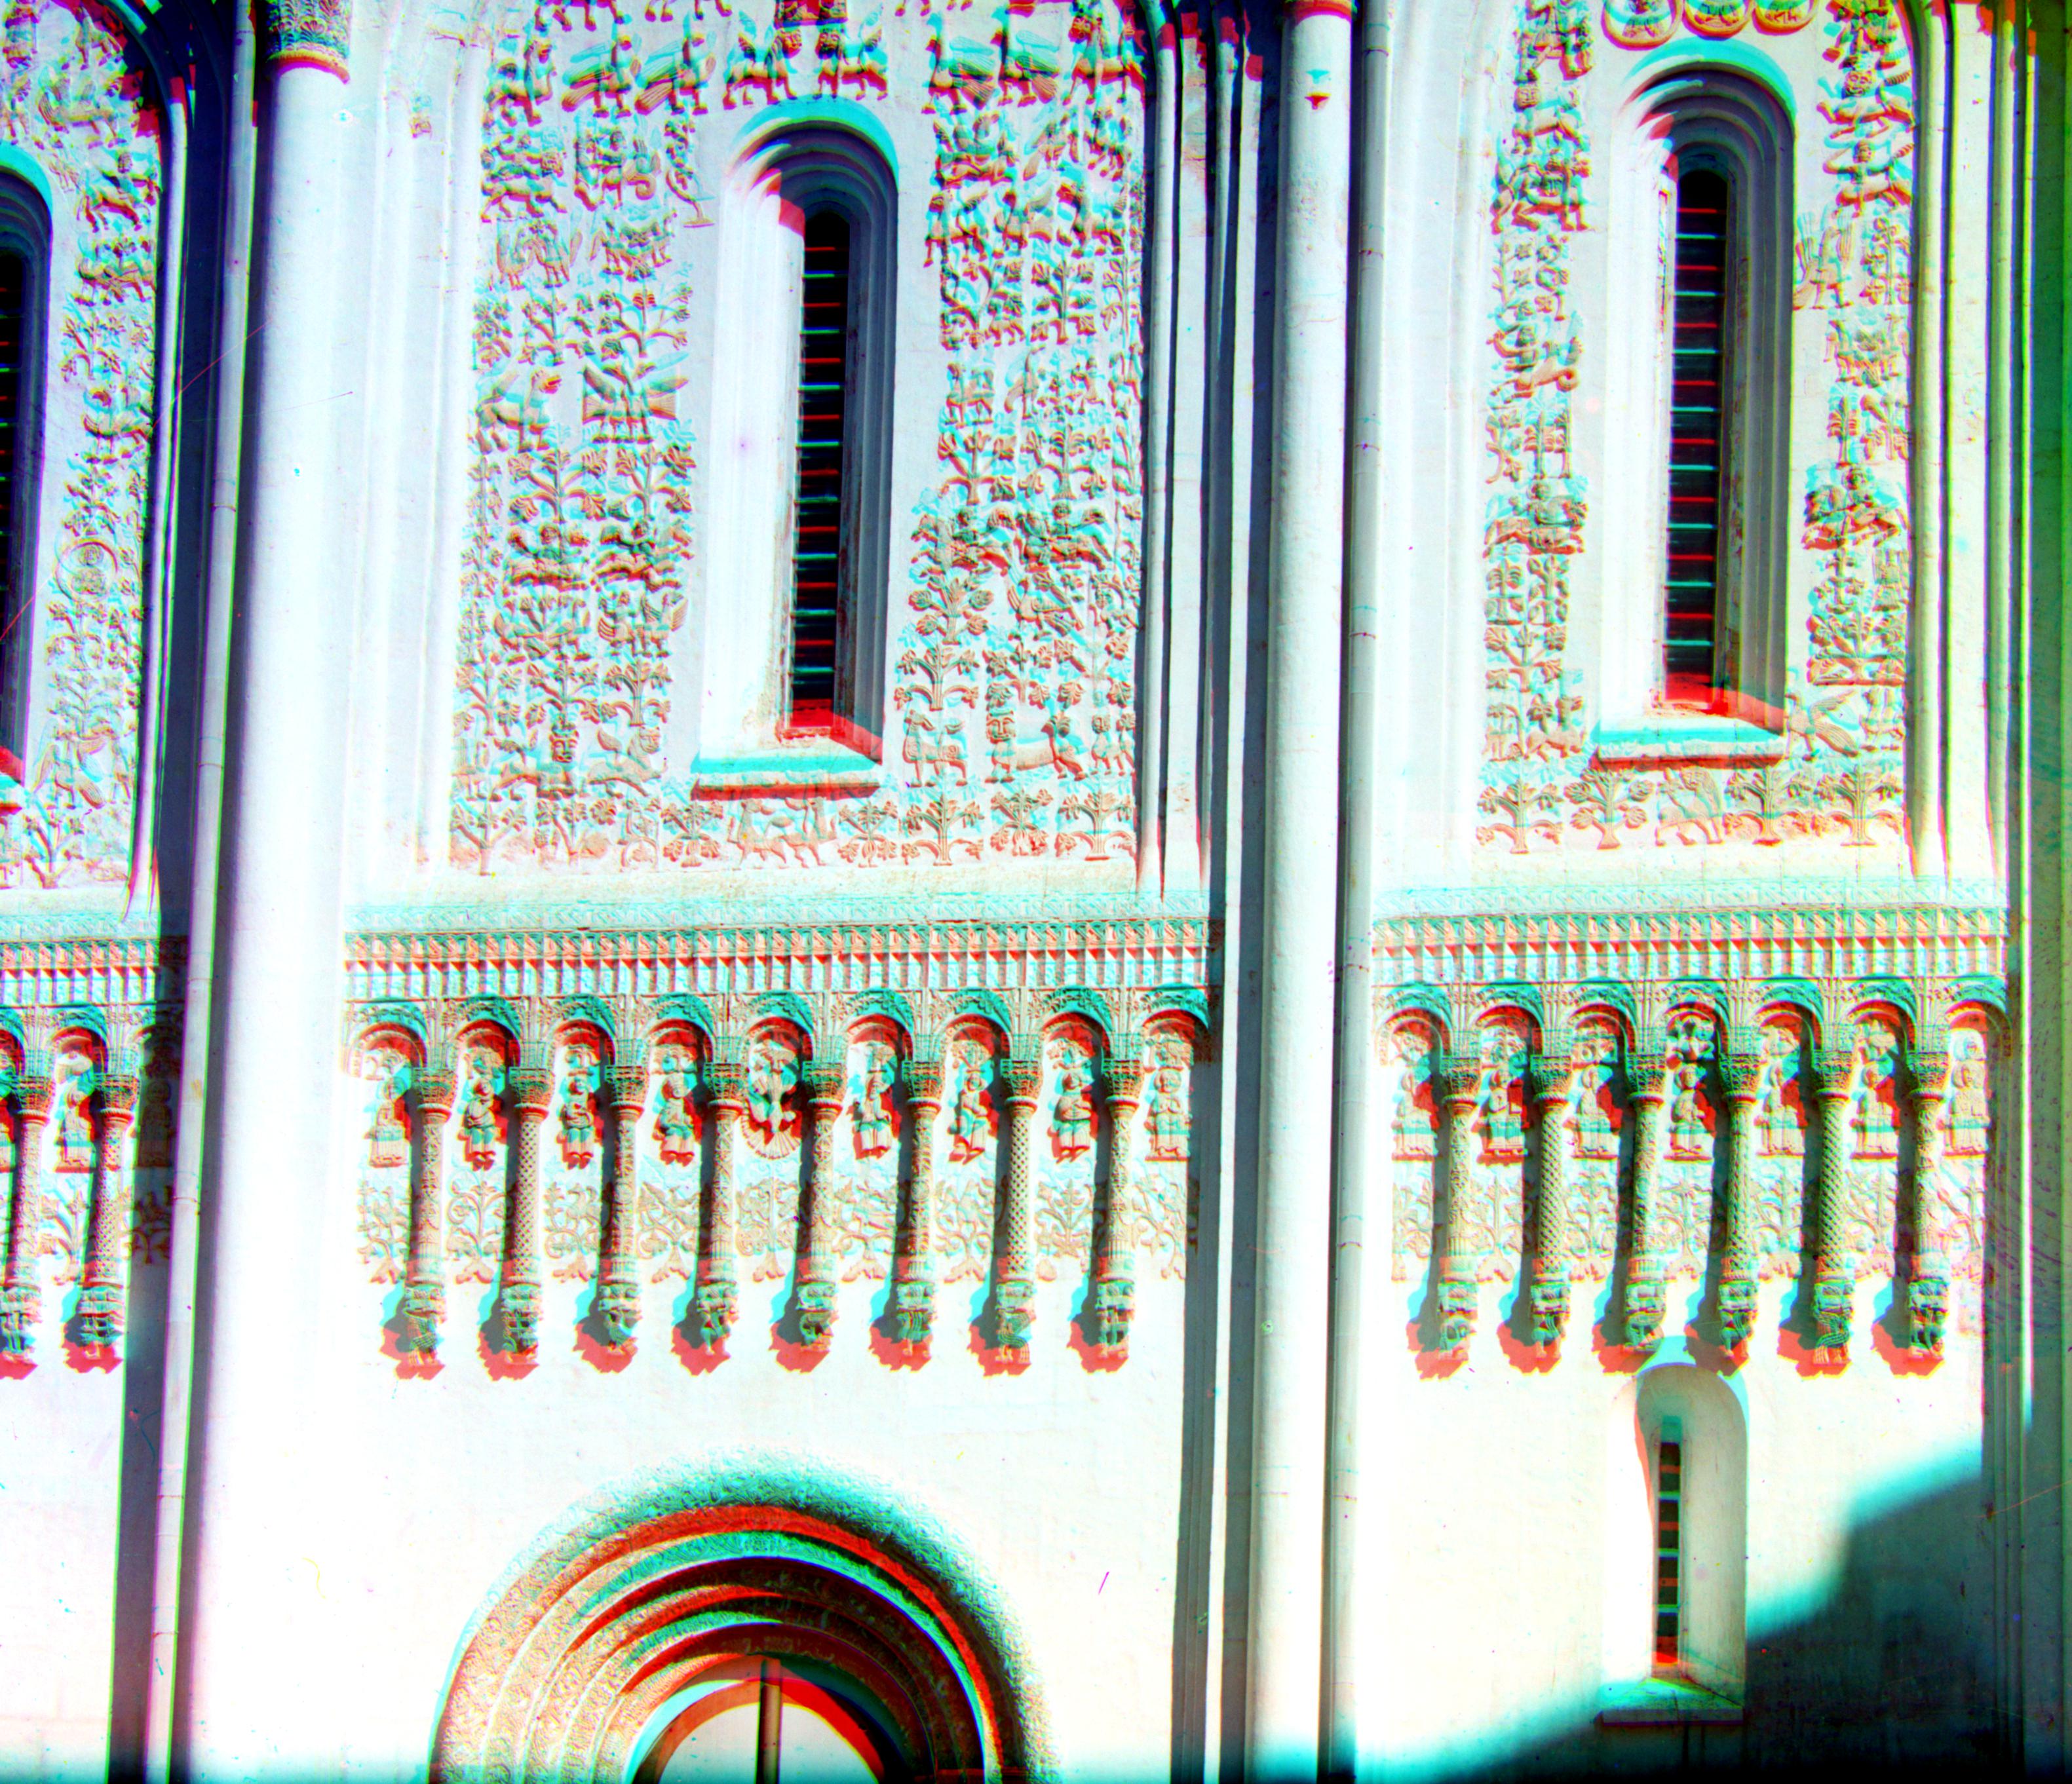
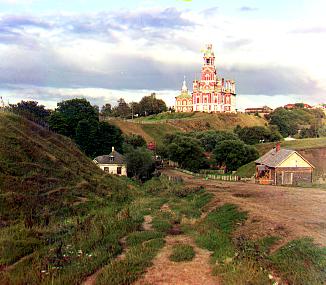
Detalʹ Dmitrīevskago sobora. [Vladimir]
Vector for aligning g to b is (-15,74)
and
Vector for aligning r to b is (-34, 134)
Altarnai︠a︡ storona Dmitrīevskago sobora. [Vladimir]
Vector for aligning g to b is (-1,6)
and
Vector for aligning r to b is (-3,13)
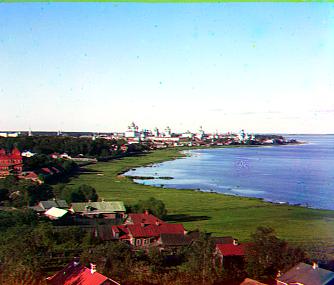
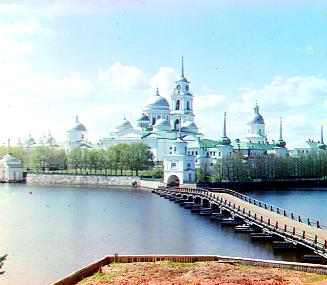
Obshchīĭ vid na poberezhʹe i Kremlʹ s kolokolʹni Spaso-I︠A︡kovlevskago monastyri︠a︡. Rostov Velikīĭ
Vector for aligning g to b is (2,4)
and
Vector for aligning r to b is (2,9)
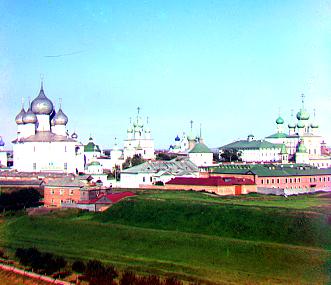
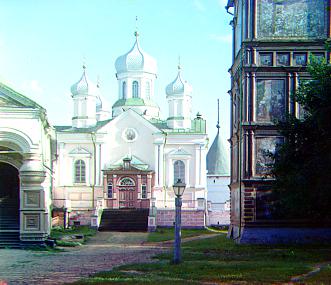
Obshchīĭ vid Kremli︠a︡ s kolokolʹni Vsesvi︠a︡tskoĭ t︠s︡erkvi. Rostov Velikīĭ
Vector for aligning g to b is (2,6)
and
Vector for aligning r to b is (3,14)
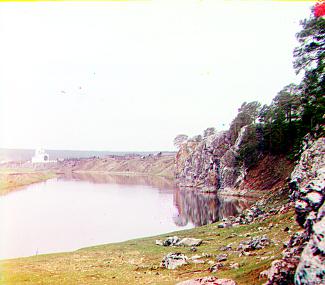
[Upper Georgievskii Rock and a general view of the settlement of Utka. [Chusovaia River]
Vector for aligning g to b is (4,7)
and
Vector for aligning r to b is (7,14)
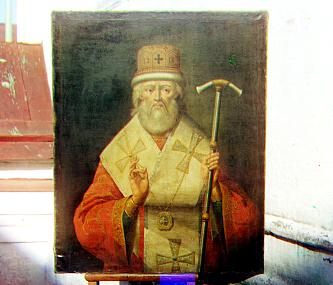
Portret Iony III, Mitropolita Rostovskago, stroiteli︠a︡ Rostovskago Kremli︠a︡ i Bi︠e︡loĭ Palaty, pisannyĭ pri zhizni svi︠a︡titeli︠a︡ v XVII v. V Rostovskom muzei︠e︡. Rostov Velikīĭ
Vector for aligning g to b is (3,6)
and
Vector for aligning r to b is (4,12)
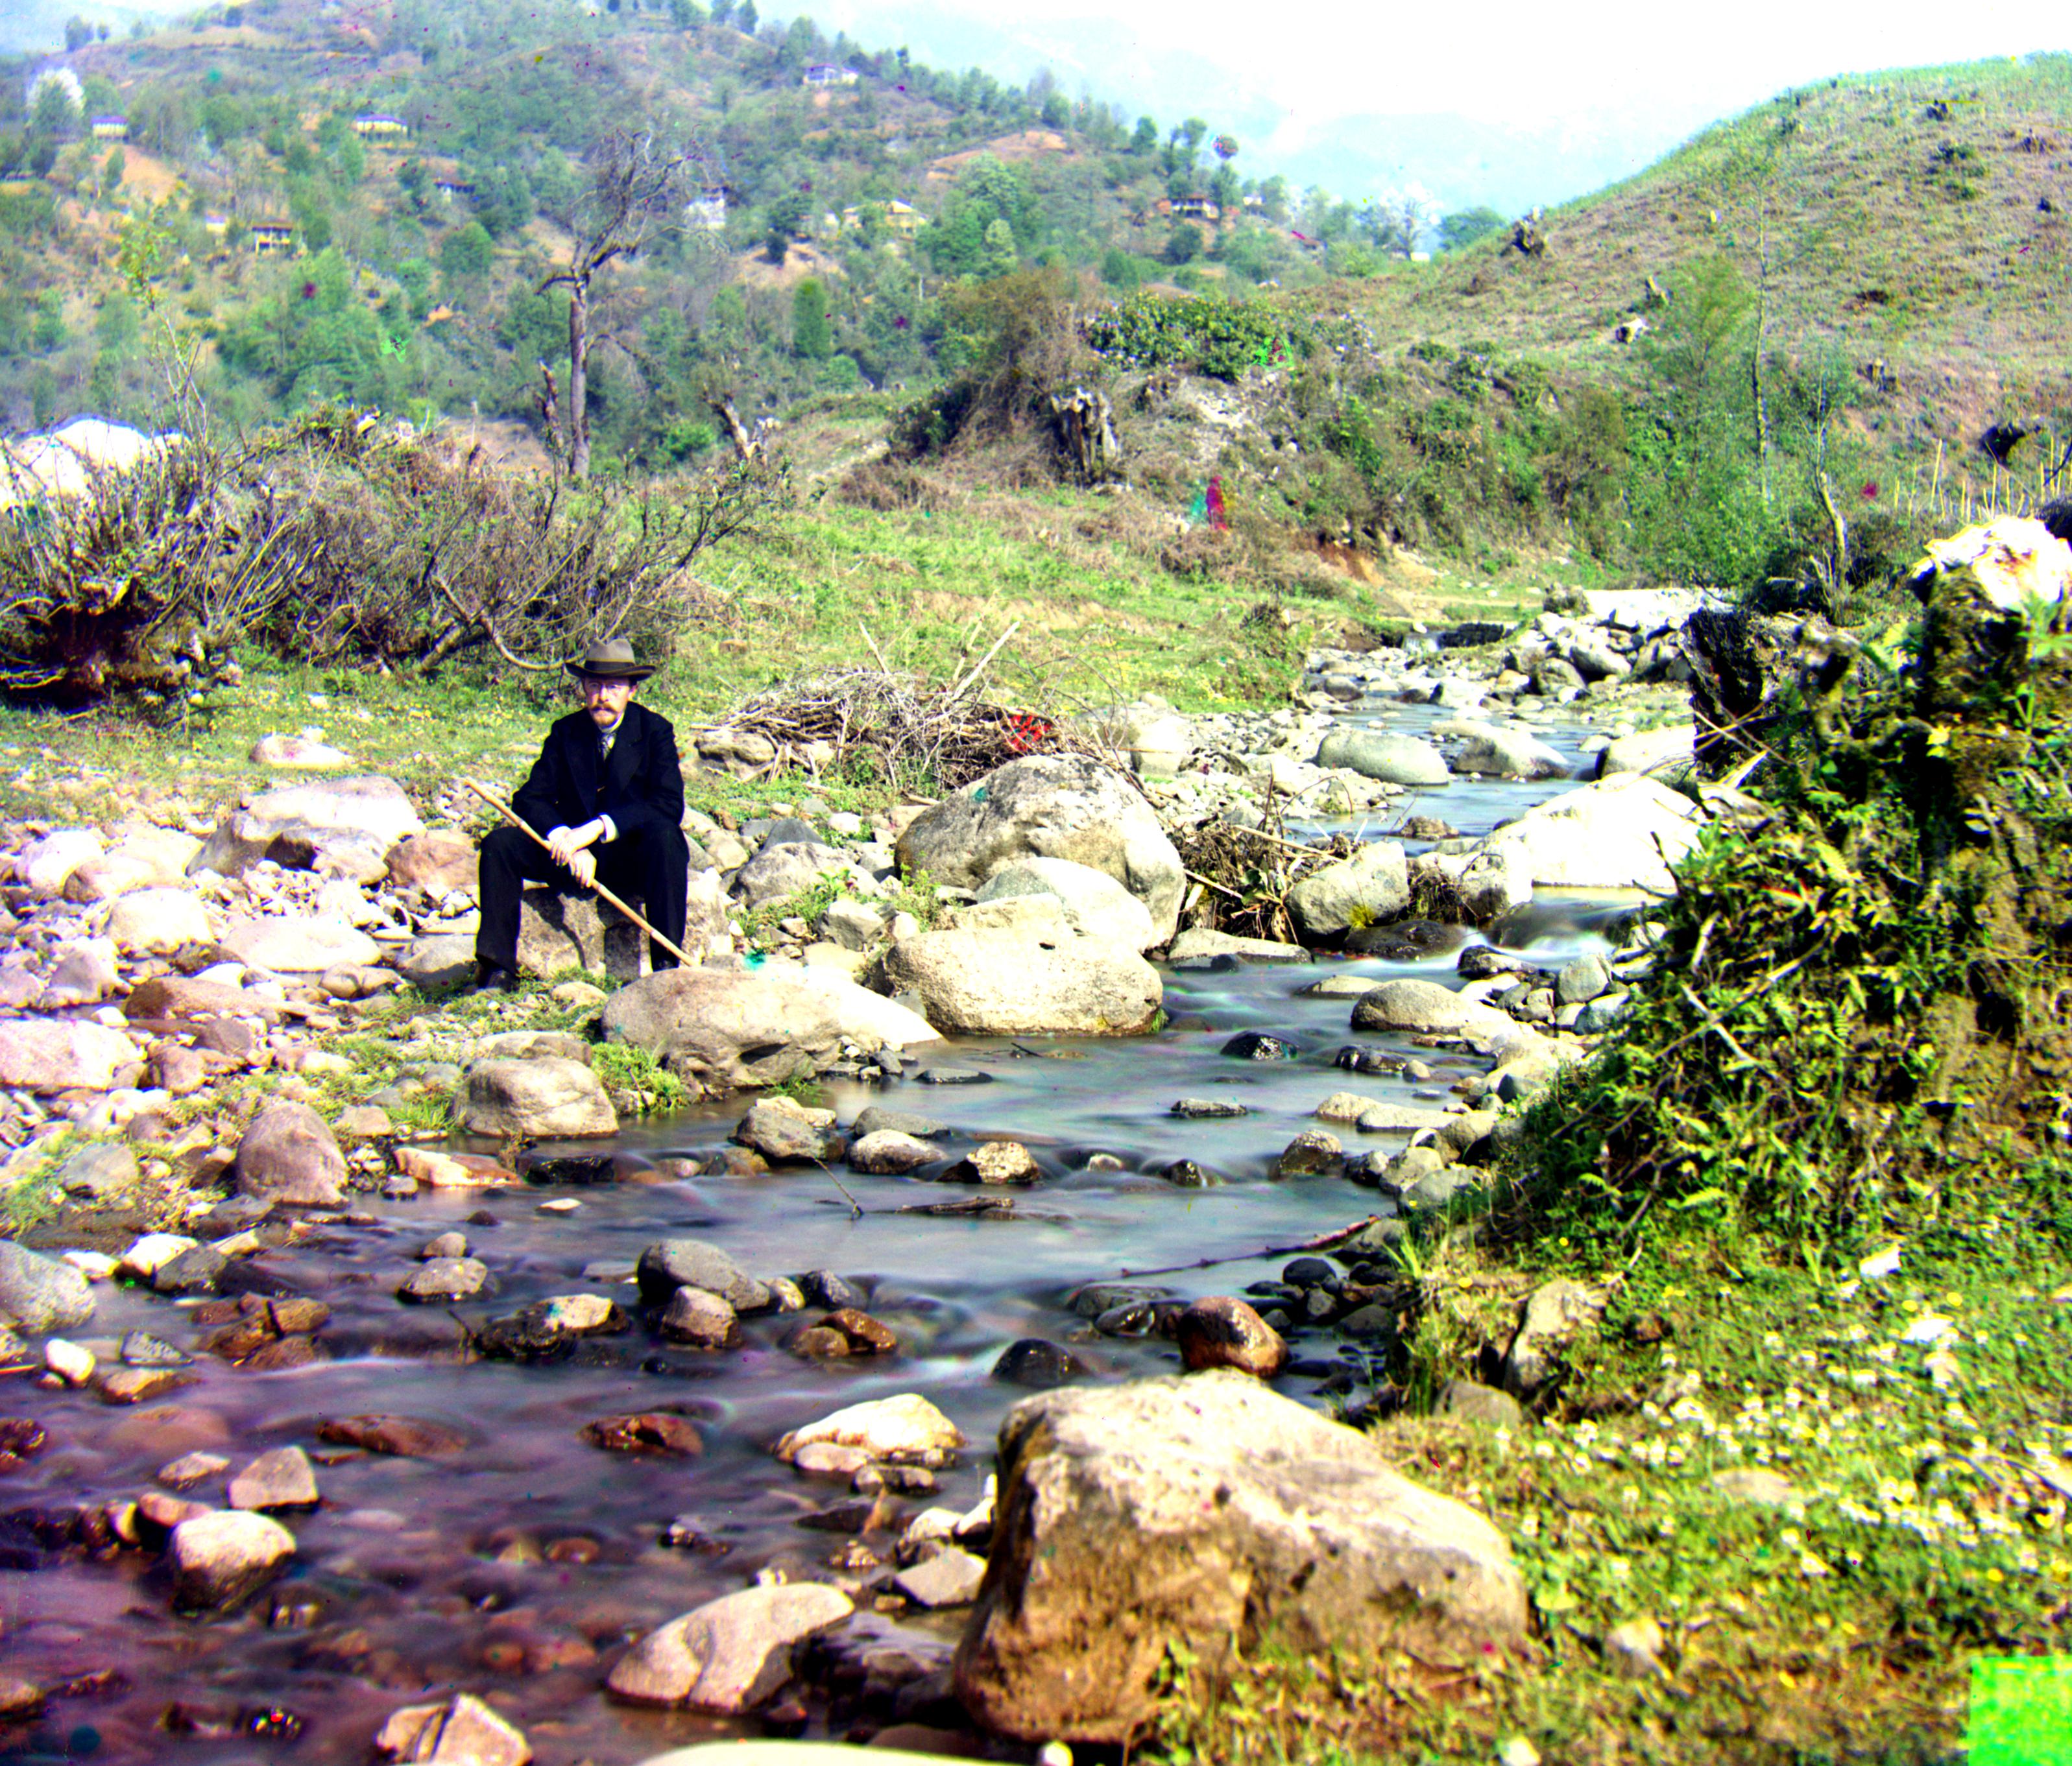
[At the foot of Aleksandrovskii mount]
Vector for aligning g to b is (1,6)
and
Vector for aligning r to b is (0, 14)