Overview
The goal of this project was to apply image processing techniques to digitized images from the Prokudin-Gorskii glass plate collection, and colourize the black and white images. A simple python script using Numpy and OpenCV was written to split the black and white glass plate images into 3 images, representing the Blue, Green and Red image colour channels. These images were then combined and algorithmically aligned to form a single, sharp RGB colour image.
Section I: Naive Implementation Outline
The script takes in as input a black and white image file containing all 3 color channels stacked vertically. This input image can either be a smaller .JPG file or a larger .TIF file. Images are naively split into the 3 color channels by horizontal slicing by thirds, and layered in a 3D matrix. Unfortunately, the black and white images are not perfectly identical, image artifacts, inconsistent borders, uneven angles, and different hues mean that an alignment algorithm is necessary to exactly match each pixel on the B channel with the corresponding pixel on the other 2 channels. If the pixel alignment is even slightly off, the image will either be blurry or even worse look like 3D glasses are necessary for viewing.
I implemented 2 simple alignment algorithms, a single-stage algorithm for the small .JPG images, and a multi-layer pyramid algorithm for the larger .TIF images. The single-stage (loss-minimizing) algorithm calculates L2 Norm / SSD loss on each pixel of the G and R channels with the corresponding pixel coordinate in the B channel, over a displacement window of +/- 30 pixels in both the x and y direction. Shifting was done via Numpy rolling in both directions. The x and y shifts for the lowest loss value correspond to the optimal shift for clean image alignment. Computation is done in less than a second for .JPG images.
However, for the larger .TIF images this single-stage algorithm is far too slow to compute, as displacement windows (magnitude of shift in all directions) need to be huge to accommodate for potentially much larger misalignments (in most cases over 20x more pixels need to be shifted for good alignment compared to .JPG images). Thus a more efficient, pyramid algorithm is necessary. Instead of computing displacement shifts on 1 layers, by creating multiple layers of down-sampled images (less pixel values), faster and coarser shifts can be done needing to displace less pixels (think gradient descent or multi-stage filtration). I implemented a 5 layer pyramid, with each layer having a displacement window of +/- 10 in either direction, and a down-sampling / resizing by 1/2 moving down each layer. At each layer the single-stage algorithm is applied. The choice of layer number, displacement window at each layer and resizing magnitude was decided empirically, multiple parameters were tested, and most rational choices i.e. 3-5 layers, displacement windows of 15 on each layer, and windows that scaled with layer number, yielded similar if not identical results. This Computation is done in O(seconds), (~ 3 seconds).
Section II: Problems & Solutions
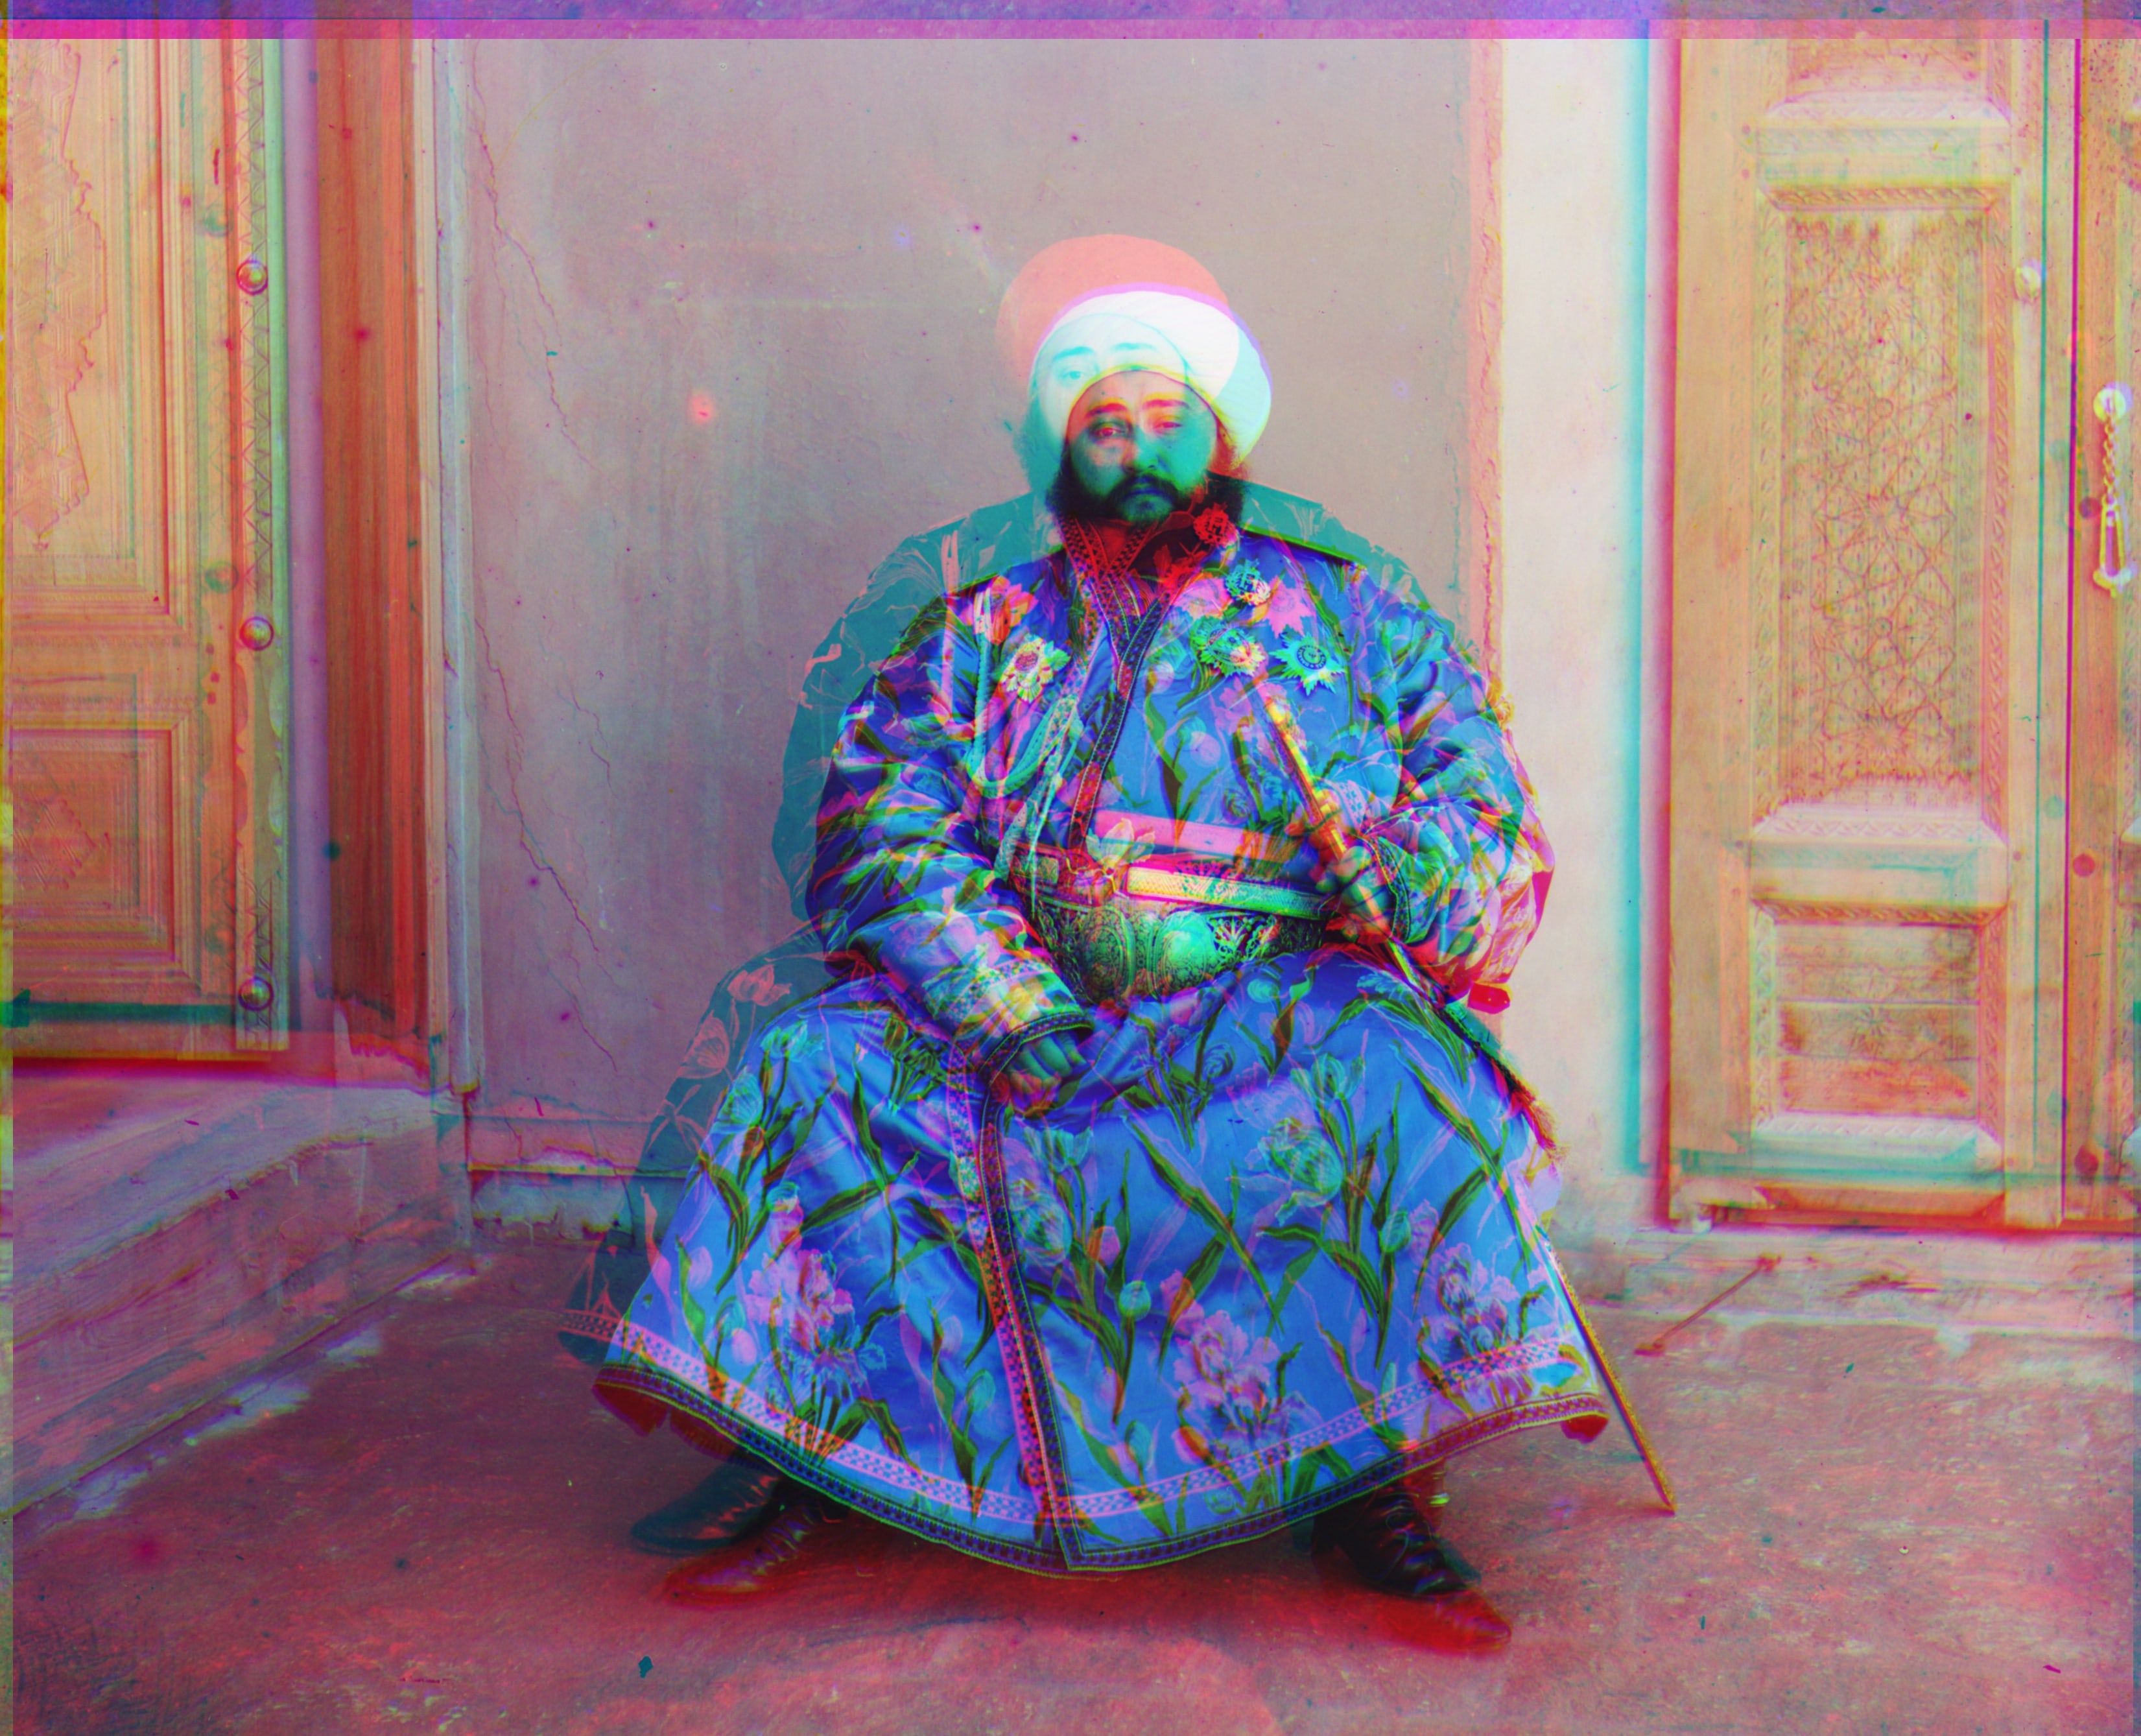
Unfortunately, I found that the basic solution above, while successful on most images, were still a little blurry on some, and 1 or 2 did not work at all (looking at you emir.tif). The problems encountered include: blurry images (1 or 2 pixels off) and an inadequate loss function.
To increase general image sharpness, the first thing I noticed was that borders were really messing things up. To fix this, I added naive cropping, to automatically crop a predefined amount off of input images (each specific channel) to remove borders. However, this on its own was insufficient as well, and the game changing feature change was to only apply the loss function to a center region of each image (Thanks to GSI Shiry for briefly mentioning this right at the end of Lecture 2). By exclusively taking the middle region of an image, we ignore any noise by the edges and minimize loss over a smaller region. These two changes successfully improved the image sharpness of most images. However, to fix images that were completely unaligned I realized that my loss function simply wasn’t good enough, i.e. with Emir’s Blue robe, the hues are so different that naive alignment fails. Thus, i applied a normalization to each the split input images before calculating loss. Finding average pixel value in the sub-images, and dividing each pixel by this value. These changes combined yielded mostly successful alignment on all images.
Section III: Extra Credit Improvements
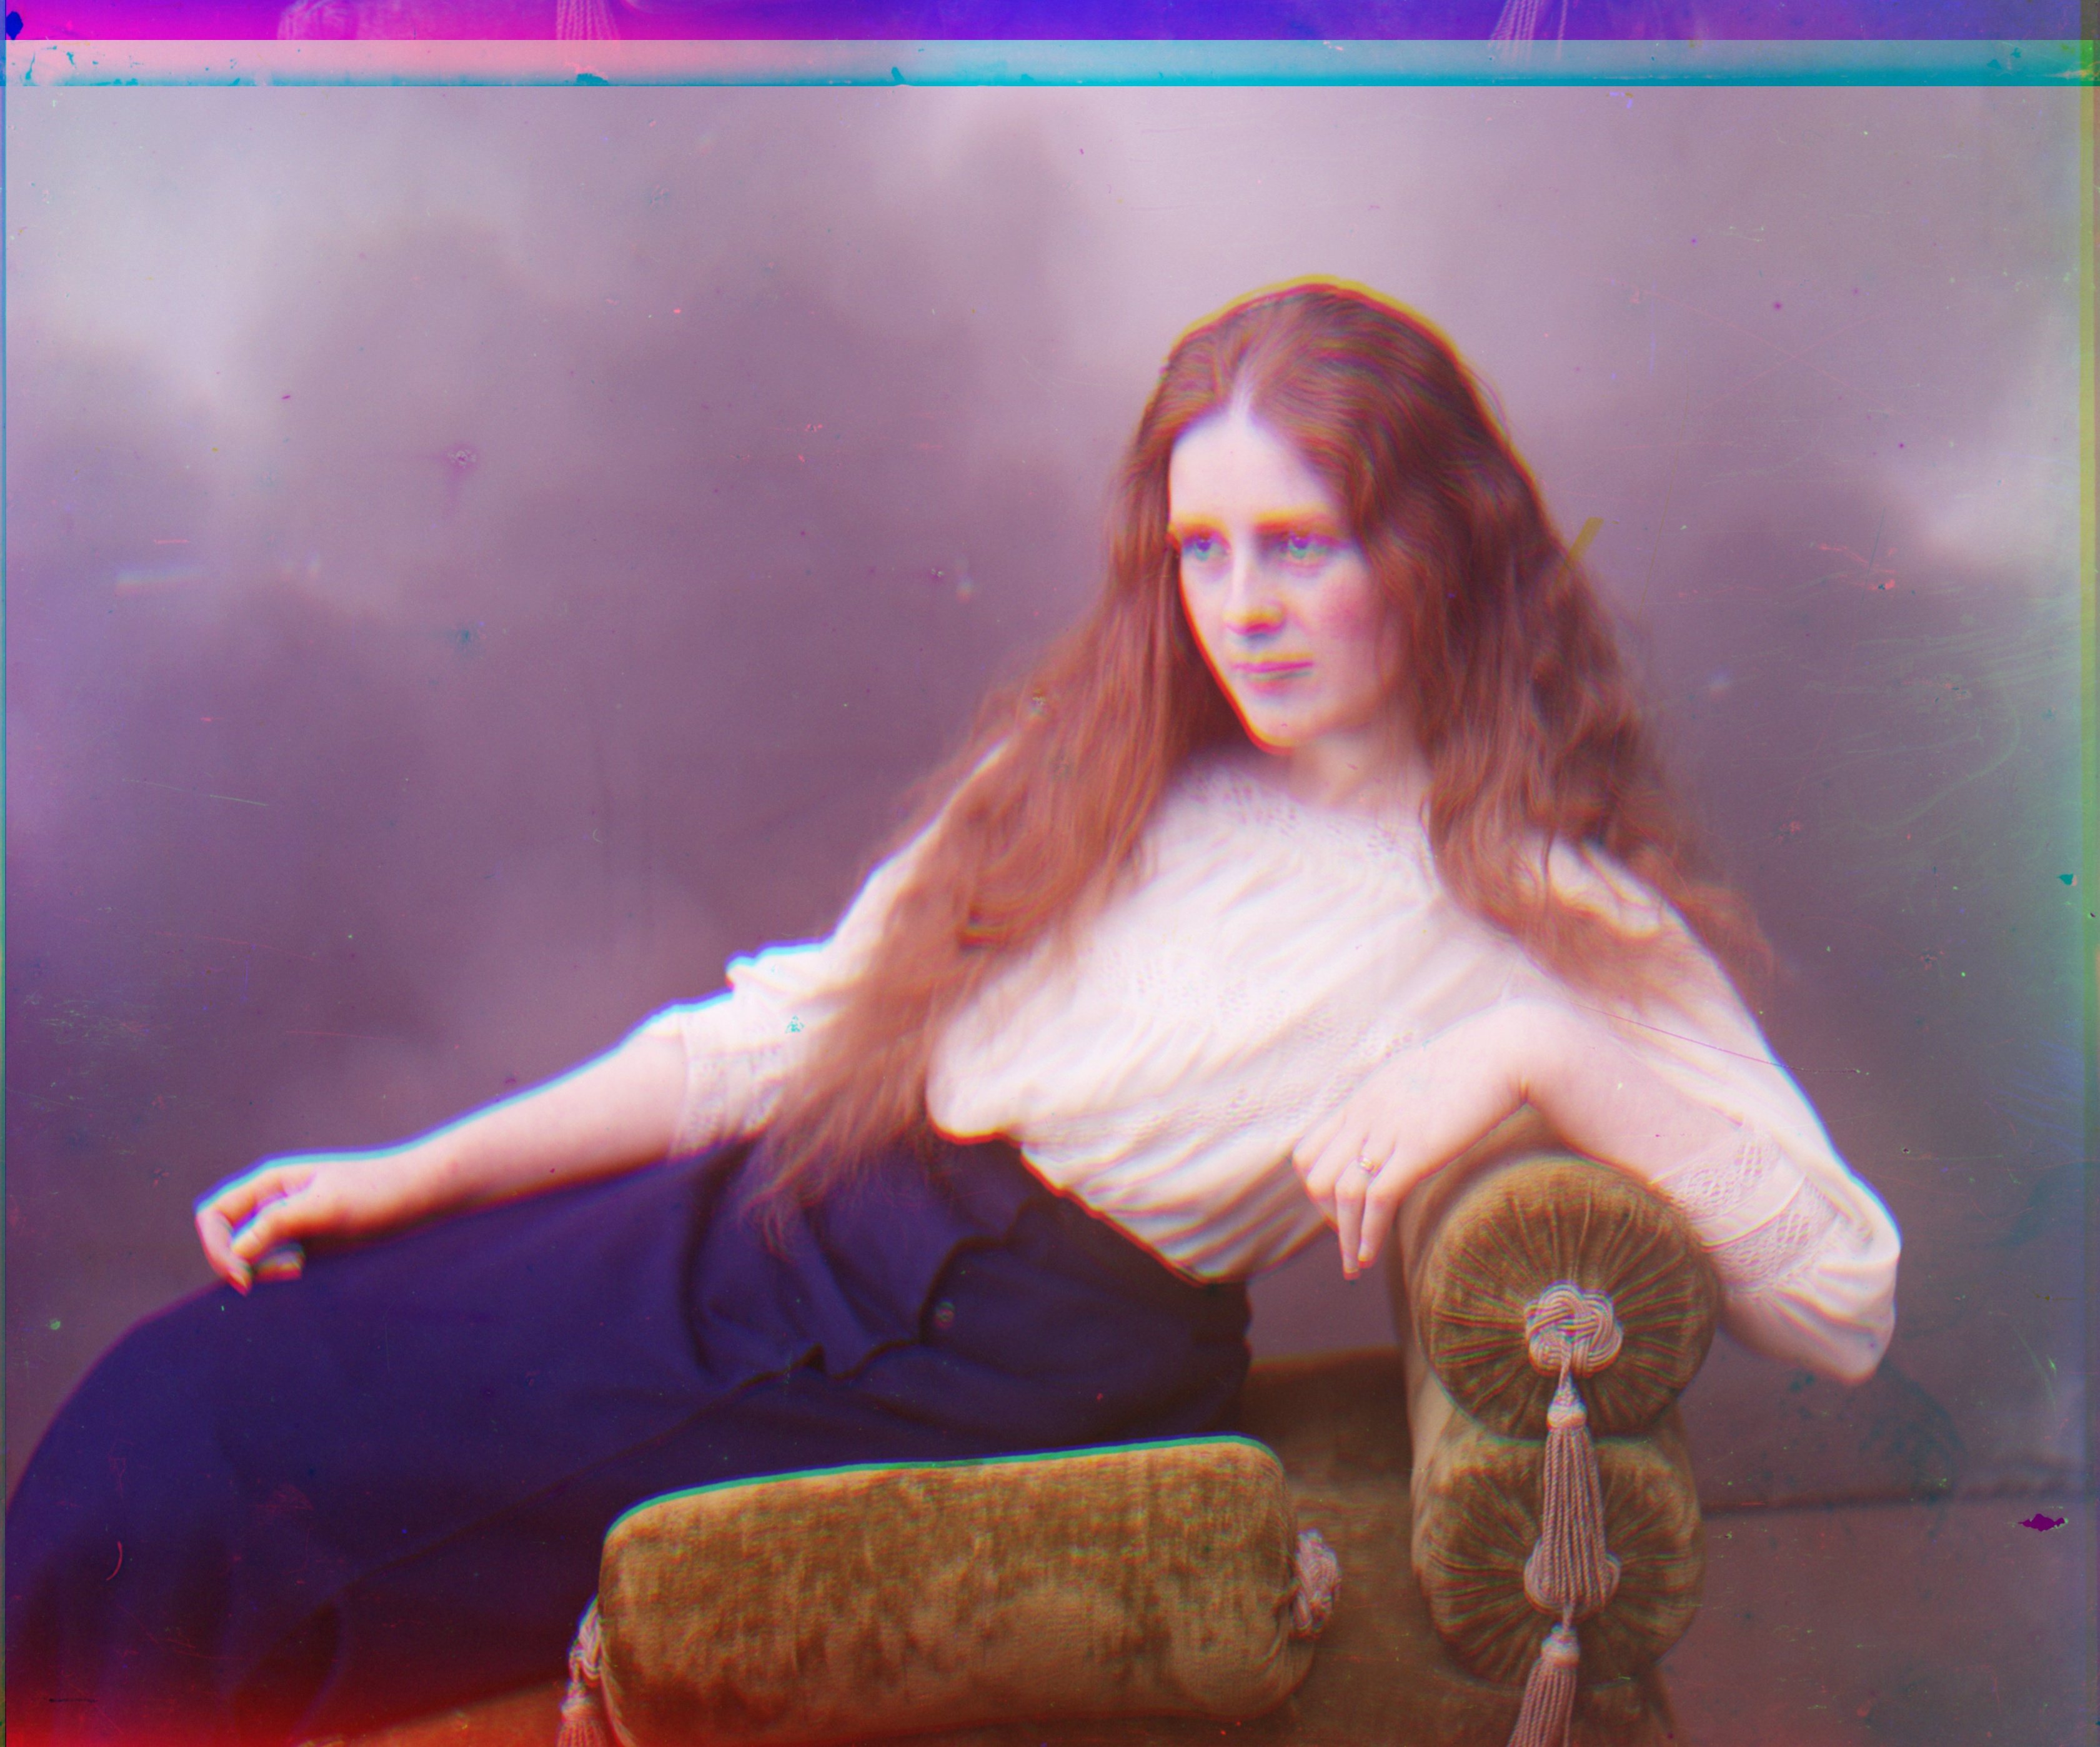
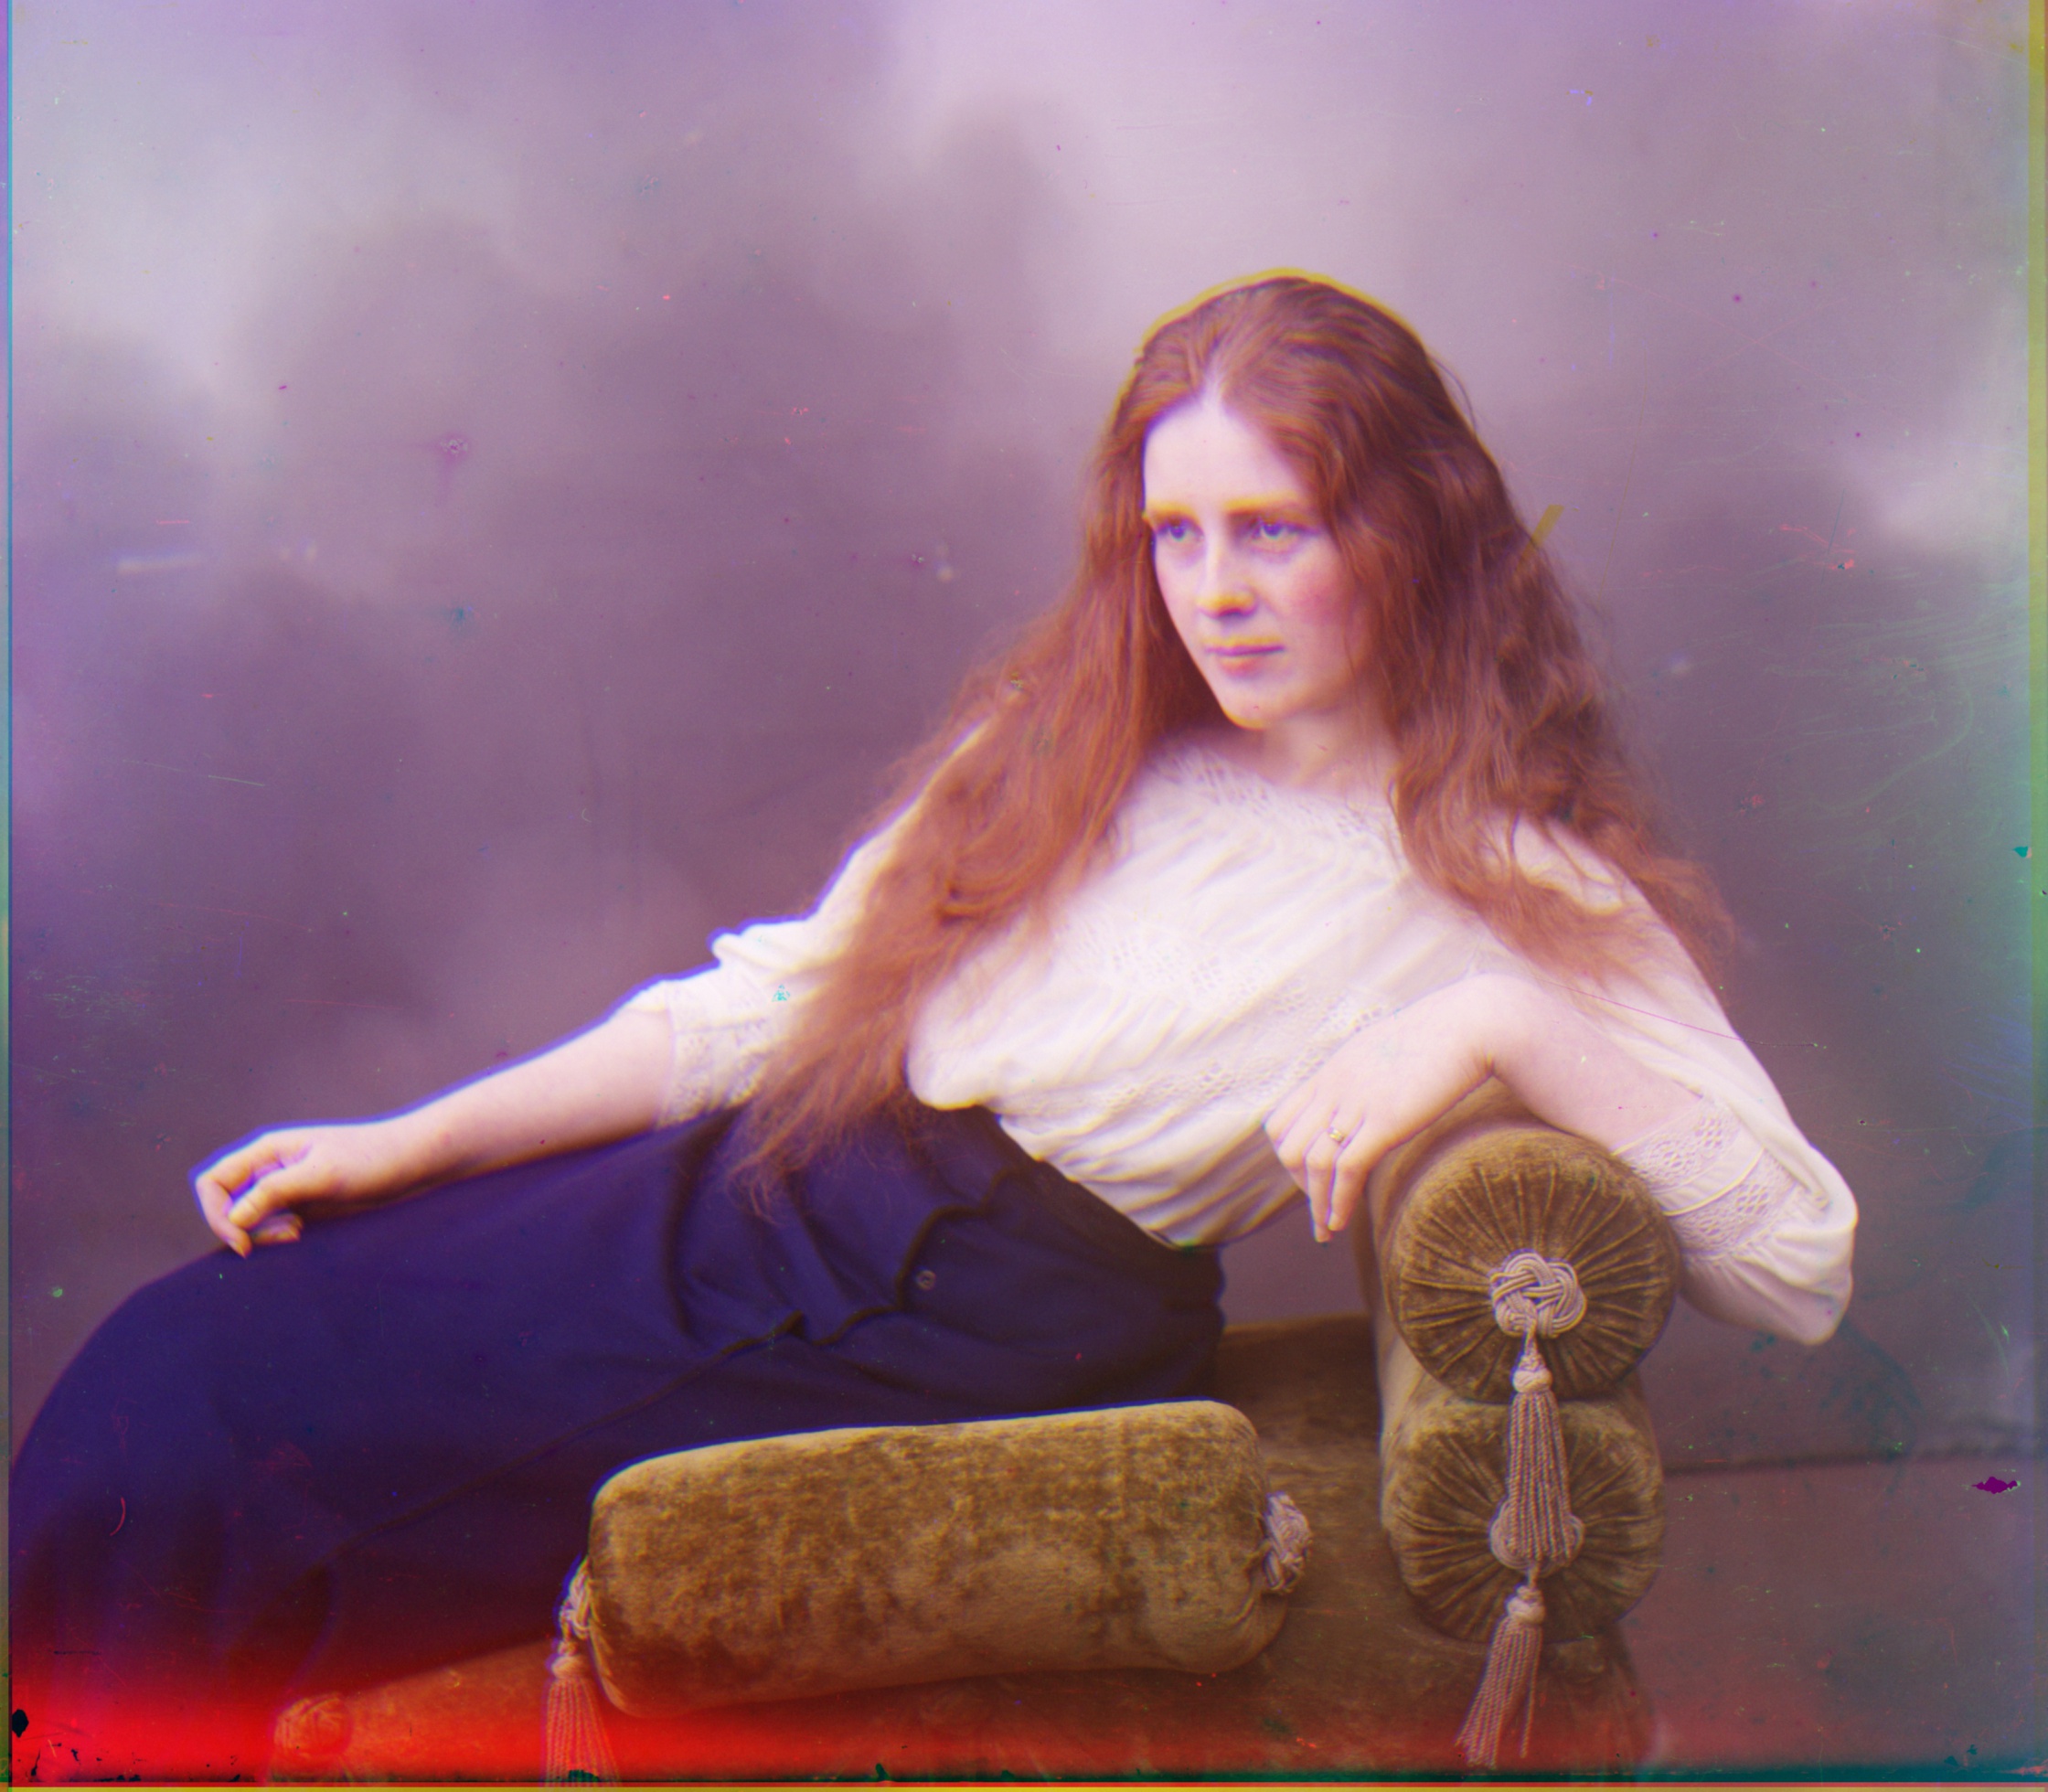
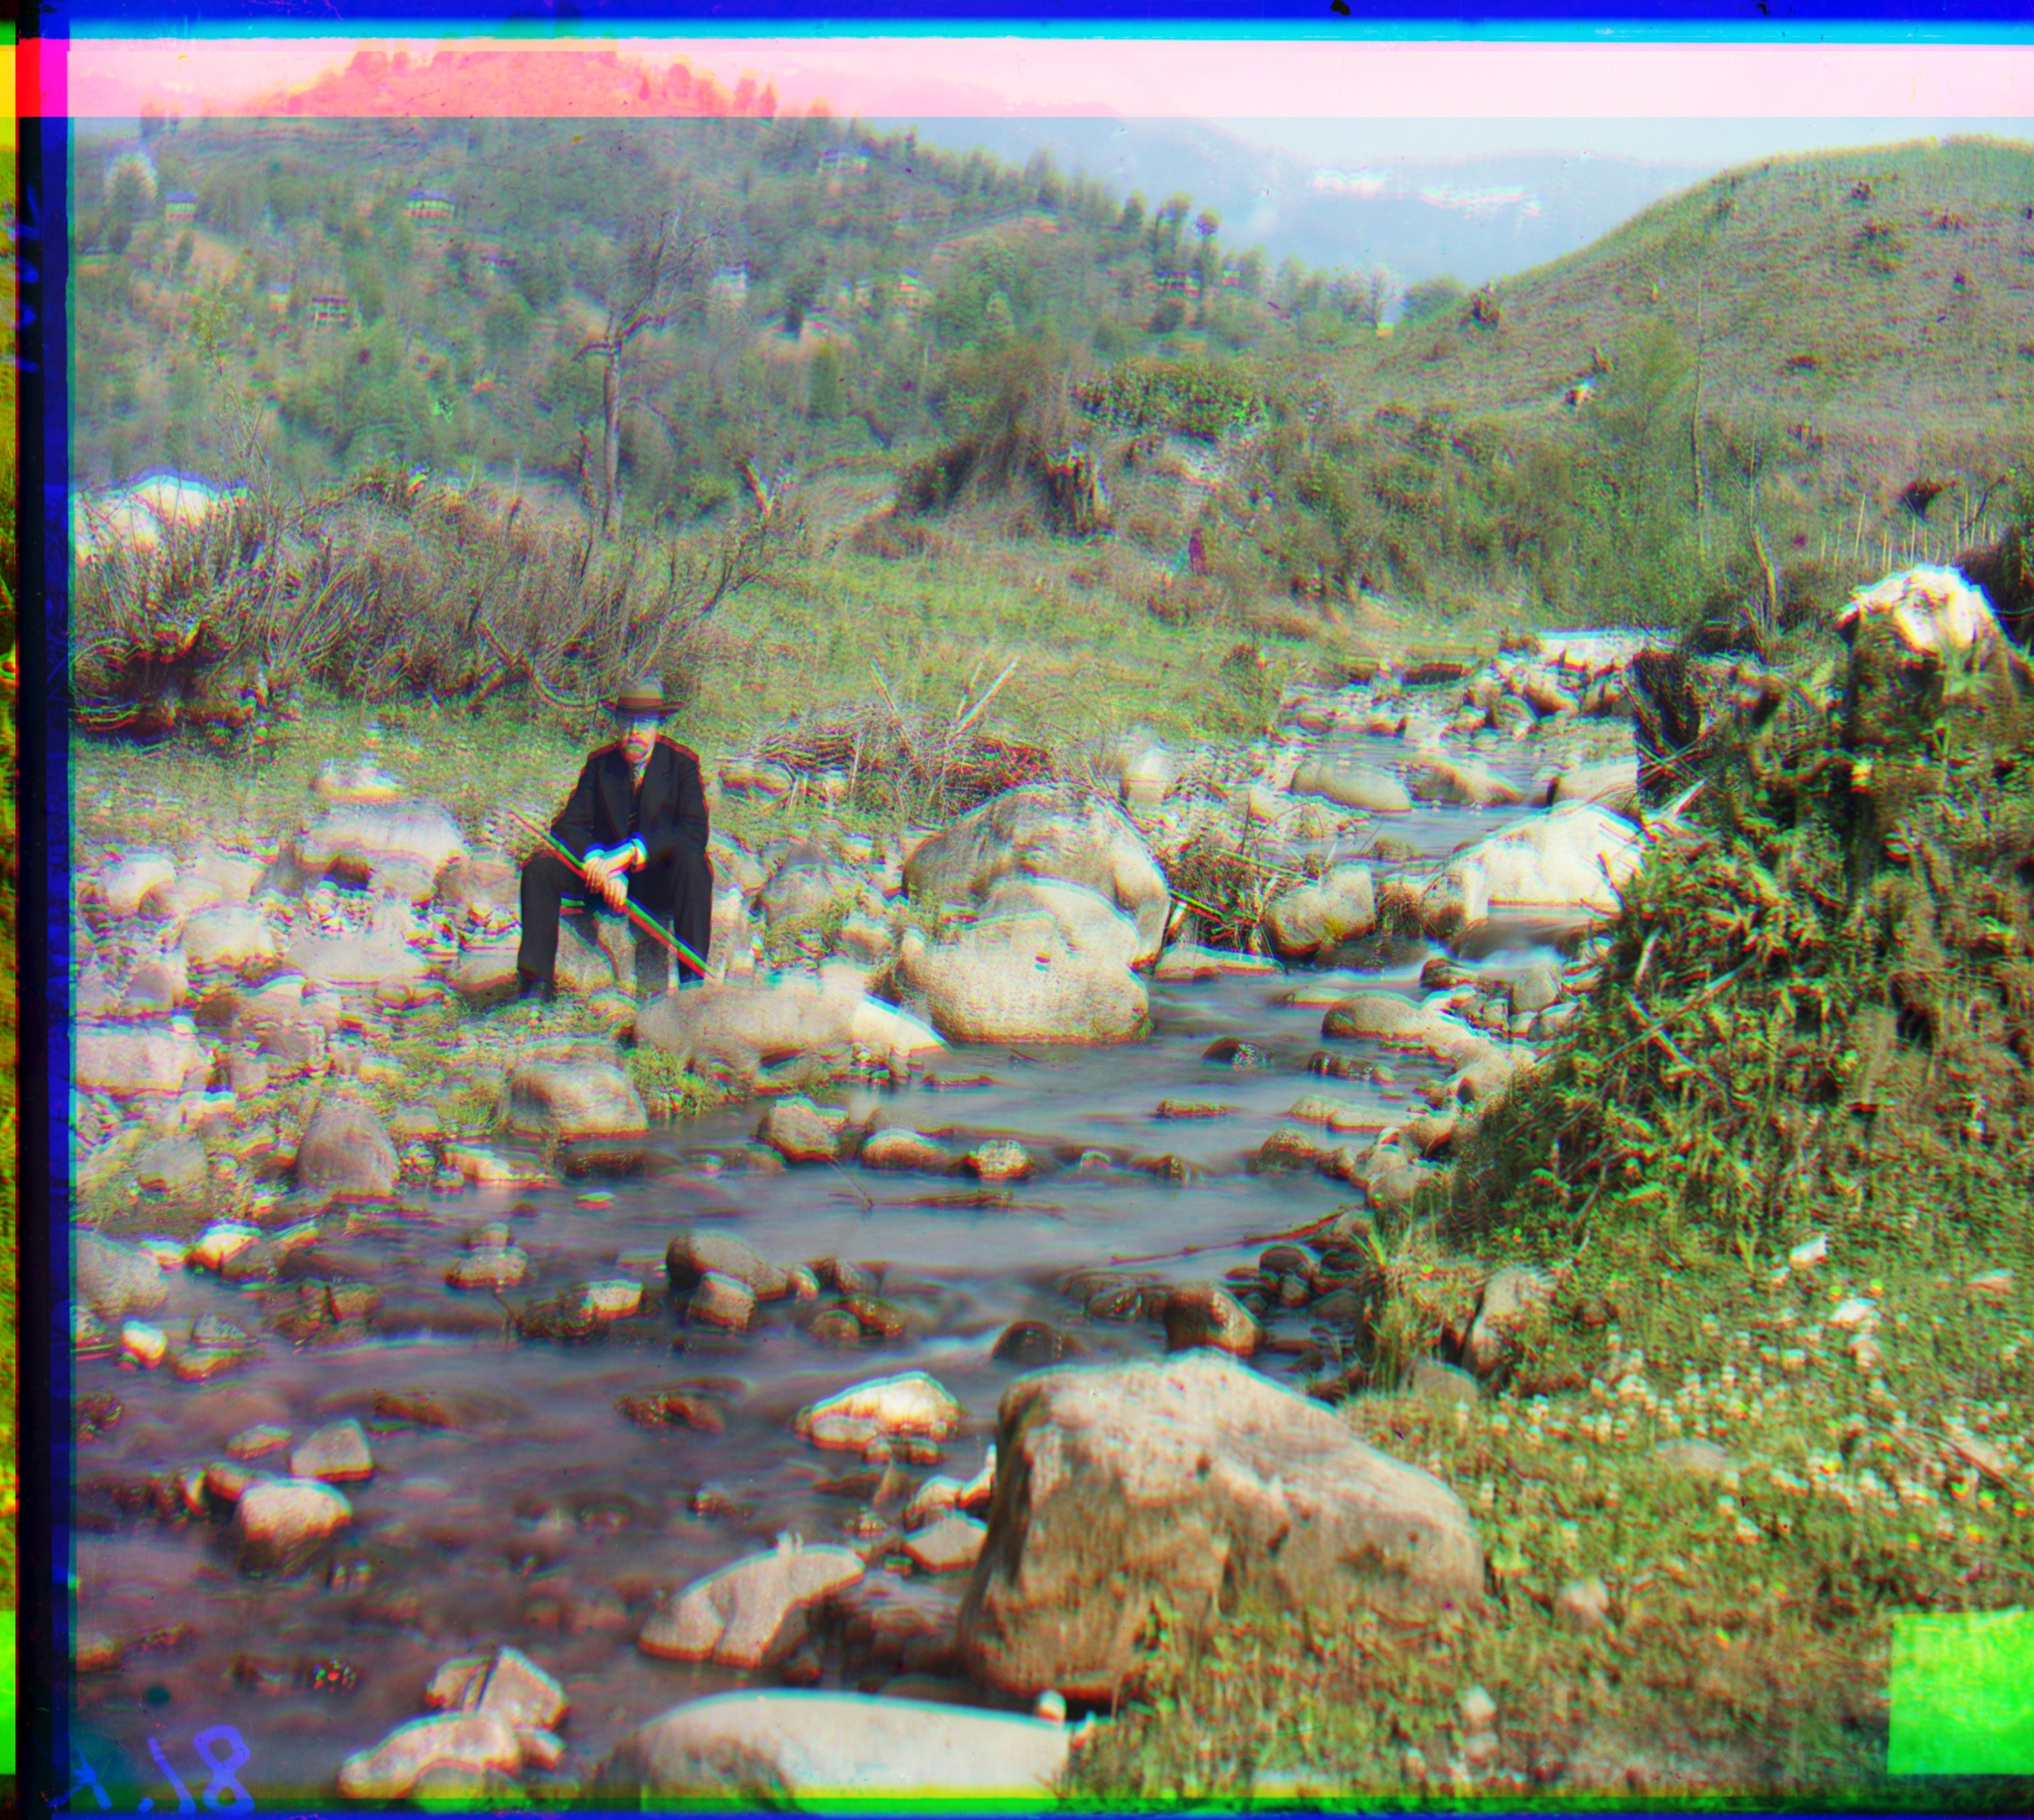
I say “mostly successful” in the end of the previous section, as for some of the large .TIF images there was still slight blurriness, and in emir.tif specifically, still remaining misalignment (albeit nowhere near as bad as the basic implementation). To further improve output quality I implemented some extra credit features listed on the bells & whistles list as well as some of my own. From the suggested list I implemented canny edge detection, and replaced calculating loss on RGB values, to aligning images / calculating loss based on edge alignment. I also implemented semi-successful automatic border detection and cropping. I say semi-successful as I could only get border detection to work on ~60% of images, and for the other 40% had to default back to naive cropping (some of those borders are really thin / faint...). Of my own thinking, I noticed that sometimes when splitting in equal thirds, tops or bottoms of one color channel would actually end up cut off and appear in the wrong channel as an unwanted visual artifact! This is not only ugly but also results in a larger alignment needed for correction. Thus I thought to implemented smart splitting, to replace the naive approach of splitting each image in equal thirds. My splitting algorithm uses edge detection to find horizontal lines that mark the tops and bottoms of each specific image, splitting each image based on these lines. These combined implementations yielded visible improvements on the remaining stubborn .TIF images that were still blurry. The specific examples that were improved are shown below:
|

|
|
|
|
|
Section IV: Final Results
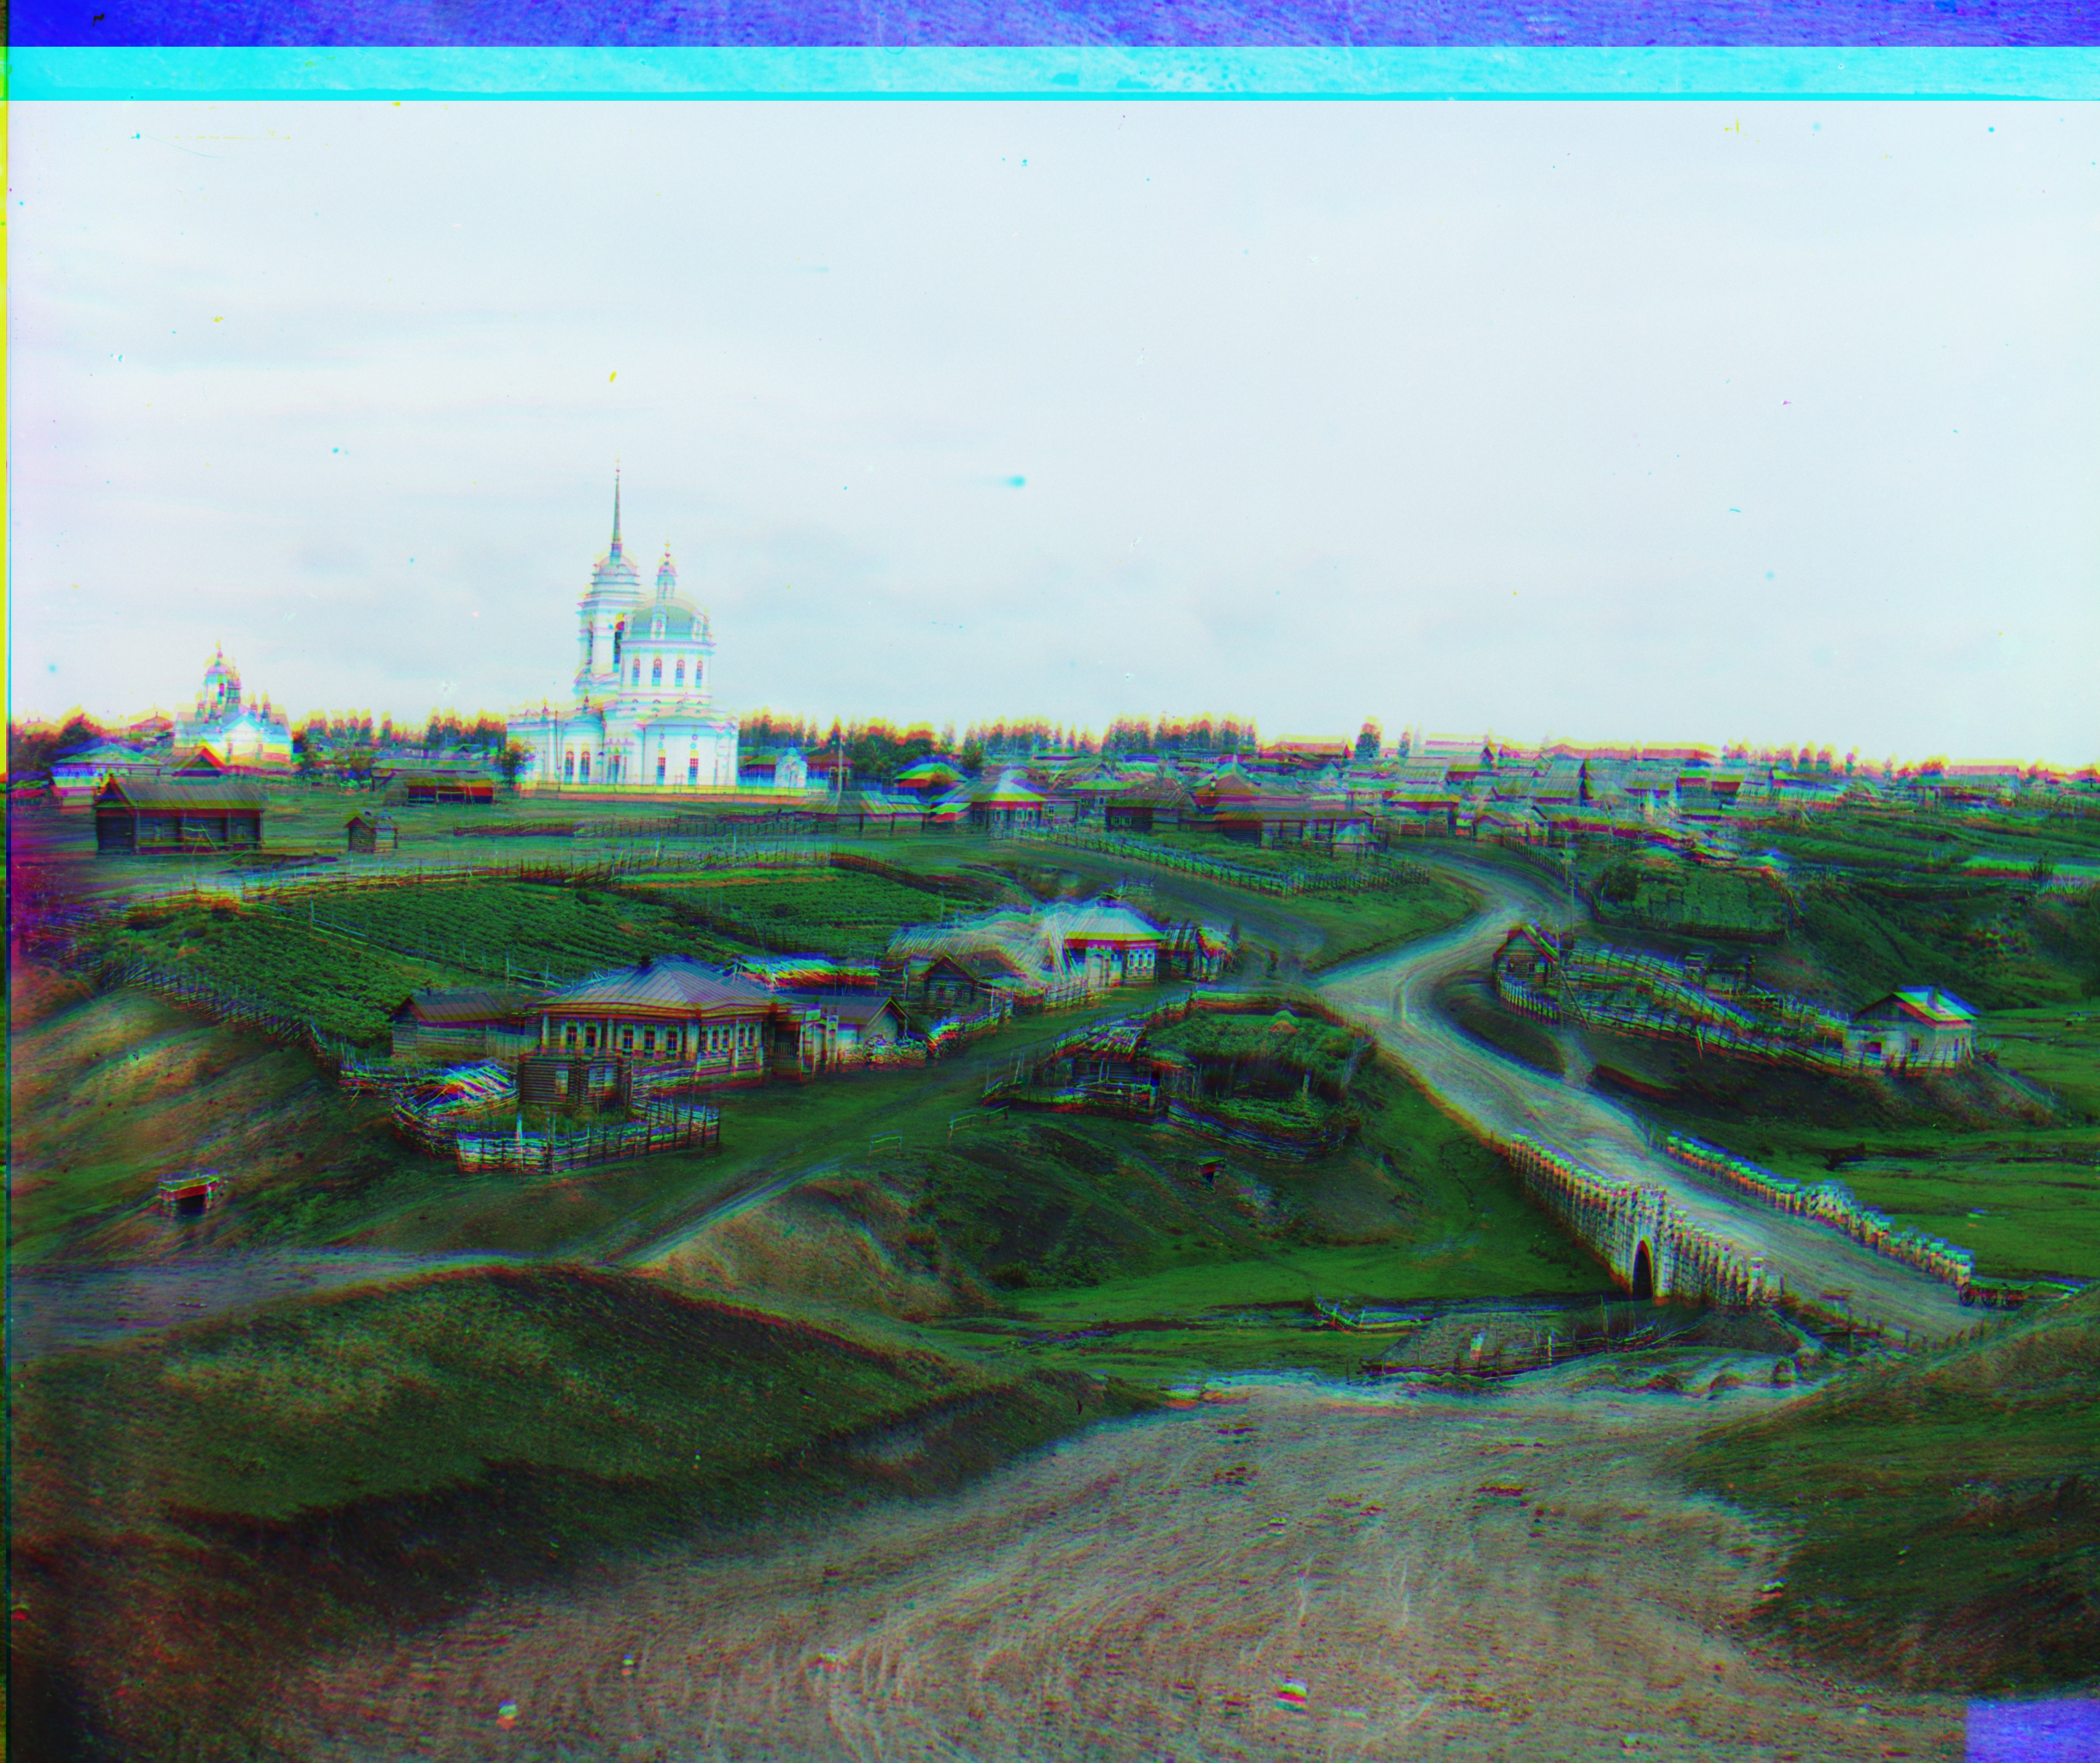
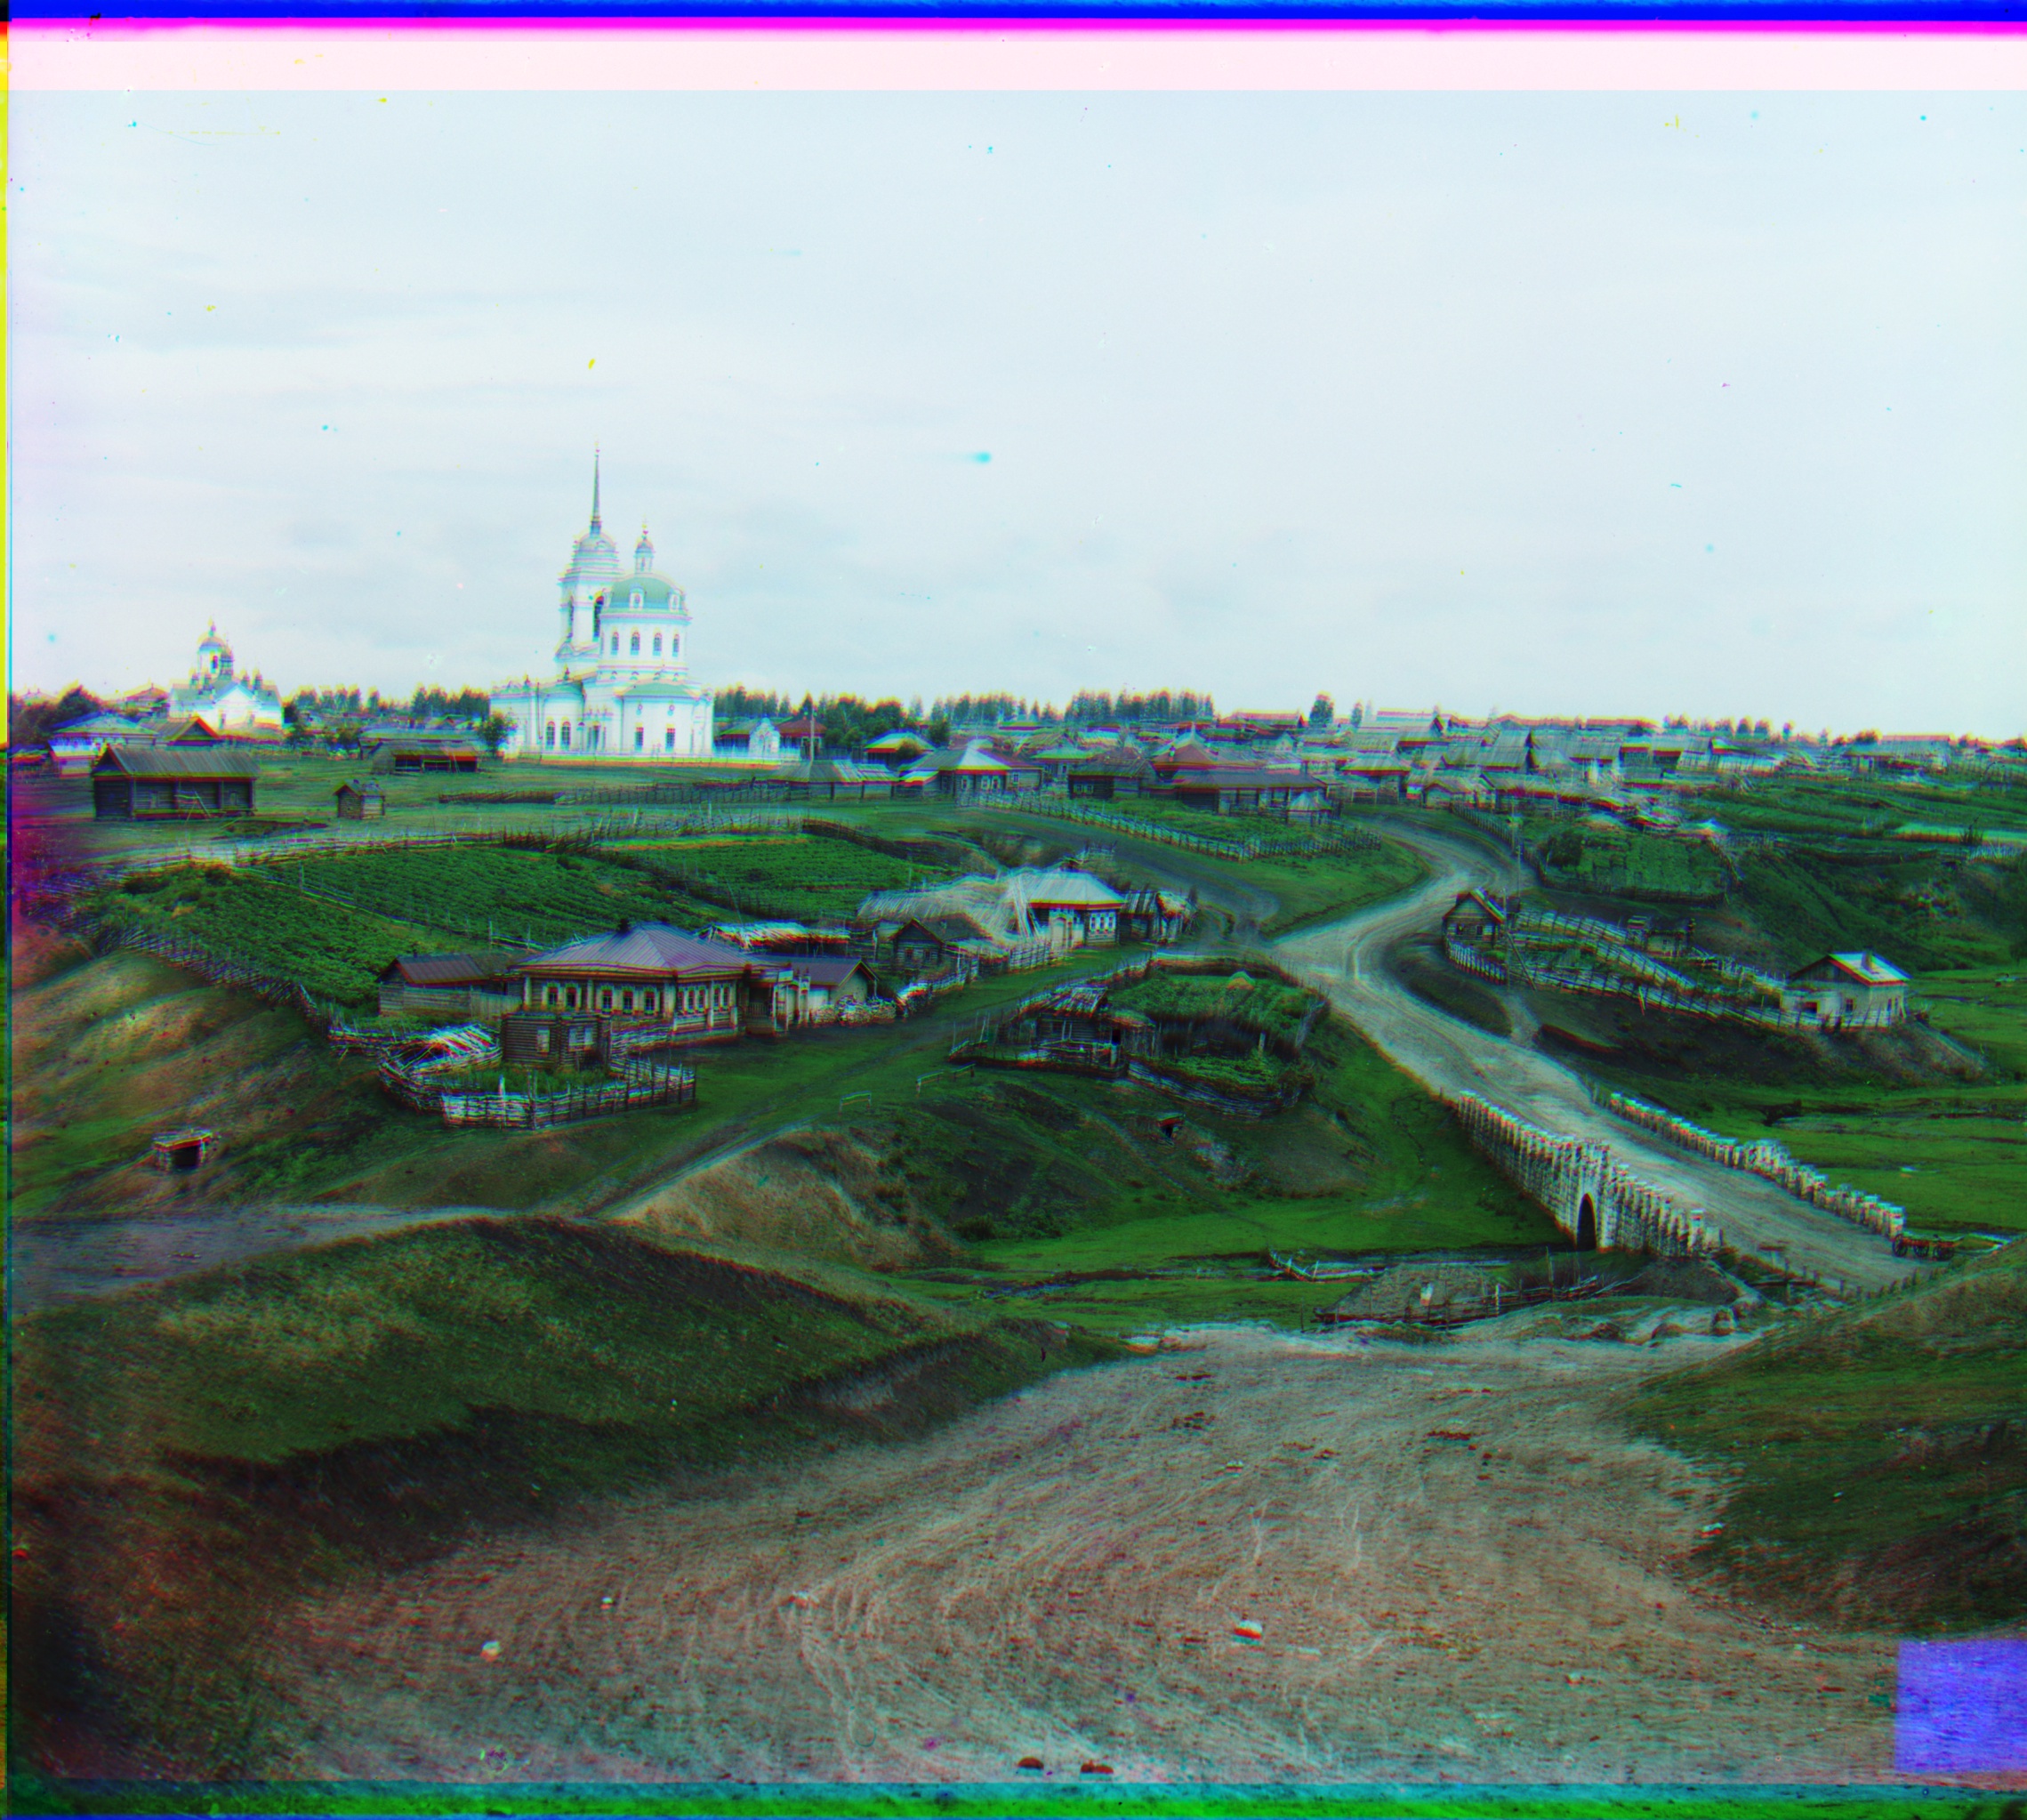
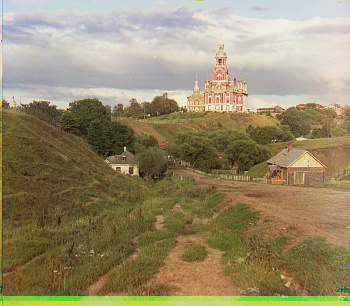
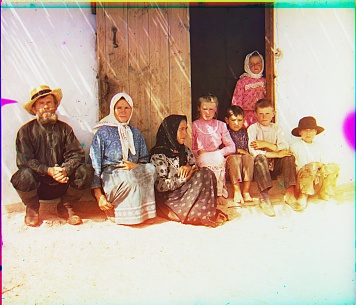
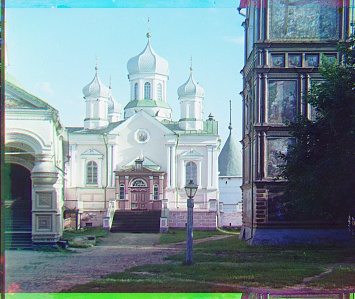
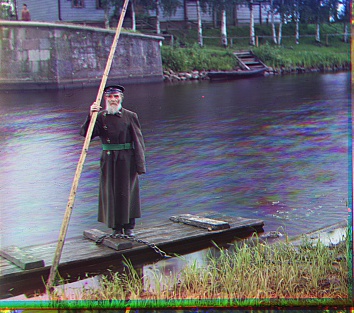
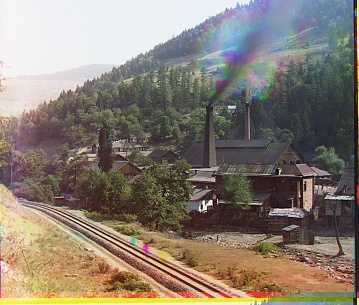
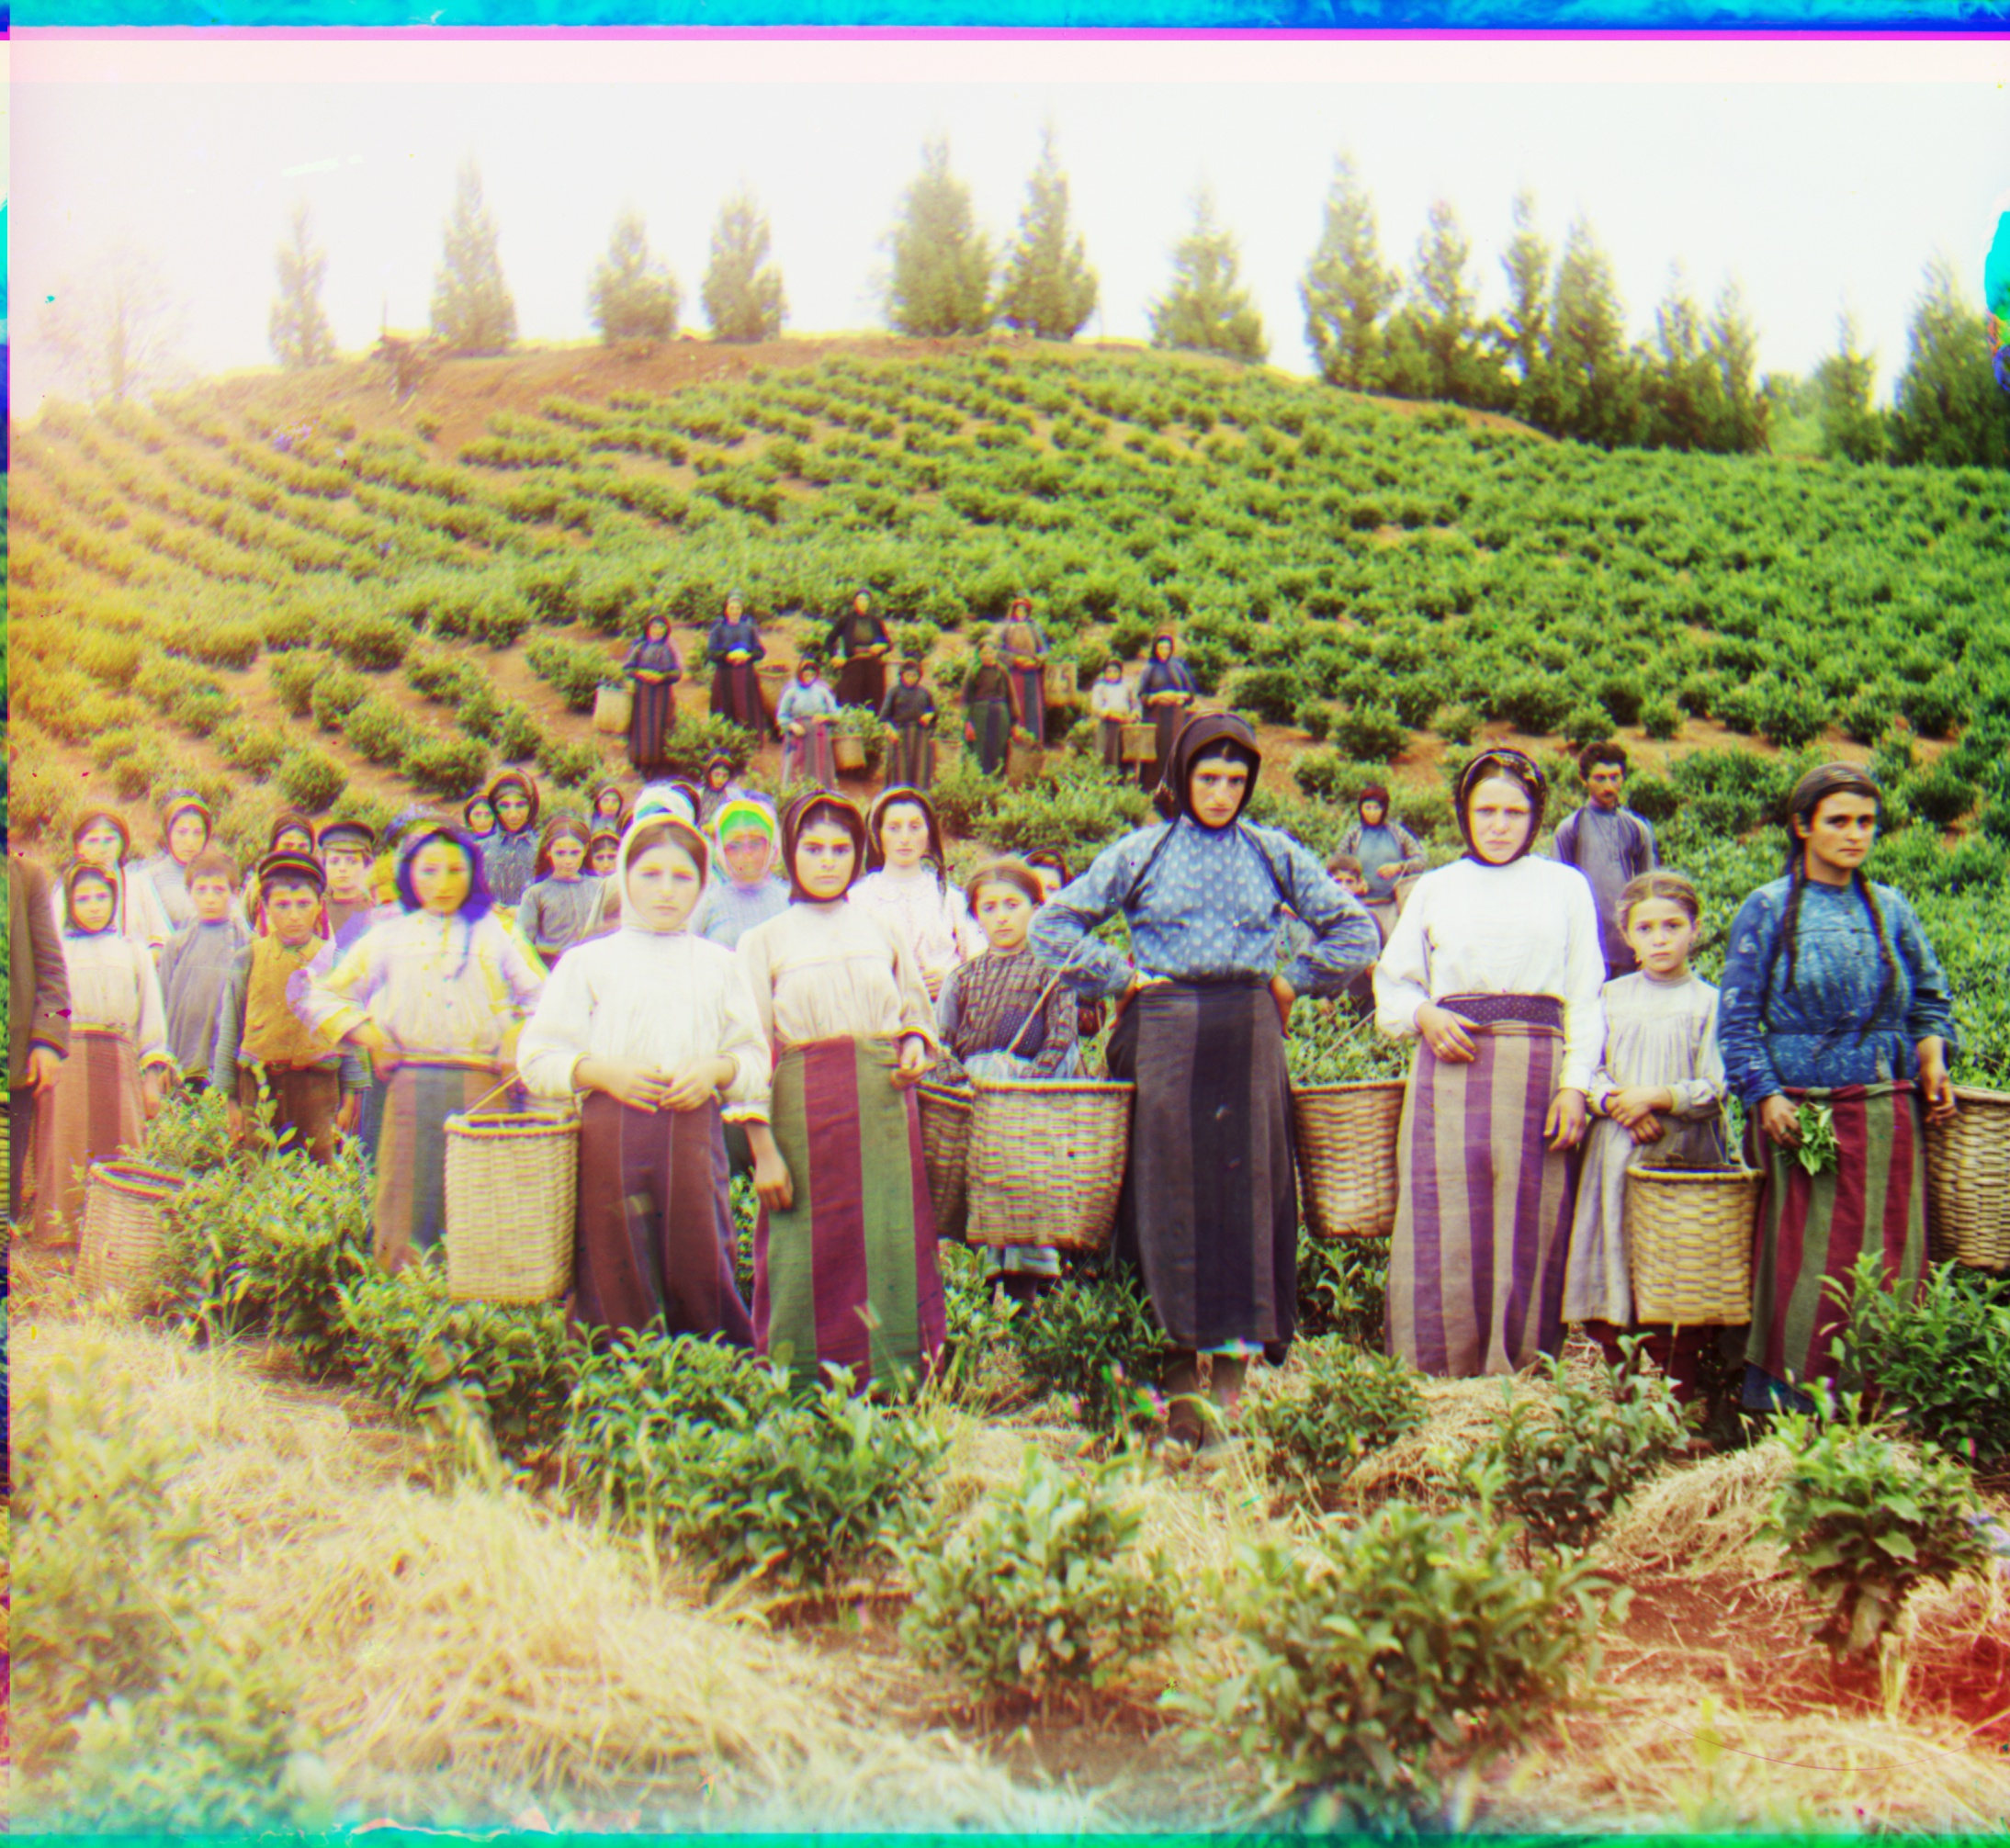
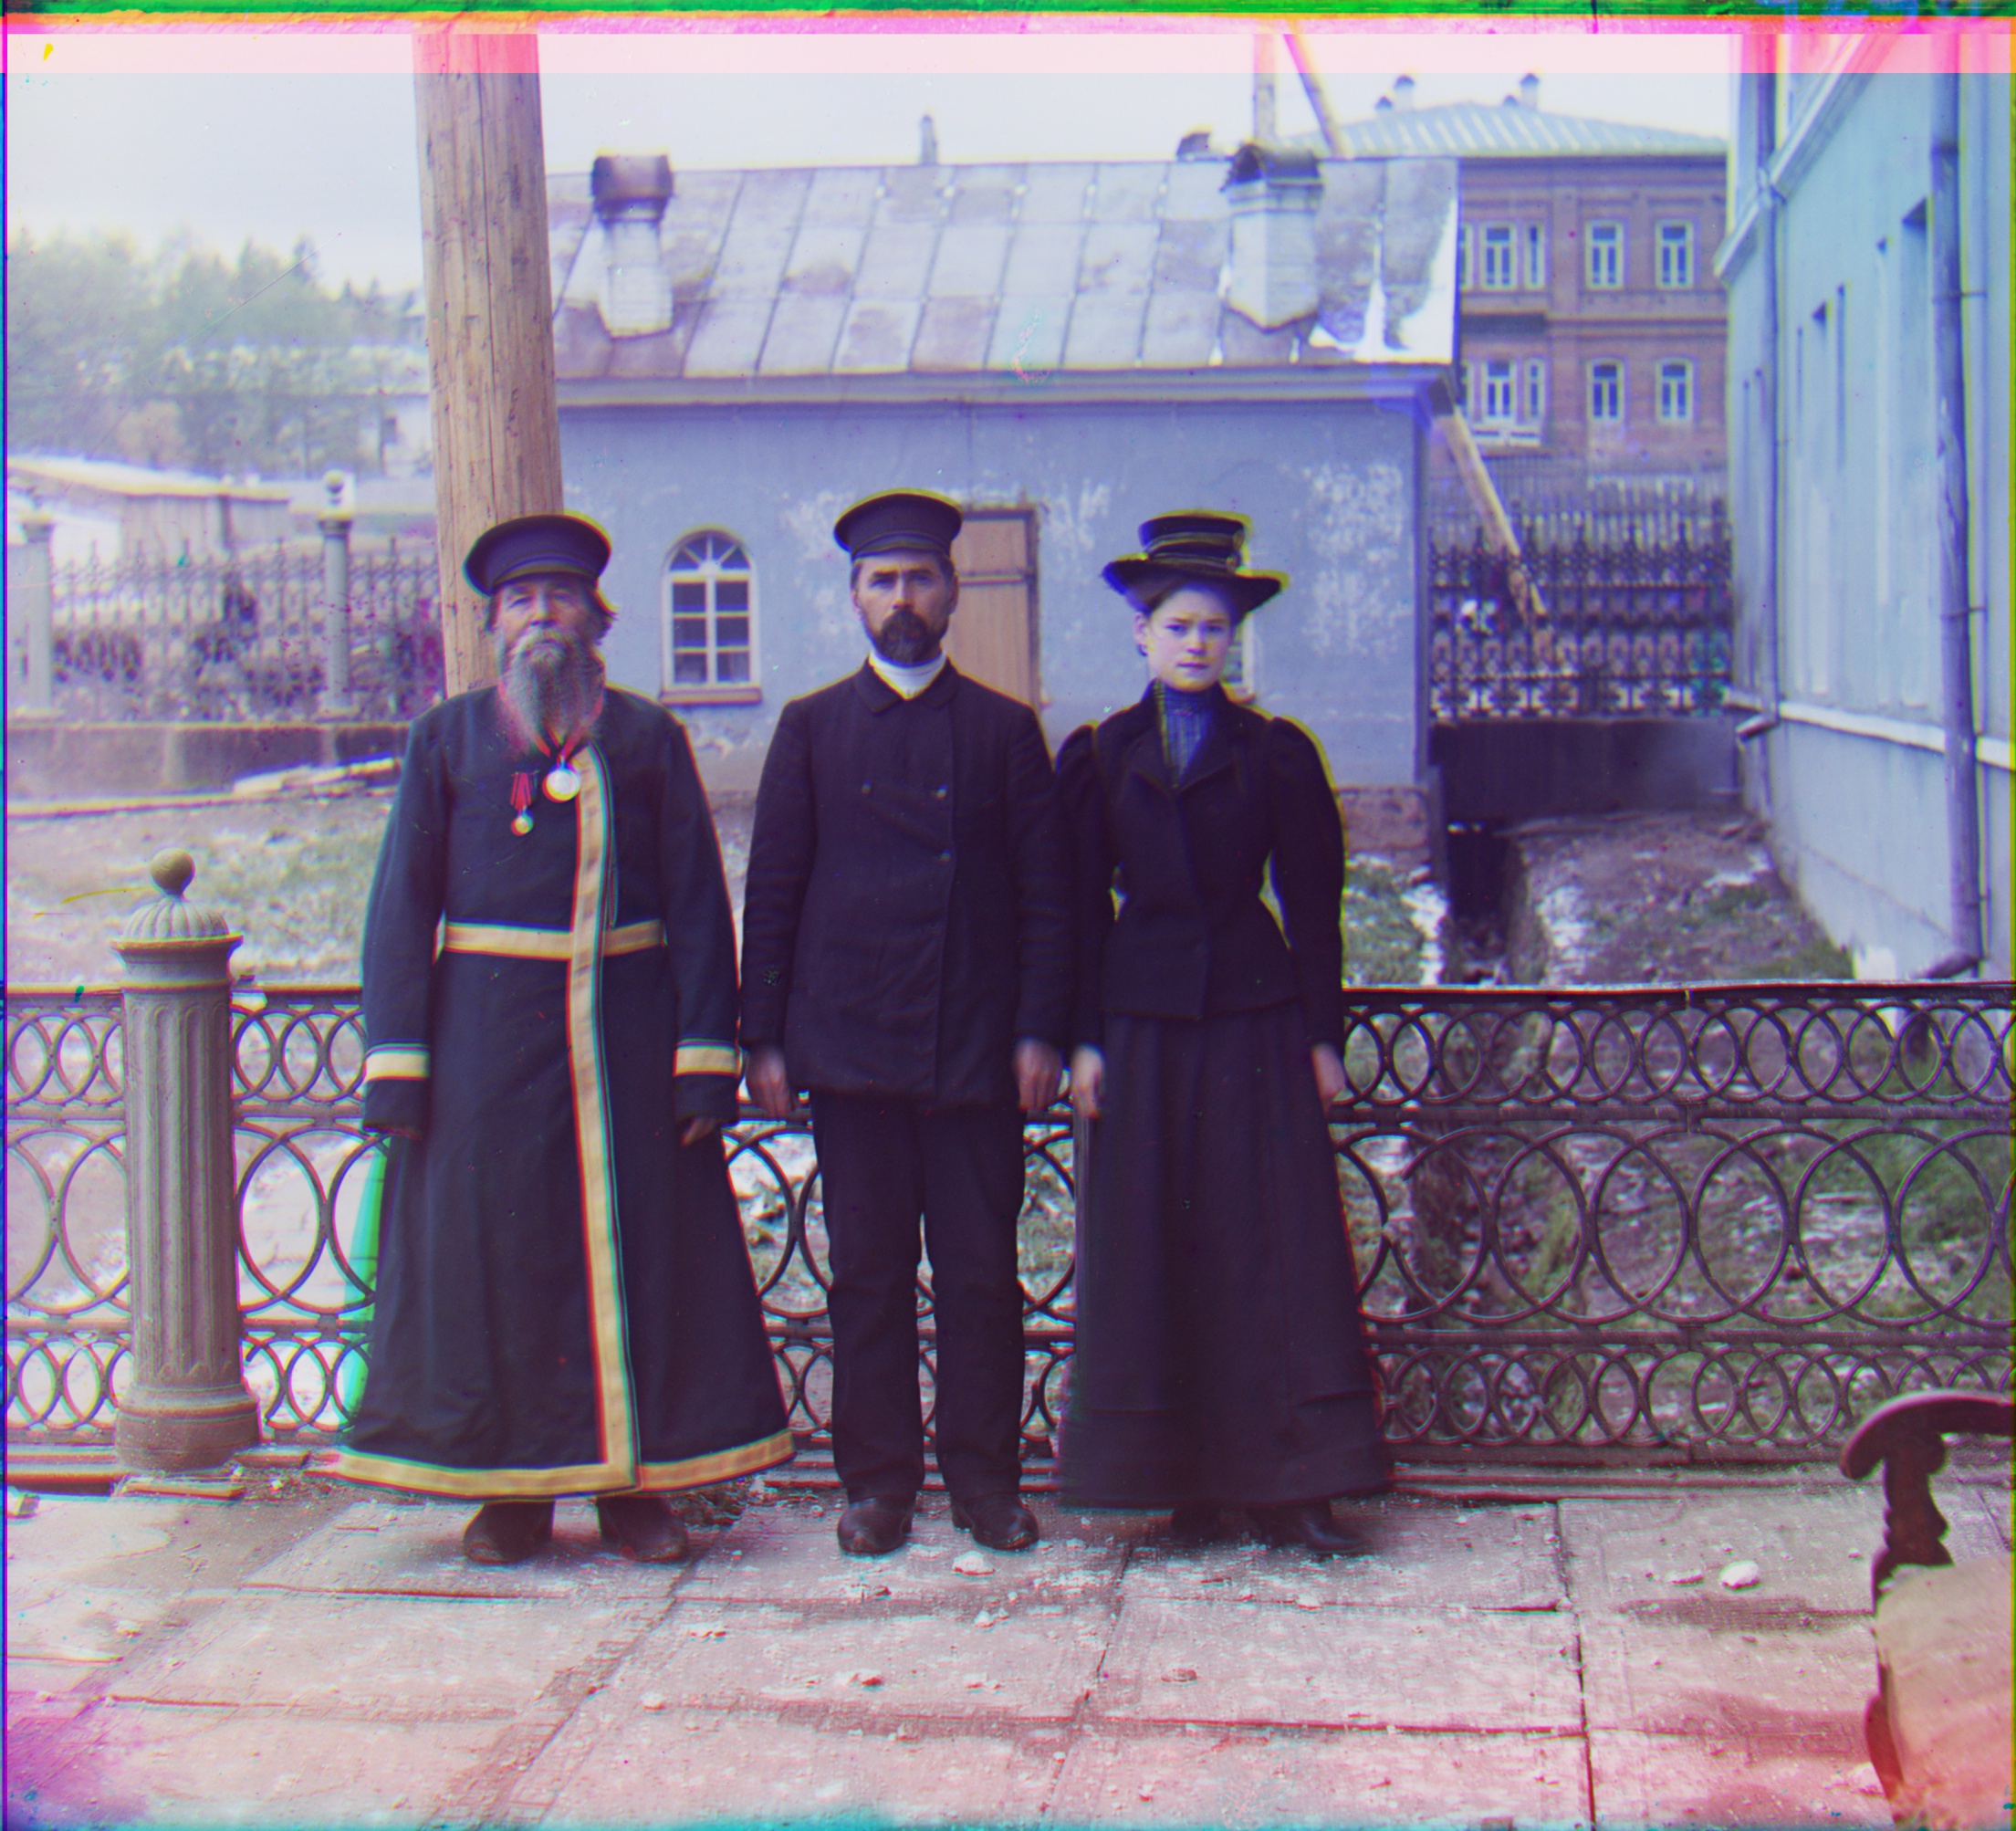
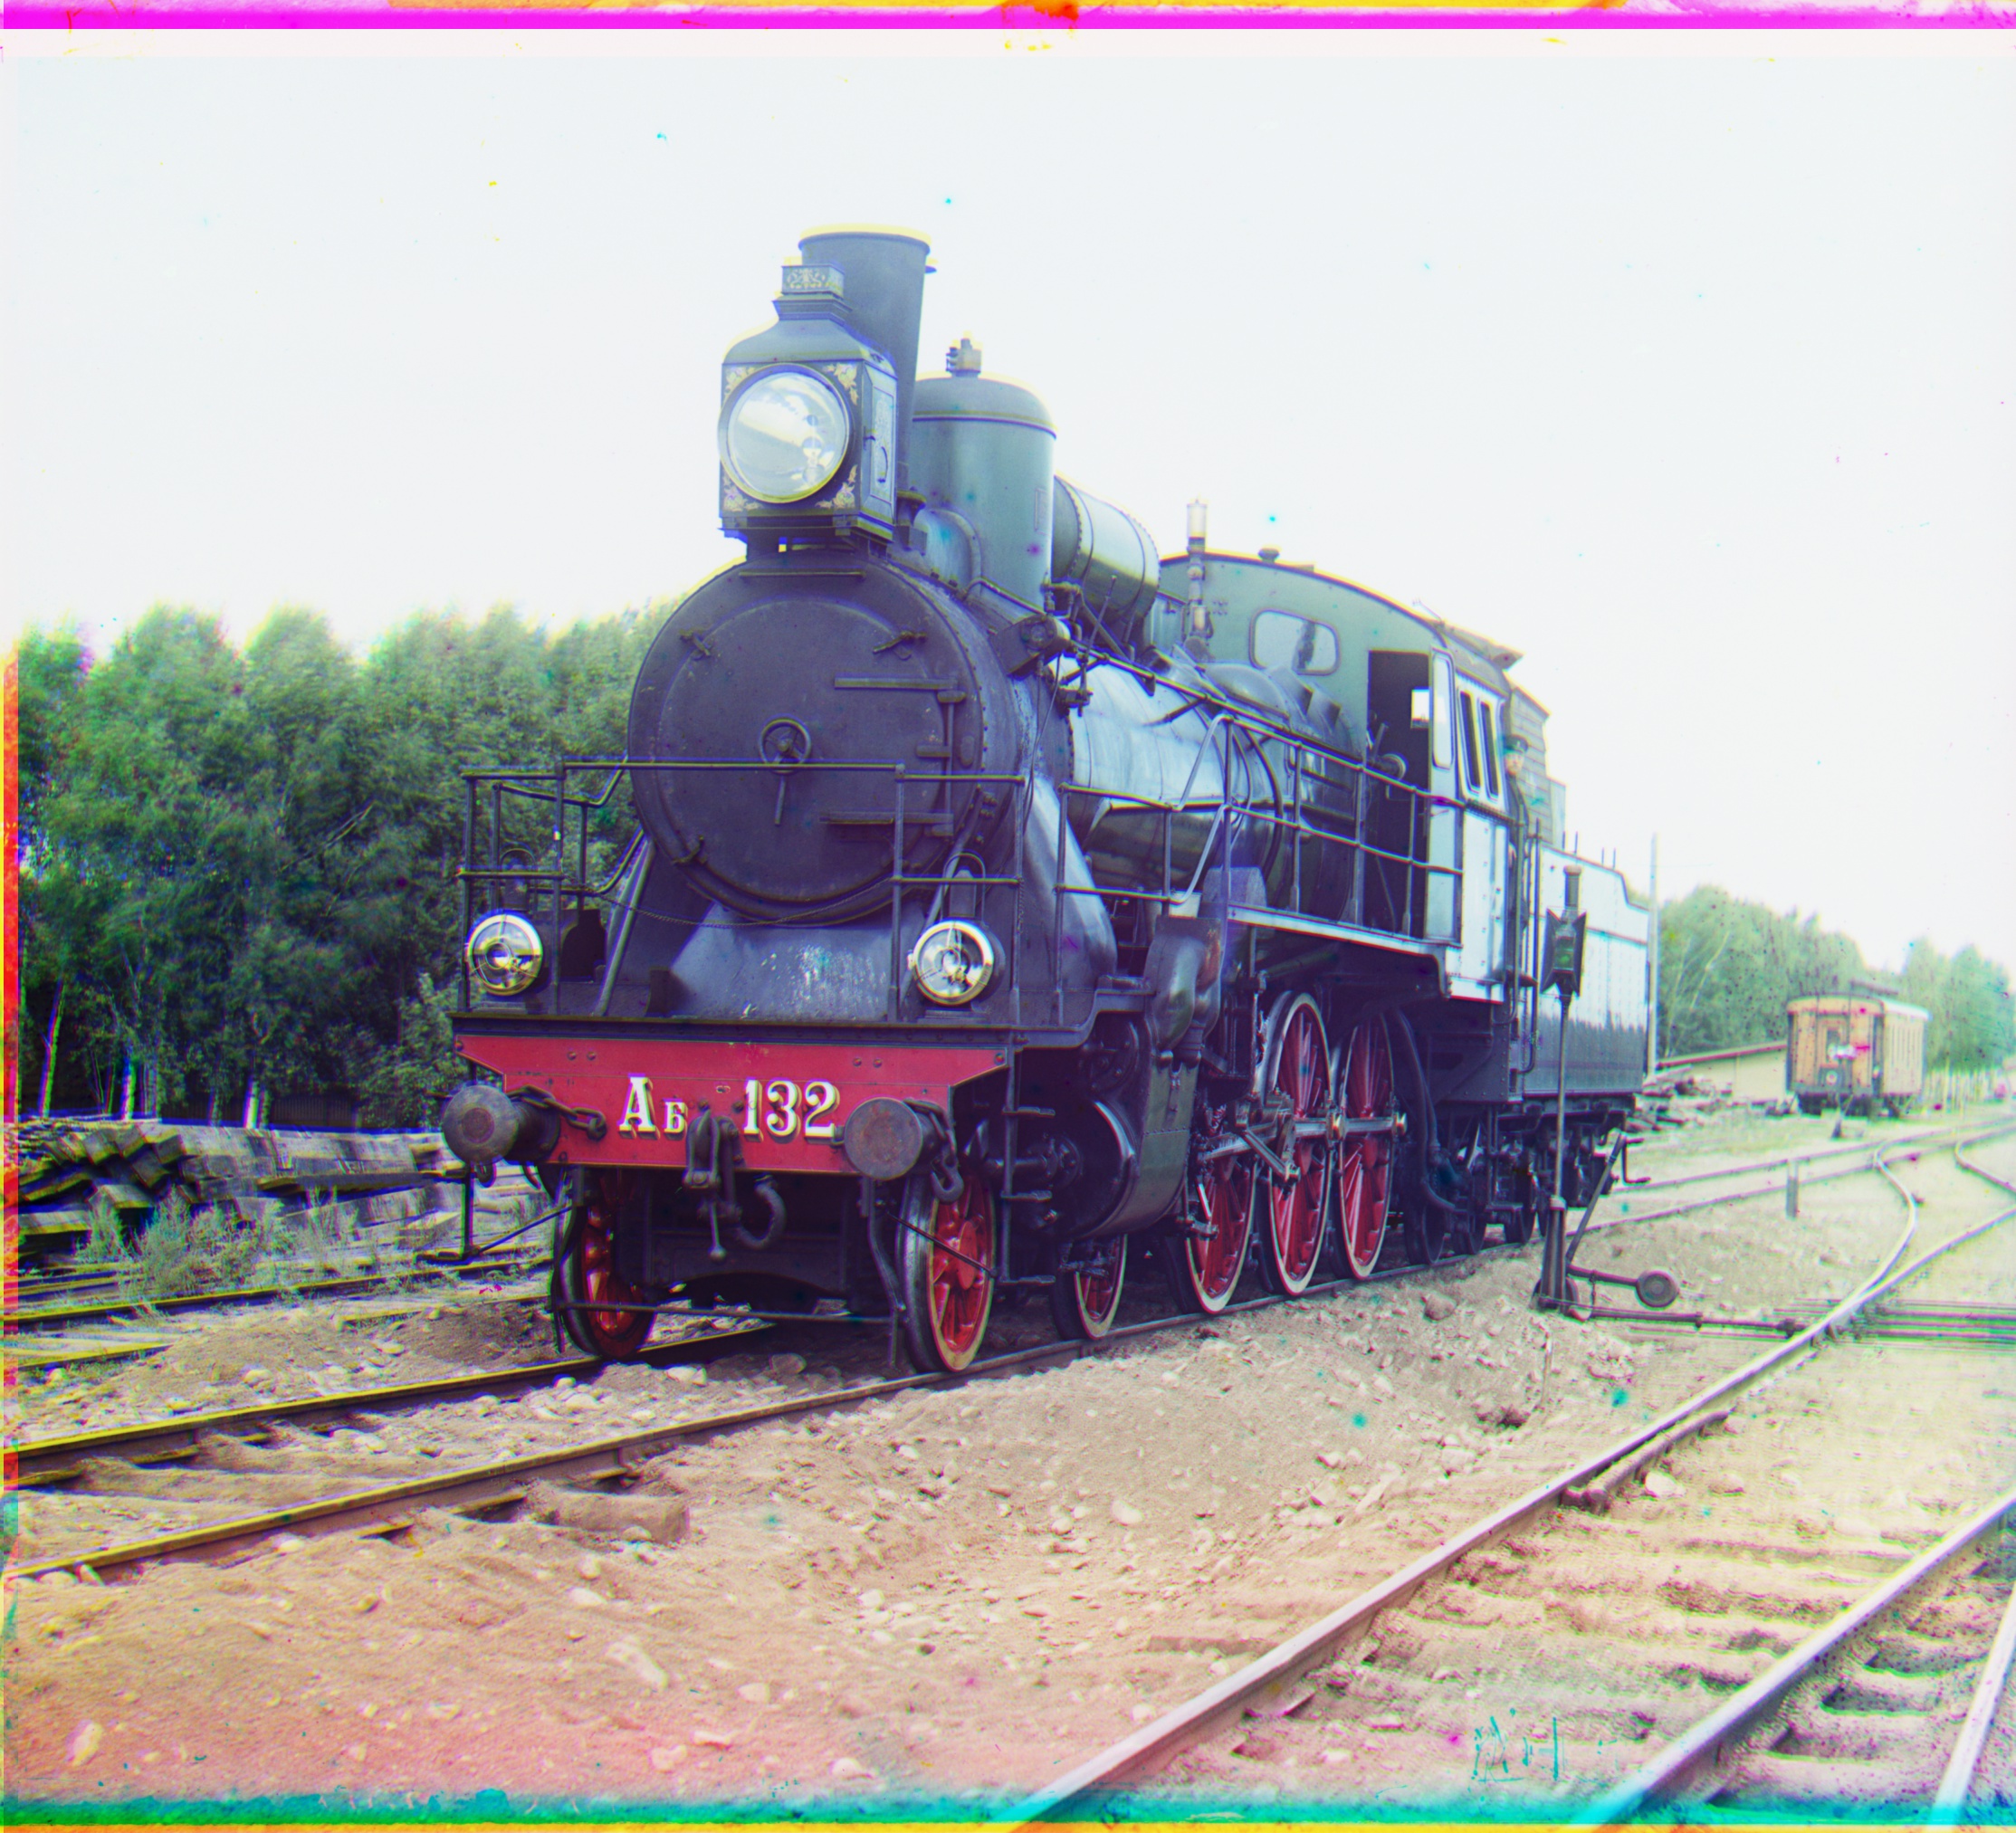
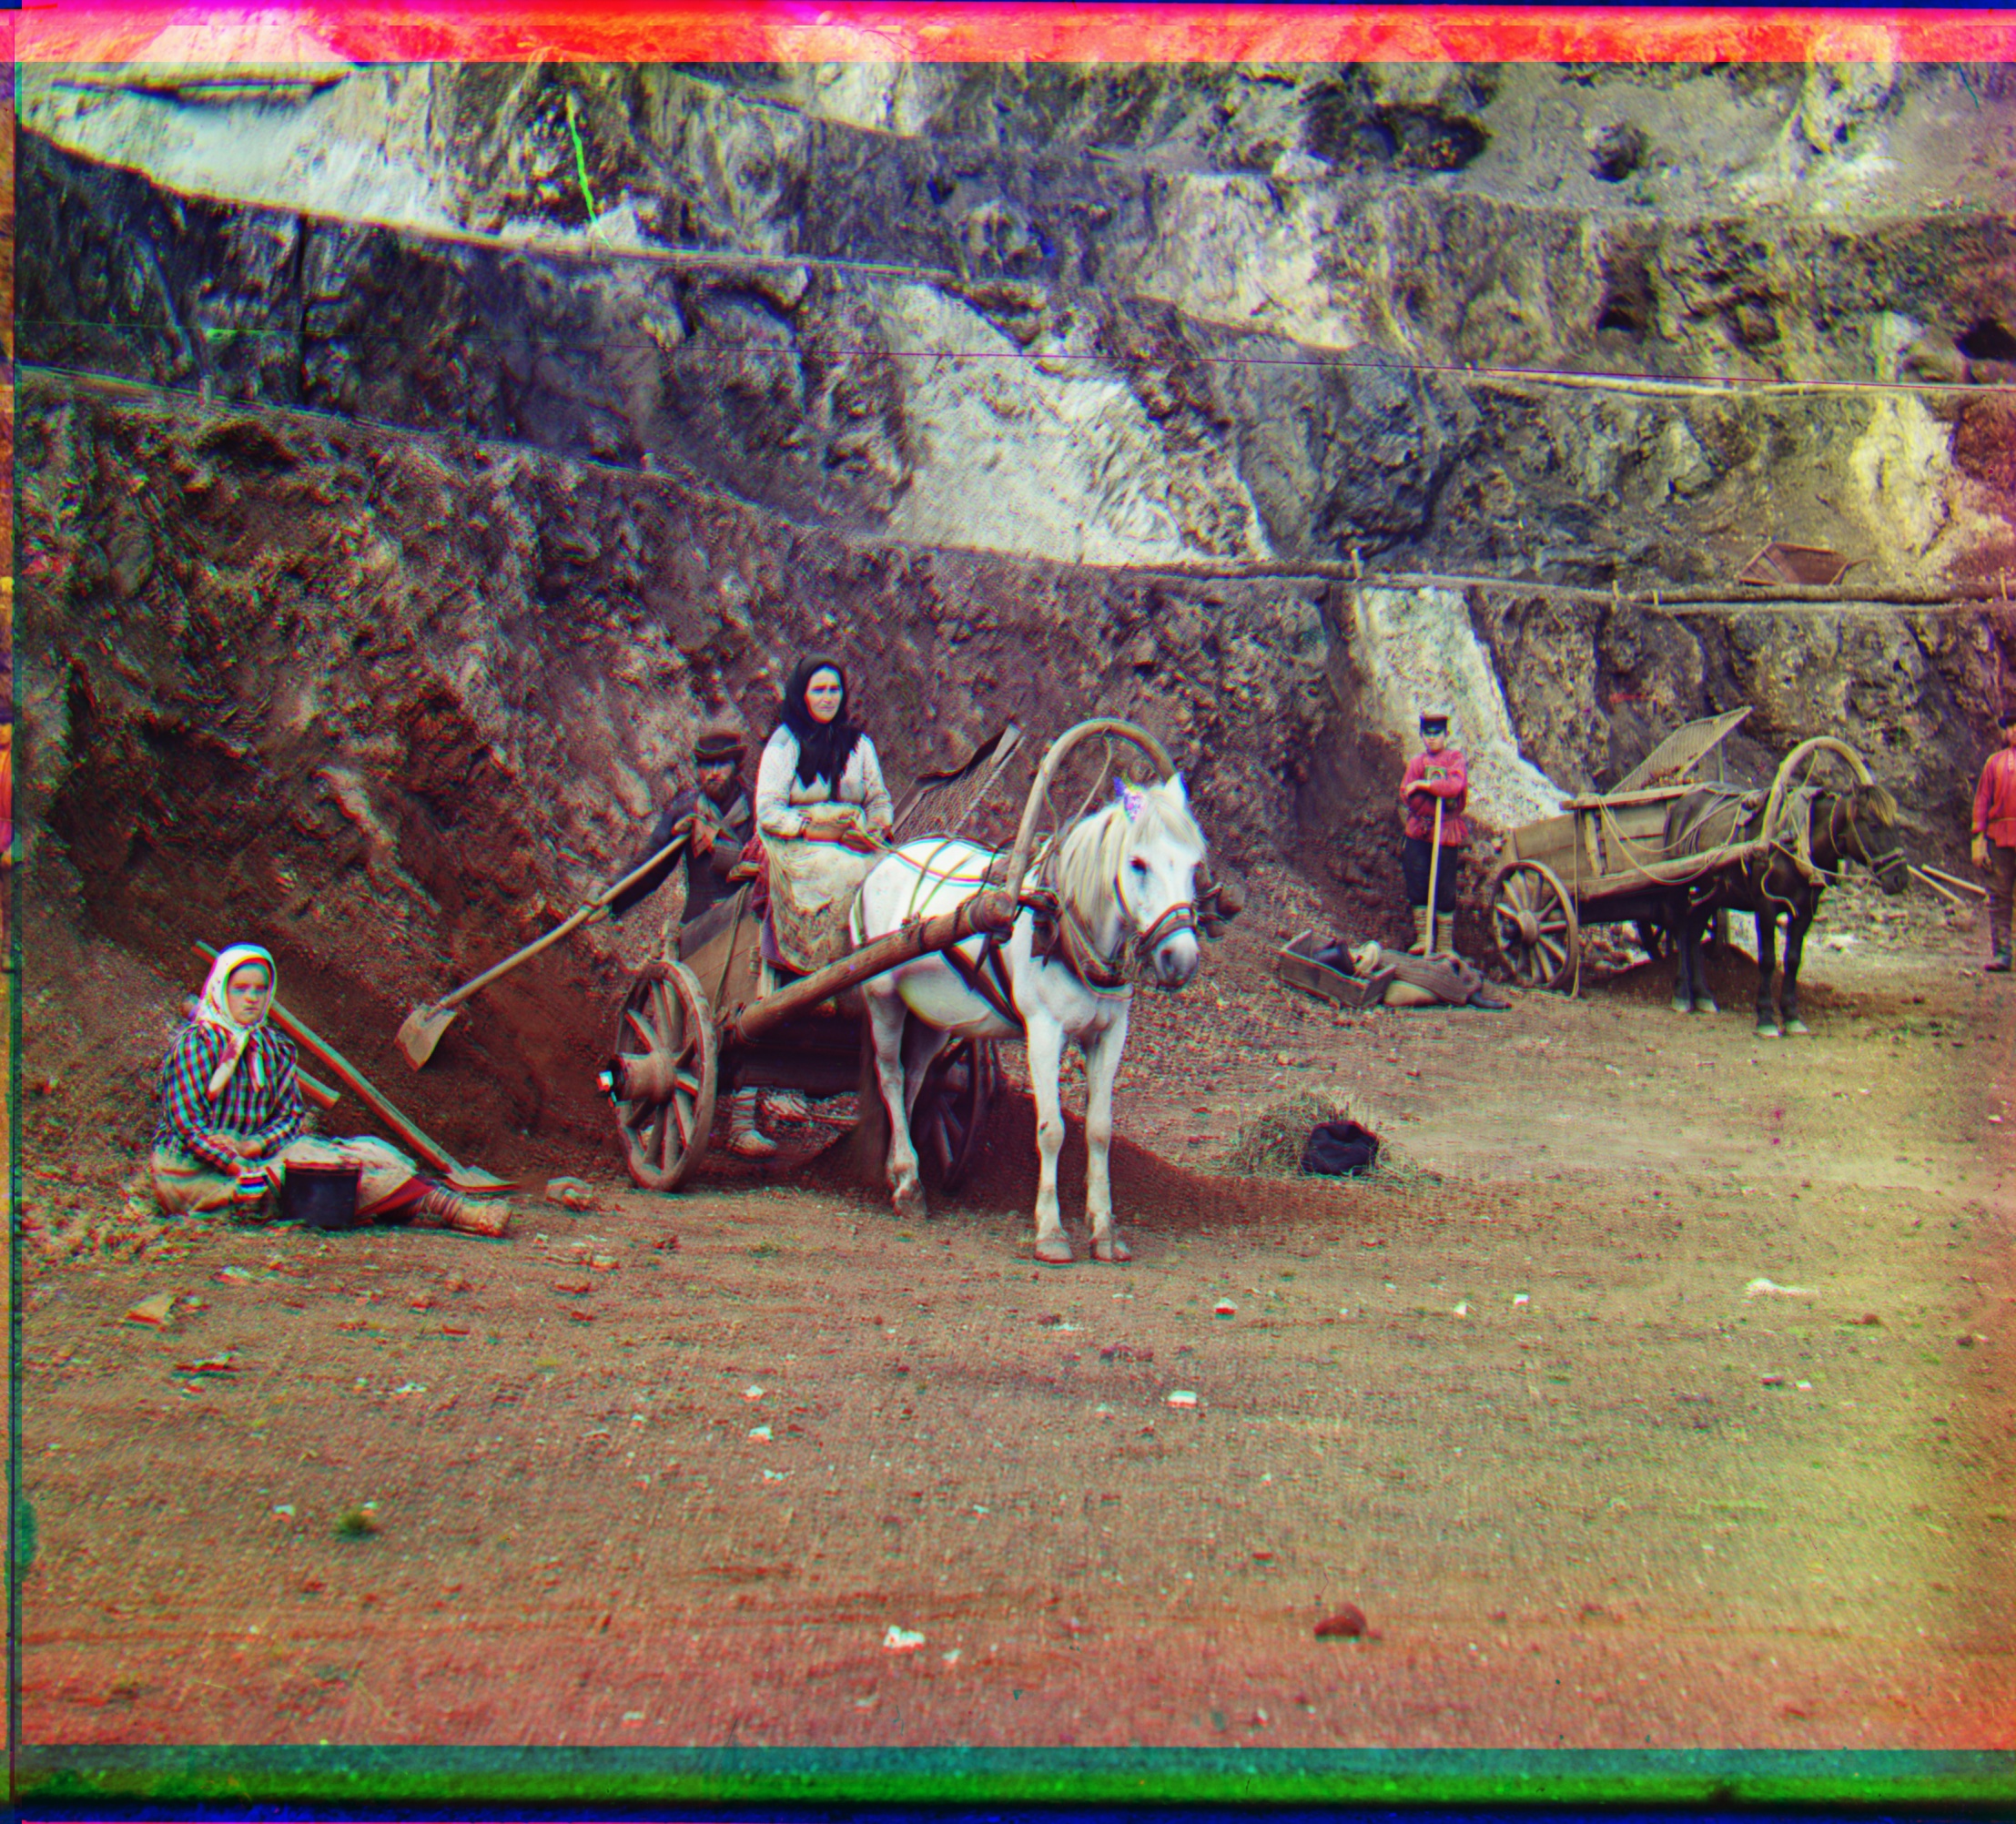
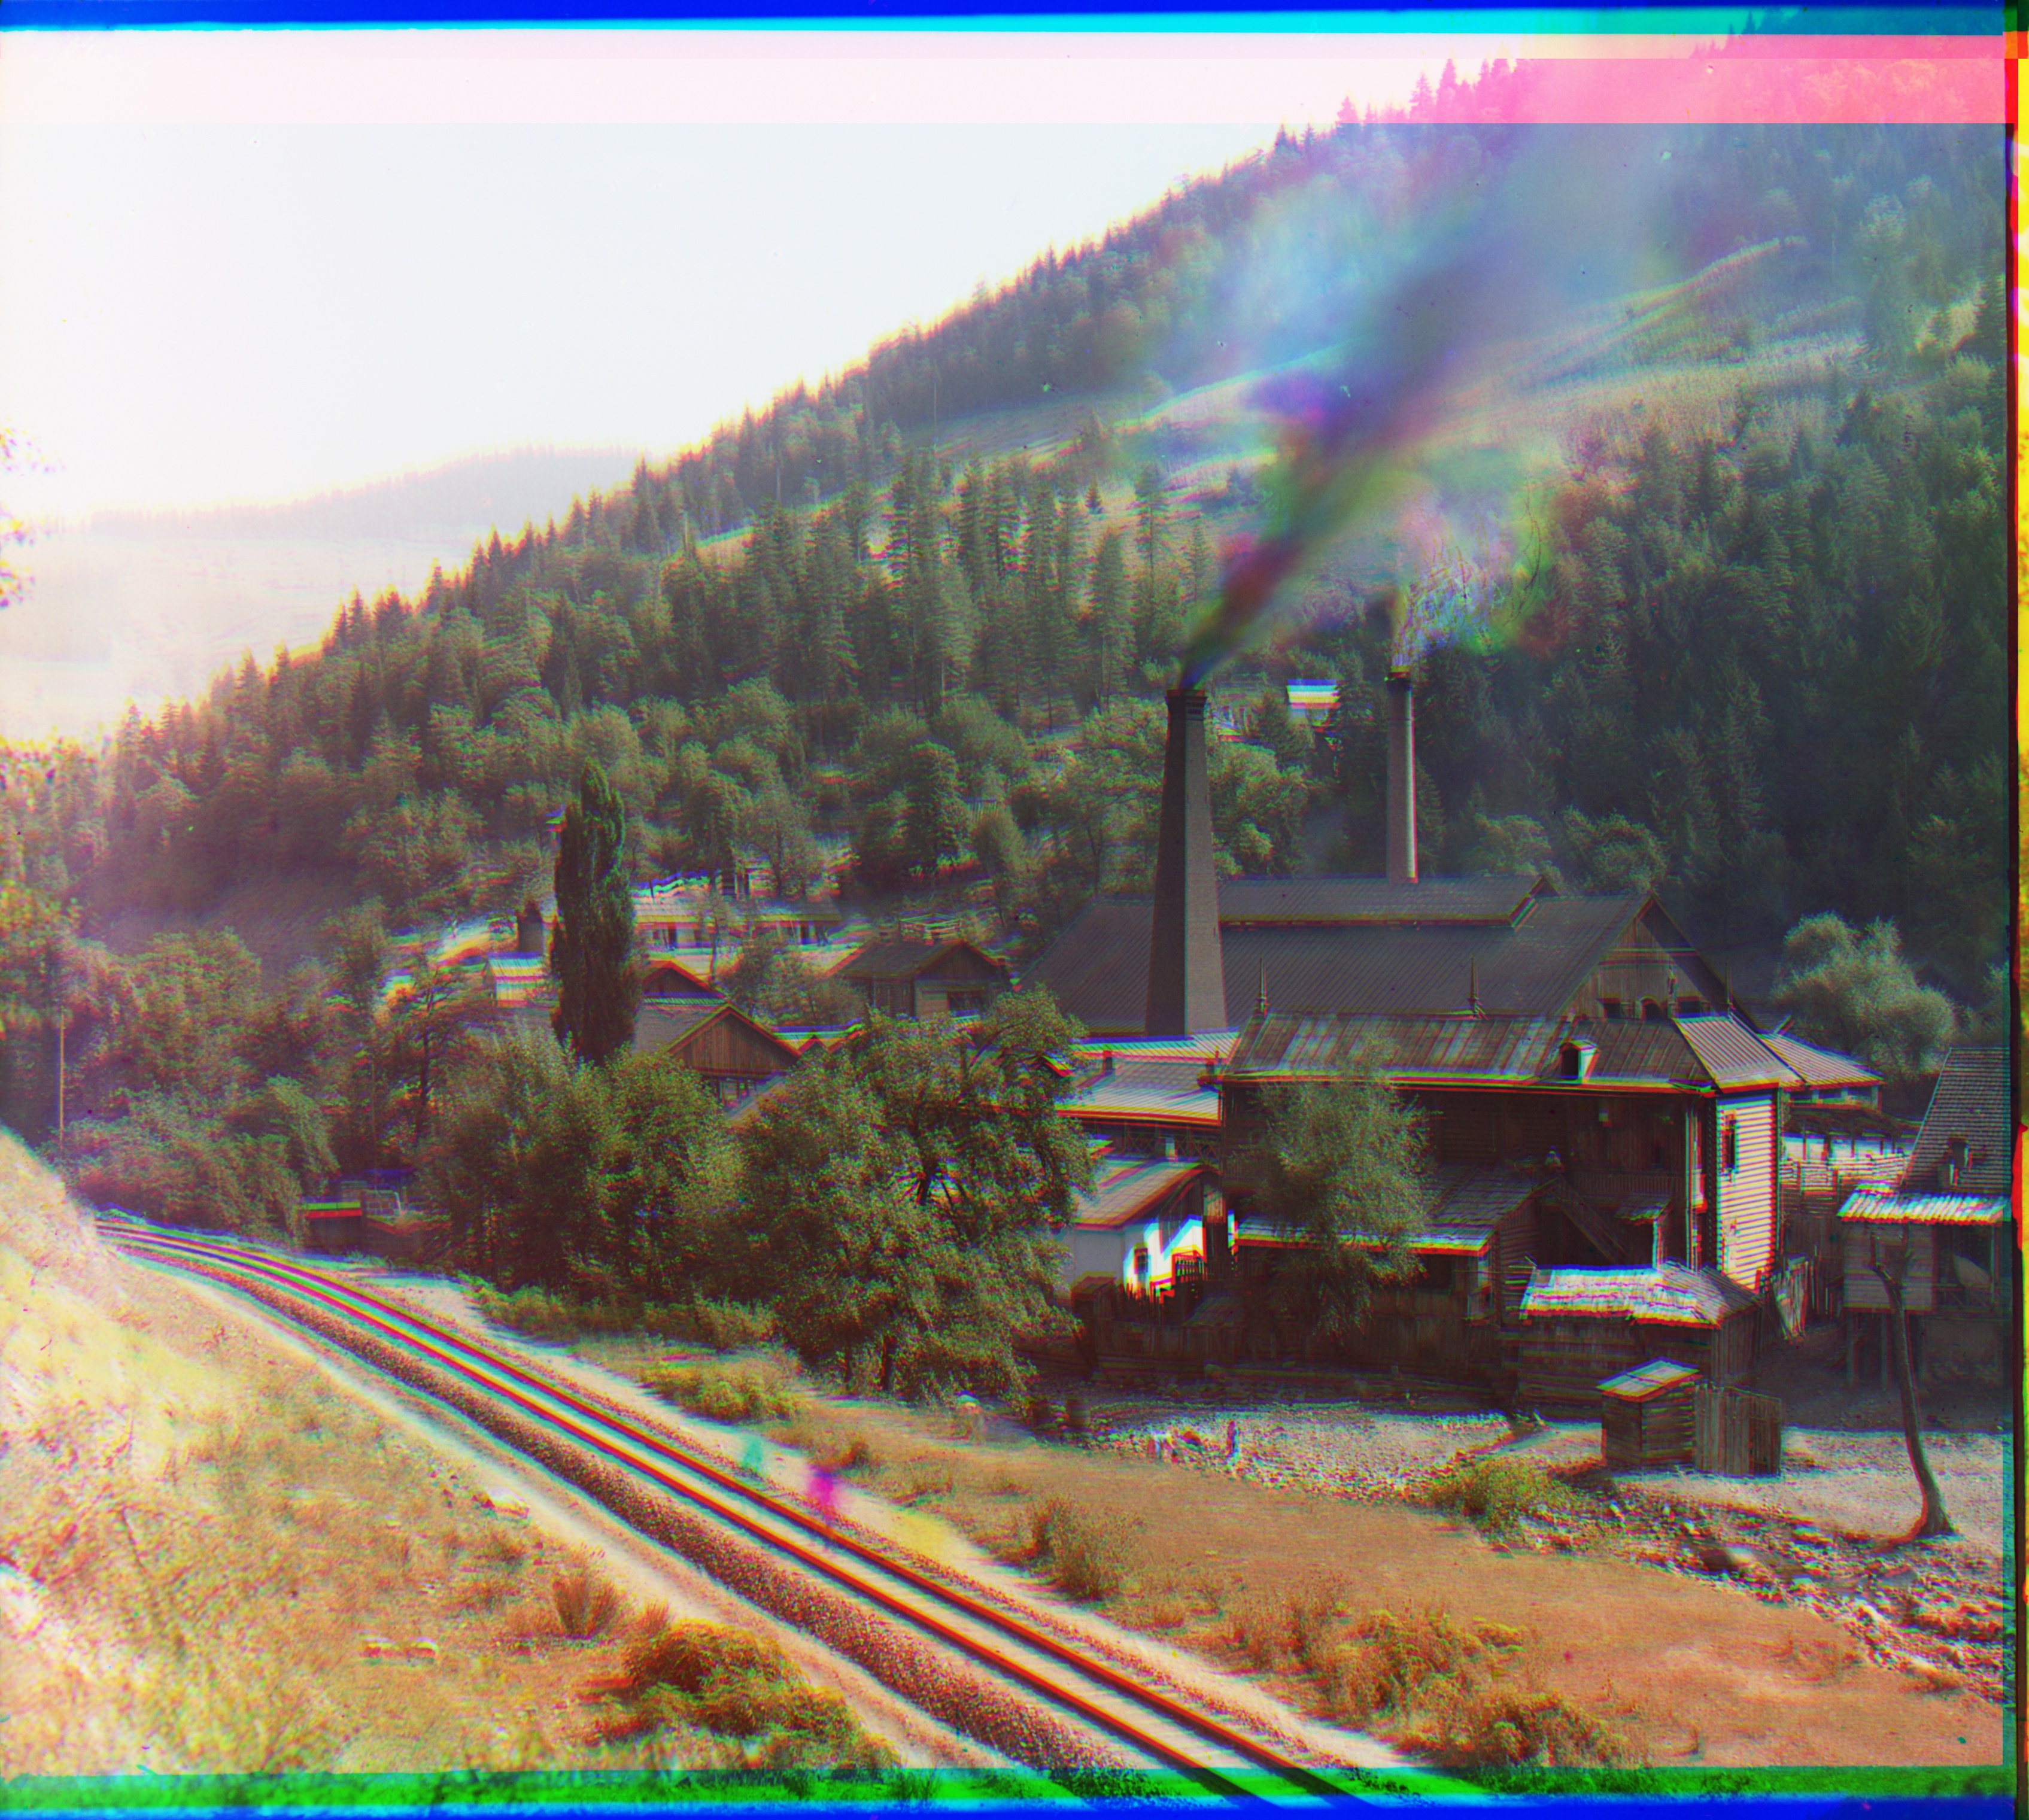
Finally, after multiple iterations and improvements, my final colourized images, including new / additional images I downloaded from Prokudin-Gorskii's collection are displayed below. Also captioned are the pixel shifts applied to the R & G channels to align with B.
|

|
|
|
|
|
|
|
|
|
|
|
|

|
|
|
|
|
|