The Prokudin-Gorskii collection is a collection of images from the Russian Empire that are divided into 3 exposures of red, green, and blue color channels using colored glass plates. The images are not all centered together, so this project is about developing an efficient algorithm that can accurately align the channels and recreate the images in full color.
|
|
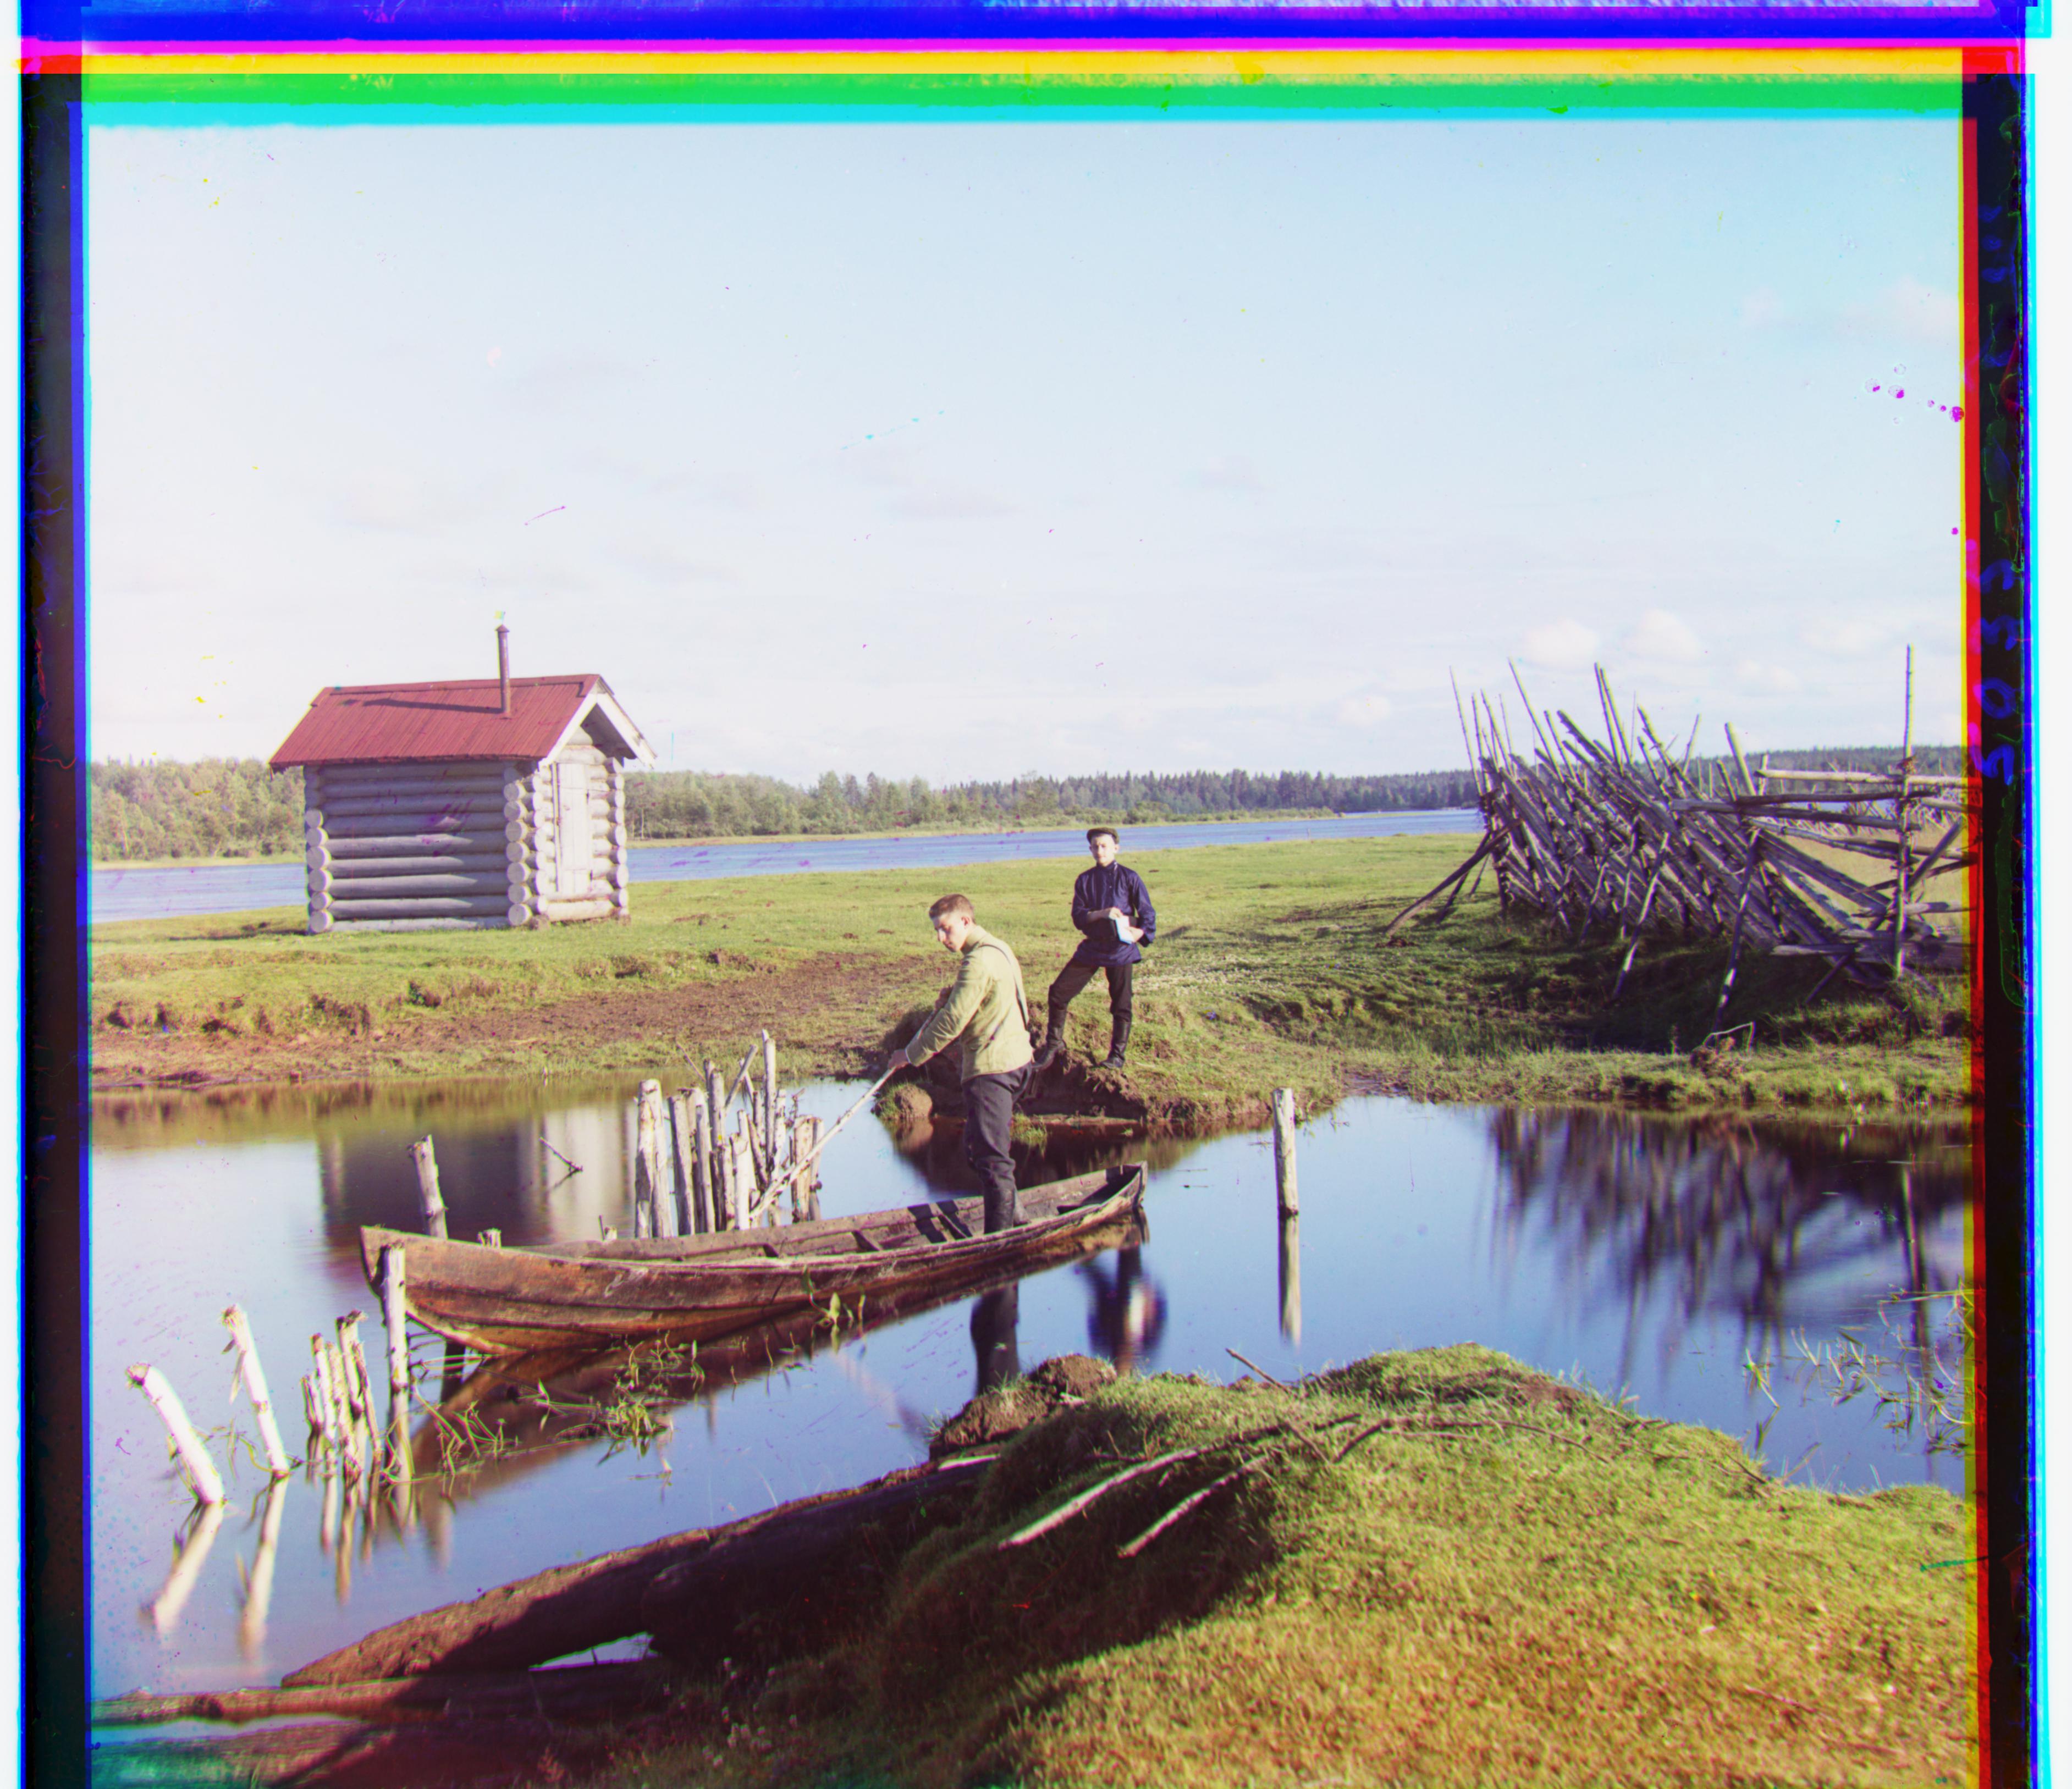
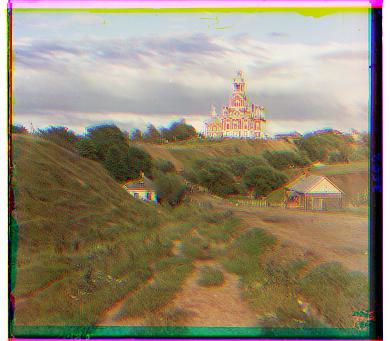
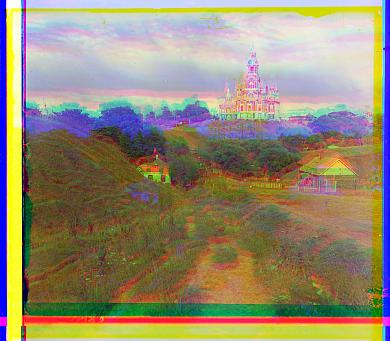
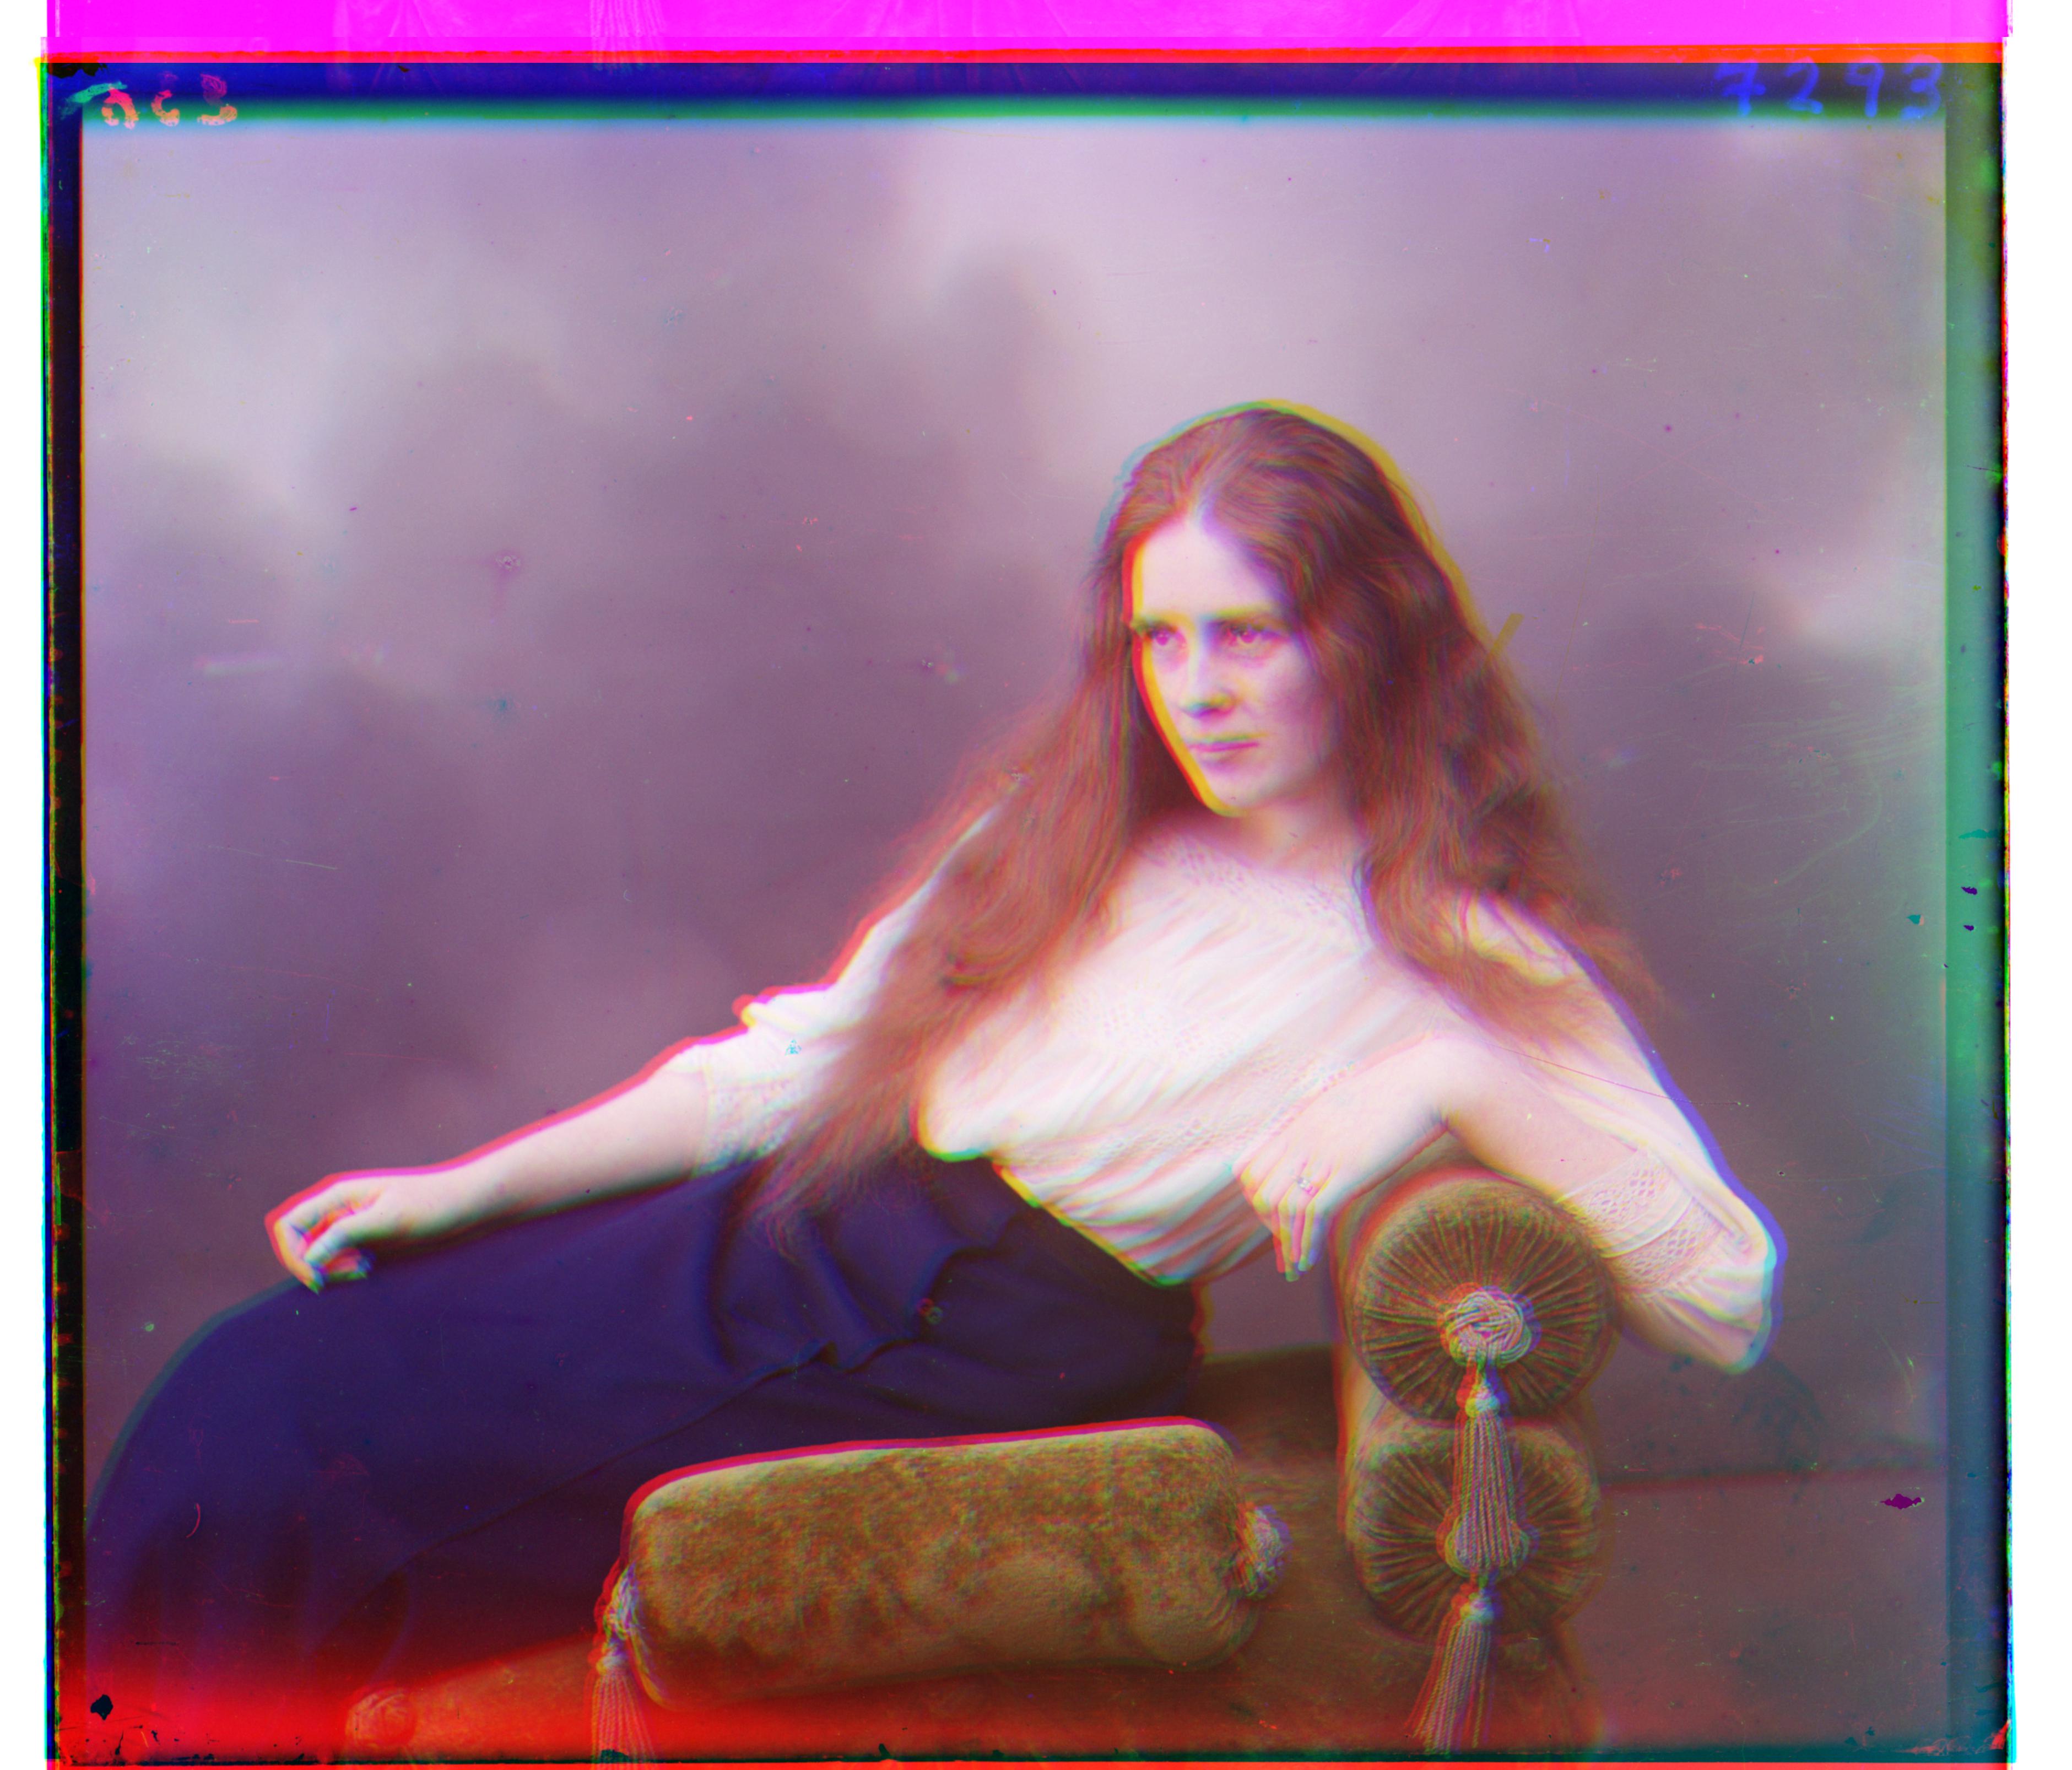
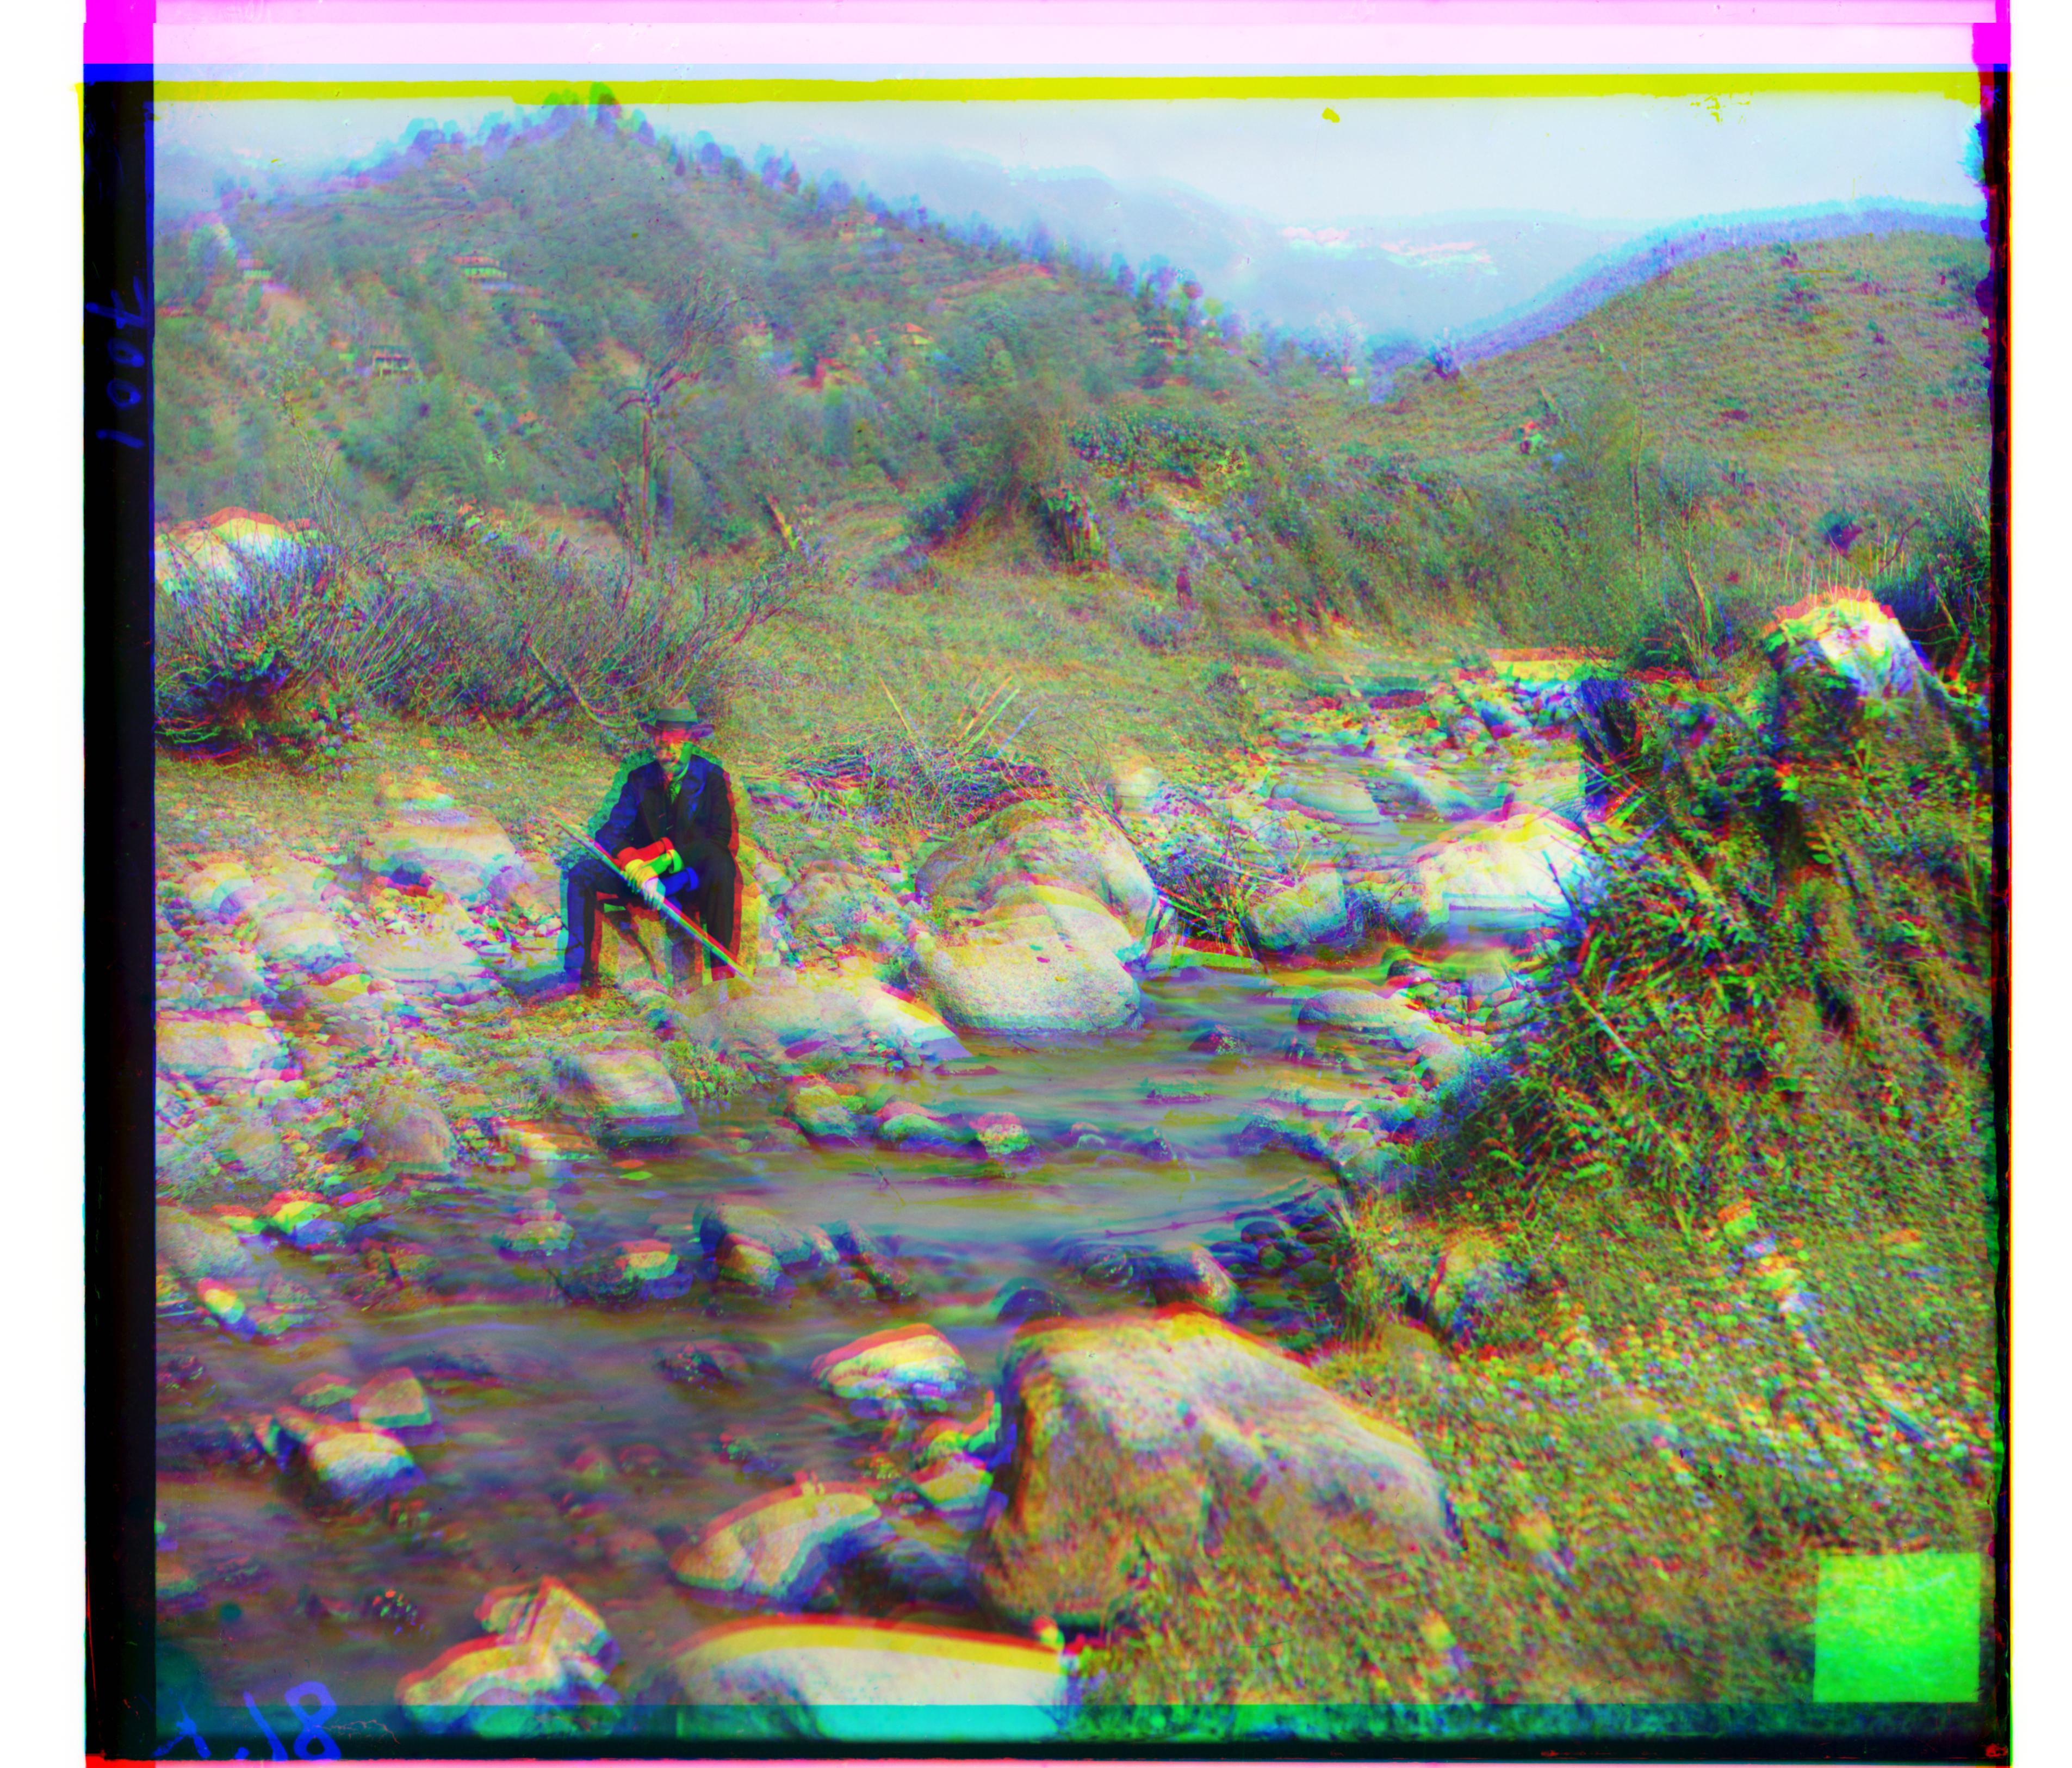
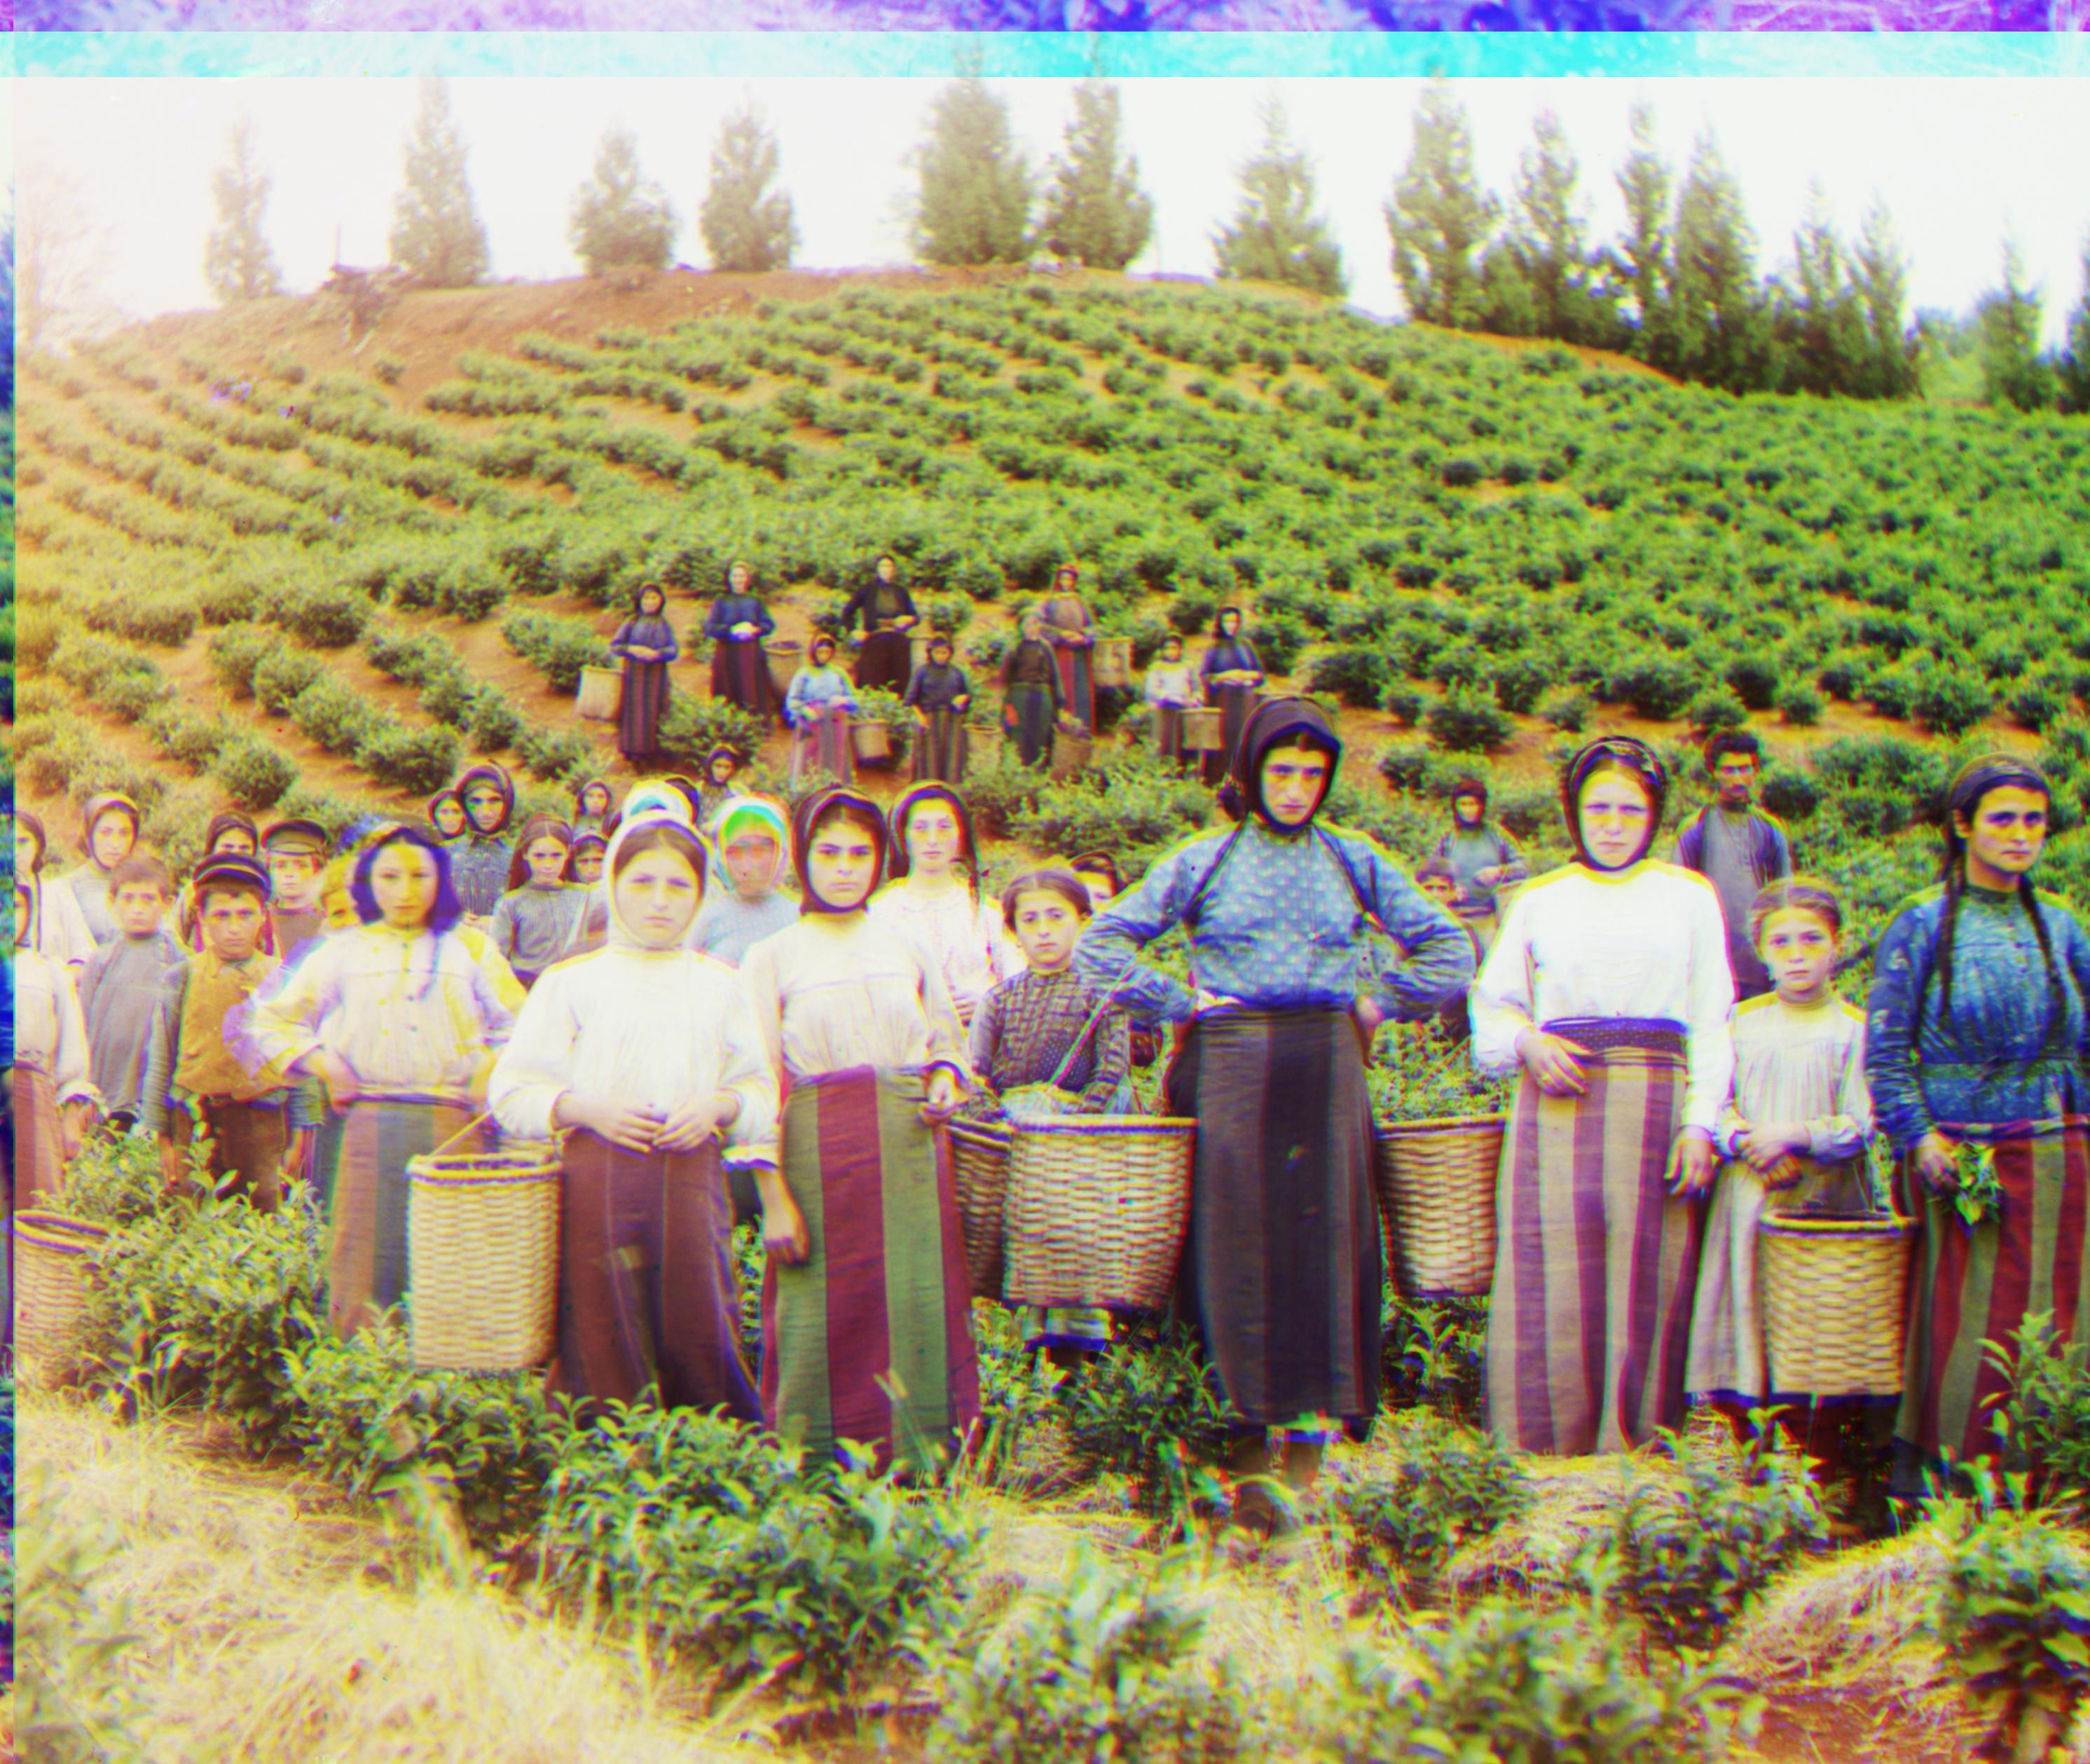
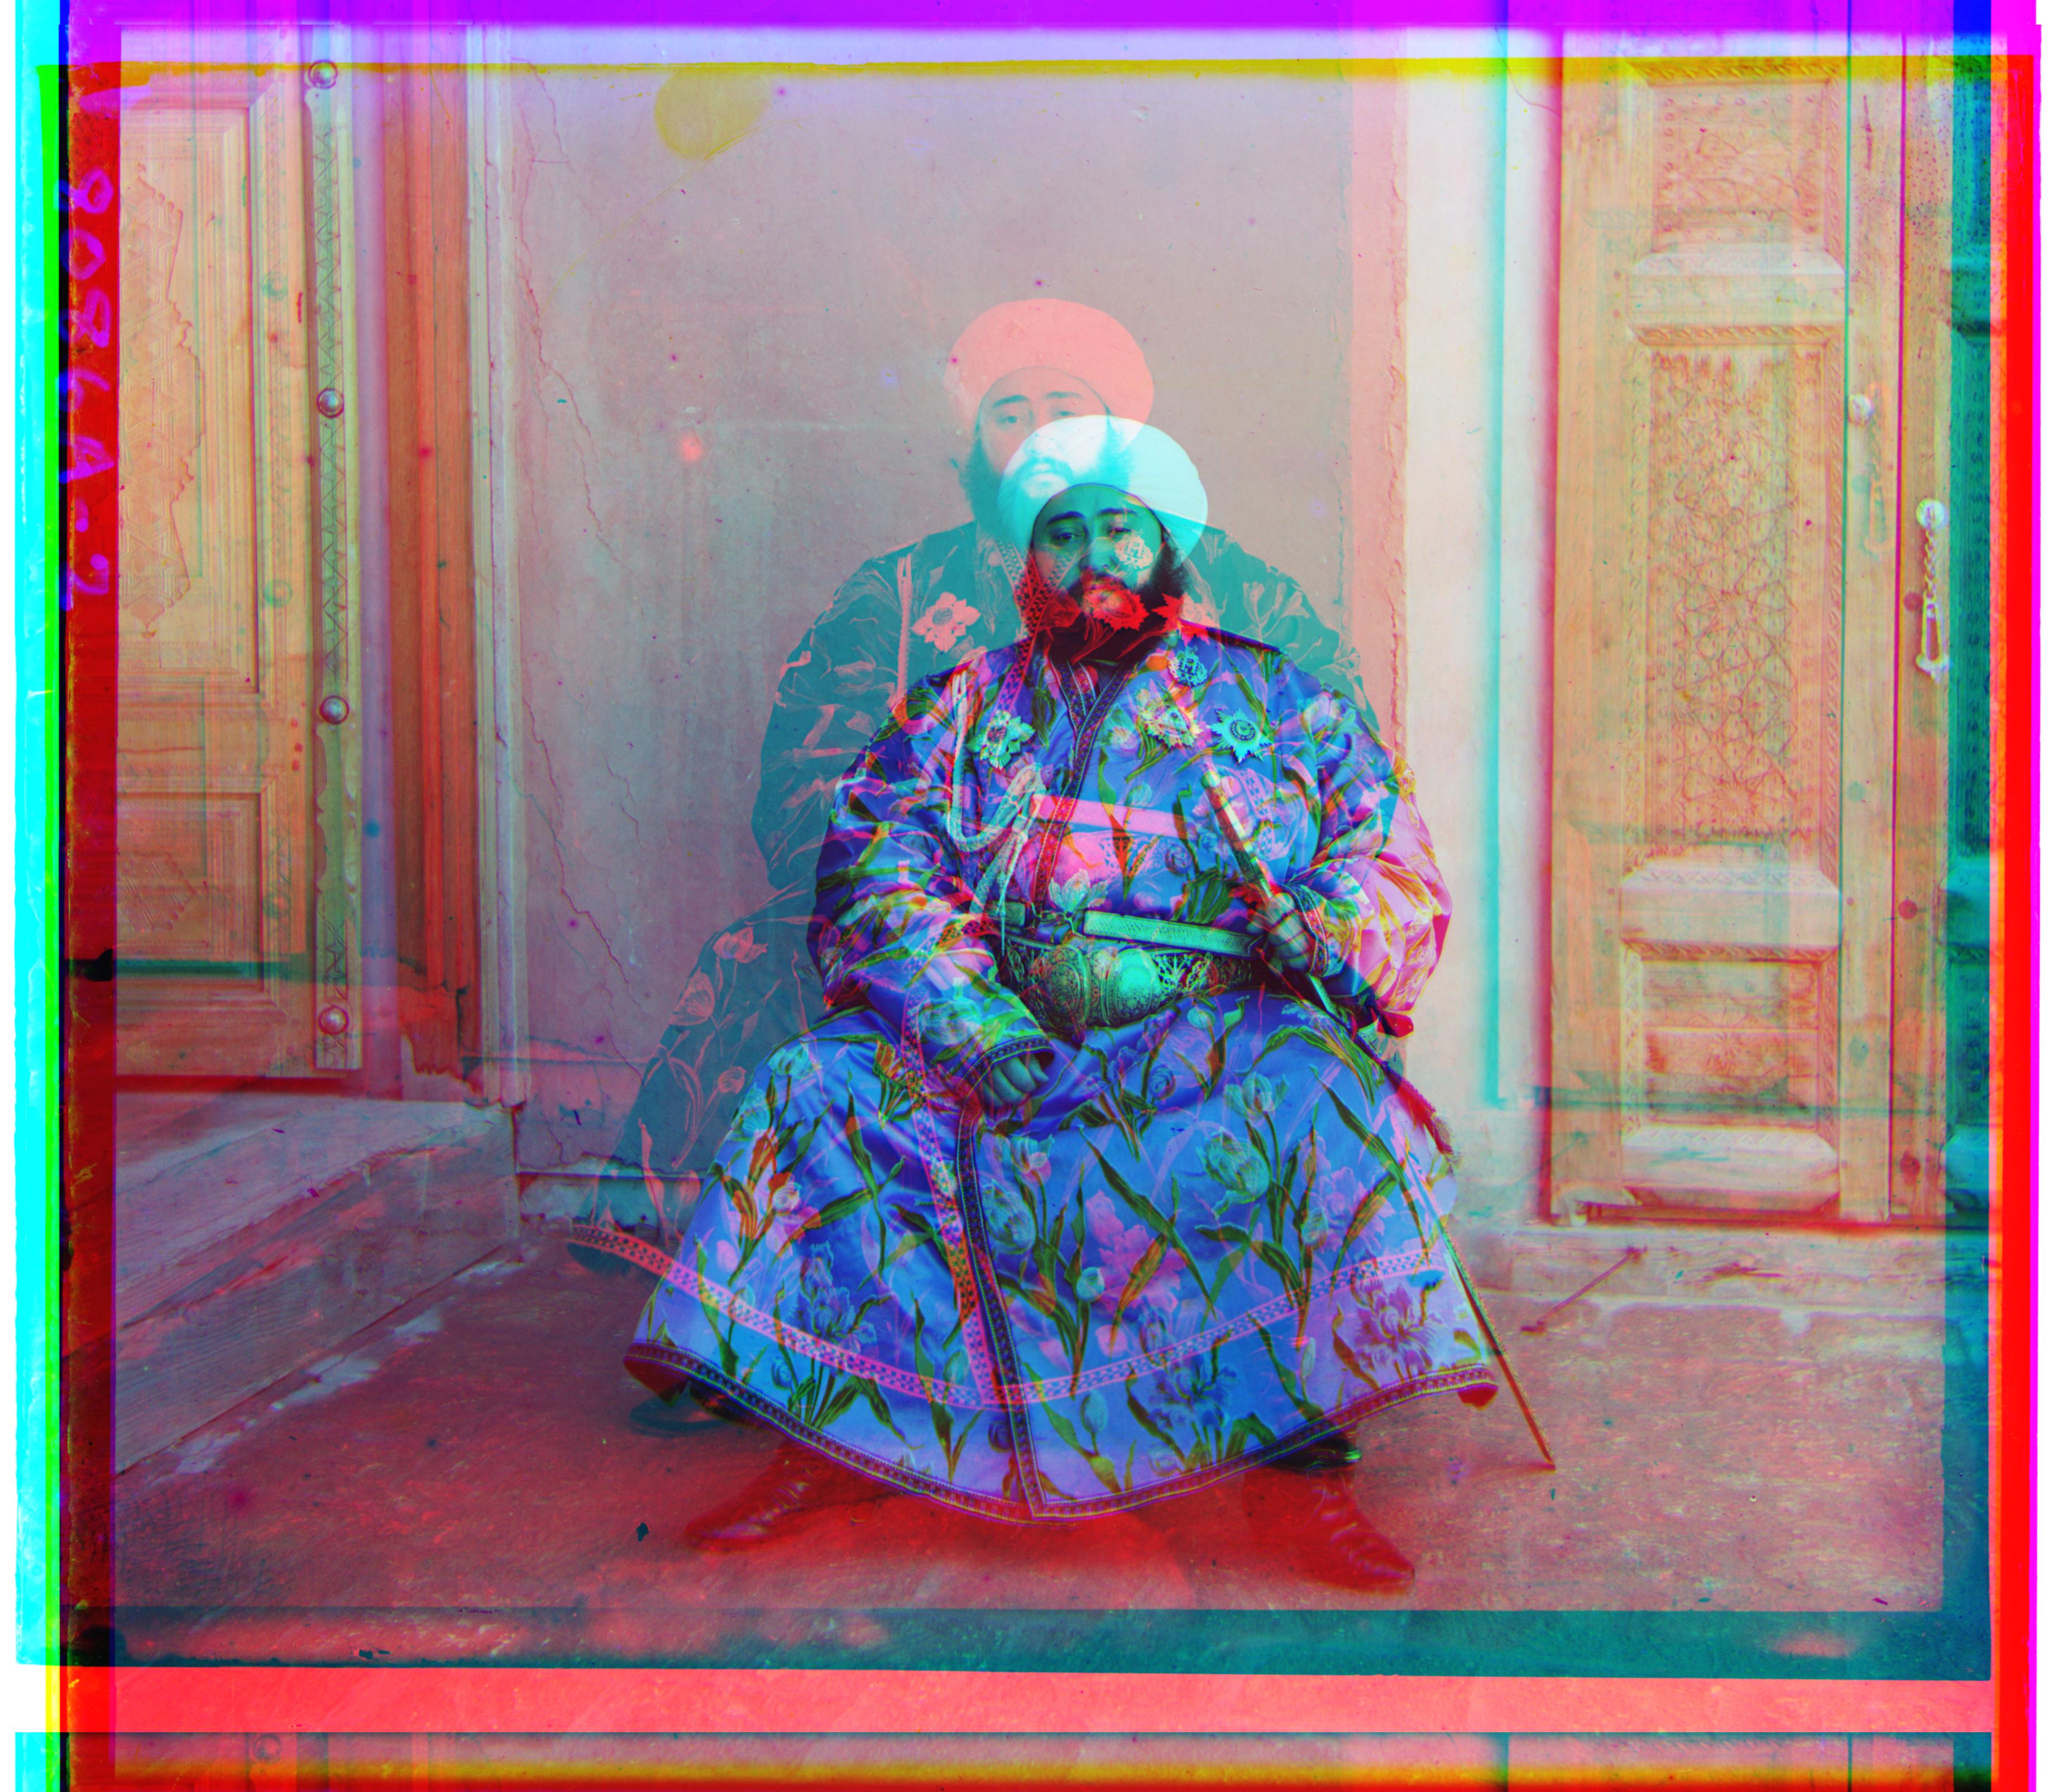
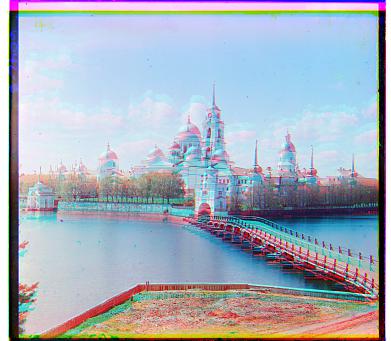
Gallery
|
|
|
|
|
|
|
|
|
|
|

|
|
|
|
|
|
|
Alignment Vectors
|
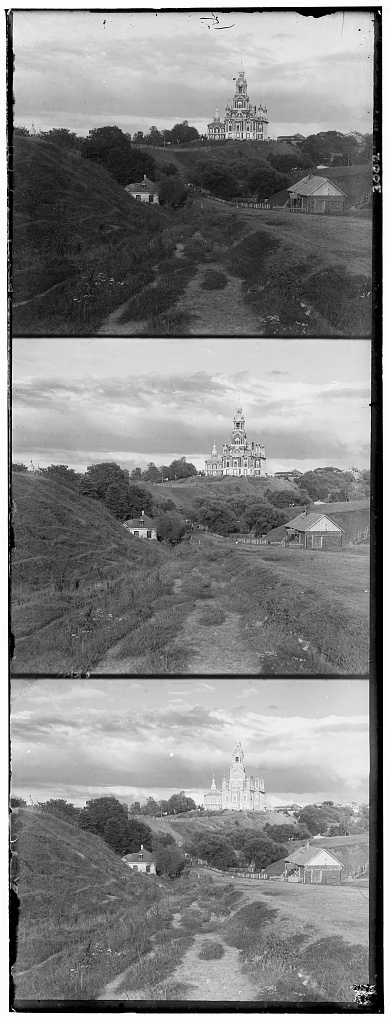
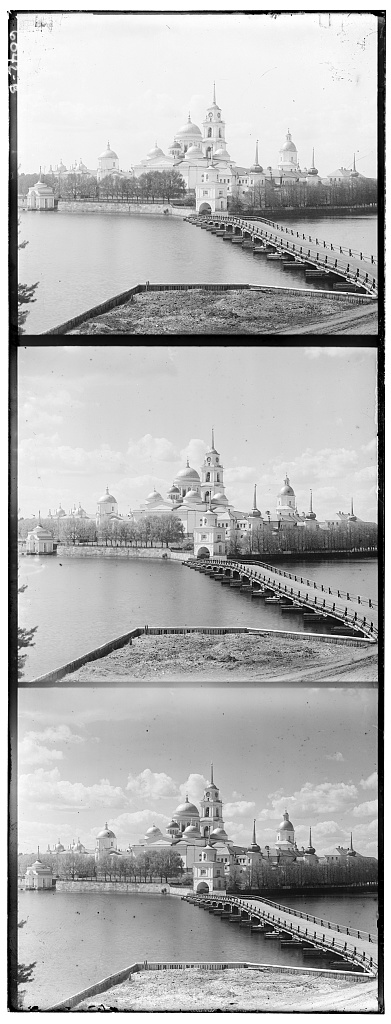
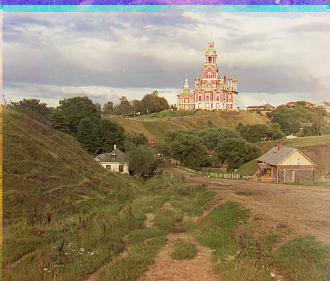
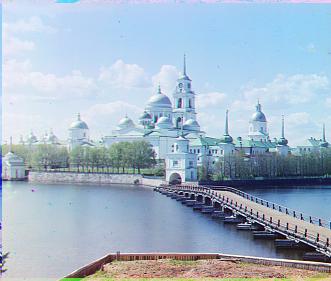
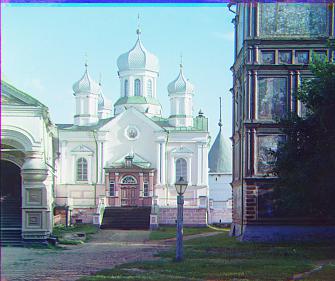
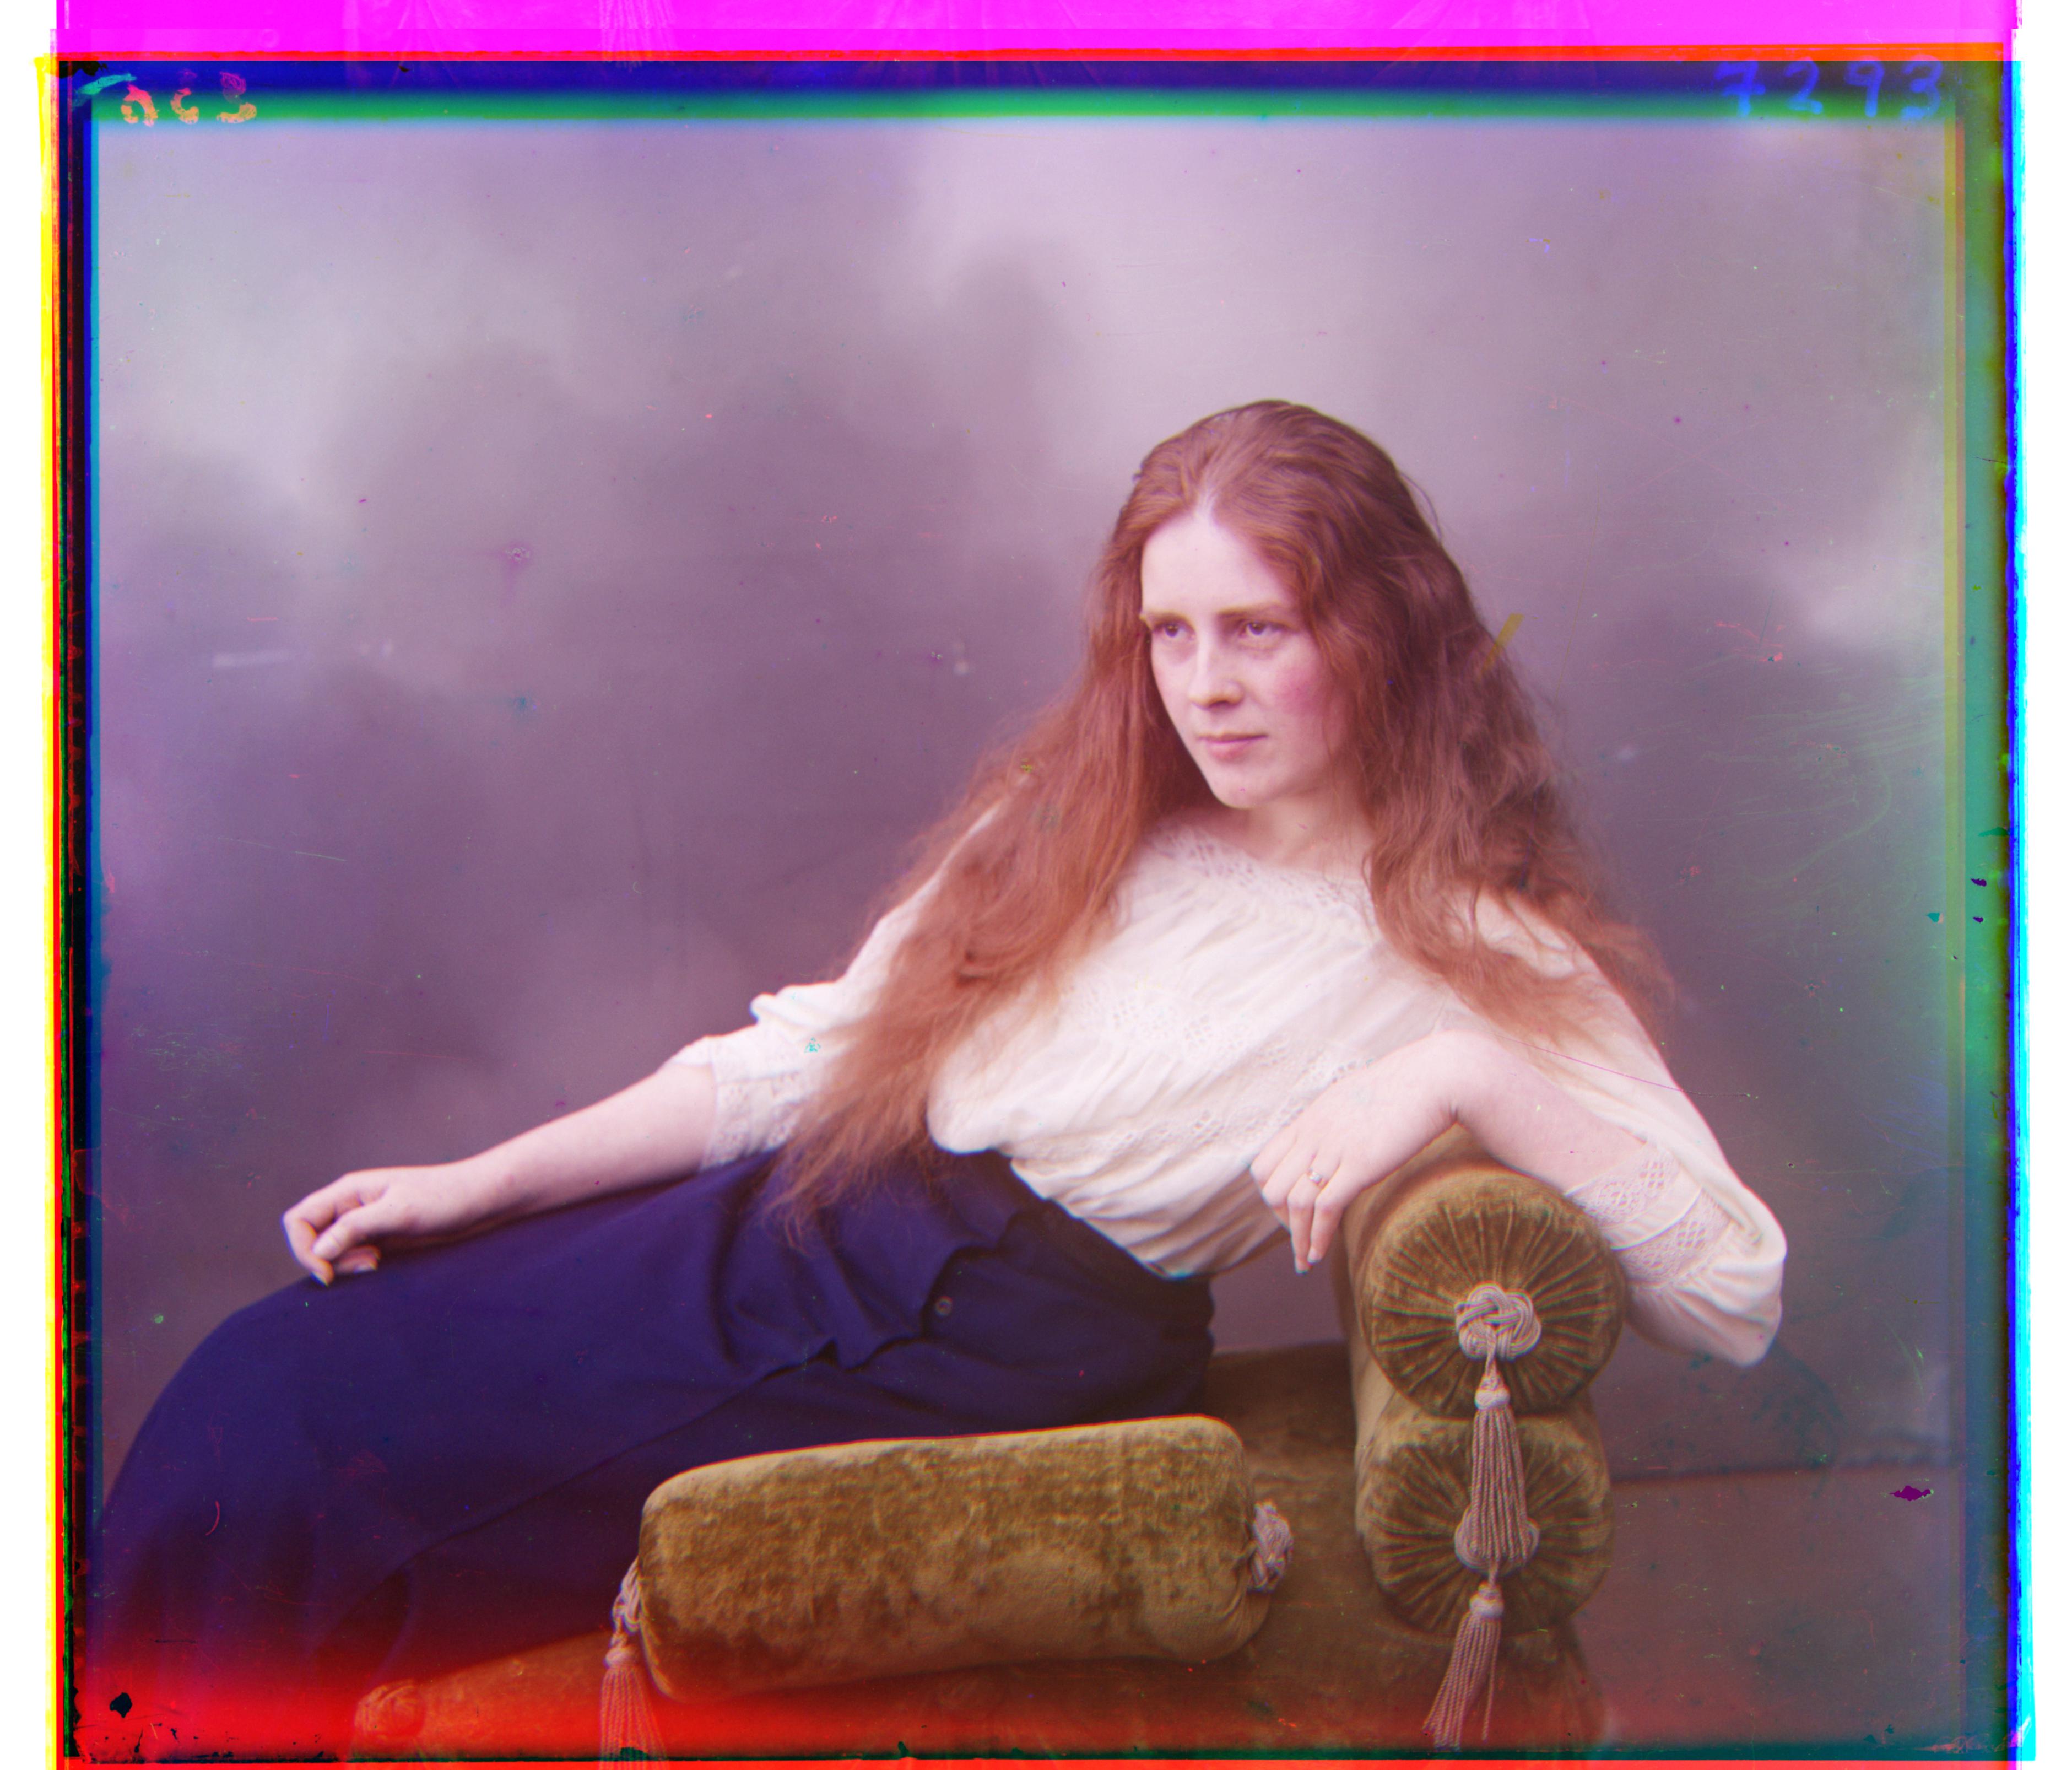
Cathedral
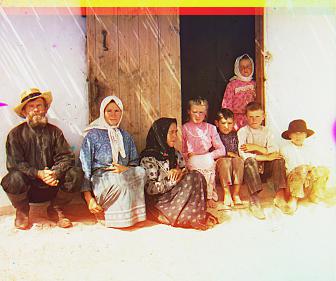
Green channel: [5 2] Red channel: [12 3] Monastery Green channel: [-3 2] Red channel: [3 2] Nativity Green channel: [3 1] Red channel: [7 0] Settlers Green channel: [7 0] Red channel: [14 -1] Lady Green channel: [52 8] Red channel: [110 13] Self Portrait Green channel: [77 29] Red channel: [175 37] |
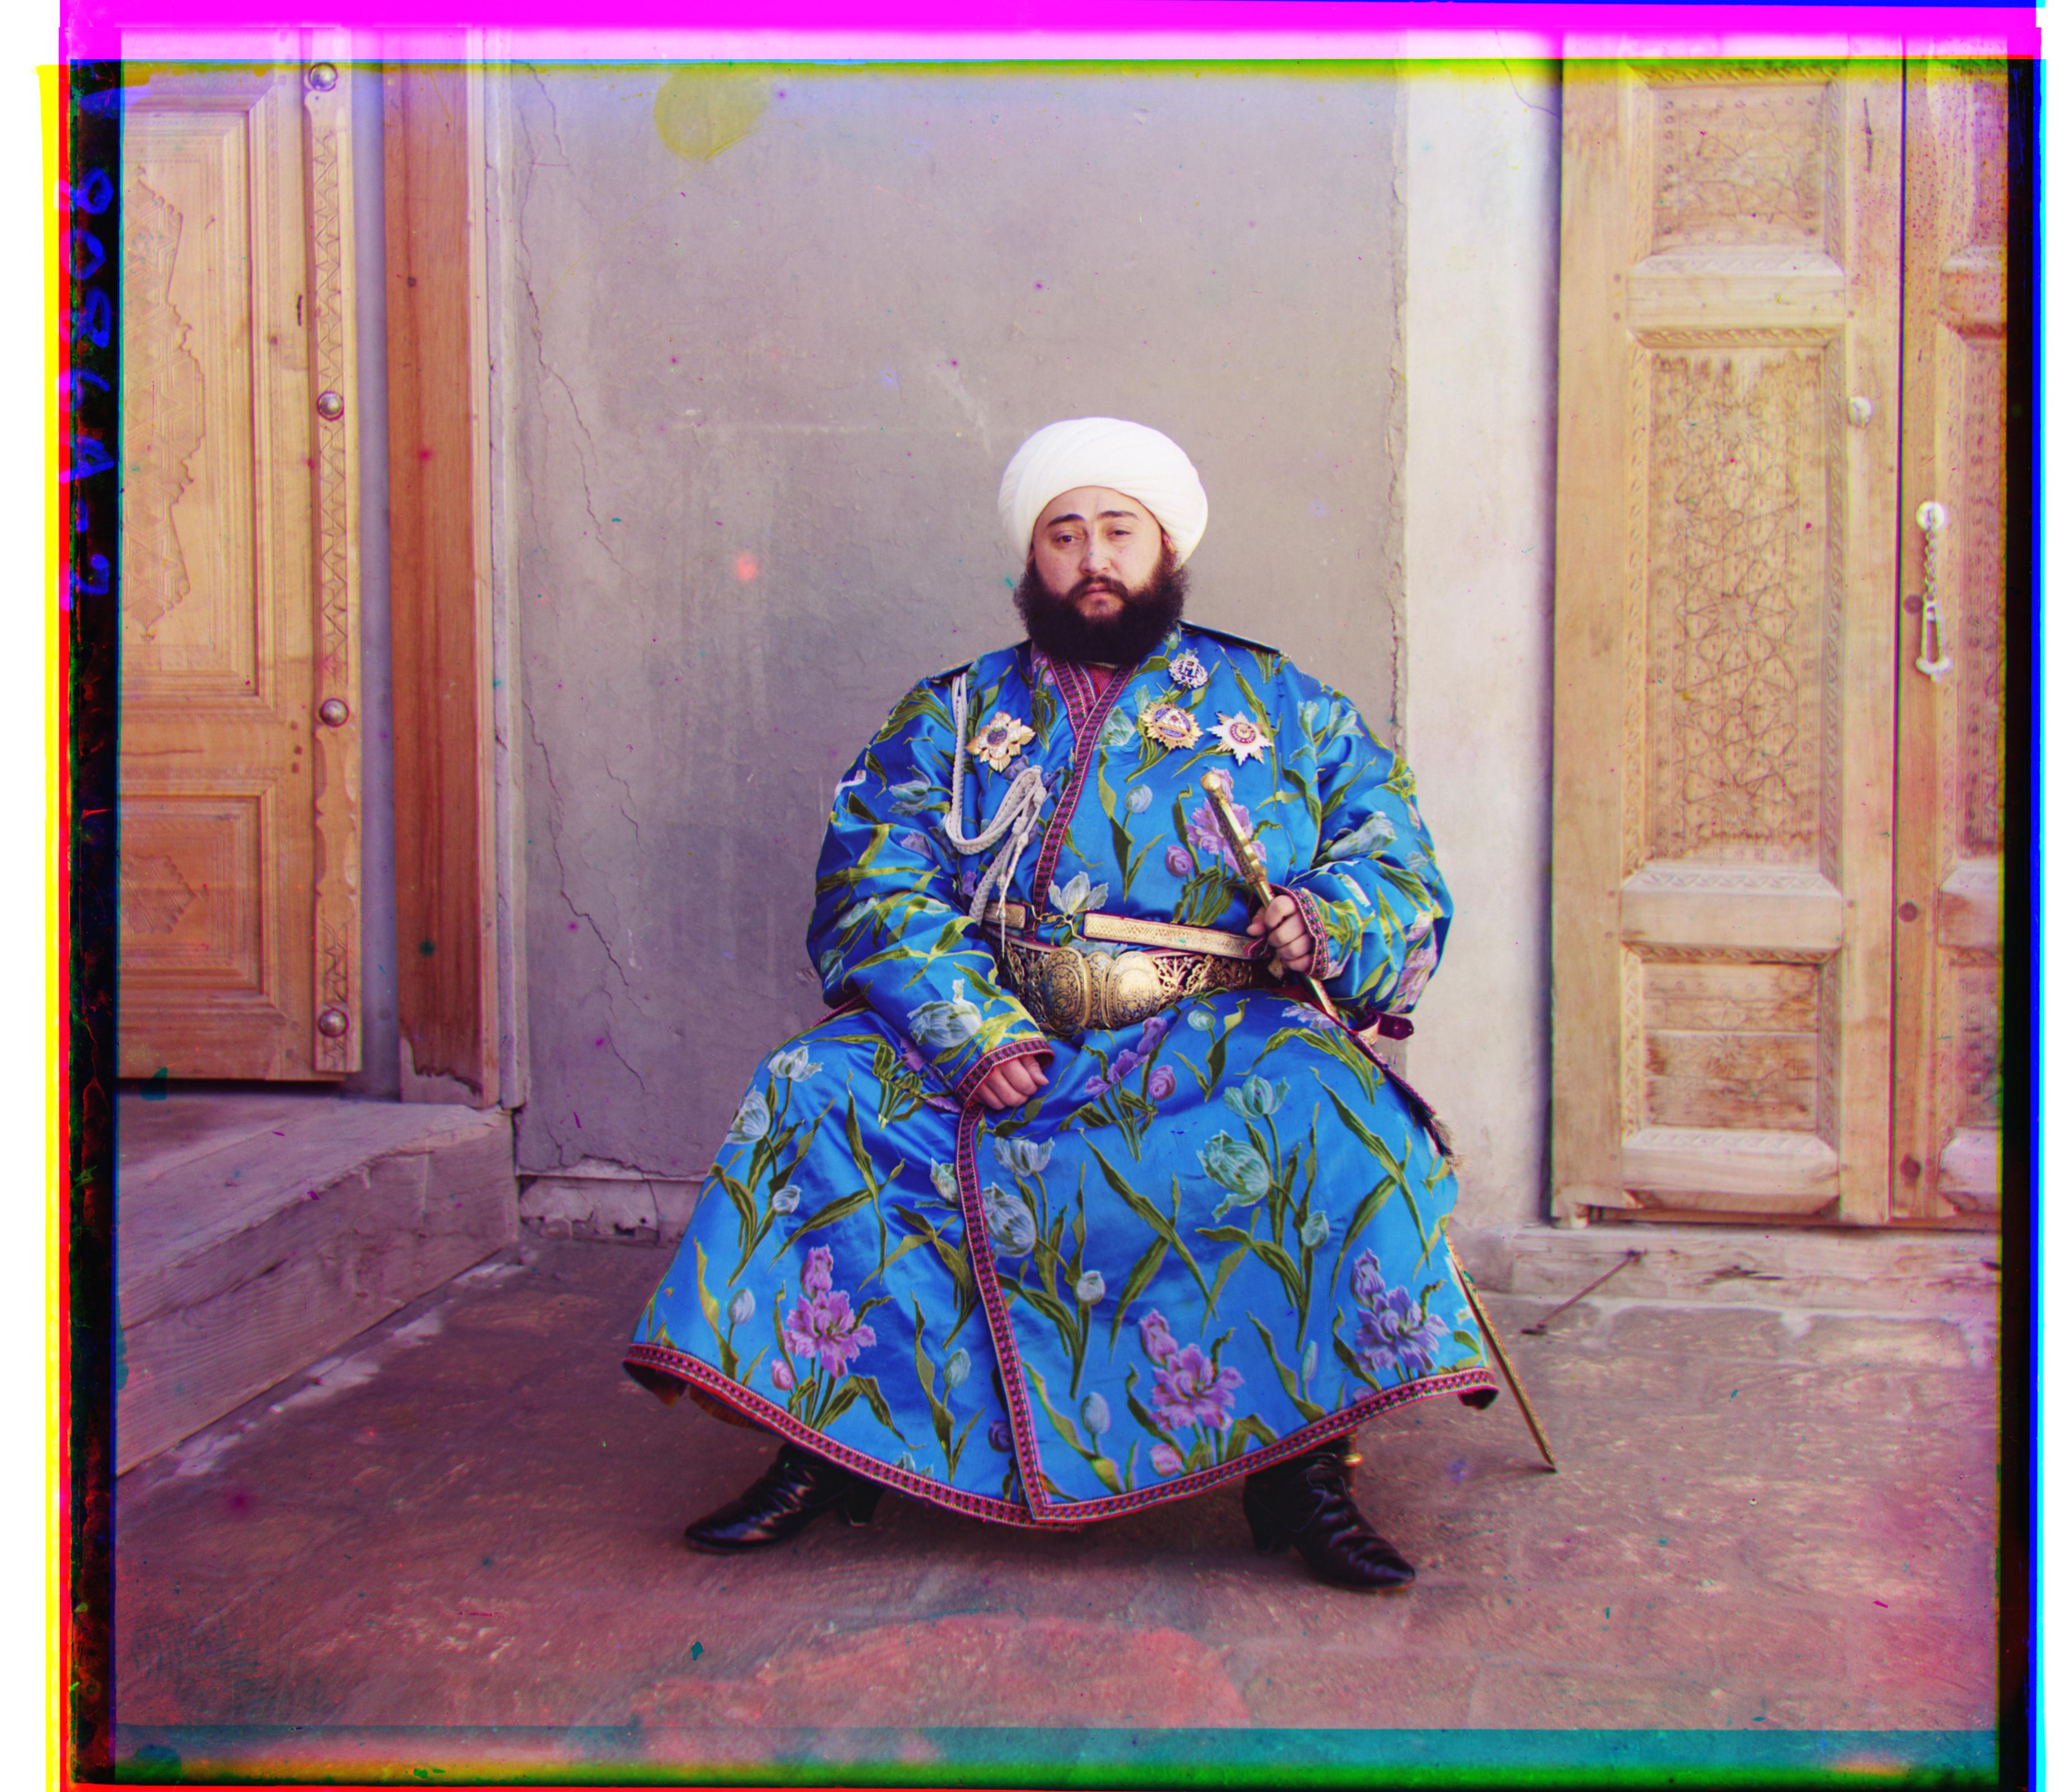
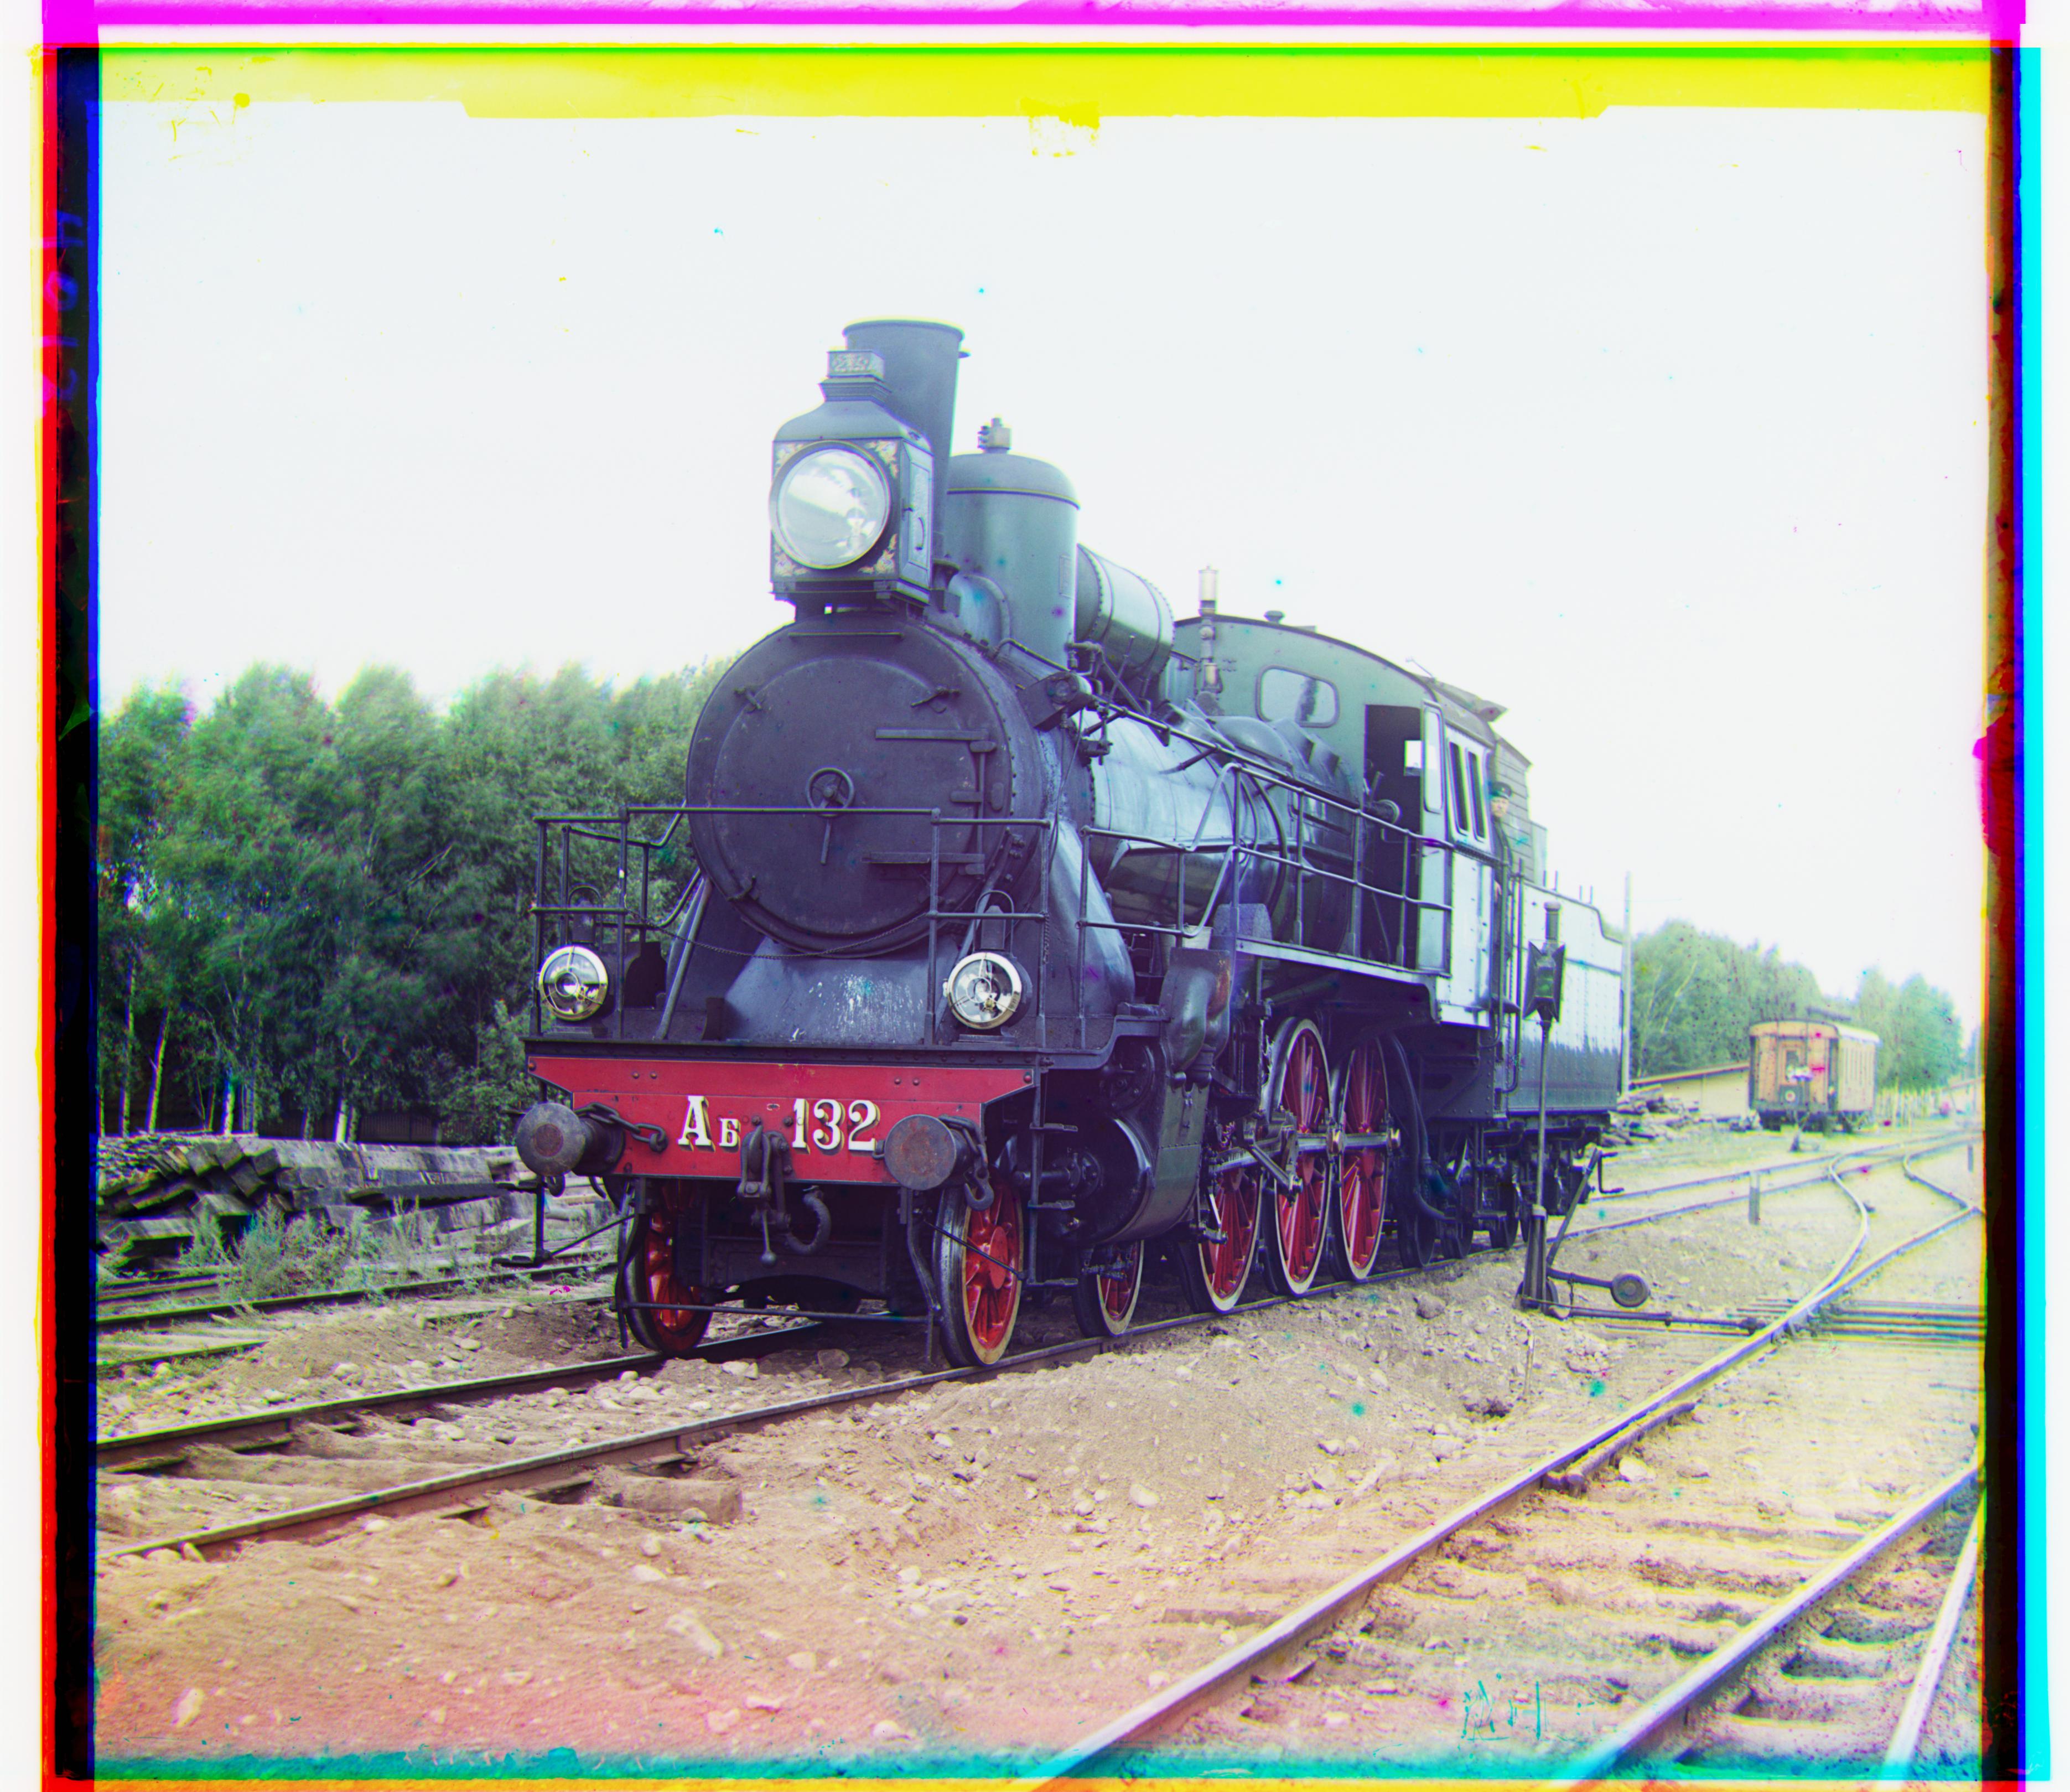
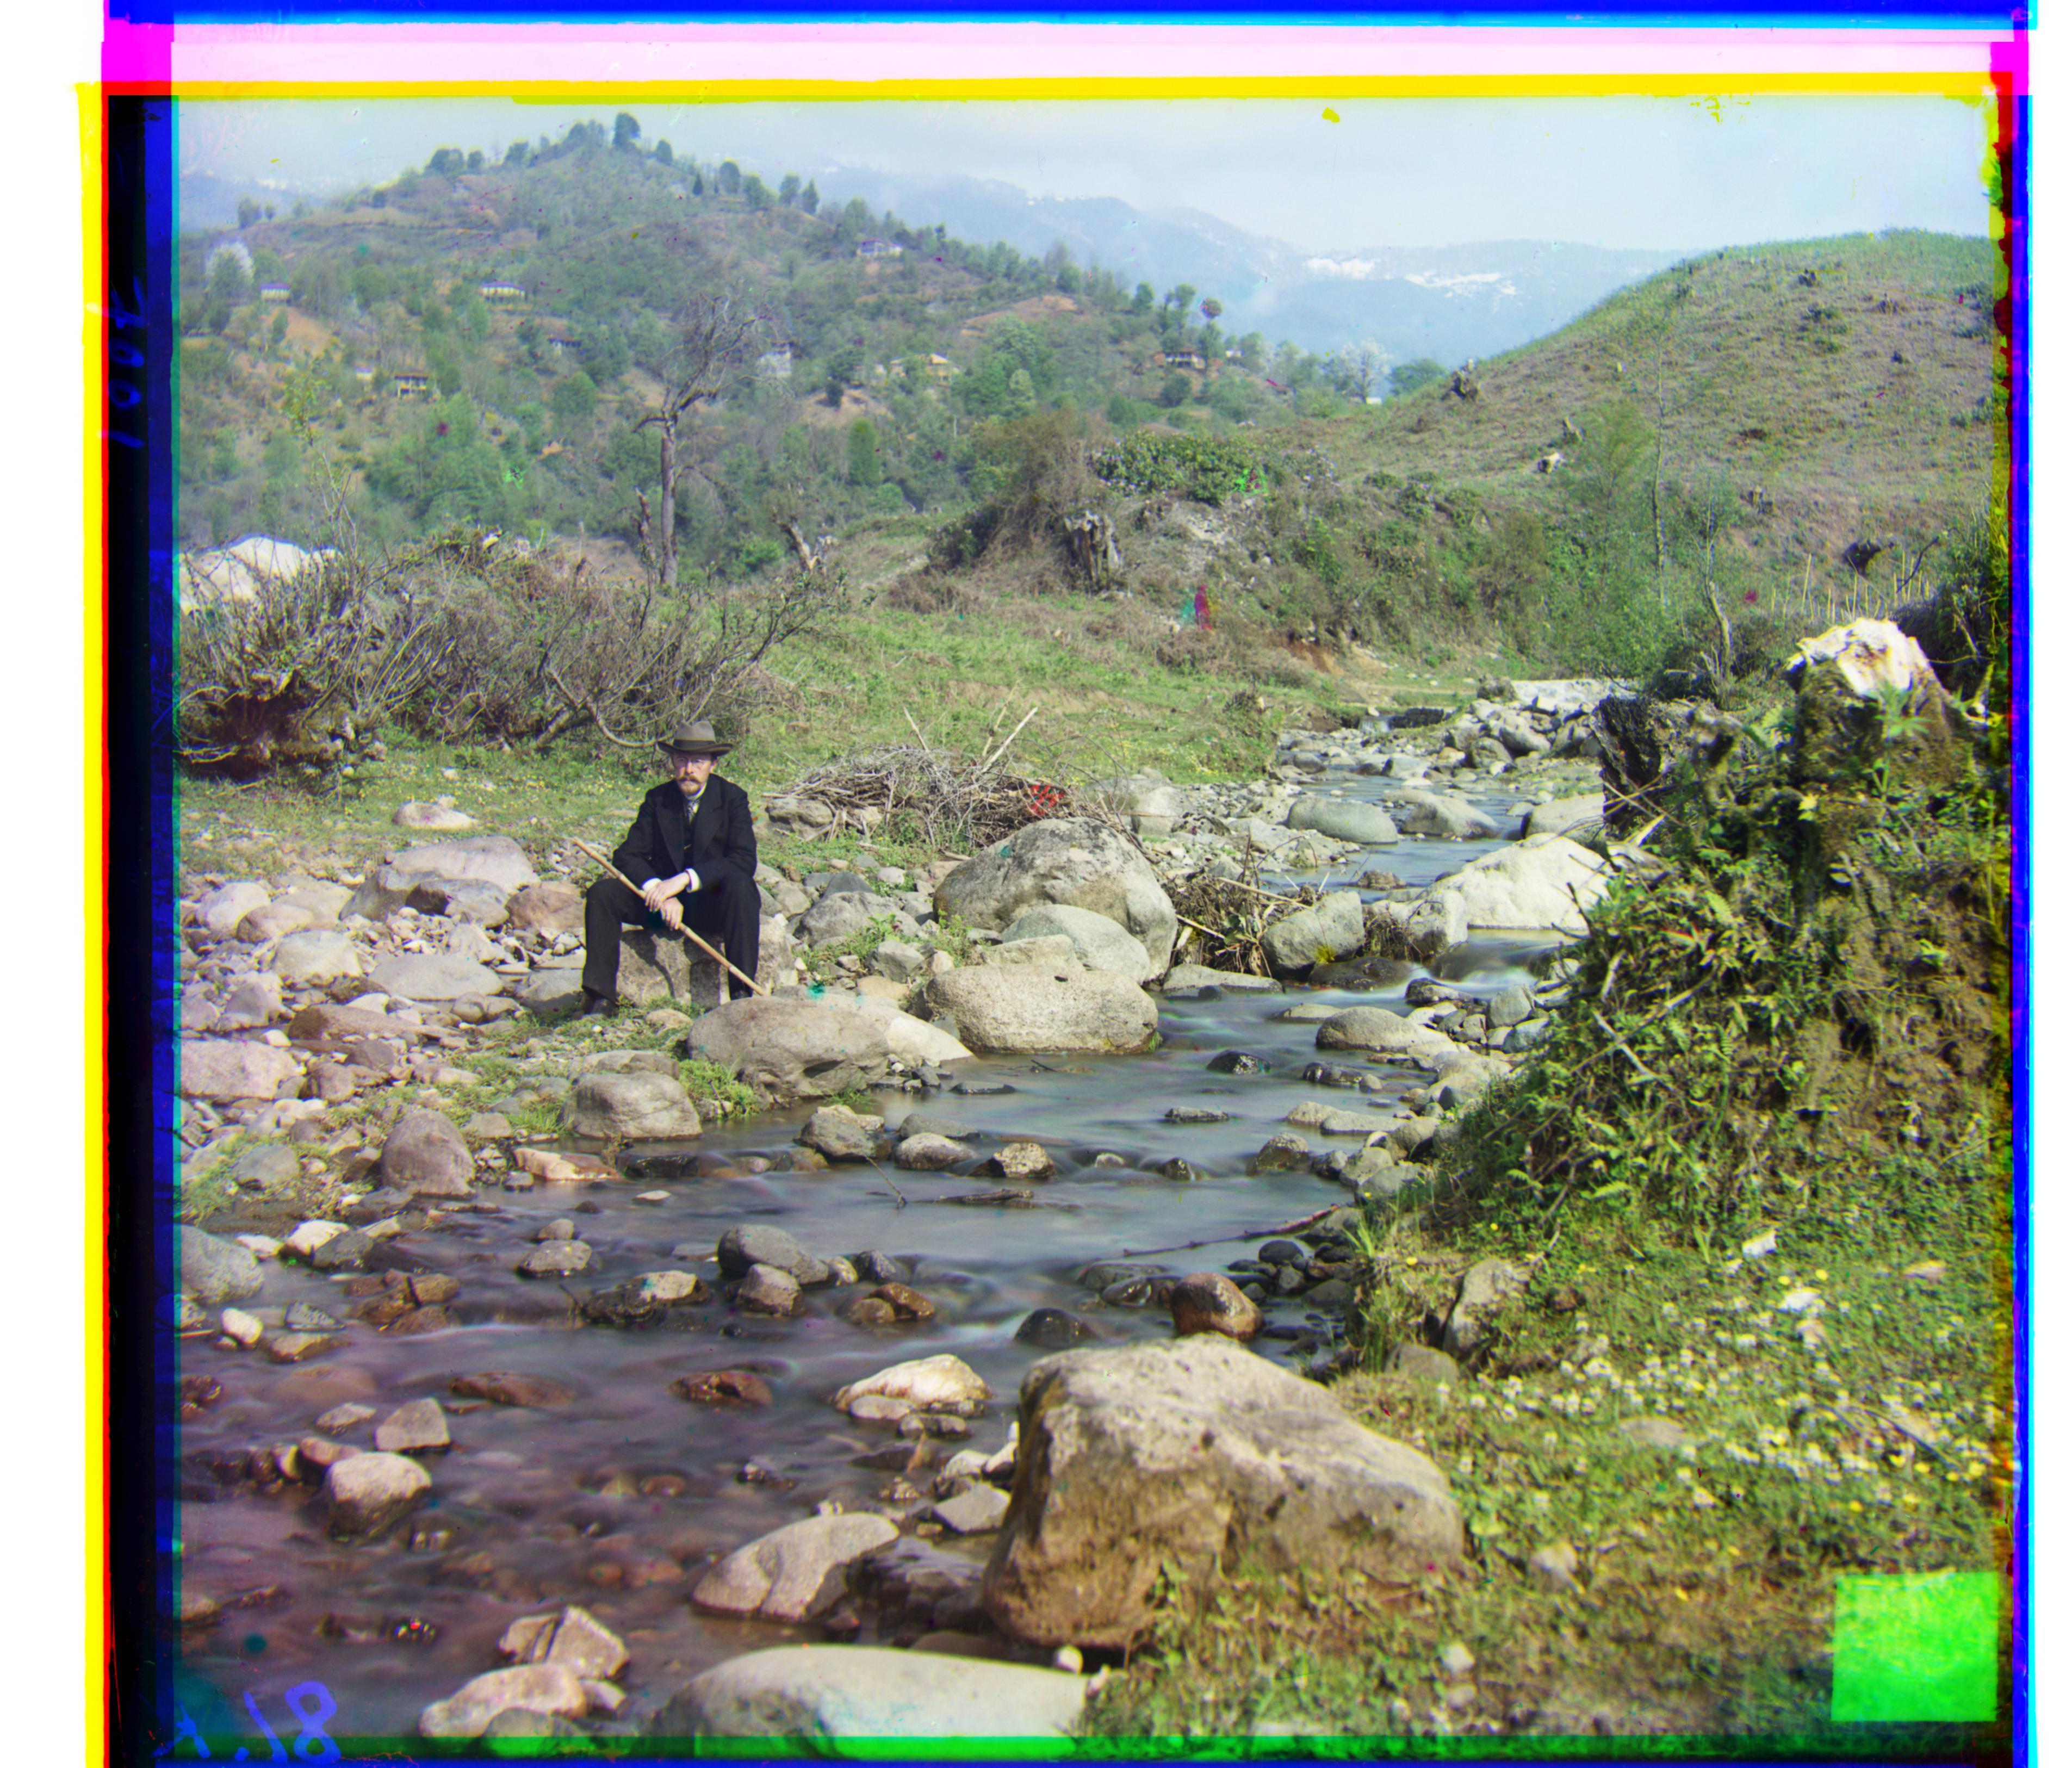
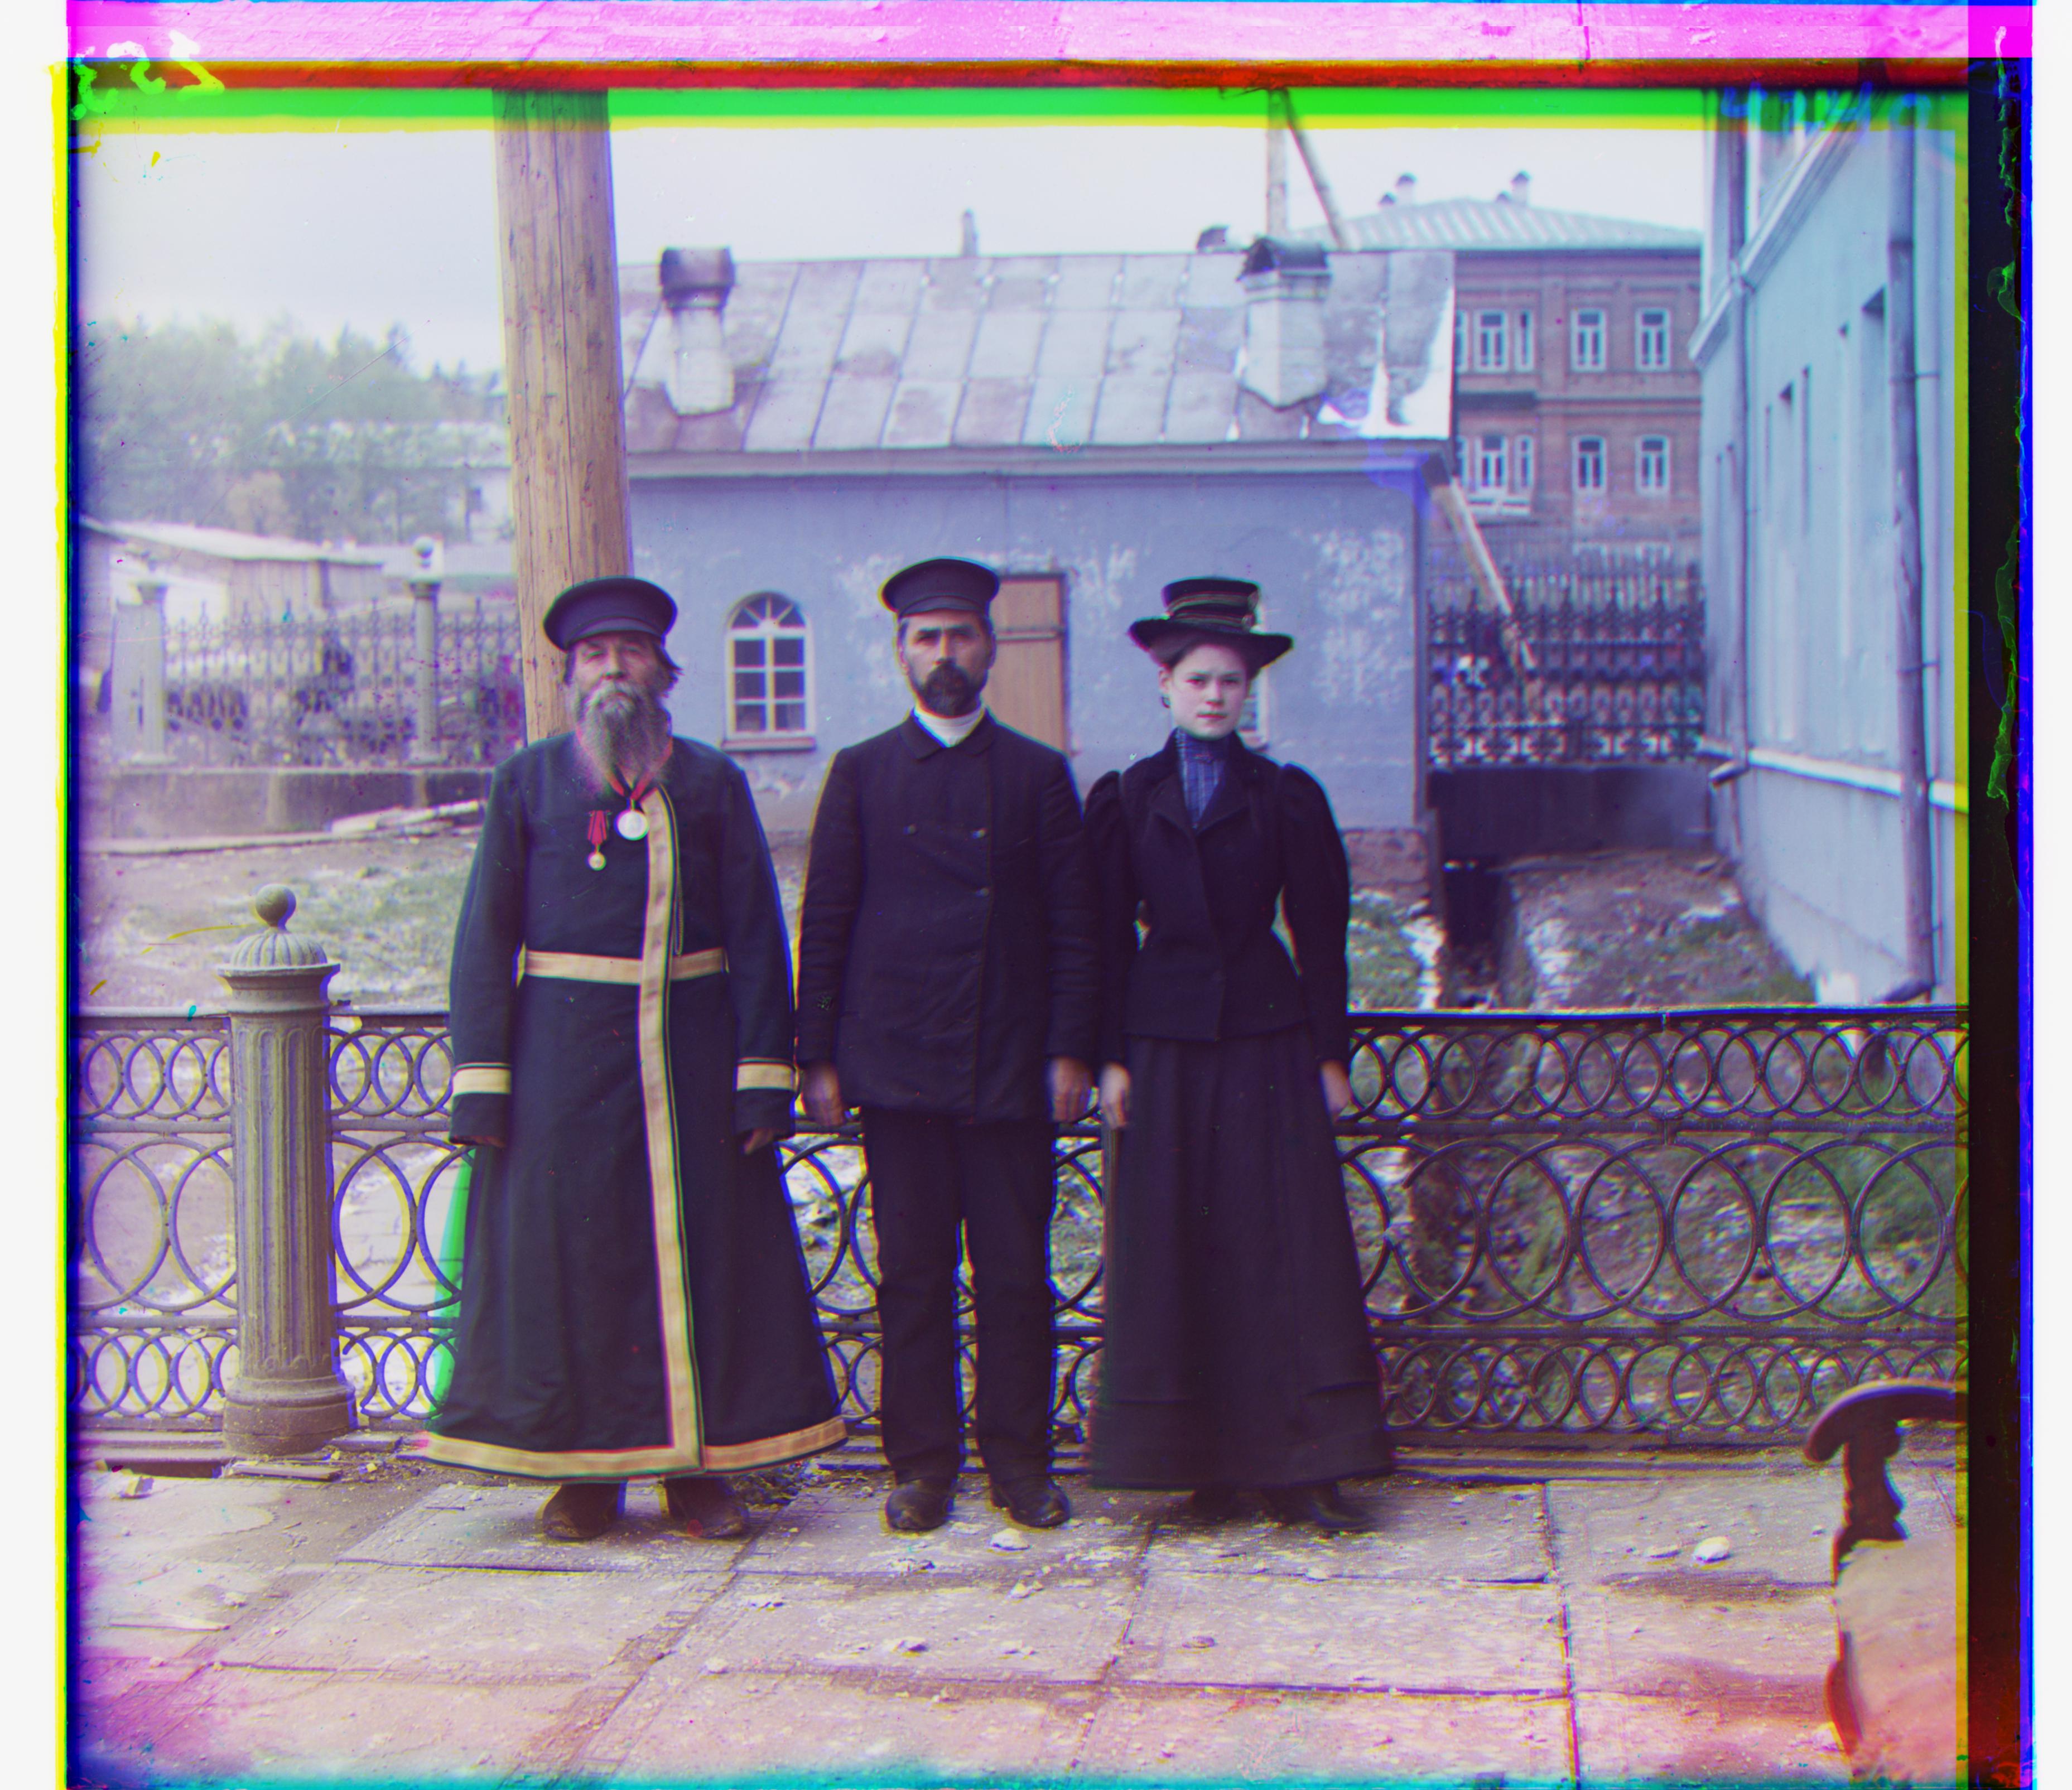
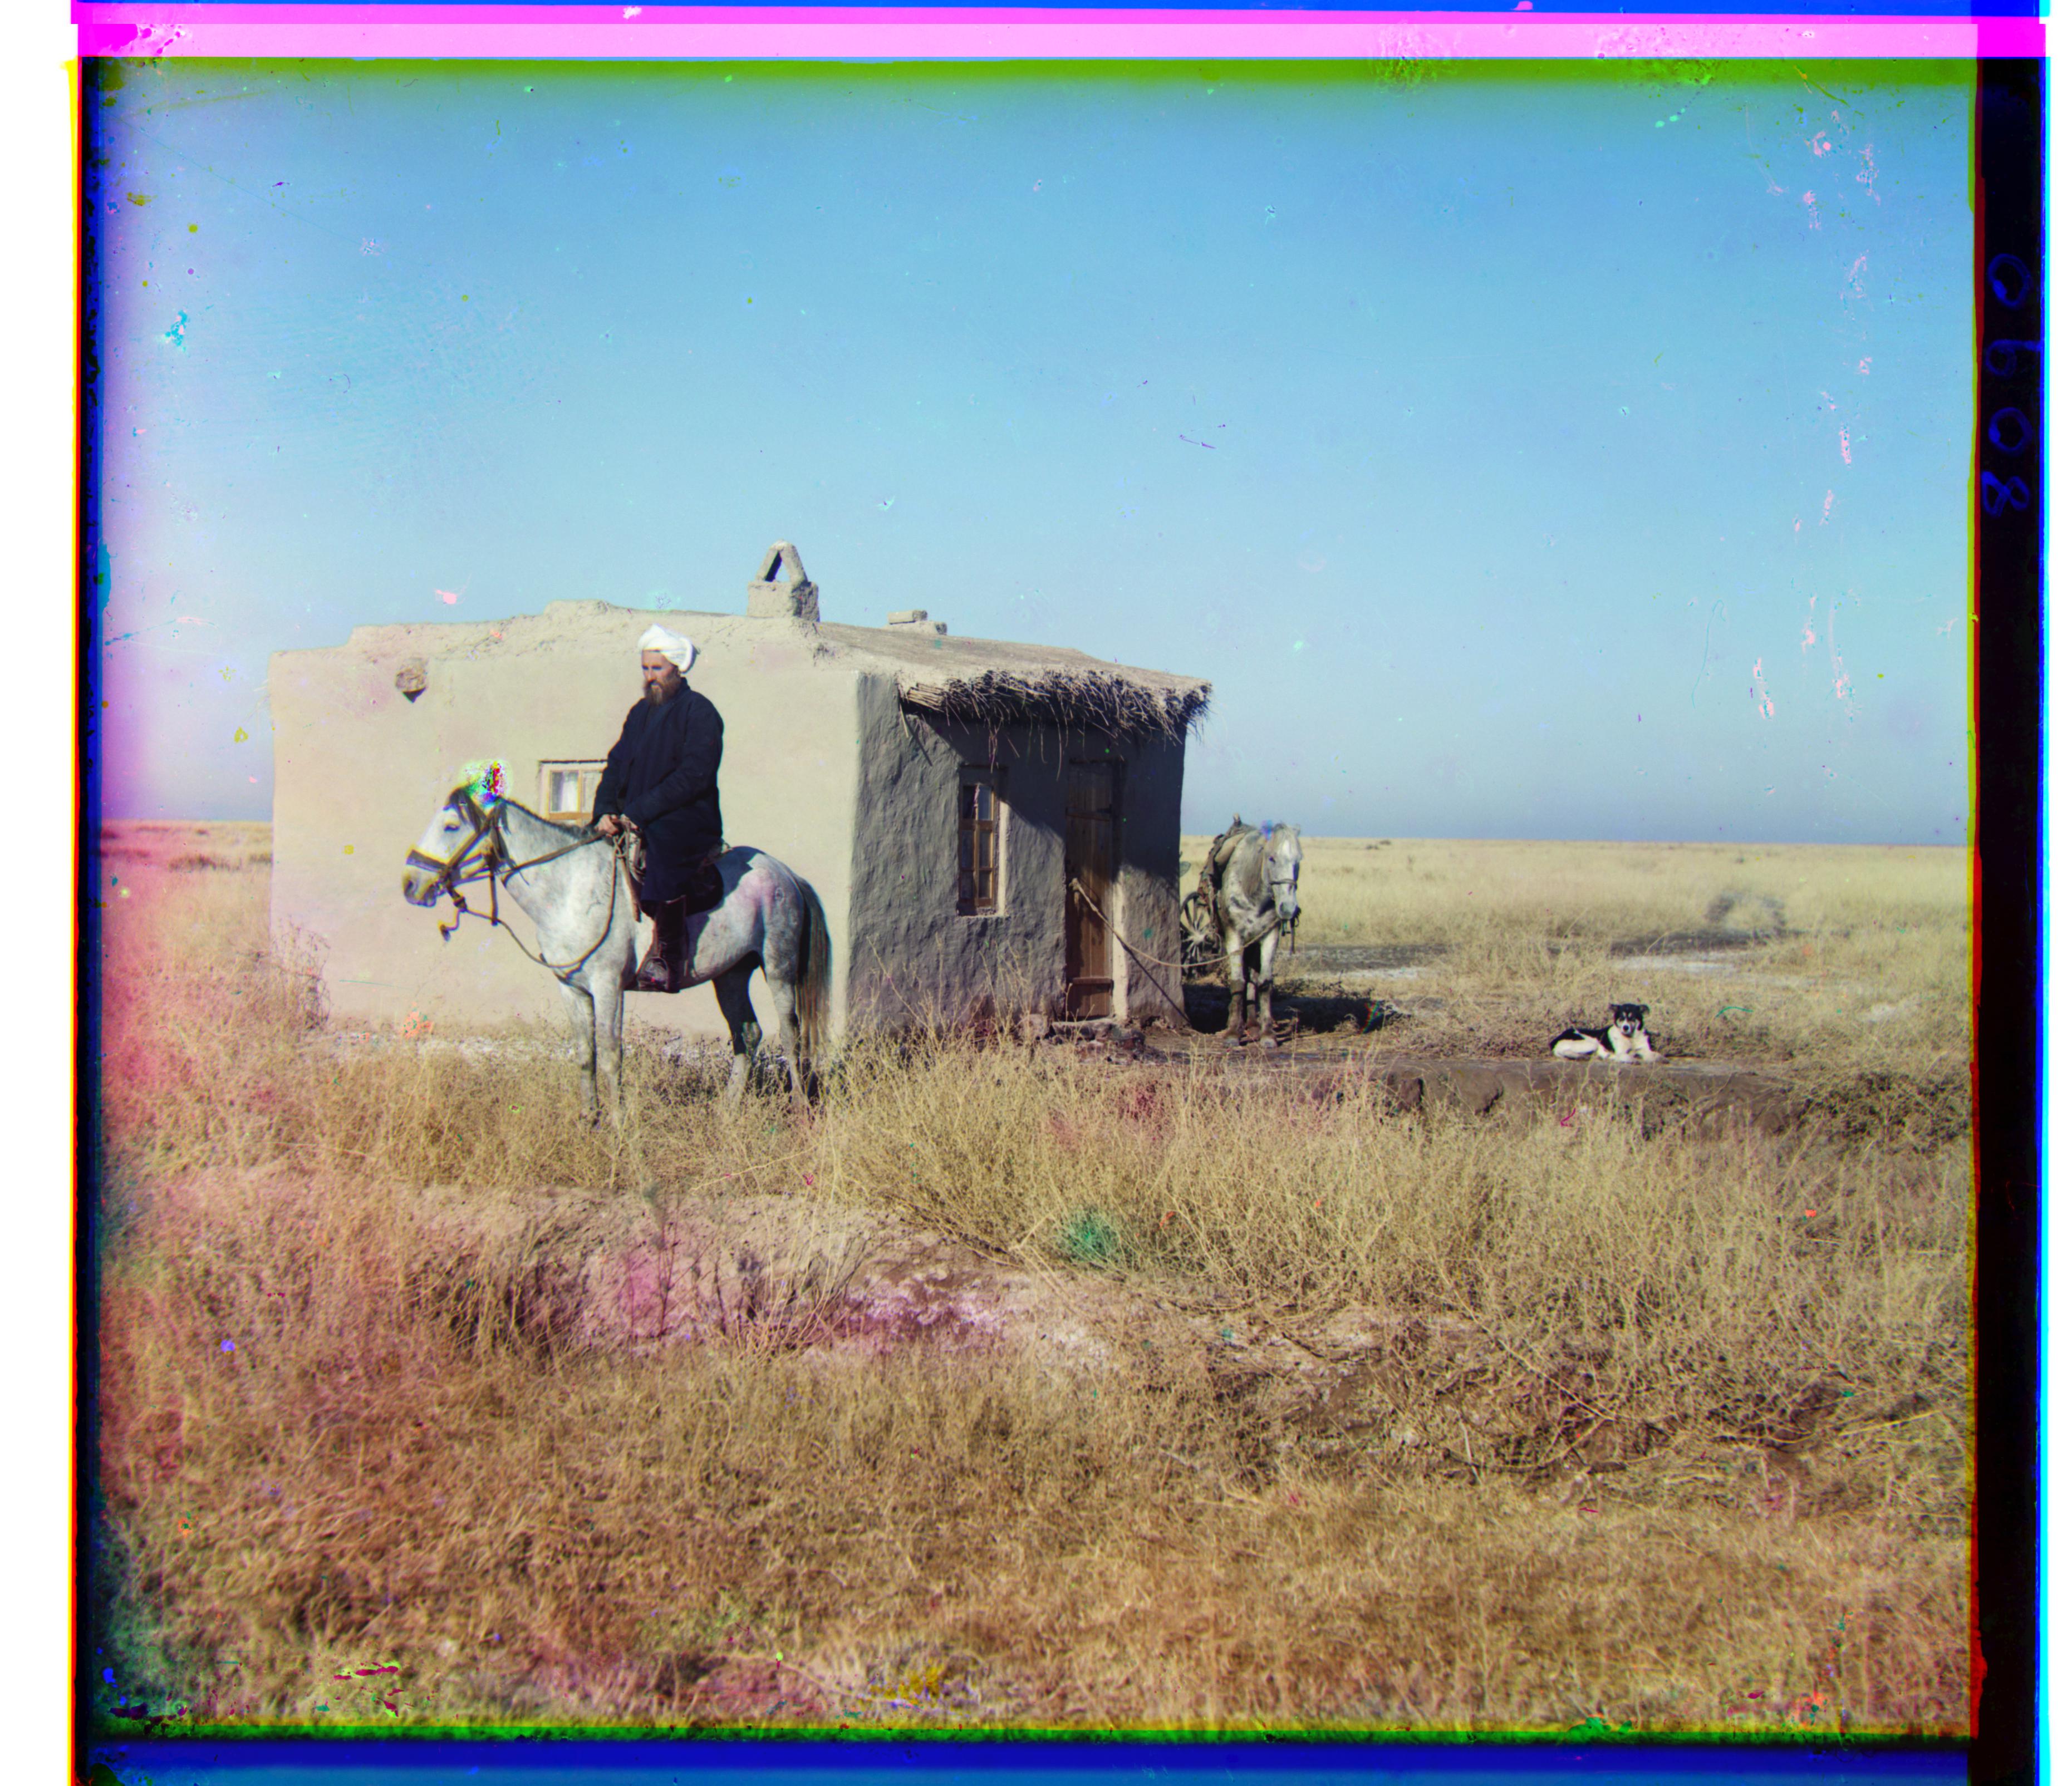
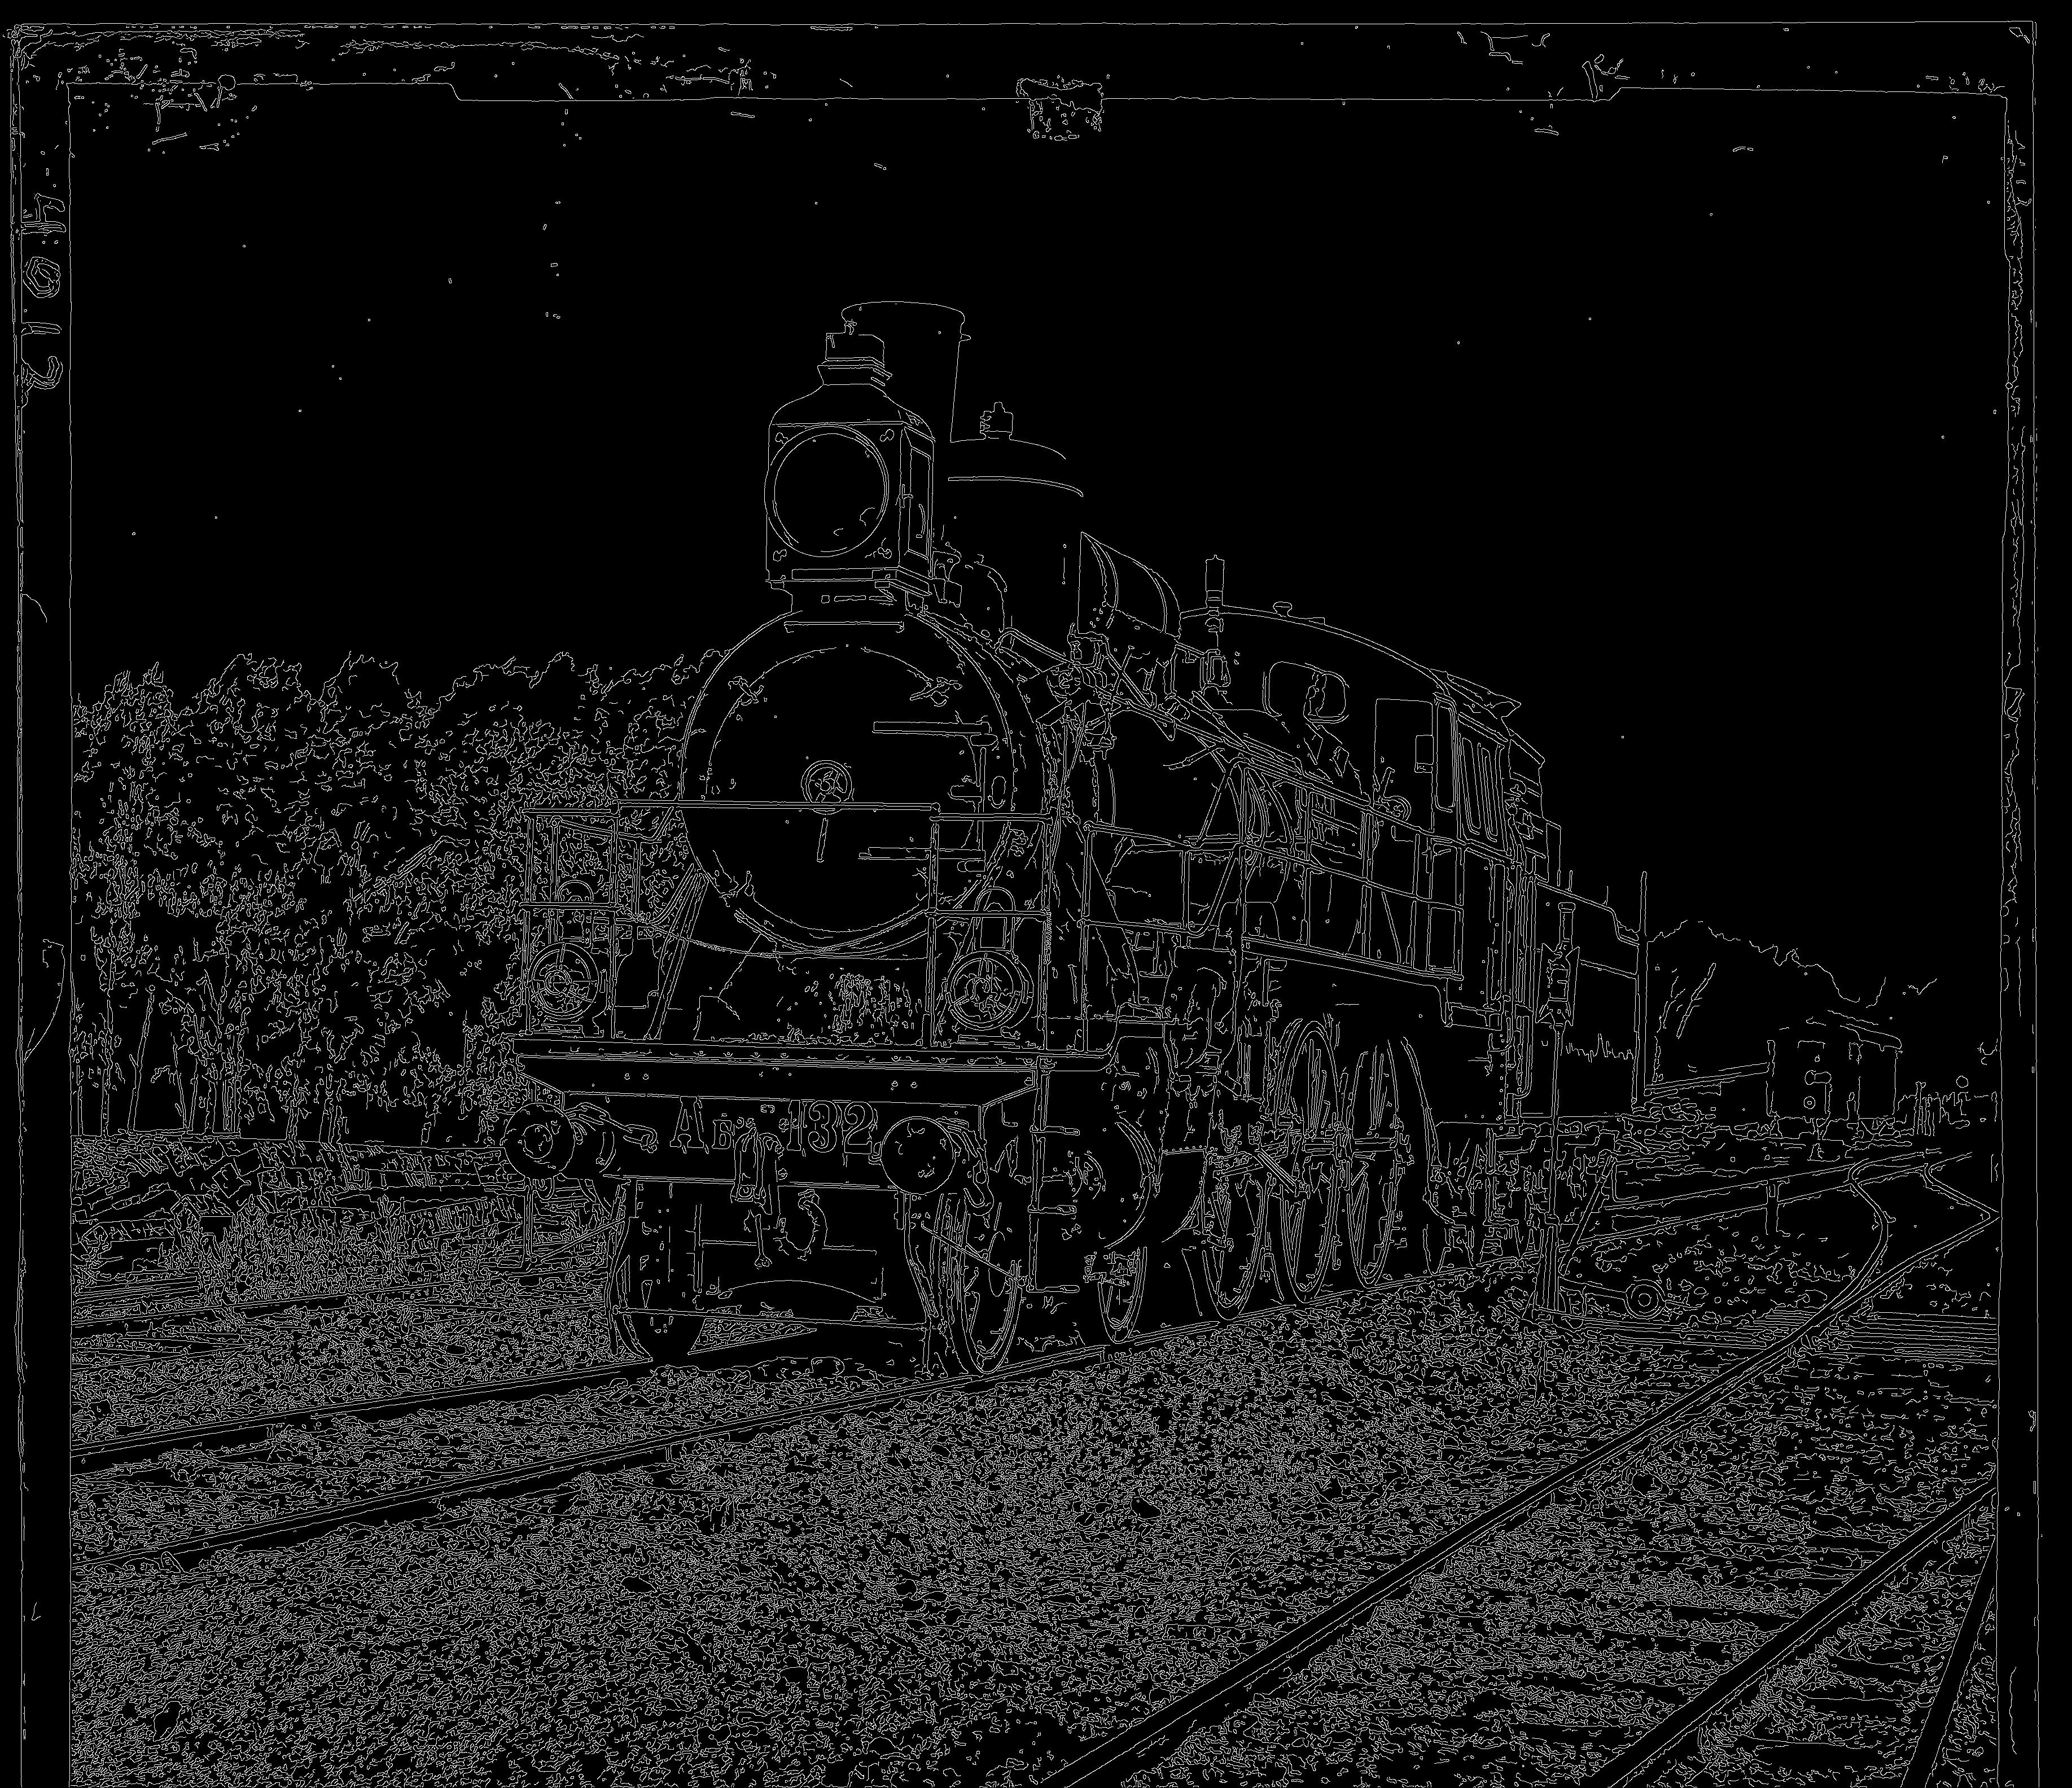
Emir
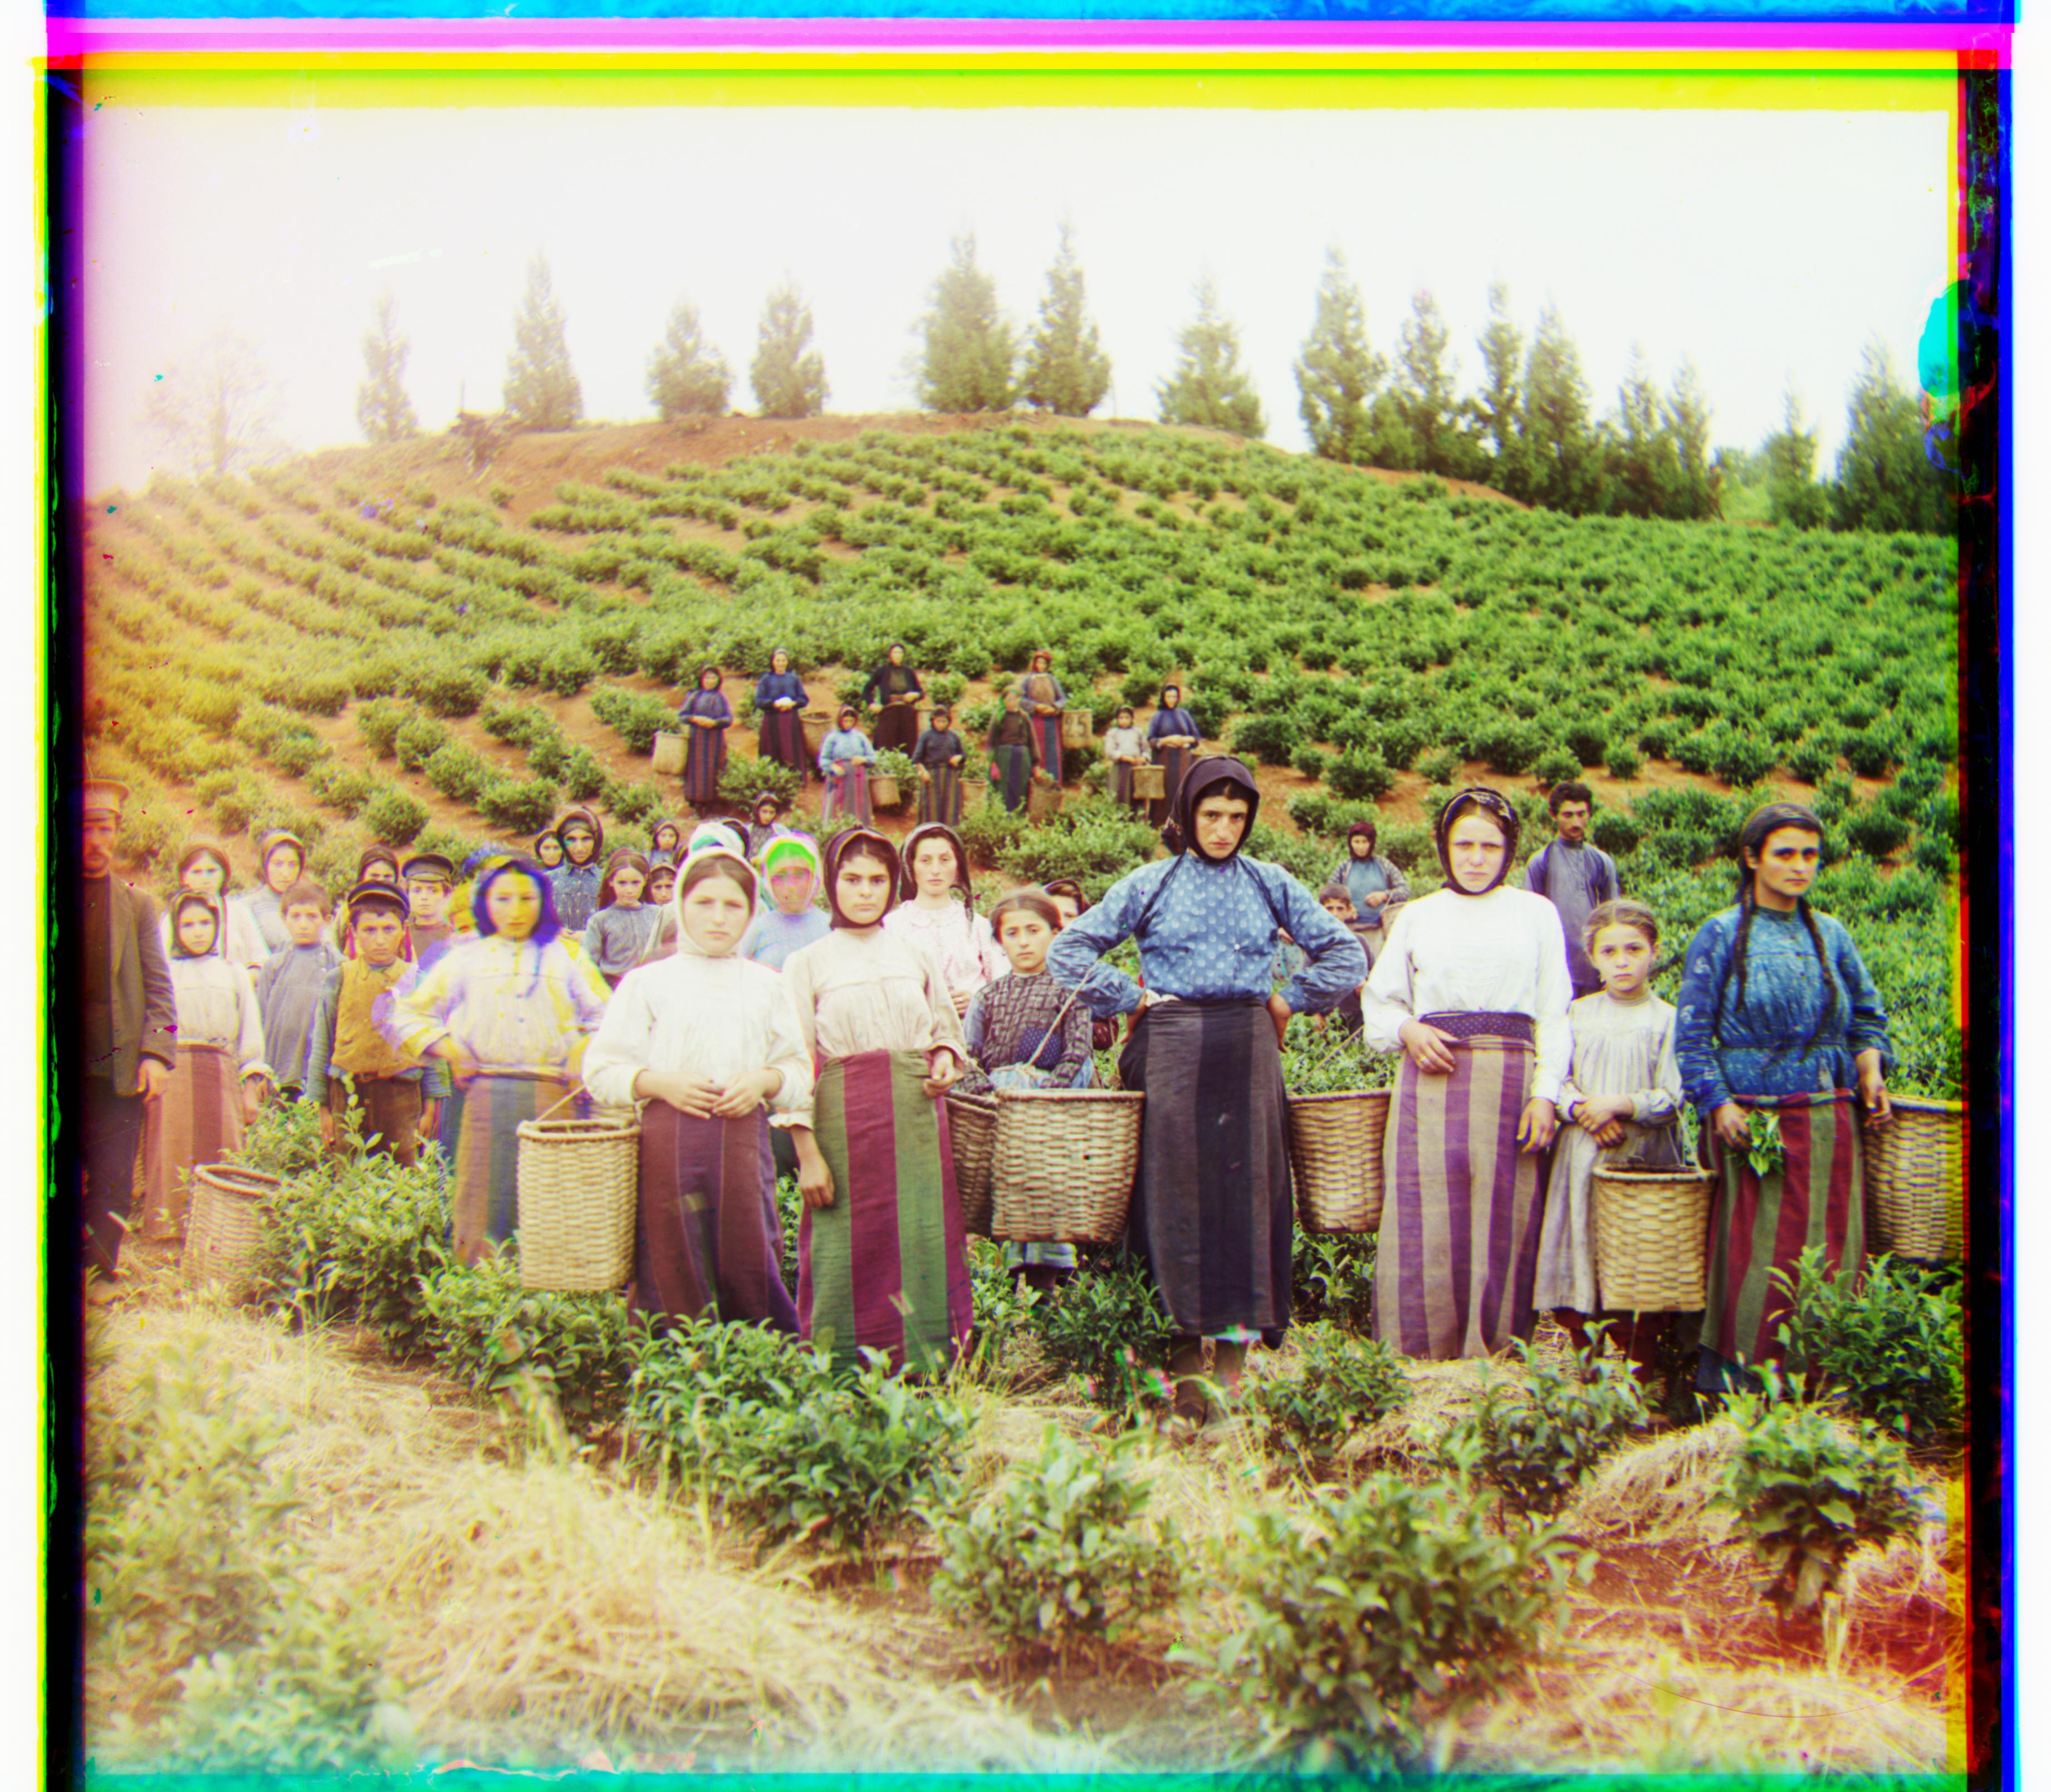
Green channel: [49 23] Red channel: [106 41] Harvesters Green channel: [59 18] Red channel: [124 15] Icon Green channel: [42 18] Red channel: [90 23] Three Generations Green channel: [47 22] Red channel: [103 22] Train Green channel: [43 5] Red channel: [86 32] Turkmen Green channel: [57 22] Red channel: [117 29] |
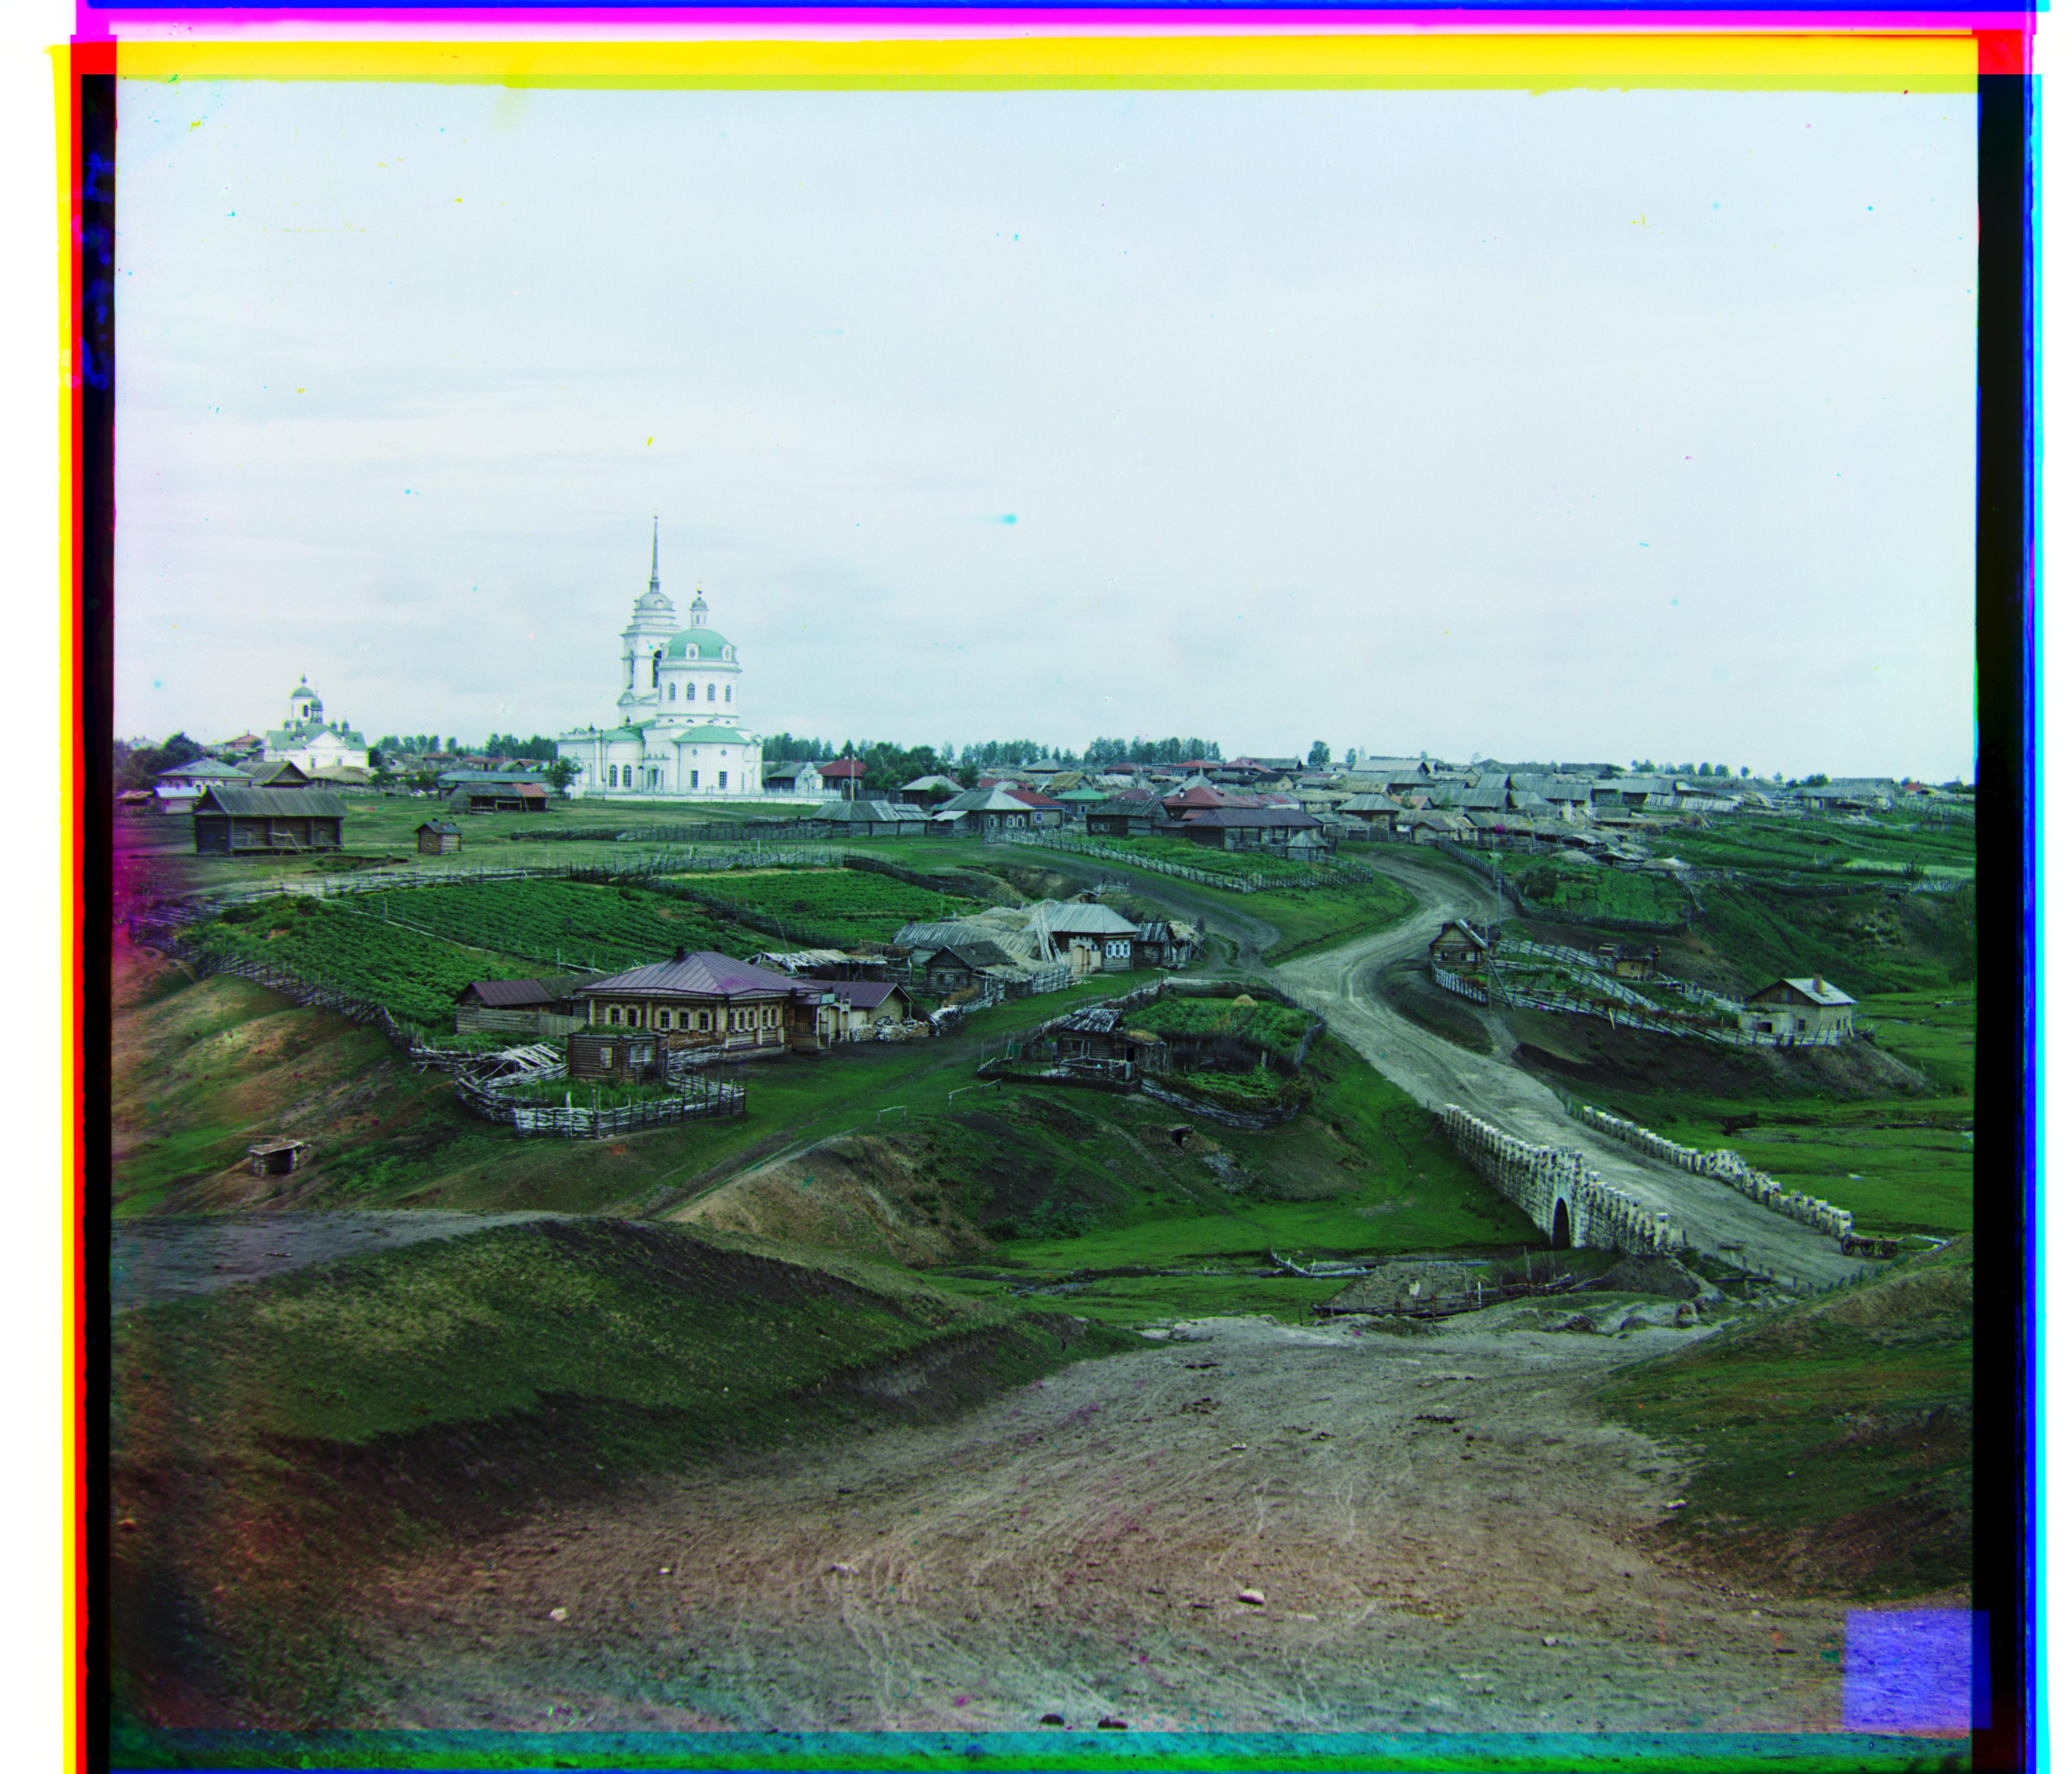
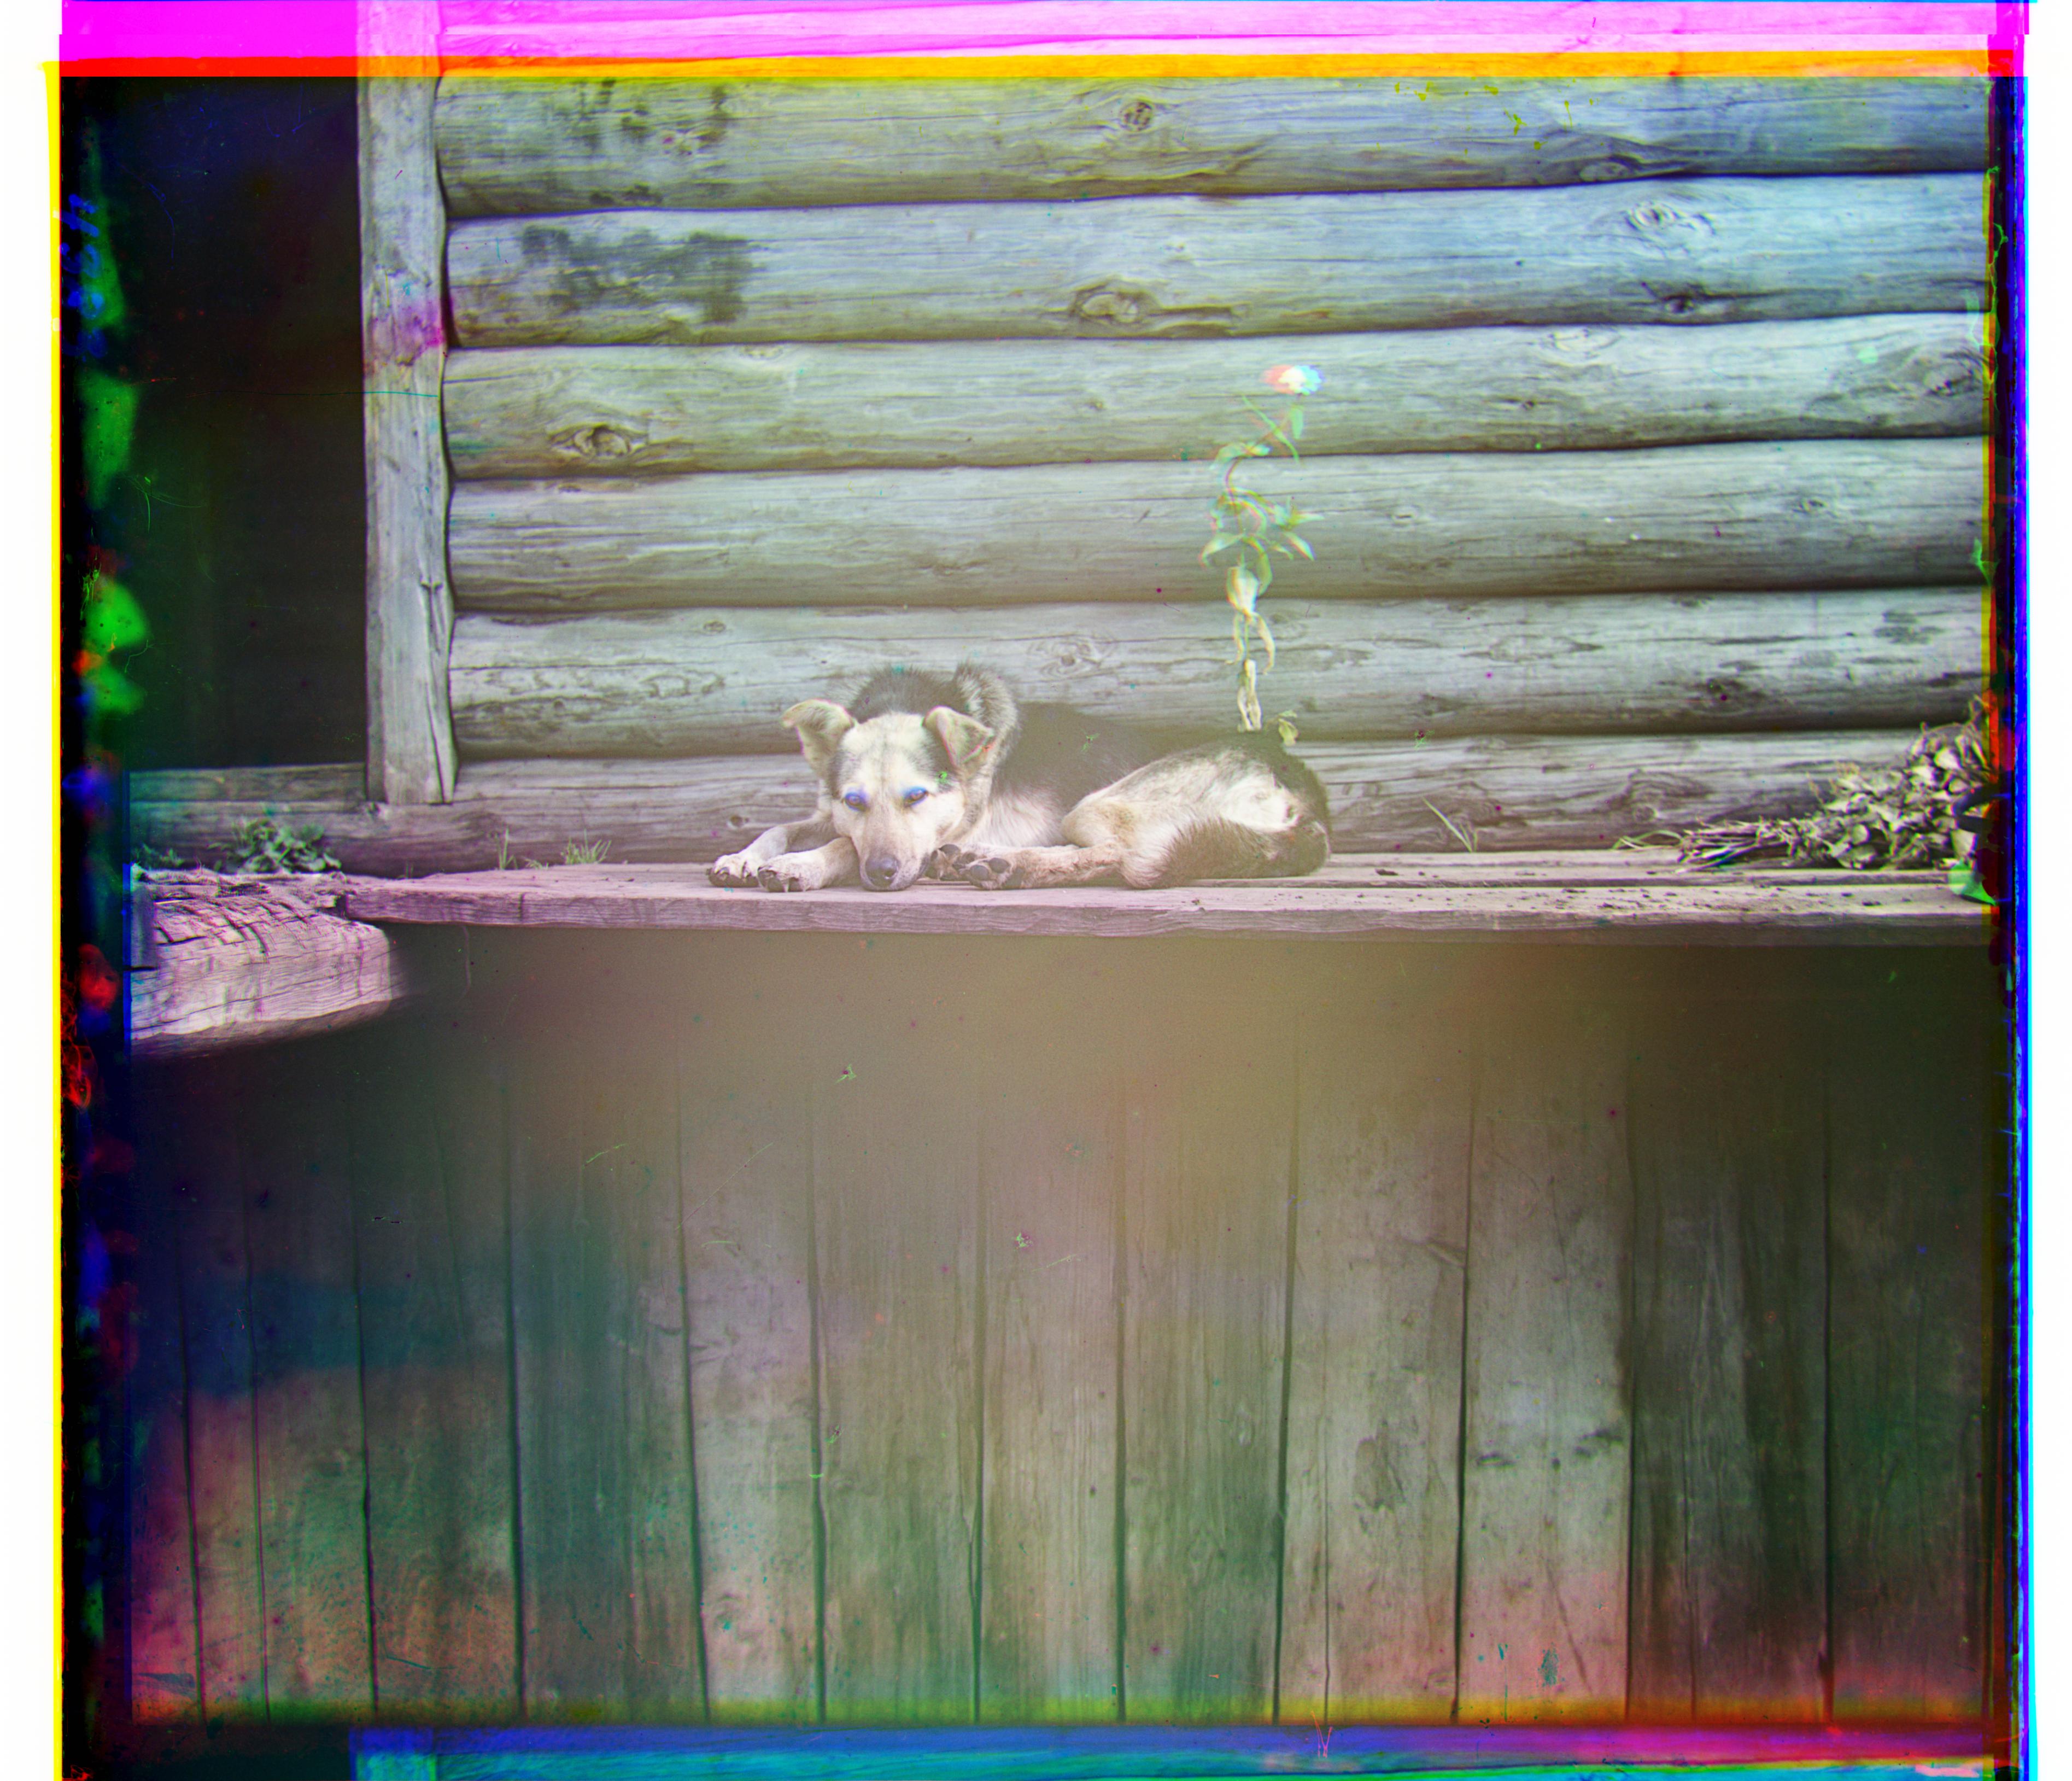
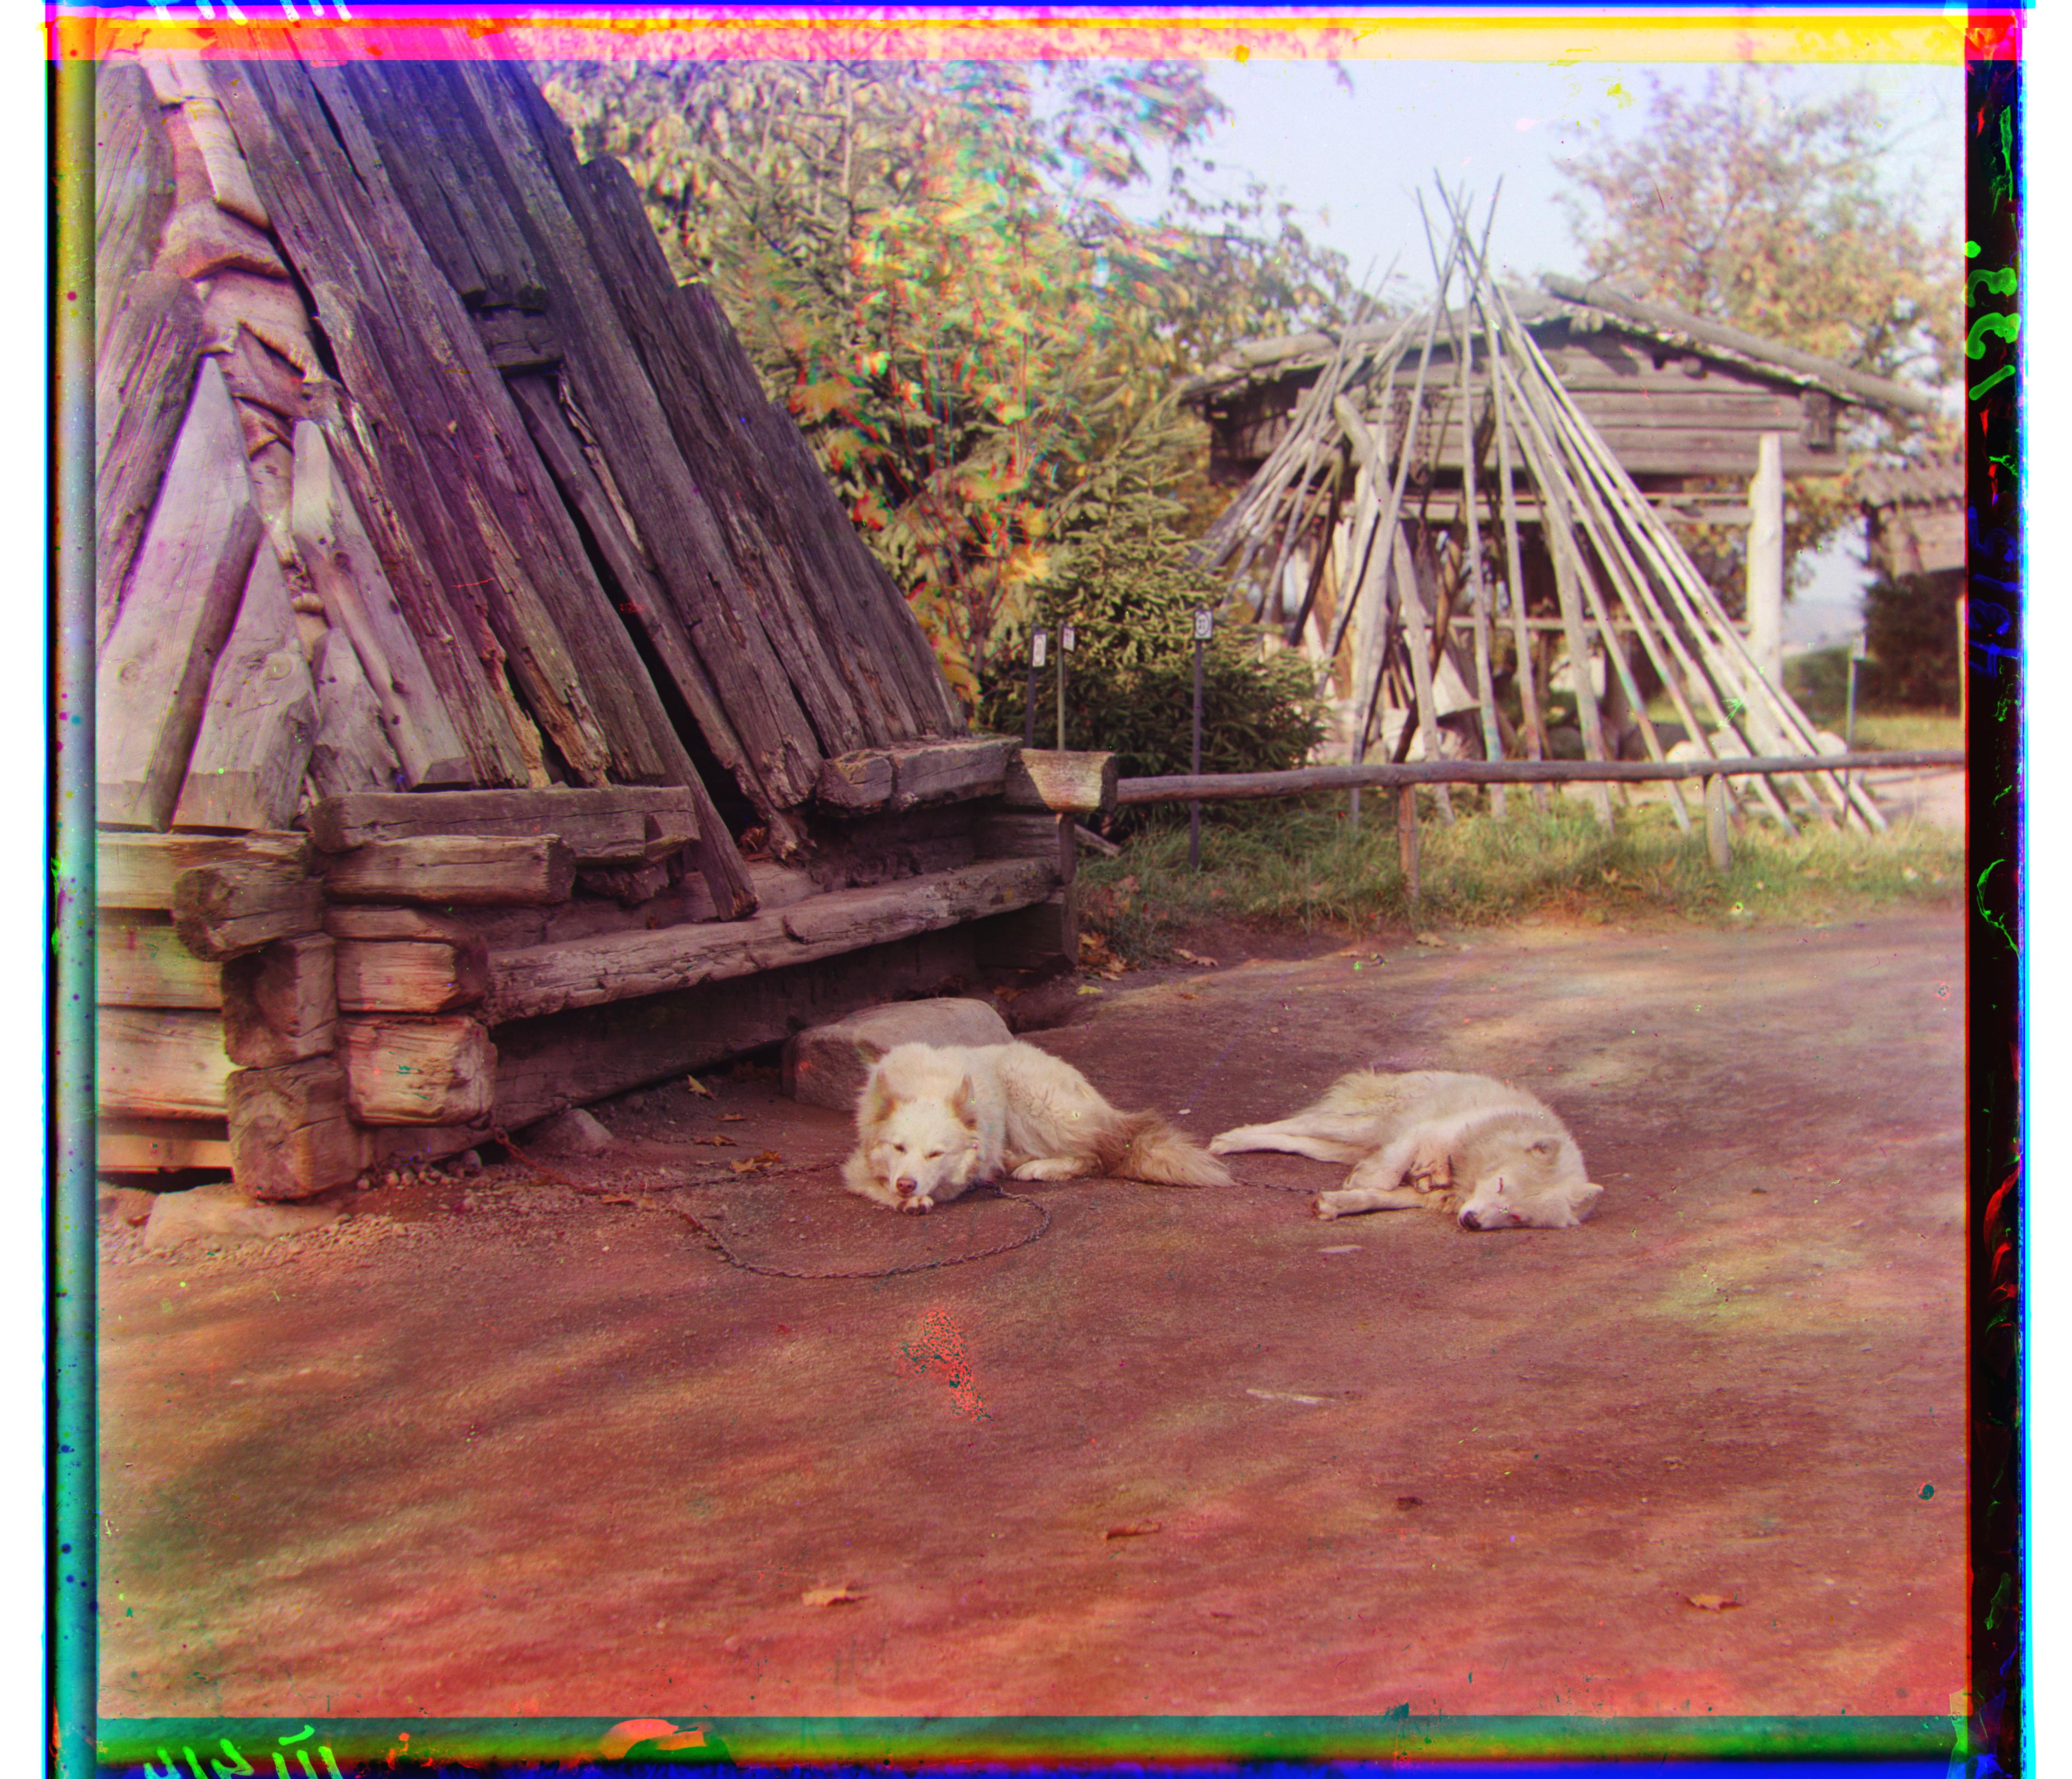
Village
Green channel: [64 13] Red channel: [137 23] What Dog Is This Green channel: [43 19] Red channel: [102 39] Many Borkers Green channel: [51 0] Red channel: [110 -1] Doge Green channel: [63 10] Red channel: [140 8] Water Green channel: [12 -8] Red channel: [134 -13] |
My Approach
Iteration 1: Simple Start
I started off with the simplest implementation to see what would happen. I defined a preset window of displacements (-15, 15) and searched within those displacements to determine which one had the best alignment. To determine this, I used the SSD (Sum of Squared Differences) and NCC (Normalized Cross Correlation) error functions between any pair of color channels, and simply chose the alignment that produced the lowest error.
For bigger images, I used a multiscale pyramid datastructure as simply searching through all alignments would be very expensive. I start with a coarse image, aligned it, and then repeat with the more refined image. This repeated until I reached the full sized image. I only used SSD for the error functions, as NCC was so inaccurate.
I found SSD to be better than NCC, but only relatively. NCC was wildly inaccurate, as it performed even worse than naively overlaying the color channels without any aligning.
problem: The end result was that even with SSD, it was only slightly better than the naive alignment. Some fixes needed to be made.
|
|
|
|
Iteration 2: Border Removal
I realized that the borders were causing my algorithm to incorrectly align, because all the borders were a dark black. This meant that the borders were probably being prioritized in the alignment and contributing to most of the inaccuracies, because aligning the borders would result in a much lower error than not having the borders aligned. Unfortunately, aligned borders definitely did not mean the main image was aligned, so I simply cropped away a fixed number of pixels from all 4 sides of each image, specifically 35px for small images and 350px for large images.
This improved the alignments for a portion of the images, but there were still many inaccuracies. Removing the borders didn't address the underlying issue with trying to align color channels by using the raw pixel values, which was that any image with a color that was more distributed to one specific channel would have very different pixel values in the same area of the picture in the other 2 color channels.
For example, in the image "emir.tif", the color of the man's robe is a solid blue, which meant the raw values of the robe in the blue channel were much higher than the values of the robe in the green and red channels.
problem: The end result is that even with borders cropped, many images still suffered slight misalignments that made the images look blurry.
|
|
|
|
|
|
Iteration 3: Edge Detection
One solution is to use the Canny edge detection and align the 3 color channels using edges instead of raw pixel values. This solves the problem of differing pixel values, and instead uses the shapes of the objects seen in each channel.
This greatly improved the accuracy, and at this point the project was considered complete at a minimum level. However, each image took around 200 seconds, which was very long, as the requirement is 60 seconds.
This was actually not a direct result of using Canny edge detection. Even without edge detection, the algorithm took about 150 seconds to run.
problem: The end result is that even though the images were very accurate with edge detection, the algorithm took so long that it was impractical.
Iteration 4: Speed Up
One solution to the slow runtime was to not use the entire image to determine the best alignment. Instead, I can choose a center box that is a fixed size in all 3 color channels and generate my alignment using those smaller images, then align the larger, original images using that same alignment vector.
I had to be careful and not choose a center box that was too small, as then I would get some inaccurate results as not enough of the image is visible to make a proper alignment. I also had to make sure the center box wasn't too large that it would still take a long time to run. In the end, I found that a box that was 20% of each dimension of the original image was a good tradeoff between speed and accuracy.
The final result was a massive speedup that still maintained the same level of accuracy. I was able to align each image in under 15 seconds, with each one looking amazing.
Failures
Without edges
Without edges, some of the images suffered misalignment due to the color distributions in the image. As I mentioned before, in the image "emir.tif", the color of the man's robe is a solid blue, which meant the raw values of the robe in the blue channel were much higher than the values of the robe in the green and red channels. This meant the error value would be very high even if it was properly aligned.
Another issue was that there might have been too many repeated structures, such as in "monastery.jpg", which had many small towers that could easily have caused a misalignment to have a small error.
|
|
Bells and Whistles
Edge Detection
Using edge detection was a way to remove the inaccuracies of inconsistent pixel values. By using a Canny edge detector, I am able to reduce the image into a binary image, where a pixel value of 1 represents an edge, and 0 is no edge. This way, the "shapes" of the objects in the image are preserved.
I found that setting sigma=1 produced the best results. This is most likely because anything lower would introduce too much noise into the image, and anything higher would cause many edges to pass undetected.
I use SciKit's feature package, which has a Canny edge detector.
|
|
|
|