Colorizing the Prokudin-Gorskii photo collection
CS194-26 Fall 2018
Andrew Campbell, cs194-26-adf
In this project, we present a fast and automated process for taking glass negative scans and bringing them to life with modern image processing techniques. Specifcally, we’ll look at image alignment, white balance, and contrast correction.
Background
Sergei Mikhailovich Prokudin-Gorskii (1863-1944) was a man well ahead of his time. Educated as a chemist, Prokudin-Gorskii devoted his career to the advancement of photography. Around 1907 Prokudin-Gorskii envisioned and formulated a plan to use the emerging technological advancements that had been made in color photography to systematically document the Russian Empire. His idea was simple: record three exposures of every scene onto a glass plate using a red, a green, and a blue filter. He envisioned special projectors to be installed in “multimedia” classrooms all across Russia where the children would be able to learn about their vast country.
Prokudin-Gorskii documented the Russian Empire around 1907 through 1915. He left Russia in 1918, after the Russian Revolution, and eventually settled in Paris, where he died in 1944. Fortunately, his RGB glass plate negatives, capturing the last years of the Russian Empire, survived and were purchased in 1948 by the Library of Congress. The LoC has recently digitized the negatives and made them available on-line.
The Approach

The glass negatives provided by LoC come in the form shown above. The three images correspond to the blue, green, and red filters, respectively. At a high level, our program needs to extract the three color channel images, place them on top of each other, and align them so that they form a single color image. We can then apply additional image processing techniques to produce a vibrant but realistic image with as few visual artifacts as possible. We will go through each of these steps in detail.
Alignment
Alignment works by finding the displacement vector (x, y) needed to shift the overlaid image to align with the baseline image. We align the green channel onto the blue, then the red channel onto the blue separately.
The simplest approach is a brute-force window search over possible displacements, scoring each one using some image matching metric, and taking the displacement with the best score. Using a window of [-15, 15] and normalized cross-correlation as the scoring metric worked well for low-resolution images. Some of the results are shown below:
 |
 |
 |
Normalized cross-correlation (NCC) is simply the inner product between the normalized vector representations of each color channel:
Note that the misaligned borders of the image produced noise in the scoring, so 10% of the margins from all sides were removed prior to scoring.
Image Pyramid
While this scoring metric worked well on low-resolution test images (about 400x400 pixels), the exhaustive search became prohibitively expensive on the full-resolution glass scans. To that end, we used an image pyramid technique to recurse down to an image with max dimension less than 400 pixels by repeated halving. Then, we perform a window search across all possible (x, y) displacements in (-15, +15). We return the best displacement to the caller, where it is doubled and a smaller window search in (-3, +3) is performed to maintain precision when scaling back up.
This technique enabled the alignment algorithm to finish in about 15 seconds for a 3000x3000 image.
Edge Detection
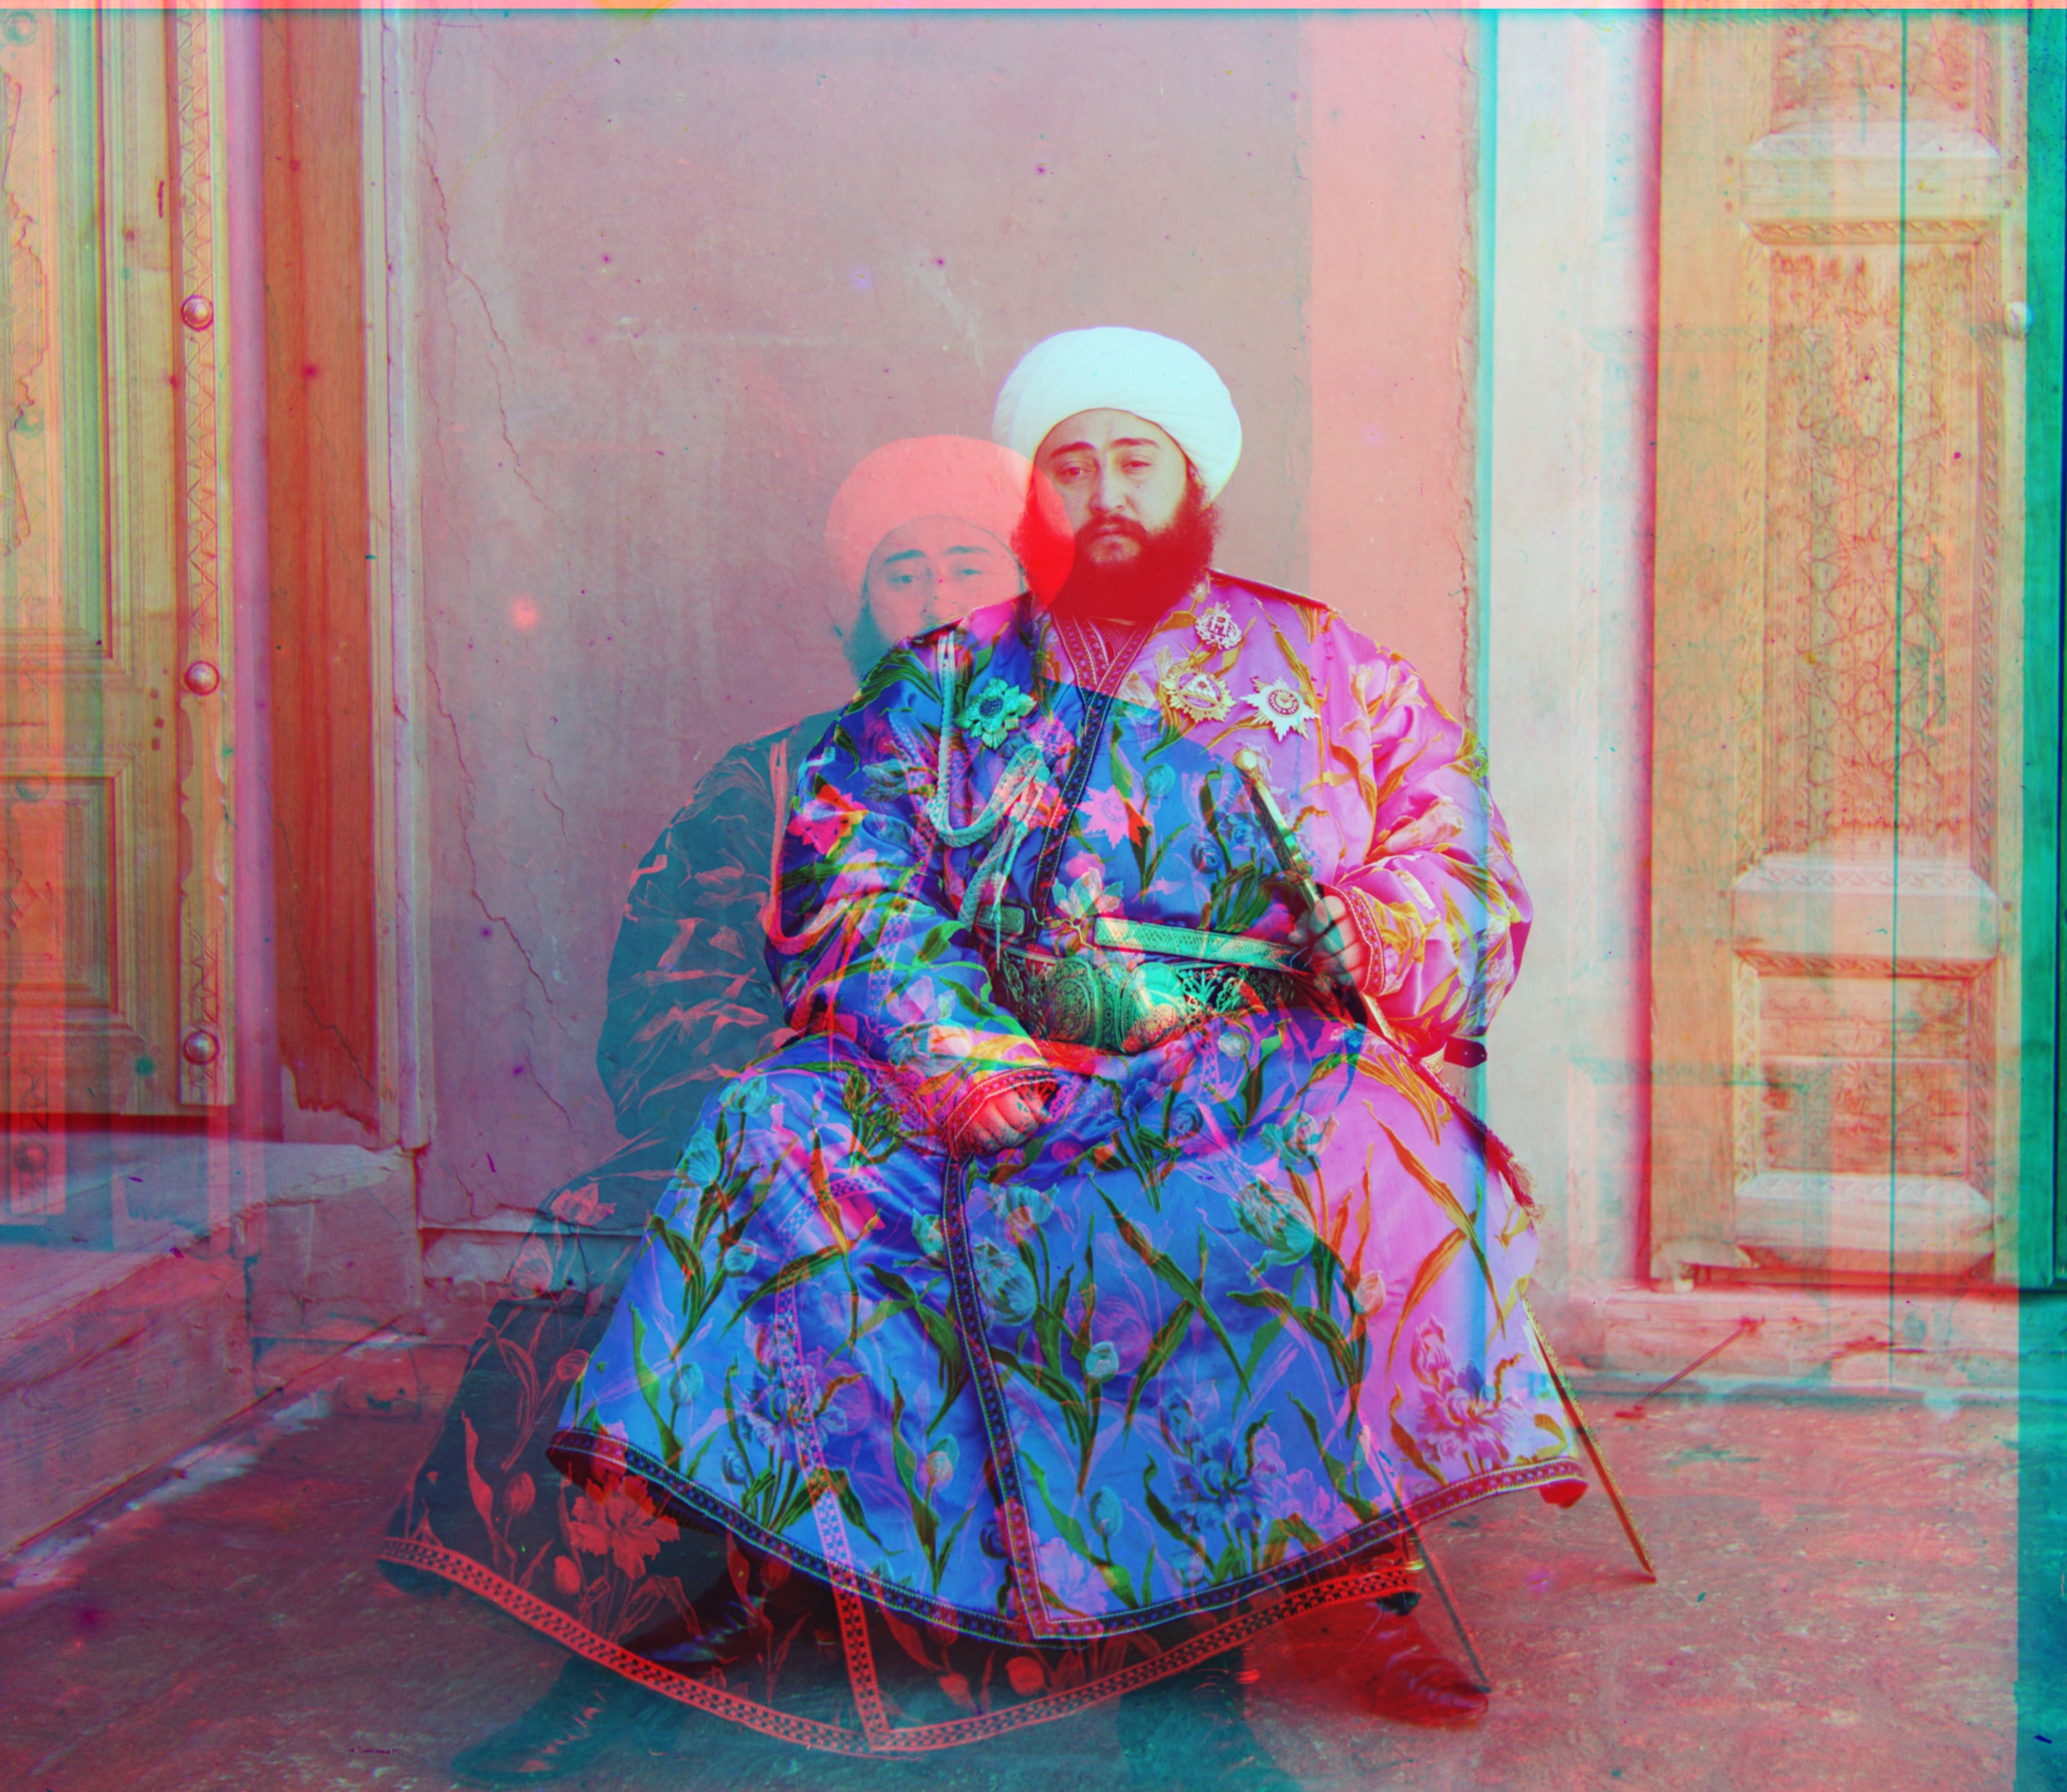
Although the scoring metric described above worked well for most images, occasionally an image with high intensity color in one channel caused NCC to fail:
To fix this, we instead ran the scoring algorithm on the edges of the image. A Canny edge detector produced good results; the edged image used for scoring is shown below:
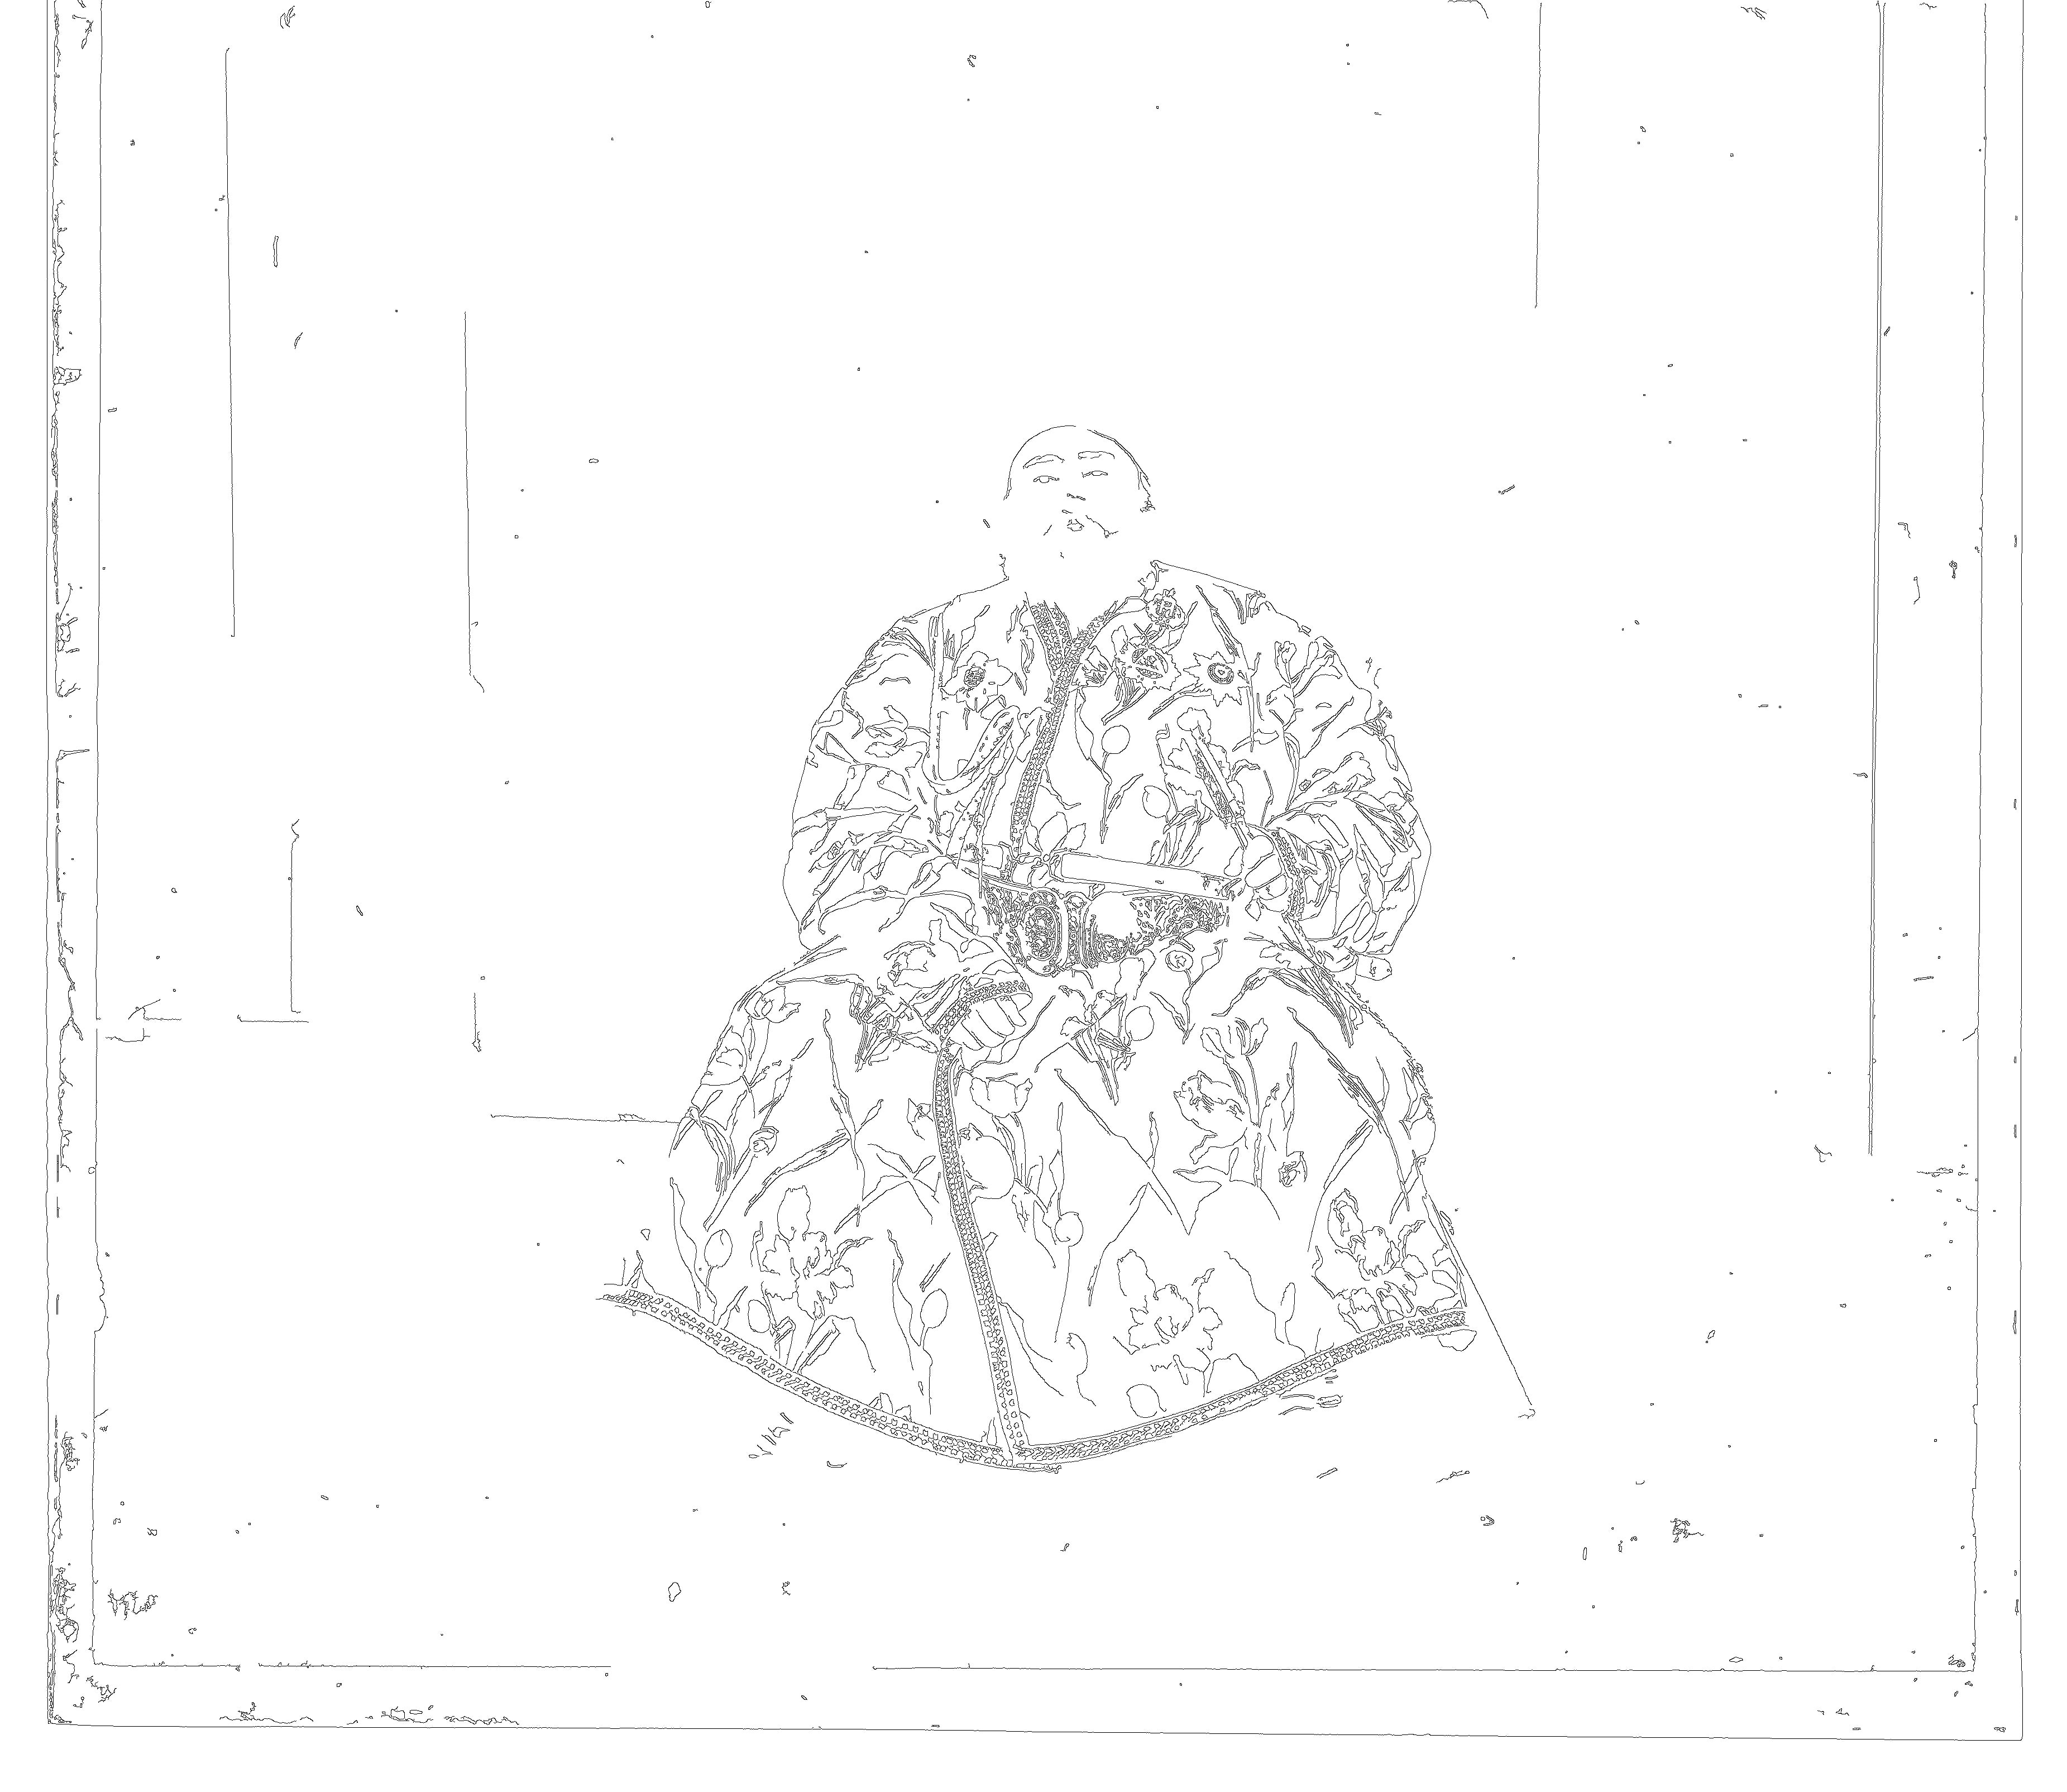
which resulted in correct alignment on all example images.
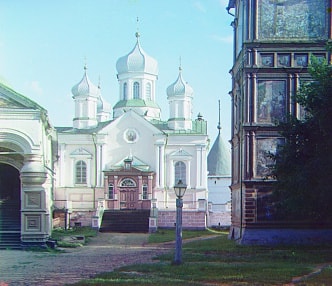
Automatic White Balance
White balance (WB) is the process of removing unrealistic color casts so that objects which appear white in person are rendered white in a photo. We used a simple procedure to automatically perform white balance: estimate the illuminate as the average color, and manipulate the colors to counteract the illuminant by shifting the average color to gray.
This procedure worked rather well for many images with unnatural color temperatures; some examples are shown below.
| Before WB | After WB |
|---|---|
 |
 |
 |
 |
 |
 |
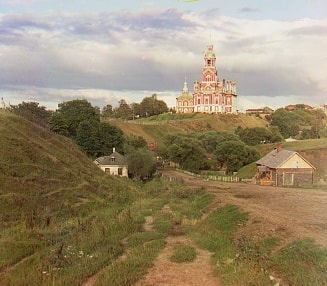
HDR Effect (Automatic contrasting)
High dynamic range (HDR) imaging is a technique used in photography to reproduce a greater dynamic range of luminosity than is possible with standard digital imaging.
It turns out that it is rather easy to simulate a HDR effect with the help of OpenCV’s CLAHE, or Contrast Limited Adaptive Histogram Equalization. Essentially we perform histogram equalization and use it to improve the contrast of our images. The end result looks rather nice; some of the best examples are shown below.
| Before HDR | After HDR |
|---|---|
 |
 |
 |
 |
 |
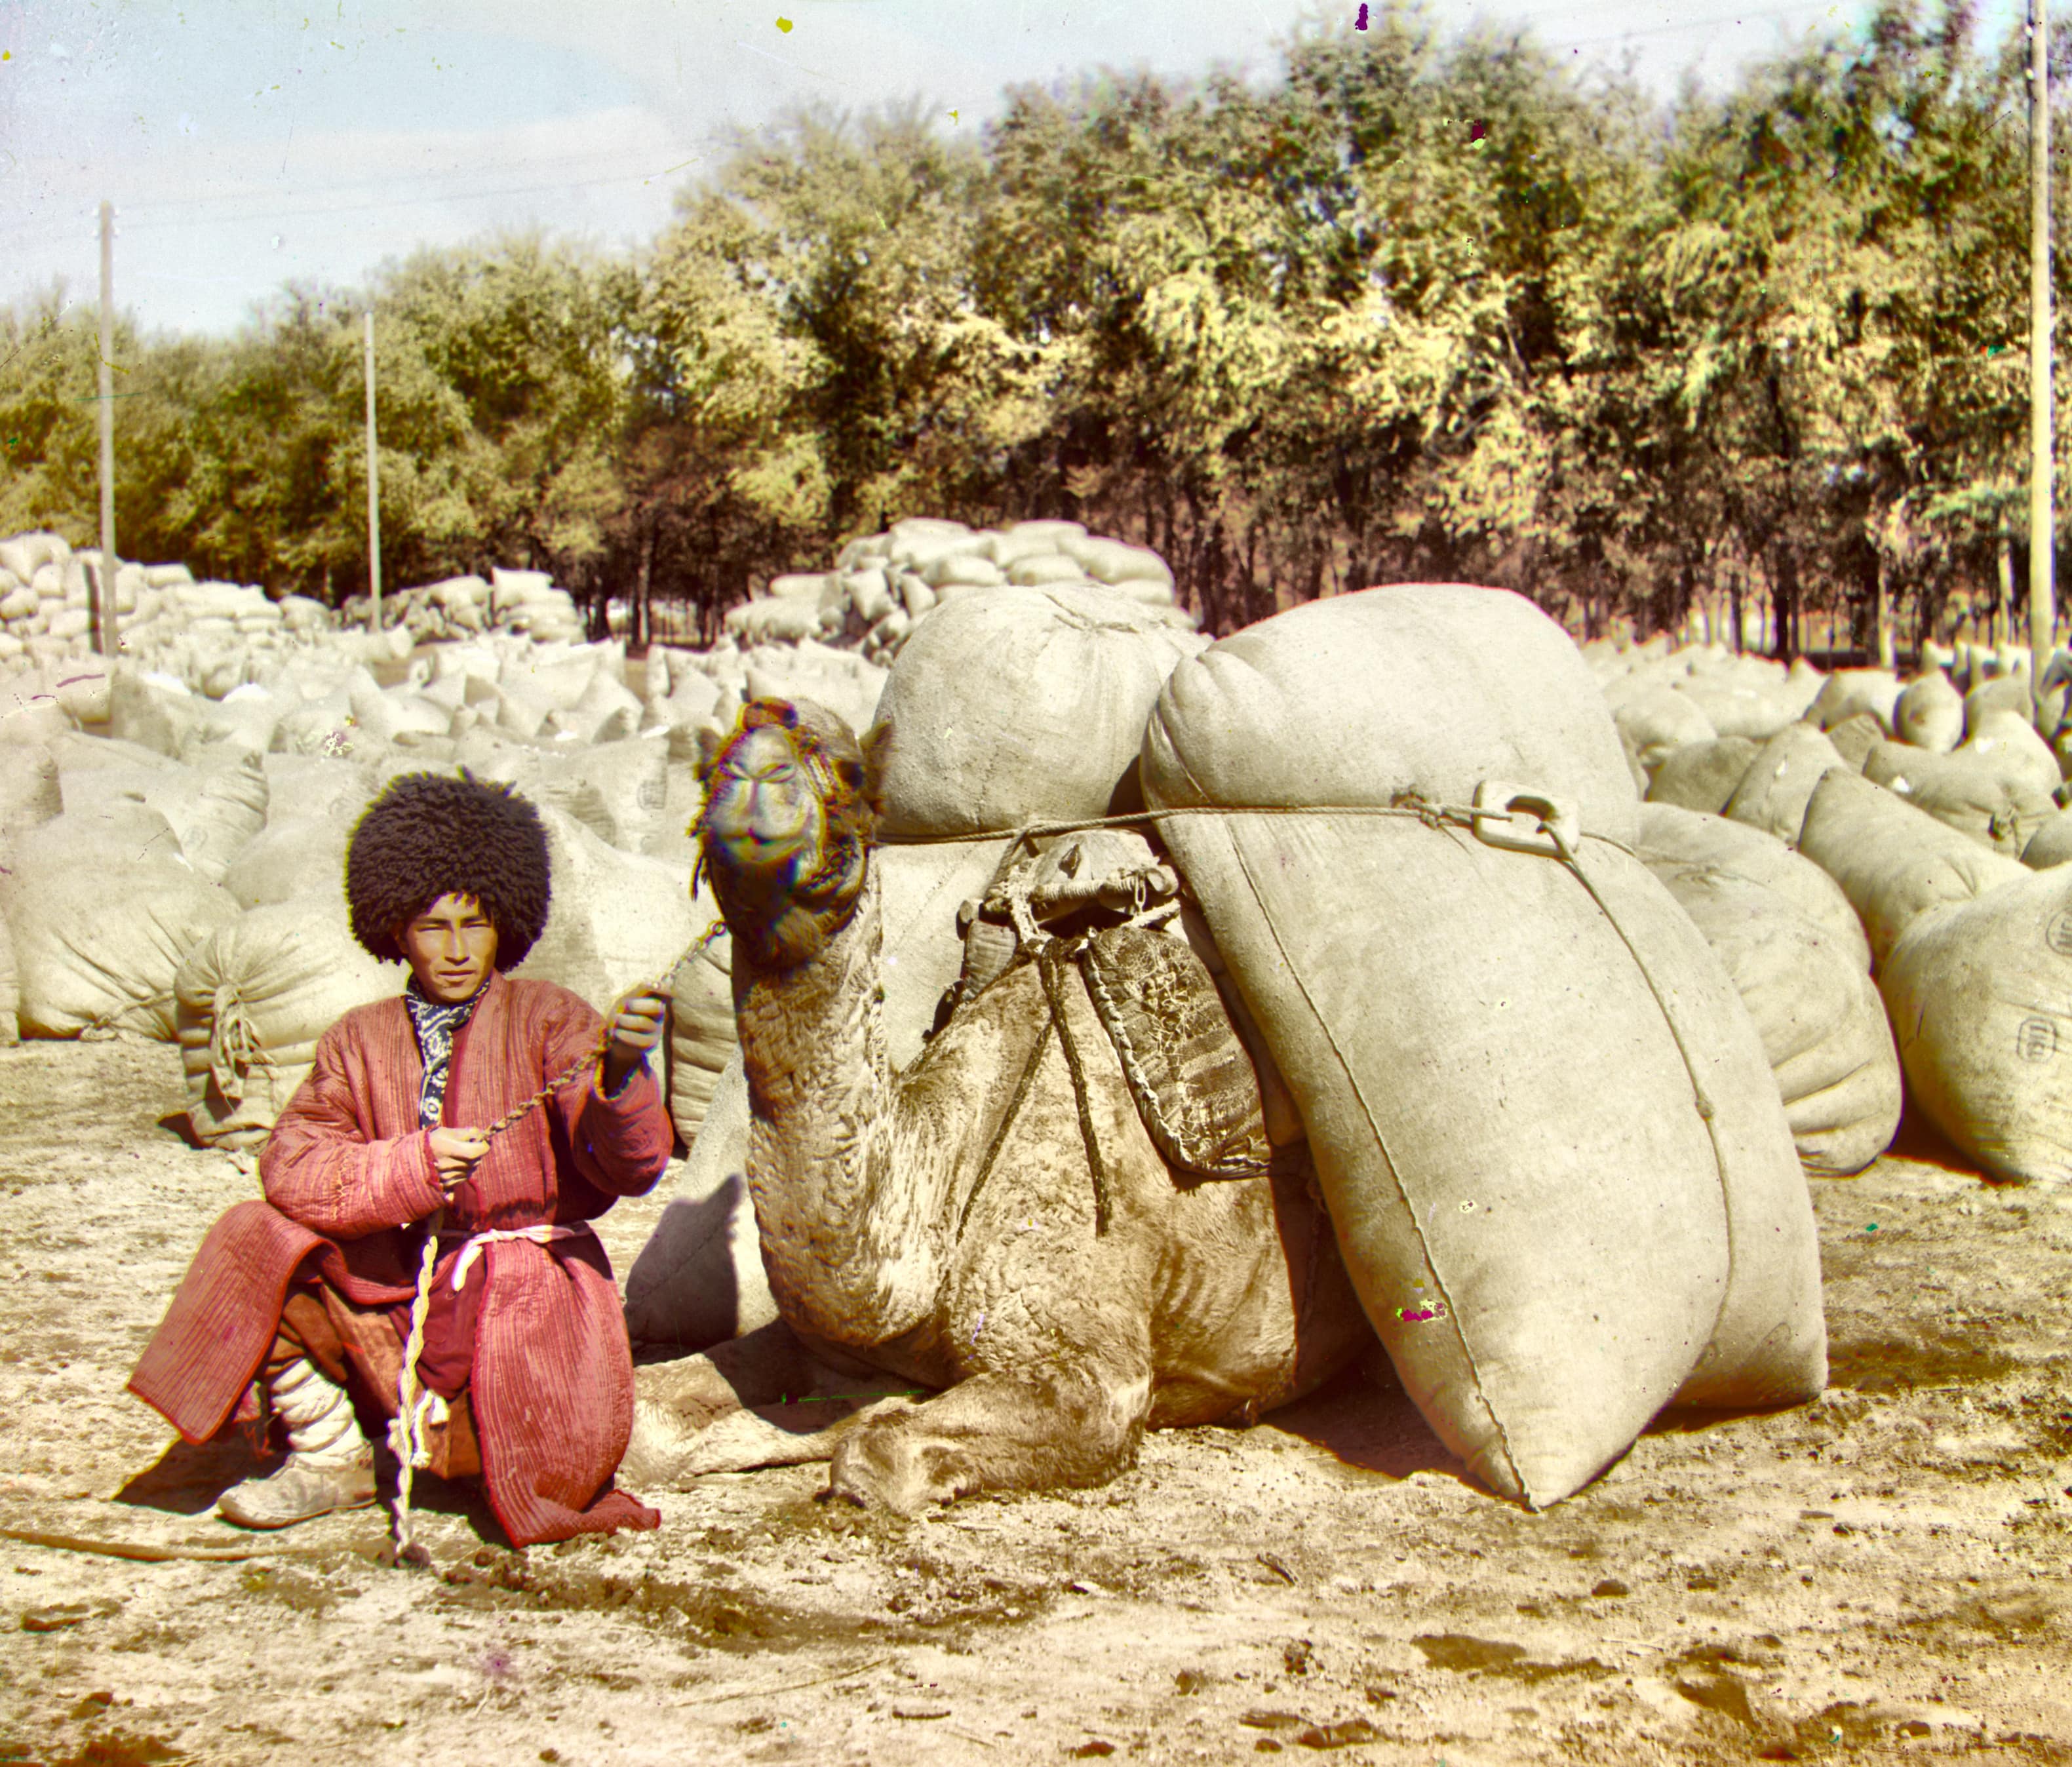 |
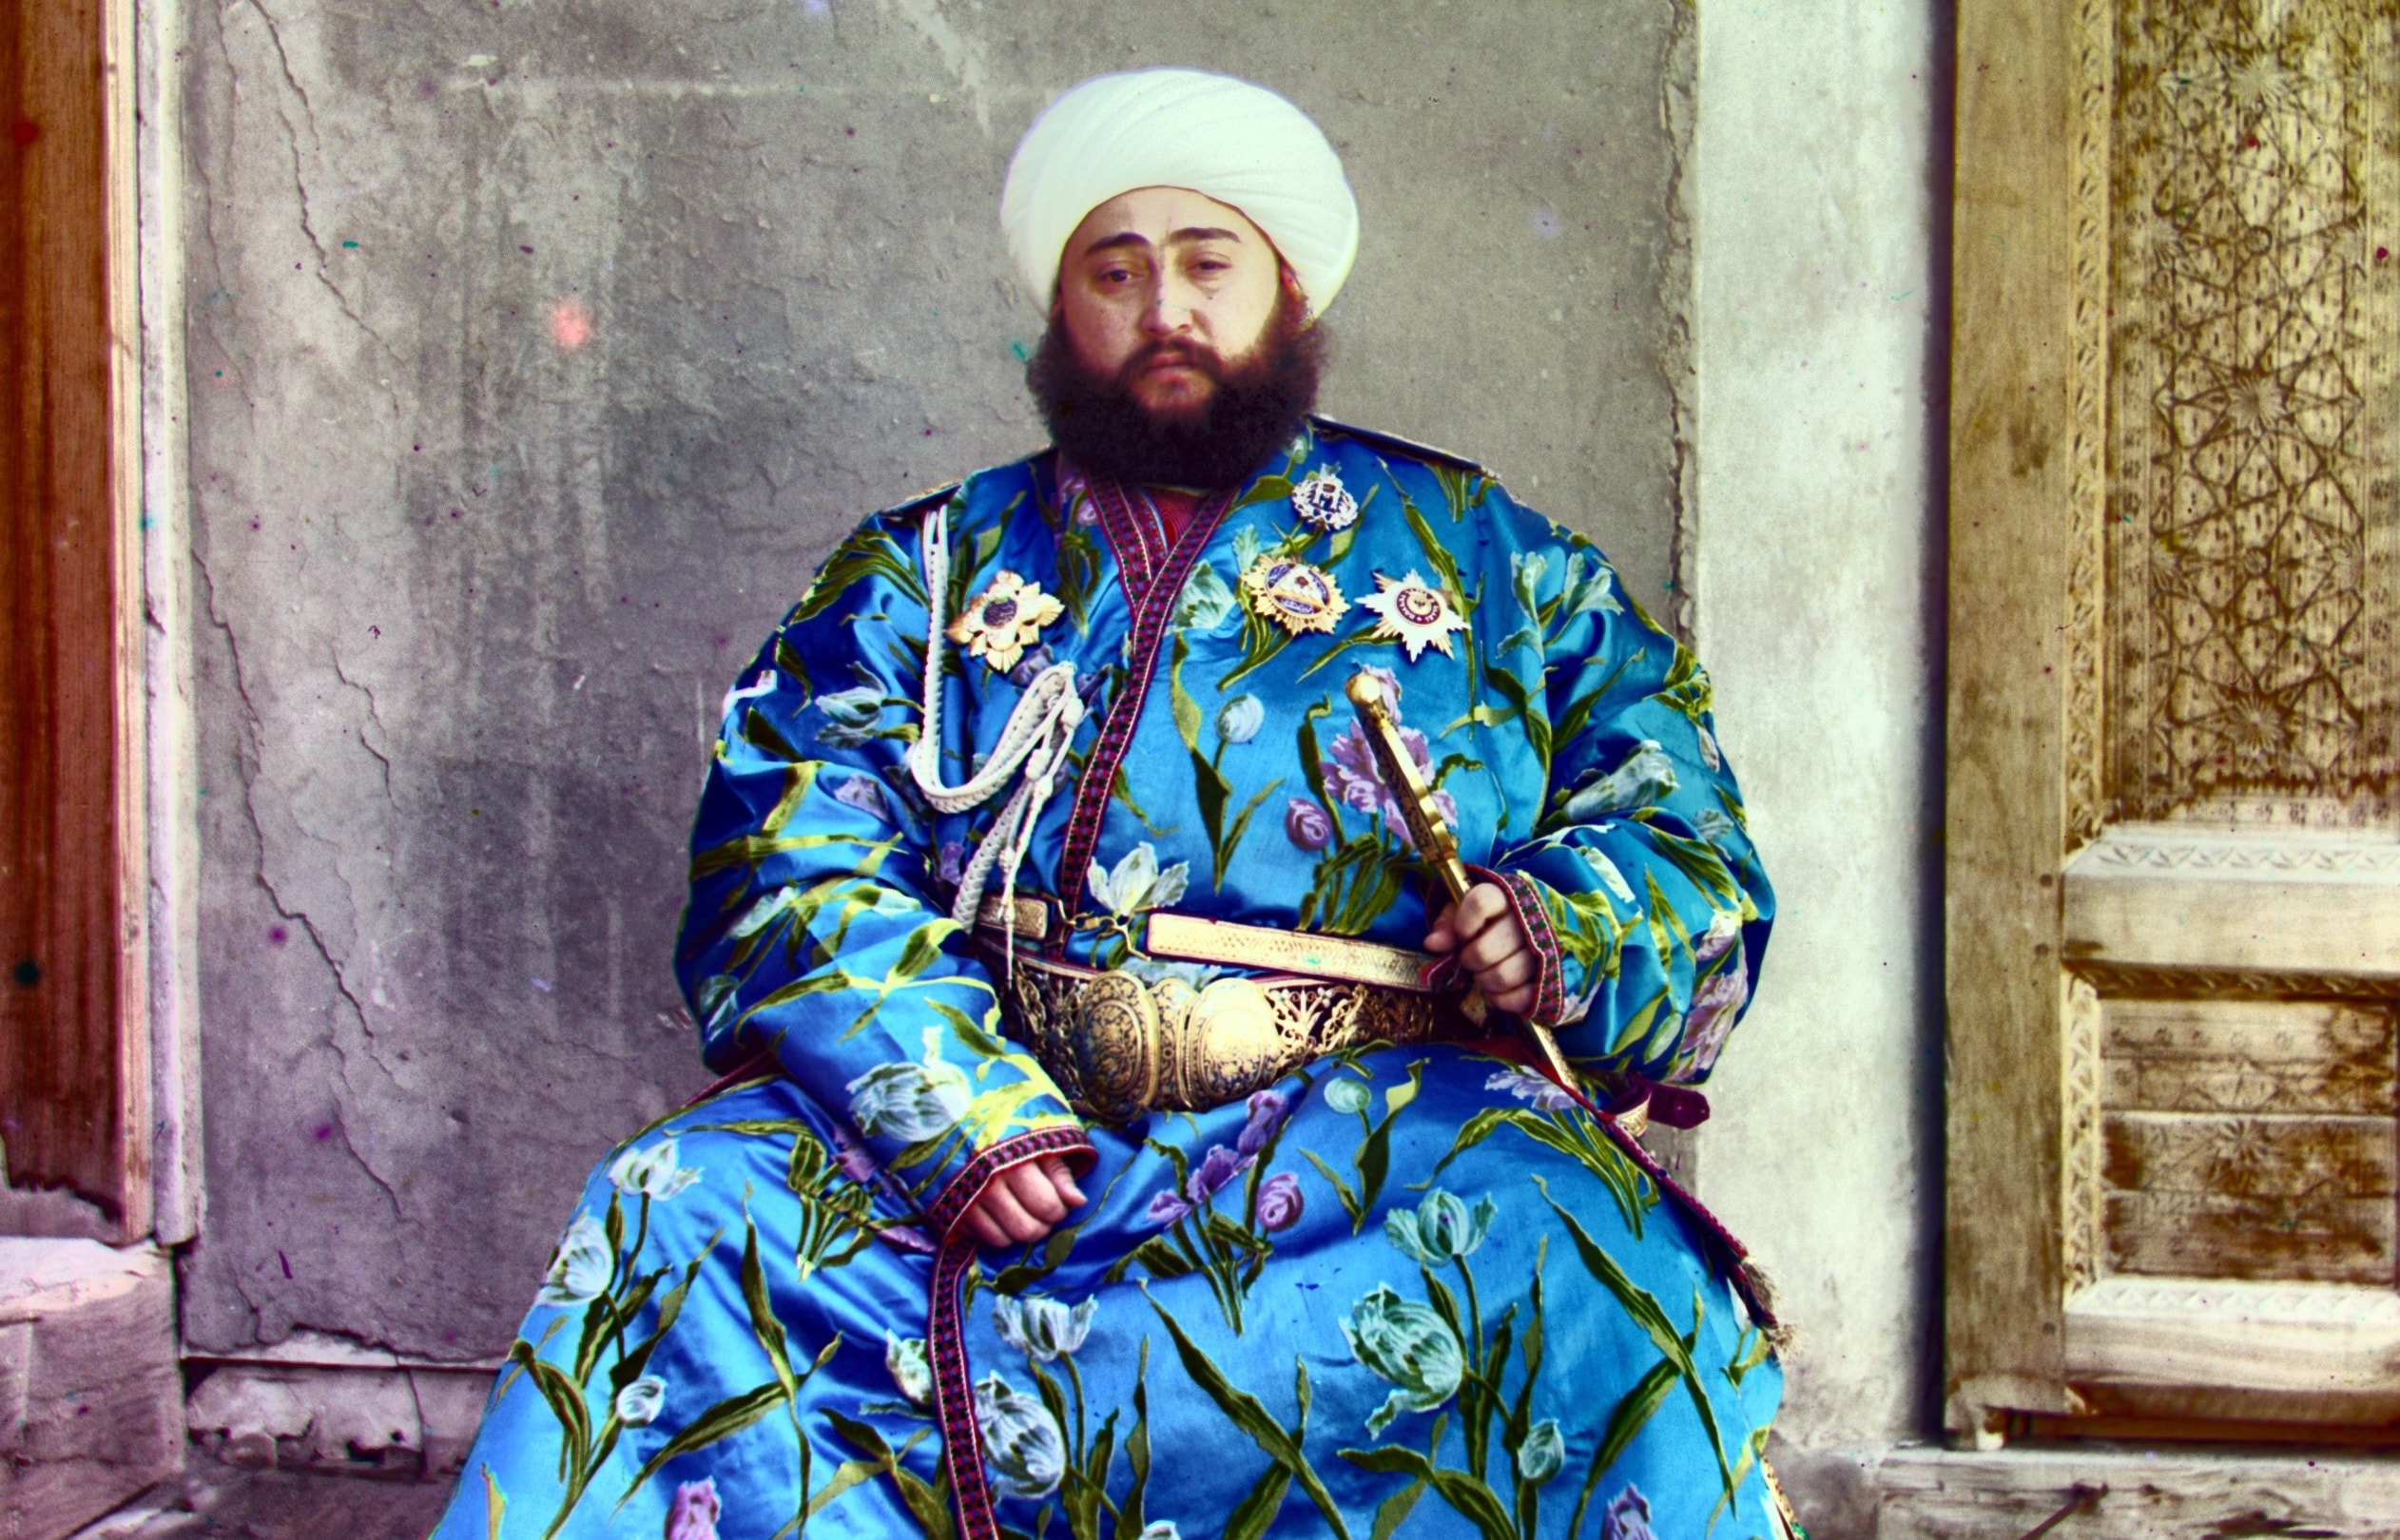
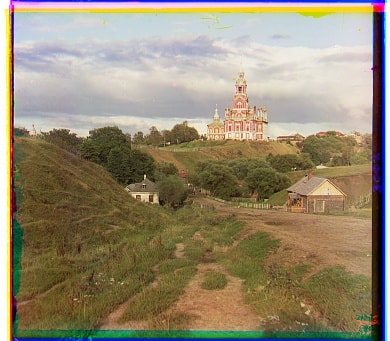
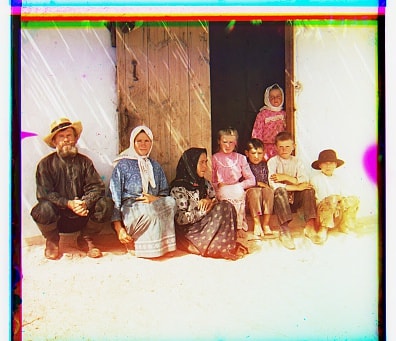
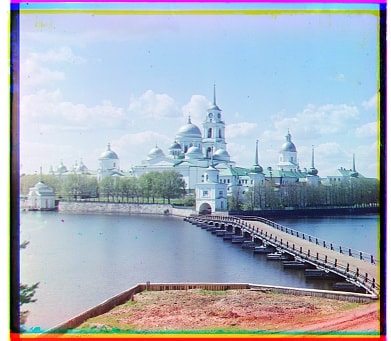
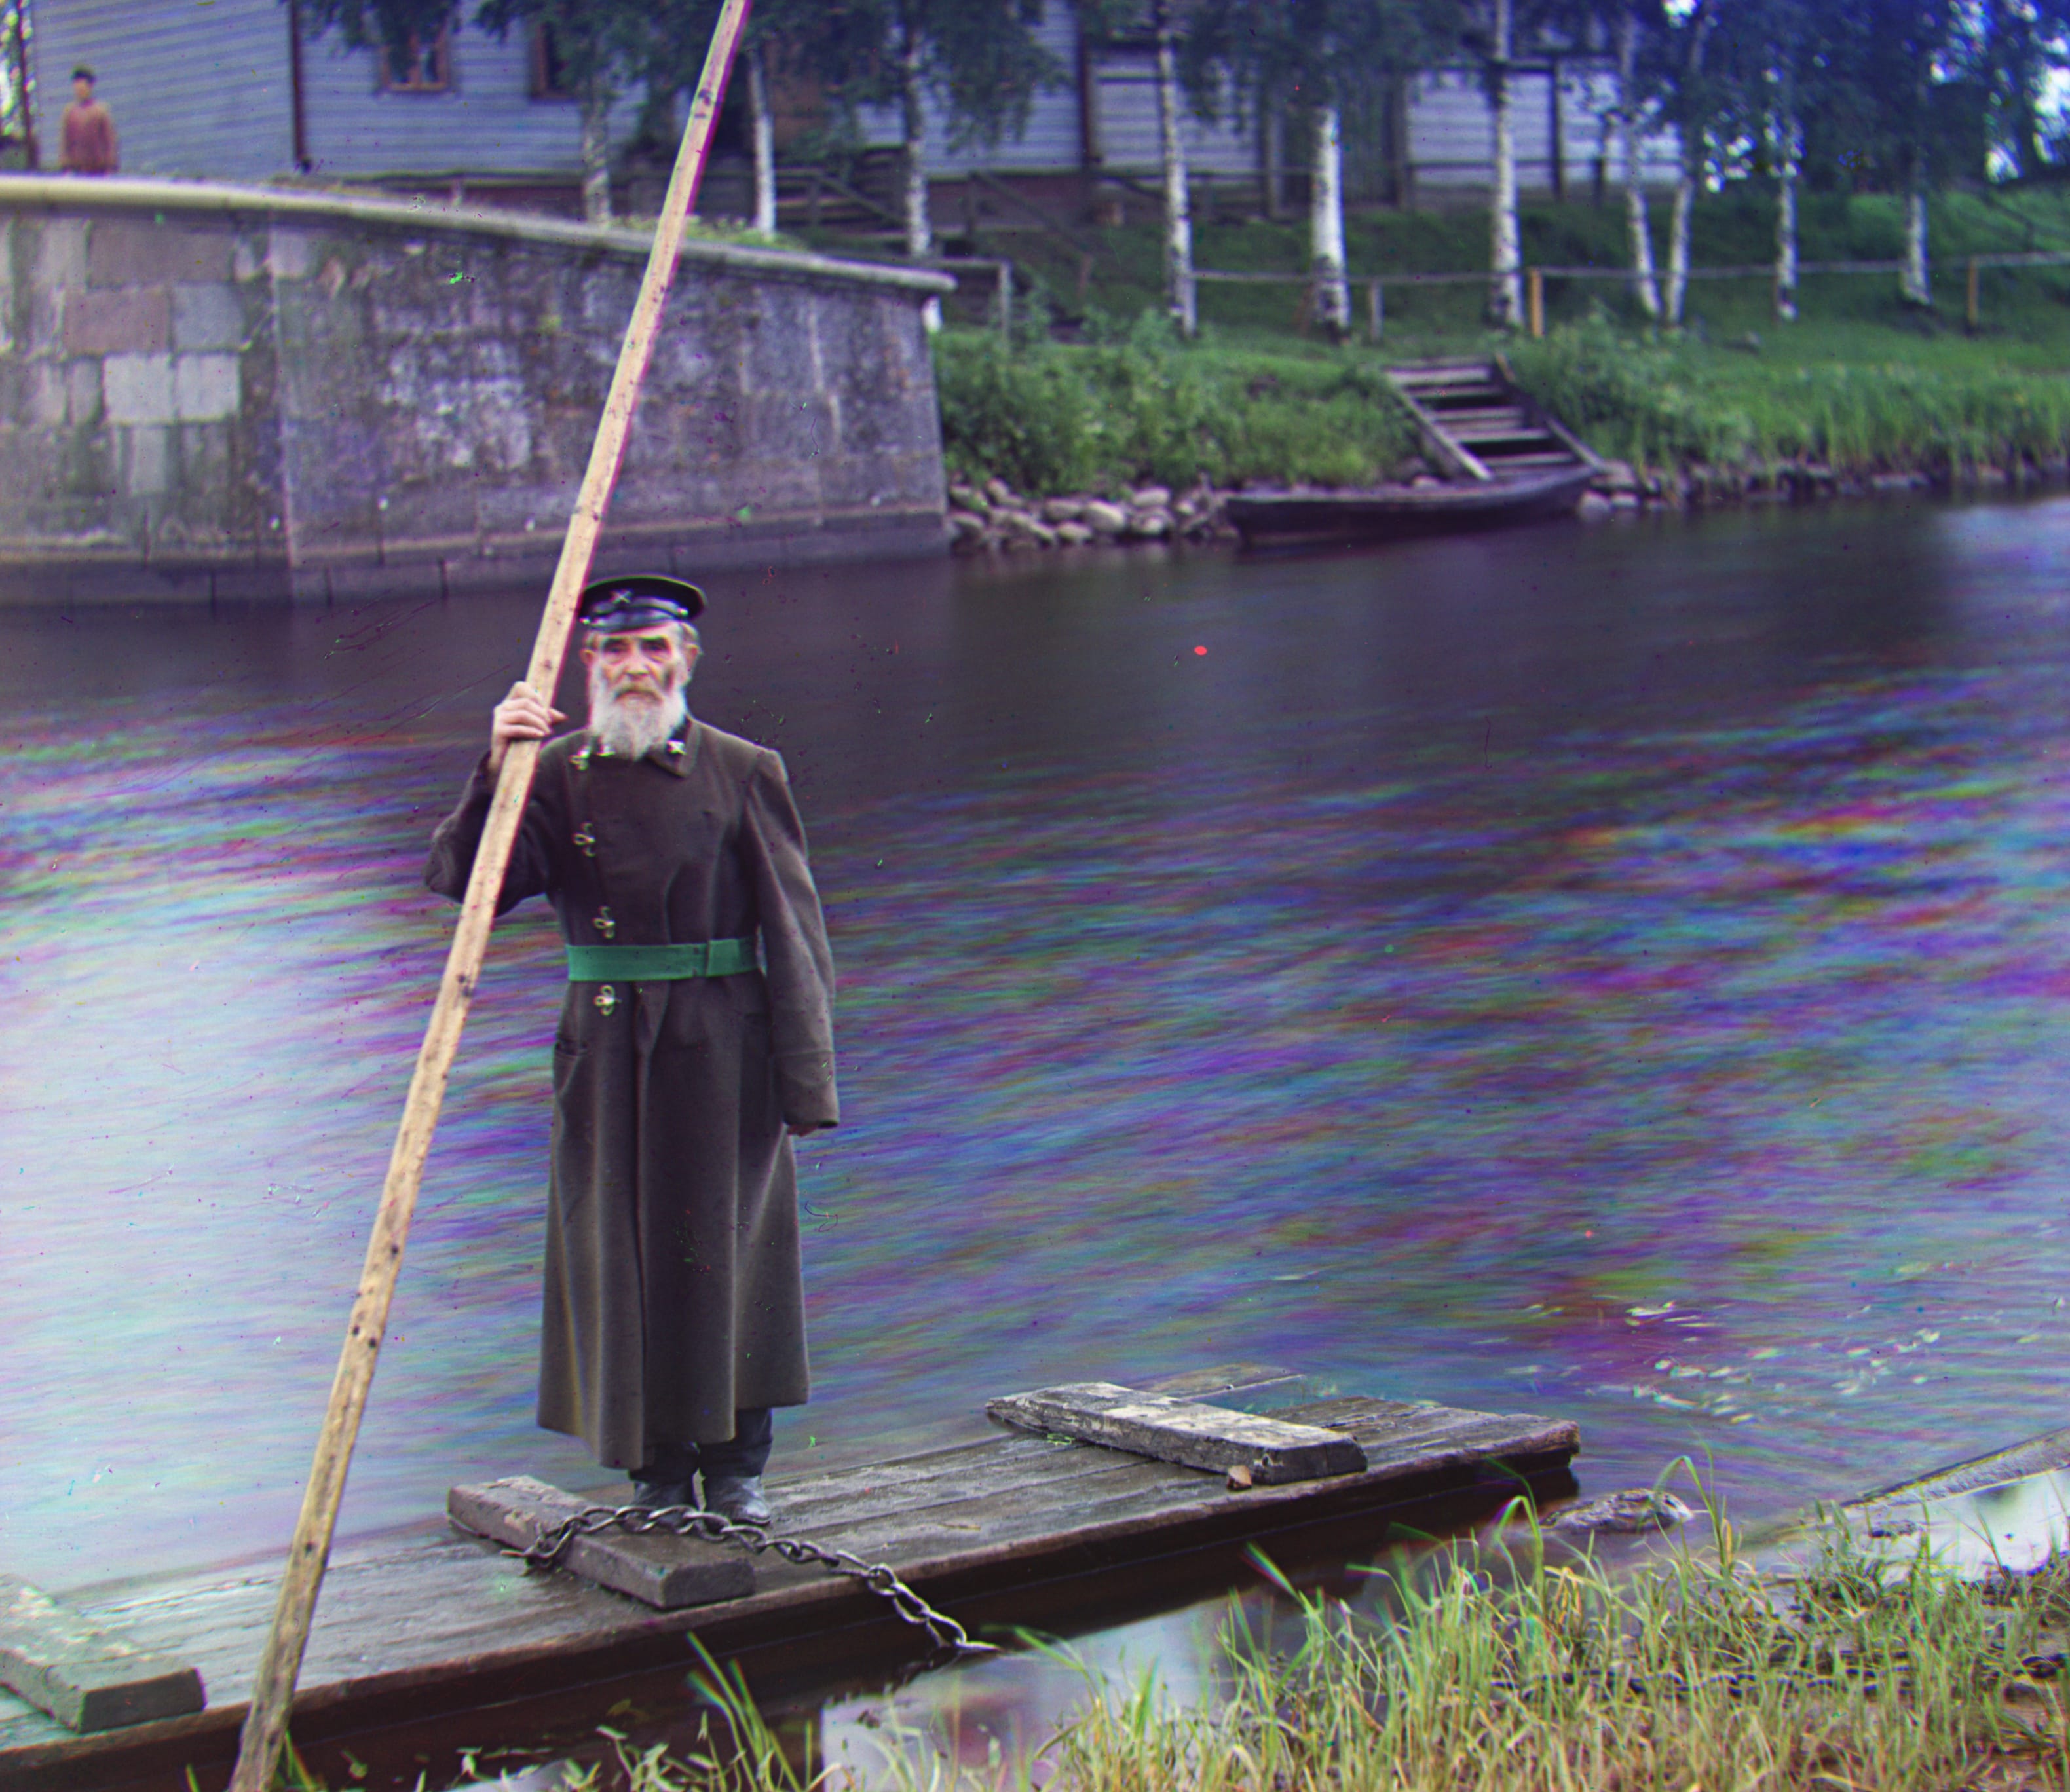
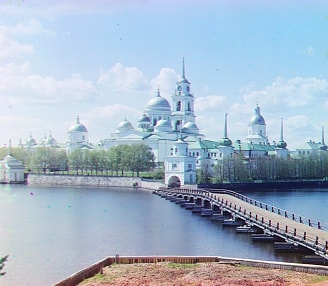
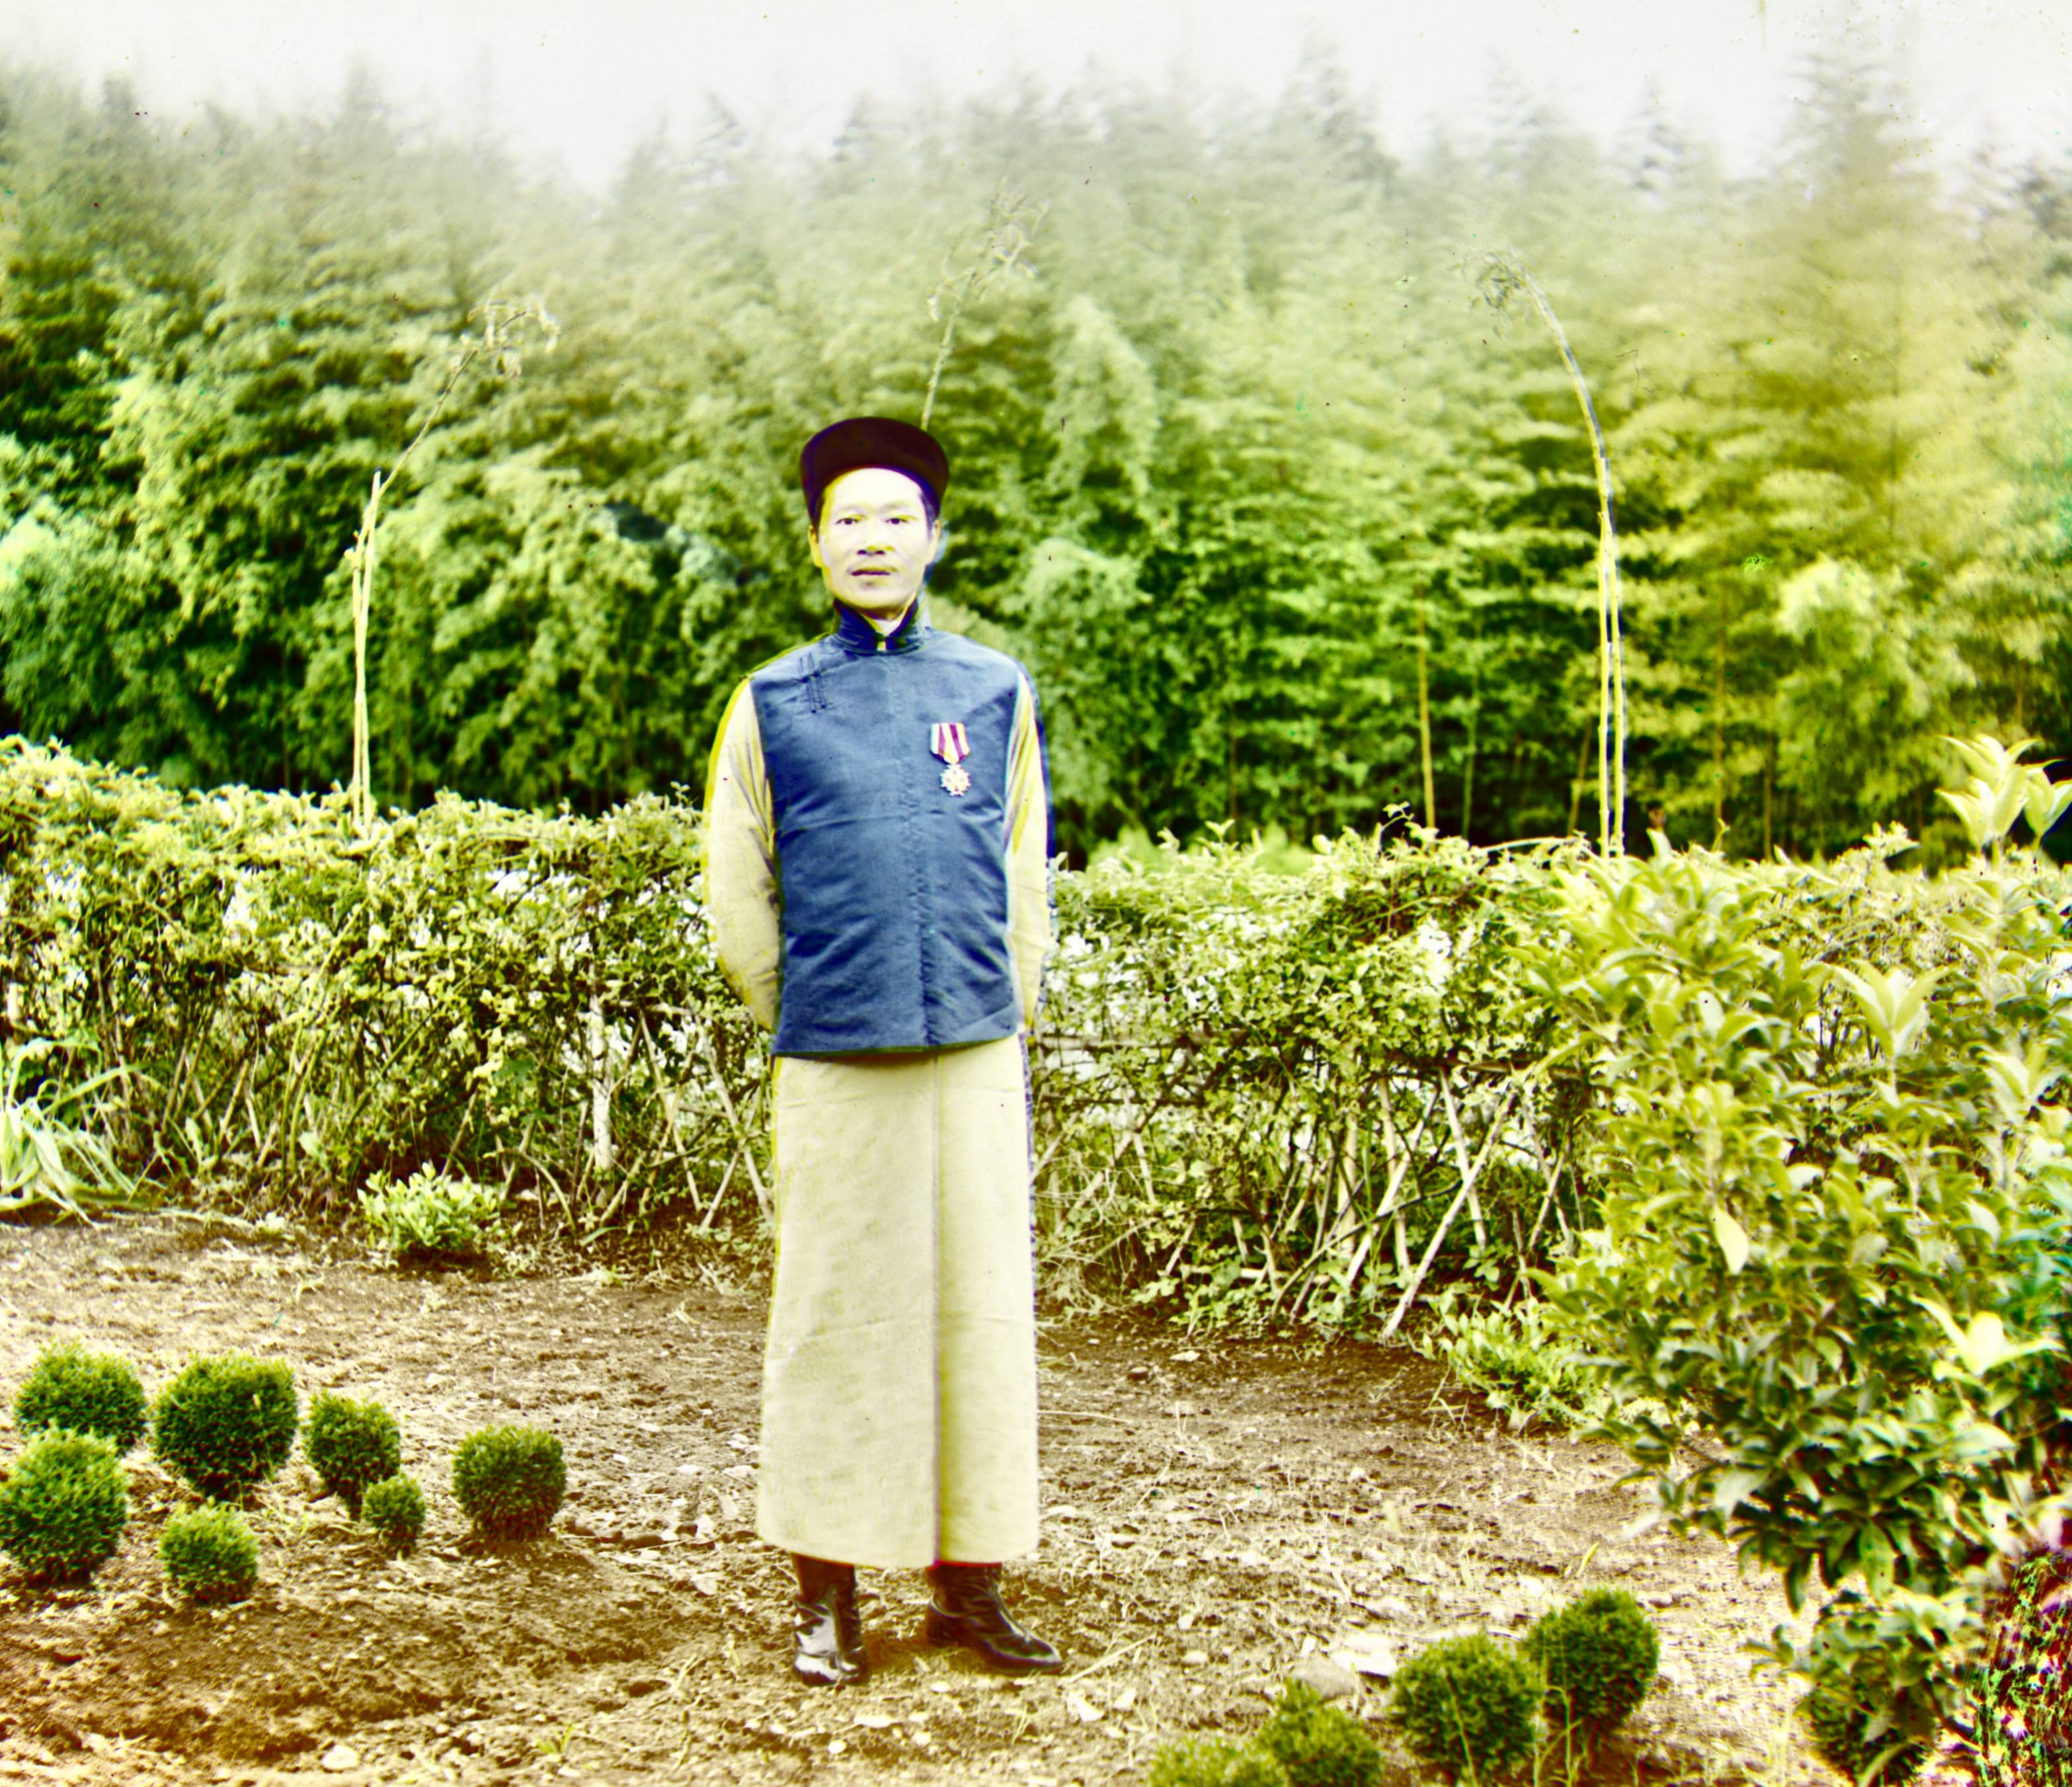
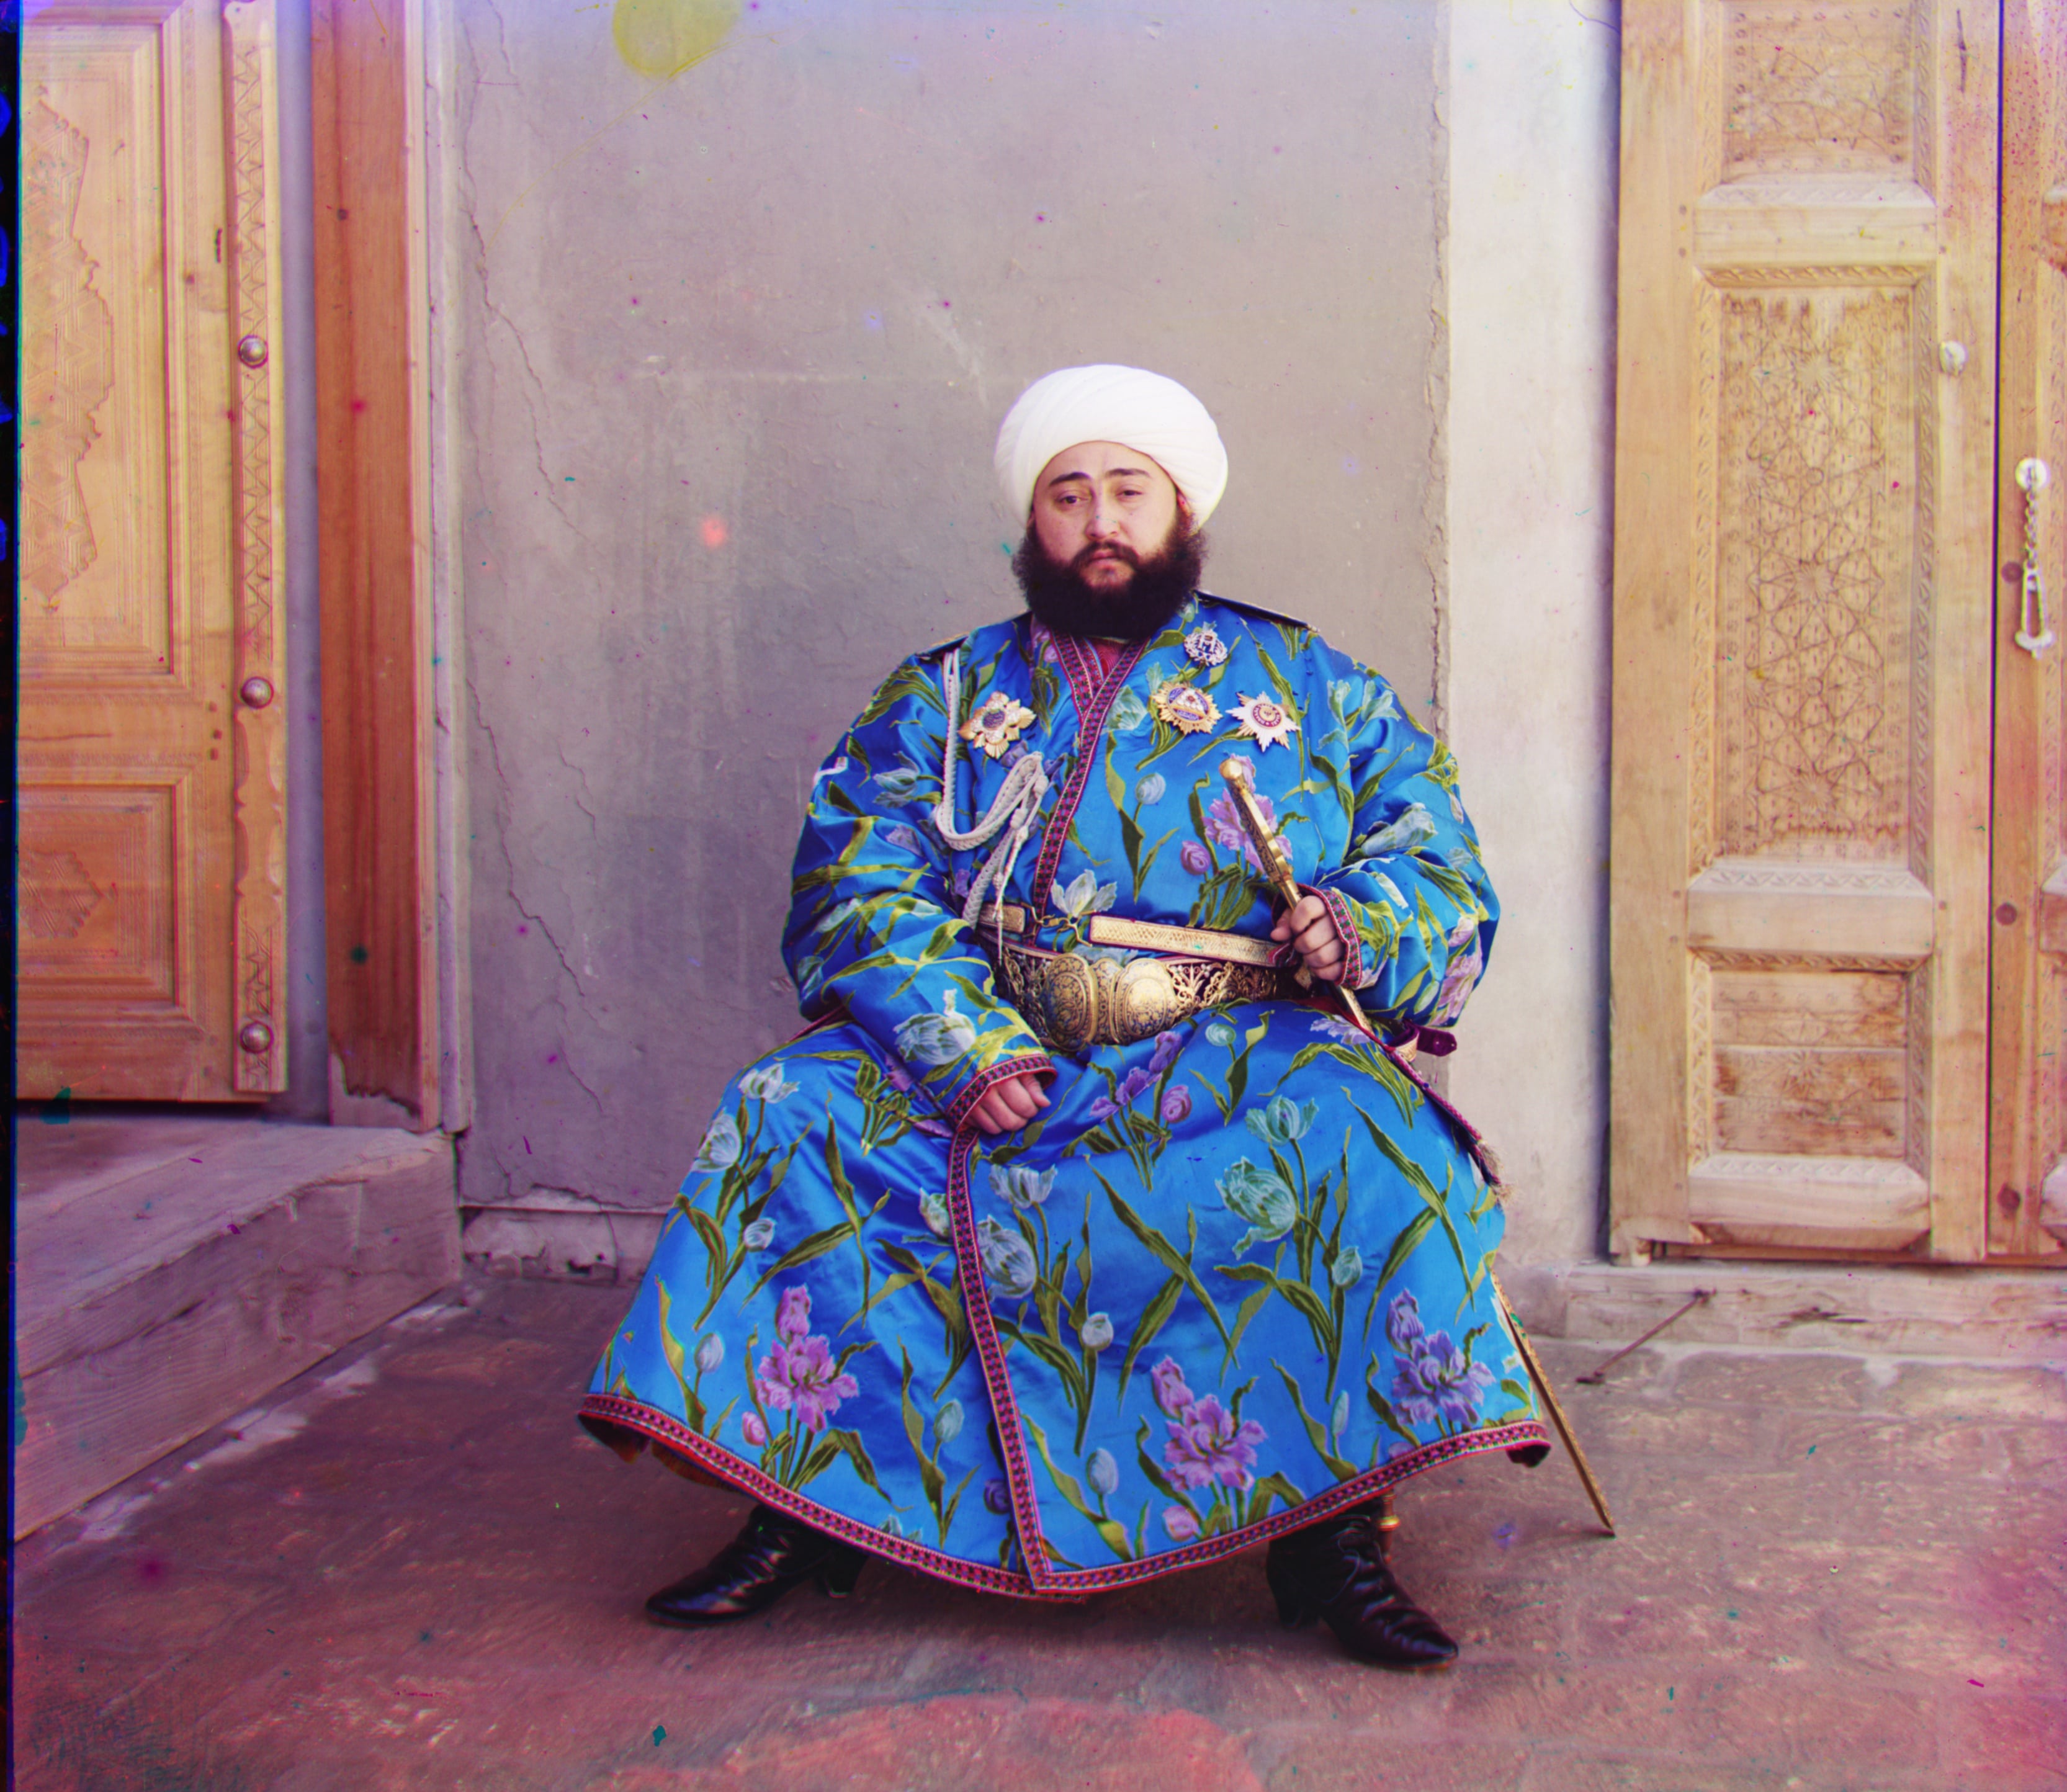
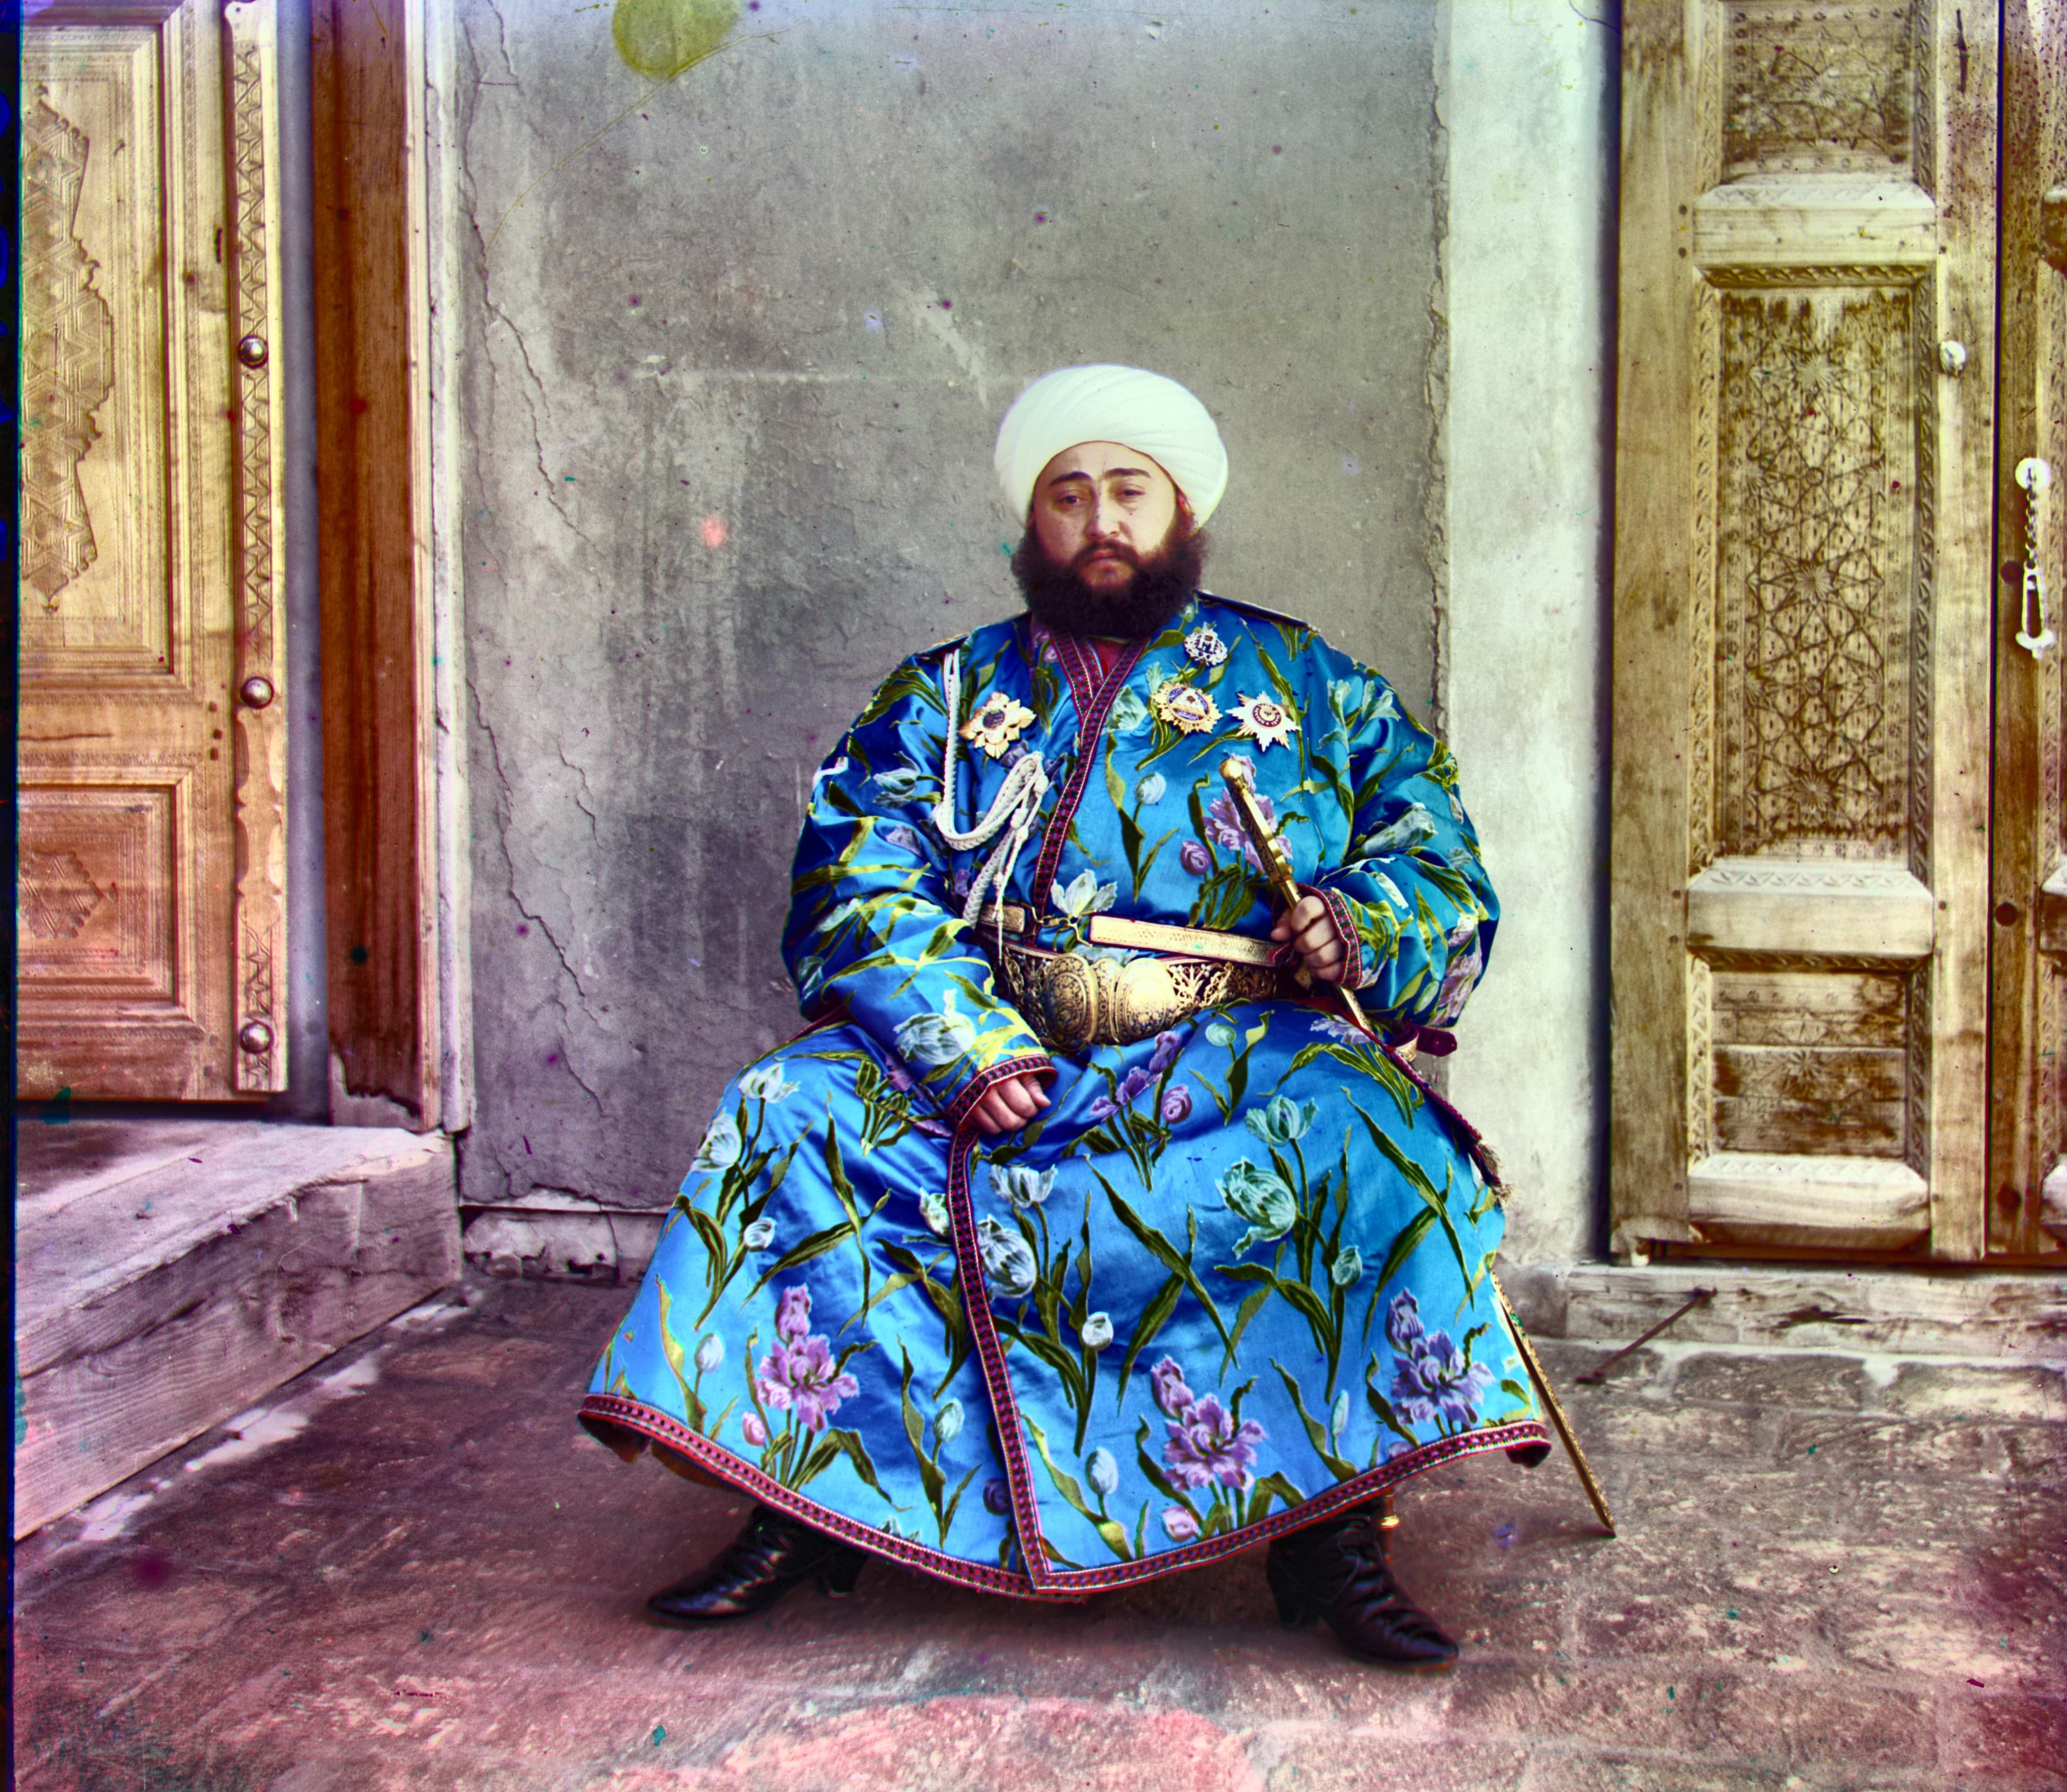
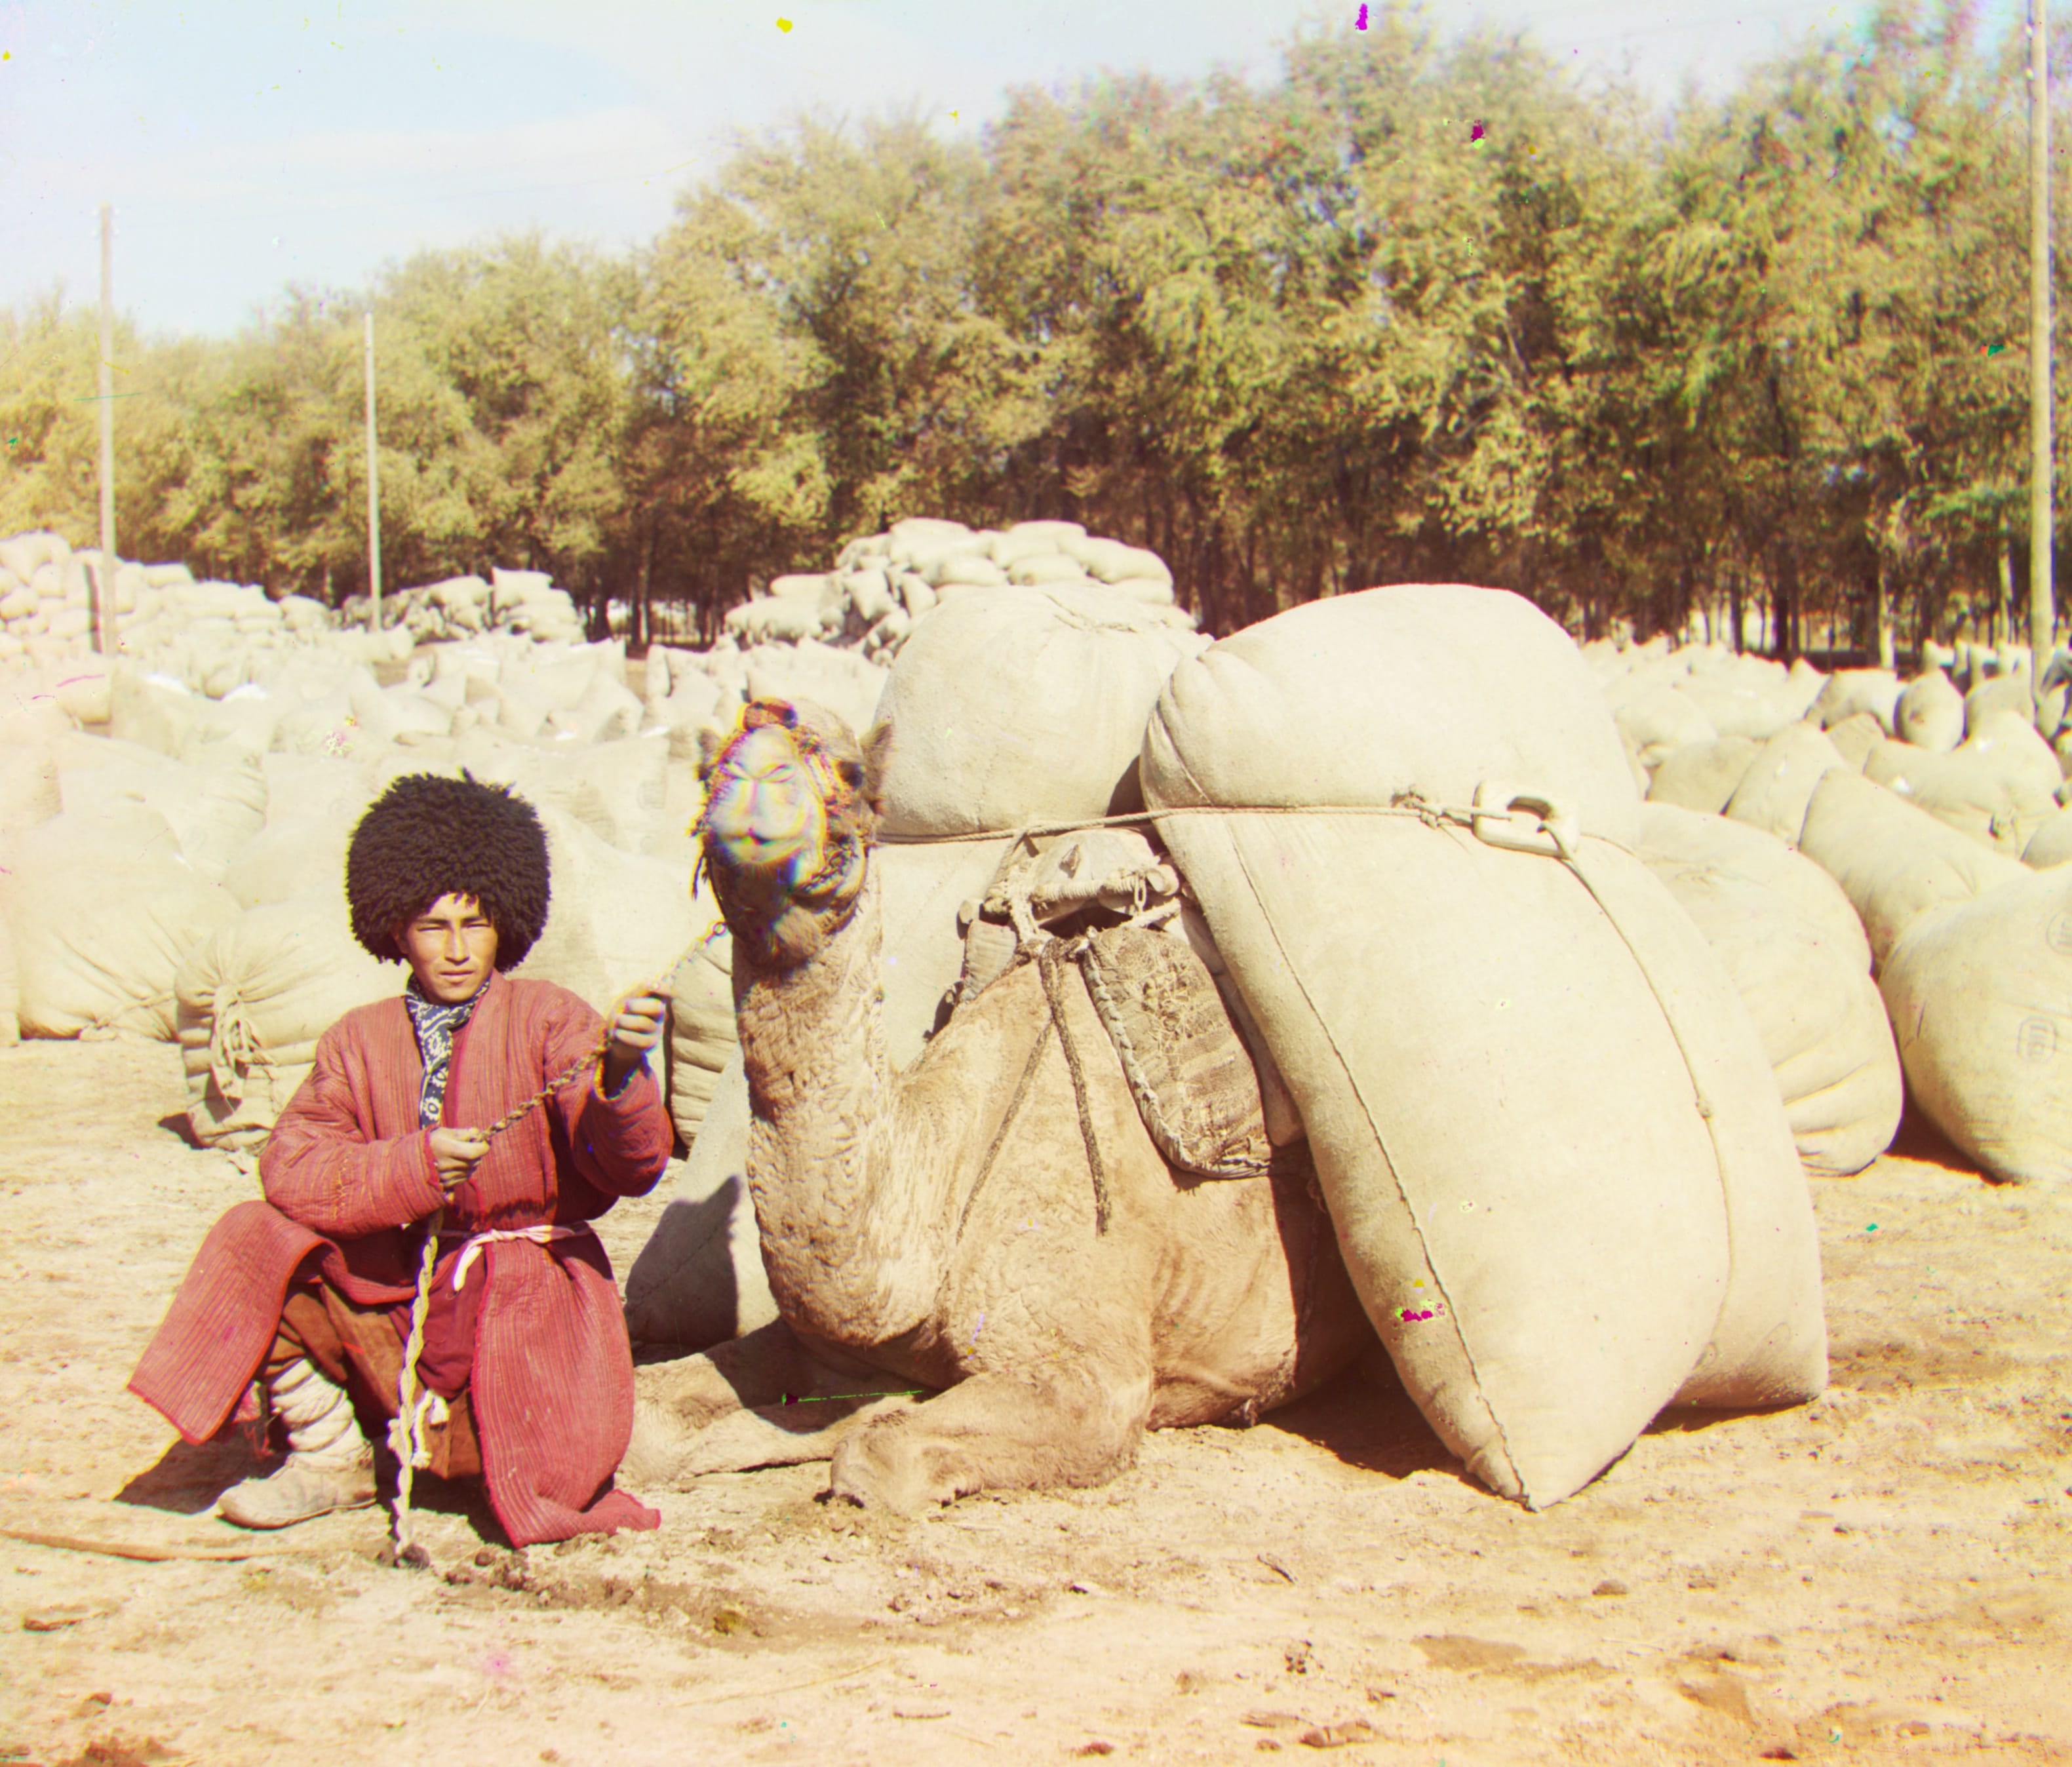
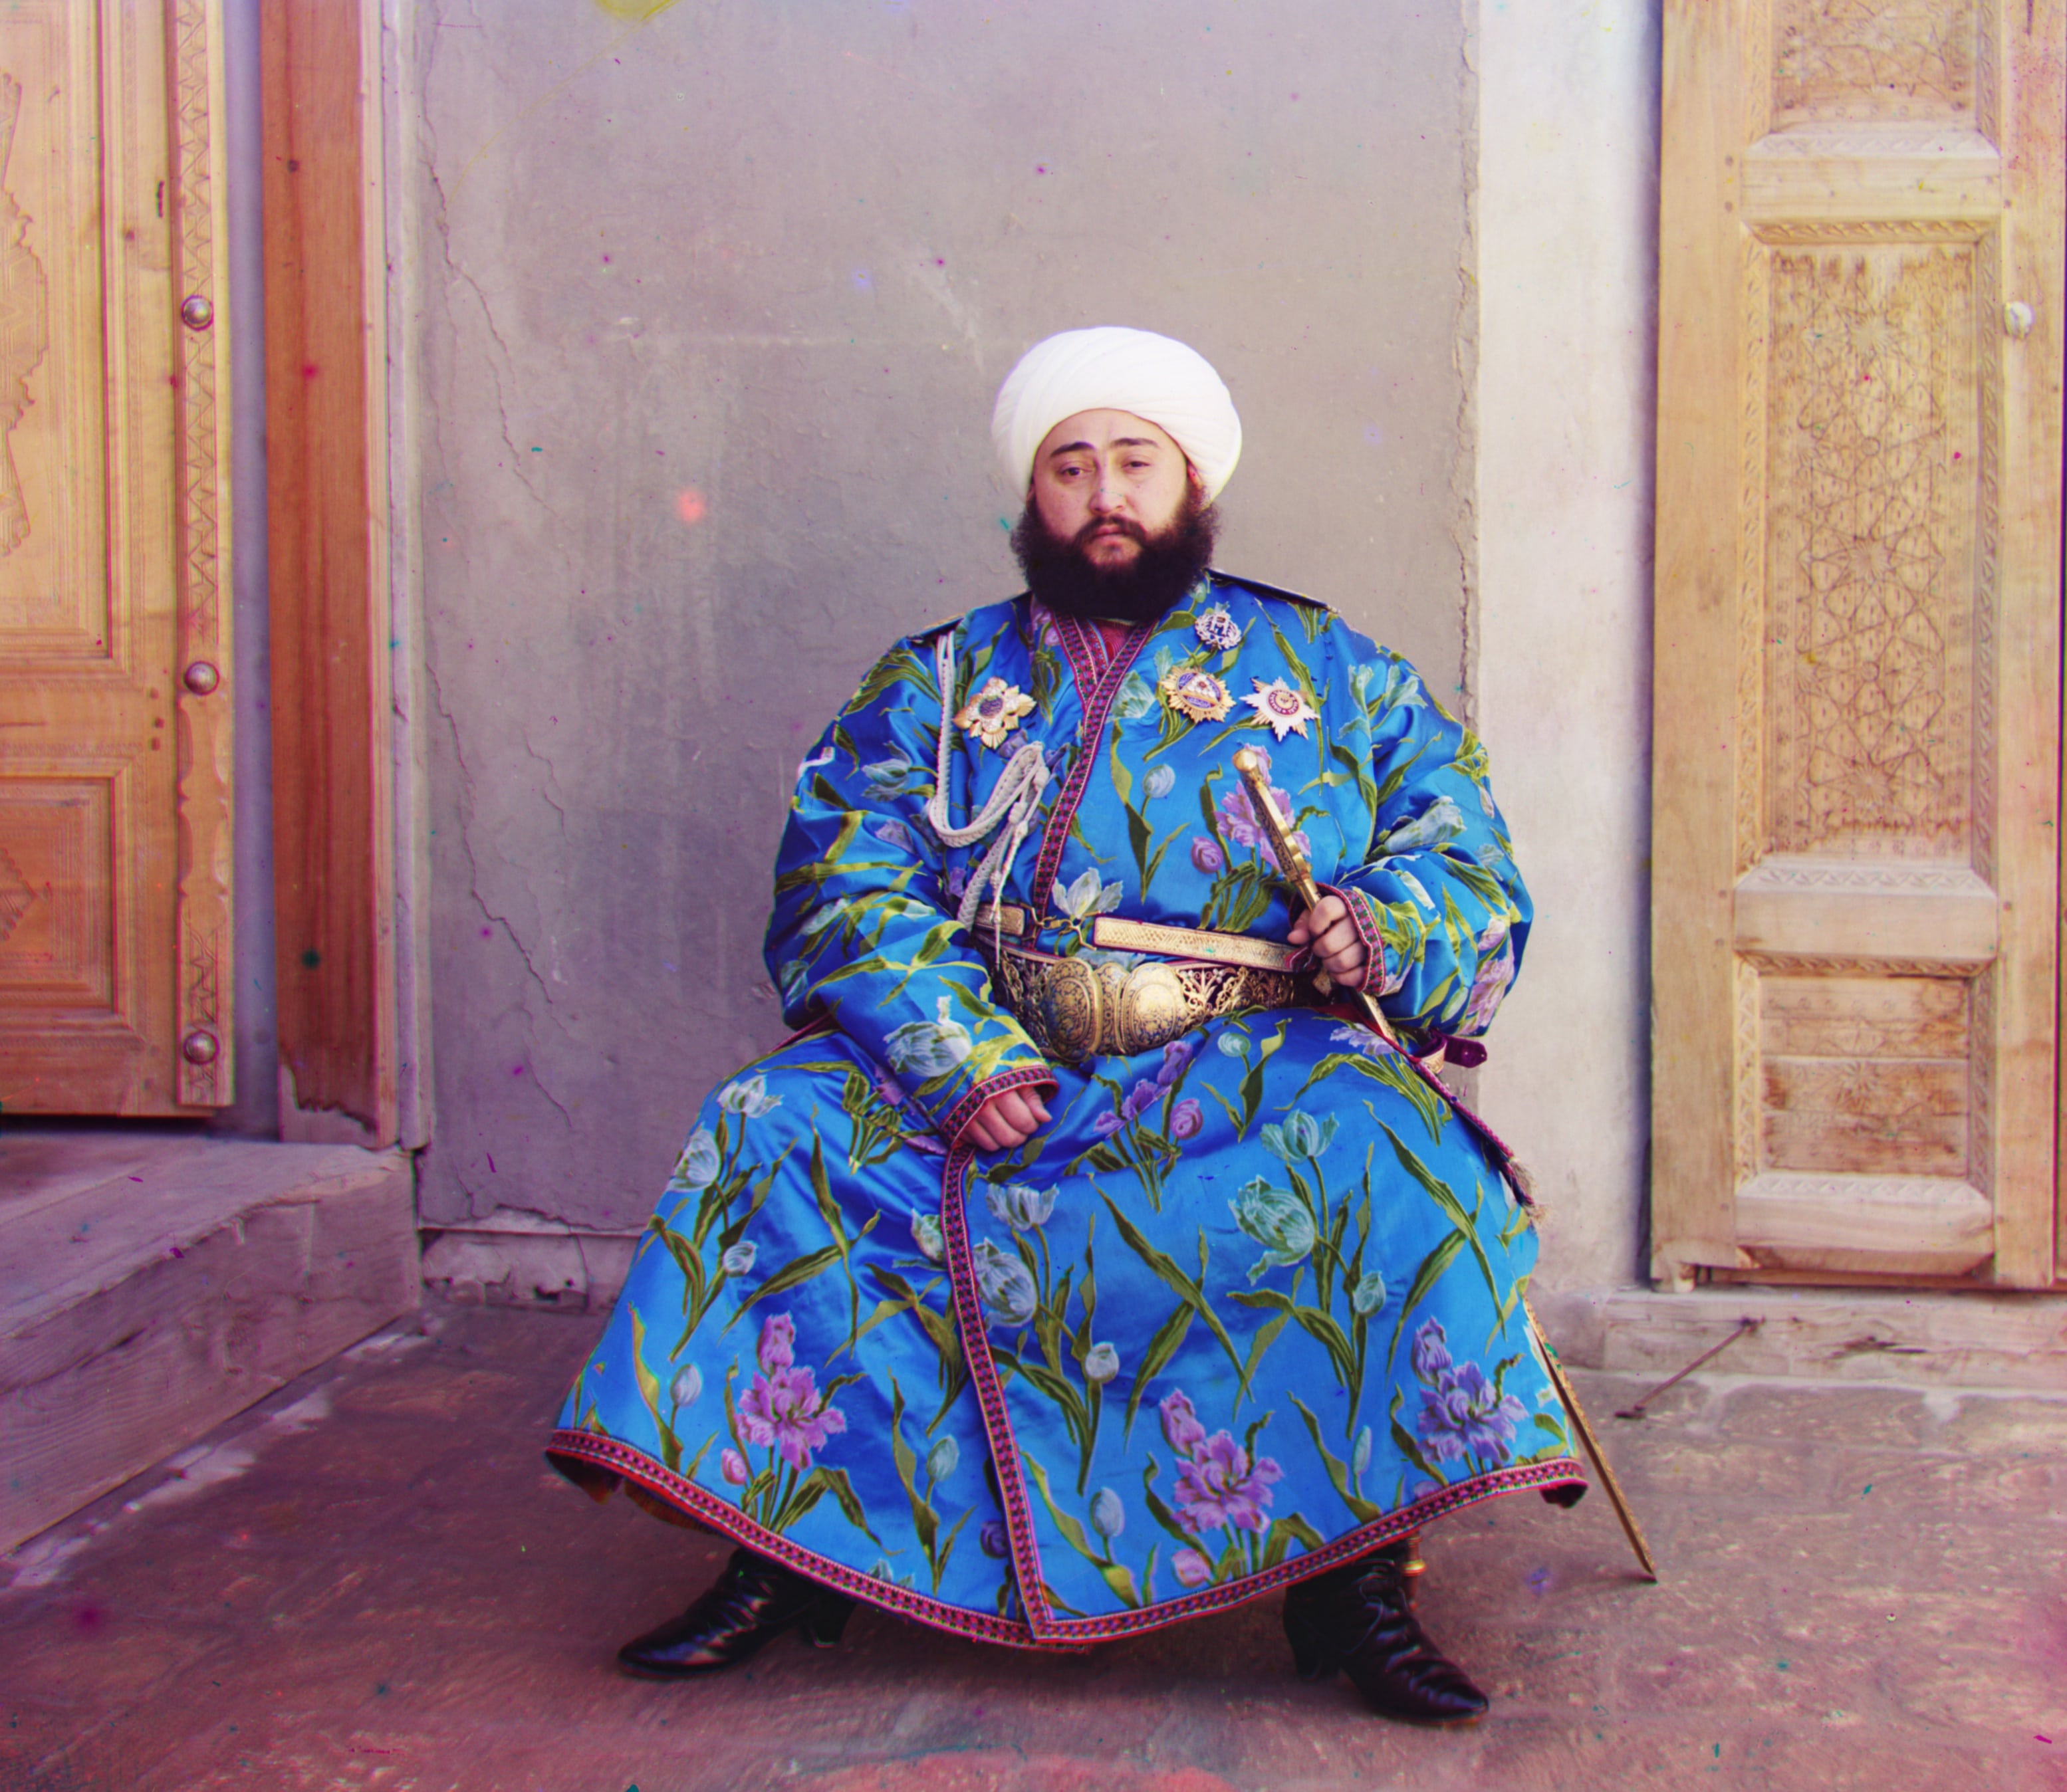
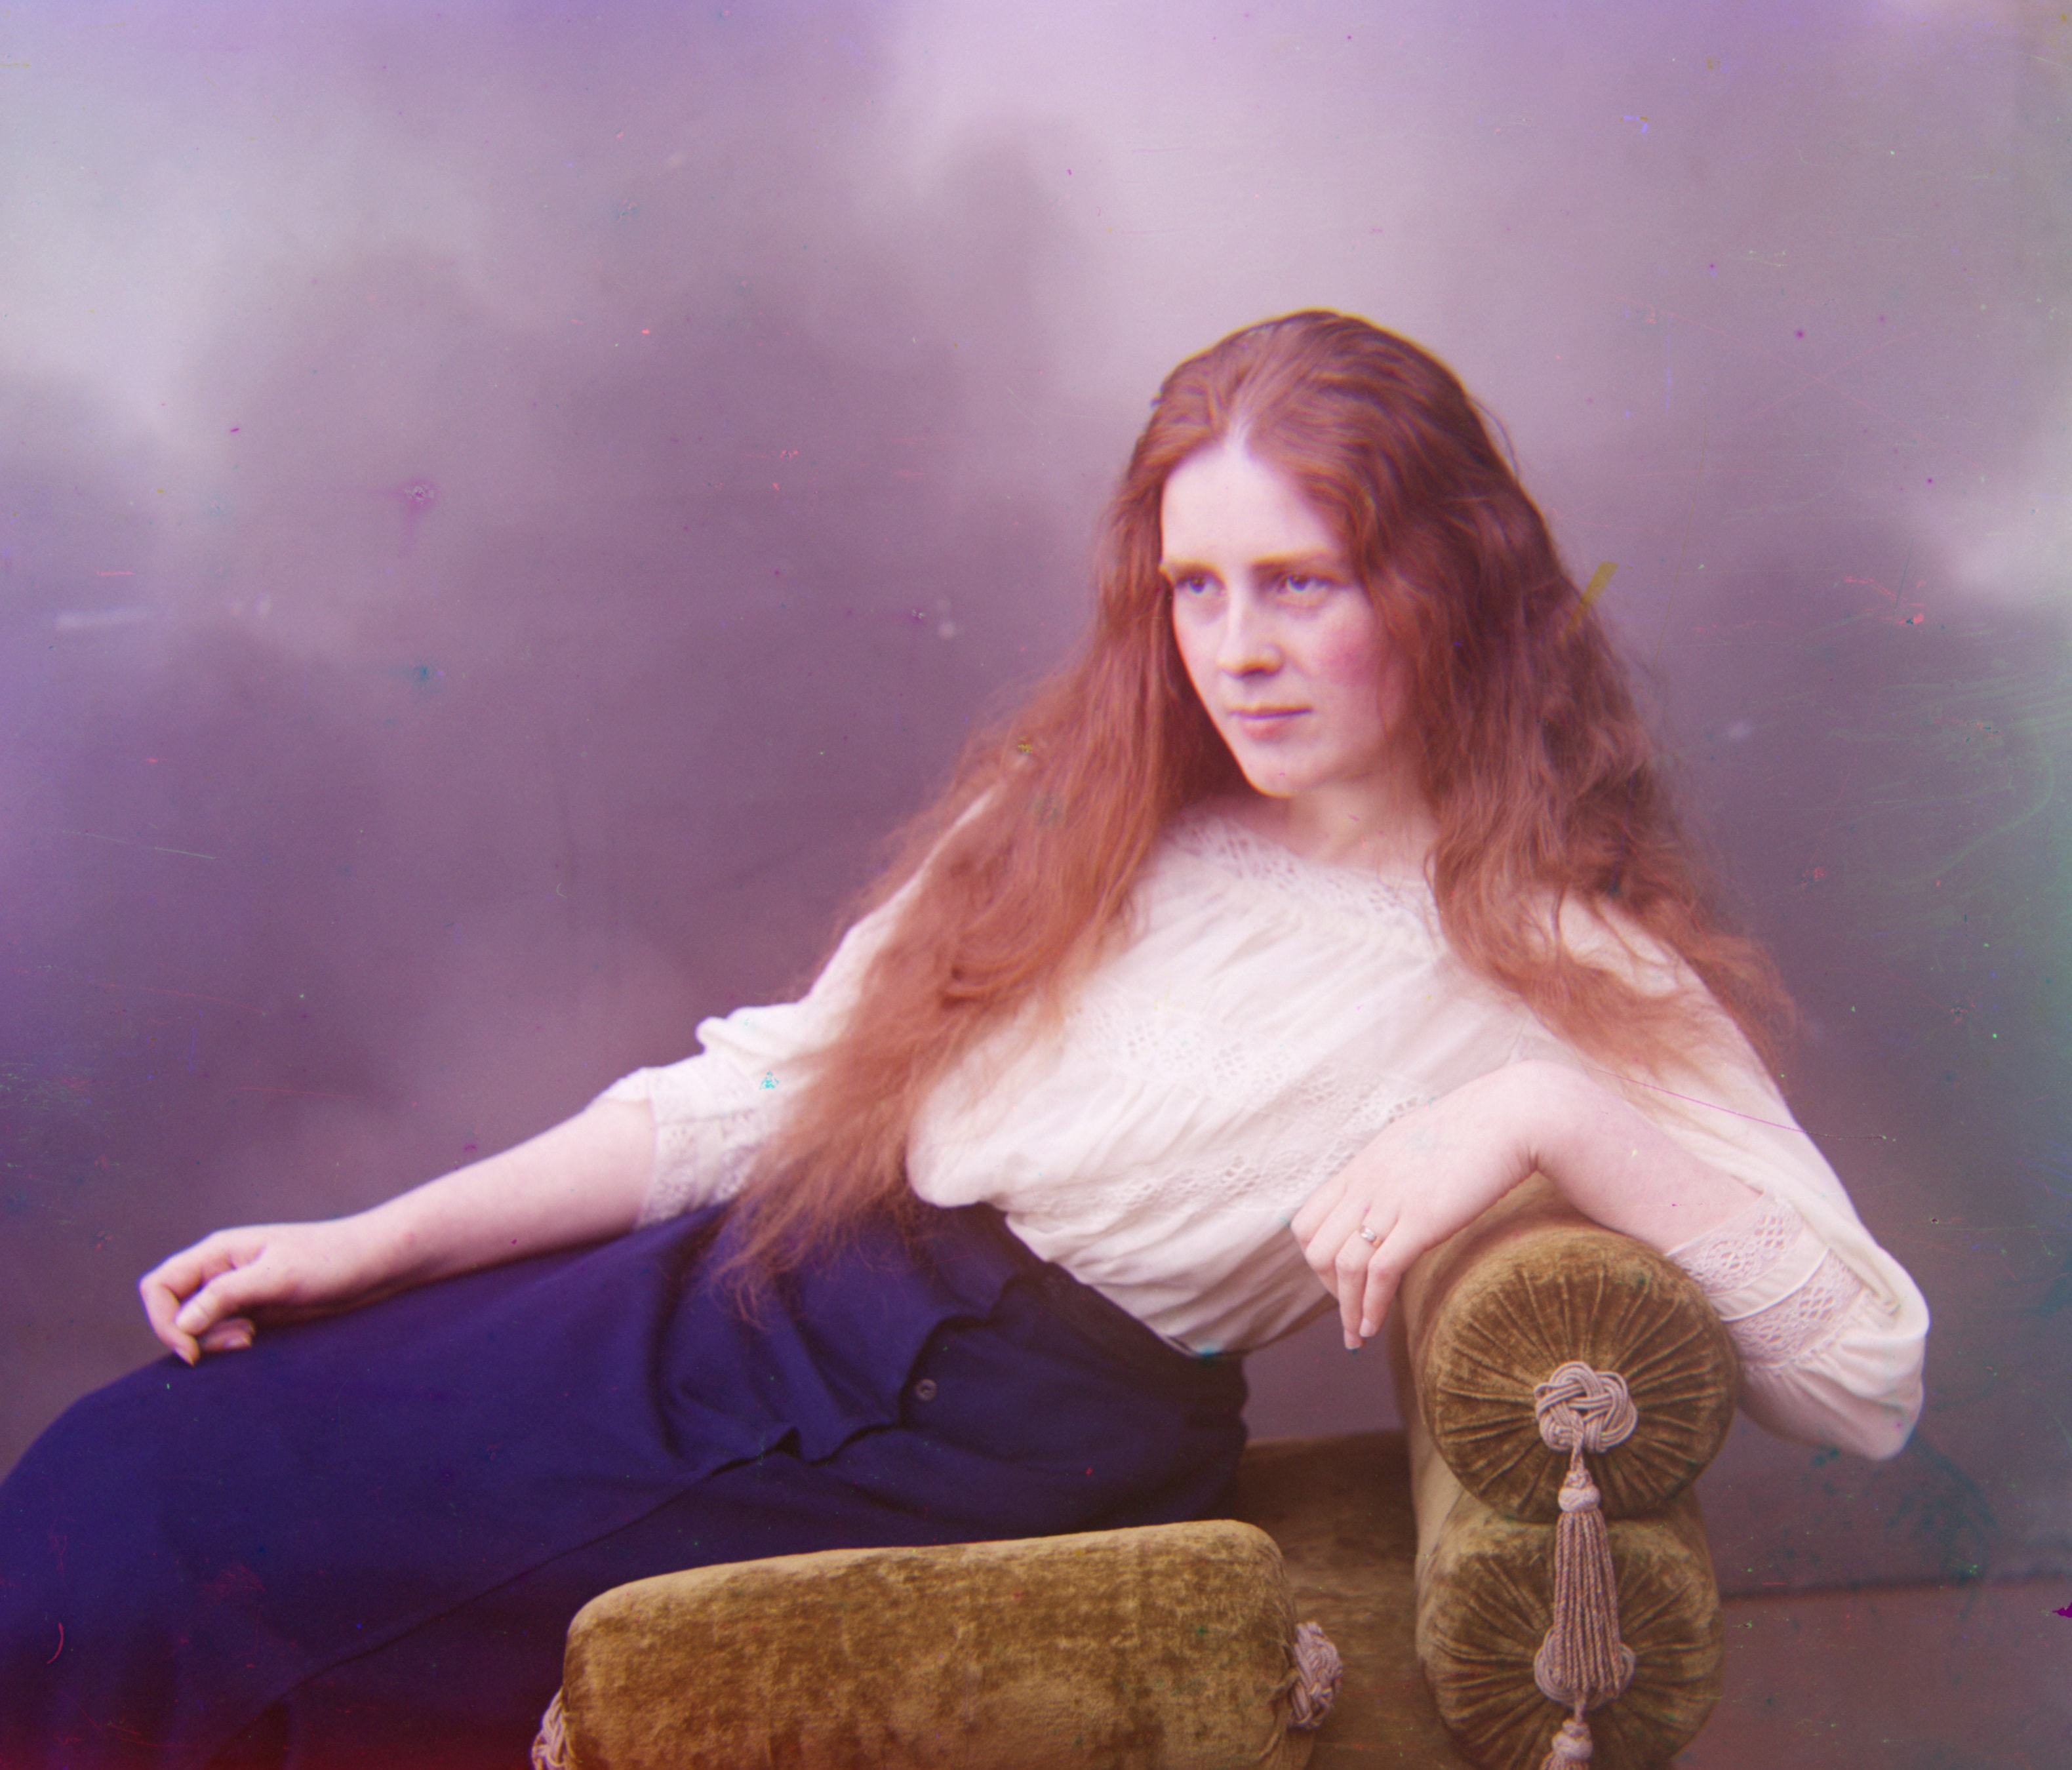
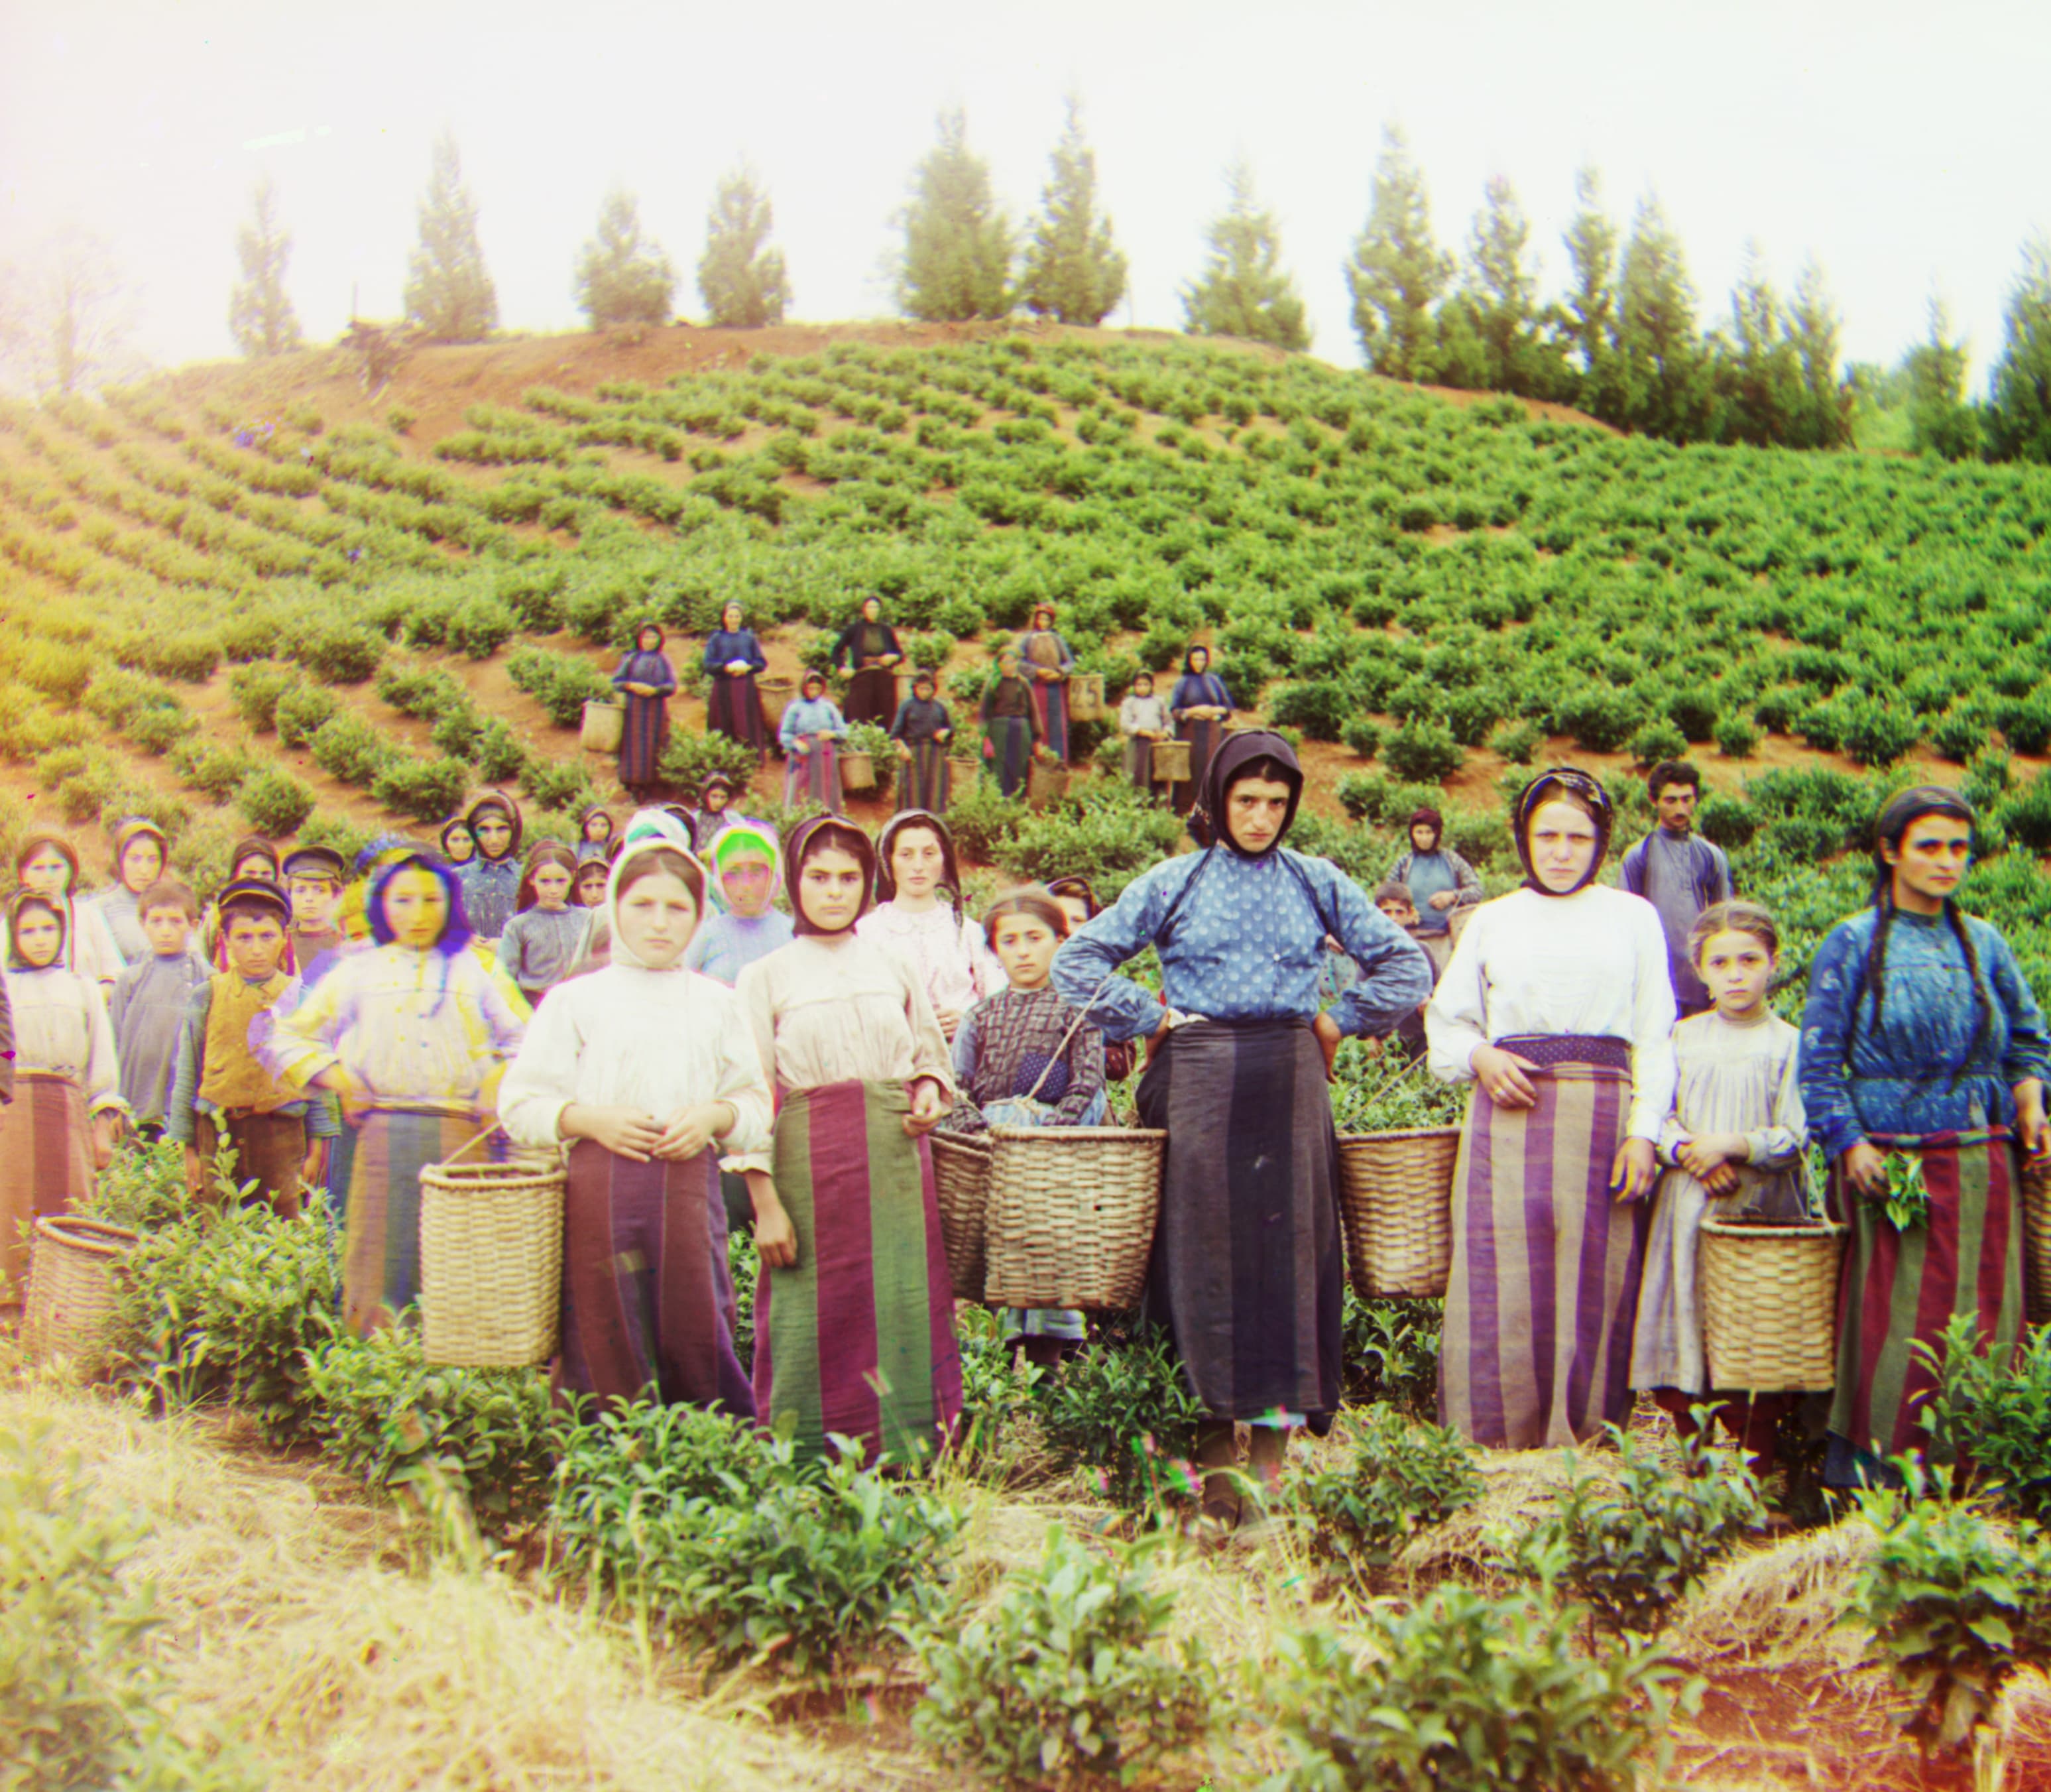
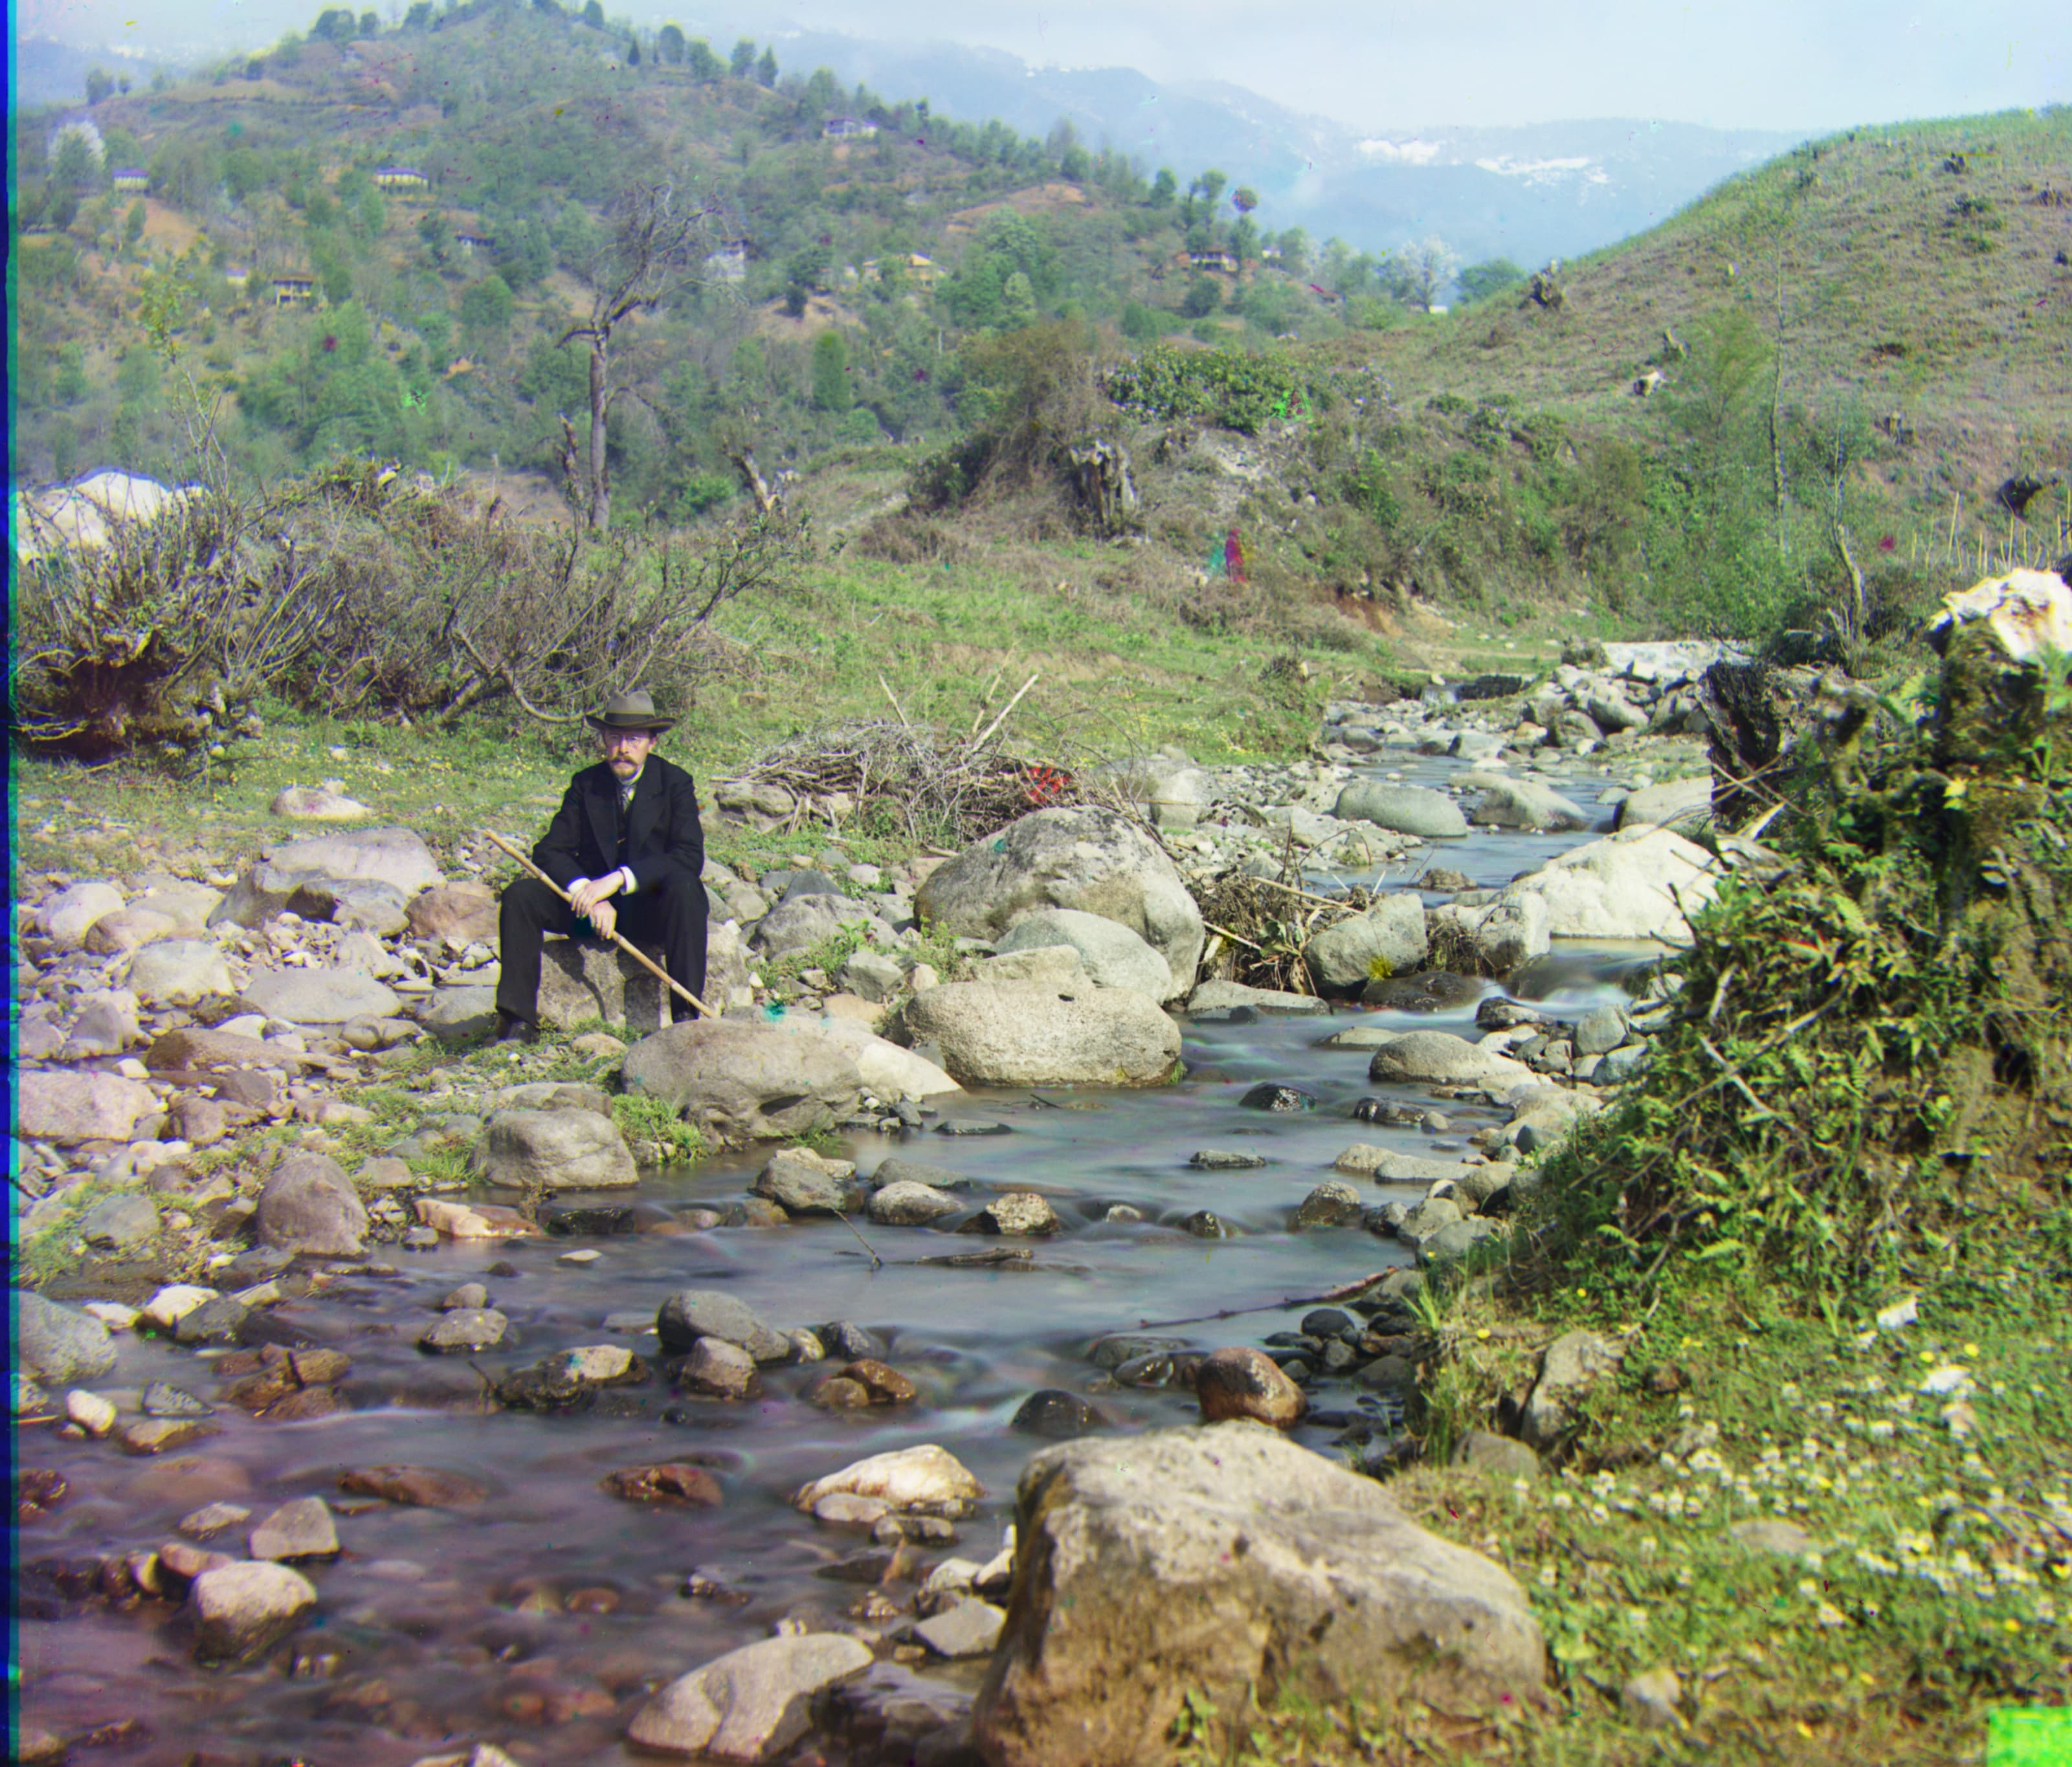
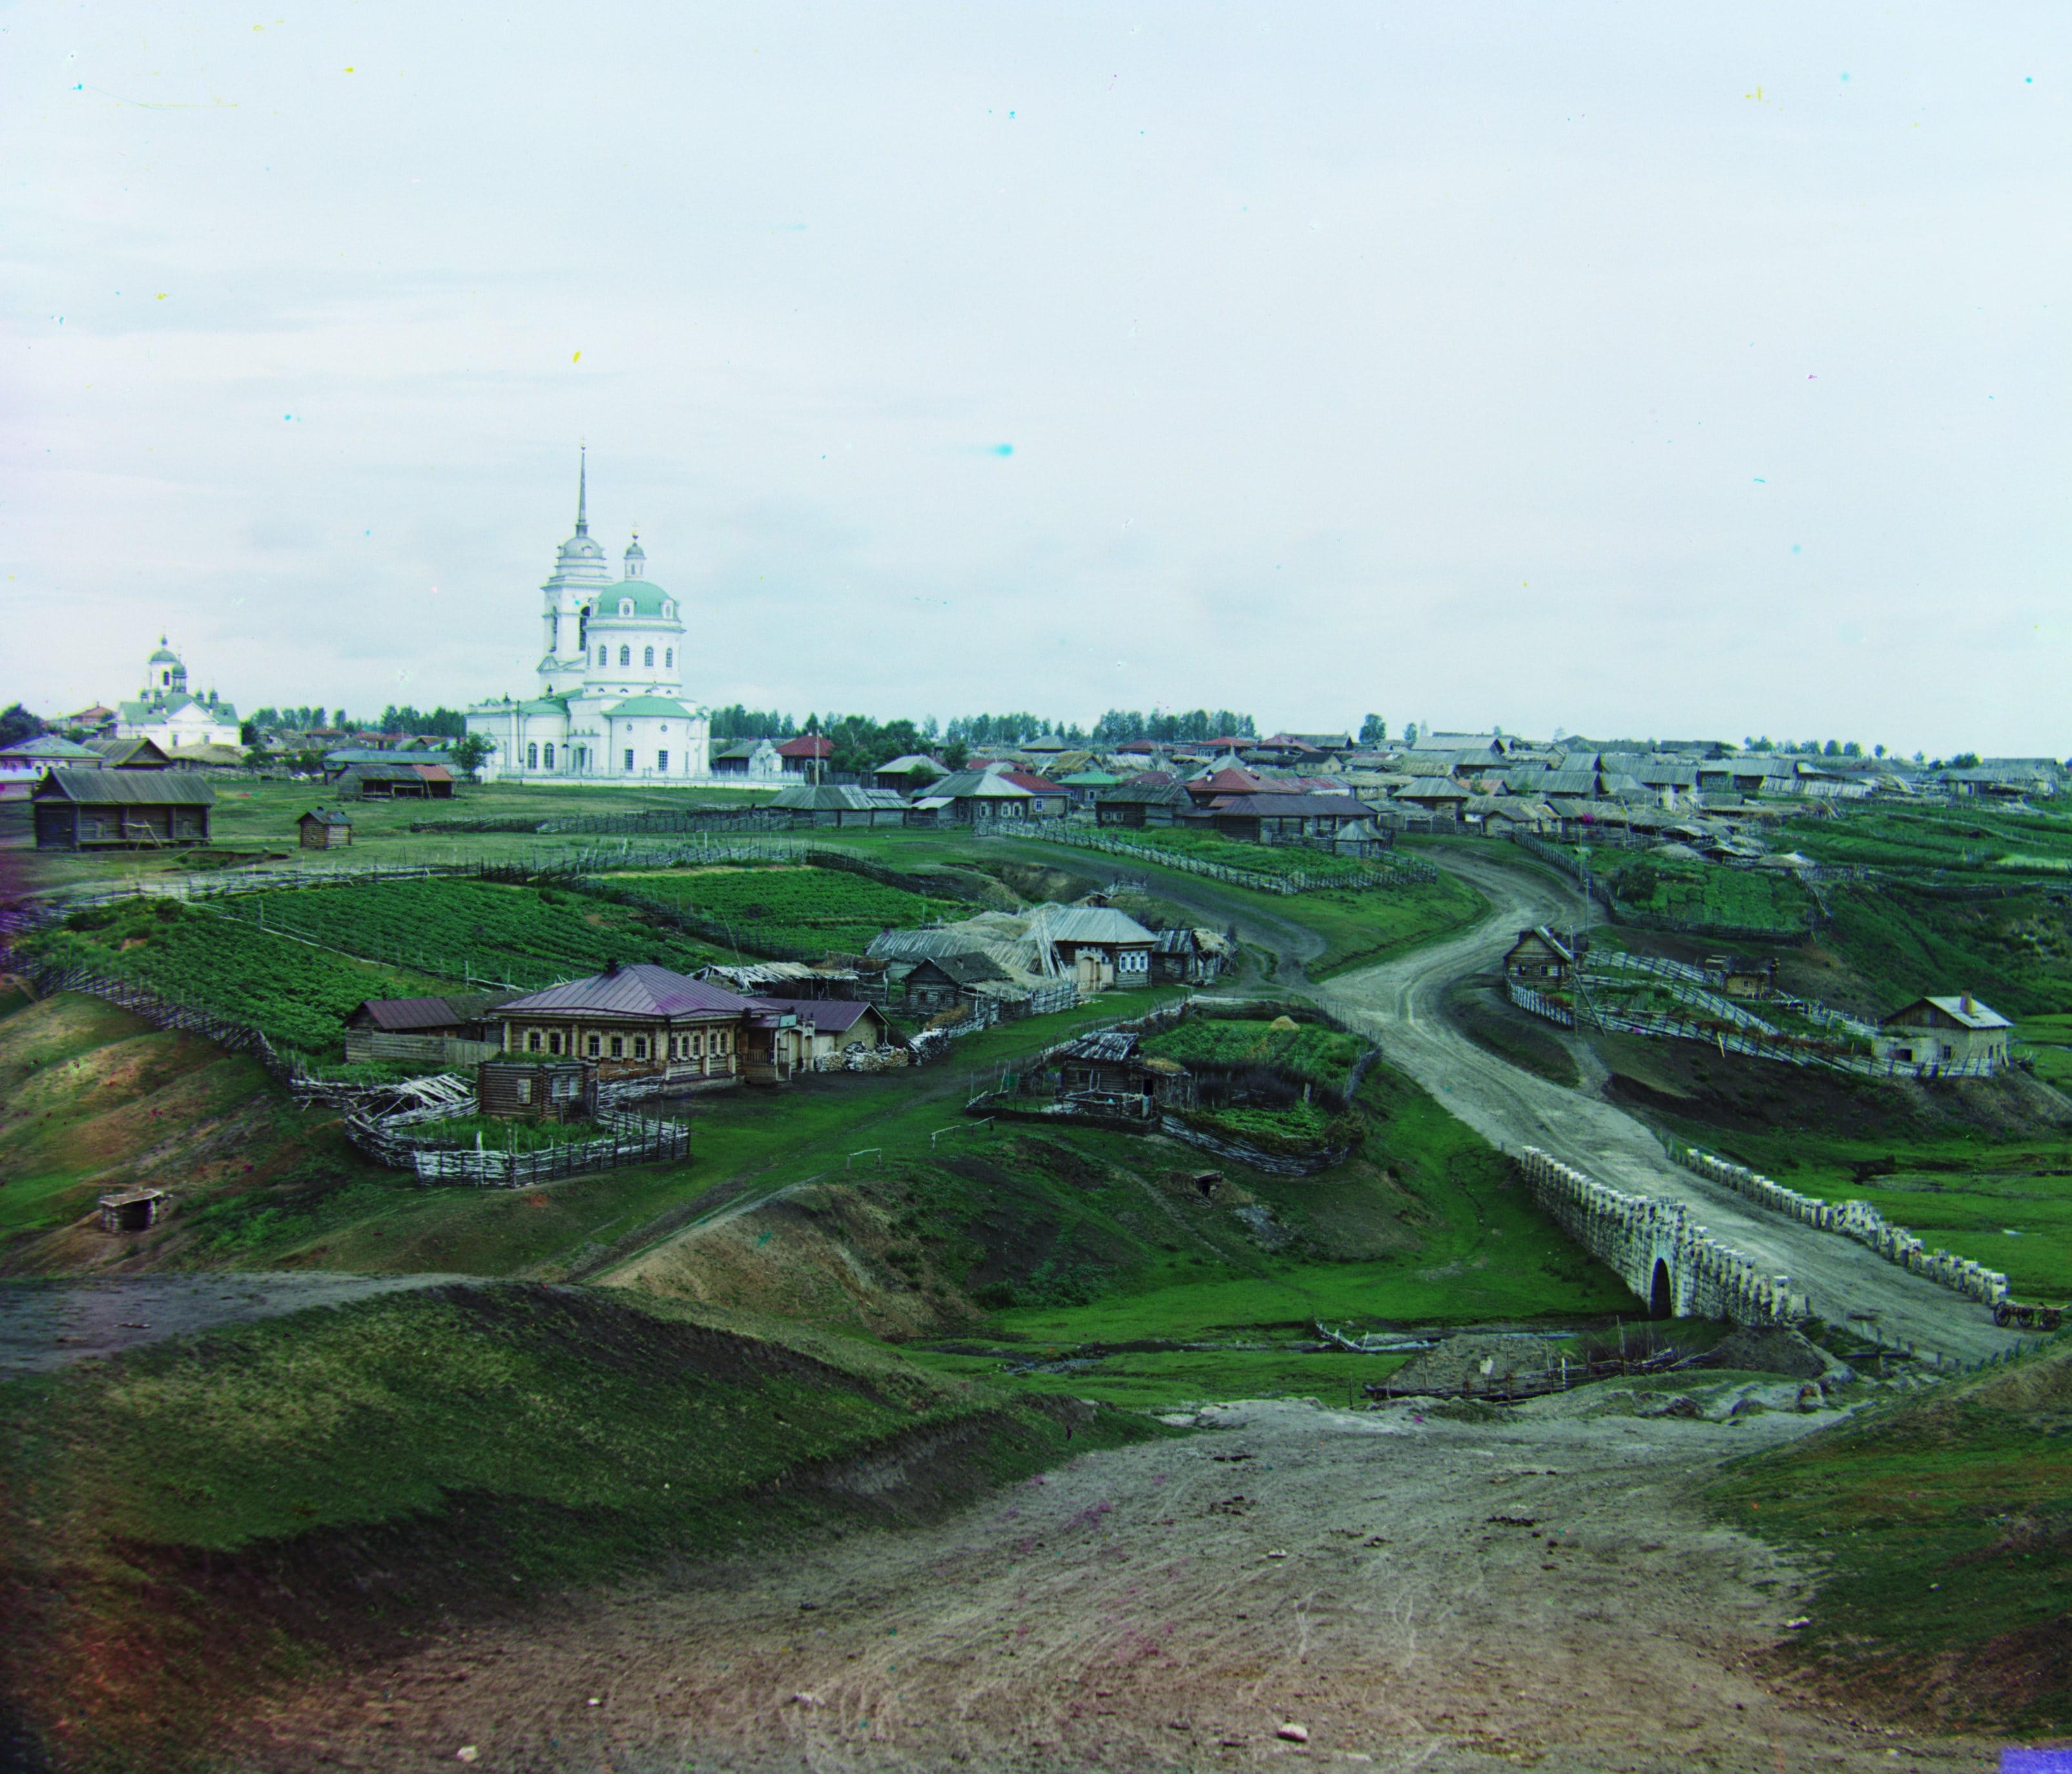
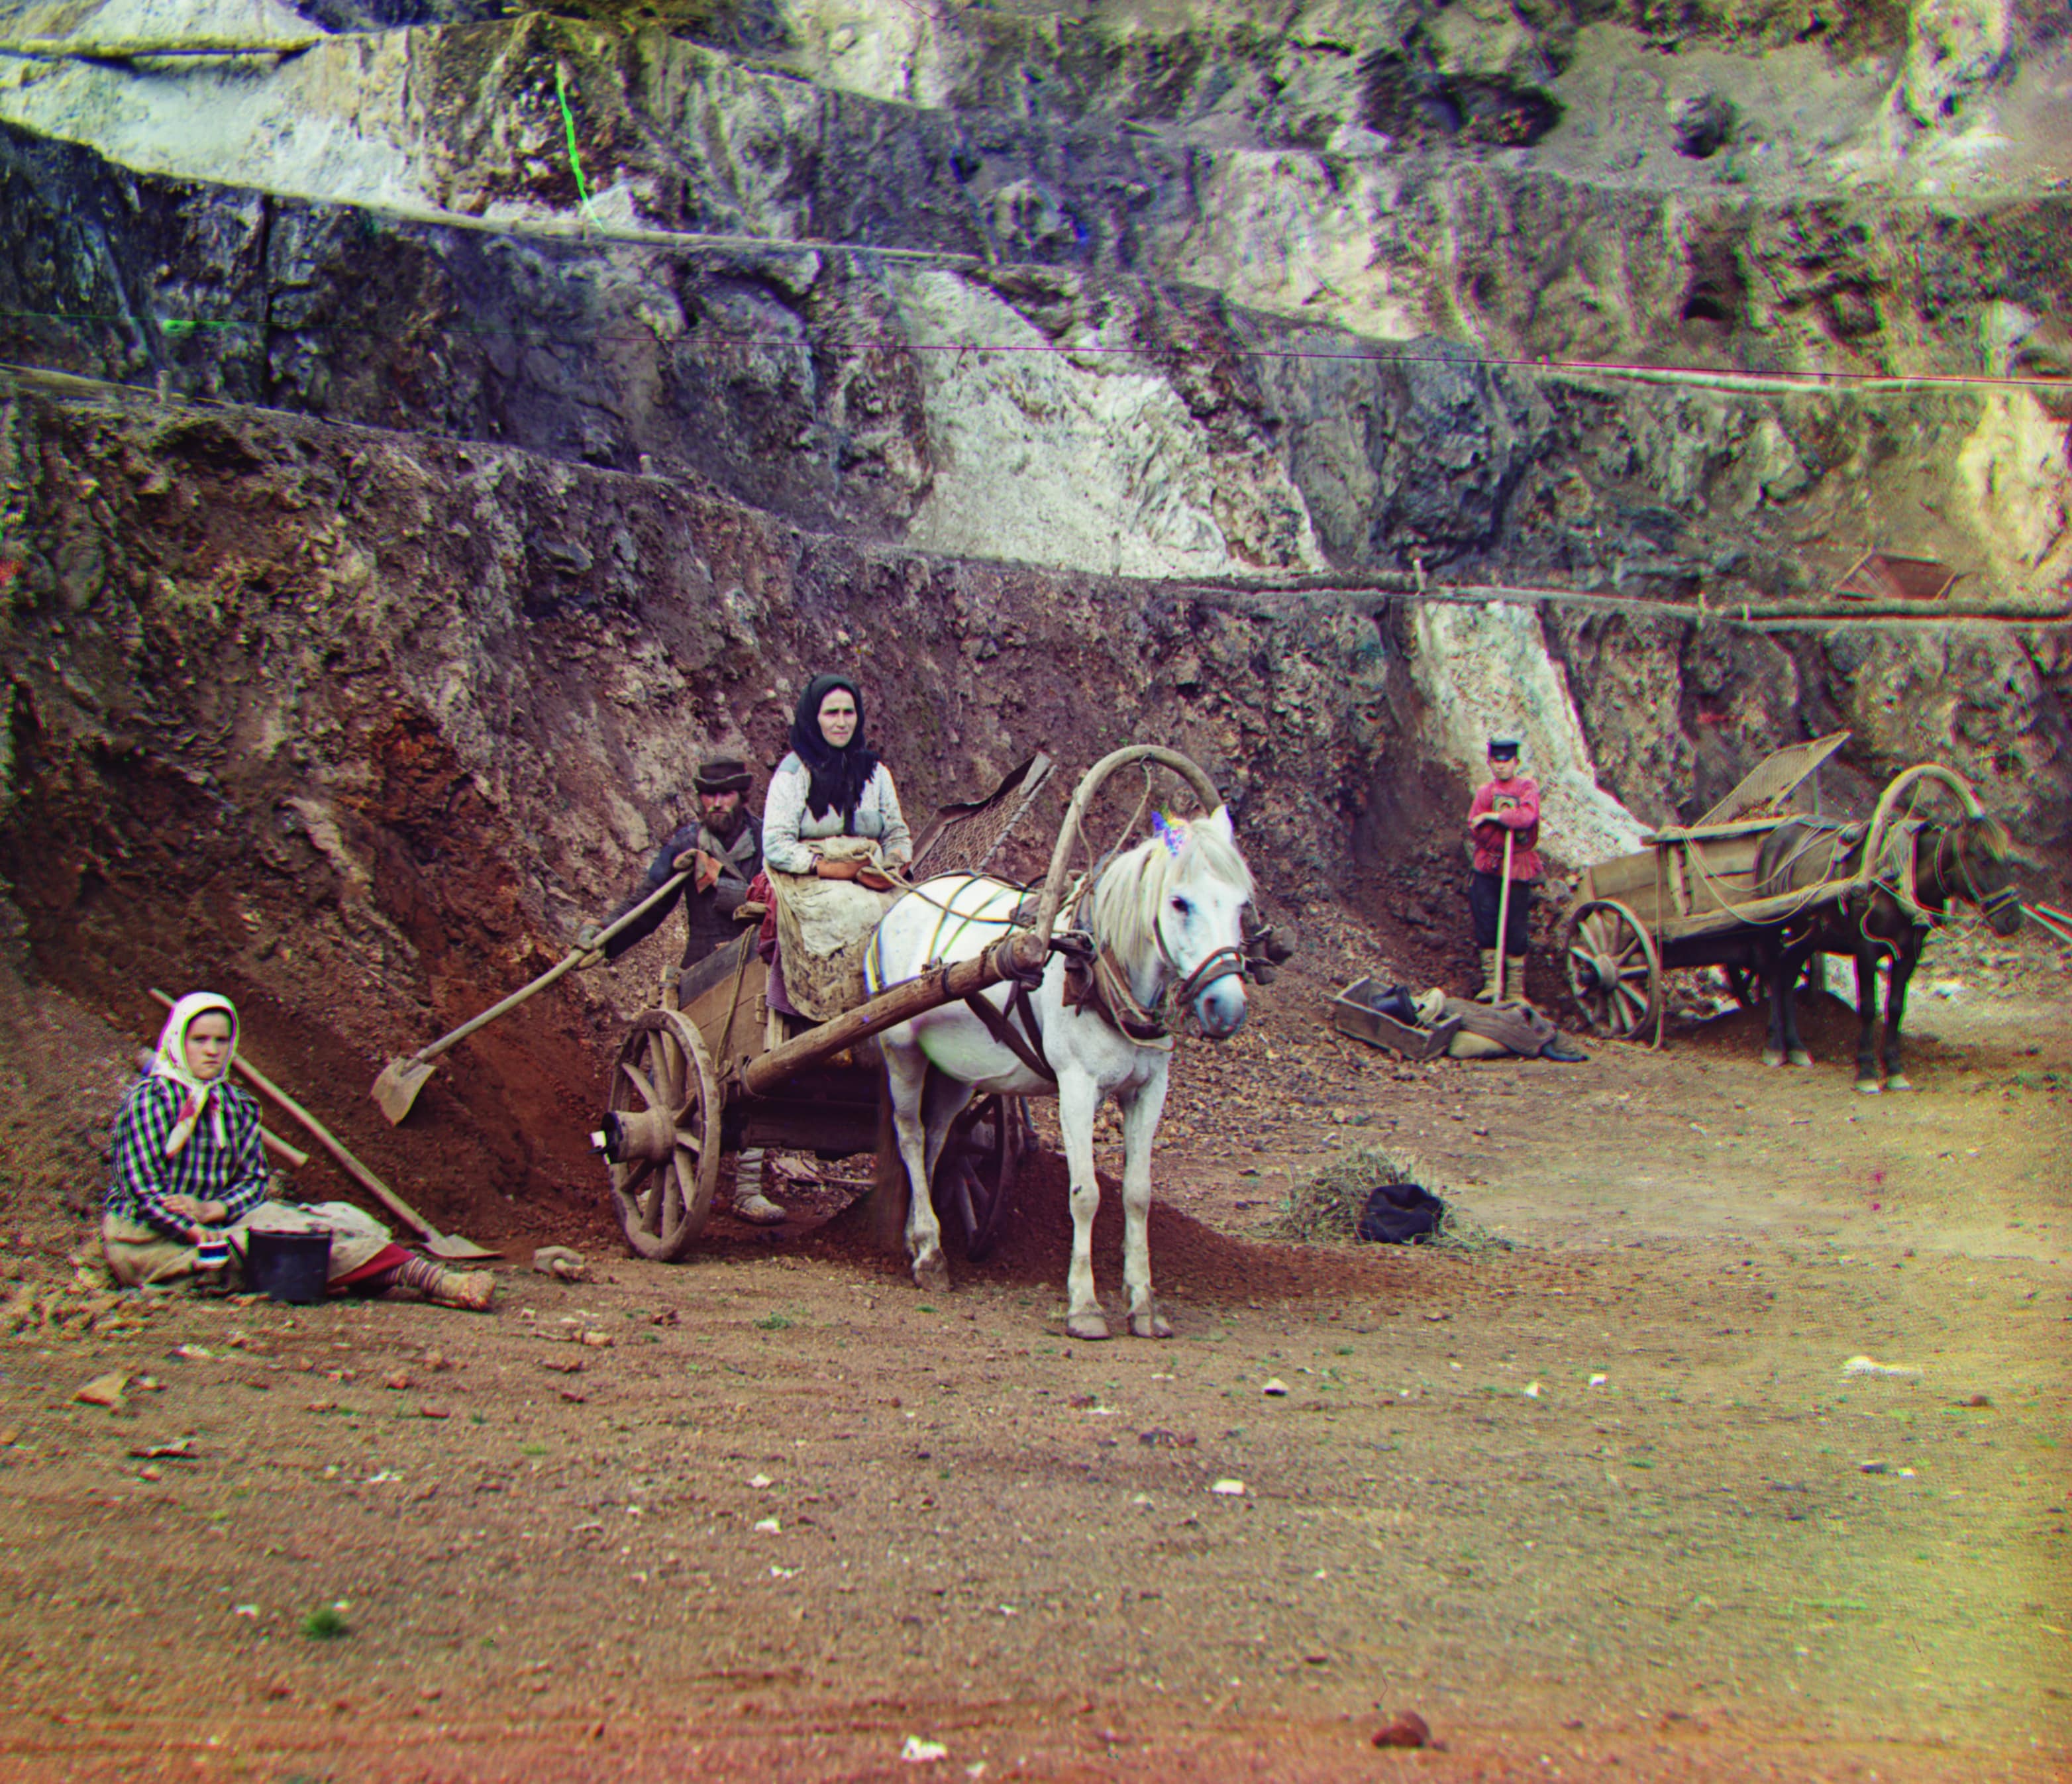
Results on Example Images
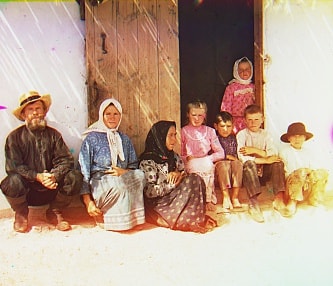
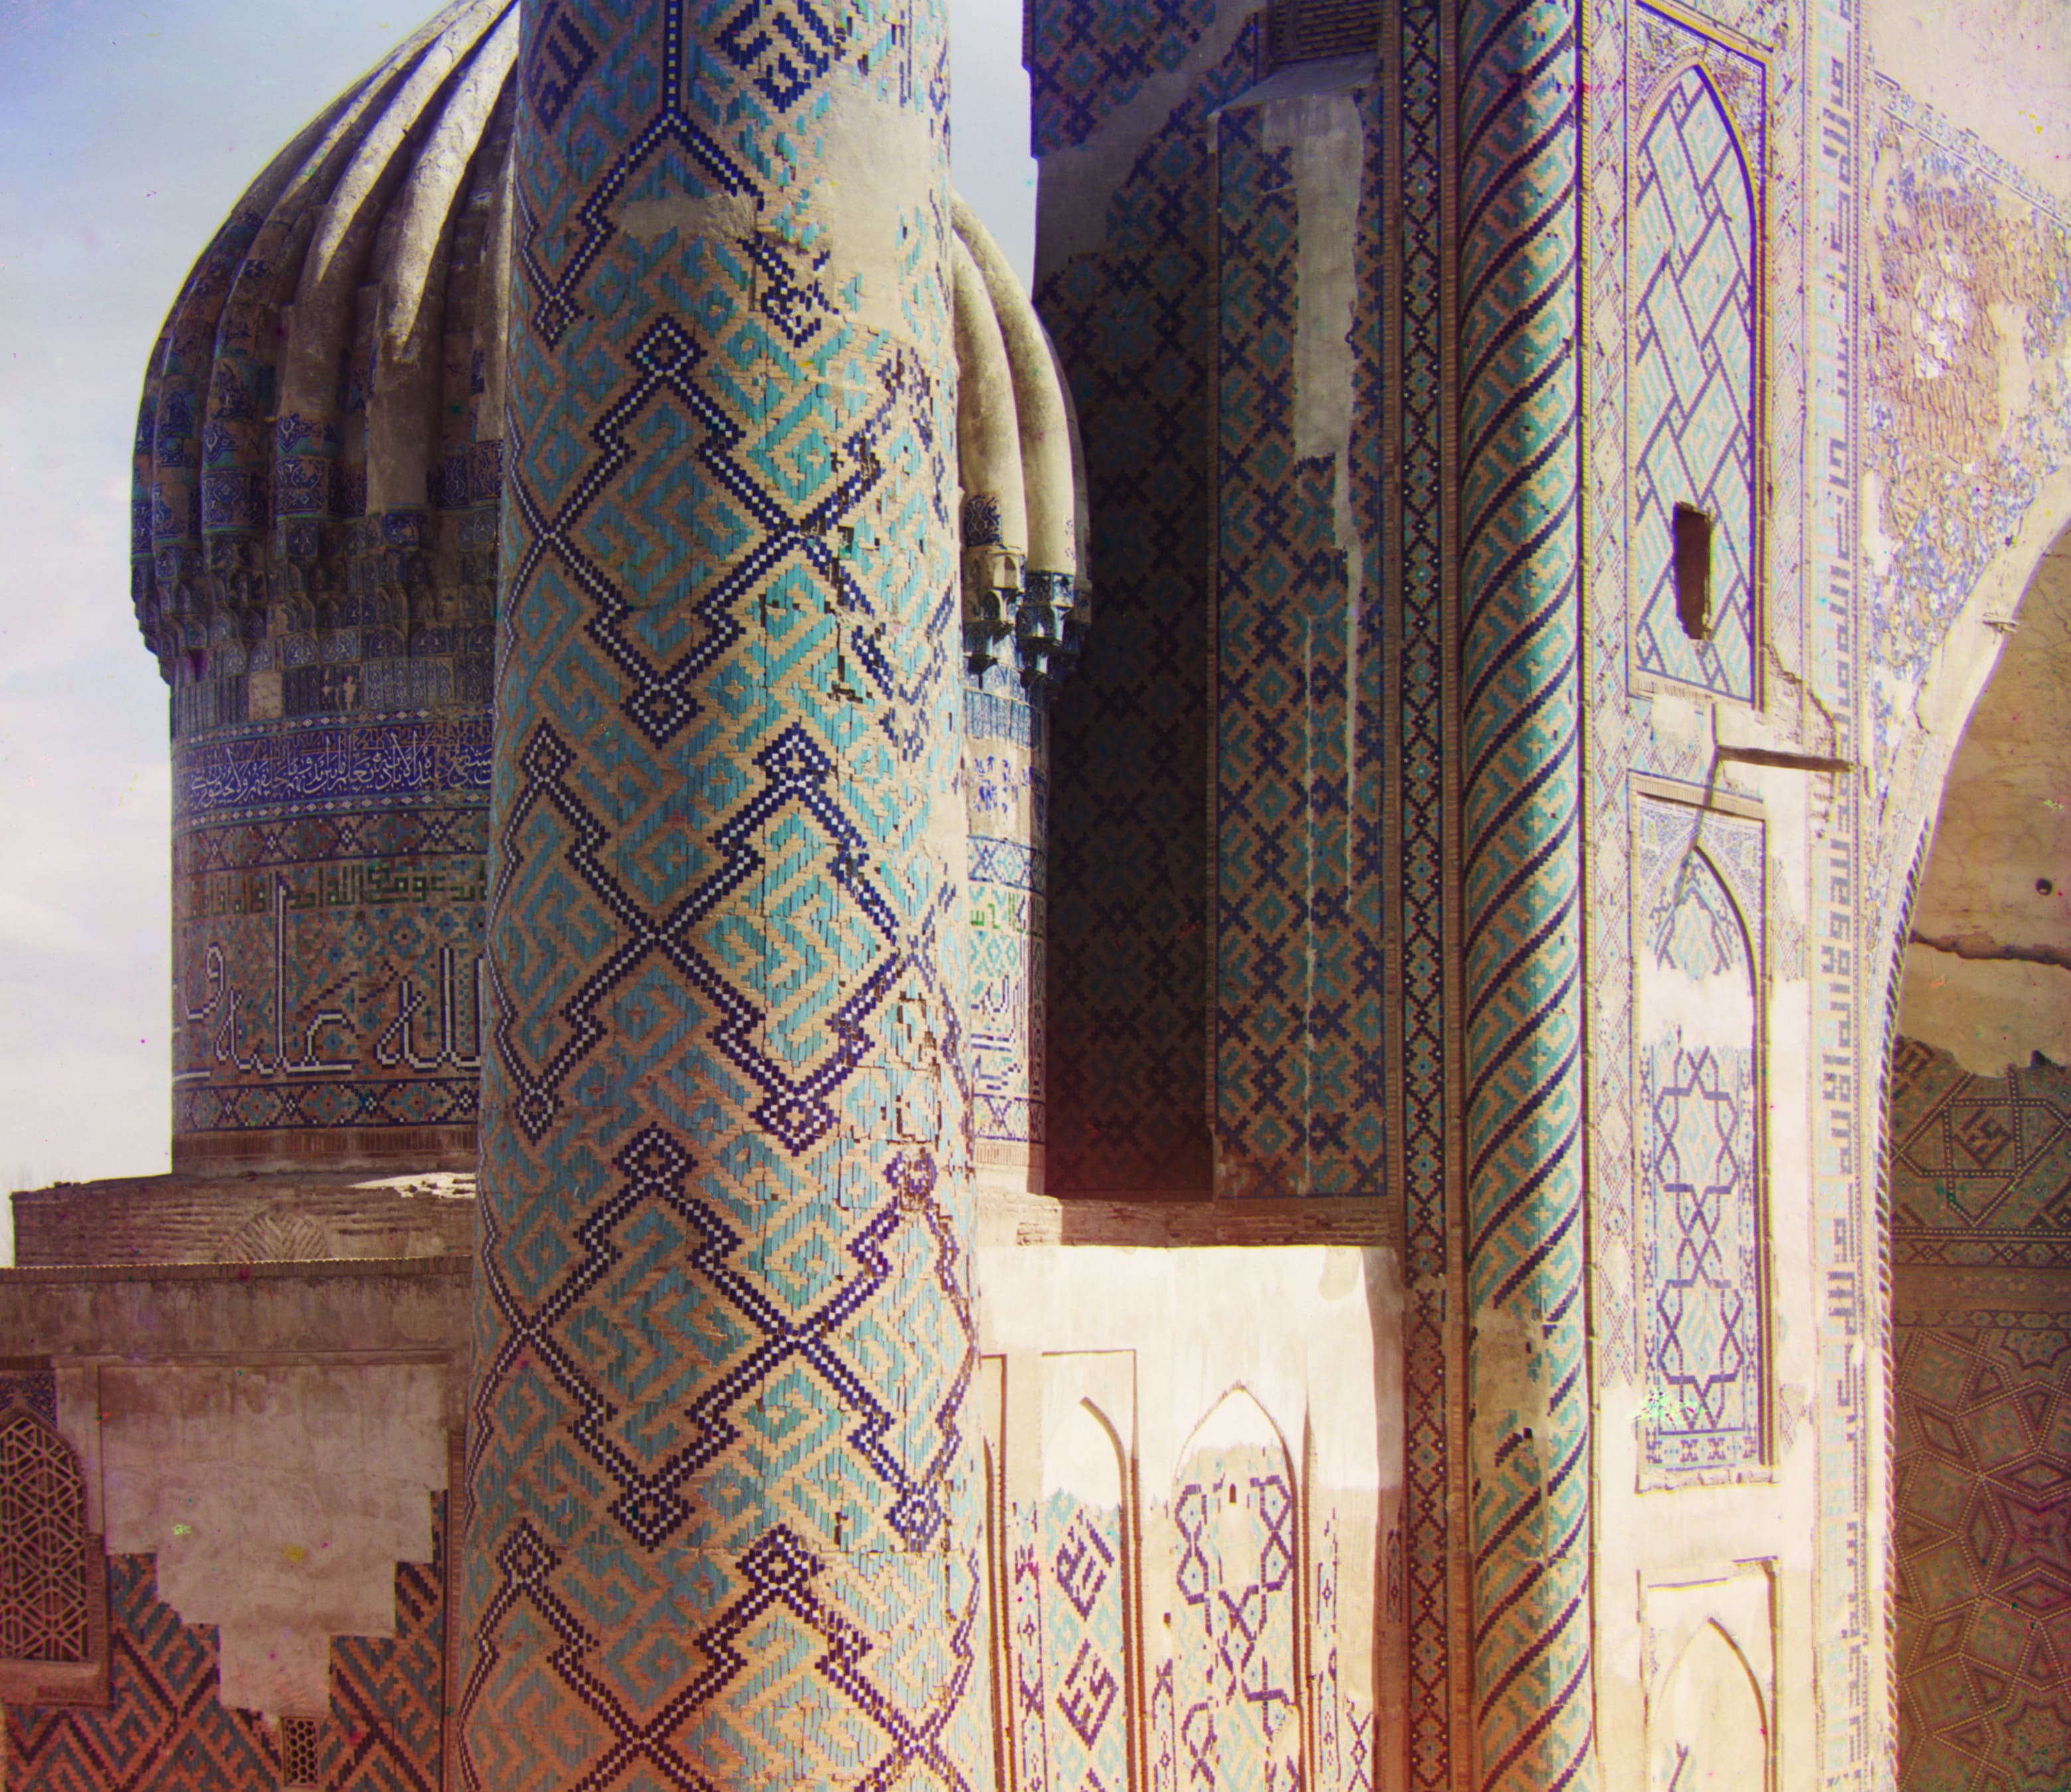
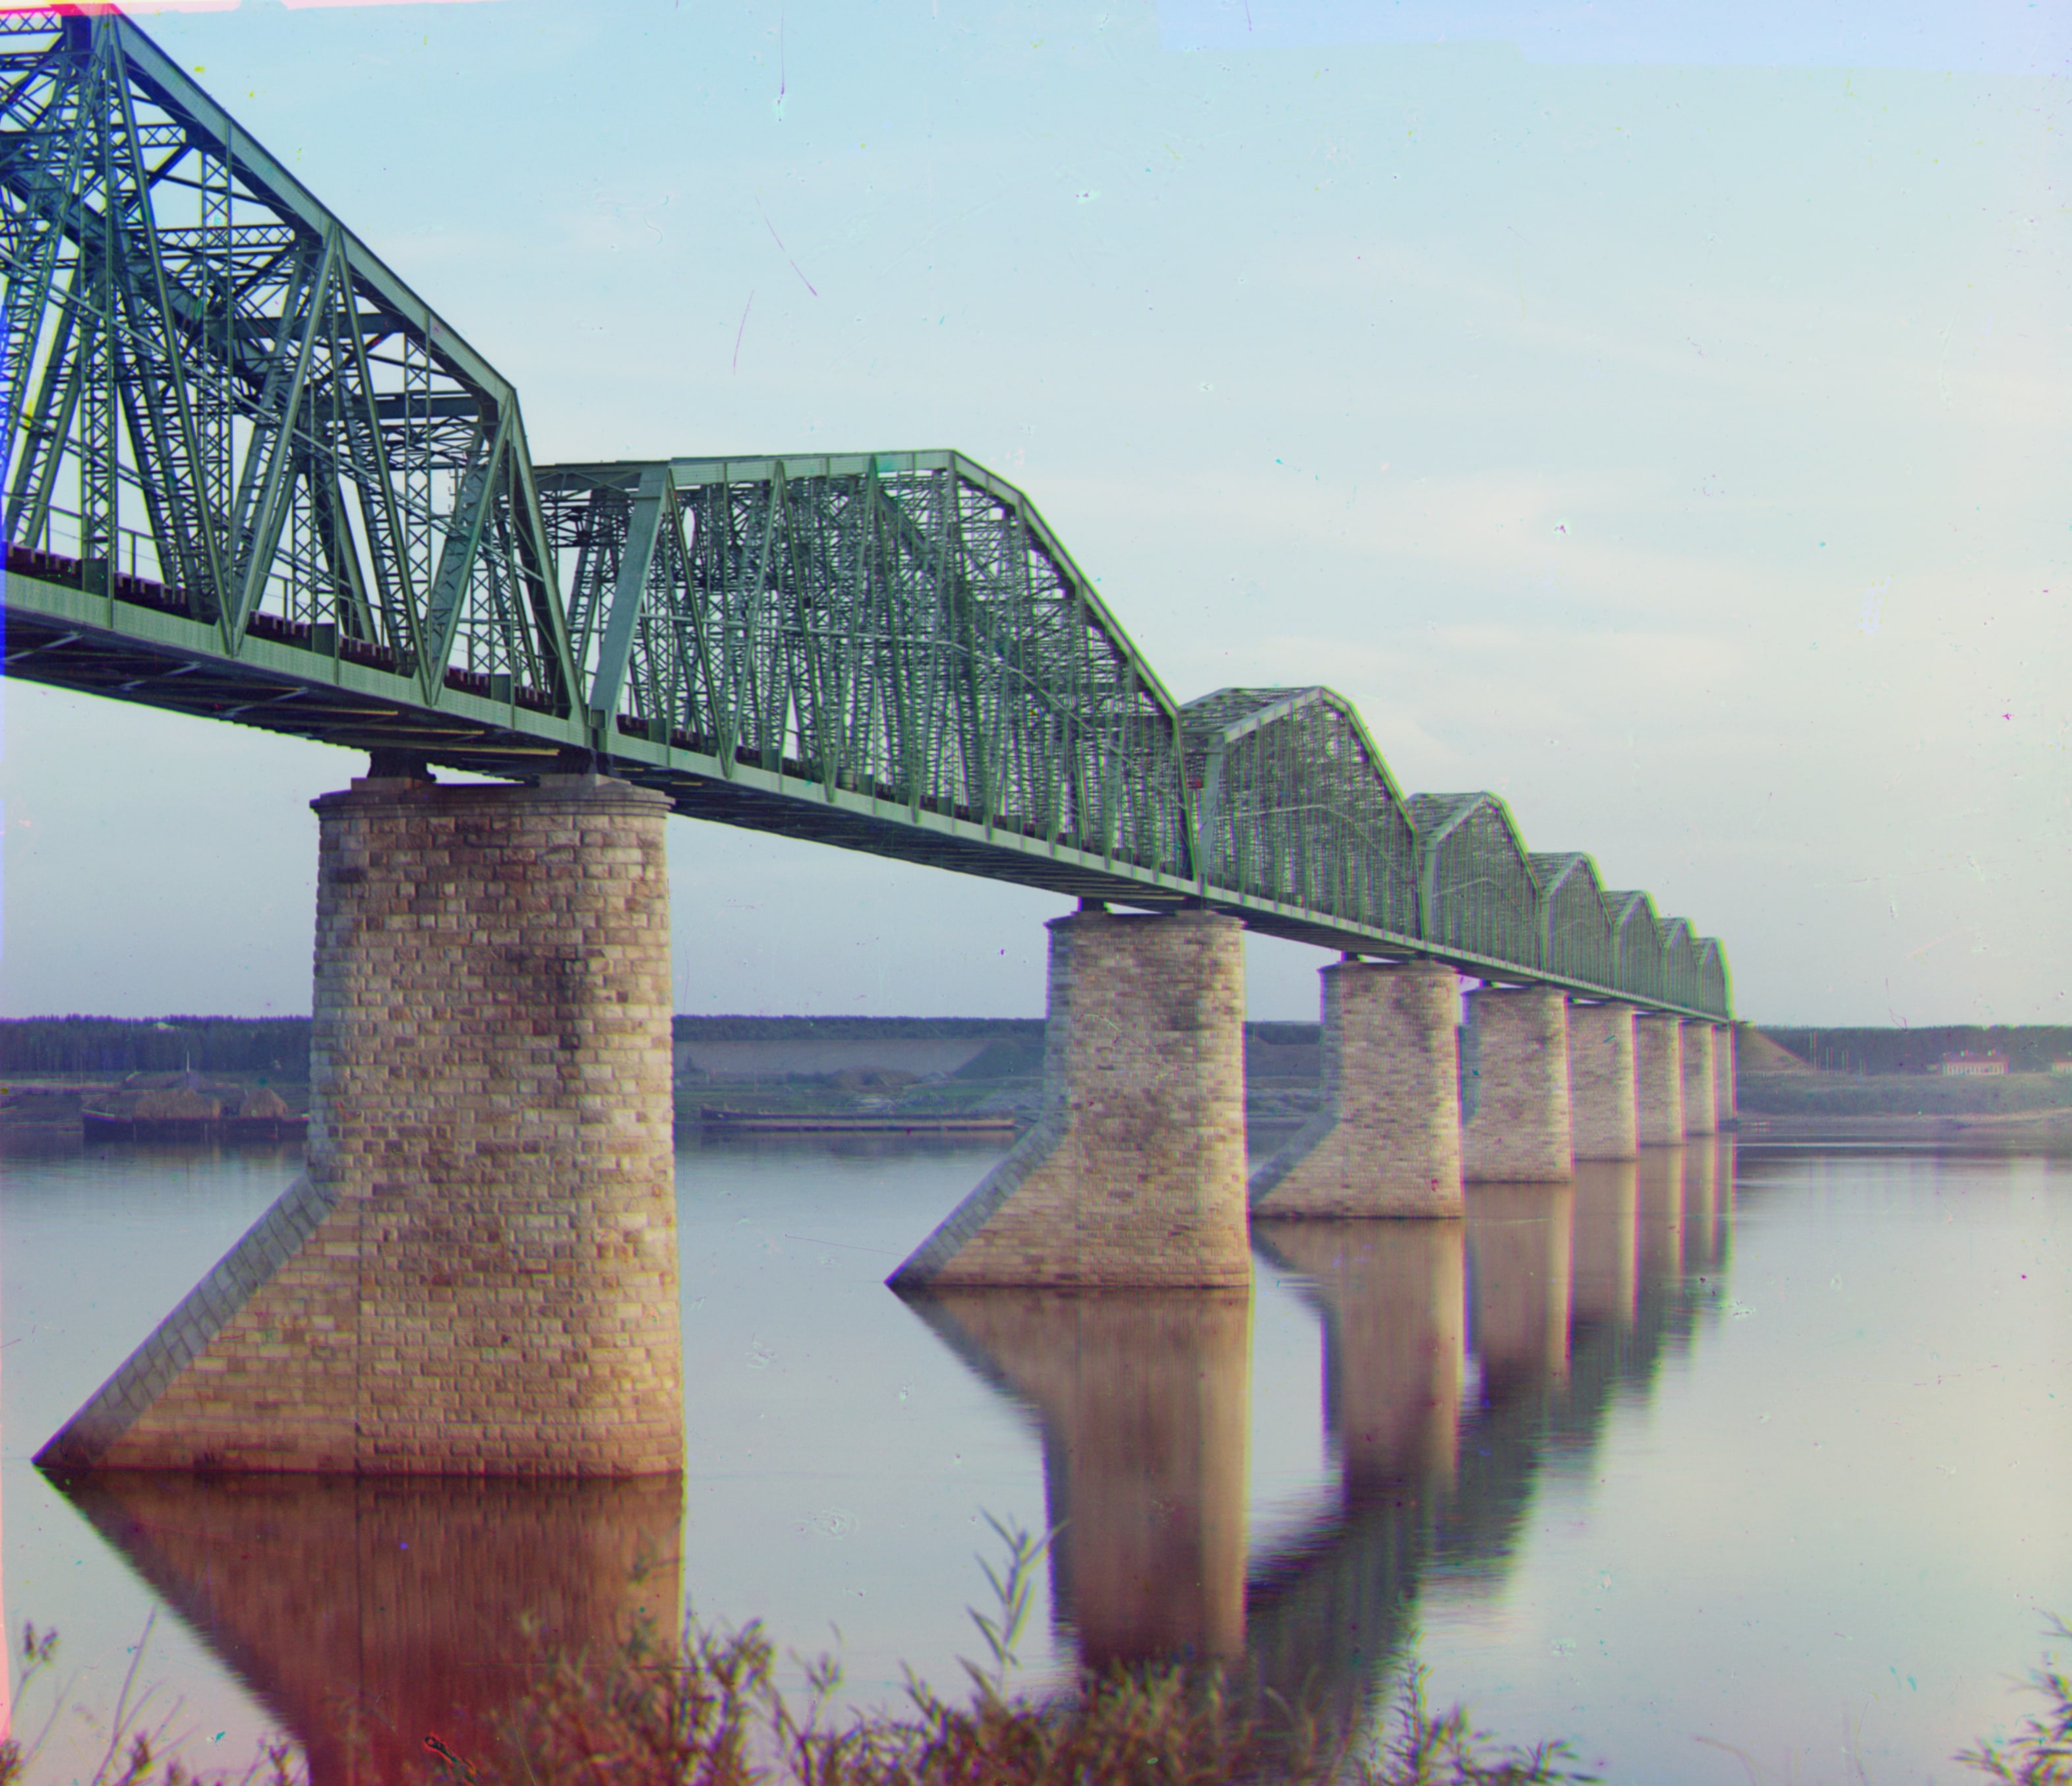
Below we show the reconstructed images on all the provided example images. These images do not have any white balance or HDR effects applied. Note that 10% of the margins have been cropped to remove alignment artifacts. The (x, y) displacement vectors for the red (R) and green (G) channels relative to the blue channel are shown below each image.
 |
|
G: (49, 24) R: (107, 40) |
G: (56, 21) R: (116, 28) |
 |
 |
G: (55, 8) R: (117, 11) |
G: (60, 17) R: (124, 13) |
 |
 |
G: (79, 29) R: (176, 37) |
G: (65, 12) R: (138, 22) |
 |
 |
G: (5, 2) R: (12, 3) |
G: (3, 1) R: (7, 0) |
 |
|
G: (41, 17) R: (89, 23) |
G: (43, 6) R: (87, 32) |
 |
|
G: (7, 0) R: (15, -1) |
G: (53, 14) R: (112, 11) |
|
|
G: (-3, 2) R: (3, 2) |
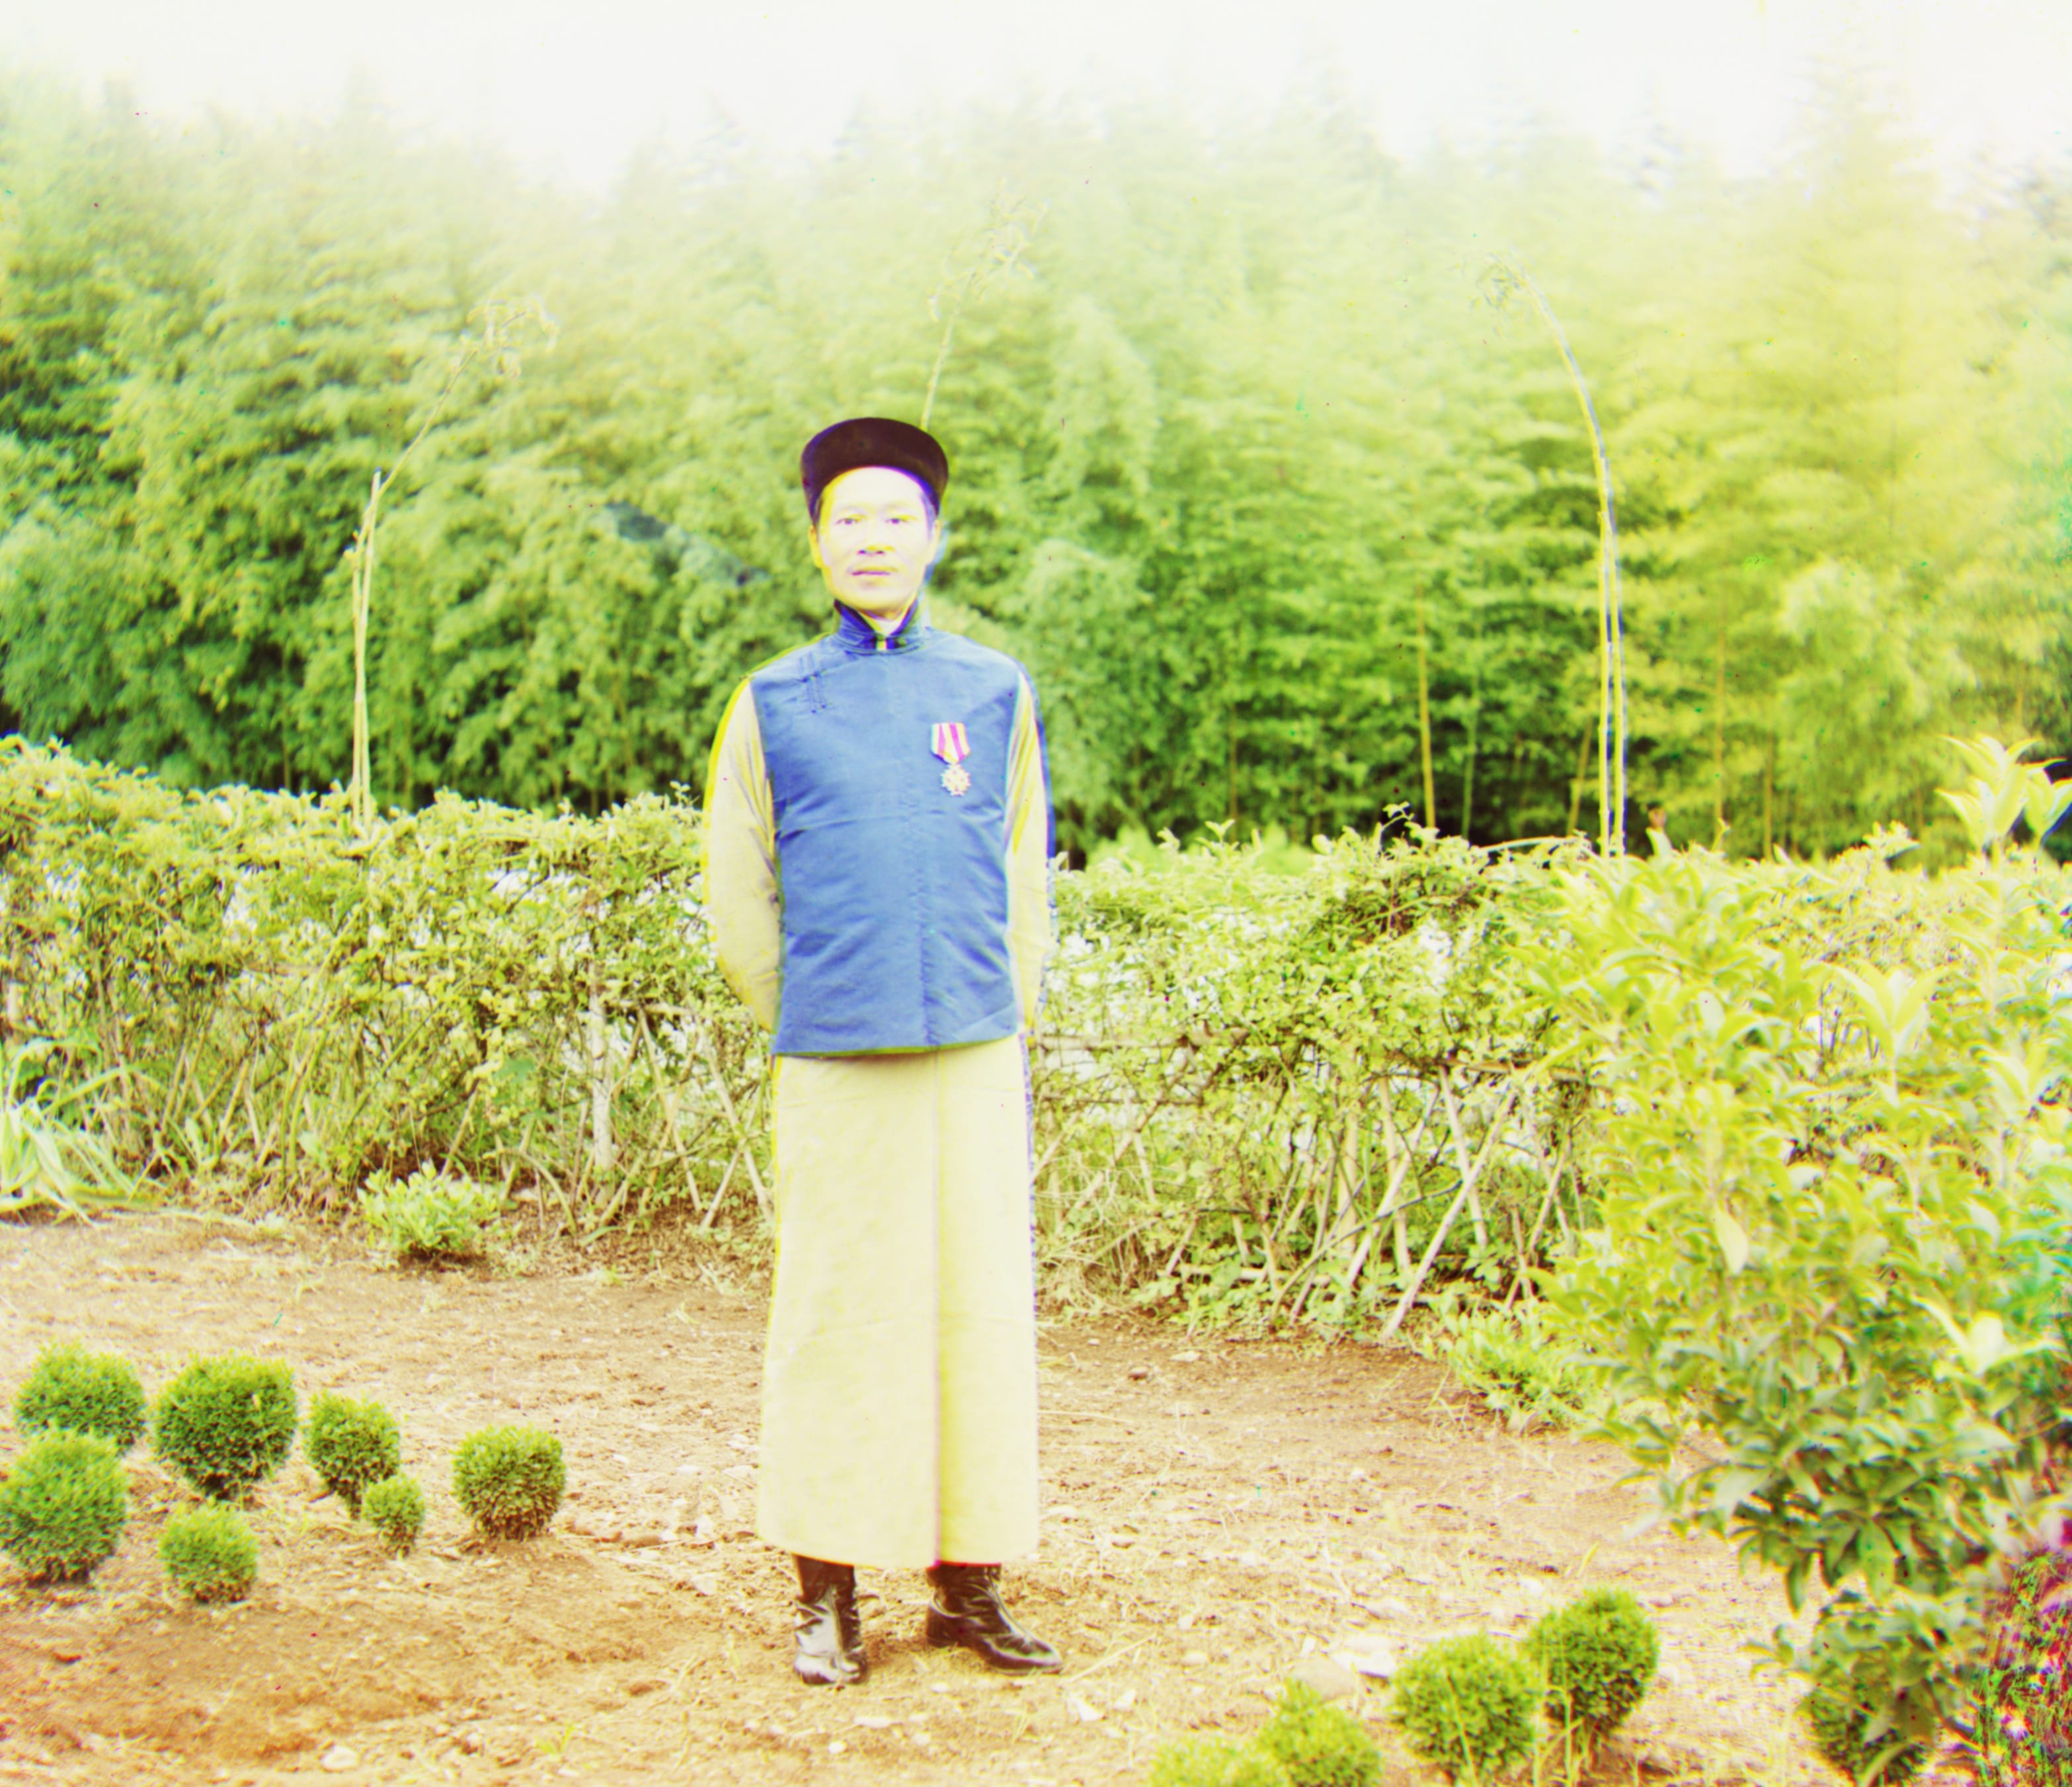
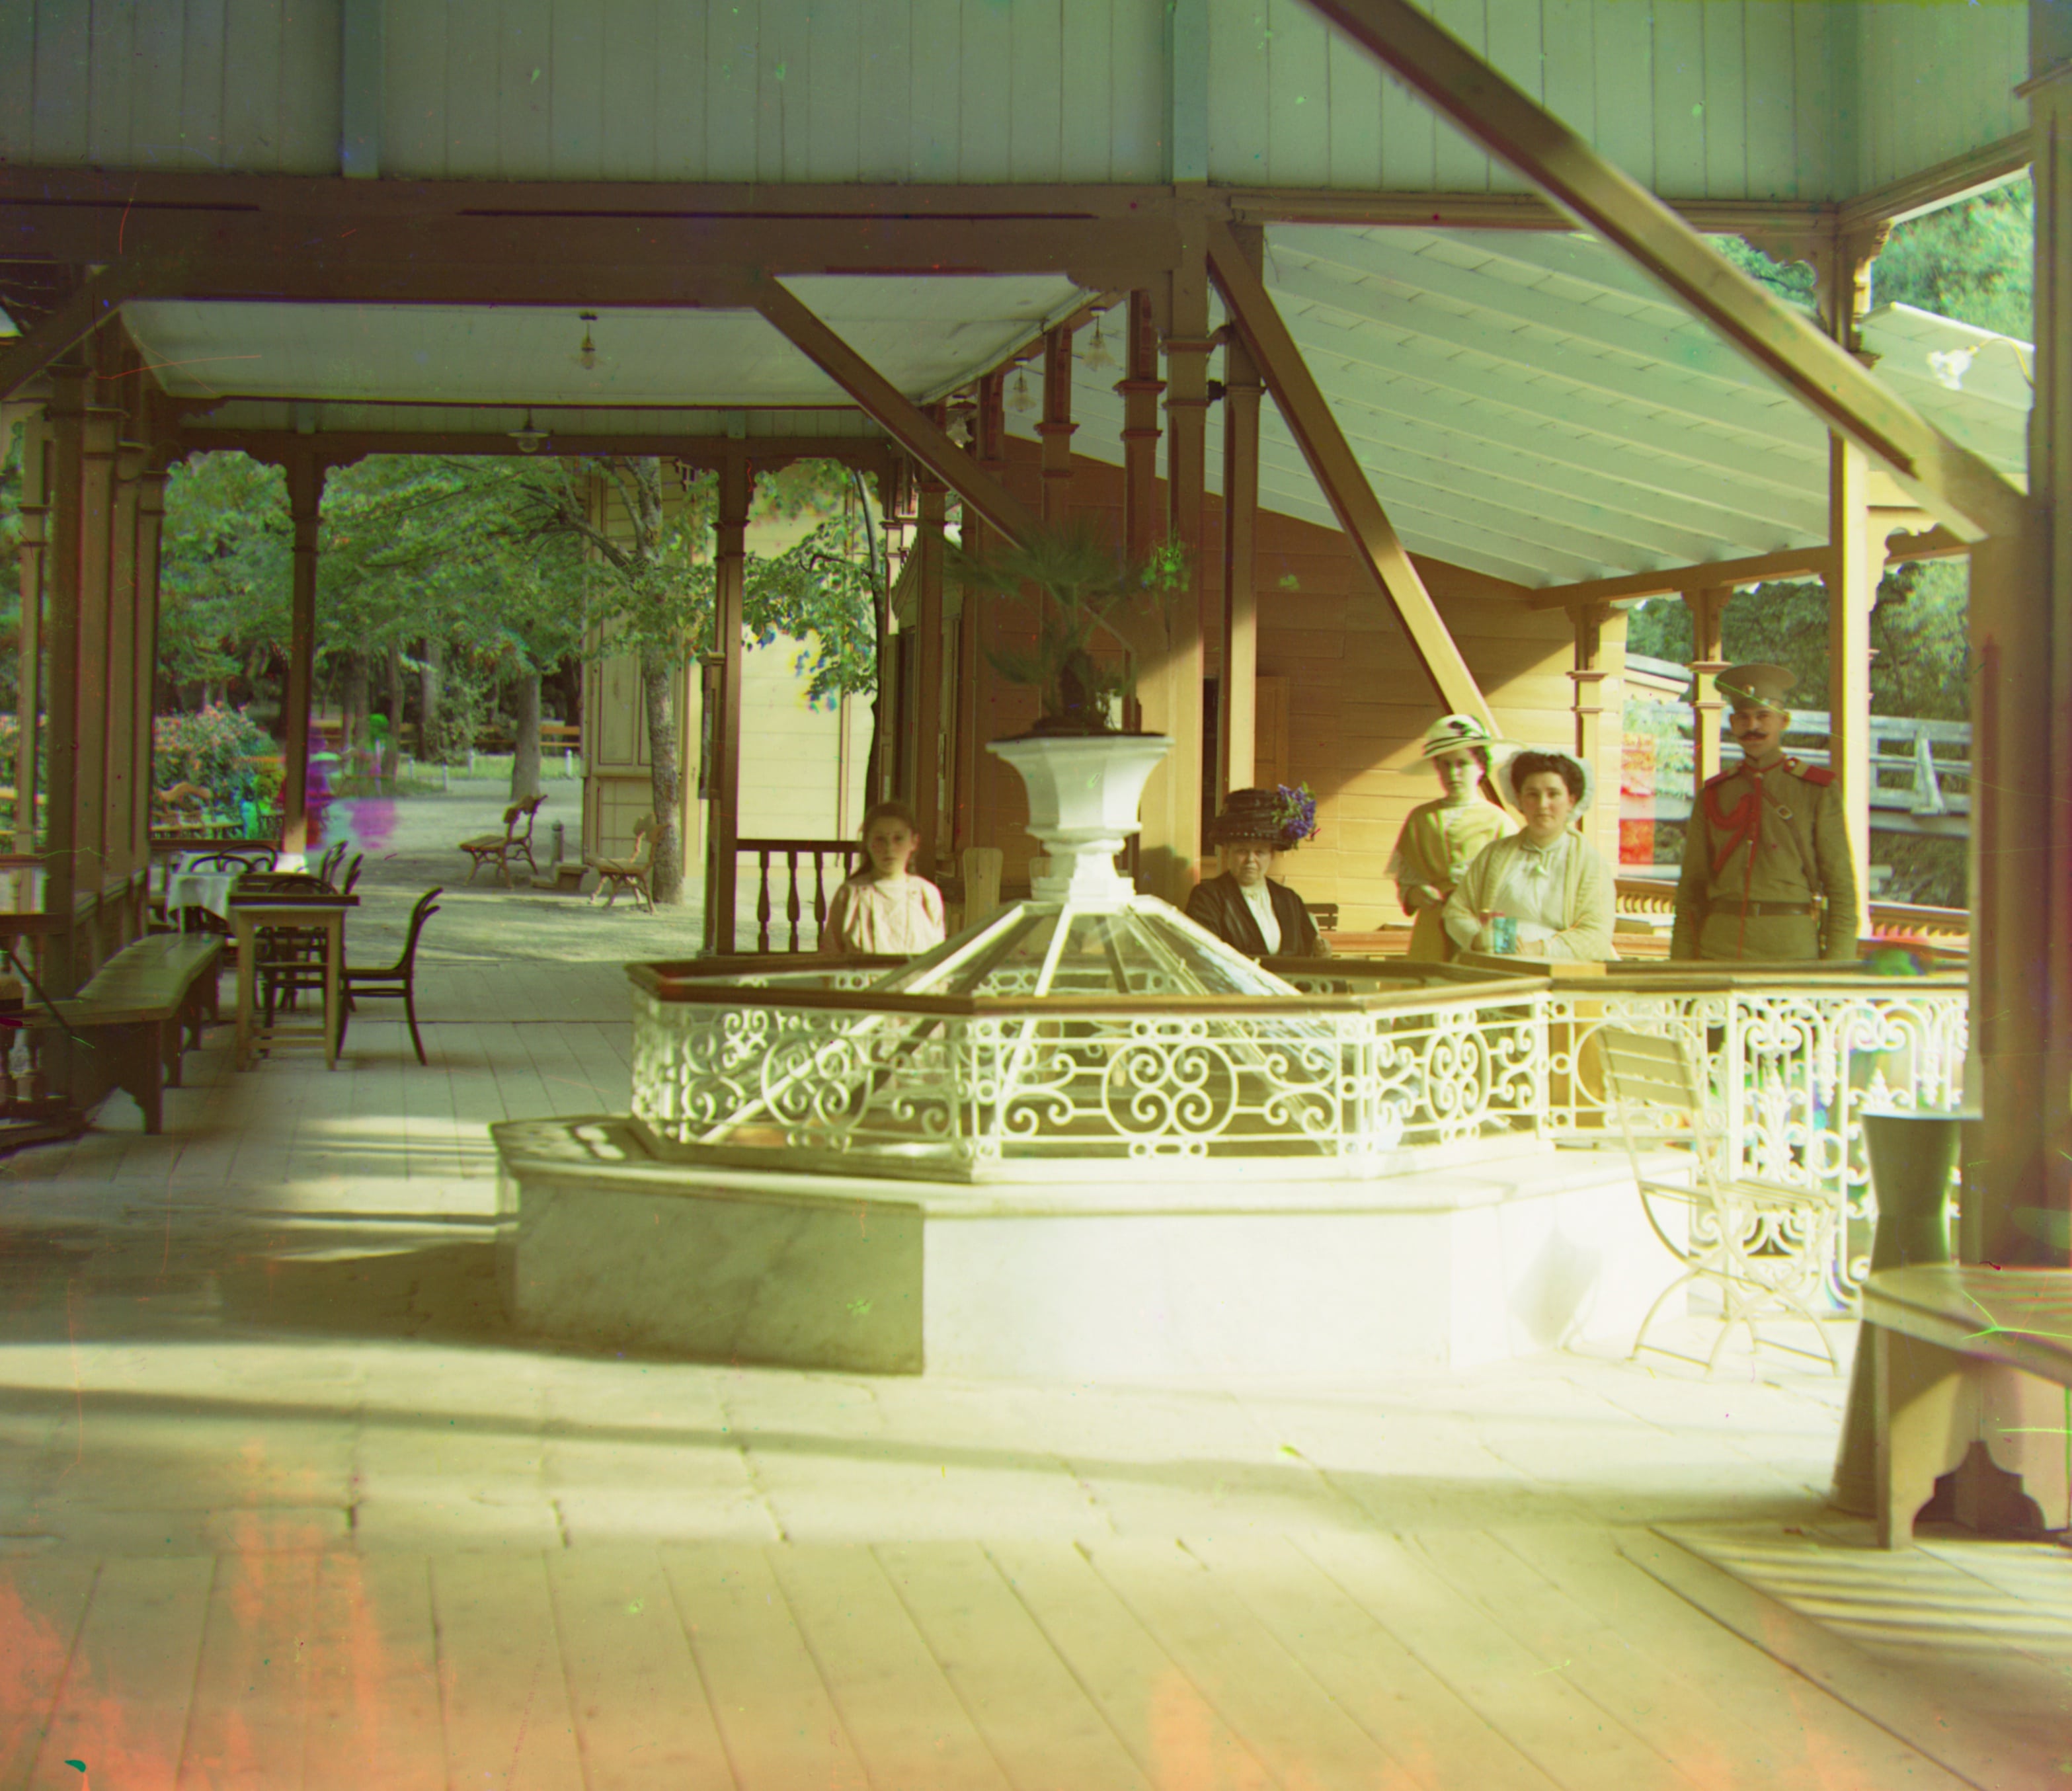
Results on Additional Images
 |
 |
G: (53, -11) R: (117, -34) |
G: (12, -10) R: (68, 5) |
|
 |
G: (61, 4) R: (127, -7) |
G: (72, 22) R: (144, 49) |
|
 |
G: (52, -23) R: (107, -55) |
G: (39, 26) R: (92, 42) |
The Program
The code is written in Python 3 and requires numpy, matplotlib, and cv2. Usage is as follows:
python colorize.py (--images <IMG_DIR> | --image <IMG_PATH>) [-hdr] [-wb] [-crop]