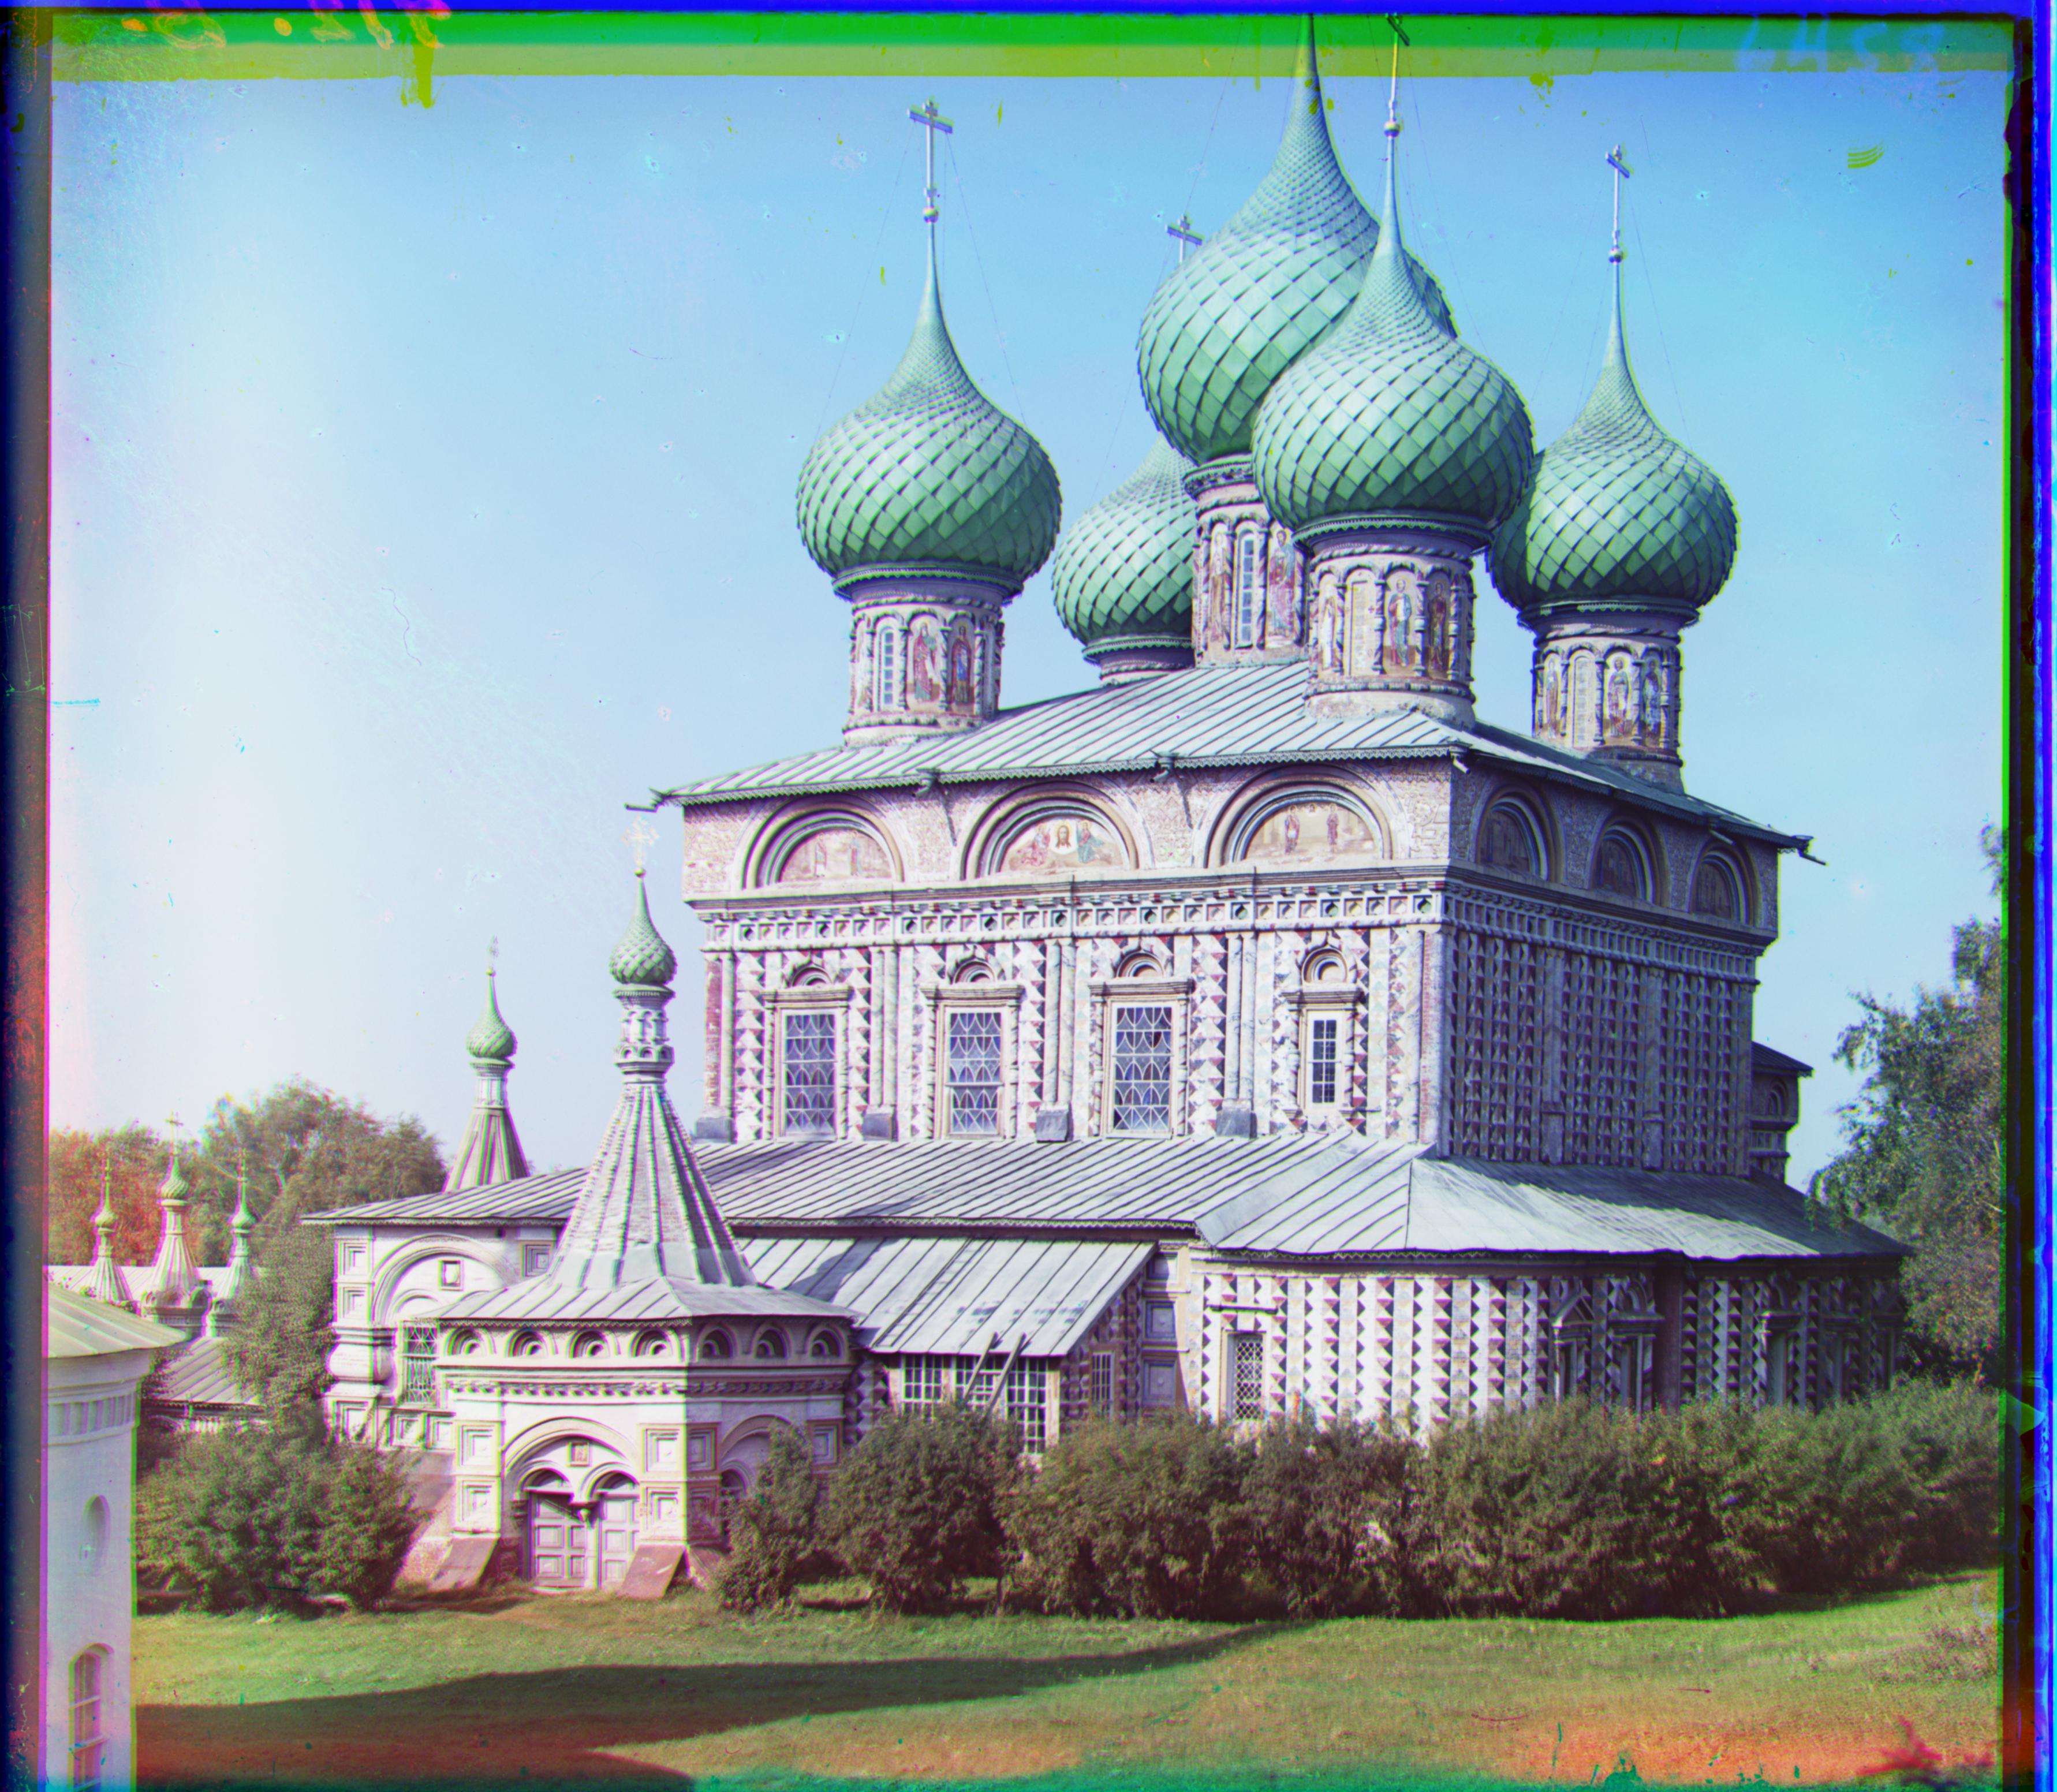
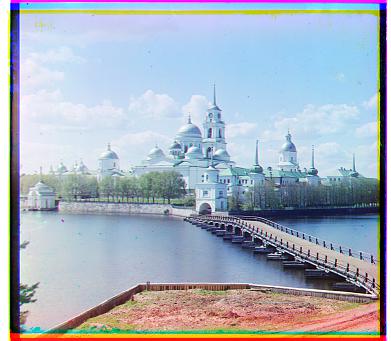
cathedral.jpg
Red [12, 3], Green [5, 2]
time: 2.21 seconds
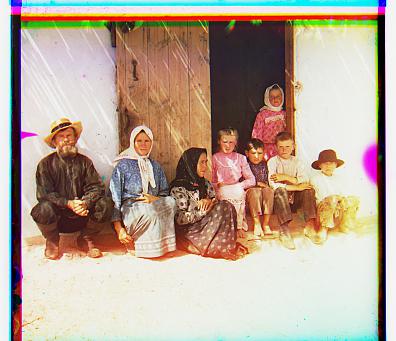
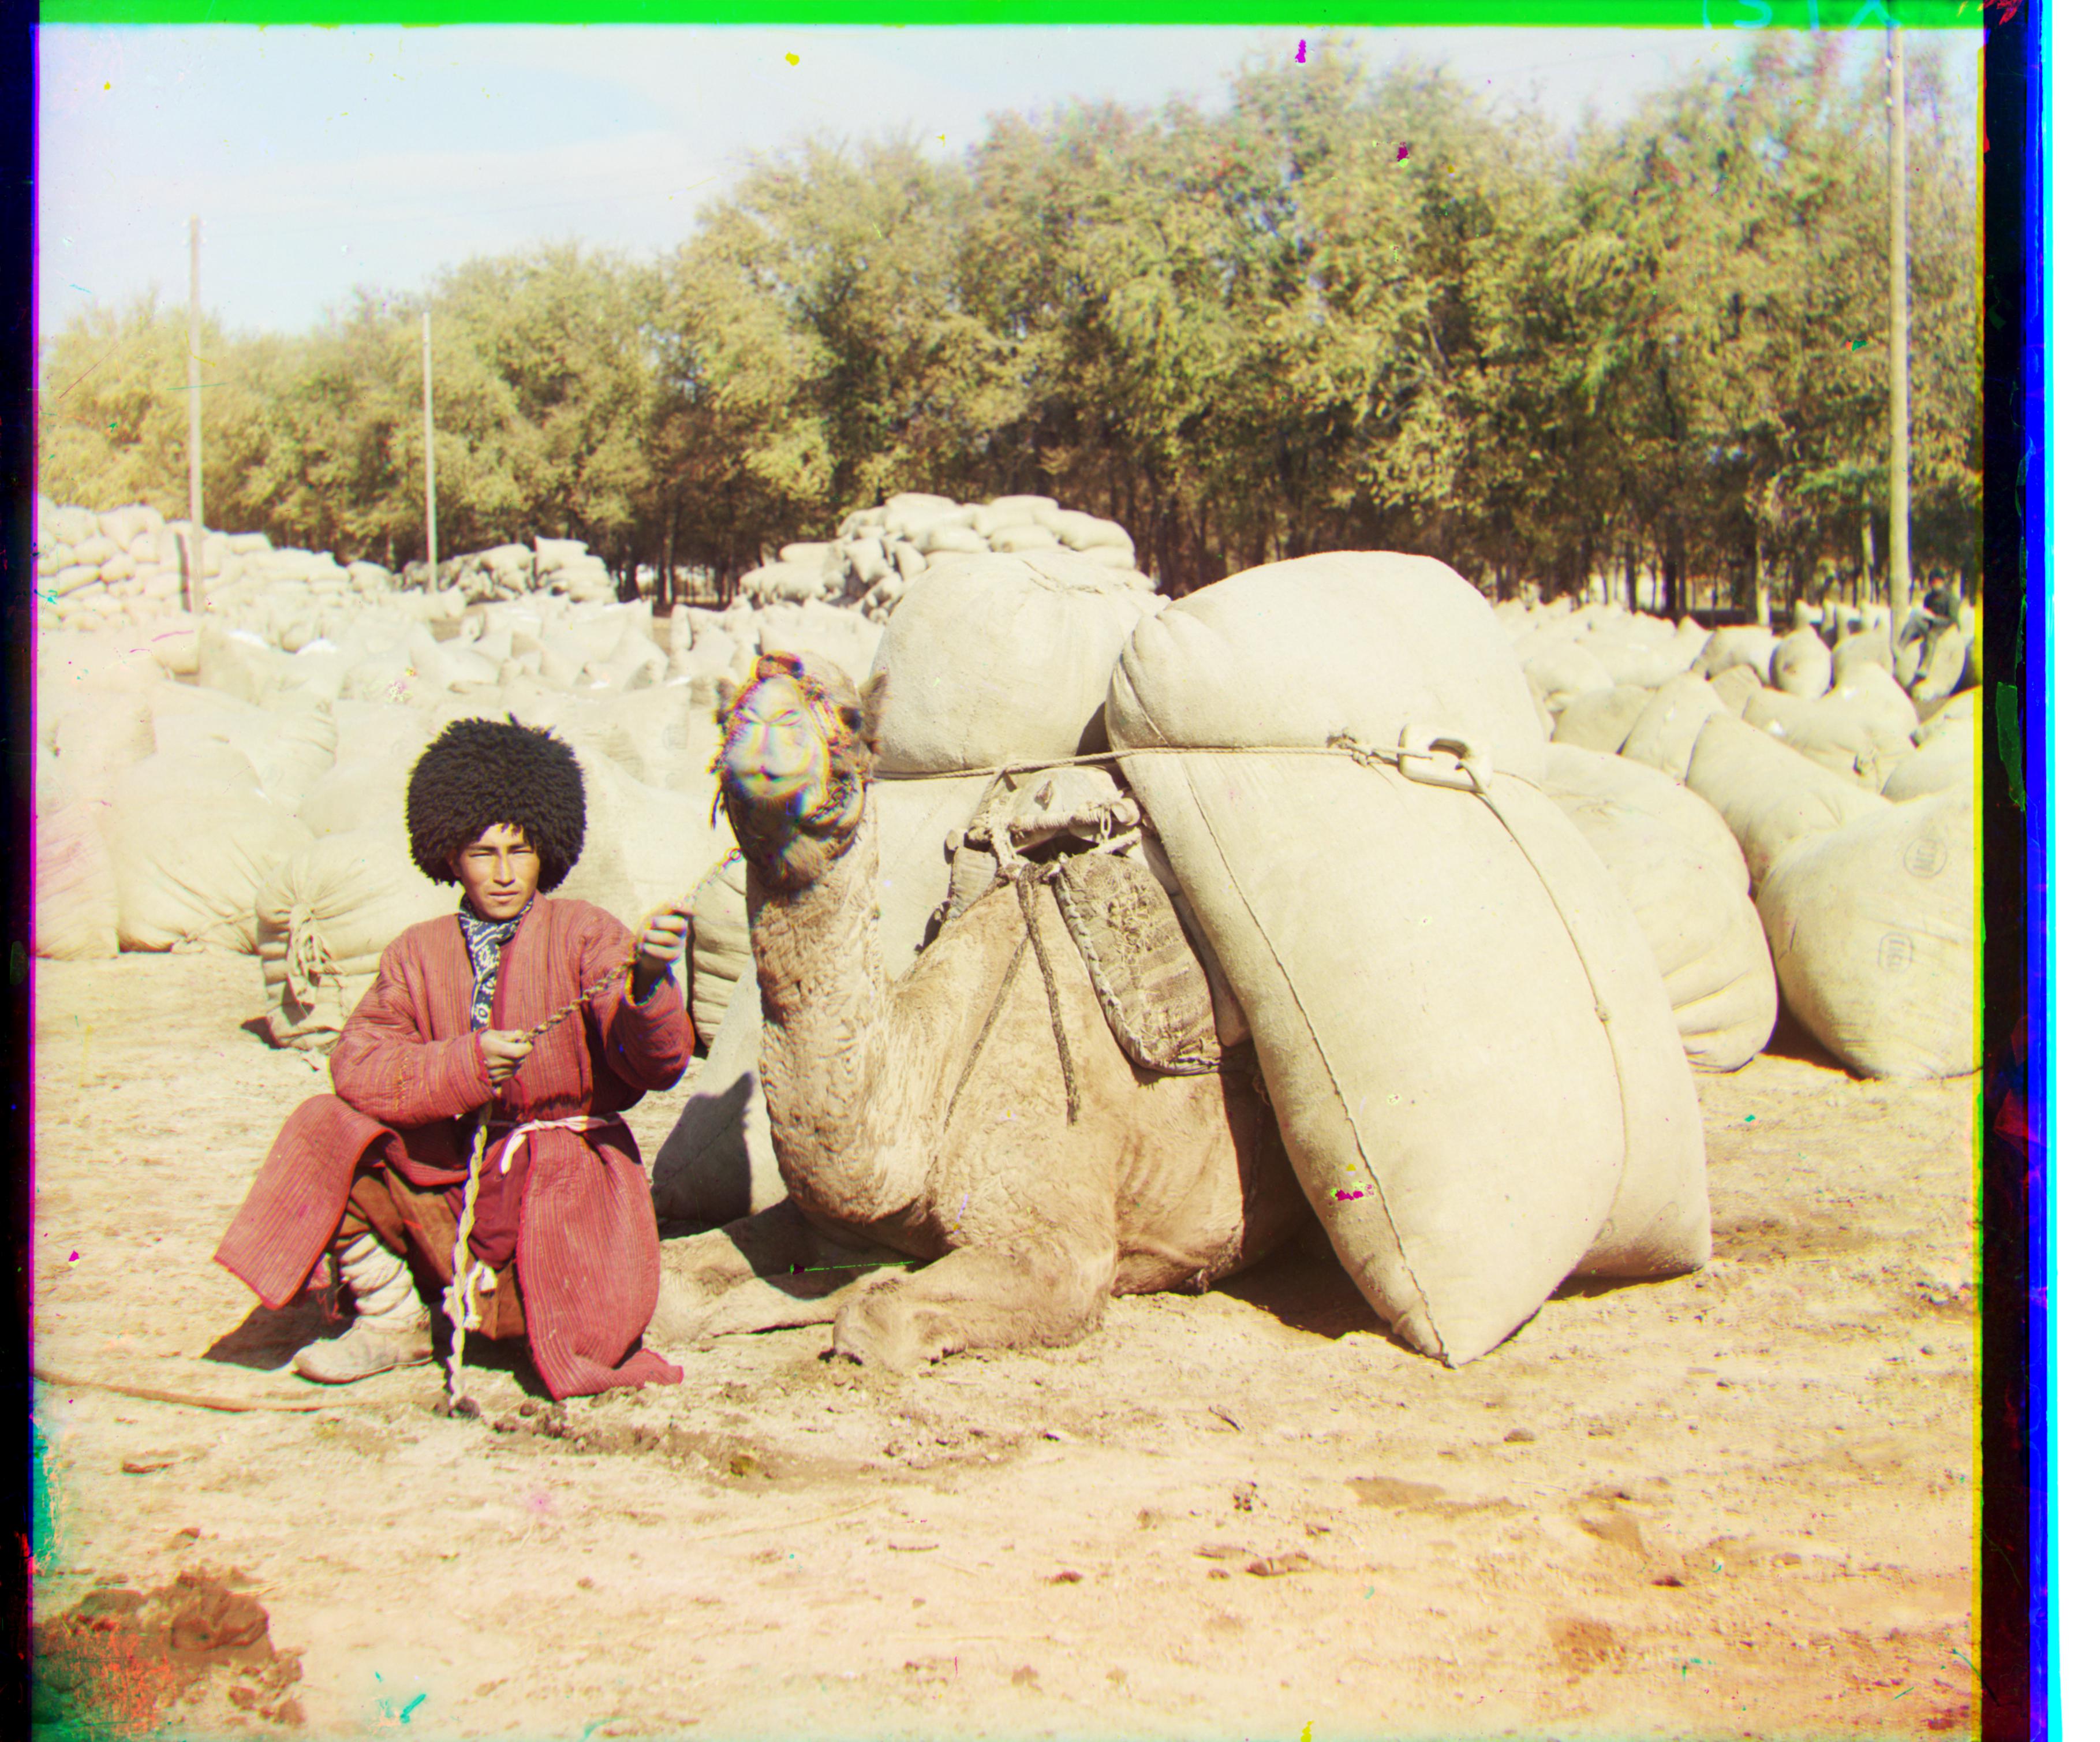
This project is based on the work of the photographer Sergei Mikhailvich Prokudin-Gorskii who was way ahead of his time by coming up with a method for producing color photography. He simply recorded three exposures of every scene onto a glass plate using a red, green, and blue filter. The Library of Congress digitized his negatives and made them available on-line, with there process explained here. The goal of my assignment was to take the digitalized Prokudin-Gorskii glass plate images and combine the three filtered images into a single colored image. I use image processing techniques to align the three RGB plates, crop them, and enhance their overall quality.
My first step was to align each channel to each other by selecting an anchor image (Blue in my case) and then
displacing the other two channels in all possible x and y directions within a range, and assigning a score to
each displacement. My function align(img1, img2, moves) returns the best displacement and the image
shifted along that displacement.
I used the range [-15, 15] and the two different displacement scoring metrics L2 norm and
normalized cross correlation. I compared these two simple metrics on how they performed in time and alignment.
Here is the L2 norm, also known as the Sum of Squared Differences:
sum((image1 - image2)^2)And the normalized cross correlation, which is also the dot product between two normalized vectors:
(image1 / sqrt(image1 • image1)) • (image2 / sqrt(image2 • image2))Both of the metrics performed the same visually (in terms of displacement values) and the L2 norm performed on average only 2 milliseconds quicker. The following images are my results using L2 norm:
In order to handle large images an image pyramid
speedup was implemented. I created a recursive function which takes as arguments two images and a depth, and uses an
image pyramid to calculate the best displacement and returns that value and the image displaced at that value.
My base case checks if the depth has reached 0, and if so it returns a call to my align function,
which returns the best displacement and the image displaced.
If the depth is not 0 yet, then I rescale both images down by a factor of 1/2, and make a call to this recursive
function using the new down-scaled images and a depth of depth-1.
With the result of this call I multiply the displacement by 2 and set the displacement =
displacement + one final touch-up displacement calculated by calling align
on the already displaced image with only a small range of [-2, 2].
Here are my results using the L2 norm metric, which performed on average 5 seconds quicker than the NCC metric
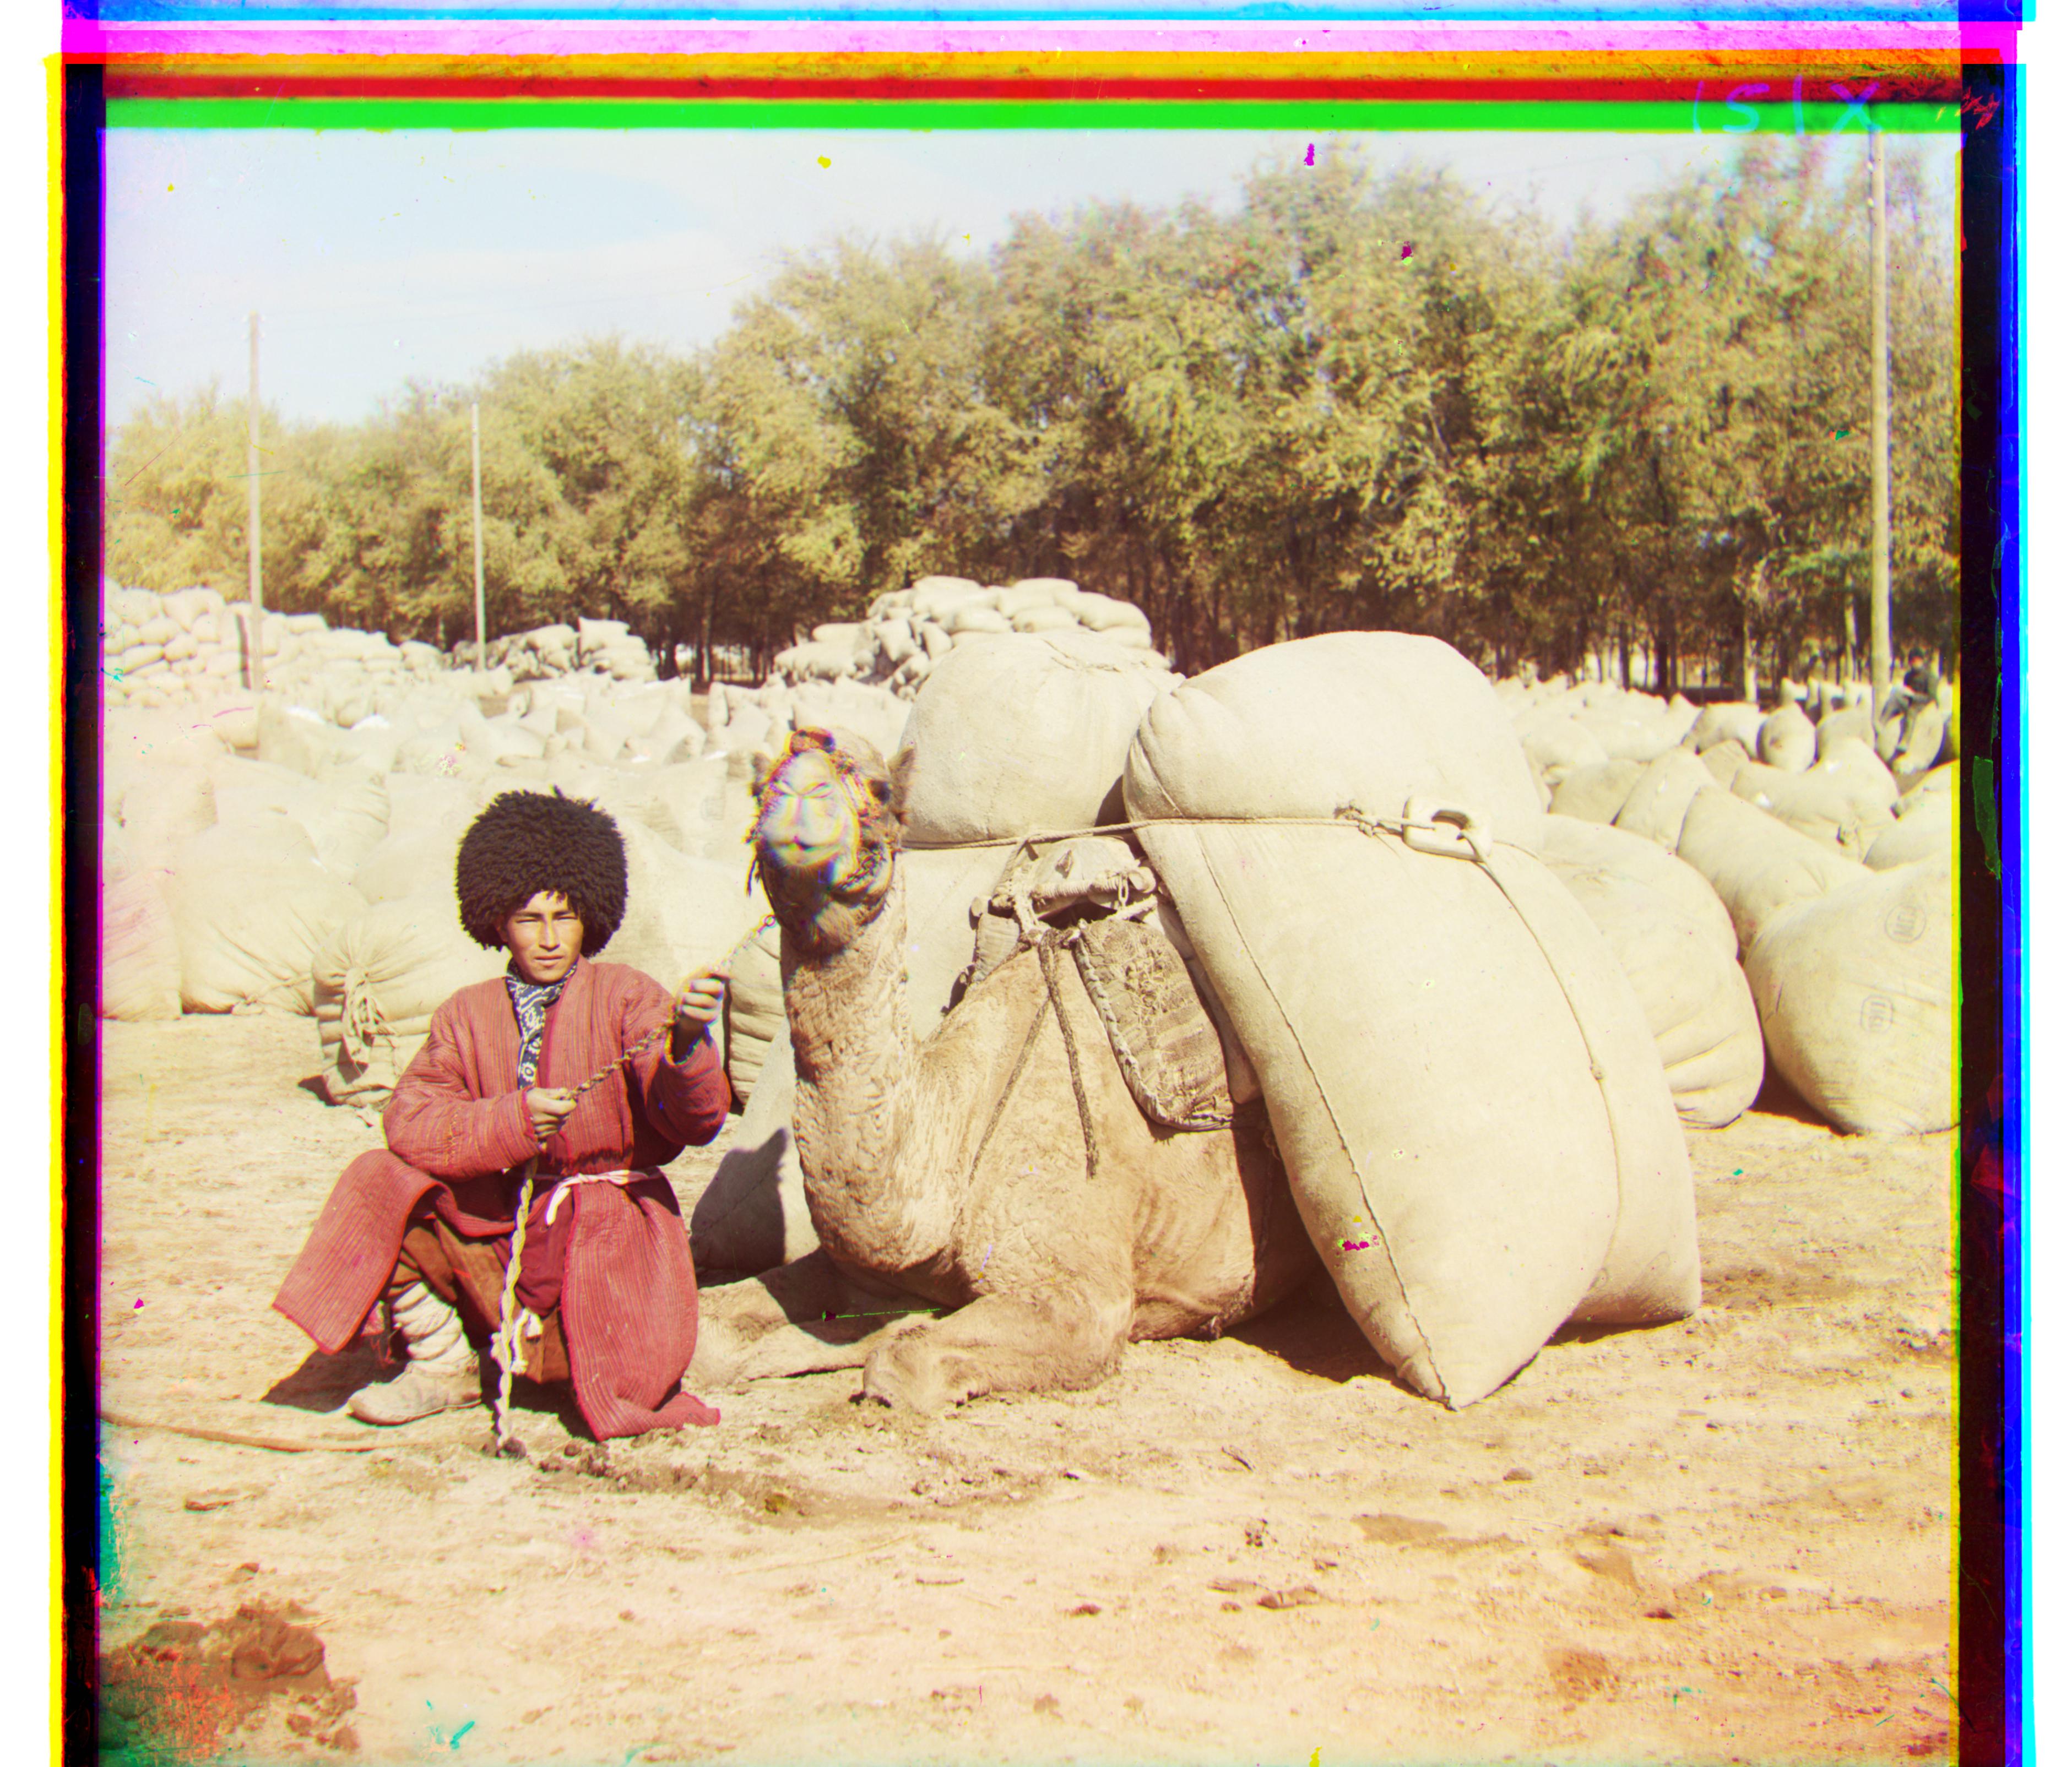
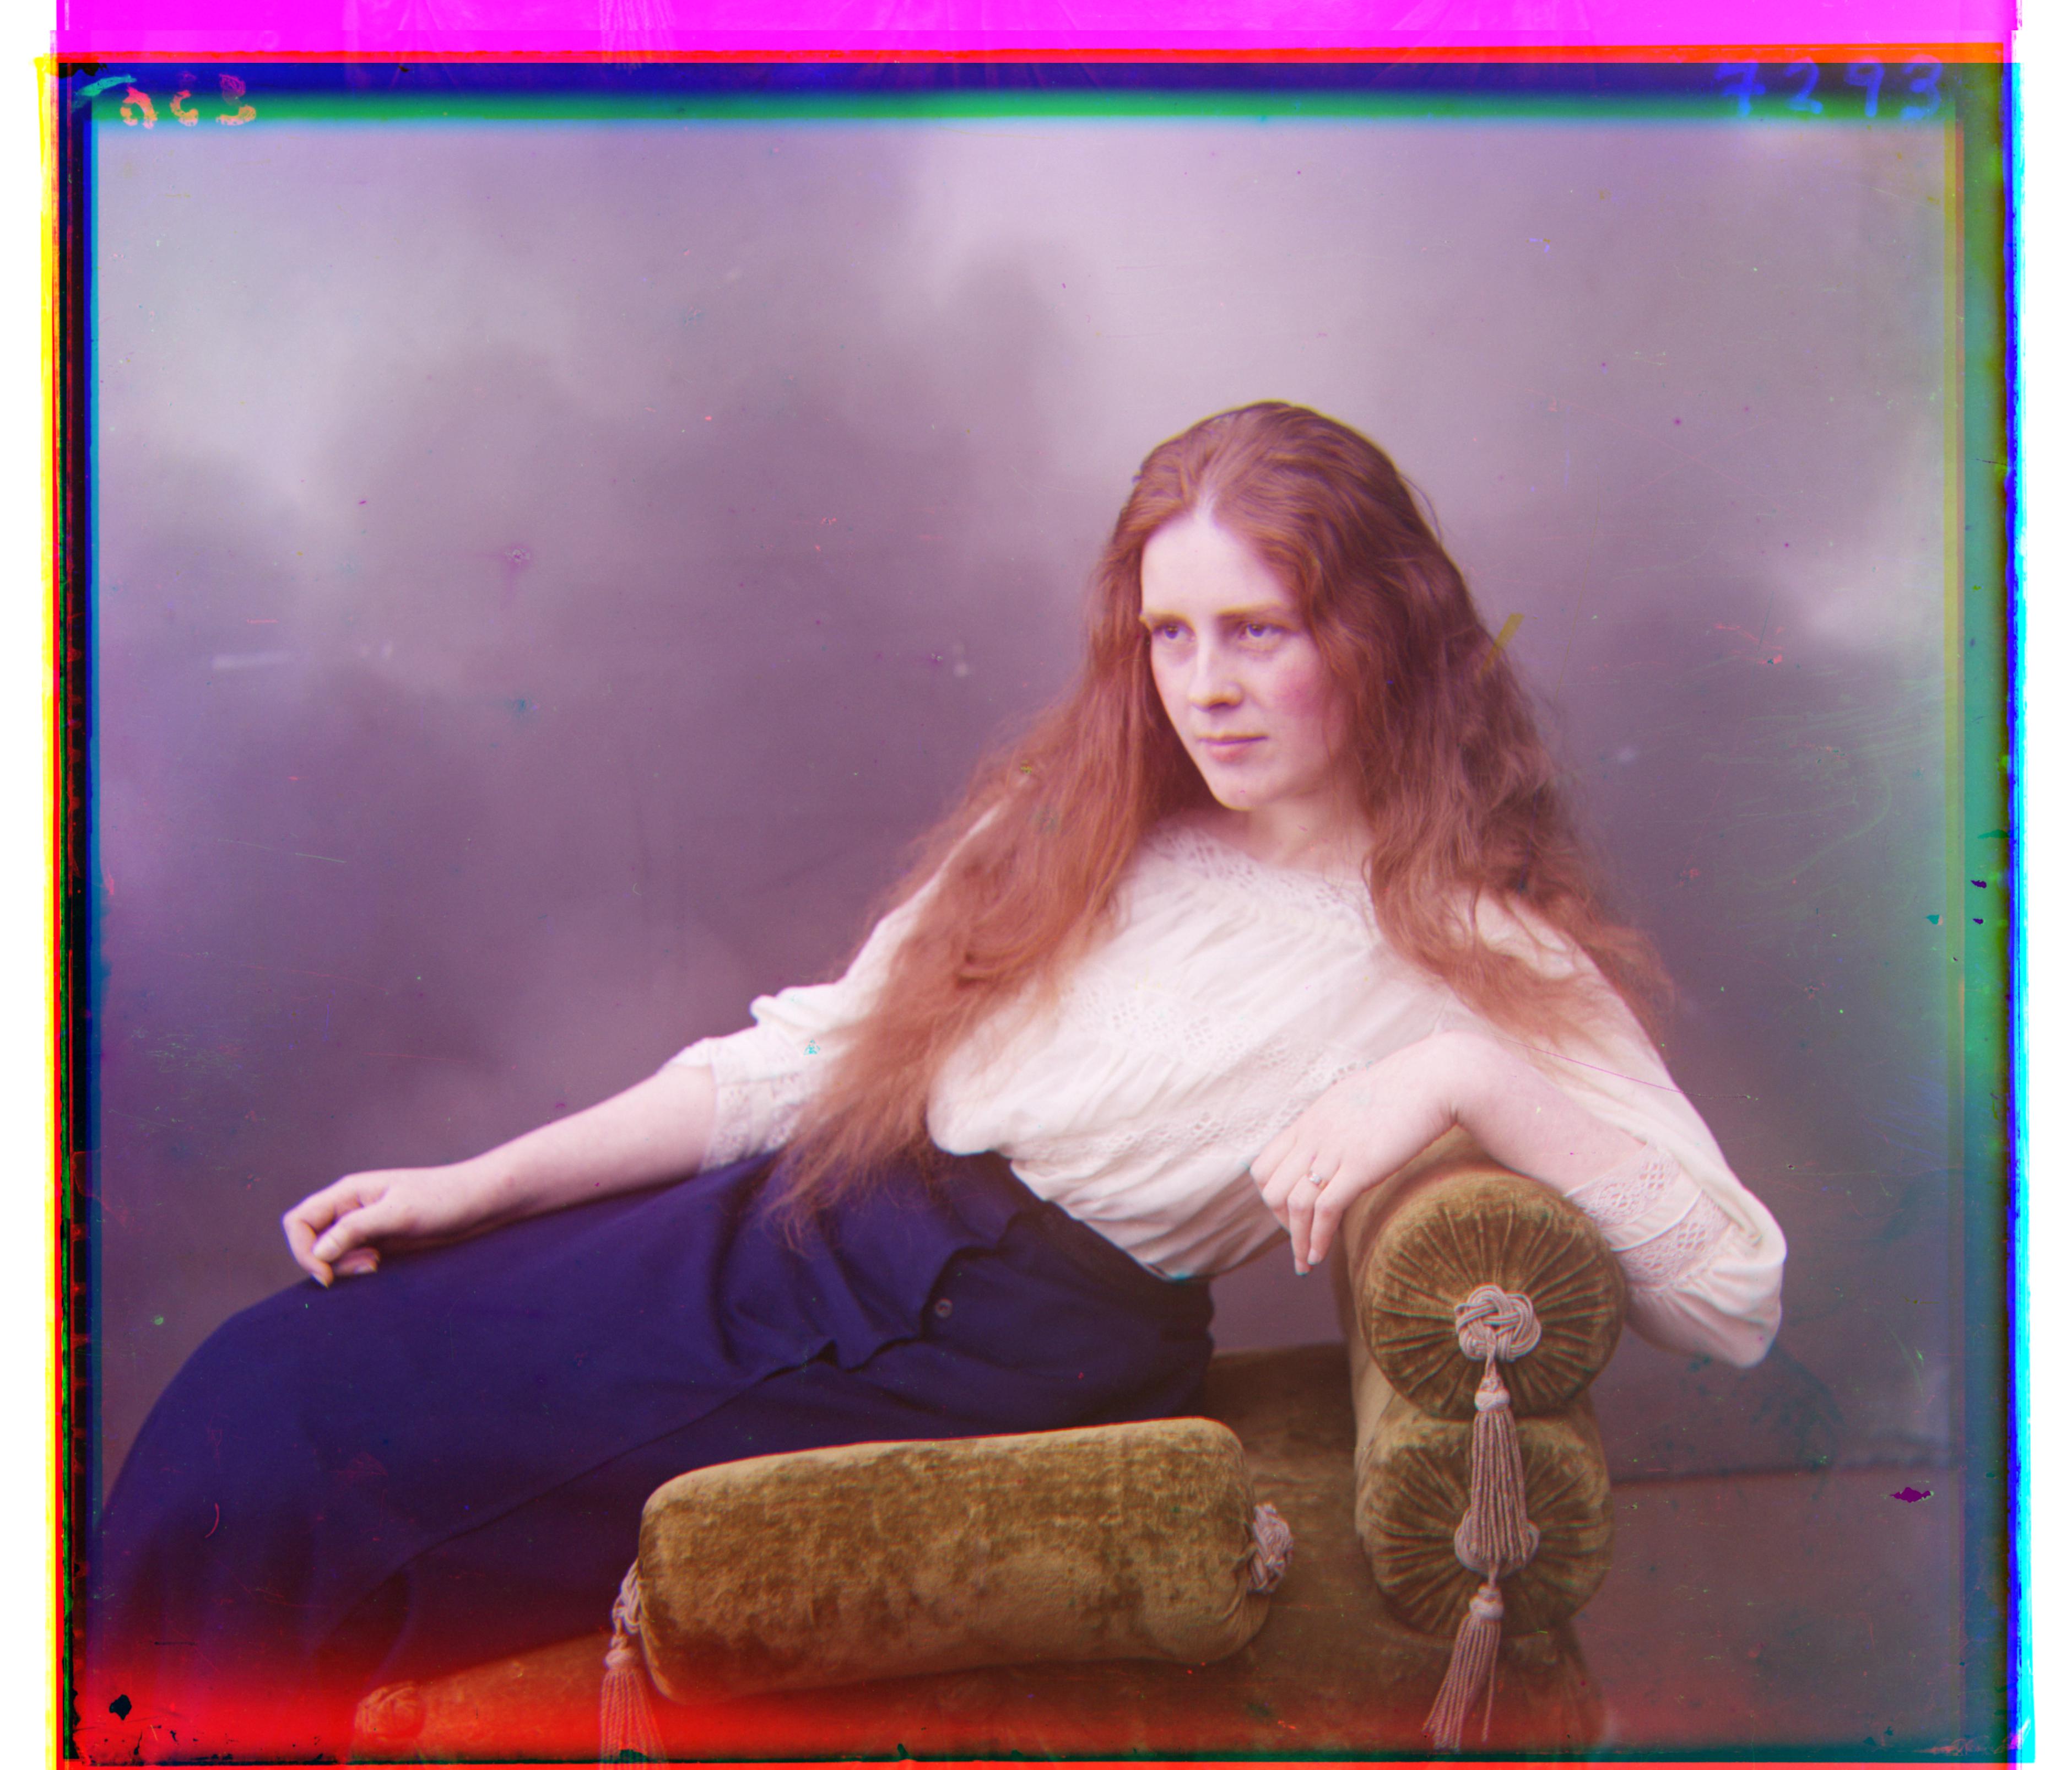

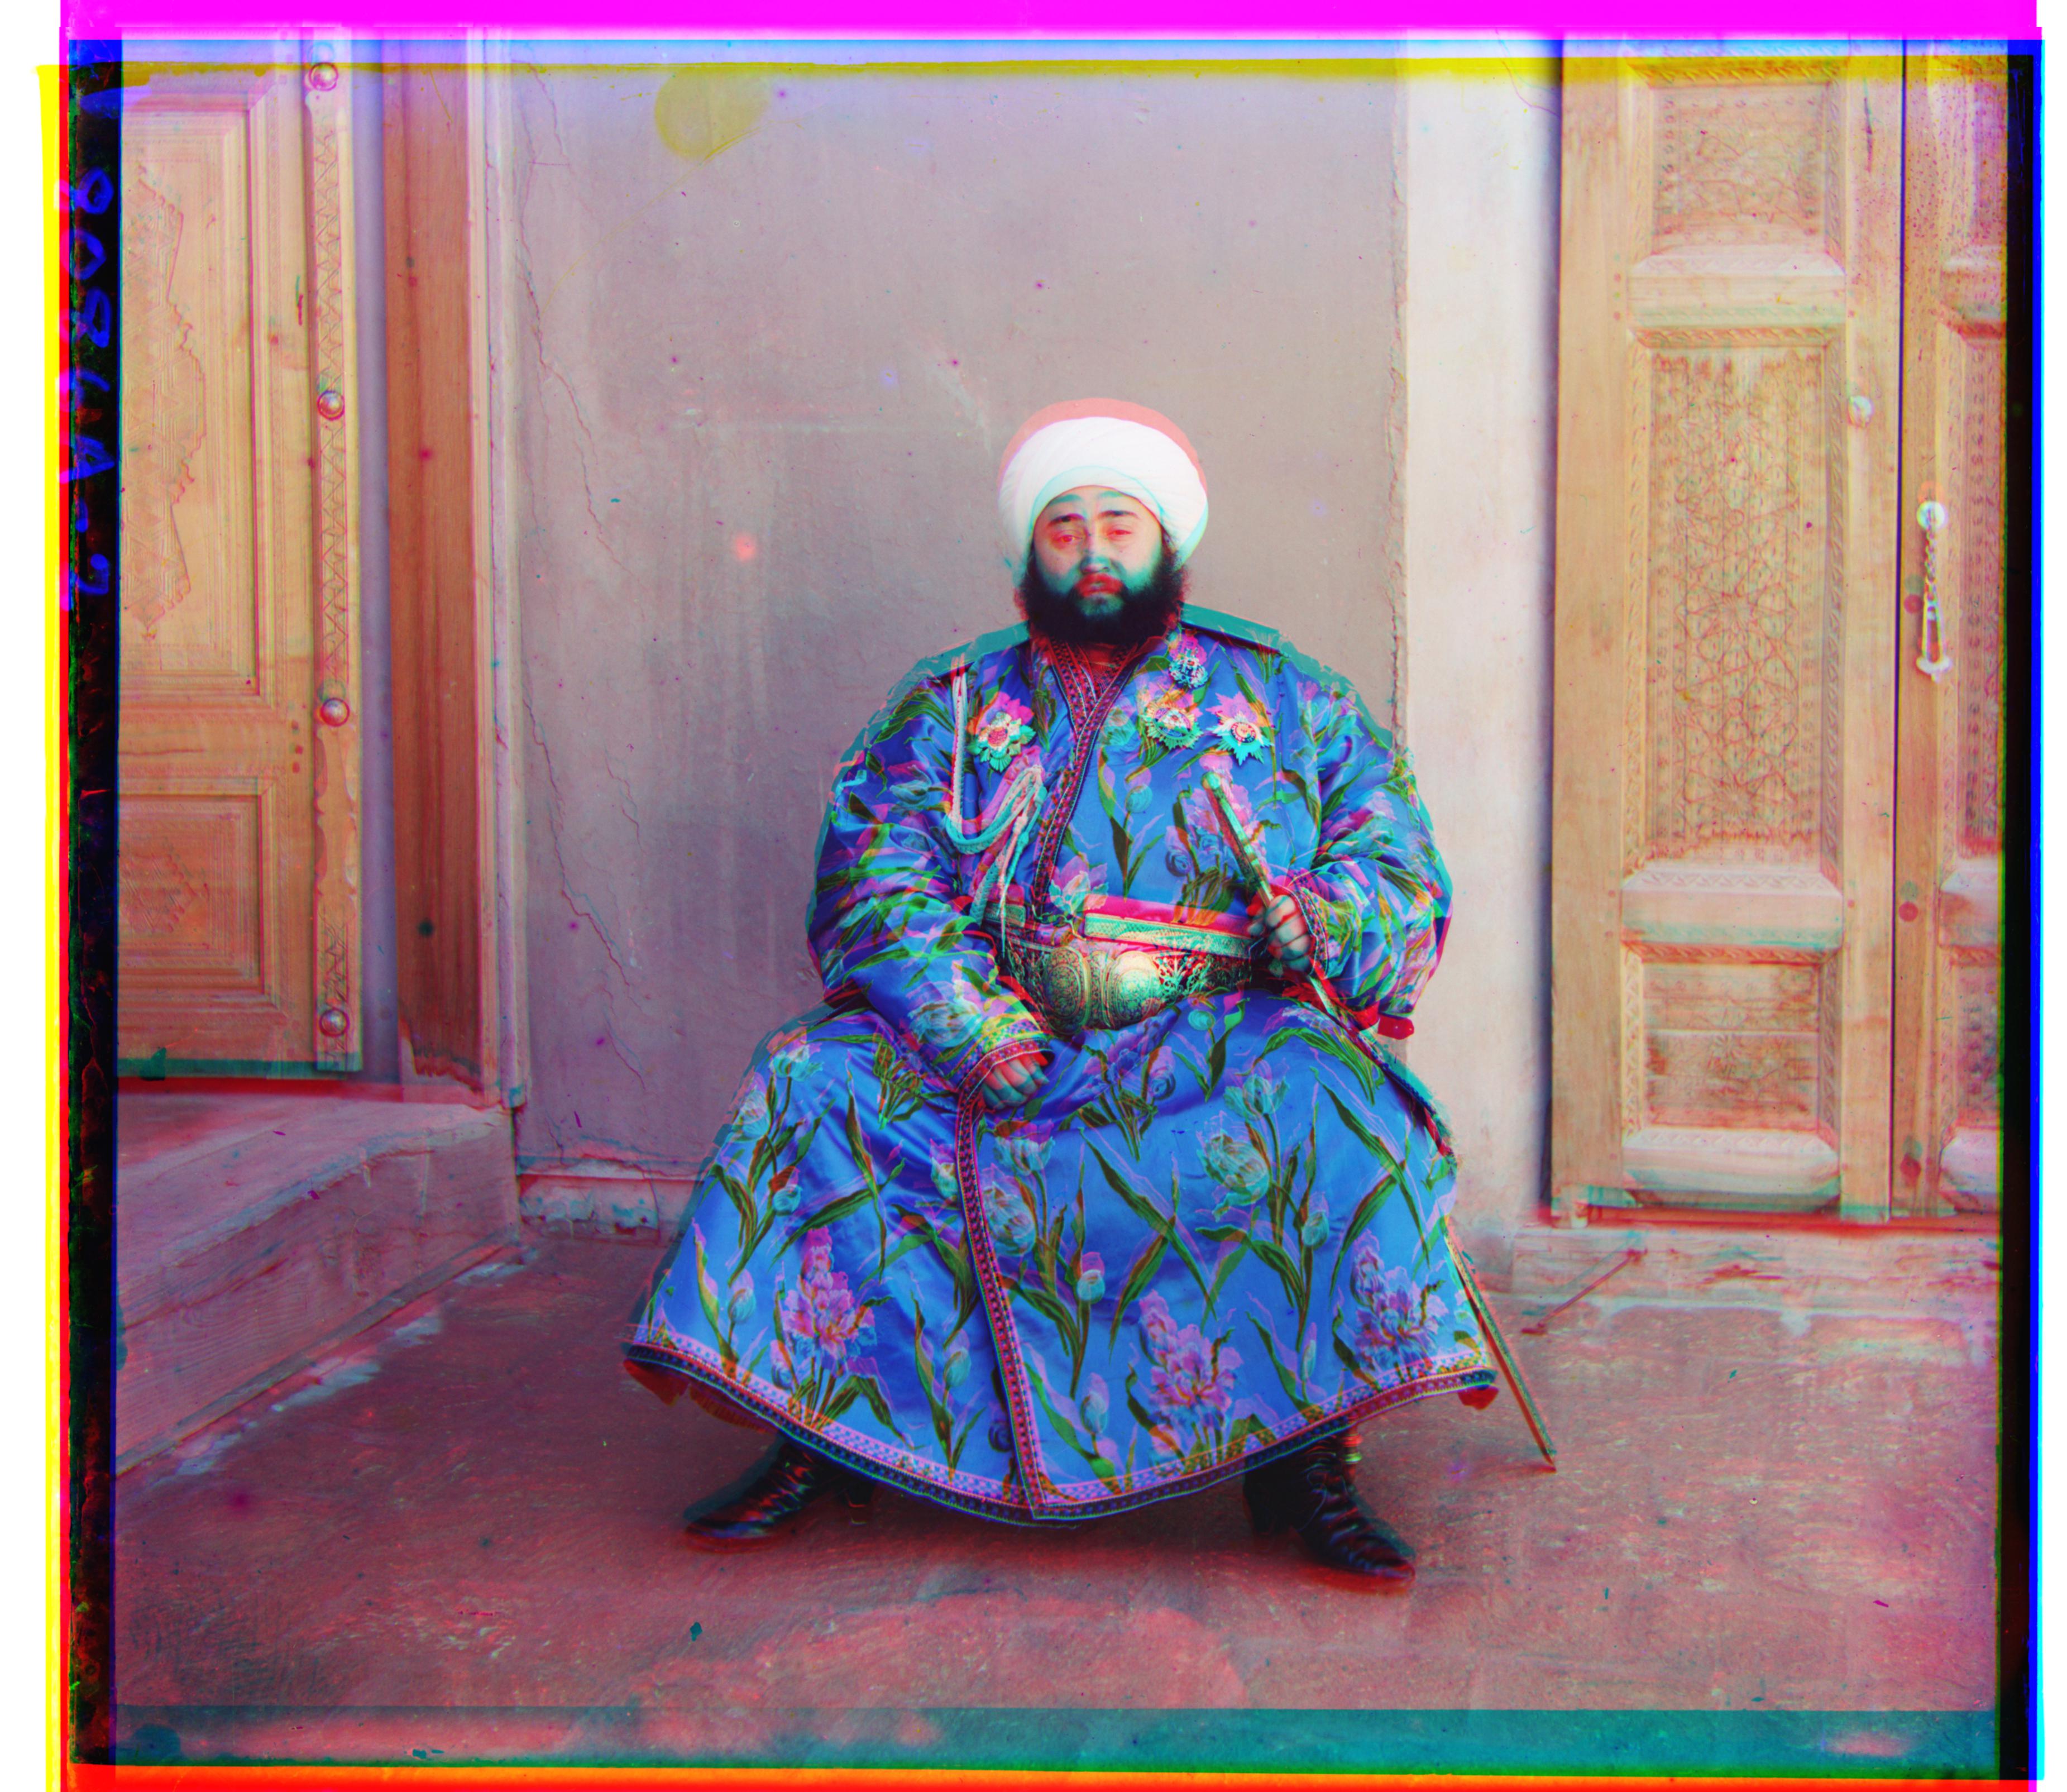
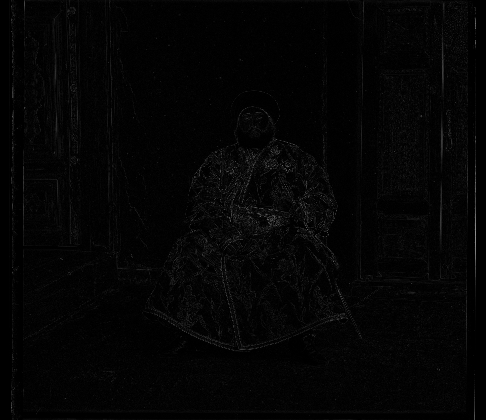
The self_portrait and emir images did not align properly with the simple implementation. One interesting thing to note about emir's photograph is that the intensity of the clothing in the blue channel is very high, but in the red channel it is very low. Since the two metrics that I used to compare the images rely on a correlation between the different channels, in this image the more you align the red and blue channels, the lower the displacement metric score will be. One way to solve this is to not compare the red and blue channel, and instead use a different target channel. By using the blue channel as the target I was able to properly align emir.

This same trick worked on fixing self_portrait.tif image as well
The self_portrait and emir images did not align properly with only this implementation. I will show how I improved this alignment later on.
Before reaching these results above, I went through a couple iterations. One change I made was to crop the image by 1/4 in both width and height every time I called the image matching metric function, where before I was only cropping the initial 1x sized image. This improved my results because now I was calculating the alignment metric on only the inner pixels at each scaled image.
In order to speed up my code I used numpy.roll for the shifting and numpy arrays when doing
any sort of vector arithmetic. I also used python list comprehensions which are
more efficient
than for loops, and created function that worked on all the image channels at once instead of
each one individually.
In order to fix the emir and self_portrait images I tried a couple of different methods.
I used scikit sobel as filter to my image to find edge magnitudes and better align the image.

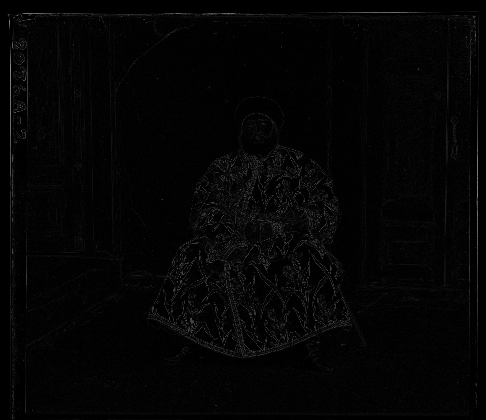
By using the edges in my 3 channels to align them as oppose to their greyscale intensity values I was able to get a much better alignment. Now the emir image is properly aligned.
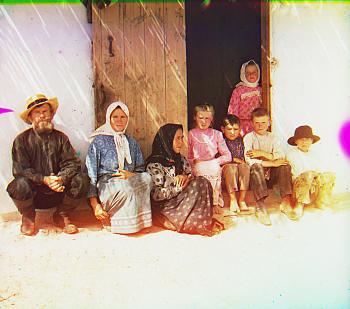
For automatically cropping I used scikit's canny feature to detect the edges. From there I created two arrays, one with the sum of all the columns, and one with the sum of all the rows. Then I iteratively searched through these arrays for the highest intensity values that followed a smaller sum of intensity values along a 1/4th boarder around the image. Then once I found these indices, I chose the inner most ones between the three channels and cropped all channels by that value. Here are some results of my auto-cropping:
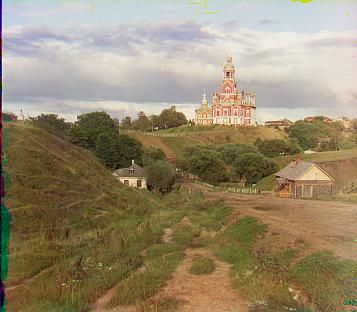
For automatically applying contrast I followed the idea of making the highest pixel value in each channel to be 1 and the lowest one to be 0 and interpolate every pixel in between so that "stretch" out from 0 to 1. I used the following equation to achieve this. Note that startRange is 0 and minRange is 1 in my case. Also every time I calculated the min or max values of the image I did so on a cropped version of the image to make sure my values were not skewed by any borders.
startRange + (image - min(image)) * (endRange - startRange) / (max(image) - min(image))
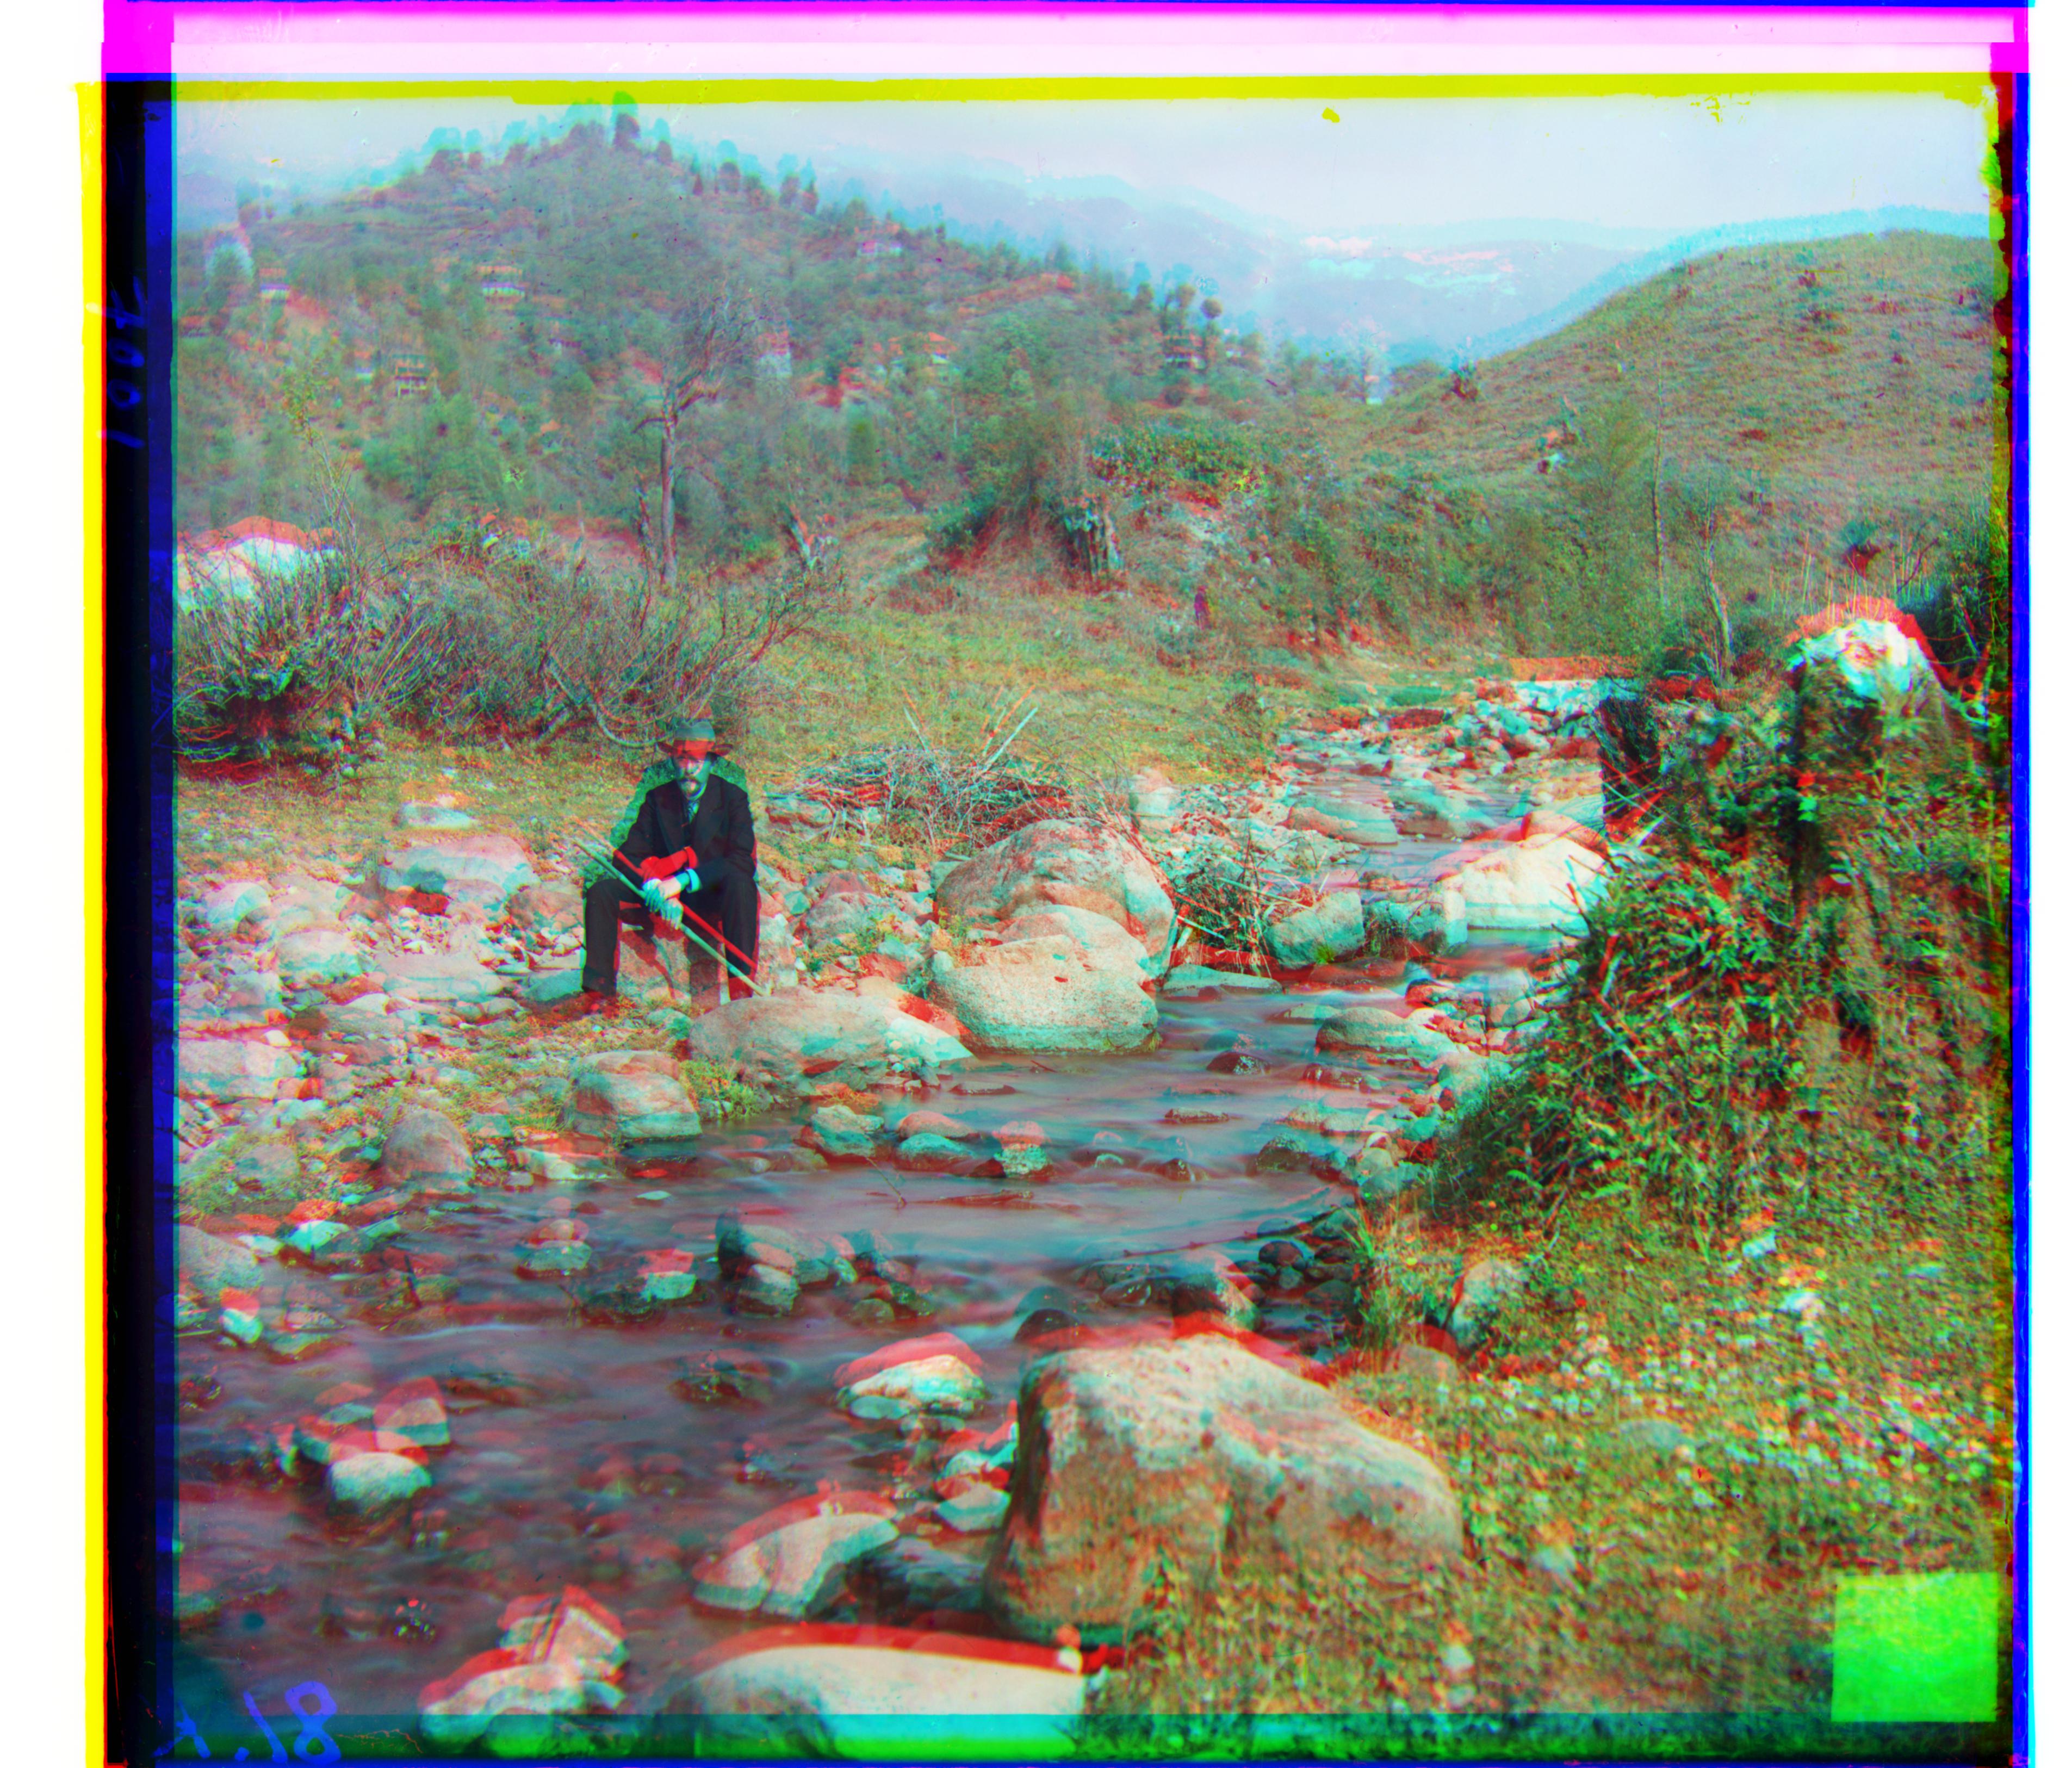
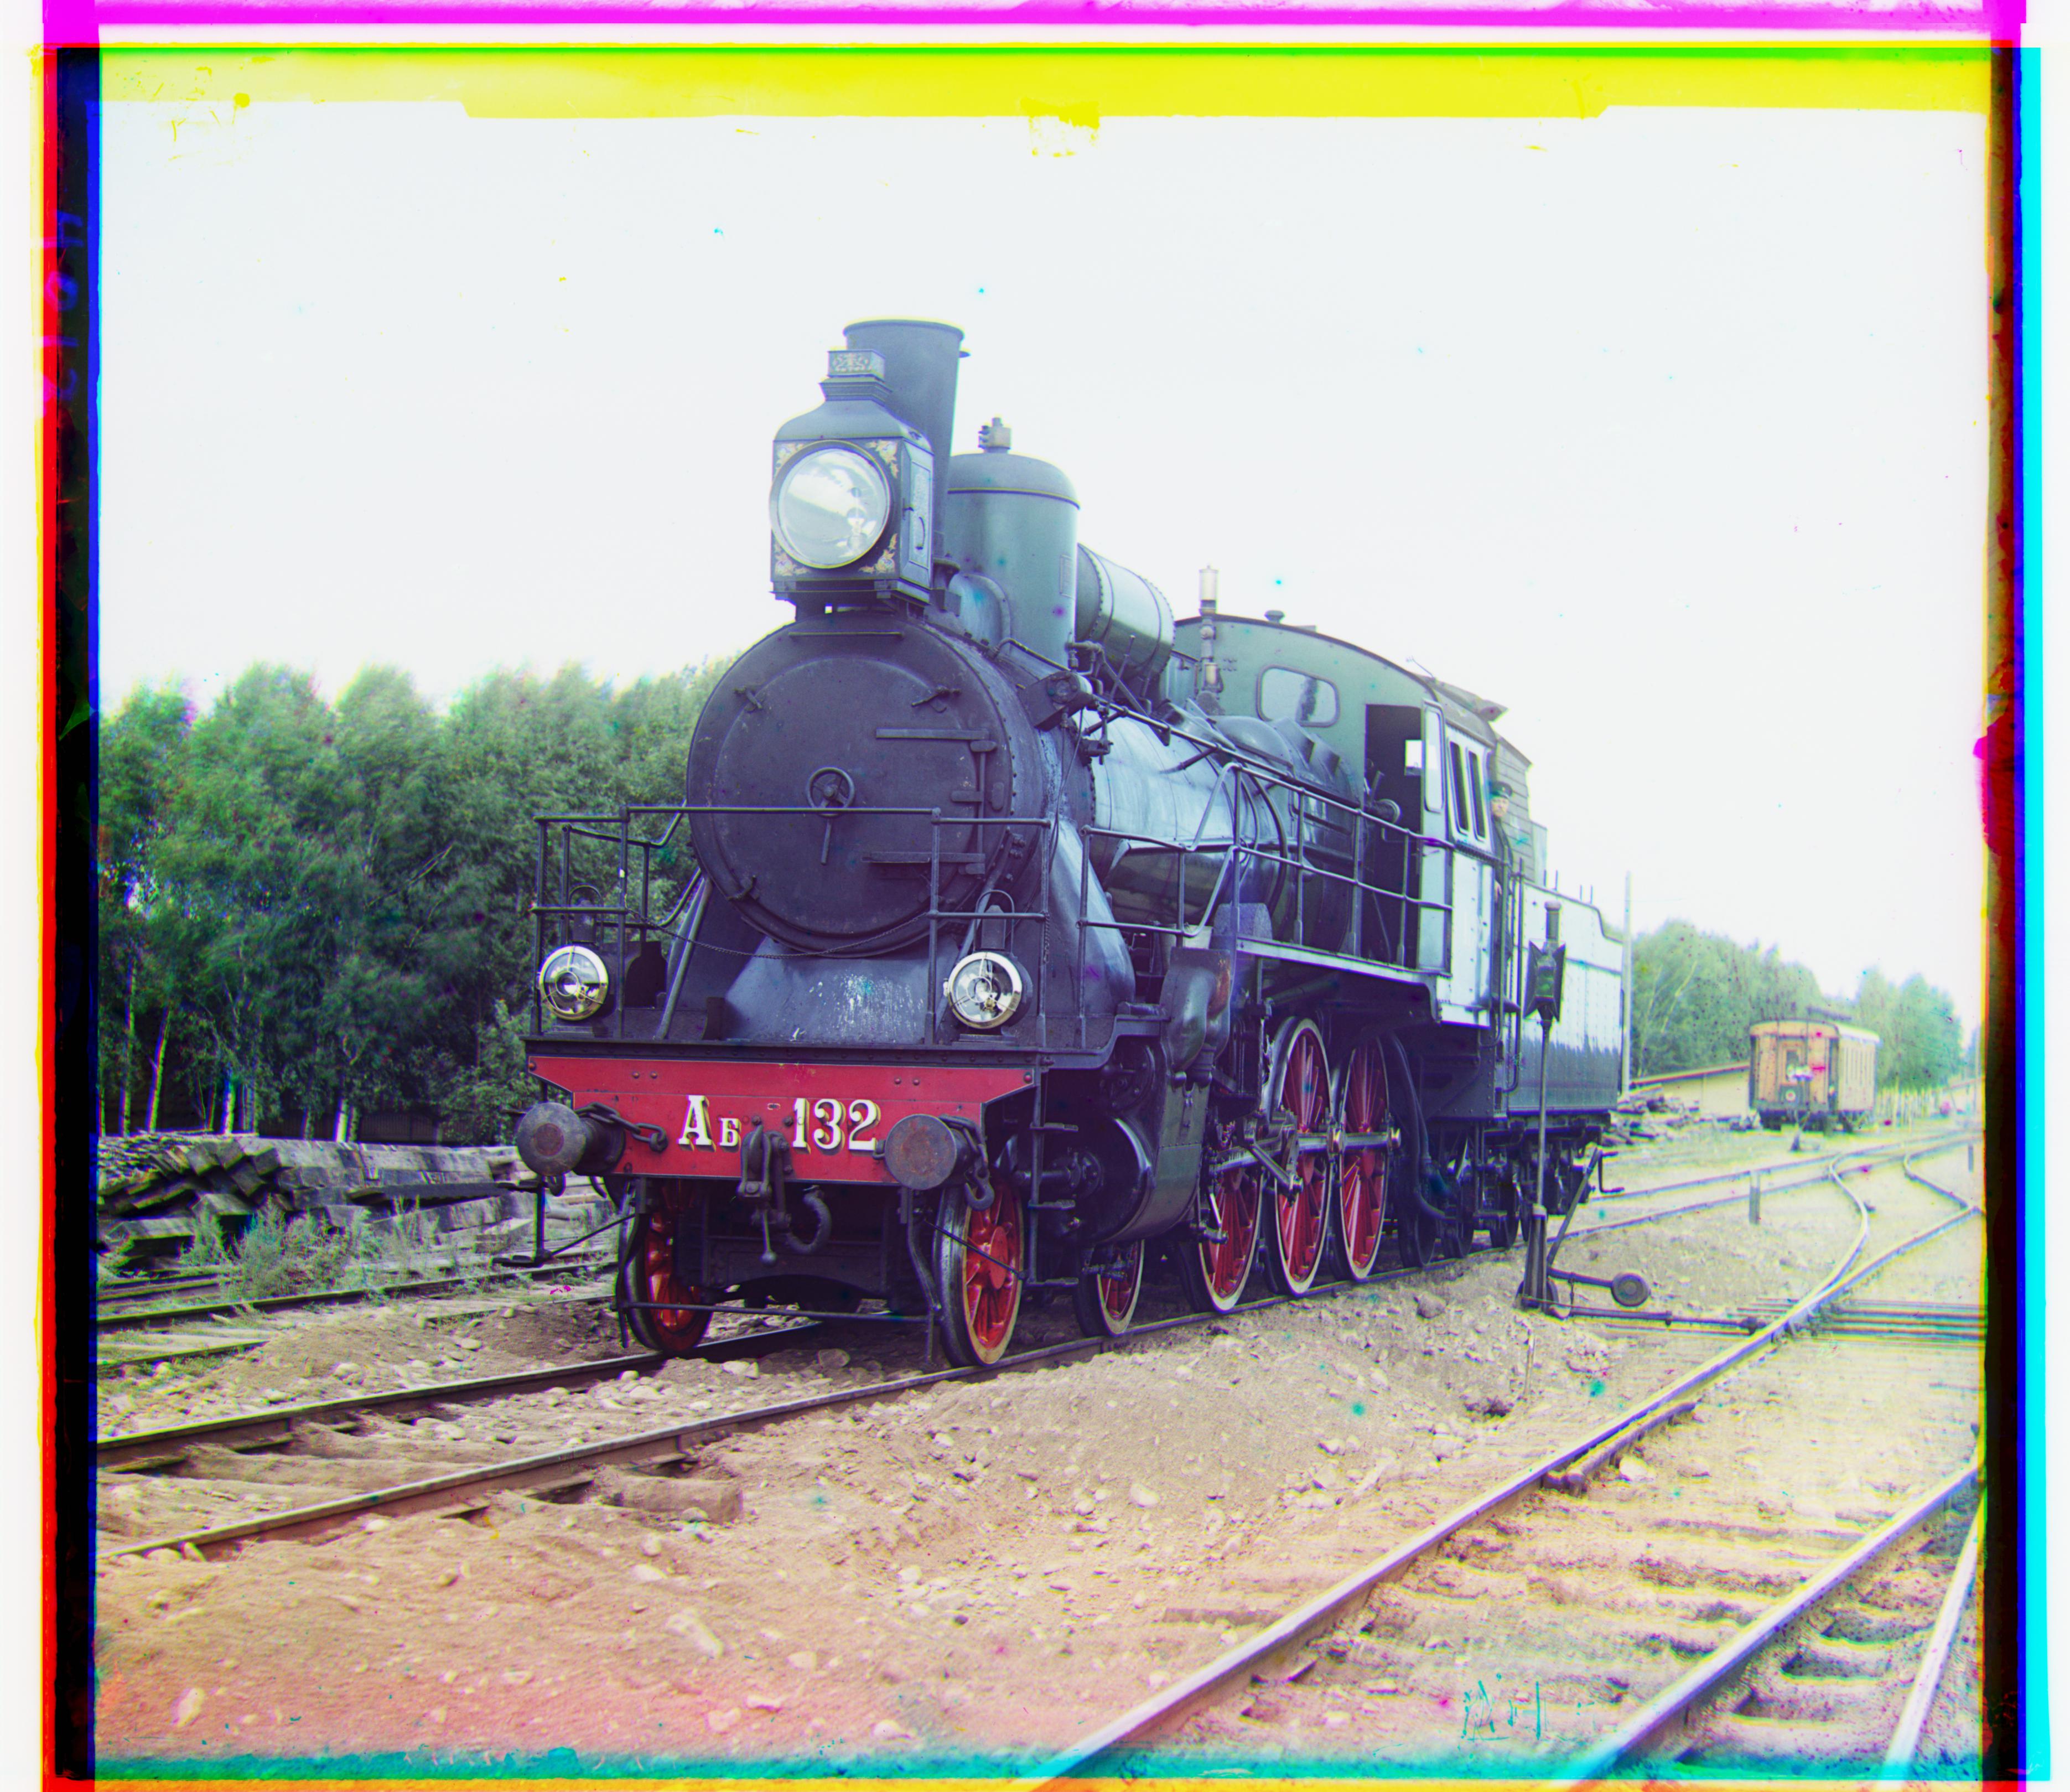
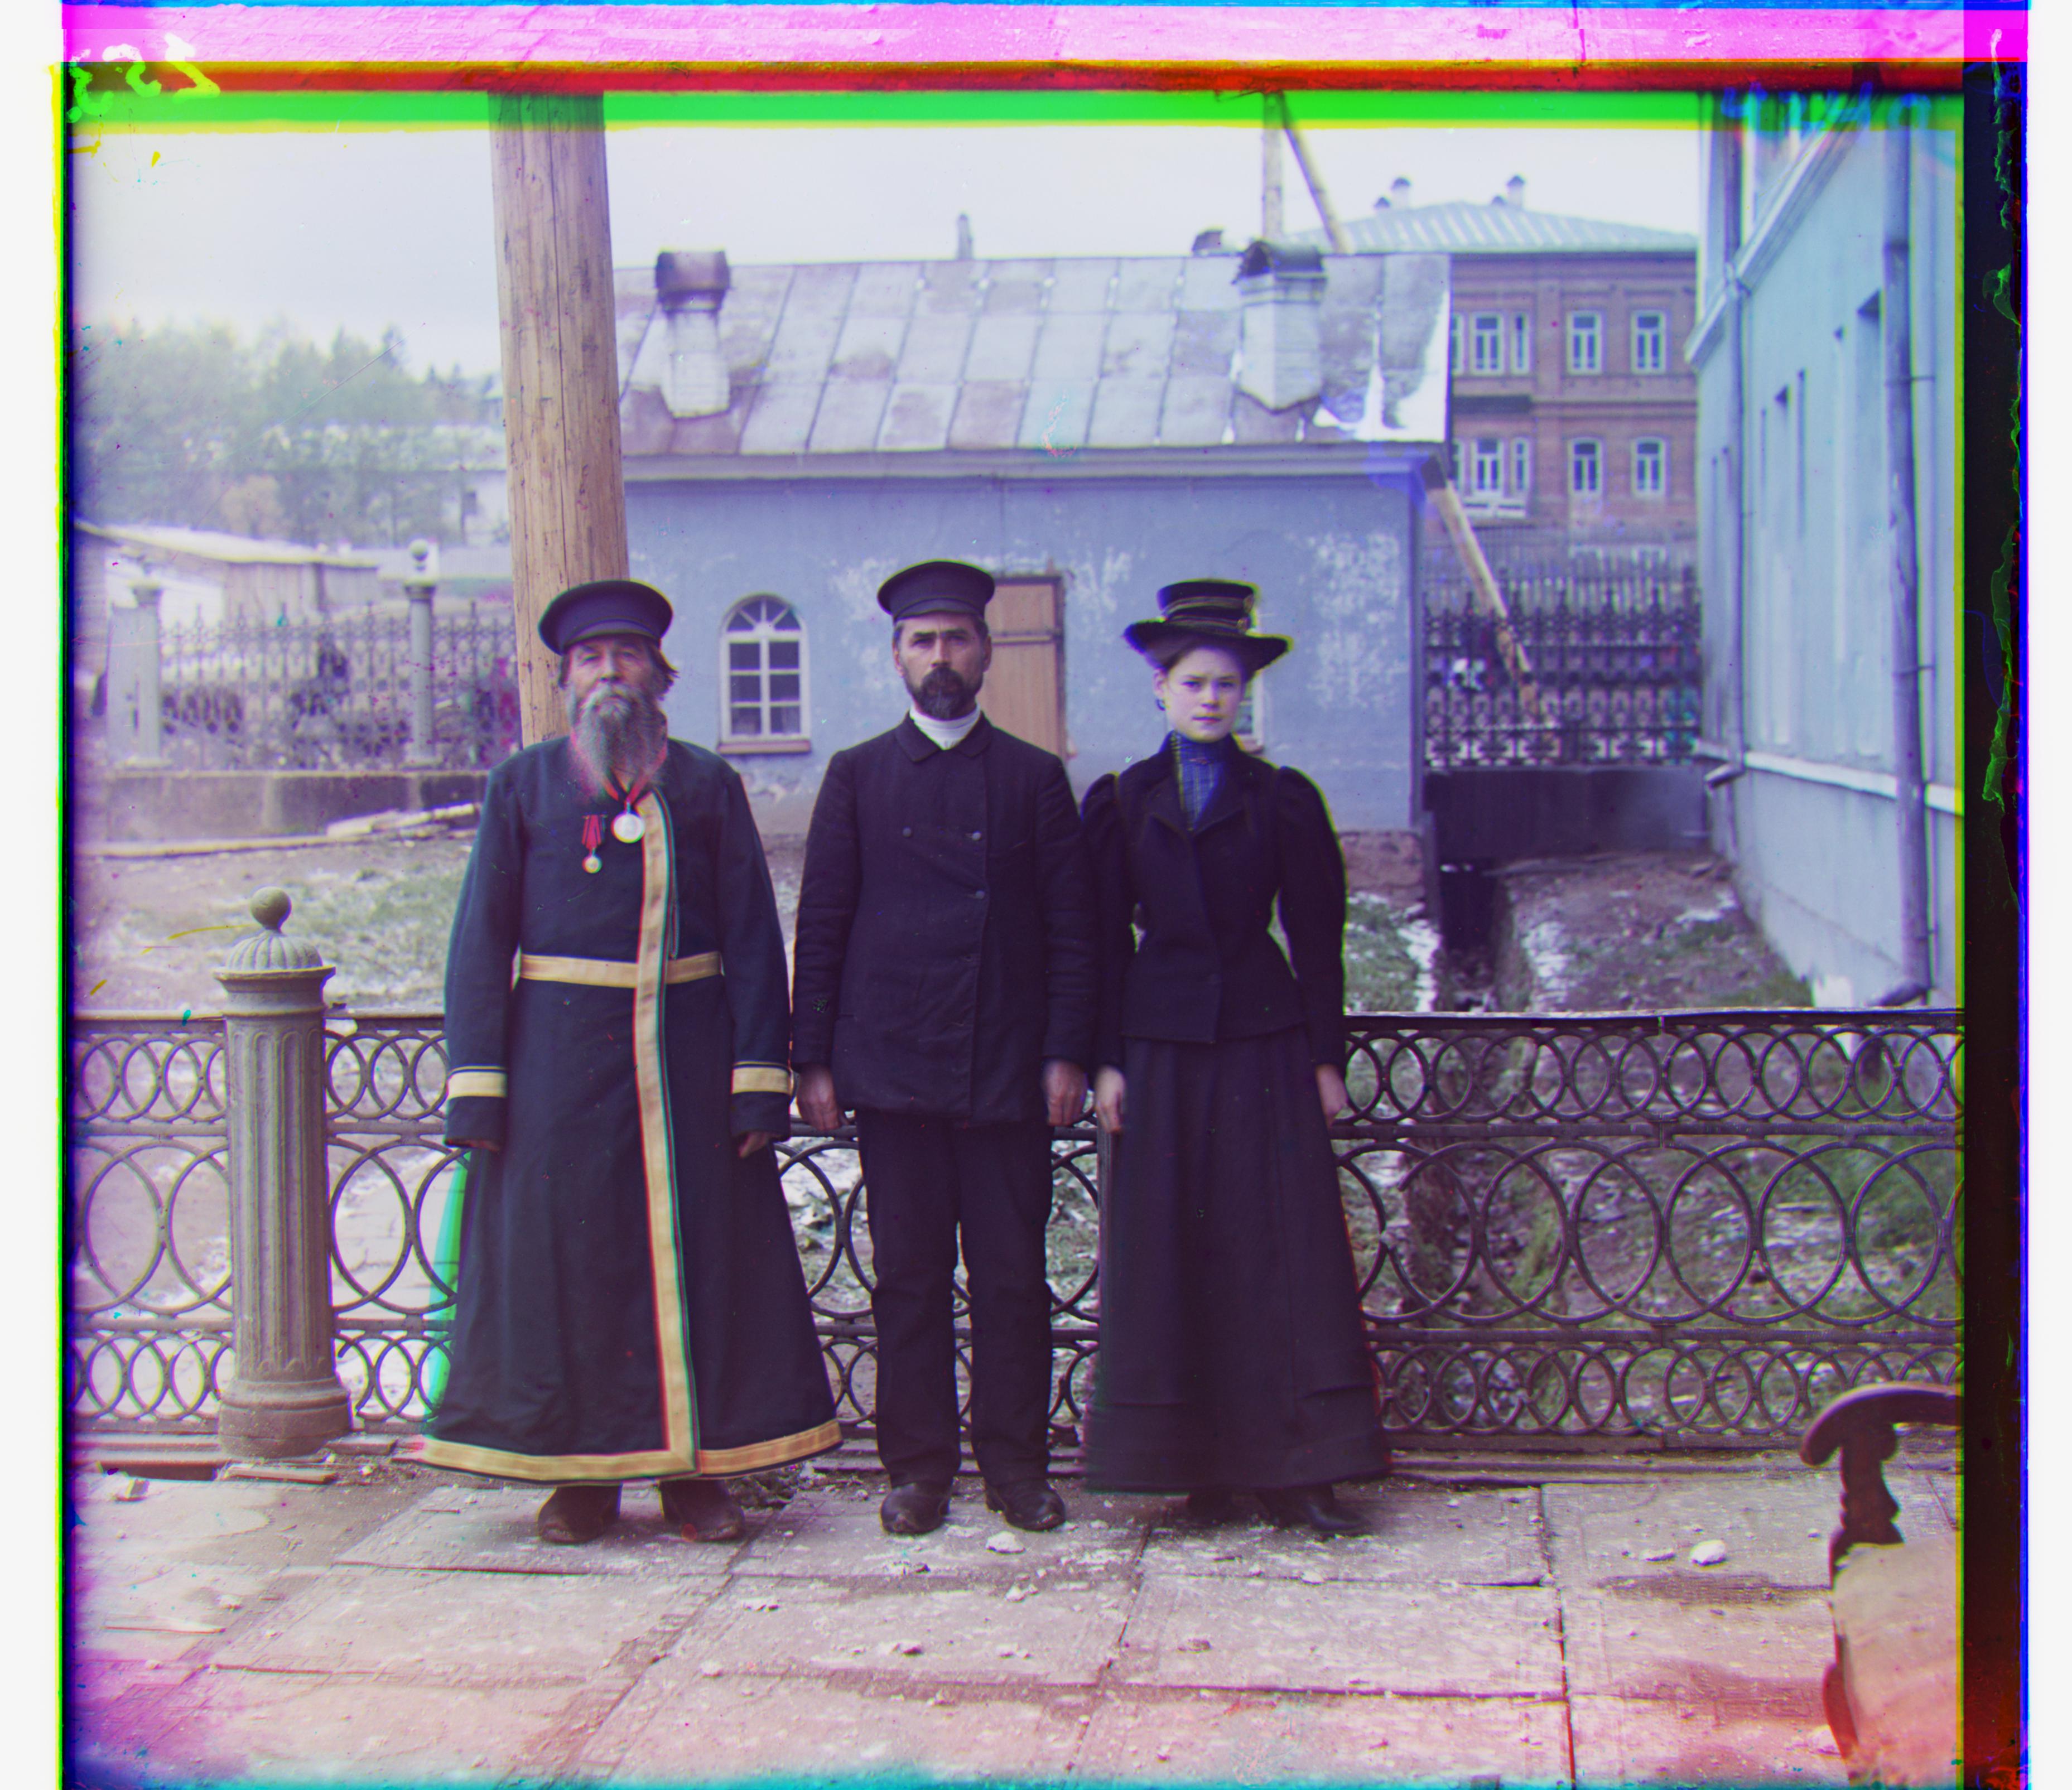
Here are some additional images