Project 1 Colorizing the Prokudin-Gorskii Photo Collection
Sergey Mikhaylovich Prokudin-Gorsky (August 30, 1863 – September 27, 1944) was a Russian chemist and photographer. He is best known for pioneering colour photography and his effort to document early 20th-century Russia. He travelled across Russia in a railroad-car darkroom using three-image color photography to record the things he saw. He envisioned classrooms would have special projectors that would display his RGB negatives so he could bring color photographs to Russian children.
In this project, we are given the three exposures (RGB glass plates) for various photographs and asked to optimally align them to recover a single, colored photograph.
Main Project
Initial Approach
As described in the project spec, my initial, naive approach was to extract the individual RGB channels, calculate the SSDs produced by shifting the R and G photos through a [-15, 15] window, and align the RG channels to the B channel based on the minimum SSD found. However, in photos where one color was more predominant, the SSDs would be skewed and result in a misaligned photo.
Improvements
The following are improvements I made to my algorithm to improve the photo alignment (excluding bells and whistles):
- Started the aligning process by cropping the borders of each photo by 10% to get rid of any skew caused by the dark colors.
- On larger photos, the naive method of searching a [-15, 15] shift window resulted in 5+ minutes of runtime. I implemented the image pyramid method where I rescaled the photo by a factor of 1/2 in each recursive call until I reached the base case (photo dimensions < 250 pixels). From there, I would run the [-15, 15] window-shifting approach, then pass the offsets up through the recursive calls, checking a [-1, 1] window with each pass to fine tune the coarse-grain offset found at the base case.
Bells and Whistles
Better Features
I used the skimage.filters.roberts method to implement edge detection and remove bias in alignment that results from dominant colors.
On most of the images provided in class, the difference between what the image looks like with or without edge detection is not super significant. Since everyone is using Emir as an example, I'll show the result of what edge detection looks like on one of the extra photos I picked from the collection.
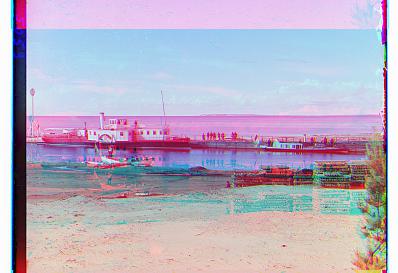
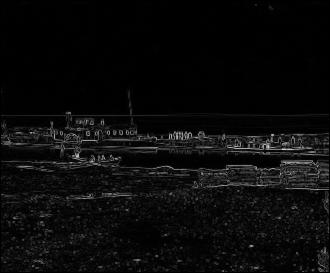
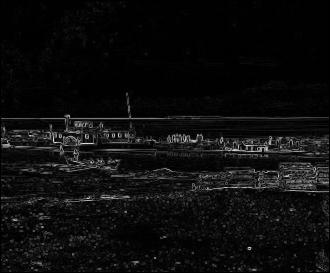
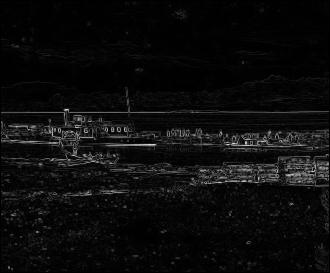
Incorporating the edge detection into my algorithm, I get the following result:
Results Gallery
Here are the final results of my algorithm on the various input files, along with their respective displacements.
Cathedral
G: x = 2, y = 5
R: x = 3, y = 12

Emir
G: x = 24, y = 49
R: x = 40, y = 107
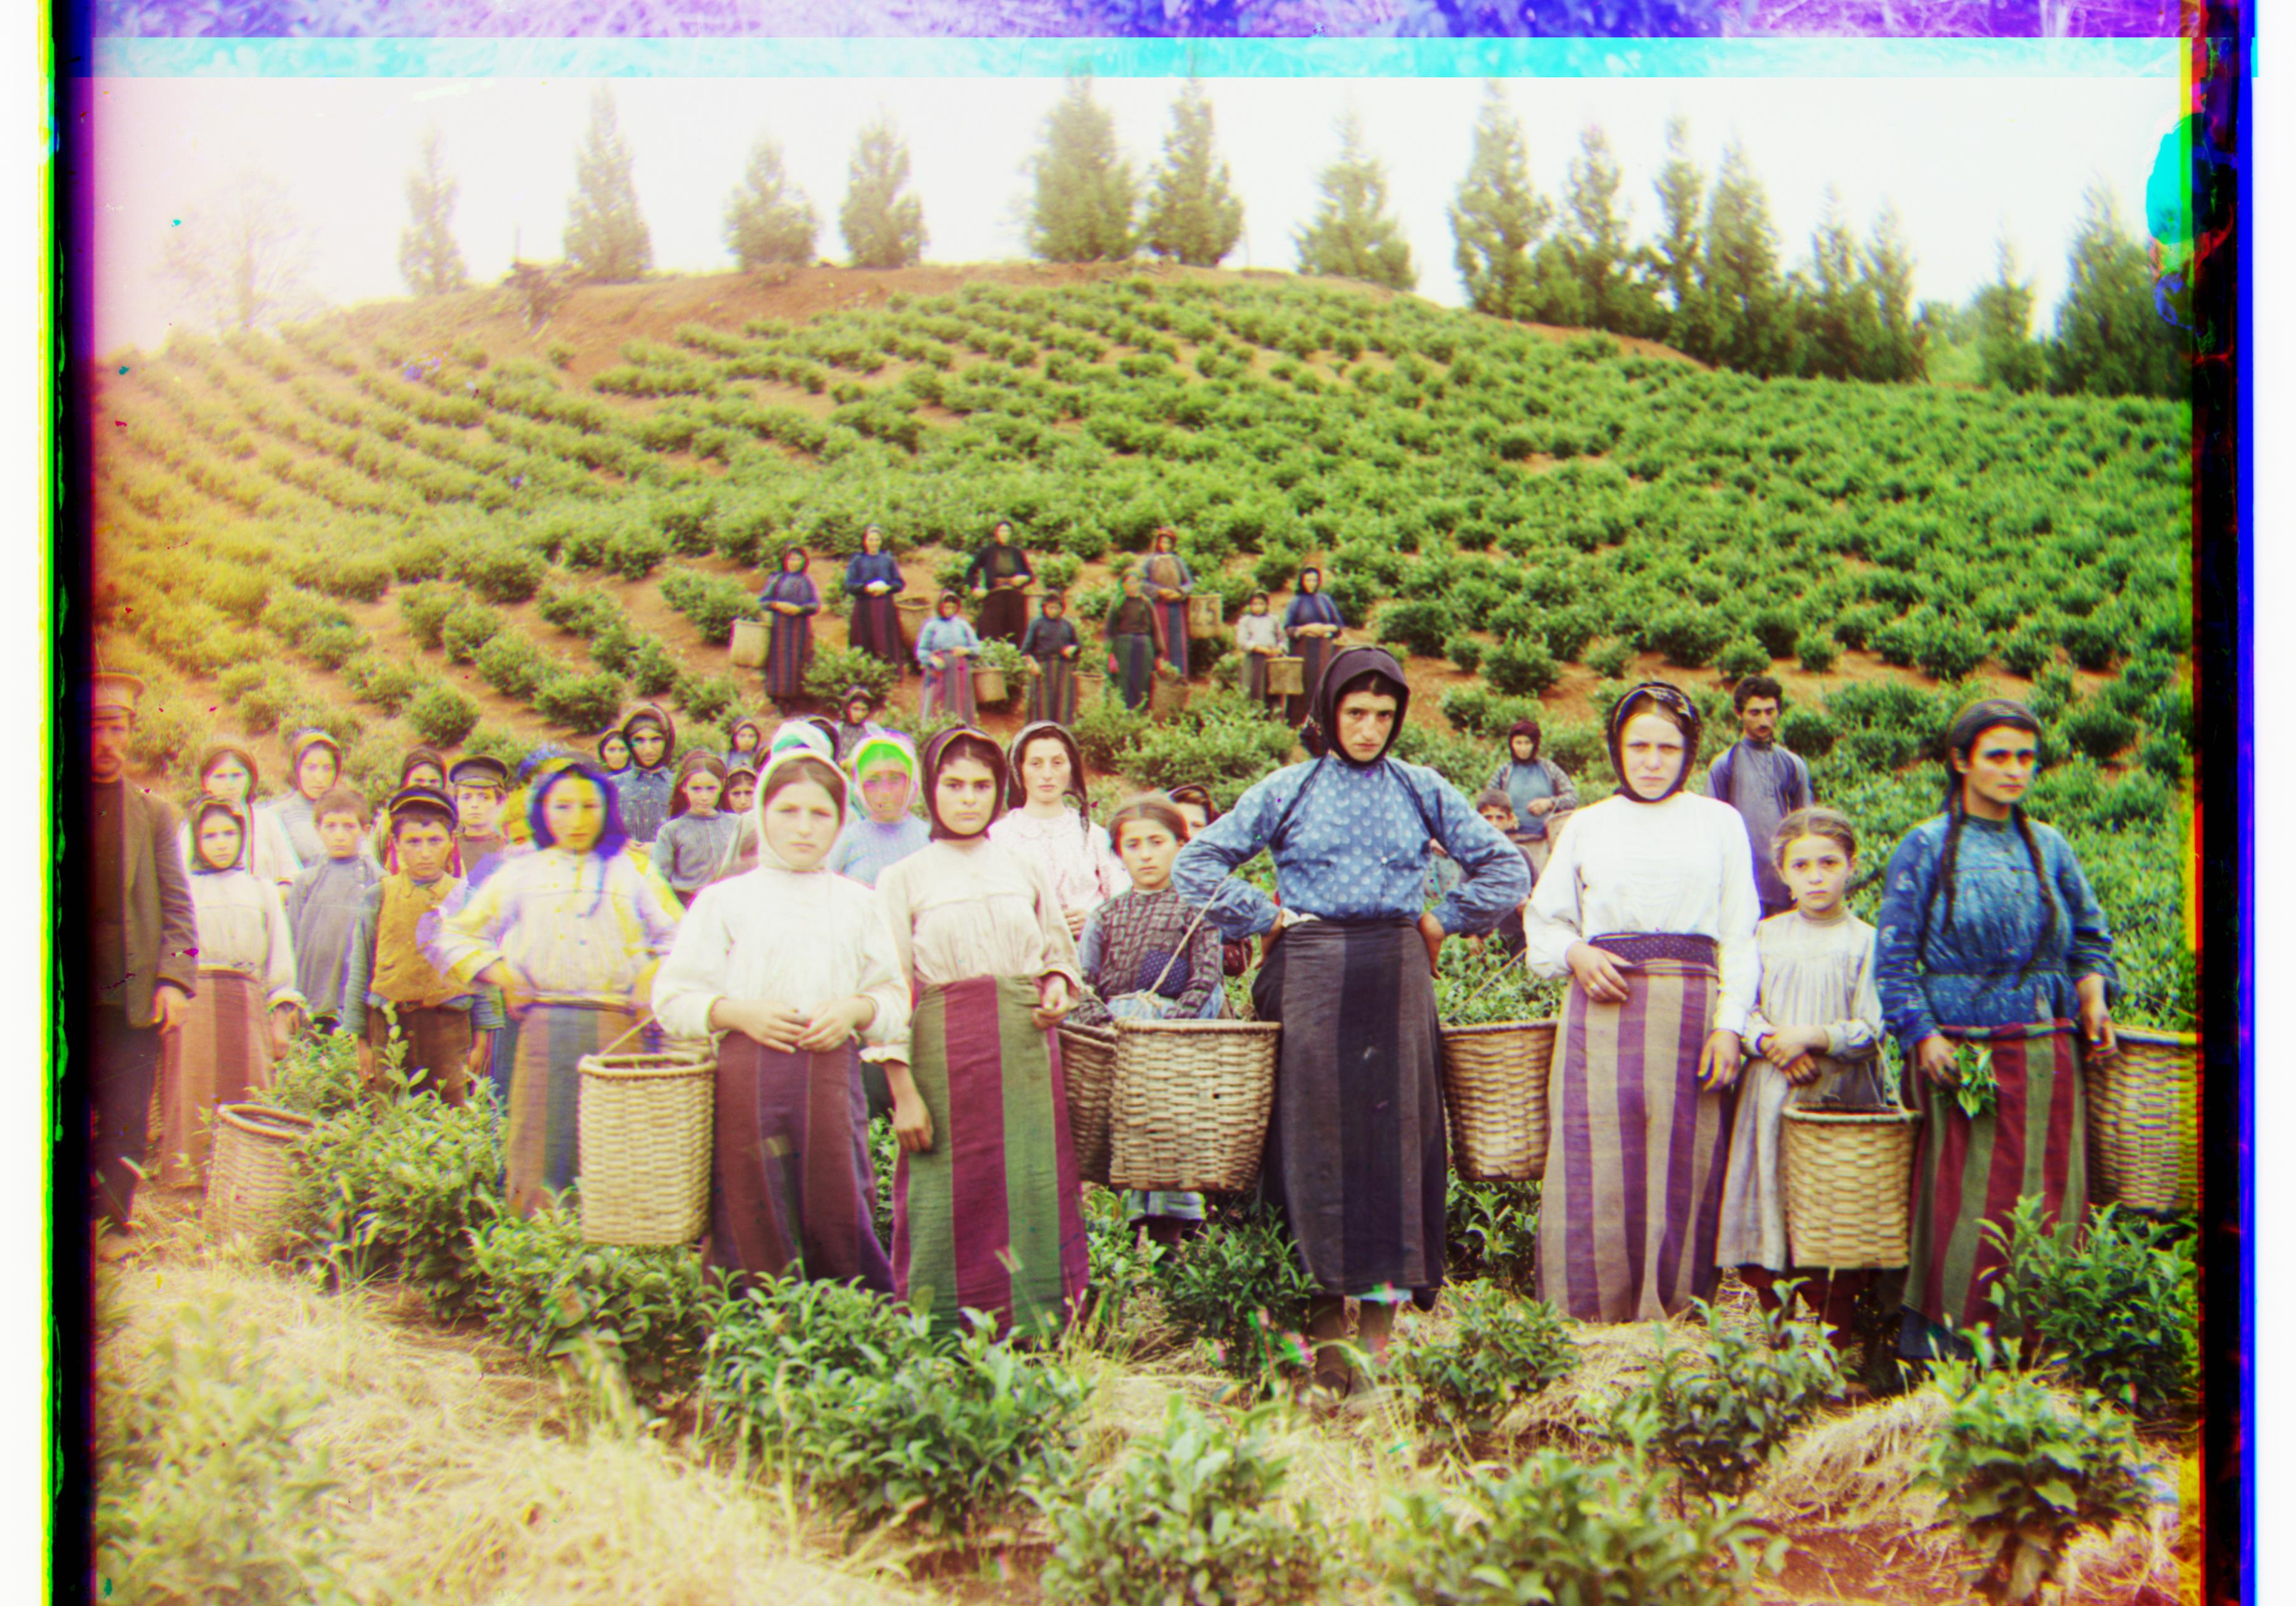
Harvesters
G: x = 18, y = 60
R: x = 13, y = 124
Icon
G: x = 17, y = 41
R: x = 23, y = 90
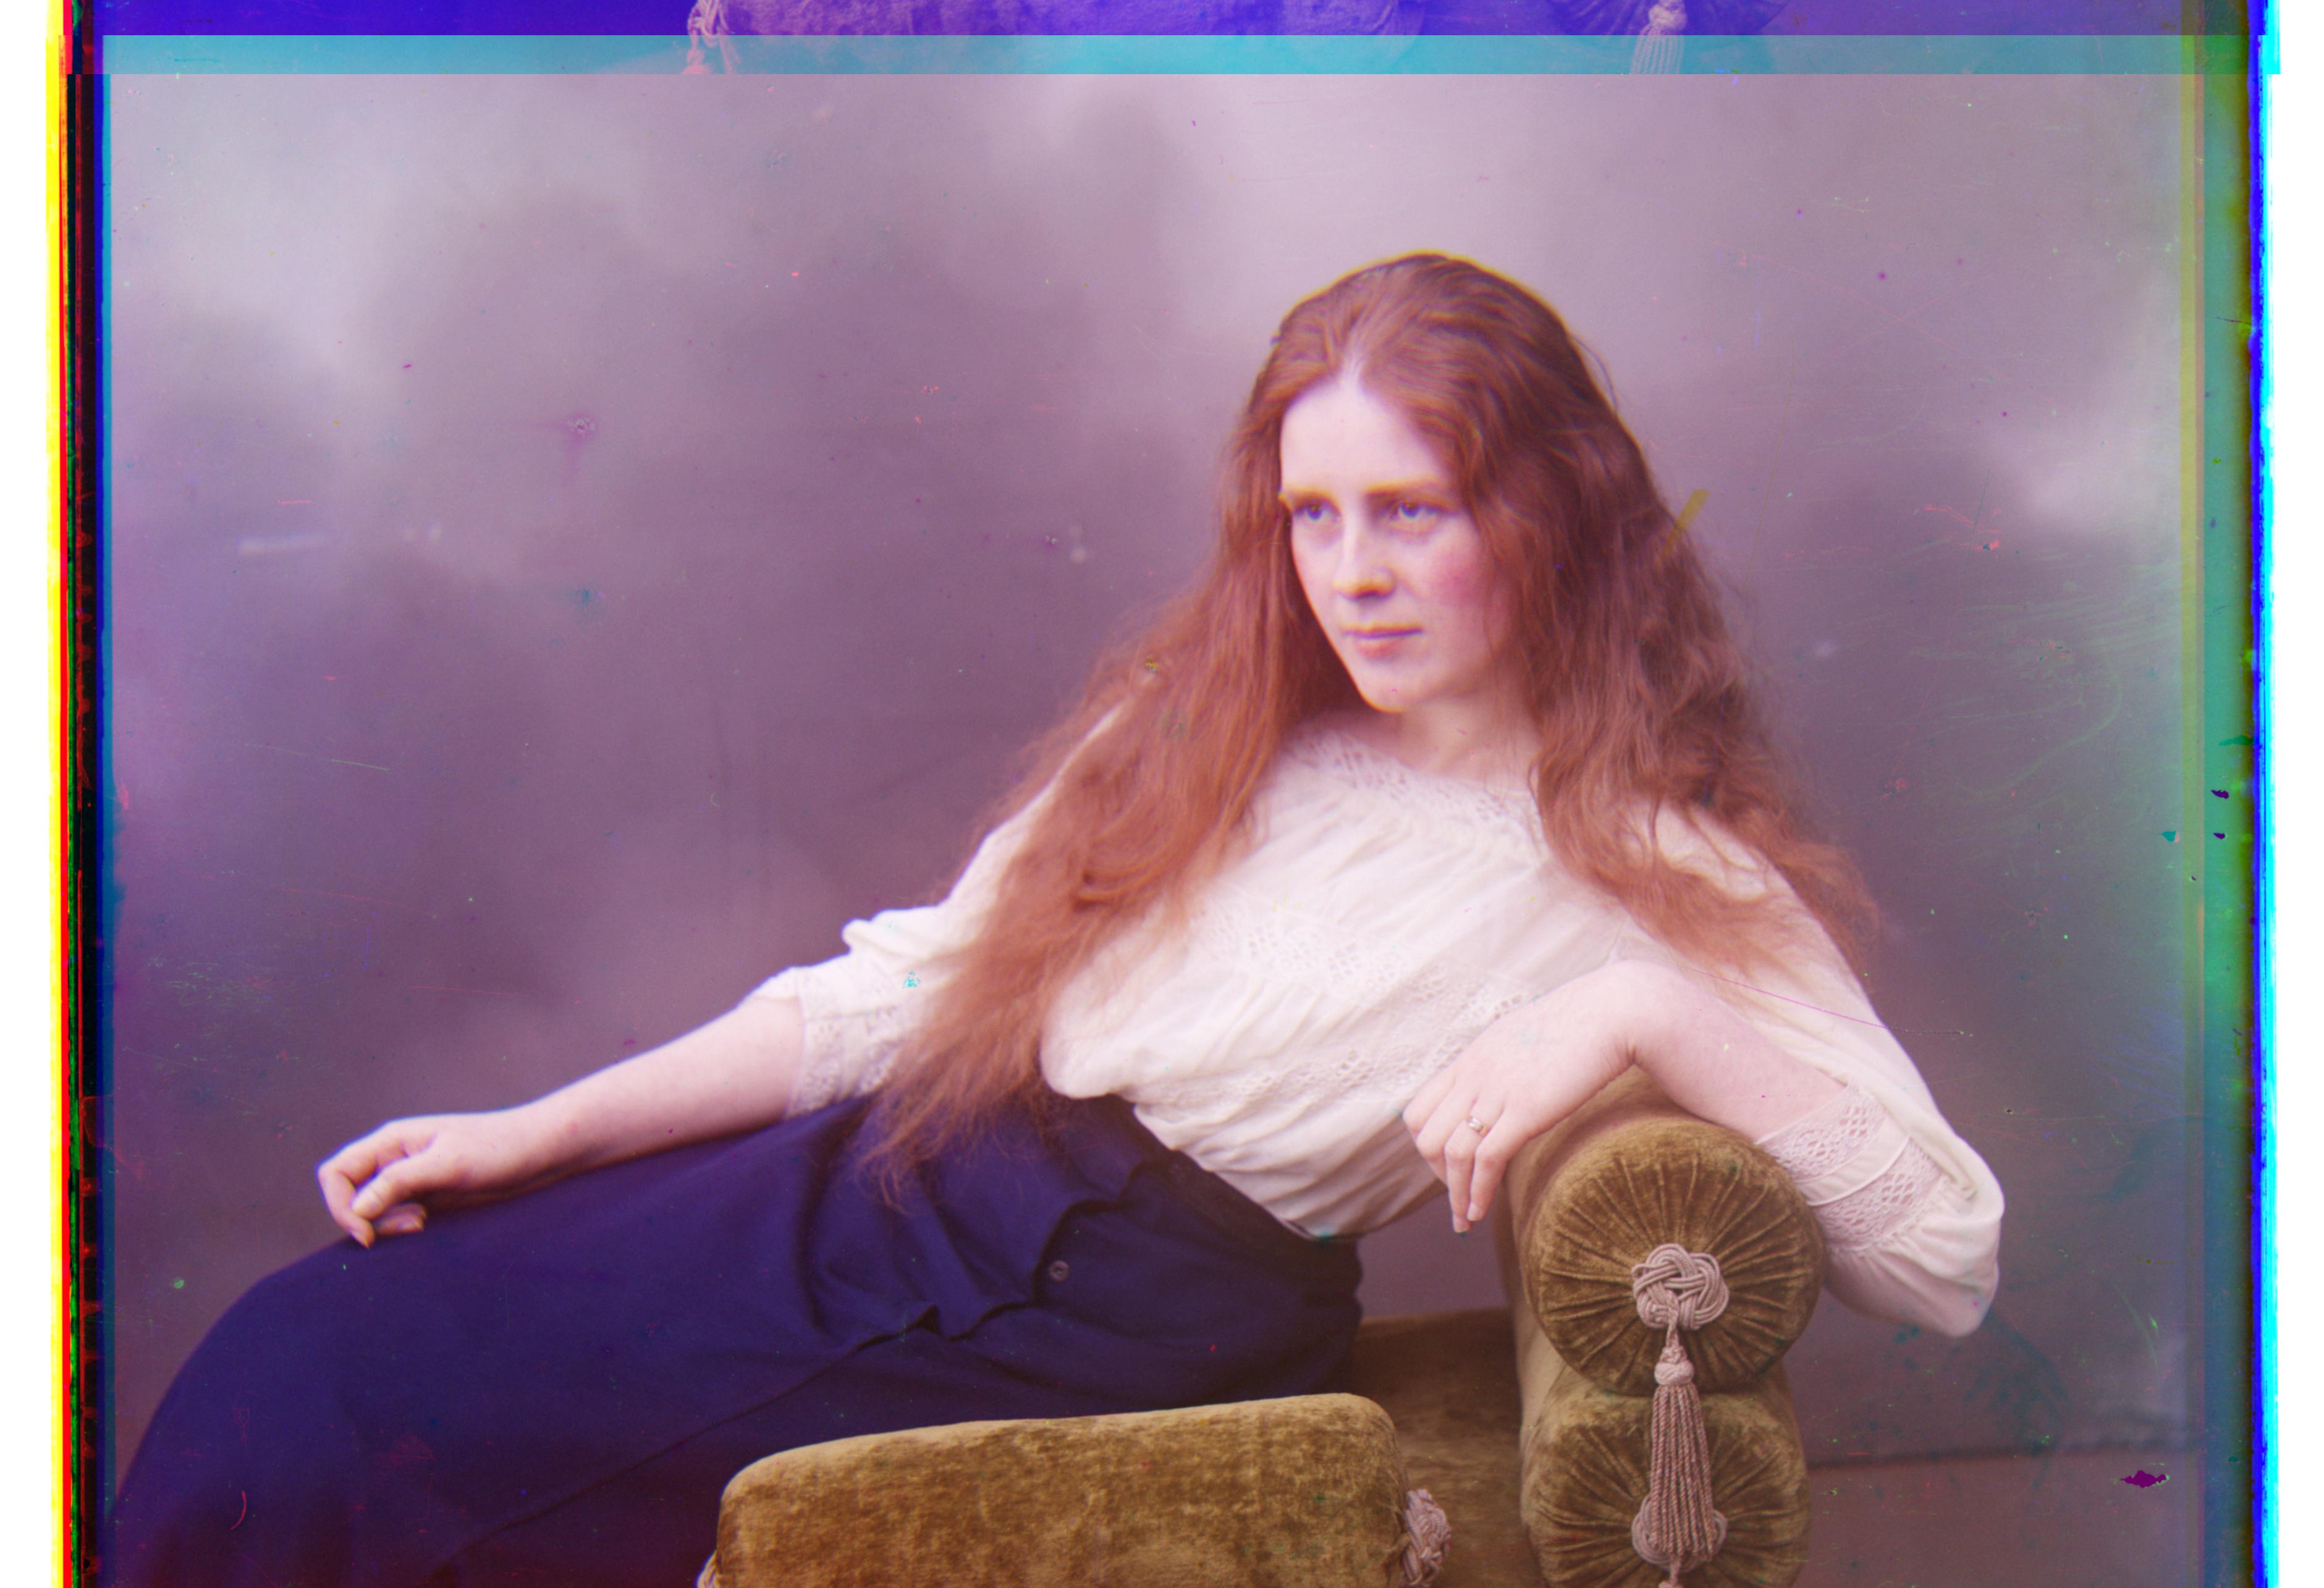
Lady
G: x = 9, y = 57
R: x = 13, y = 120
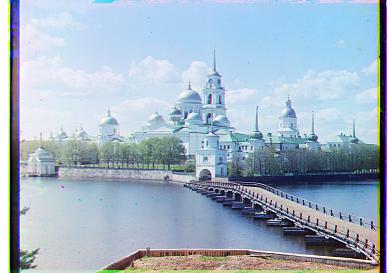
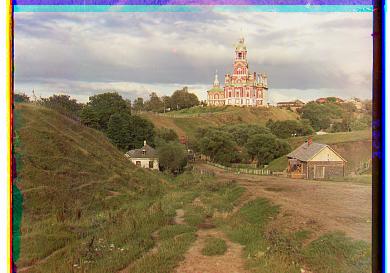
Monastery
G: x = 2, y = -3
R: x = 2, y = 3
Nativity
G: x = 1, y = 3
R: x = 0, y = 7
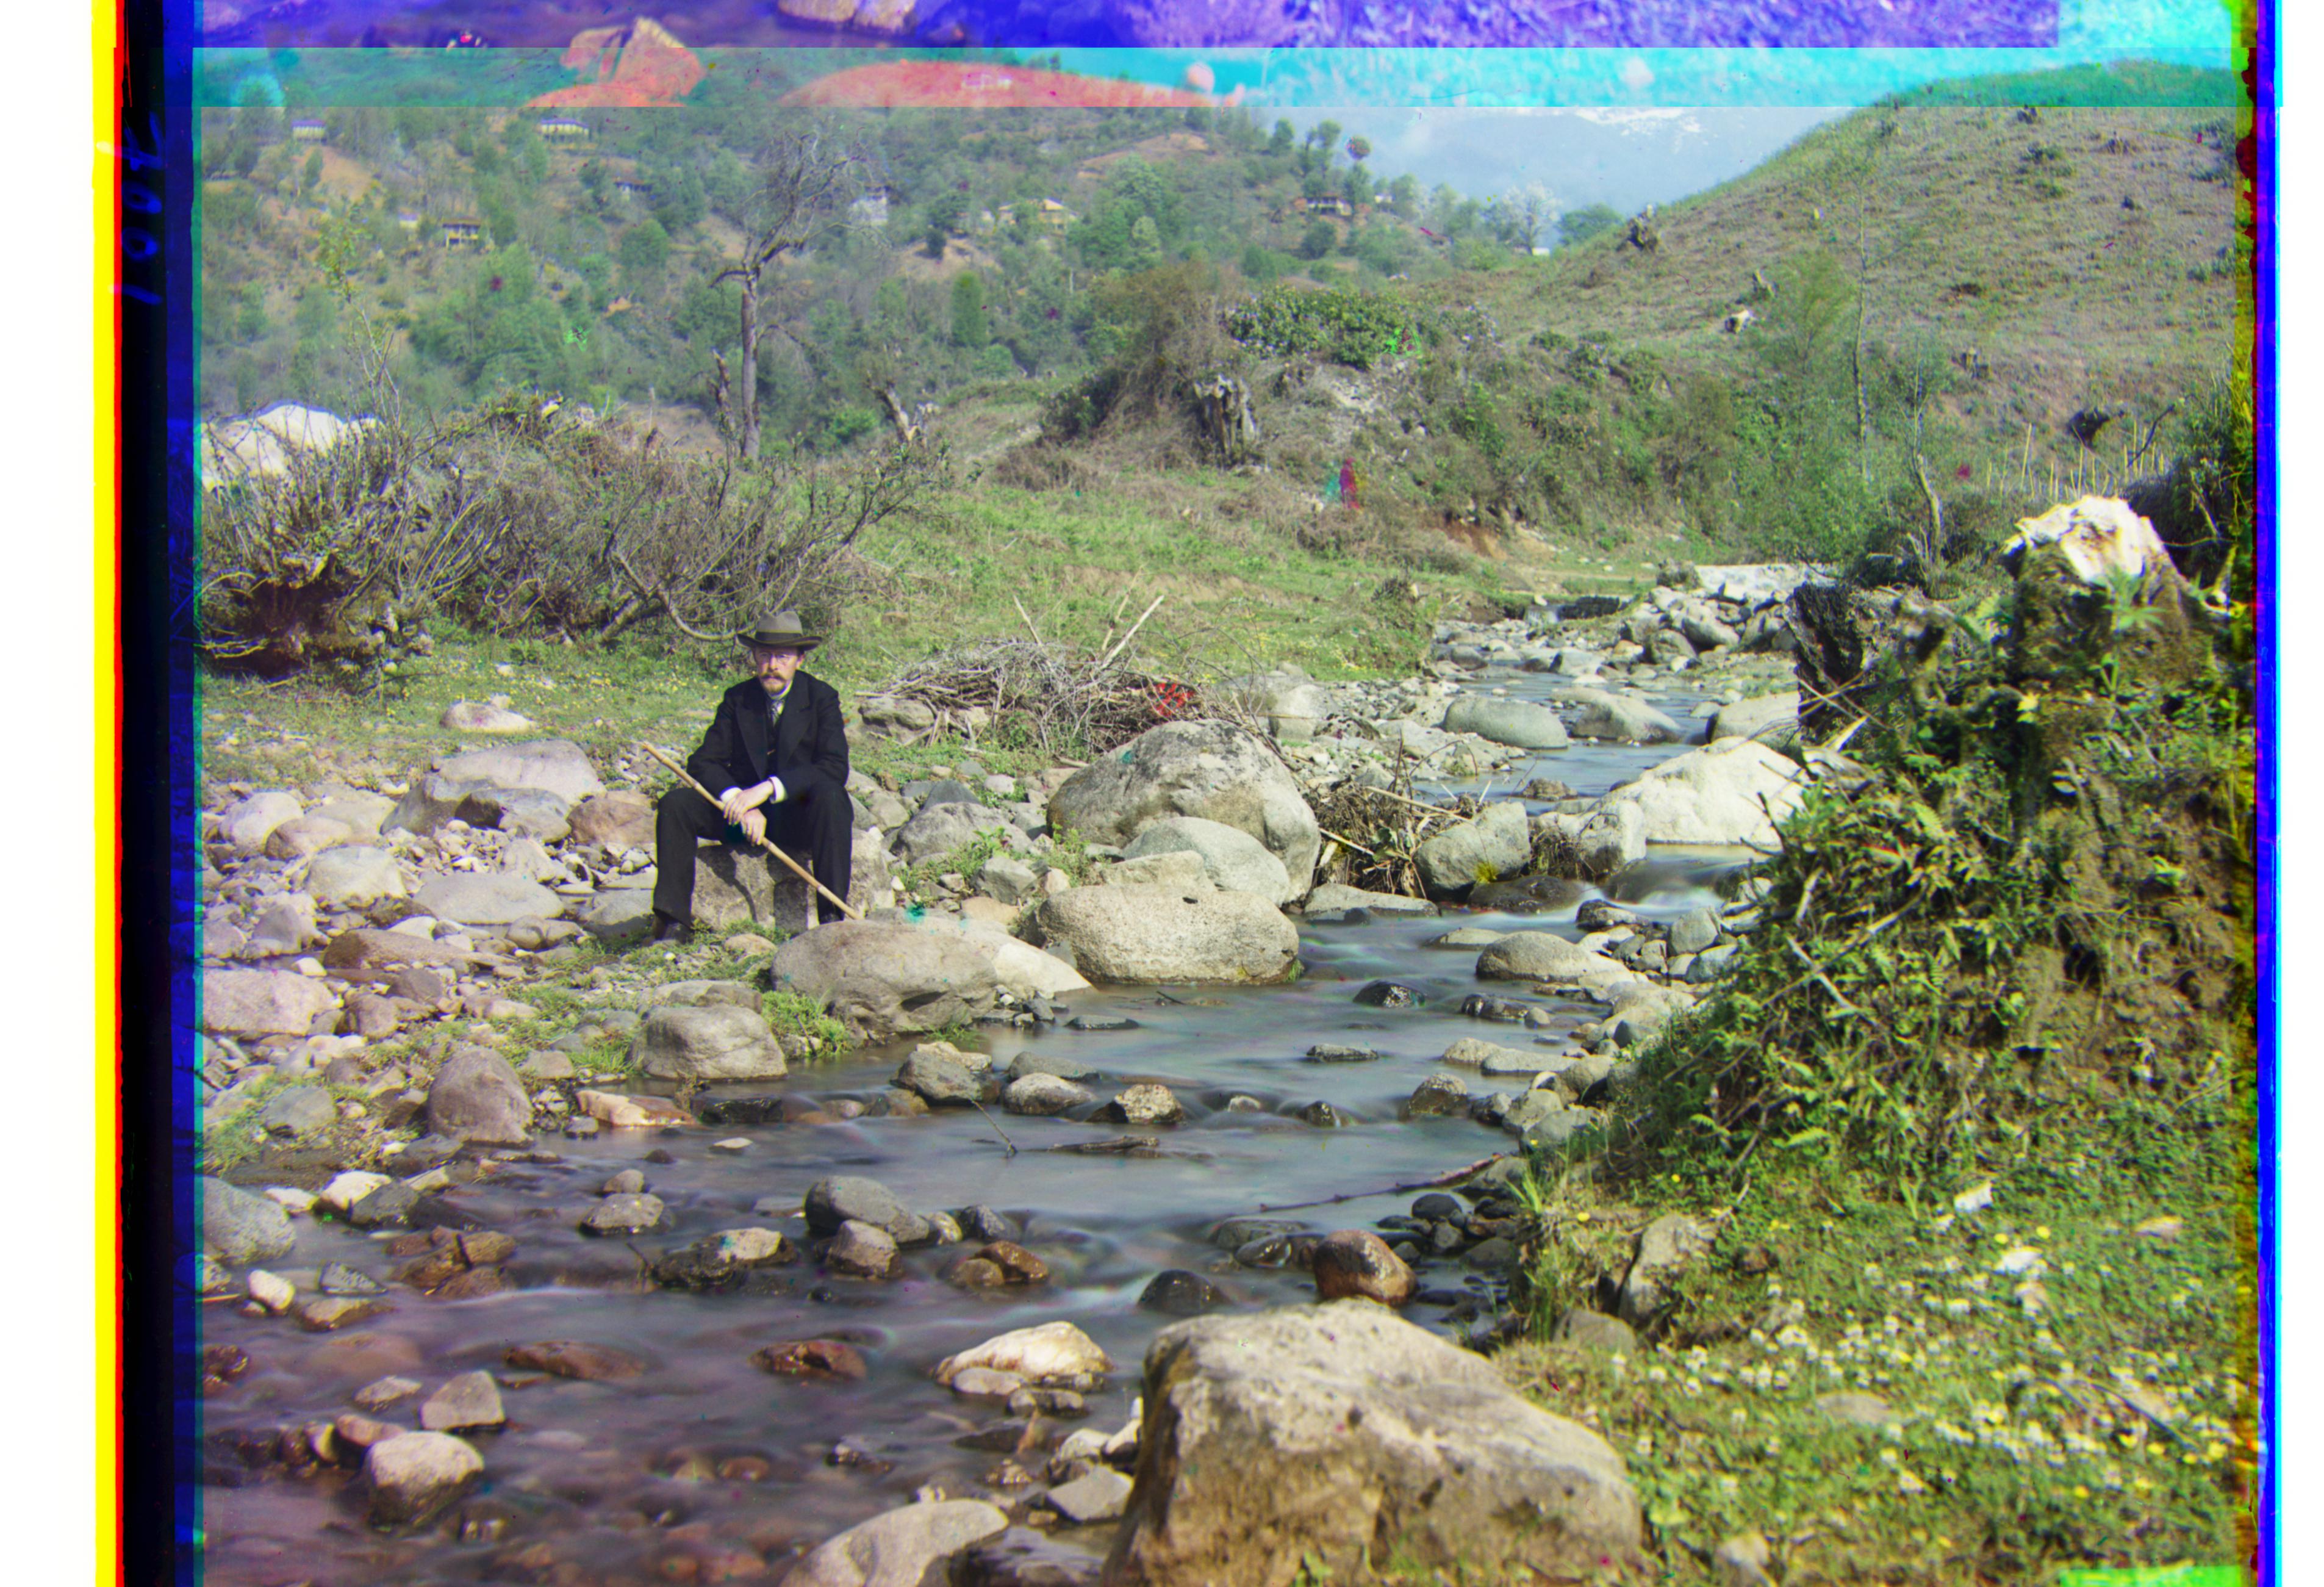
Self Portrait
G: x = 29, y = 78
R: x = 37, y = 175
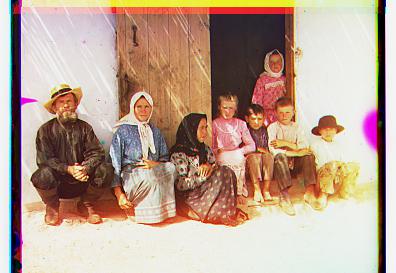
Settlers
G: x = 0, y = 7
R: x = -1, y = 14
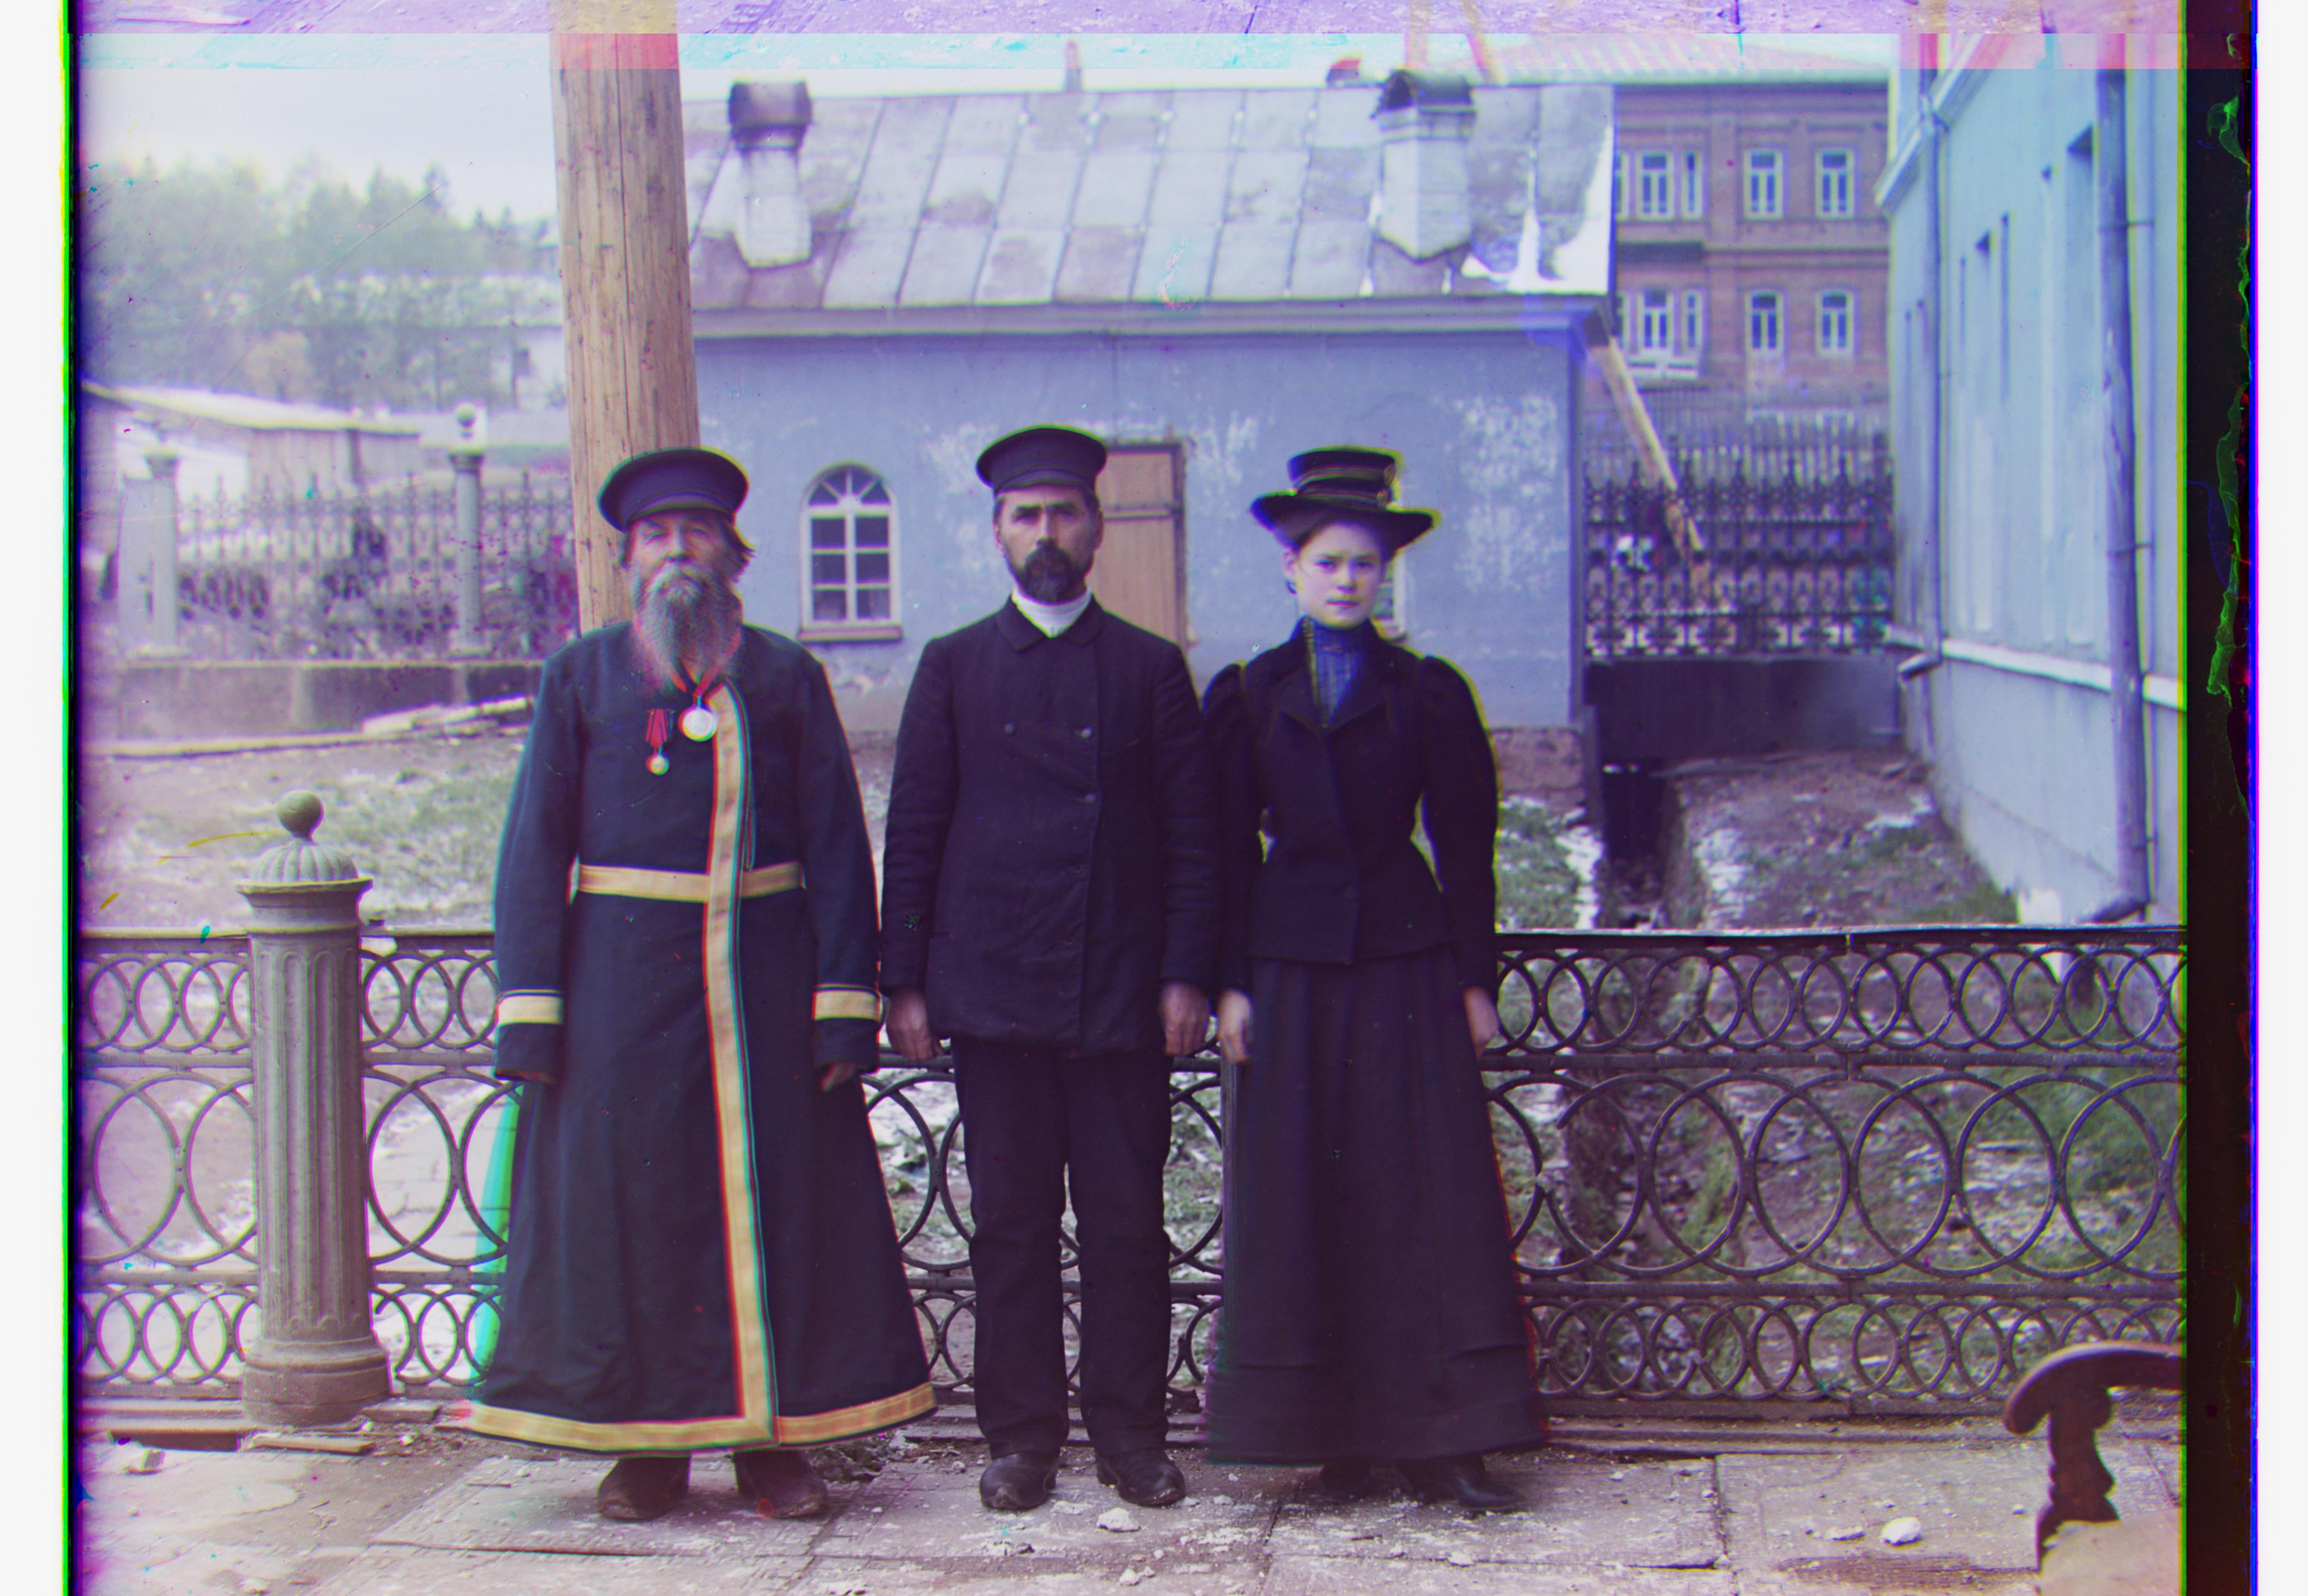
Three Generations
G: x = 12, y = 54
R: x = 8, y = 111
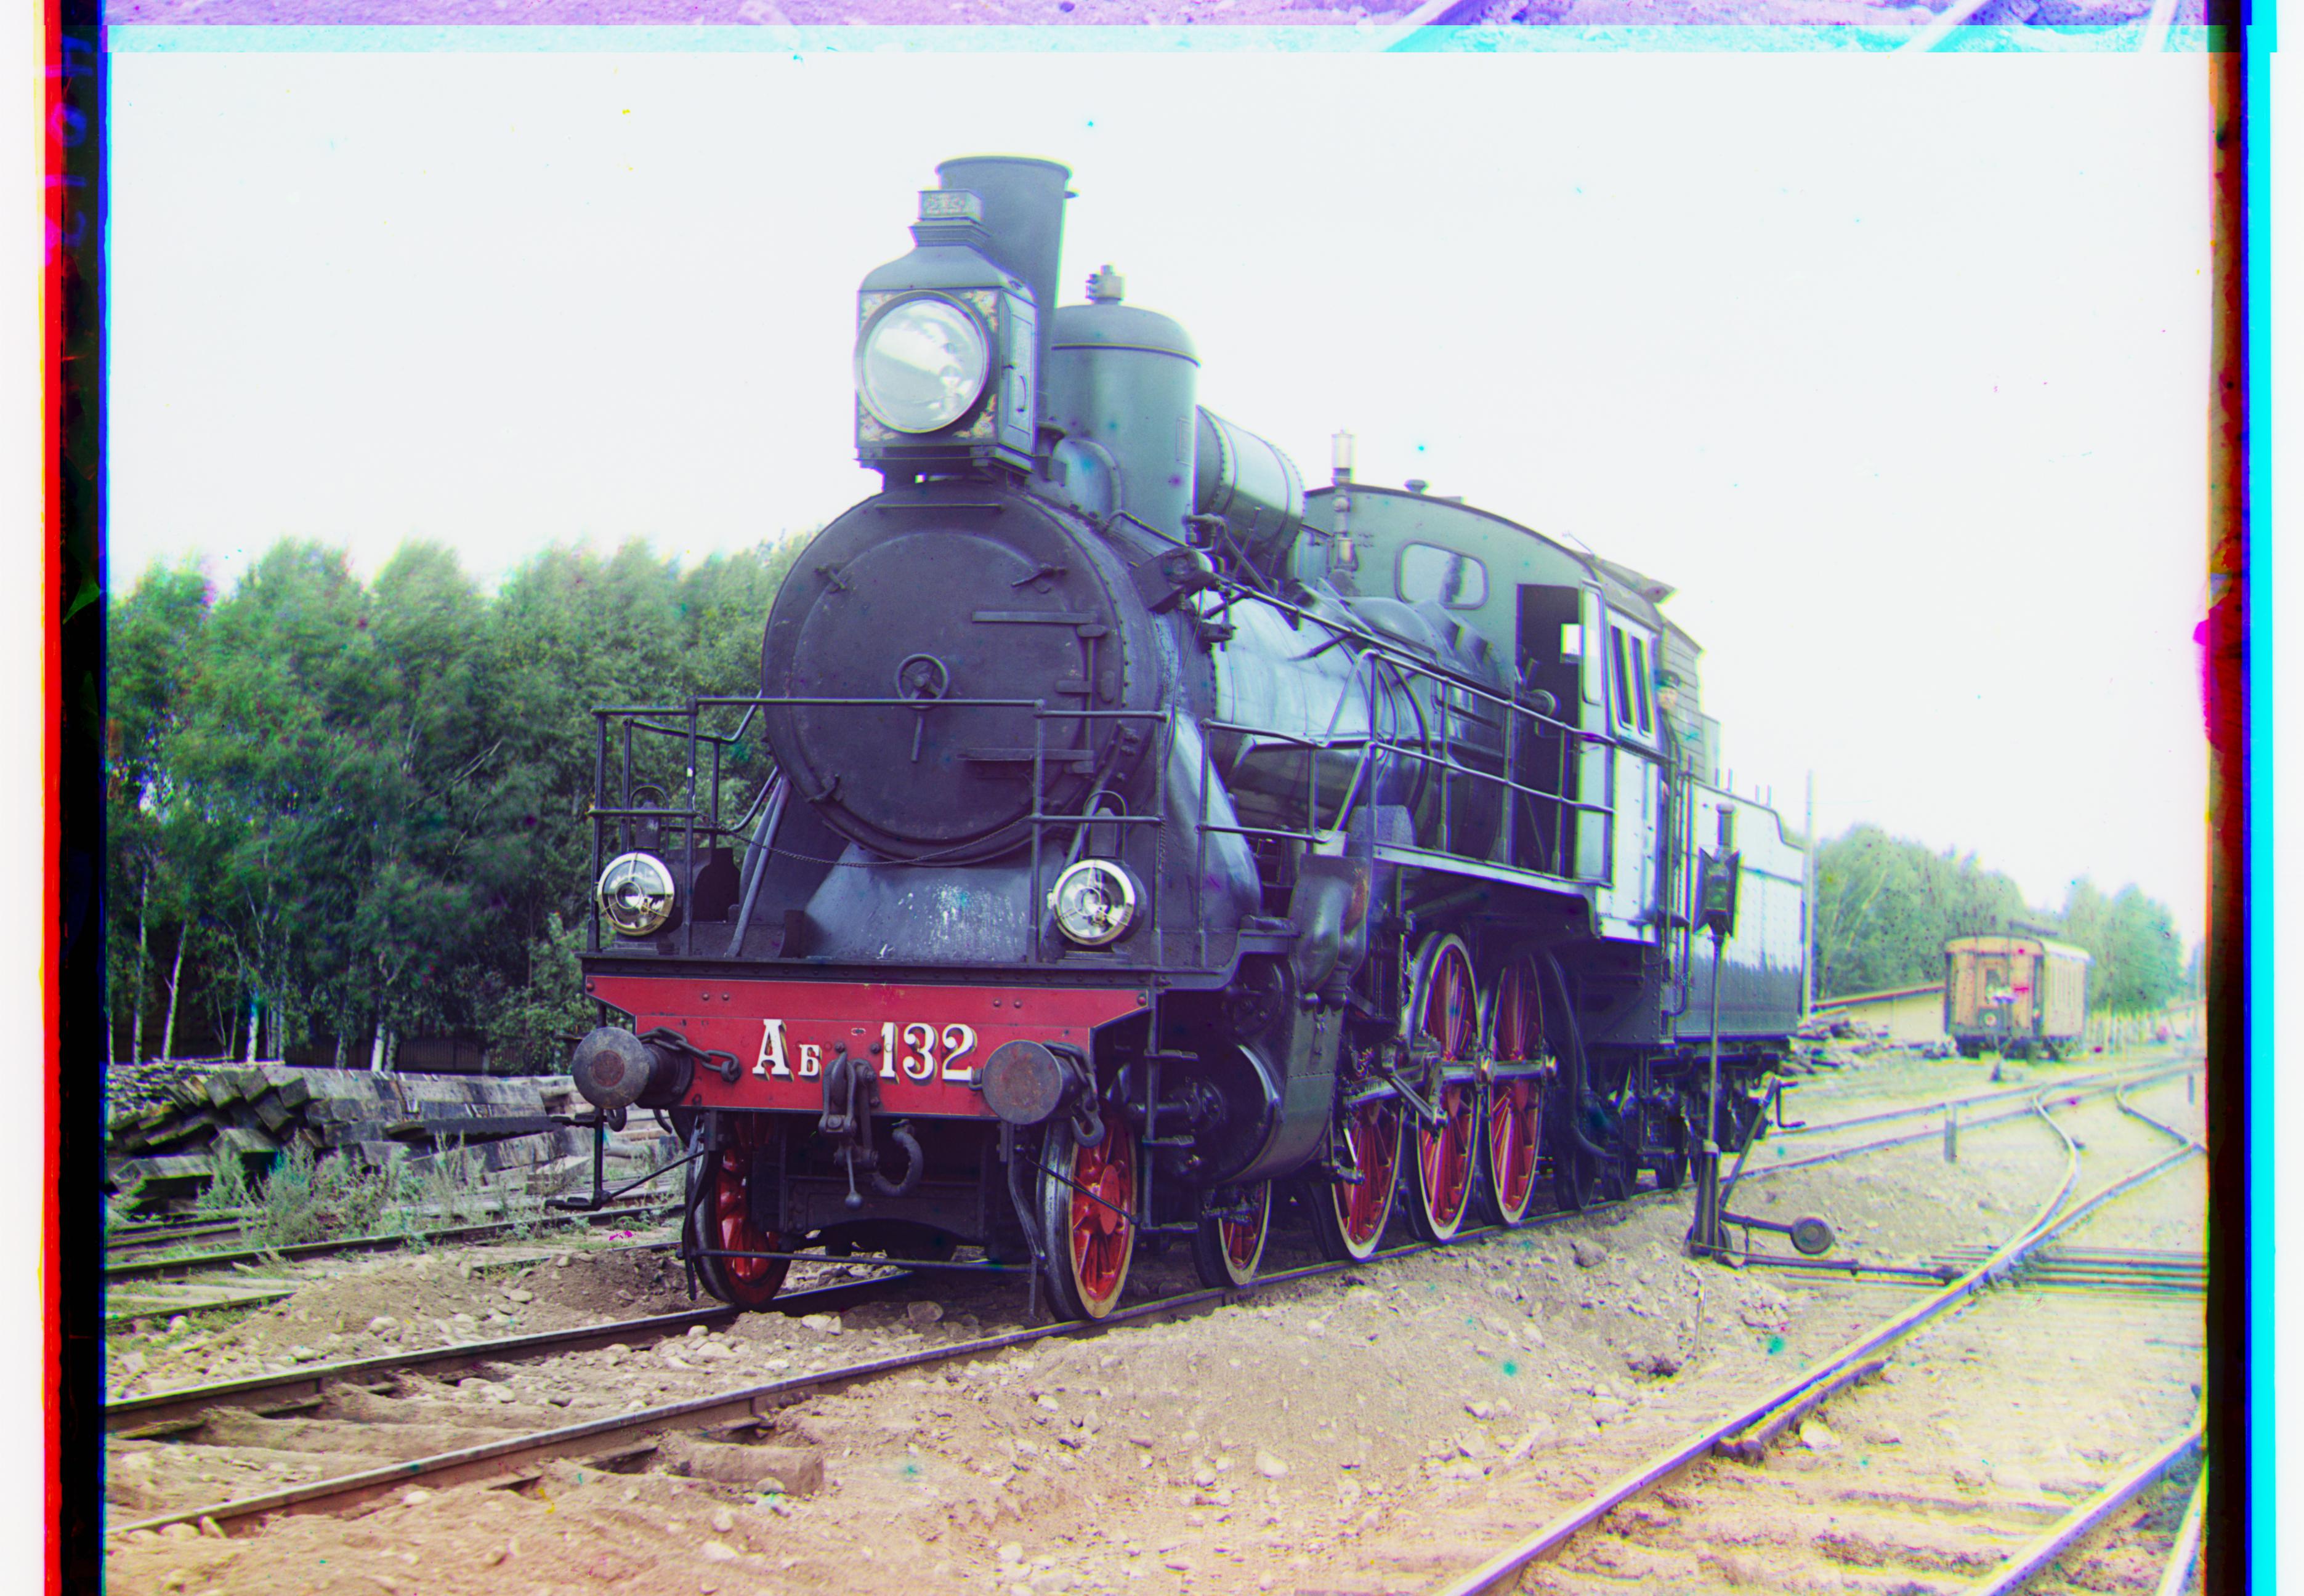
Train
G: x = 1, y = 41
R: x = 29, y = 85
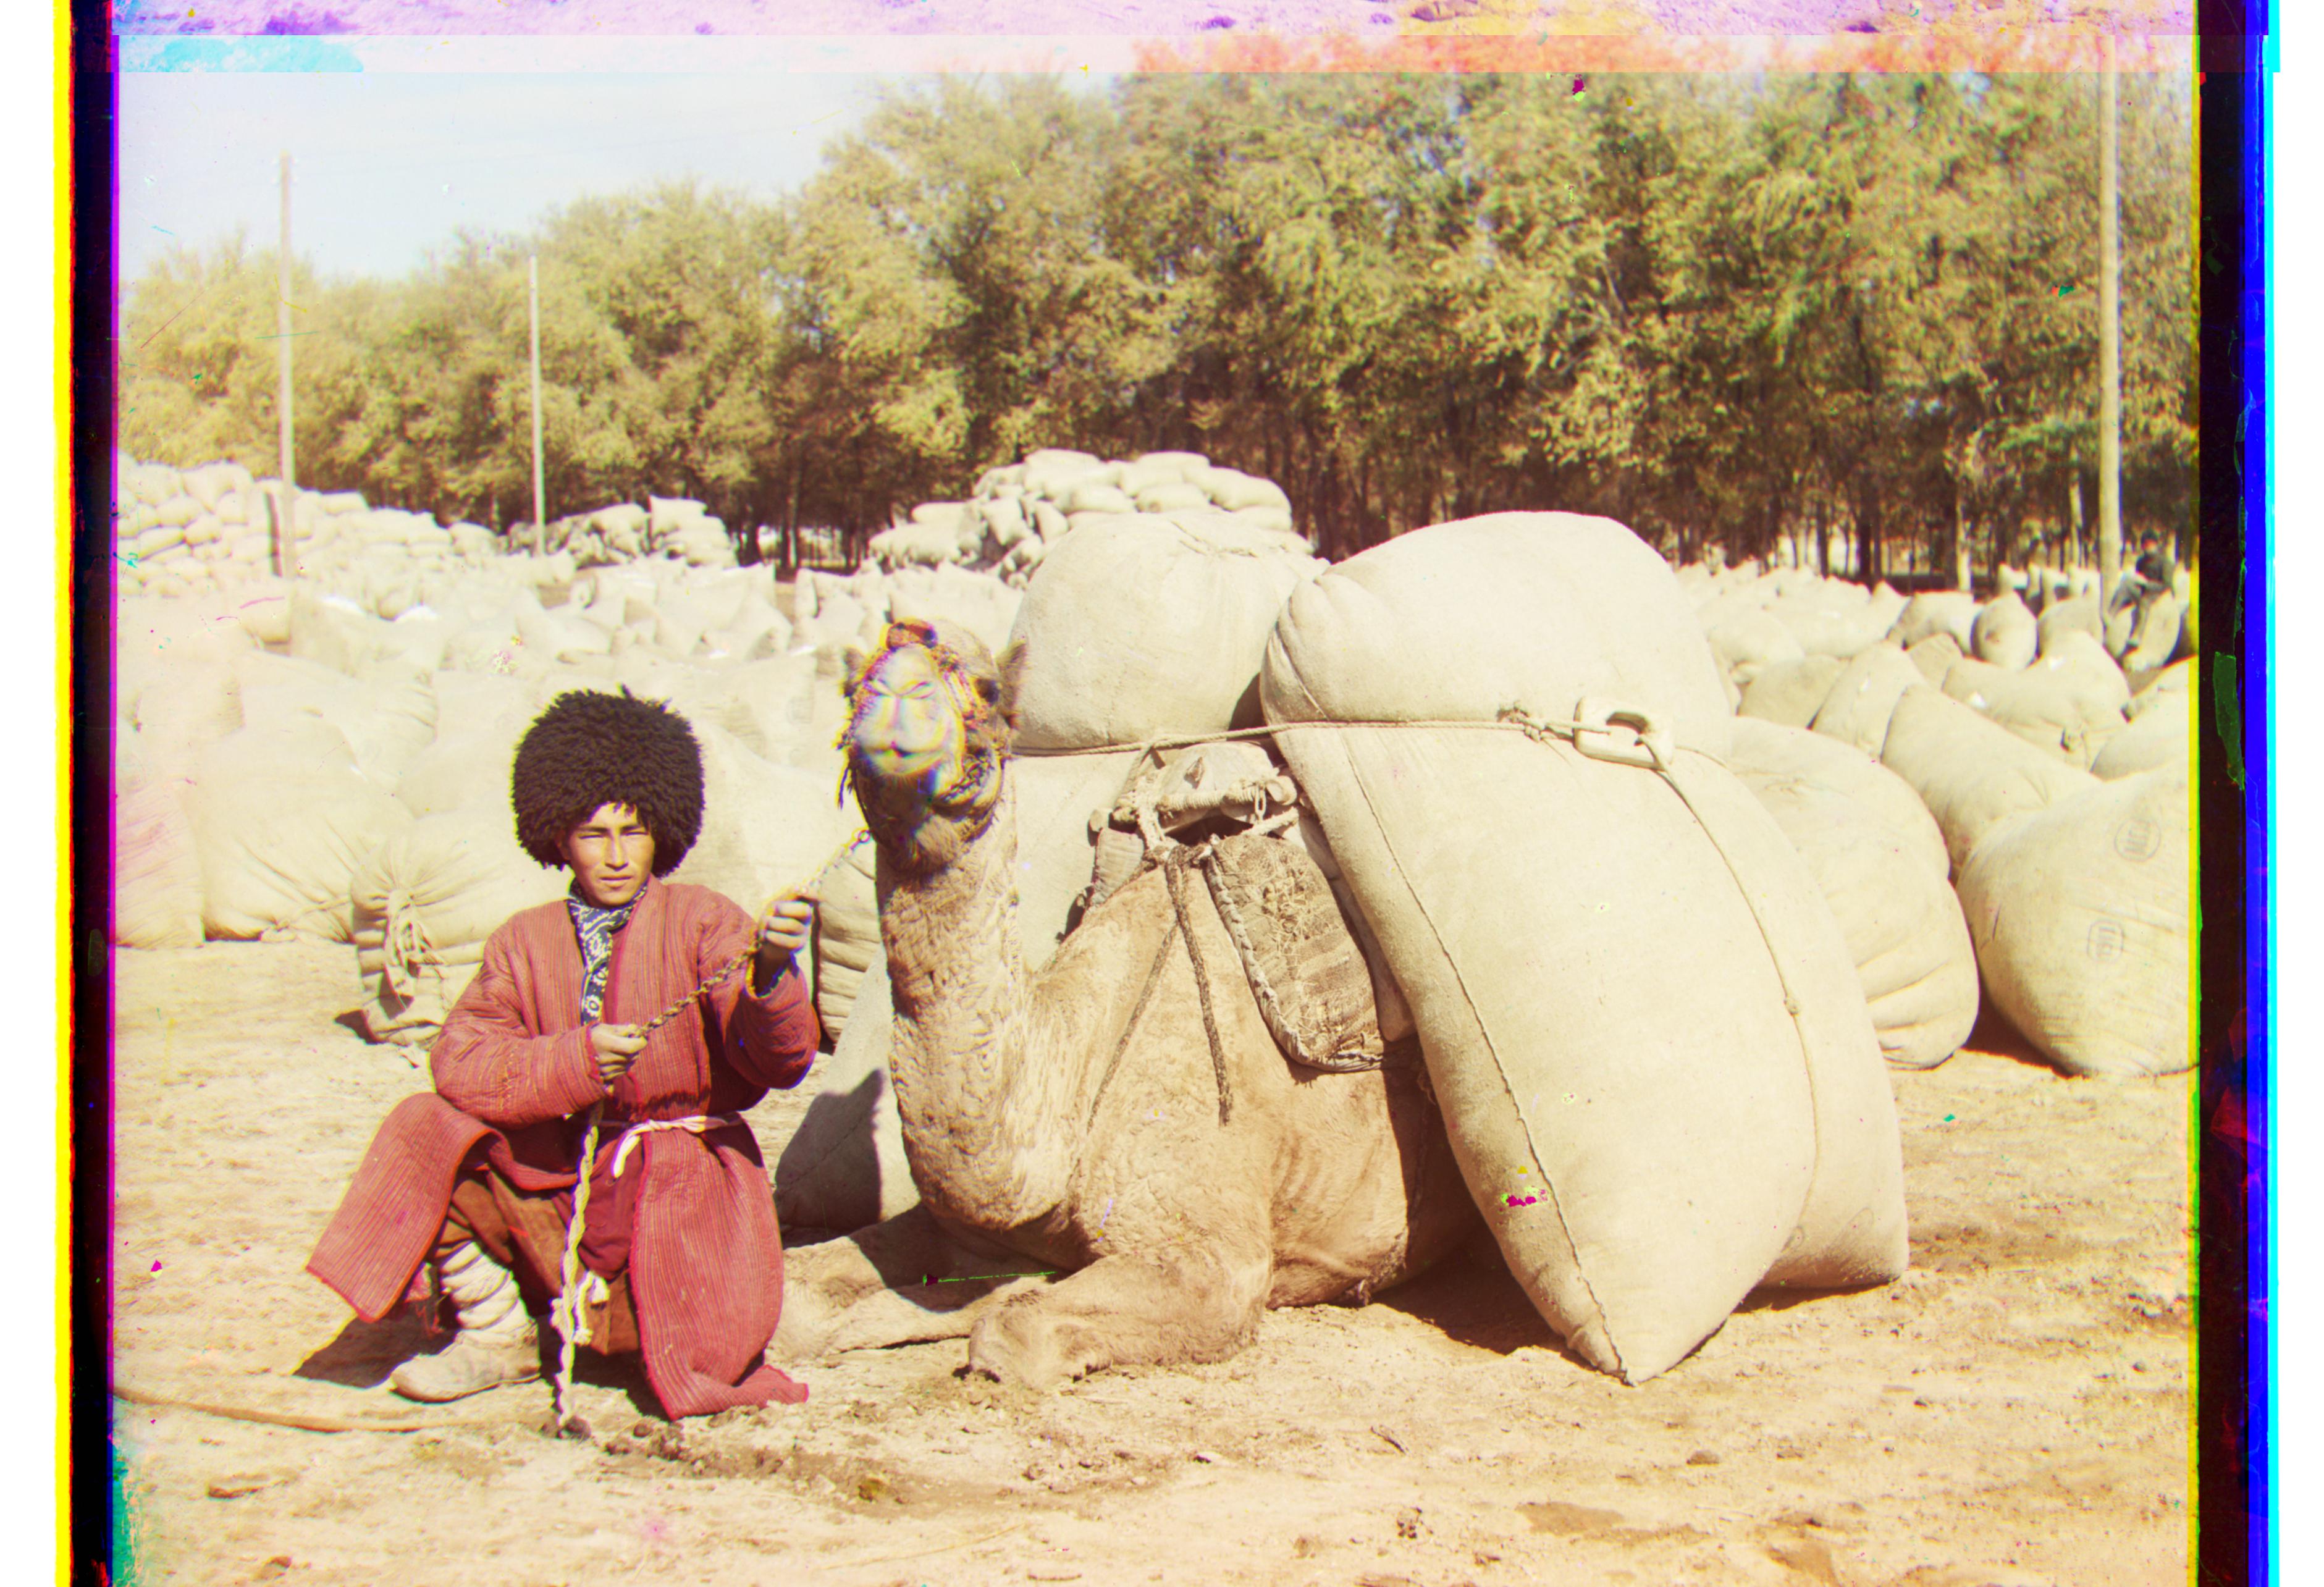
Turkmen
G: x = 22, y = 57
R: x = 28, y = 117
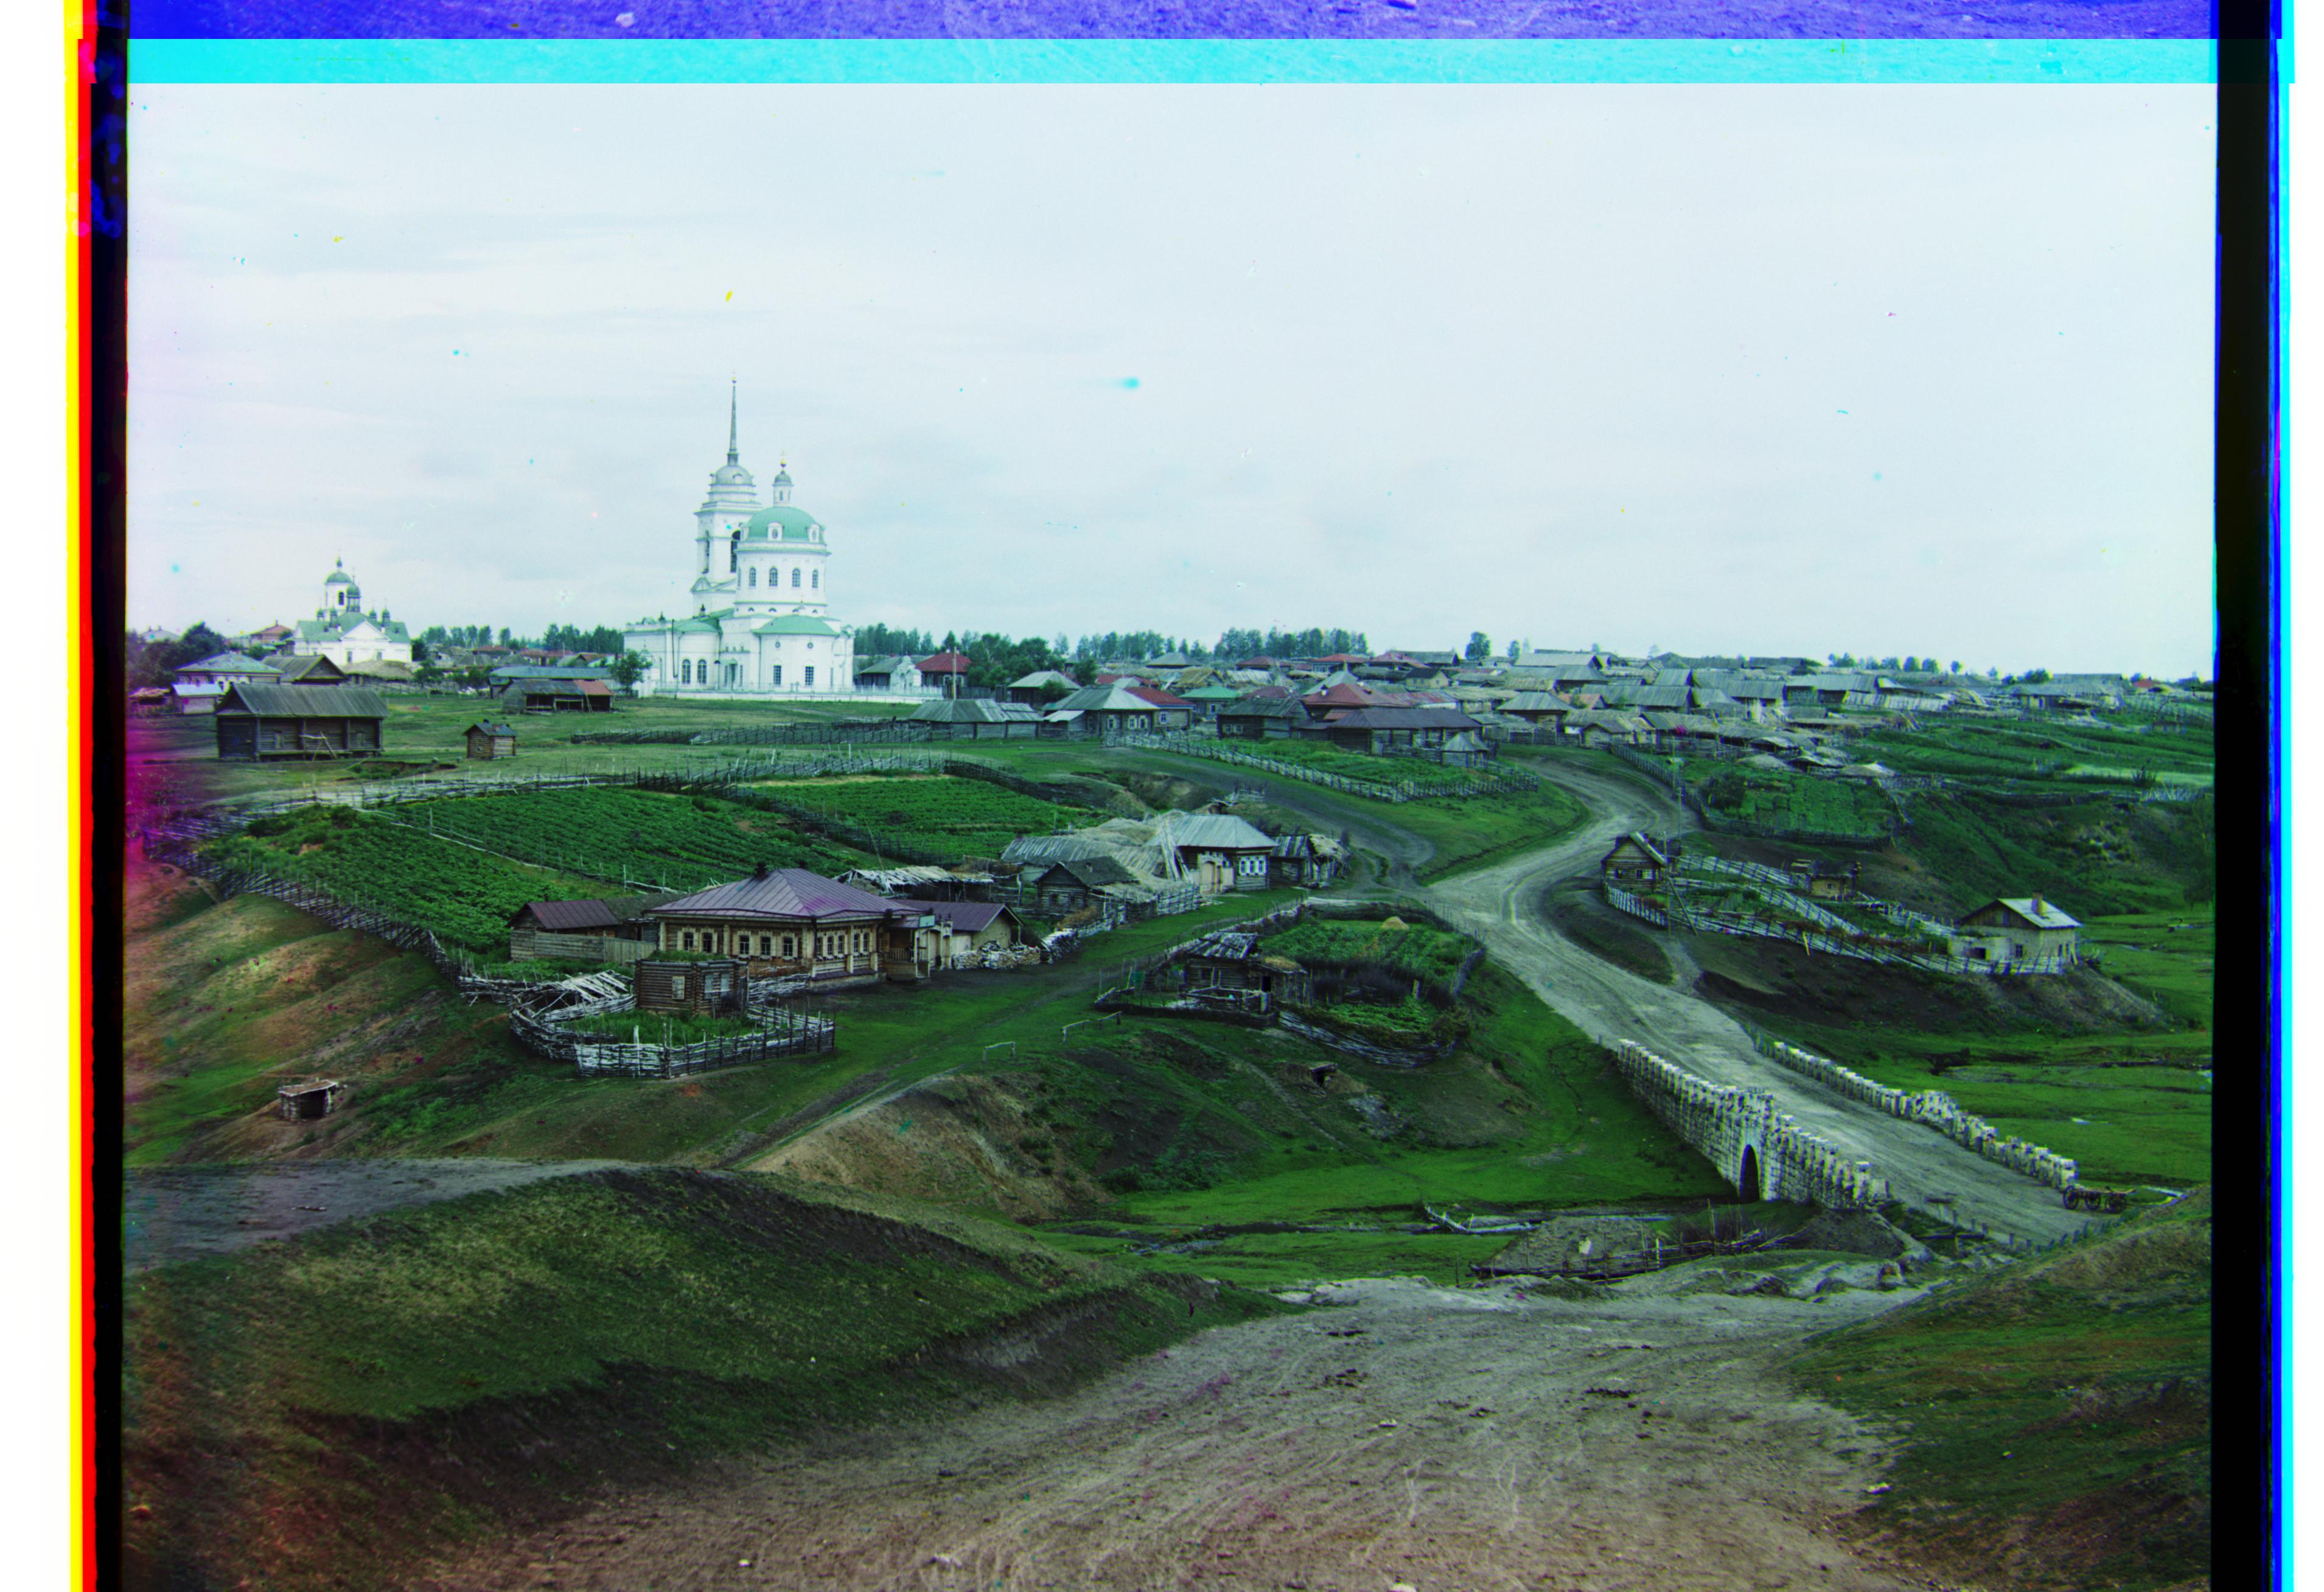
Village
G: x = 10, y = 64
R: x = 21, y = 137
Extras Gallery
I chose a couple more images from the Prokudin-Gorskii collection to run my algorithm on.

Water Lilies
G: x = 2, y = 8
R: x = 0, y = 16
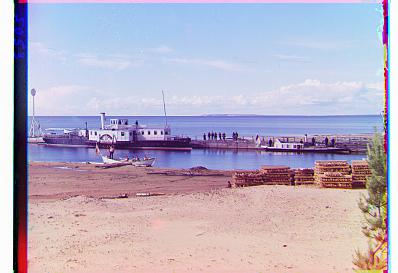
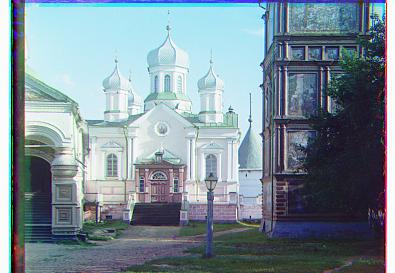
Lake
G: x = 1, y = -3
R: x = 2, y = 3

Fish
G: x = 2, y = 4
R: x = 2, y = 10