Image to image offset is set in the function cc_align. cc_align will take in 2 images and will do small shifts in the set (x, y) in [(x, y) for all x,y in [-sr, sr]]. For each offset shift, it will shift one of the images to the offset and take a comparison. It will find the best offset shift in its search range (sr) to achieve the maximum "matcheyness".
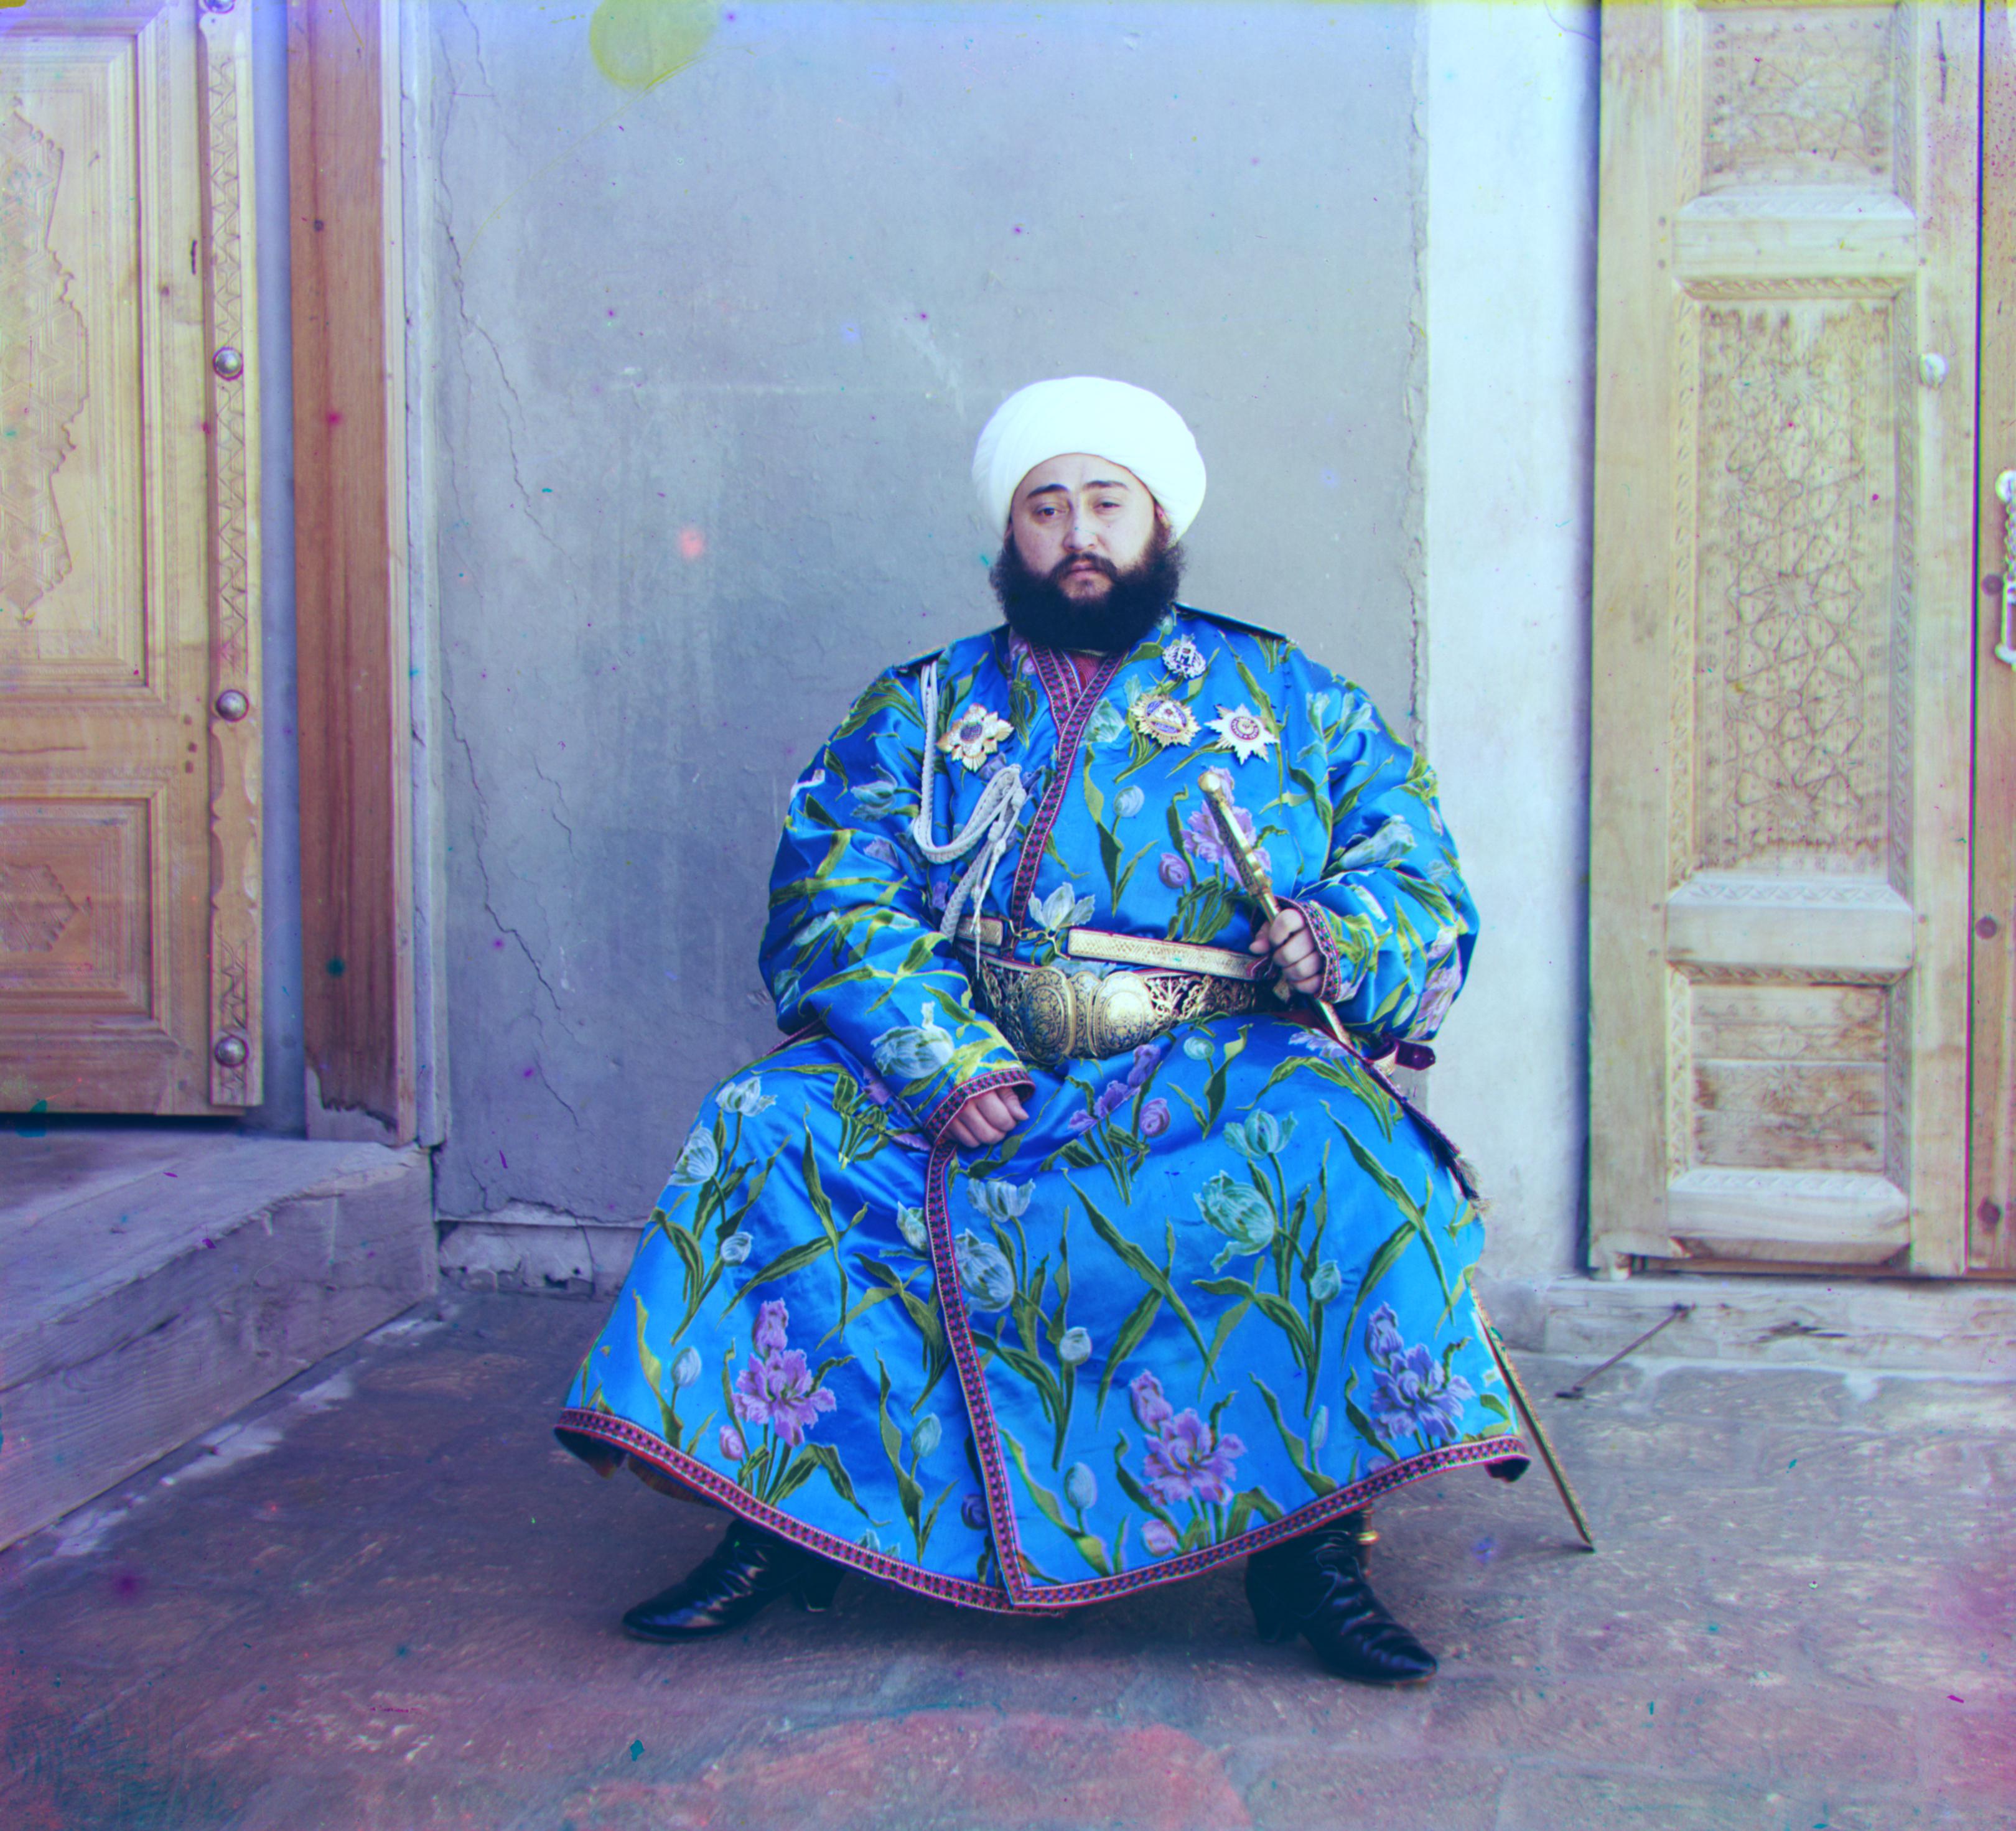
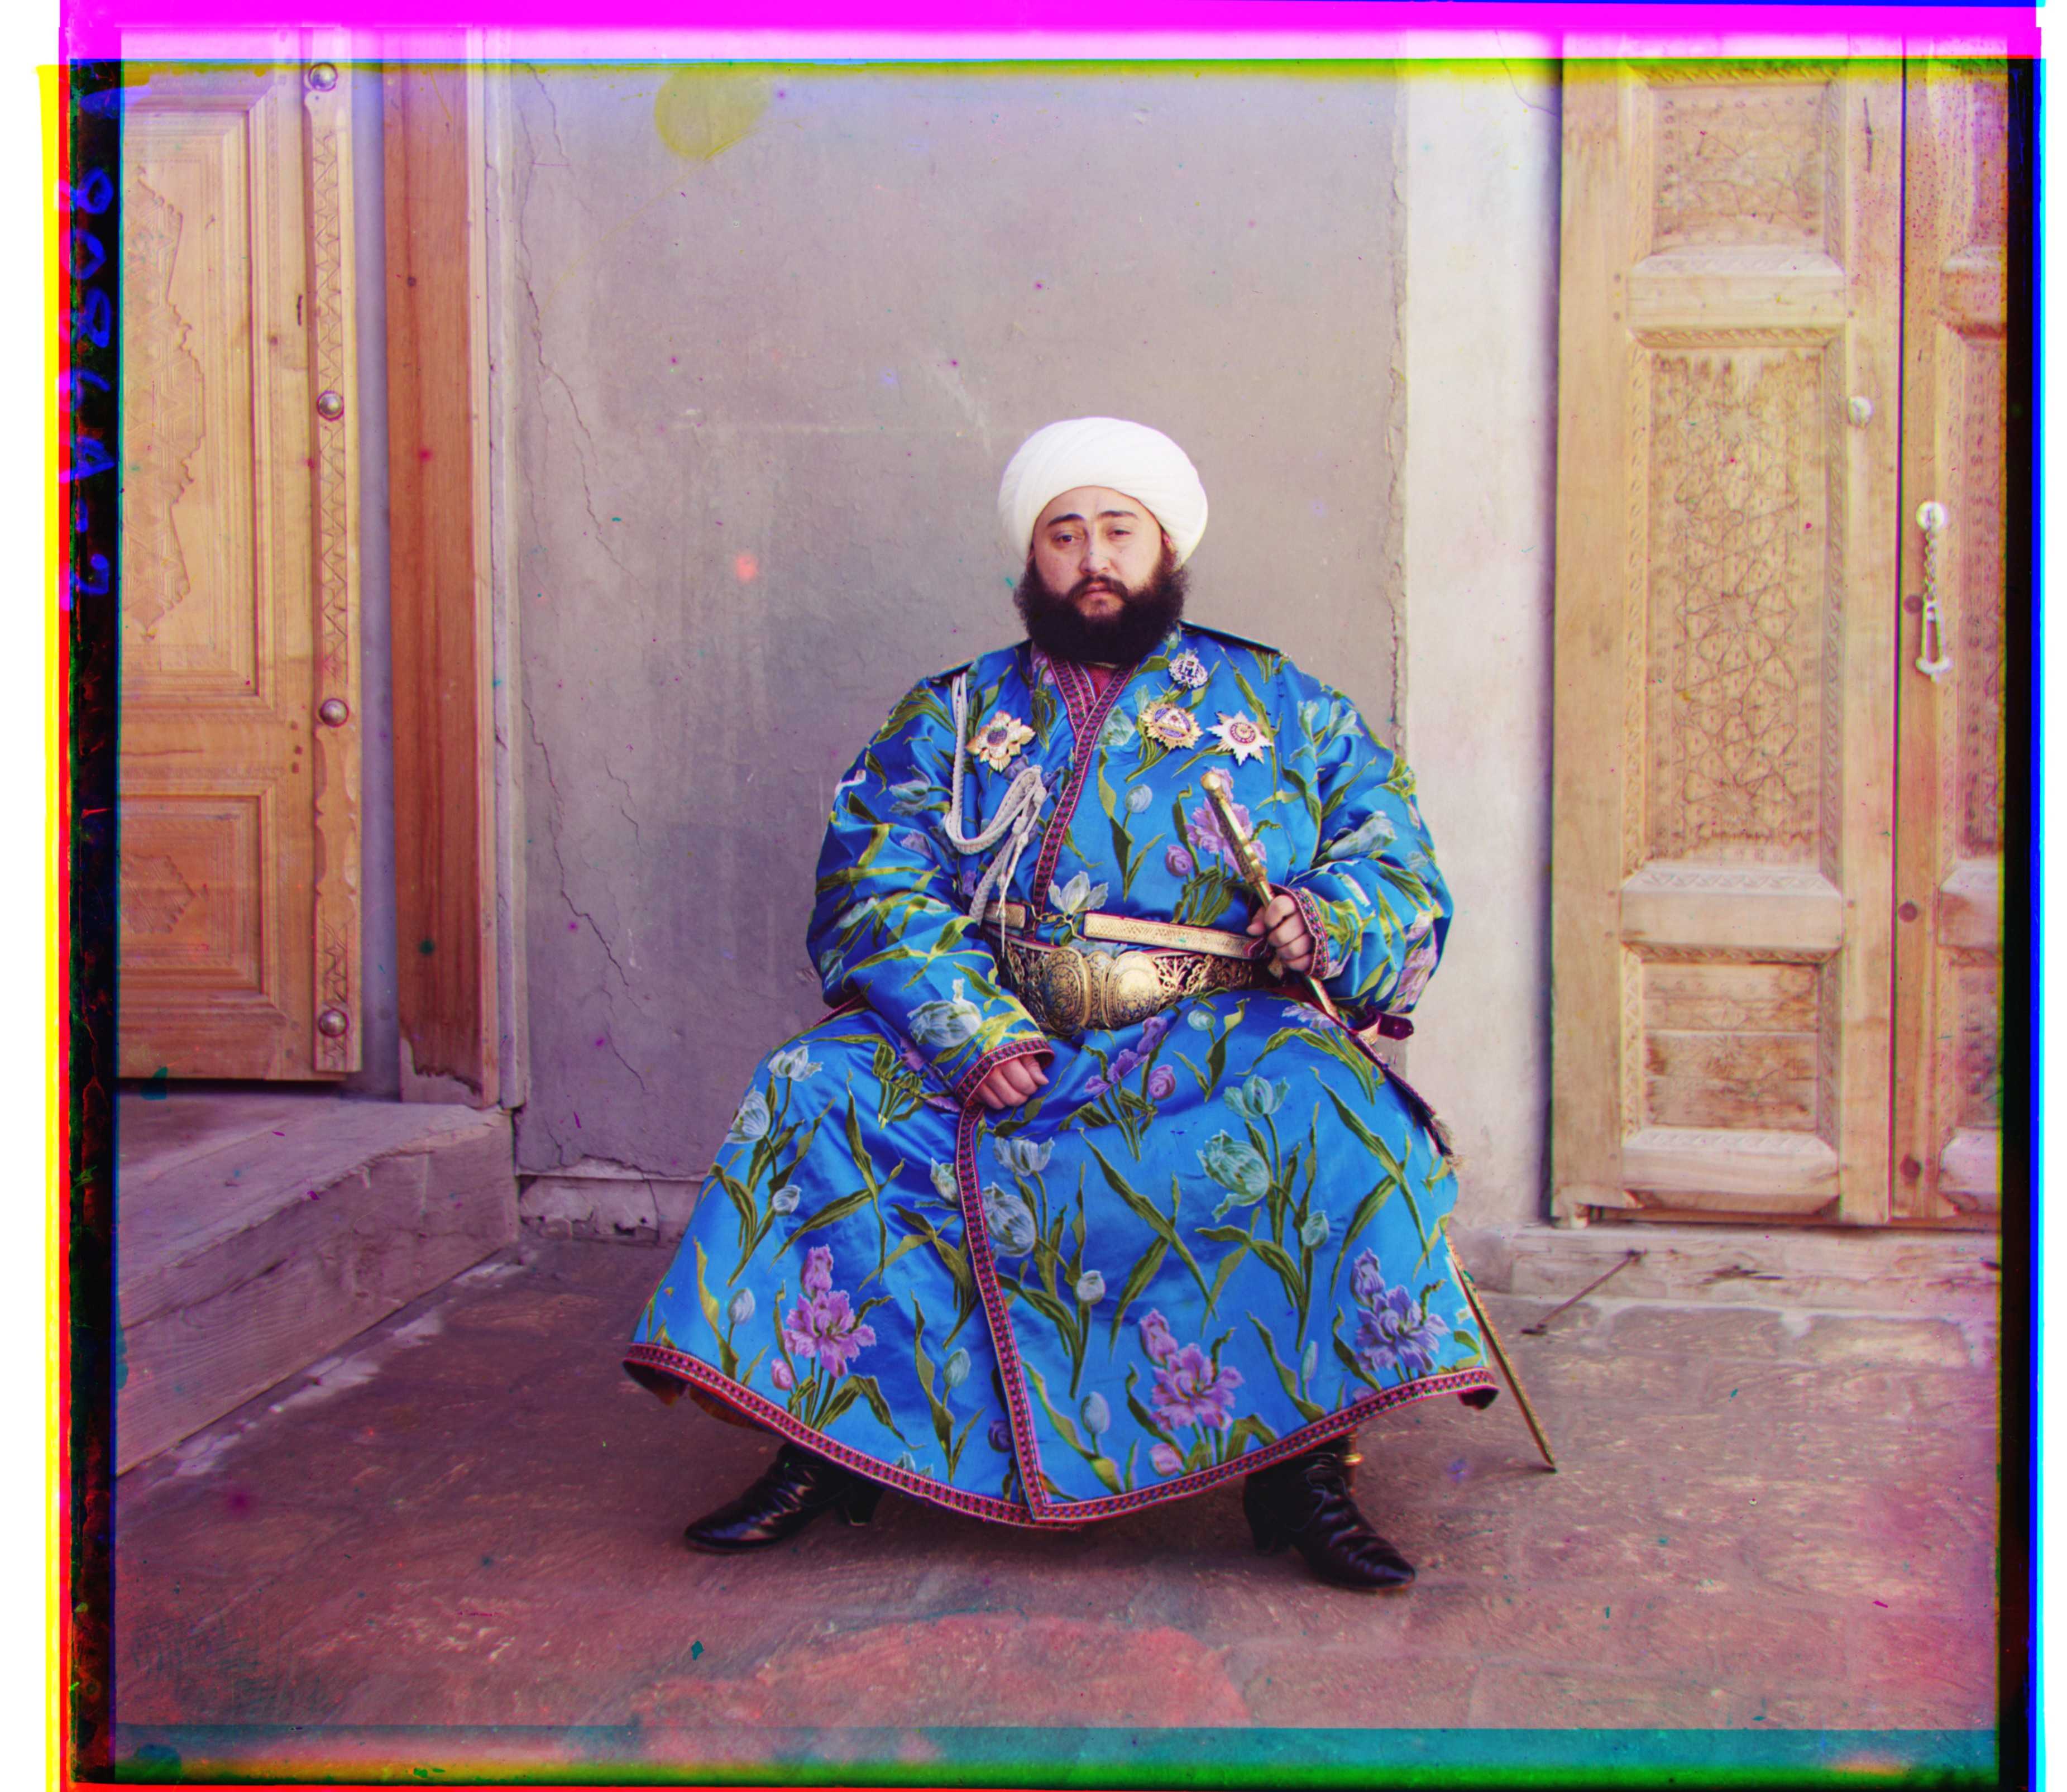
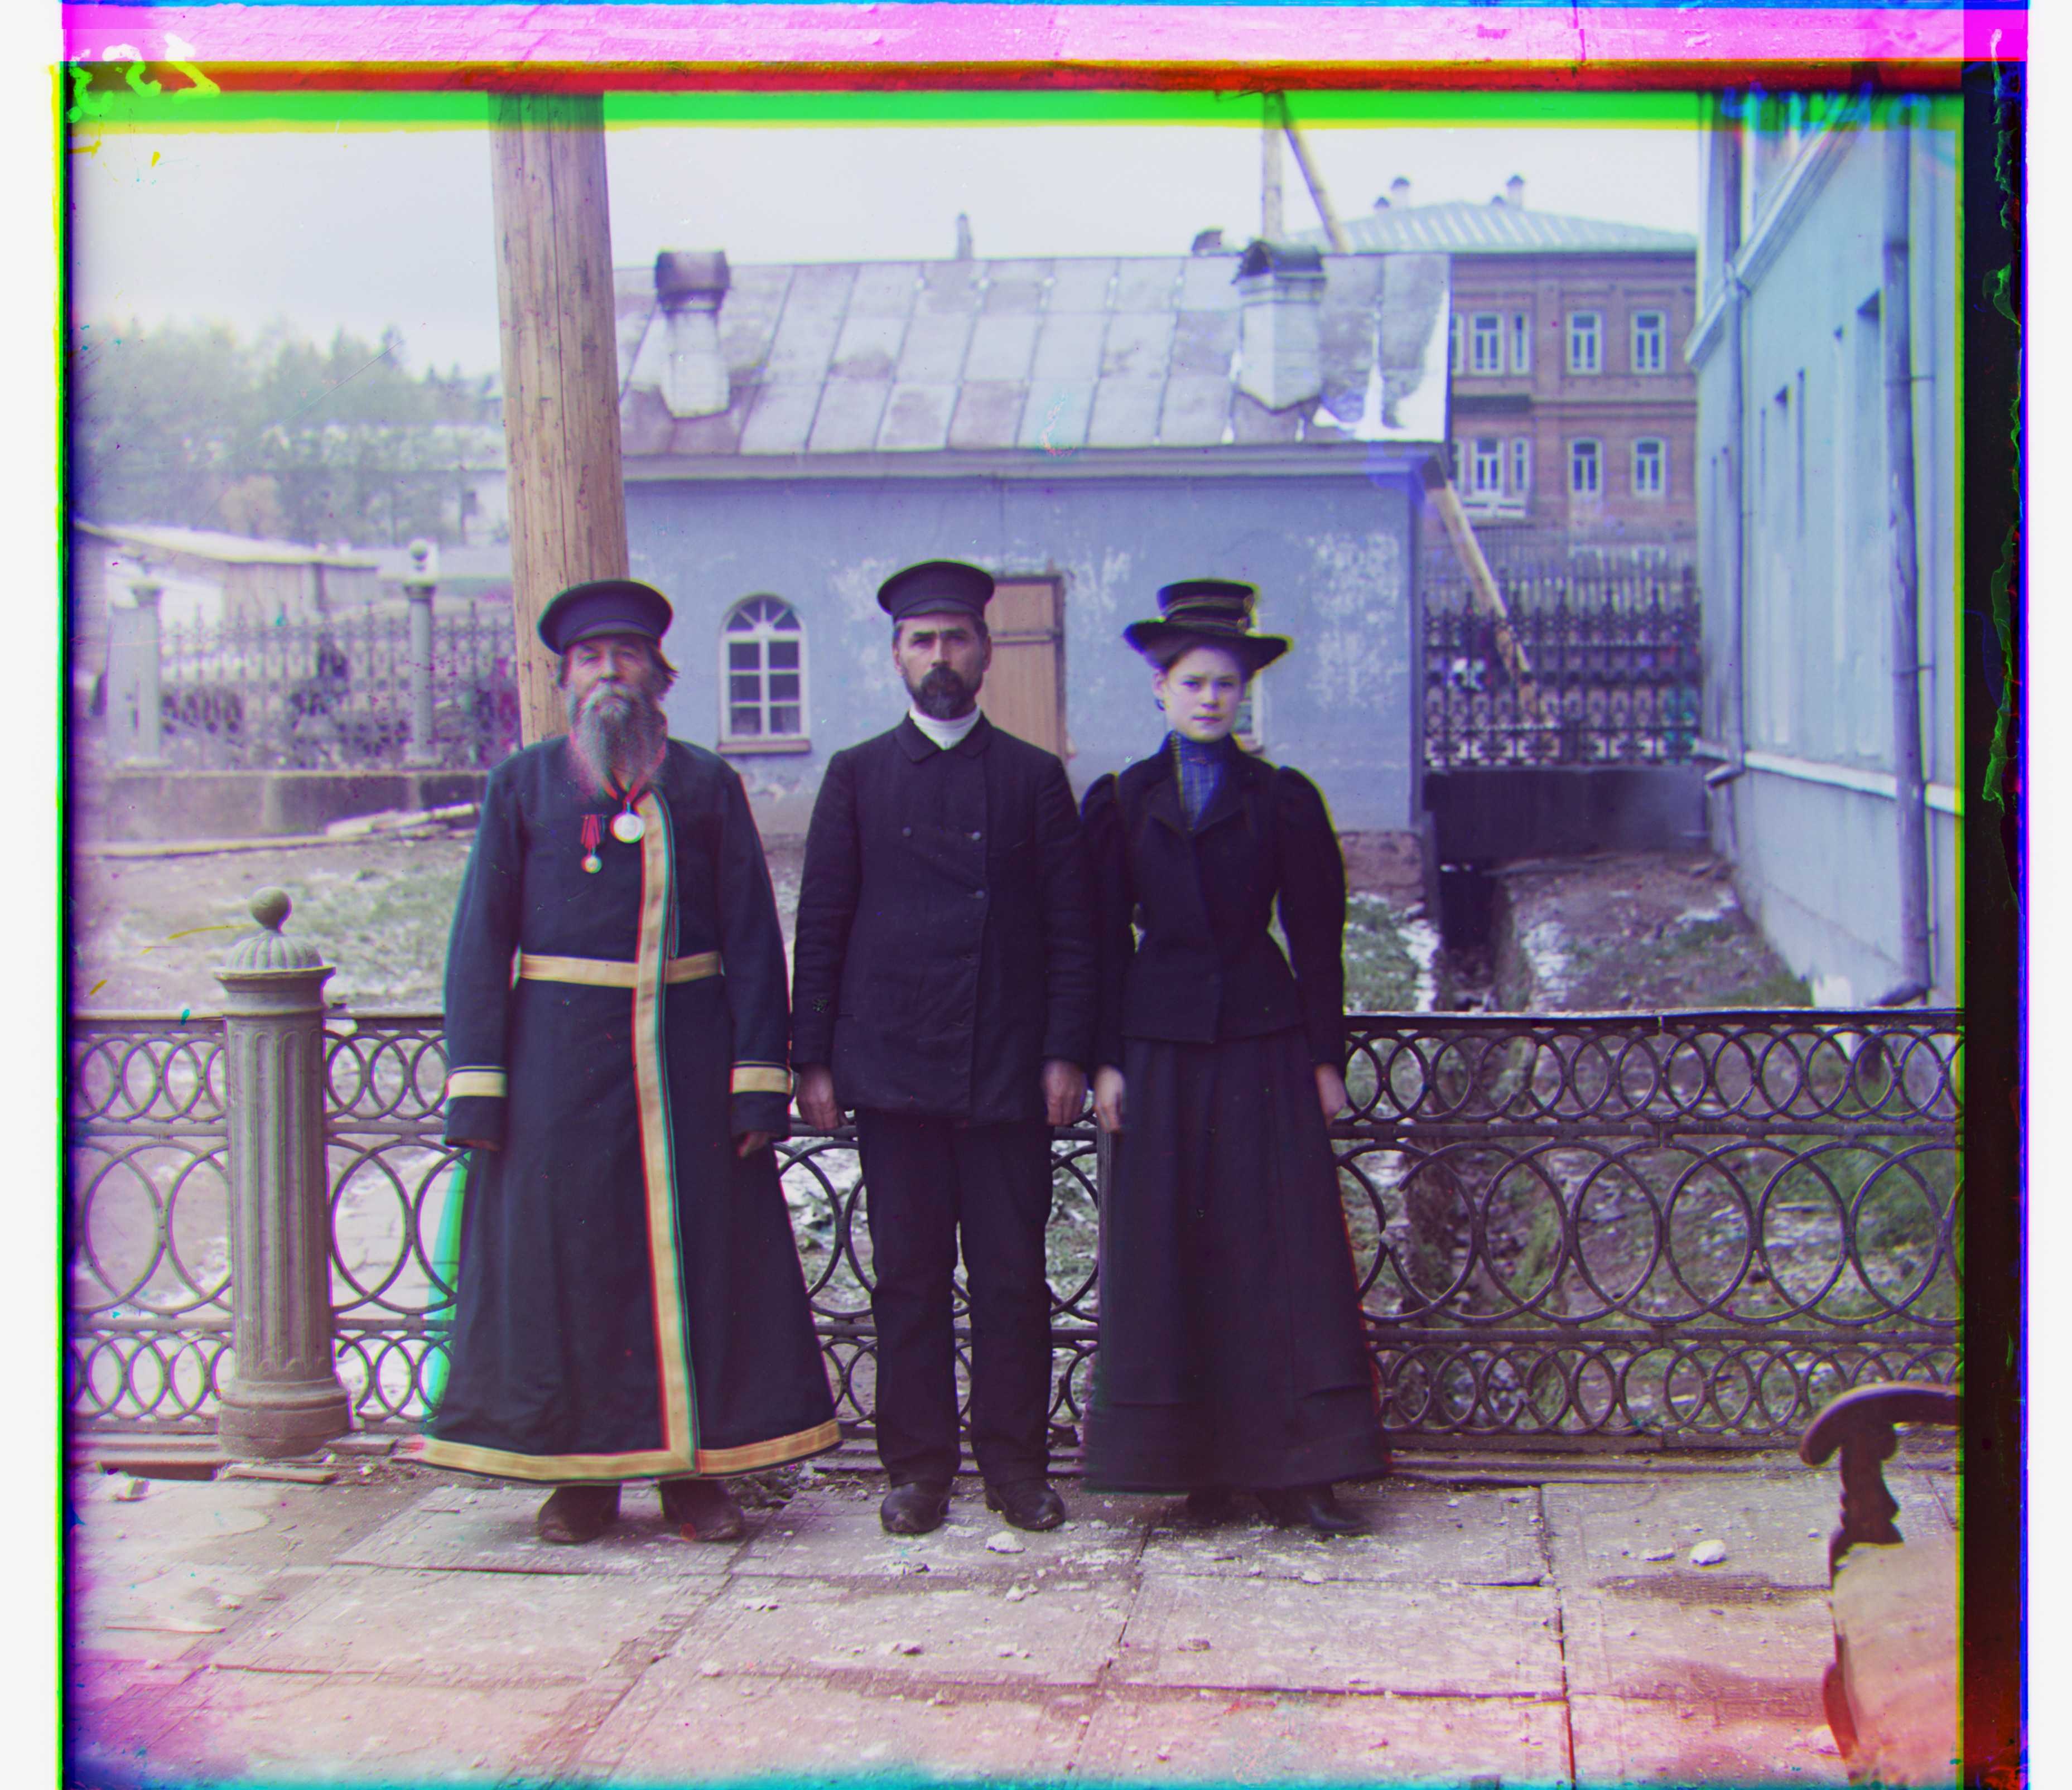
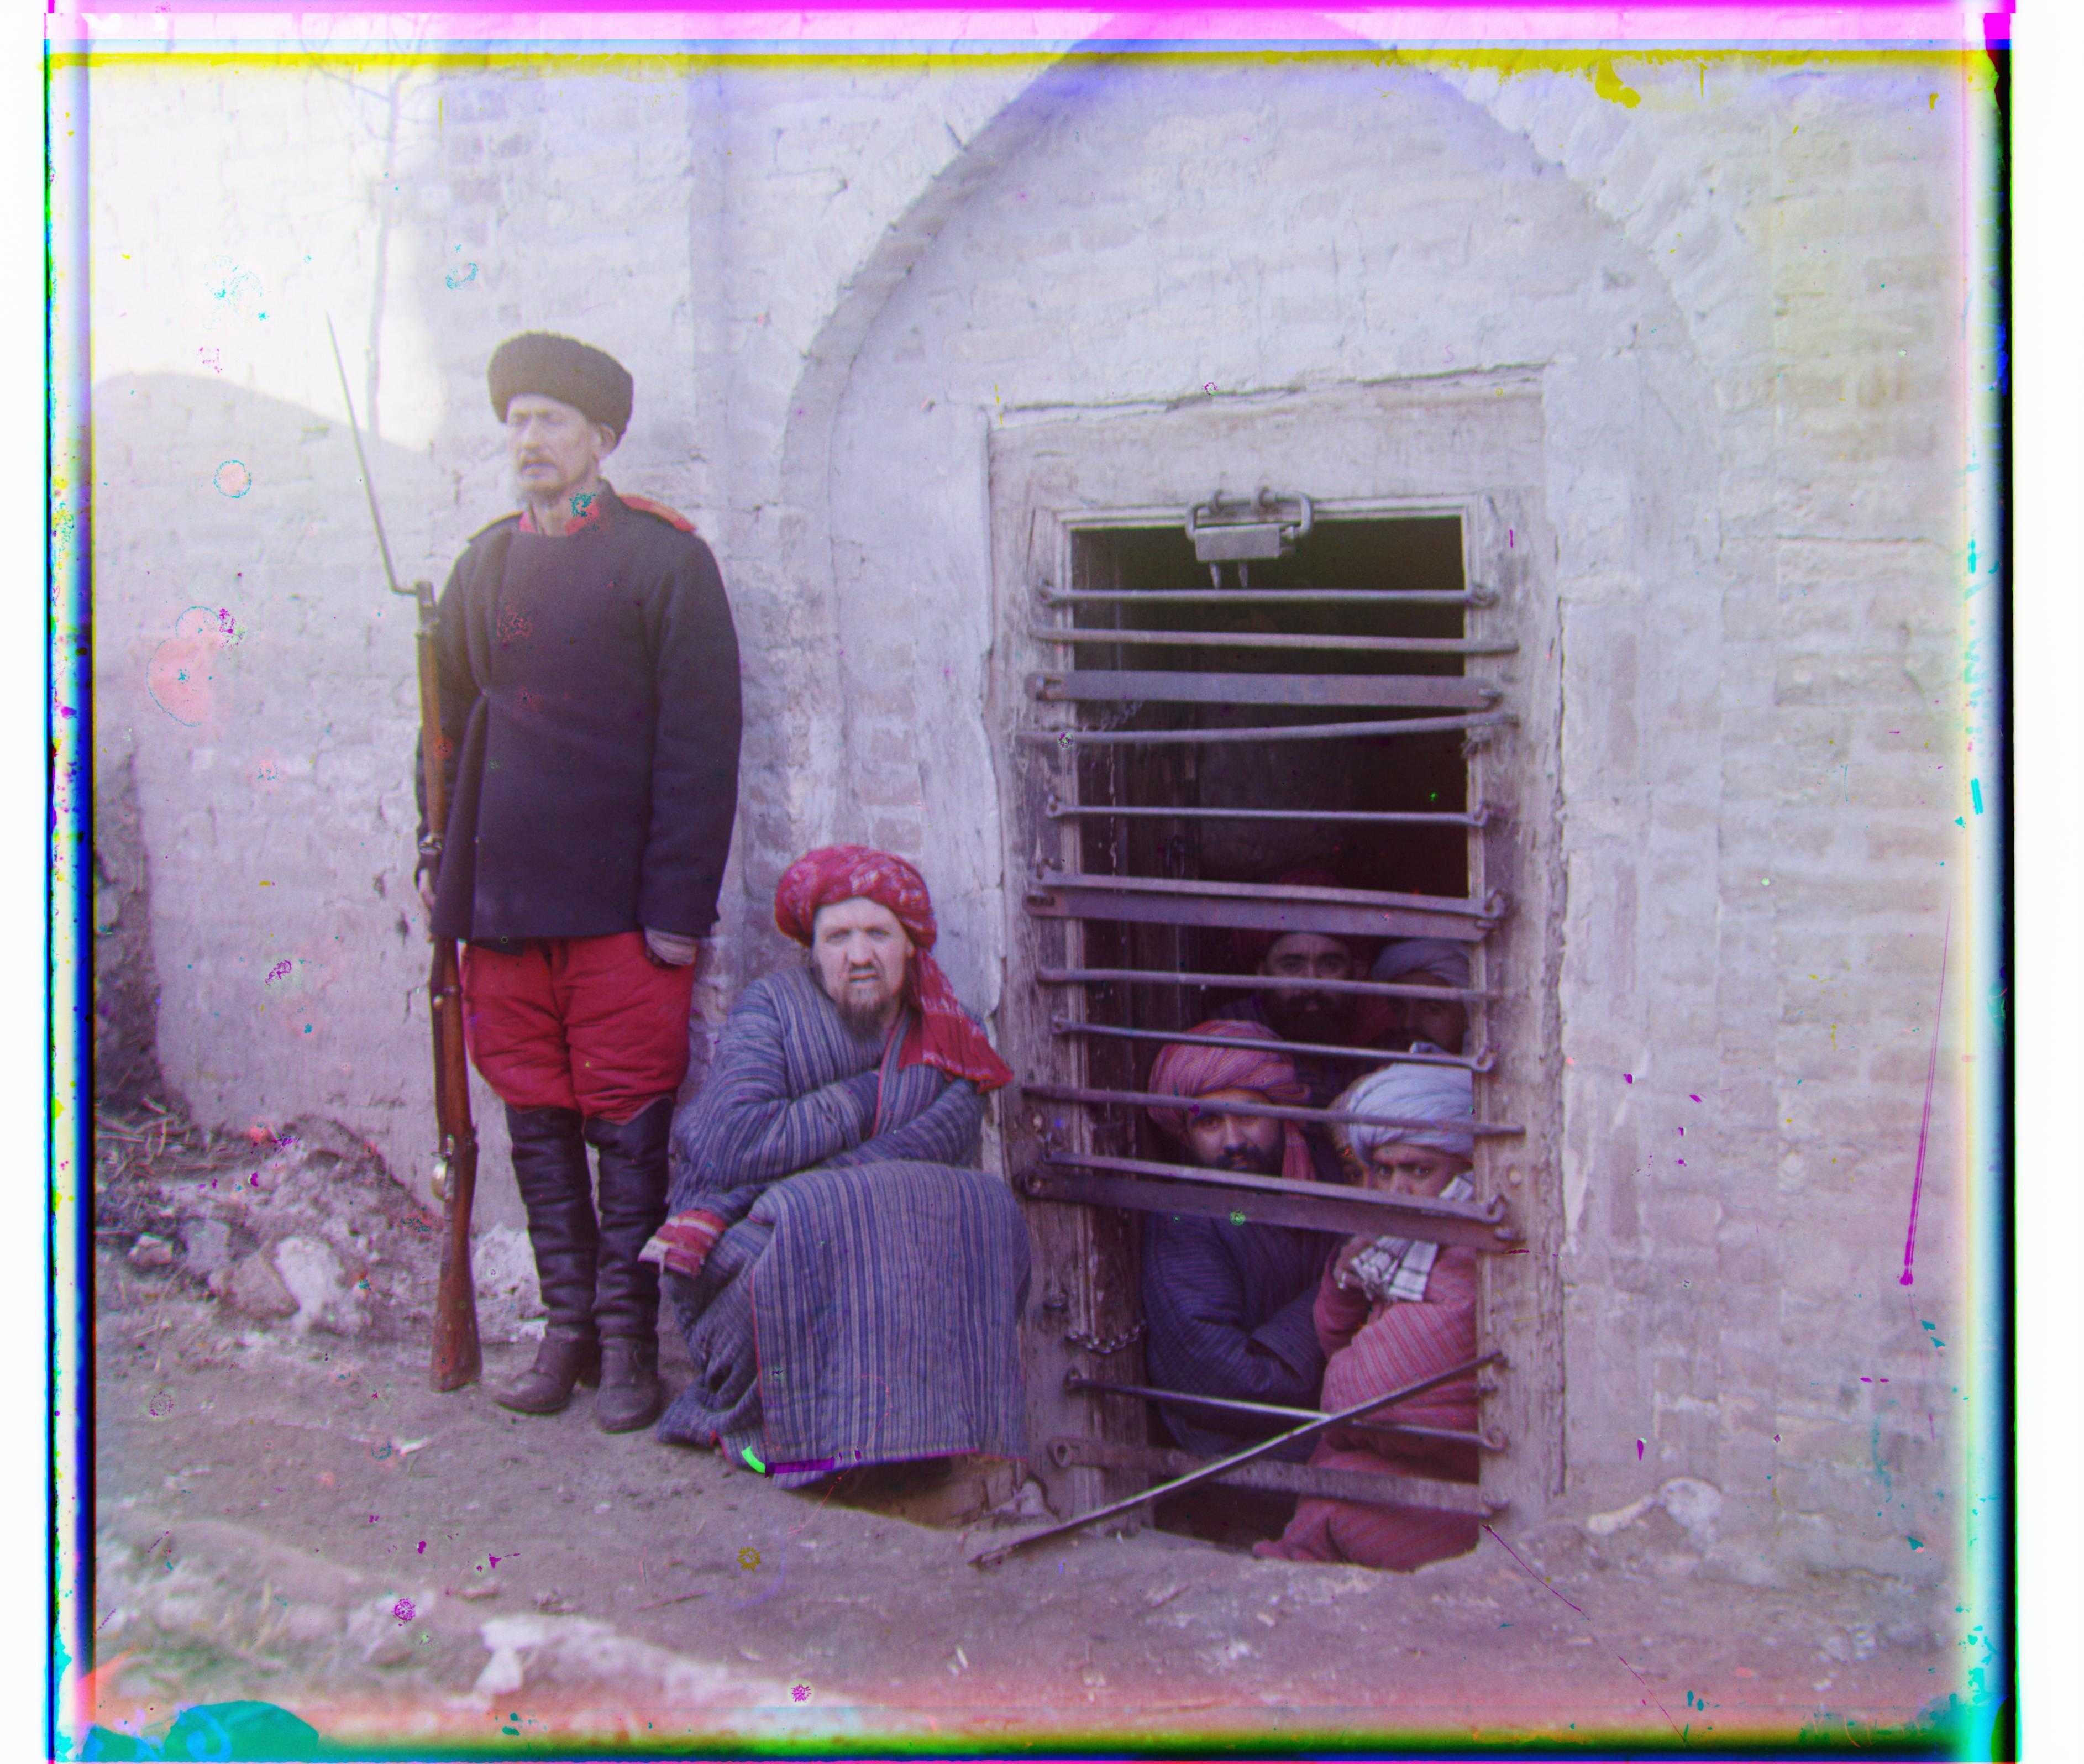
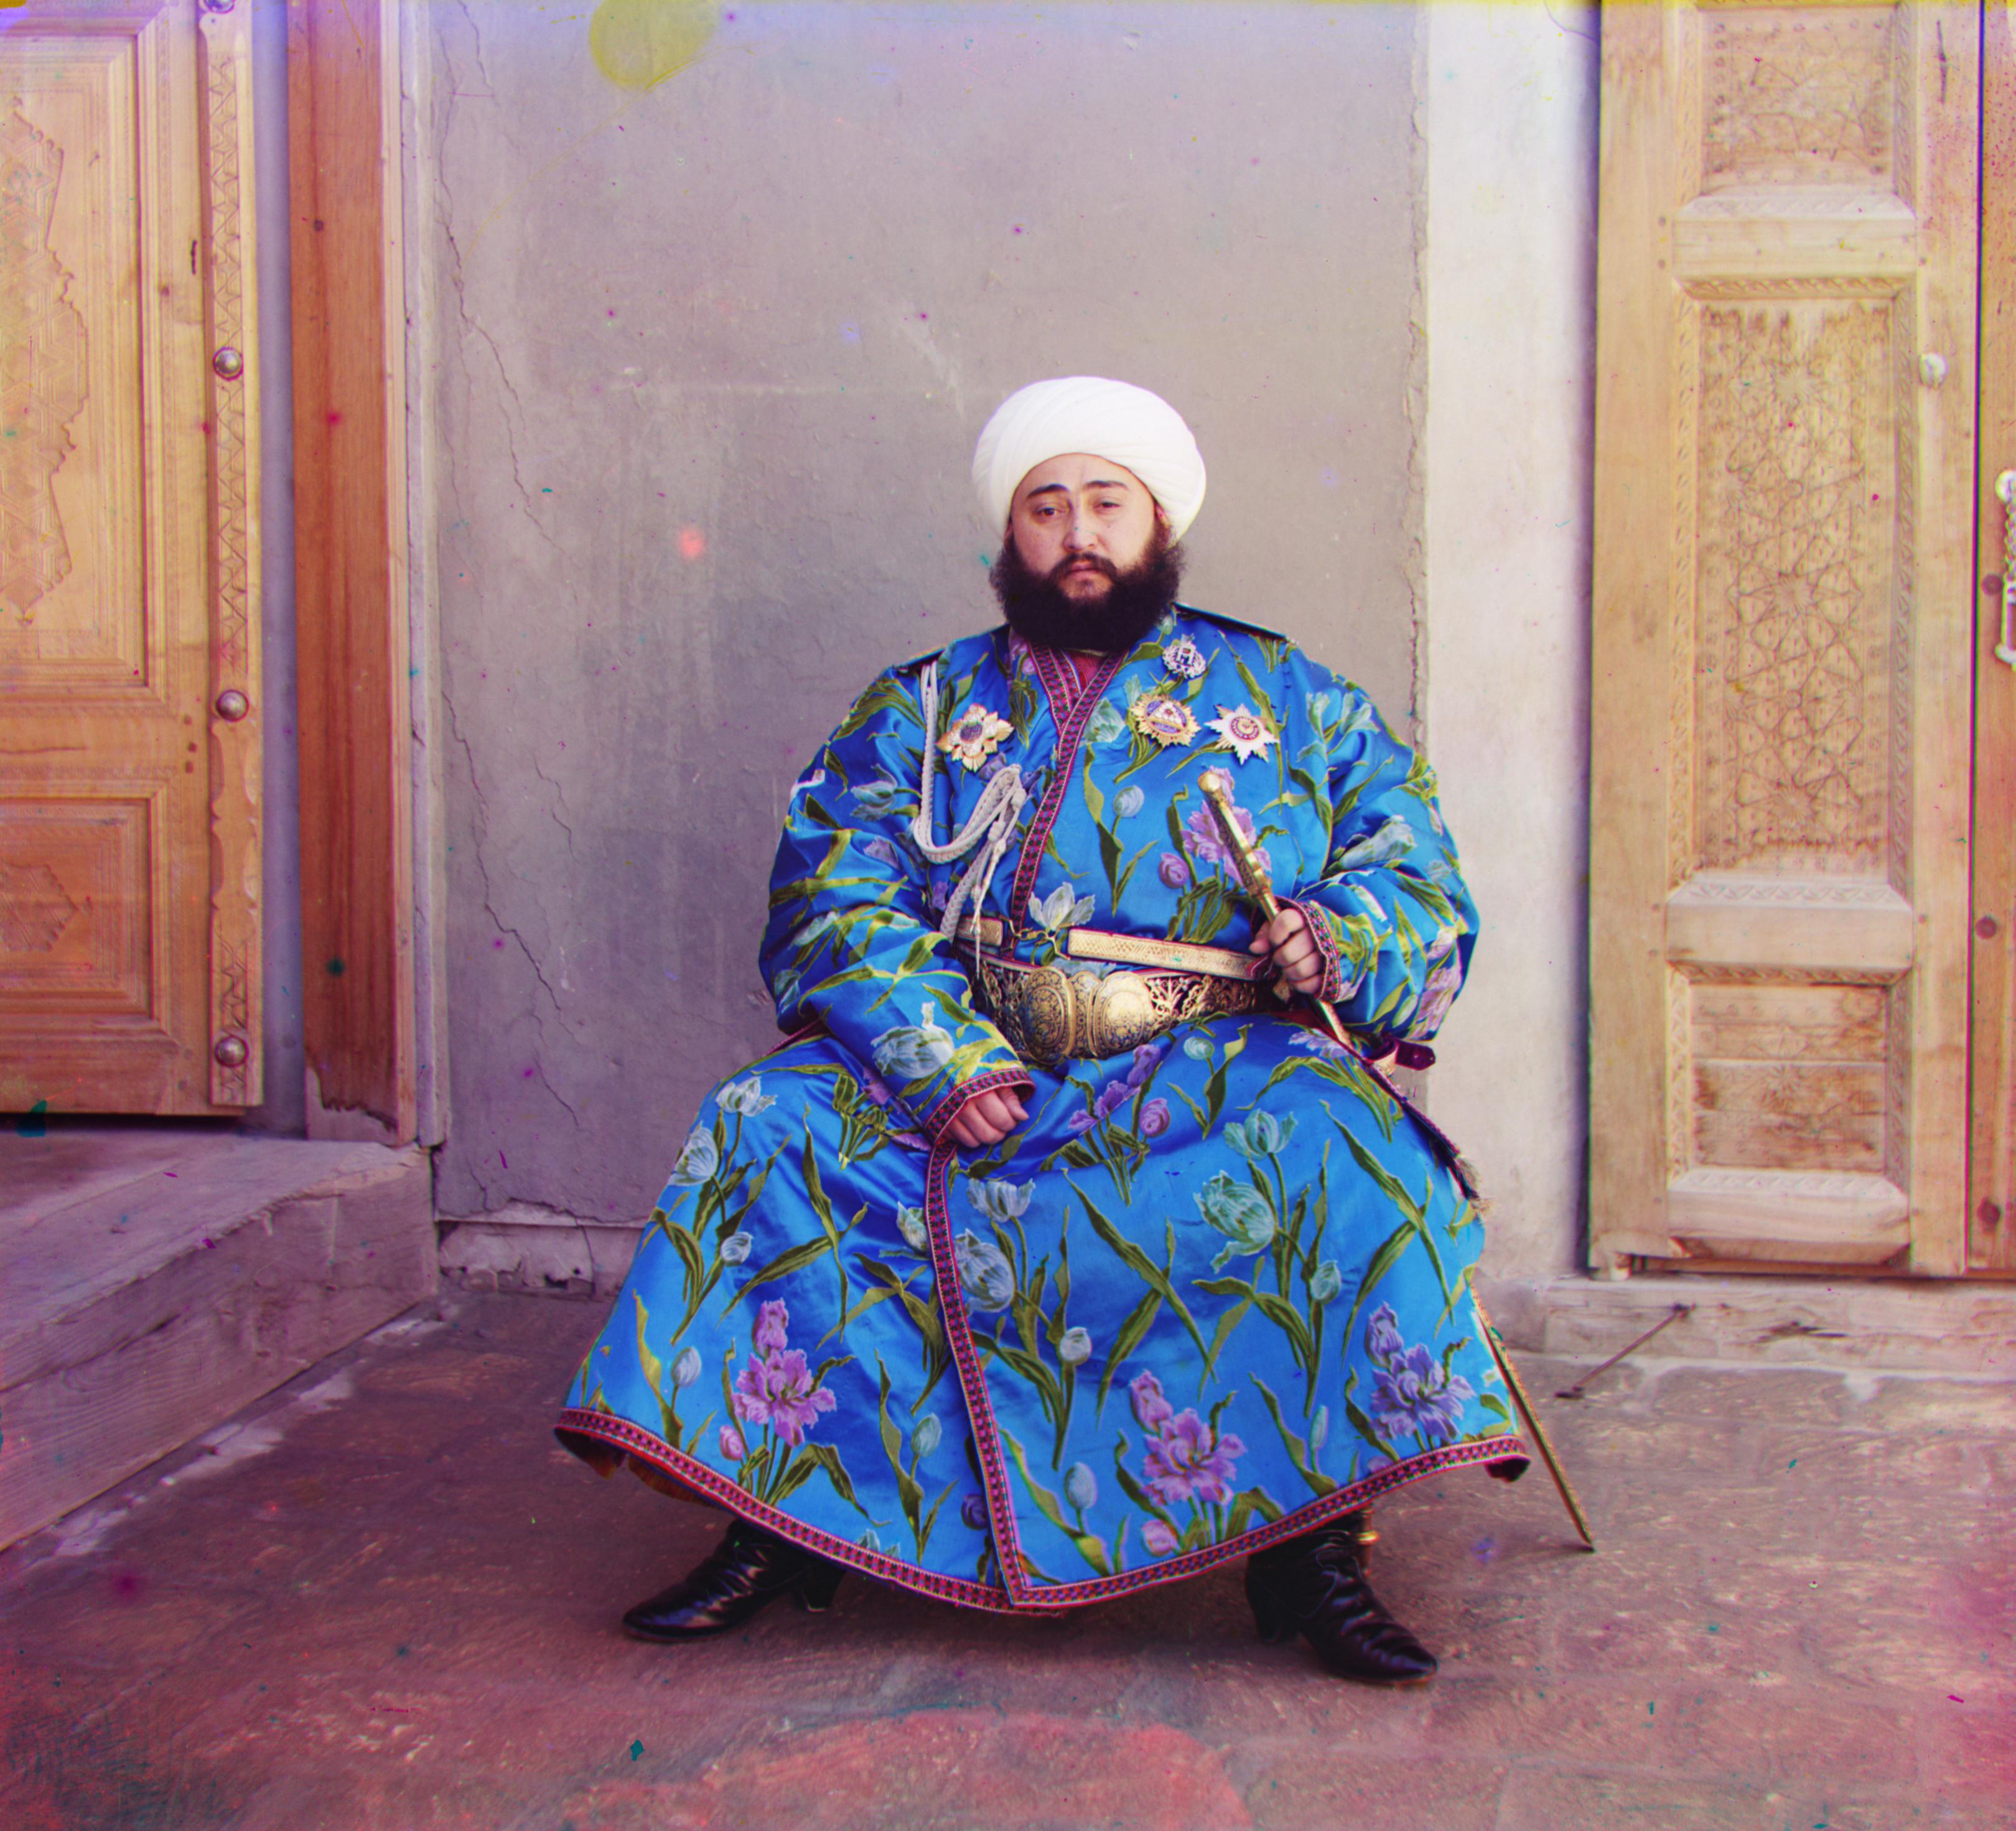
Instead of using a raw SSD or NCC as explained in the project description, I use a slightly modified version. I calculate first mean center the image, then normalize the flattened image vector, and take the absolute value of every element in the vector before computing the dot product between the two images. The motivation for this is to try our best to match the silhouettes of the channels rather than dark areas of each channel. This is best explained by looking at the emir's picture:
Note how the whiter colors on his clothes in the top channel are noticeably darker in the bottom channel. If we simply tried to take the dot product between the top and bottom channels, the algorithm would be incentivized to align the dark colors with dark colors. However It is clear in this particular case we want to align the light colors in the top channel to the dark colors in the bottom channel. To achieve this we take the "intensity" of the color relative to the mean. That way extreme whites and extreme darks are incentivized to overlap to increase the comparison score. The TLDR here is that we want to overlap intense contrasts, instead of just dark over dark and white over white.
To search the overlap space effectively, we cannot keep the high-res images in their original resolution and start shifting. That would take too long, since the dot product between images would be between vectors of size ~10 million. Instead we recursively downsample by half until the image is a size no larger than 250x250 pixels and find an offset in the downsampled image that is good. Then we go recurse up to a layer of the image pyramid and find a shift in the 2x higher-res image that is a good fit, and recurse up the stack until we are done. The bulk of this code may be found in adv_align.
A key observation is that we only need to have a large search range for the bottom of the pyramid, or the most downsampled image. If we find a good fit for the most downsampled image, we can assume that in its 2x higher-res version up the stack will be “close” to the optimal shift and thus we can get away with searching a much smaller range. Indeed looking at the debug output, this is the case; the most downsampled image might have to be shifted more than 10x pixel, but its parent in the pyramid usually doesn’t have to shift more than 2-3 pixels. Thus we see that the base case of adv_align has a search range of [-15, 15], but the recursive calls have a search range of [-2, 2]. This drastically reduces runtime.
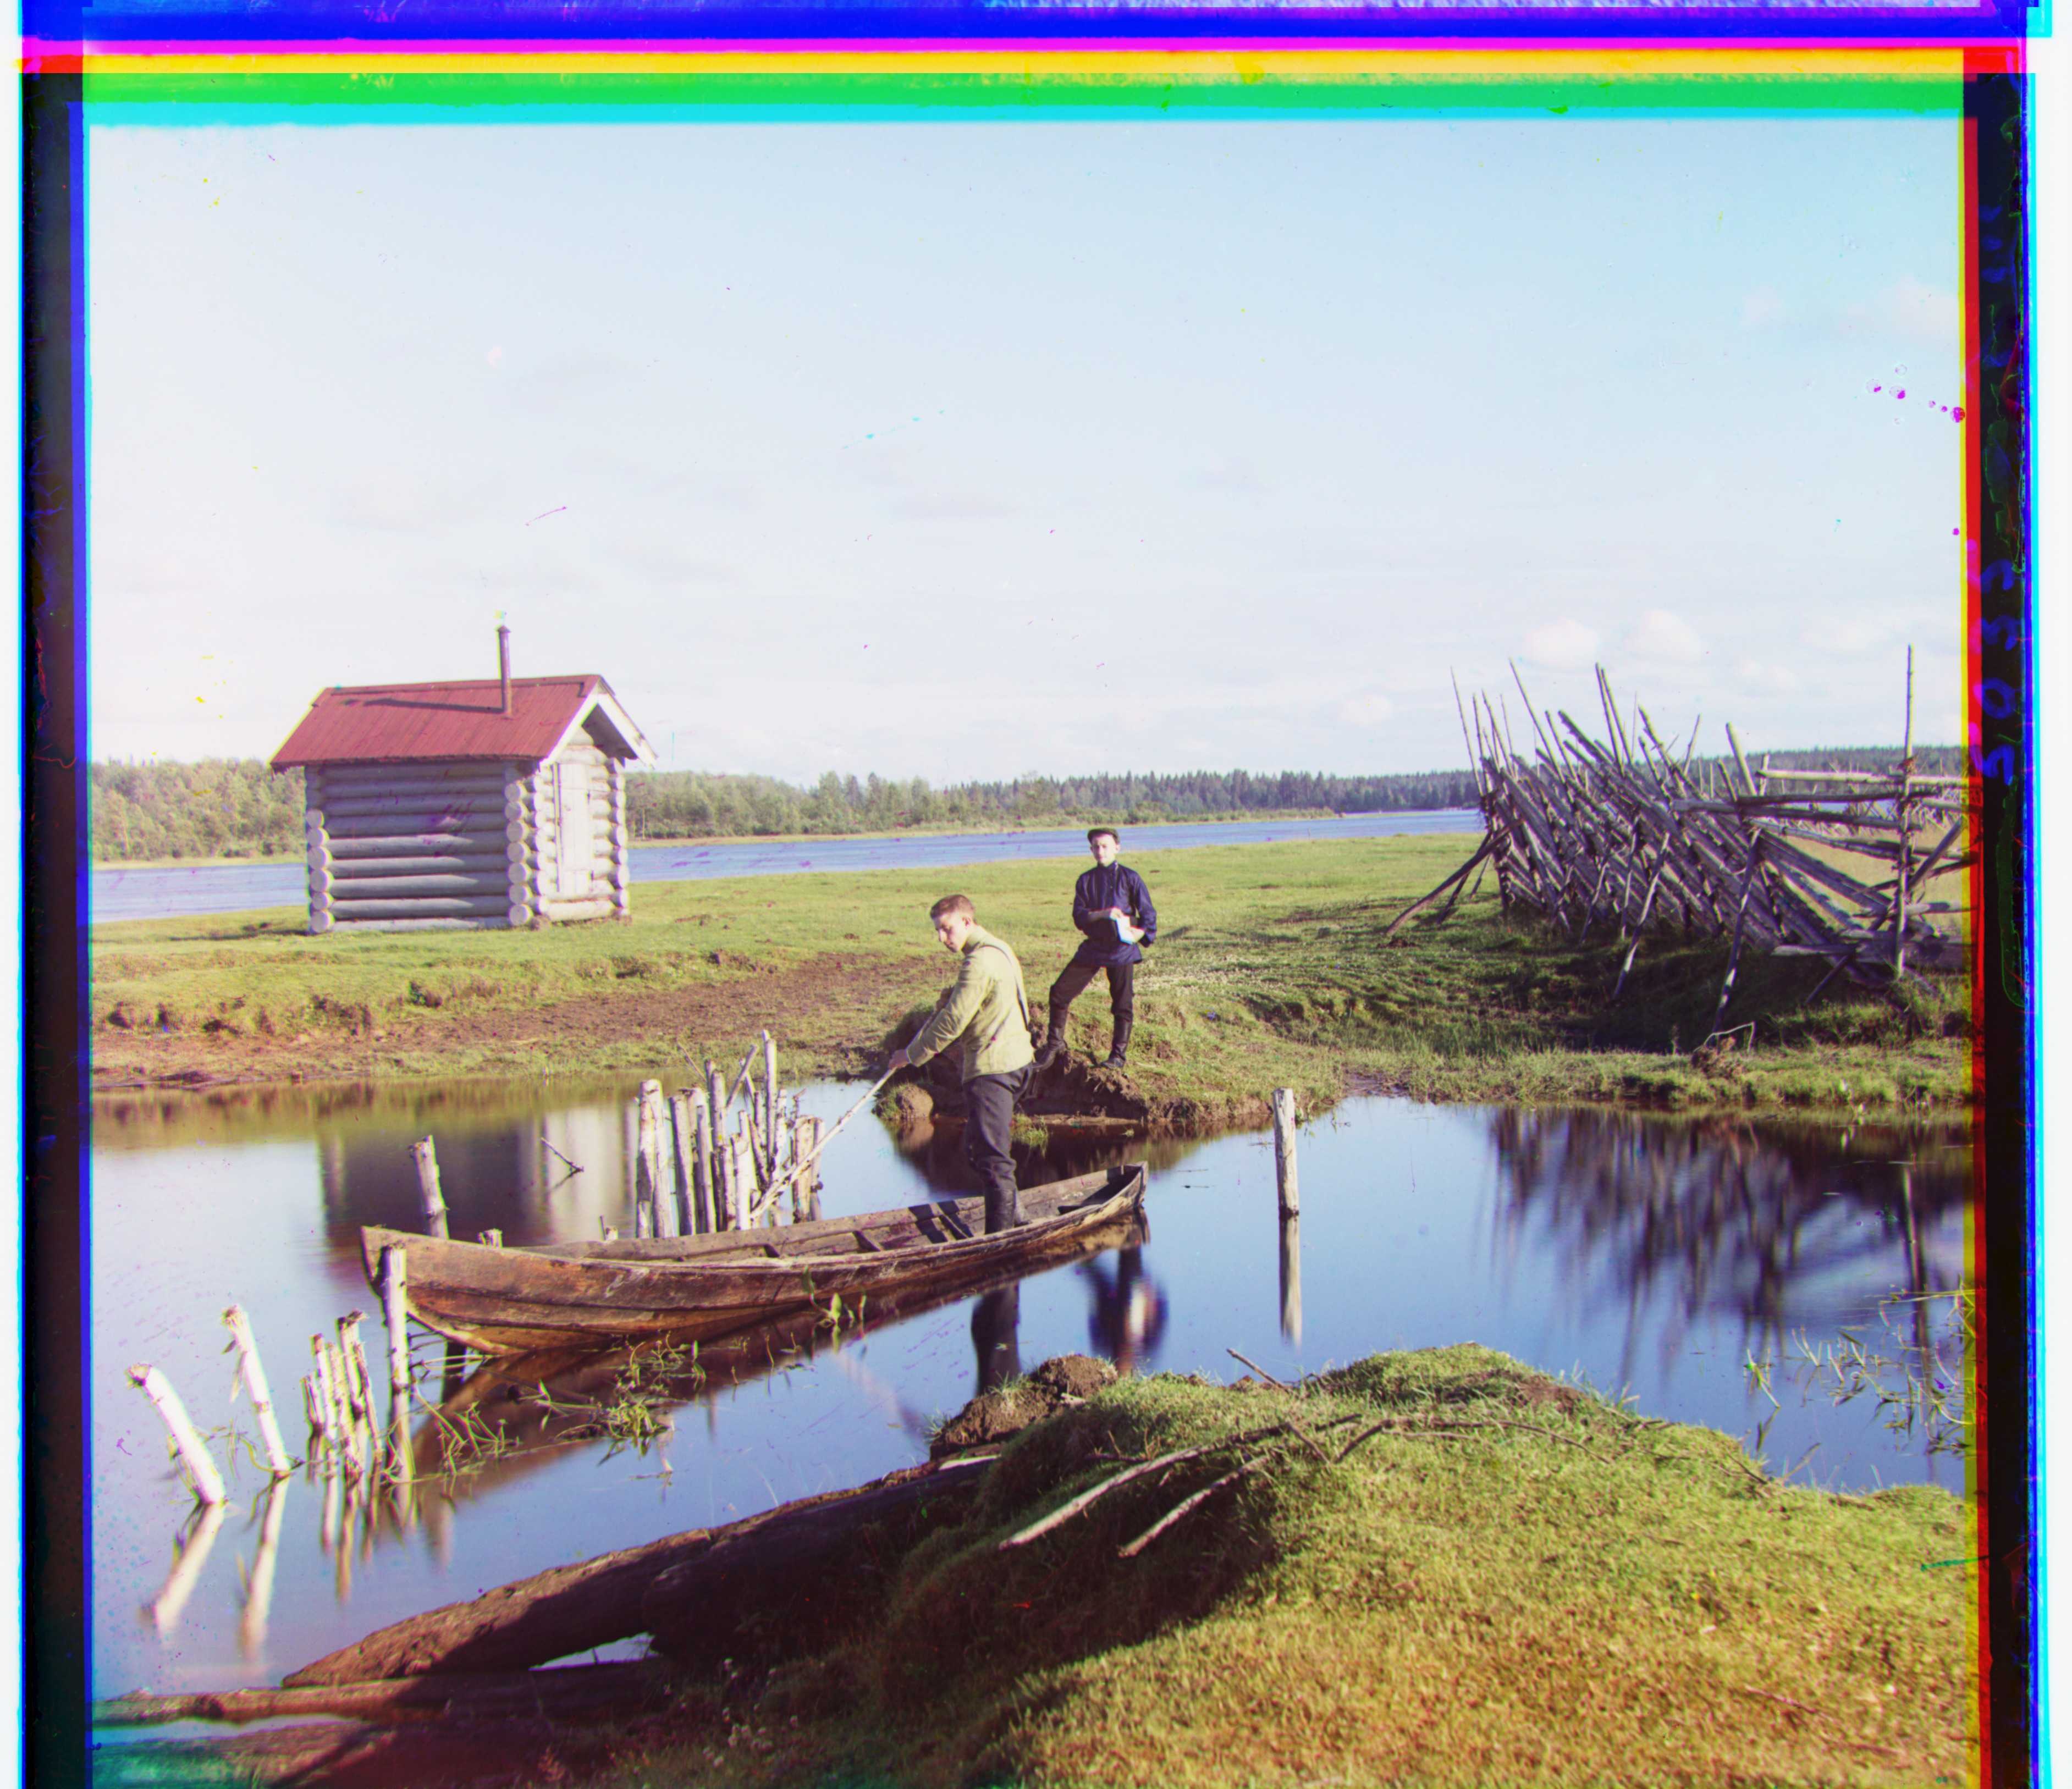
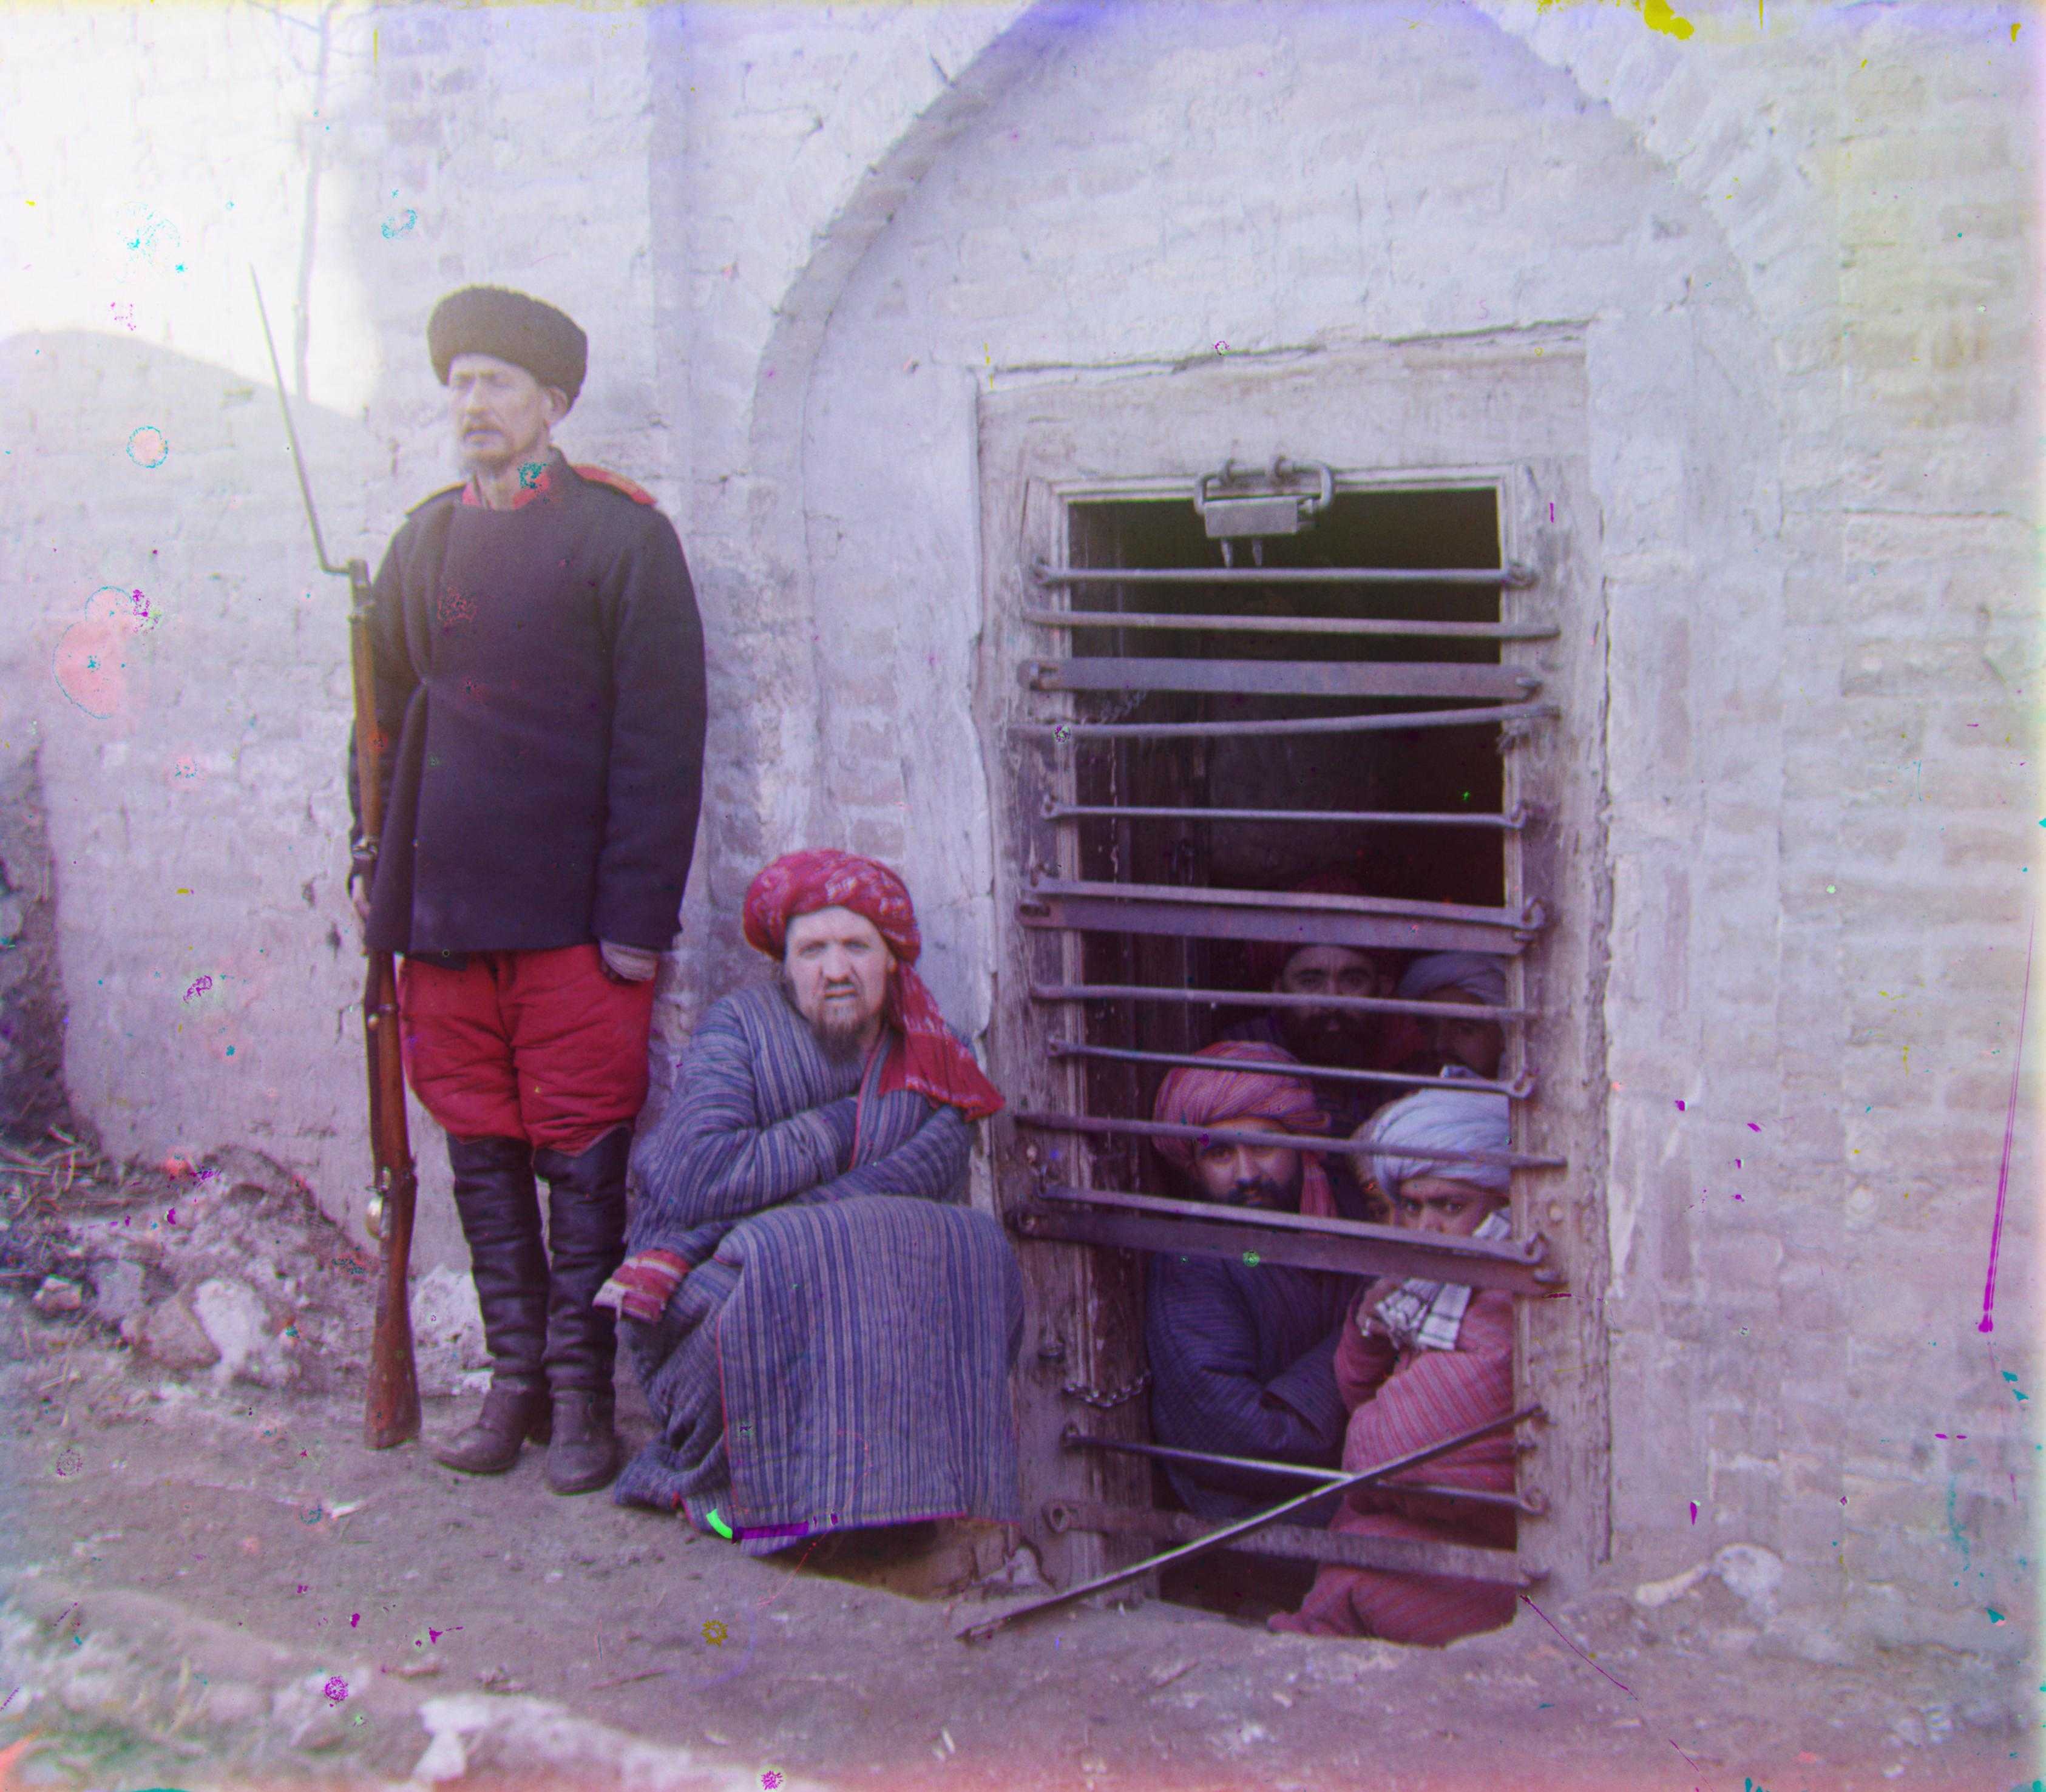
Before we begin any aligning at all, we first must preprocess the images by cropping the borders. The reason for this is the borders are extremely dark, and without cropping them off the algorithm will choose to align the borders of the rest of the image, as aligning the very dark borders maximizes the NCC score. This is not good since just because the borders are aligned does not imply the subject of the photographs are aligned. Thus I make a 70% center crop of the image to clear off the border and focus on aligning the subject. I use these cropped channels to determine how much I should shift the channels. In the final printout, however, I retain the border so the image looks nice.
filename: x shift red, y shift red, x shift green, y shift green

![]()


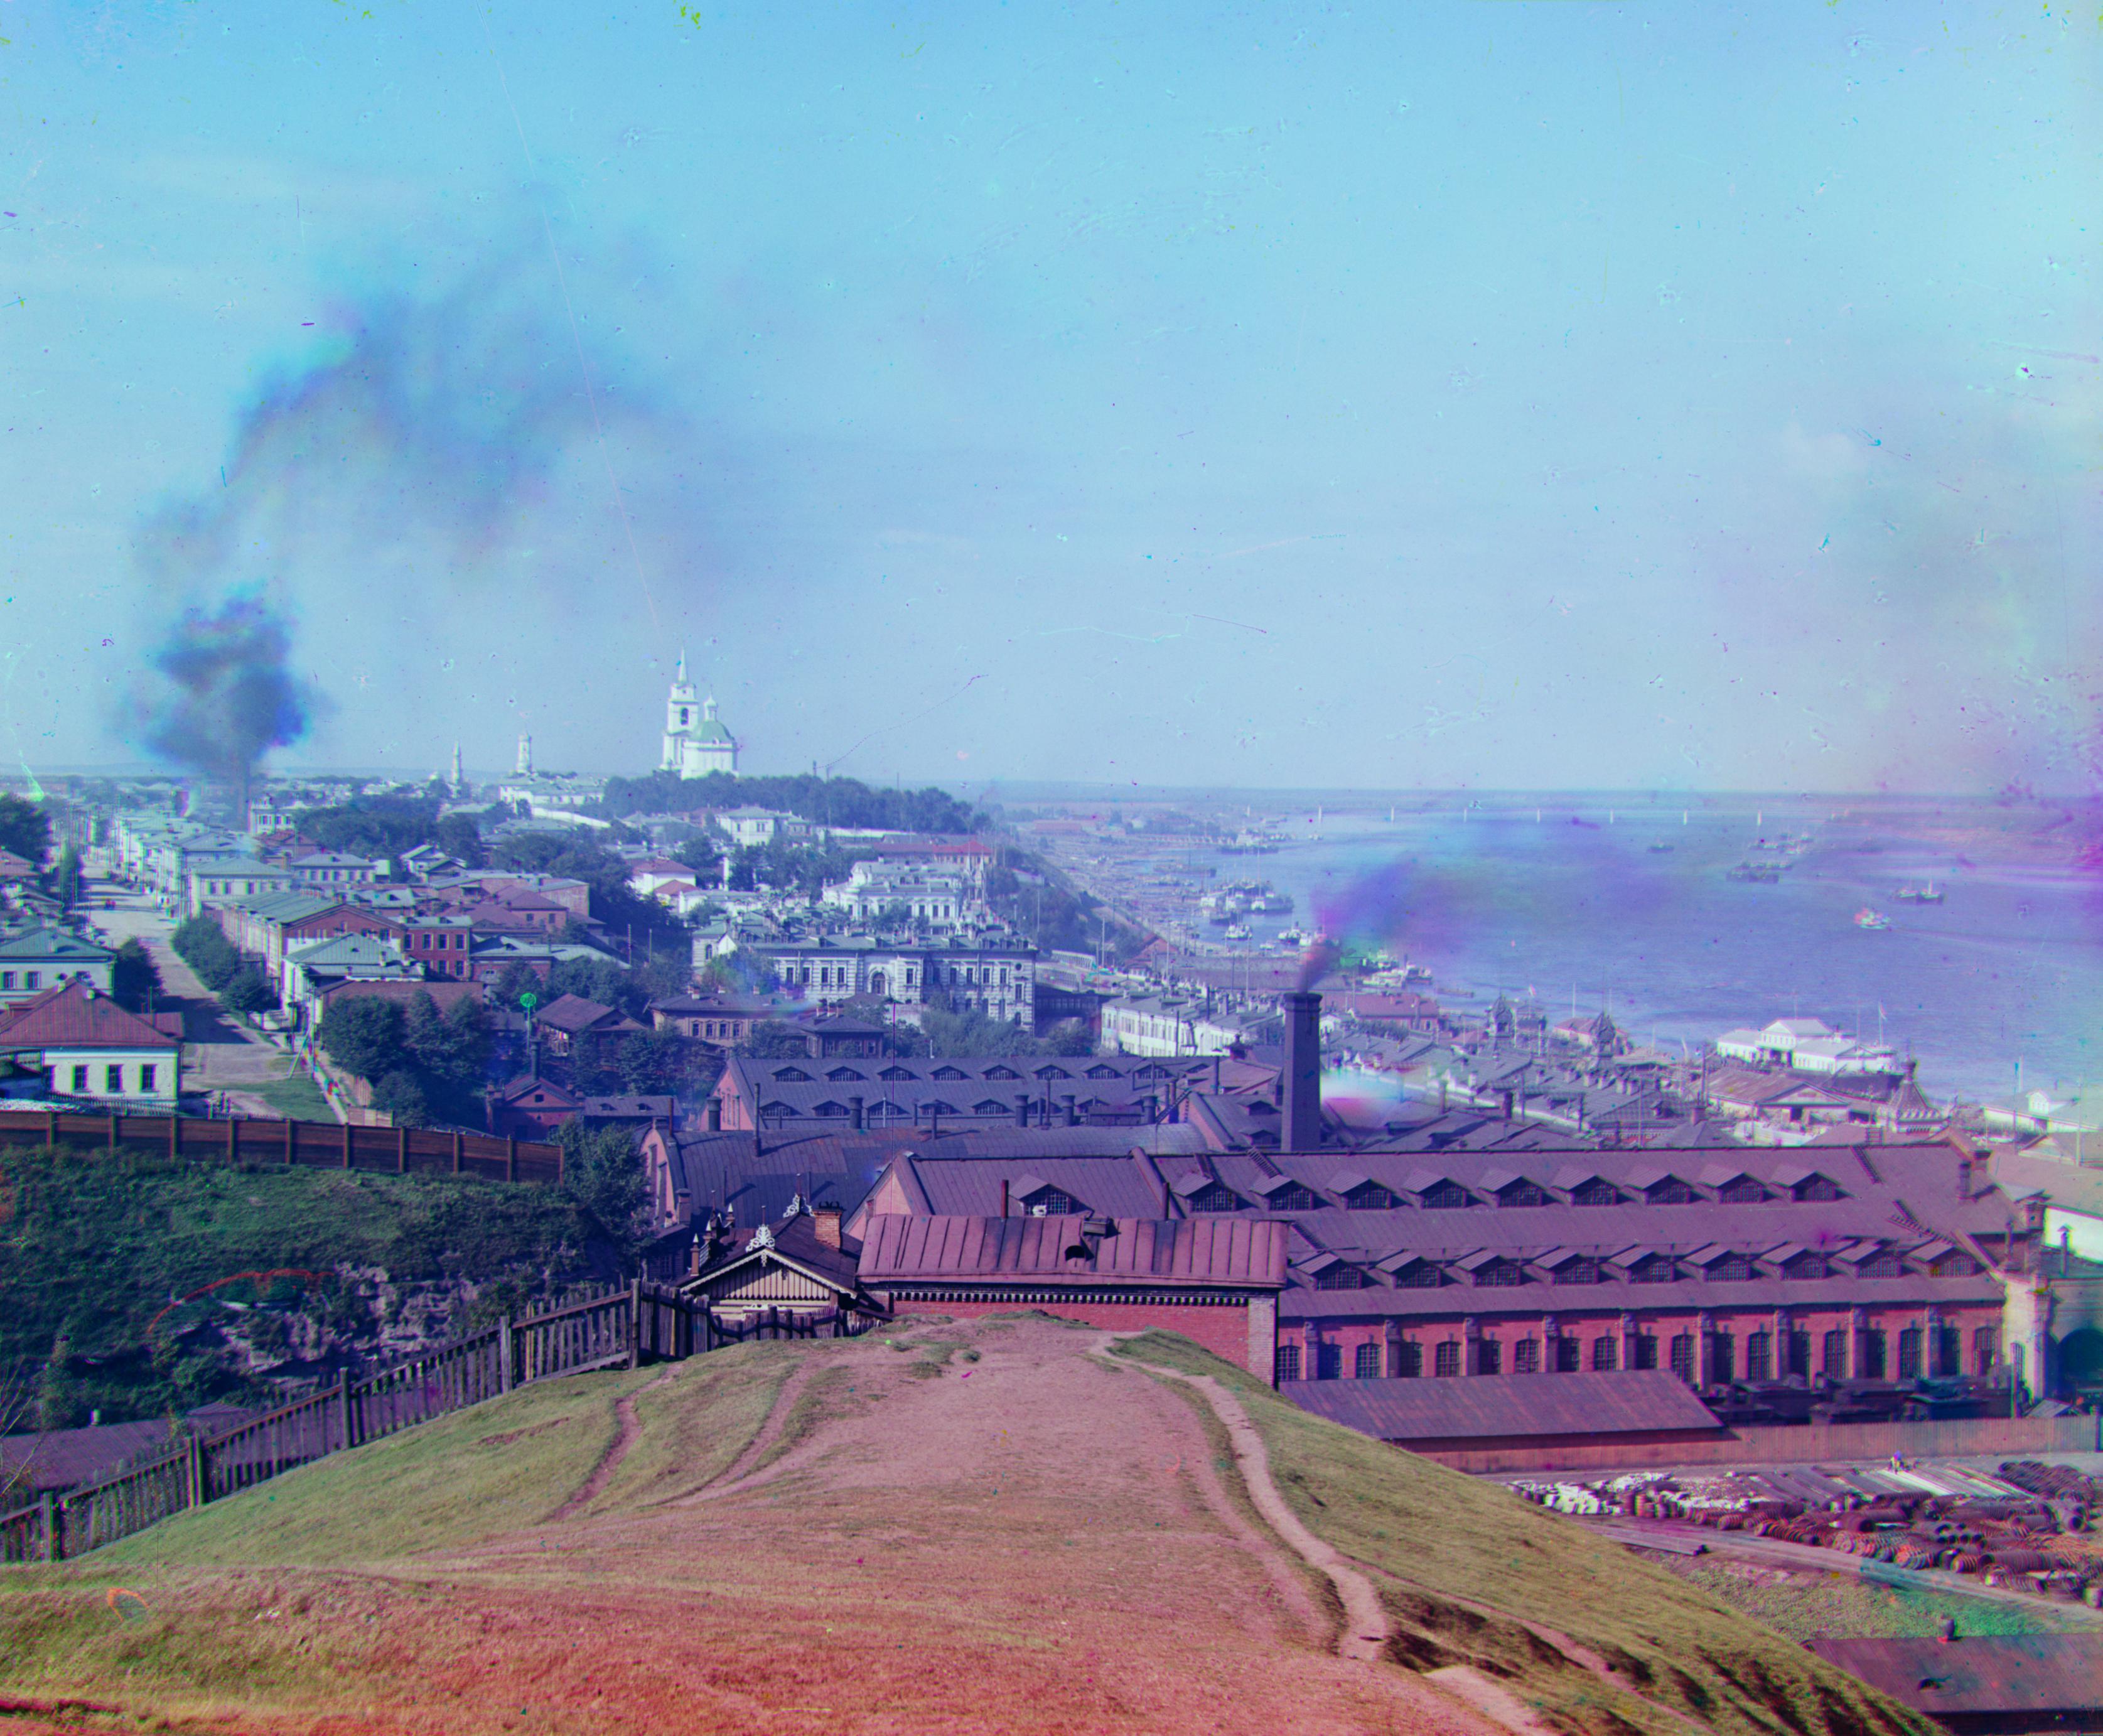
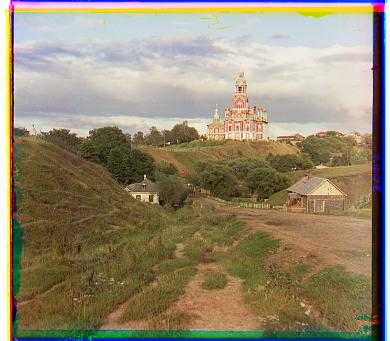
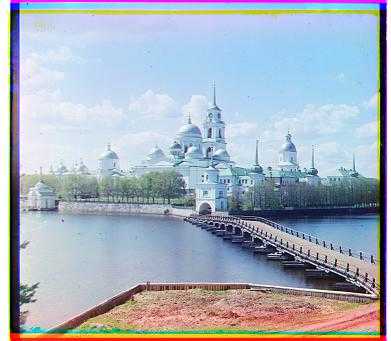
I implemented autocropping with sobel filters. The way this was done was I took a horizontal
sobel filter from skimage and applied it to the colorized image. Then I took the row sums of the image.
If a row sum exceeded a threshold, I would determine that there was a horizontal line at that point
and cut off the image at an appropriate spot (vertical cropping). Some details. First
the search for a good row sum only occurs in the top and bottom eight of the image. The idea here
was that the crop point would be near the borders of the image, thus we don't need to search further.
We also crop at the horizontal line closest to the center of the image that passes our threshold
in order to ensure that we crop out all of the misaligned extra parts.
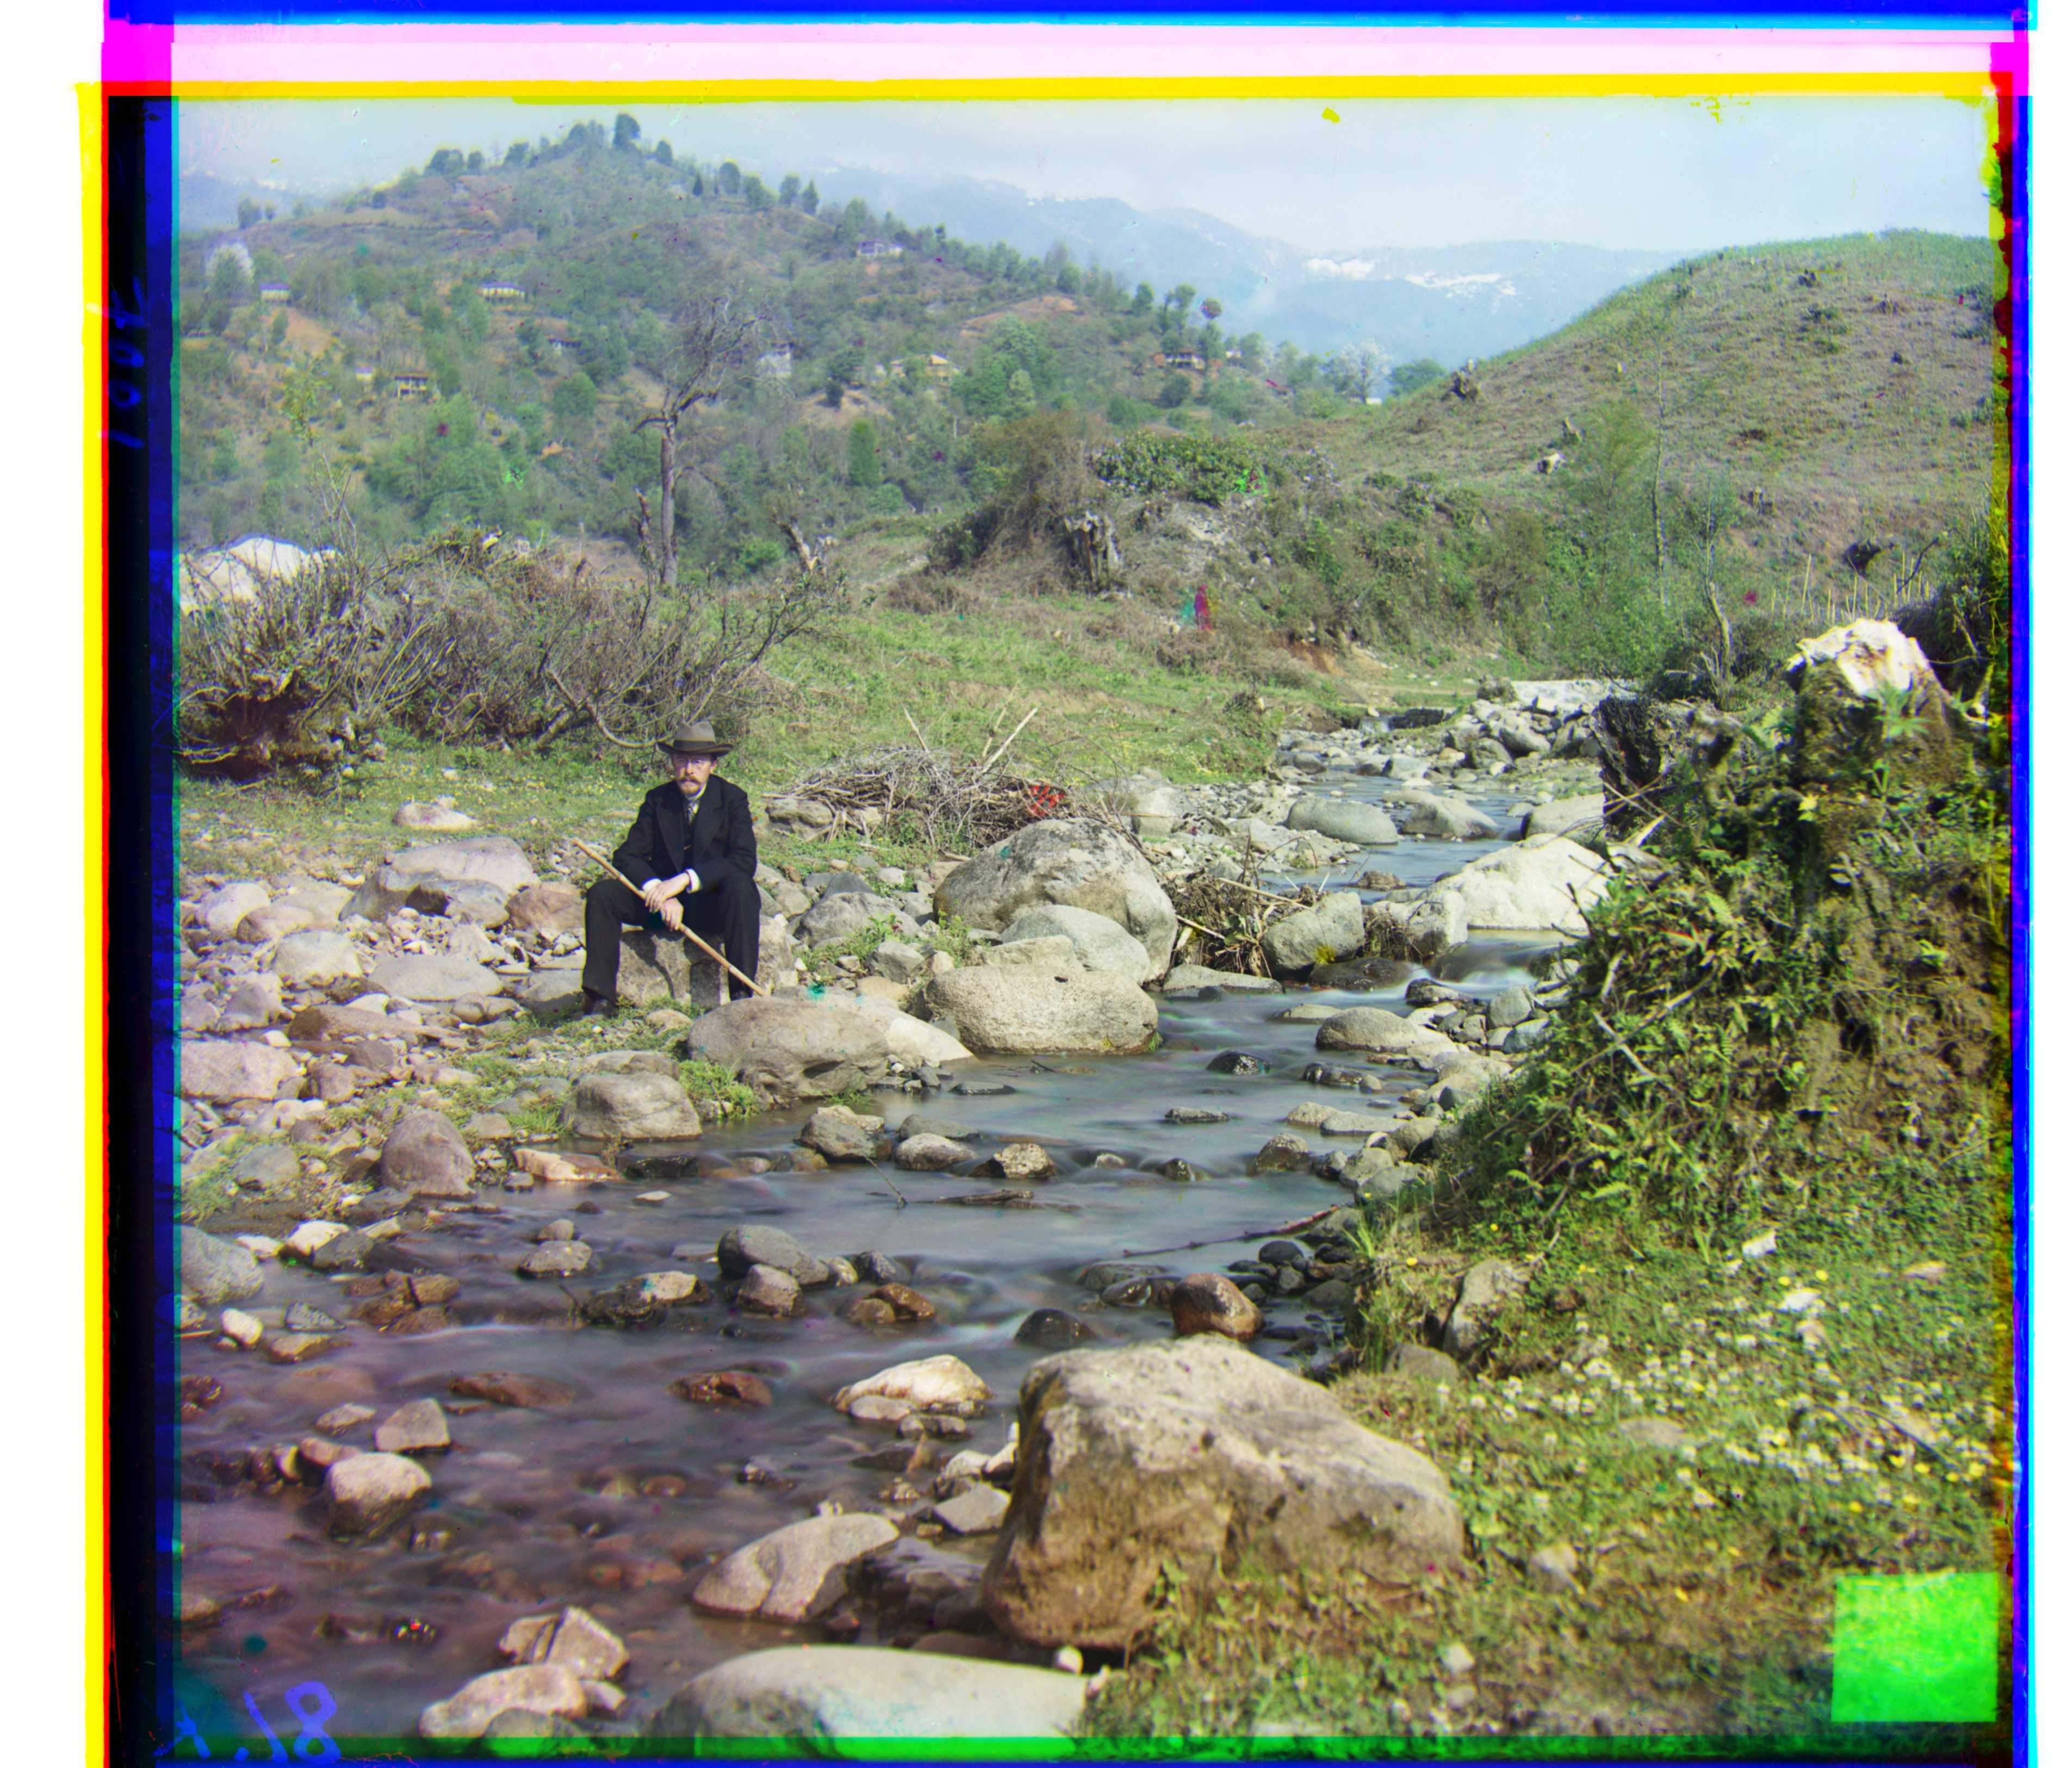
Here are 3 examples:
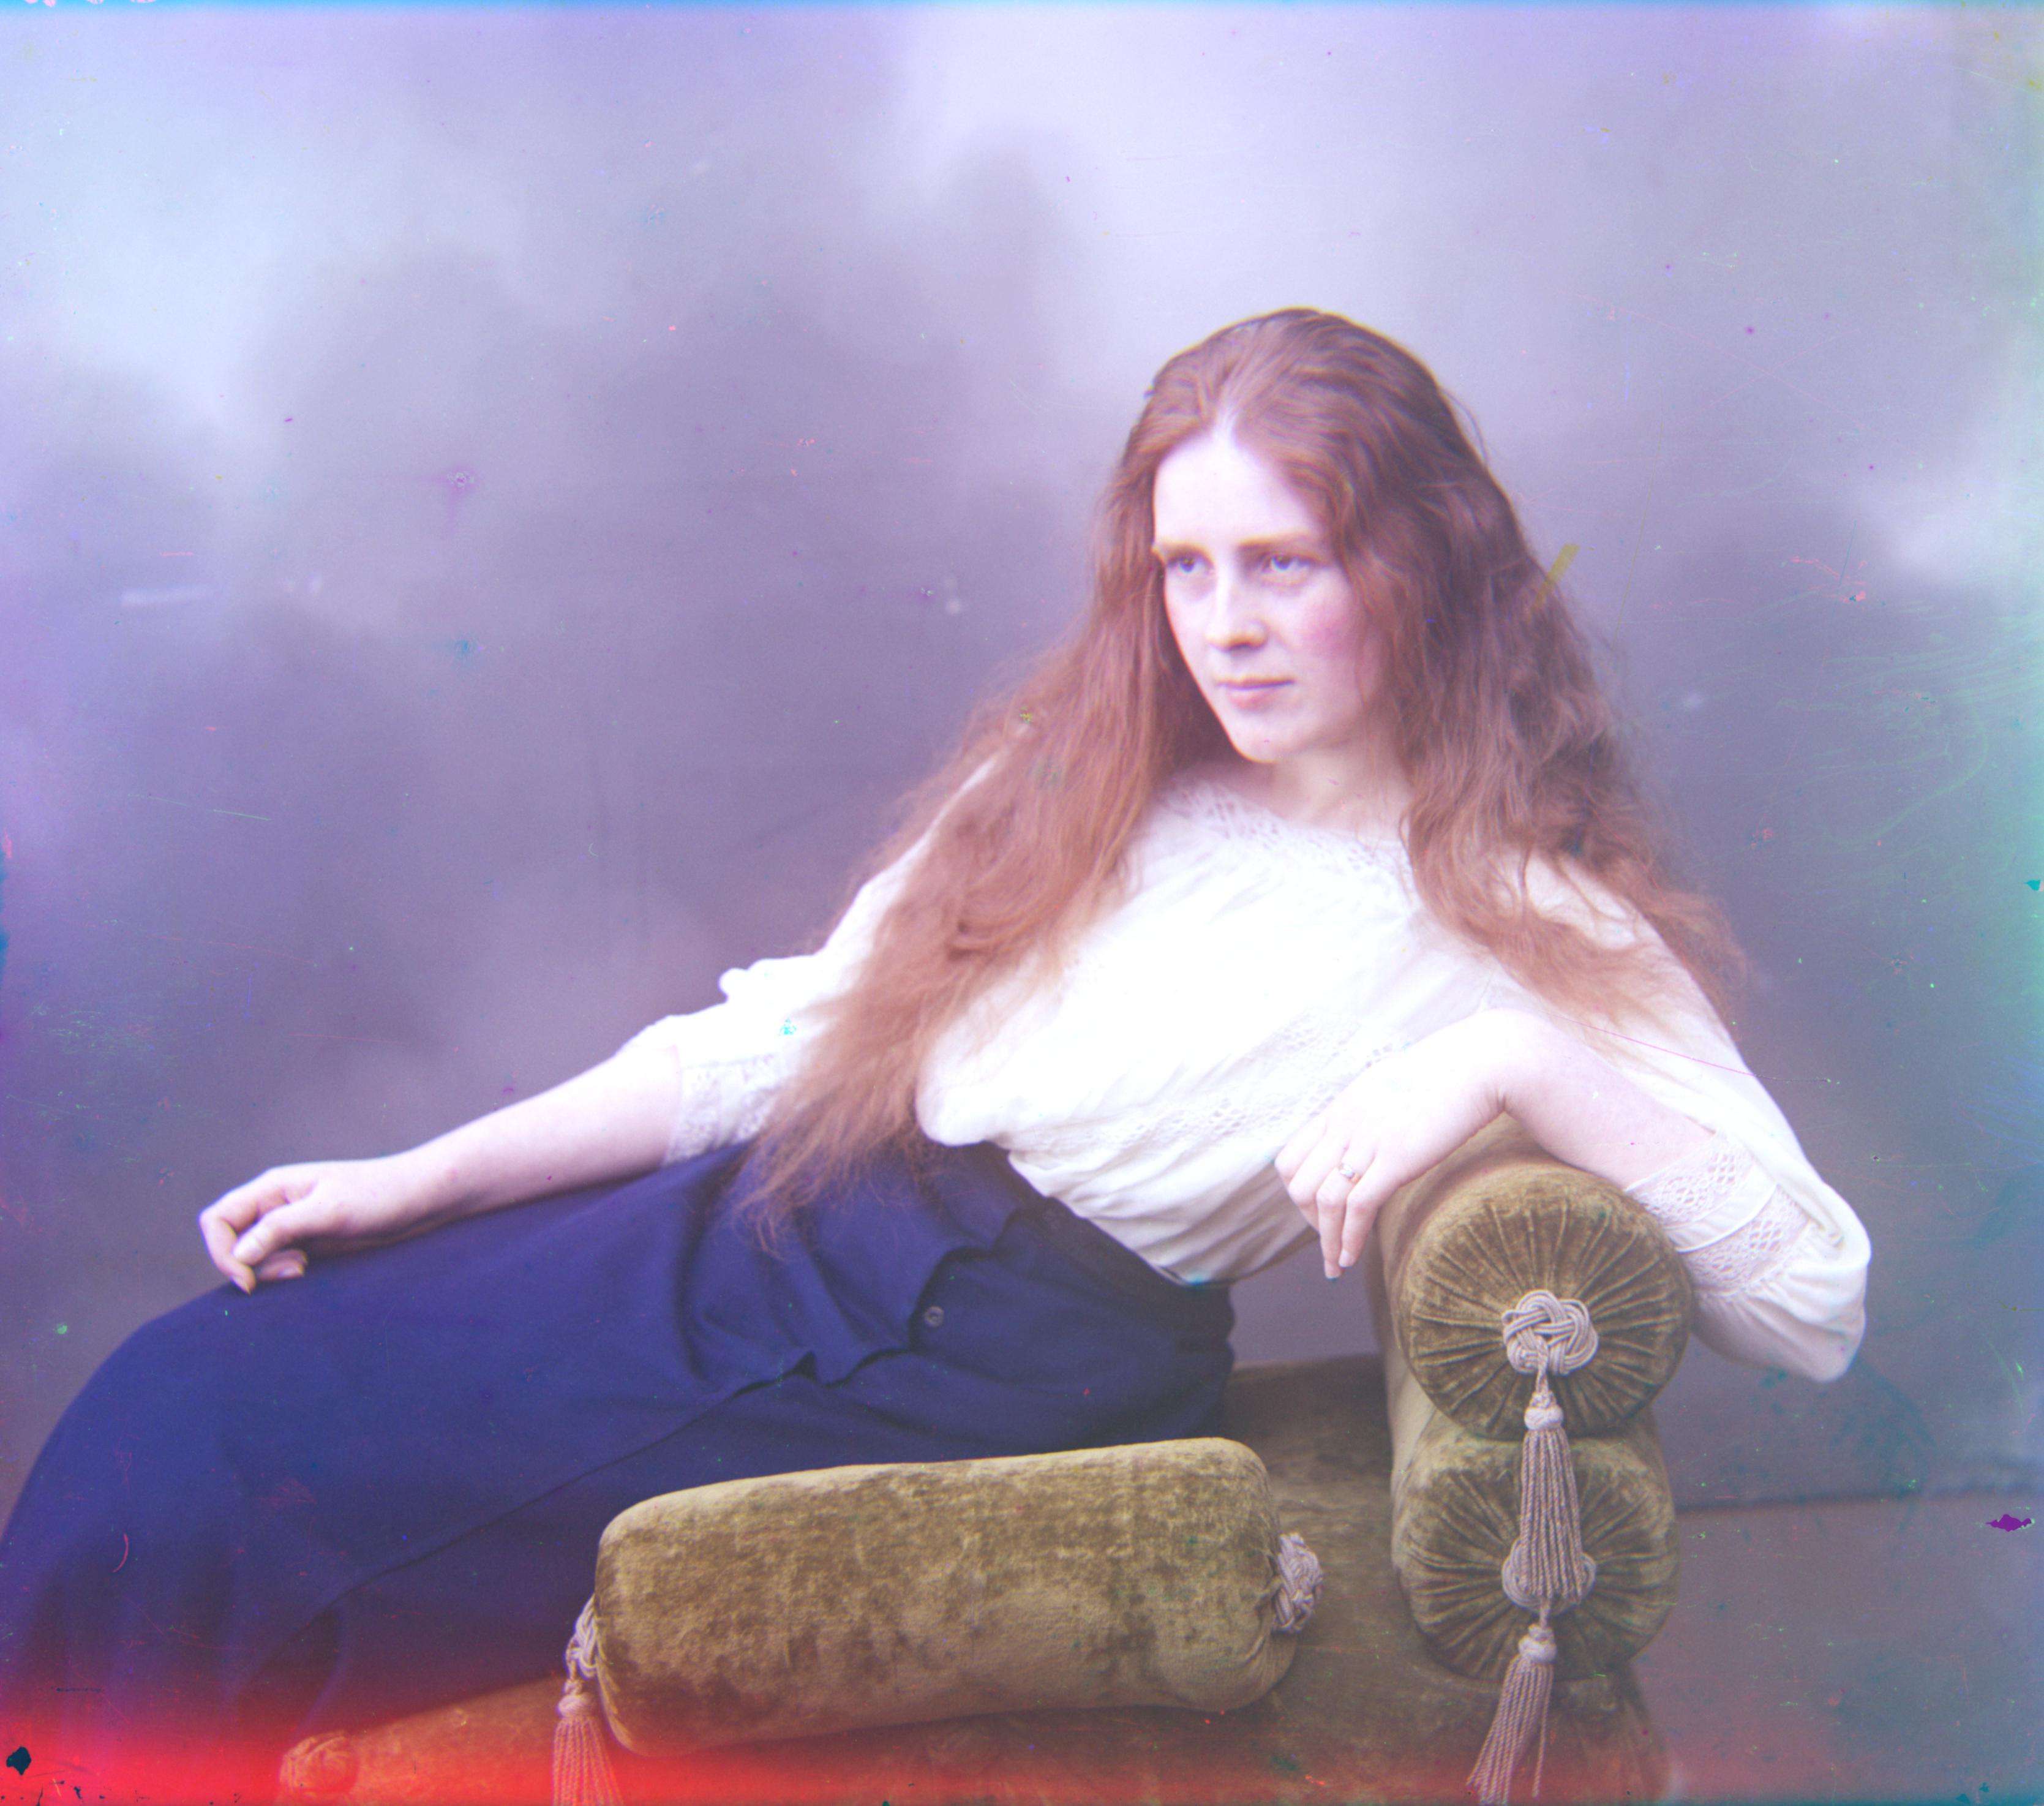
There is this thing called the Gray World Assumption. It assumes that all the colors in a
proper photograh should average to a sort of gray. I implemented this assumption by
taking the average of the colors in each channel, and added a constant to each pixel such that
the average would now be 0.5 in each channel (assuming floating point representation of channels).
Note: This algorithm works best on images with tints
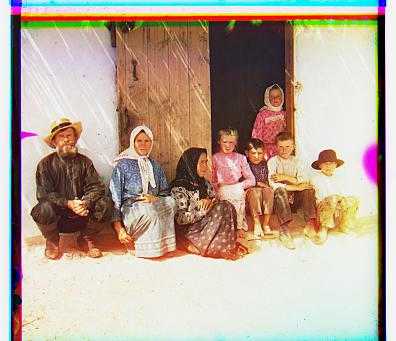
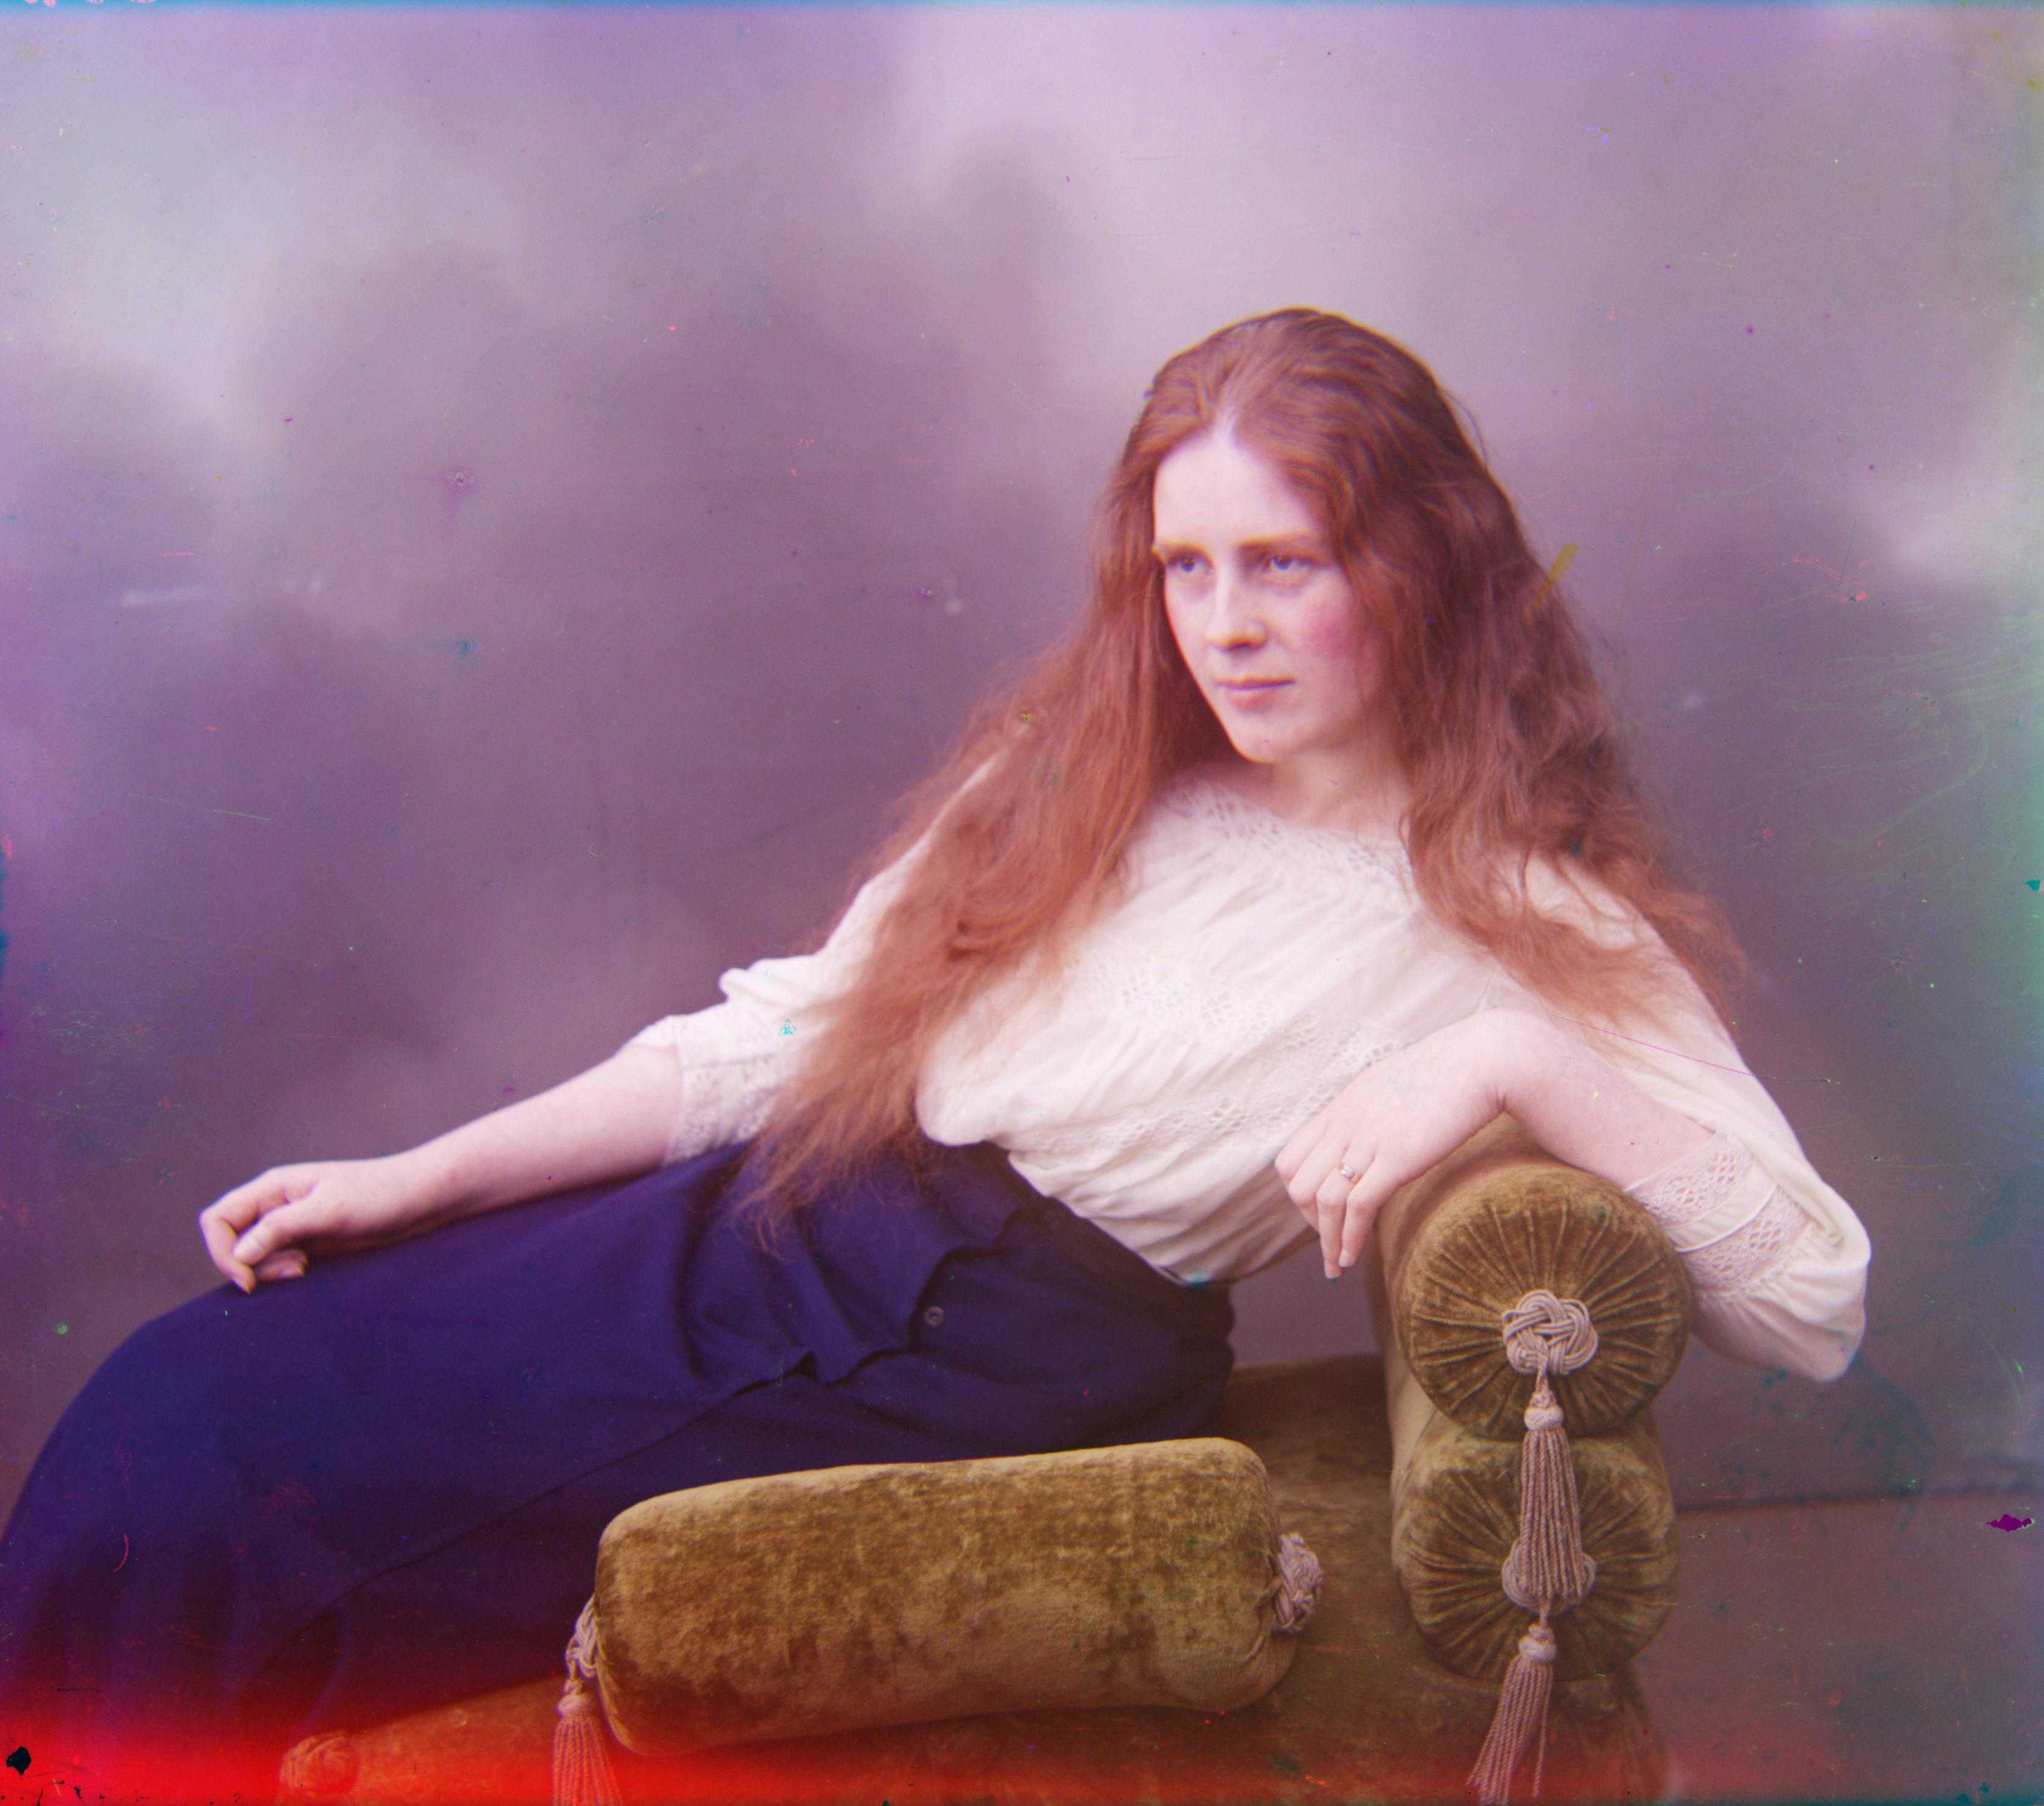
As we can see, the lady originally had a red tint, now with gray world, this tint is gone.
Note the floor on the emir. It used to be a weird reddish tint. Now it is gray.