Project 2: Building a Pinhole Camera
| Authors: | Tianrui Guo <aab>, Varsha Ramakrishnan <aei>, Jessie Yang <agc> |
|---|
Project Spec: https://inst.eecs.berkeley.edu/~cs194-26/fa18/hw/proj2/
Project Writeup
Project Overview
The purpose of this project is to produce a camera obscura, or pinhole camera, that we can use to capture images of the world around us. A camera obscura consists of a dark box with a tiny pinhole on one of the faces and a blank white canvas on the opposing face inside the box. When light is reflected off an object we are trying to capture, only the rays that pass through the tiny pinhole will hit the canvas and produce an image there. To capture this image, we add another larger hole on the side of the box with the pinhole, and use a DSLR camera to capture the image produced on the canvas.
Process
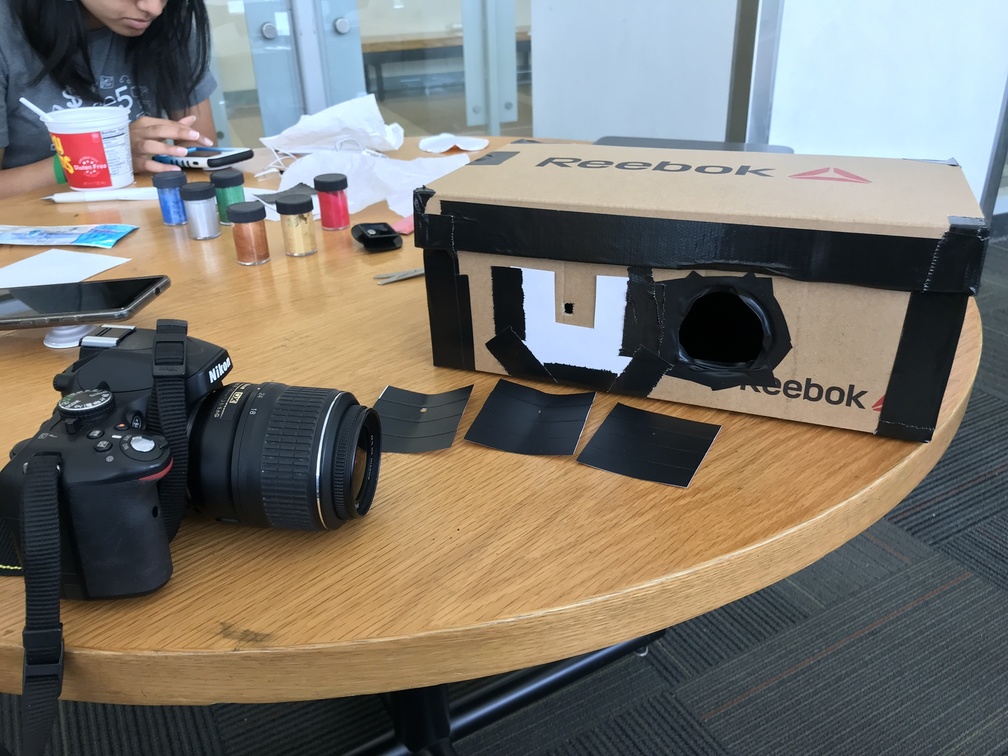
We painted the floor, ceiling, and three walls of a shoebox black and later used tape and jackets to cover up any remaining openings in the shoebox to prevent any unwanted light from entering. We attached white paper to the remaining wall that we would use as our “canvas” or imaging plane. We used a DSLR focused on the paper as the sensor to capture the image data as it bounced off the plane. We created three slips of paper covered in black tape with small apertures punched into them of three different diameters to serve as replaceable apertures for the pinhole camera.
We calculated the diameter of the aperture using the formula \(1.9 * \sqrt{f*\lambda}\), where \(\lambda\) is the wavelength of light (around 550 nm), and \(f\) is the distance between the pinhole and the screen (around 19 cm). This gave us an aperture size of 0.614 mm, so we tried aperture sizes of around 0.6 mm, 3 mm, and 5 mm.
To take all of our images, we used a 30-second exposure, an F-stop of 5.6, an ISO of 200, and an aperture of 18mm on our DSLR camera.
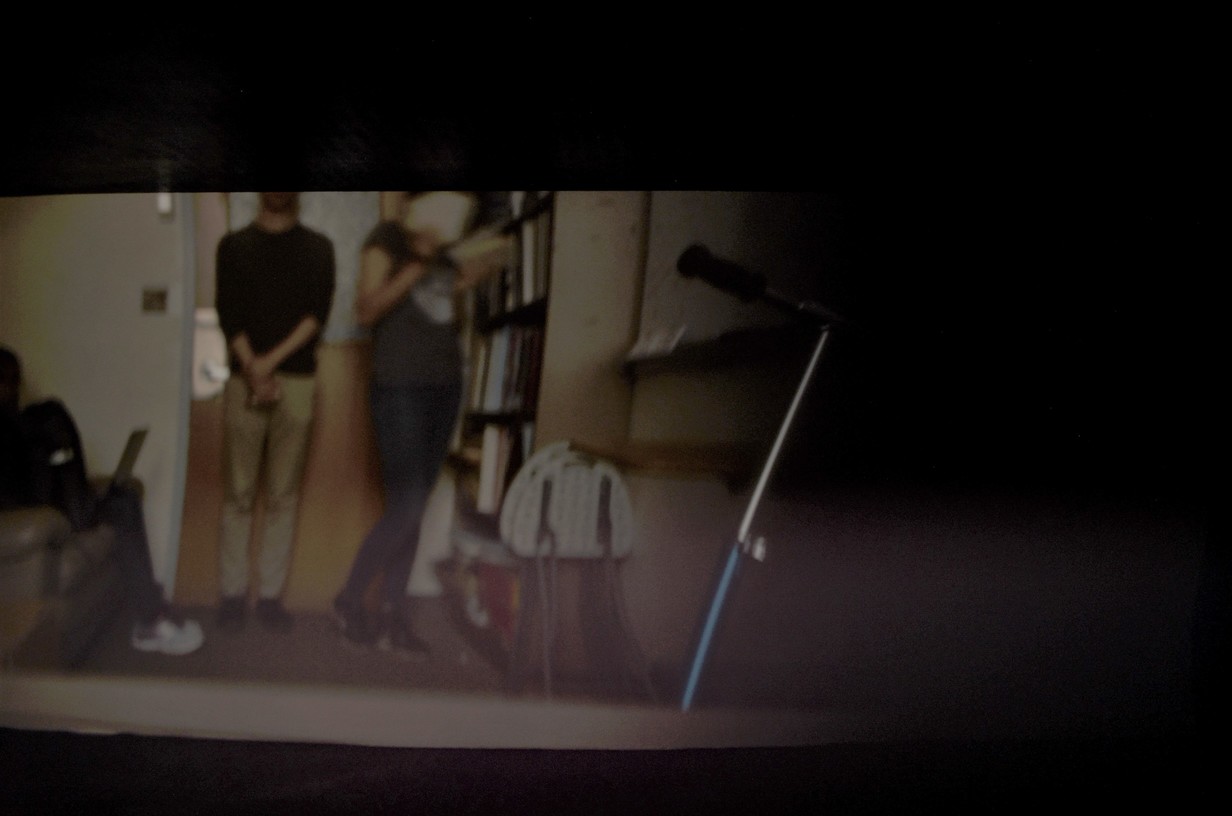
Photos of Our Setup
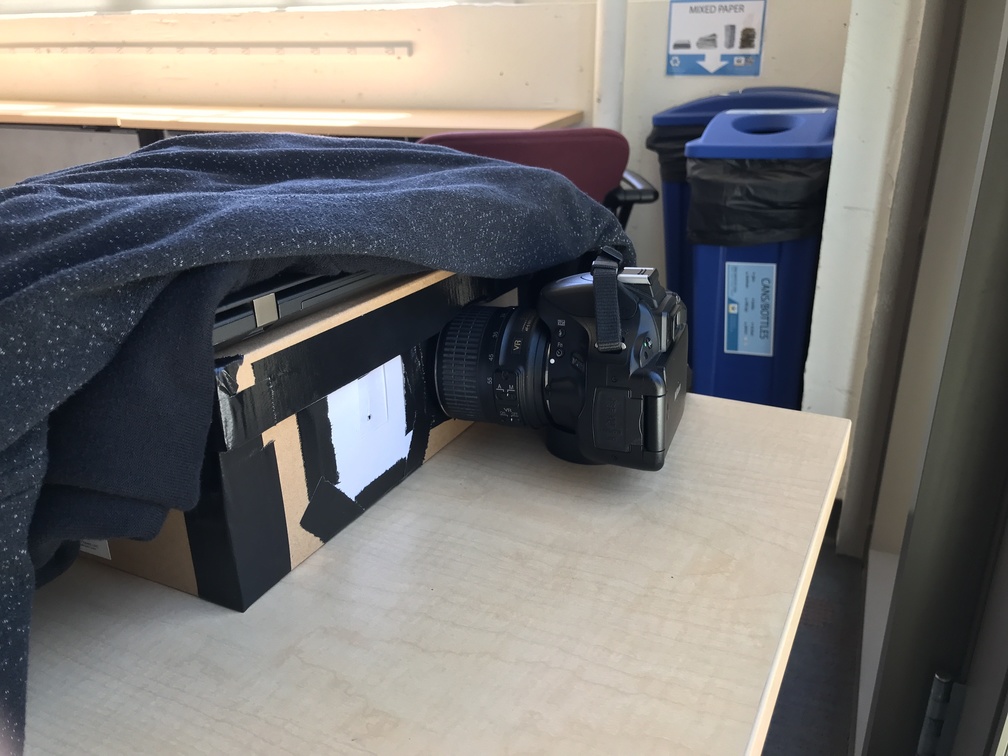
The setup of our “Bridge” photo.
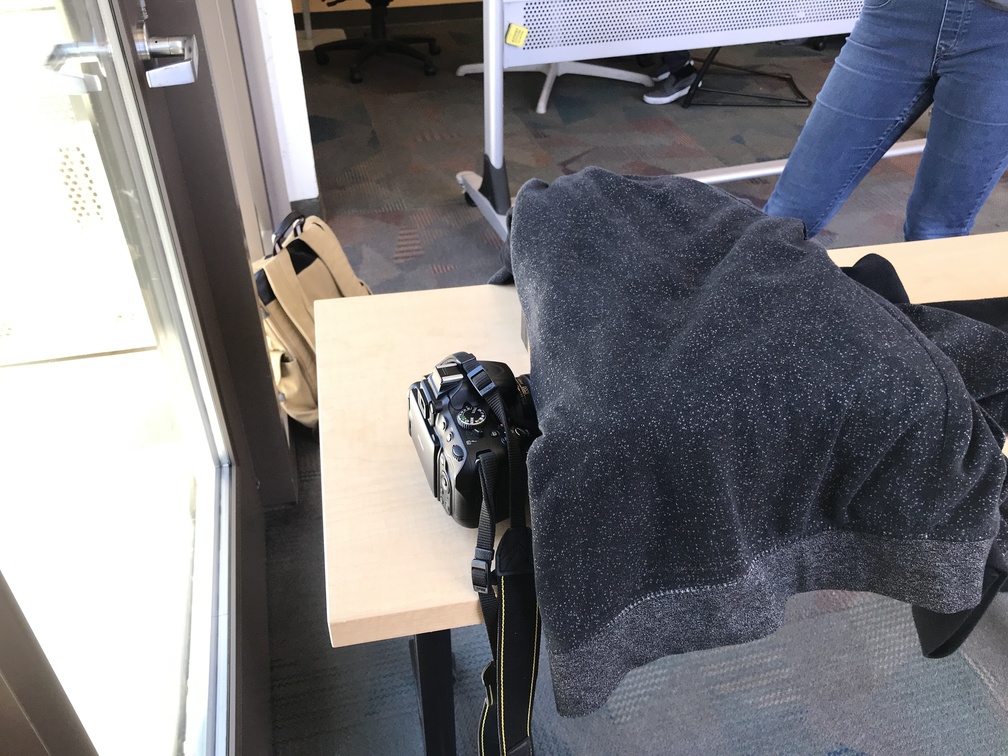
We created a slot/pocket on the left side of the box that allows to easily switch out our three different aperture cards. The camera lens is inserted into the large gap to the right. The camera itself is propped up by a small roll of tape to be at the right height. We cover the box with jackets to help block out any unwanted light.
Results
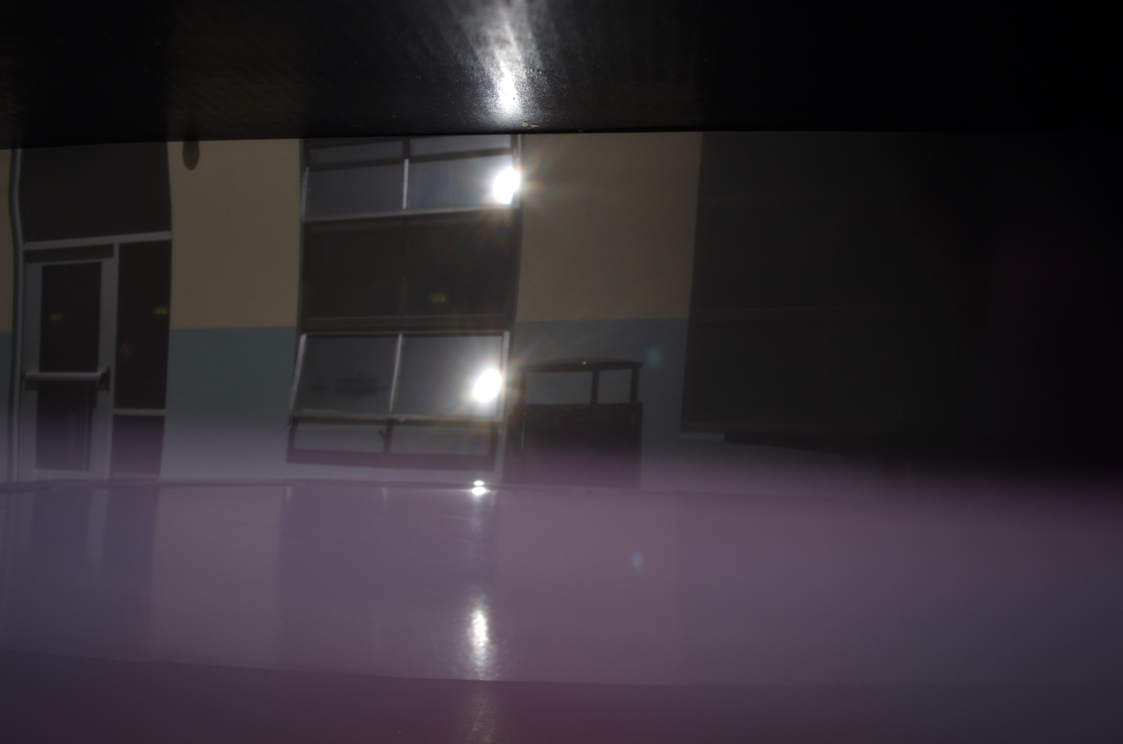
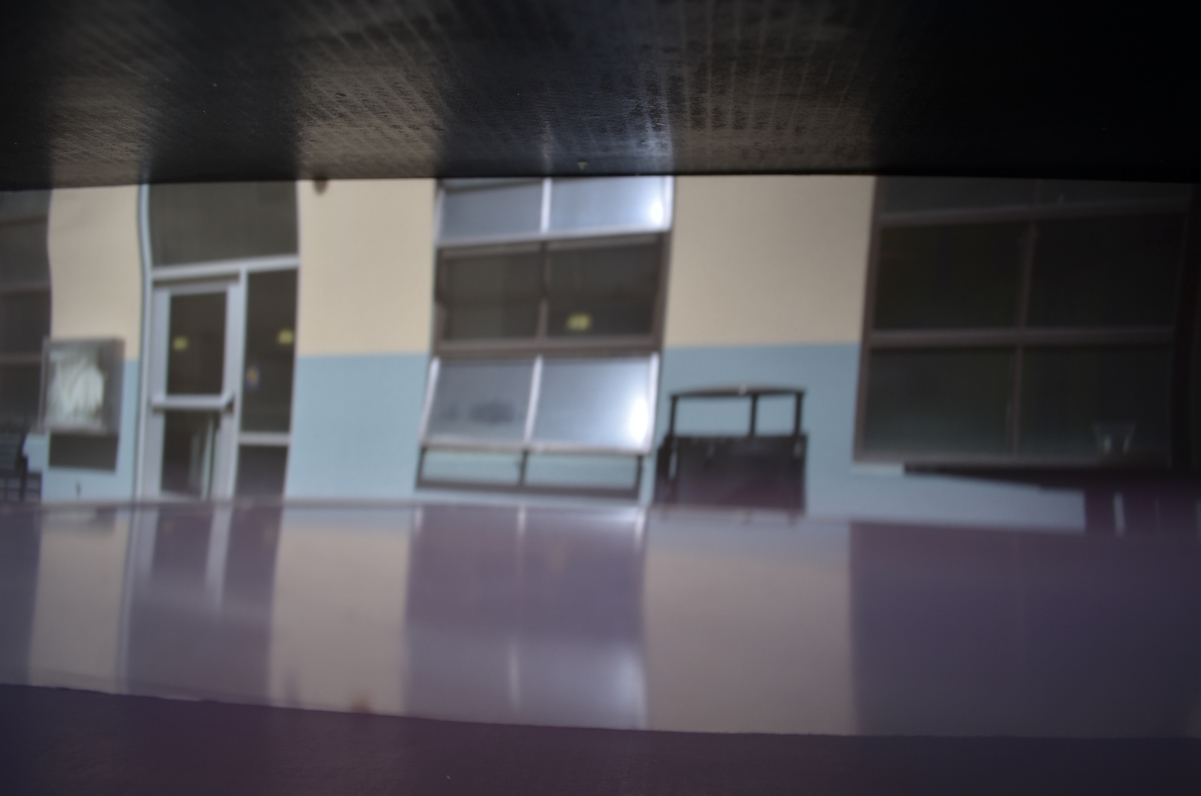
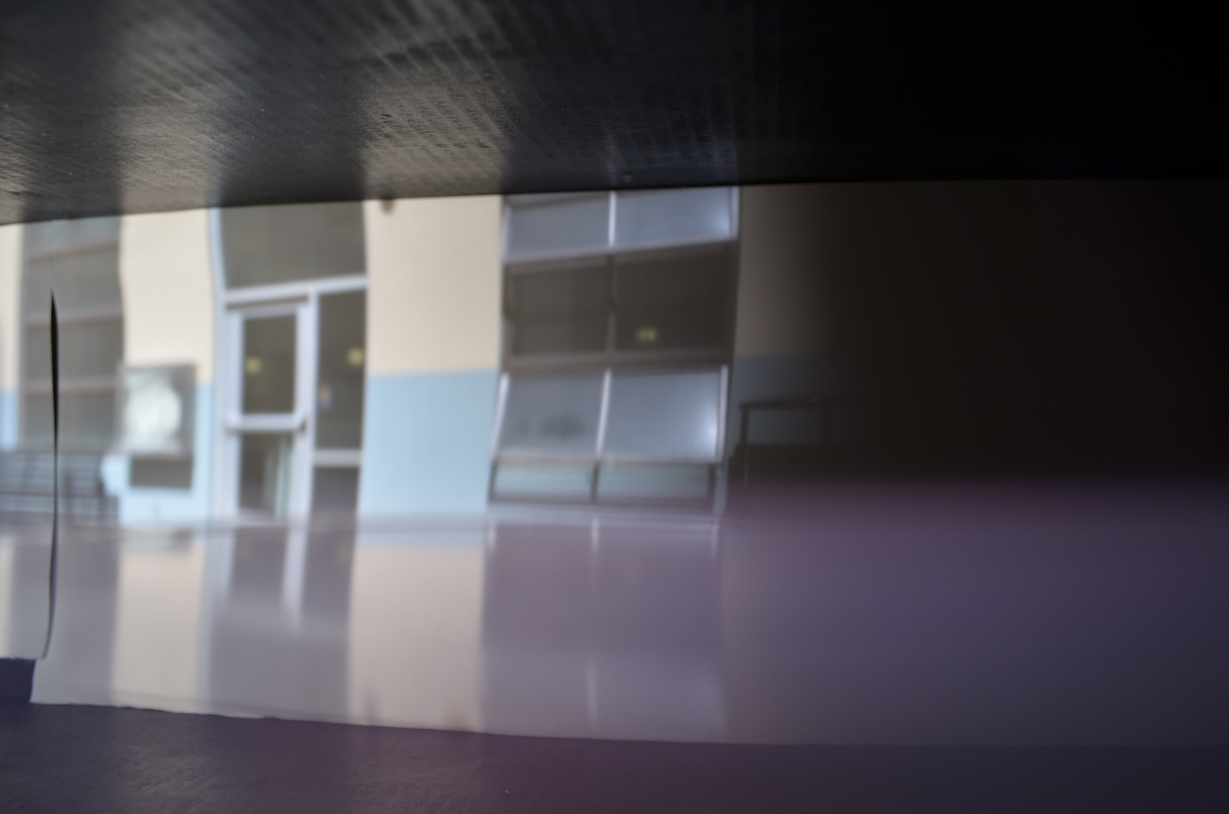
Photos Taken with 0.6mm, 3mm, and 5mm Apertures
Images displayed in order of increasing aperture size.
Paints

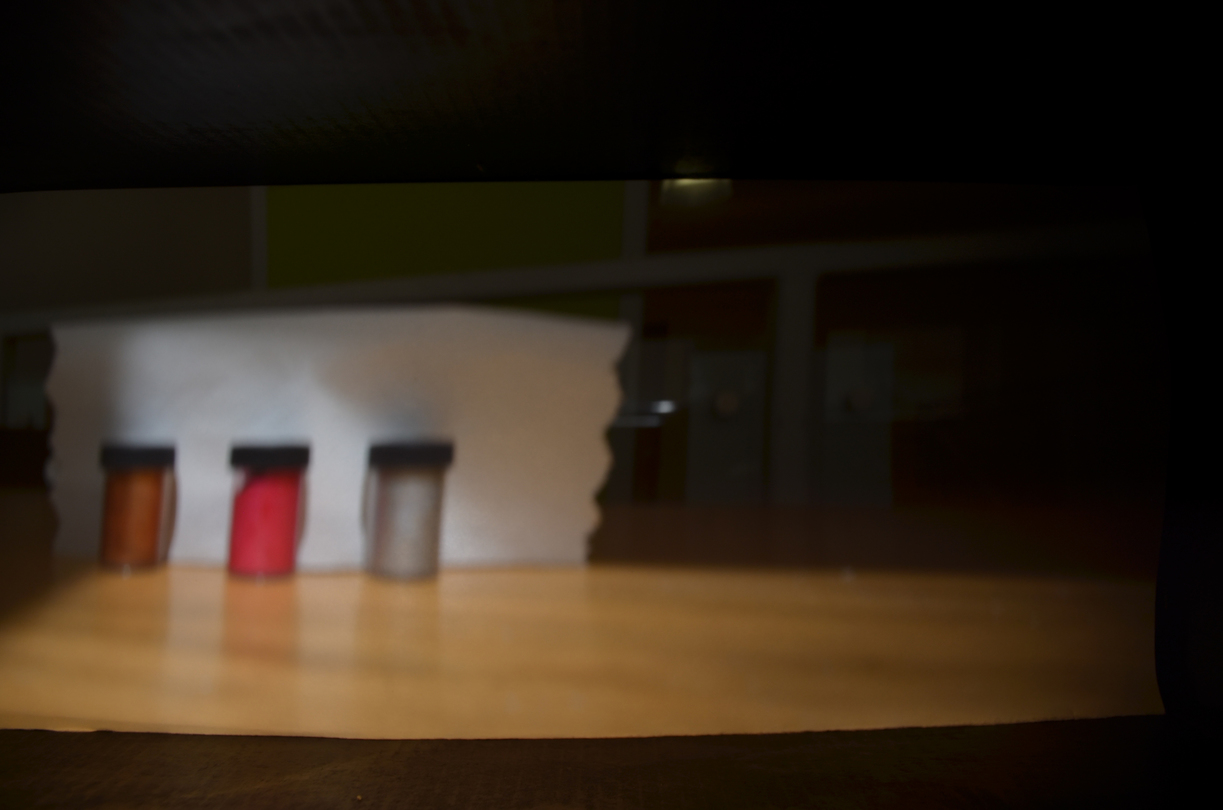
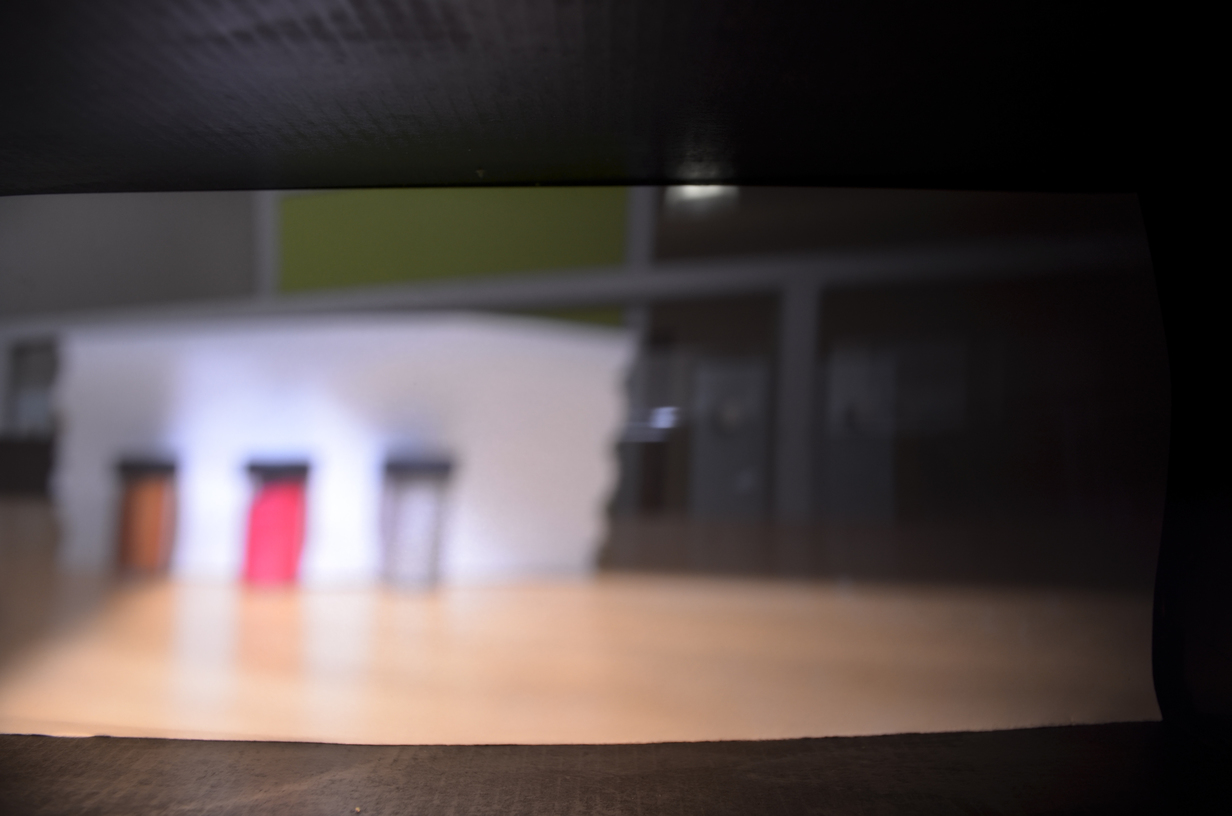
We can observe that as the apertures increase, the photos get brighter and contain more background details because more light is coming through during the exposure time. However, the photos also get blurrier for the same reason, because more light from different directions is coming through.
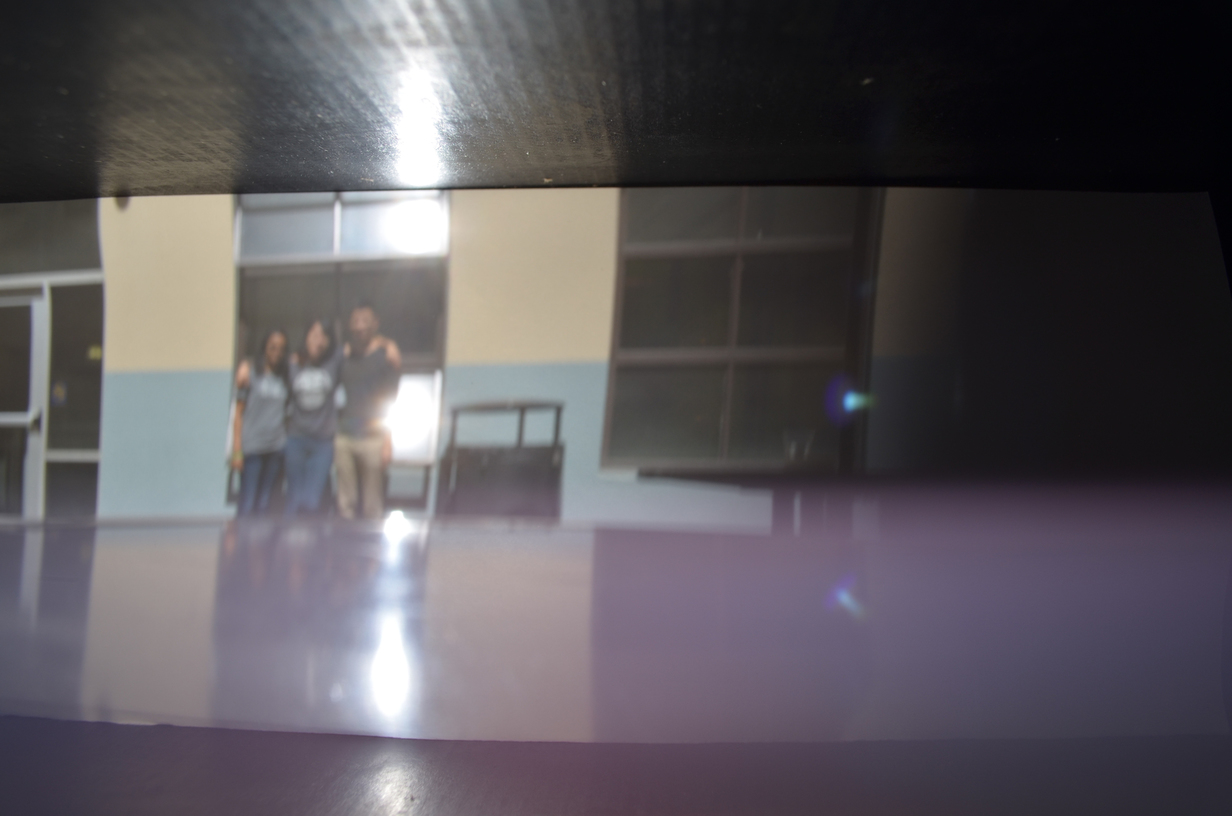
Photos Taken with 3mm Aperture (Our Chosen “Best Aperture”)
Group Photo!

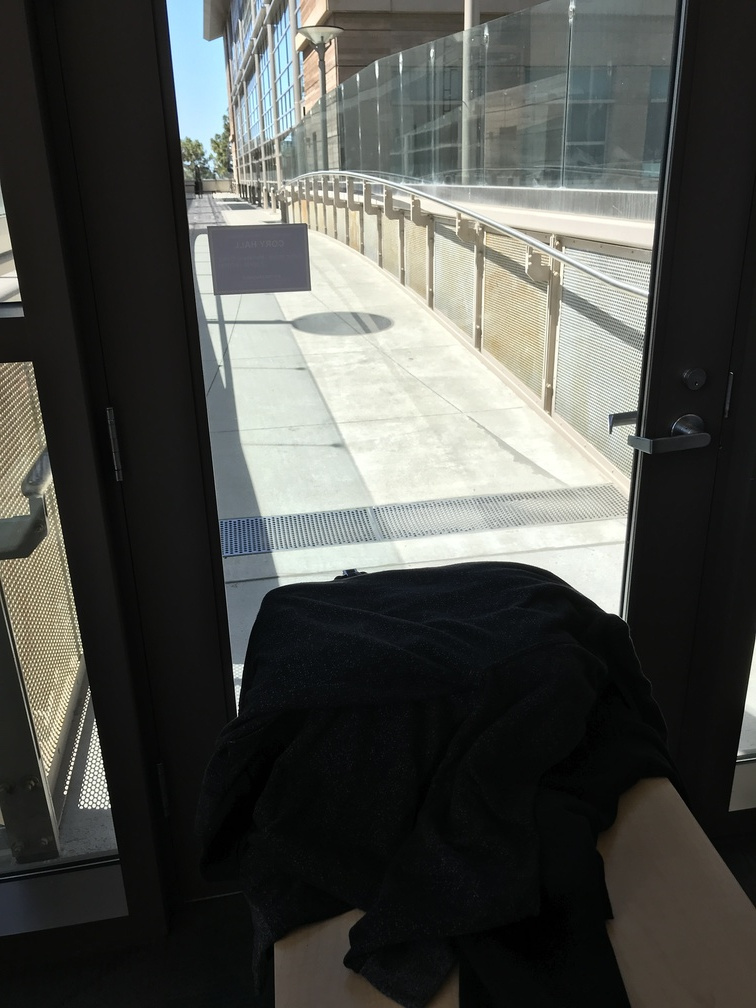
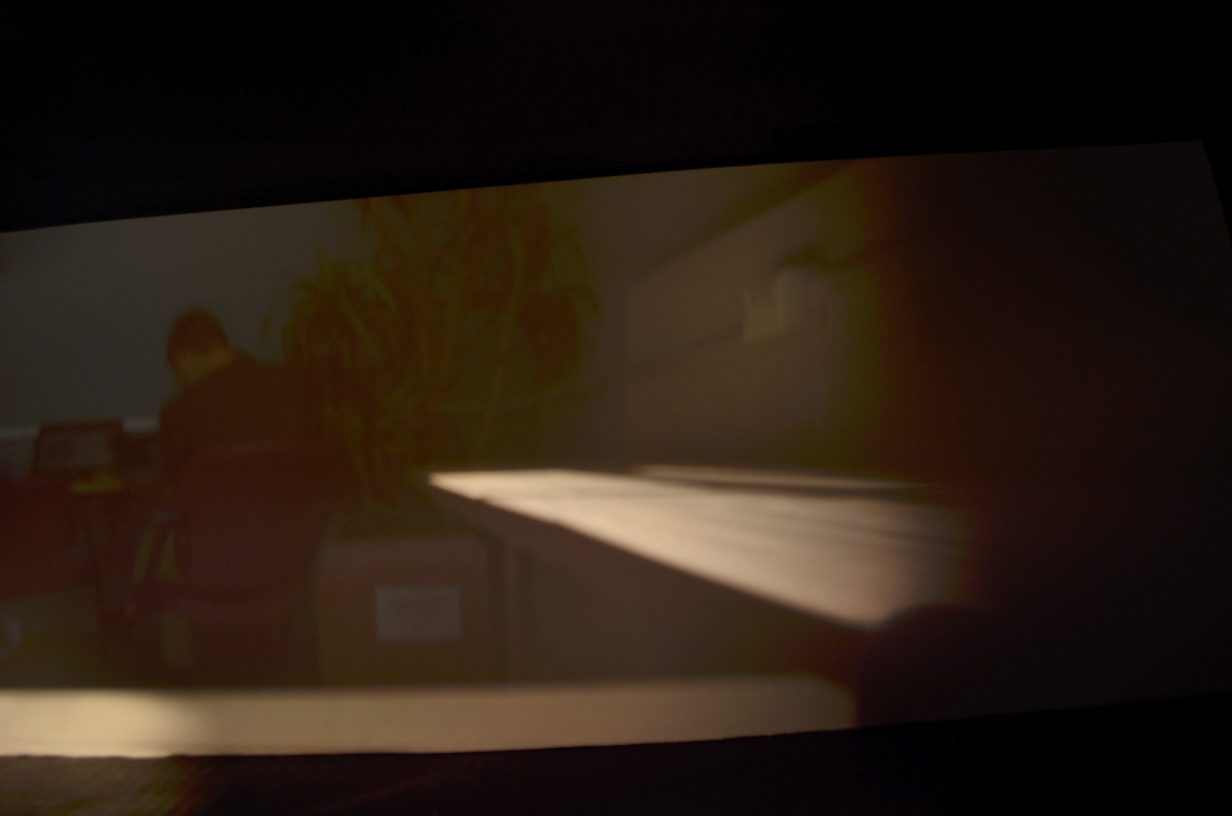
Bridge
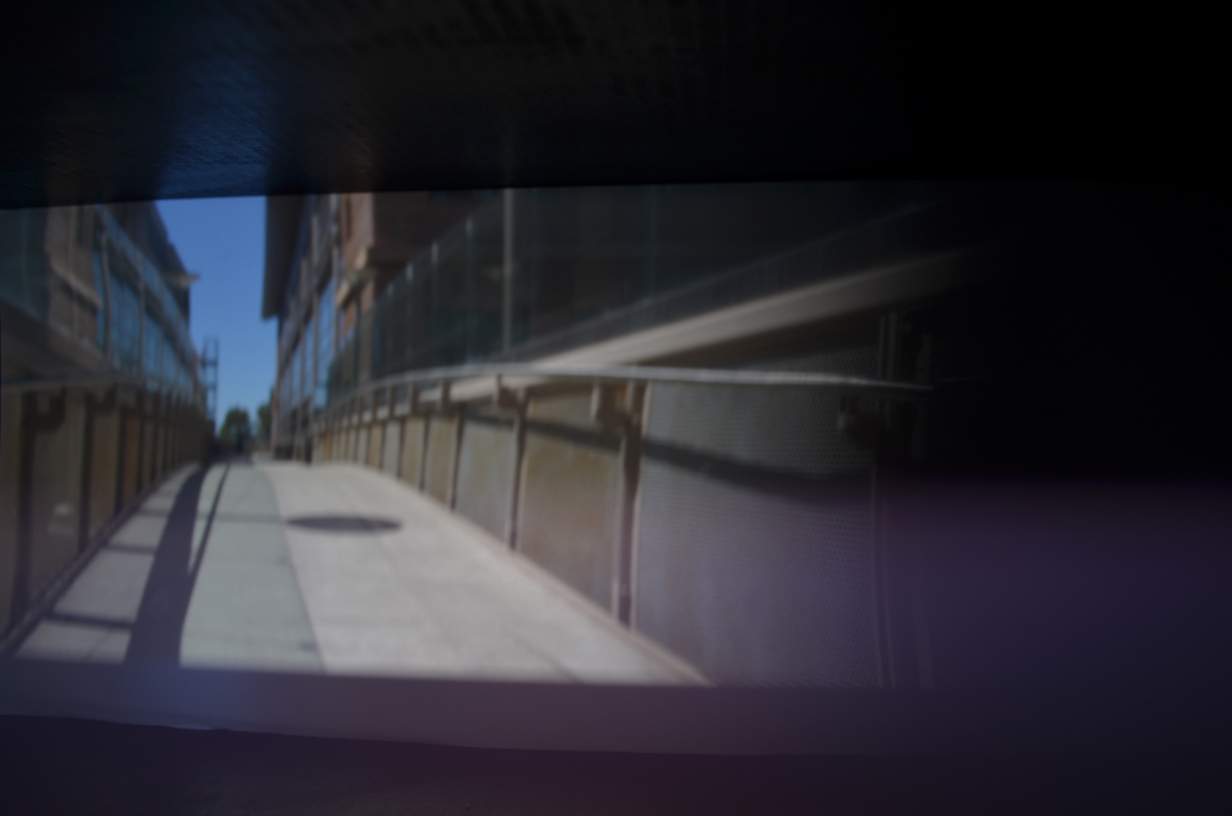
We chose the 3mm aperture as the “best” aperture because it provides a balance between amount of light being let through and amount of blur due to excess light from multiple directions hitting the same point on a sensor. It isn’t as underexposed as the 0.6mm aperture but it isn’t as blurry (and sometimes overexposed) as the 5mm aperture. In addition, it was rather challenging to make such a small hole.
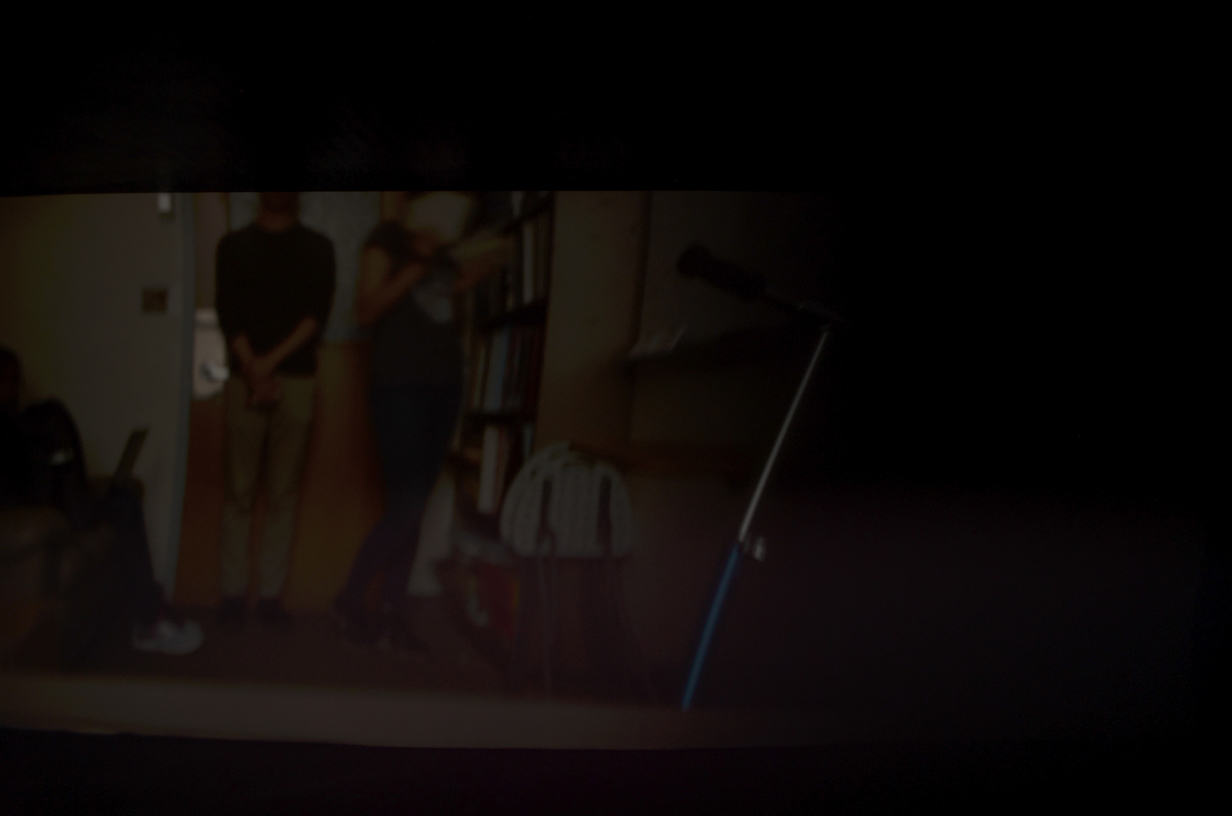
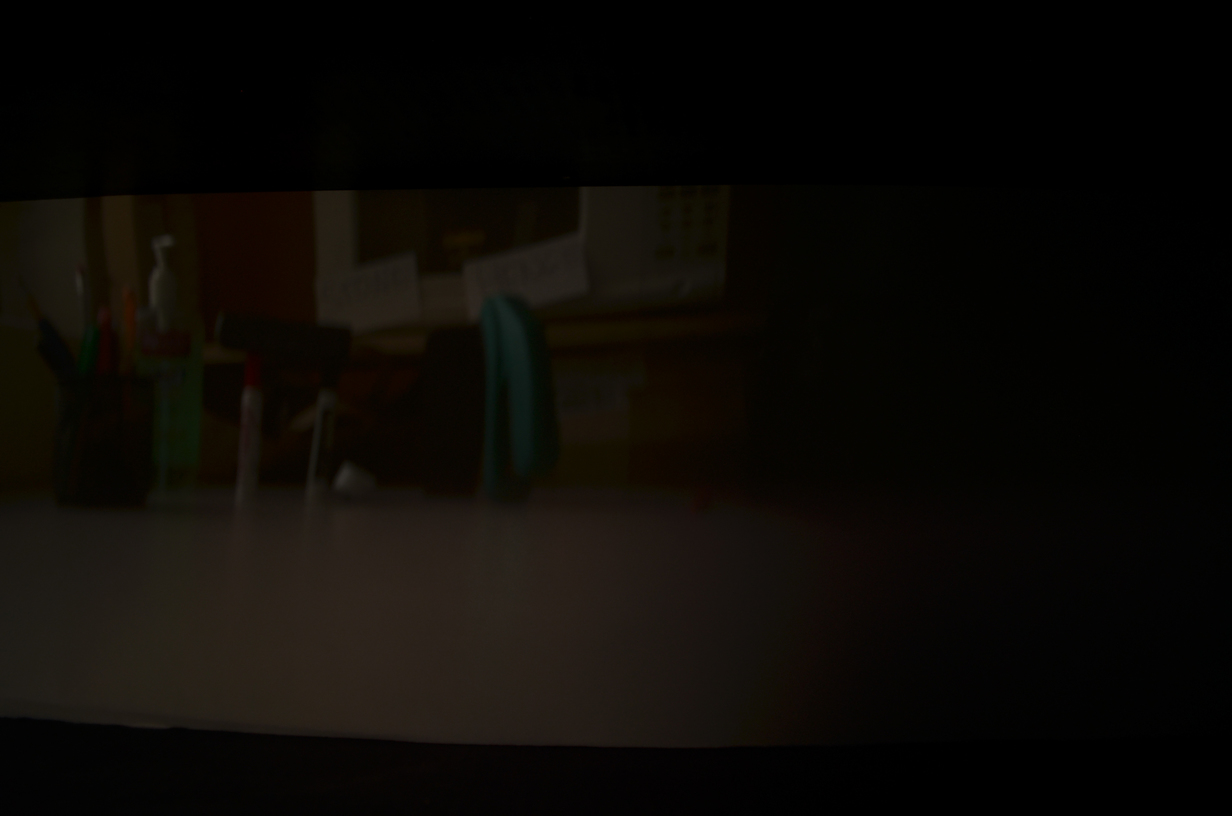
Some failed photos for fun!
Before
The reason this image failed is that not enough light has been blocked out from entering the shoebox (that is, light not filtering through the pinhole). We can see this is the case because in the top left corner, we just see a blank corner of white paper.
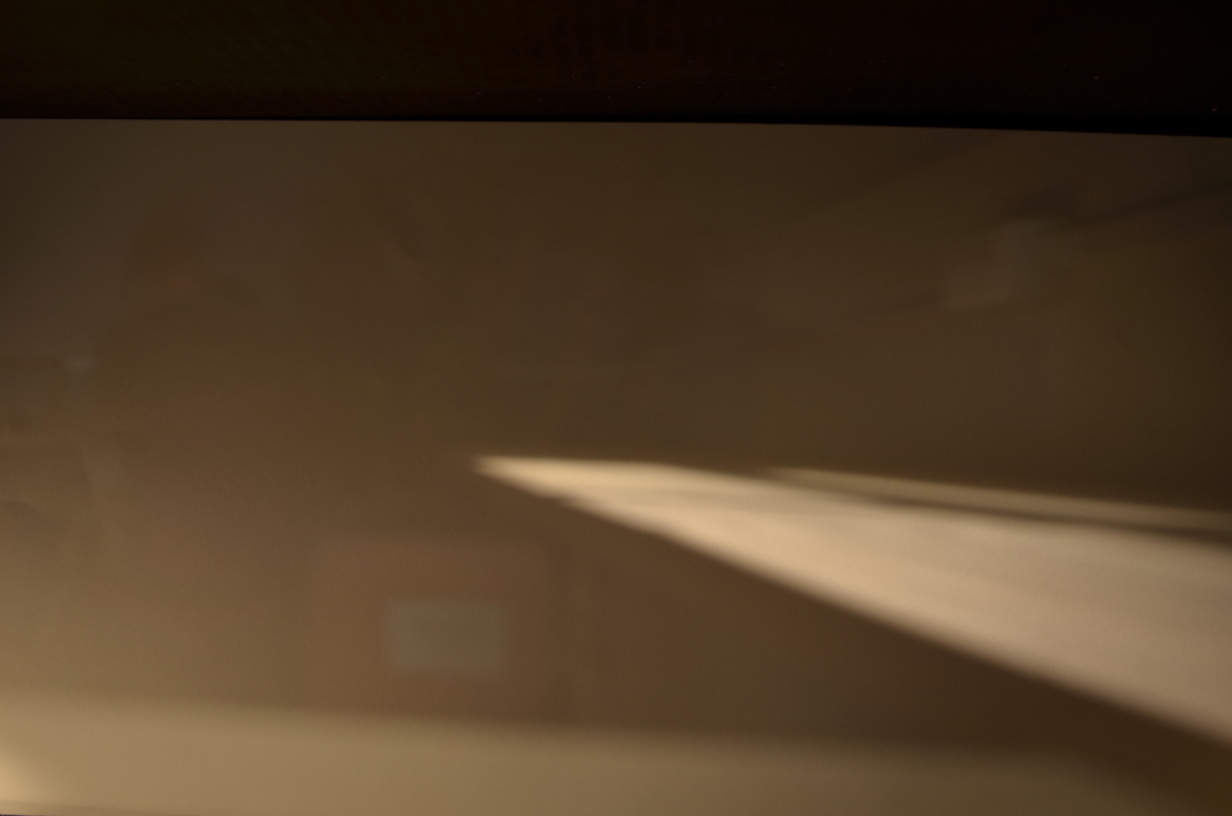
After
(The image on the right was edited to increase brightness)

To solve the issue above, we covered our shoebox with our jackets to block out any and all gaps in the shoebox we couldn’t identify. This demonstrates our incredible problem solving abilities as Berkeley Engineers.
Note: Although it might appear that the “After” image is still buggy due to the bright spot in the middle, that is actually just a tabletop with a lot of sunlight shining on it.
Bells & Whistles
Bells & Whistles: Light Painting
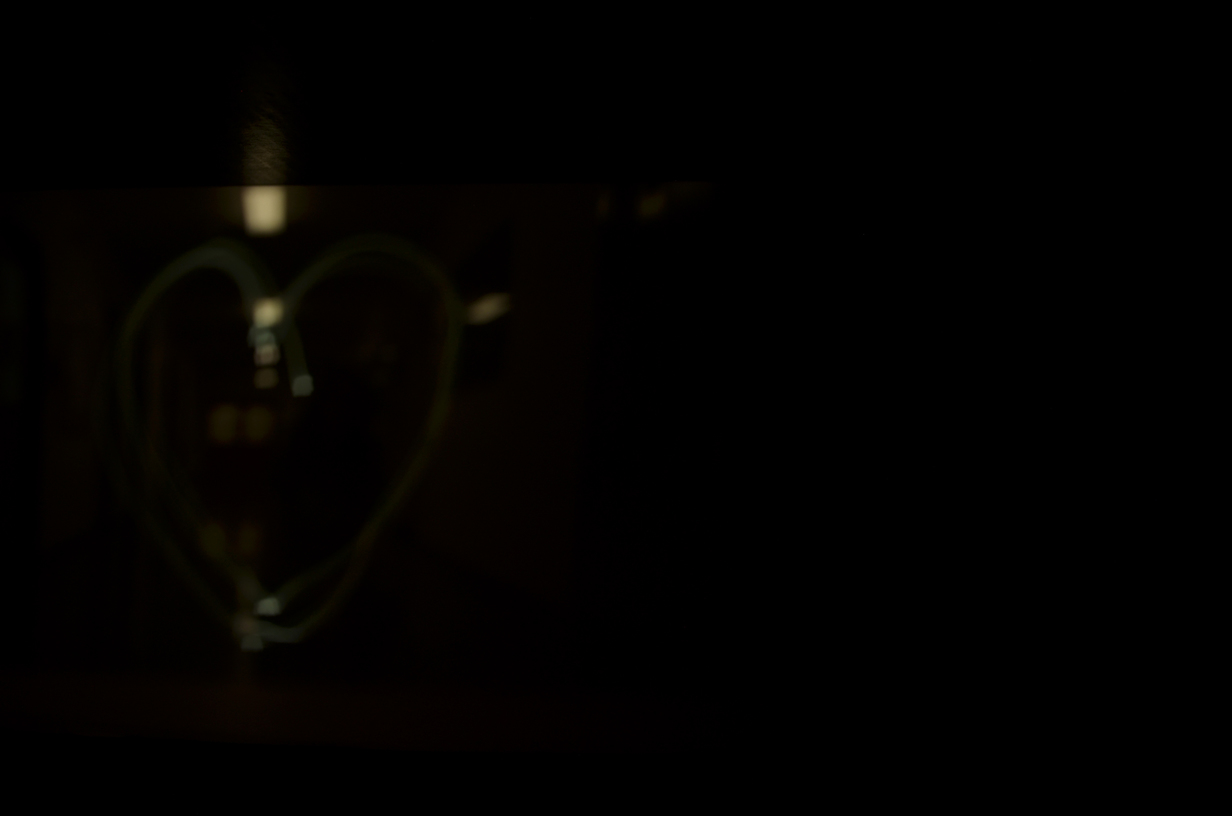

Star
(The image on the right was edited to increase brightness)

To produce these images, we used a phone flashlight to trace an image in the air during the exposure time. We decided to use the 5mm aperture because we needed to capture as much of the small moving light as possible; moreover, the blurriness of the photo doesn’t matter that much because we only need to capture the general shape of the traced light, and do not need to care about sharp details.
Bells & Whistles: Superimposing Drawings
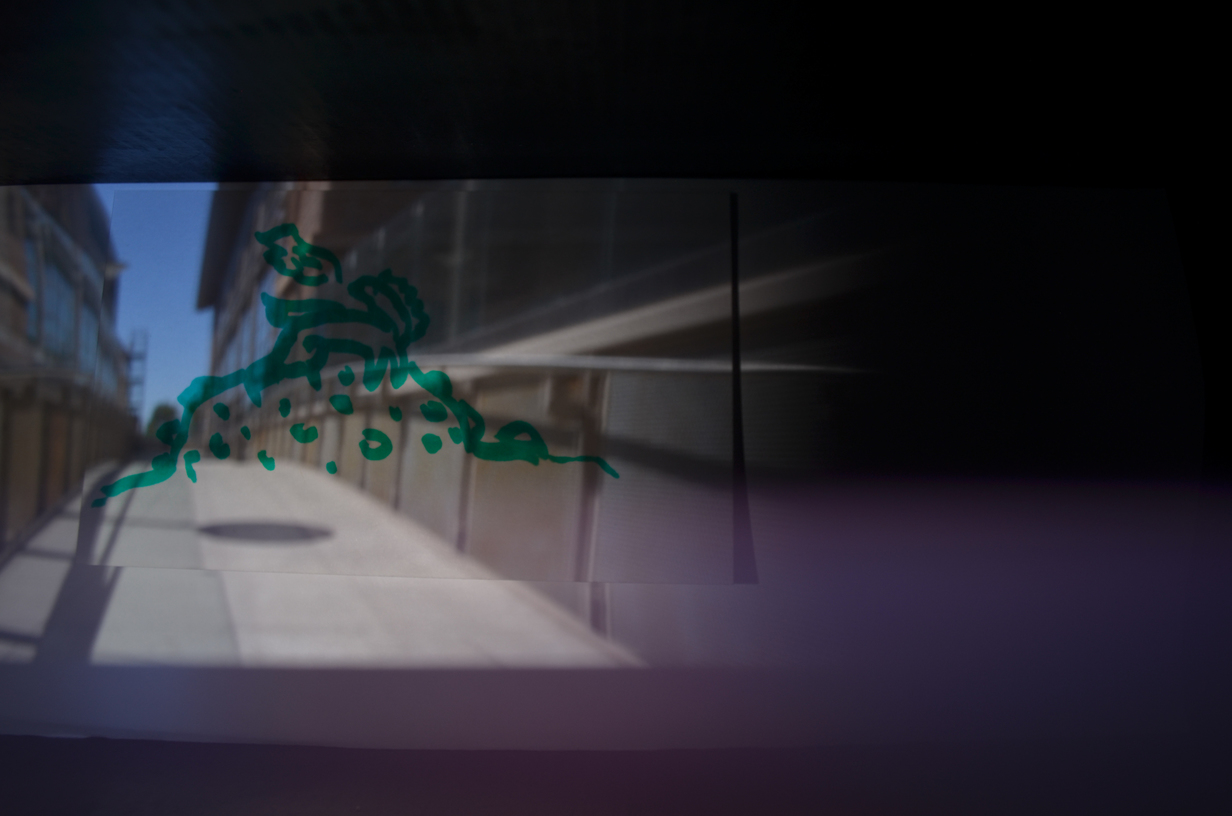
A Dragon!
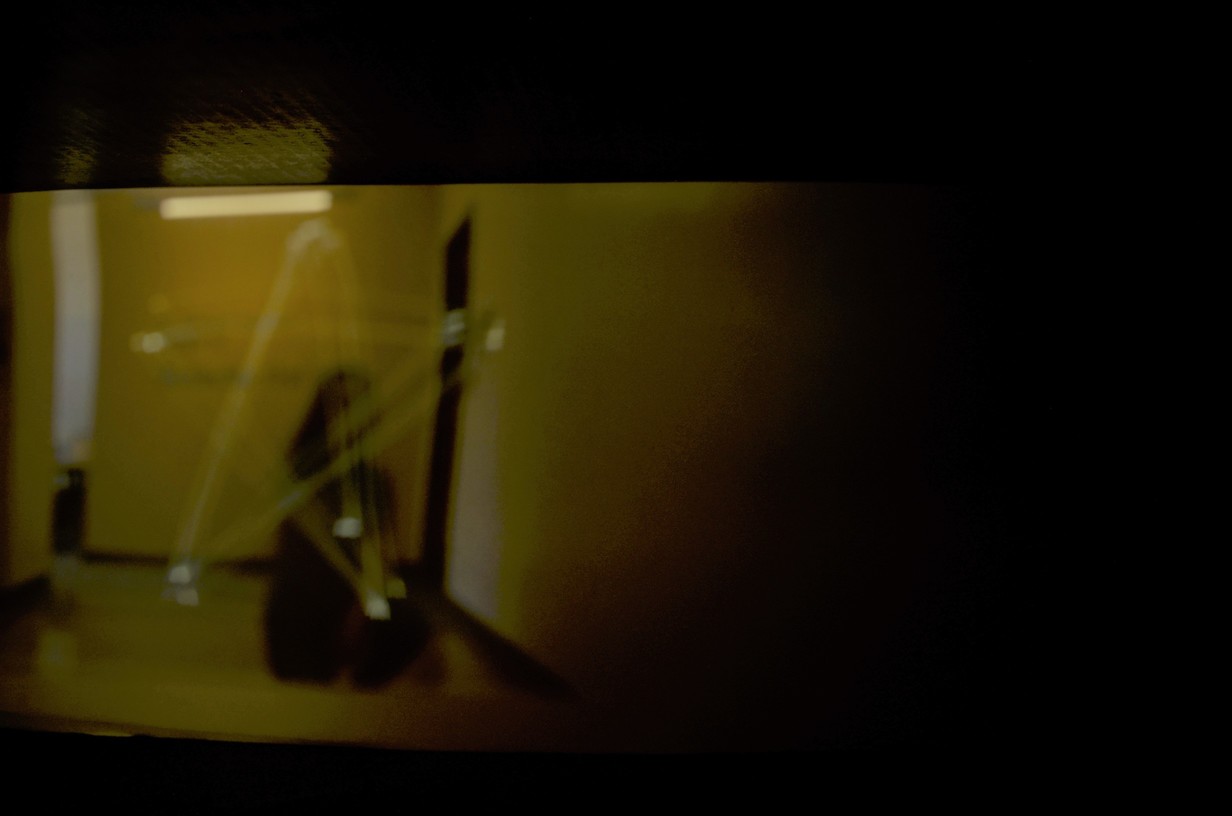
A Friend!
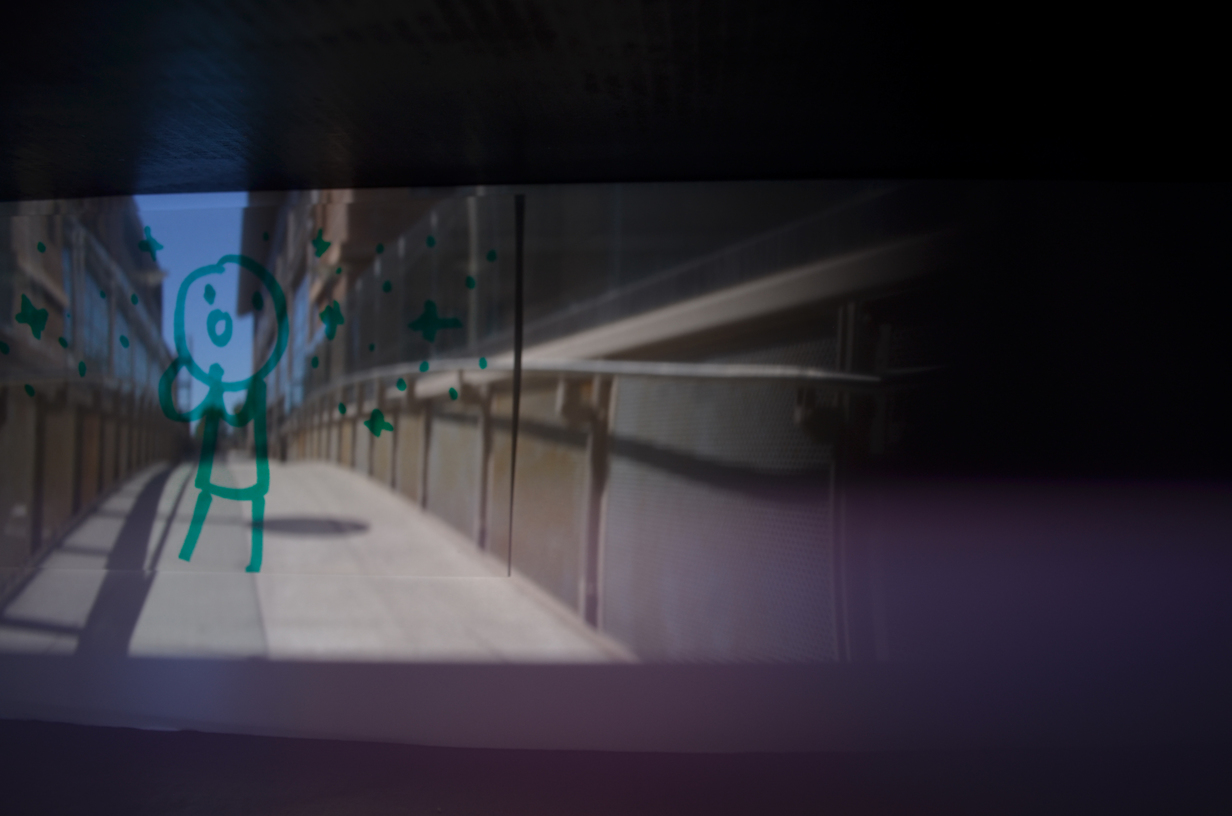
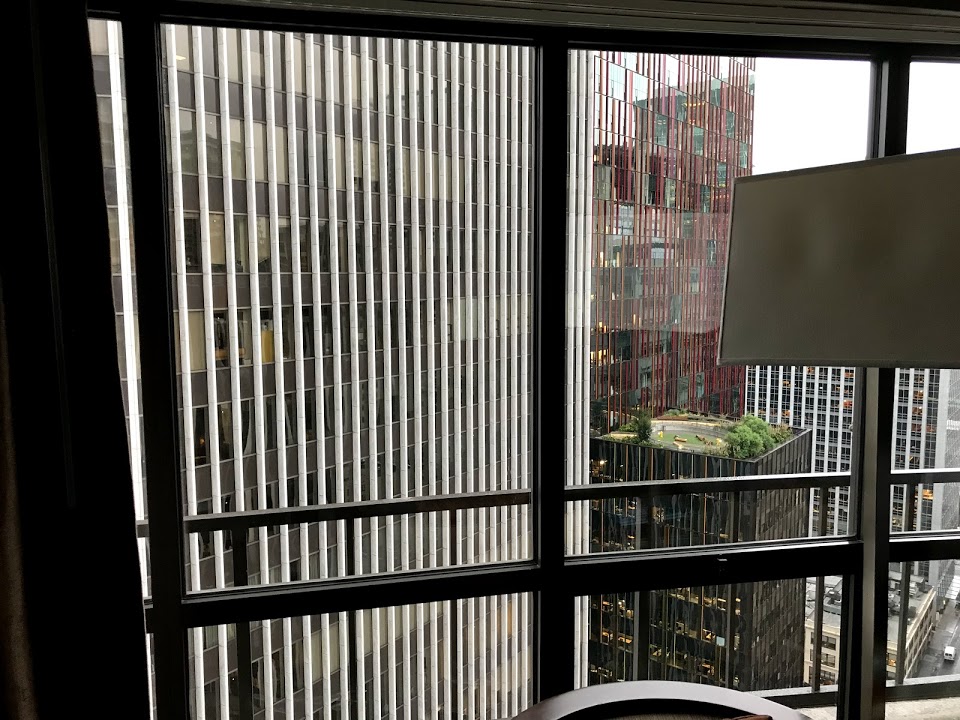
The bridge to Sutardja-Dai from Cory requires keycard access to enter; unfortunately, none of us had access. Fortunately, we had a pinhole camera!
To produce these images using the 3mm aperture, we doodled some images onto a notecard and attached it to the blank screen at the back of the box, so that the sensor would absorb its data in addition to the scene data as light bounced off of it. We also had to place the image upside down so that it looks right-side up in the image, since the camera obscura captures a reflected version of the scene. Now, it almost looks as if our doodles exist in the real world!
It’s interesting to note that some light still bounces off the ink of our doodle, making the doodle appear translucent in the picture.
The setup of our “A Friend!” photo

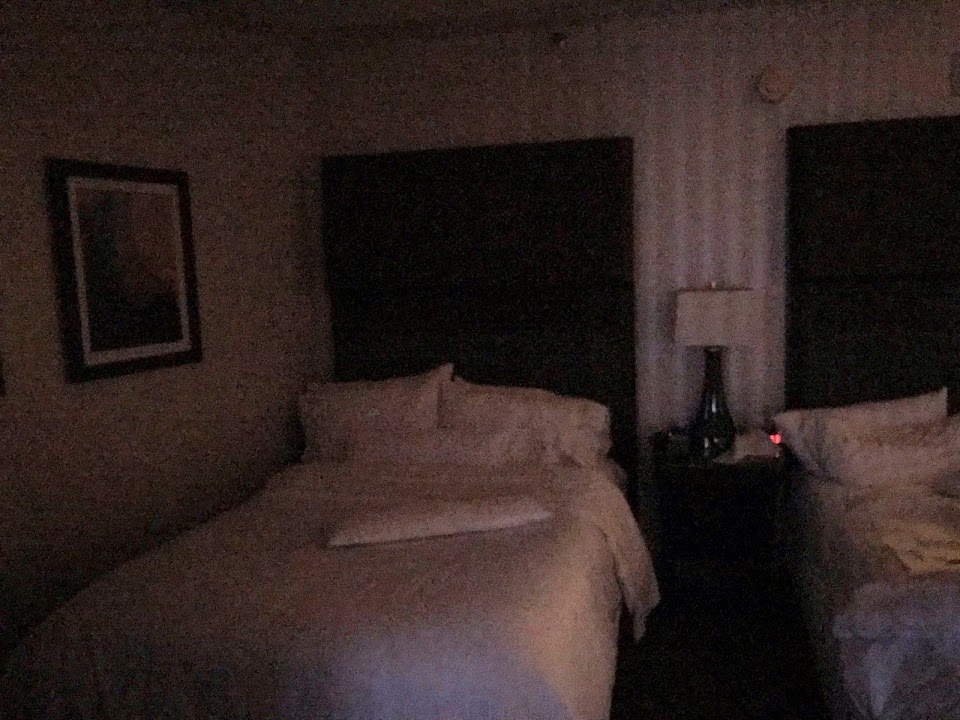
Bells & Whistles: Hotel Room Camera Obscura
One of our group members went to a hotel, and use the hotel room and the curtains to make a camera obscura. Unfortunately, they only had their phone camera, so the image wasn’t that great, but you can sort of see the pattern of the building on the wall.
The actual view