Acrylic Lasercut Pinhole Camera
Vivian Liu, cs194-26-aaf
Melissa Su, cs194-26-aay
Explanation of Implementation
Cardboard Prototype/Messing Around
In an effort to first understand this assignment, we lasercut a cardboard box. On one side, we prototyped a sliding mechanism that would cover and uncover the aperture. Unfortunately, this box ended up being useless, because we decided we wanted to circumvent the blackening of the inside by using a different material--acrylic.
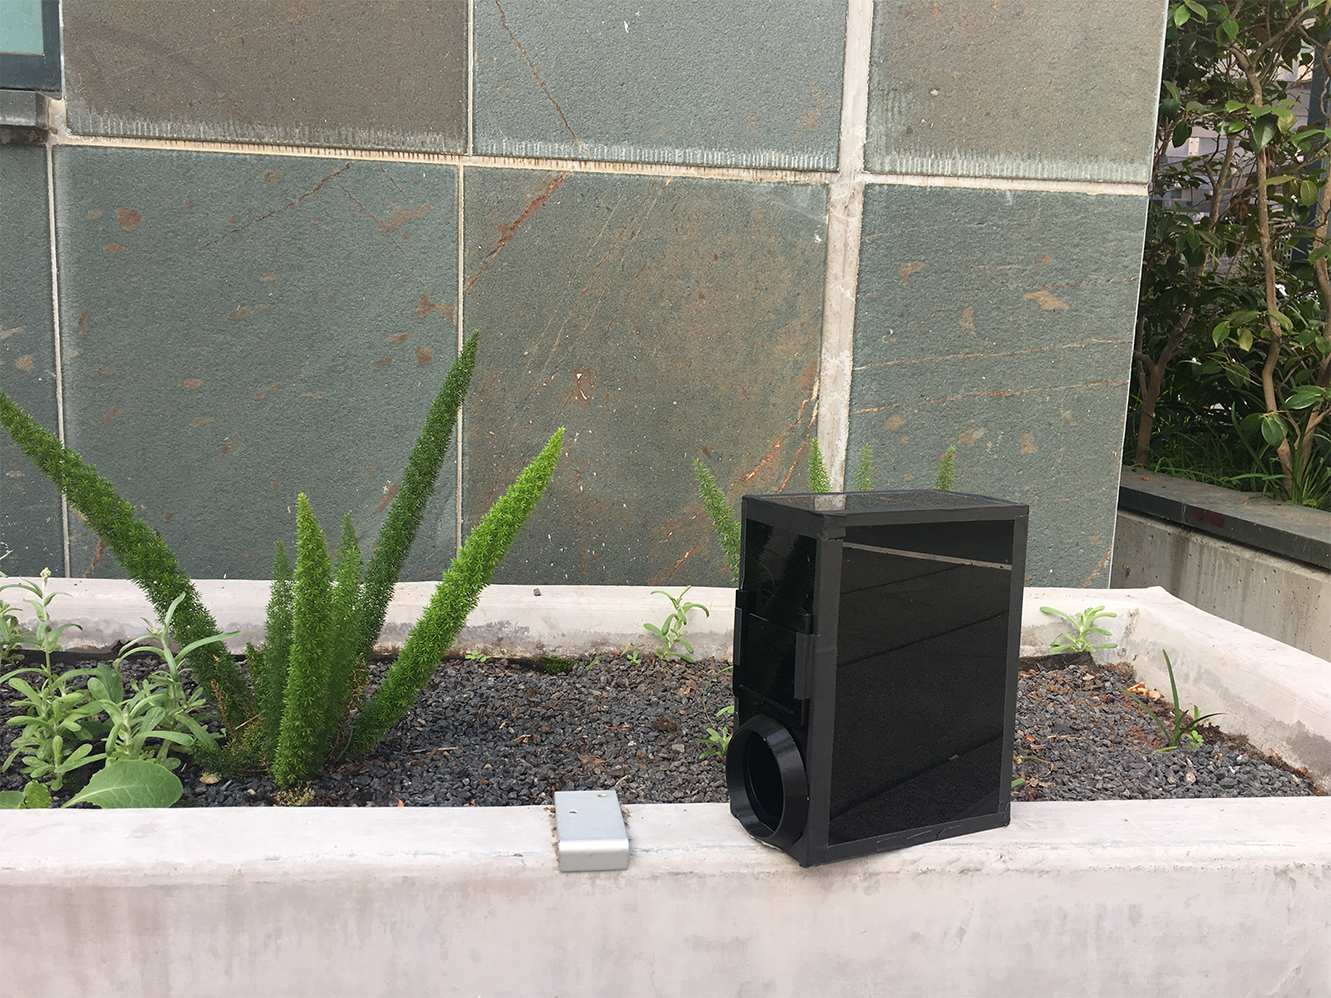
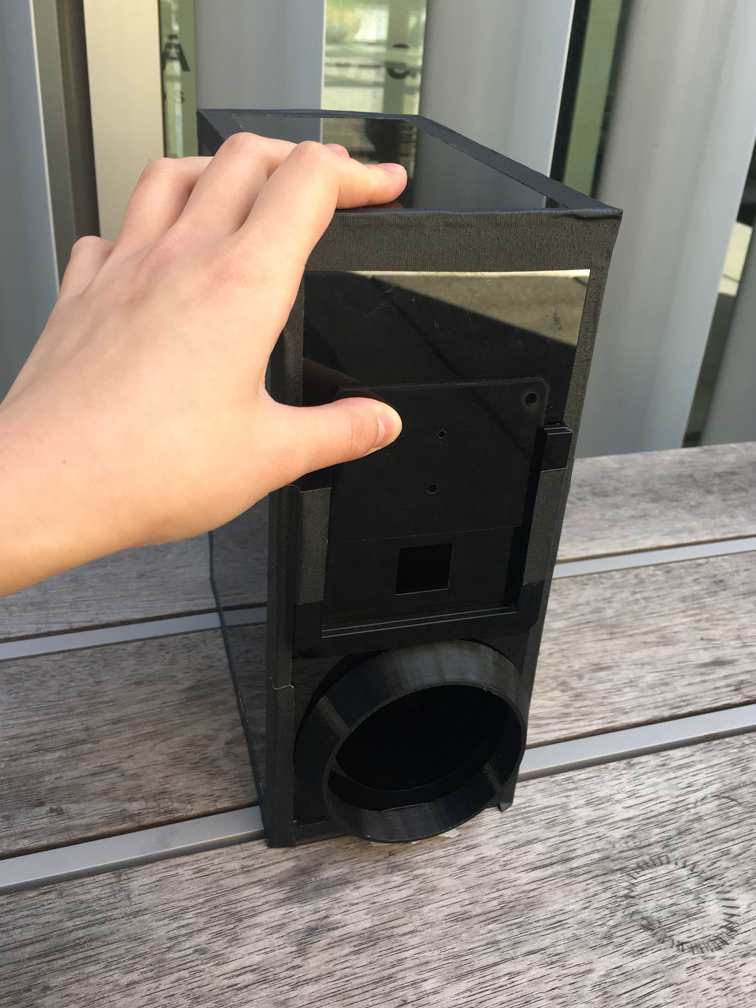
In the Invention Lab makerspace, we found acrylic material that was glossy on oneside and matte on the other. The matte side was perfect for the interior. Then we cut six sides of the box using the Trotec Laser Cutter in the Invention Lab, using finger joints to create a digitally fabricated box.
After assembling the box, we attempted to use the length of the longer side as our focal length. However, this seemed to produce a telephoto effect, and we found it difficult to focus our image properly, so we changed our focal length to be the shorter side of our box.
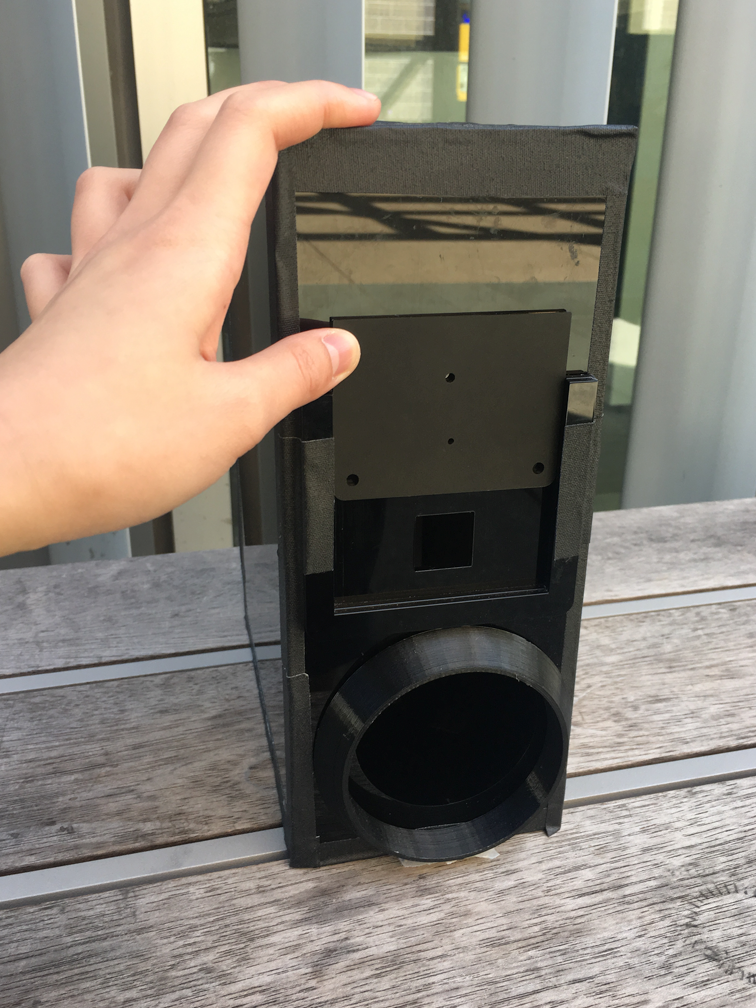
During this time, we explored other materials, poking pinholes in brass foil and making image planes out of tissue paper and wax paper. Finally, we settled on swappable plates (cut also of the same acrylic) and taped up the sides with matte-ish tape to seal up the light.
The swappable plates slide in and out of rails that are positioned above the hole for the camera. We cut two apertures on each plate: 0.5 mm and 1mm, 2mm and 3mm, and 5 mm. This way, if we could simply flip the plate upside down and reinsert it if we needed the other aperture.
Getting photos
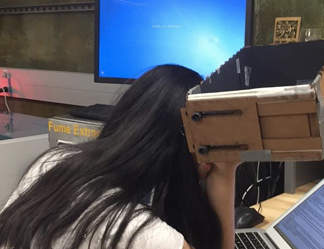
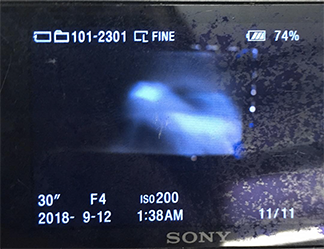
Neither of us had actual experience with manual settings before, so testing out the different settings (ISO, aperture, focus/zoom, f-stop) was a challenge. In the beginning, everything just looked like ultrasounds or sadness.
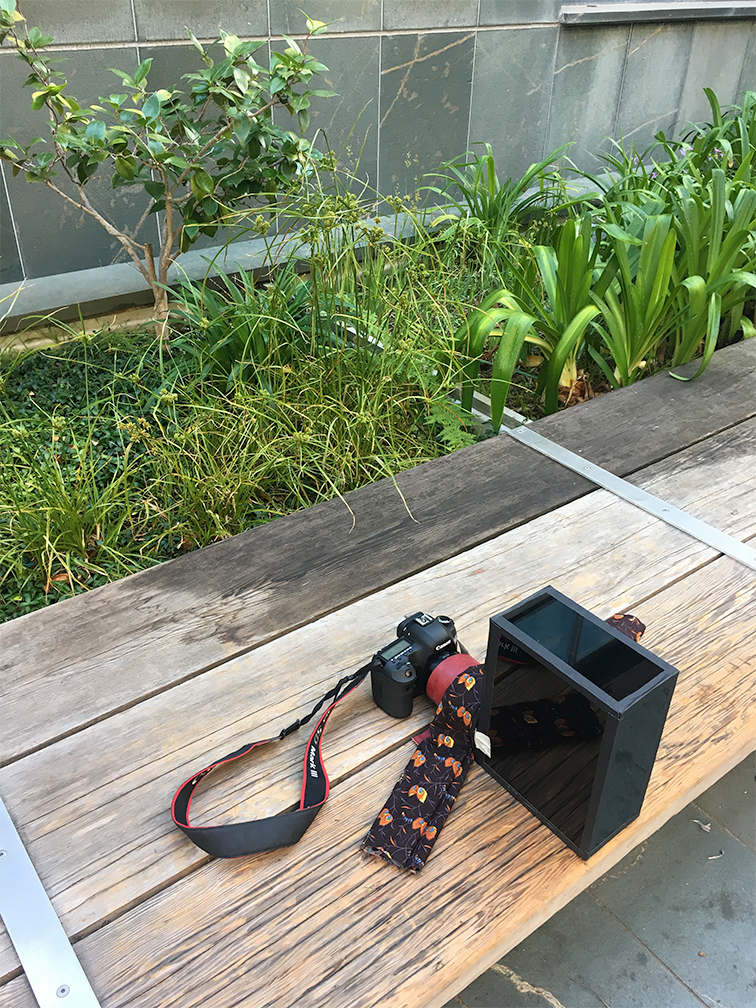
 Shout out to Stephanie Daffara from our class for helping us realize that too much light was coming in from the hole for our camera and helping us fix that by lending us her jacket to use as a cover.
In an effort to digitally fabricate every part of this pinhole camera, we also 3D printed covers for the cameras. To do this, we lofted one circular band to another circular band in Autodesk Fusion 360 to create a black hood for the camera. These were printed on the Ultimaker in the Invention Lab, and they took about 1.4 hrs. In the end, though they worked to some degree to block out most of the light, we still needed to use fabric to muffle any remaining light. Very high-tech.
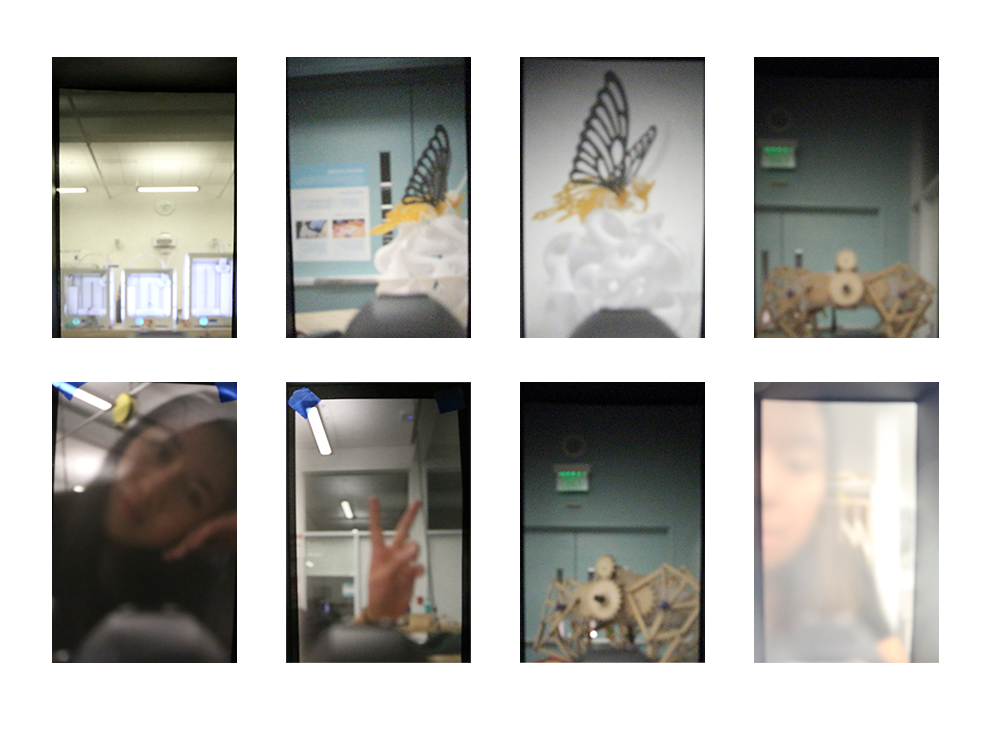
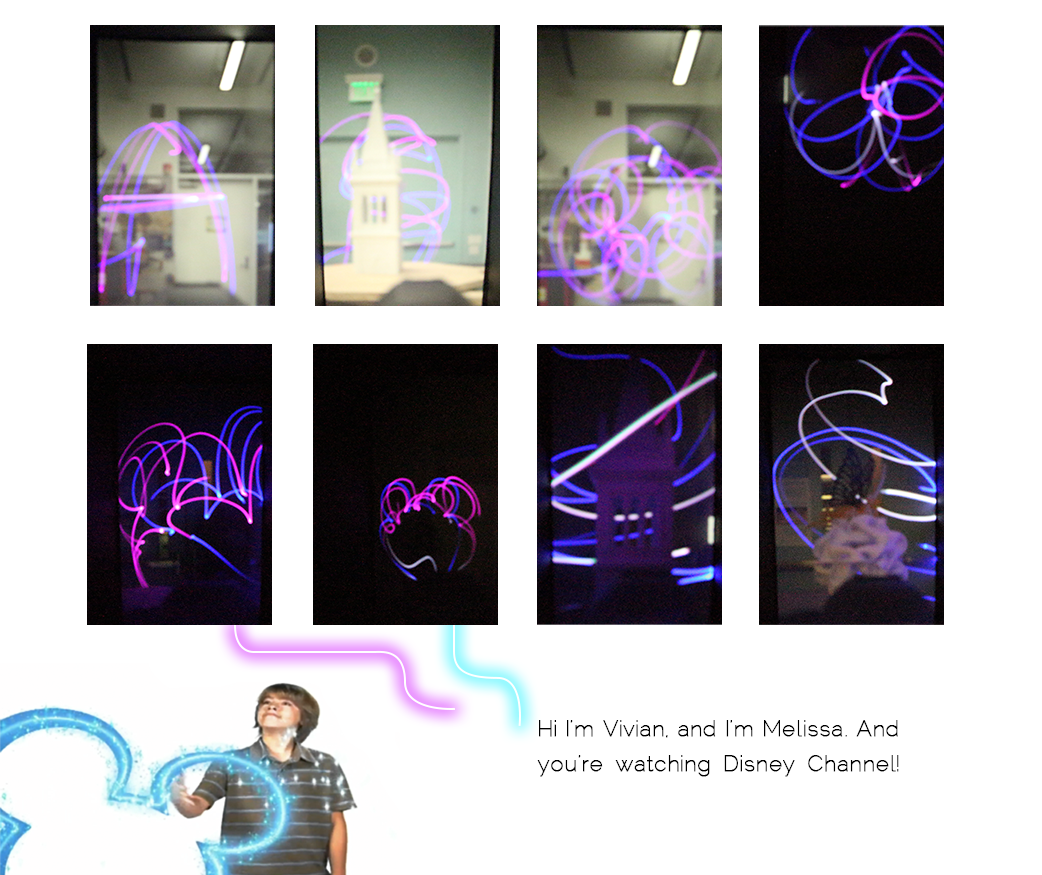
When we started to get images, we had the following settings: F3.5-4.0 (f-stop) 12800-25600 ISO, and 30 second long exposure shutter speed on manual focus. We began to take pictures of projects that were just lying around in the makerspace, selfies, and attempts at light painting. The results are below.
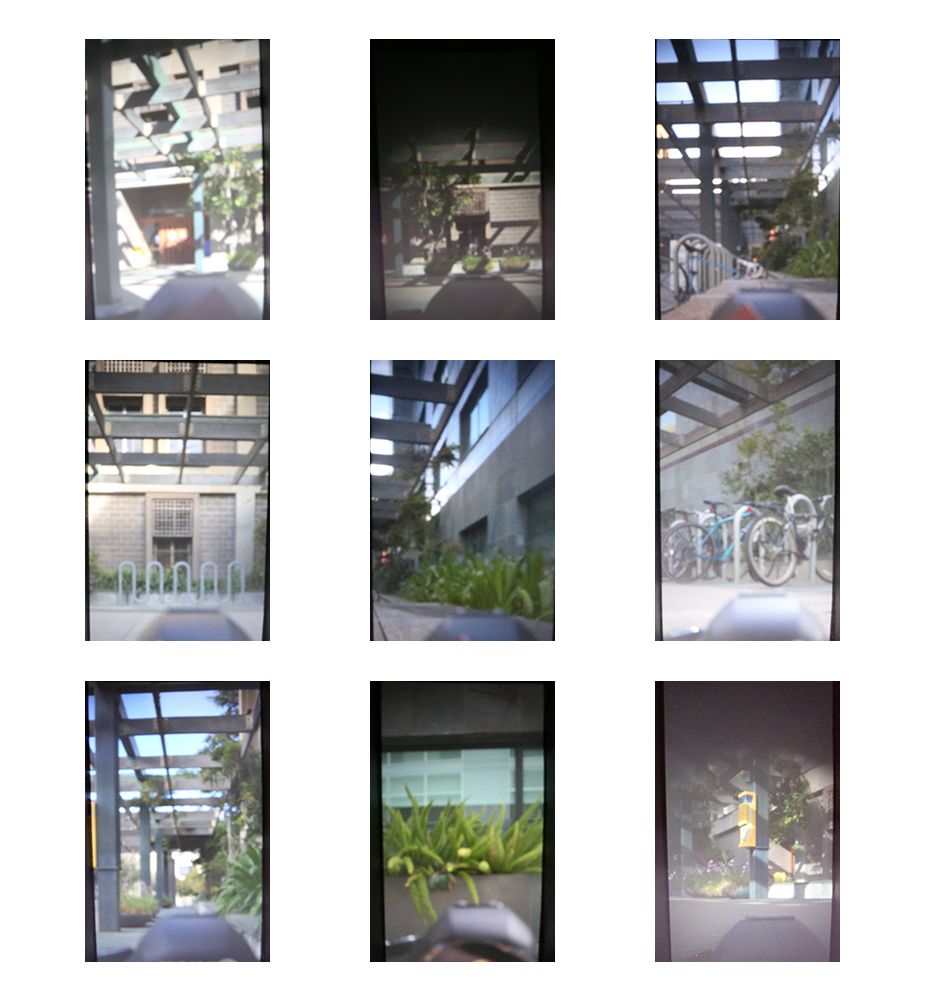
We found that using 2mm, and 3mm produced the best results. 2mm was most useful for outdoor images and 3mm was most useful for indoor evening images. We captured the majority of the early indoor makerspace shots with 3mm and most of the Soda Breezeway stills with the opposite 2mm side. Sometimes, when pointed at a particularly sunny side of a building, 1mm came in handy.
As expected, the smaller the aperture, the more in-focus the image. A larger aperture meant that more (or too much) light comes through the hole.
Results
Early shots, taken in the Jacobs makerspace:
Bells and whistles: light painting:
Us being art buffs:
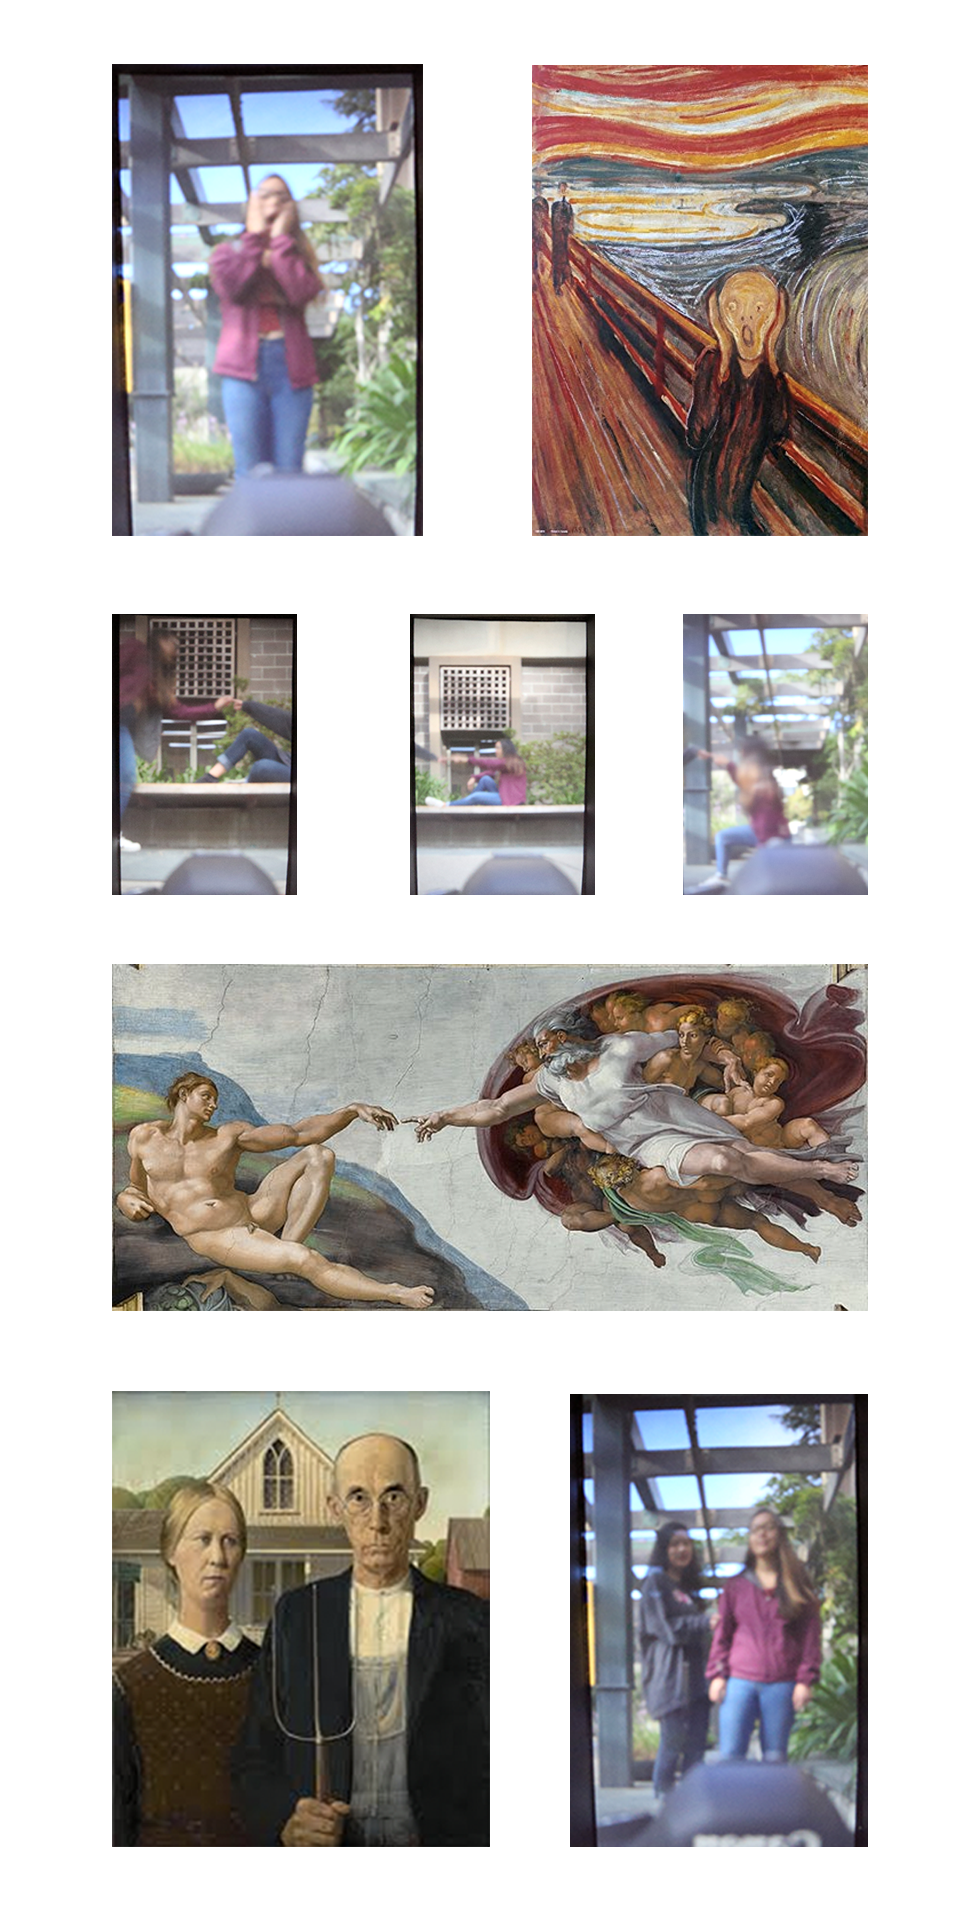
Stills from around the breezeway: