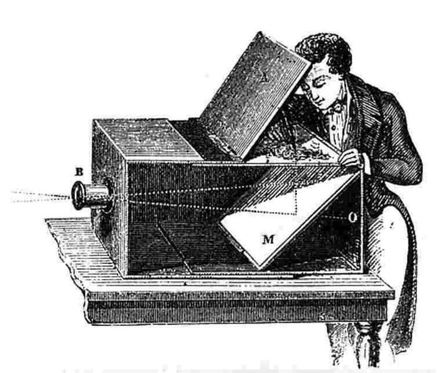
A pinhole camera can be constructed with three elements: an aperture (in the form of a pinhole), a dark room and a screen. Light rays, carrying visual information about the objects they reflect off of, enter the dark room through the aperture. The pinhole acts to filter out other views of the scene, which would create a blurry and unreadable image if they were allowed to go through. The scene appears on the screen reversed and inverted due to the linear way the rays enter the camera.
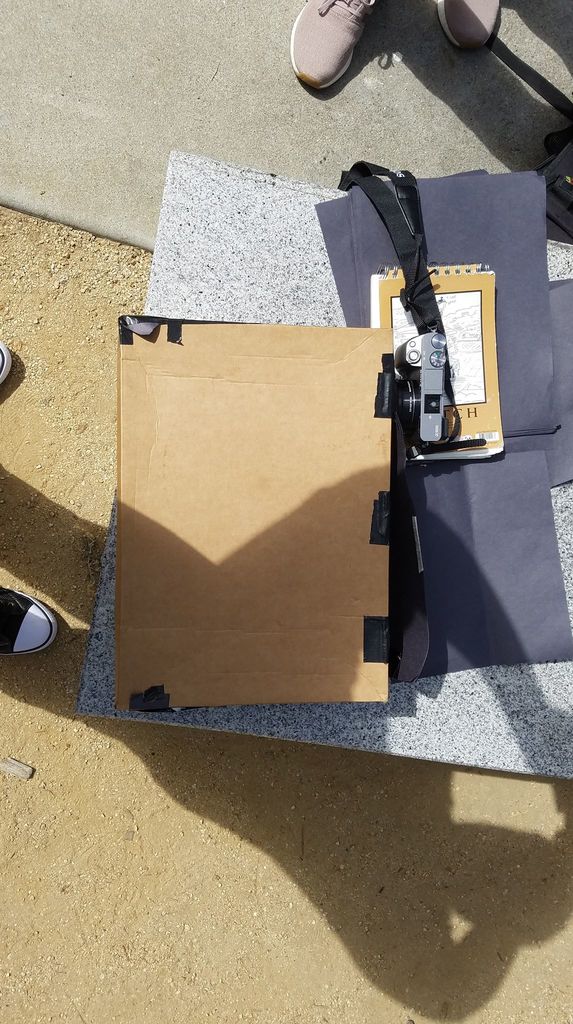
For this project, we built our own 'camera obscura' from a shoebox. All areas except for the white paper projection screen were covered with black construction paper. All possible light openings were sealed shut with duct tape. We created two openings in the front of the shoebox. The first was a small square designed to be covered with a strip of black construction paper that would have interchangeable pinholes of size 1, 3 and 5 mm. The second was designed to holster the lens of a digital camera (we used a Sony A6000). To compensate for the dark conditions, the digital camera had to be set with a shutter speed of 15'' or greater, an aperture of F3.5 or less and a variable amount of iso.

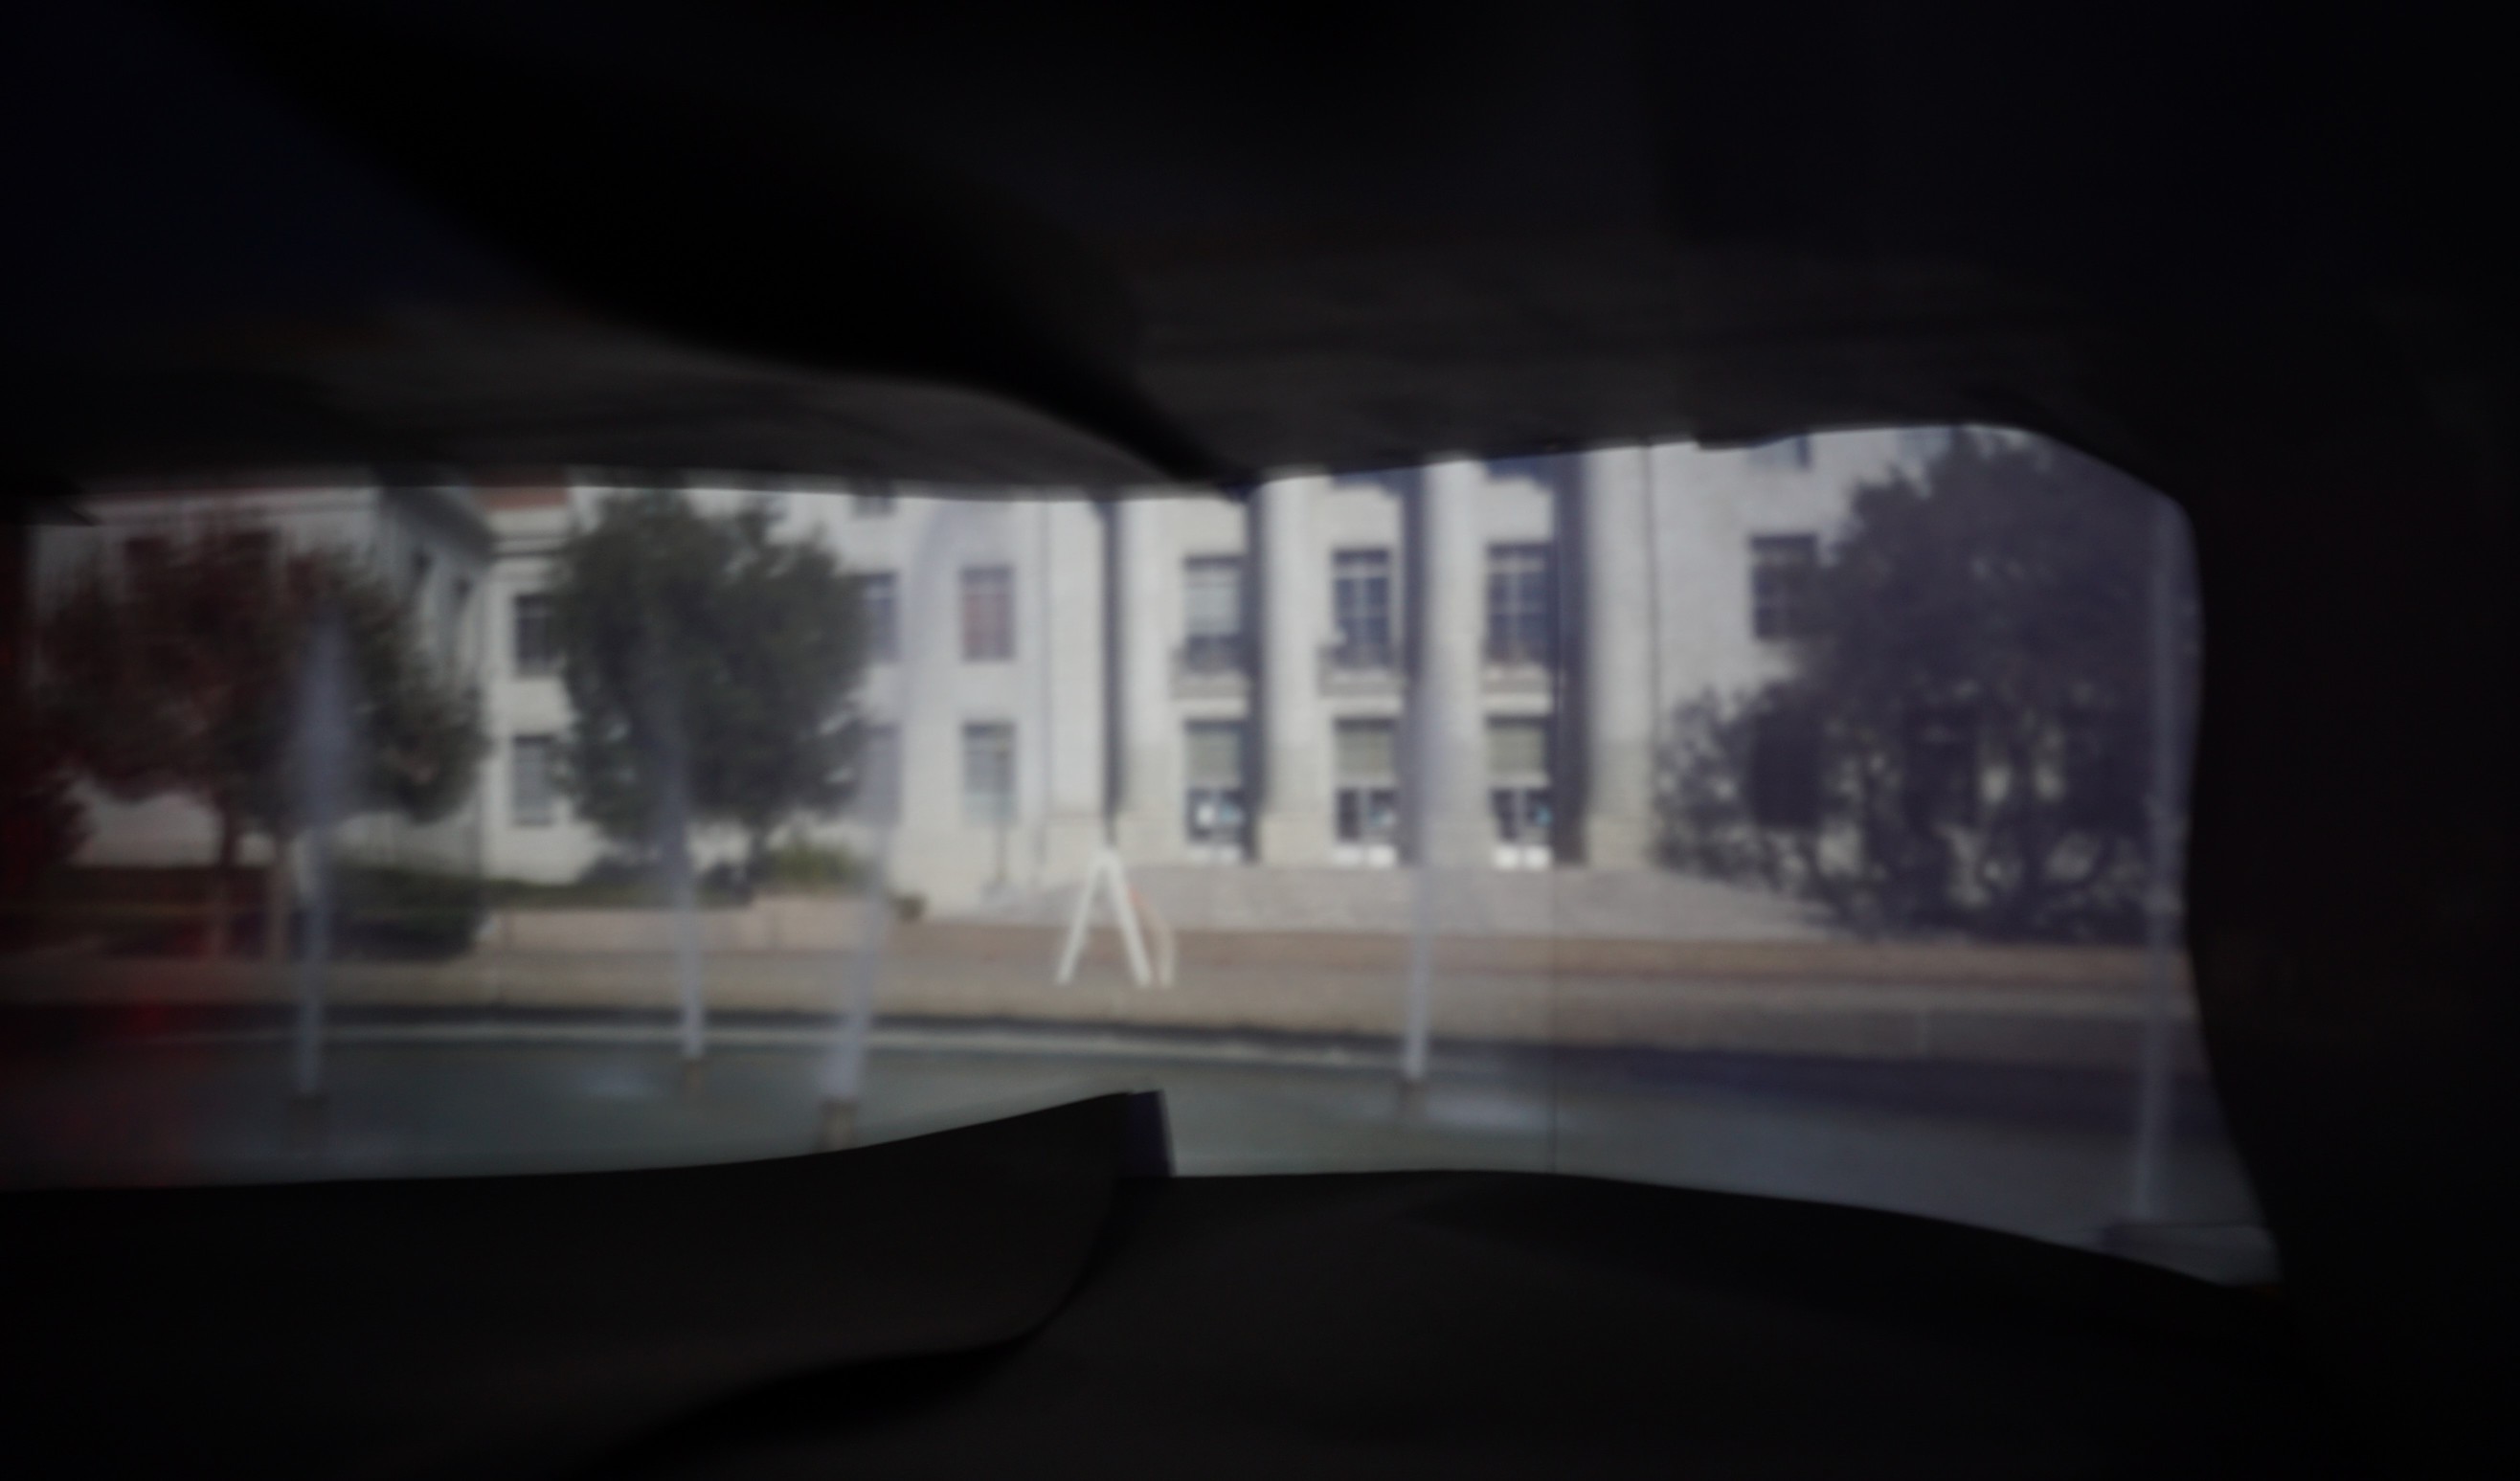
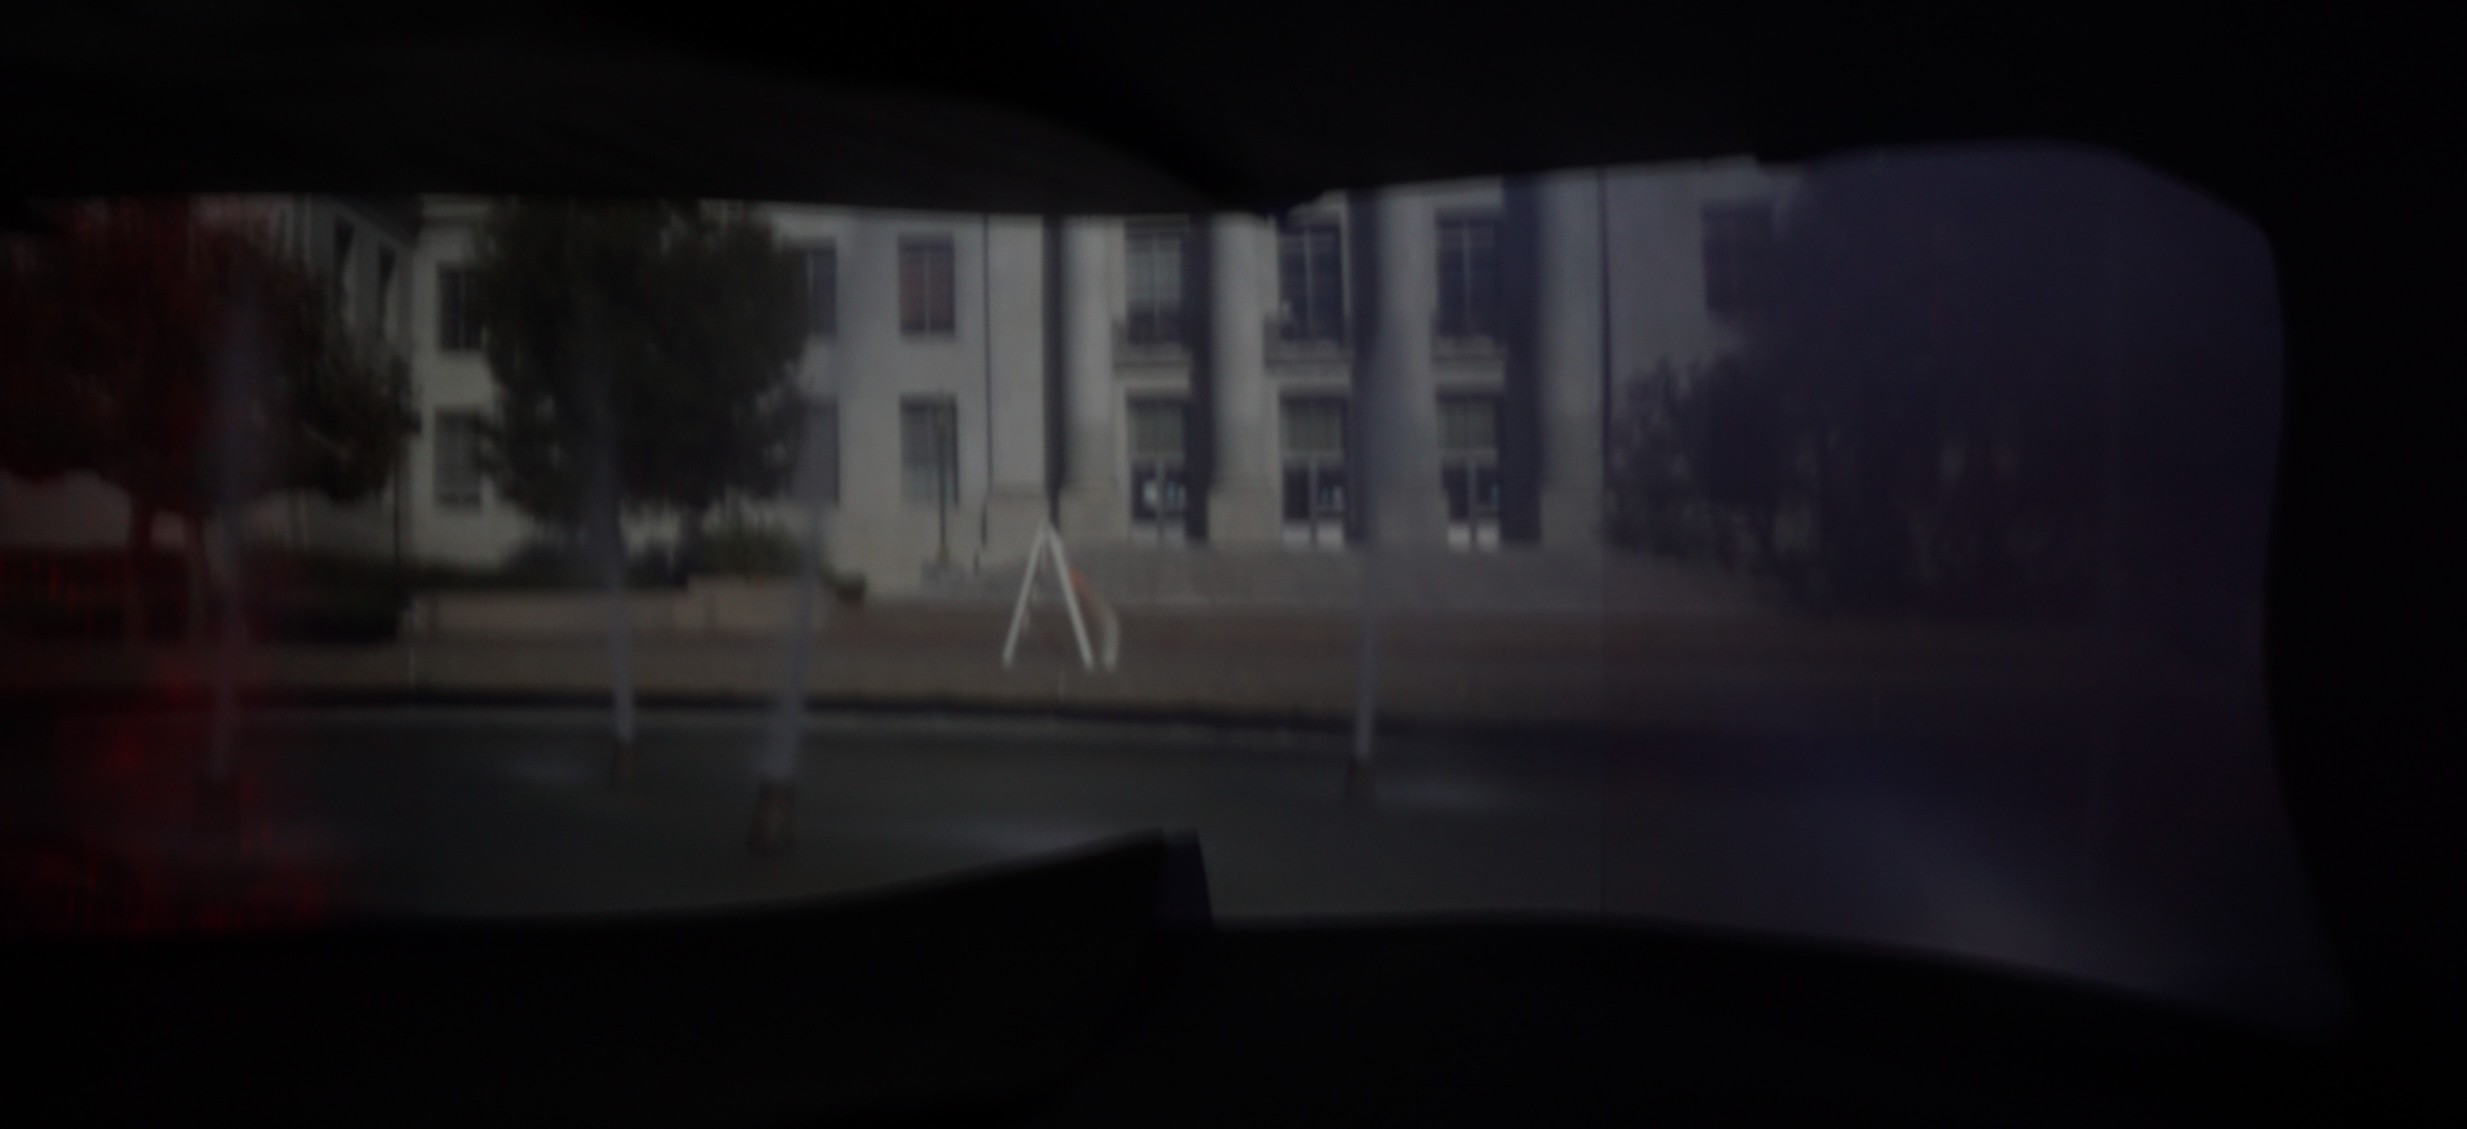
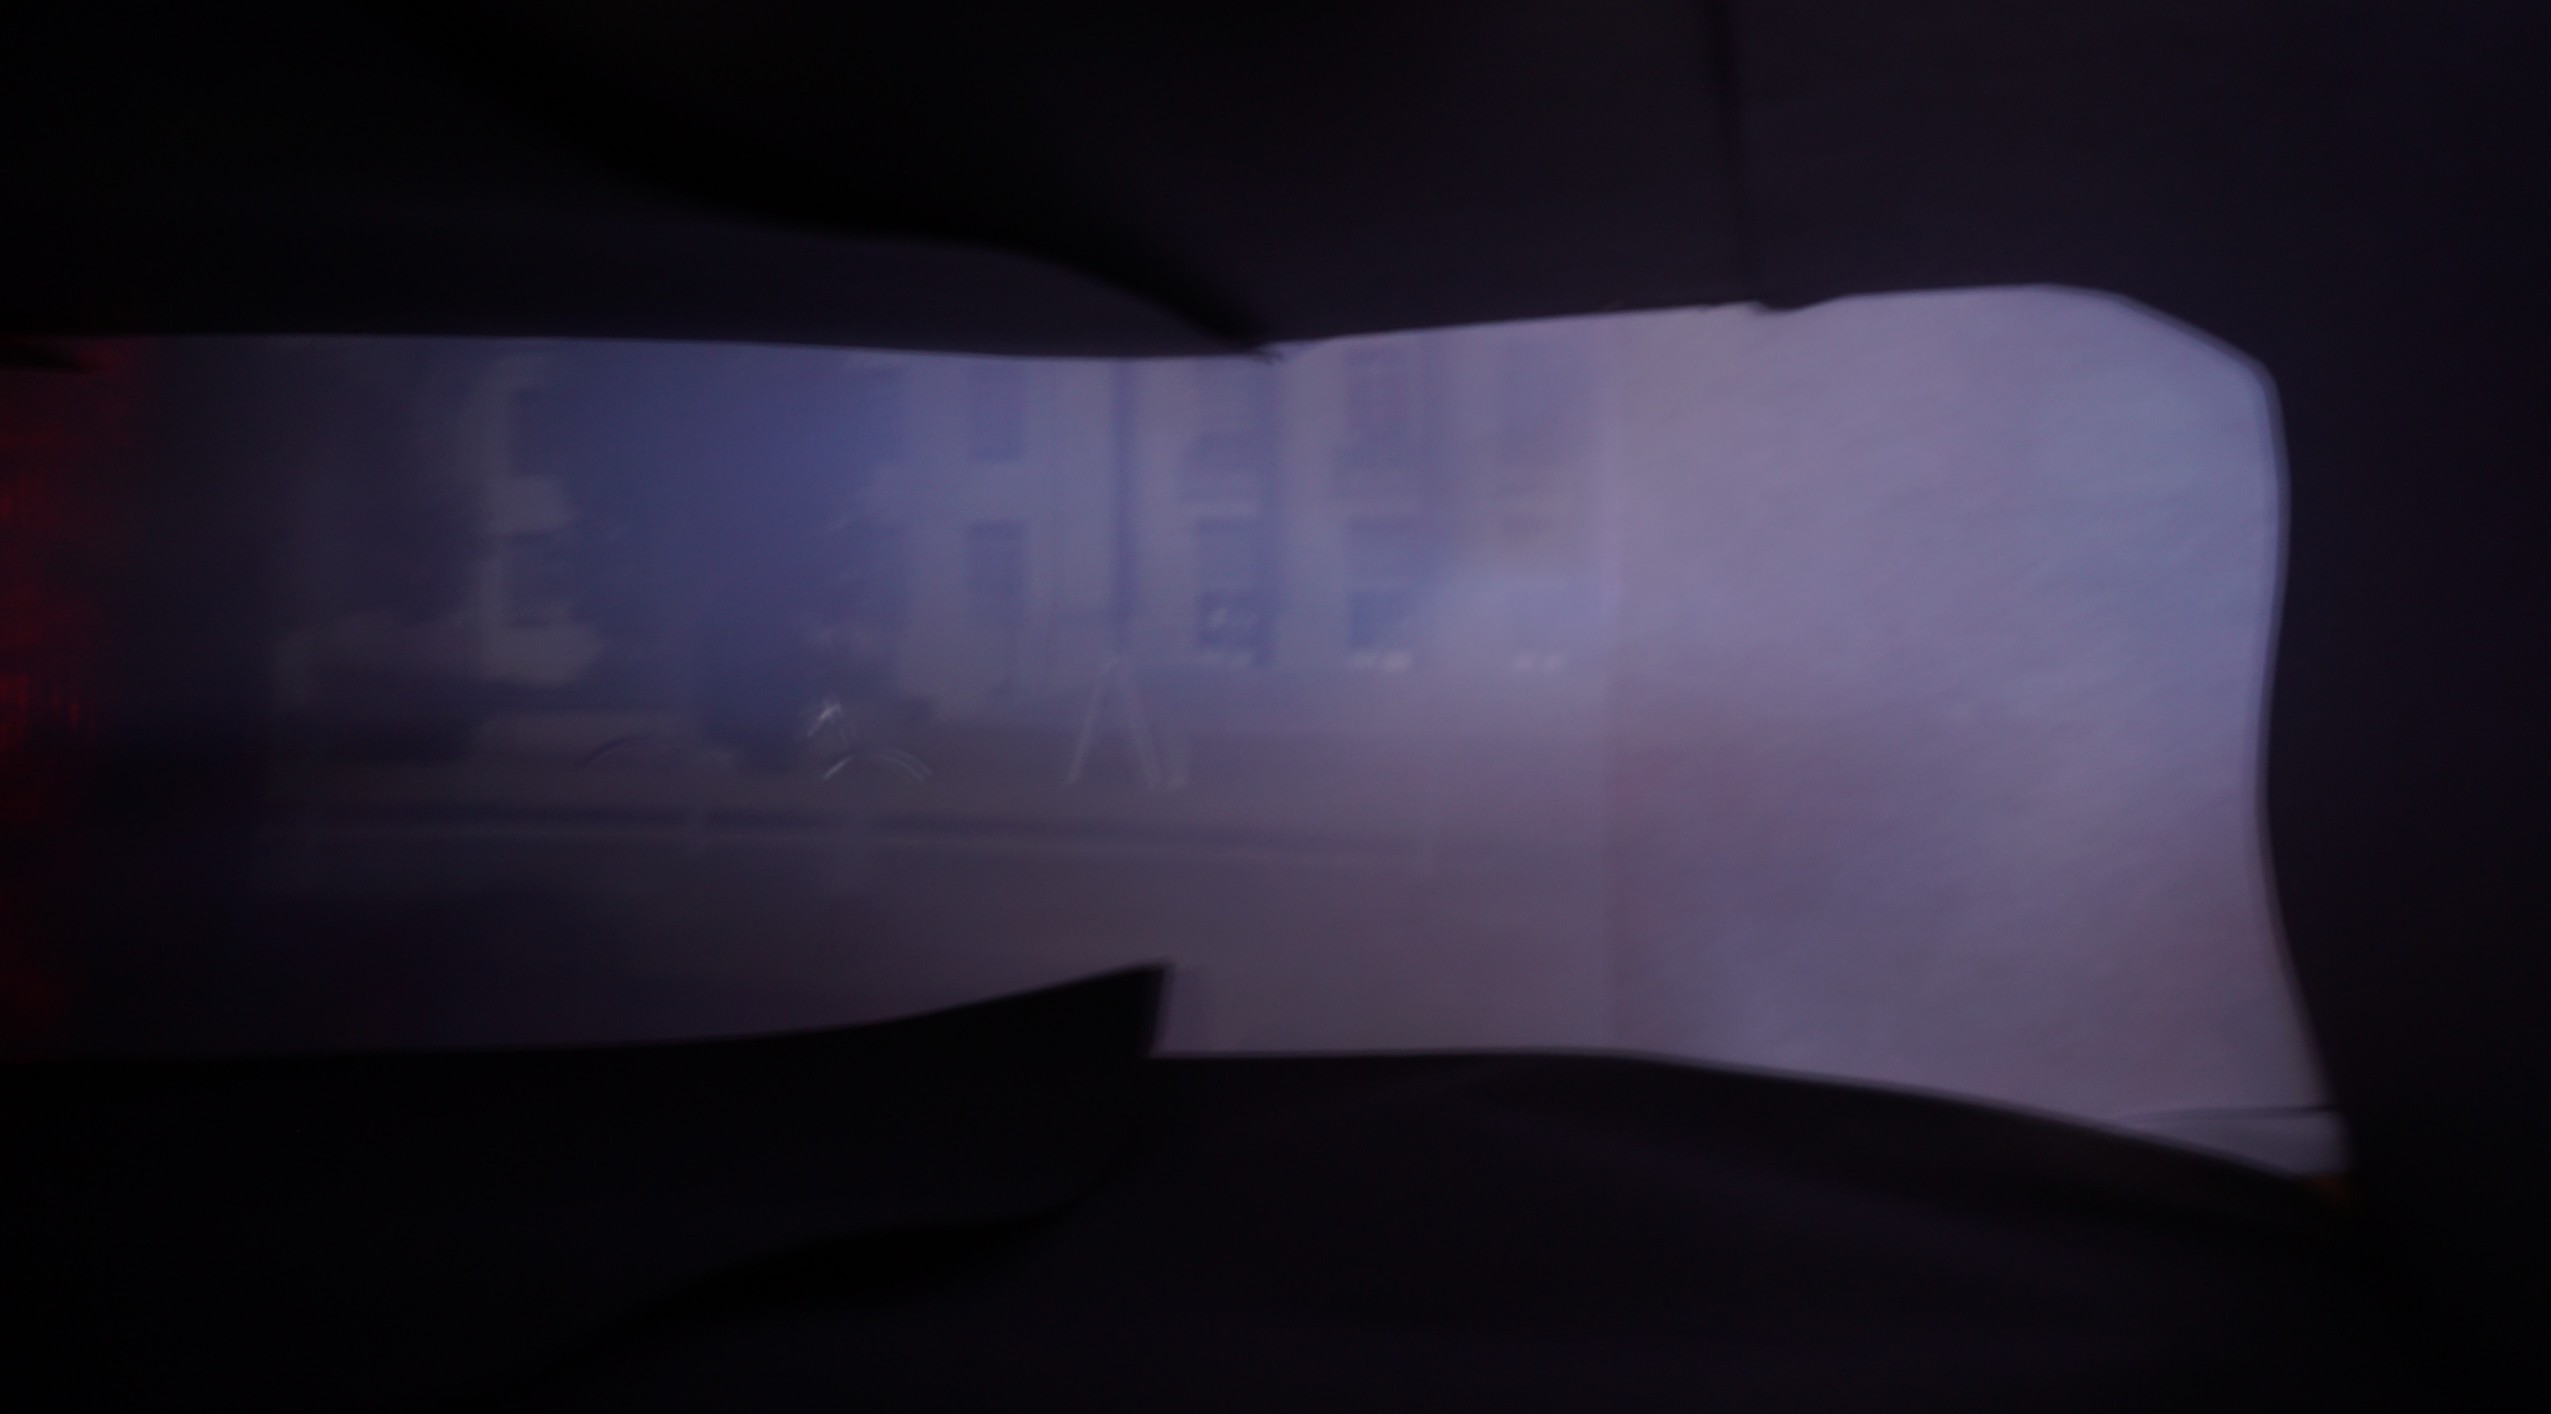
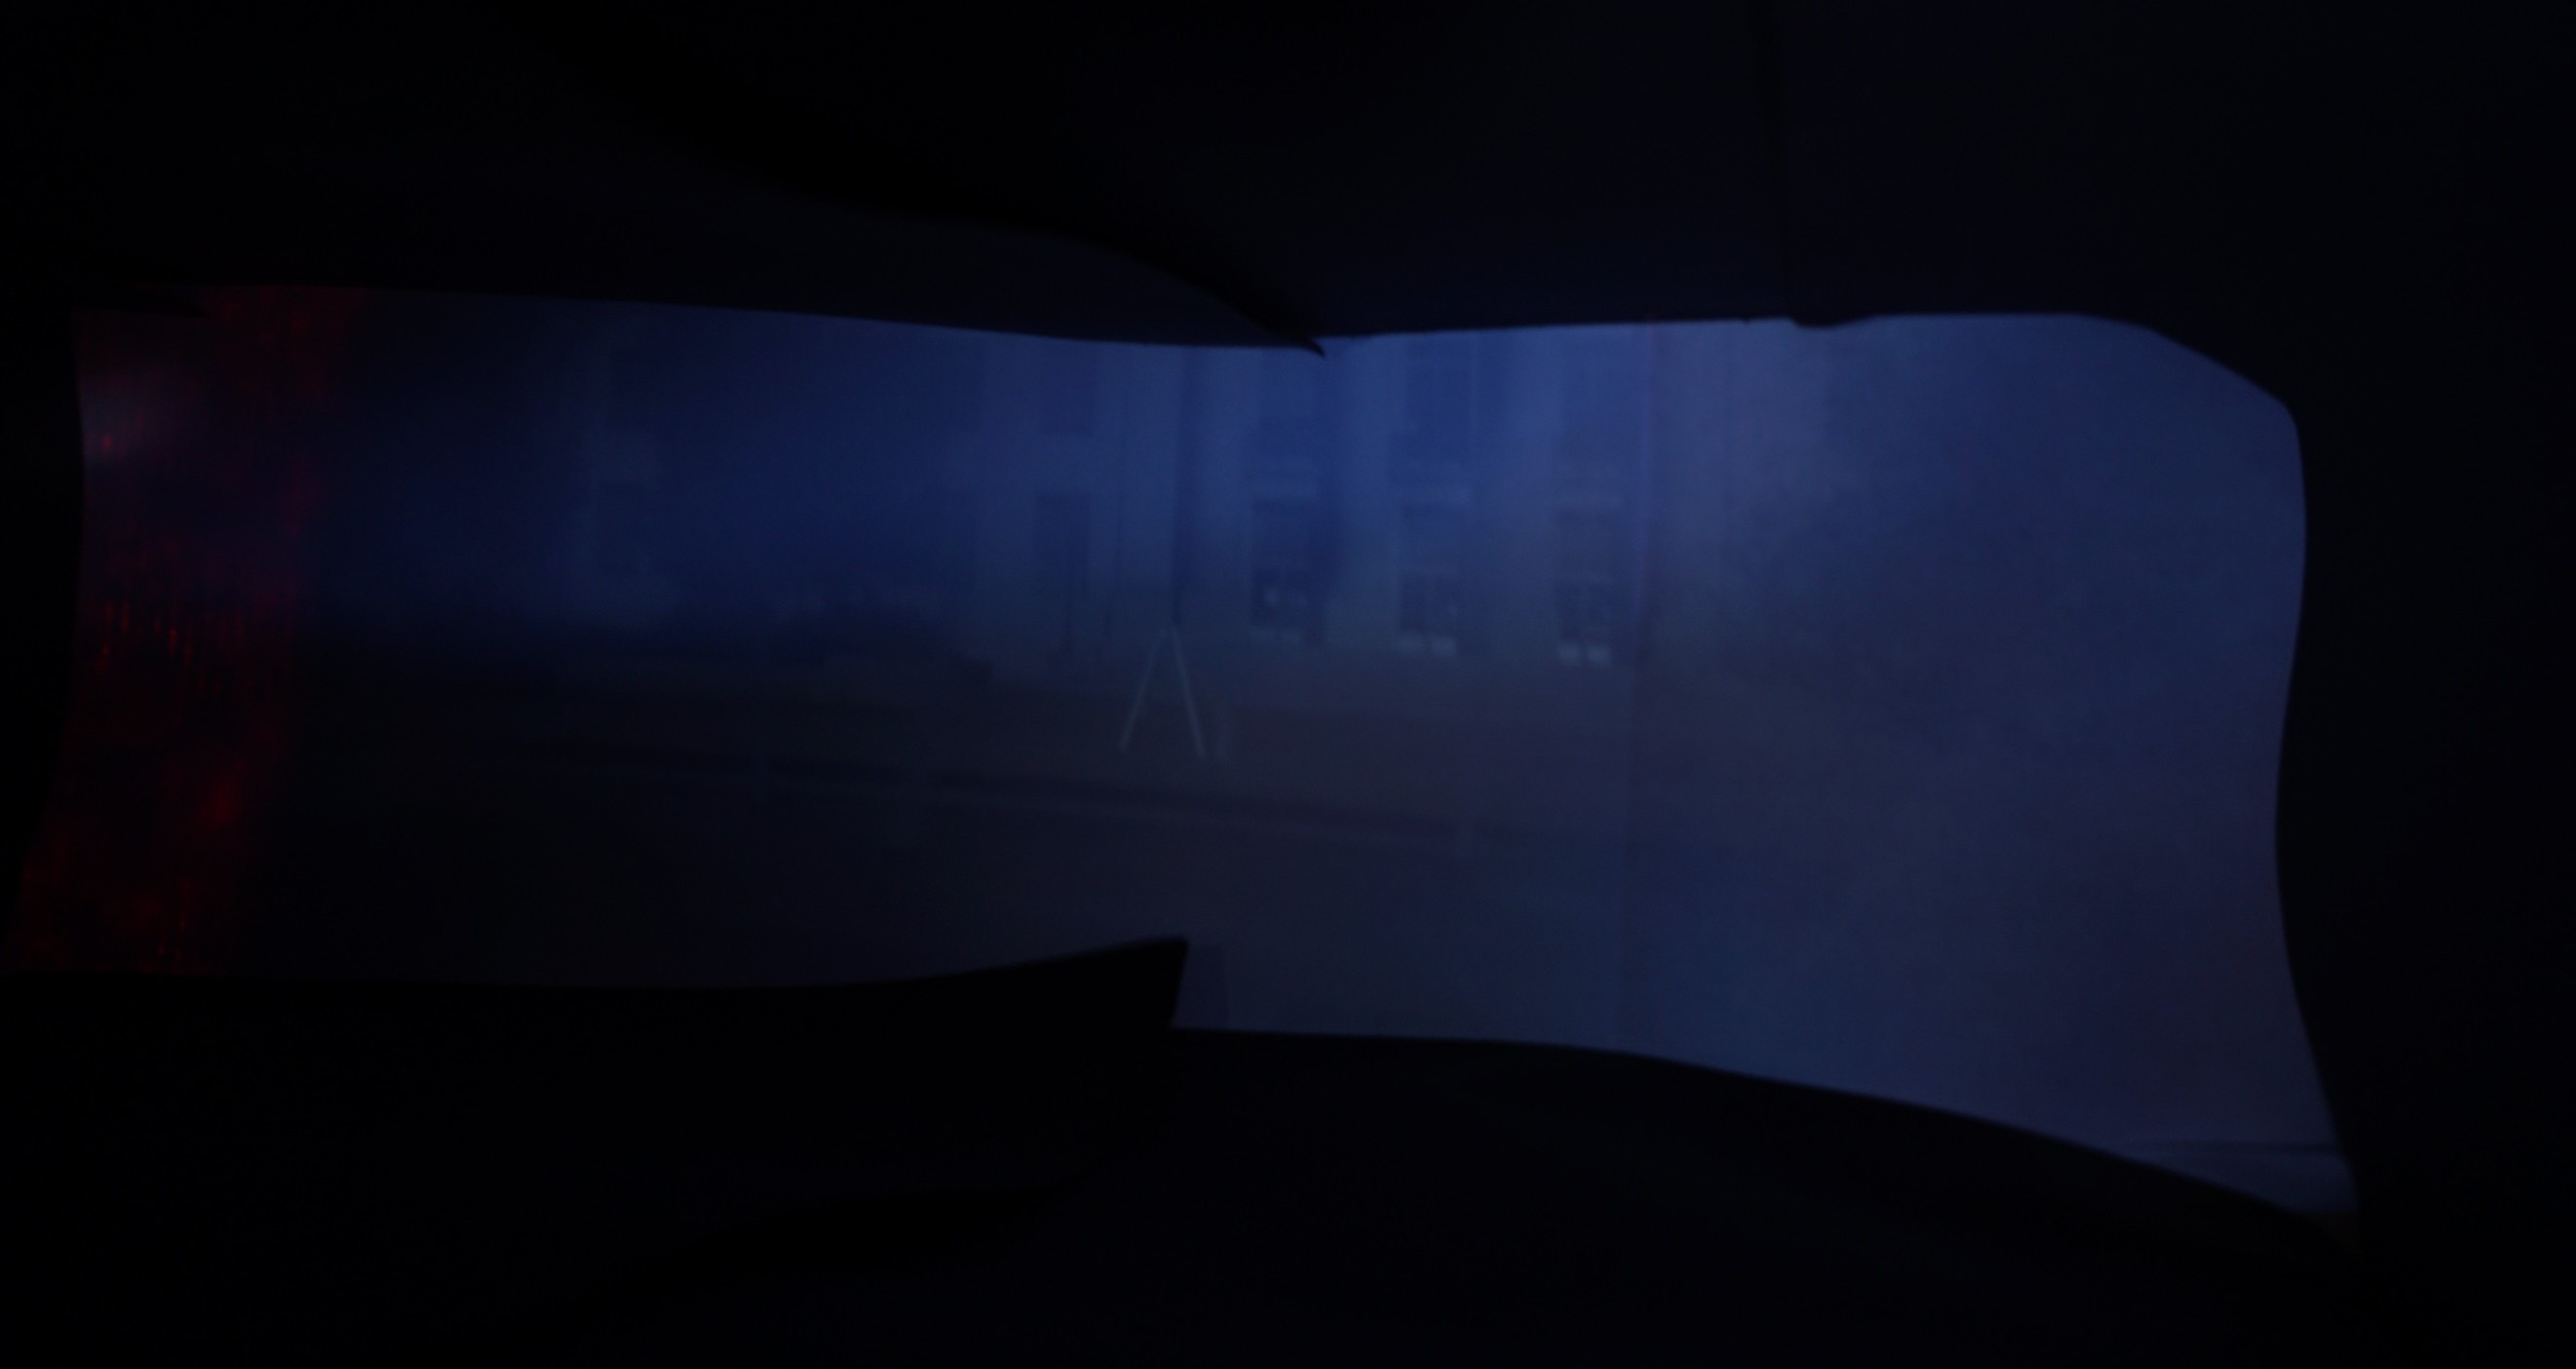
These shots were taken during a particularly sunny day in a direction opposite to the sun. This made capturing the scene at low ISO settings easy. The most successful shot was using the 5mm pinhole (which is why we used that size for the remaining shots). More light is able to enter naturally through the 5mm hole which results in a brighter and more readable image. The 3mm pinhole produced a slightly sharper albeit dimmer image. Since the aperture is tighter, less rays are able to enter which reduces blurring and expands the focus area. This principle carries over to the 1mm pinhole. However, the smaller aperture blocked out too much light at a shutter speed of 15 seconds. We captured the same scene with a shutter speed of 30 seconds. This brightened the scene but may have contributed to some blurring compared to the picture taken with a smaller shutter speed.
|
|
|
|
These shots were taken facing away from the sun. The shot using the 5mm pinhole came out well. ISO was set to 100, the lowest possible for this camera, and the scene was still nicely lit. The shot using the 3mm pinhole came out dimmer but that may have been due to the sun going away momentarily. Again, the shot using the 3mm pinhole appears to be sharper than with 5mm pinhole. The shot using the 1mm pinhole exaggerated some of the artifacts present in the previous 3mm shot but the objects inside it seem to be slightly easier to make out. As expected the shot came out slightly dimmer, but increasing the iso evened the shots out.
|
|
|
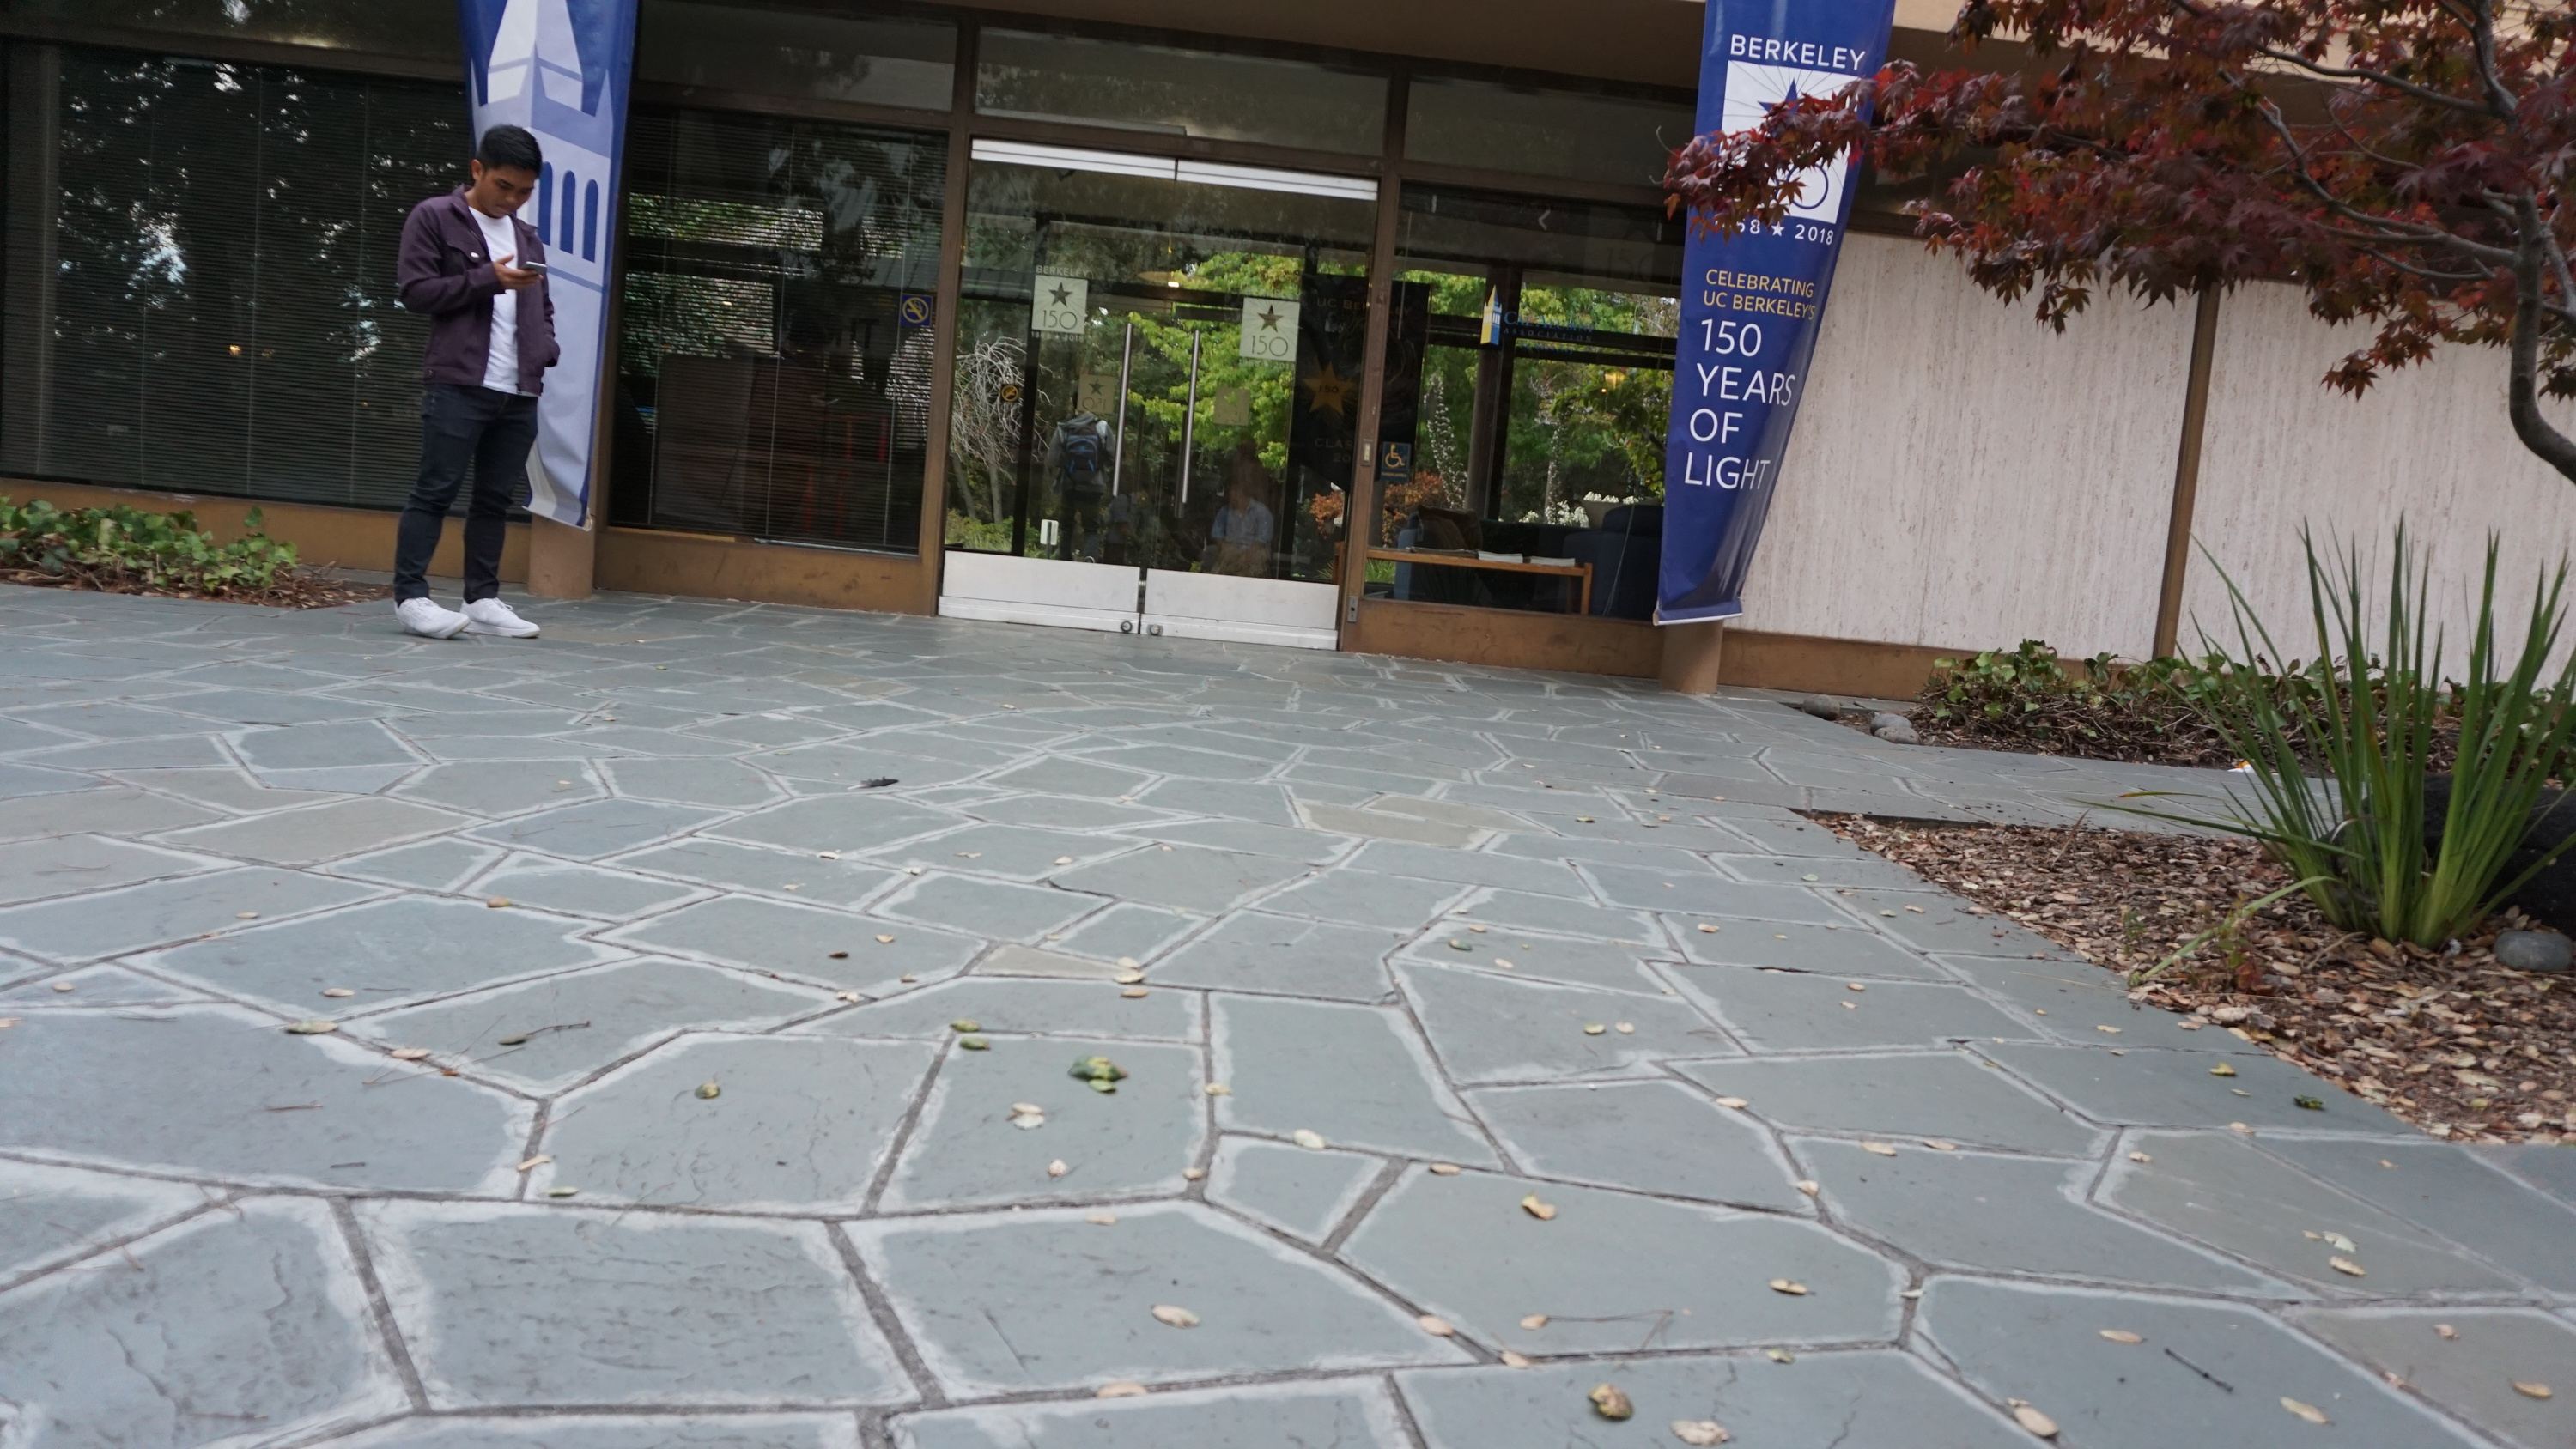
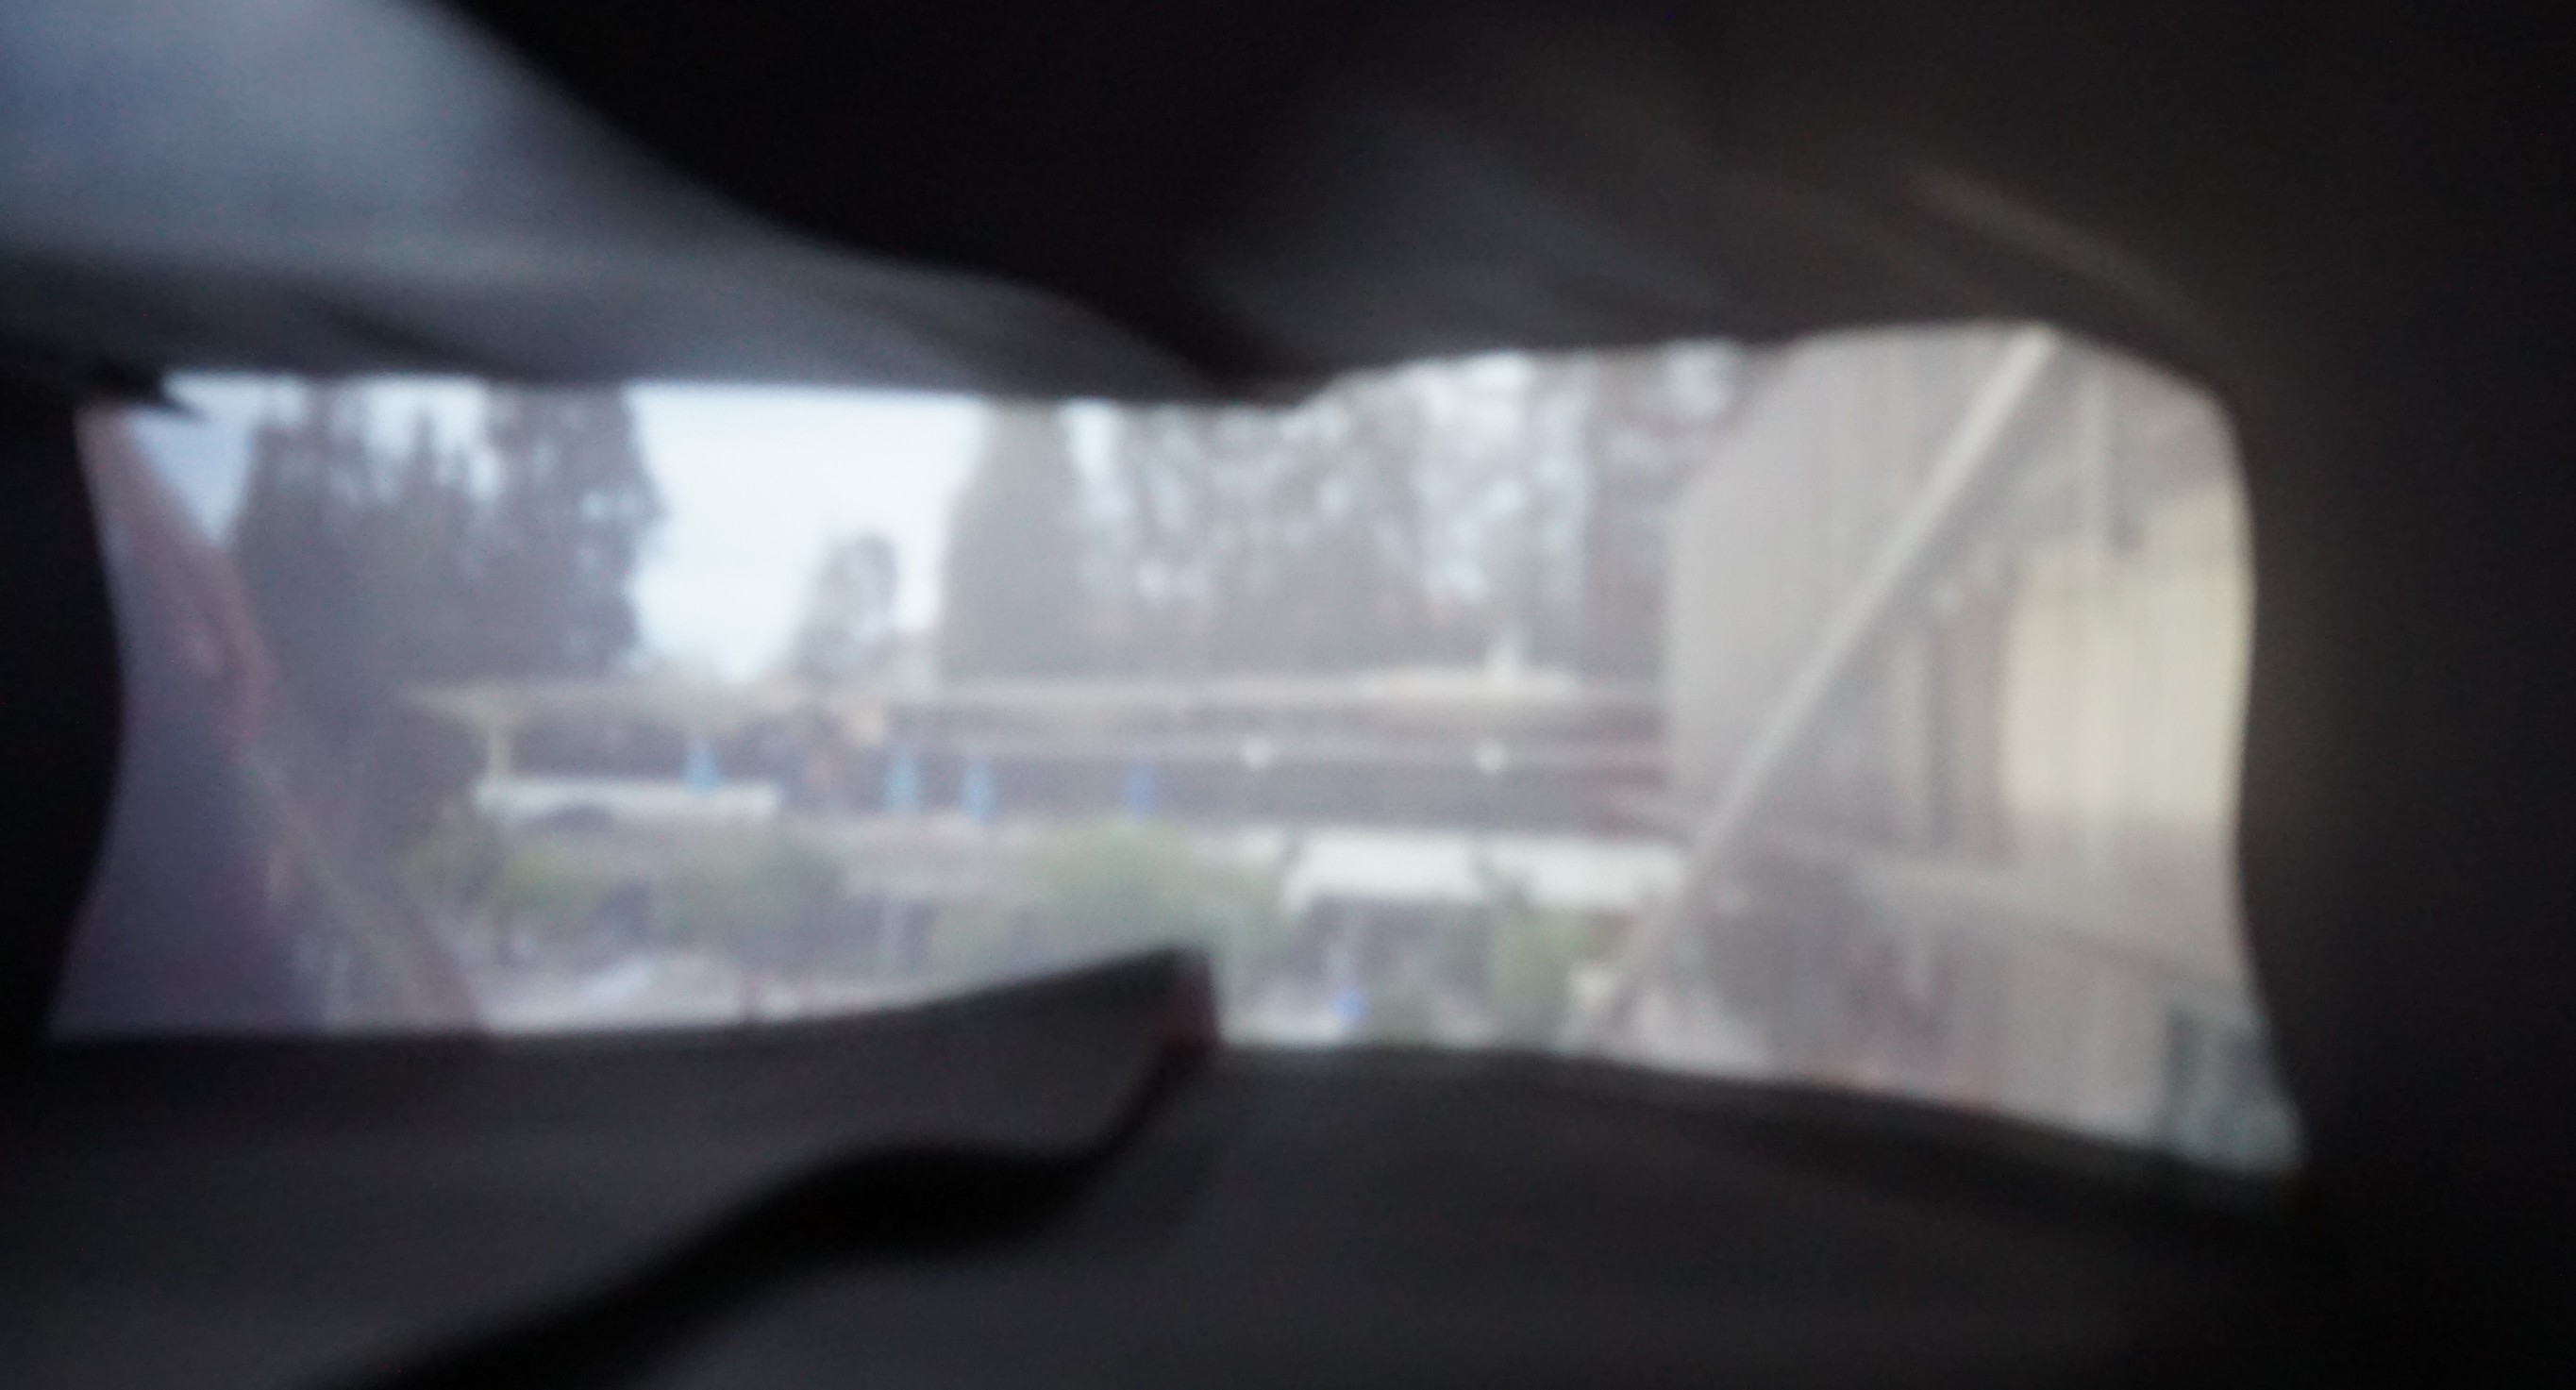
This shot was taken with shelter from Haas Pavillion. This blocked unnecessary sunlight from entering the pinhole but led to a somewhat dim image that needed to be boosted with an iso gain of 800.
|
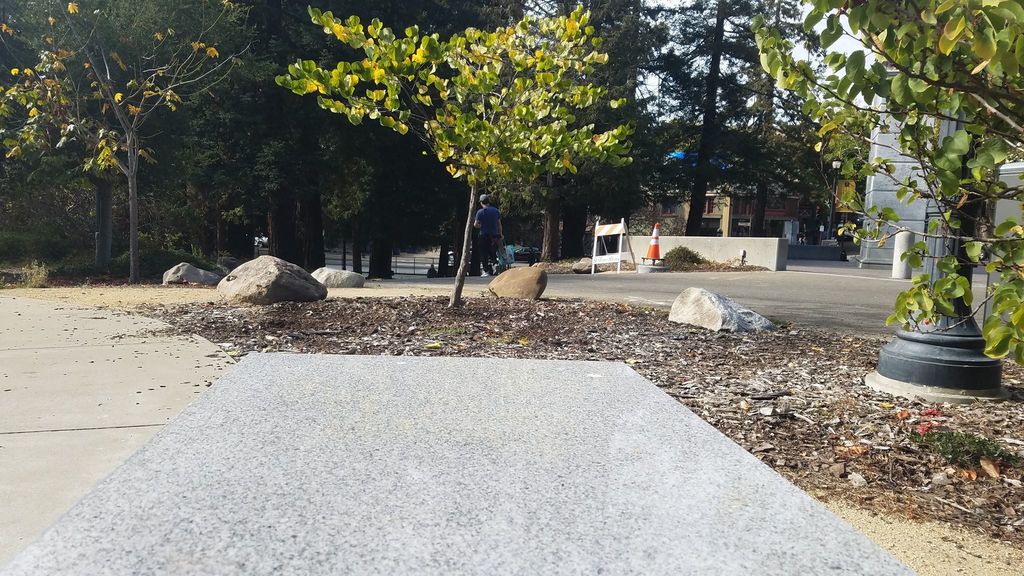
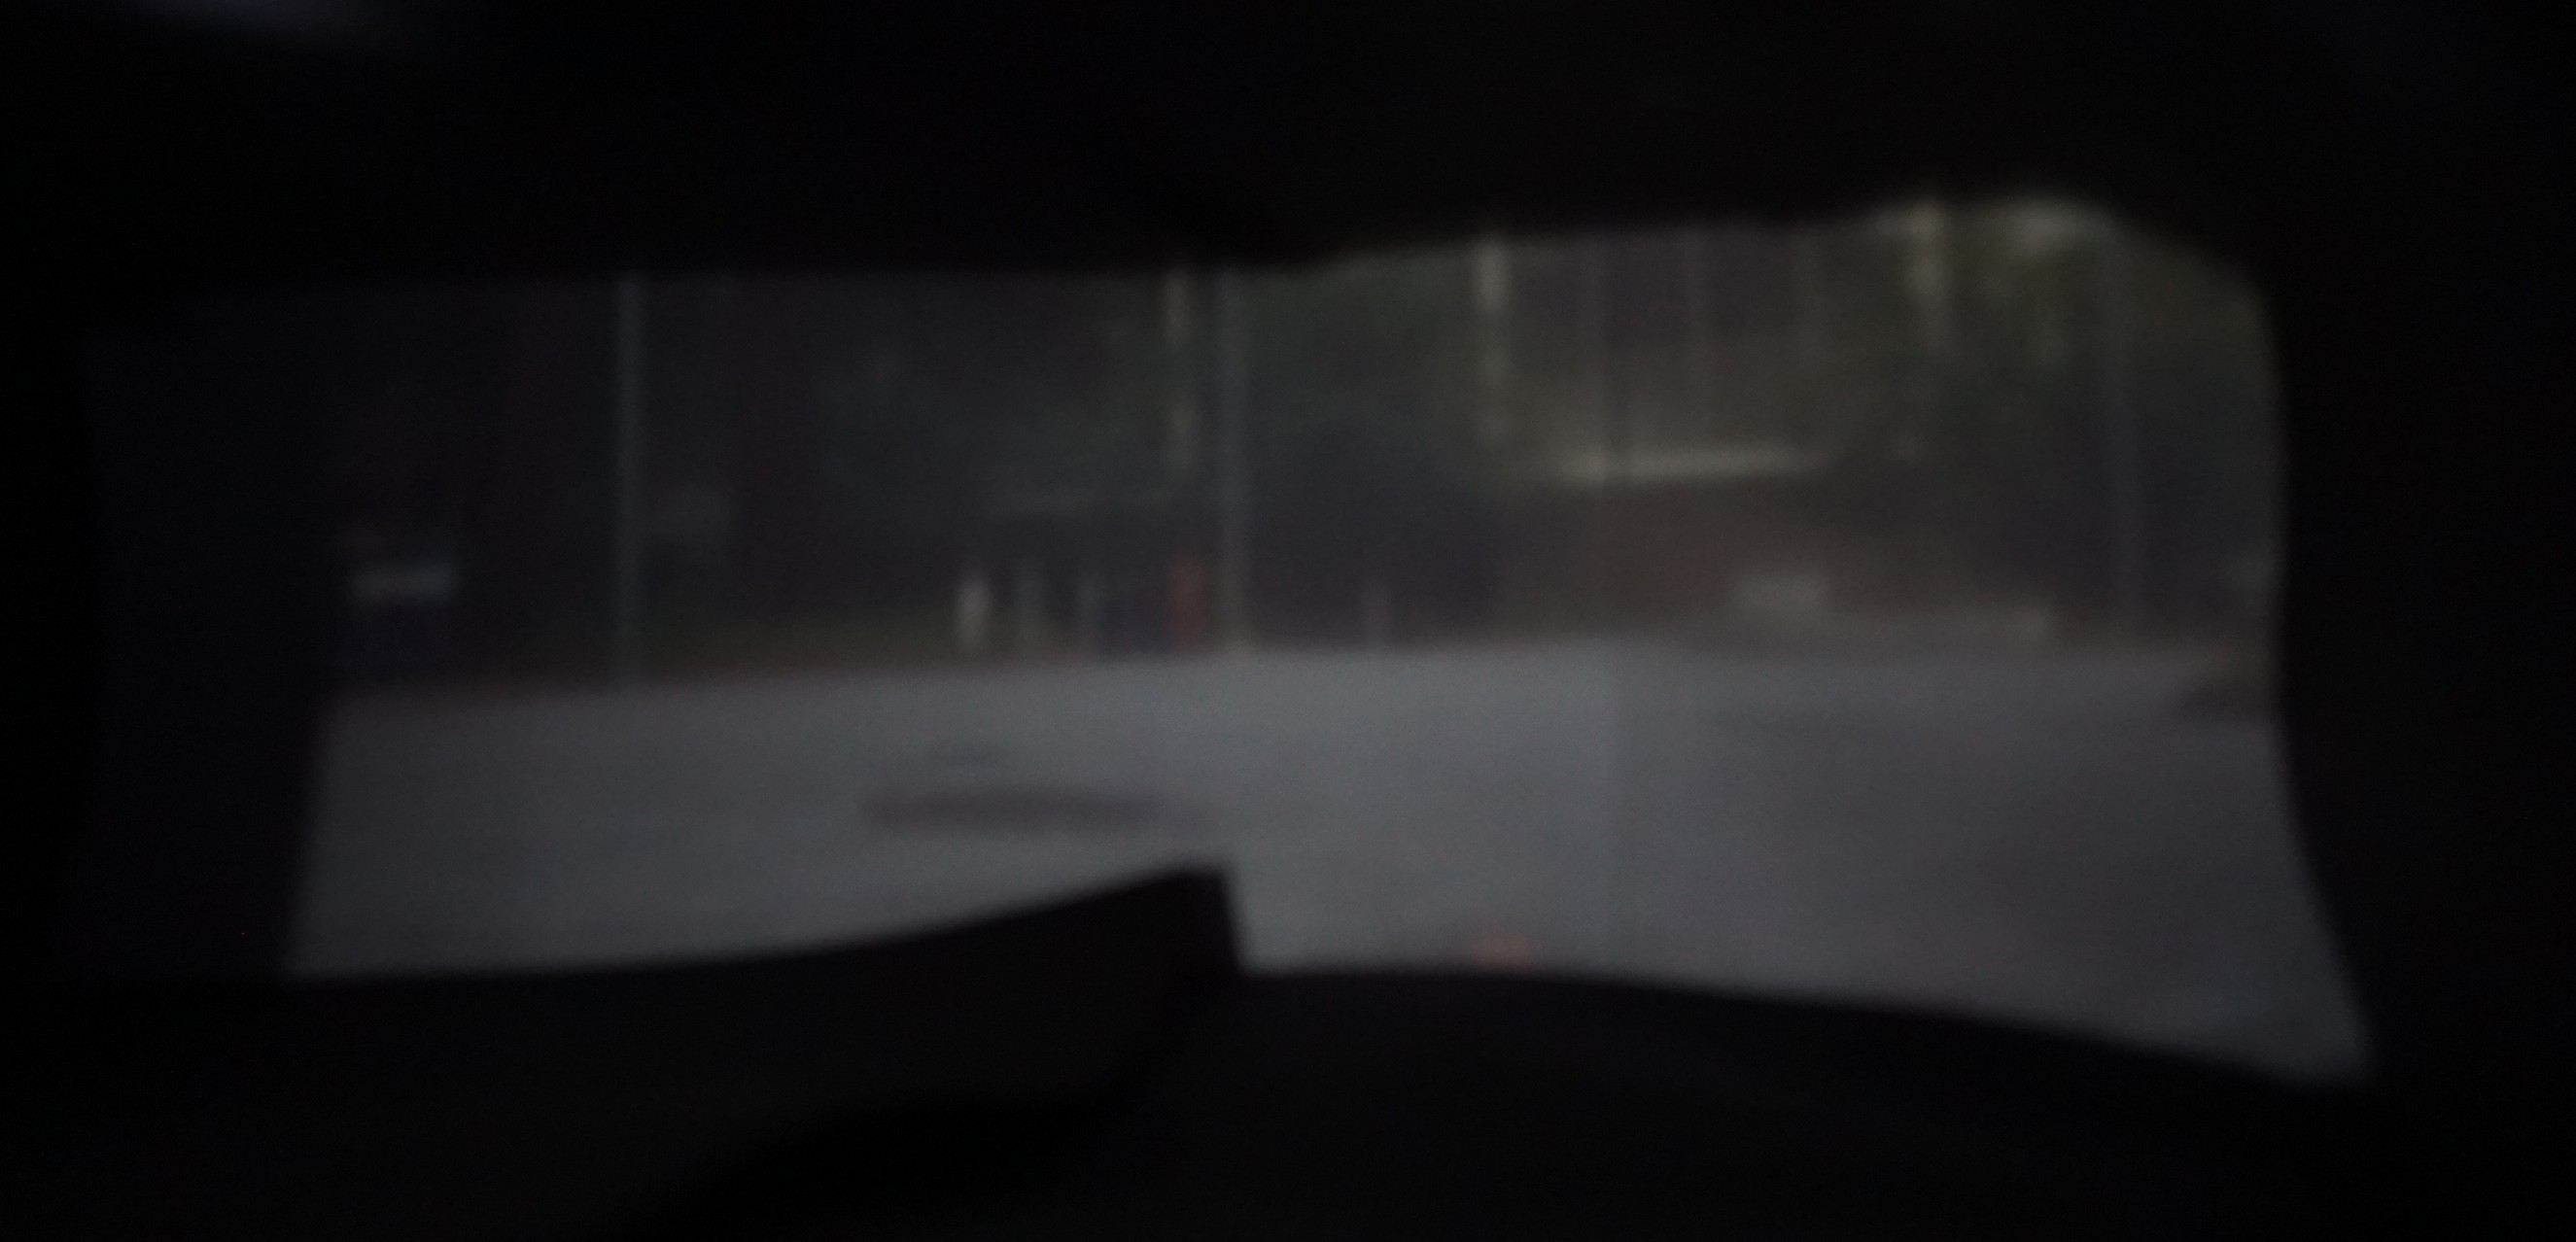
This shot was taken with sunlight shining directly into the pinhole camera. This may explain the large artifact that blurs the right side of the image. But details such as the orange cone can still be detected.
|
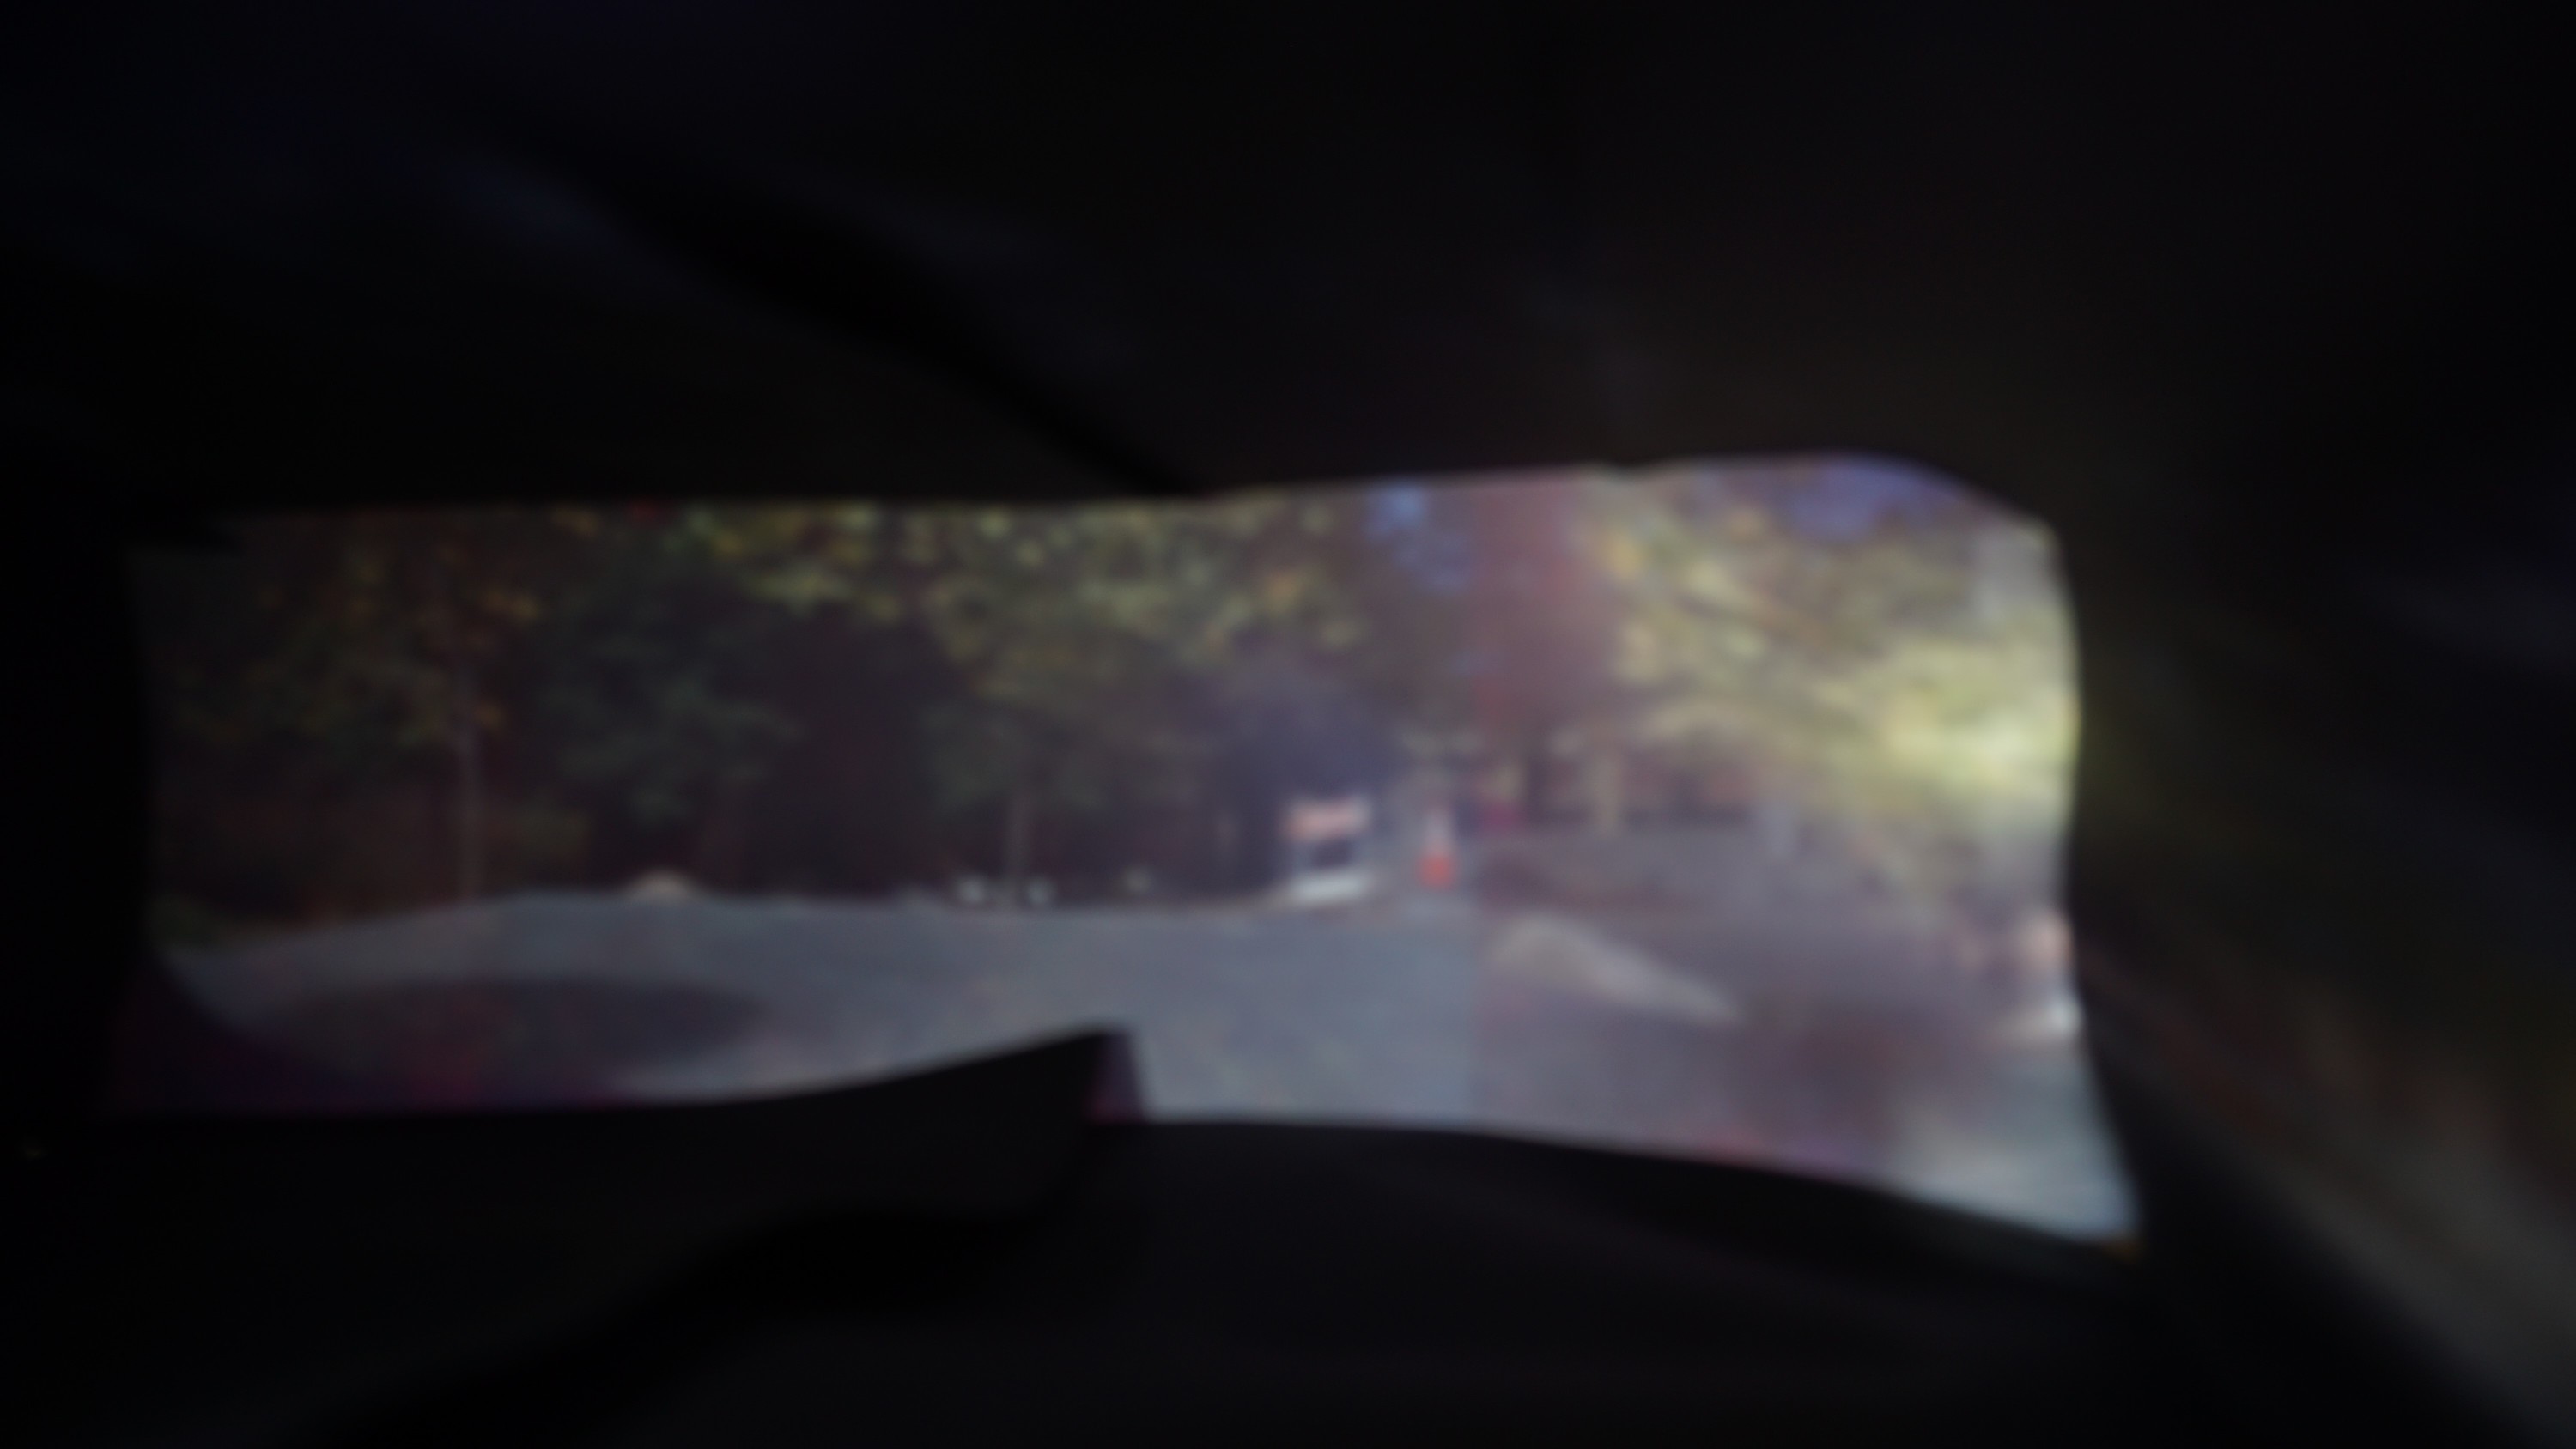
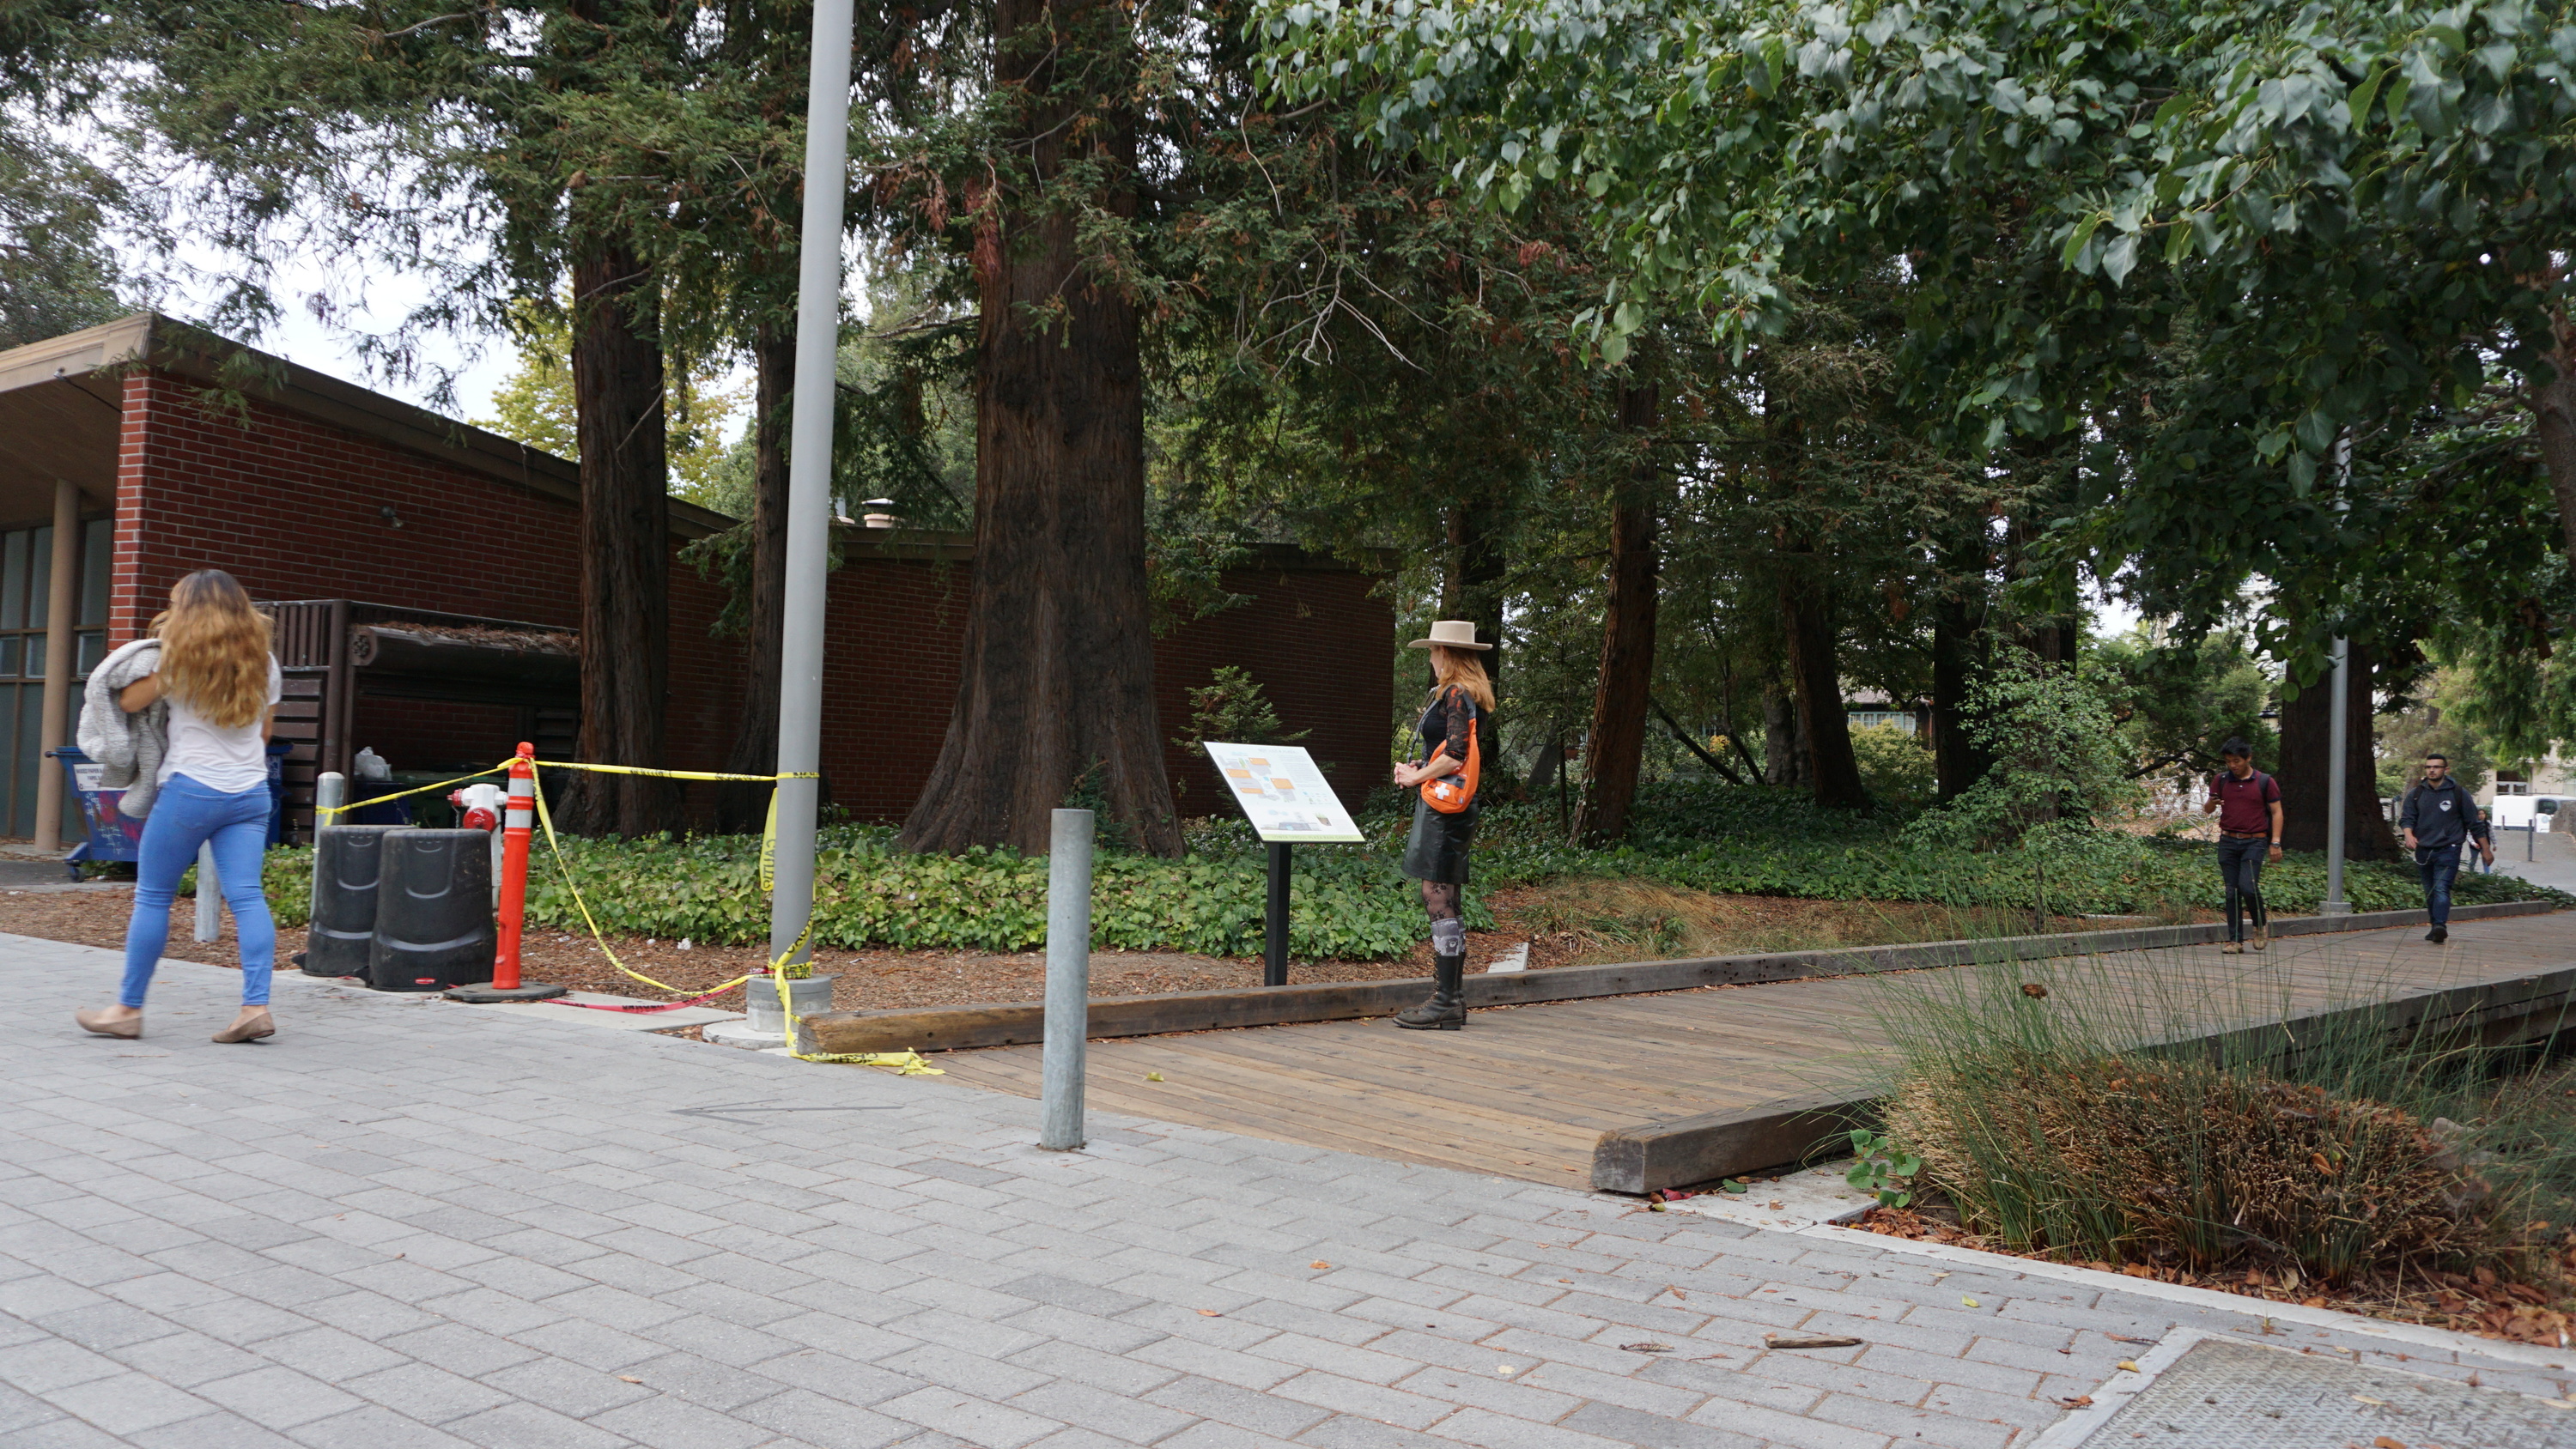
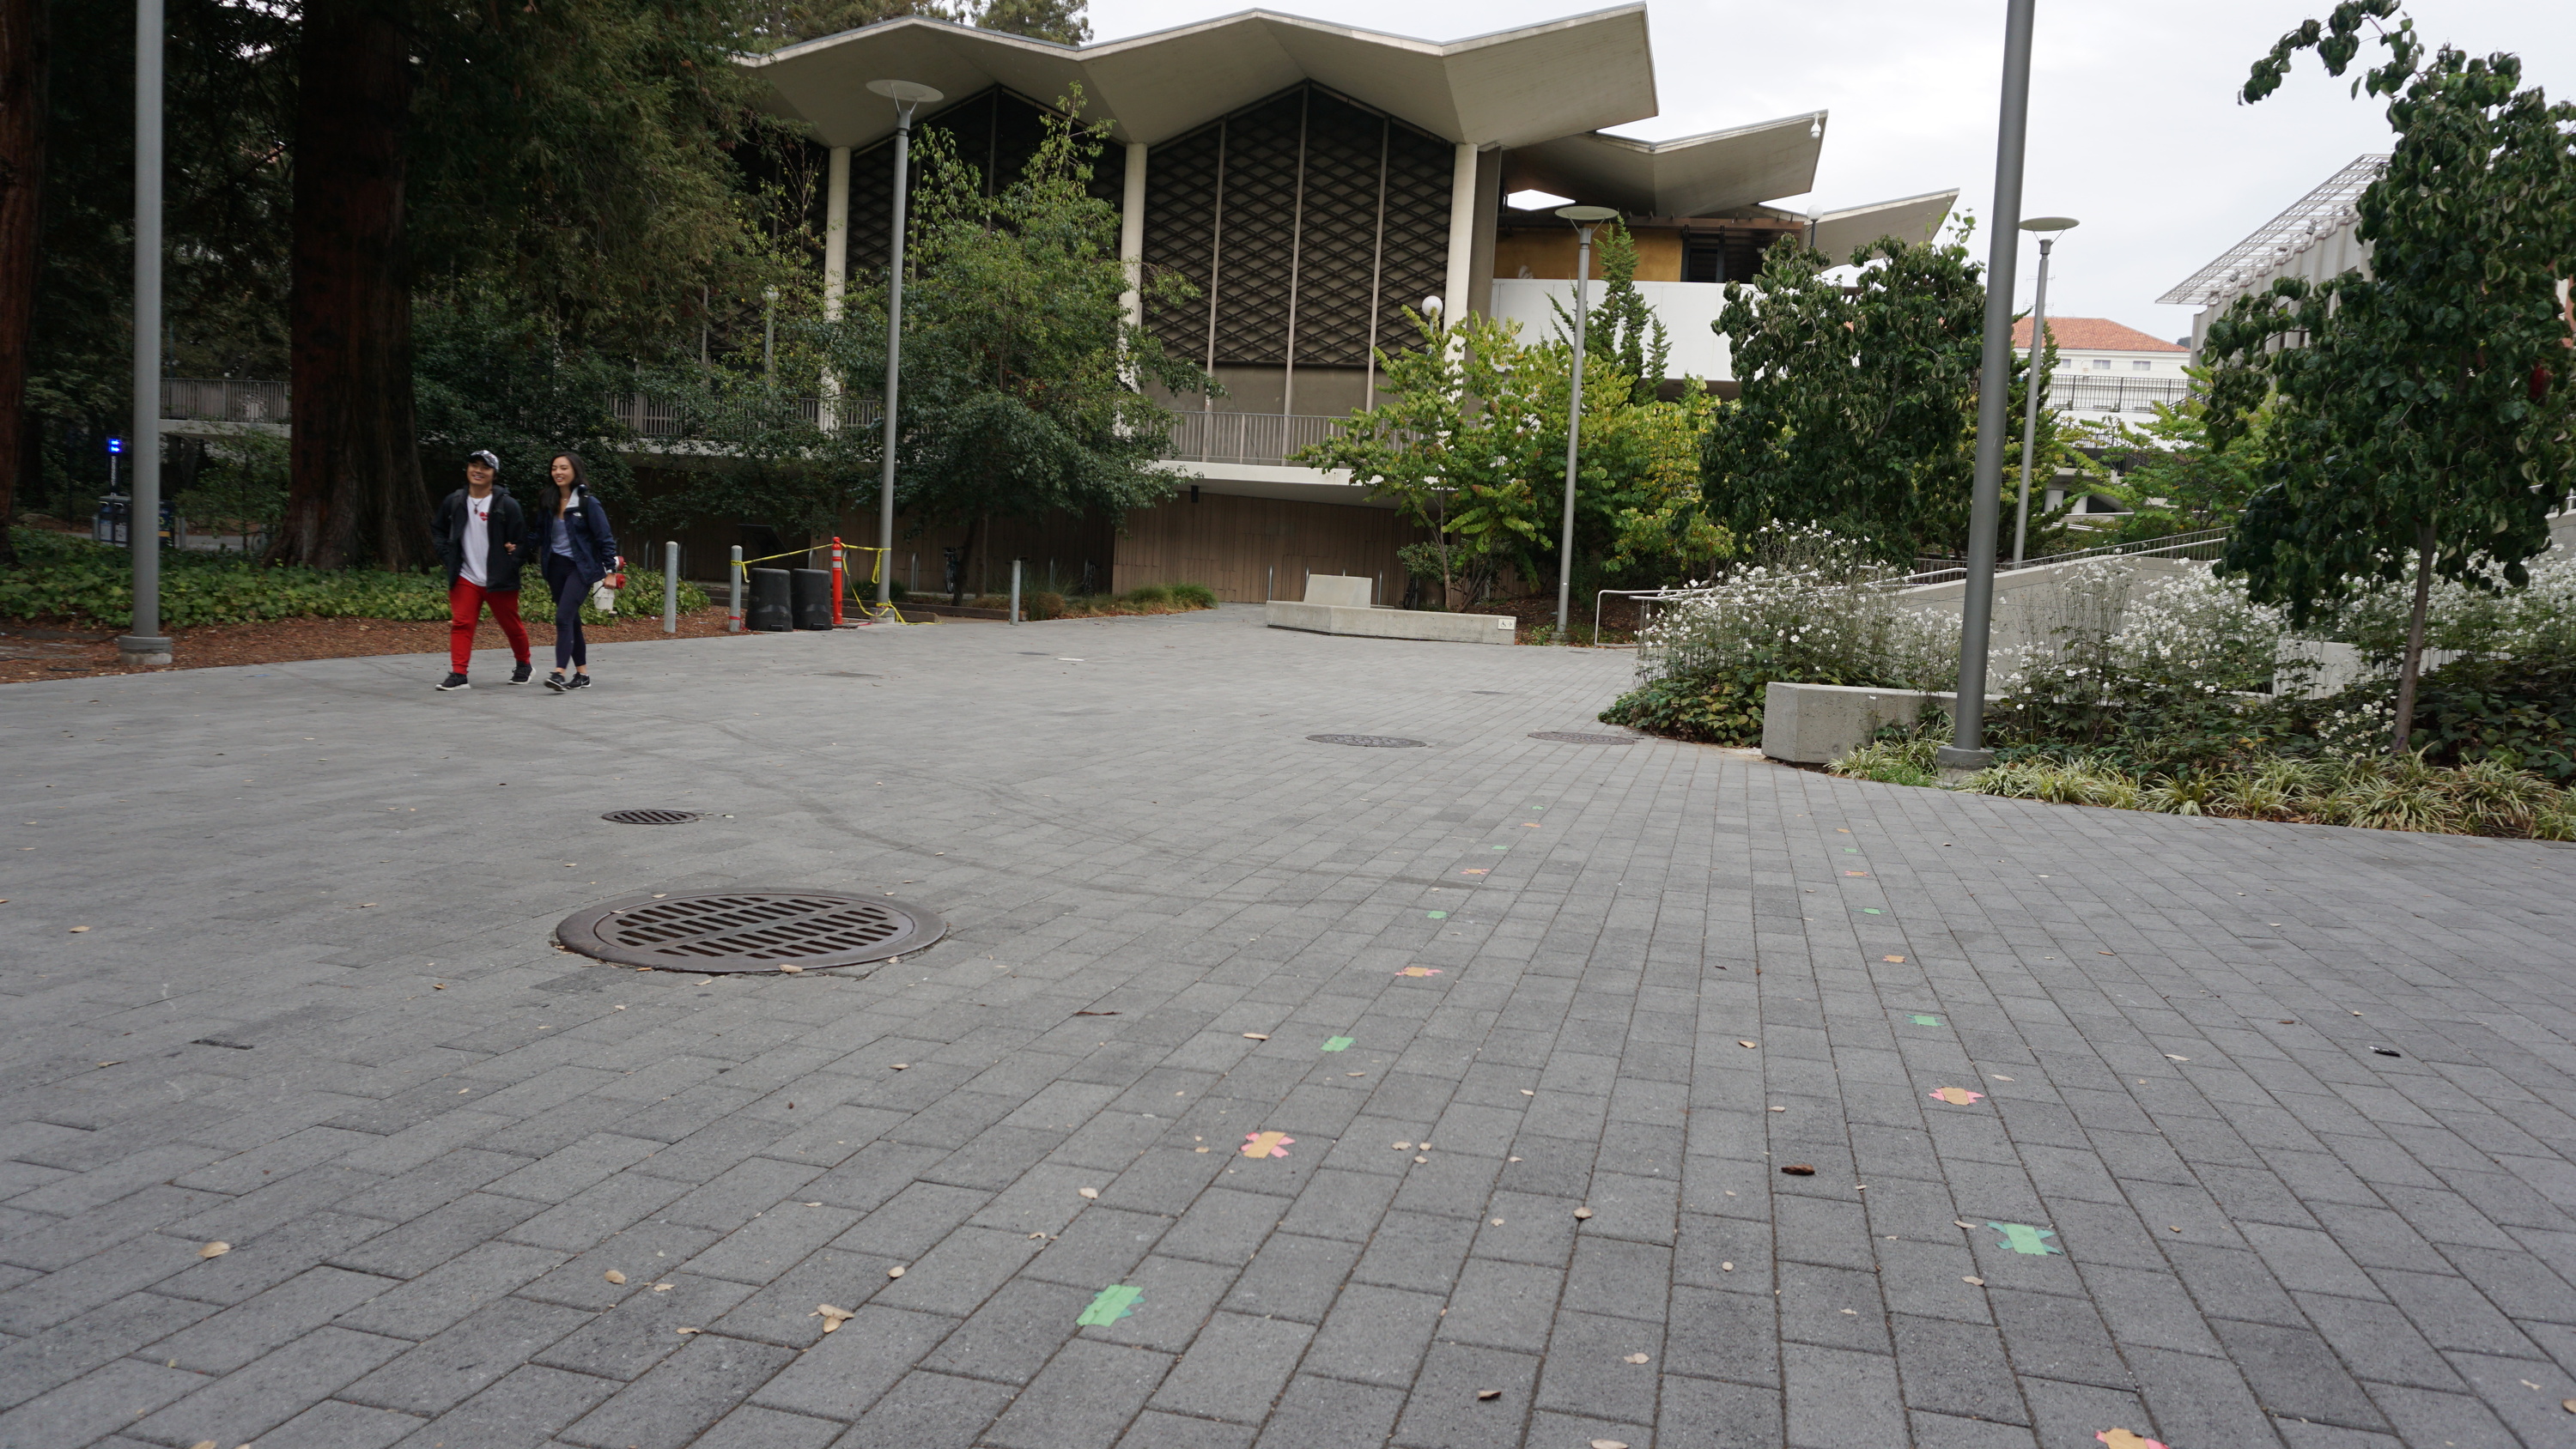
This shot was taken in a direction opposite of the sun. As with the Sproul Stairs shot, the scene came out very clearly.
|
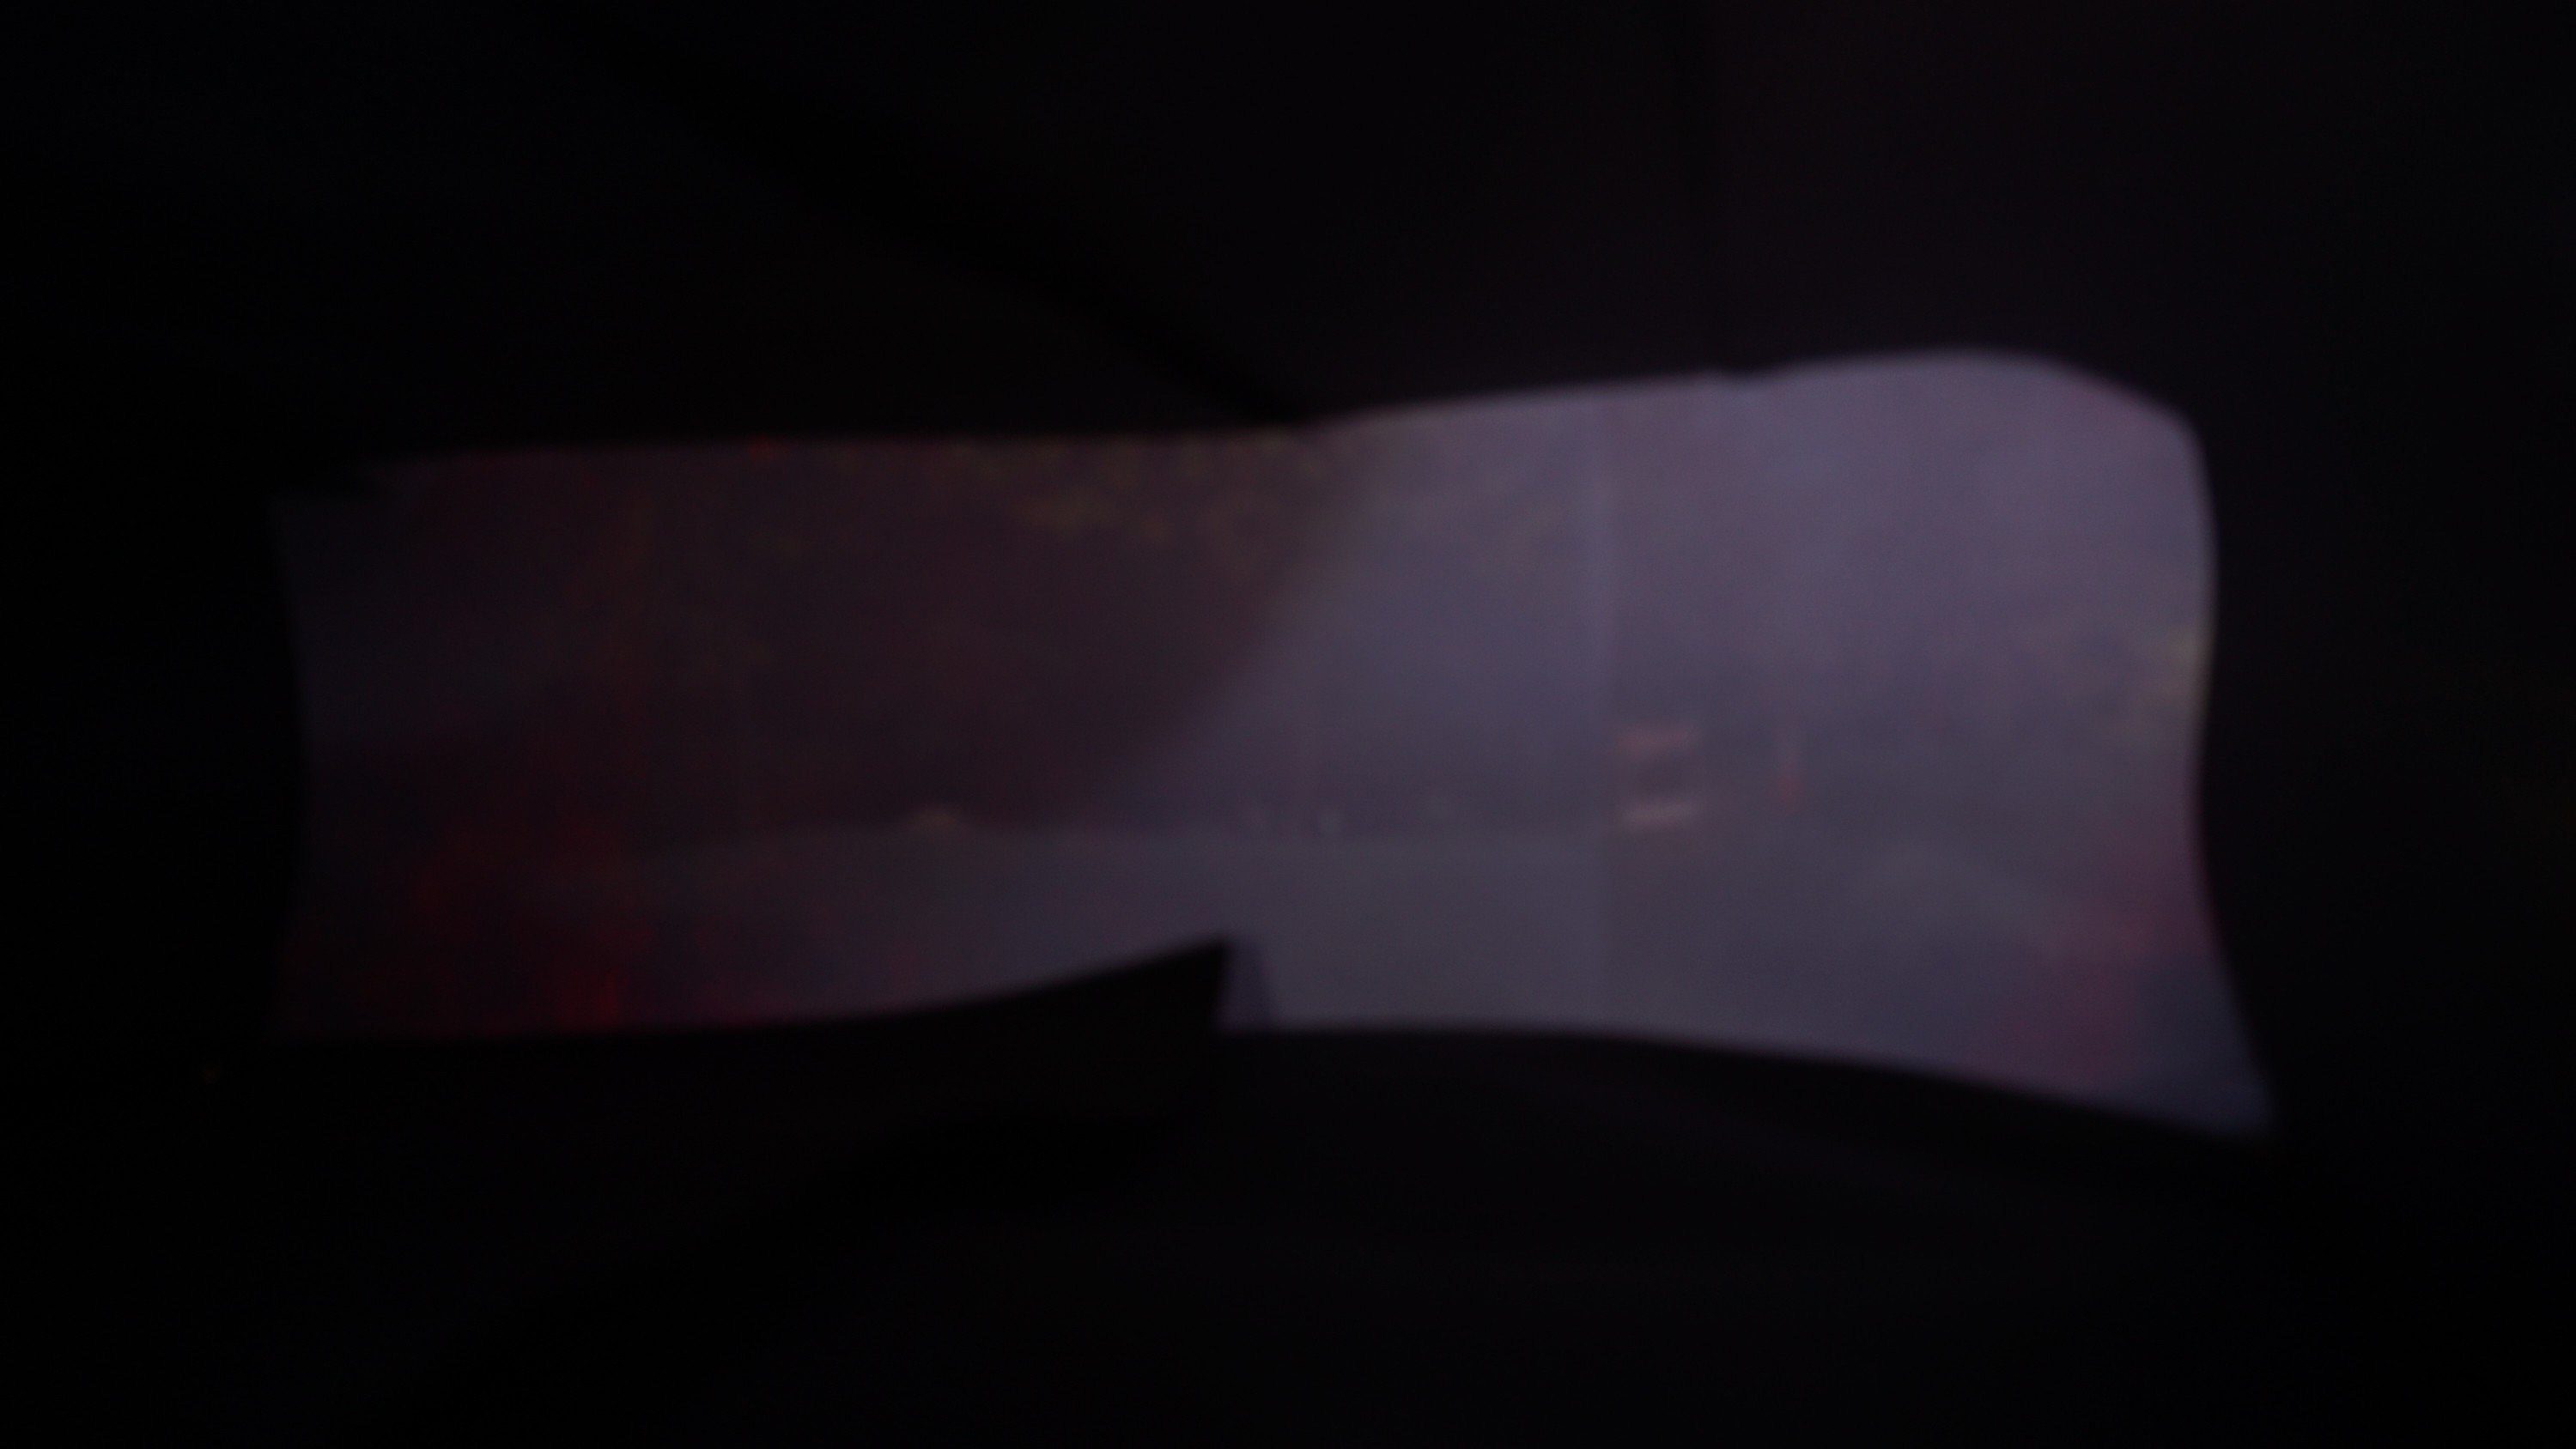
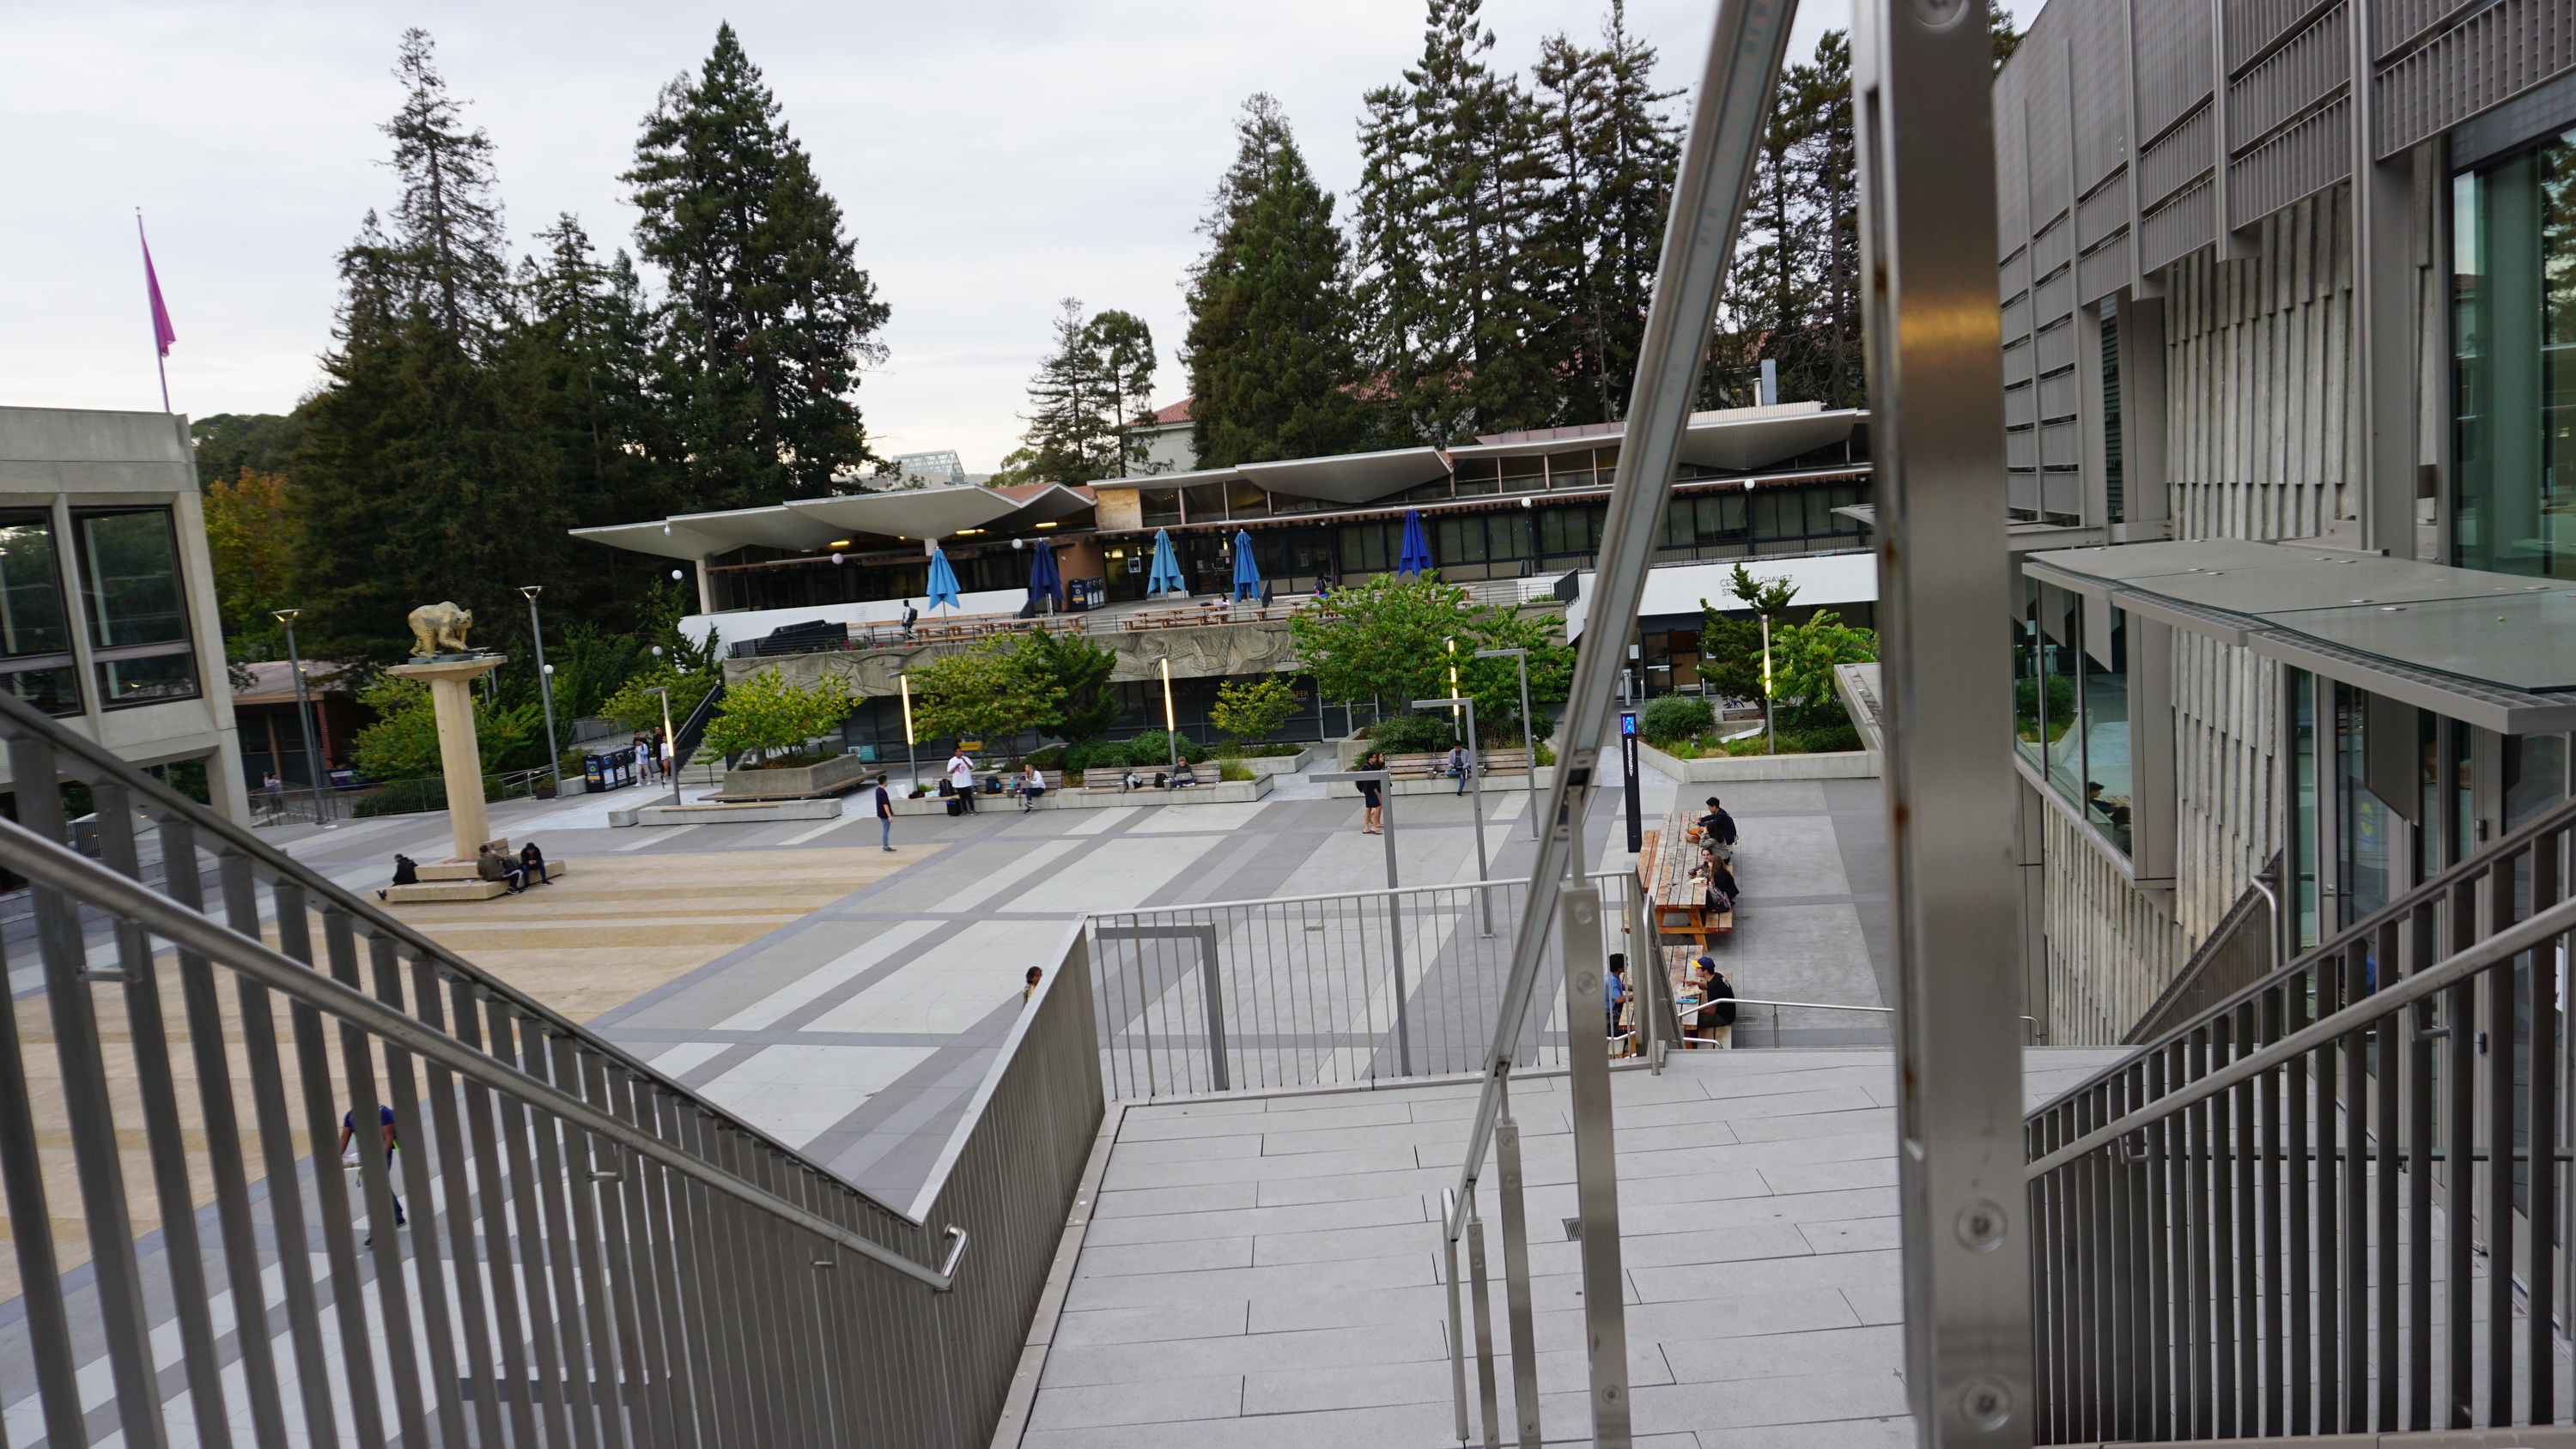
This shot came out well for us. The weather was overcast but setting the iso to a value of 2000 led to a clean shot that matches the reference very well.
|
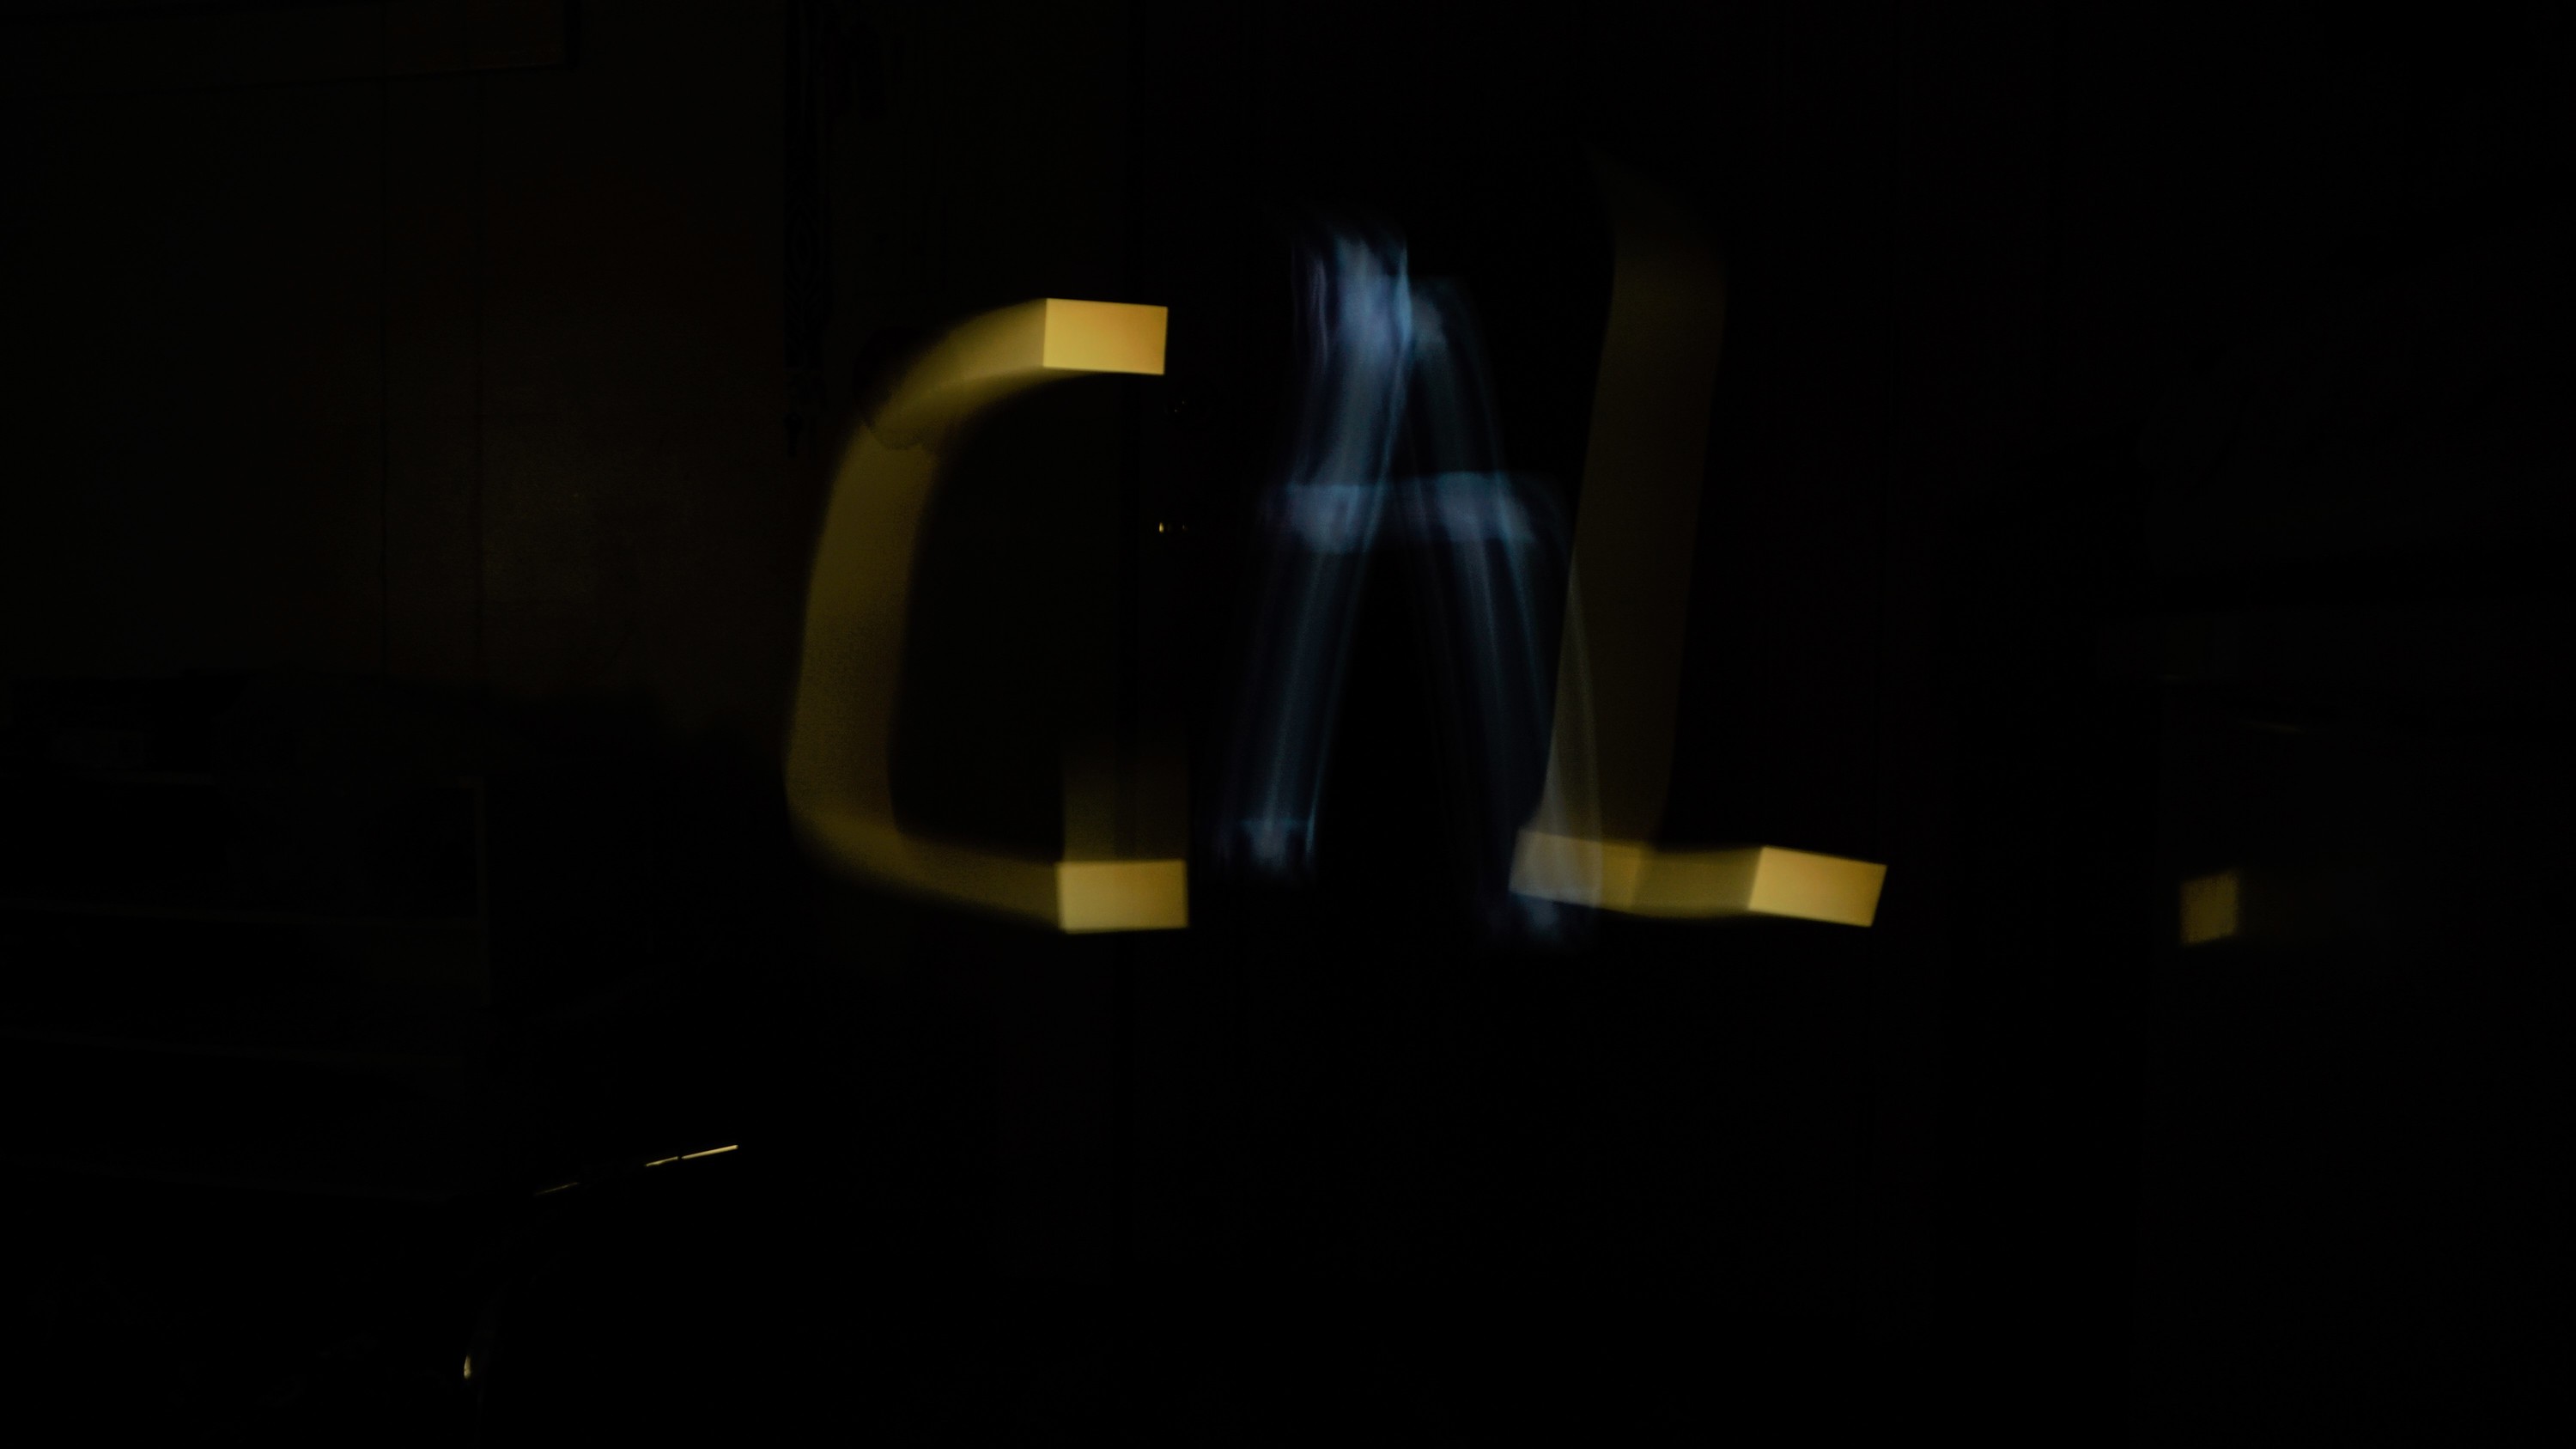
'Light painting takes advantage of the extended light integration time when taking a photo using a low shutter speed. An exposed sensor will track the movement of a light over the amount of time the shutter stays open. The picture below was taken in a dark room, with a phone as the paintbrush. In the darkness, the colored light coming from the phone would be the primary visual component of the scene. Using a blown-up image of gold and a blue lockscreen as the paint, we moved the phone in a way that would spell out 'CAL'. Since a single image is saved in the end, the word appears to be floating in the air.