Project 2: Building a Pinhole Camera
By Dorian Chan (aec) and Michelle Hwang (aaj)
Overview
In this project, the goal was to build a pinhole camera (camera obscura) using common household materials. The general concept behind this idea is for light to shine through a tiny pinhole onto a screen, forming an upside down image. Unfortunately, this image is very dark, so we use a digital camera with a long exposure time to view the output. We also experimented with different pinhole sizes, in order to compare the effects.
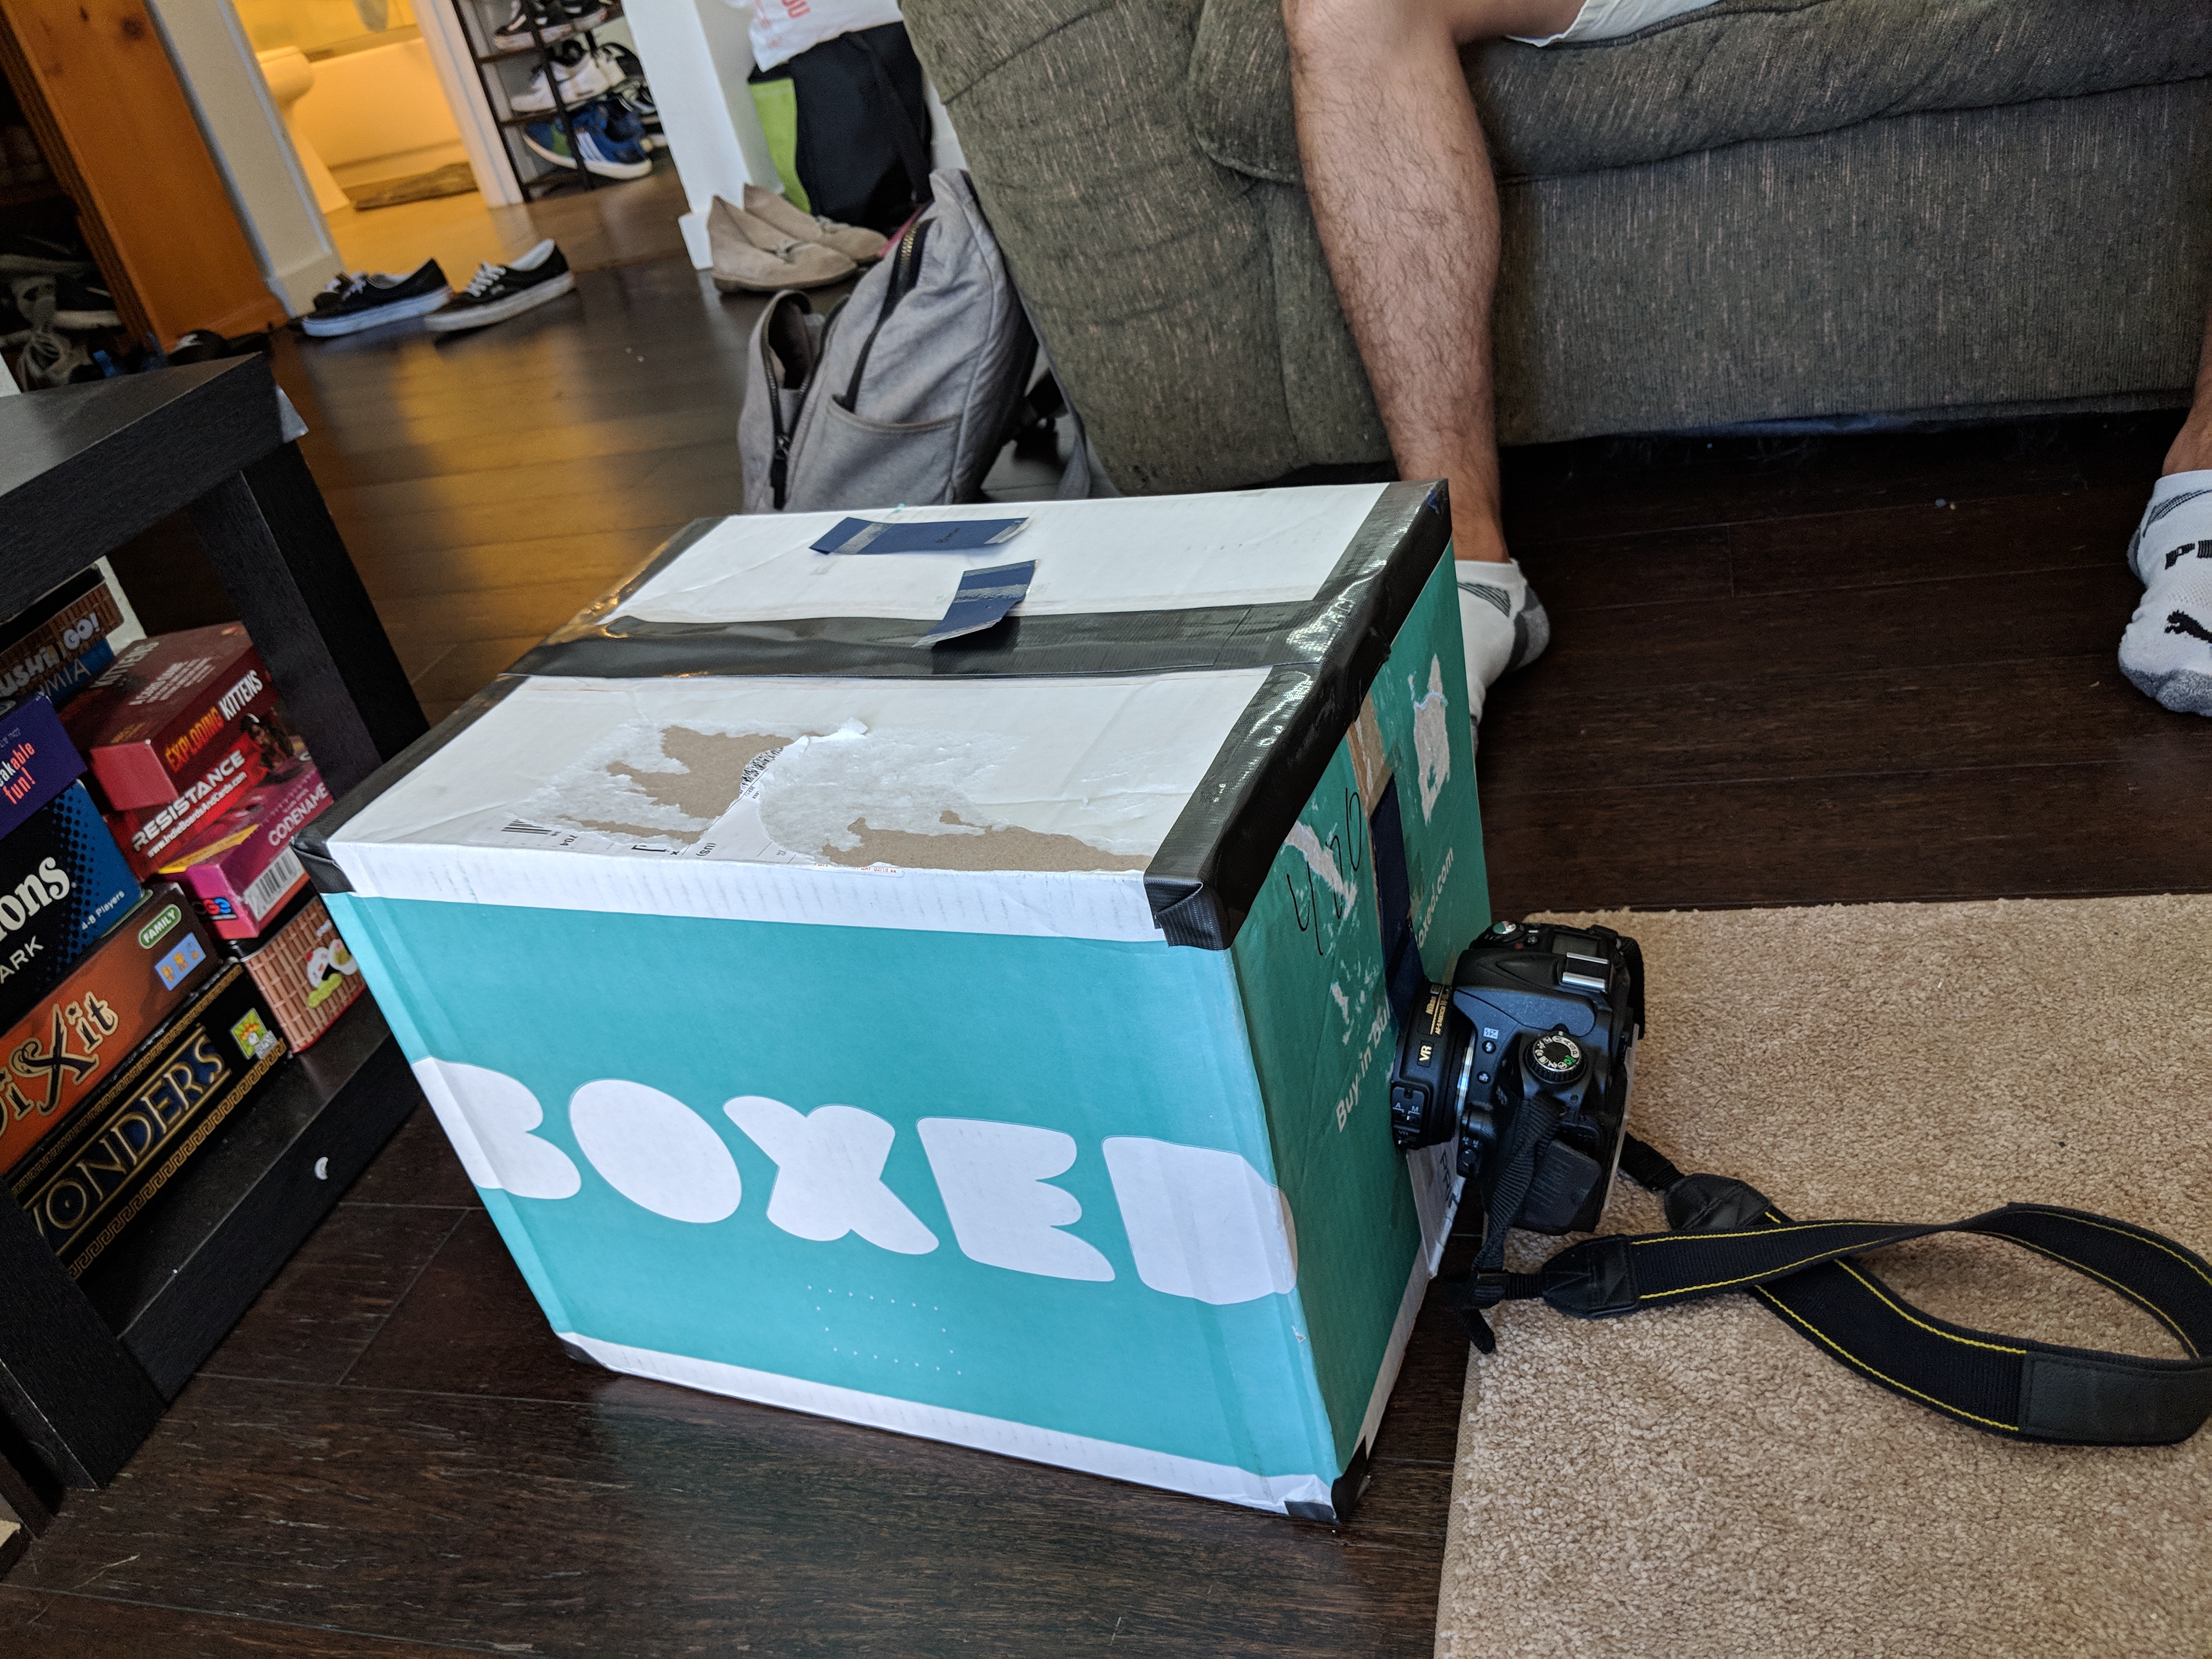
Box Design
We took a medium sized cardboard box we found in the recycling, and covered all but one face with black paper. We covered that last face with white paper, to serve as our screen.
Next, on the face opposite of the screen, we cut a large hole into the cardboard and black paper. Using card paper, we covered this hole and poked a pinhole into this card paper. With this setup, we can quickly swap out different sized pinholes by simply switching sheets of card paper.
Immediately below the pinhole, we cut a circular hole for our digital camera to fit in.
Finally, we sealed the box with duct tape, and covered the corners with extra tape to ensure no light gets in but through the pinhole.
Here is our final pinhole camera:
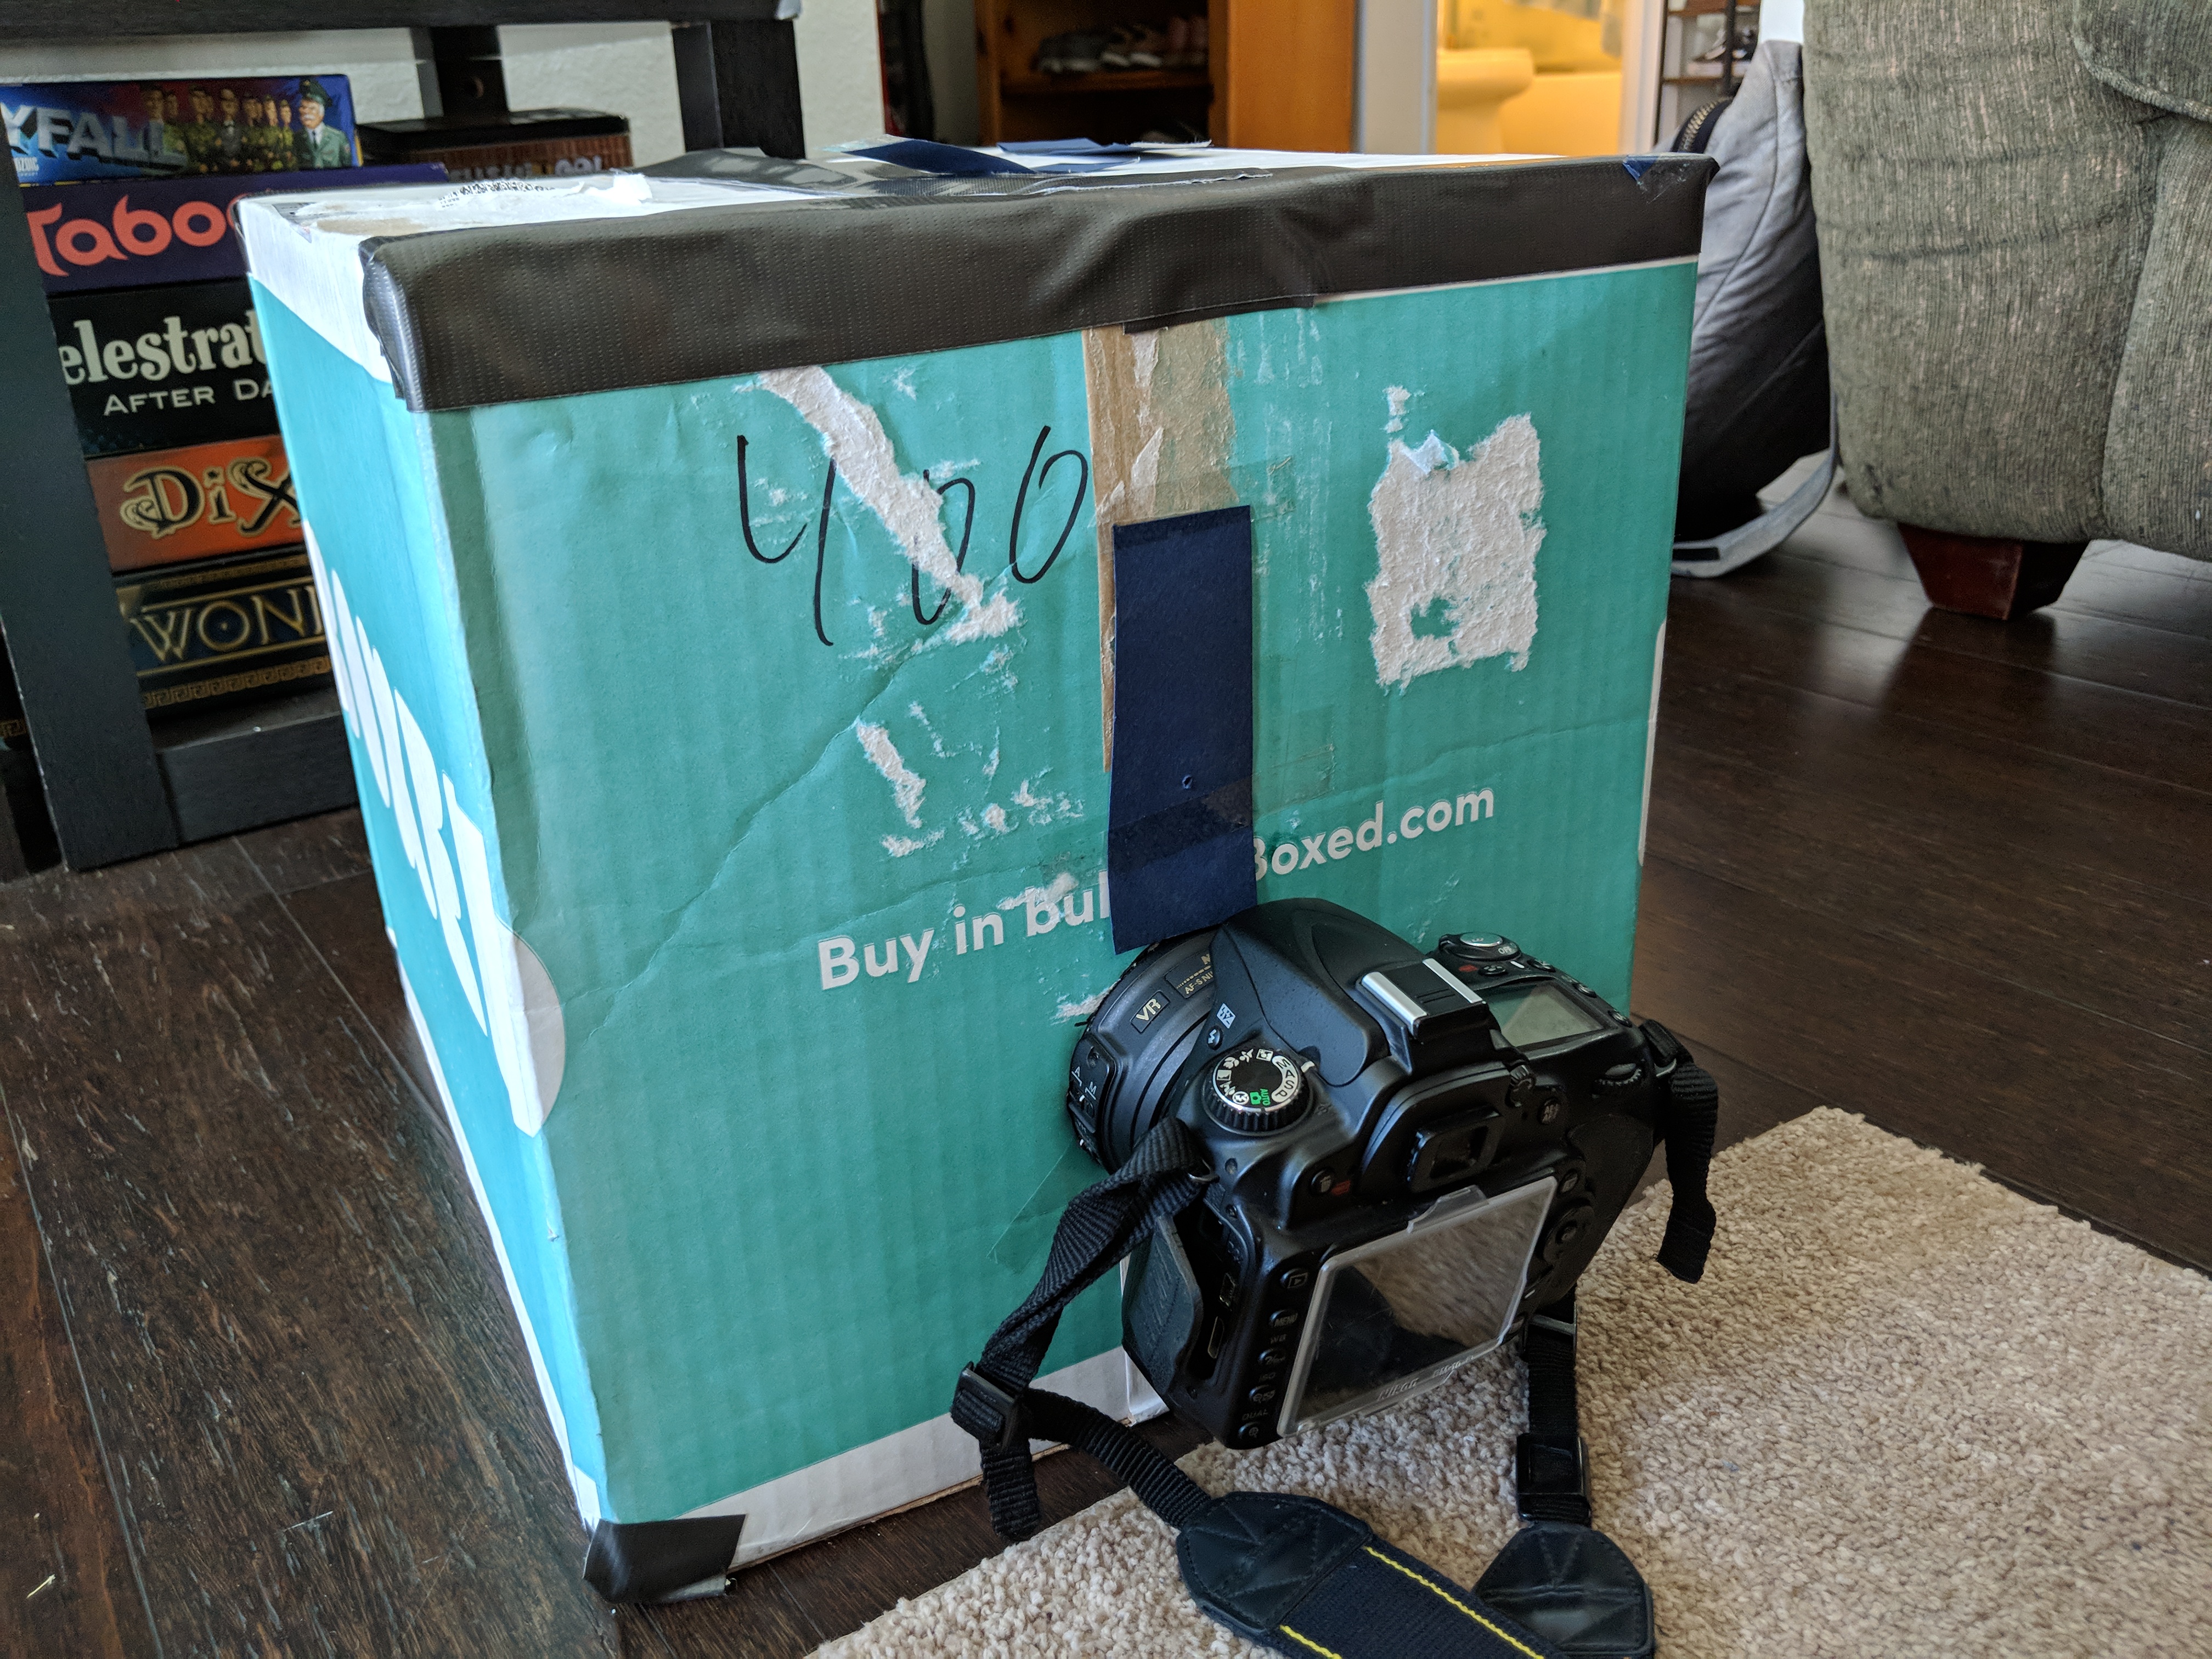
Here is a picture of our setup - we used a tripod to stabilize our camera:

Image Capture
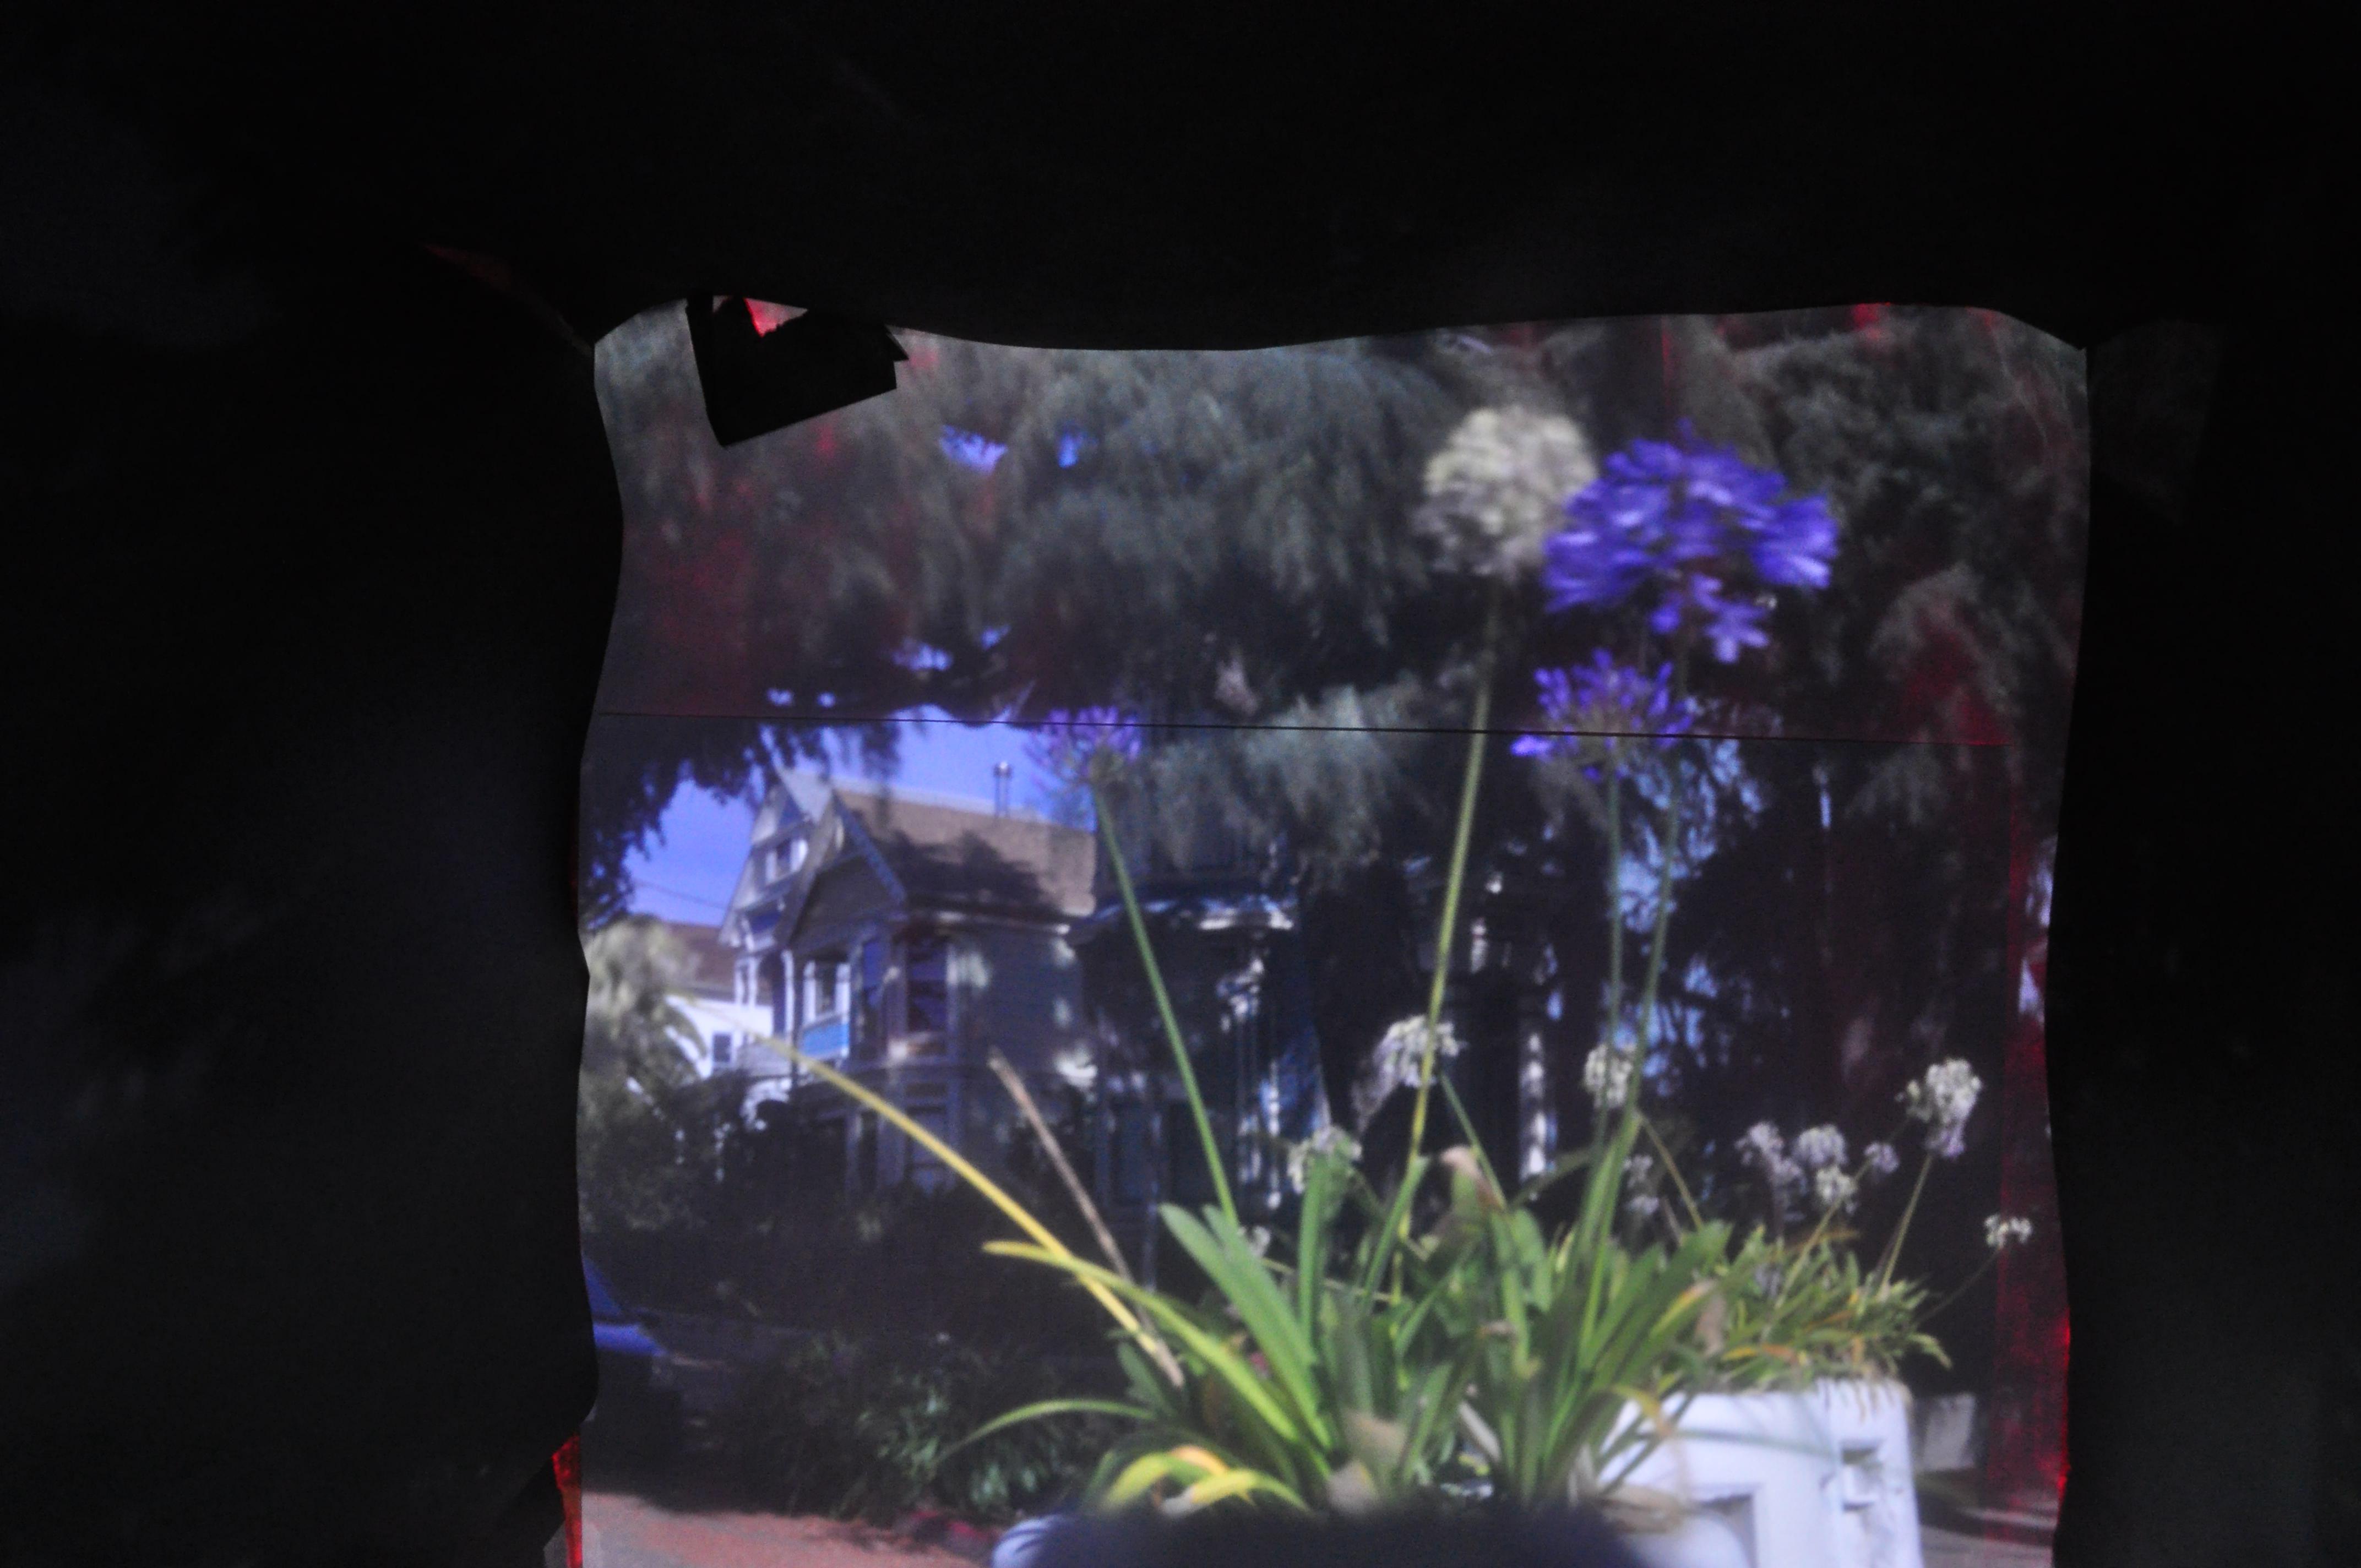
We created three different sizes of pinholes - 0.8 mm, 3 mm, and 5 mm. We took images of two scenes using all of these pinholes.
From our results, it seems that using a bigger pinhole results in a brighter but blurrier image. Intuitively, a bigger pinhole allows more light to shine through, but also at the same time creates a larger circle of confusion due to the fact that light rays from more distinct locations might hit the same location on the screen due to the bigger aperture.
Based on these results, we found that the 3 mm provided the best tradeoff between brightness and blurriness, so using this pinhole we took pictures of 4 more scenes.
Comparisons
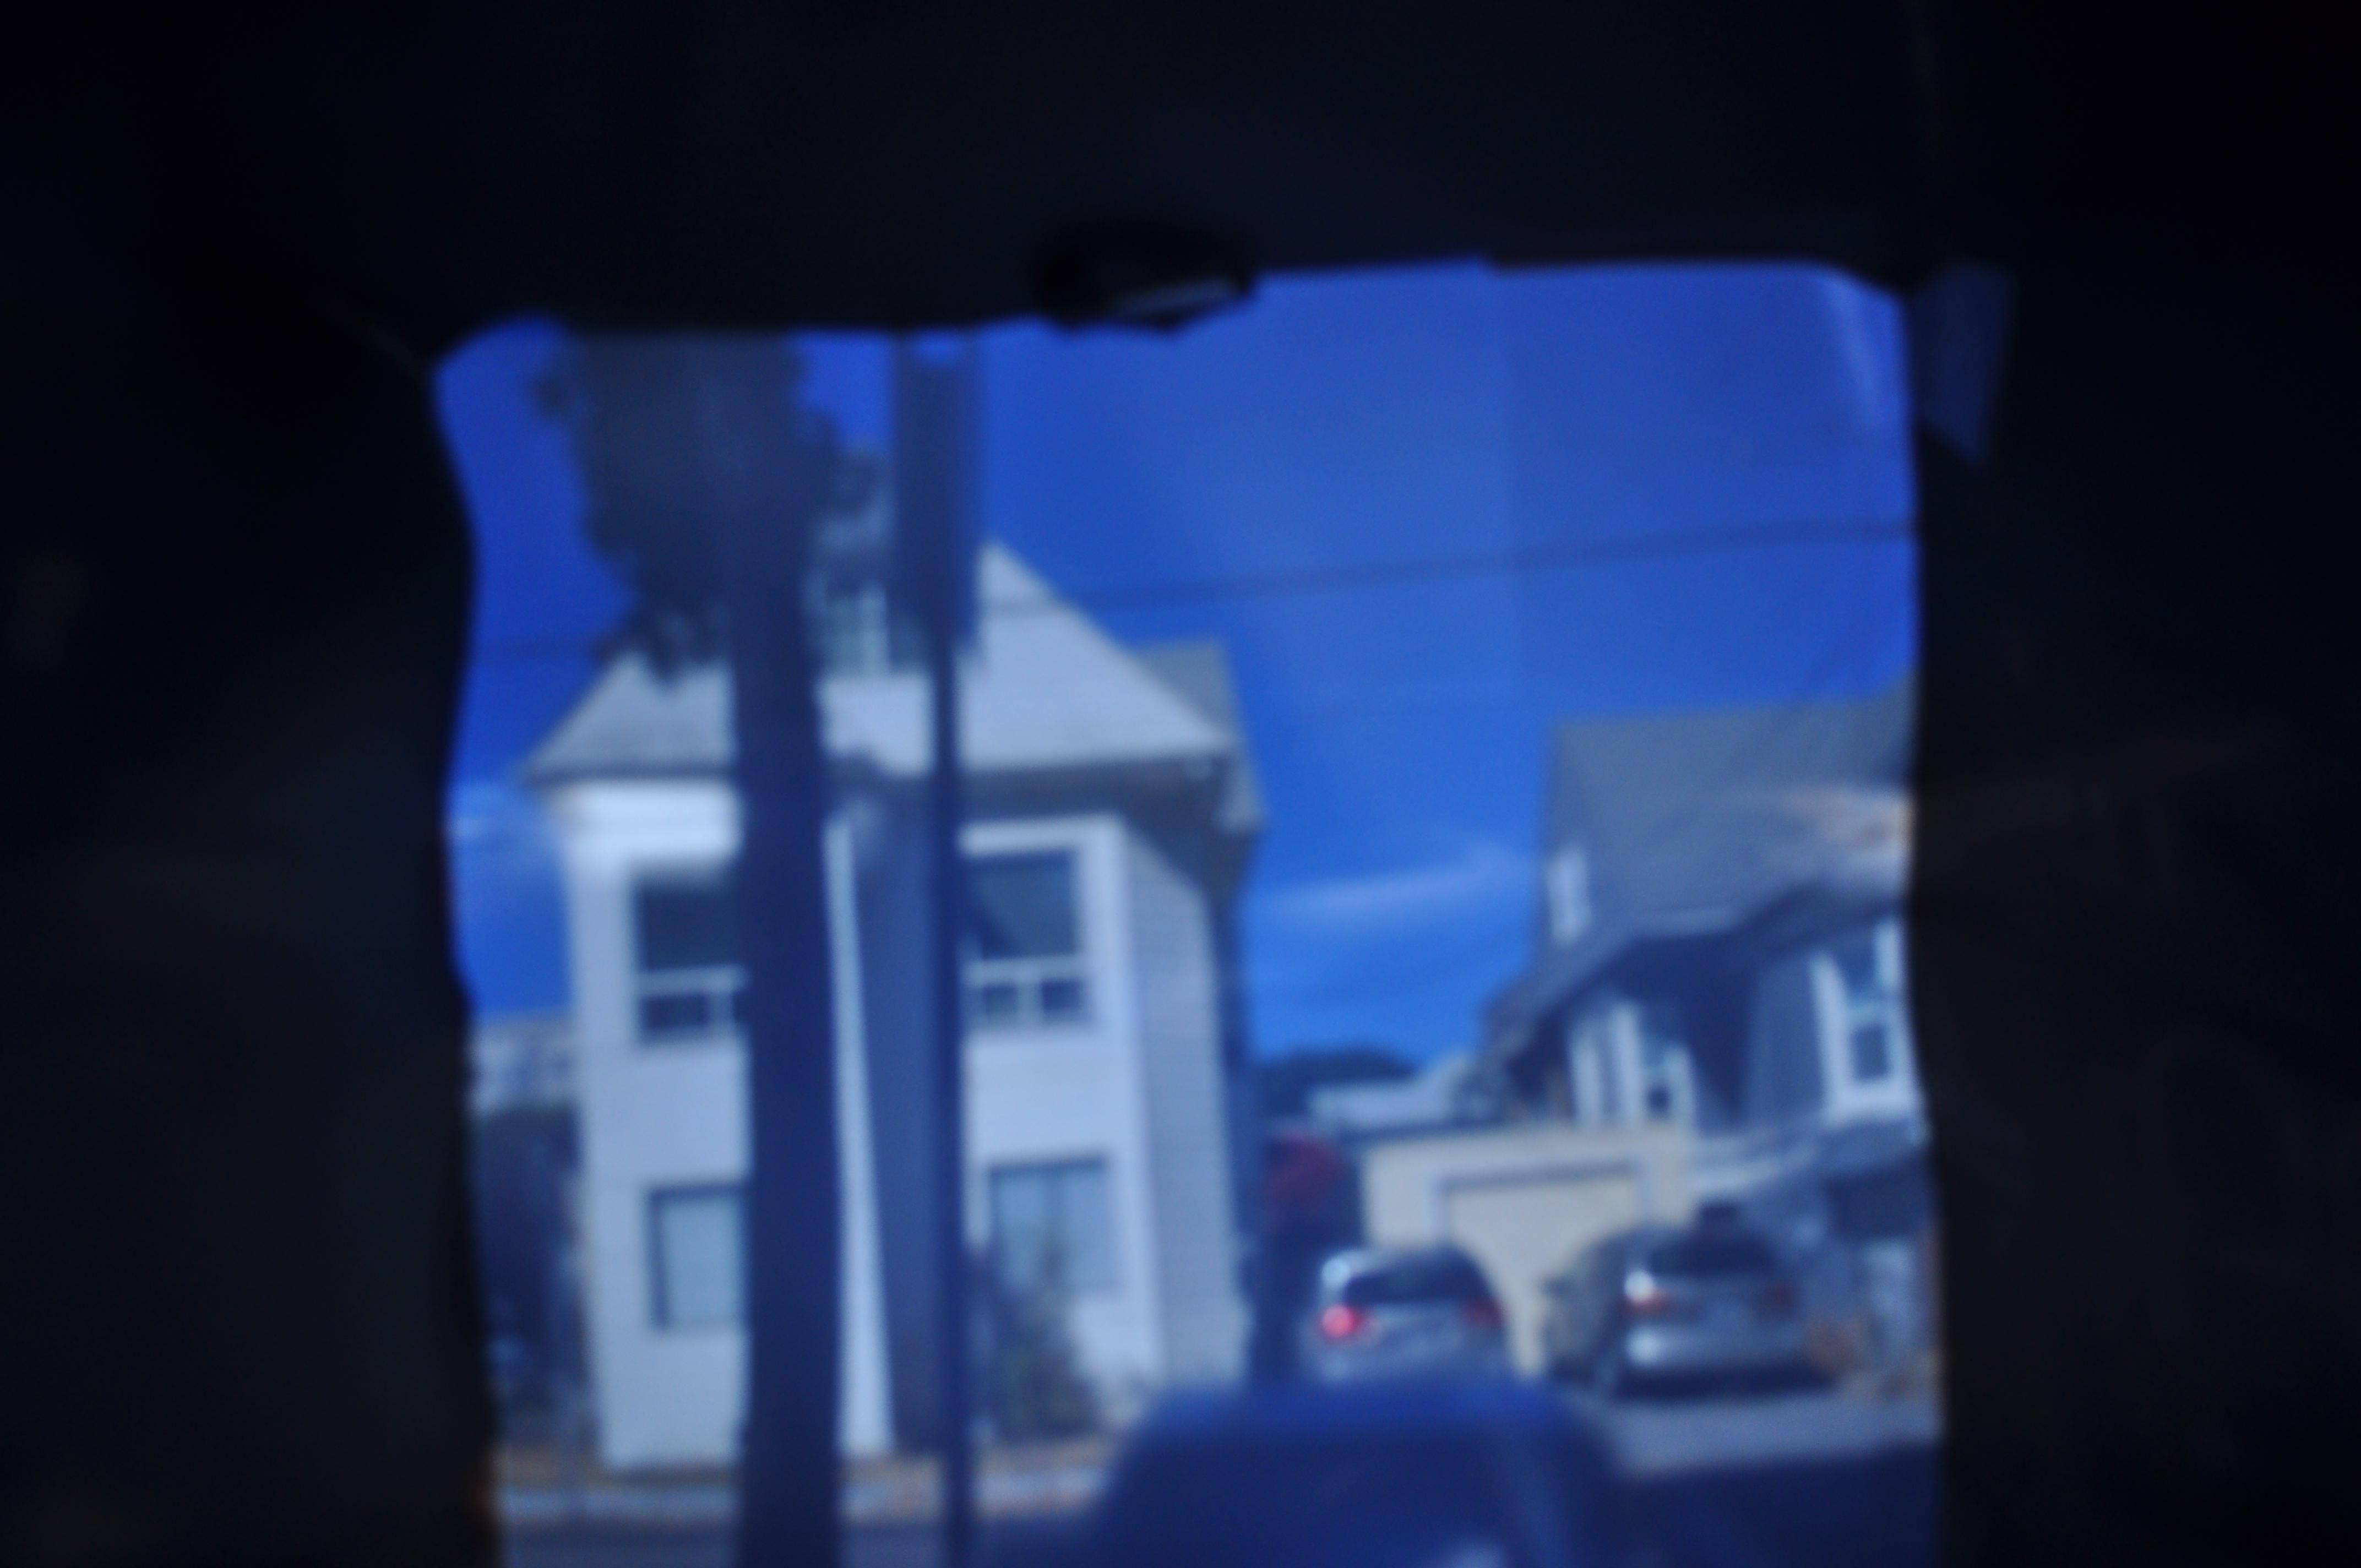
House
0.8mm pinhole:
3mm pinhole:
5mm pinhole:
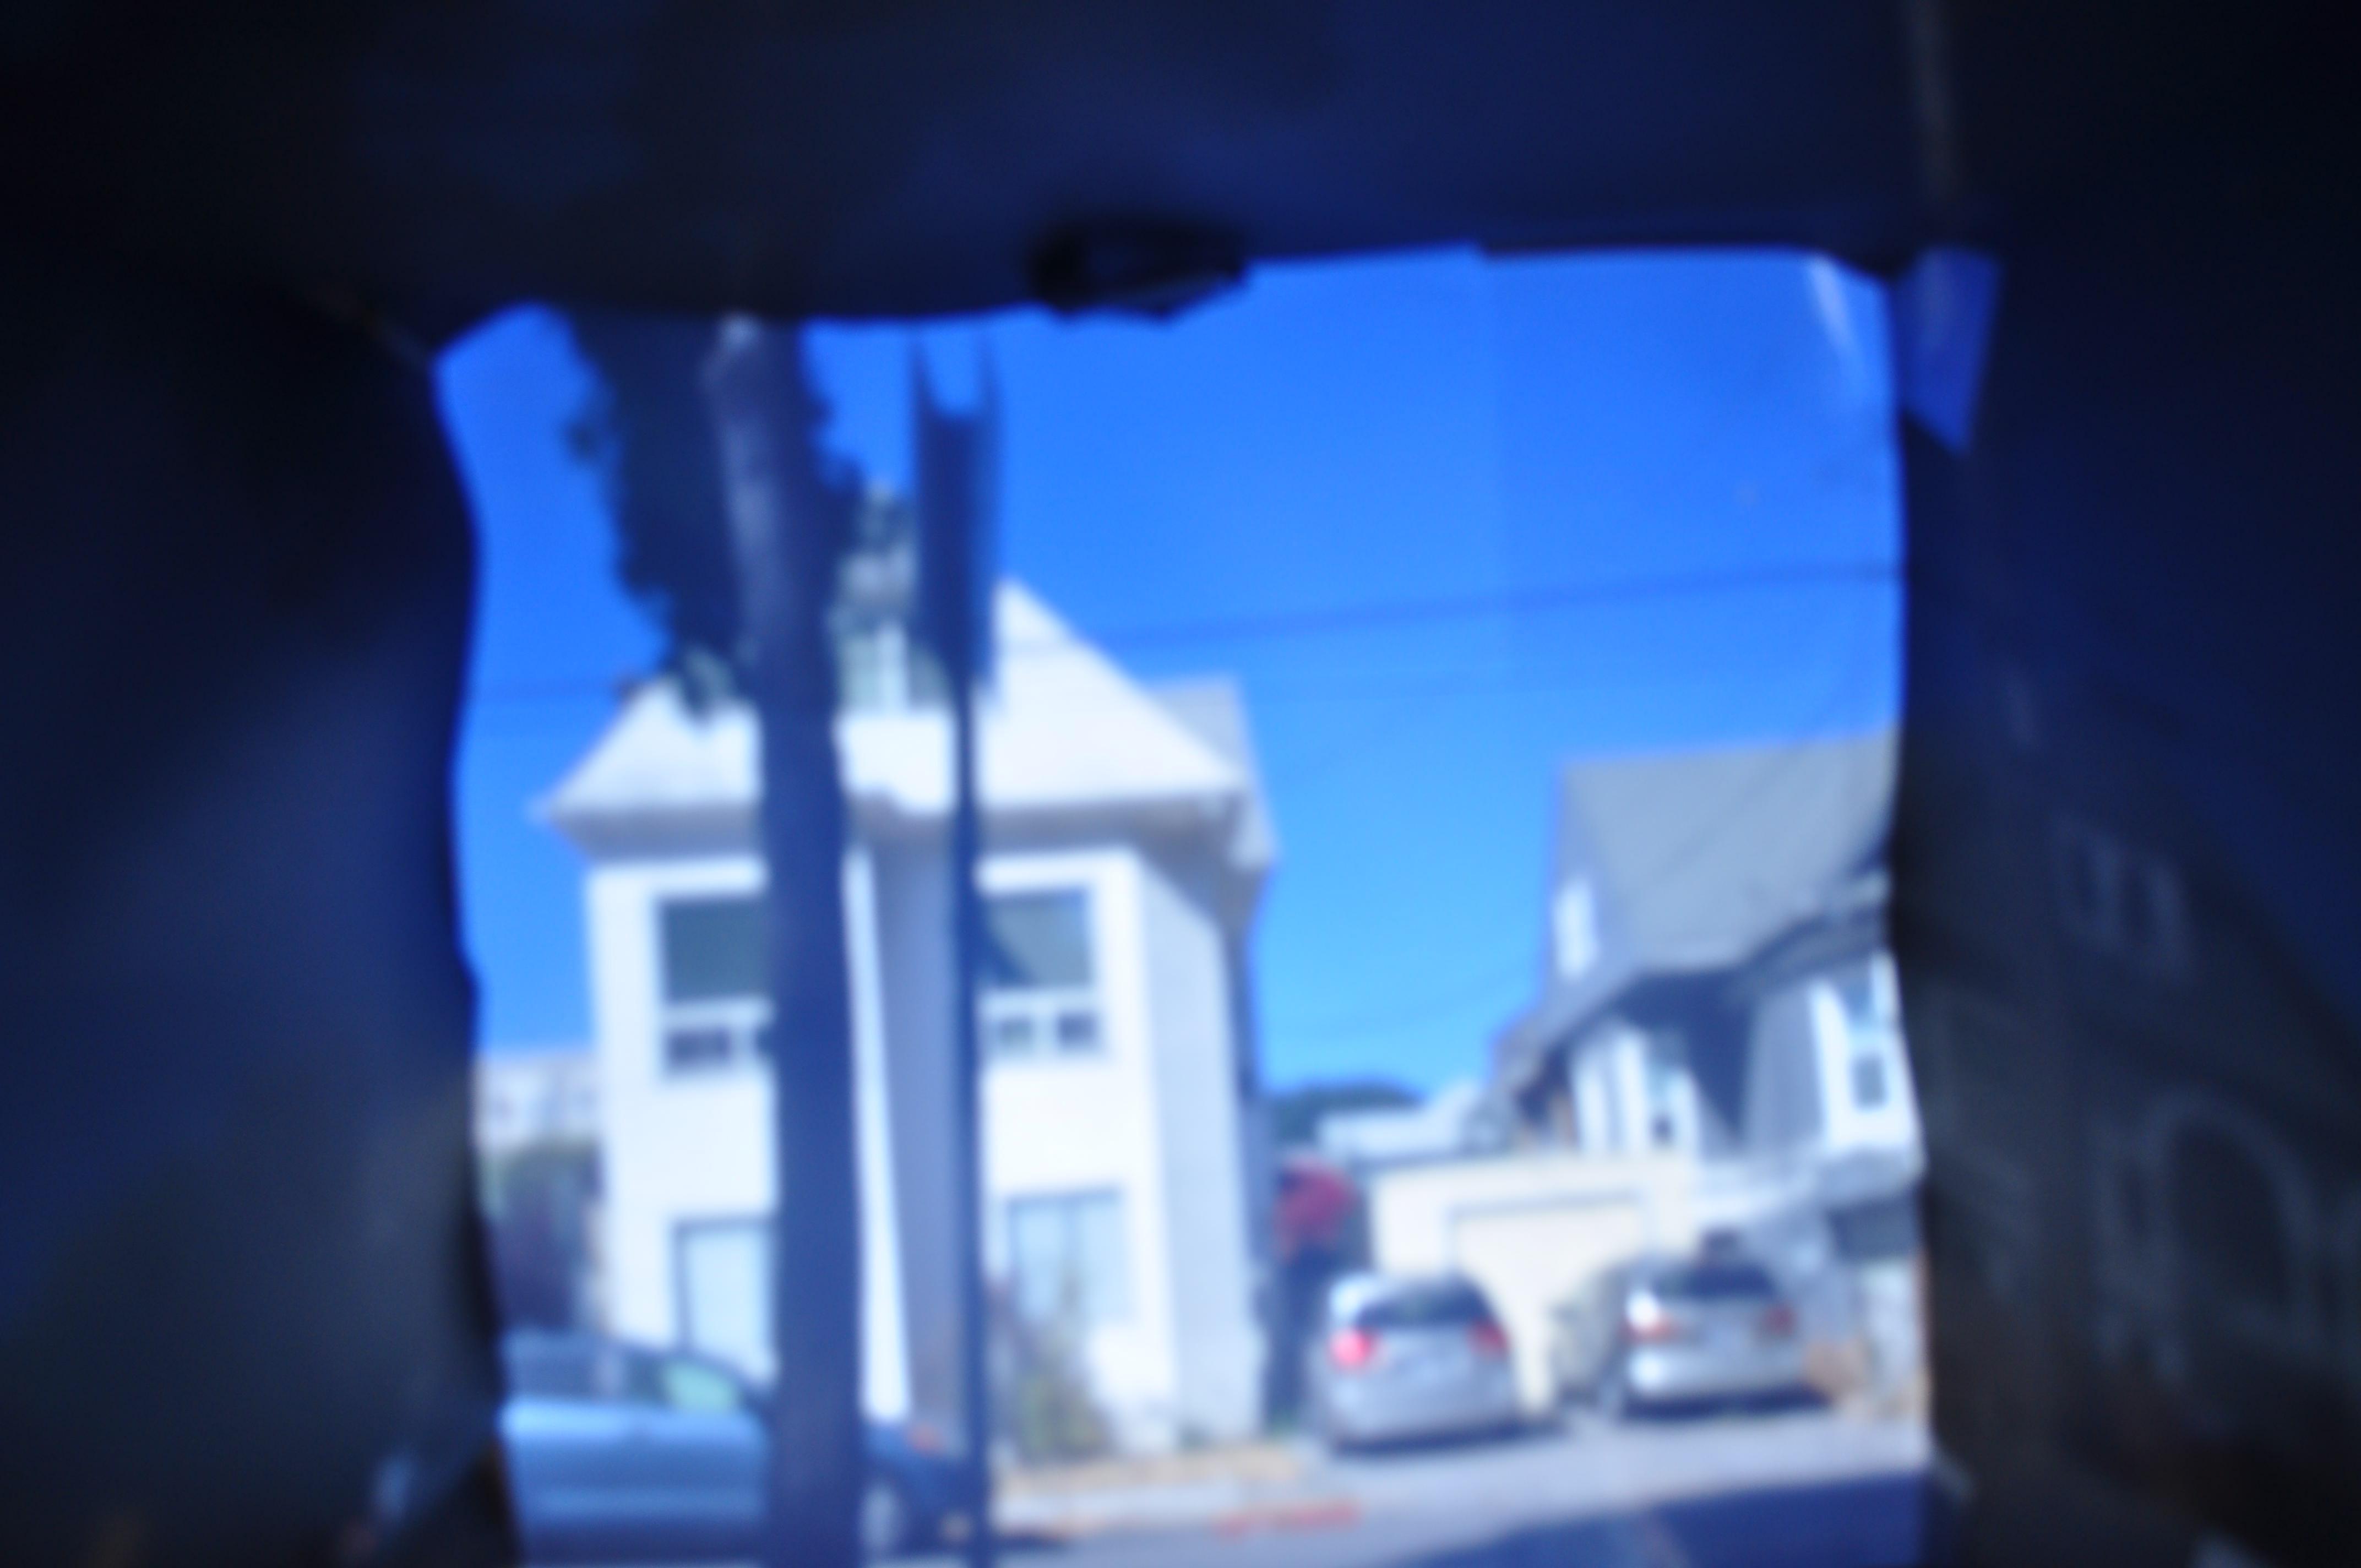
We realized a cause of the blurry images was that the camera wasn't focused properly on the back of the cardboard box so the future images were better focused because we turned auto focus off and manually focused to the back of the box.
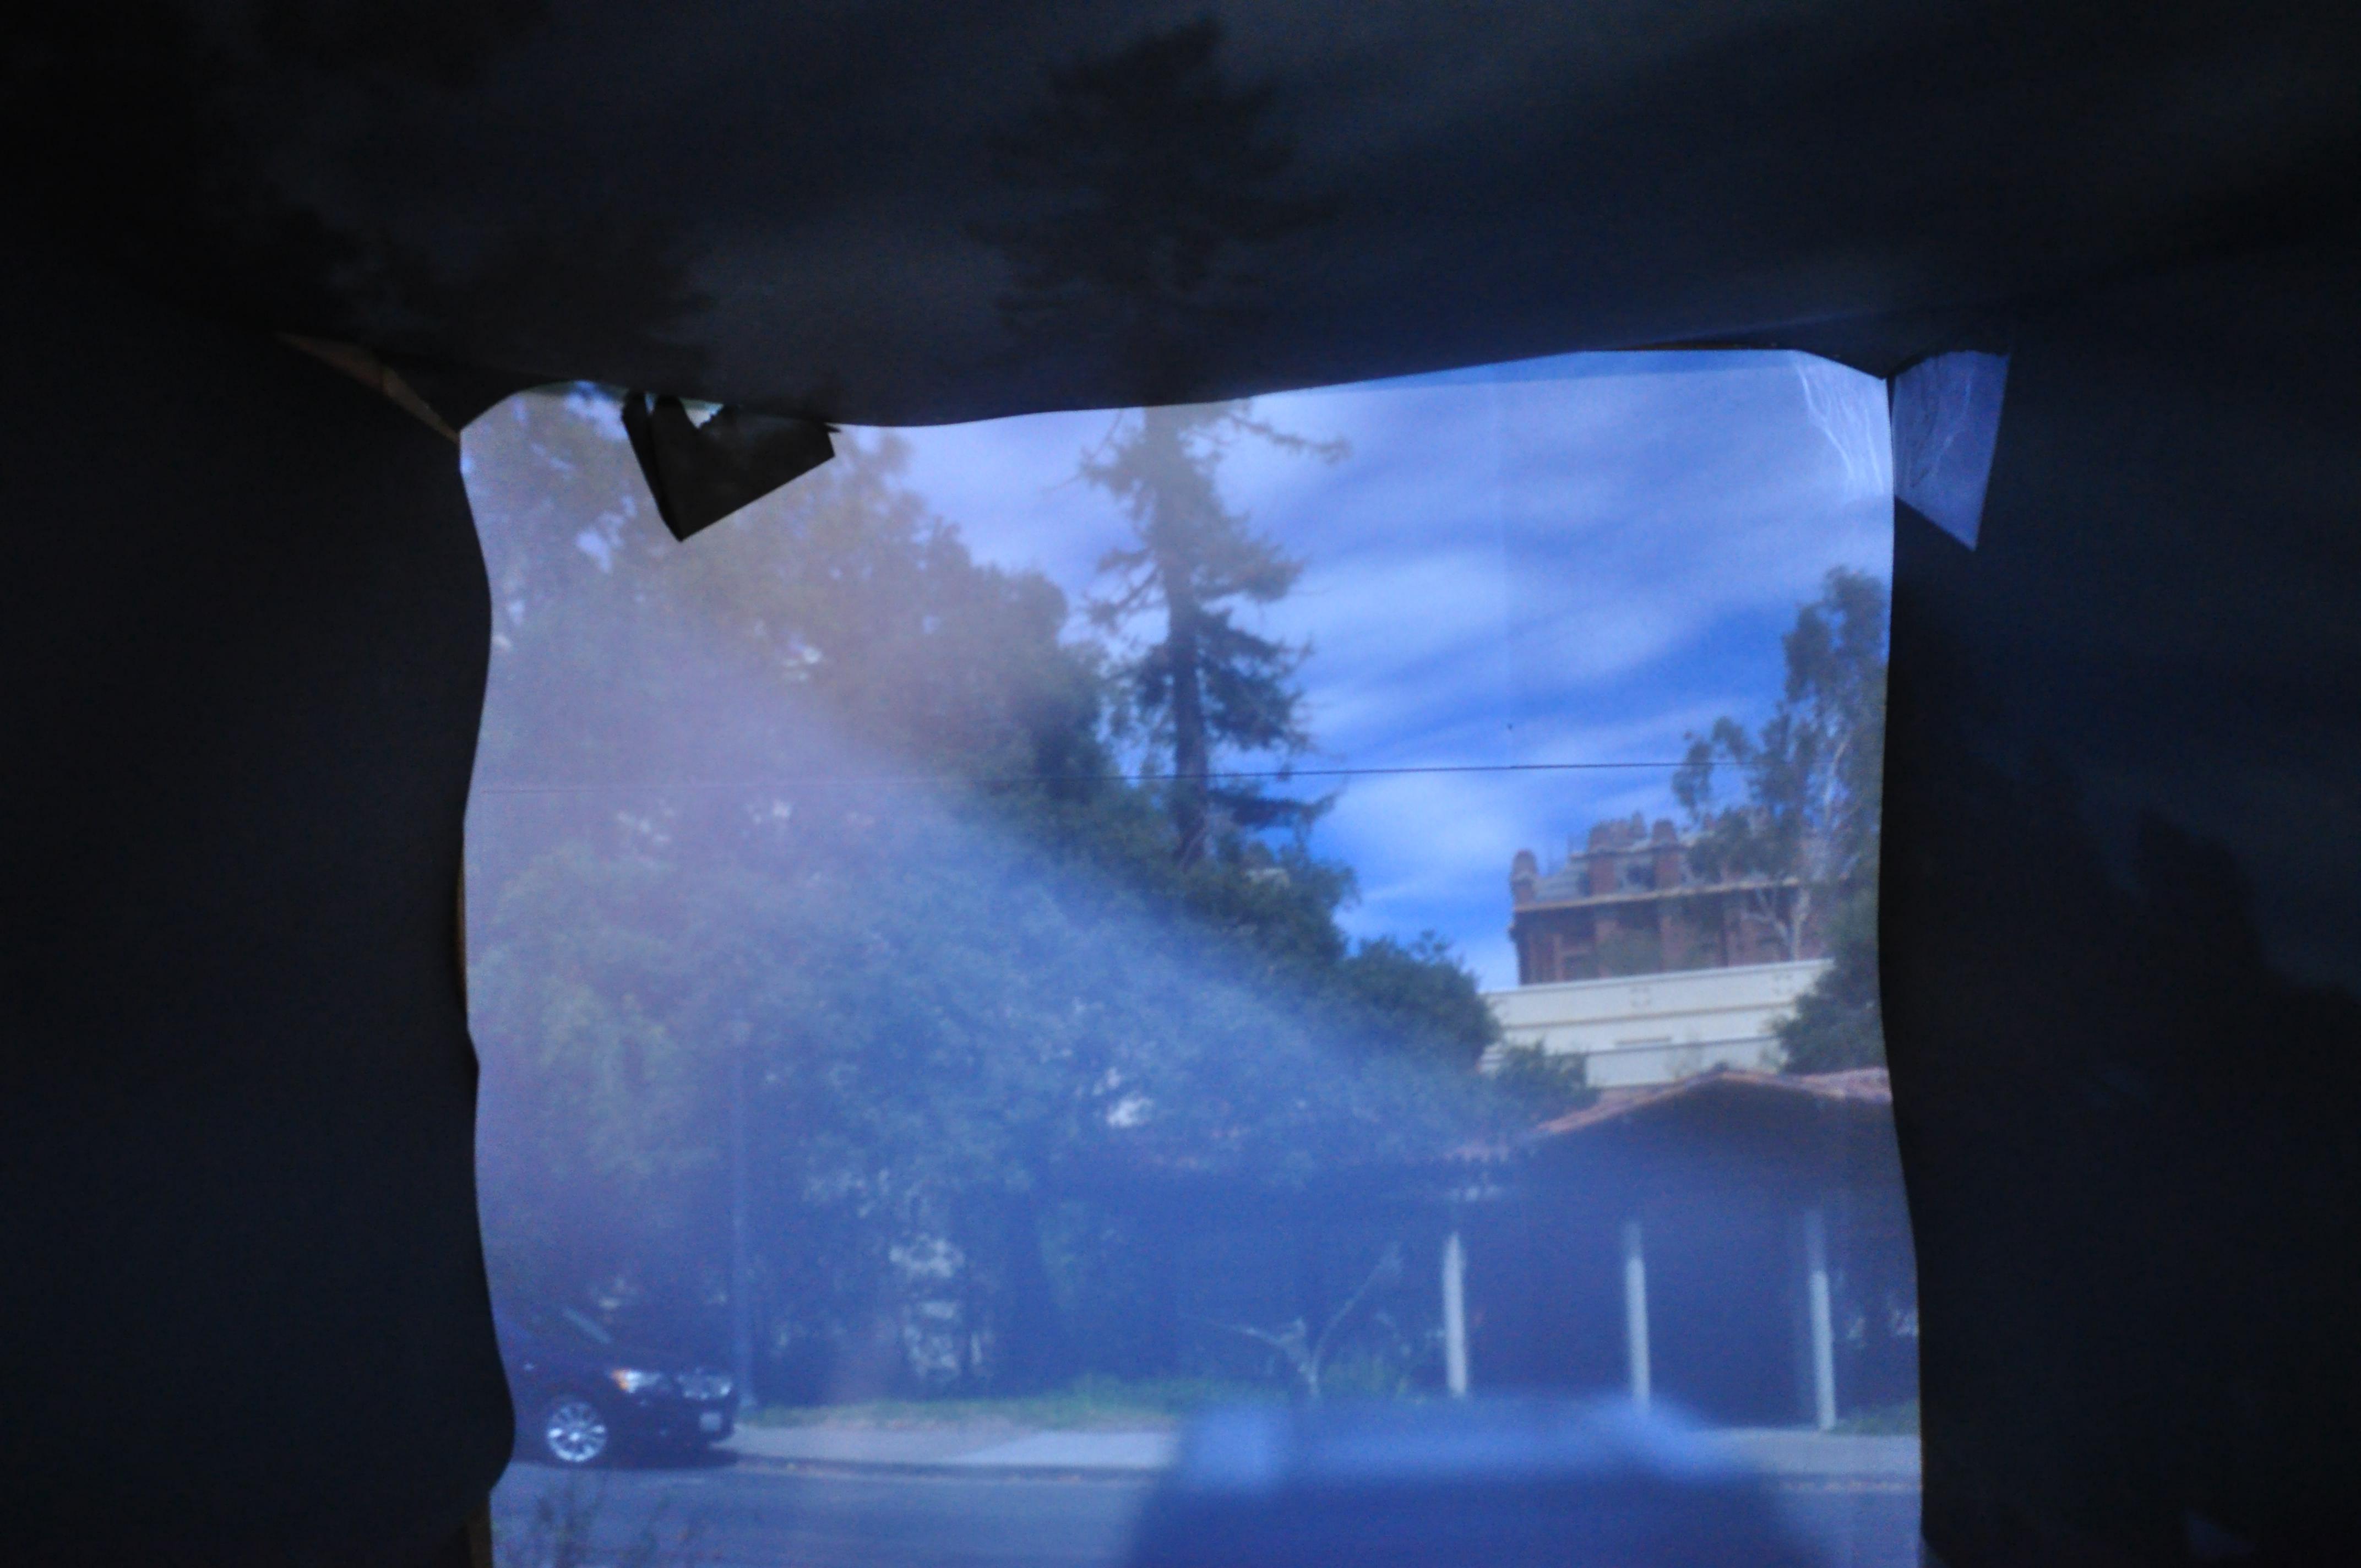
Sidewalk
0.8mm pinhole:

3mm pinhole:

5mm pinhole:

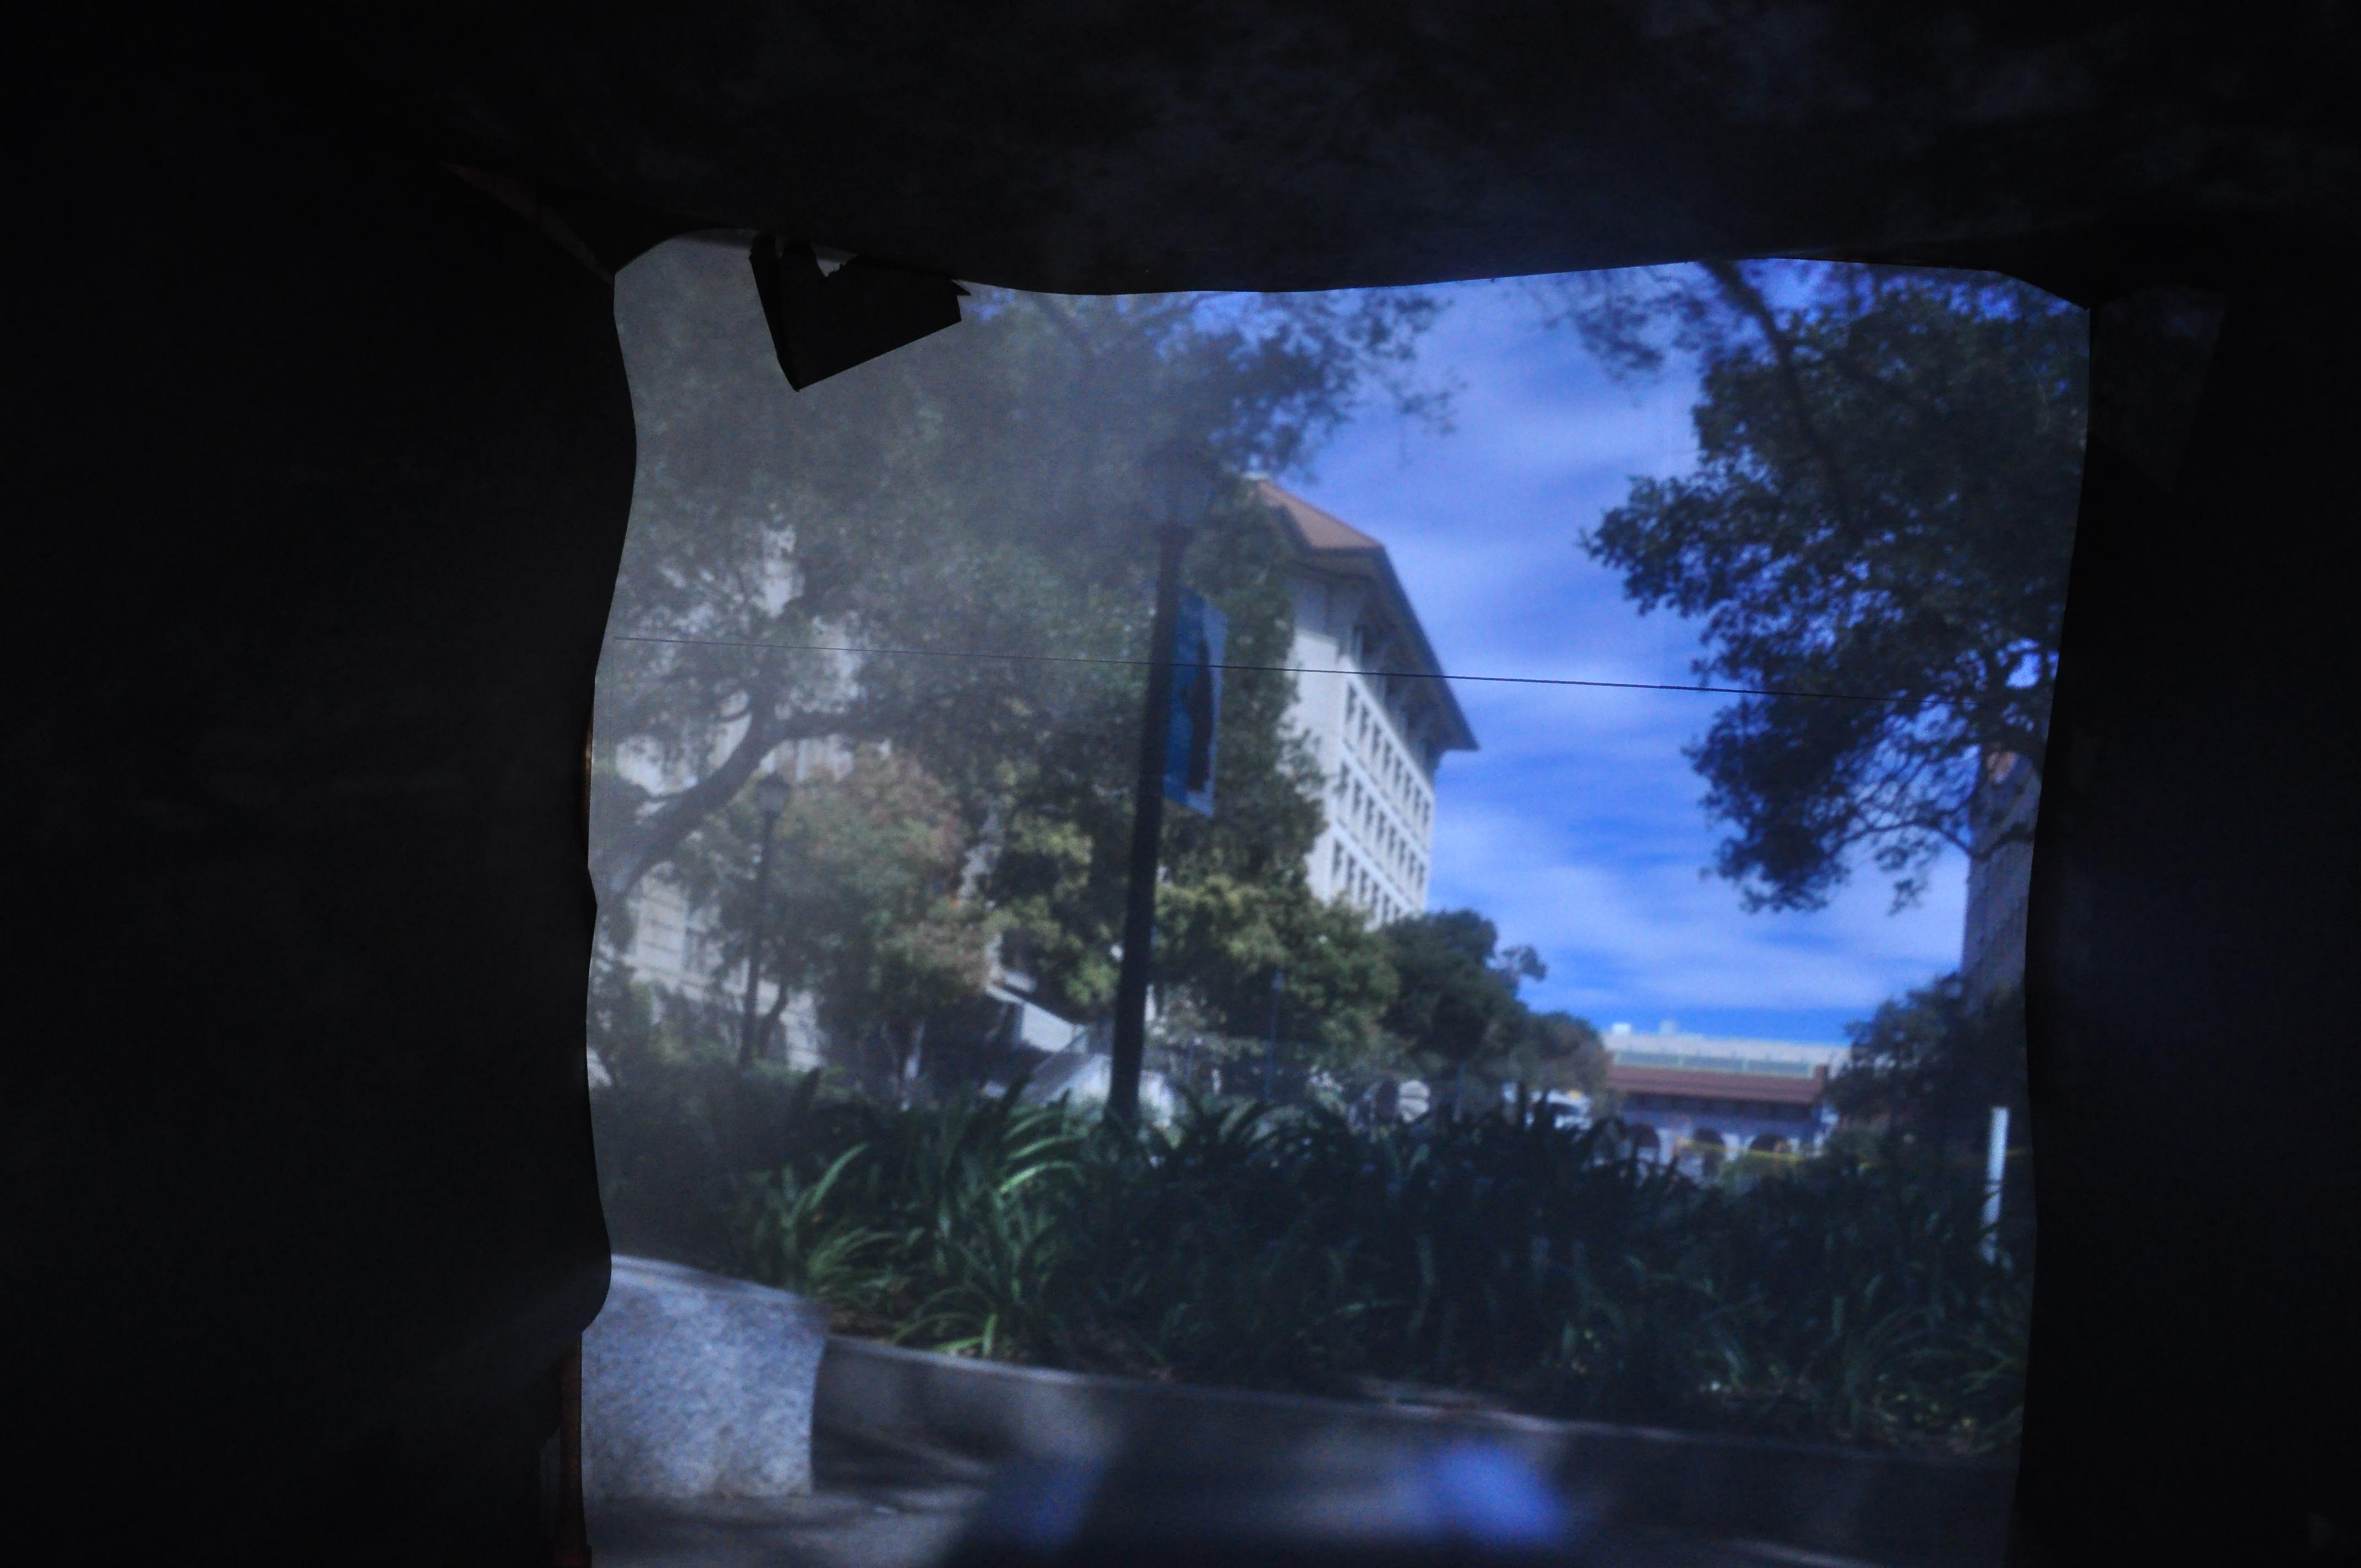
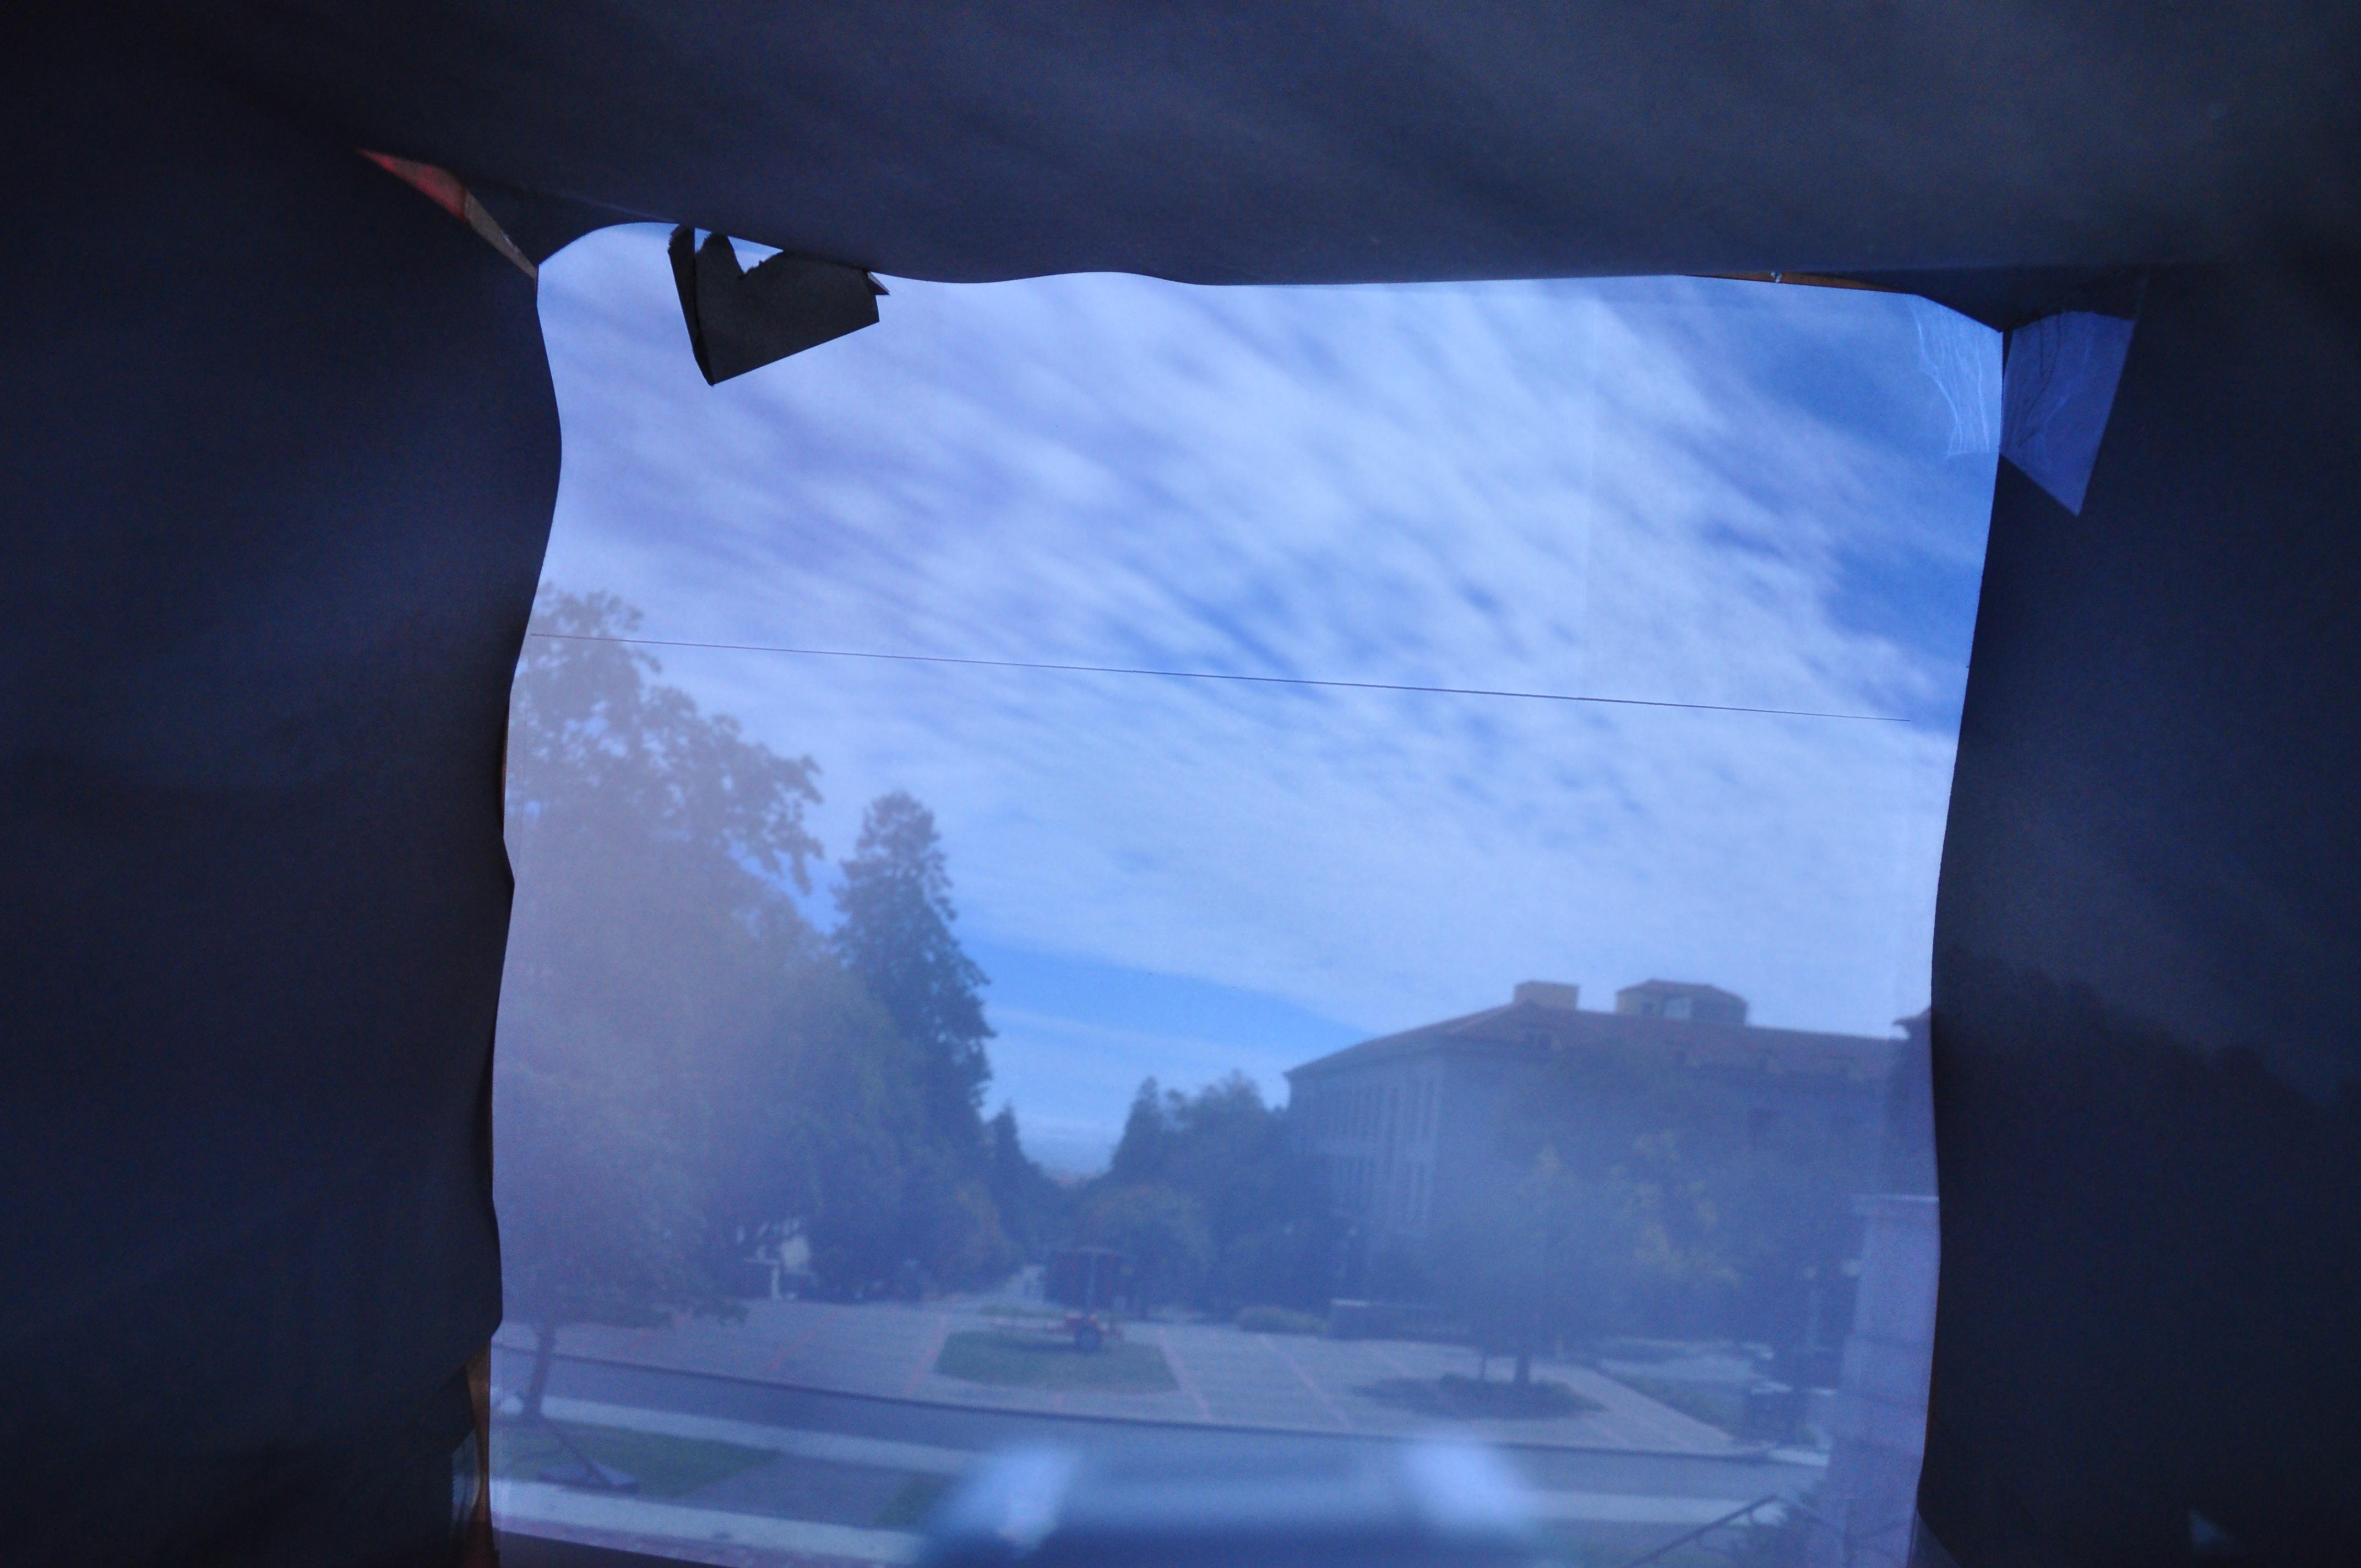
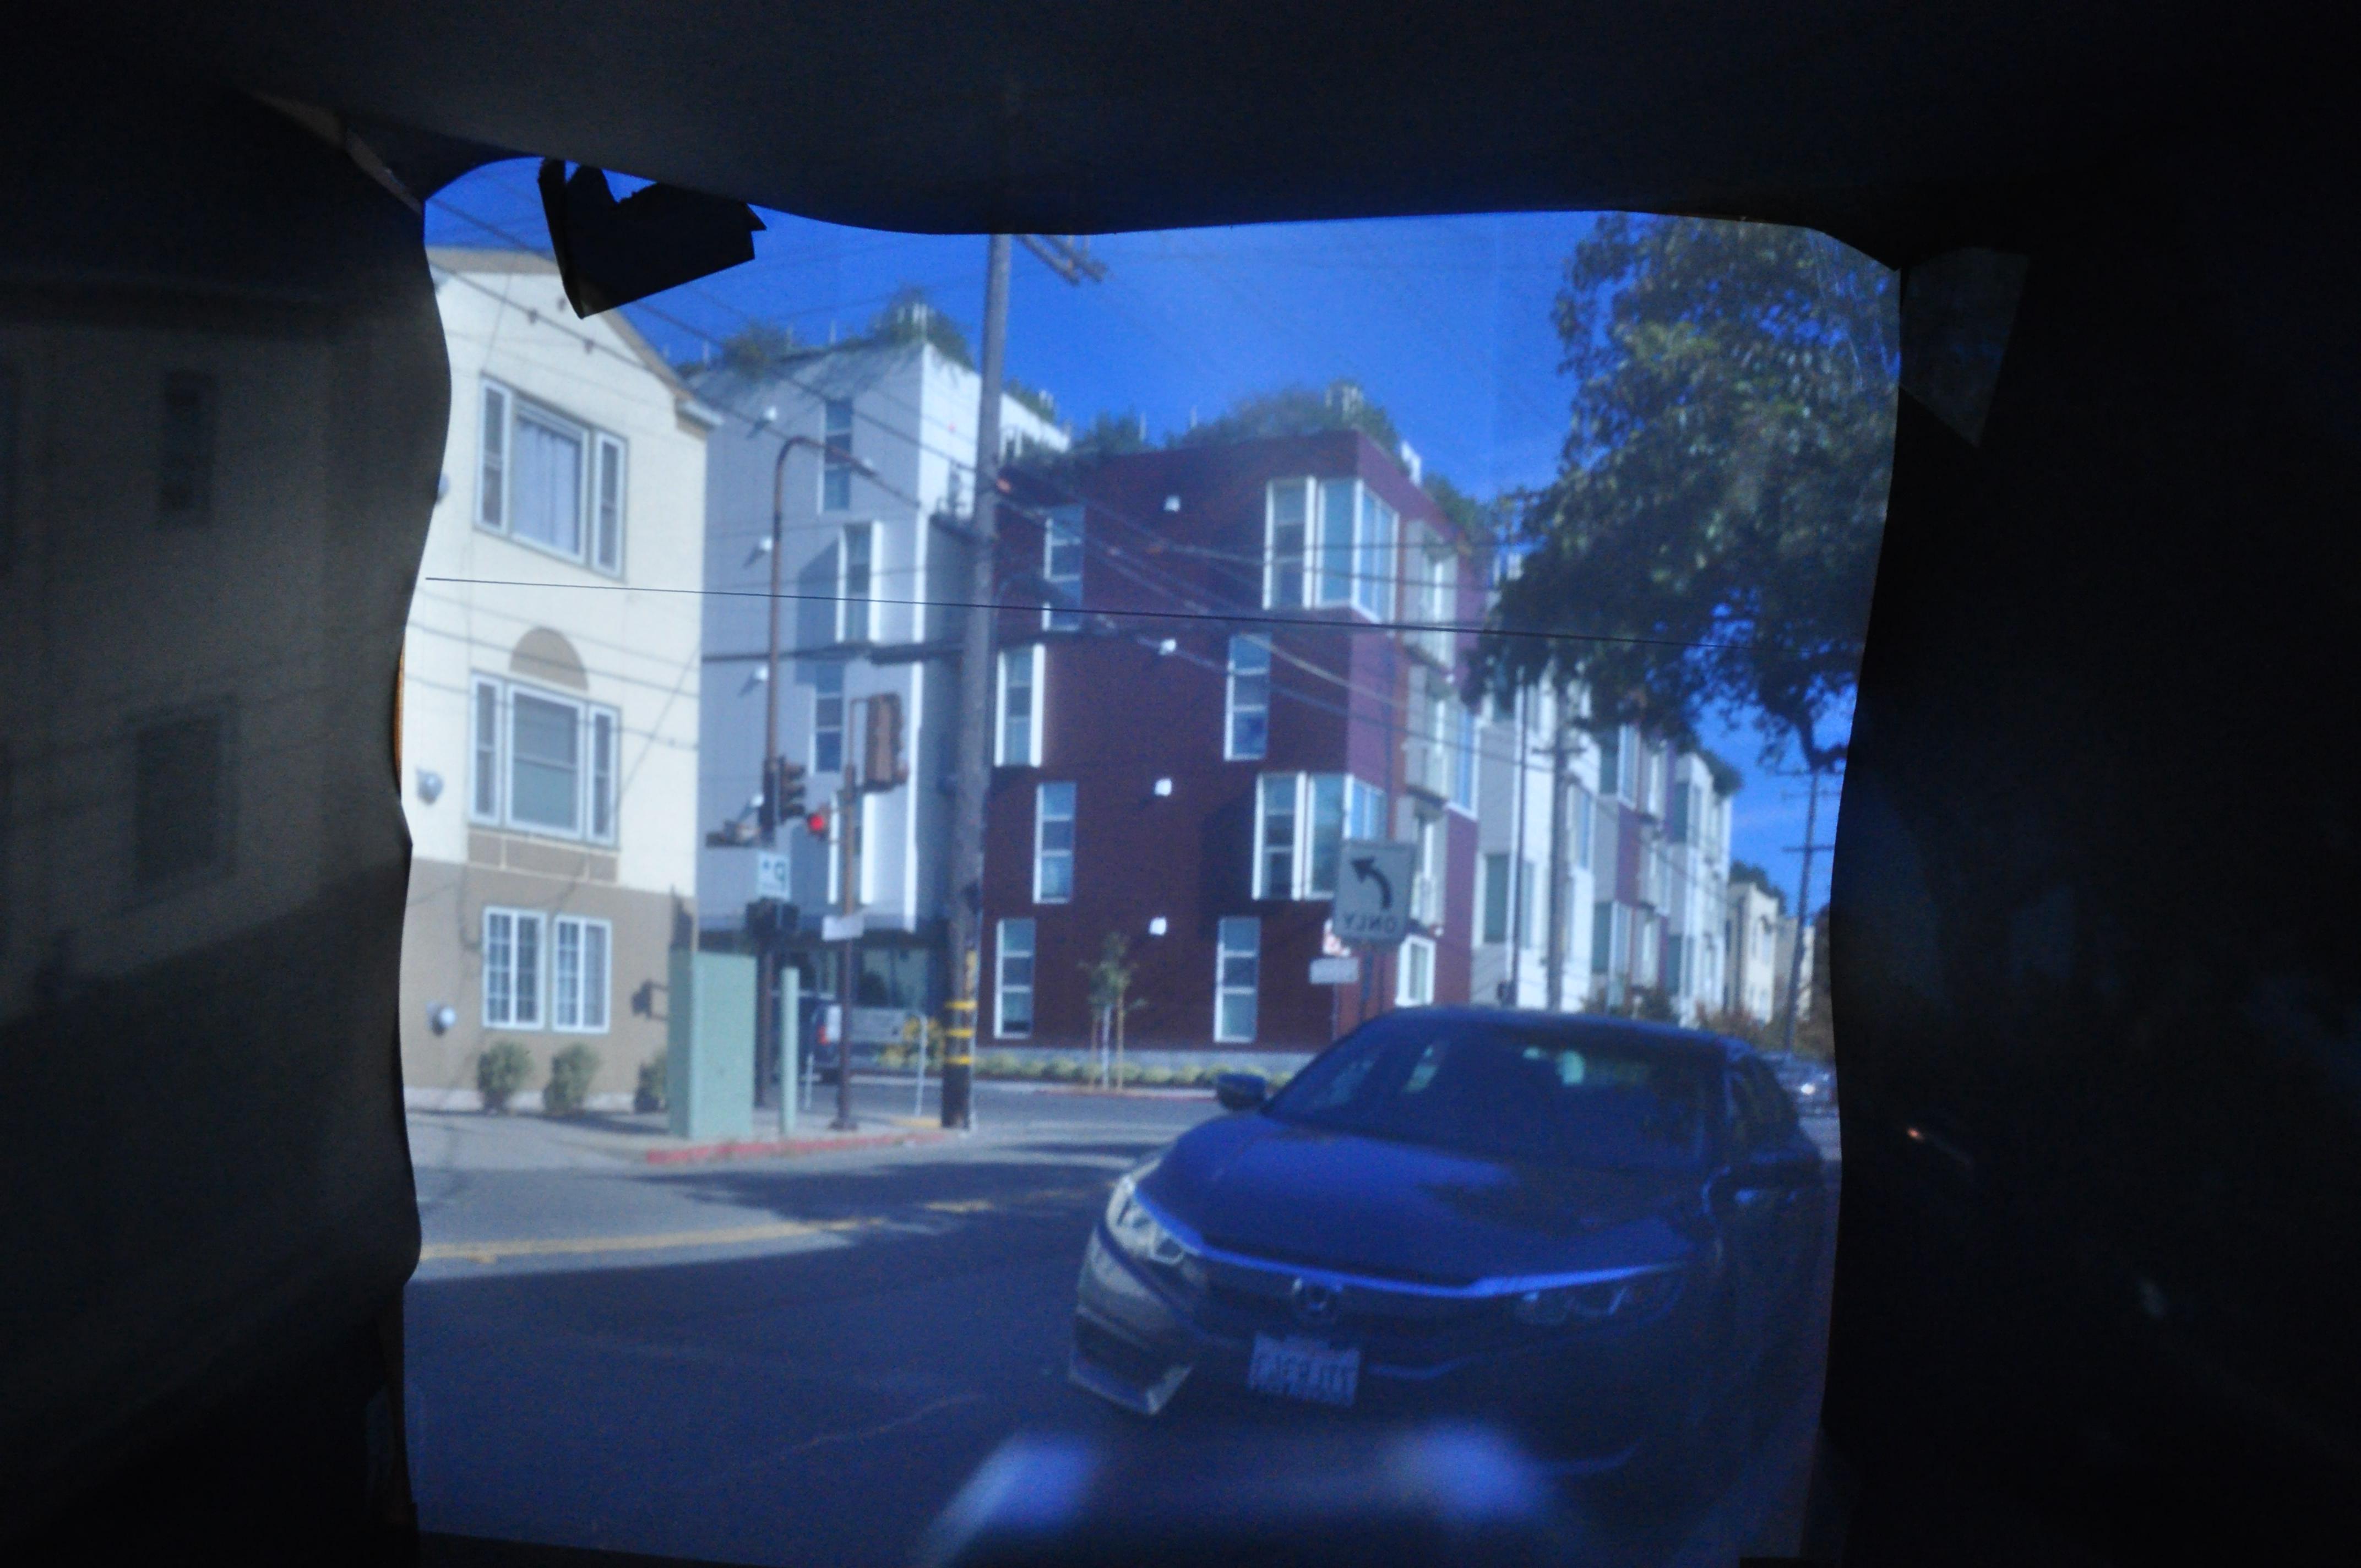
Other Images
We found the 3mm pinhole produced the best images, so we took more pictures with that size.