Fall 2018 CS194-26 Project2
Jieming Wei, Jingxi Huang, Tiancheng Cai
Overview
A pinhole camera is a simple camera without a lens but with a tiny pinhole. In this project, we use a box covered with black paper with a white screen and a pinhole on the opposite of the screen. Lights will enter the pinhole and project on the screen with an inverted image of the original project. A digital camera with a long exposure time is used to caputure the image formed on the screen opposite to the pinhole.
Approach
We use a shoebox to create the pinhole camera, with size 32 x 18 x 11cm. The design looks like the following:
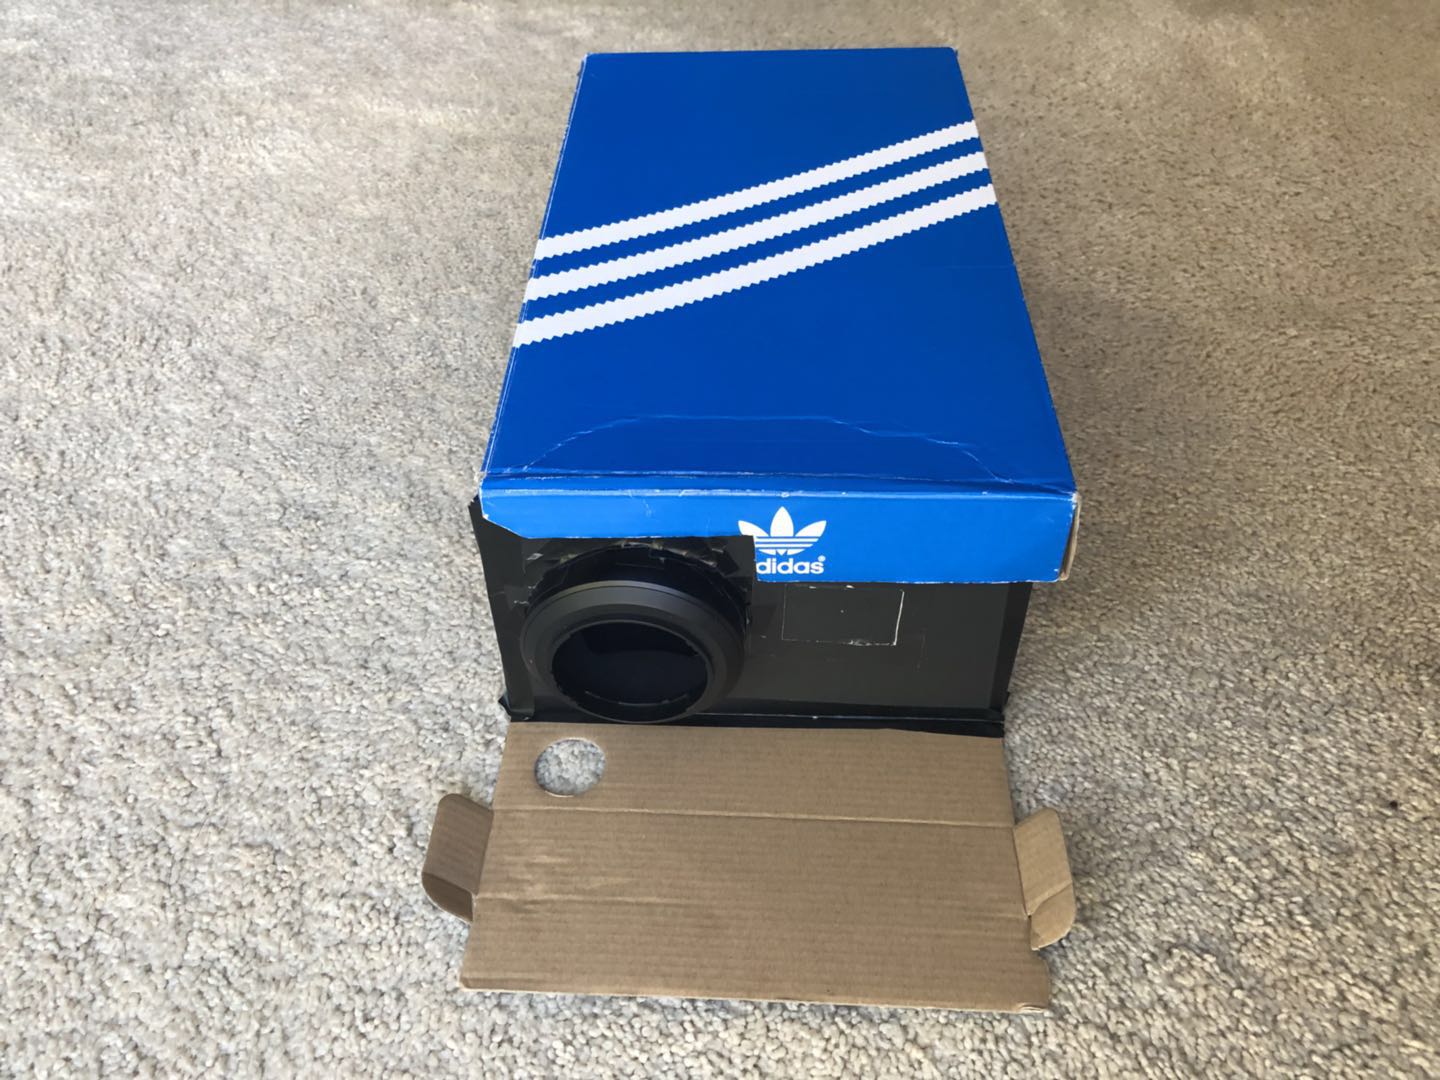
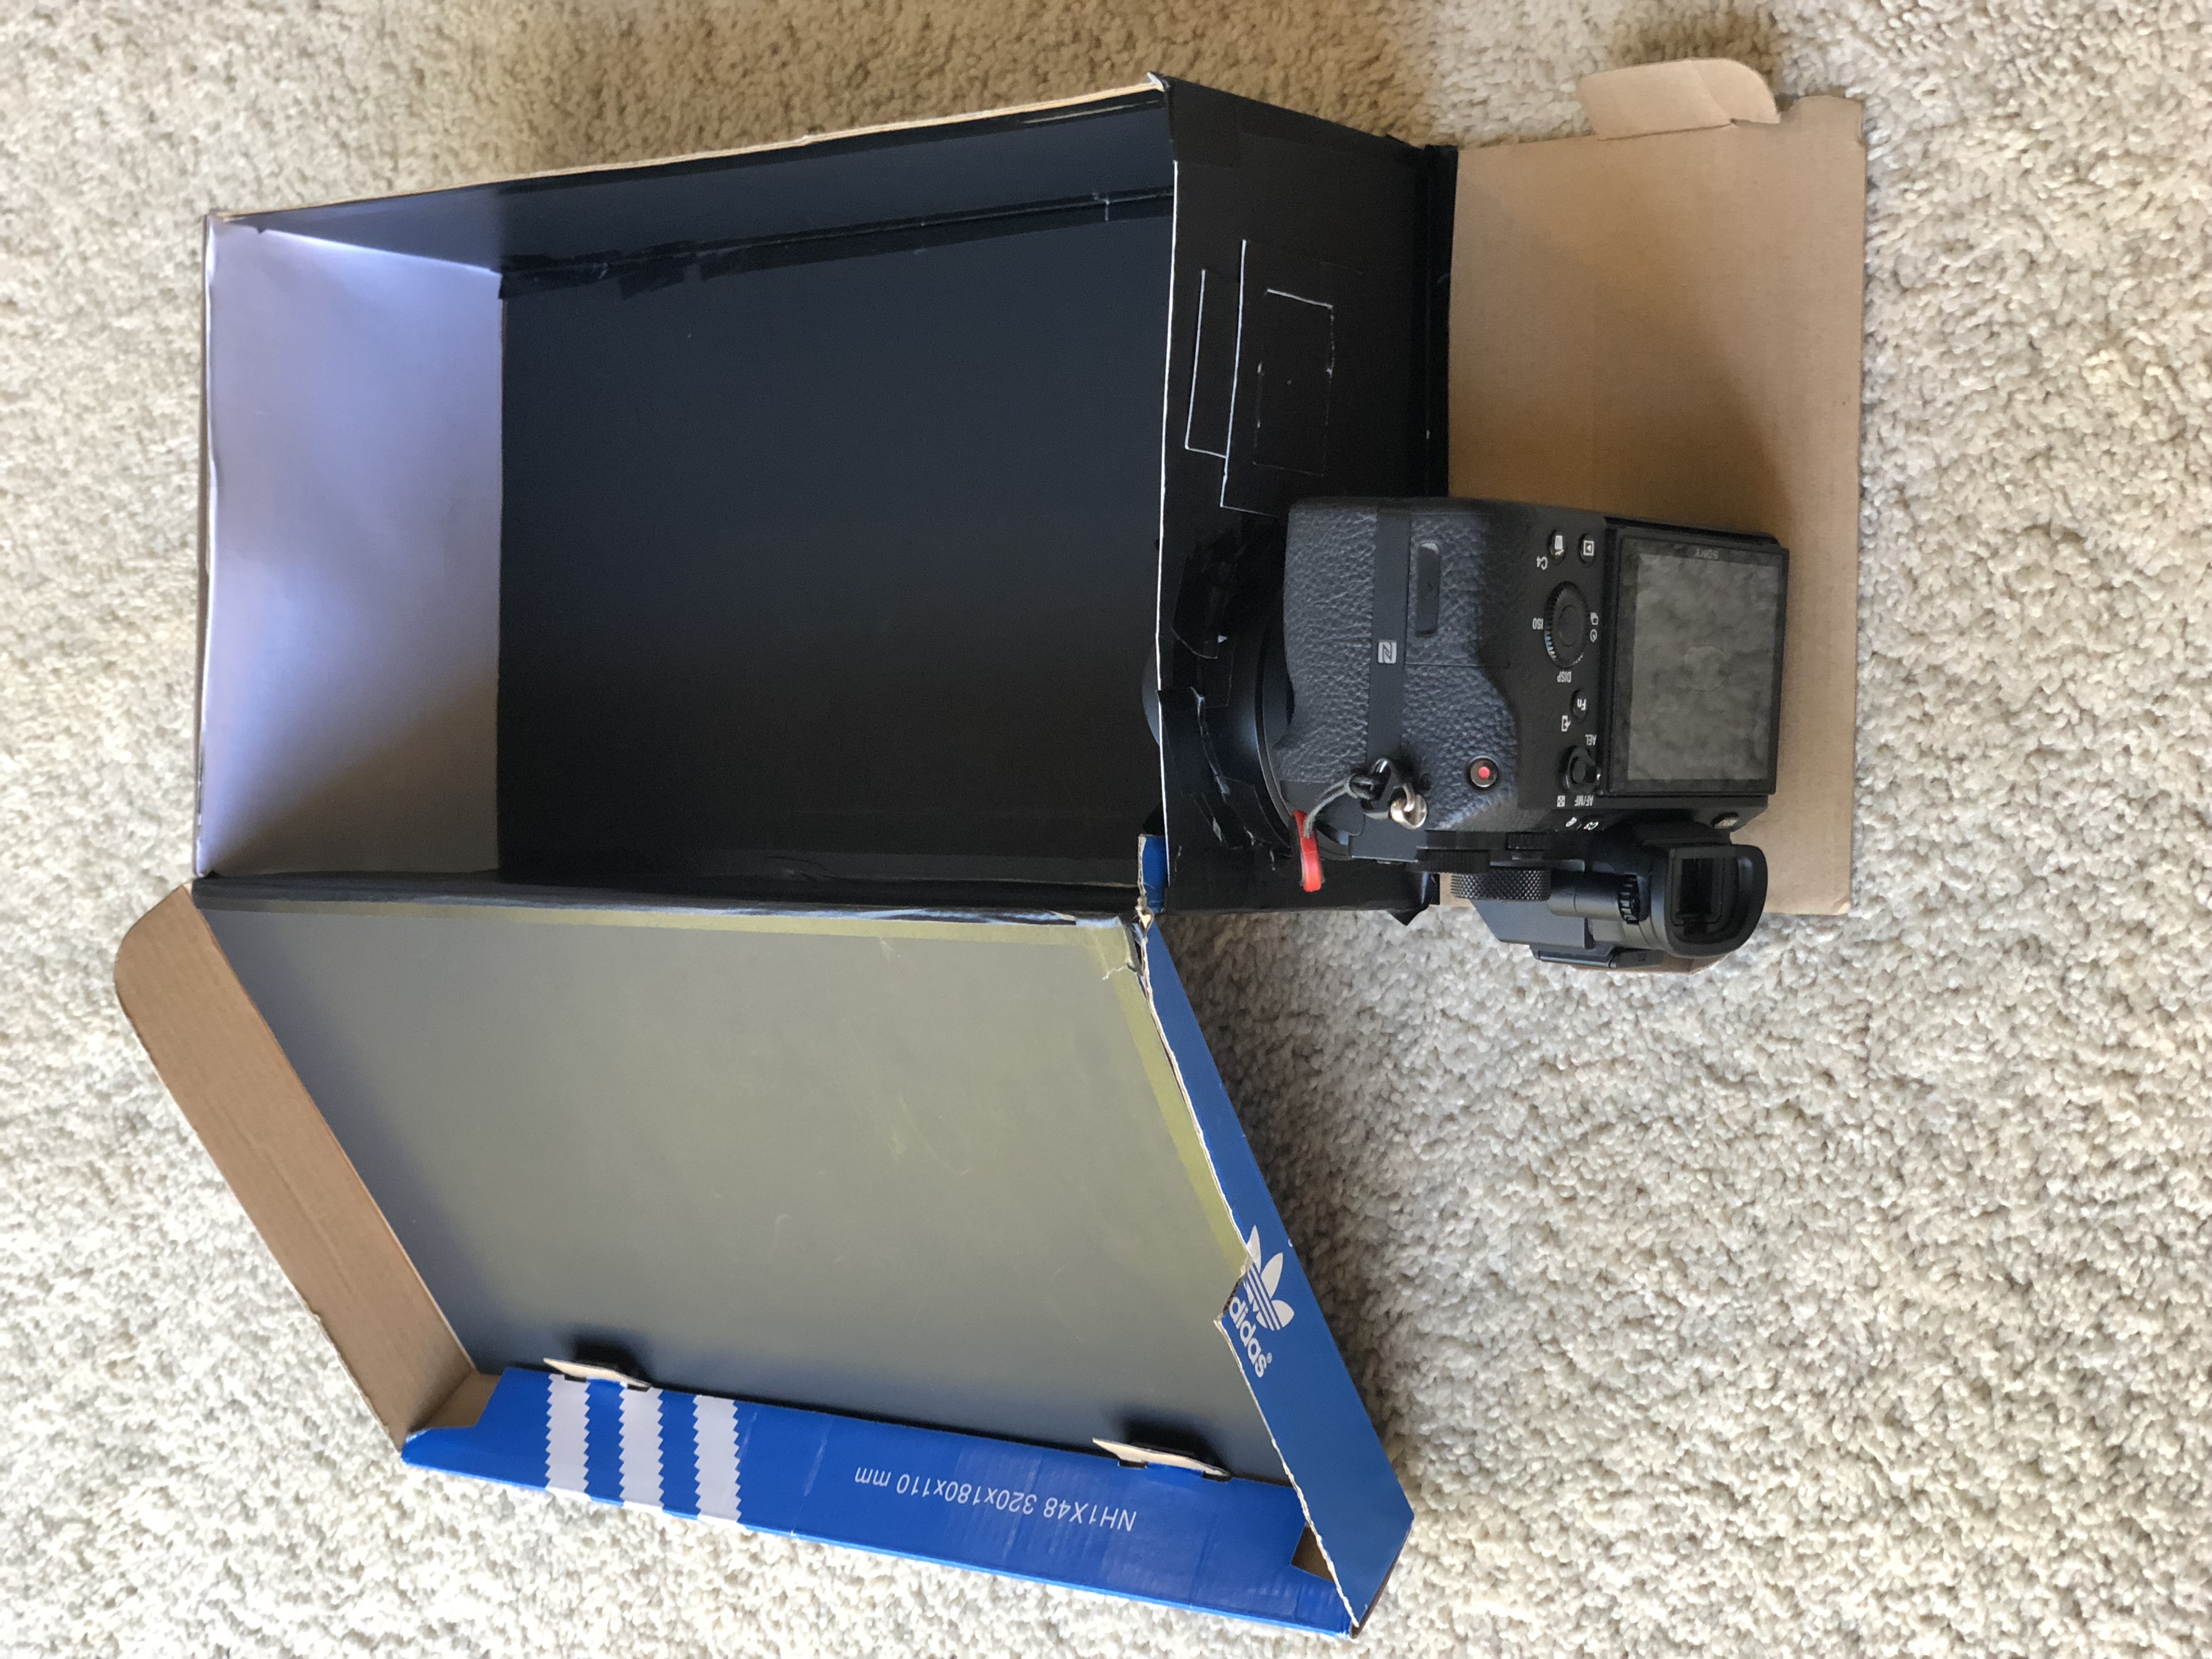
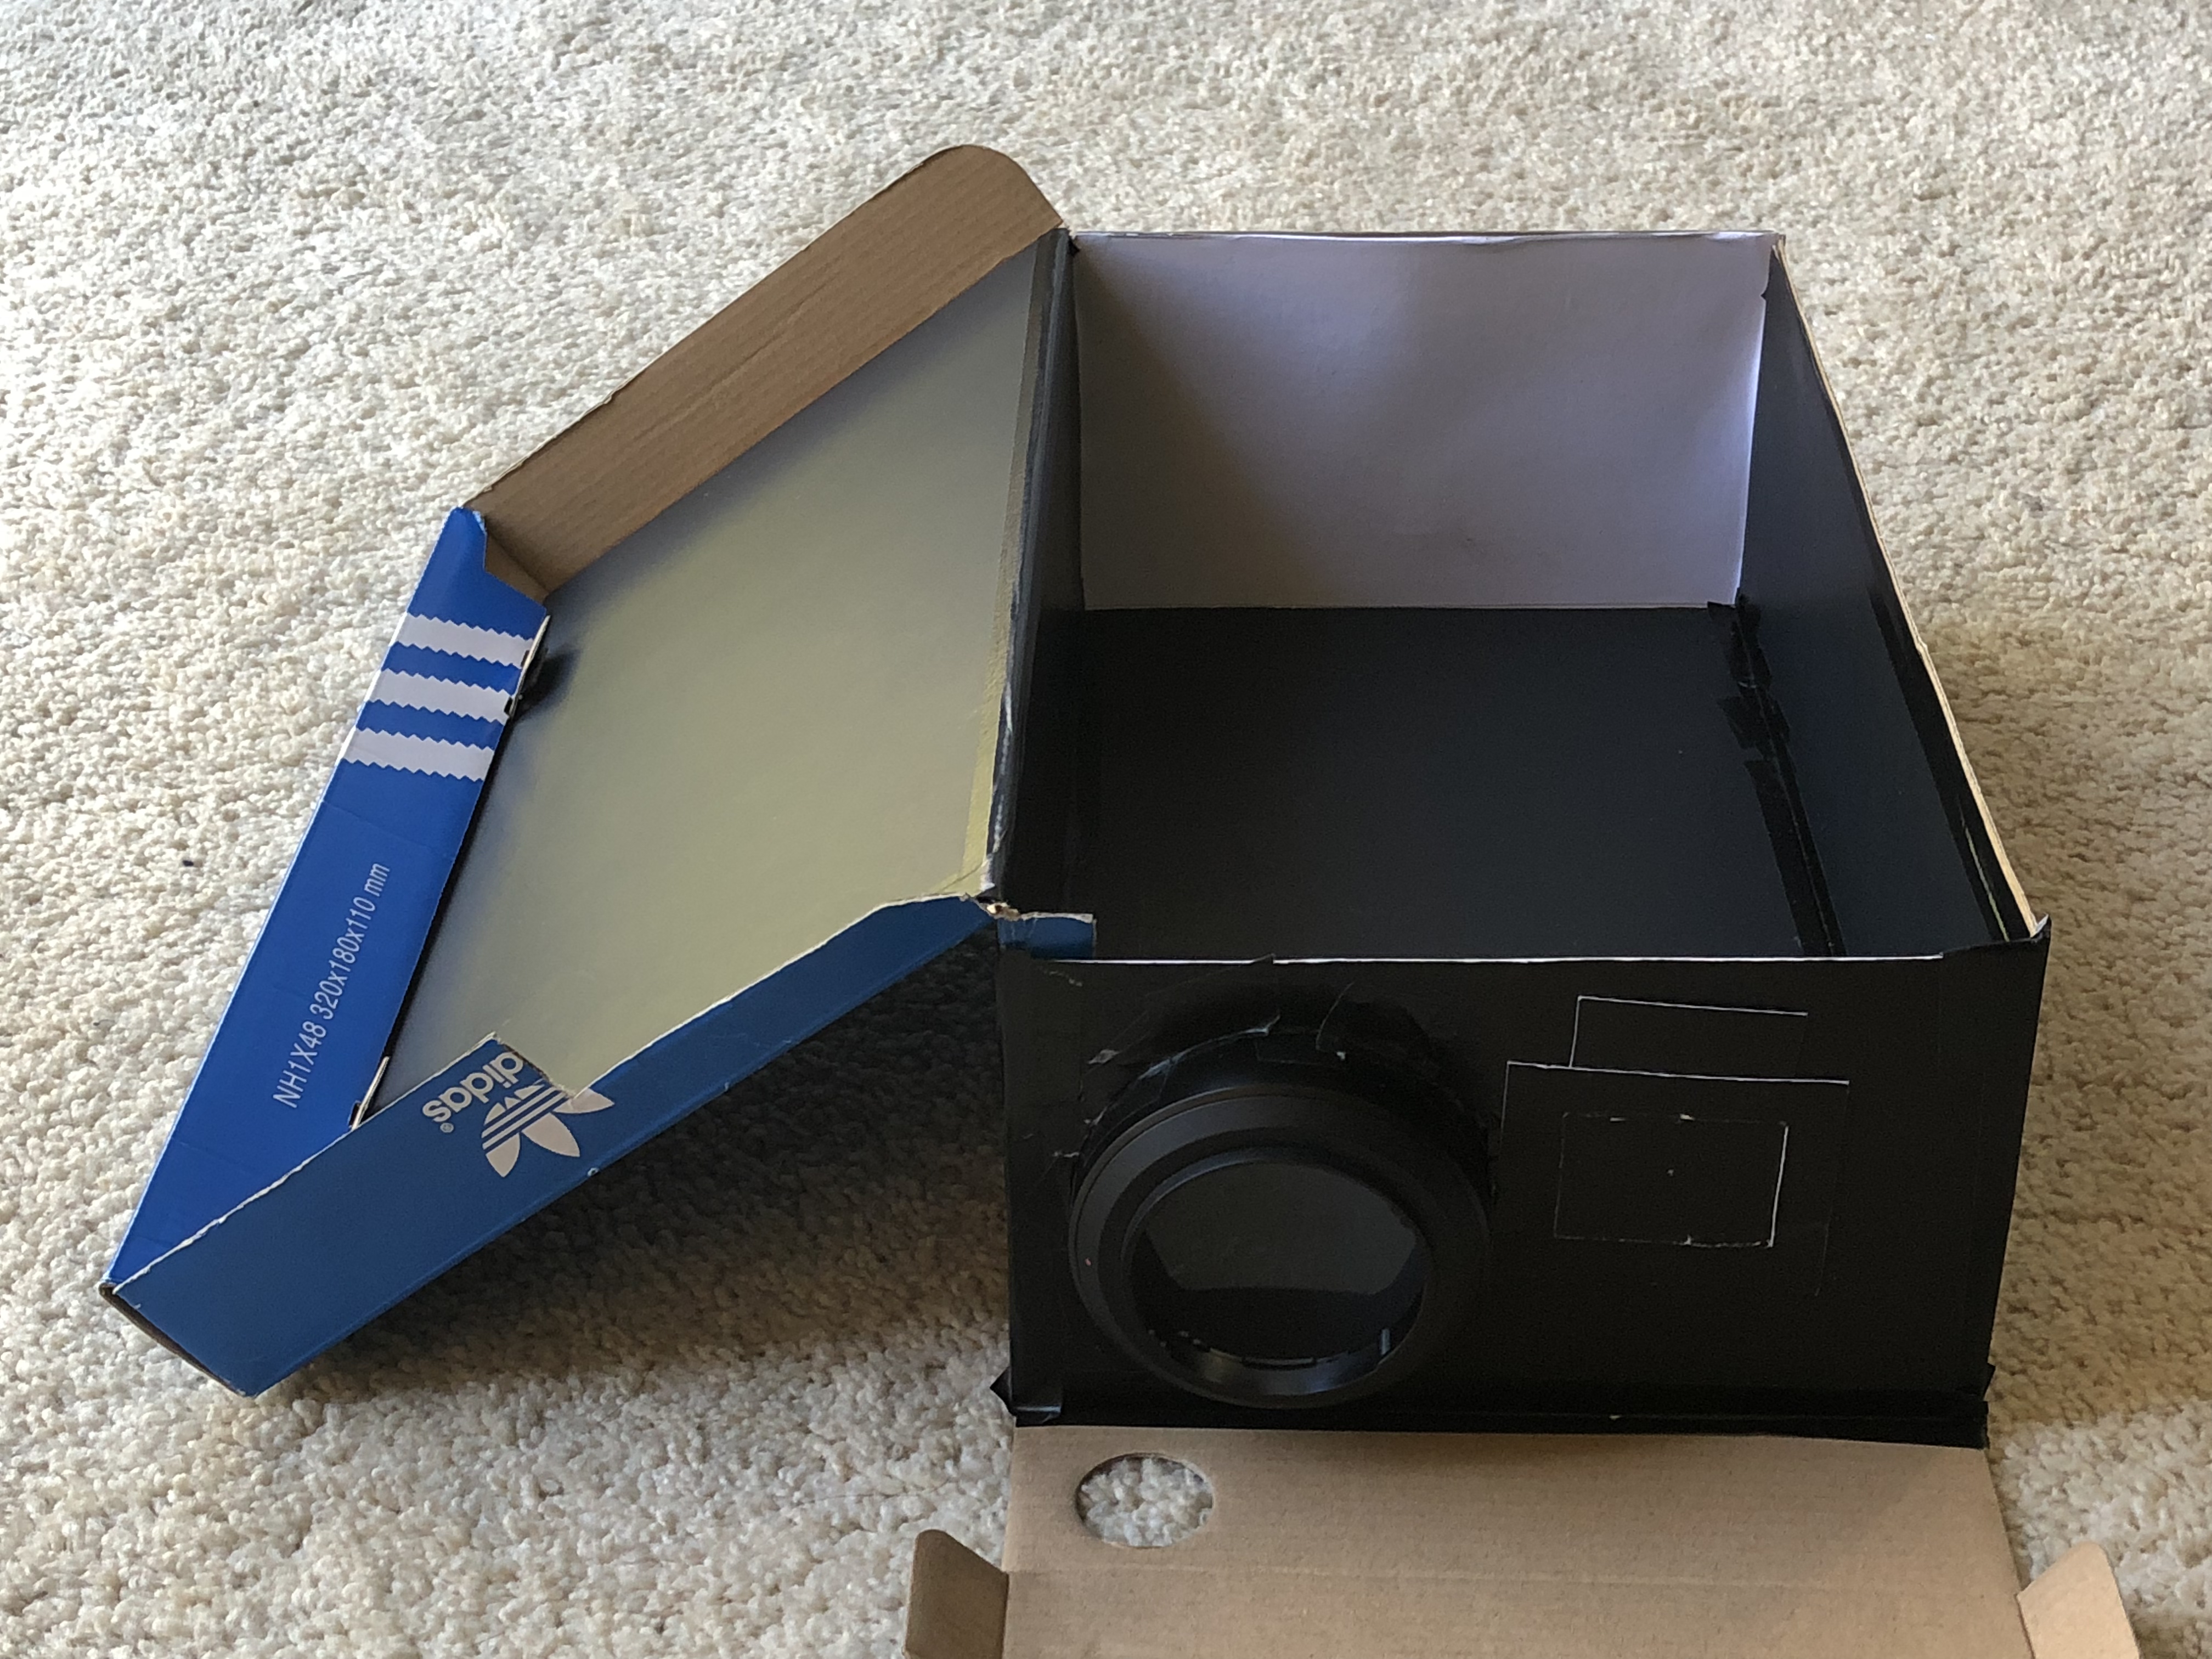
1. We paste white paper as the screen, and paste black paper to the other faces to reduce reflection.
2. On the side opposite to the screen, we make a hole to accommodate the lens hood of the camera. We attached the camera to the hood when taking photos.
3. Next to the camera hole, we design a place where we can insert cardboards that has a pinhole of varying sizes. As shown in the picture, the cardboards can be inserted from the top.
4. To ensure the box is light-proof, we stick black tapes along the edges and aroud corners.
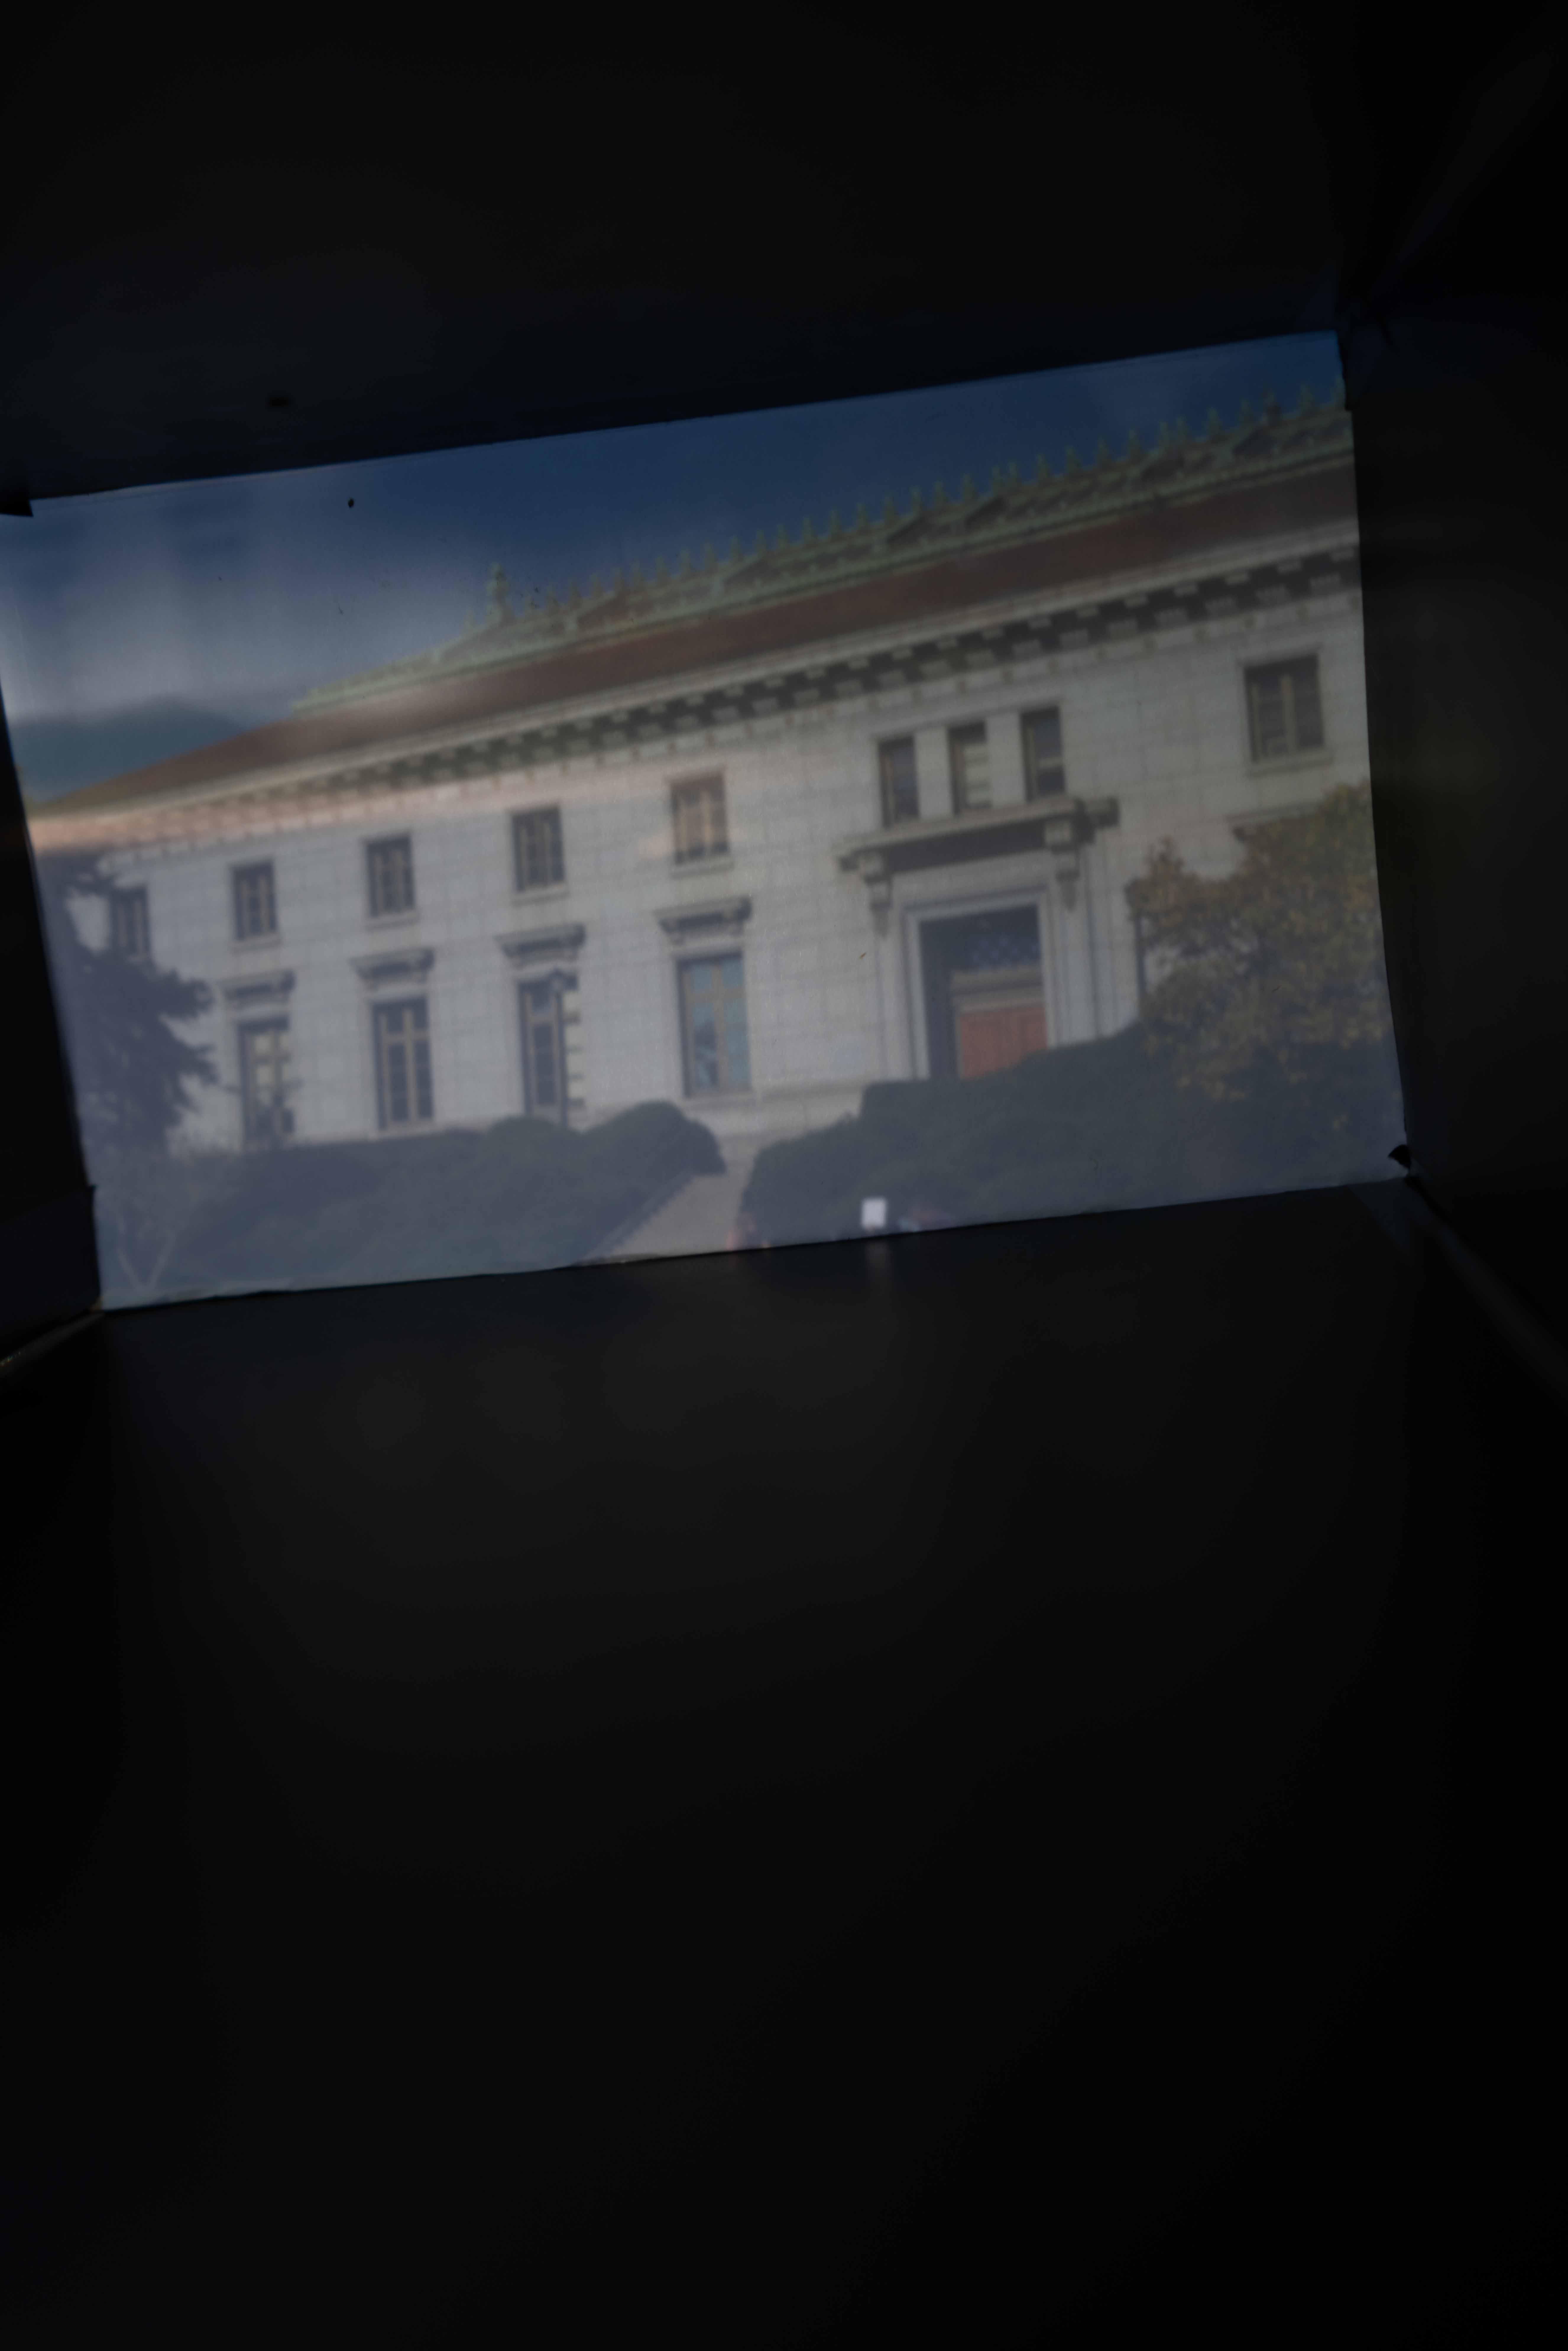
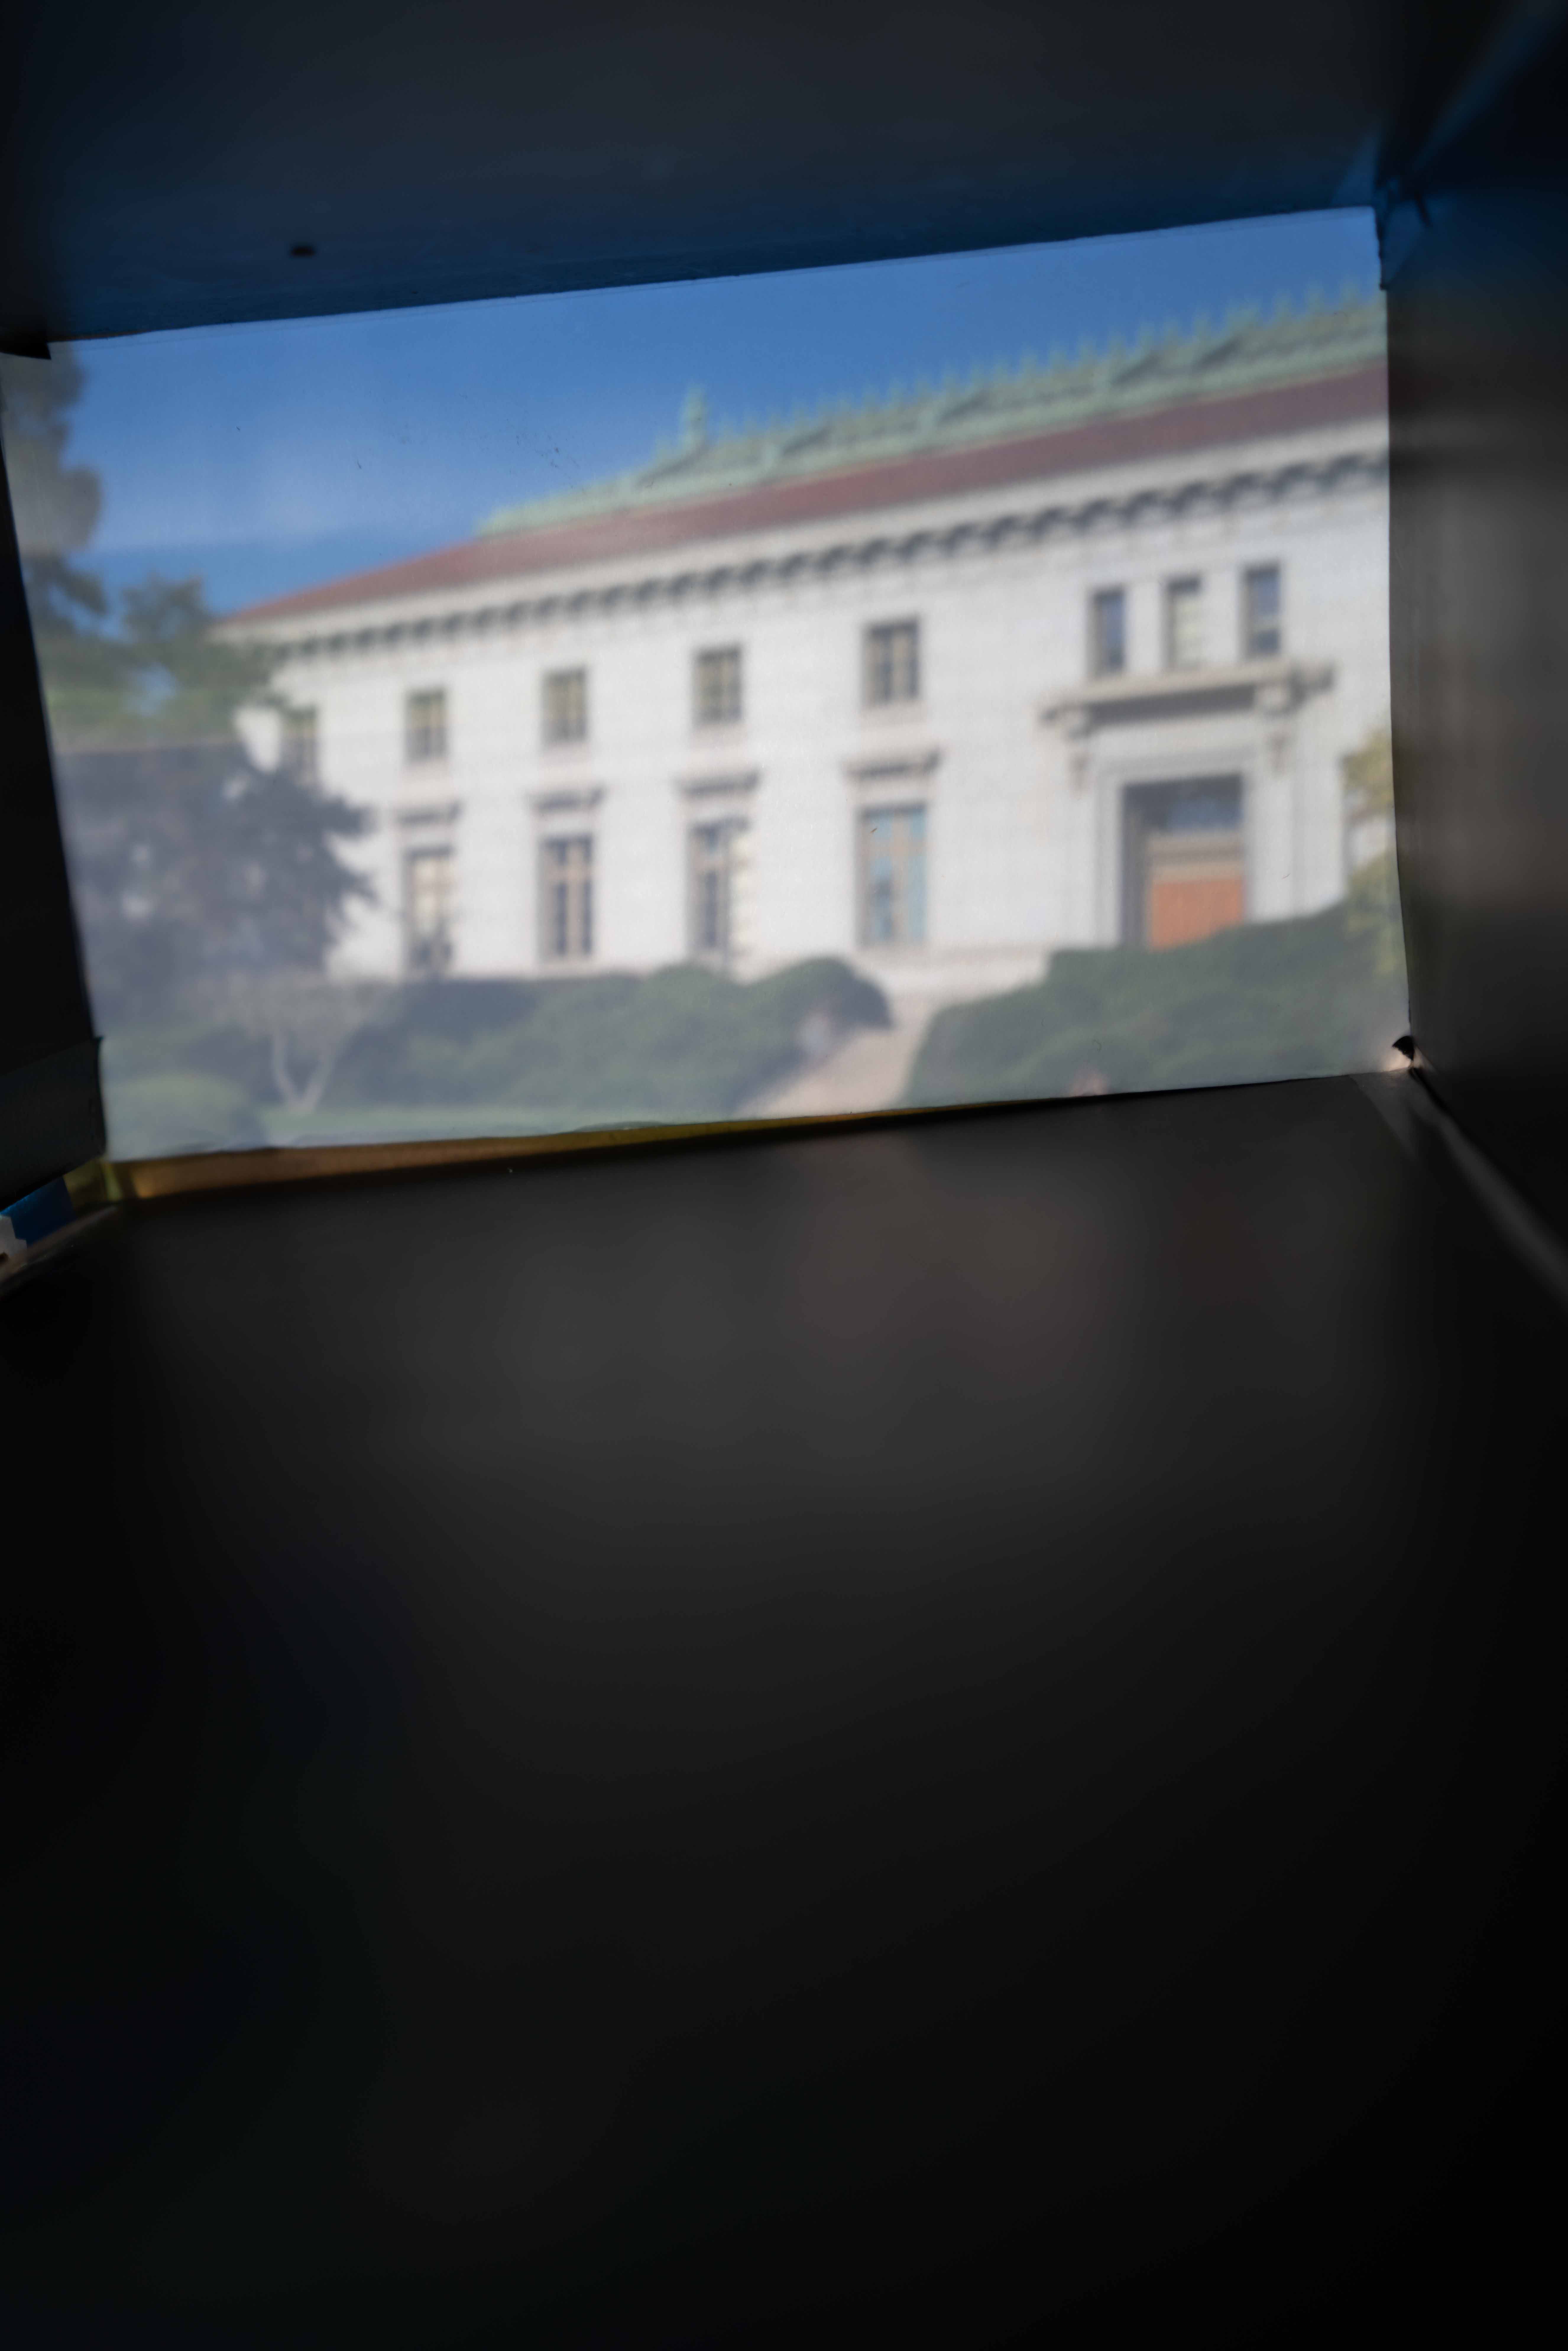
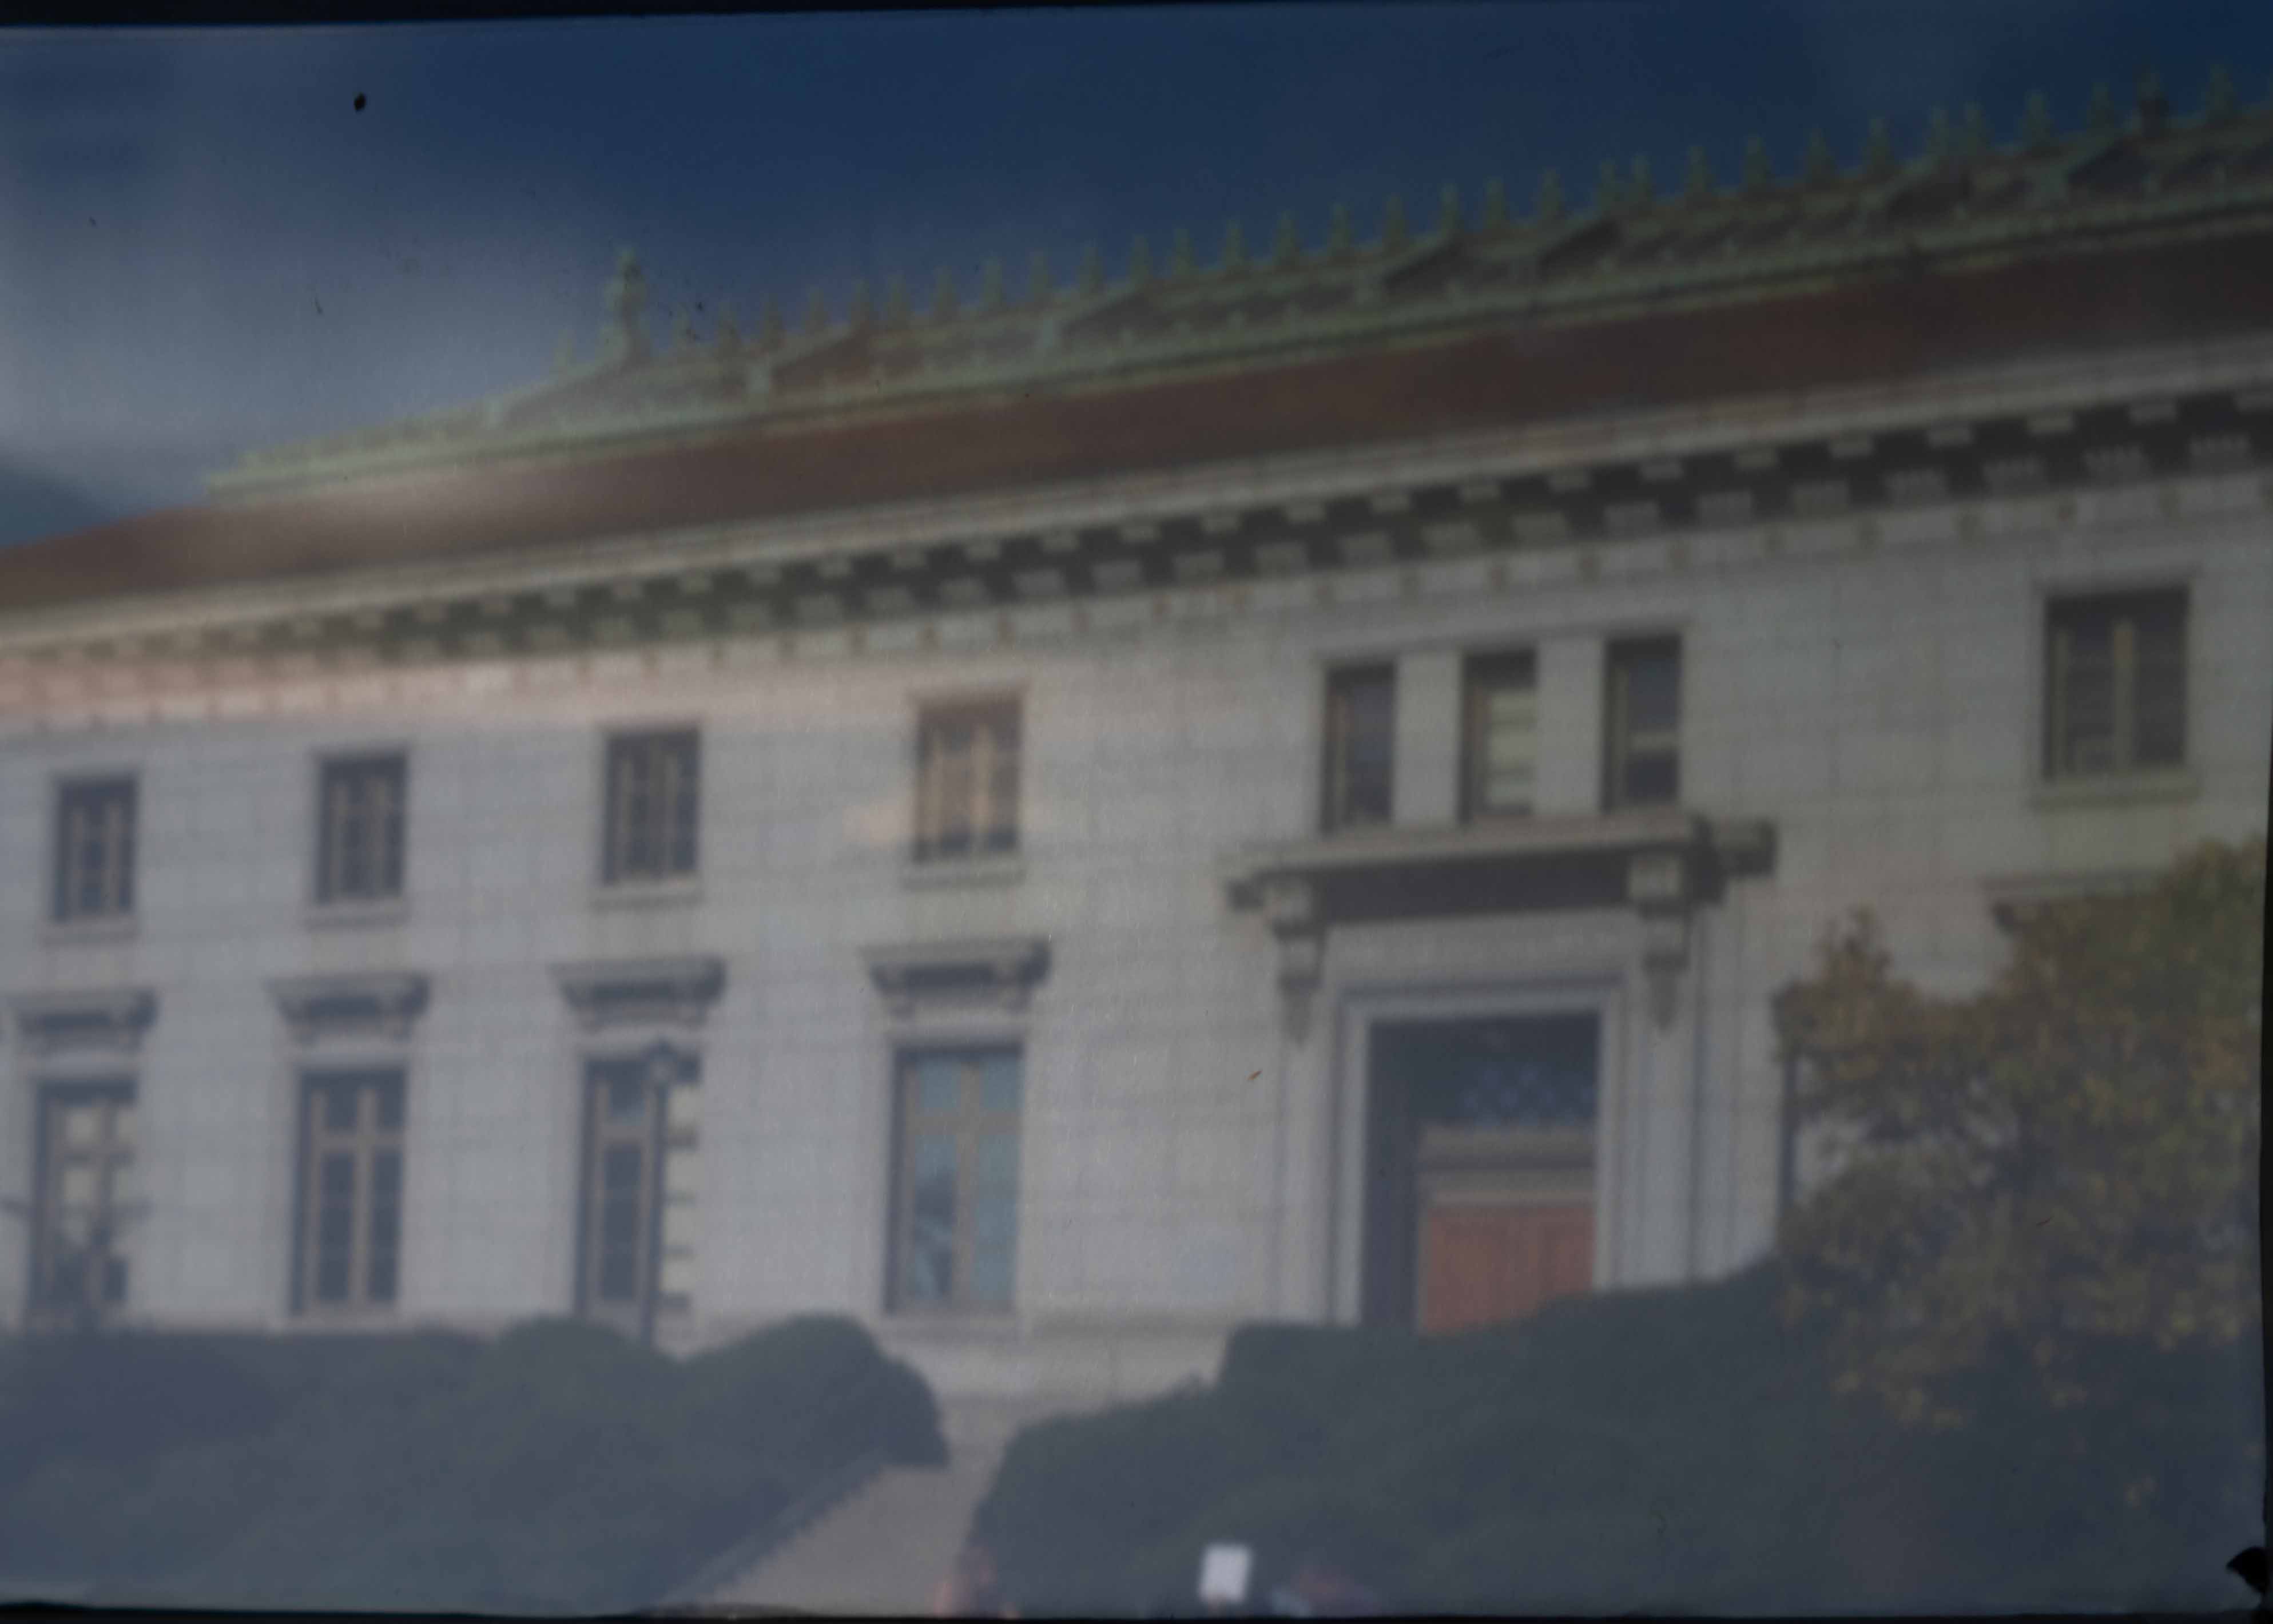
Results: 1mm v.s. 2.5mm v.s. 4mm pinholes
We tested out our pinhole camera on two scenes with different pinholes with diameters of 1mm, 2.5mm and 4mm. For all photos below, we used ISO 125, f/2.8 and exposures time of 30 seconds for camera settings. We showed both the uncropped and cropped results beblow. All results are directly out of camera. All the photos get rotated for 180 degrees.
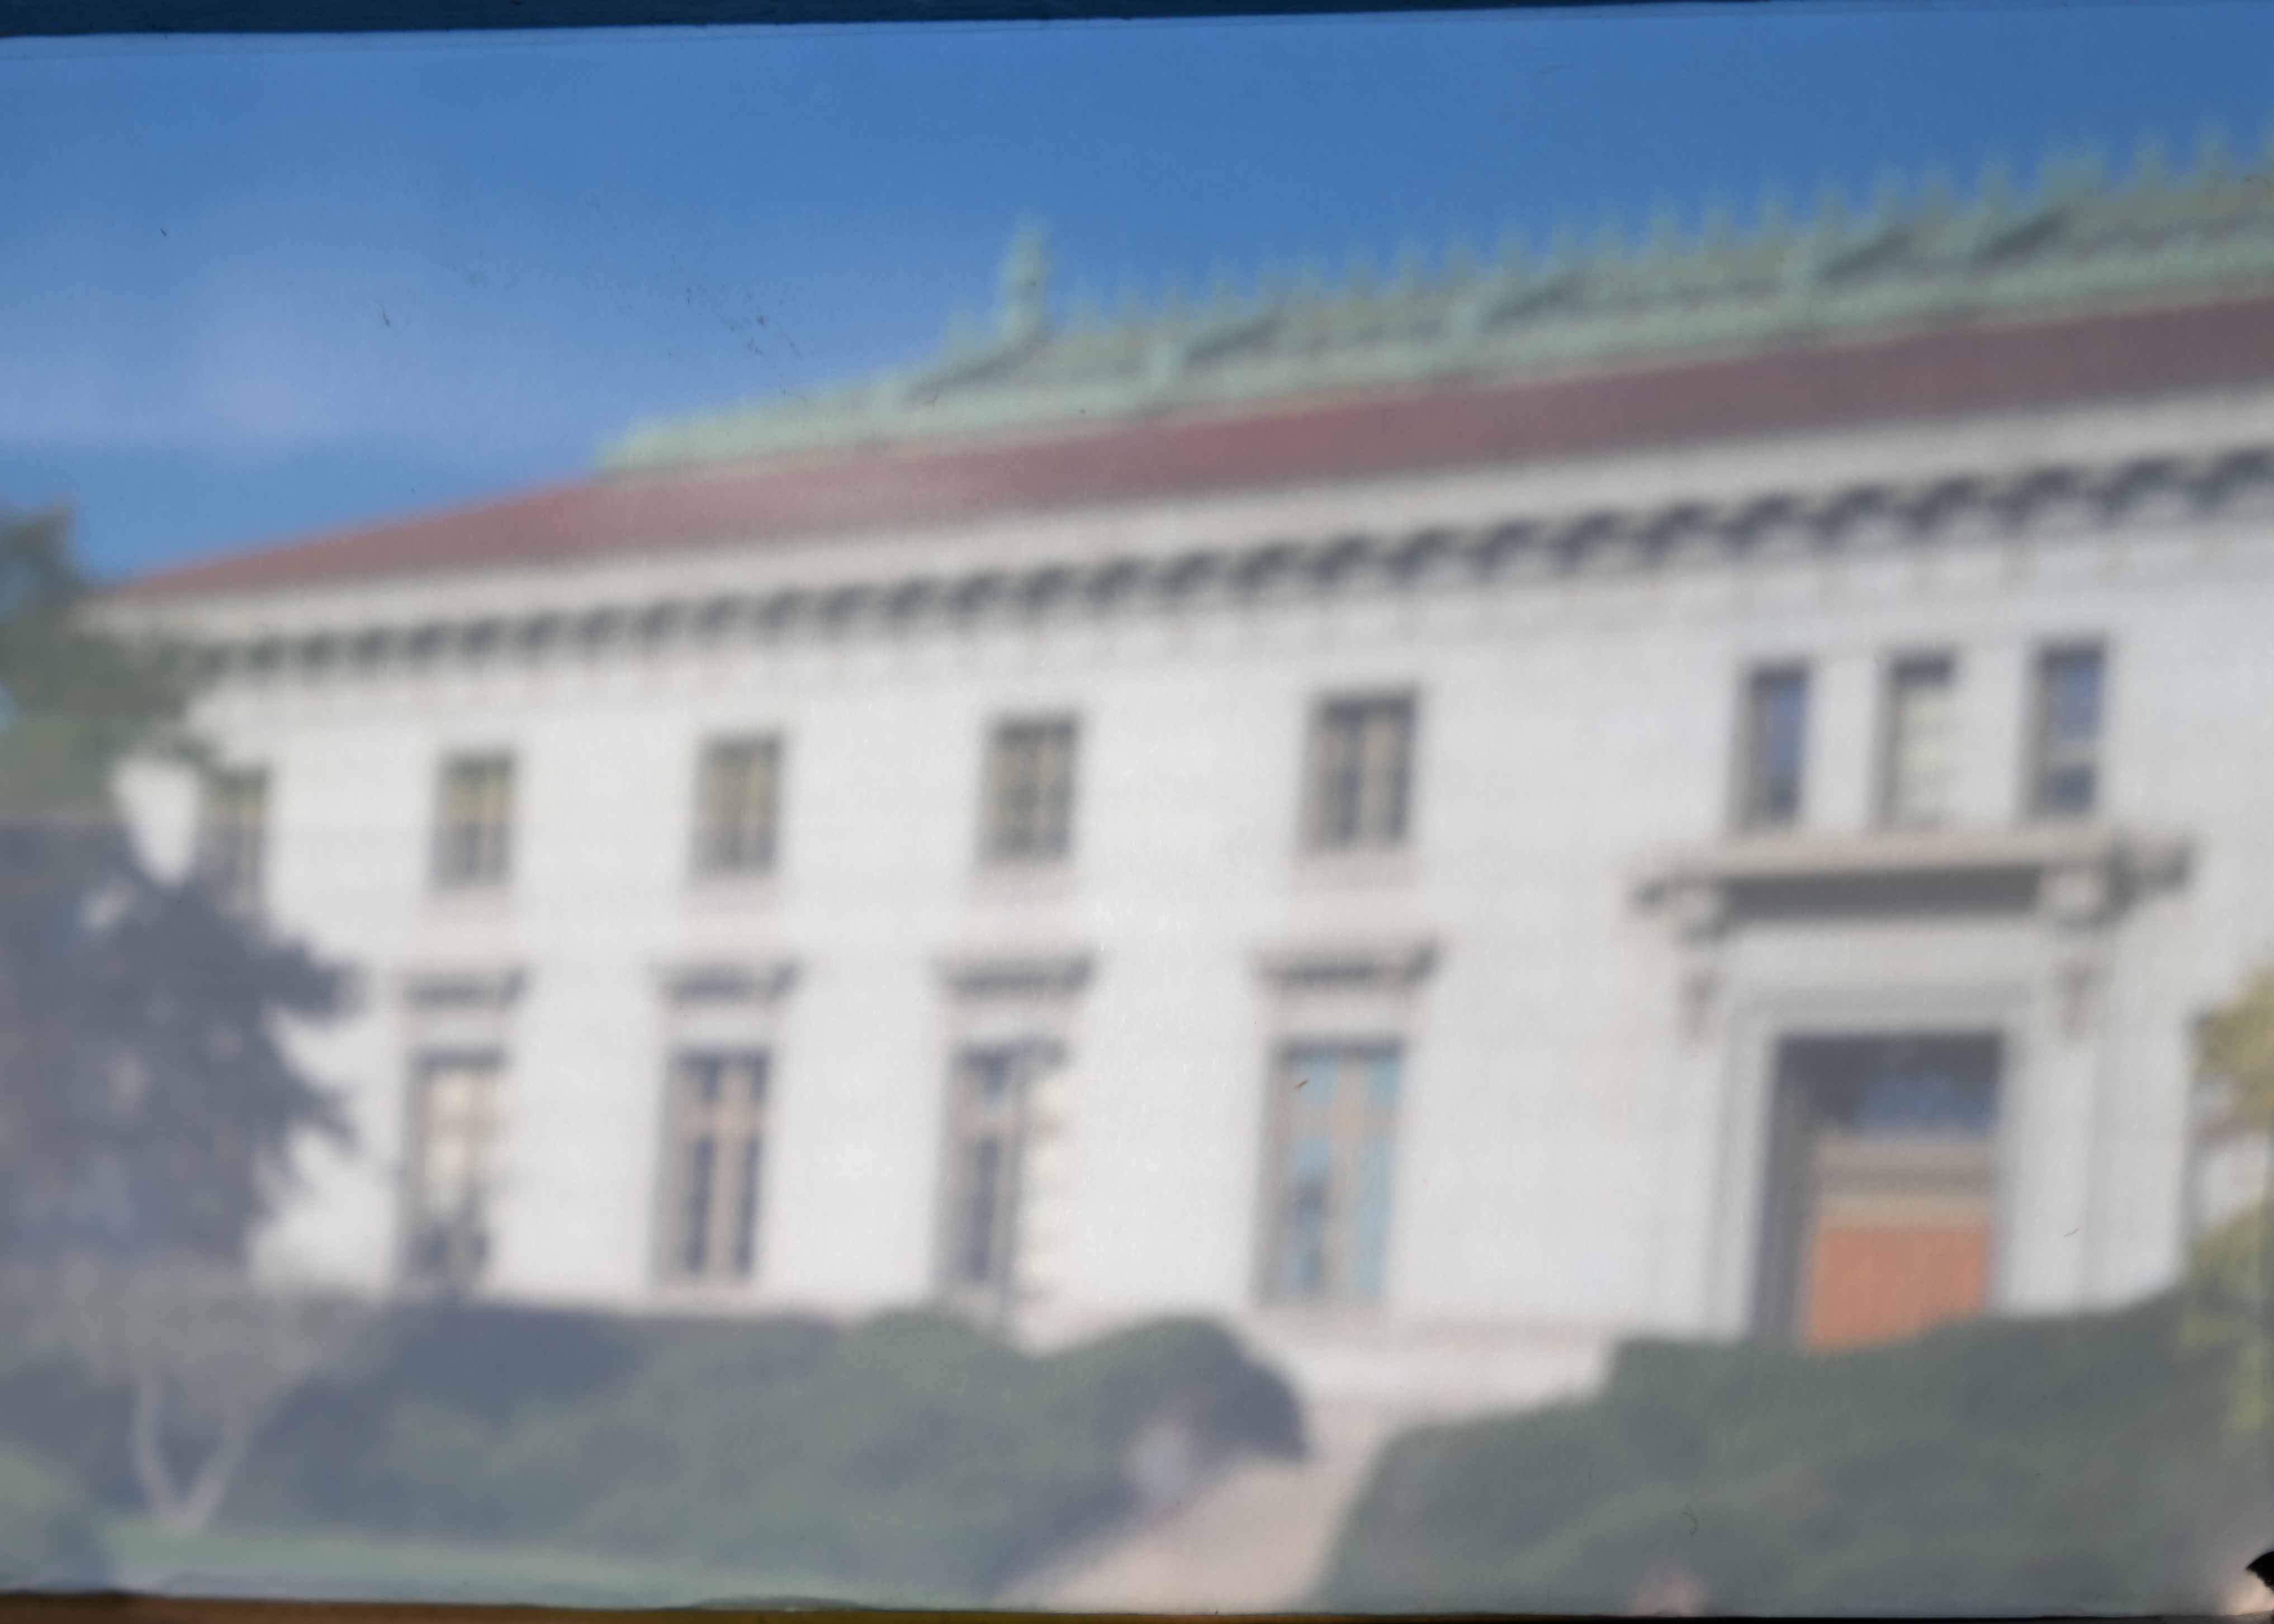
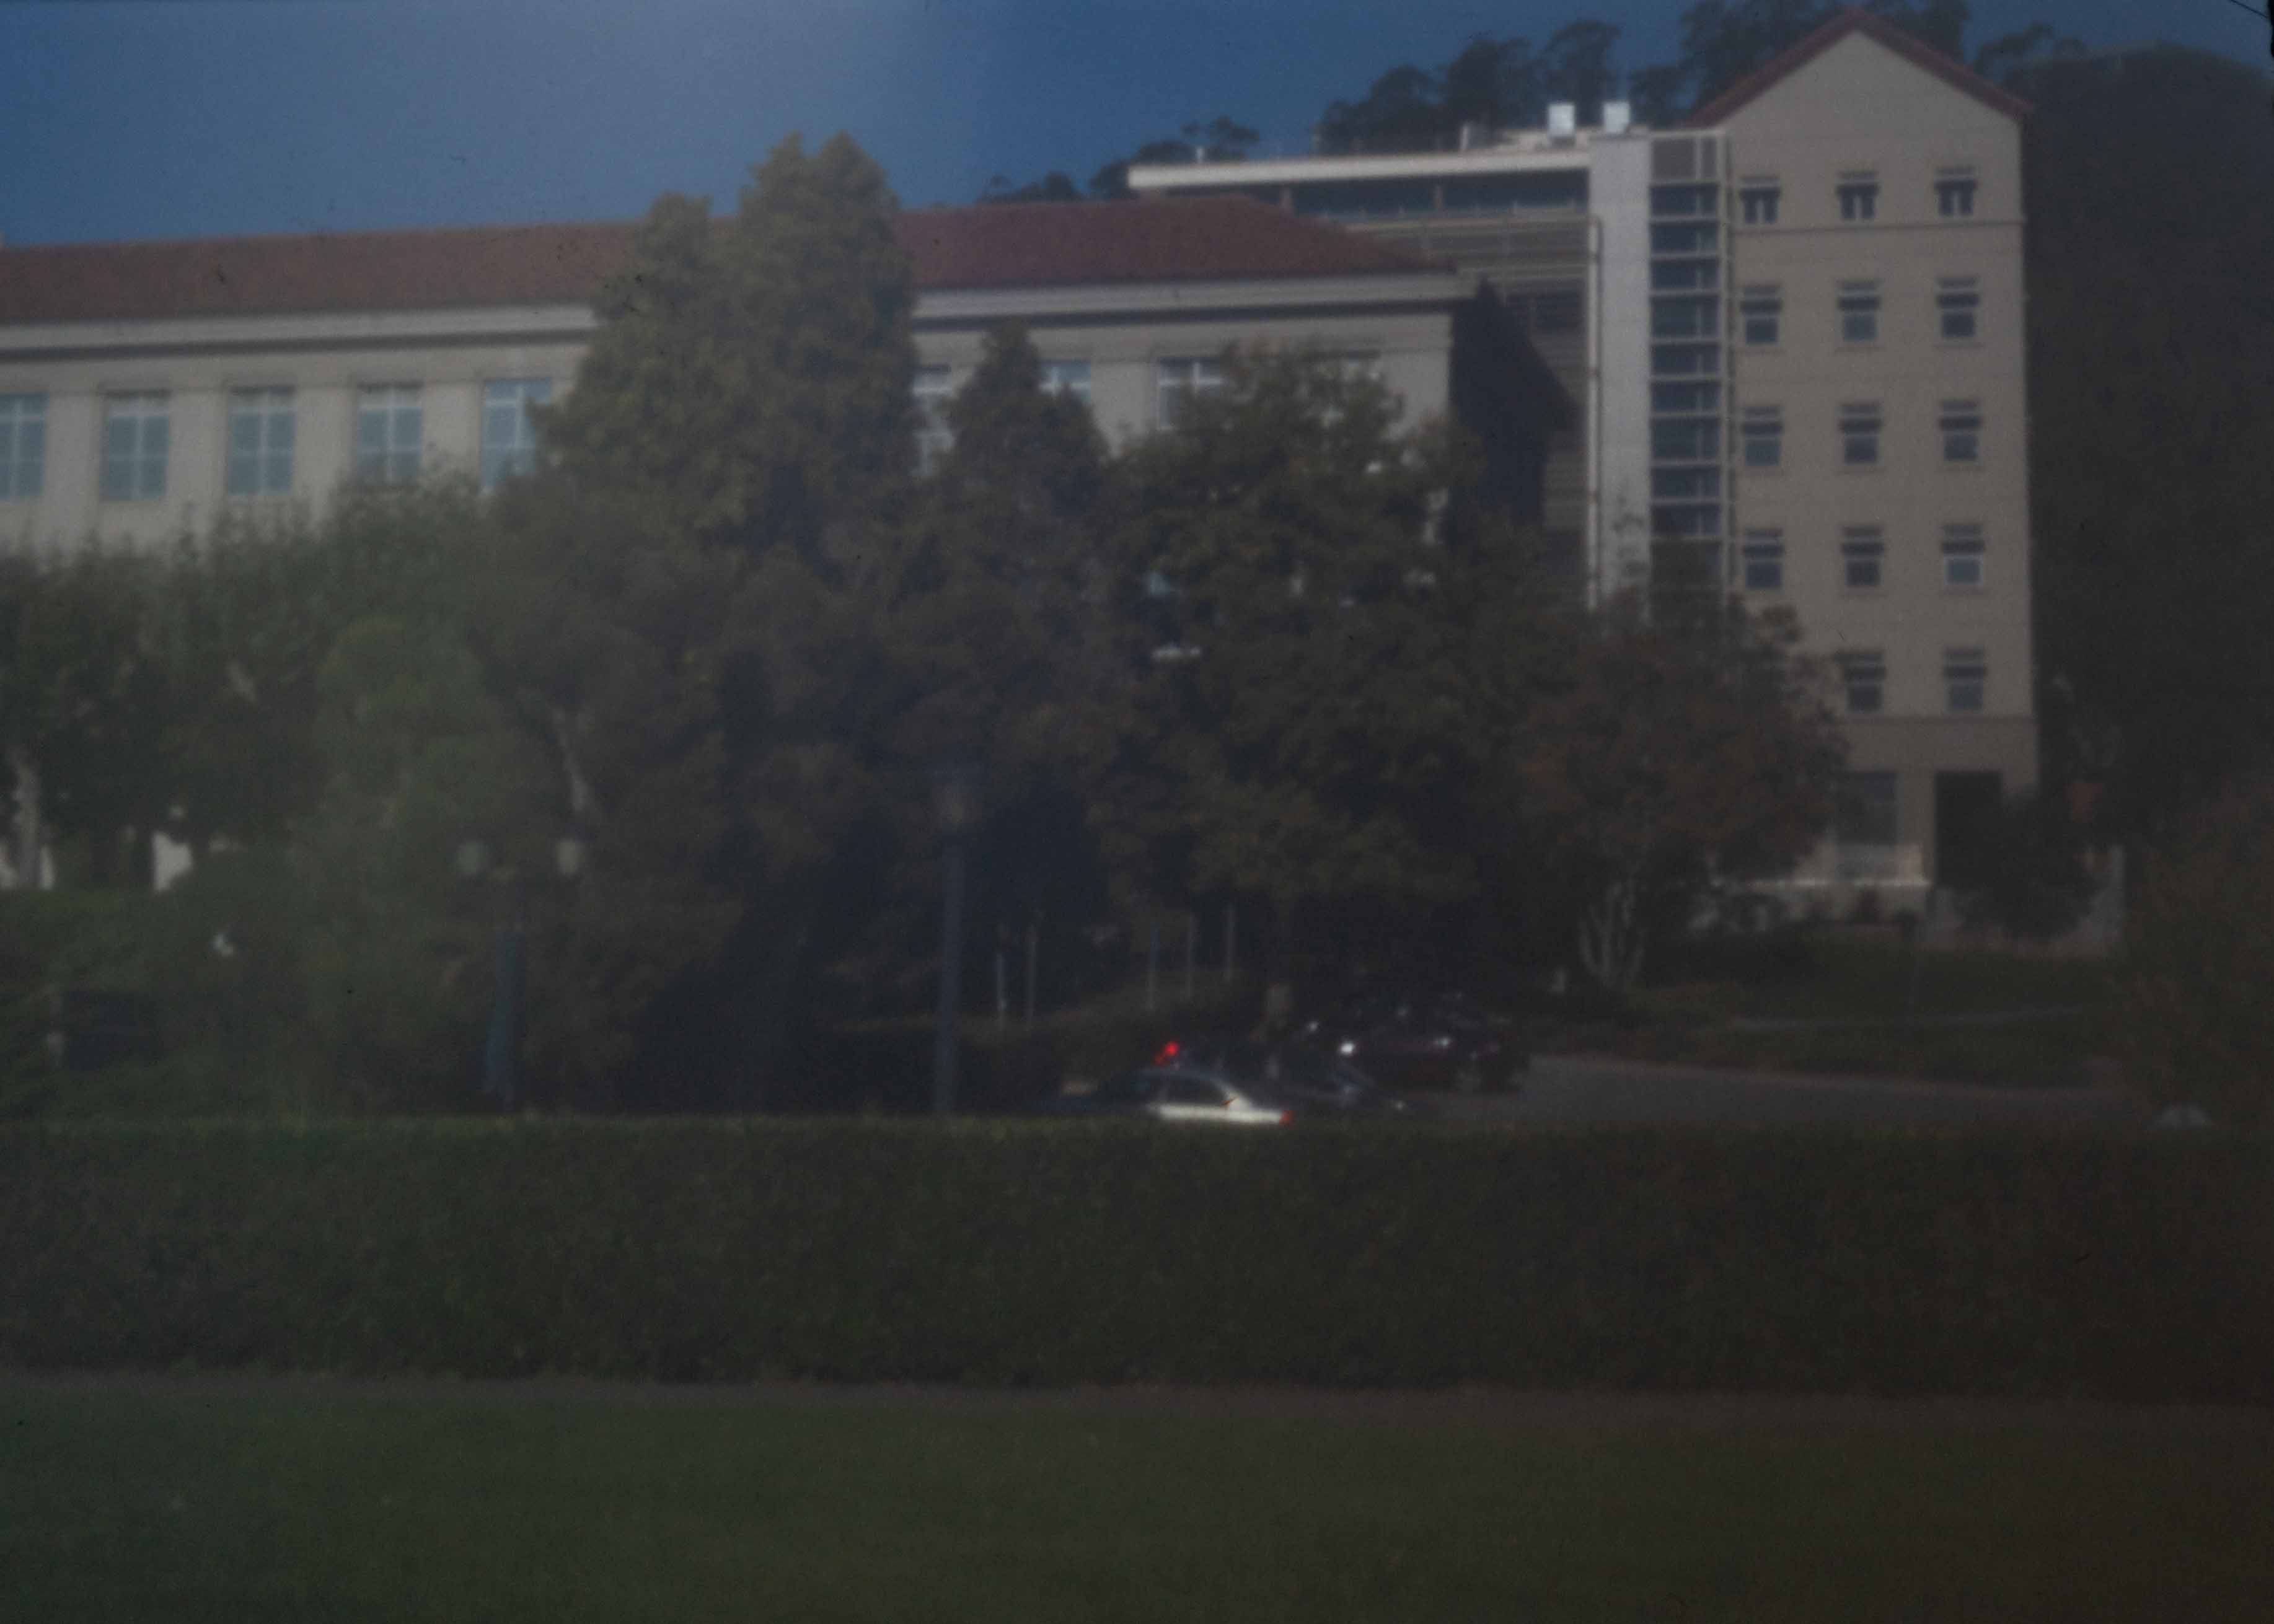
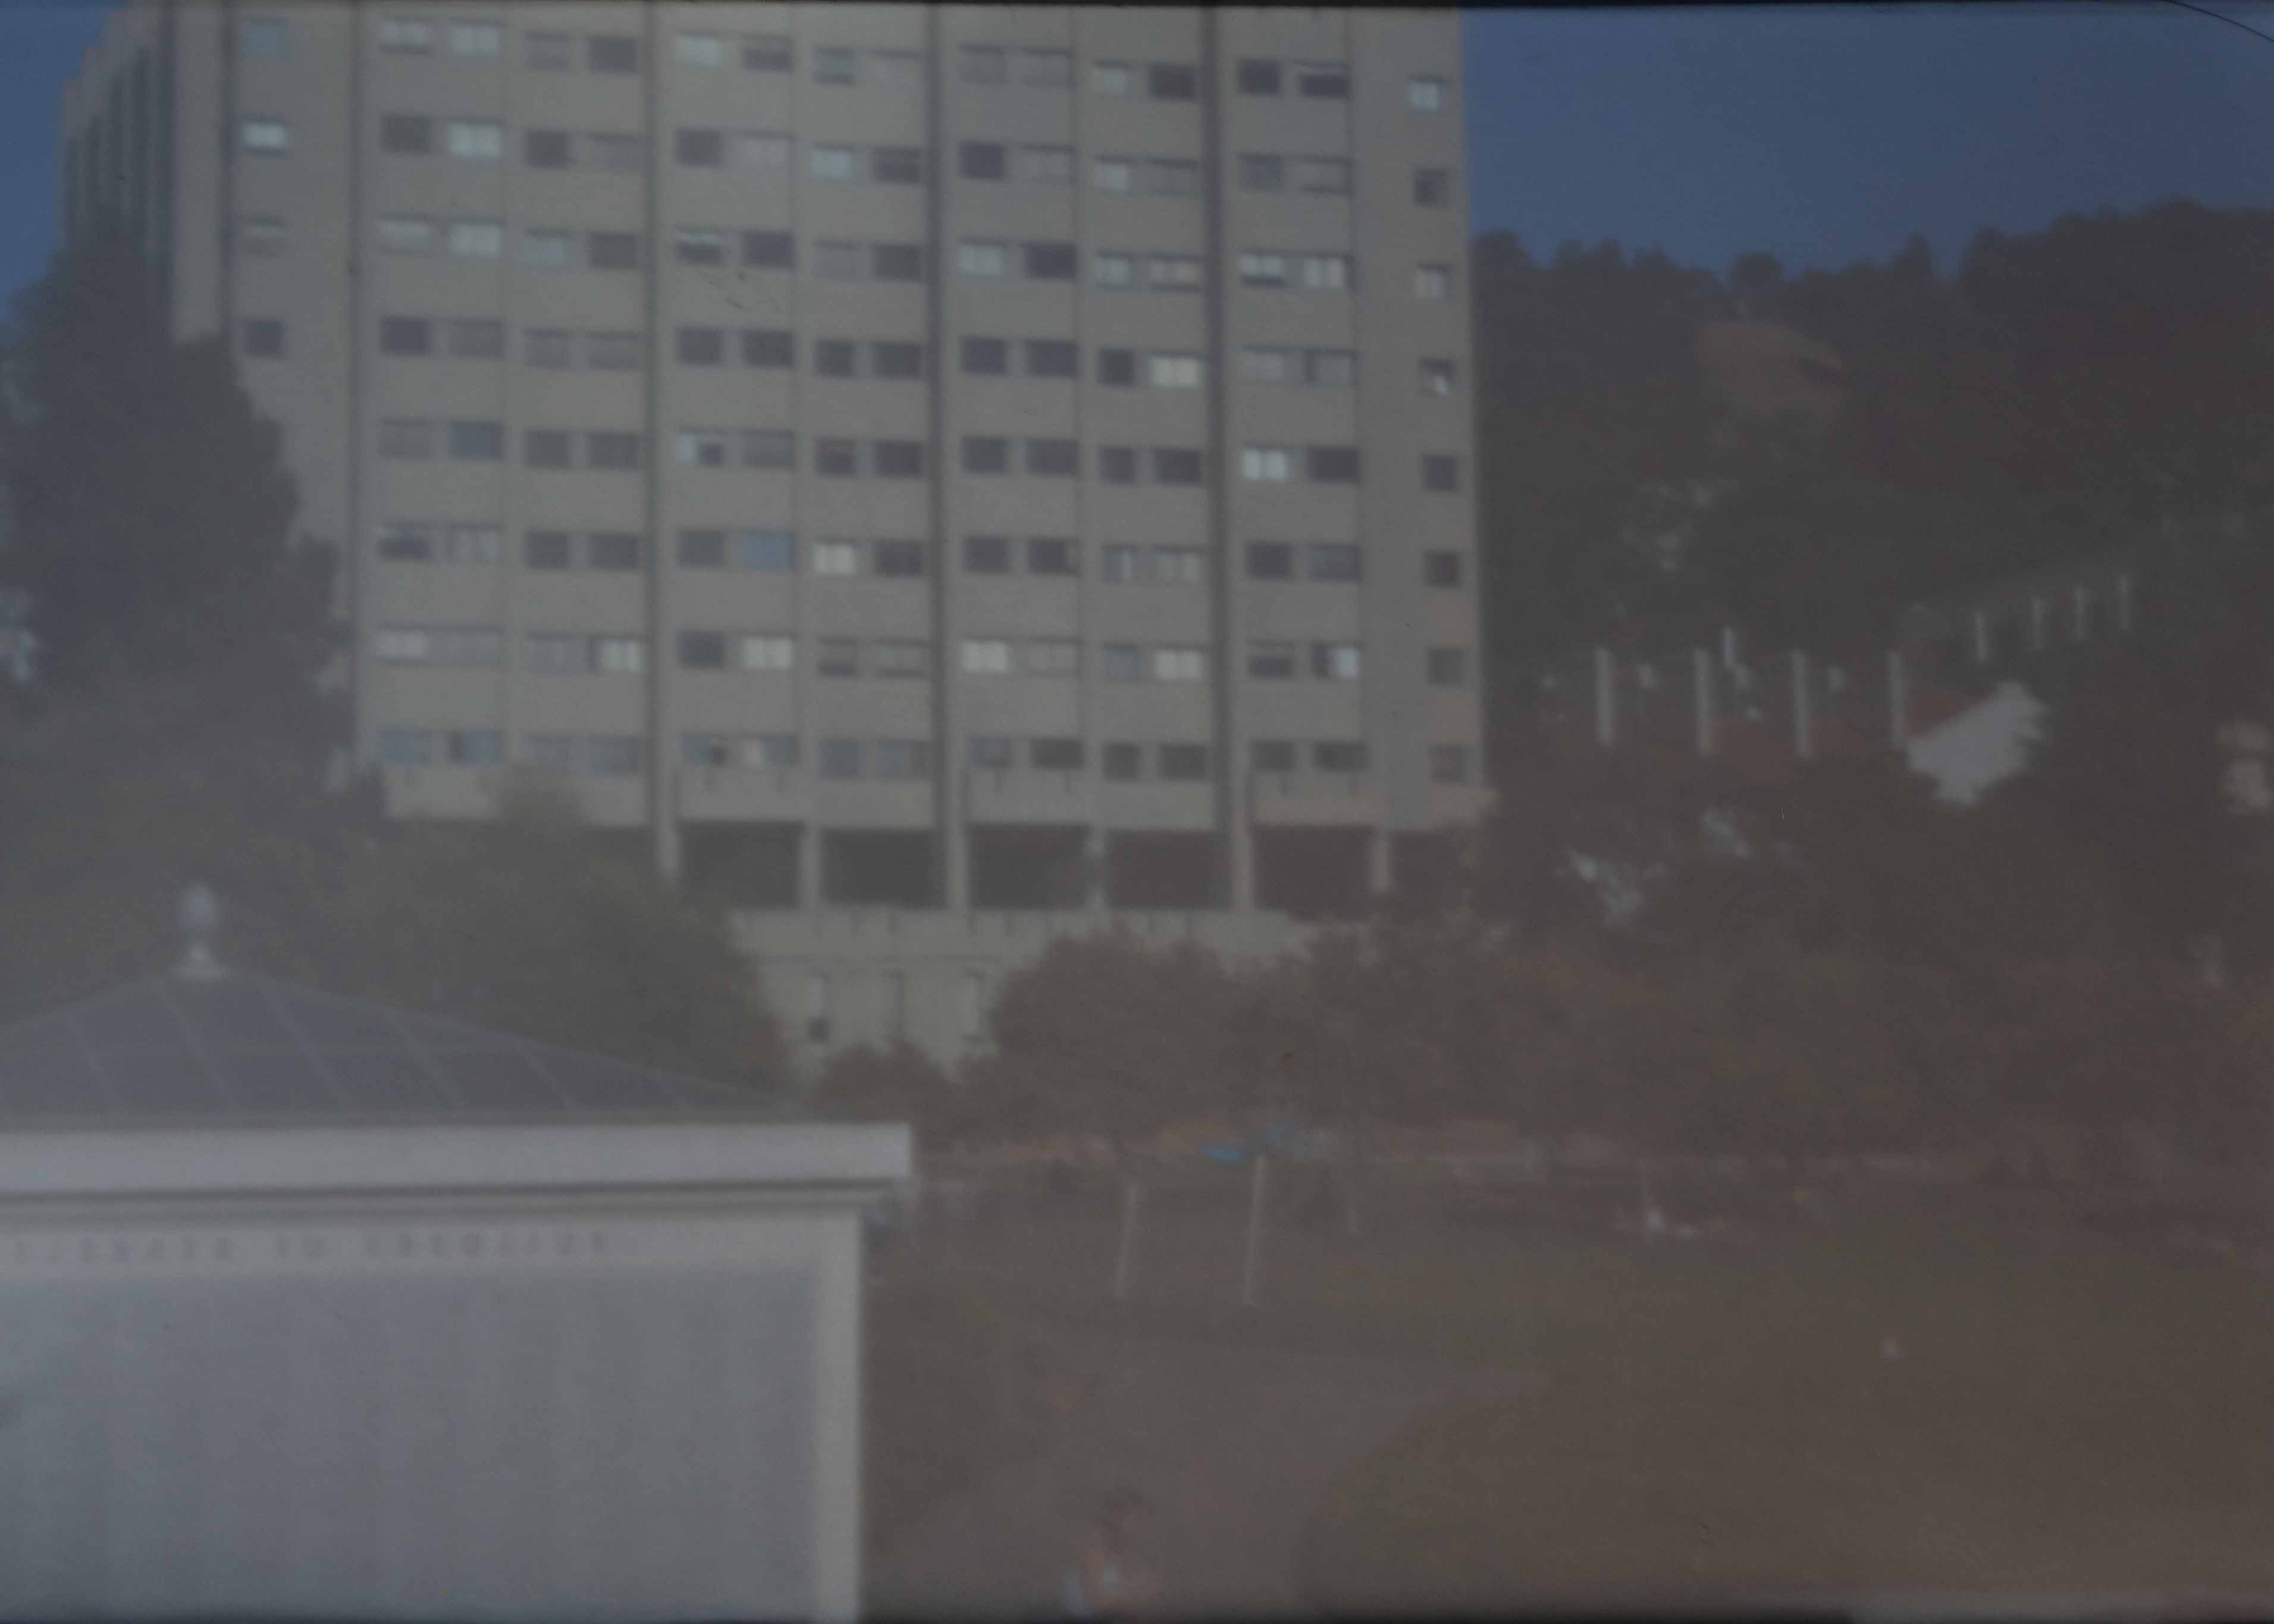
Scene 1 California Hall


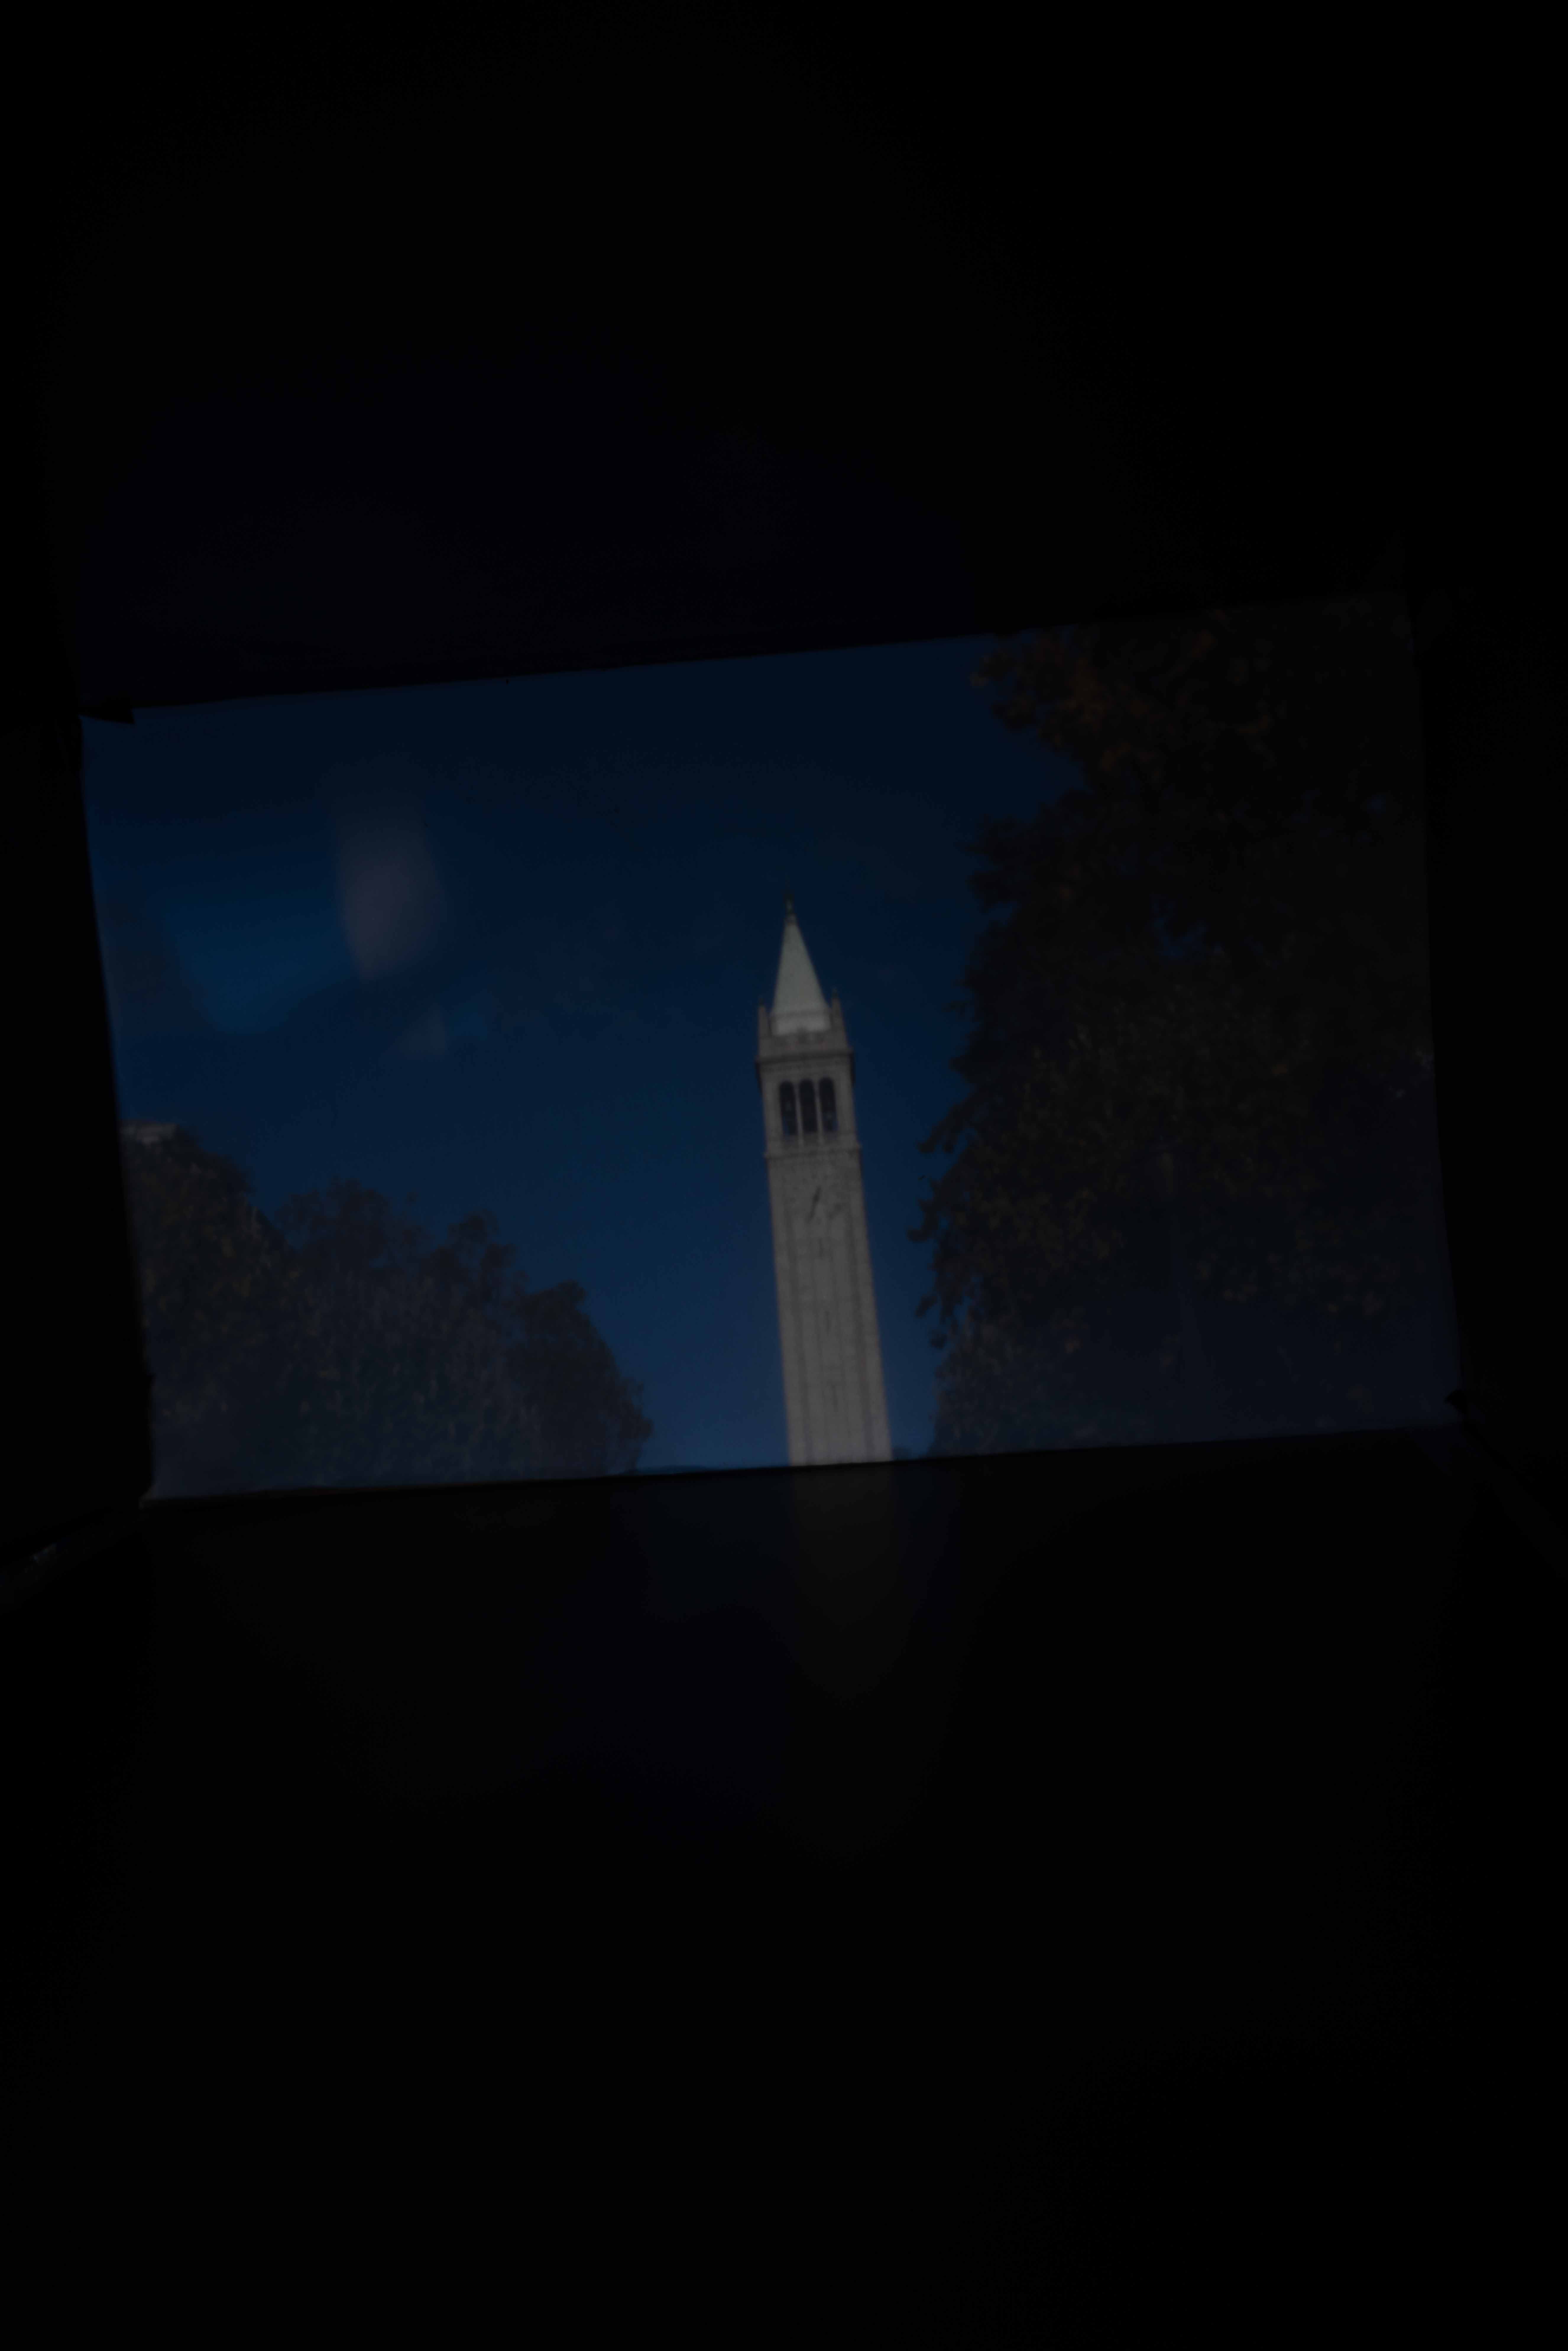
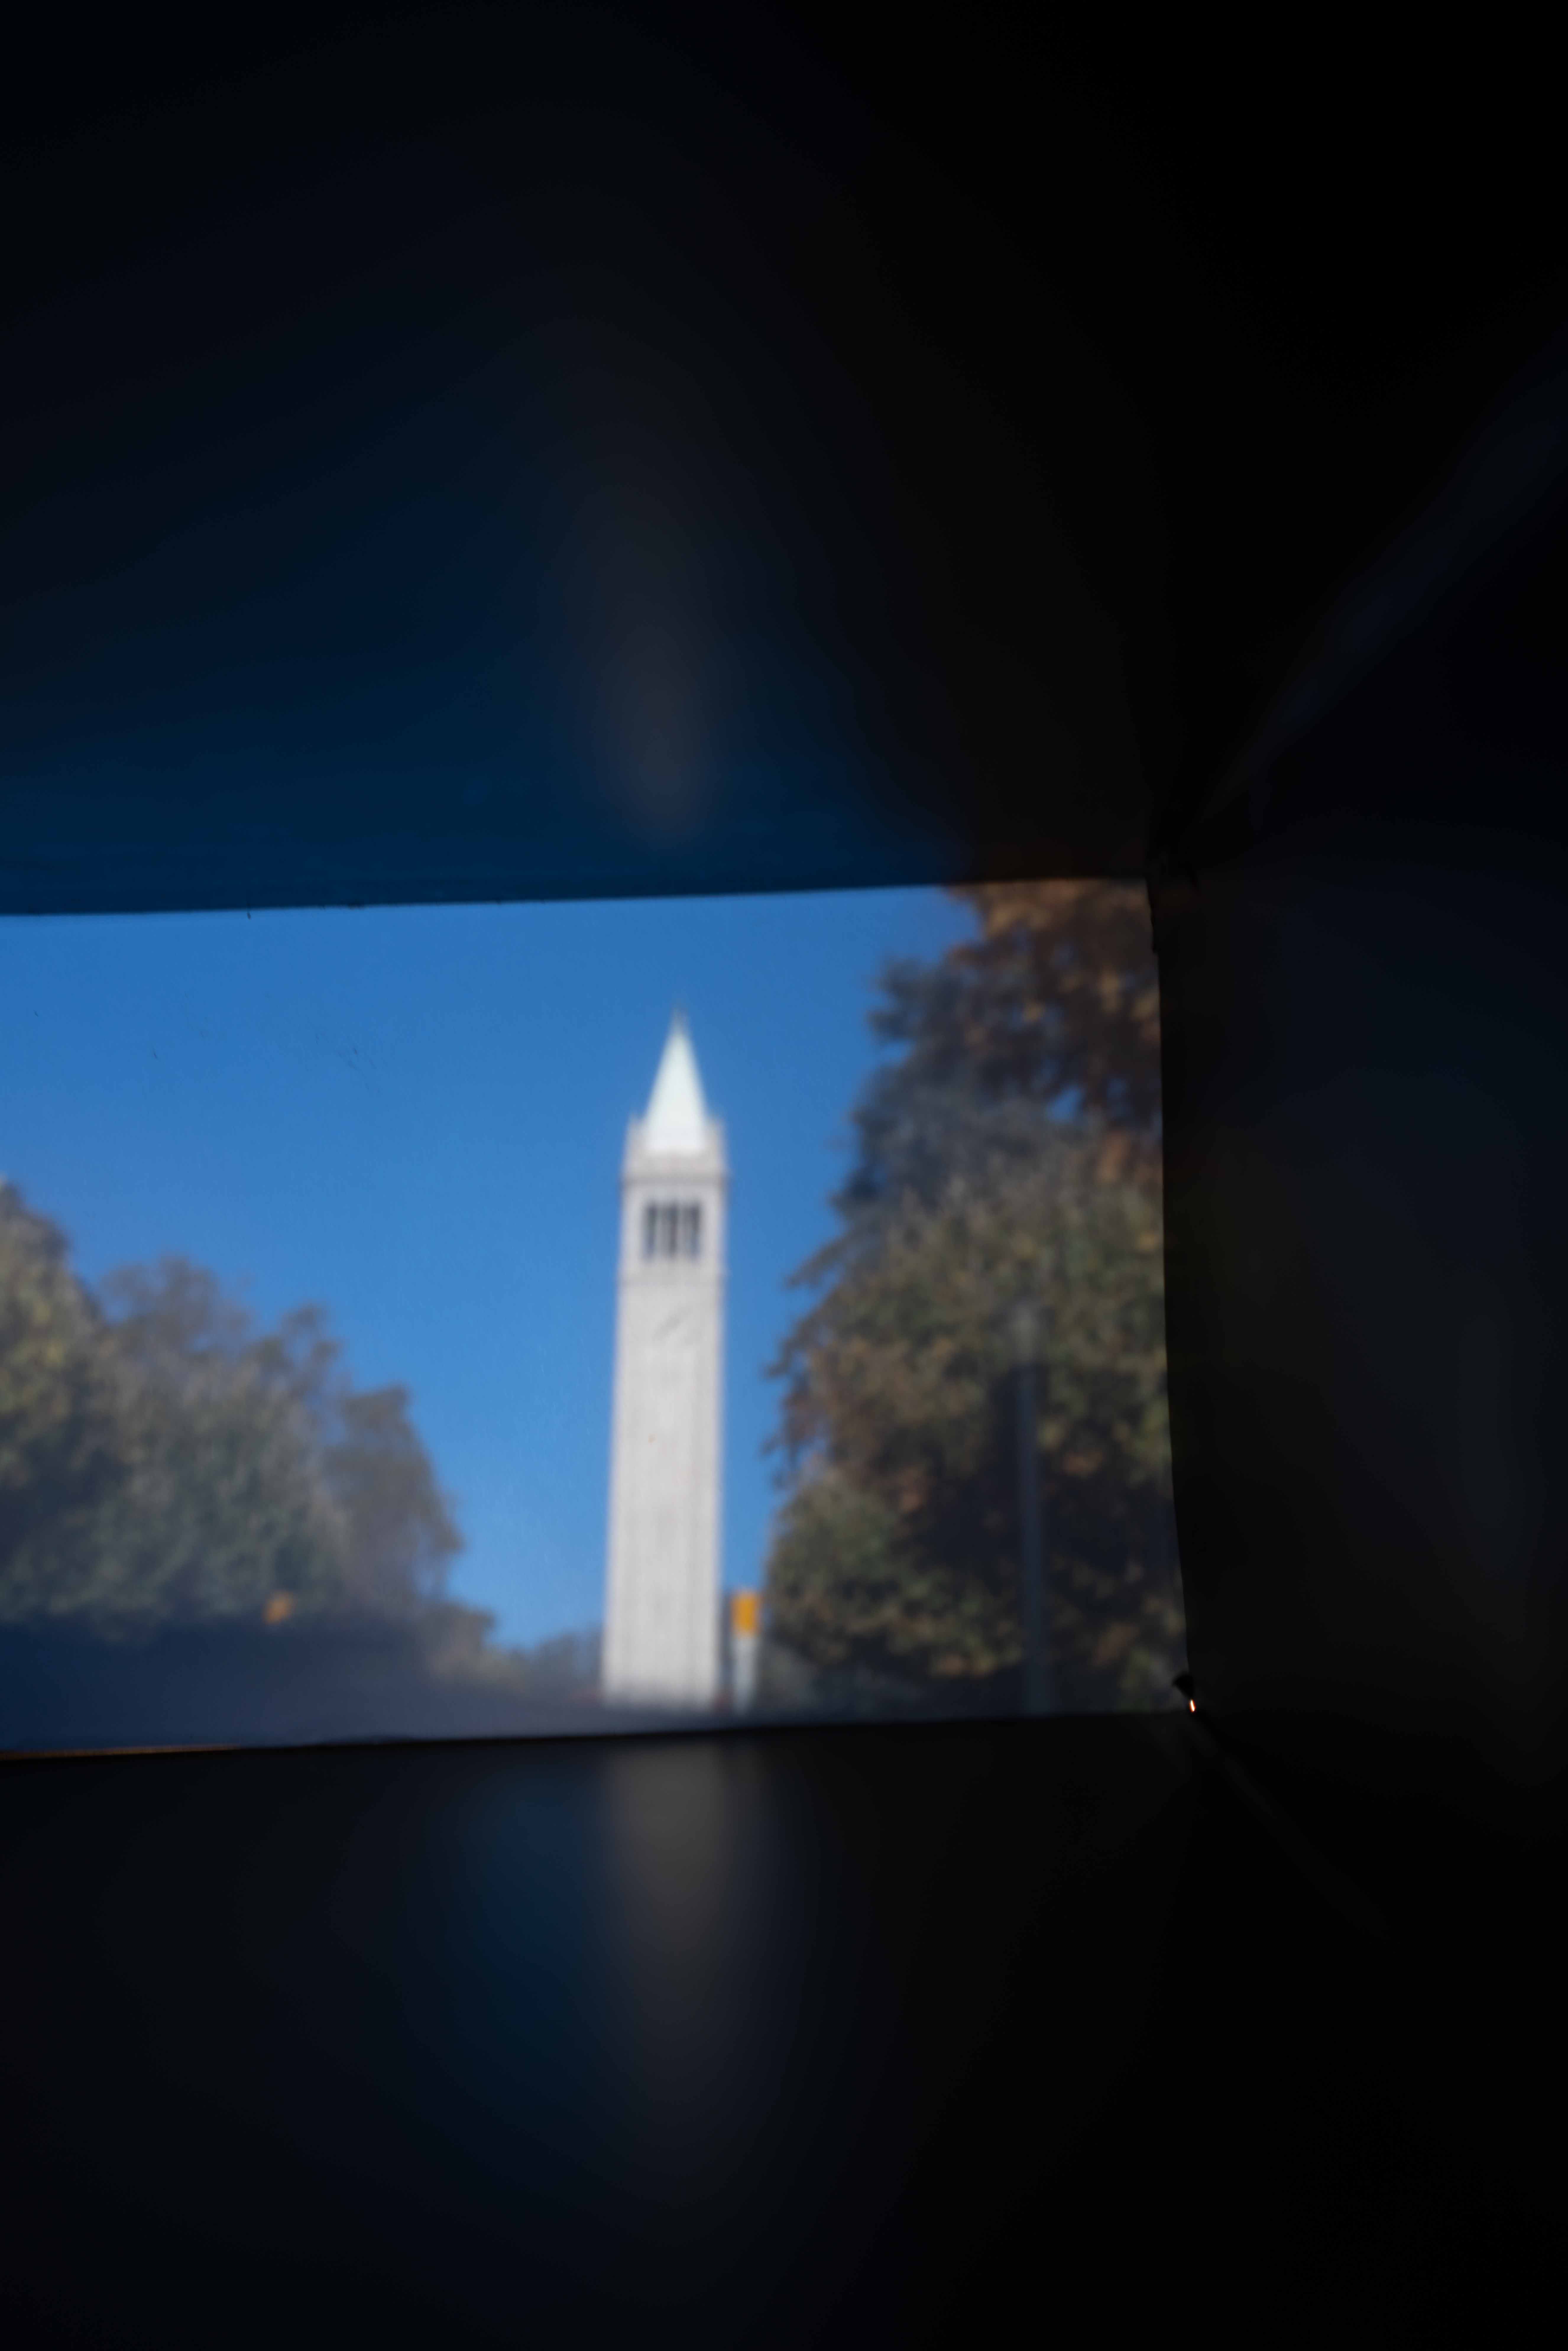
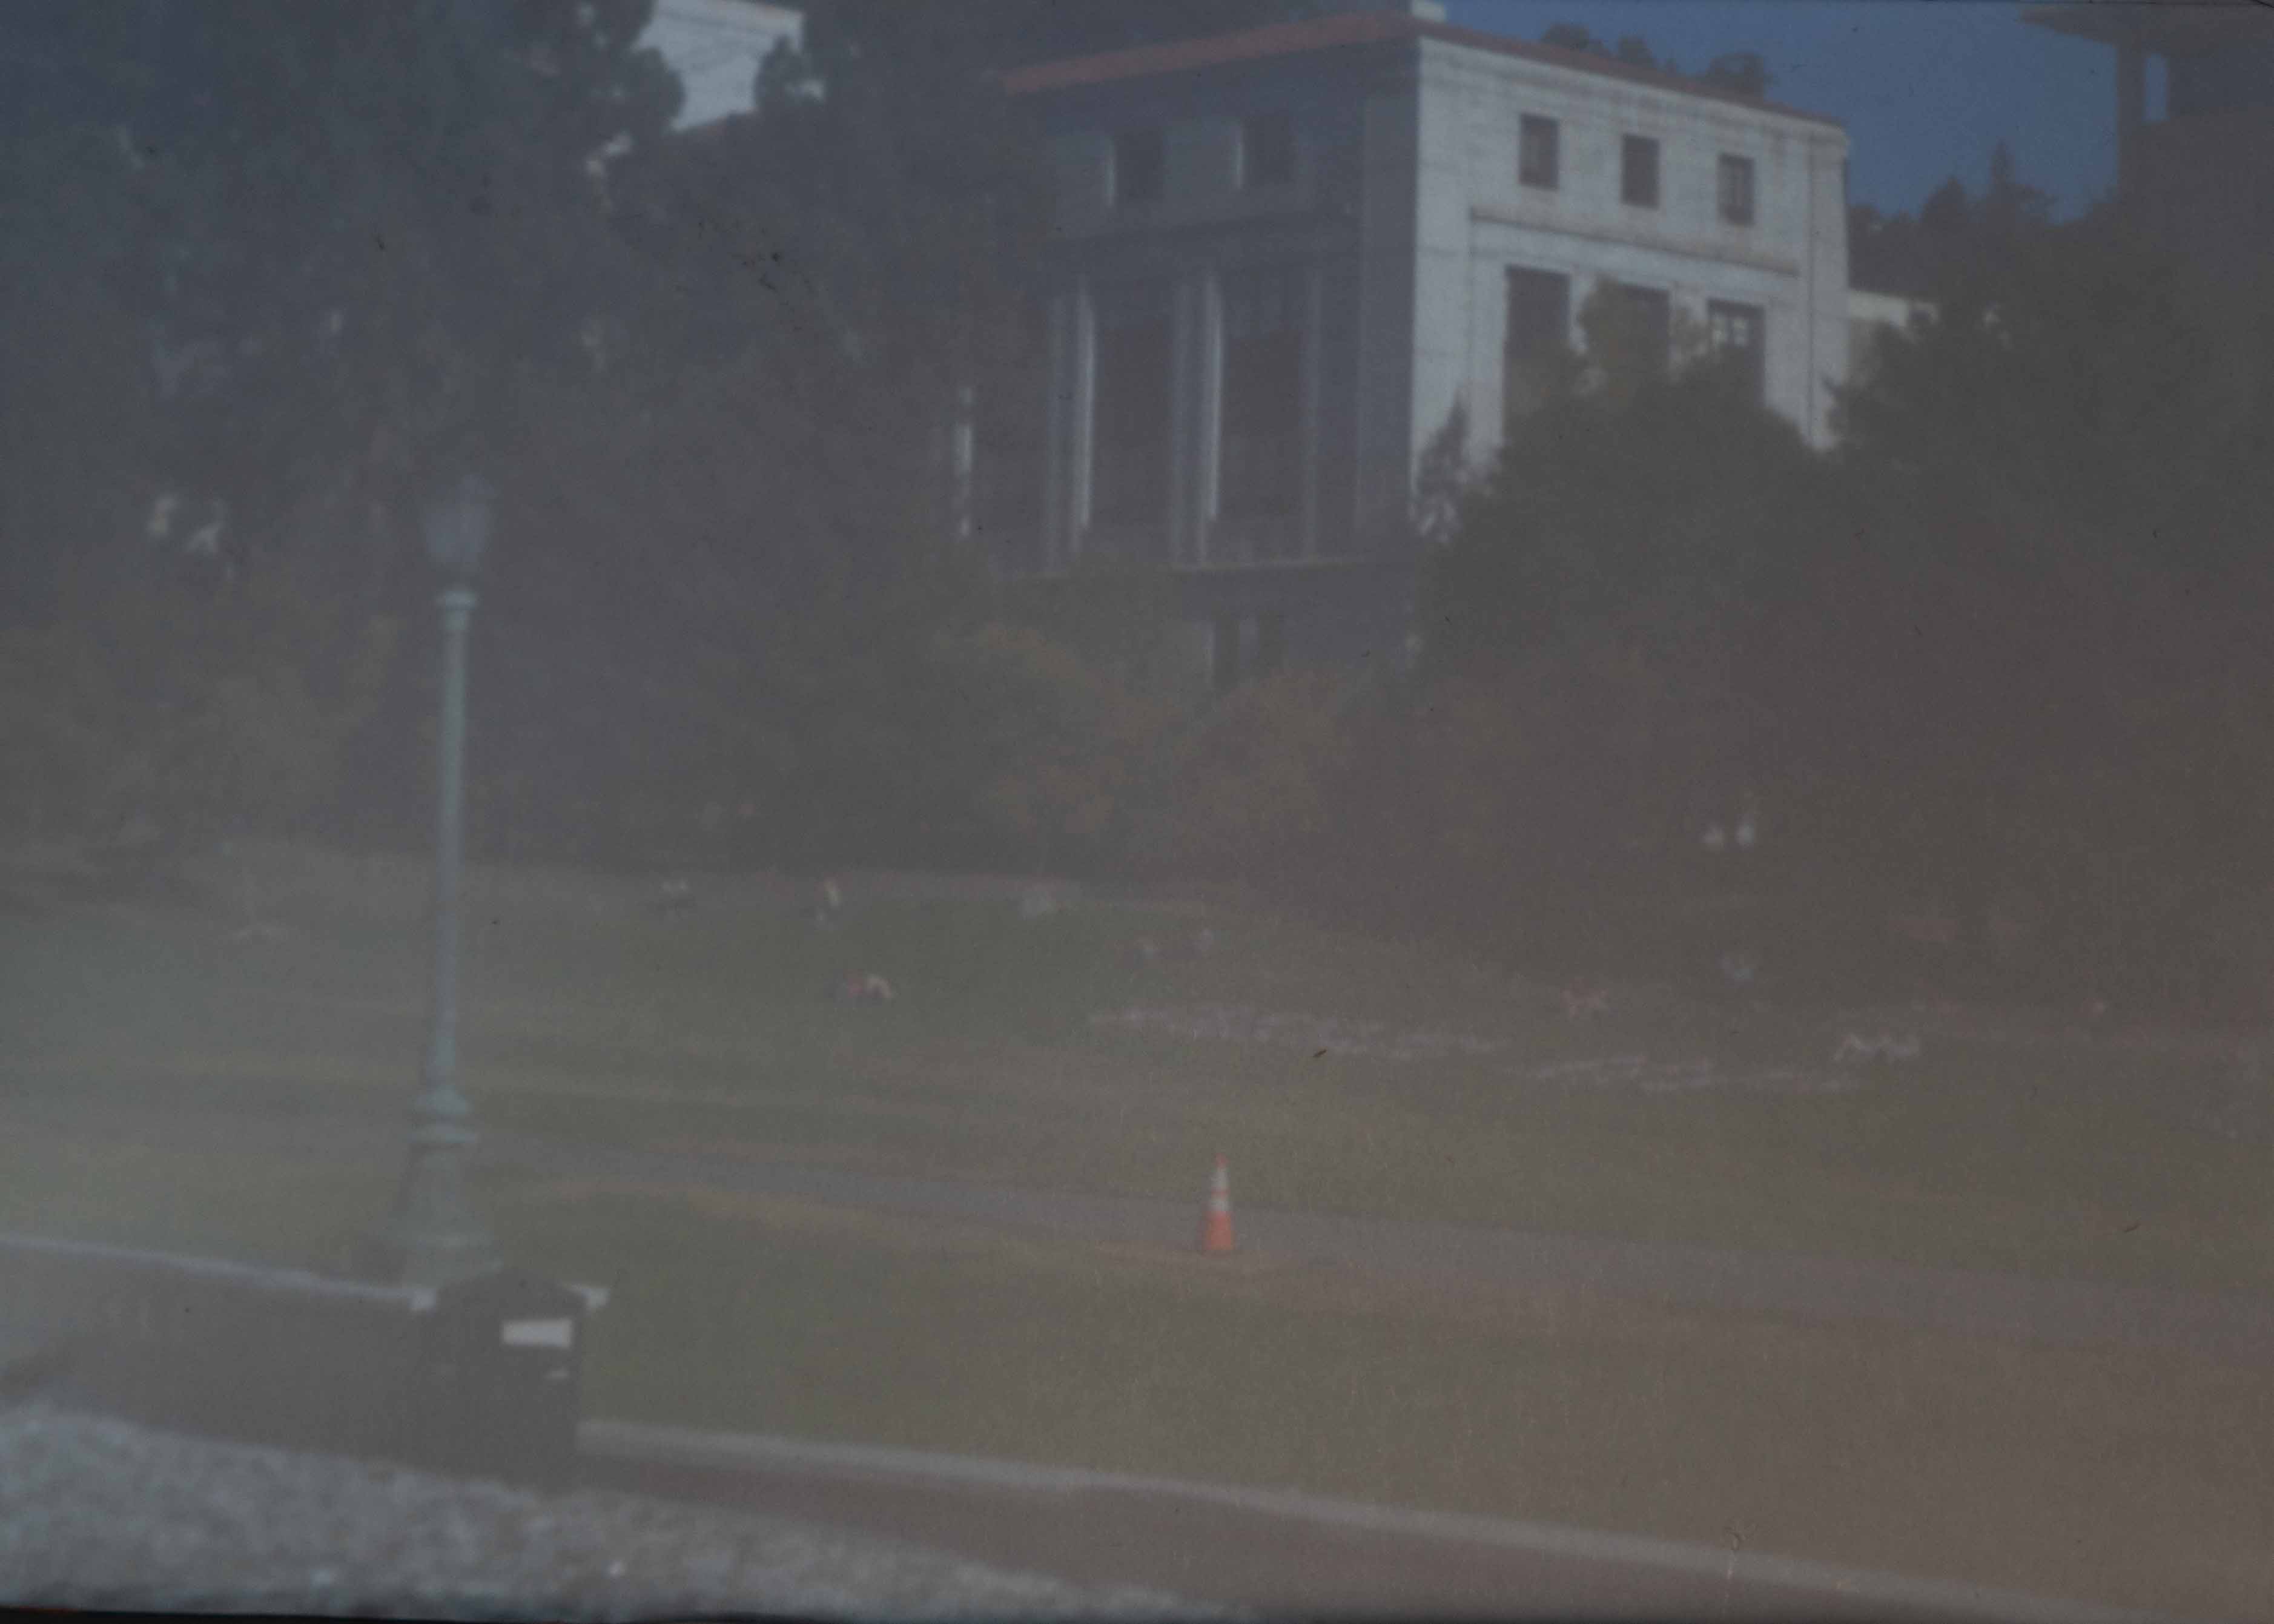
Scene 2 Sather Tower


Analysis and Conclusion
The 1mm pinhole looks the best (clearer), though dimmer. We observed that as pinhole sizes increases, pictures are brighter but also blurrier. This is because more lights can pass through the pinhole with a larger pinhole size but at the same time since all of the rays come from different directions, the image on the screen becomes blurrier. When using the smaller pinhole, the image becomes clearer but since less lights can pass through the pinhole, the image becomes dimmer.
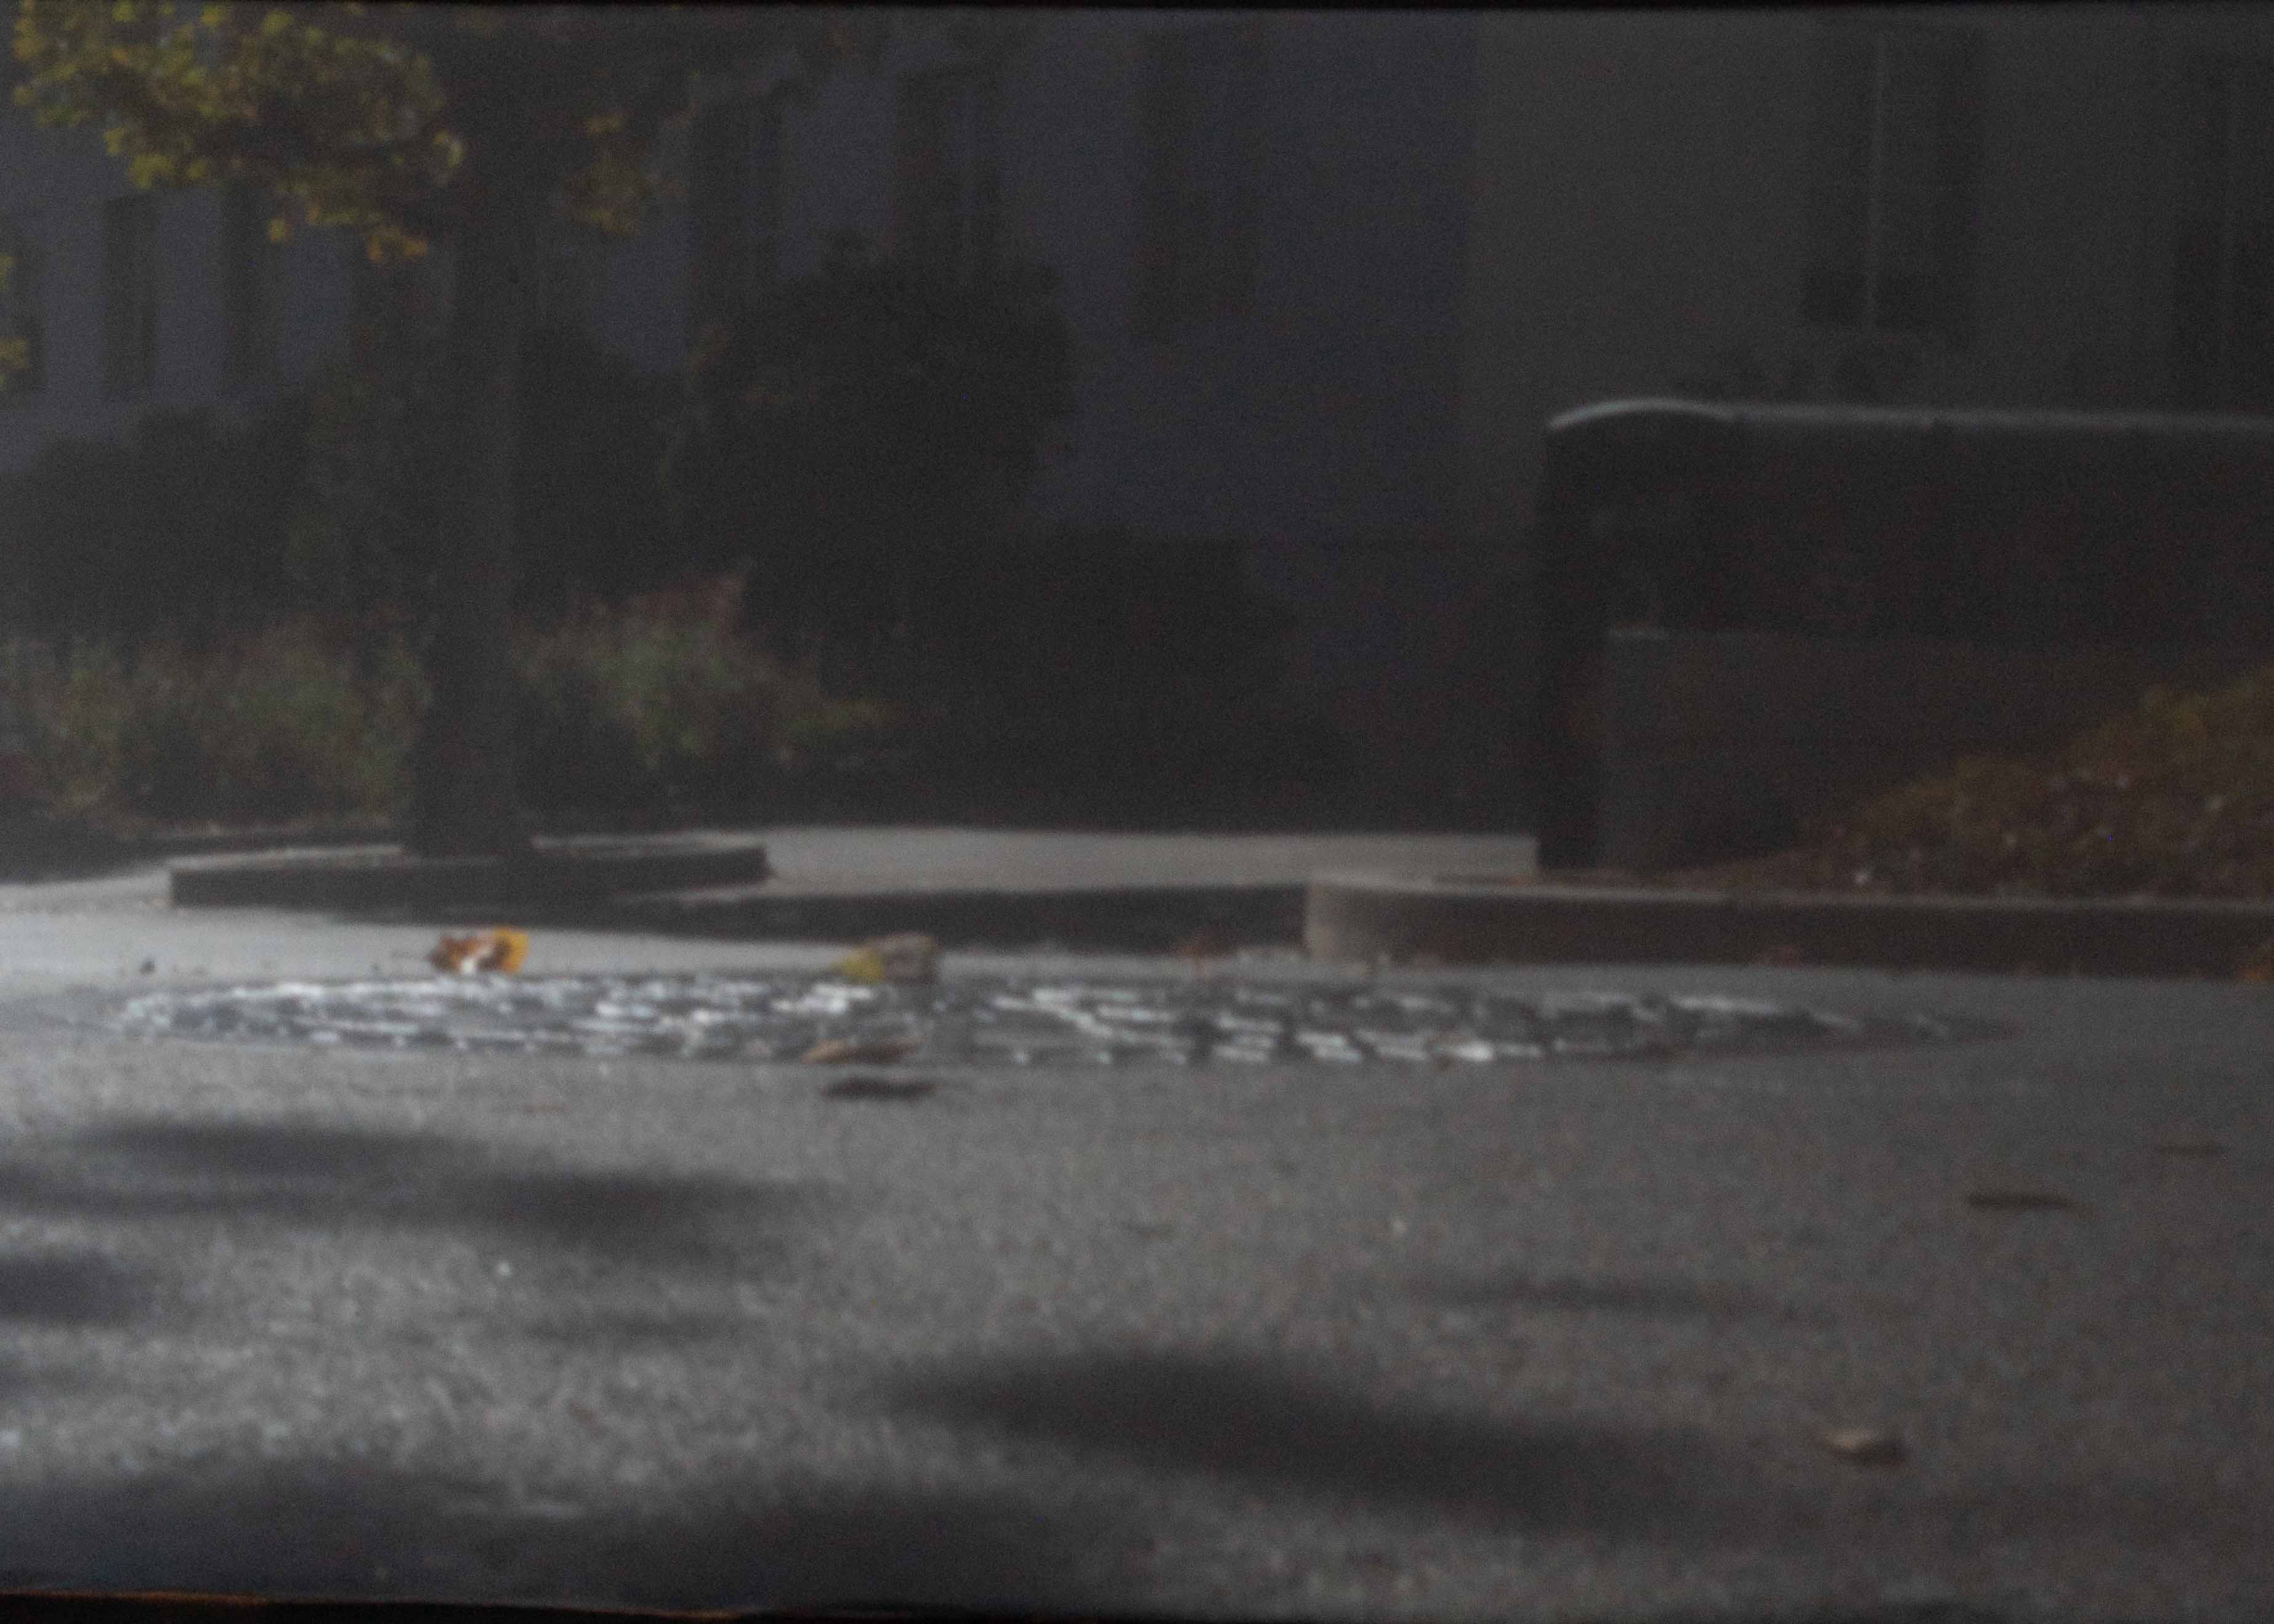
Additional results with 1mm pinhole
In addition, we captured some other images with same camera setting as above and the 1mm pinhole, which we think did the best among the three different pinhole sizes.


Bells and Whistles
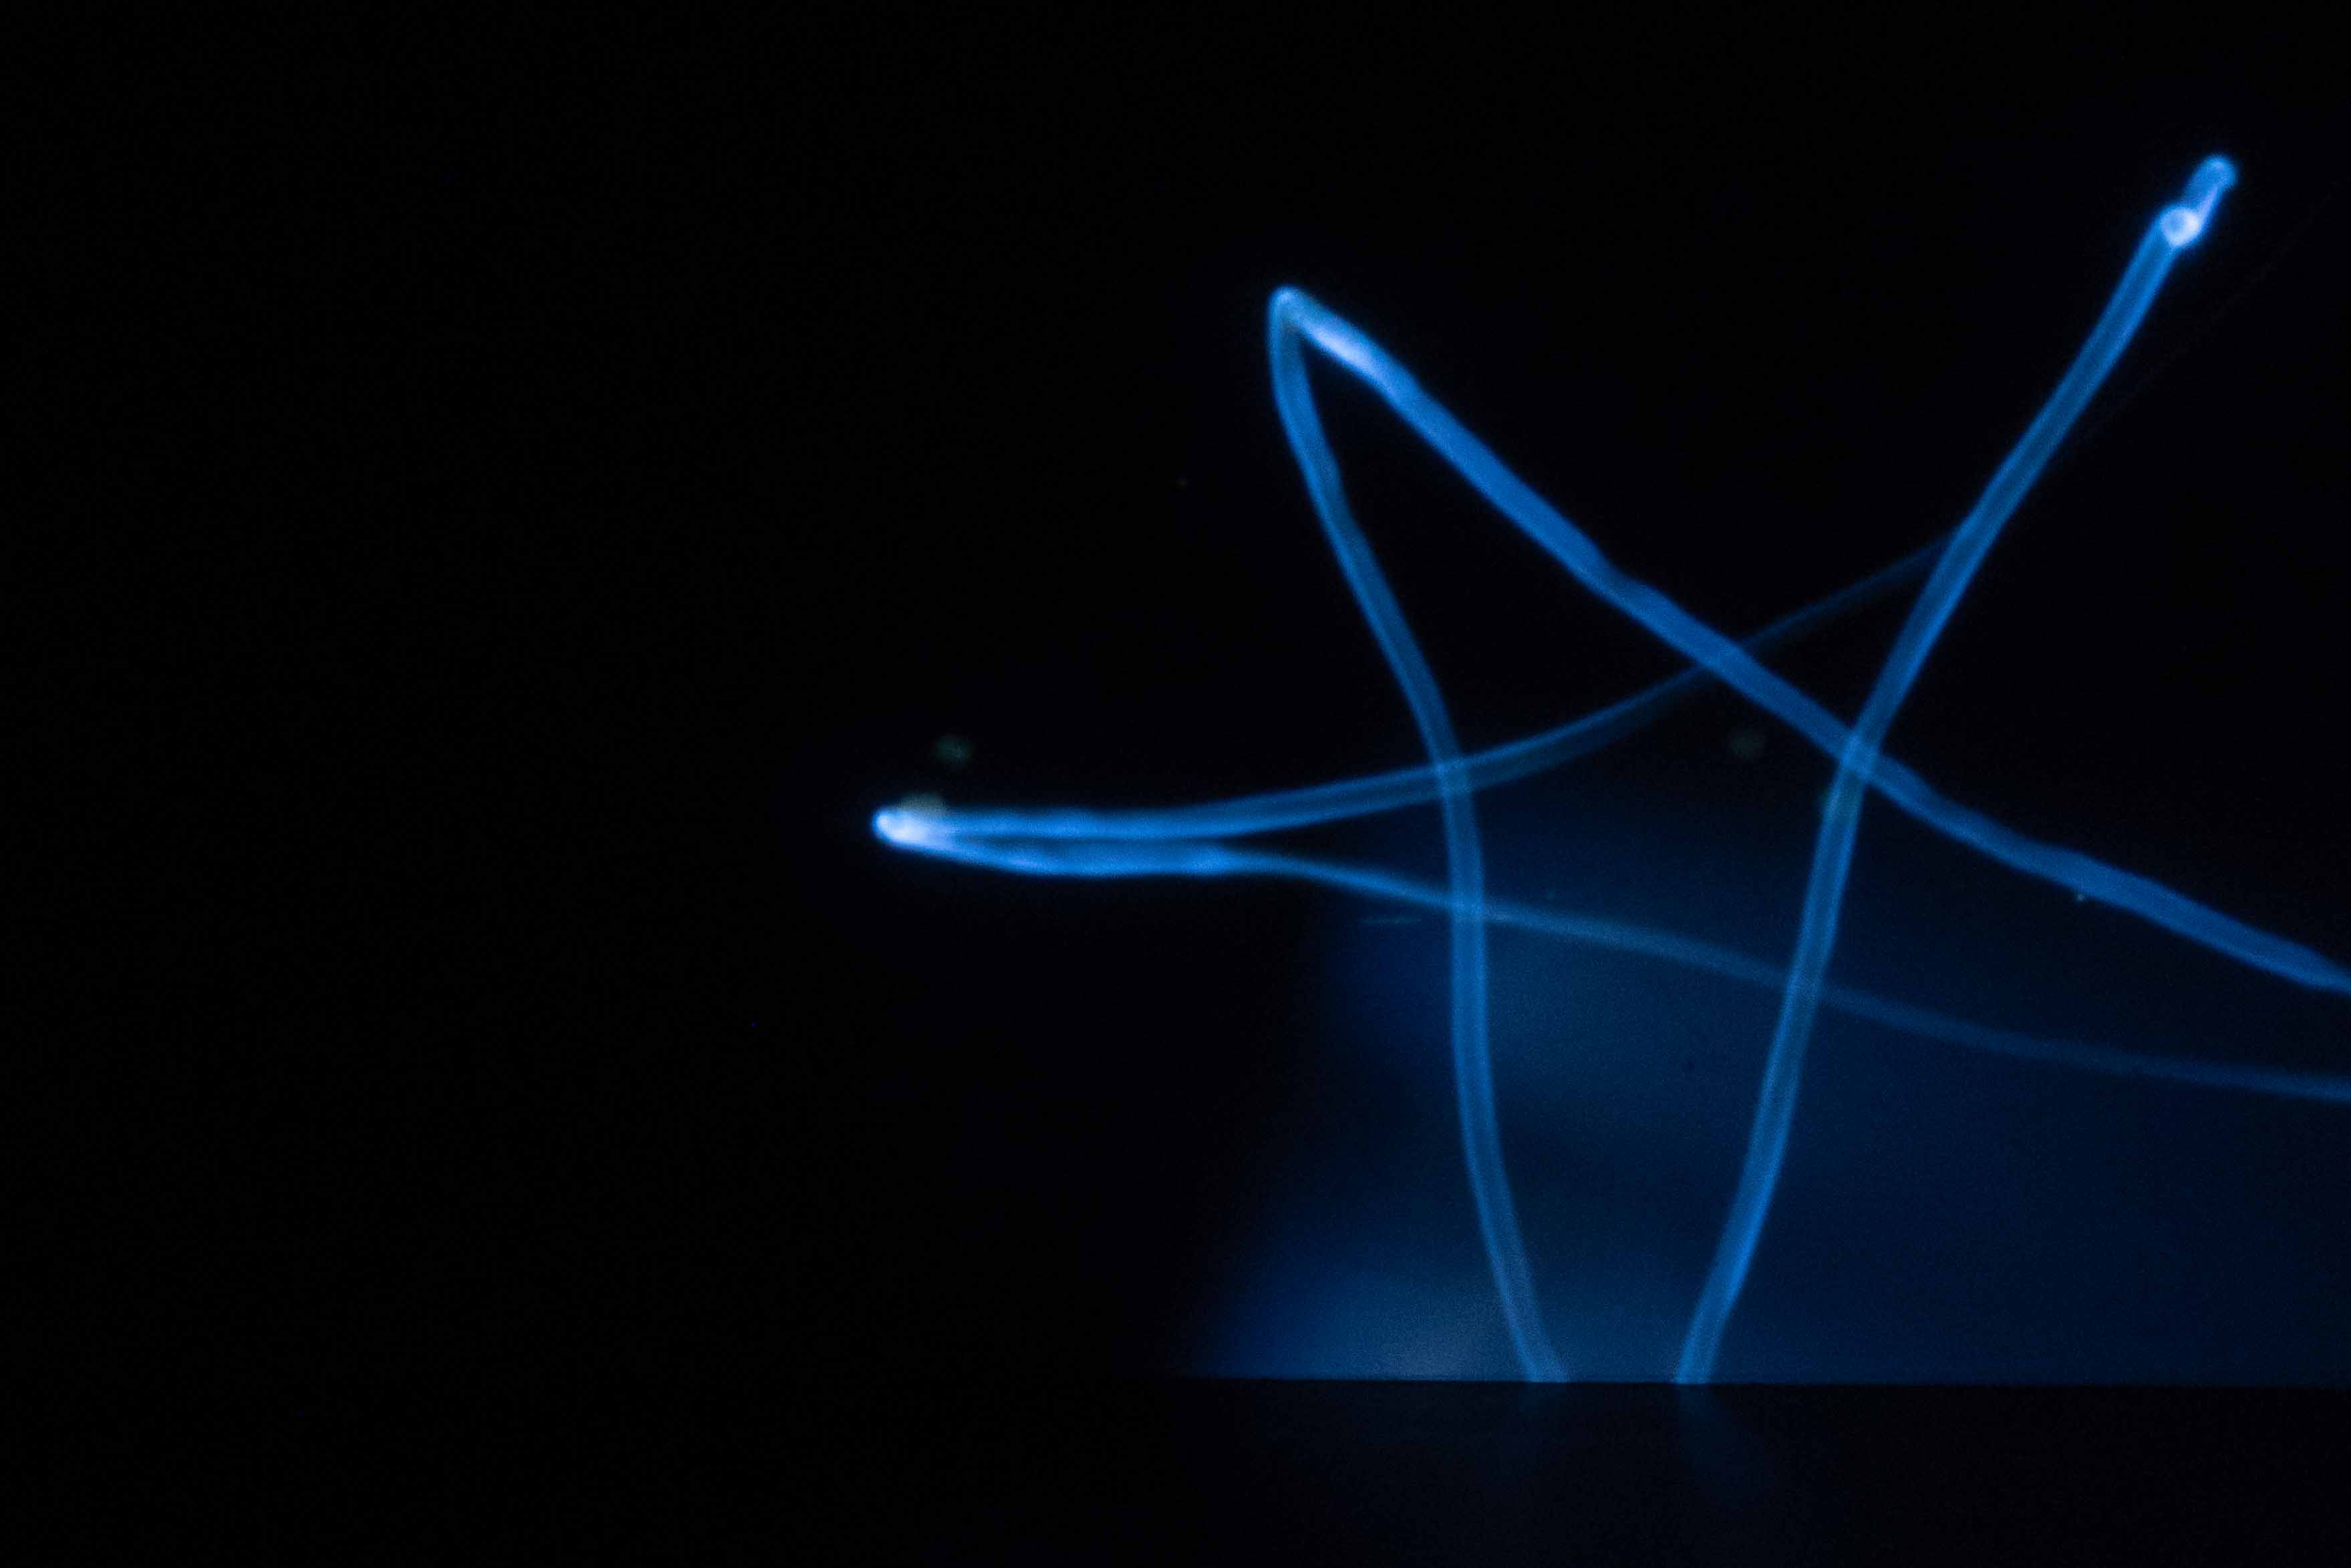
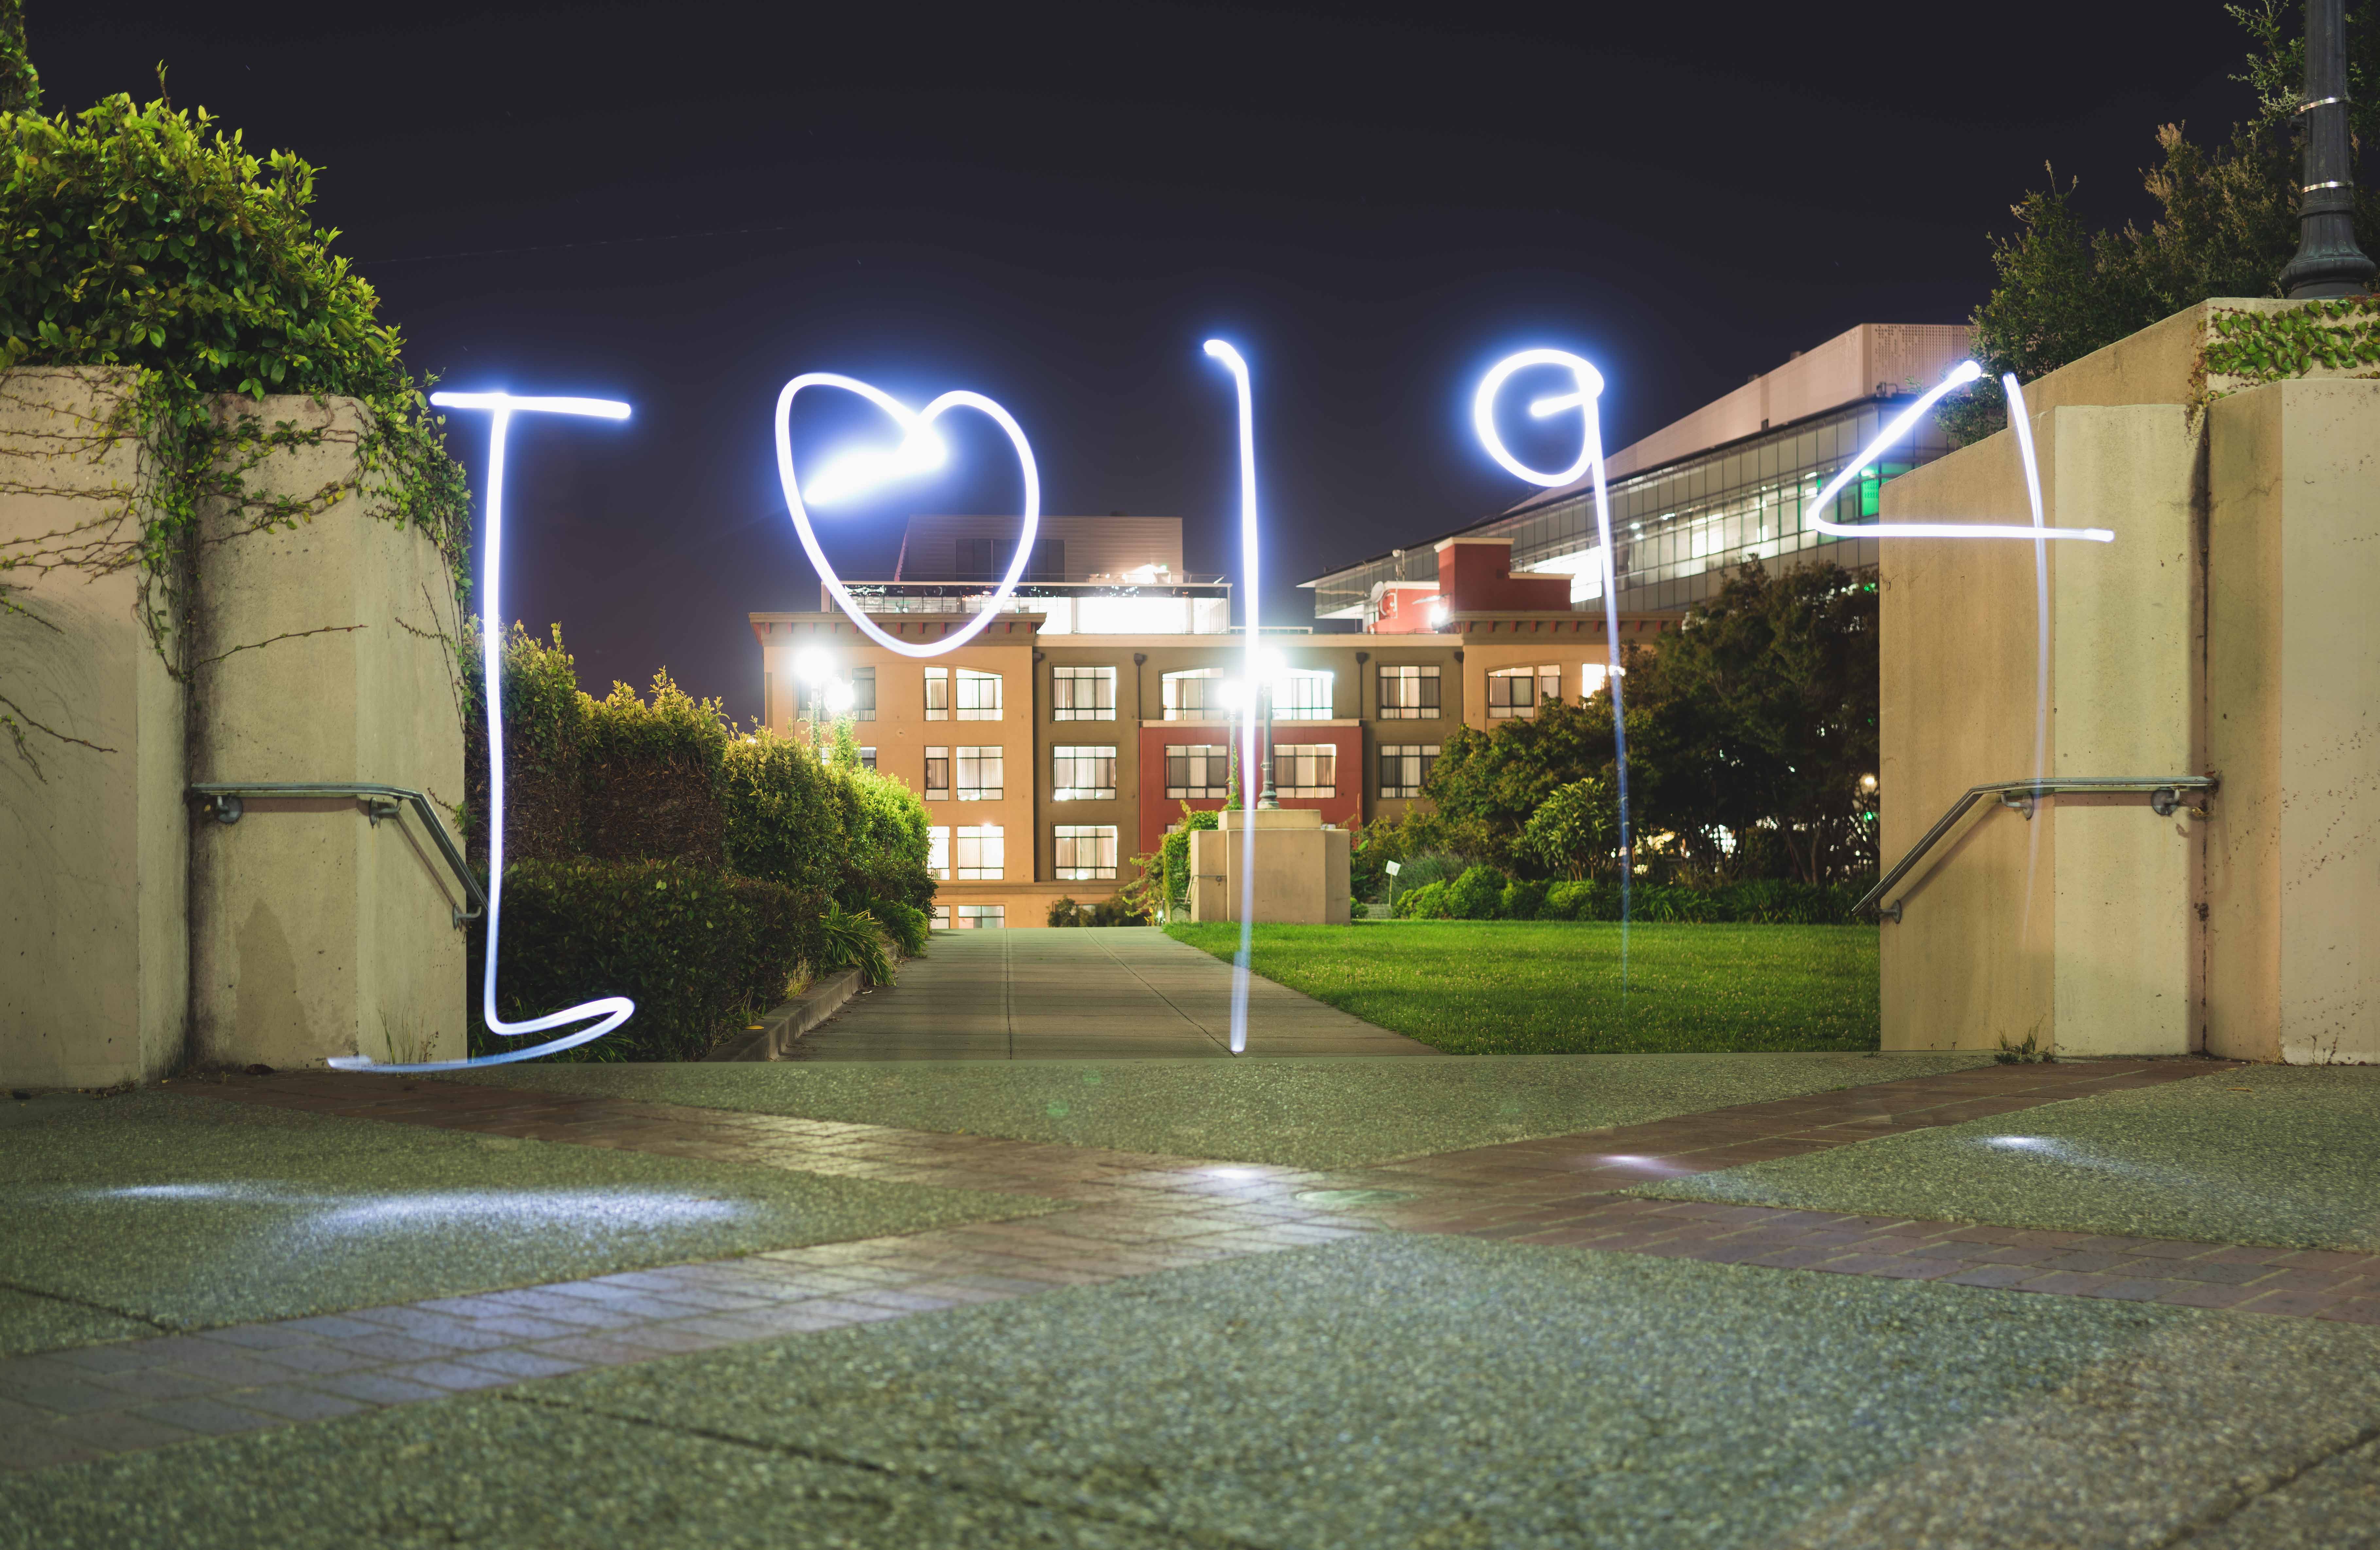
Light painting describes the photographic techniques of moving a light source while taking a long exposure photograph. In the following pictures, we used a flashlight to shine light at the pinhole camera and the digital camera with 20 seconds exposure time to draw. Since pinhole camera only takes in really small amount of light and it is relatively dark even when using the flash light and long exposure, we set ISO to 1000. For lightpainting directly using digital cameras, we set ISO to 50 and everything get exposed properly.
Using pinhole camera
Using digital camera