Building a Pinhole Camera
CS 194-26: Arts and Crafts, Fall 2018
Tianrui Chen, cs194-26-aaz
Riku Miyao, cs194-26-acq
The pinhole camera (or "camera obscura") is a completely dark box with a single pinhole on one side for light to come through. The light in the scene is projected through the pinhole onto a screen on the opposing side of the box forming an inverted image of the scene. In this project, we created a pinhole camera from a cardboard box, and captured the produced image through long exposure shots using a DSLR.
Builing the Camera
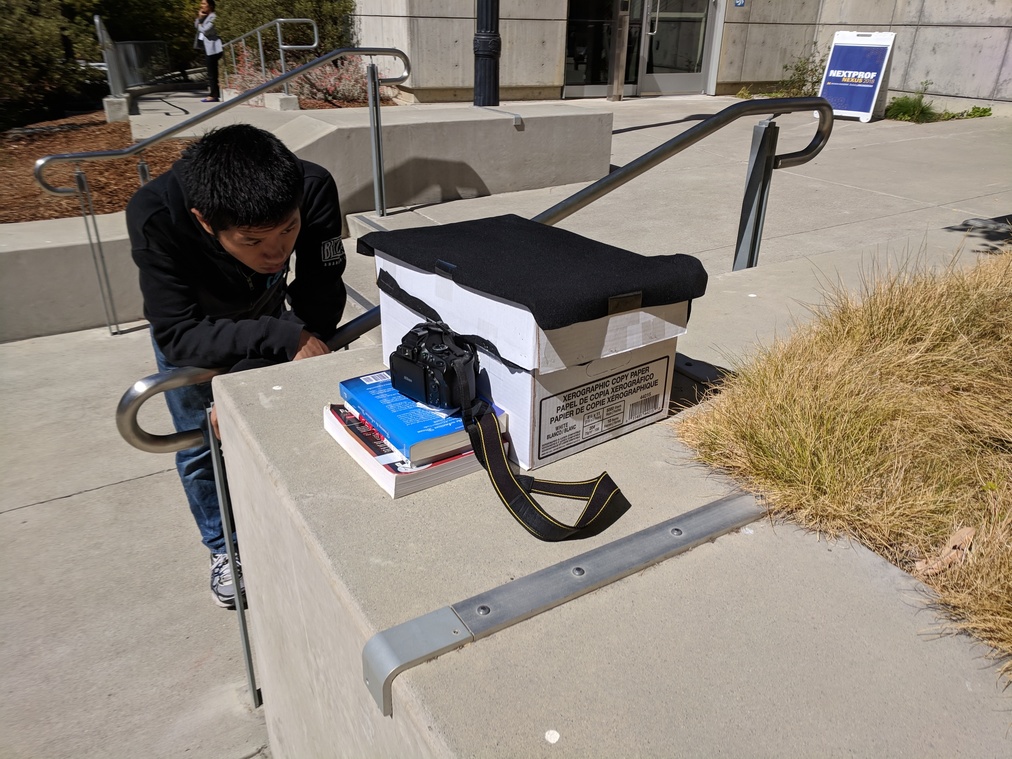
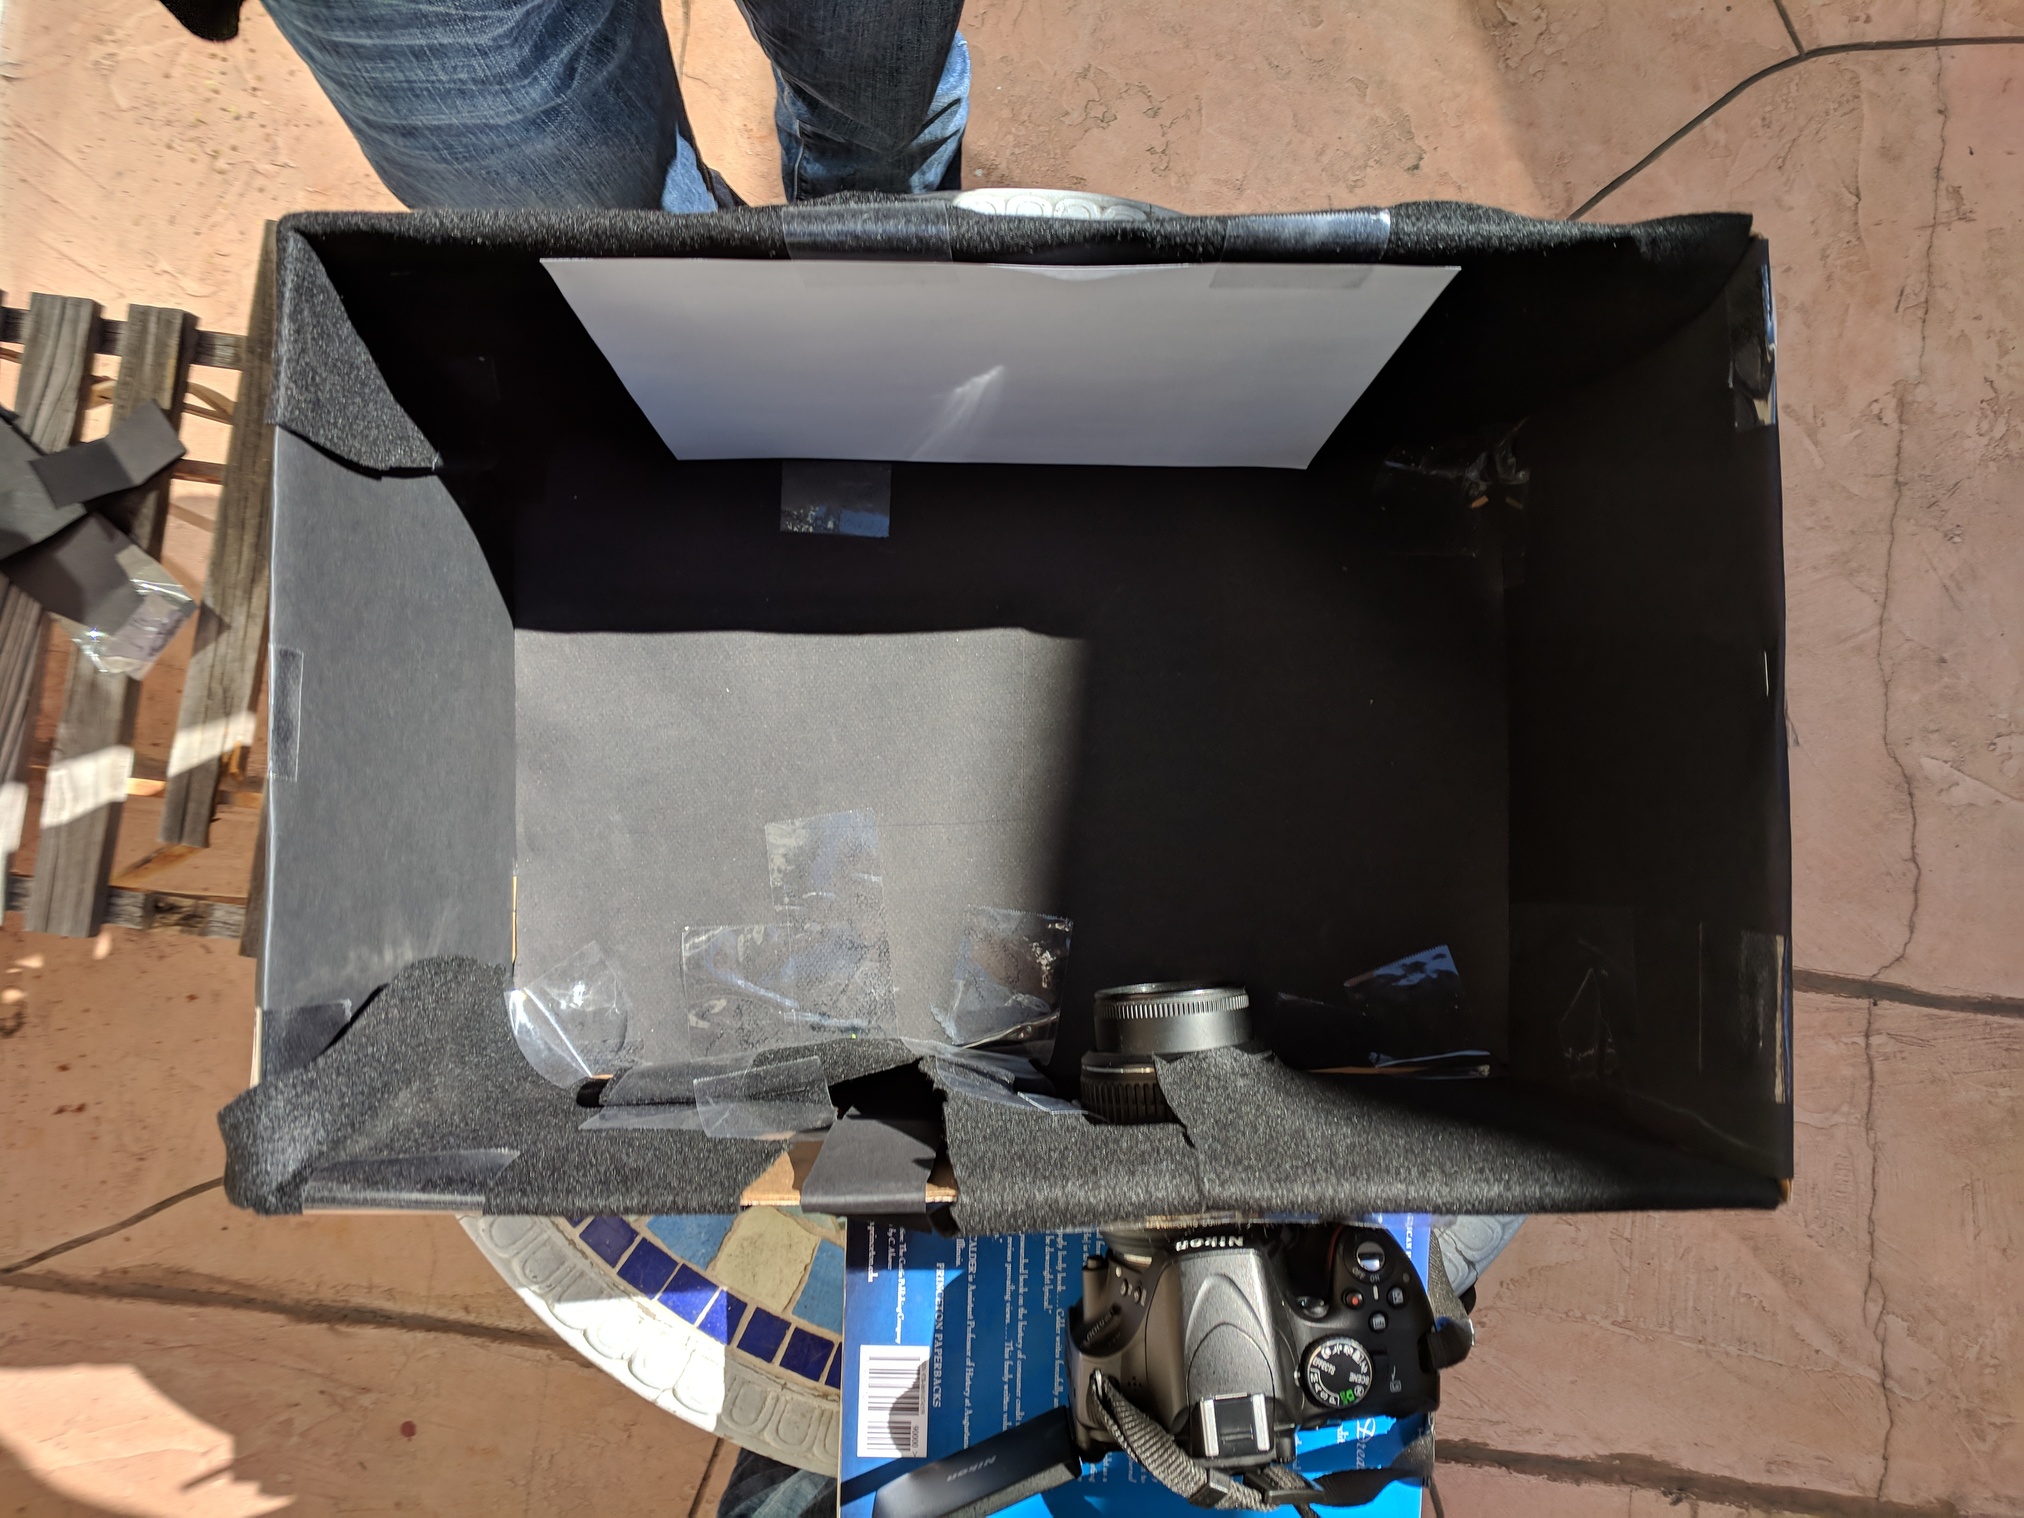
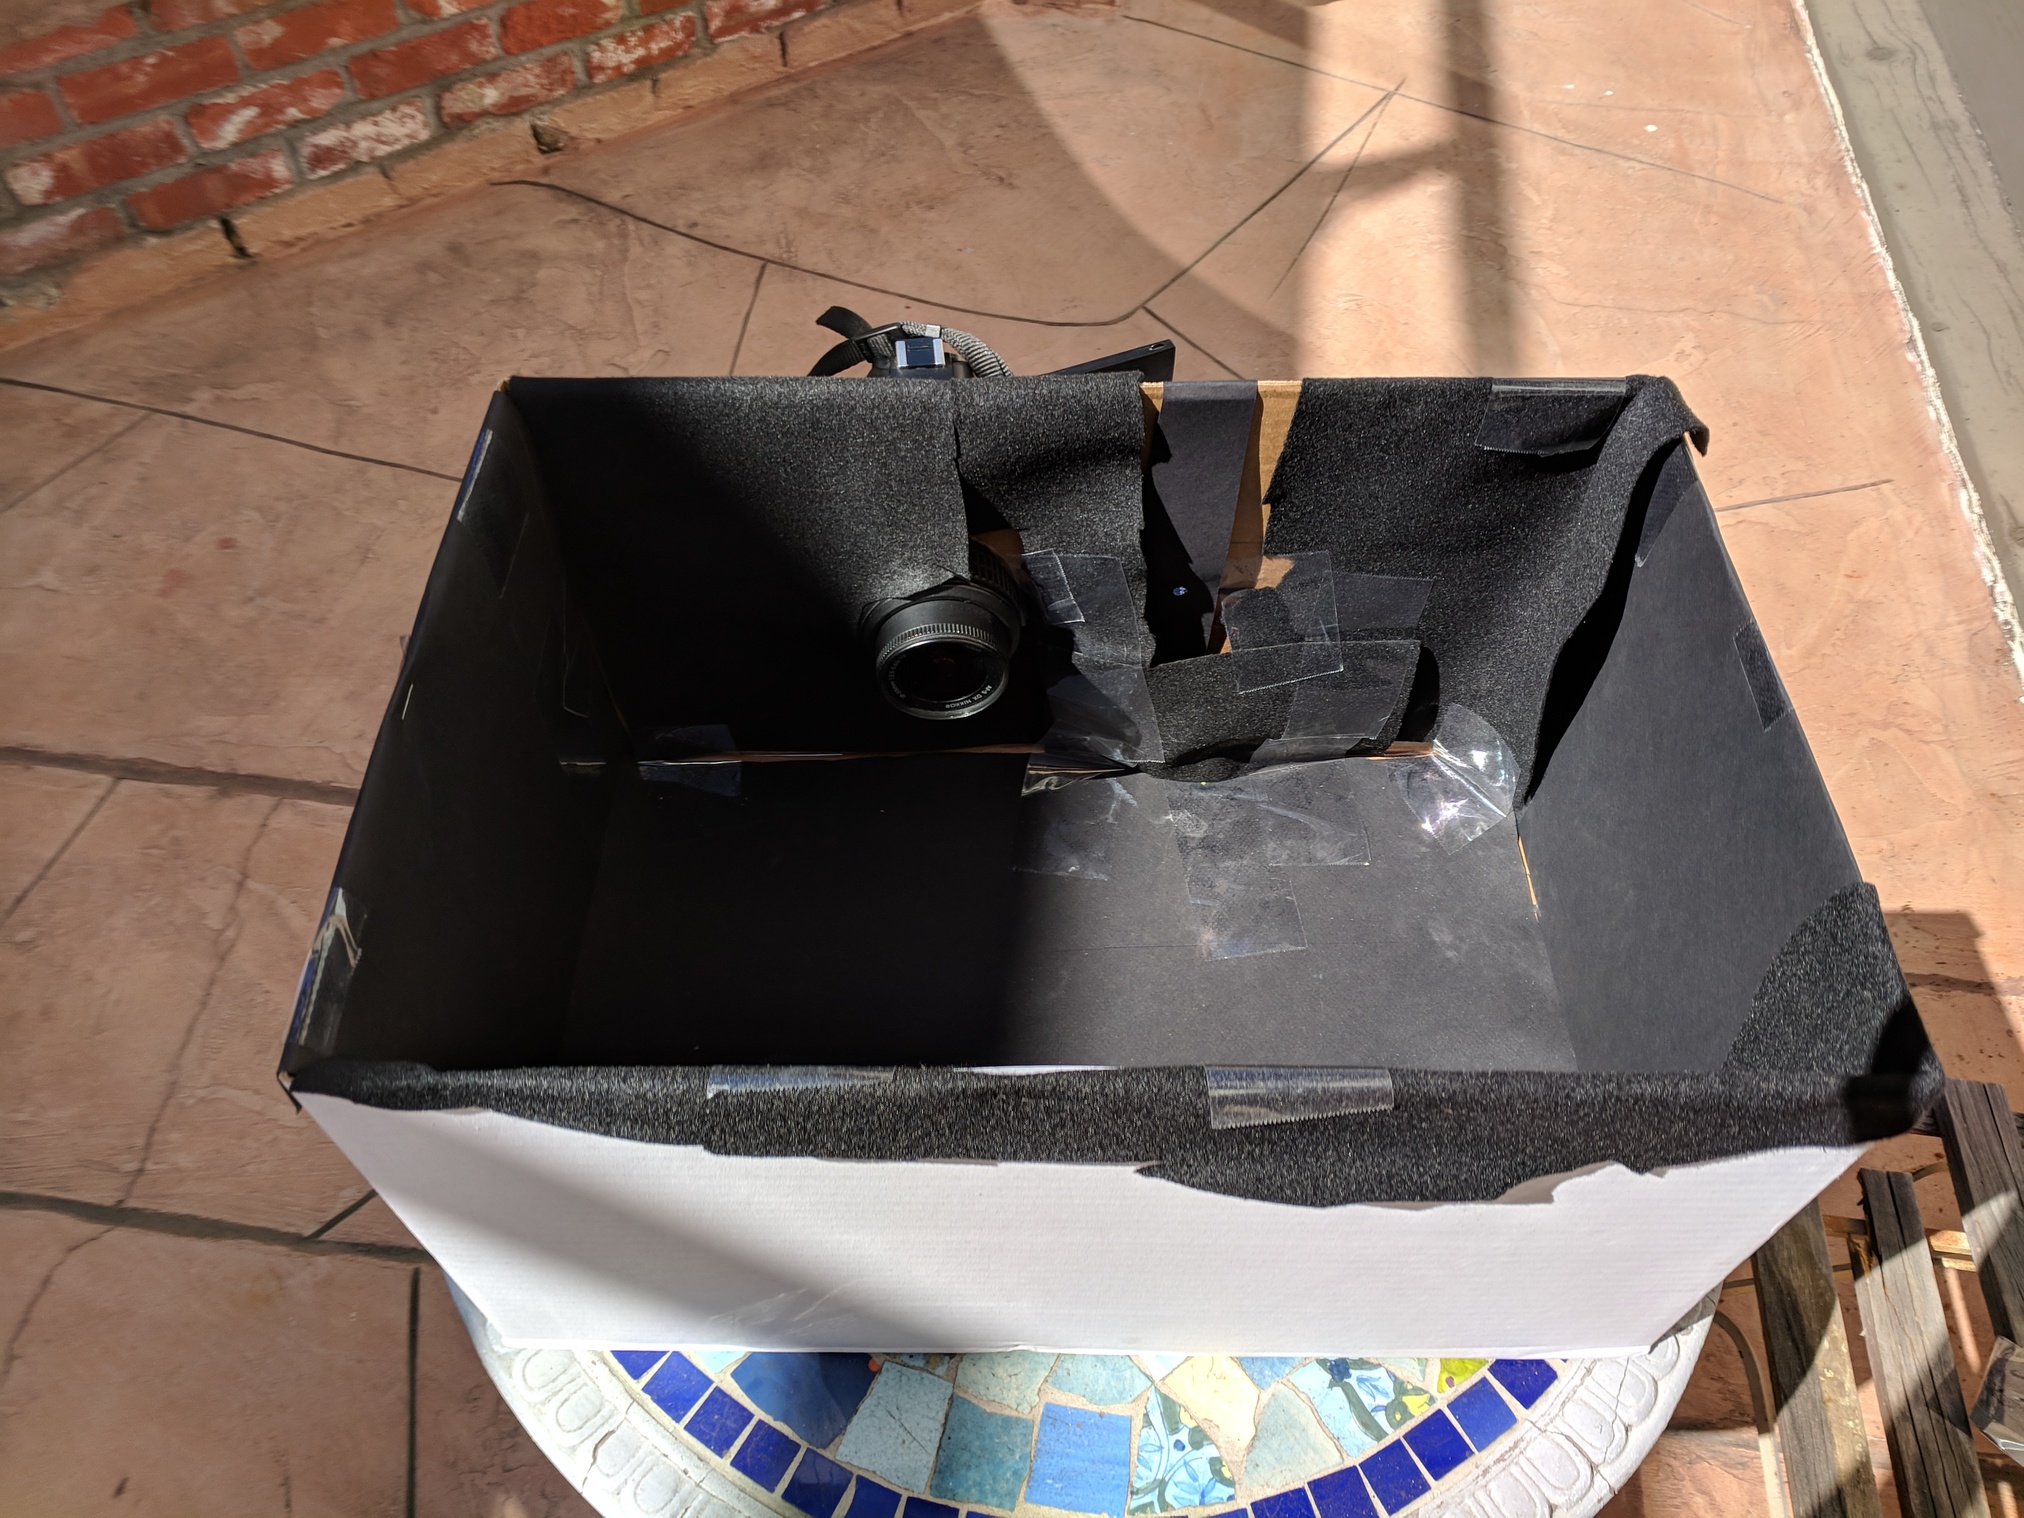
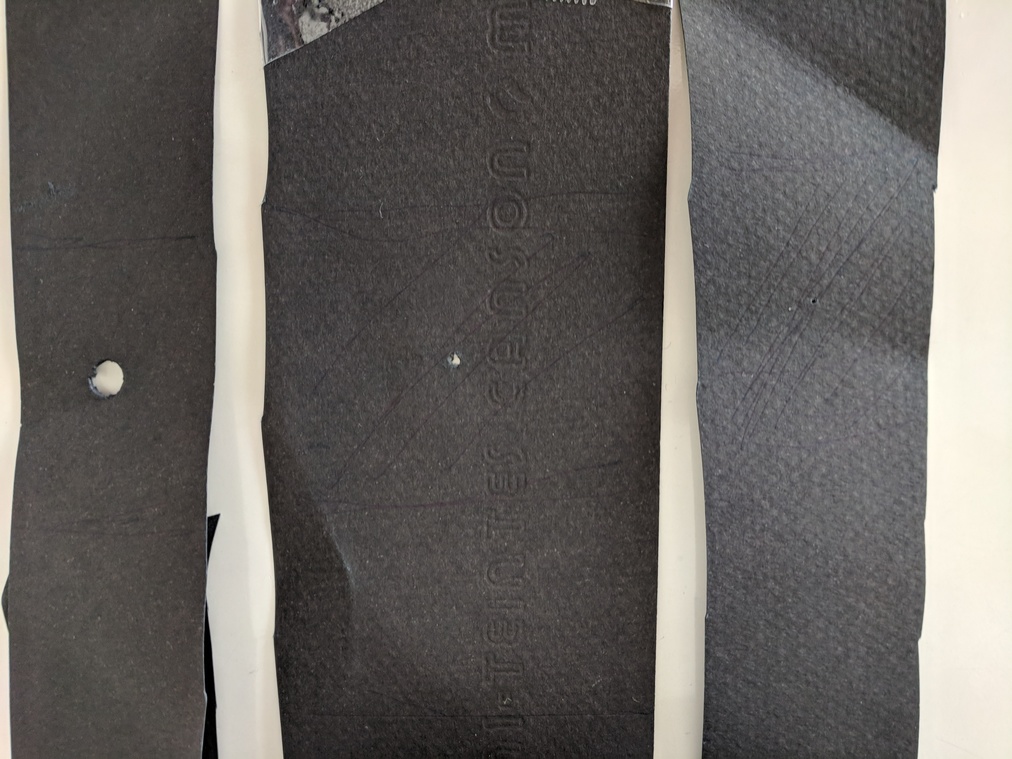
To create the pinhole camera, we took a large cardboard box that used to hold printer paper, and covered the base and 2 sides of the box with black construction paper. These sheets were secured onto the box with tape. At this point, since we initially only had one piece of construction paper and were running out, we had to buy black felt and cover the rest of the sides with black felt, which we taped and stapled to the box. We selected the longer face of the box as our screen, and taped a white sheet of paper onto that side. On the opposite side, we cut 2 holes using scissors, one slightly left of center, and one slightly right of center. One hole was circular and large, to fit the camera in, and a similar sized whole was cut in the felt inside to let the camera through. The other side was rectangularly shaped, and it would fit a strip of black cardboard paper containing a pinhole through. Finally we cut 3 strips of cardboard paper and created pinholes in the paper by using a thumbtack. Although a certain member of the team was tempted to purchase a DSLR specifically for this project, we ended up using common sense and borrowed one from Jessie Yang after her group was finished.
To take a picture using the pinhole camera, we put the camera through the larger whole, focused it on the white sheet on the opposite side, and set its exposure to 30 seconds. The camera was stabilized on 3 books and a folded piece of paper. A strip of paper containing a pinhole was slipped into the box such that the paper would cover the other hole, and the pinhole on the strip was centered on the hole. Then we closed the lid, took a picture, and waited 30 seconds. We then repeated this for pinholes of different sizes.
|
|

|

|
Result Analysis
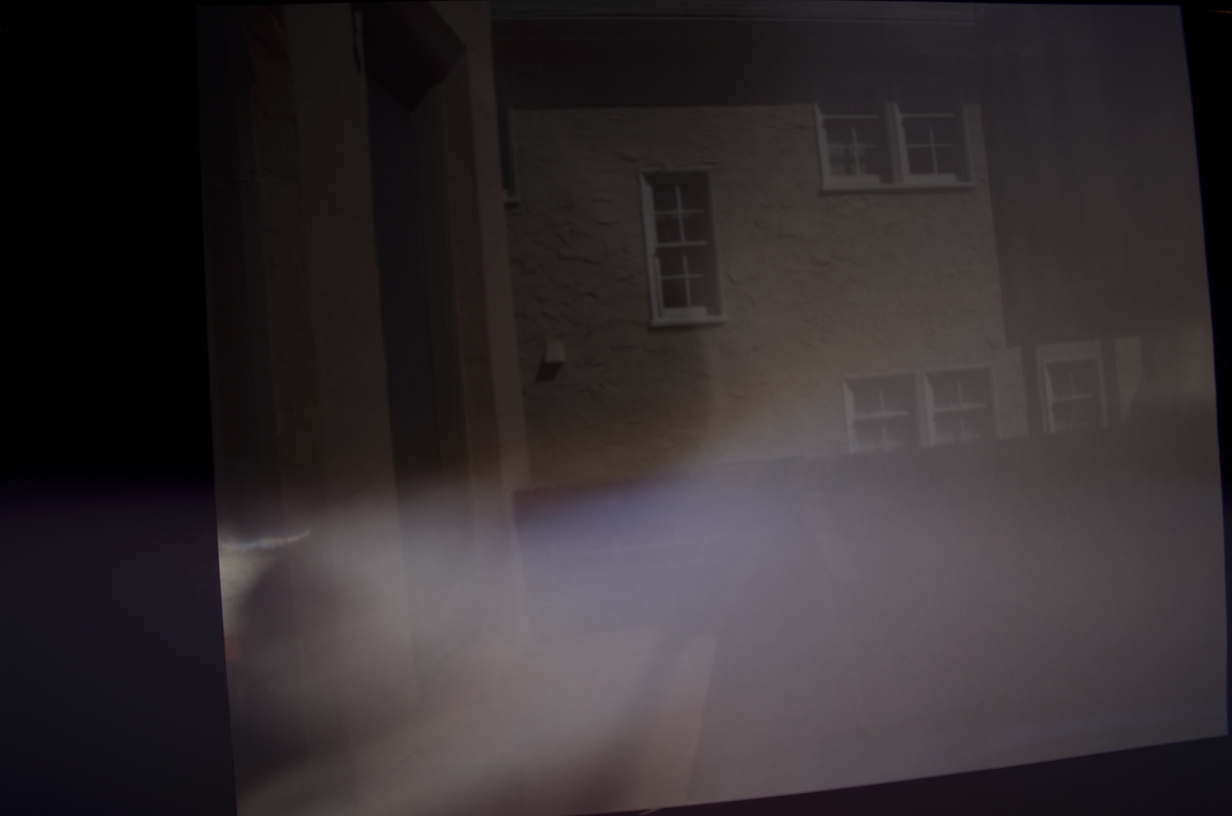
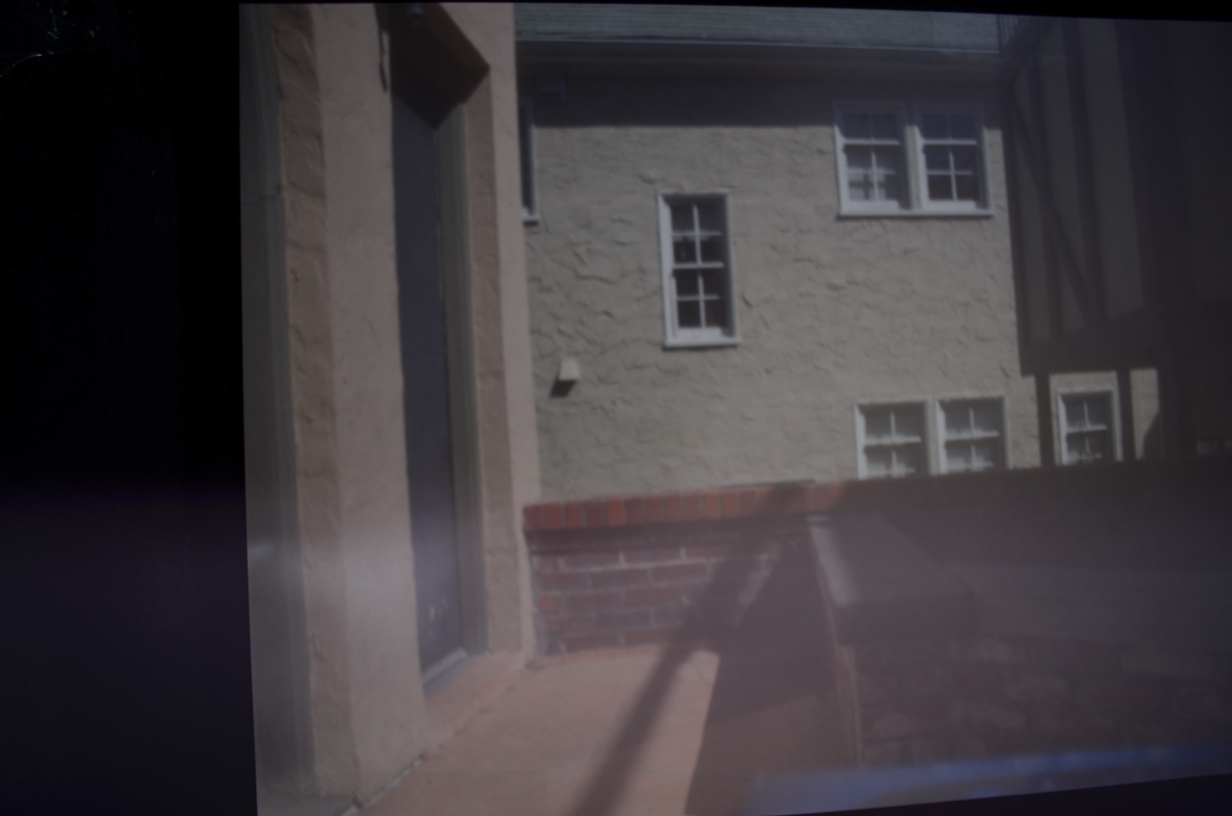
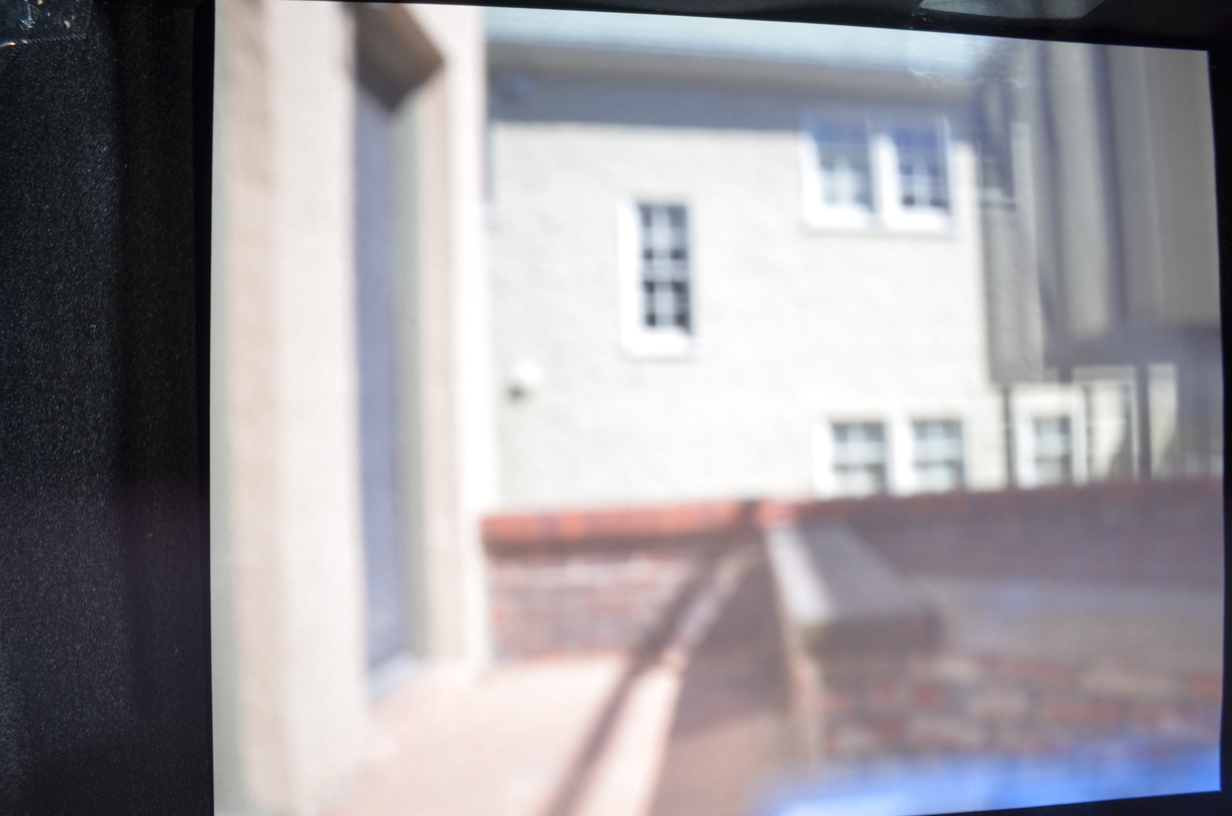
For this pinhole camera, we used pinholes of 3 difference sizes: 1 mm, 3mm, and 5mm. For camera settings, we used used a 30 second exposure time, 3.6 F-stop, 100 ISO, and an 18mm lens.
From the left: 5mm, 3mm, 1 mm
With 1 mm pinholes, we found that the image was much darker and more difficult to see, as the pinhole didn't let in enough light, and didn't increase our exposure time to compensate for the smaller pinhole. Images created with the 3mm pinhole were of better quality, with more lighting and decent focus, and we ended up using this size pinhole for our best pictures. Images created with the 5mm pinhole were much brighter due to increased light through the larger hole, but at the cost of increased blurriness as light rays from coming from more directions added excess noise to the image.
Outside of our apartment
|
|
|
| 1mm | 3mm | 5mm |
In front of Yali
|
|

|
| 1mm | 3mm | 5mm |
Light Painting
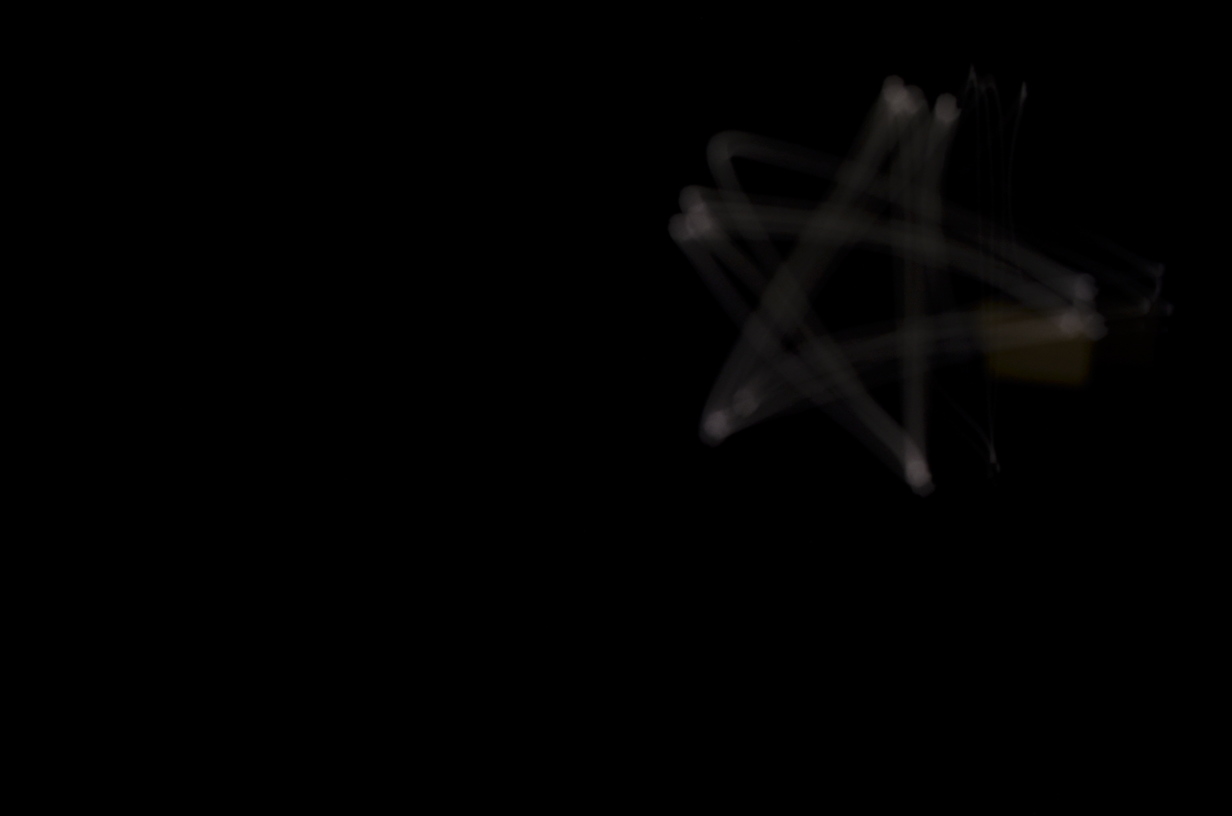
Trying to light paint through the pinhole camera proved extremely difficult as we tried drawing with the flashlight on a Google Pixel. We started the camera setup in a darkened room and traced with the flashlight. Not enought light could get through resulitng in relatively dark images. In addition, drawing for 30 seconds straight to get enough light into the camera made it hard to draw anything coherent. Although we could see the traced path, it was a mess. The clearest image we got was just a bunch of circles.
Sketchy pinhole camera light painting

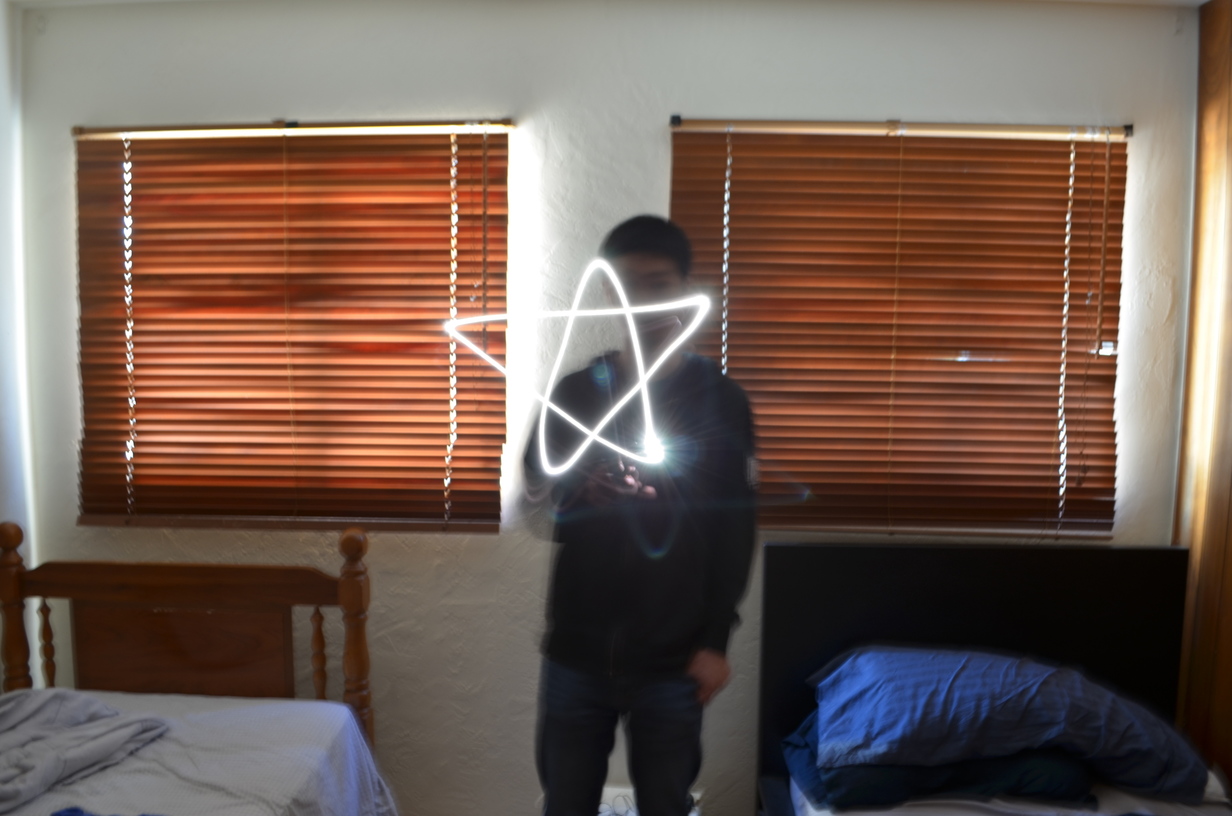
We decided to compare using the pinhole vs just using the DSLR long exposure normally for light painting. The results were pretty obvious. Modern technology is great.
|
|
| Pinhole camera light drawing, 30 sec exposure | DSLR light drawing, 3 sec exposure |
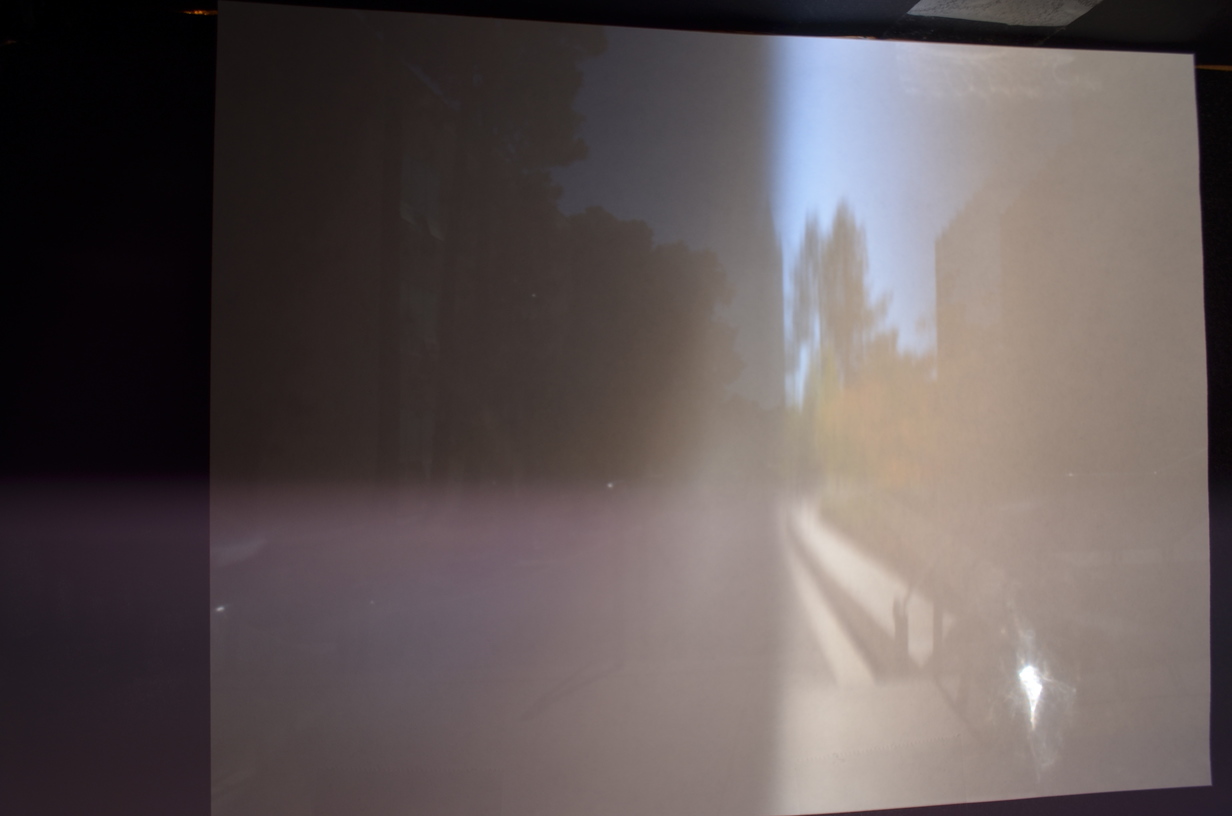
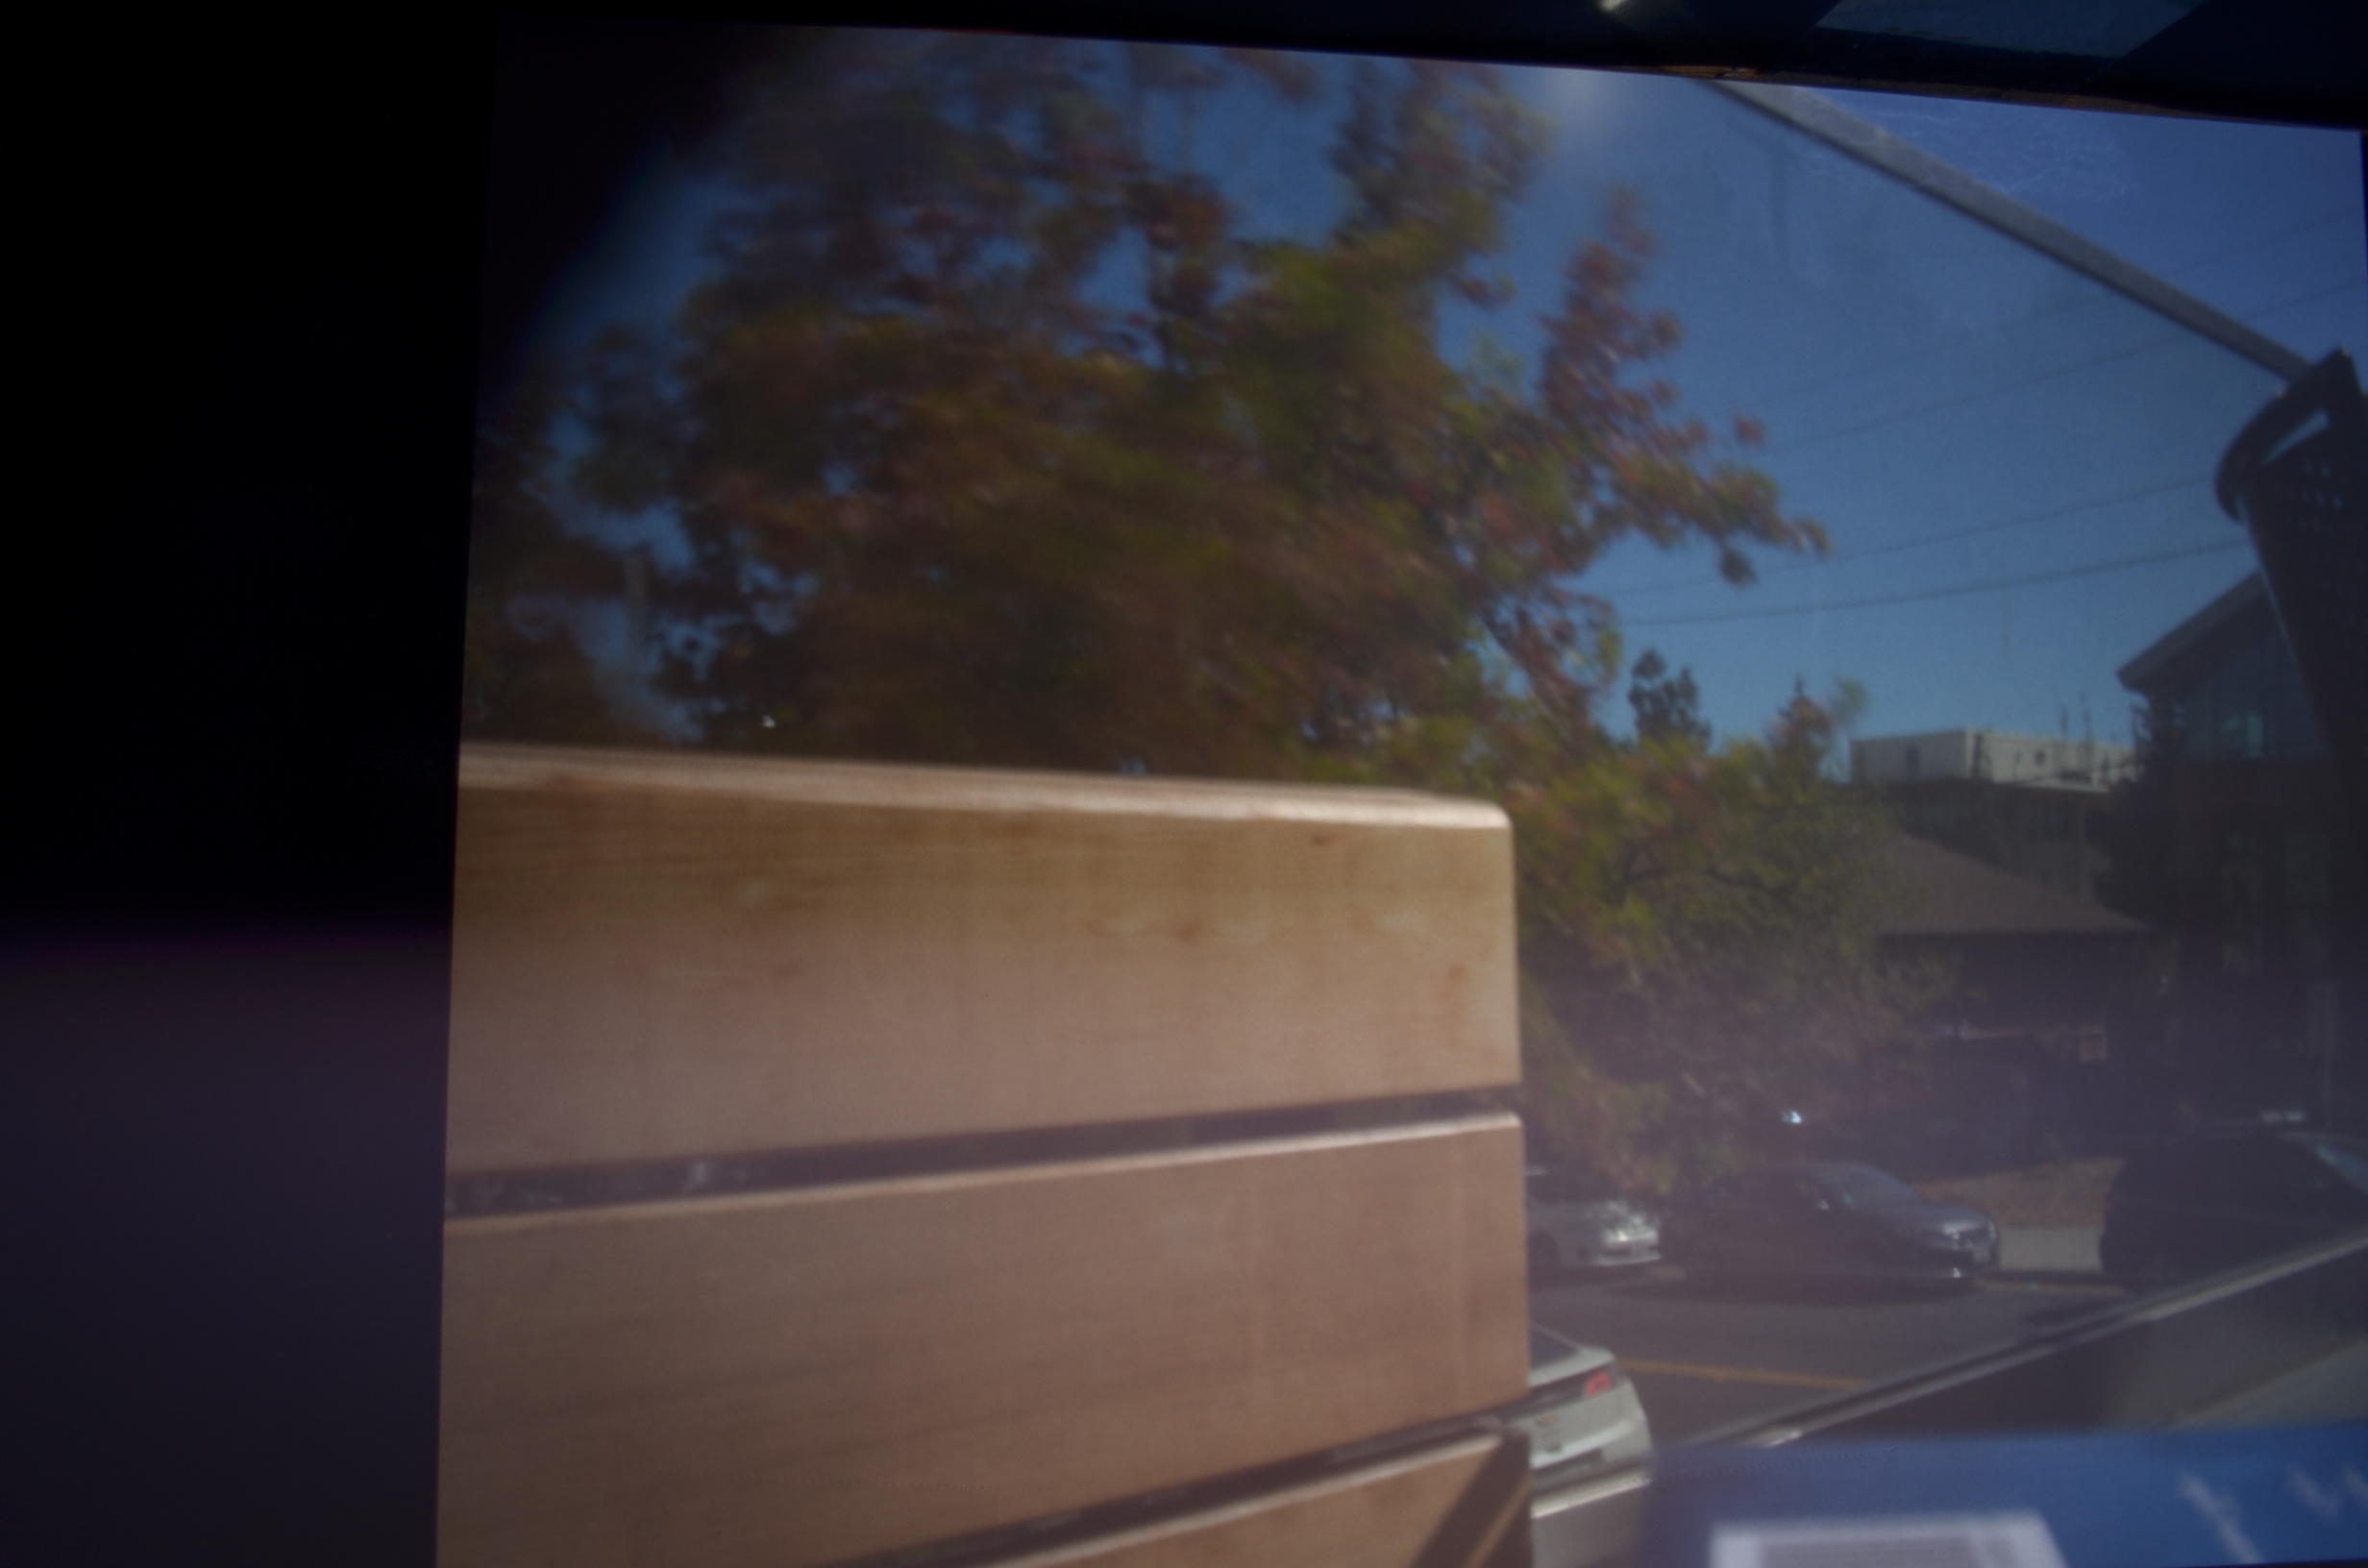
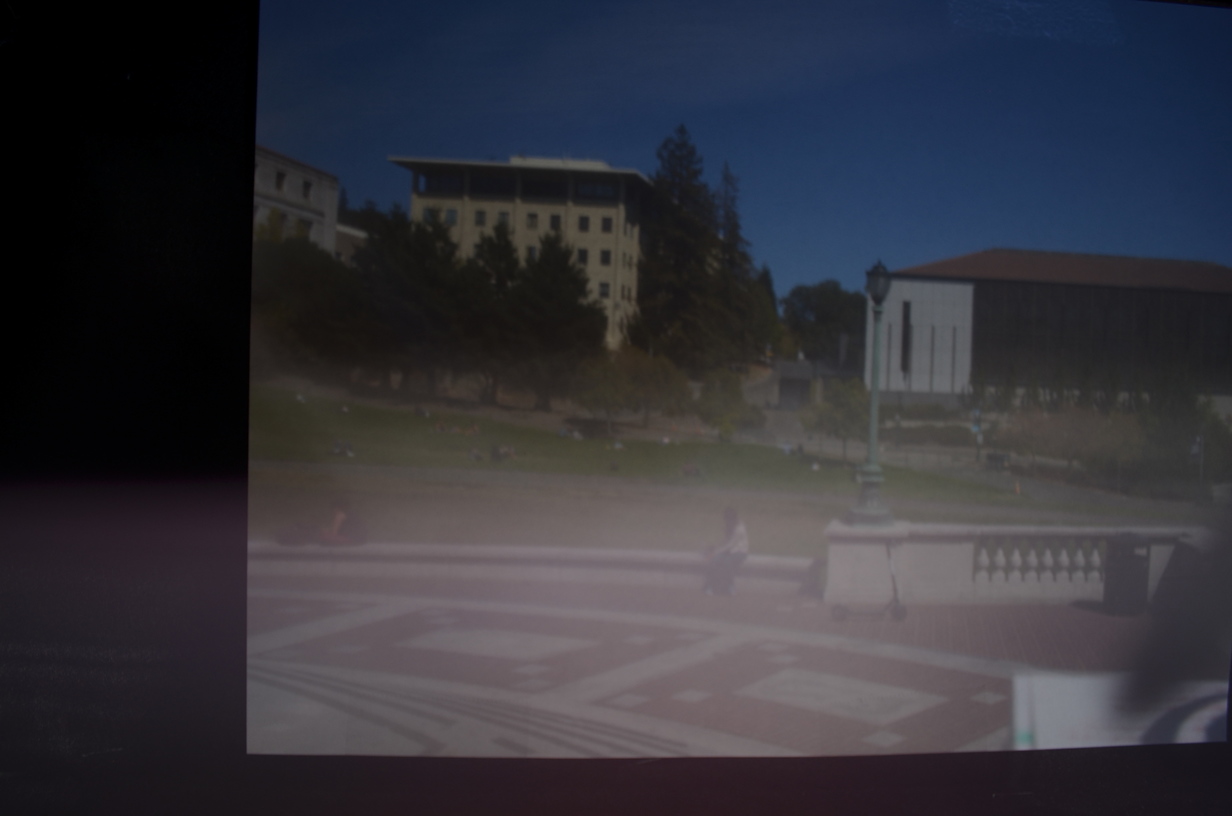
Additional Scenes
These are additional pinhole photos we captured around campus.
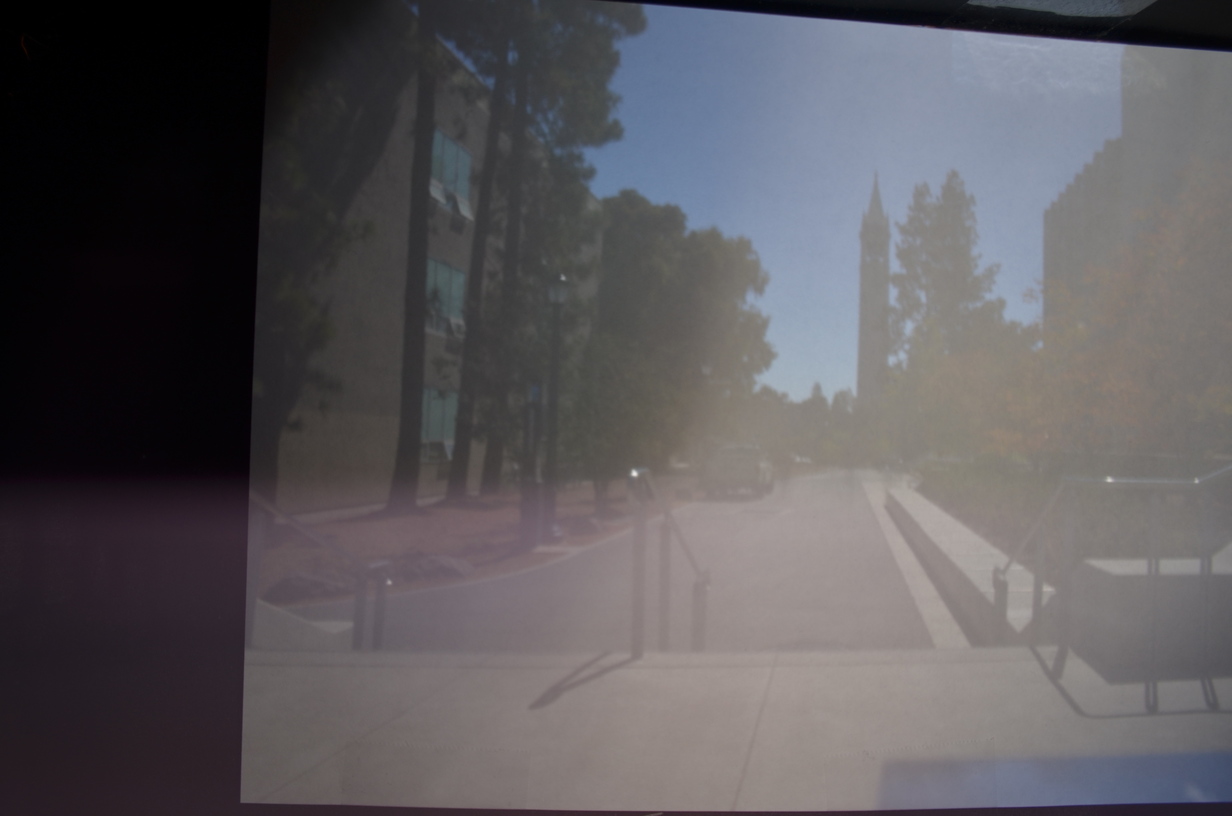
Under the Campanile 1mm
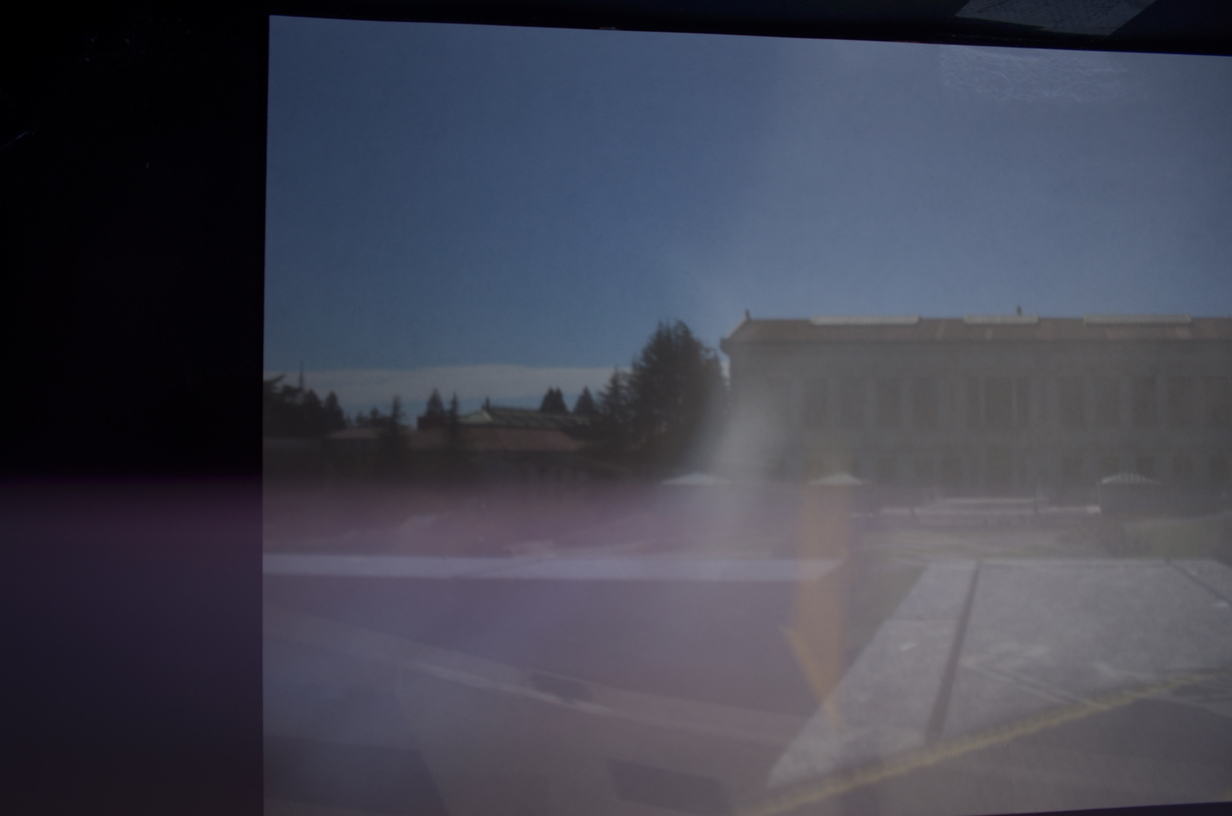
Under the Campanile 3mm
Under the Campanile 5mm
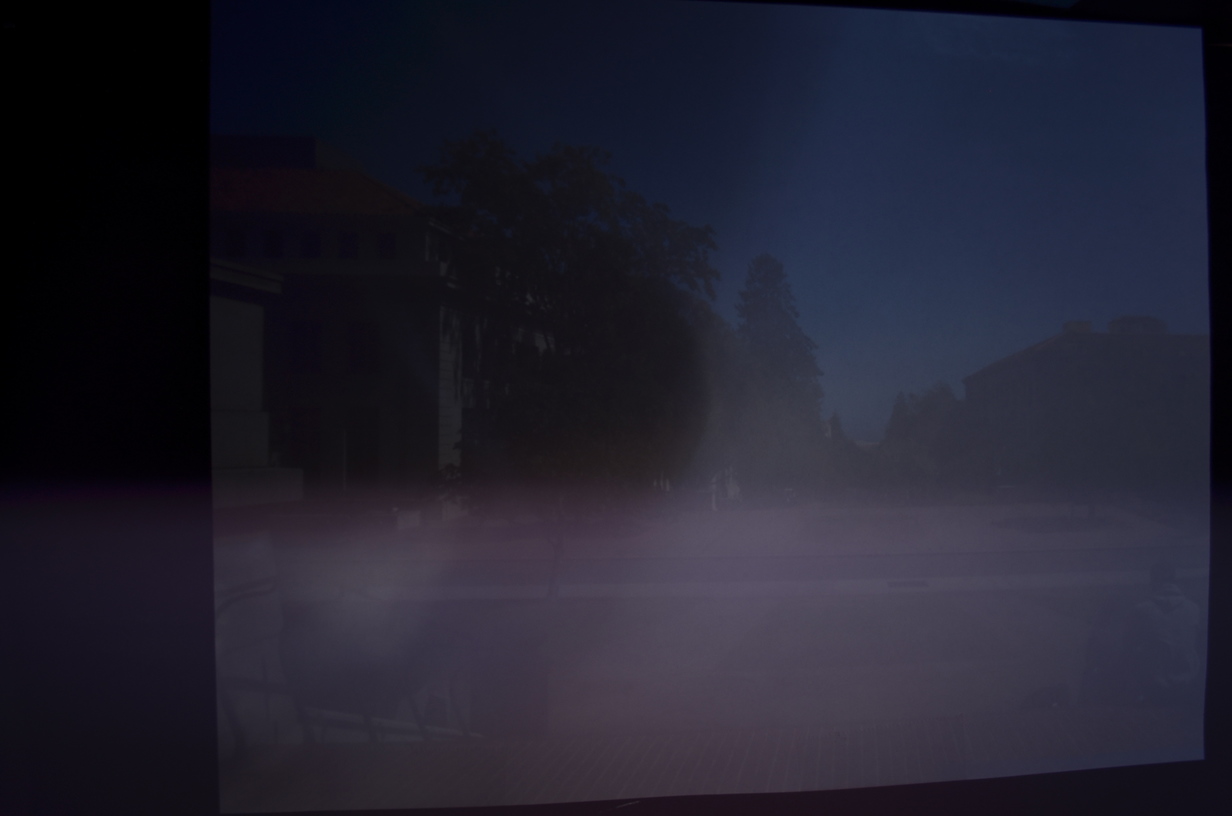
Outside Soda 3mm
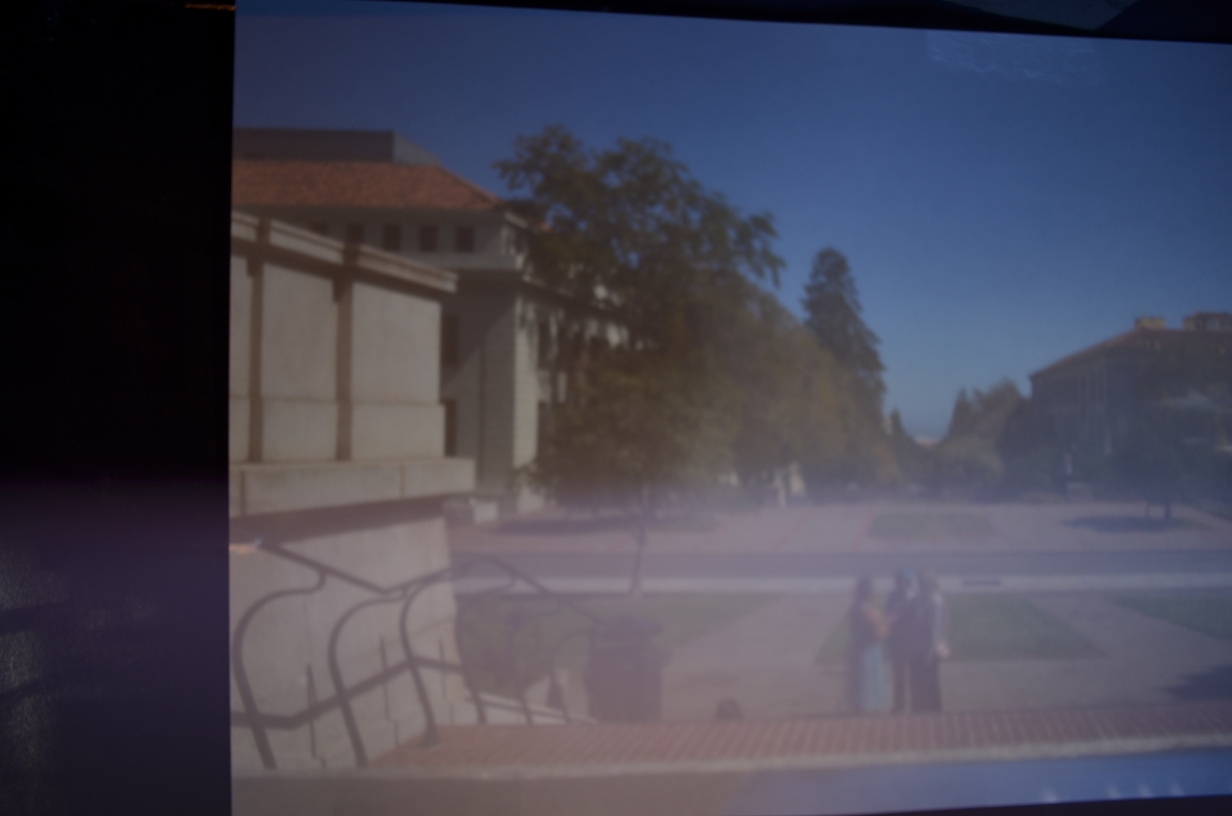
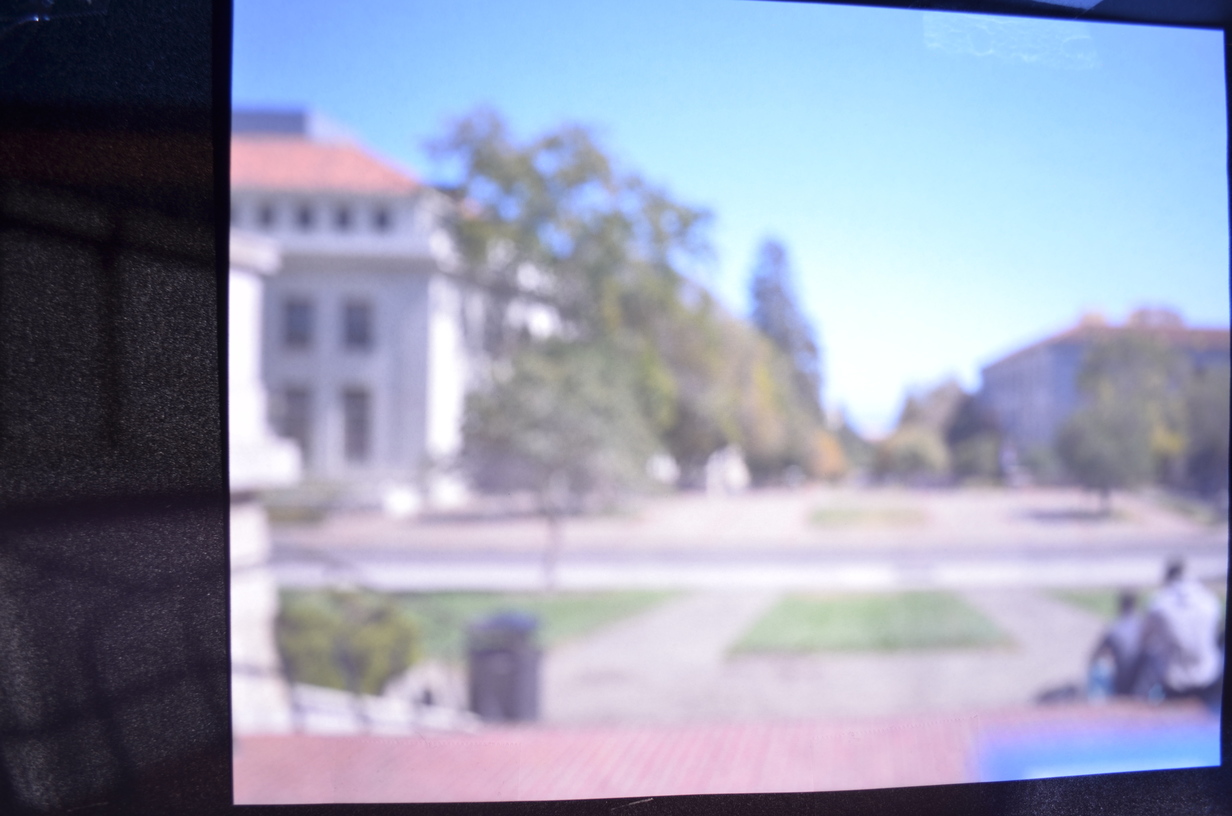
East Asian Library Towards Doe Library 3mm
Doe Towards Memorial Glade 3mm
Someone should compile all the images onto a map of Berkeley or make a guessing game of where images were taken.