CS194-26 Project 2: Building a Pinhole Camera
By: Shaan Appel, Jia Ze Yu
Date: 2018-09-14
Background
In this project, we built a pinhole camera (“camera obscura”), a dark box with a pinhole on one face, and a screen on the opposite face. Light reflecting off an object is directed through the pinhole to the screen, and an inverted image of the object forms on the screen.
Approach
We used a shoebox as the body of our camera with 2 holes on one end: one for swappable pinholes and one for the DSLR camera. We blacked out the inside of the shoebox using black pieces of paper. Since our shoebox is long, we noticed that placing the white screen on the other end of the camera gives us dim and blurry image. Hence, we decided to place the screen in the middle of the camera. We also noticed that pinholes with mushy edges give us bad image quality, so we made sure the edges of the pinholes are clean beafore taking a photo. We also cover the whole box with a jacket to make sure light does not get in from the slits.
To capture each shot we took a 15 second long exposure shot, with other settings left on auto. After taking shots with multiple pinhole sizes, we found the 1mm size gave us the best results, especially when brightness is increased in post.
We also experimented with turning a whole room into a camera obscura and creating long exposure light drawings.(see bells and whistles)The Camera:

From Front, Opened to see inside
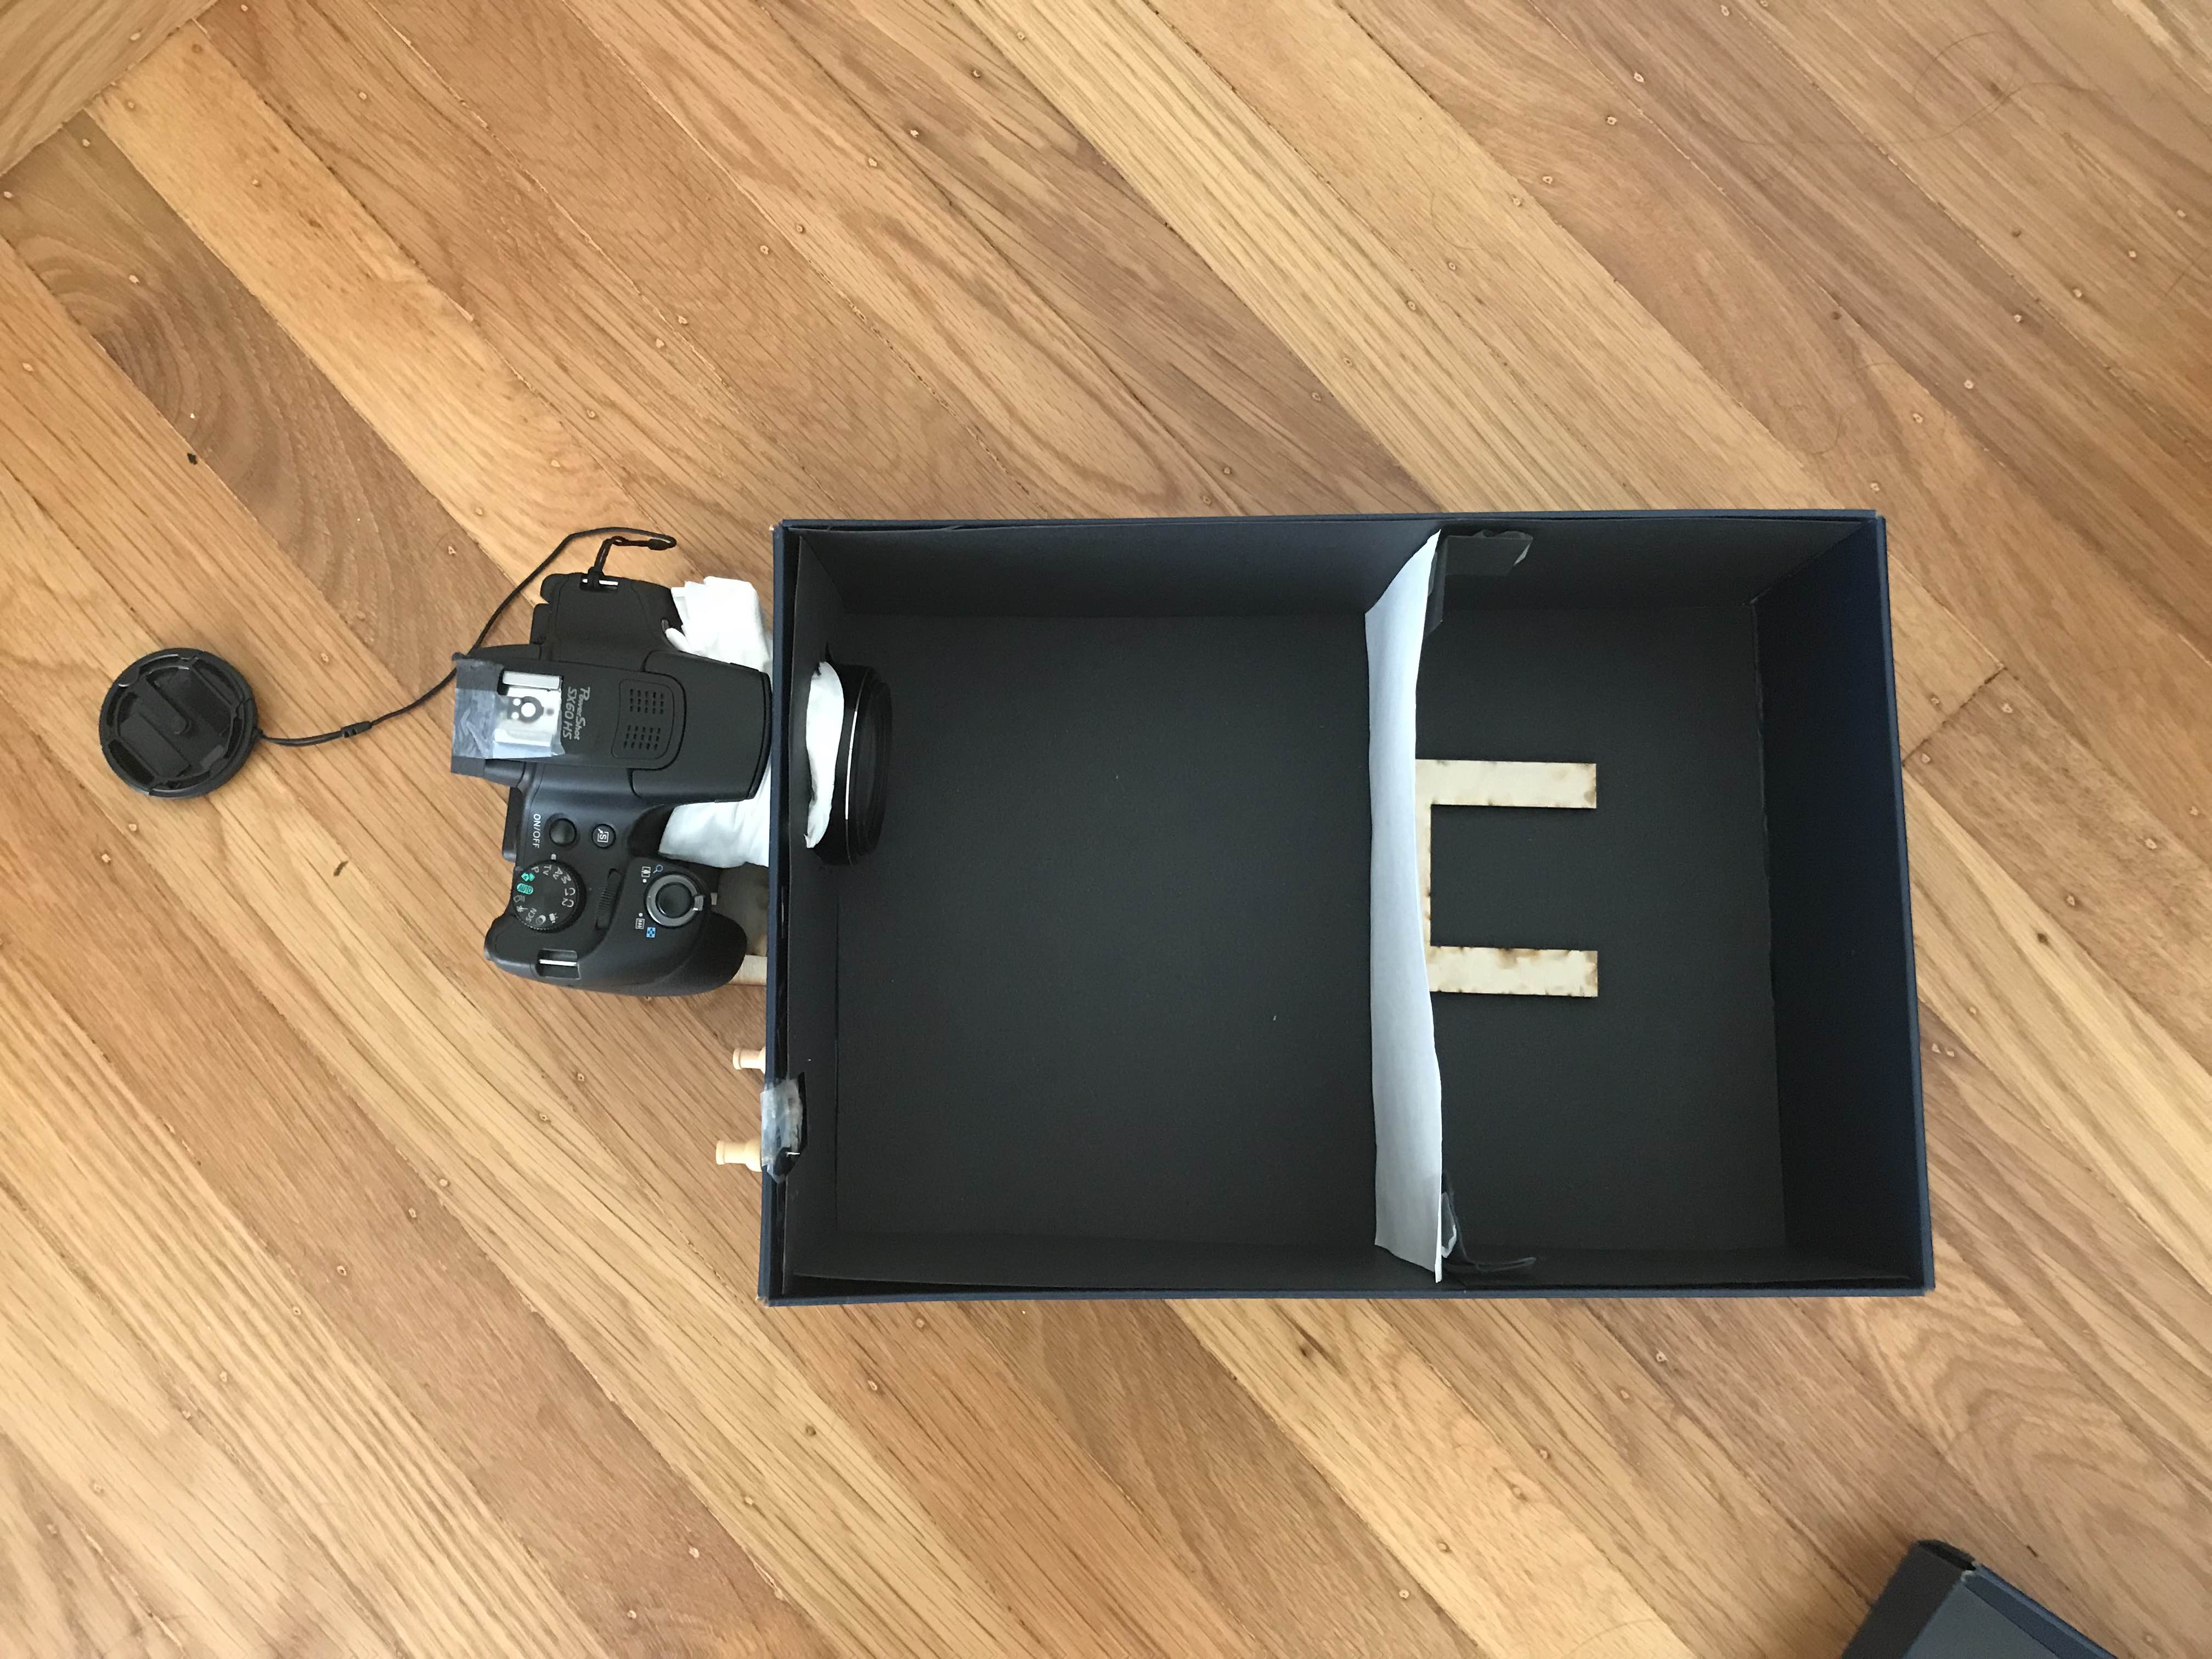
From Top, Opened to see inside
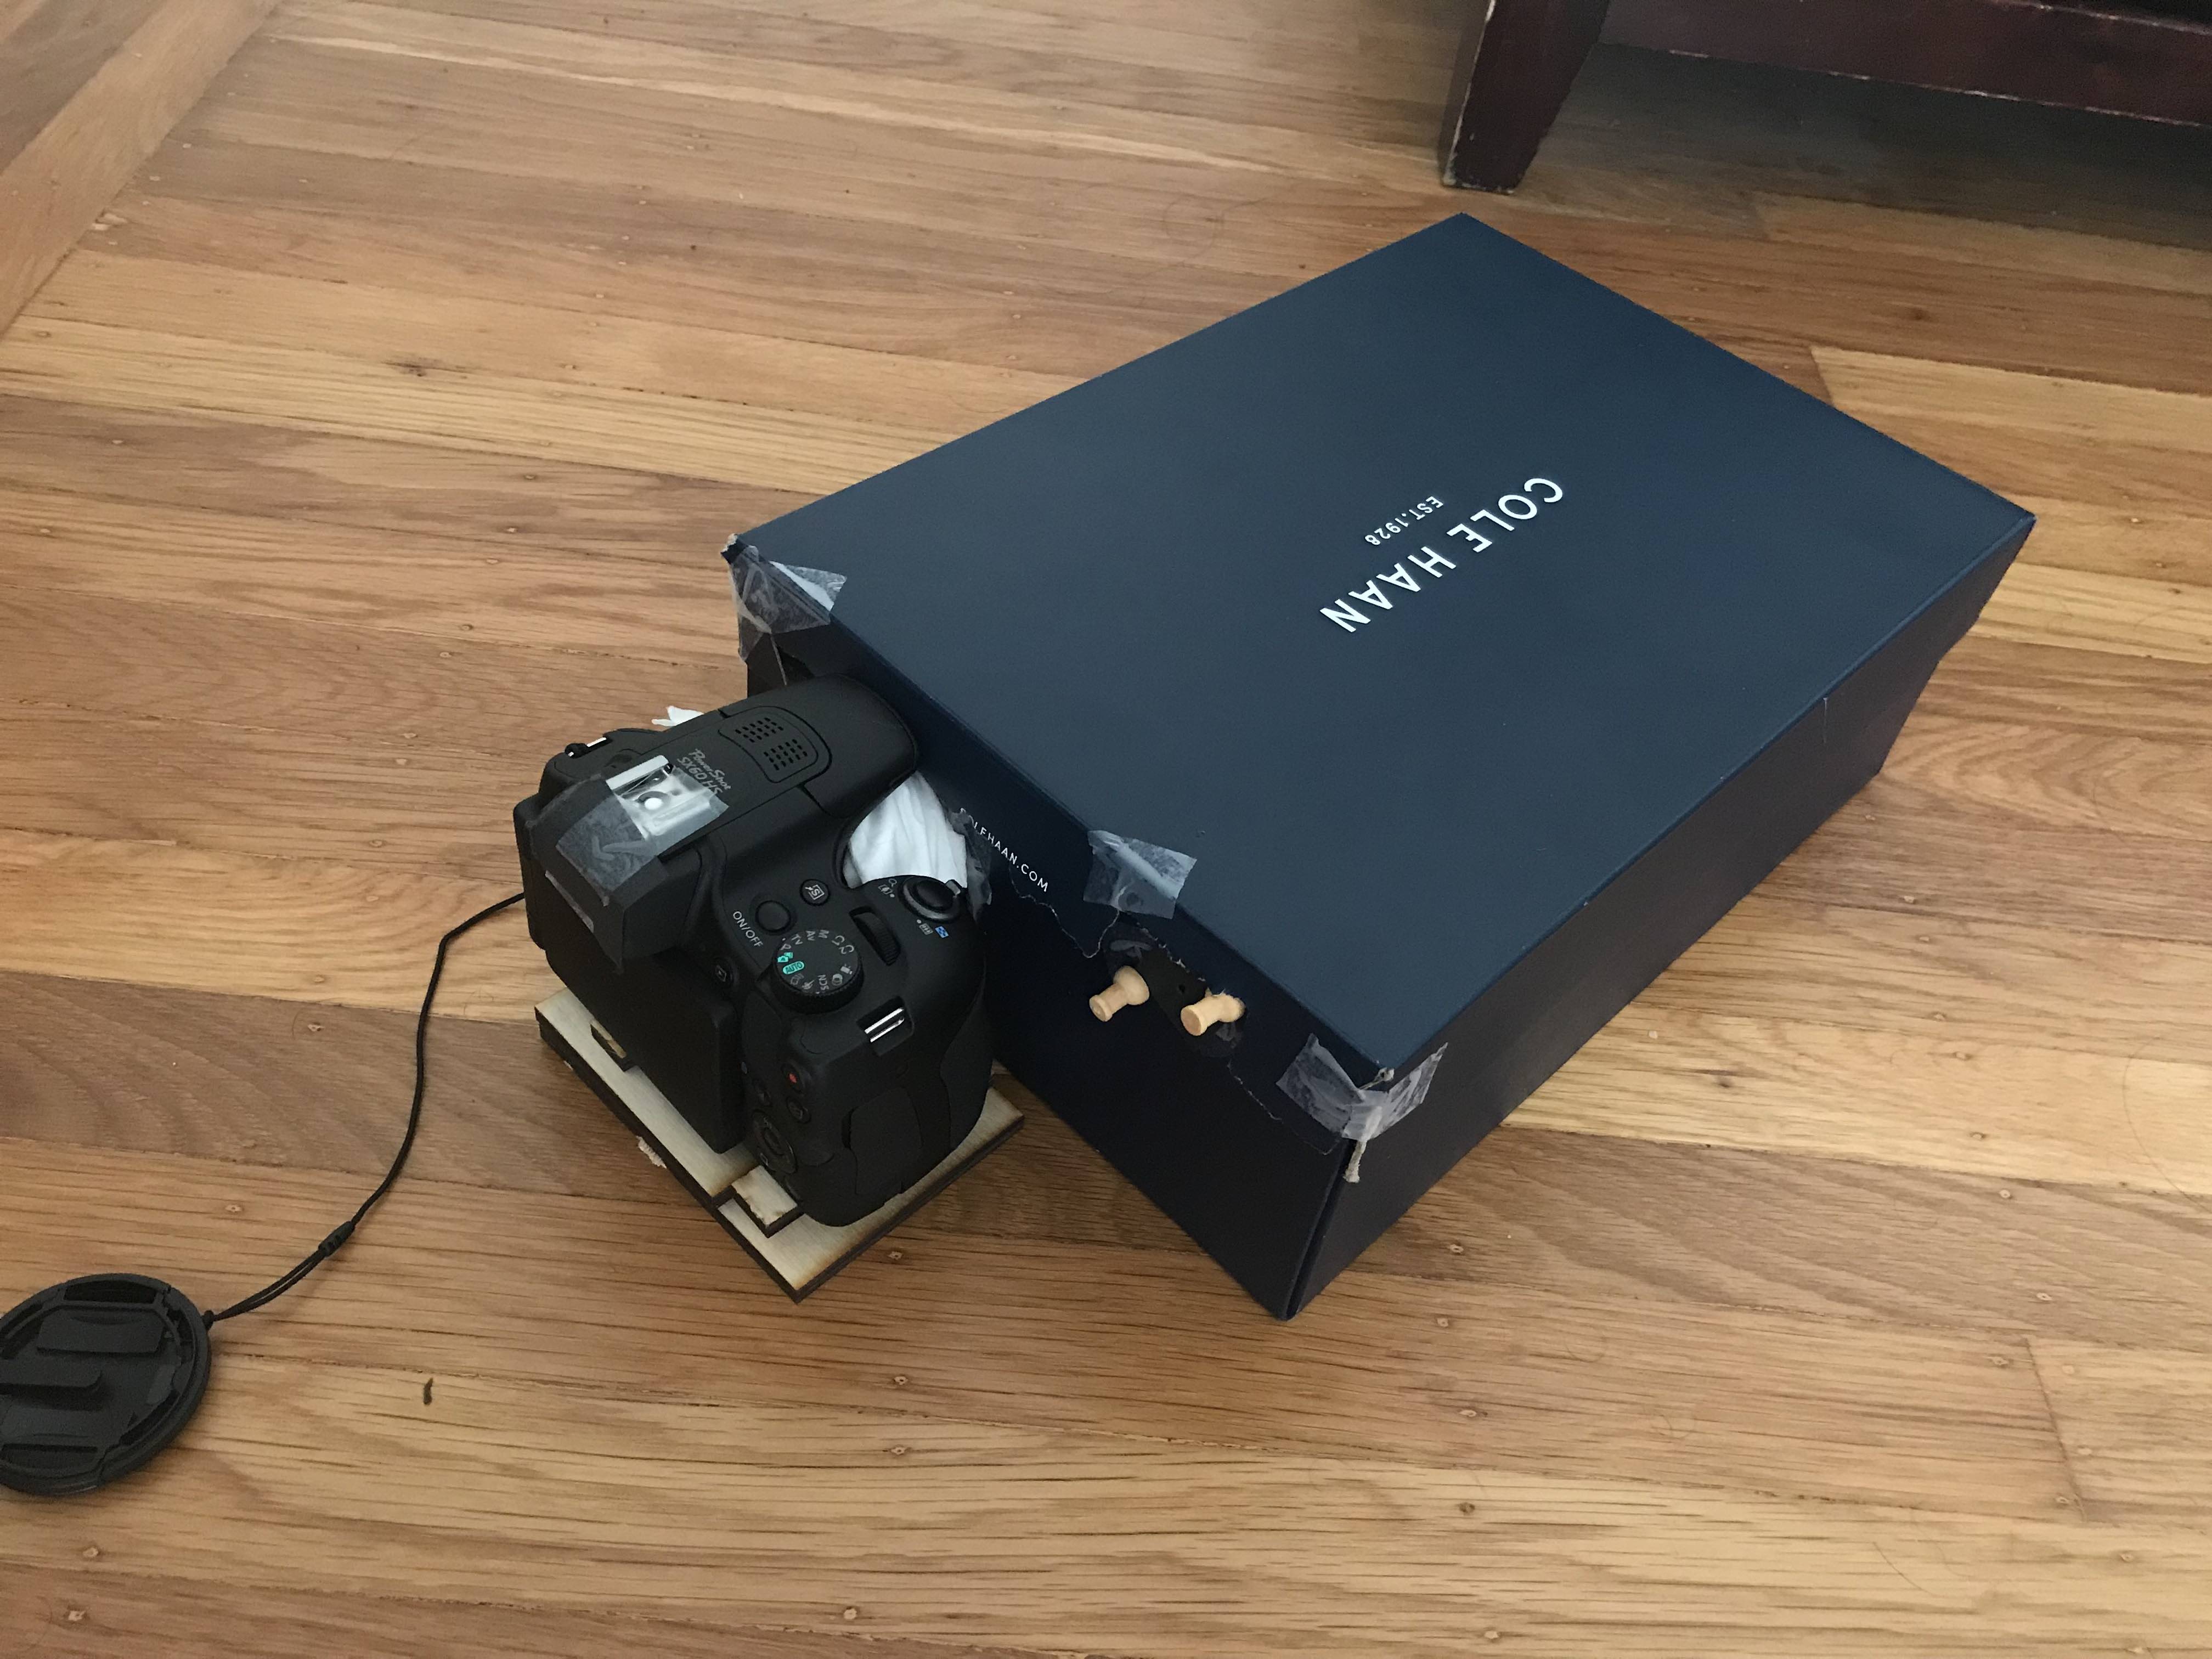
From Front, Closed with Top On
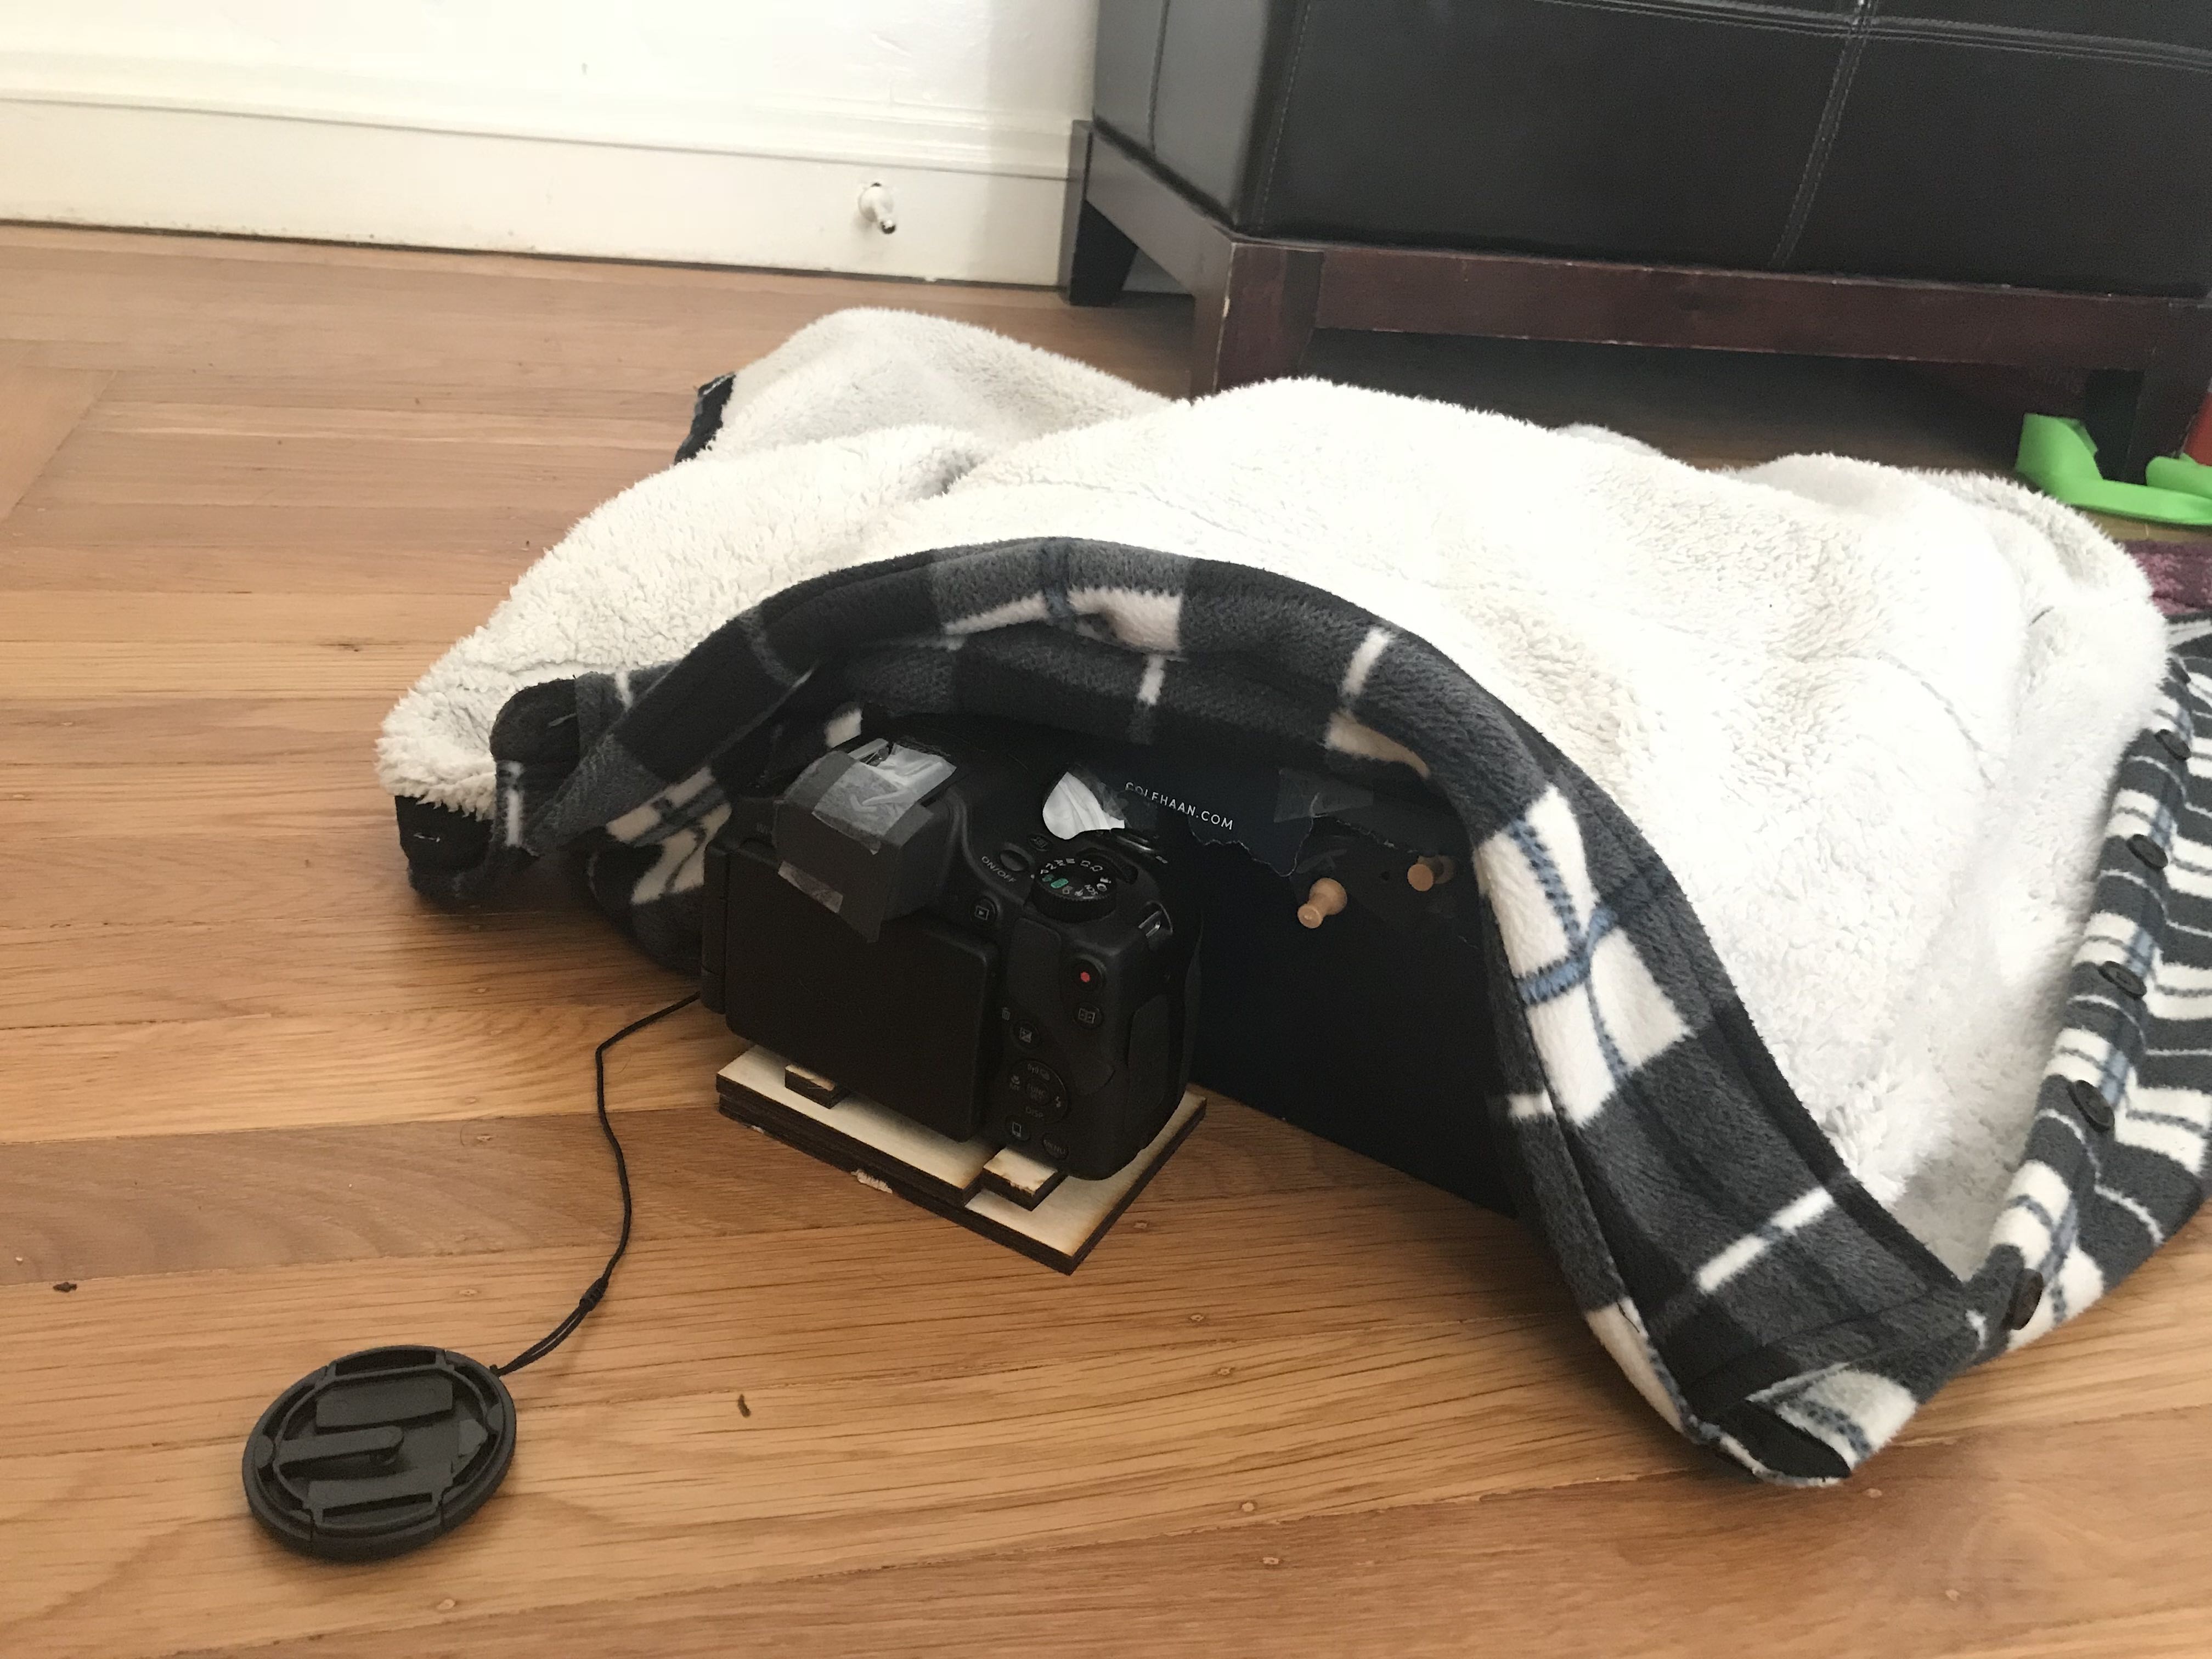
Covered with Jacket. This is how we took all of our photos to block out all light.
Images:
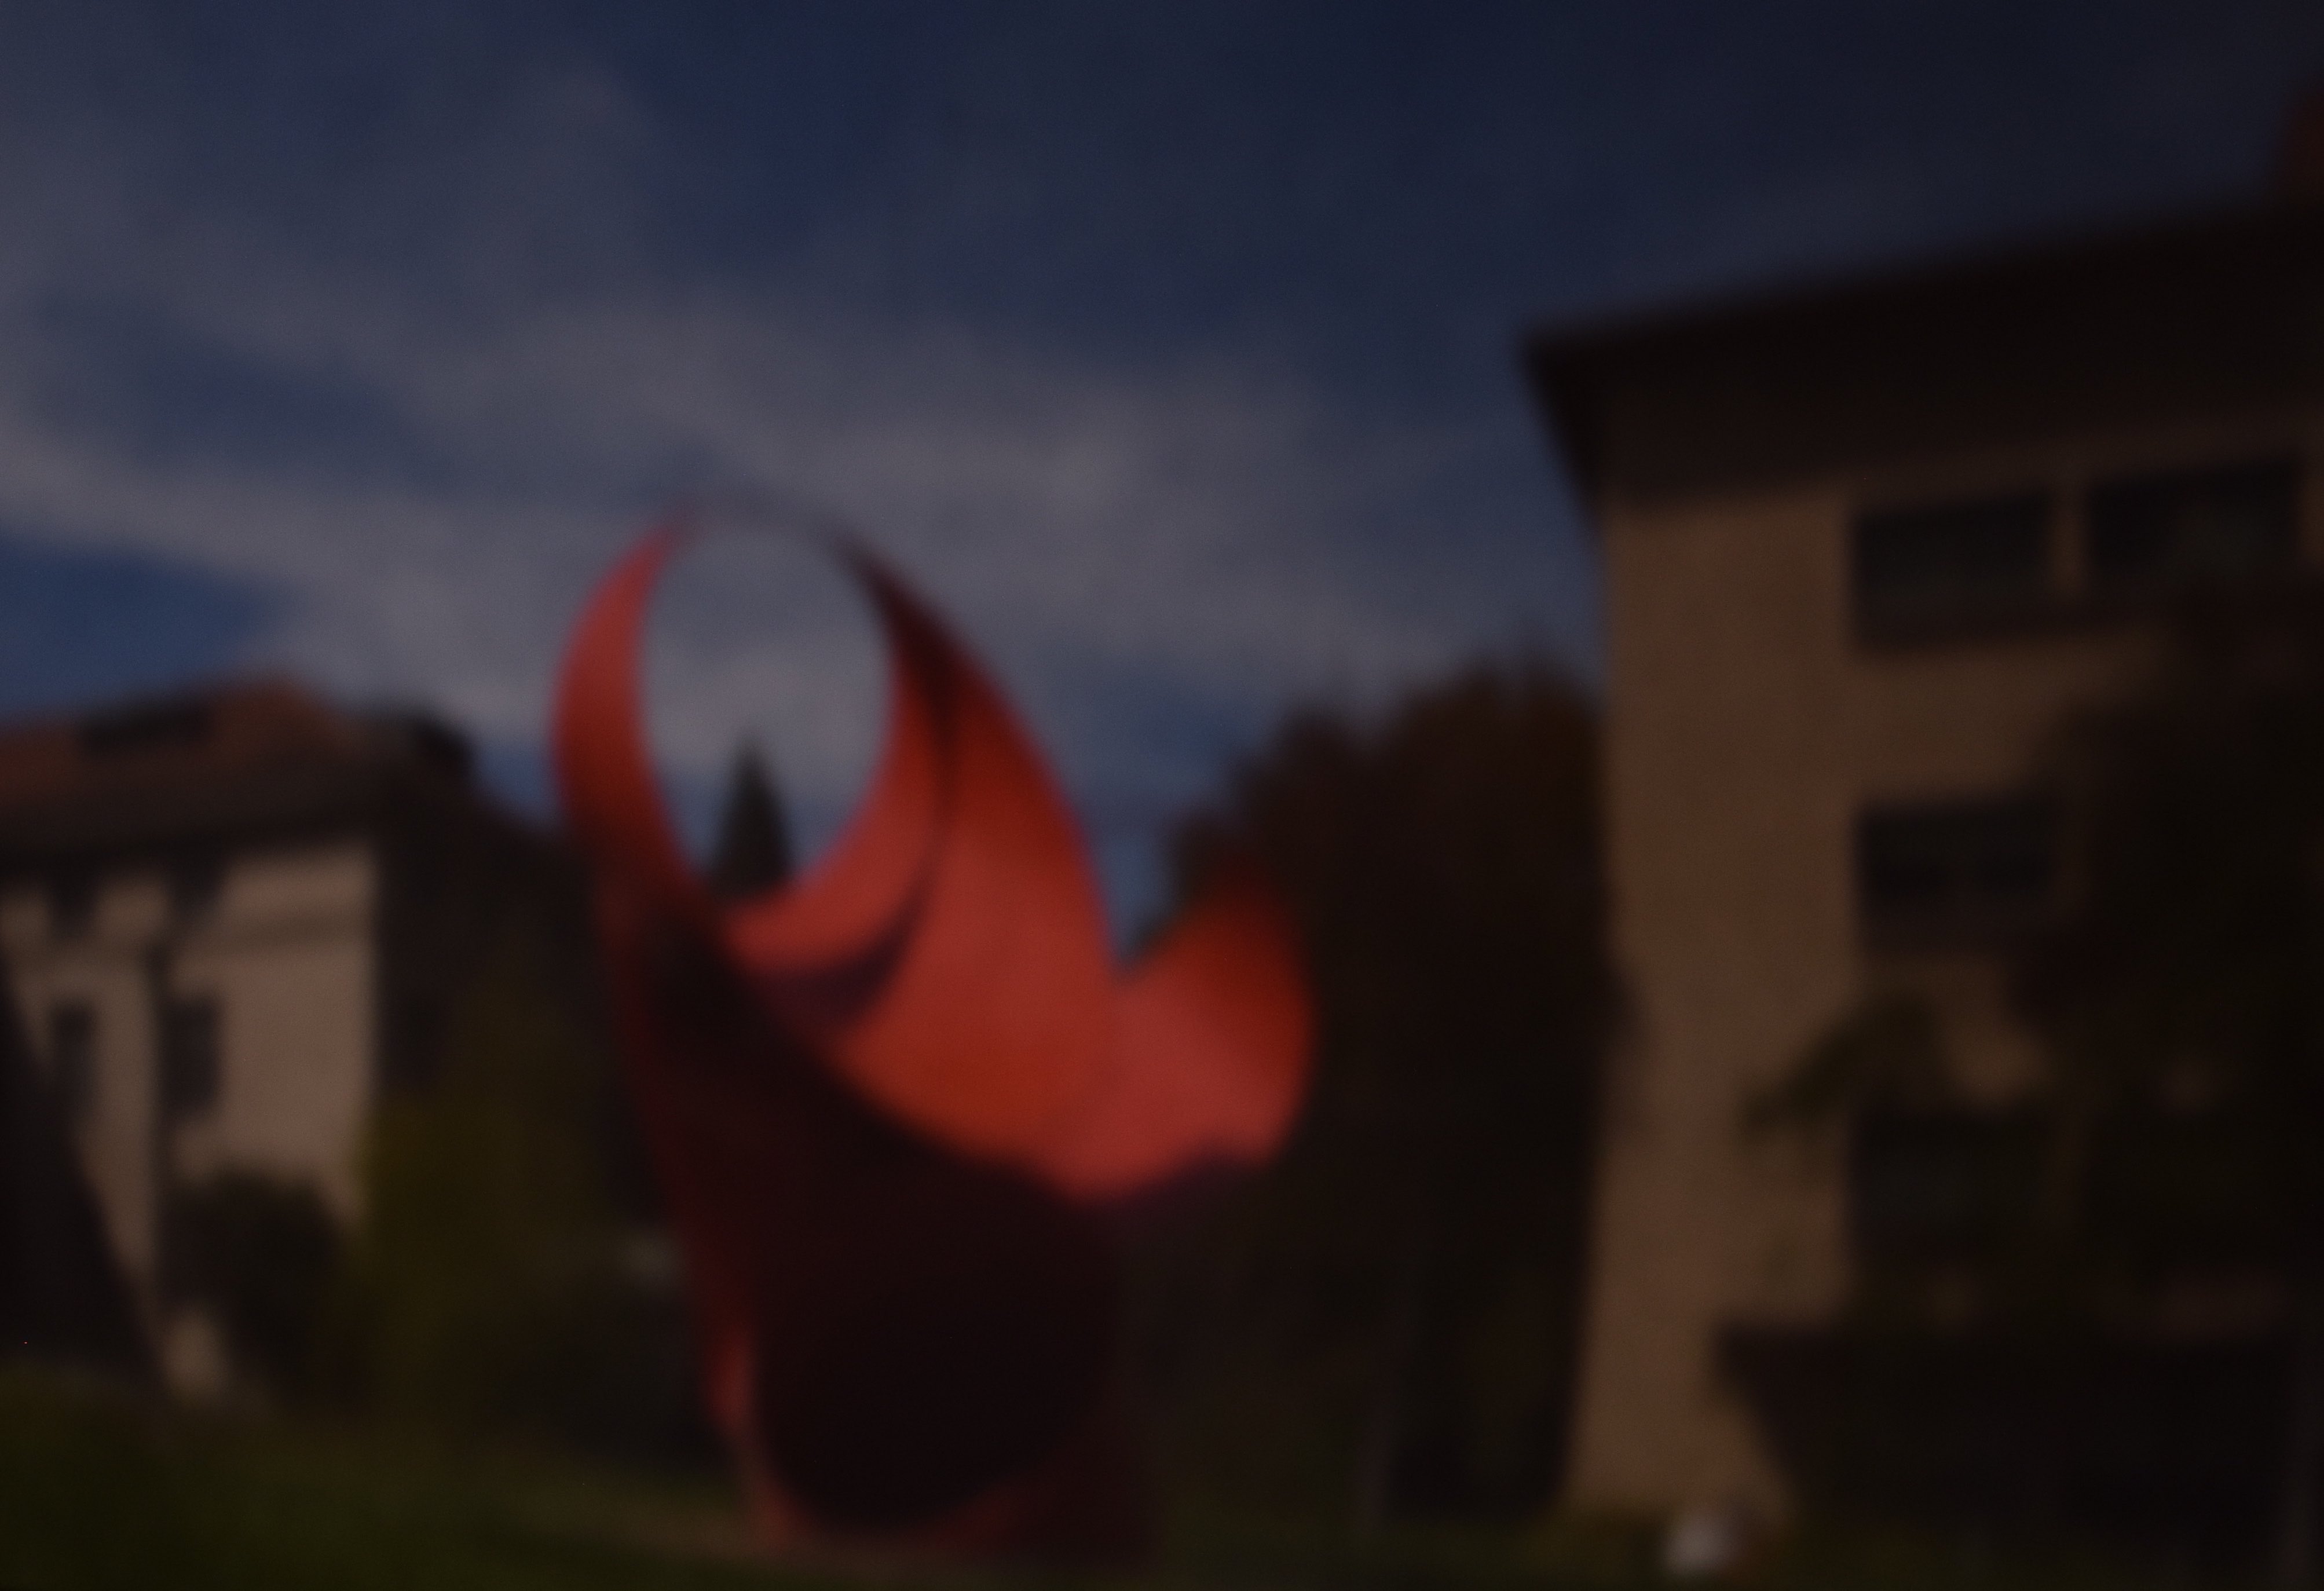
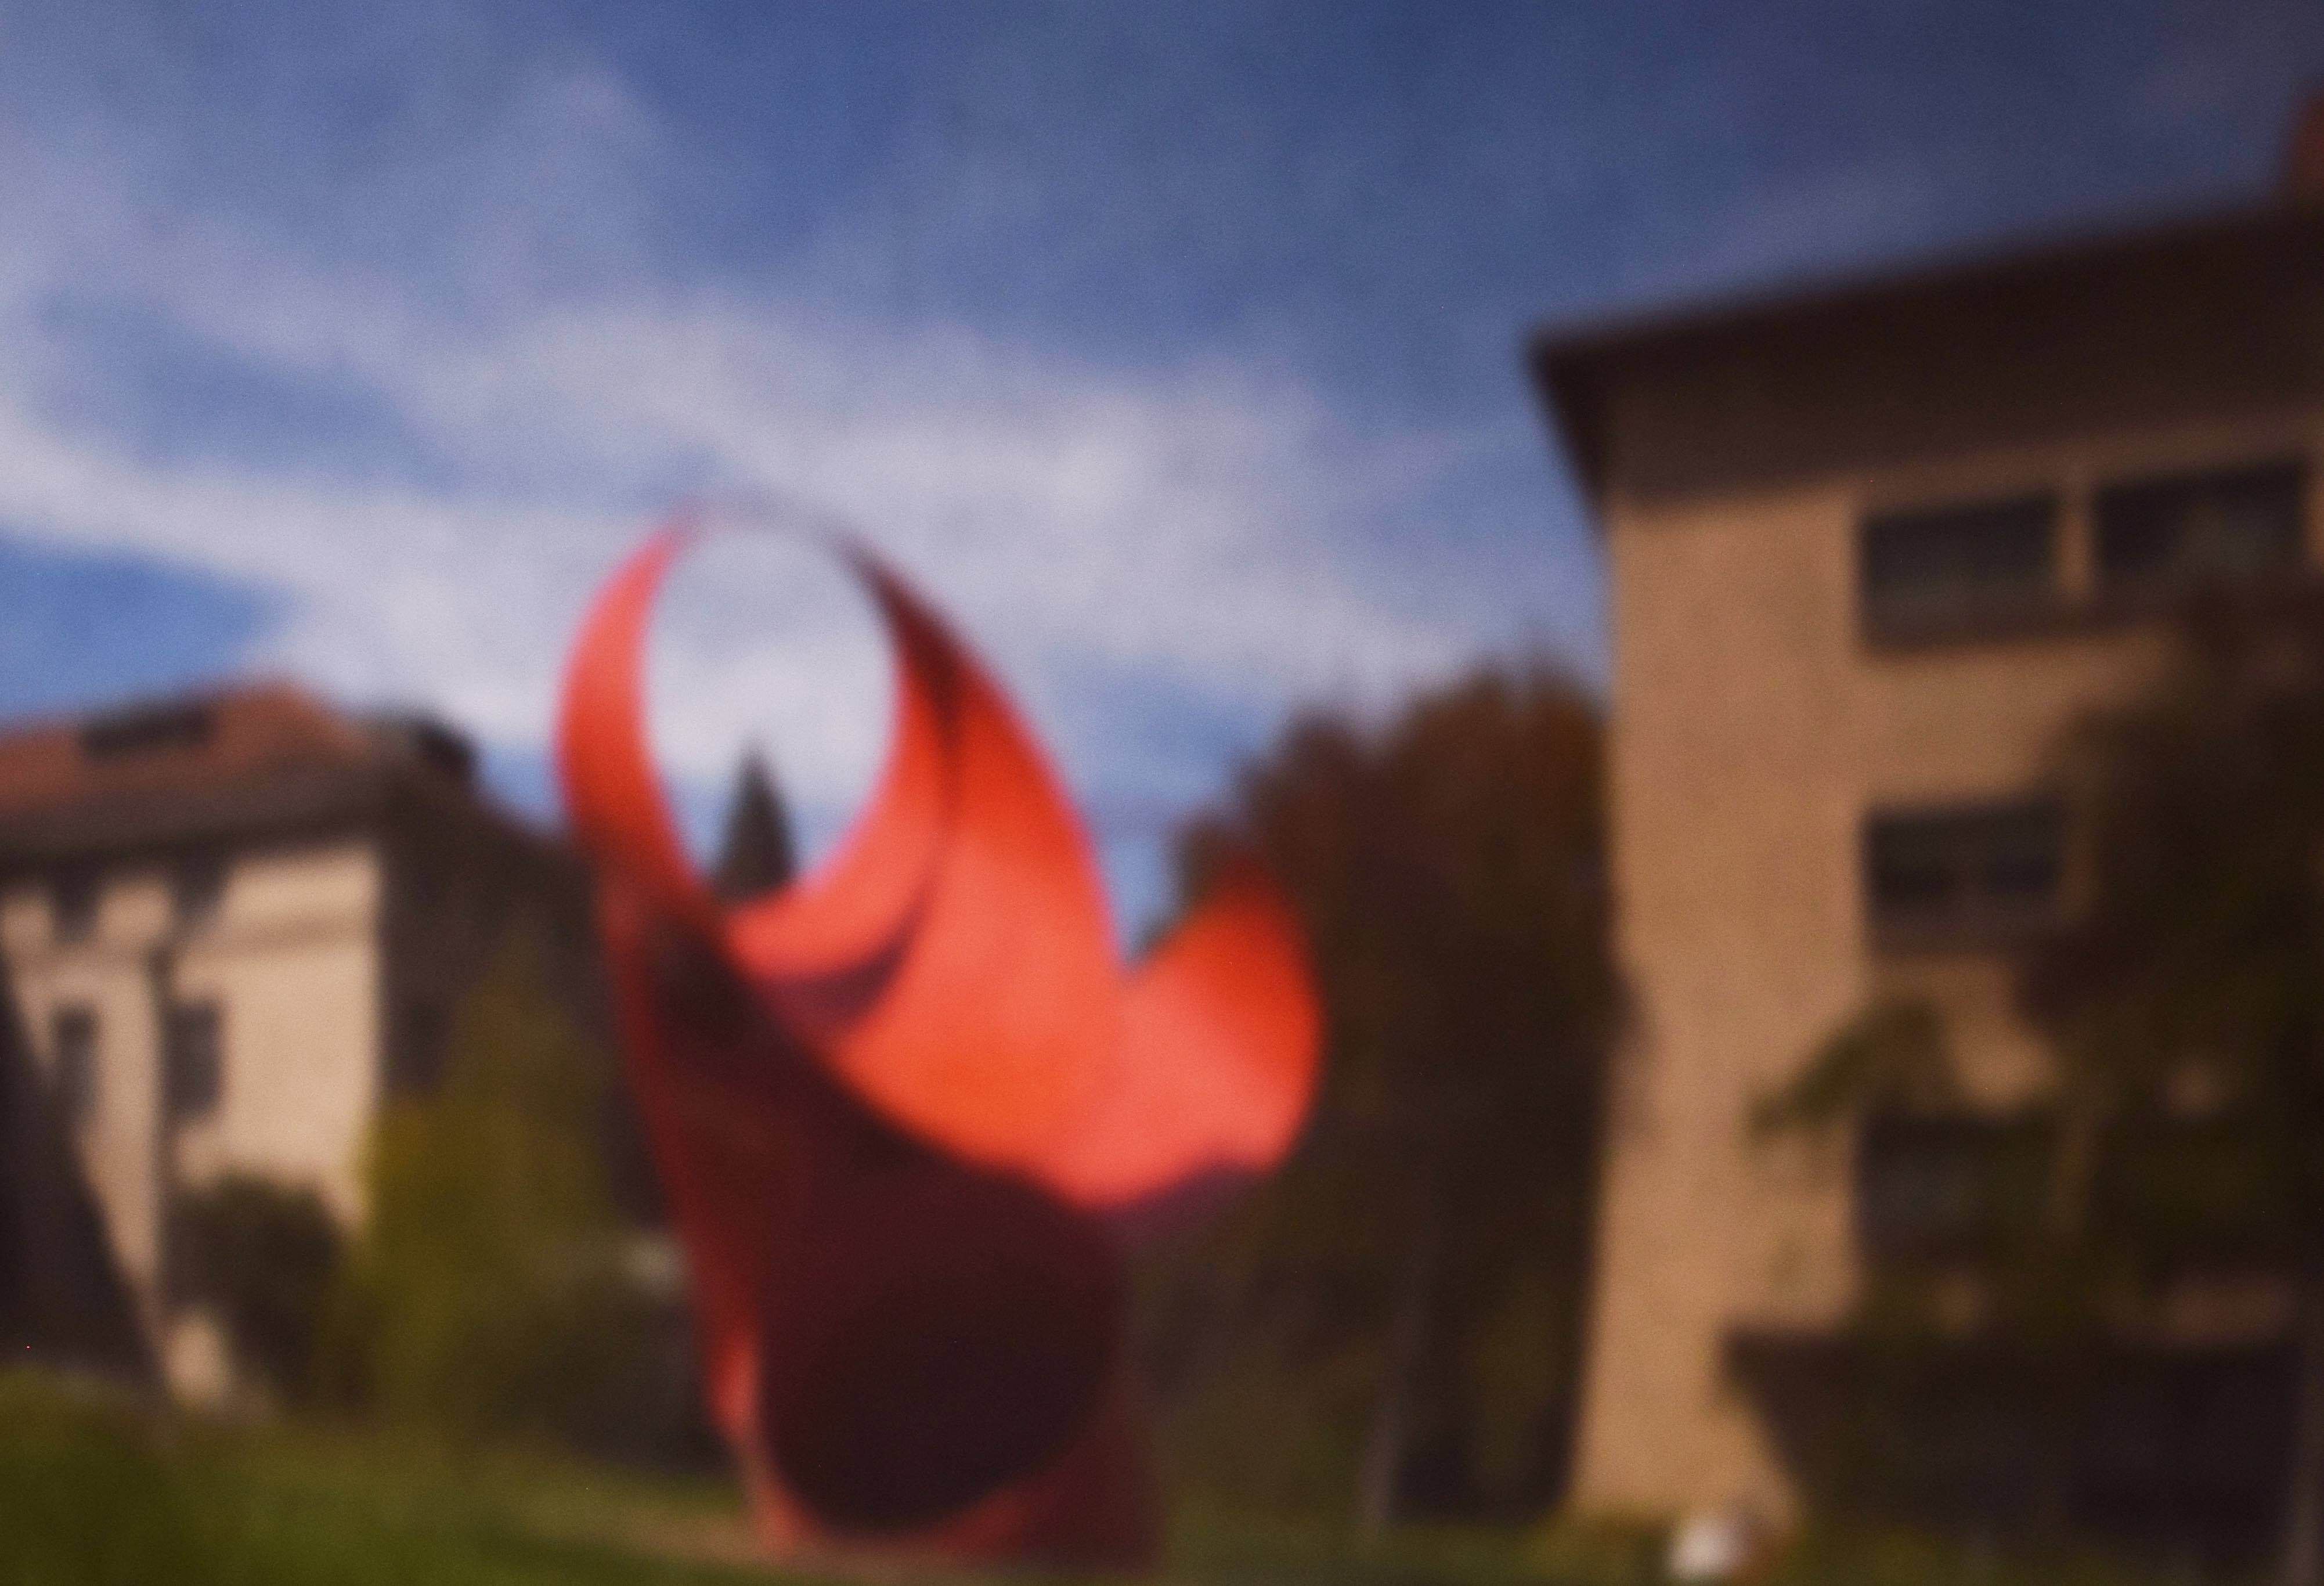
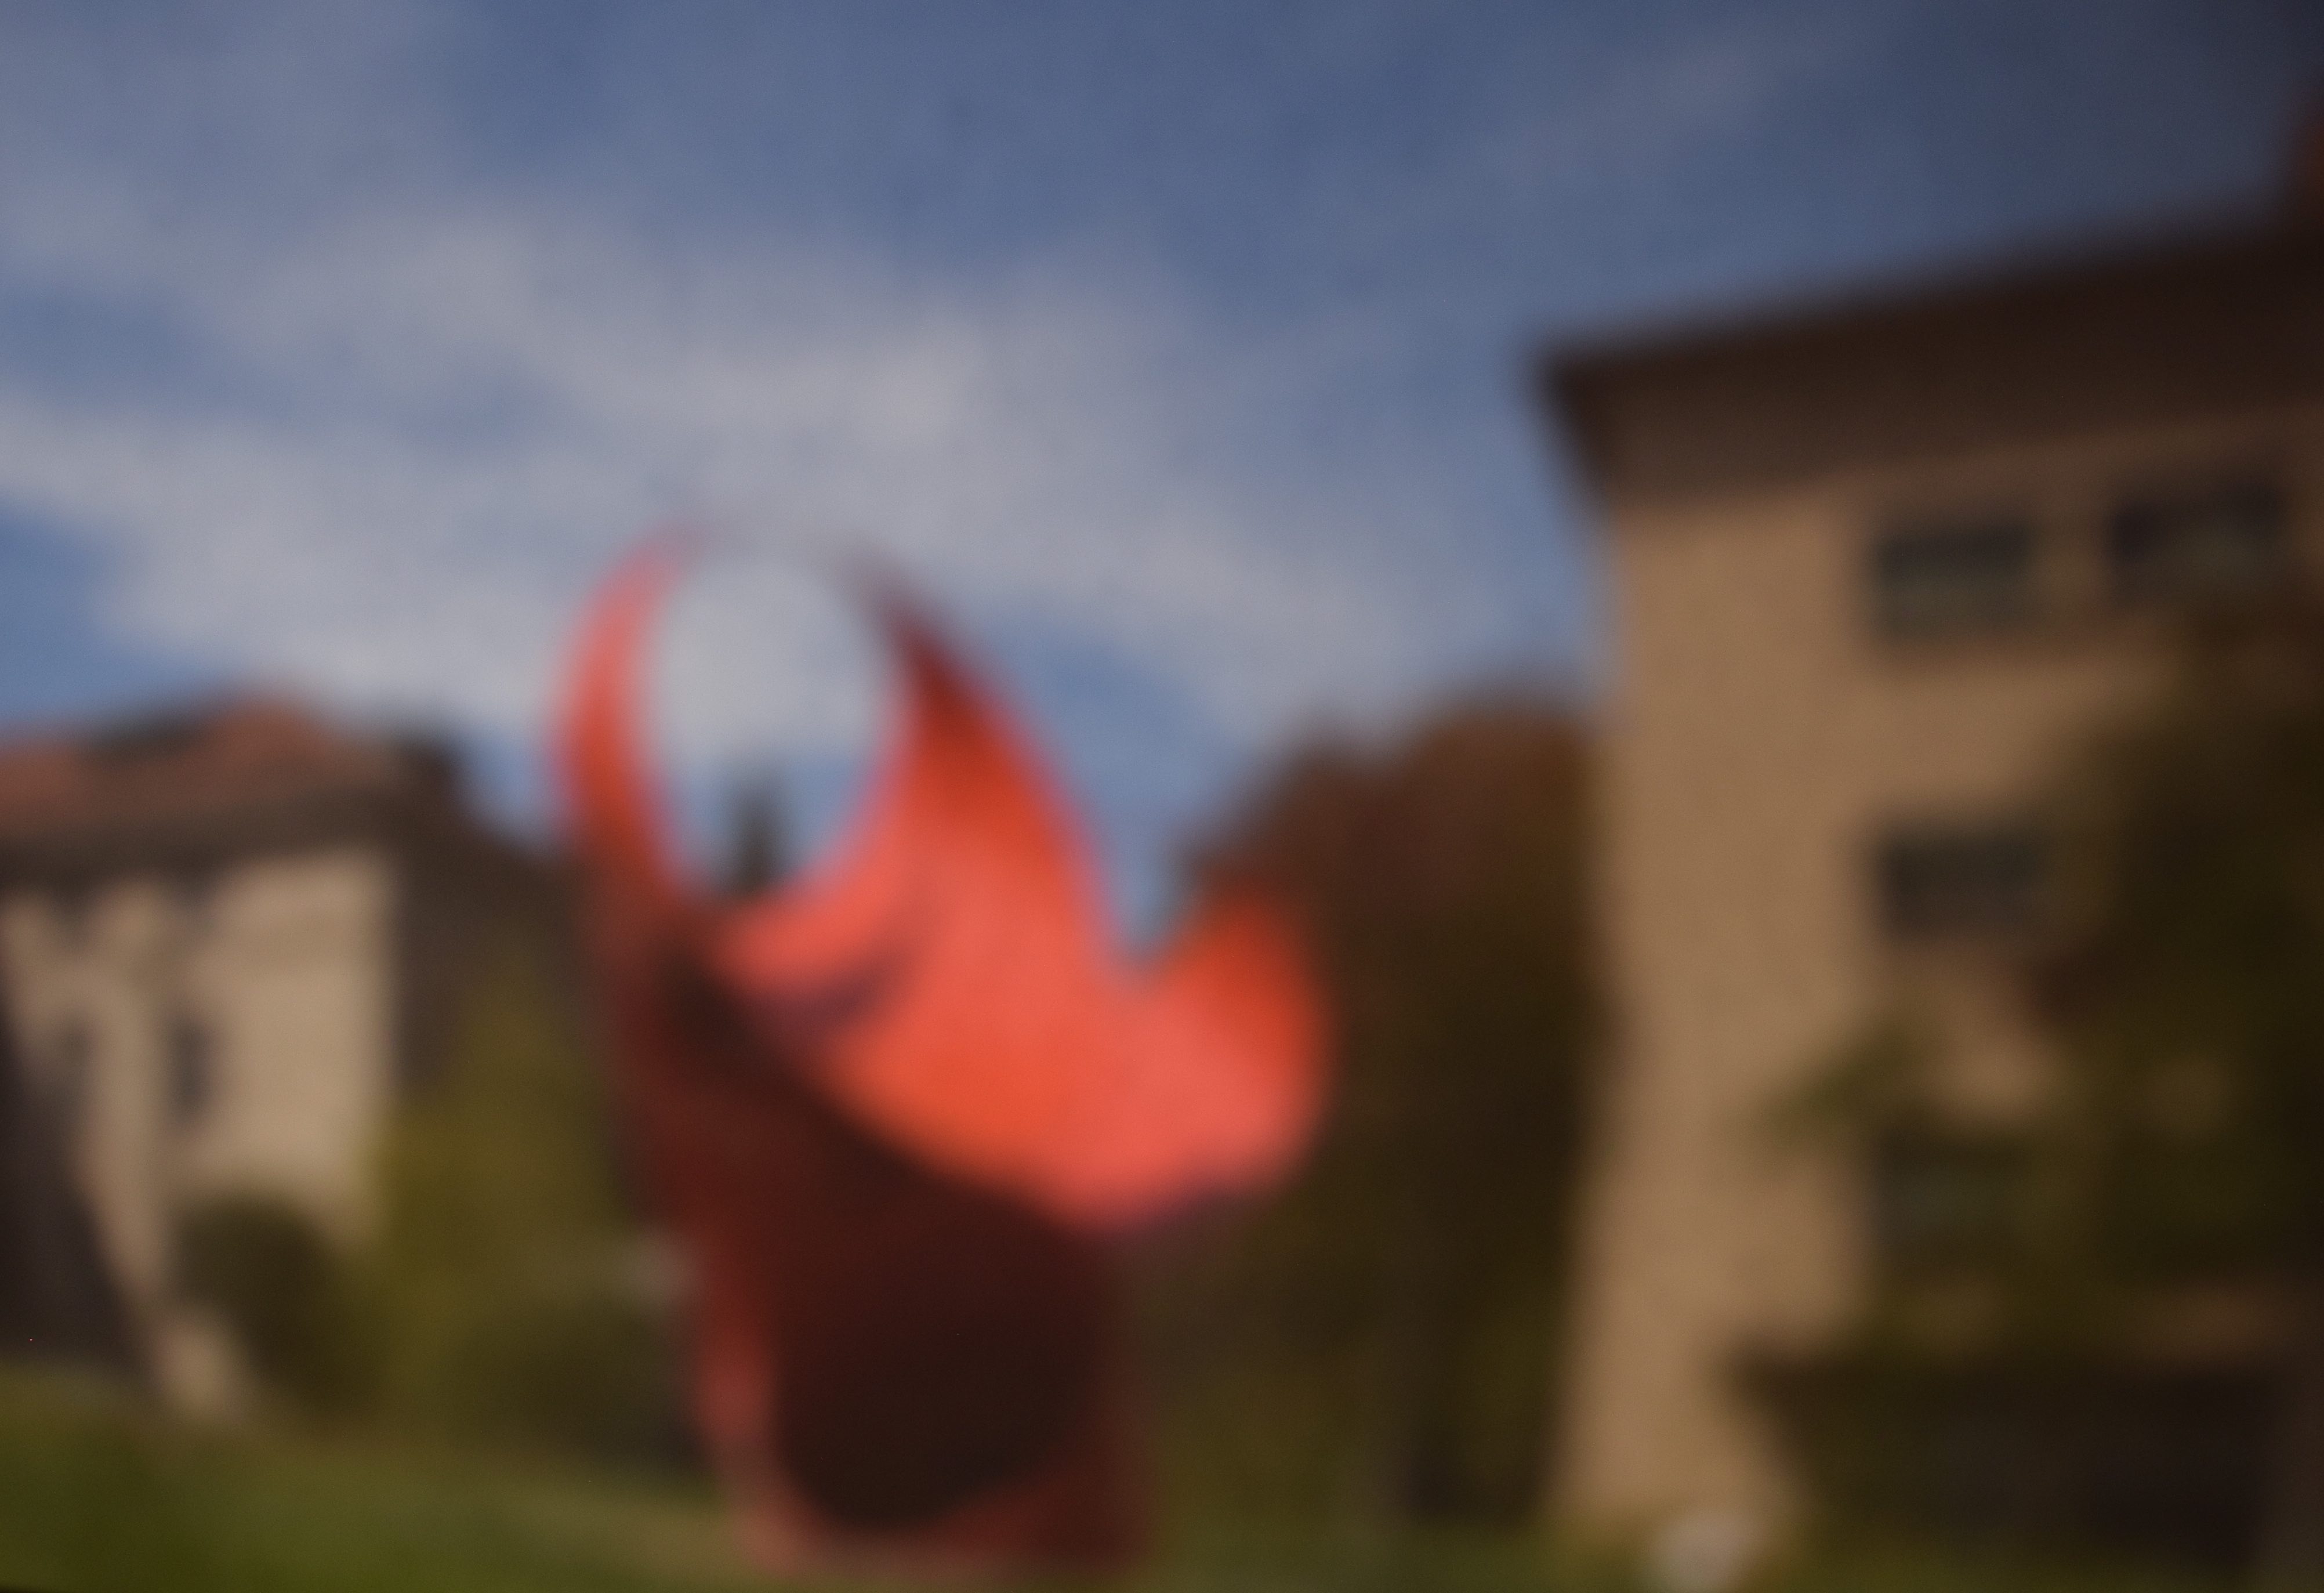
The Red Scuplture
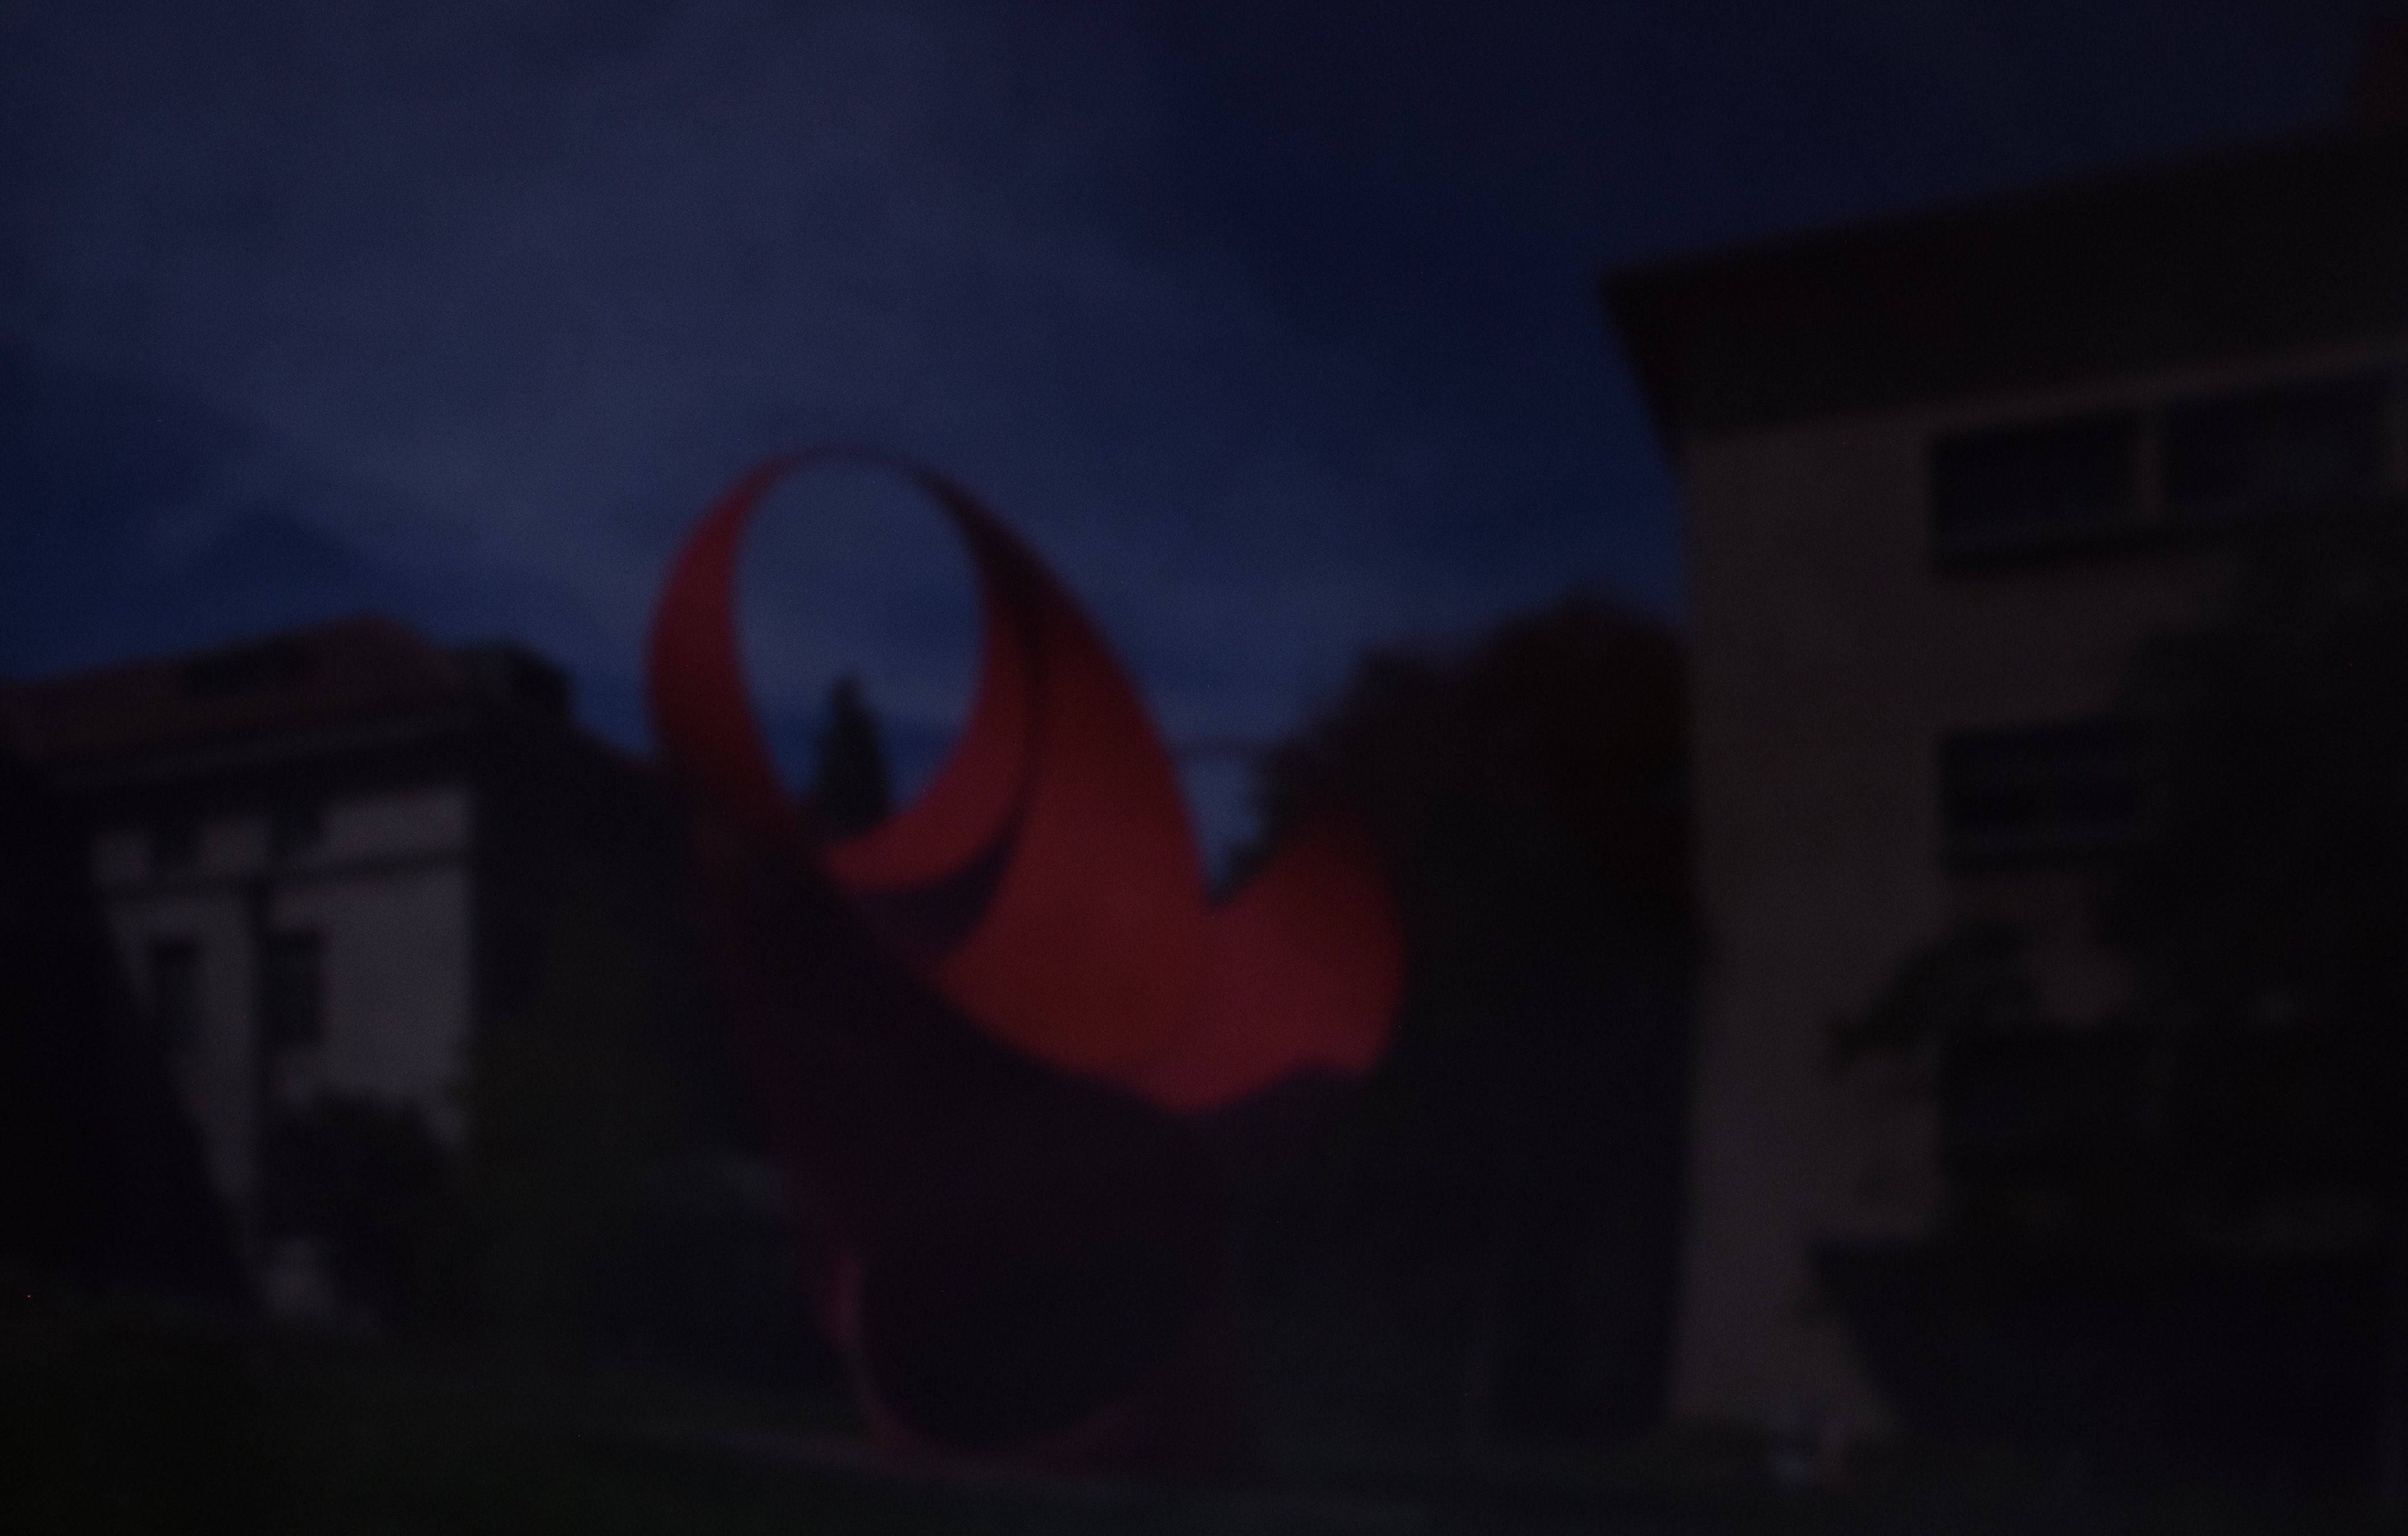
1 mm Hole

1 mm Hole, Brightness Increased Afterwards
3 mm Hole
3 mm Hole, Brightness Increased Afterwards
5 mm Hole
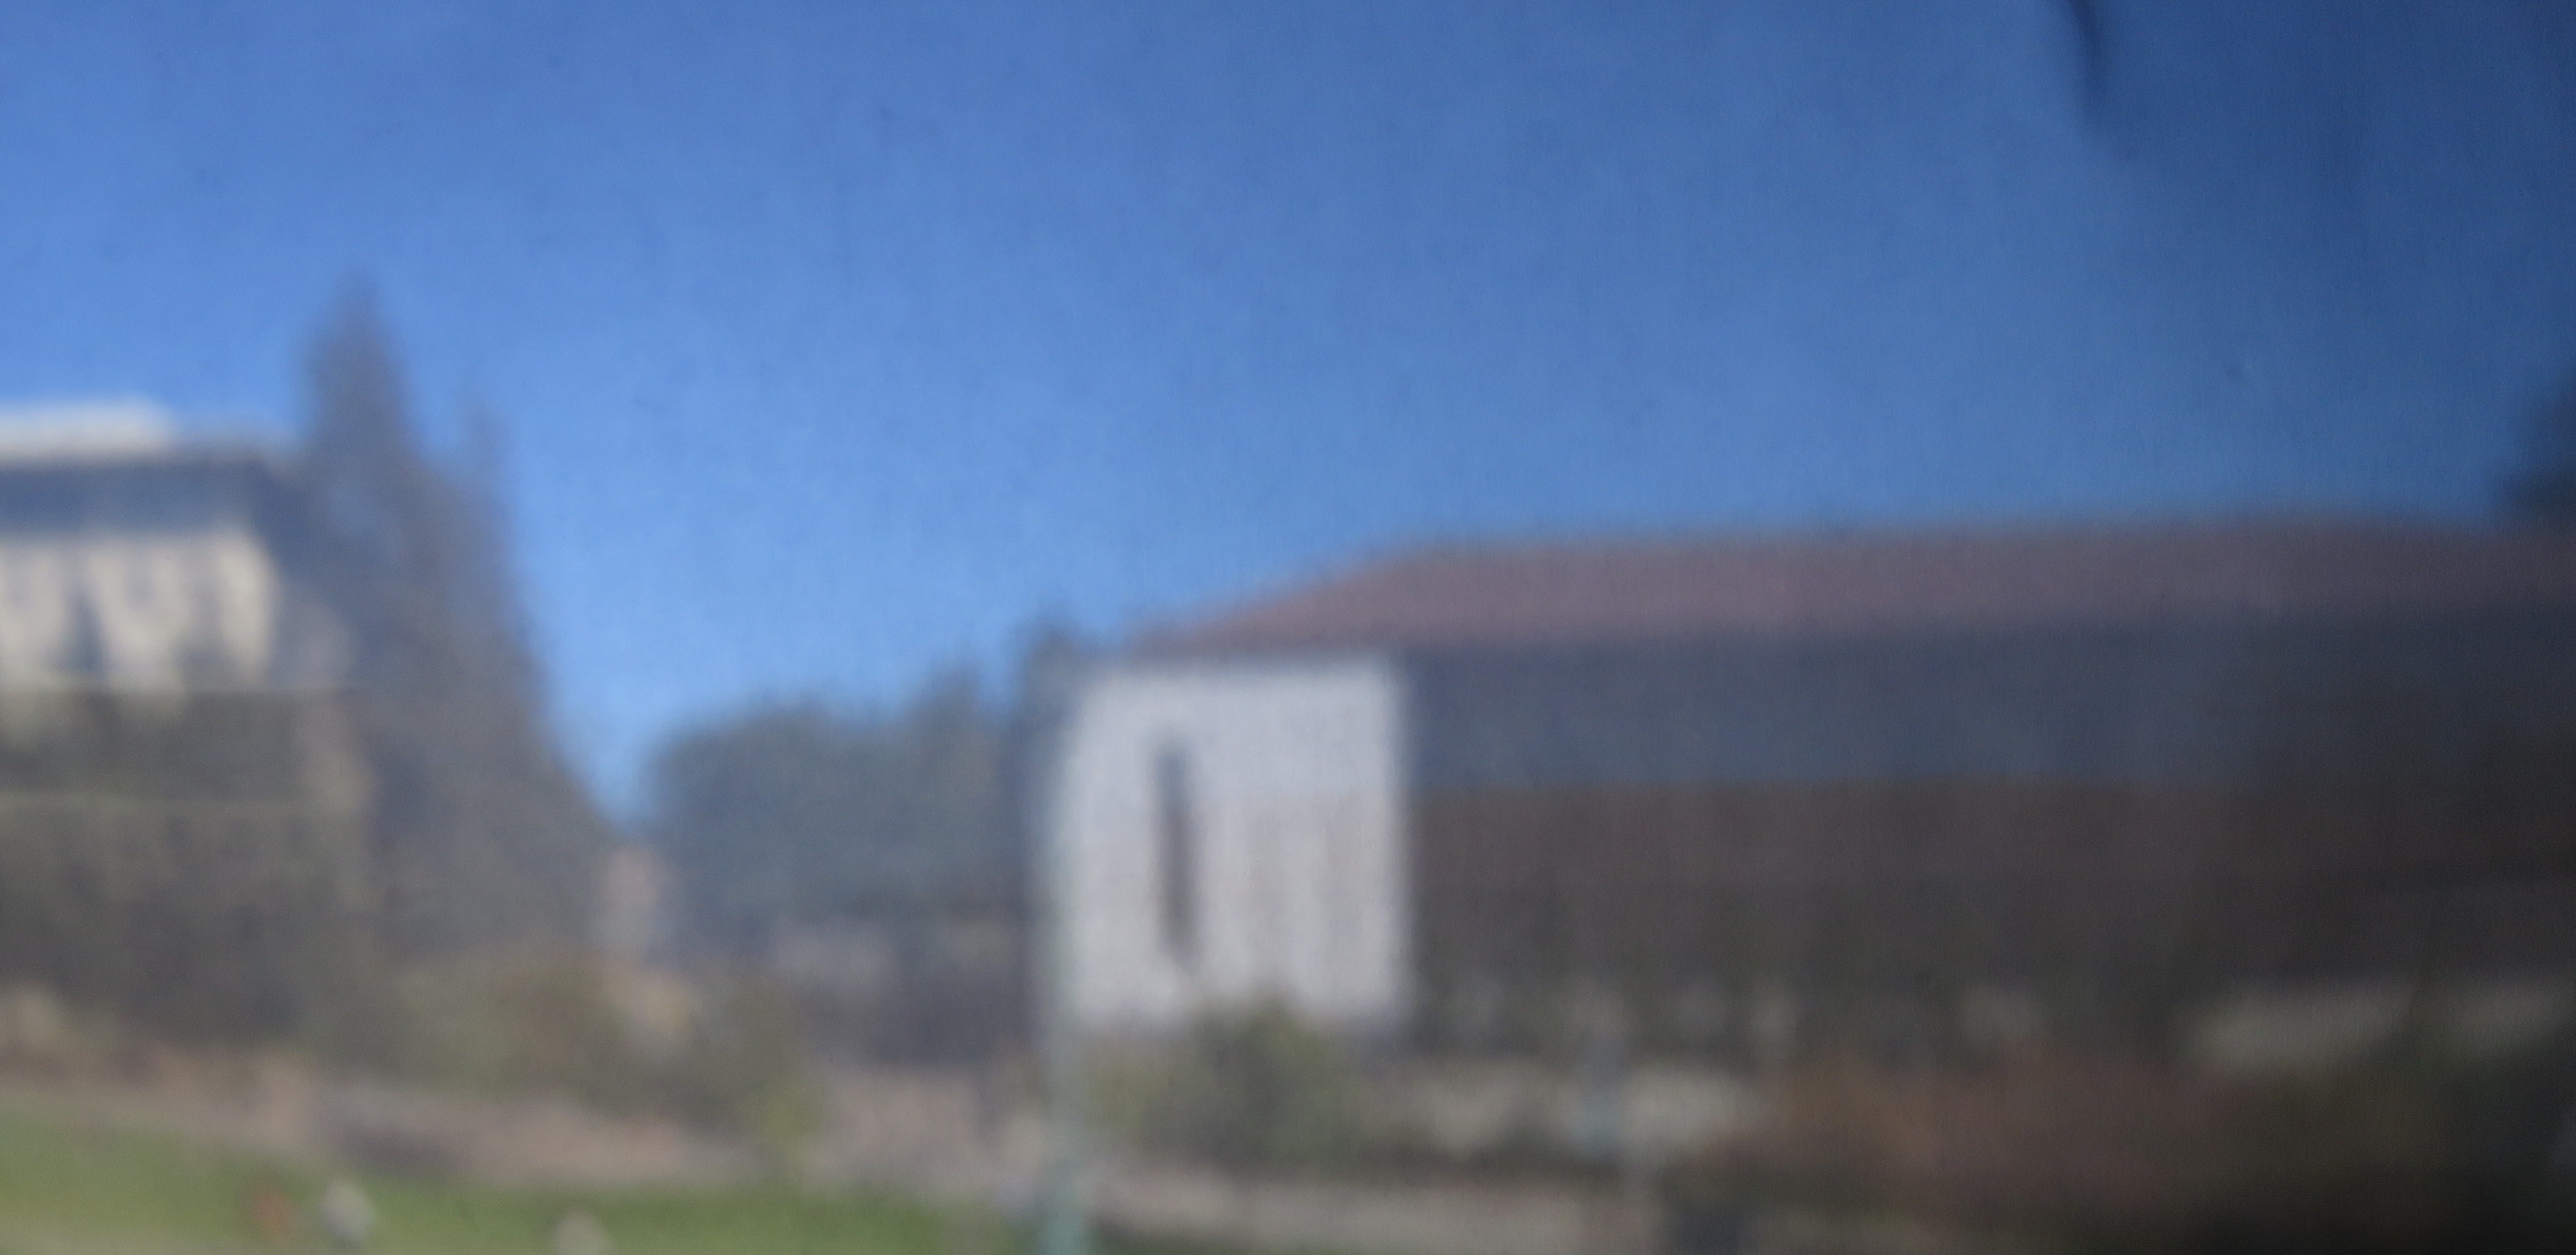
East Asian Libary

1 mm Hole

1 mm Hole, Brightness Increased Afterwards

3 mm Hole
5 mm Hole
Analysis:
After taking these photos we found that the bigger the hole size, the more light is let it, and therefore the brighter the picture. However, since more light is let in from different angles, the image projected on the shoebox screen is blurrier. Therefore, we decided our best images were from the 1mm hole, since letting in less light only allowed it to come through in fewer ways, giving a clearer picture.
Extra Images 1mm Hole
Our 1mm hole gave us the best clarity, so we opted to use this hole for some additional images.
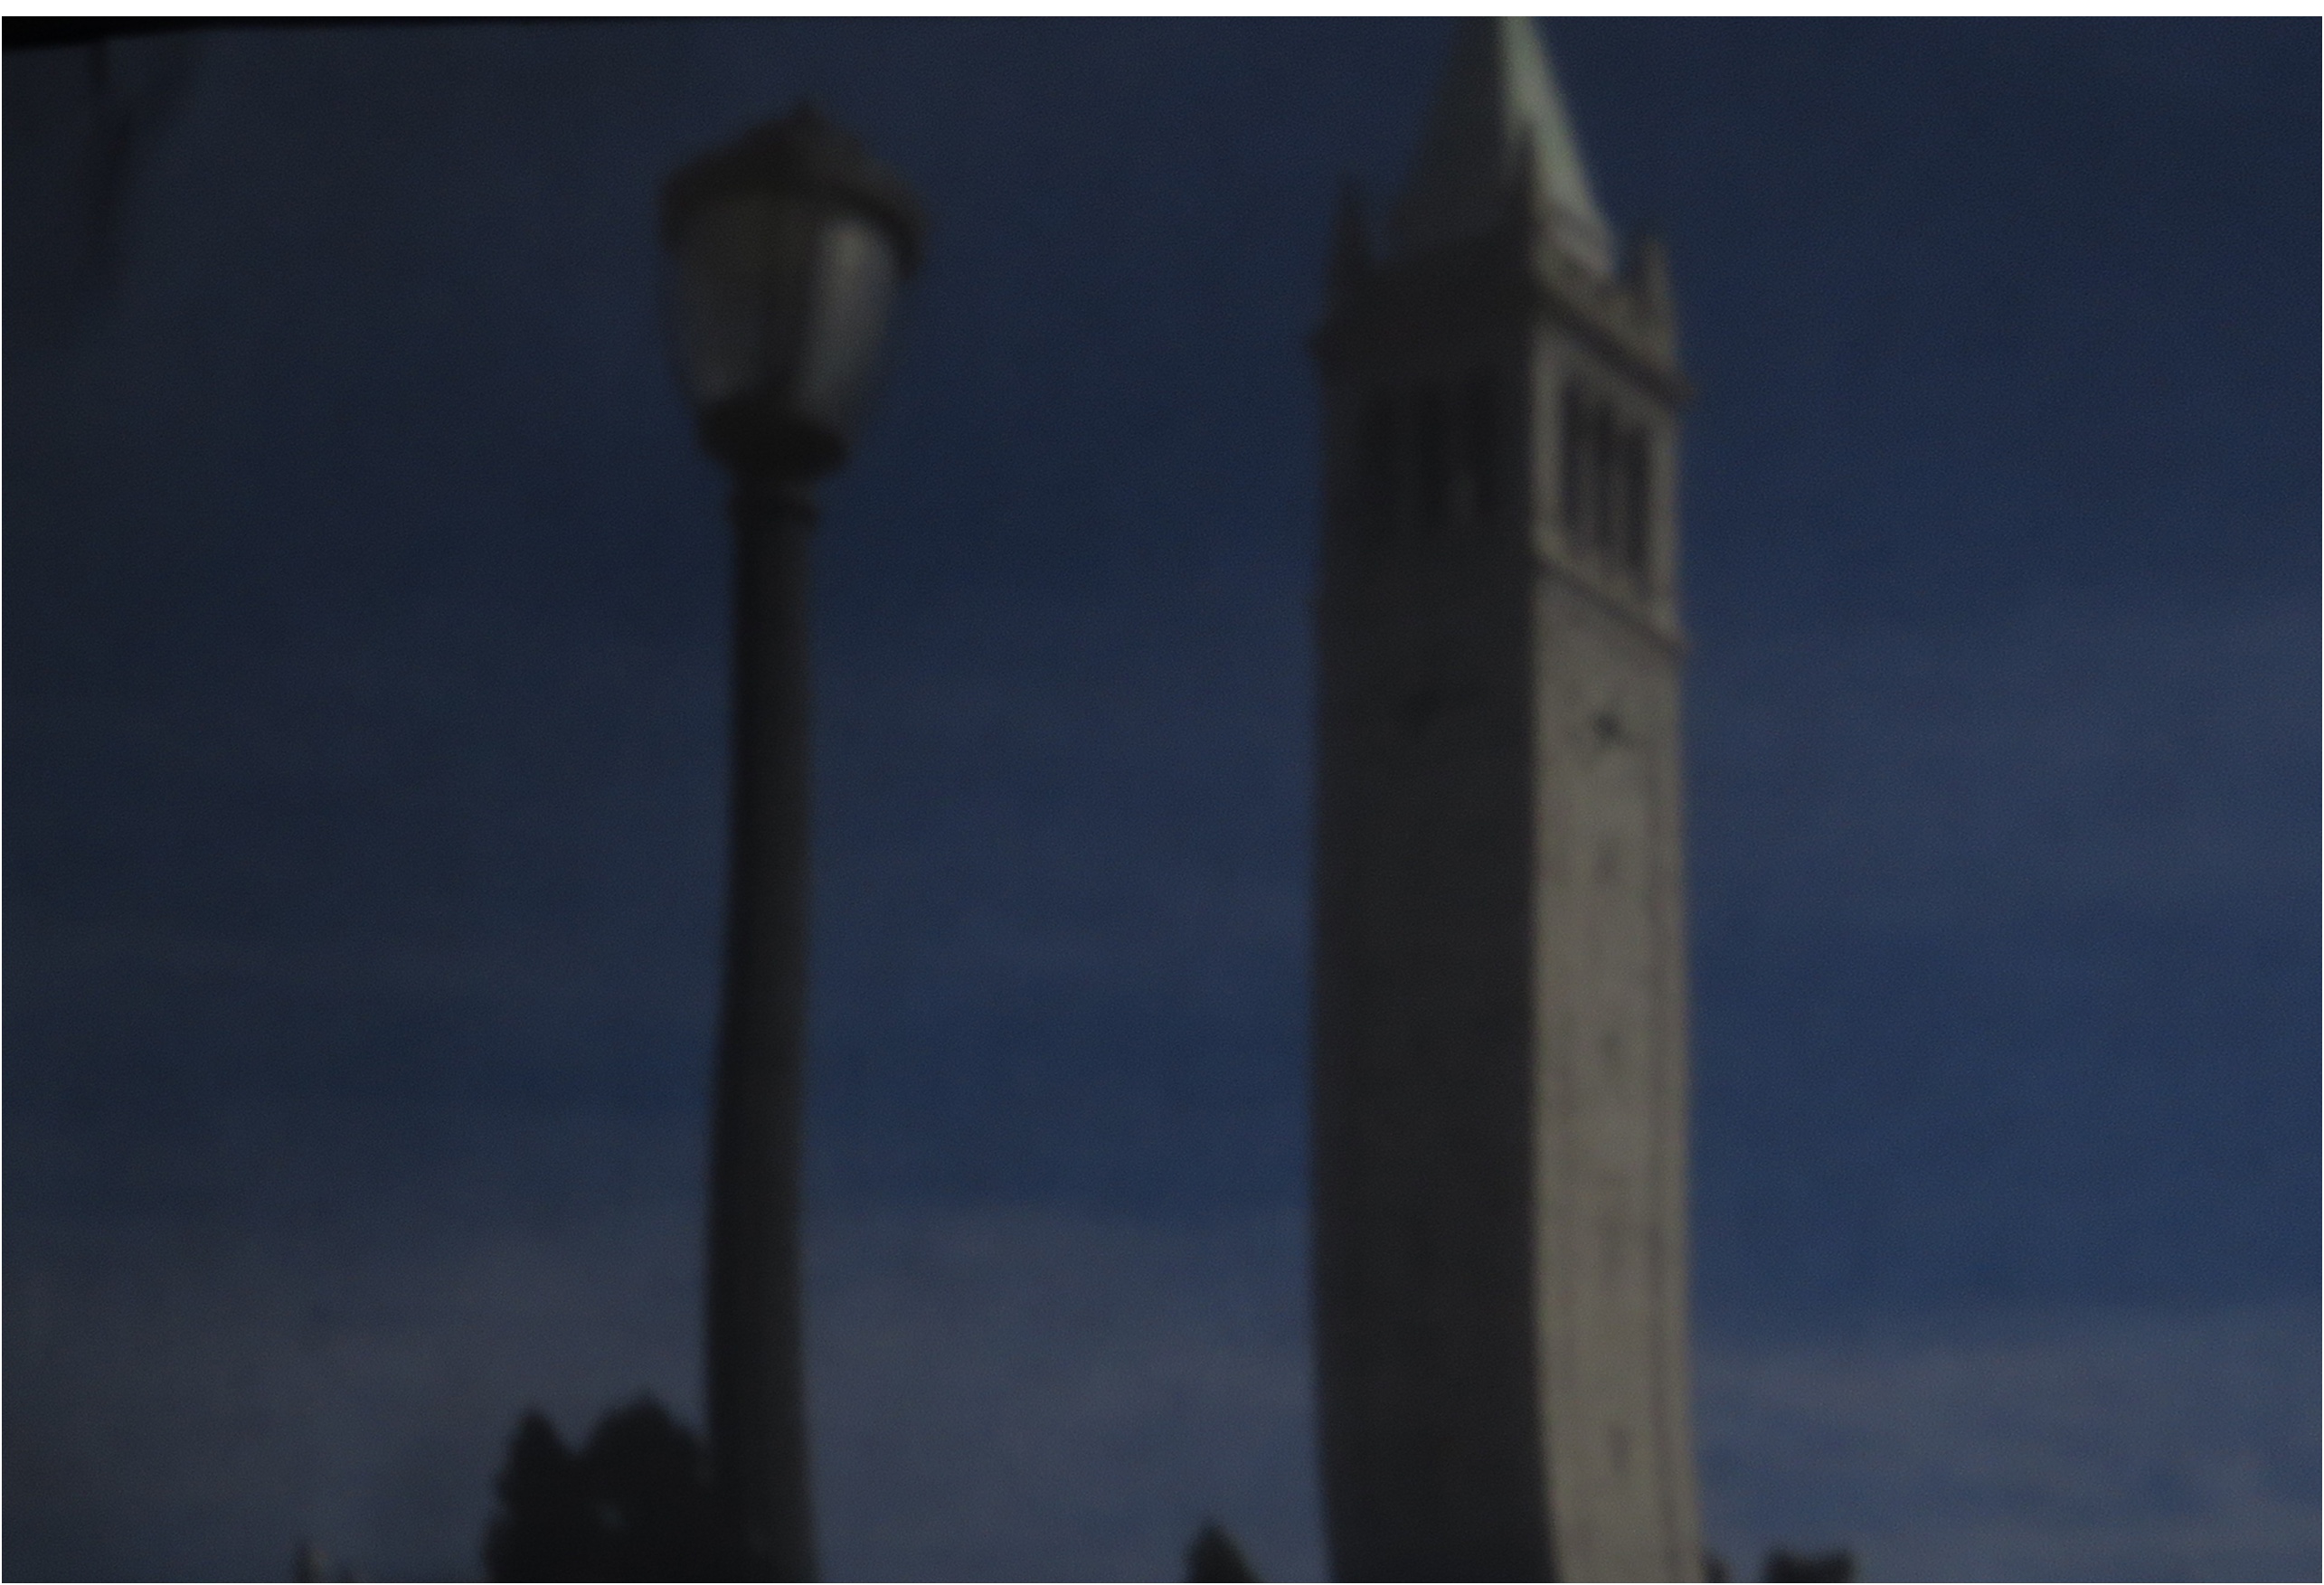
Campanile

Campanile, Brightness Increased
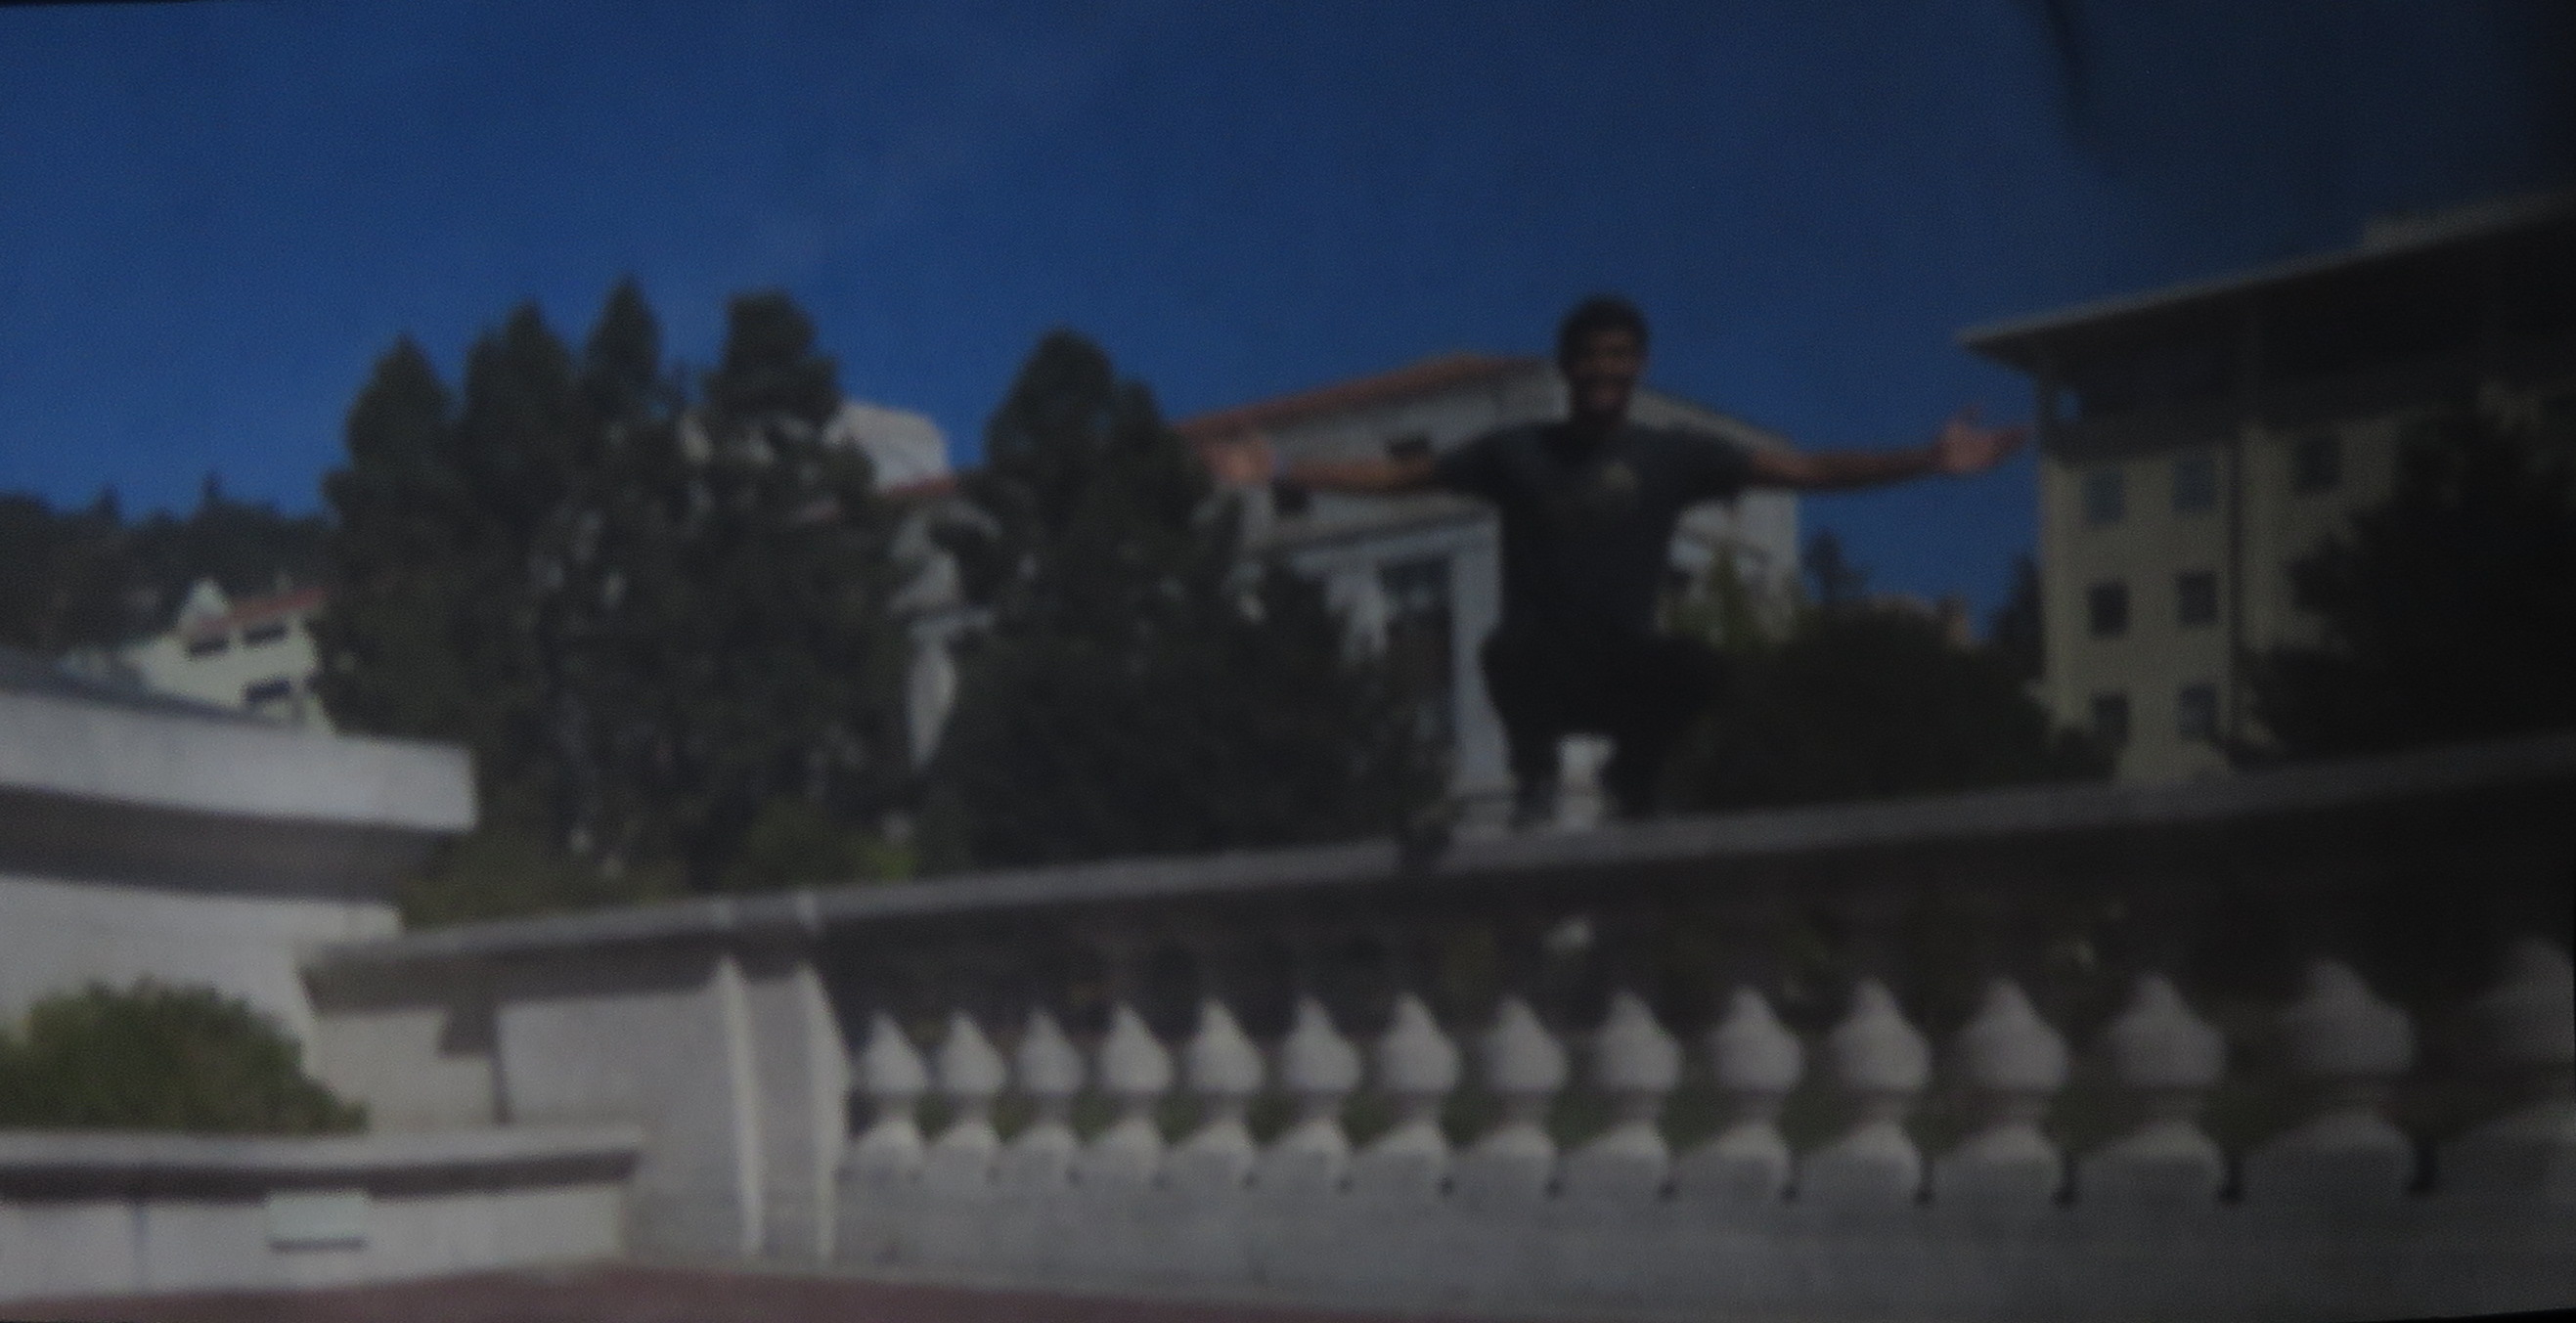
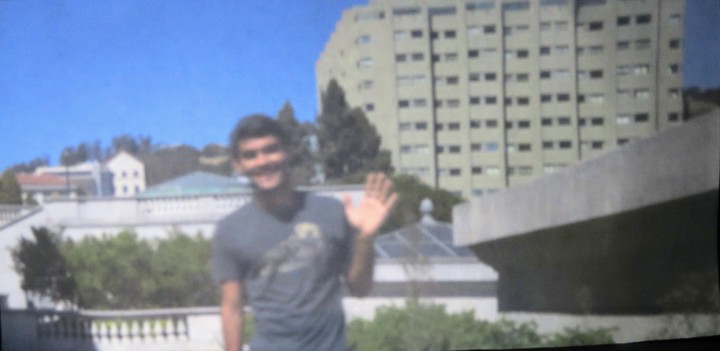
A Nice Guy
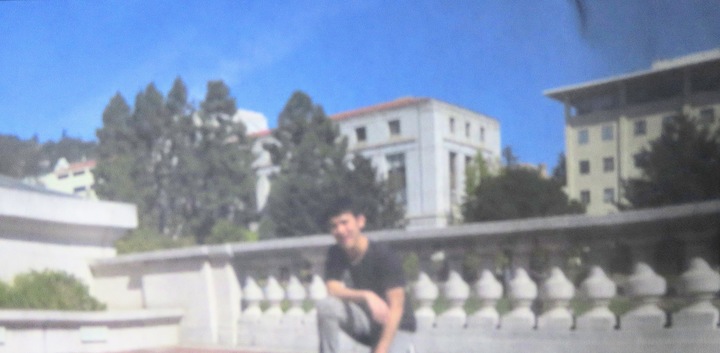
A Nice Guy, Brightness Increased
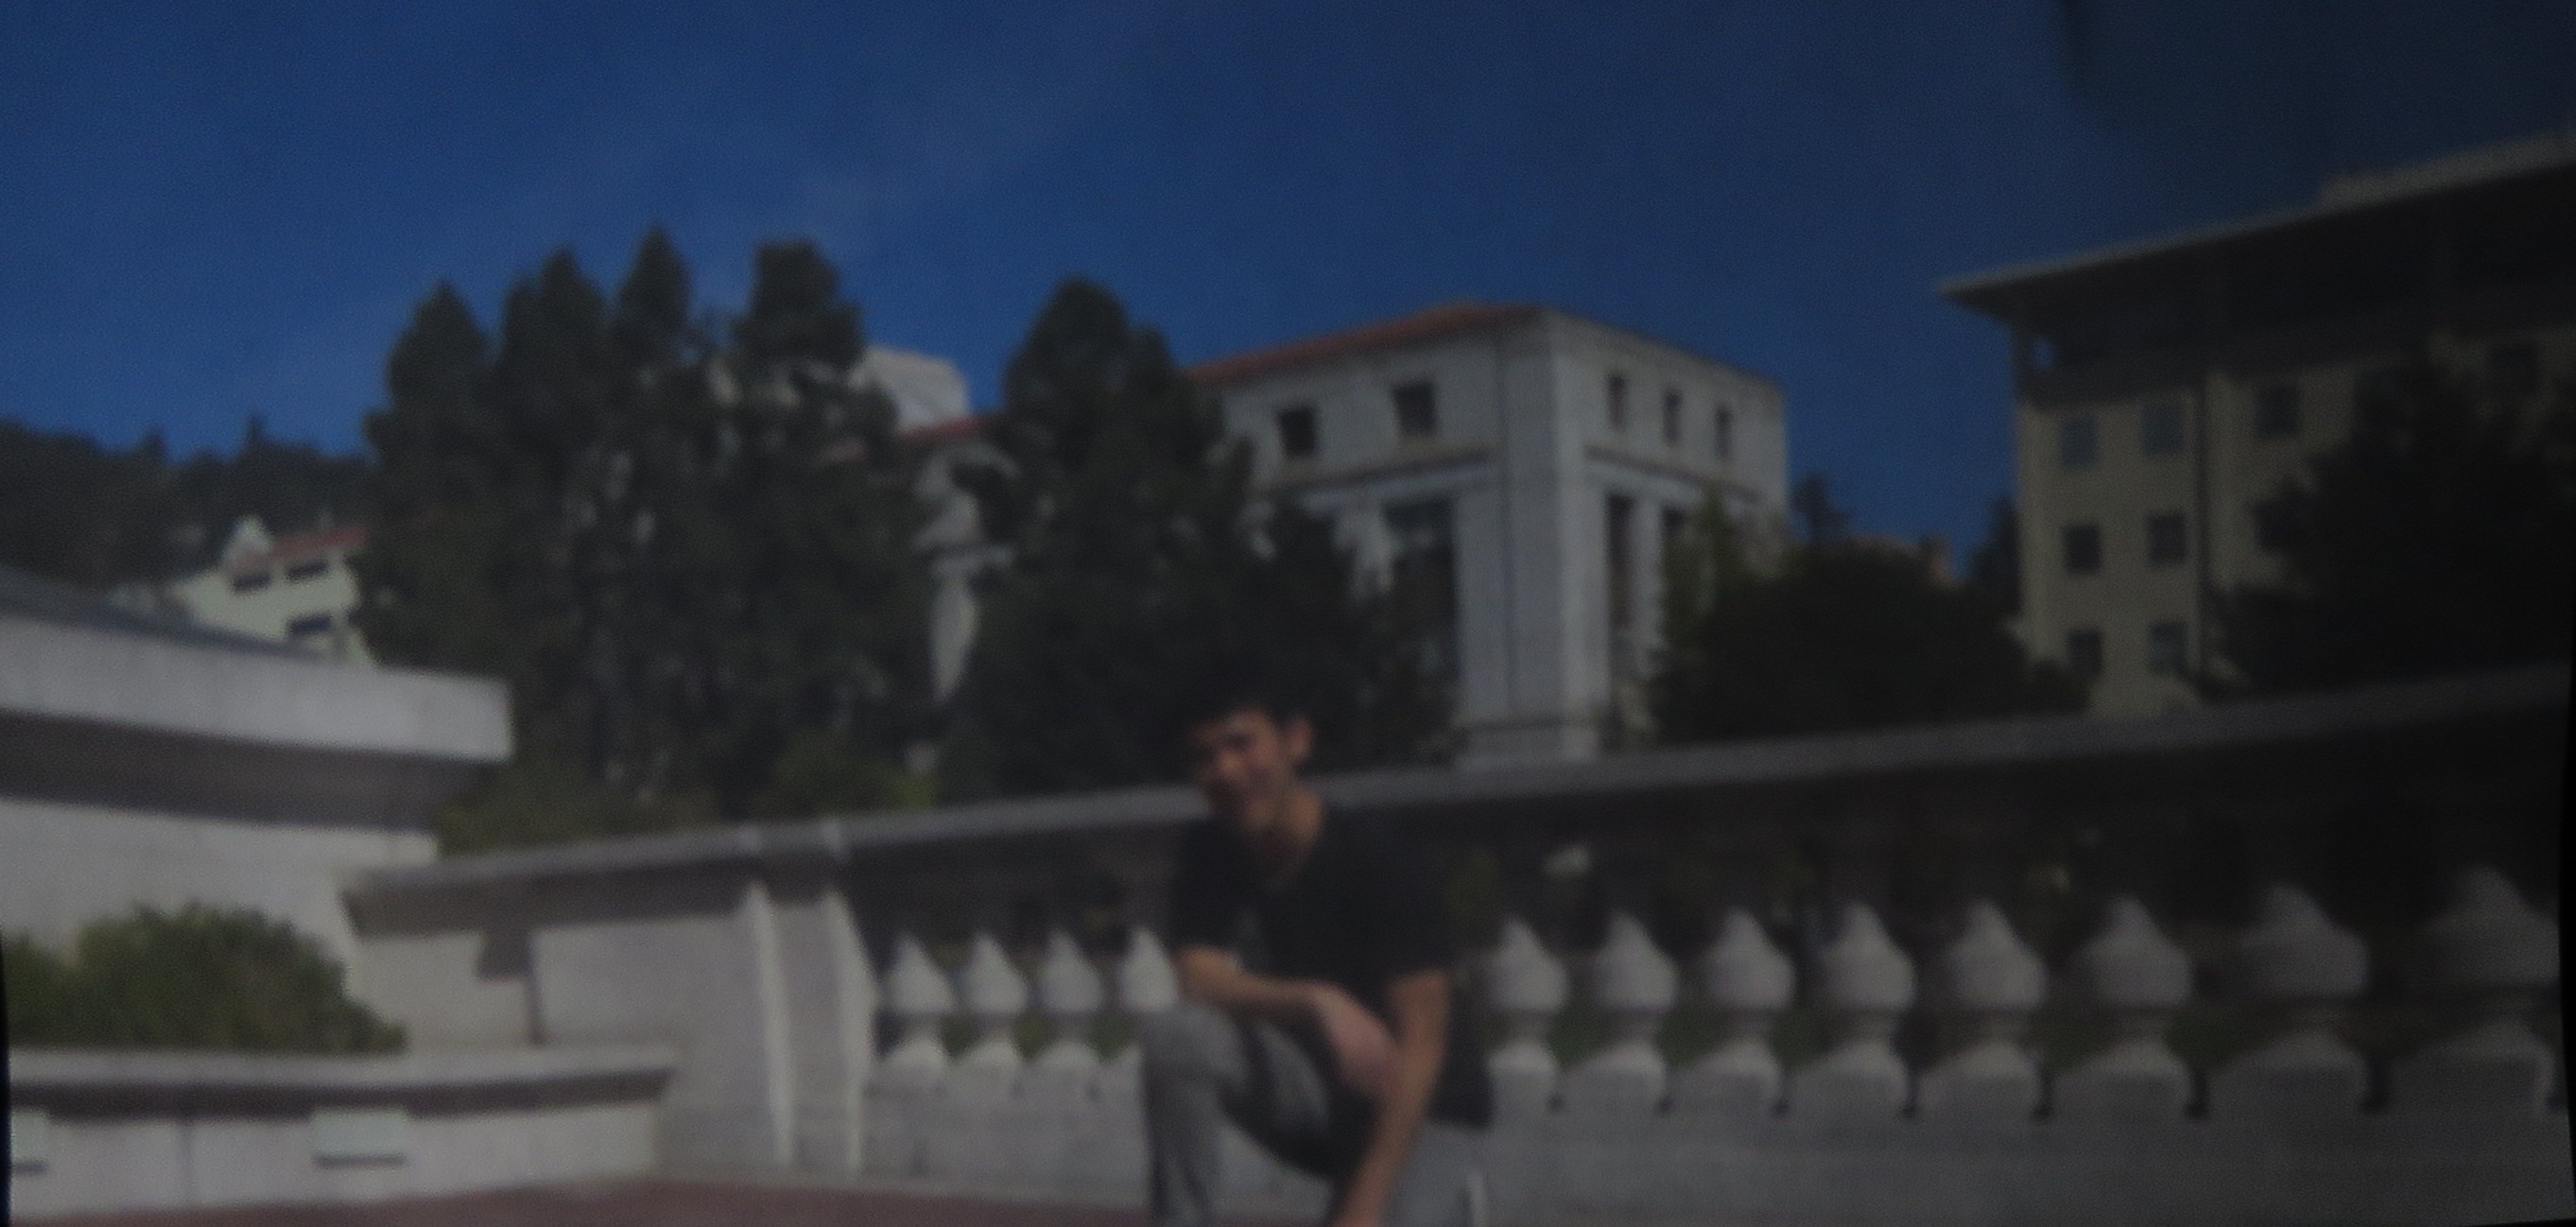
Guy on Ledge
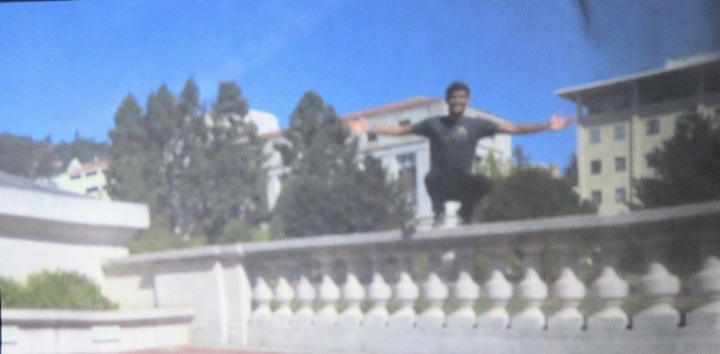
Guy on Ledge, Brightness Increased
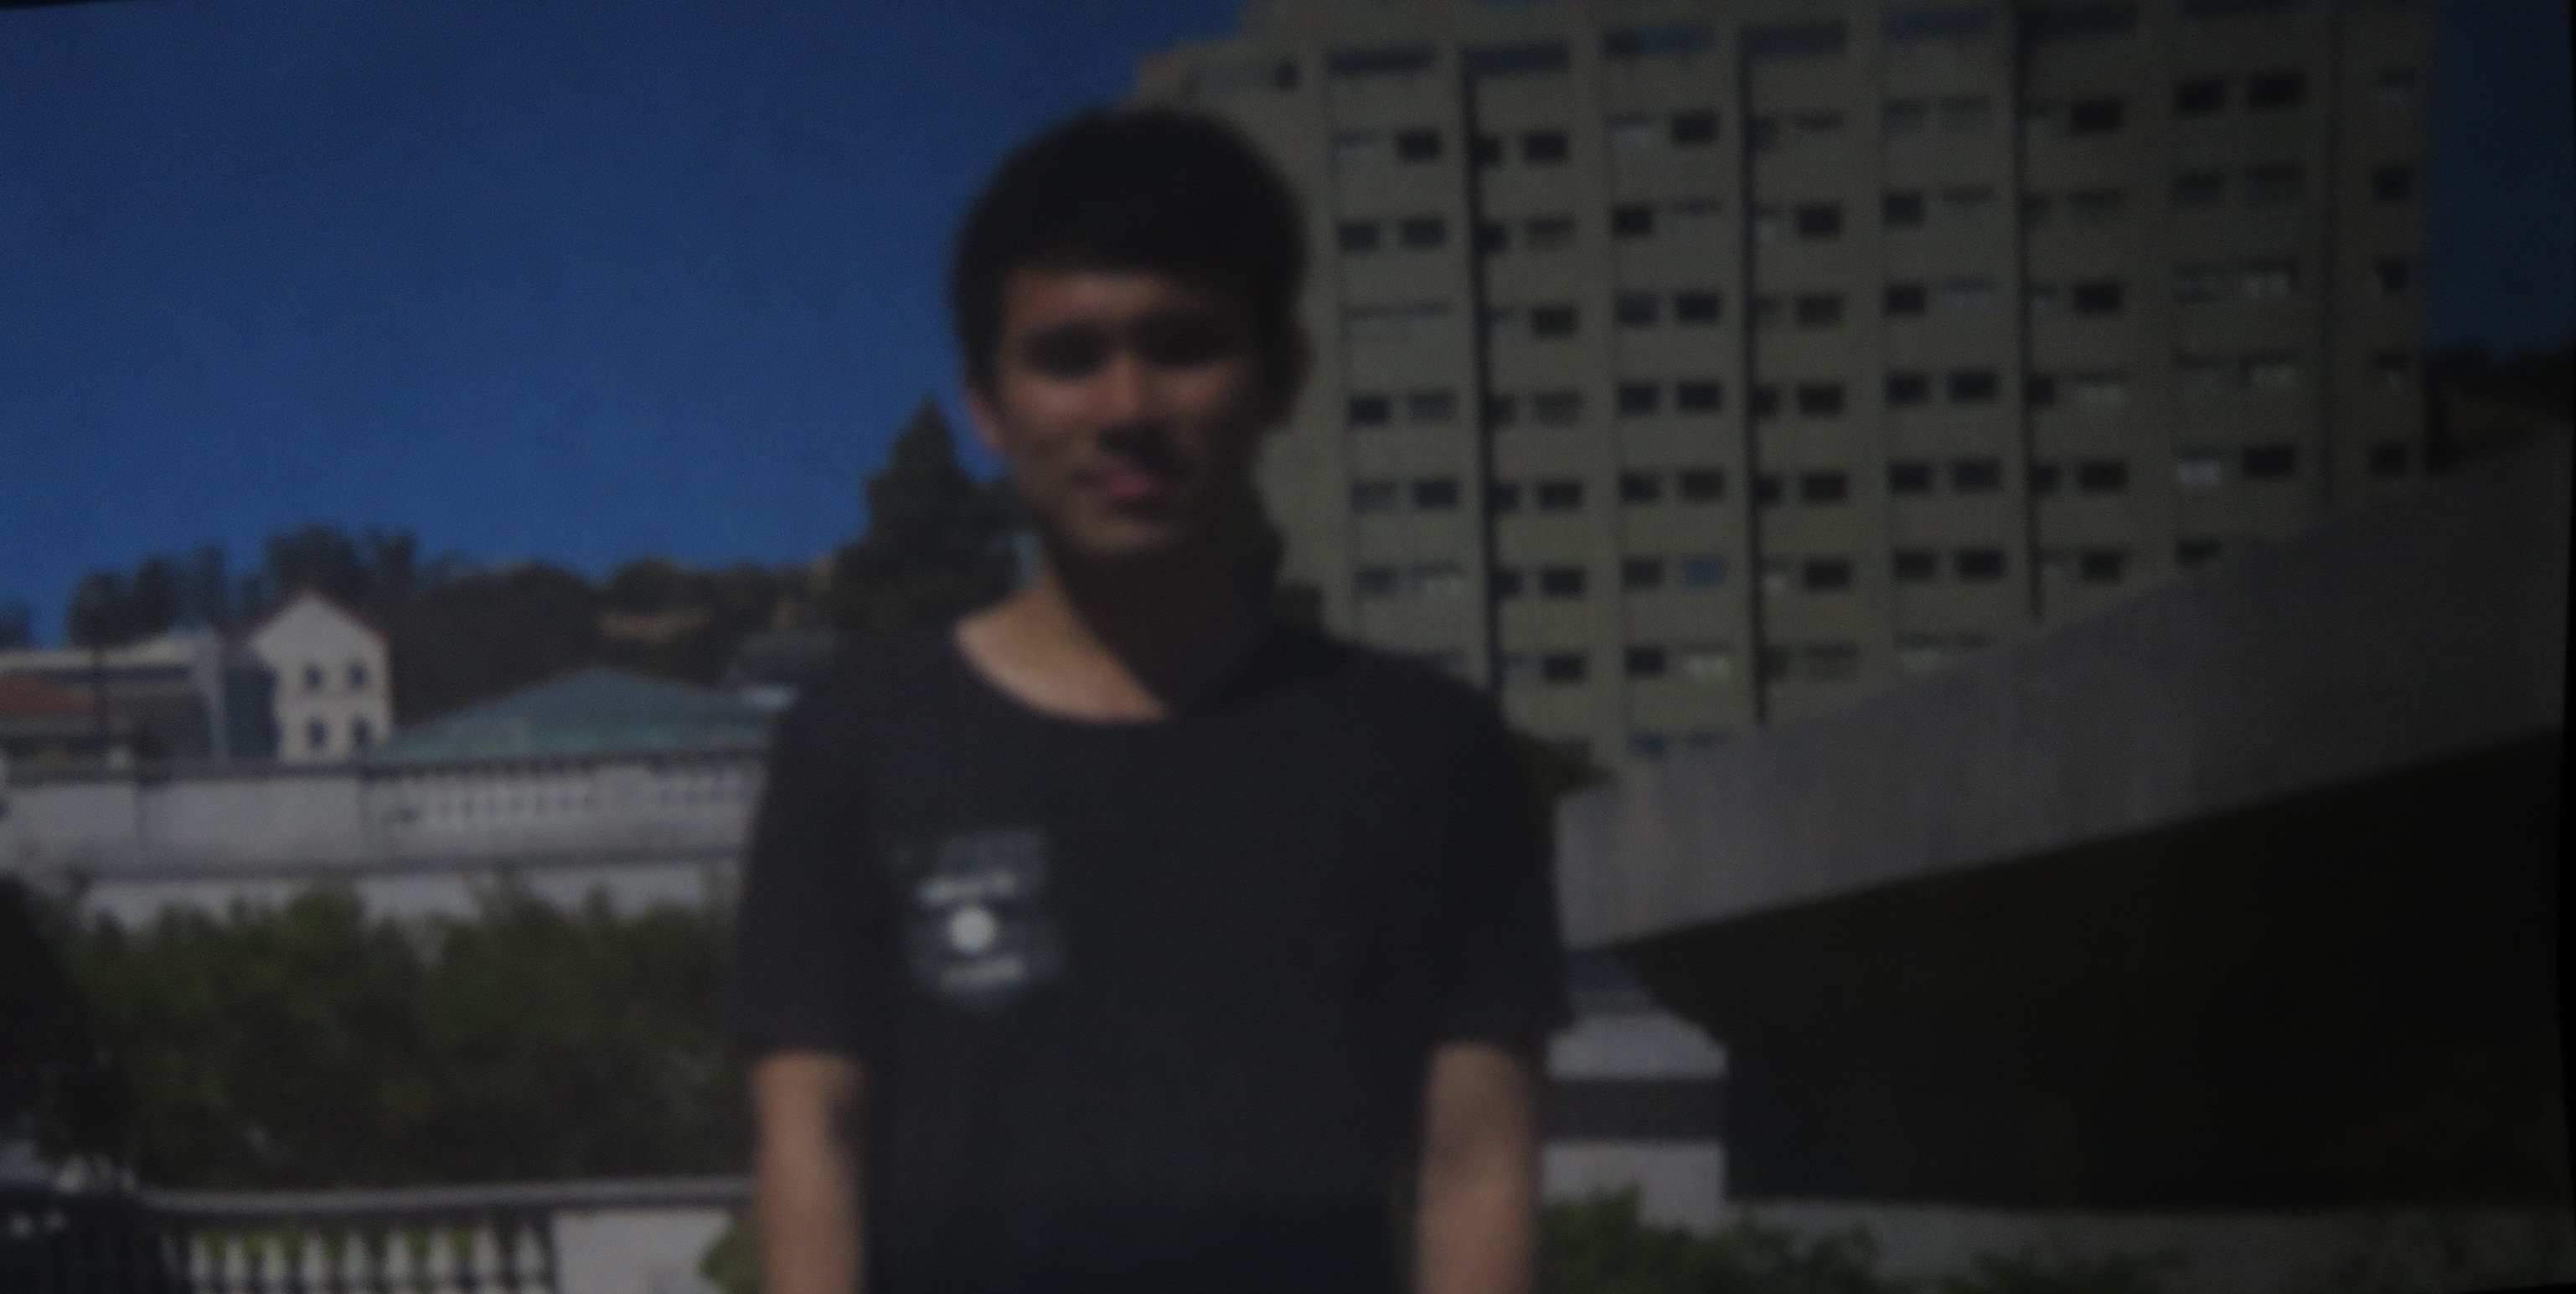
Close Up
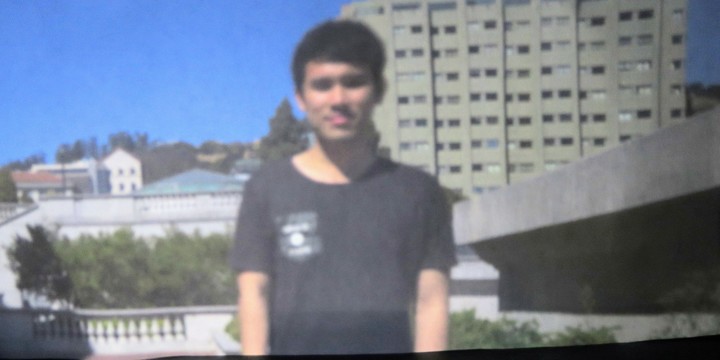
Close Up, Brightness Increased

Not As Close Up
Not As Close Up, Brightness Increased

#Resist Building
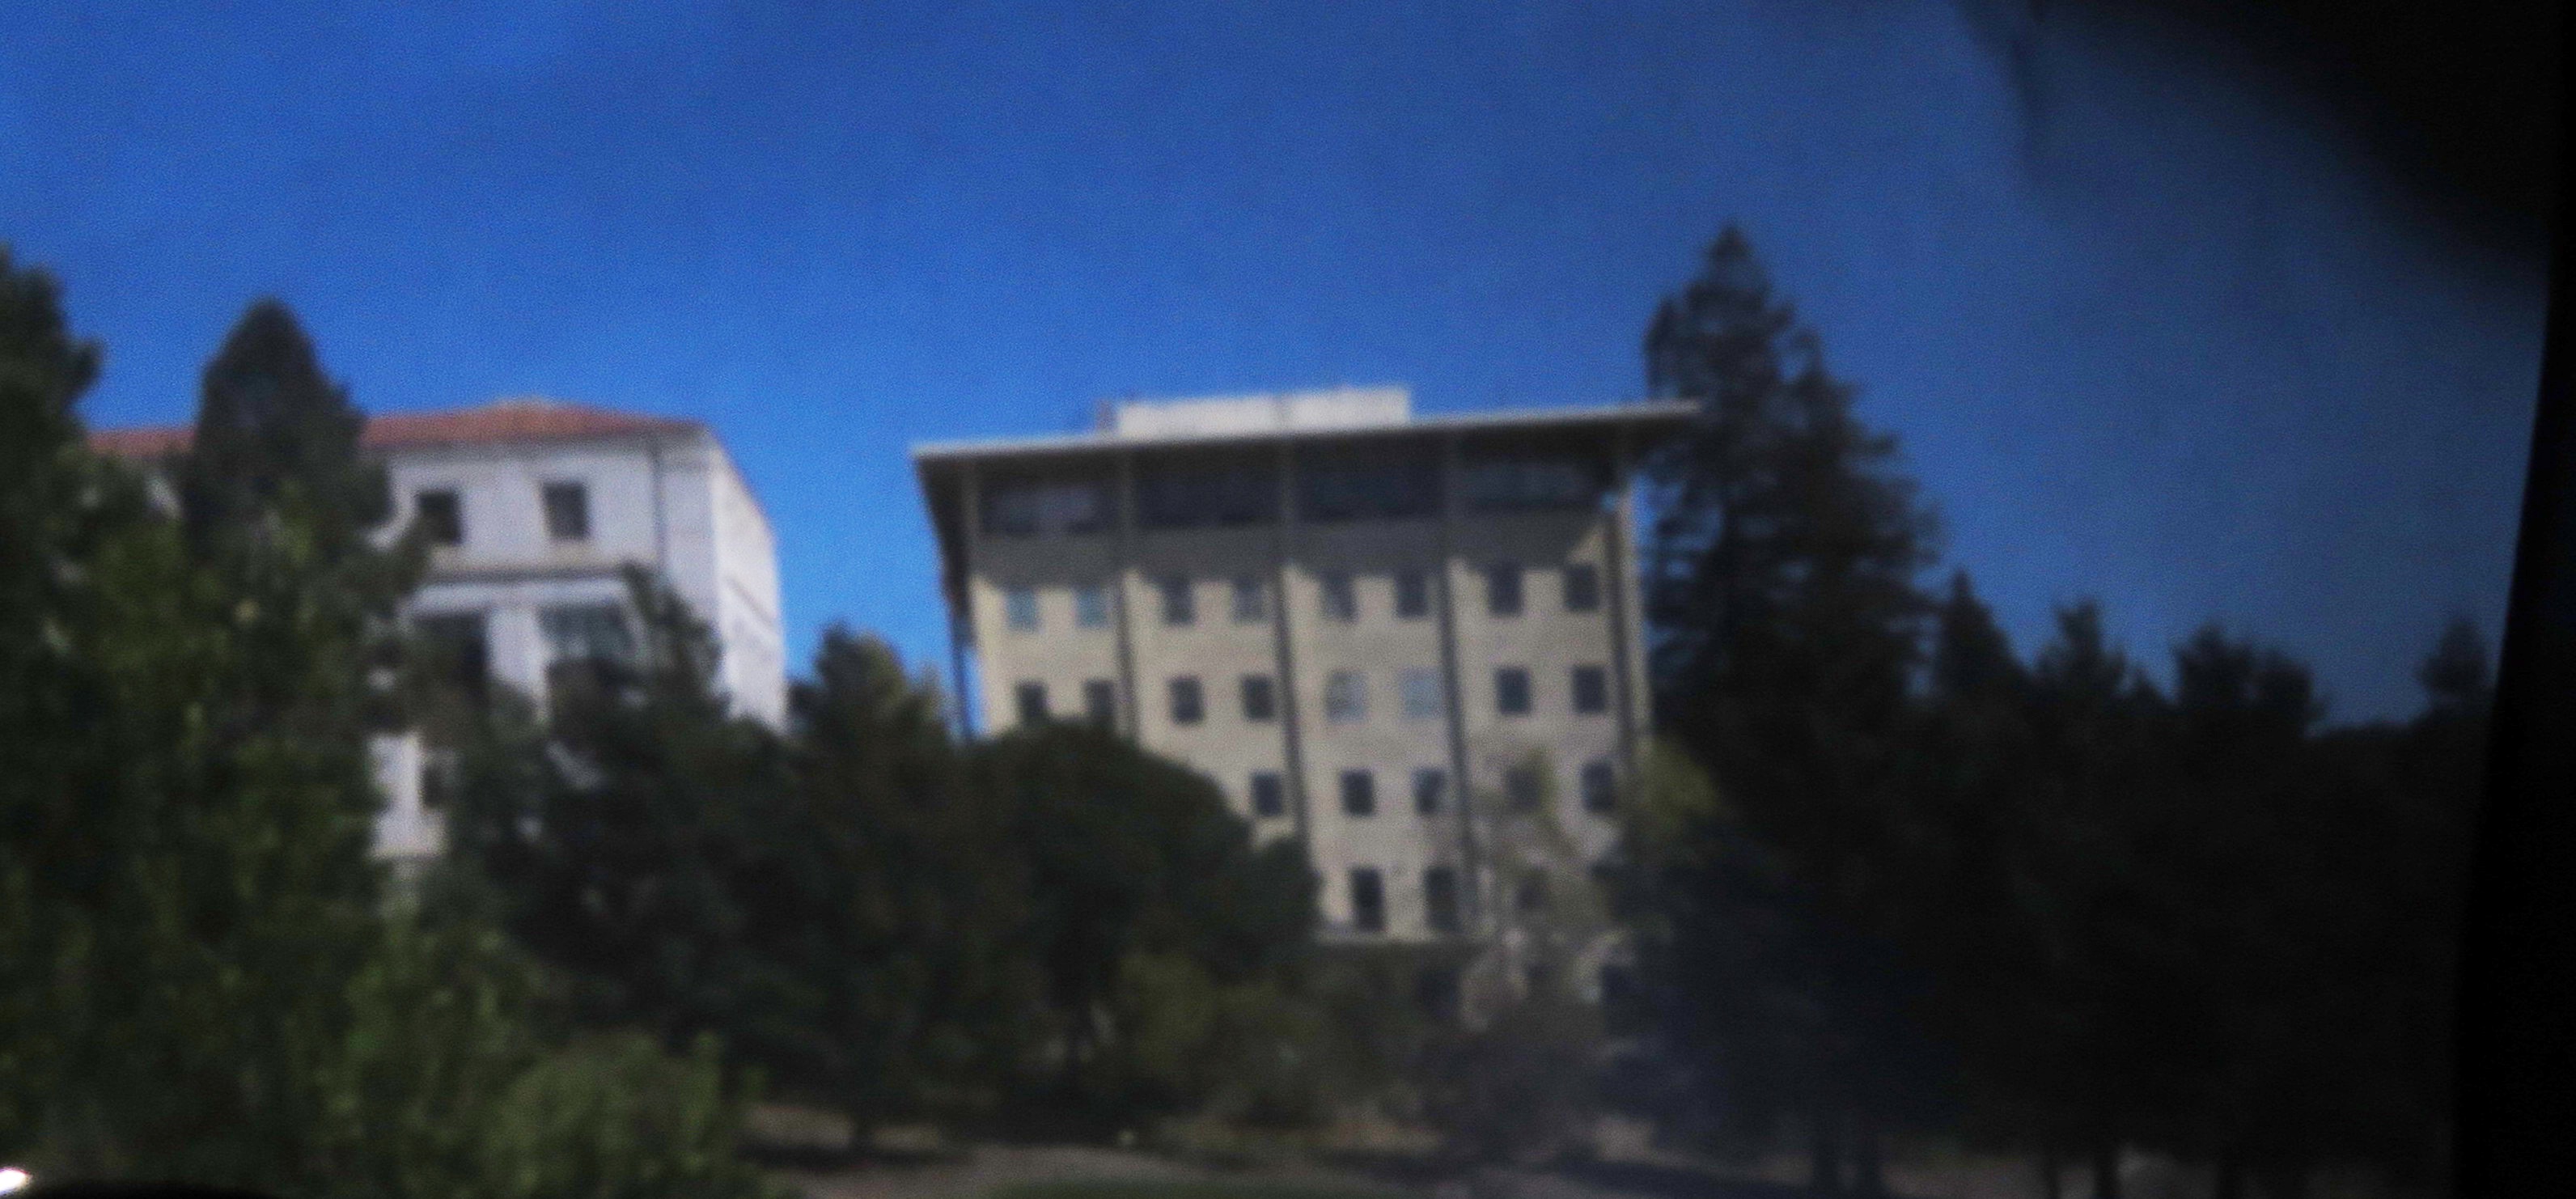
#Resist Building, Brightness Increased
Bells and Whistles
1. Turned closet into camera obscura
Shaan's closet has a single window that can be covered by a blanket and pulled aside to create a small hole for light to come through. This allowed the image of the outside to be projected onto the inside of the closet door. To capture the image we took a 10 second long exposure with the camera set on the window sill. See pictures here:
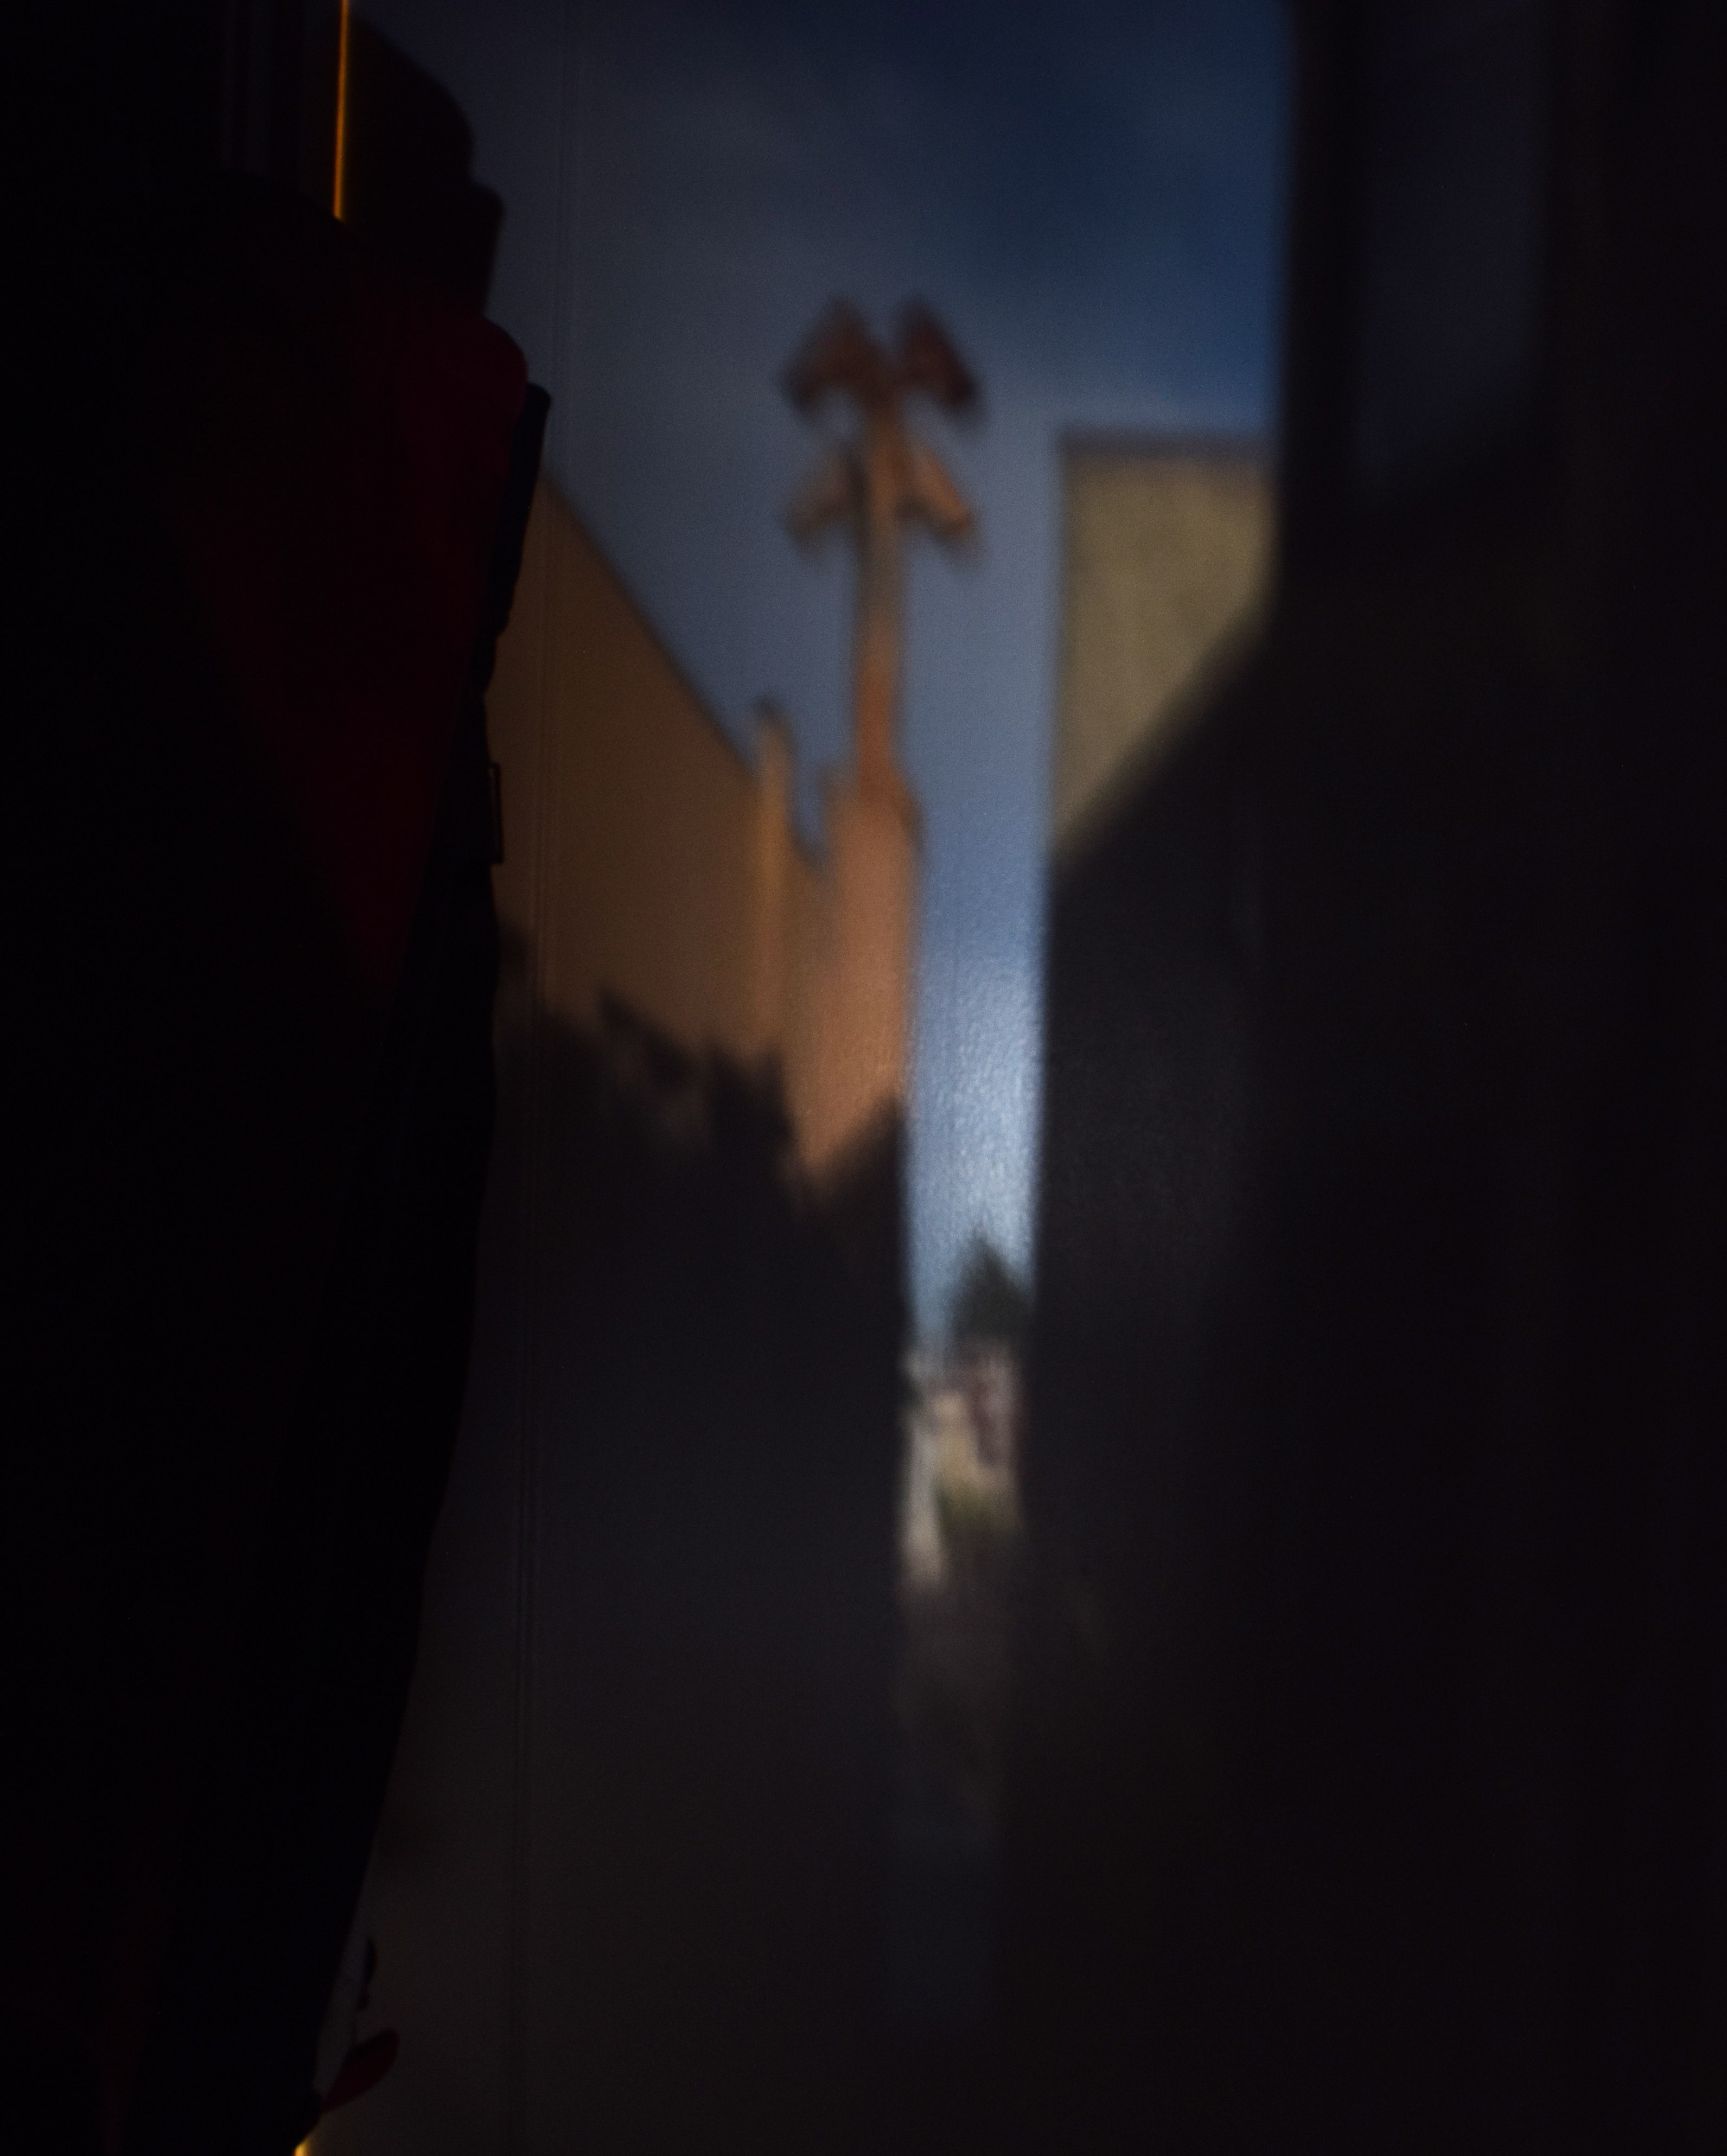
Scene captured on closet door

Actual scene photographed with phone
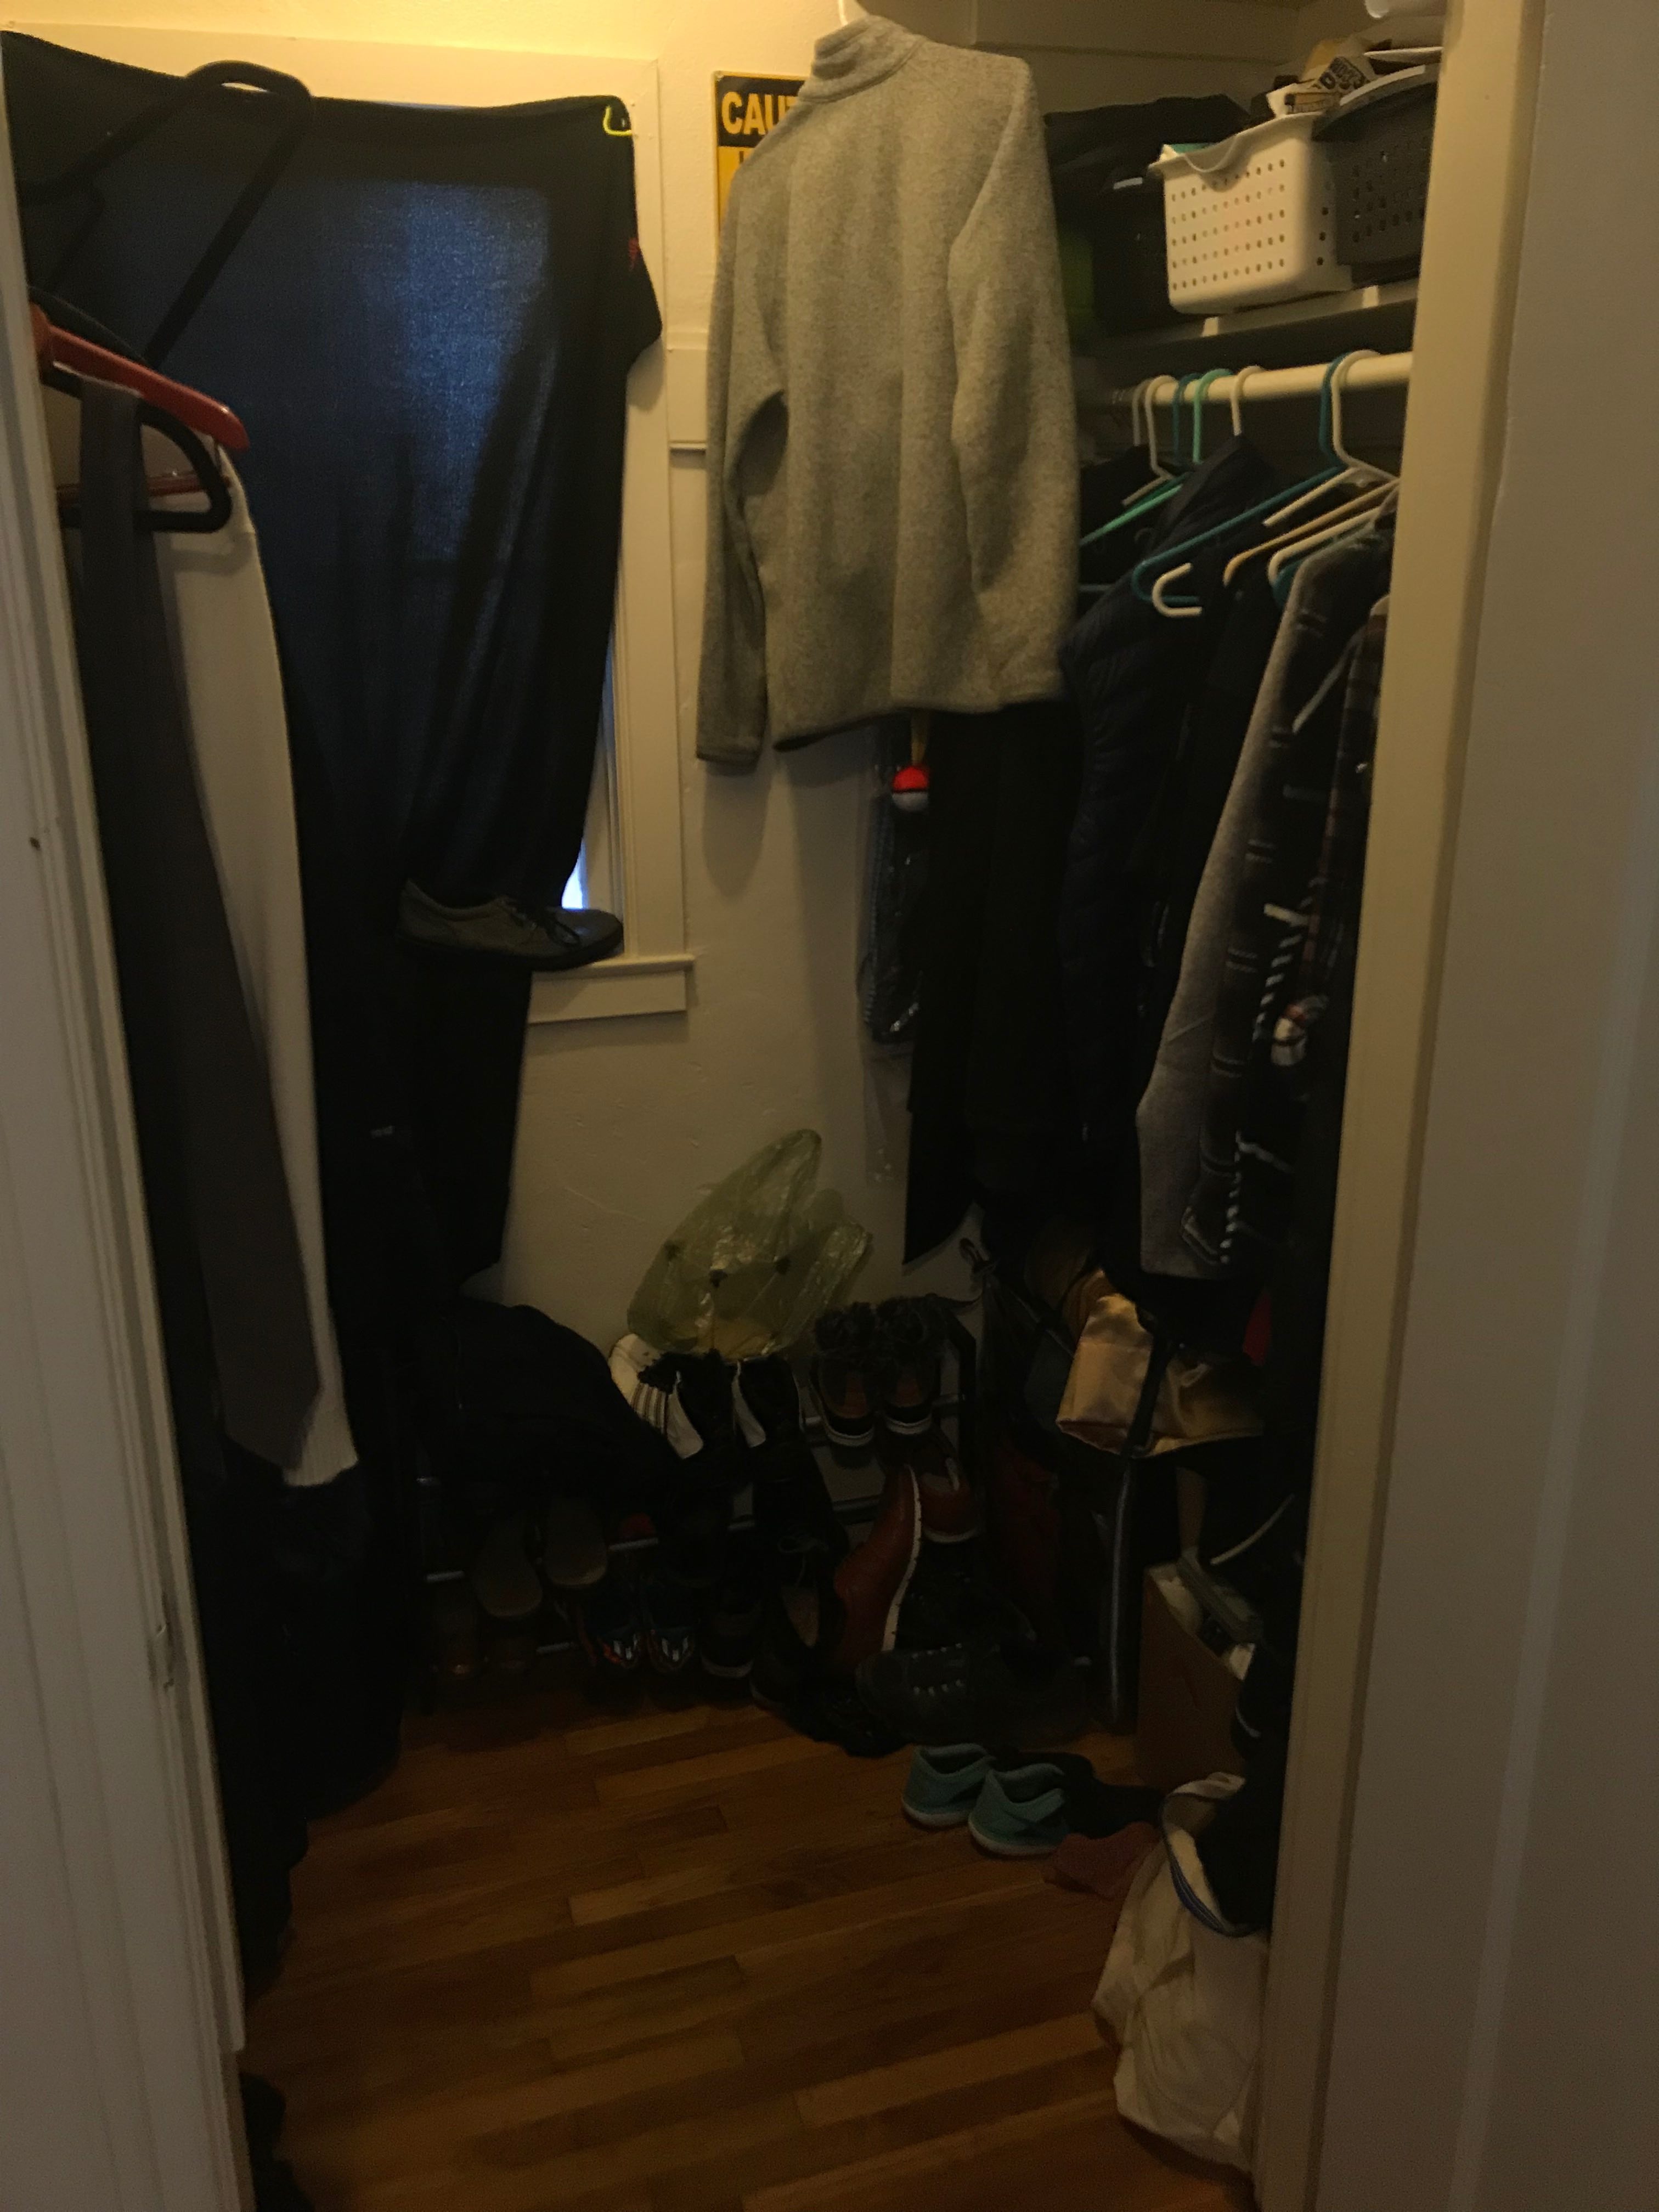
Closet setup
2. Light drawings
We created some light drawings using 15 sec exposures in a dark room with our shoebox! For the light source, we simply used a phone flashlight moving in front of the shoebox. We experimented with two different hole sizes here. For finer lines we used the 3mm hole. For larger liness we used no card, using the hole directly cut out of the shoebox (about 12mm). These drawings ended up having an interesting, smoky look to them.

Circle, 12mm hole
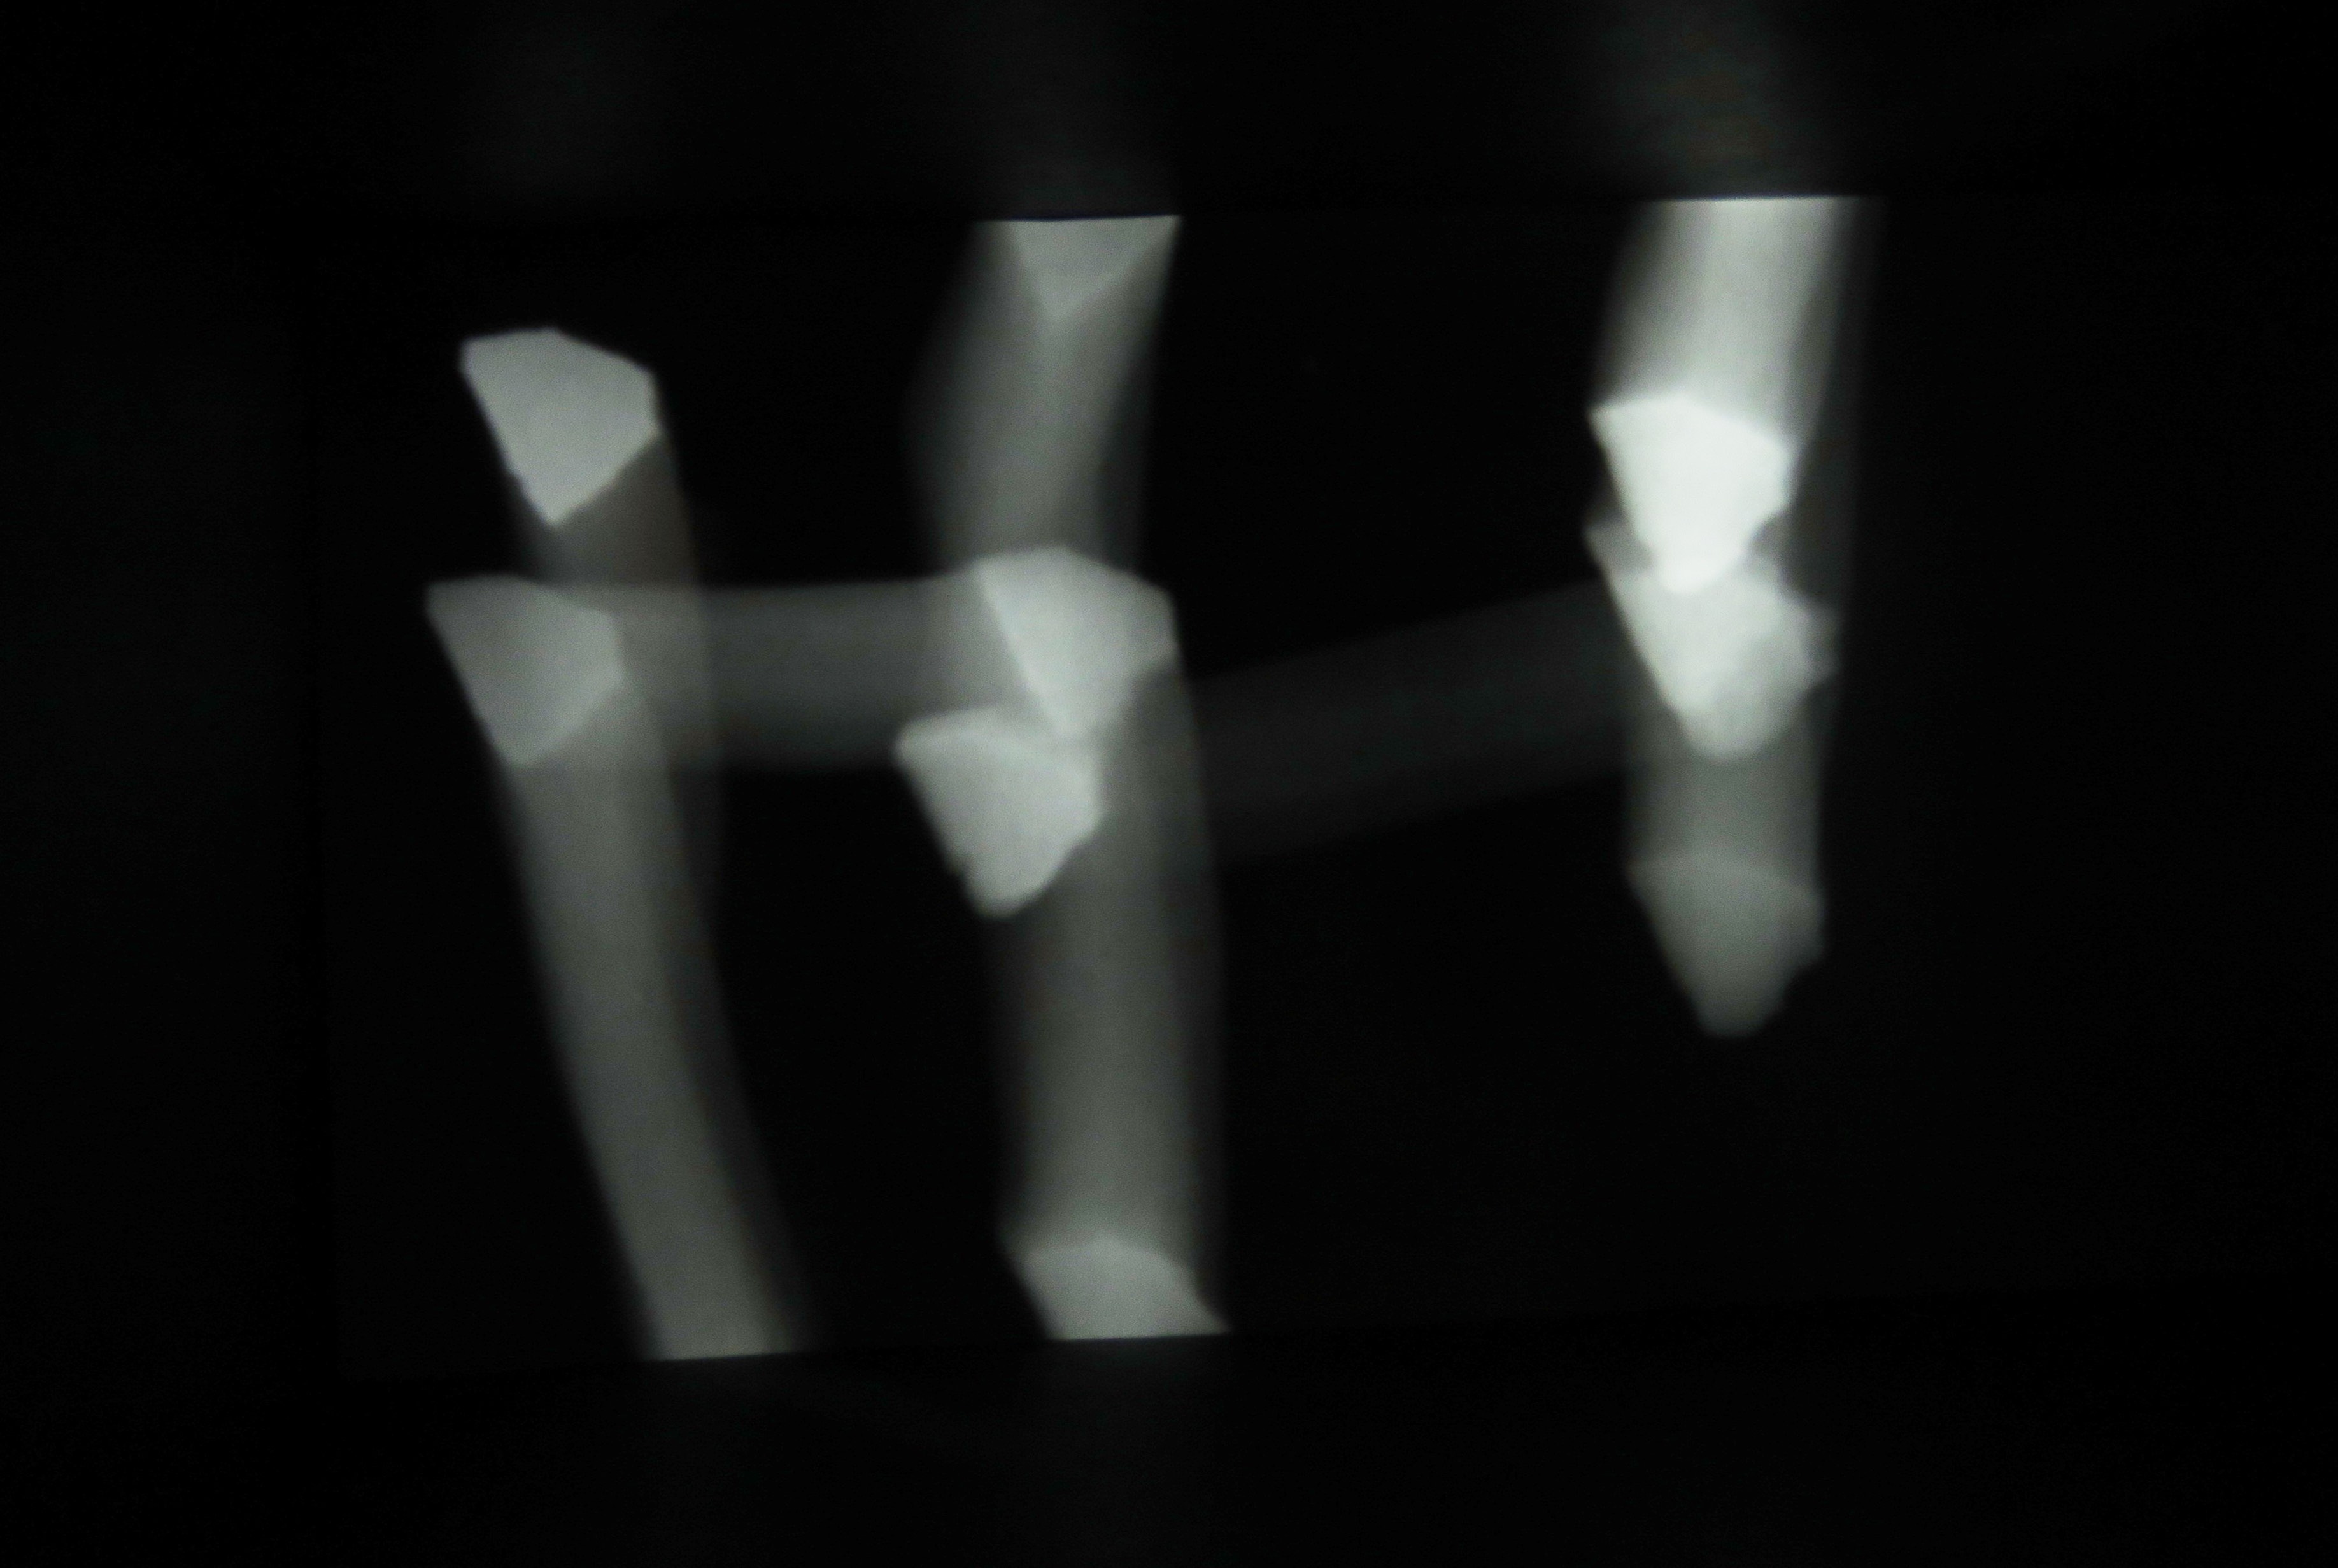
Hi, 12mm hole

Heart, 12mm hole

Hi, 3mm hole

Doodle, 3mm hole