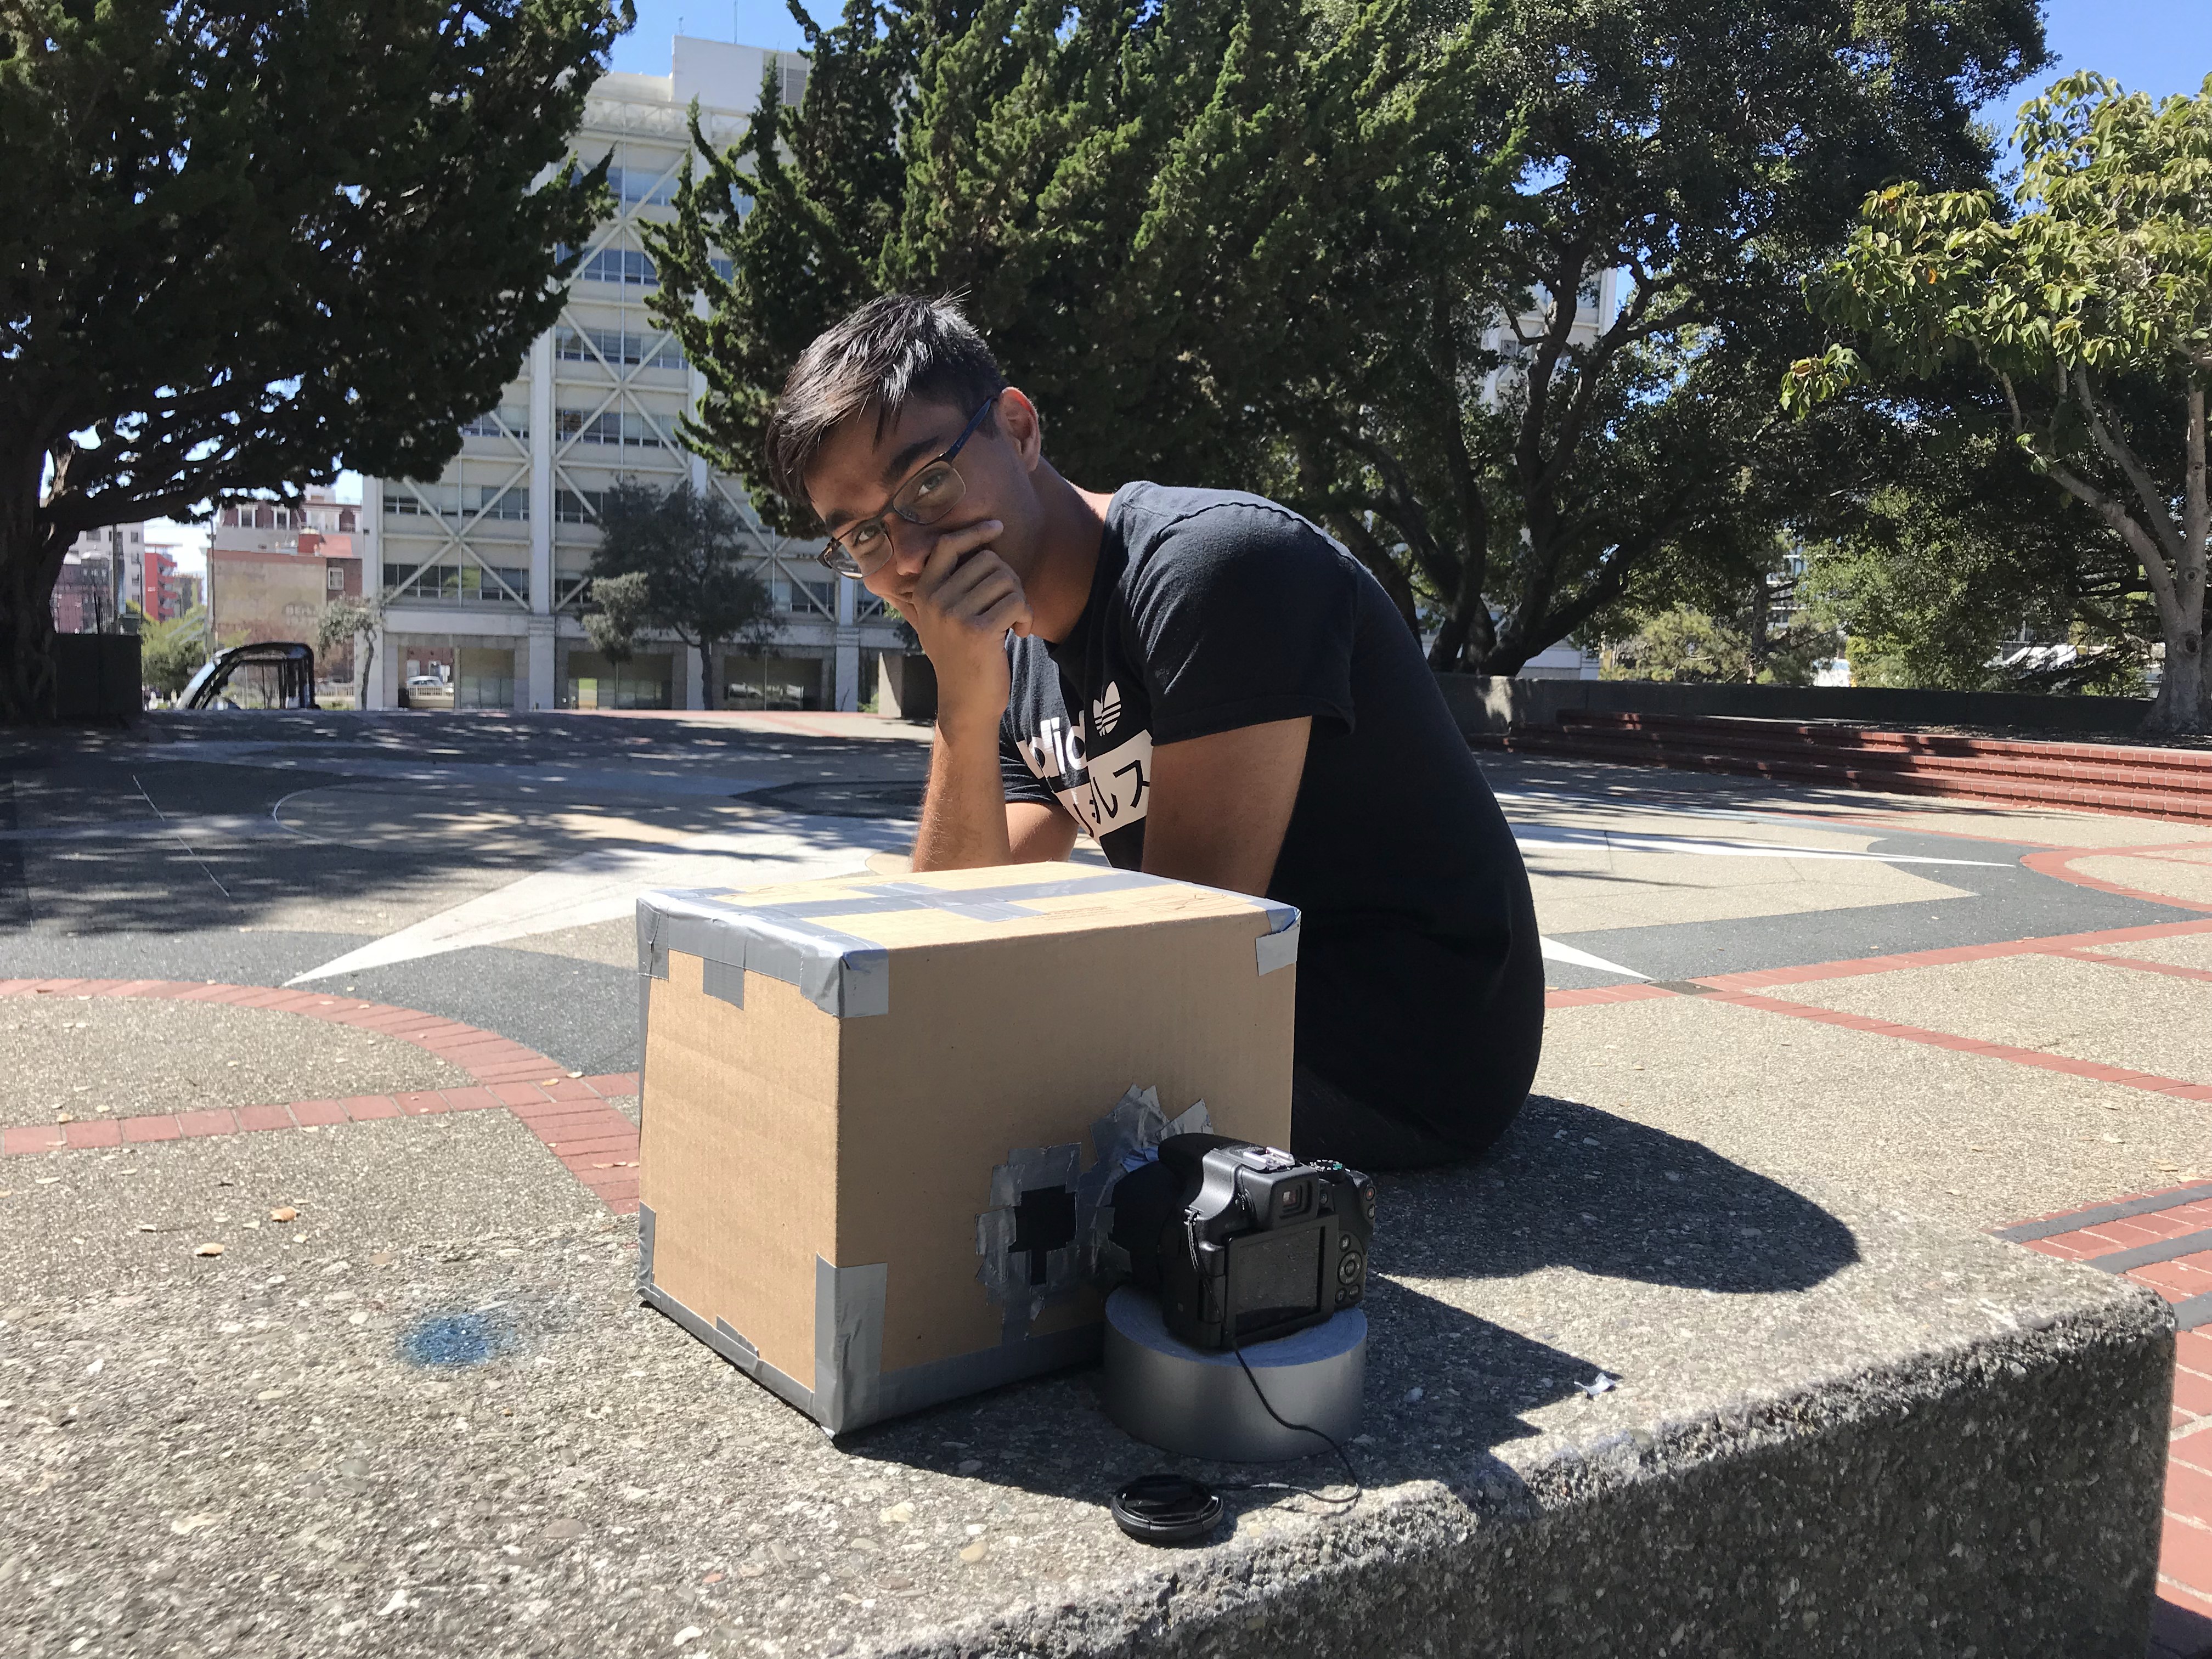
The goal of this project was to create a pinhole camera, otherwise known as a camera obscura. We did this by using a standard size box (12’’ x 9’’ x 9’’), covering one inside face with a screen and the remaining faces with a dark non-reflective material. We then proceeded to poke a pinhole in a small piece of dark paper, attached it to a larger hole in the box, and inserted a camera set to long exposure on the same side. Thus, light was able to pass through the pinhole, reflect off of the screen on the opposing side, and be captured by the long exposure camera shot. As a result of the pinhole method, the camera images we captured were inverted upside down, but the camera obscura we created worked as intended.
We used a Canon Powershot SX60HS with a long exposure of 15 seconds for the following experiments. We used three different pinholes of sizes 0.1 mm (created by piercing a dark paper with a pinhead), 3 mm (created by piercing a dark paper with a pen), and 5 mm (created by piercing a dark paper with a scissor). We created a pocket for the dark paper with the pinhole so we could easily swap between different pinhole sizes. We also had to duct tape a large portion of the box to prevent any sort of external light from entering the environment (that was not coming through the pinhole). This required the most physical debugging but it resulted in a secure environment for taking these photos.
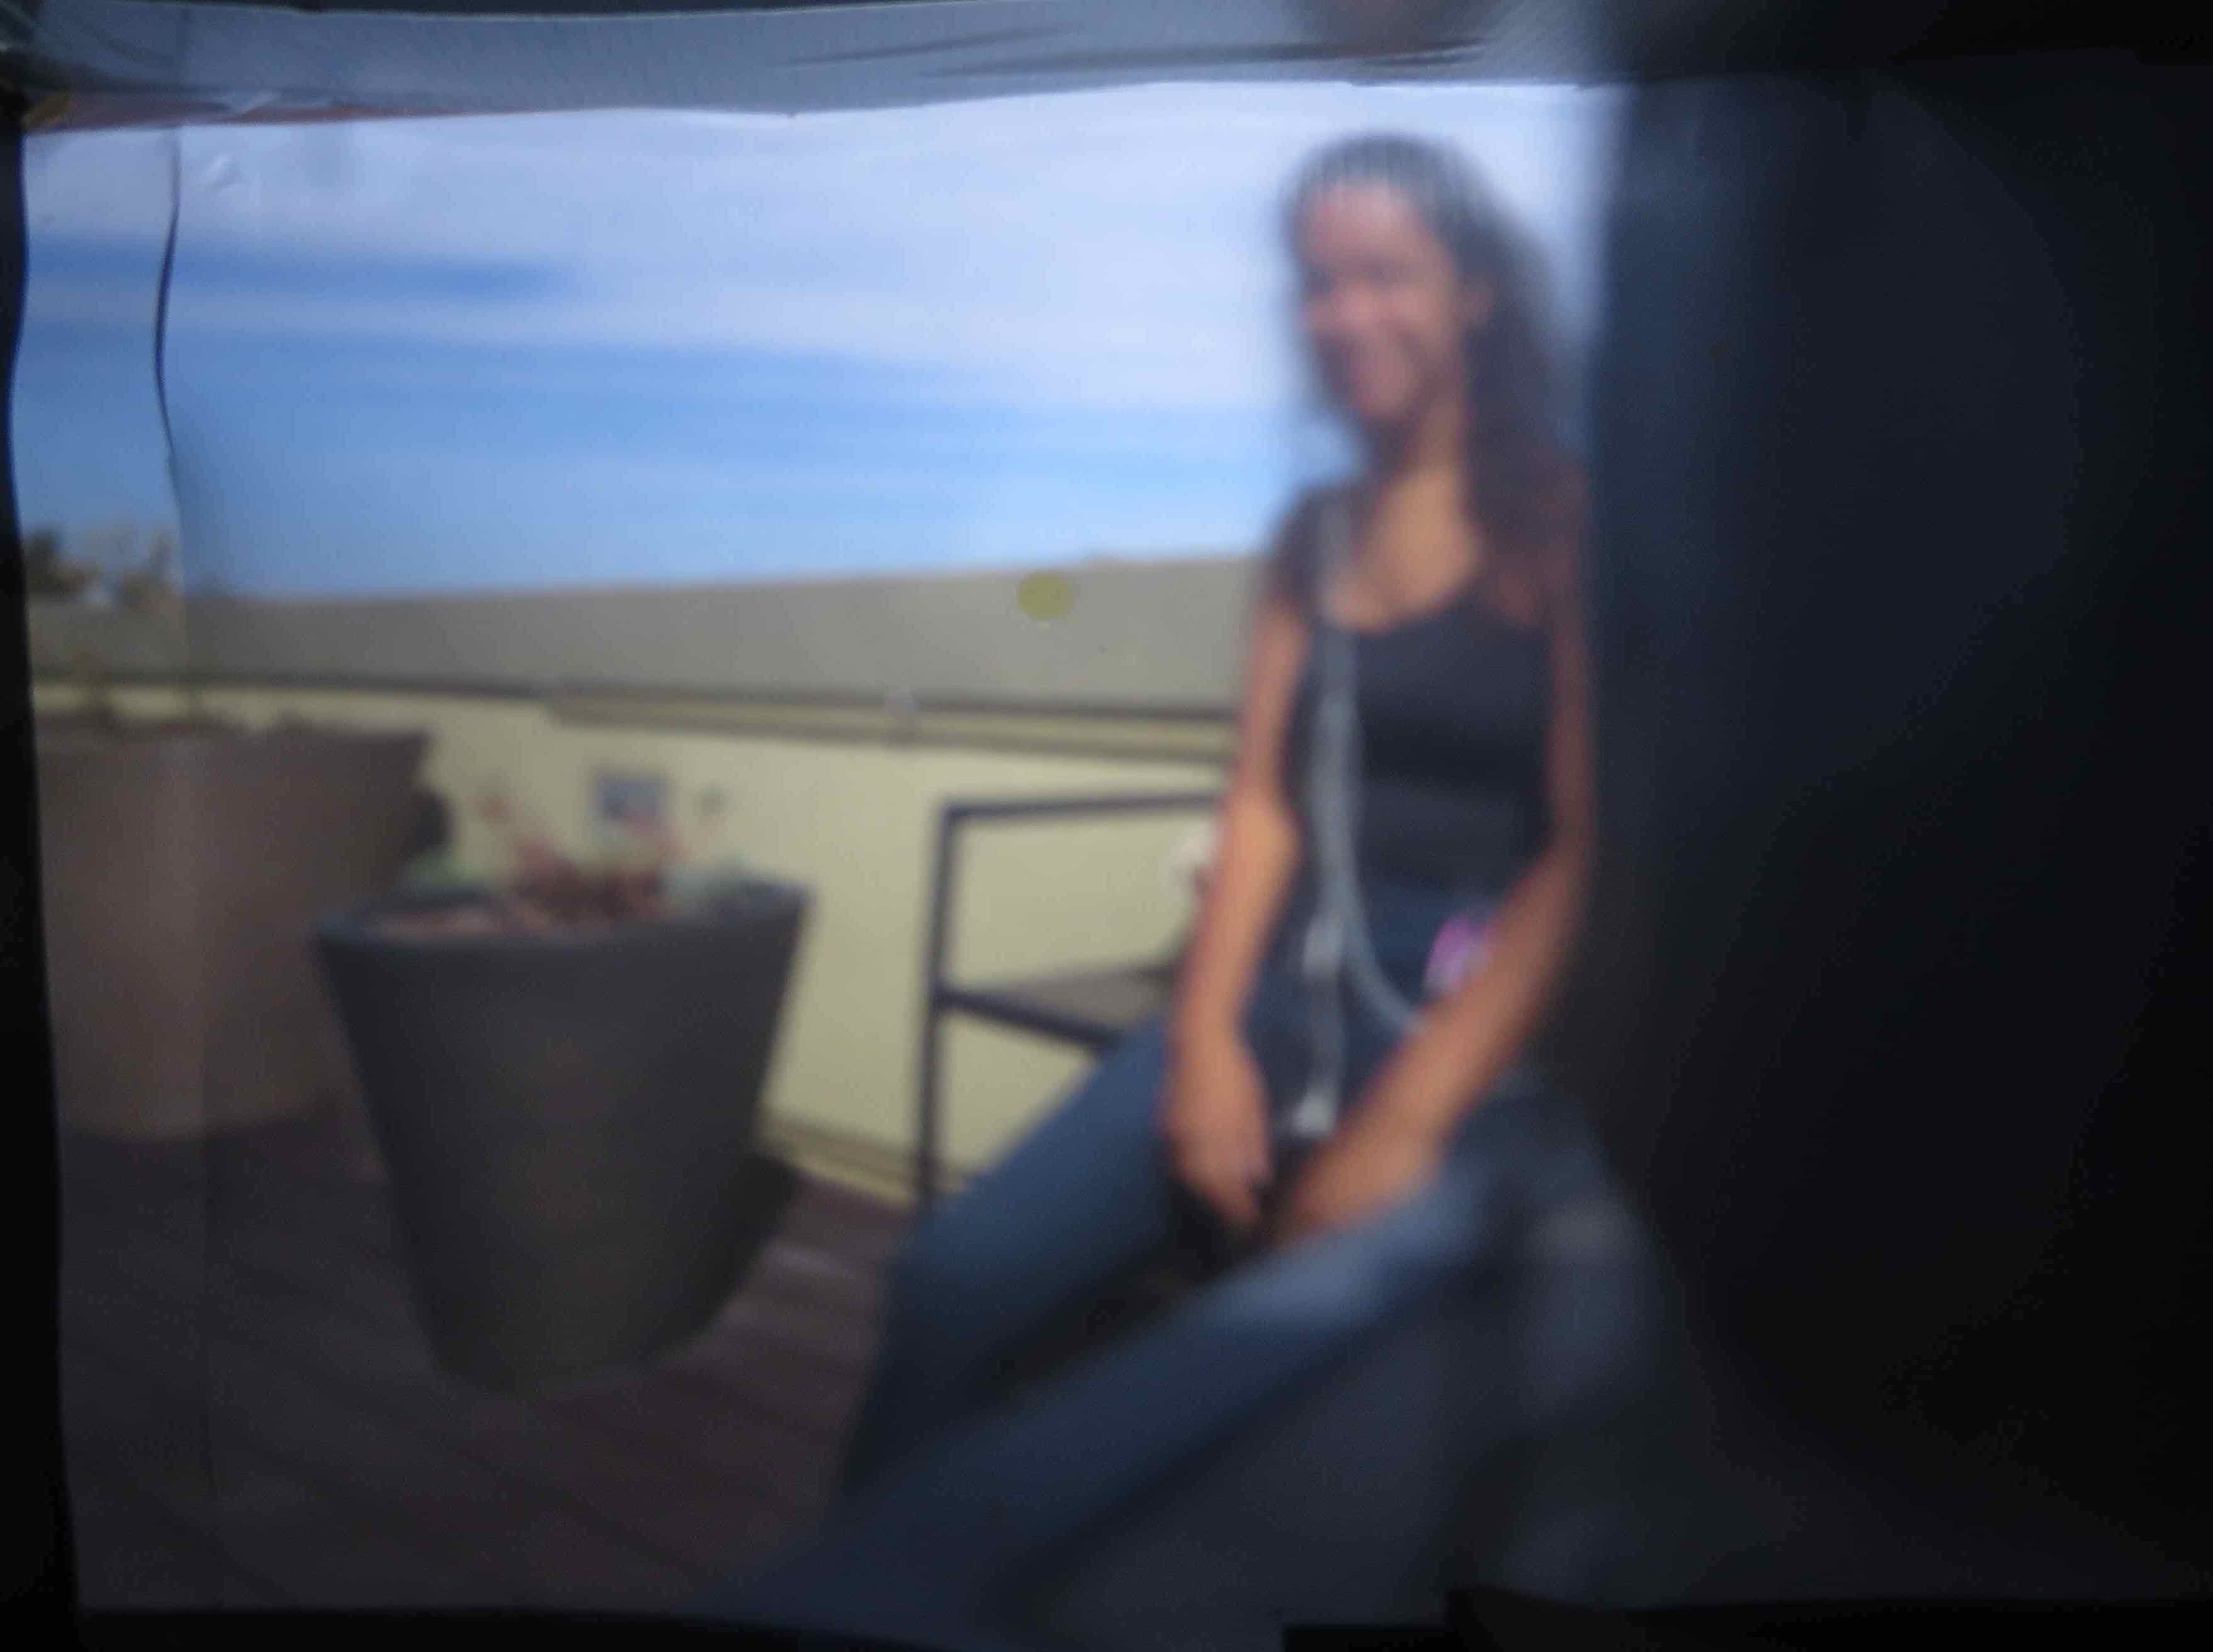
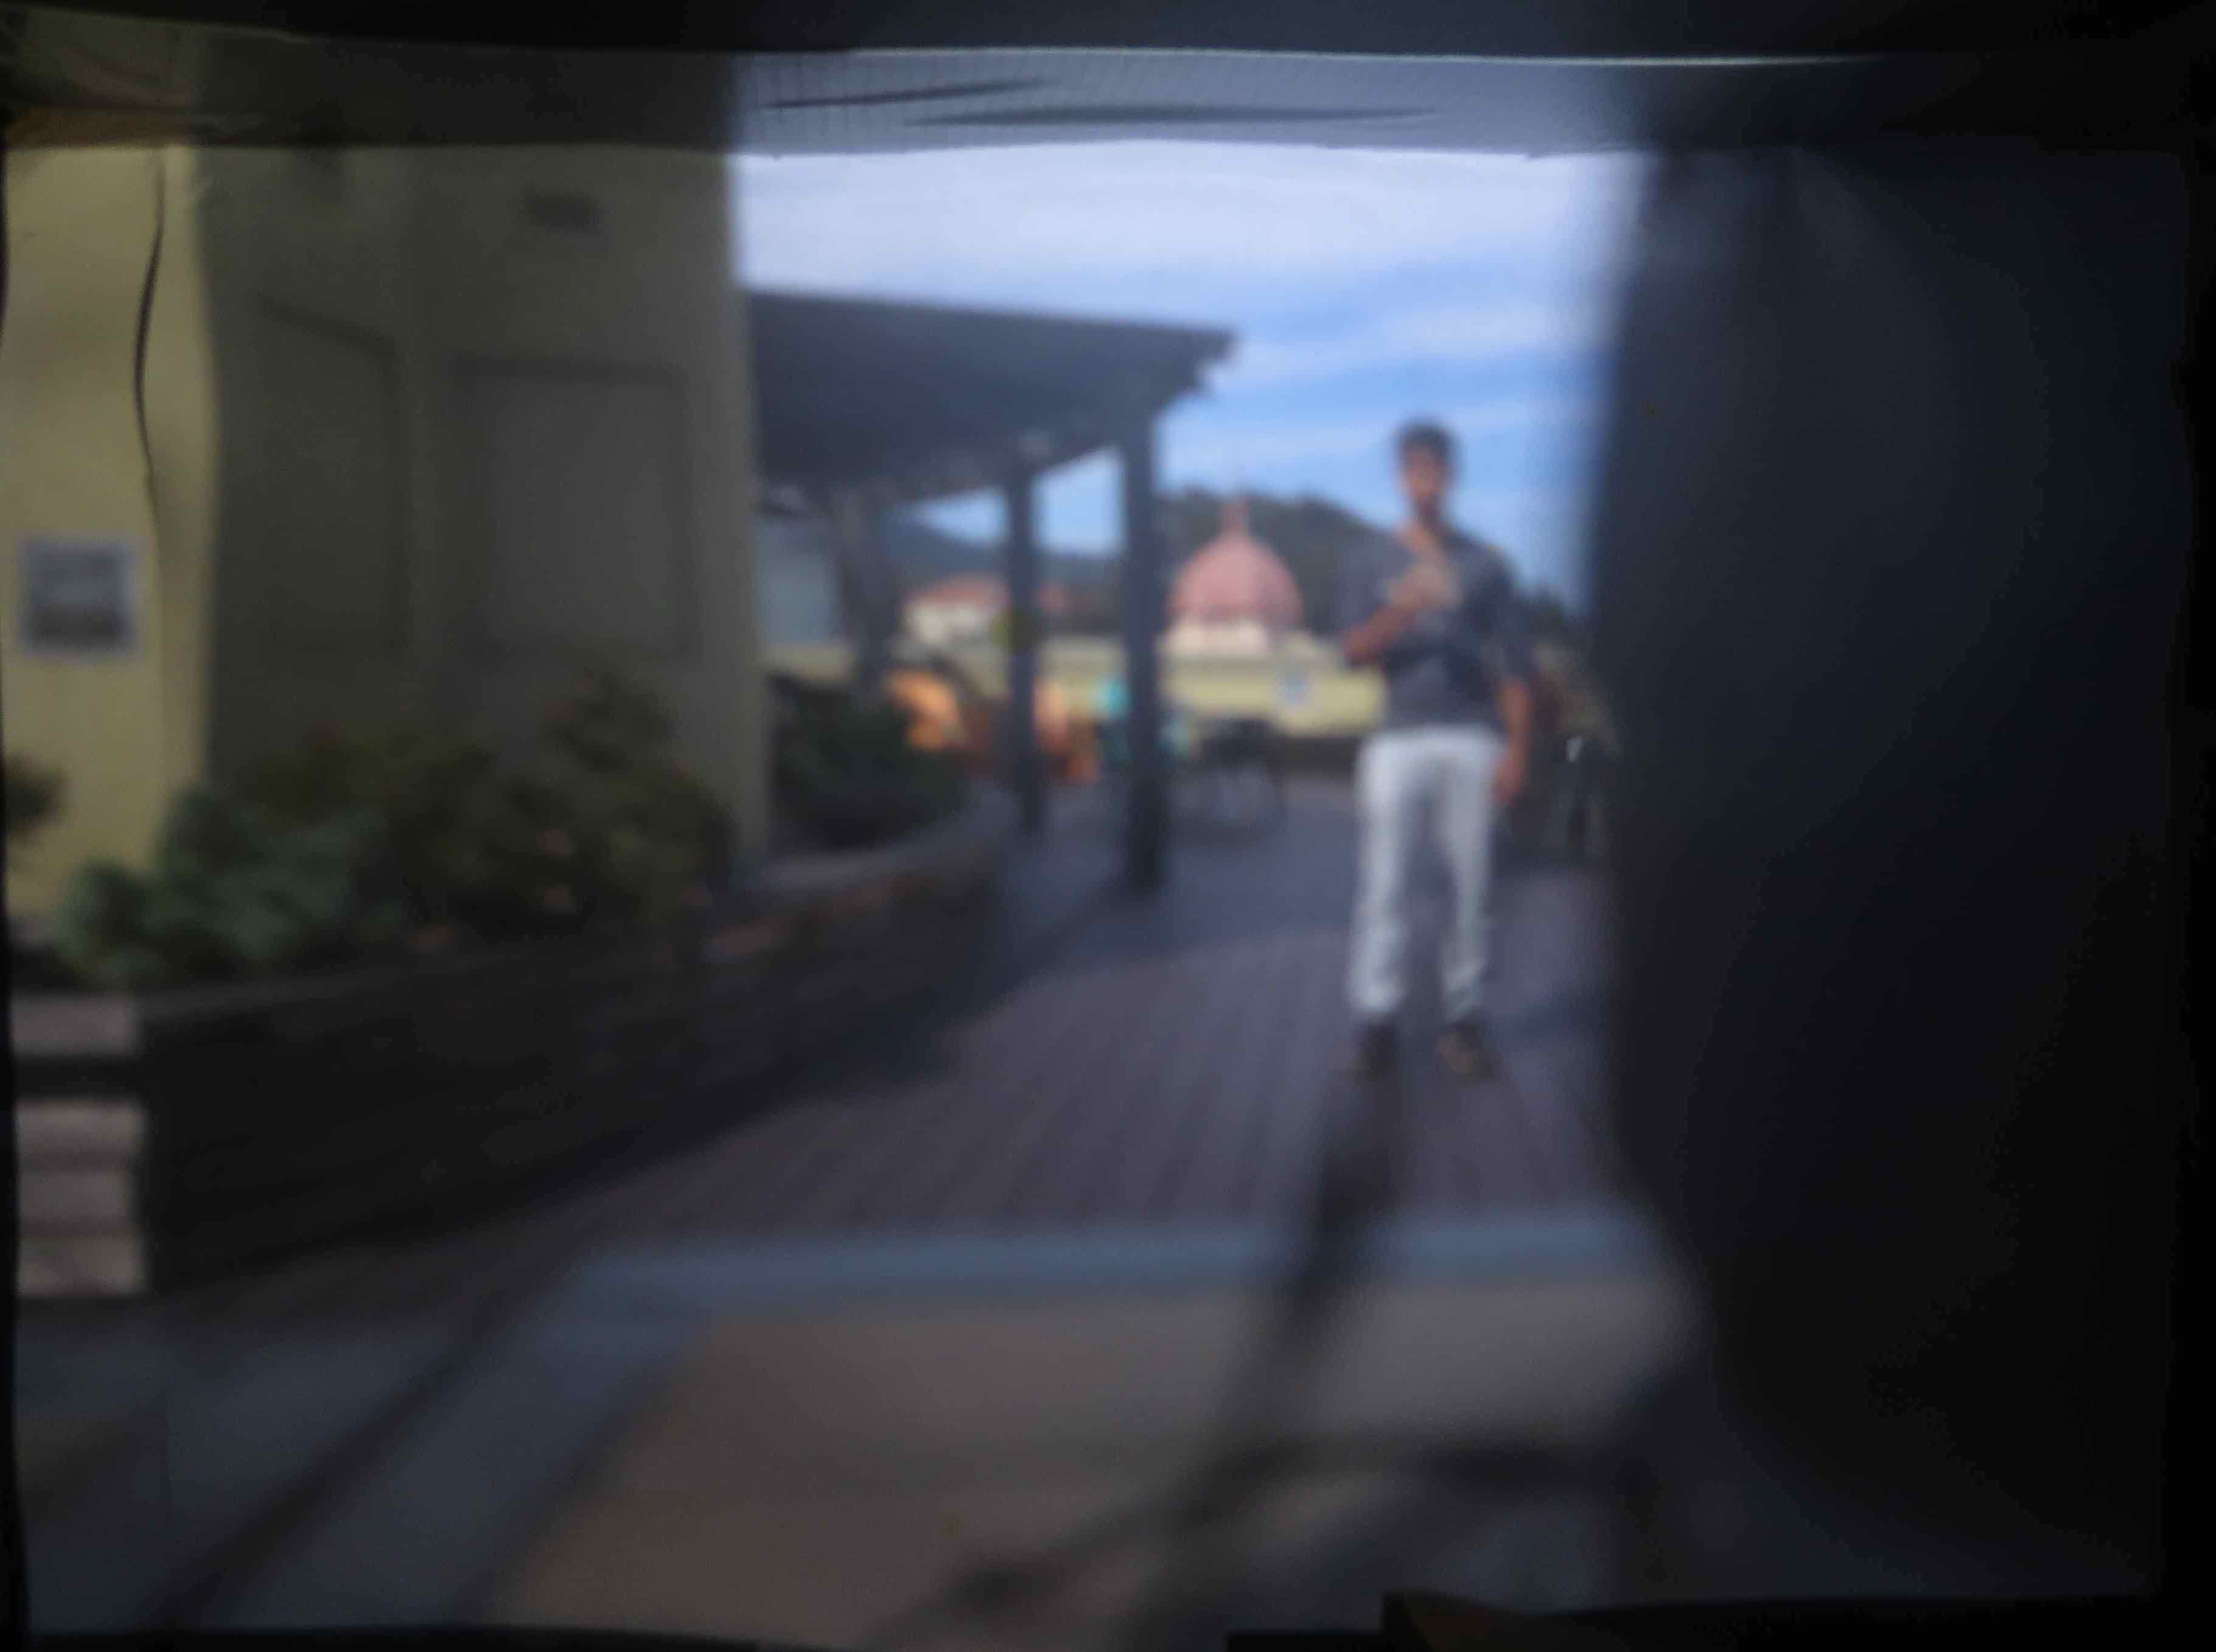
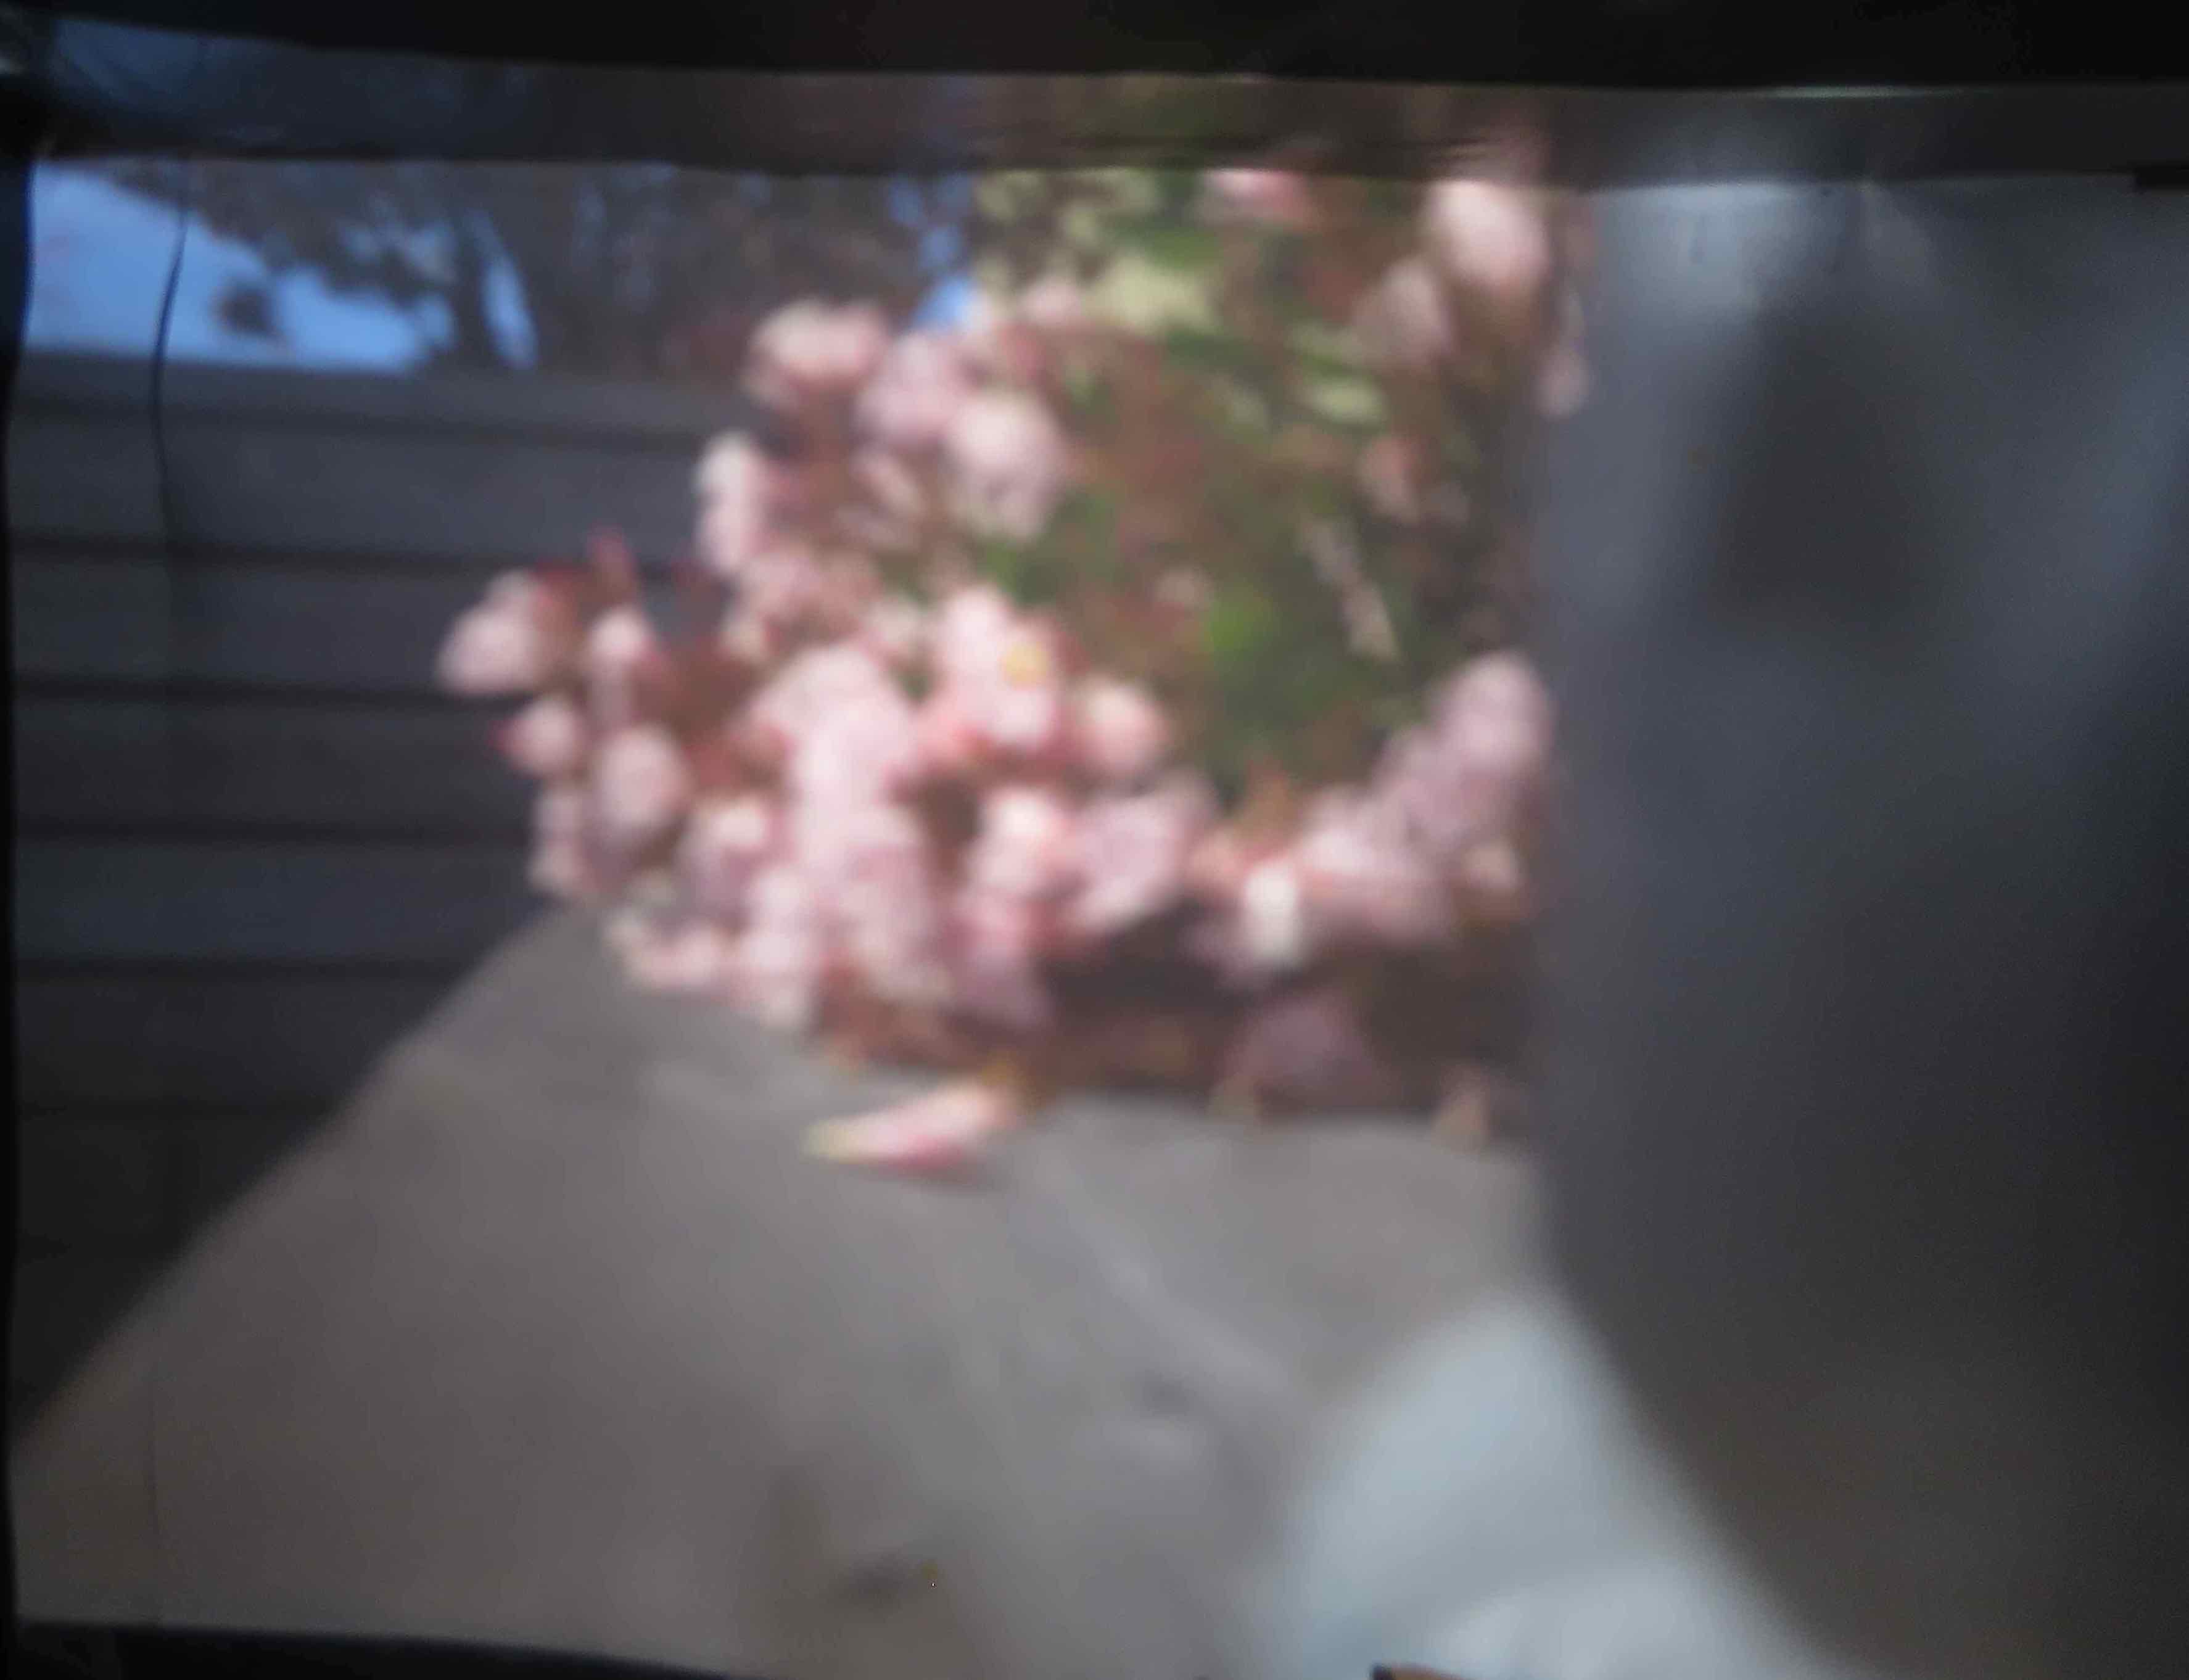
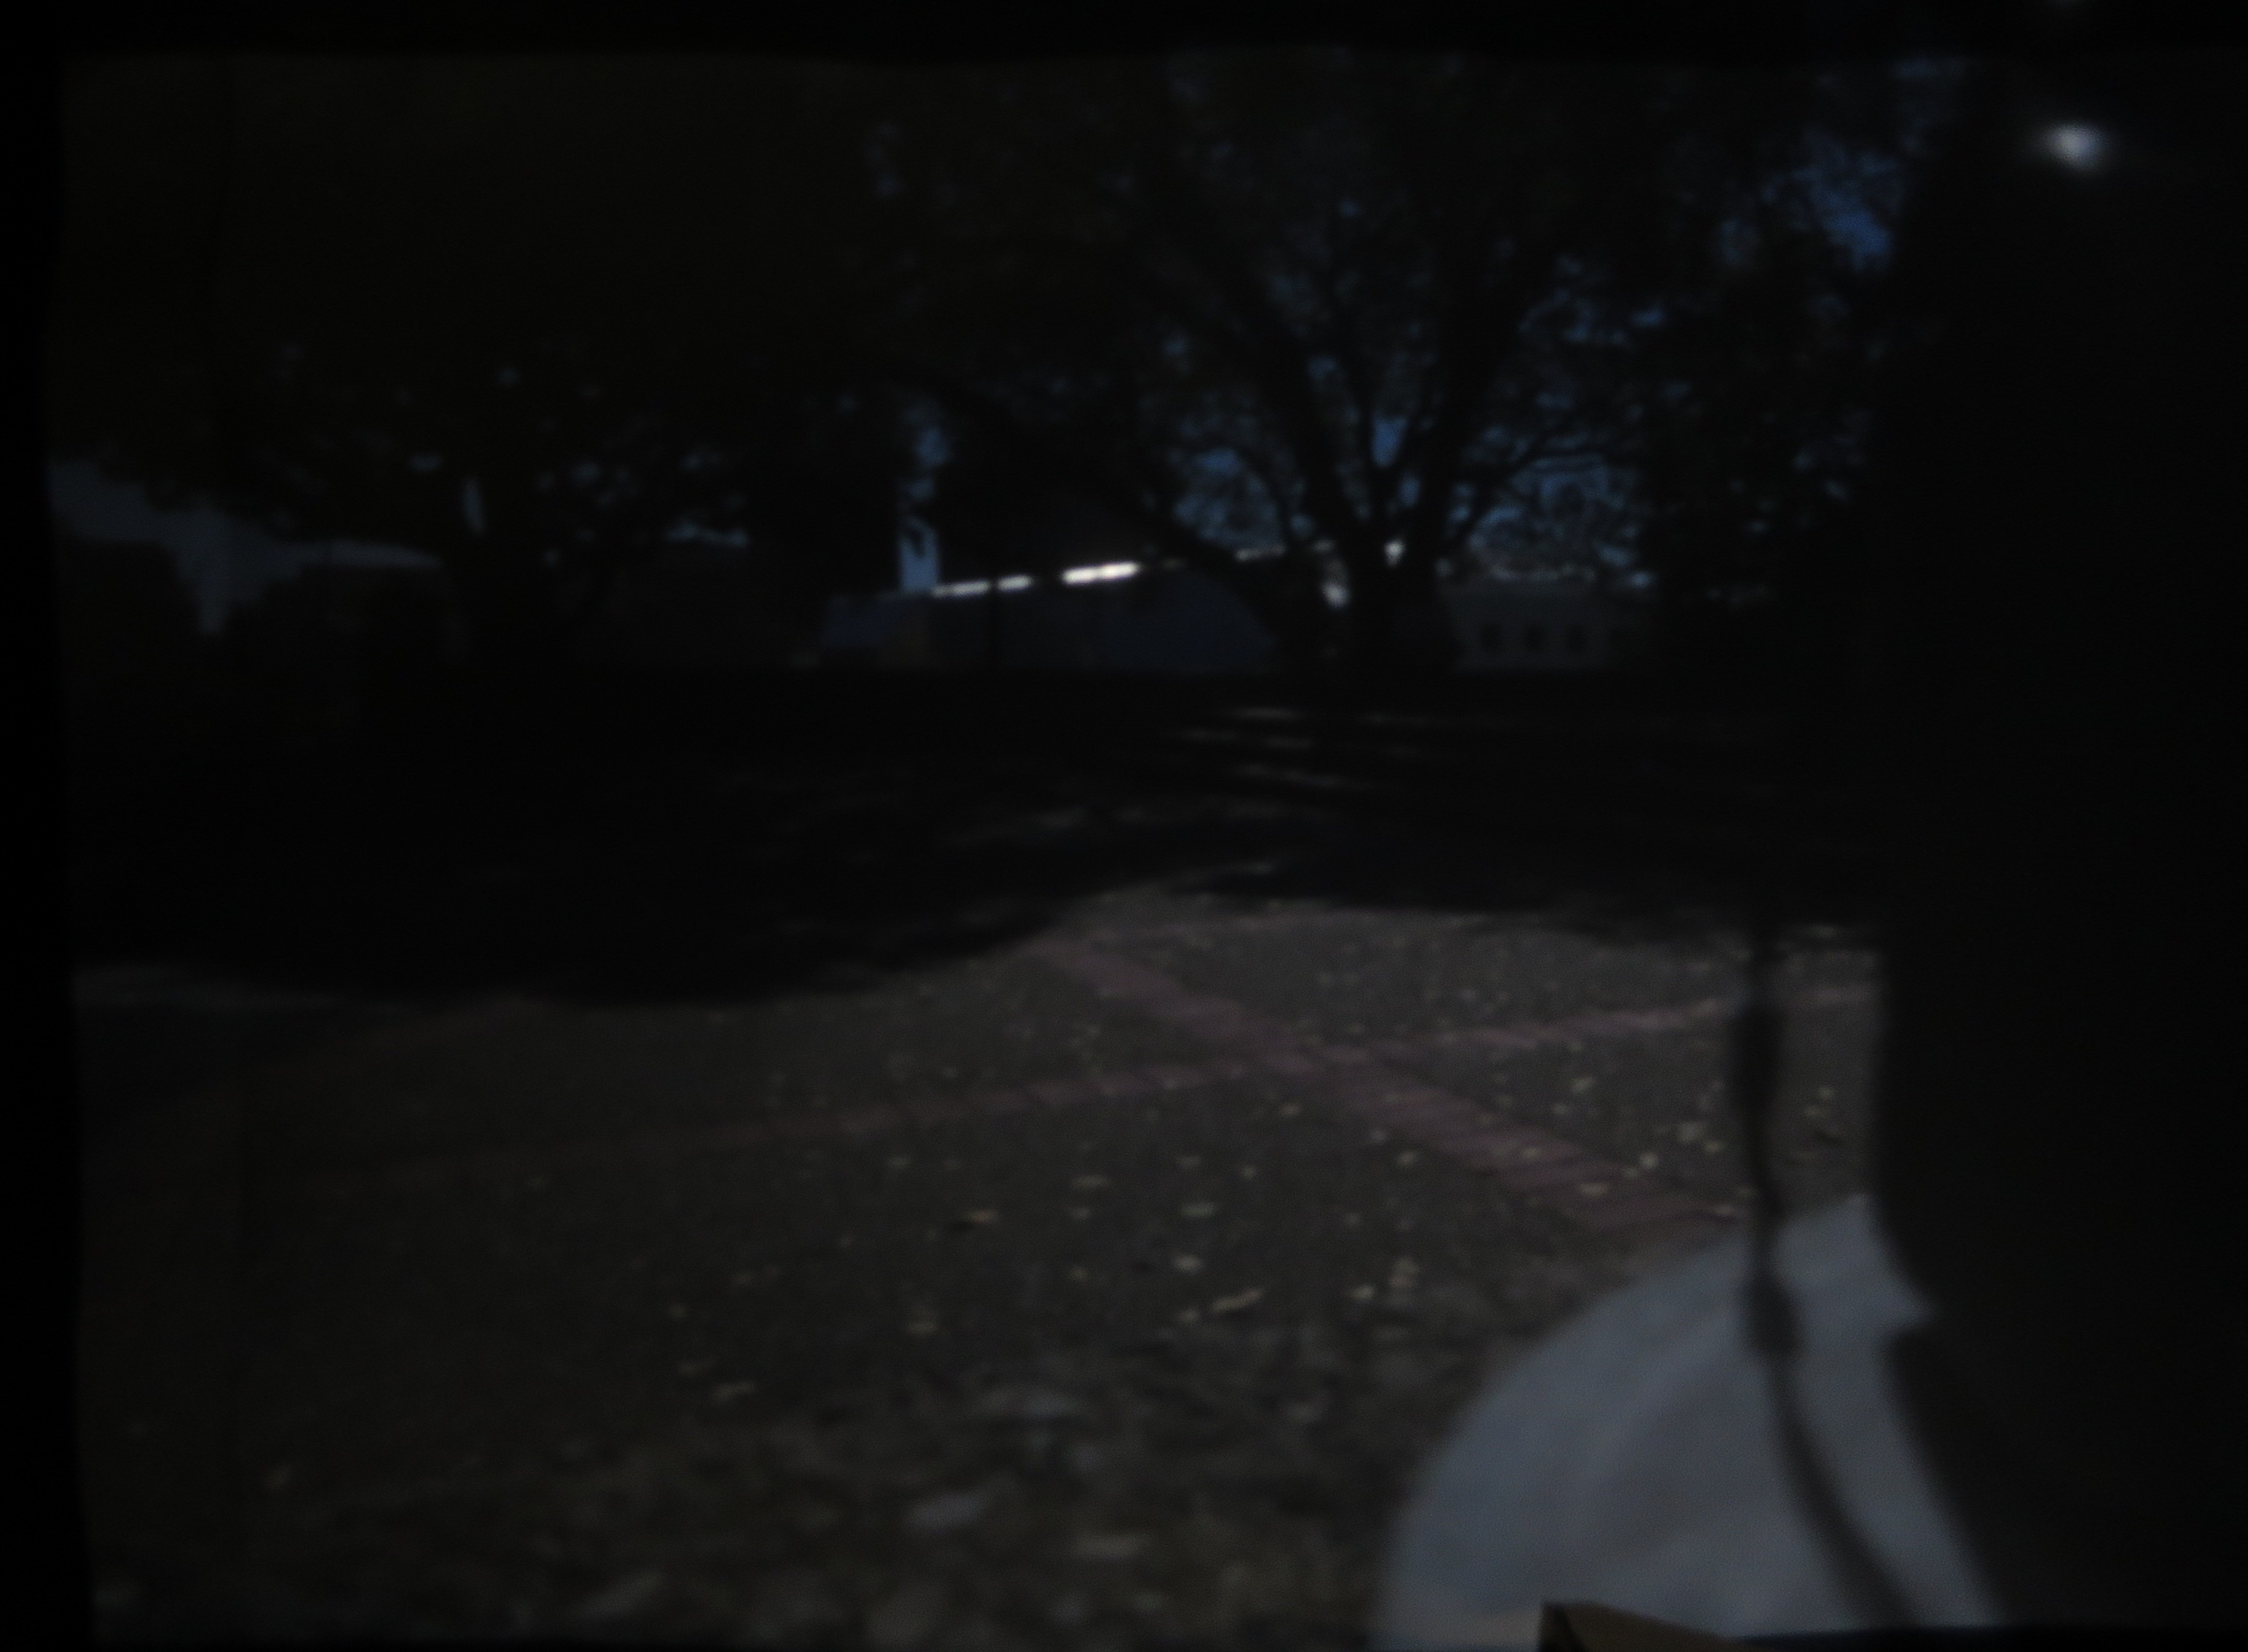
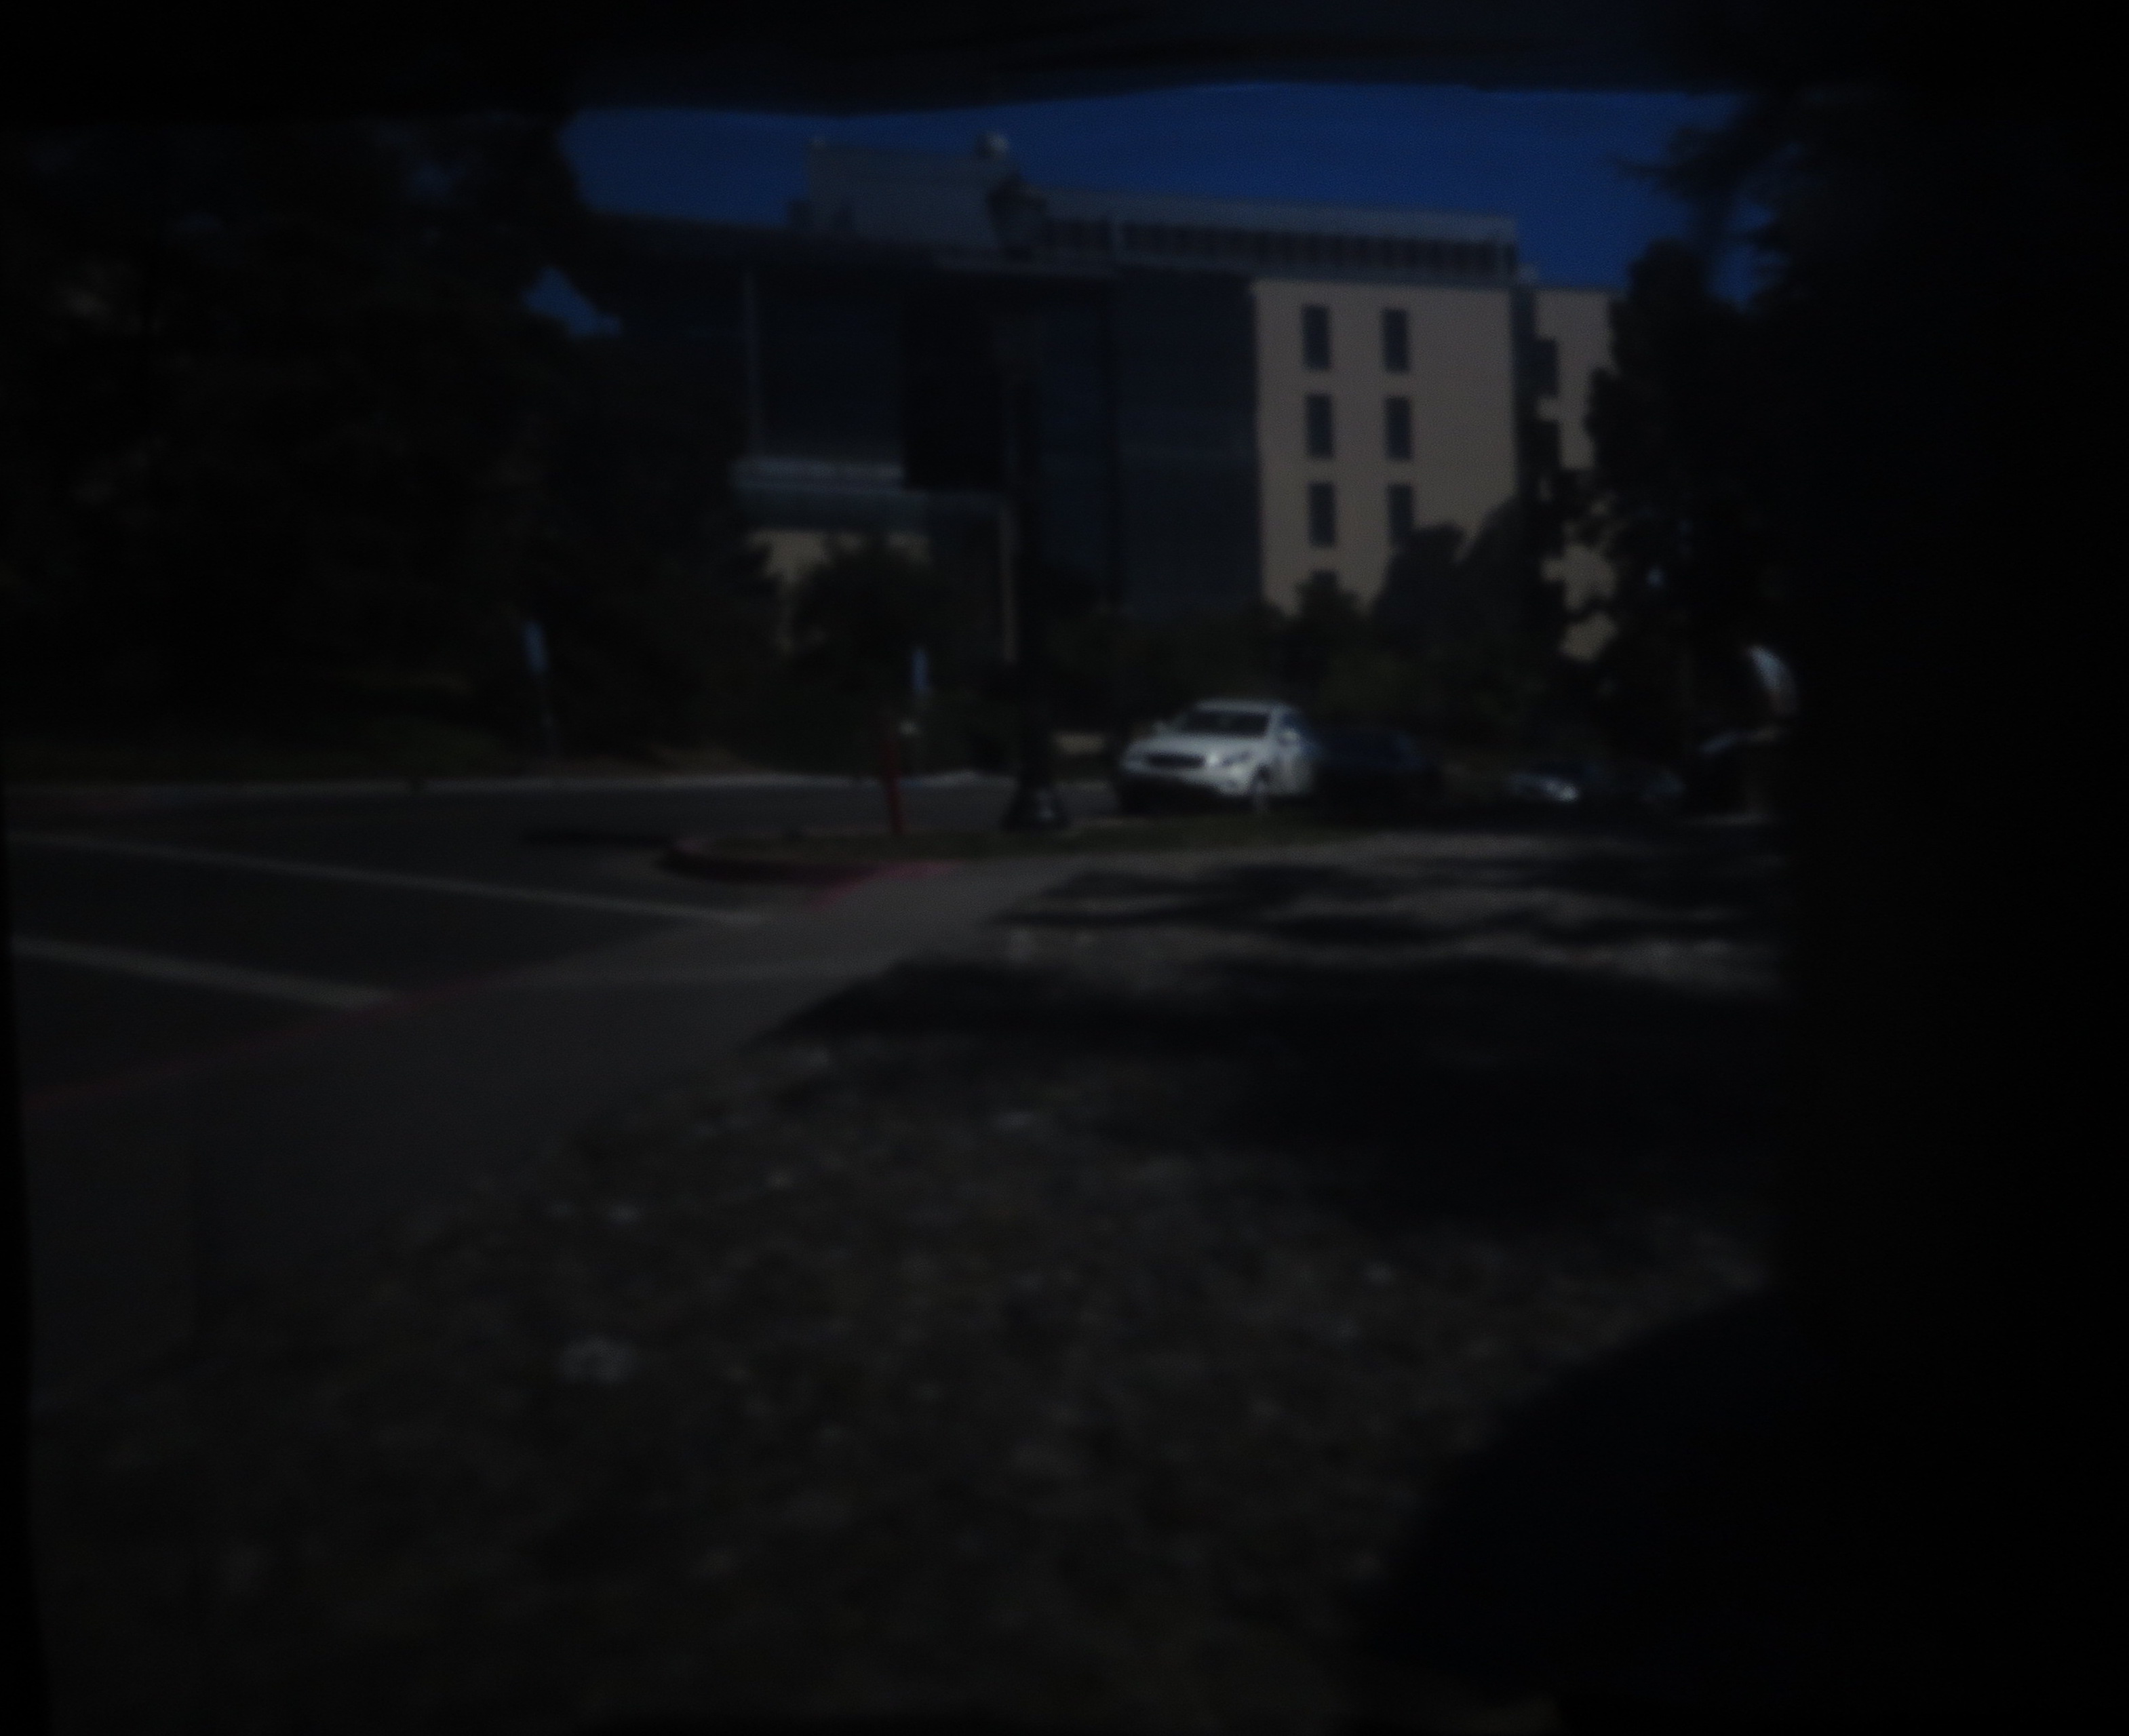
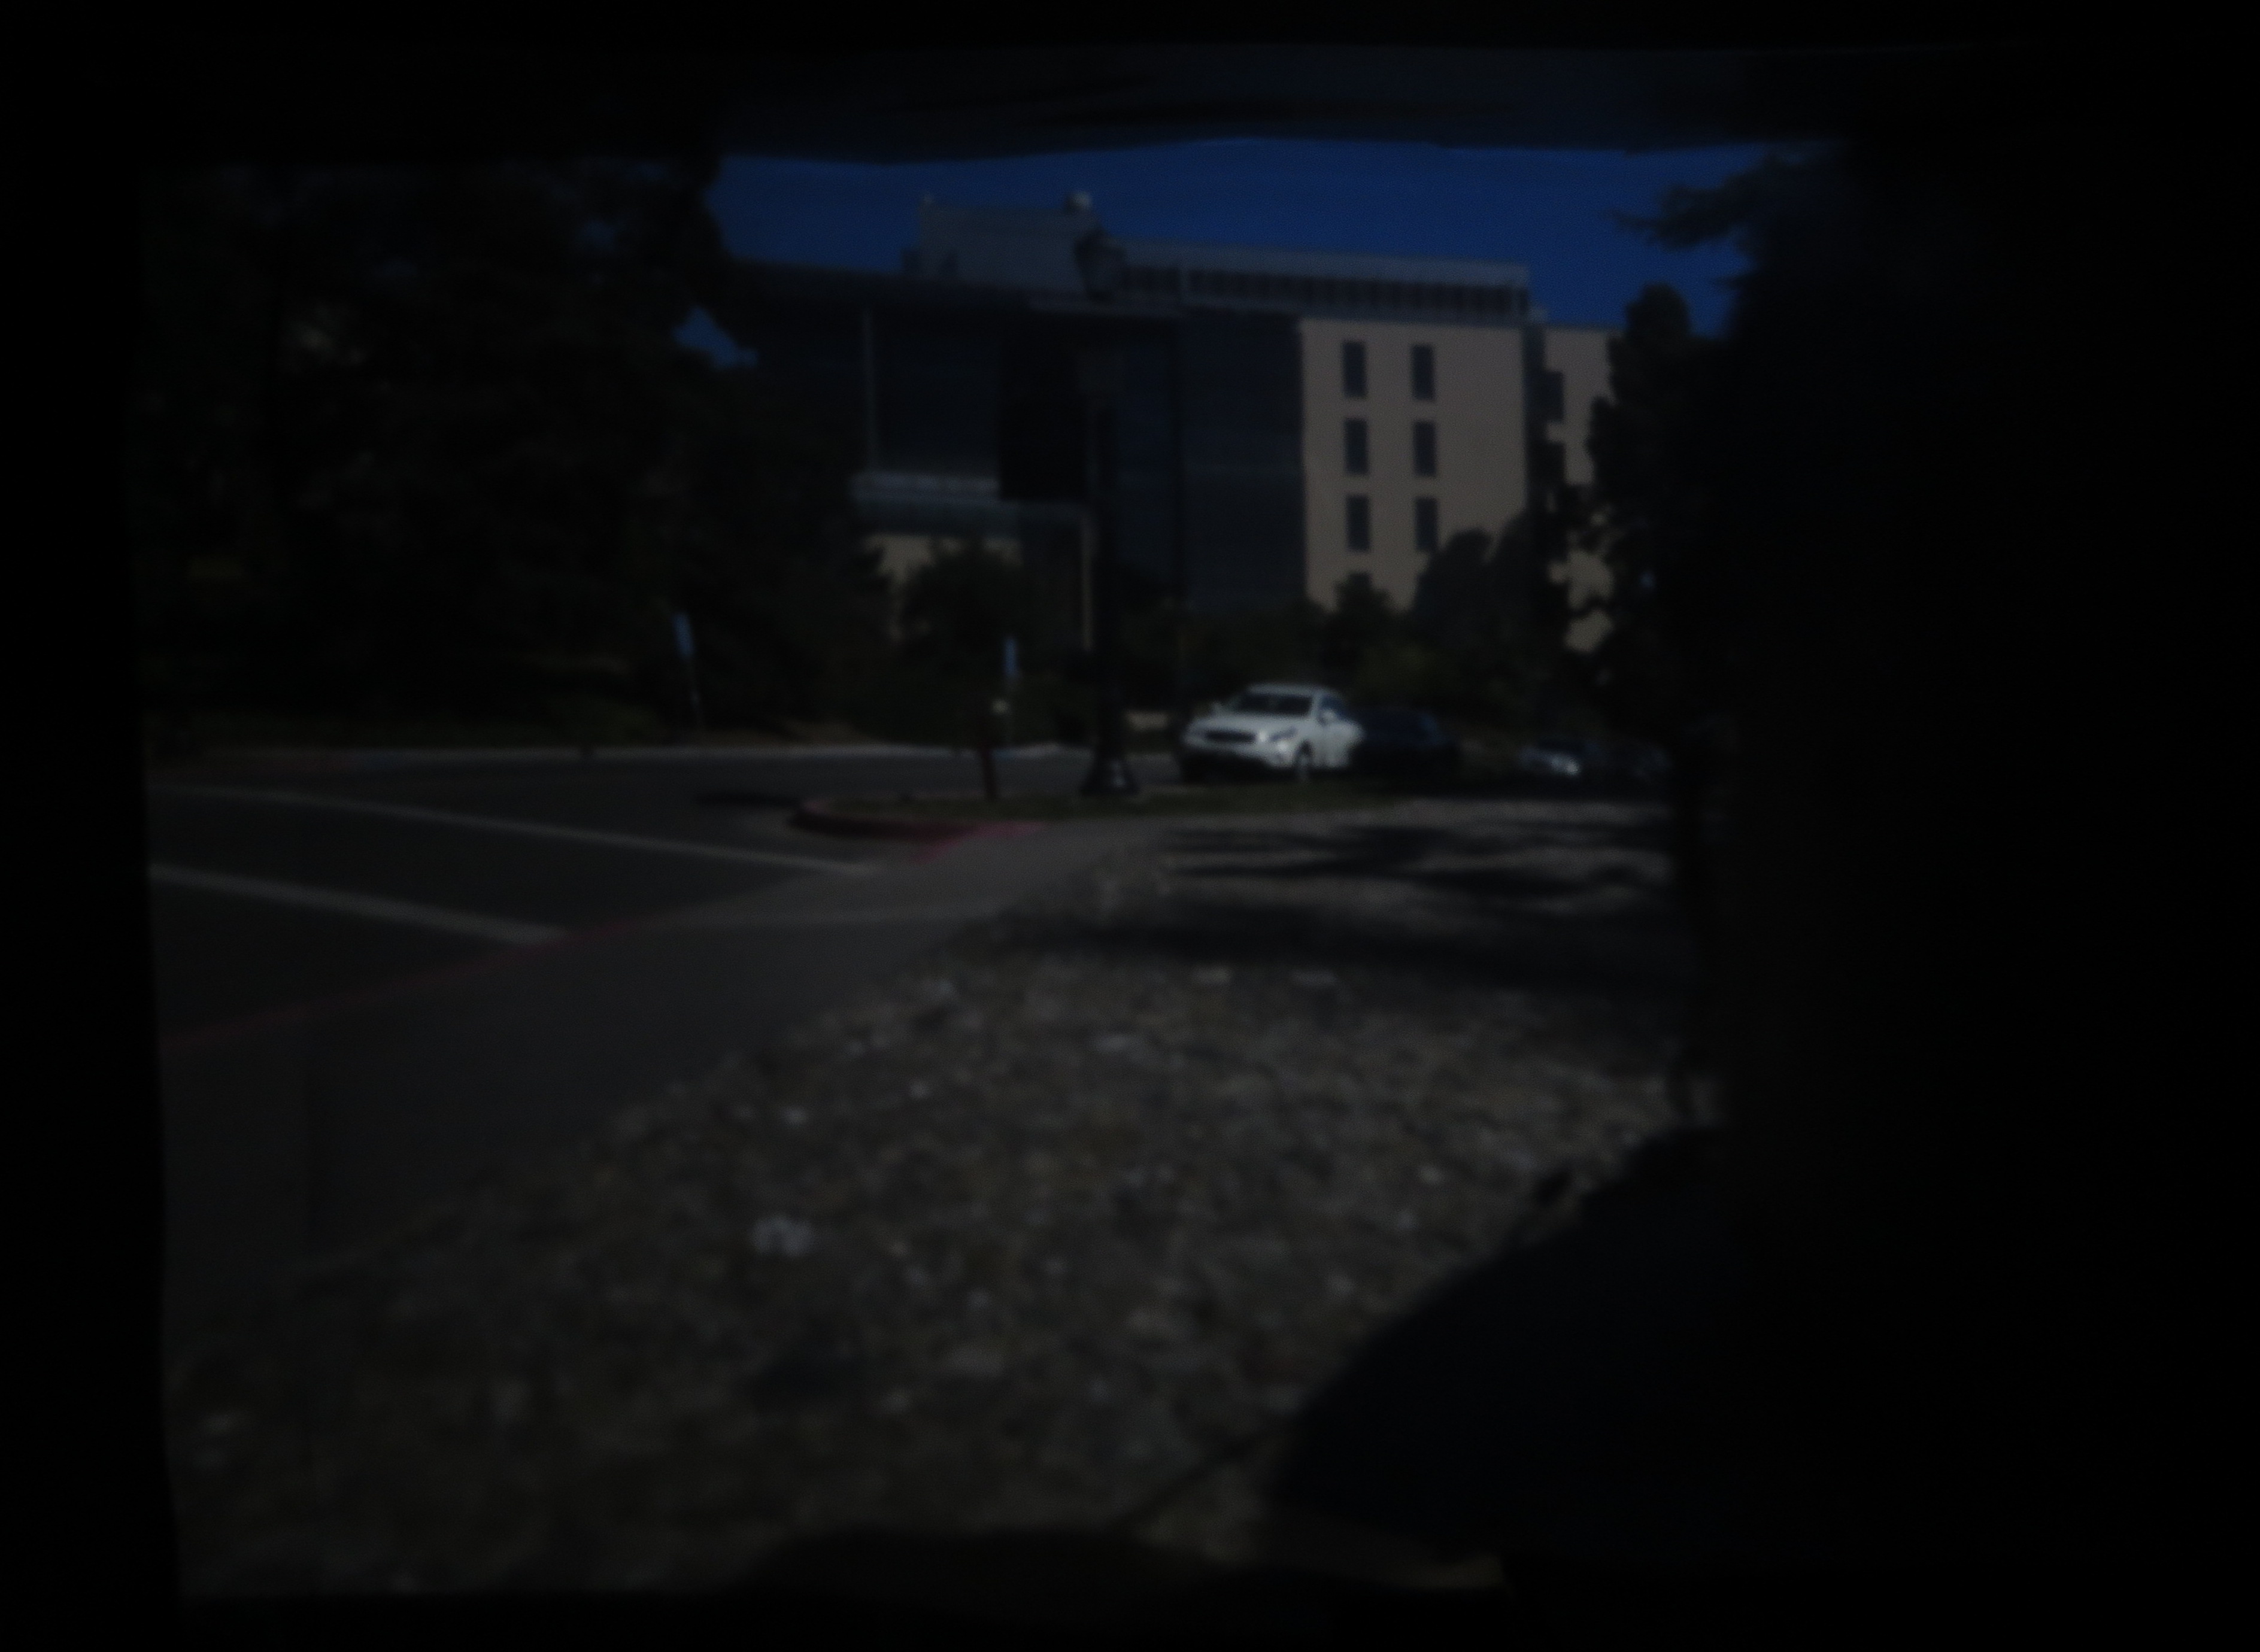
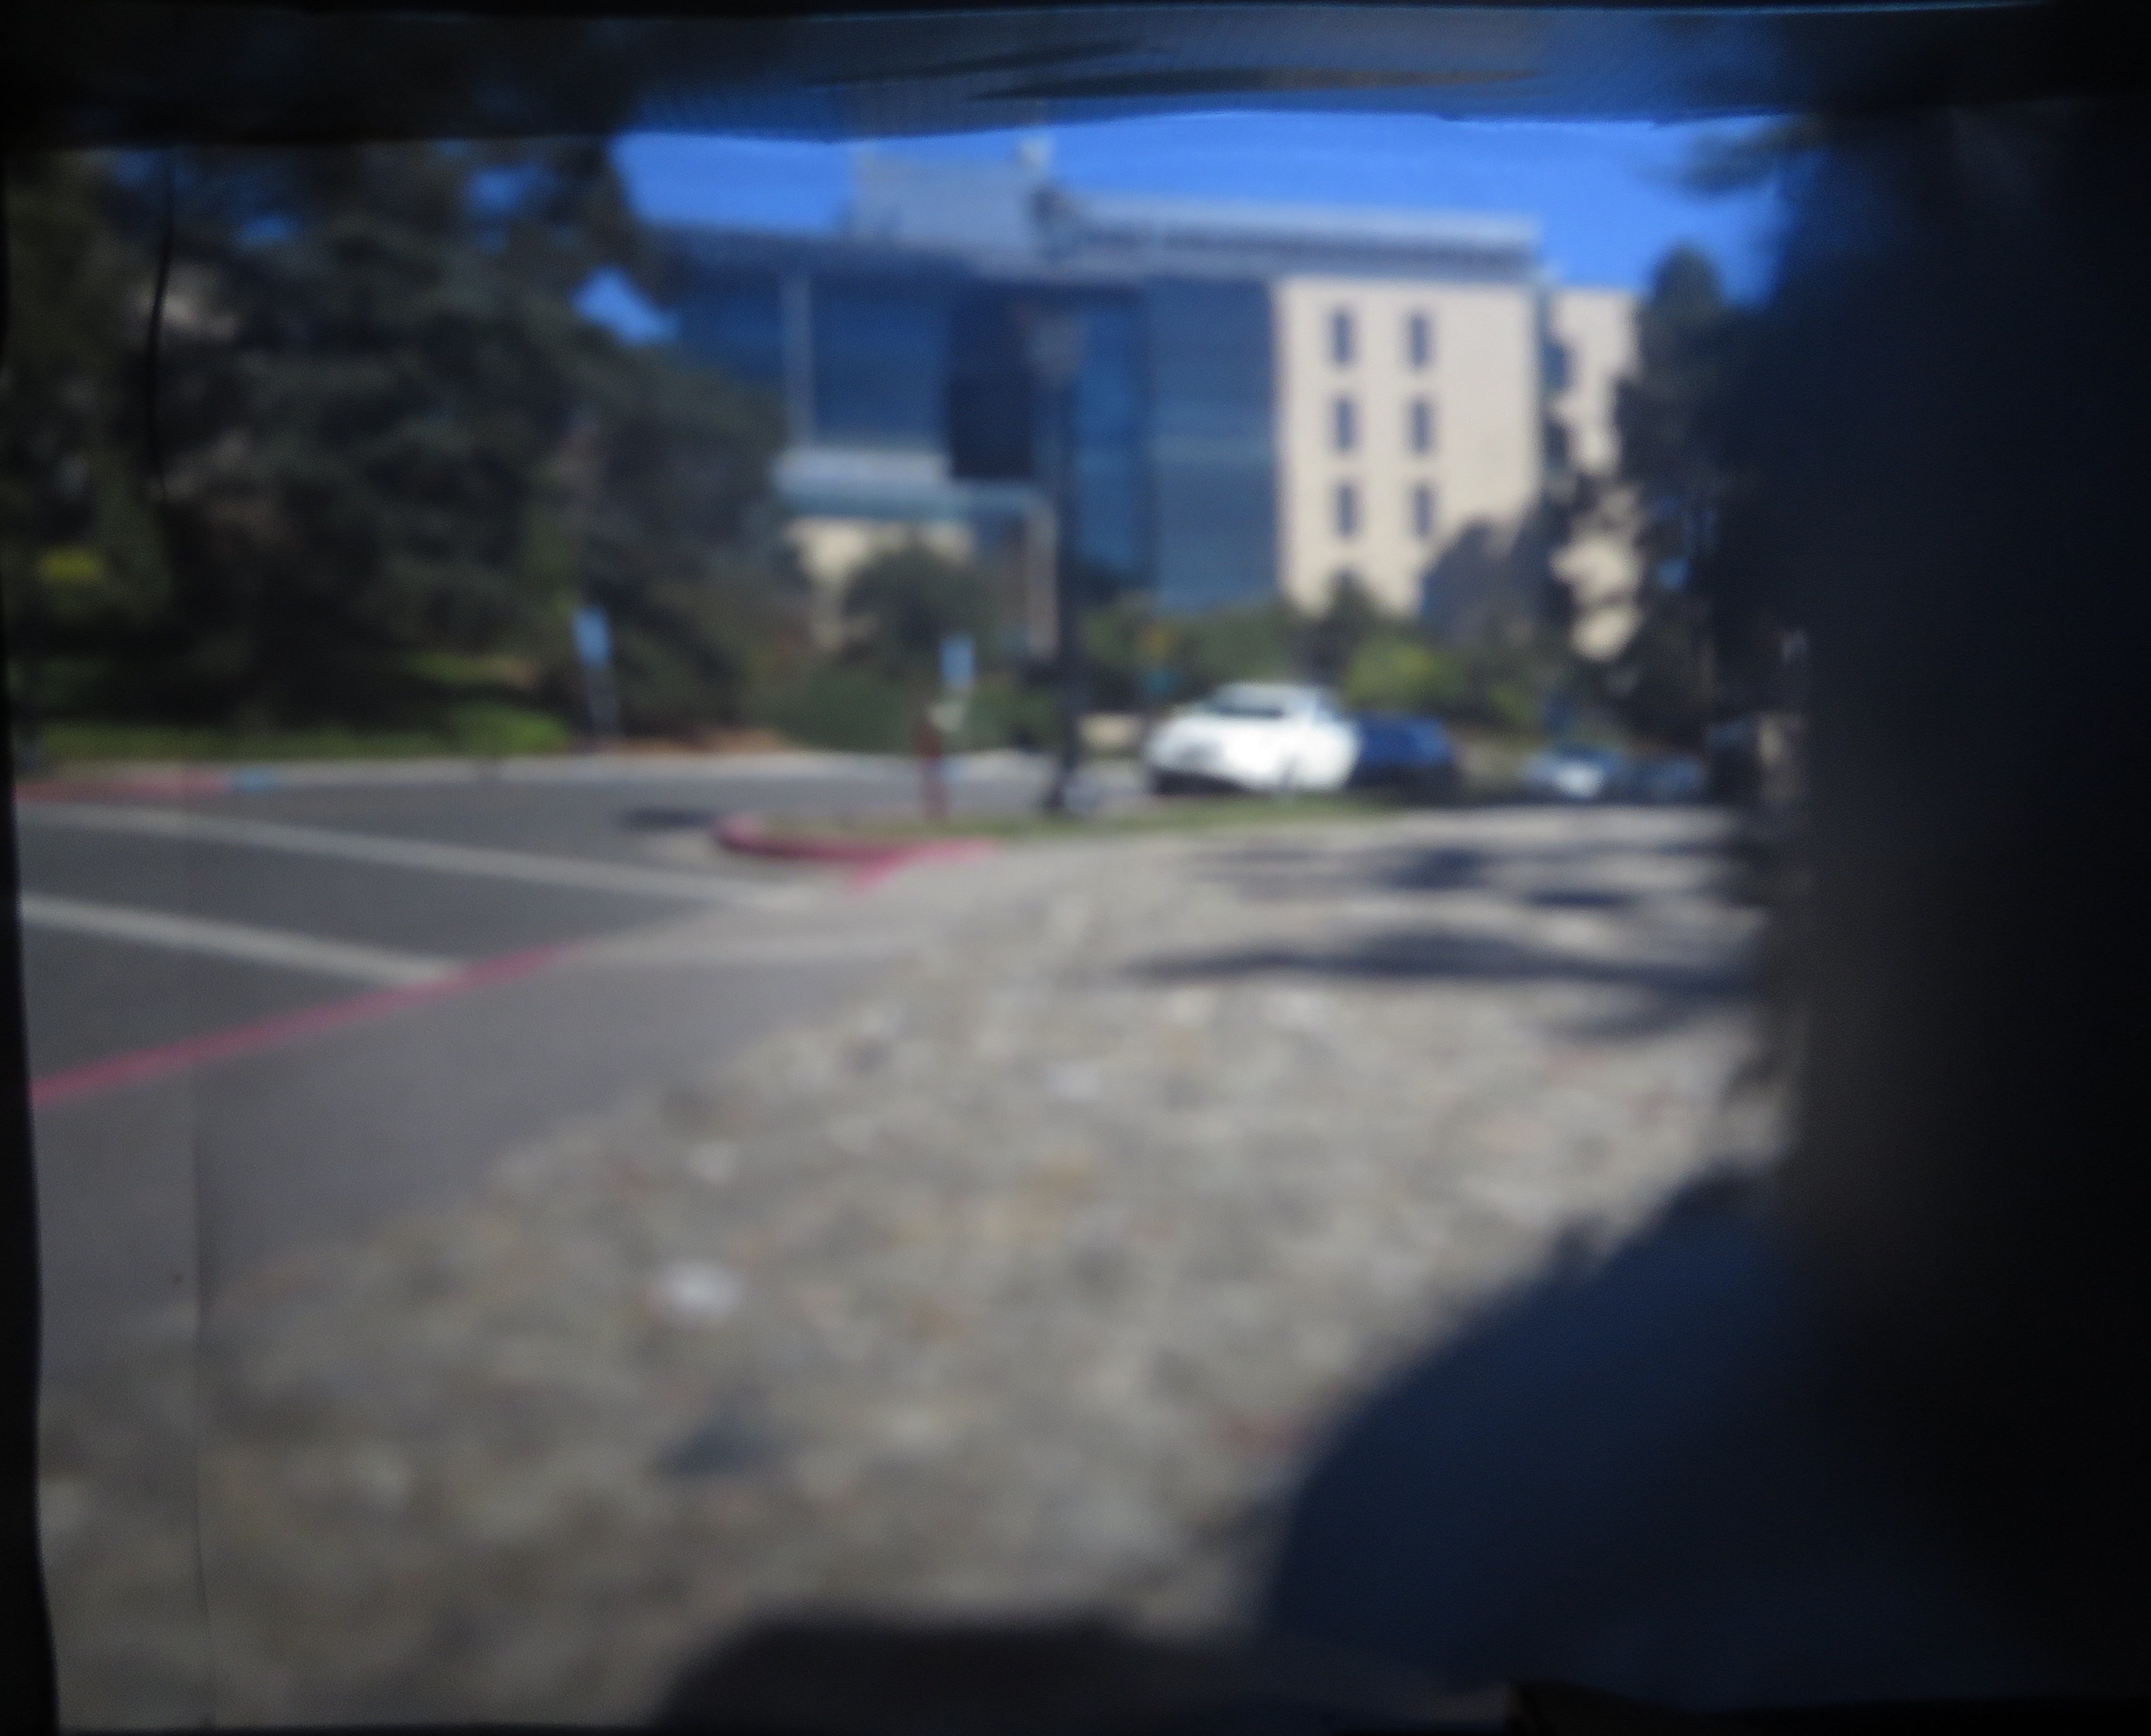
When taking pictures of different scenes with these varying size pinholes, we found the optimal size to be 5 mm as a result of the amount of light filtered through the pinhole, which provided an optimal color contrast in the resulting image captured by the long exposure camera. The larger pinhole allowed for more light to enter the box which then allowed the photo to express more background details with more vibrant light. A downside of a larger pinhole size is that the images tend to get blurrier, but the blur effect could have been the result of a variety of factors including the box stability, placement angle, and minute changes in camera focus. The smaller pinholes tended to result in less light exposure to the screen, which in turn led to an underexposed image captured on the Canon camera. We then proceeded to take more scenes from our 5 mm pinhole, and the resulting images are shown below.

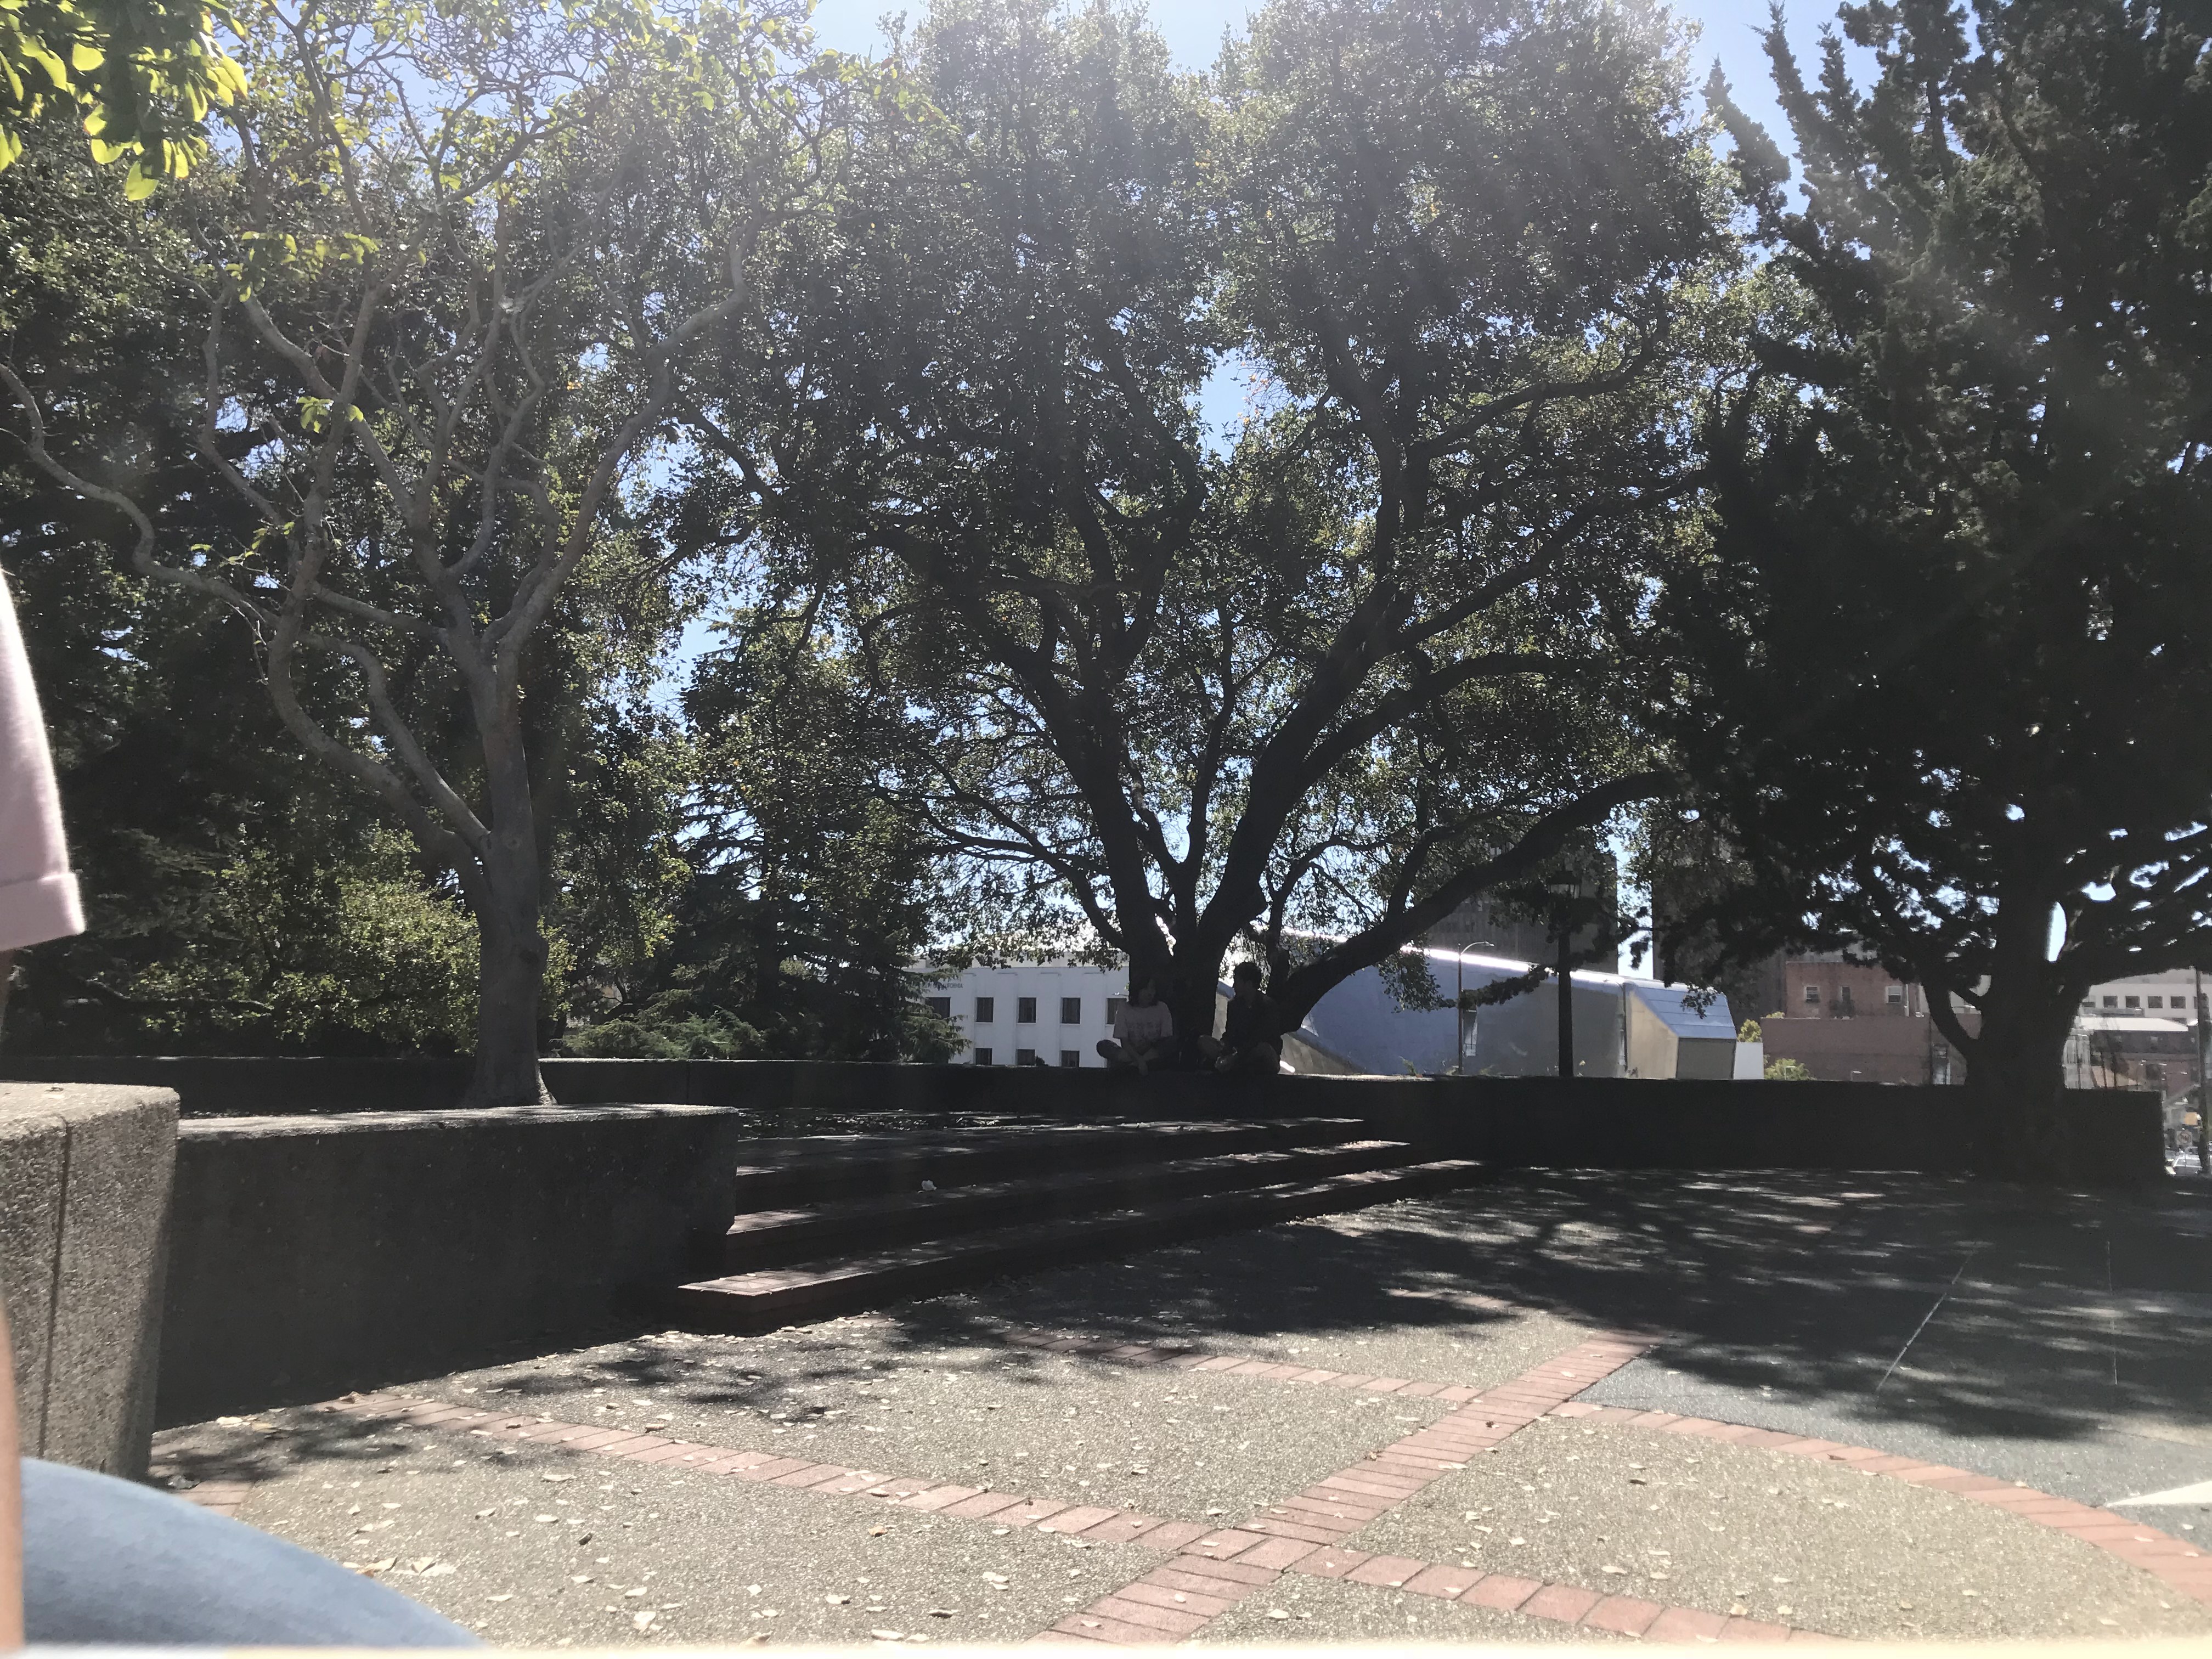
Scene #1

Scene #2
Scene #1 0.1 mm
Scene #2 0.1 mm

Scene #1 3 mm
Scene #2 3 mm

Scene #1 5 mm
Scene #2 5 mm