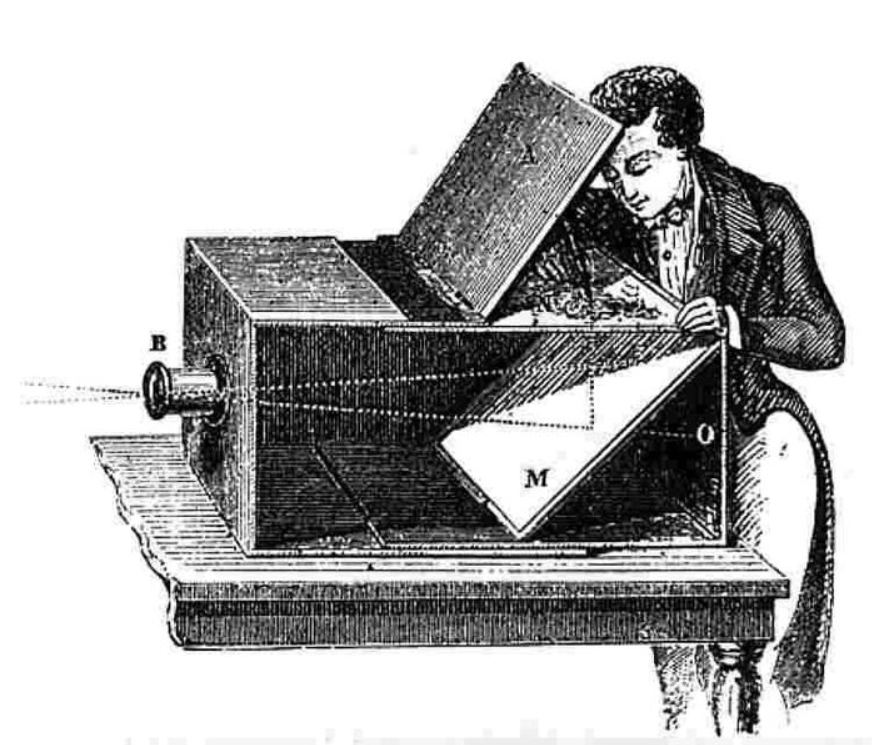
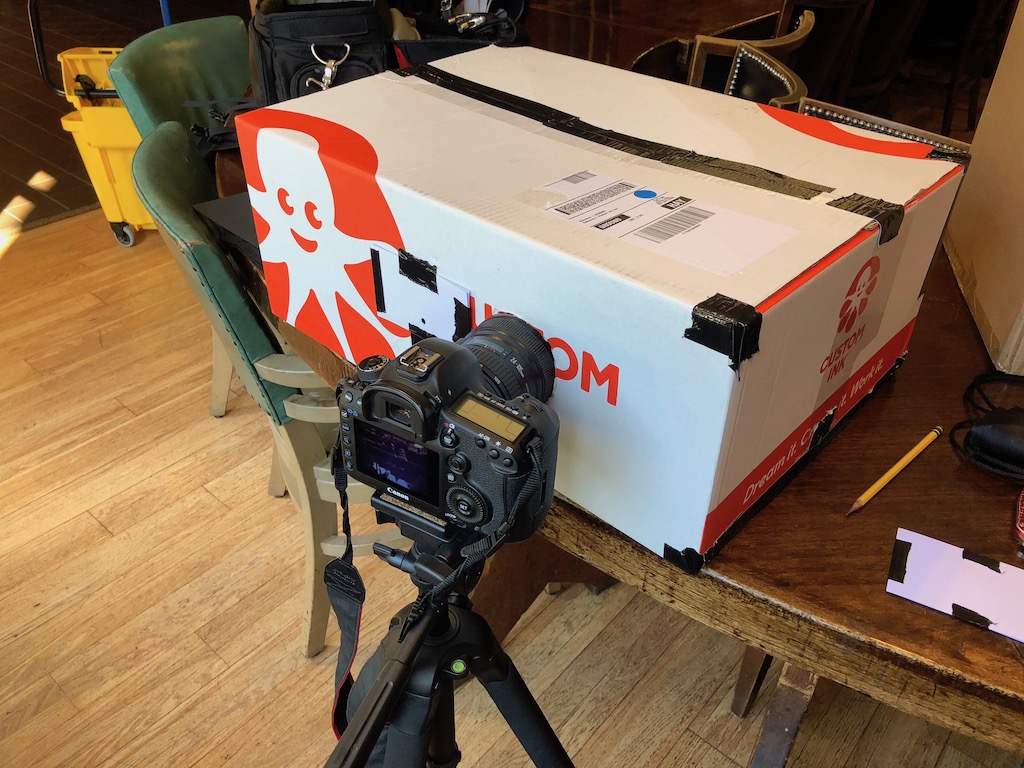
The goal of this project was to design a camera obscura, or a "pinhole camera." A camera obscura is a dark box with a hole on one side and a screen on the opposite side. The pinhole is directed at the desired subject as the light reflected off the subject travels through the small pinhole and projects an inverted image on the screen. Since it is difficult to see the image with our own eyes, we have to use a digital camera with a long exposure time to capture the inverted image.
Materials
Our design started with a trial run, in which we just taped the white paper in the box with black duck tape. It had no
black paper, and then we duck taped all the edges and corners so no light can come through. We then cut a
hole for the camera and a second hole to be covered by the different pinholes. At first we were getting mediocre results,
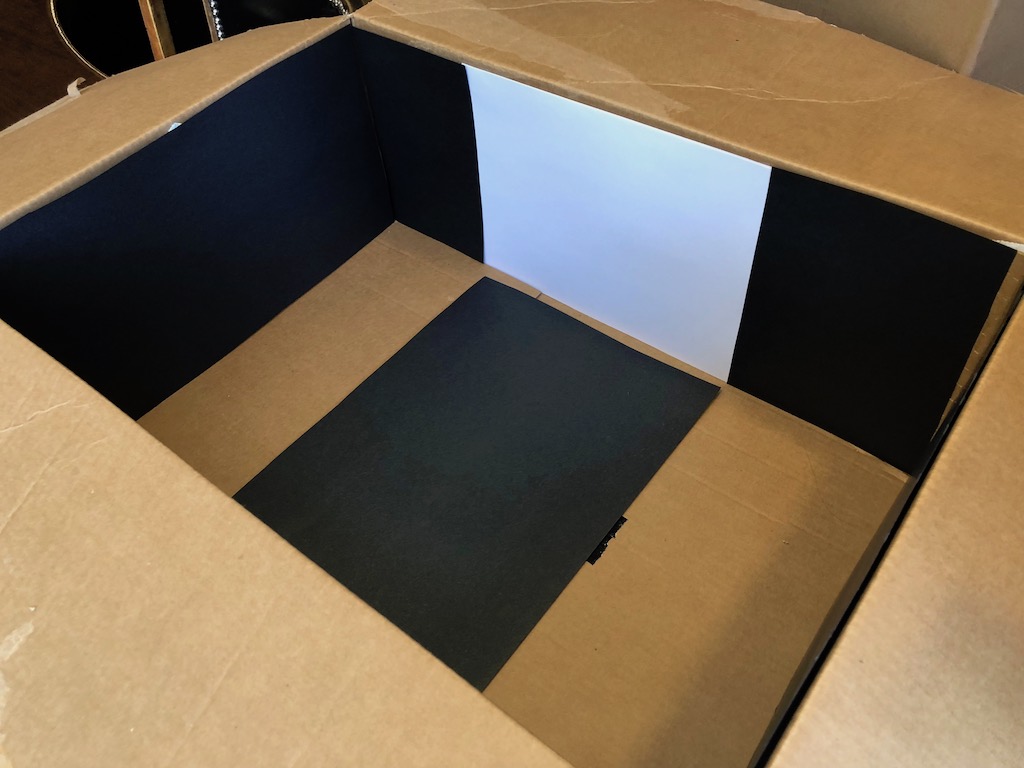
but then we noticed the black tape was reflecting light inside and causing streaks to be captured on our images.
To fix this, we then covered the inside with black paper with no tape showing. This resolved the light streaks issue
and we were getting more defined results.
Our box was very large, so we calculated the ideal pinhole size using the formula detailed in the spec:
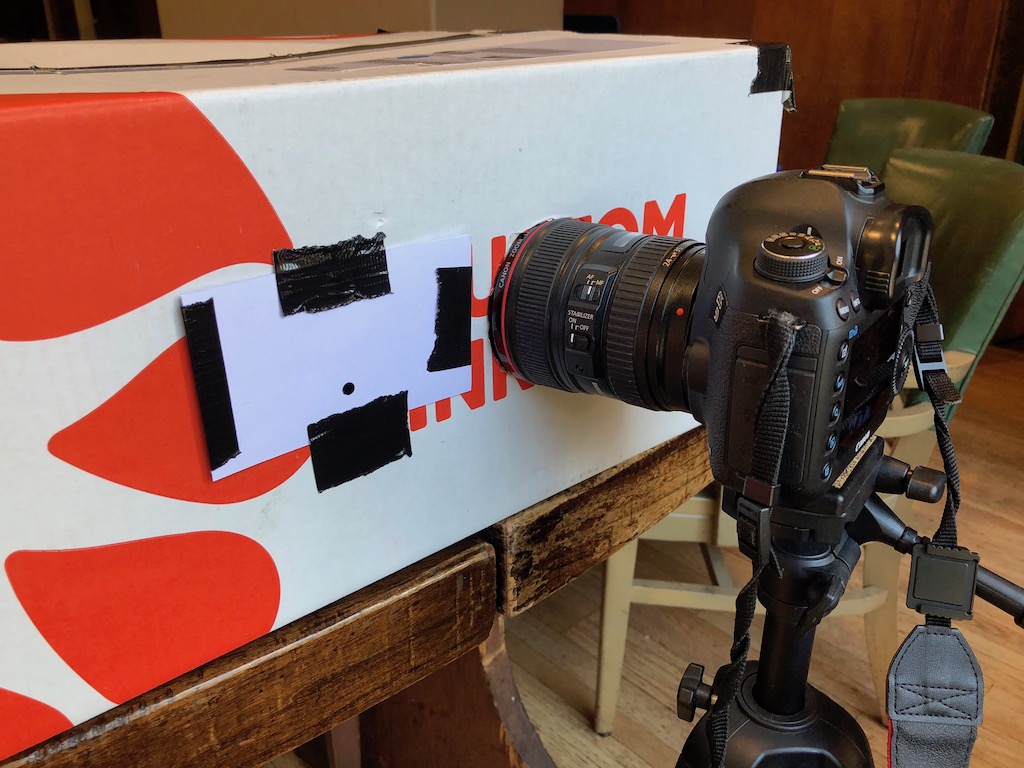
We estimated with a 0.85 mm ideal pinhole size. For the pinholes, we punched the approximated ideal 0.85 mm pinhole size with a pinprick onto a folded sheet of tin foil. The reason for this is when we first punched it on card paper, it was not a clean hole which gave us diffraction effects.
For the 3 mm and 5 mm pinholes, we used a hole puncher to make clean pinholes on card paper.
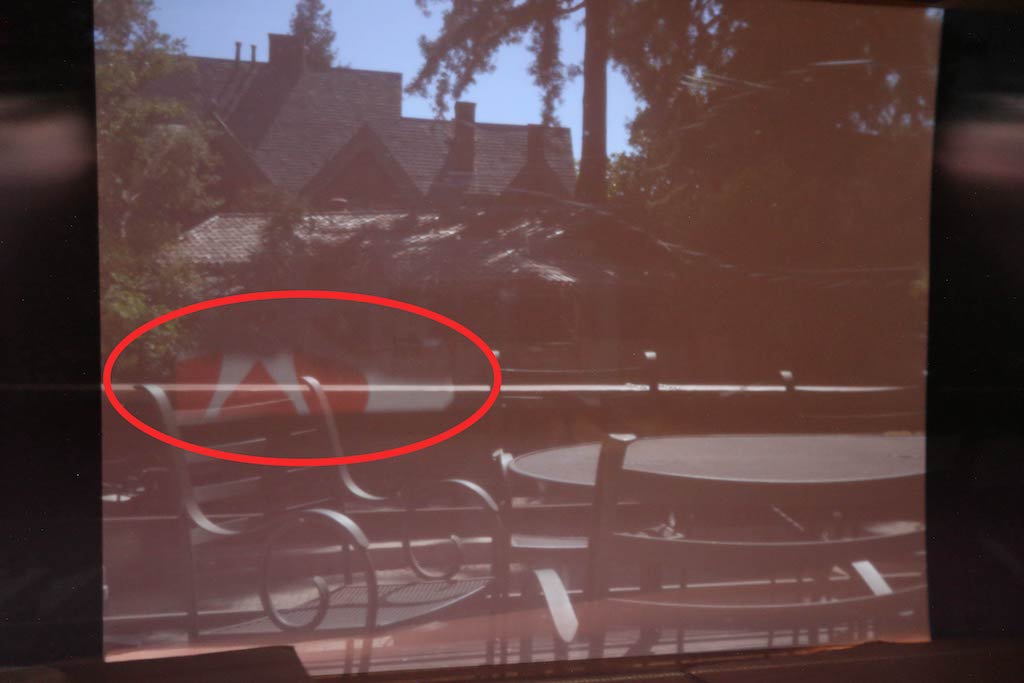
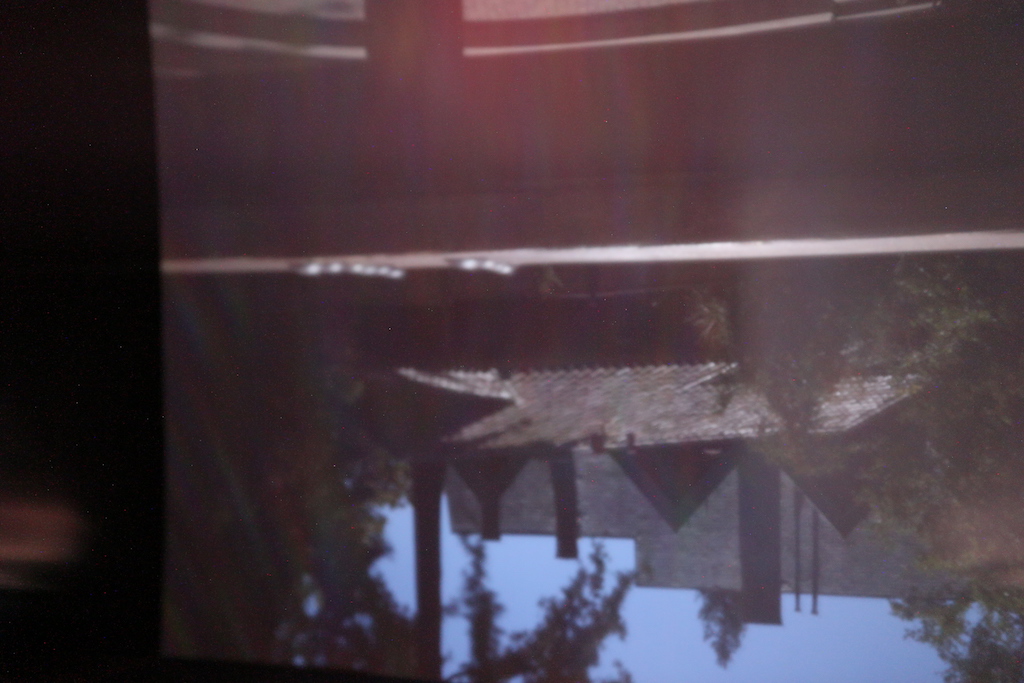
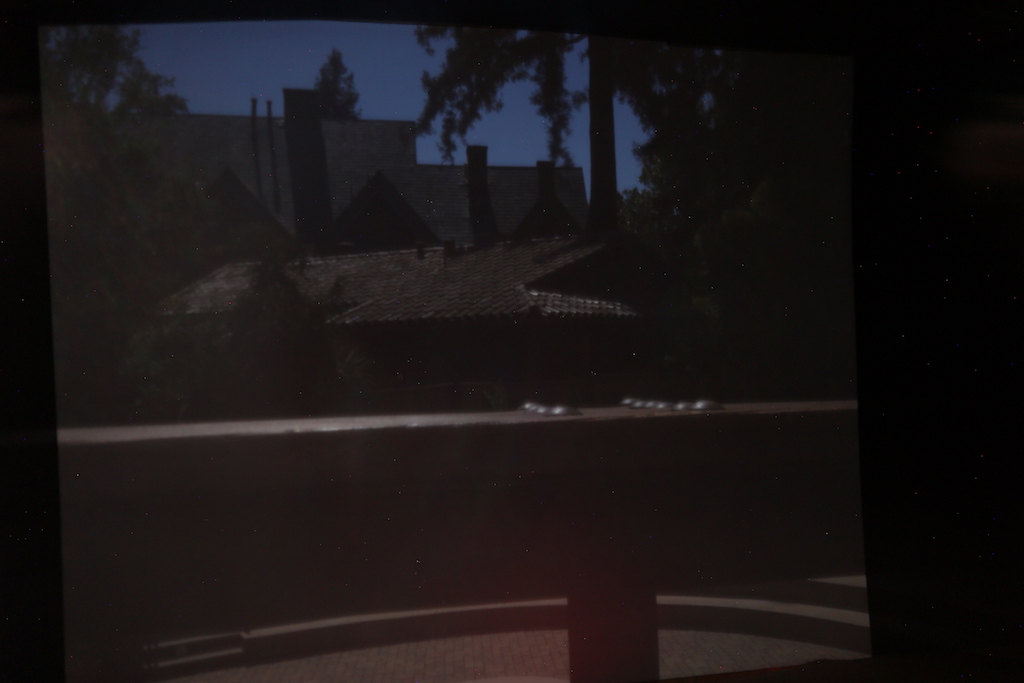
We started off with the ideal pinhole size, 0.85mm, which gave us clear images. However, since the pinhole
was so small, not a lot of light can travel through, so the resulting image was moderately visible. As we increased
the pinhole size to 3mm and 5mm, more light entered but the resulting images were blurrier. The reason being
due to the larger pinhole, the circle of confusion was larger as well.
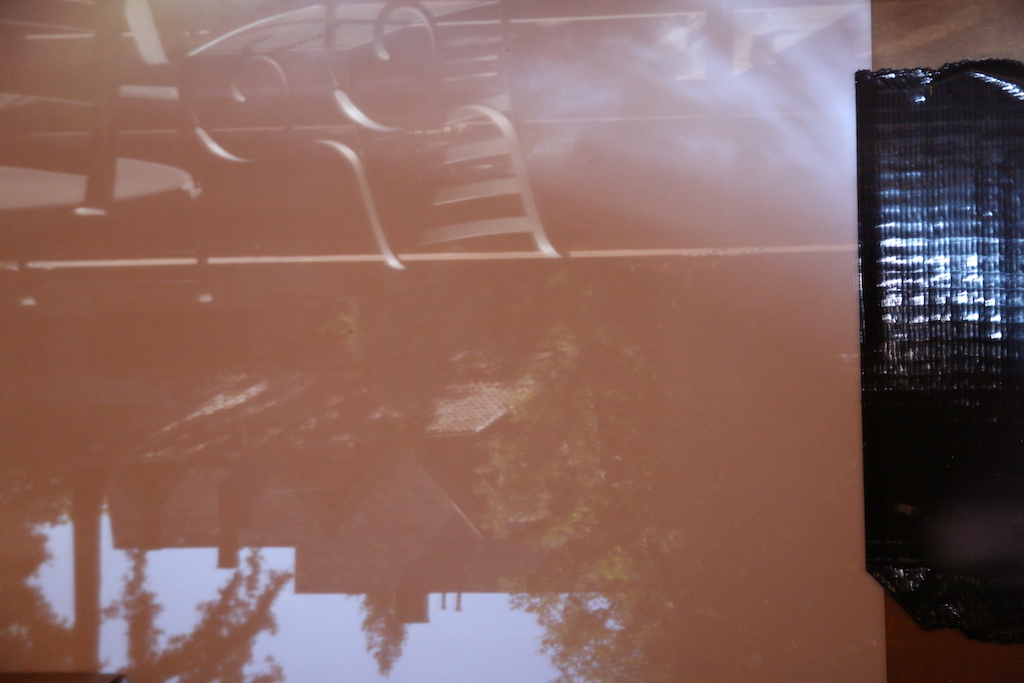
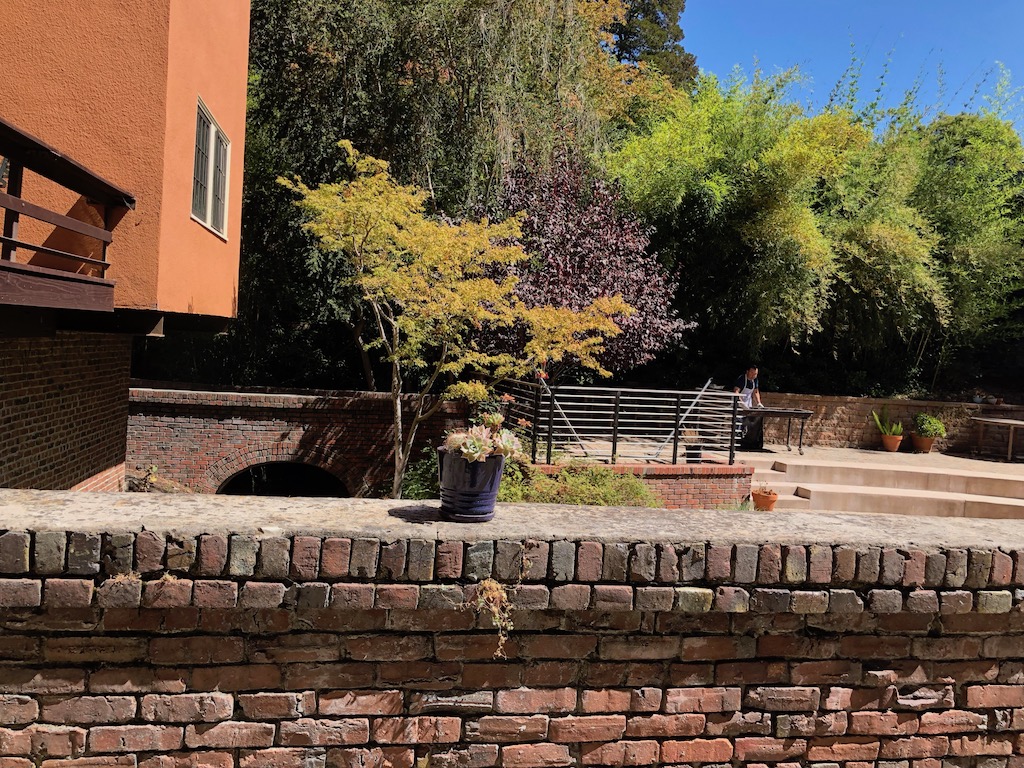
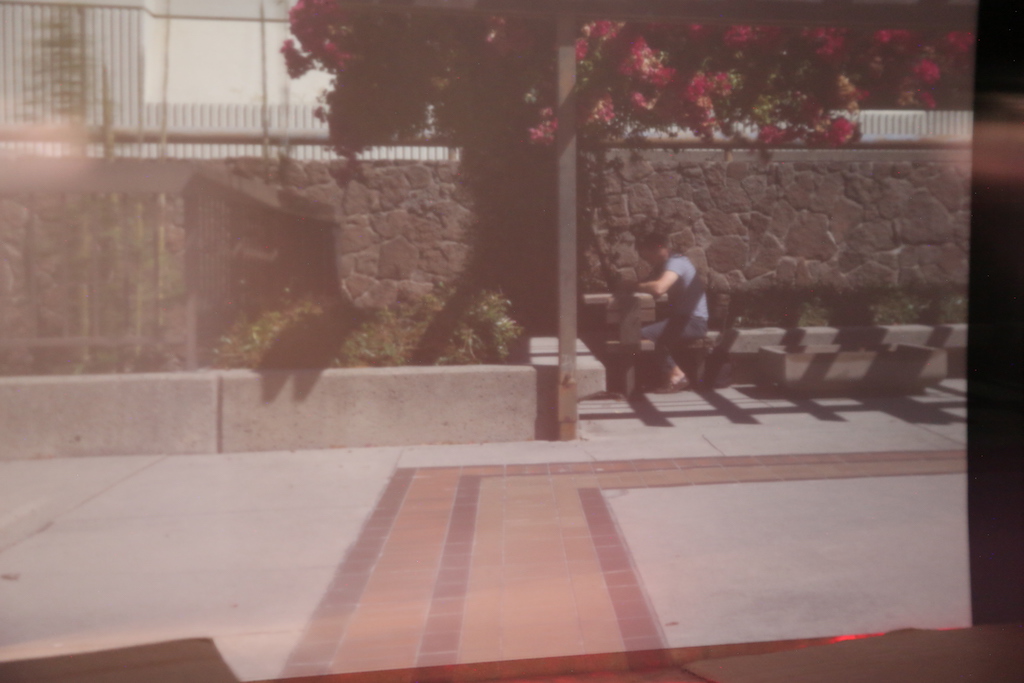
With the pinhole receiving direct sunlight, we noticed there was a lot more light, in general, coming in than
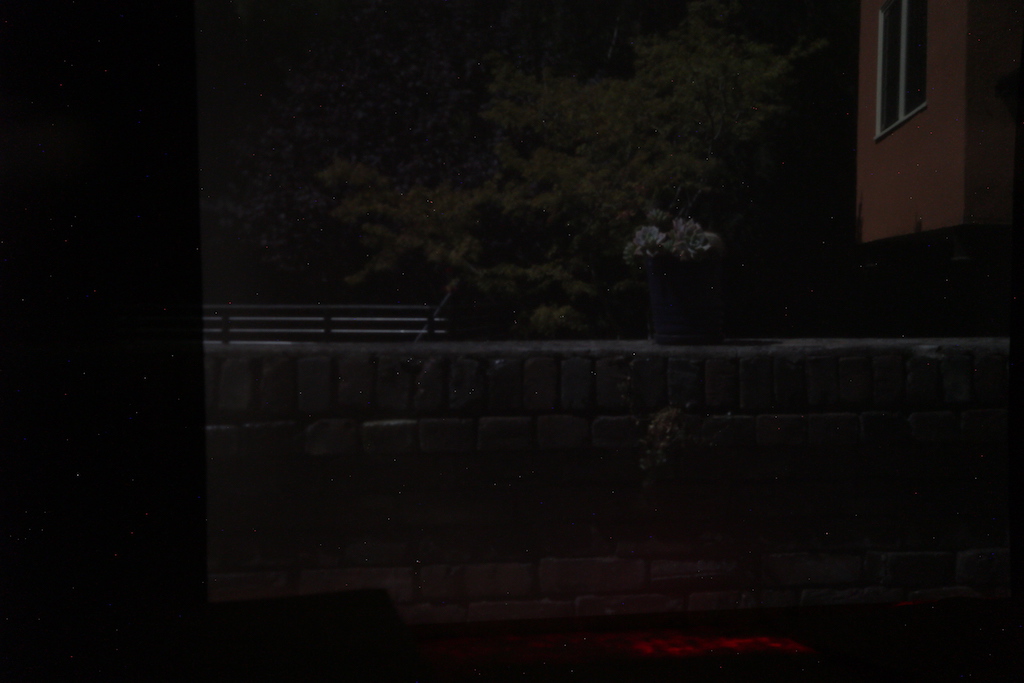
when the pinhole was not facing towards the sun, e.g. Patio versus Flower.
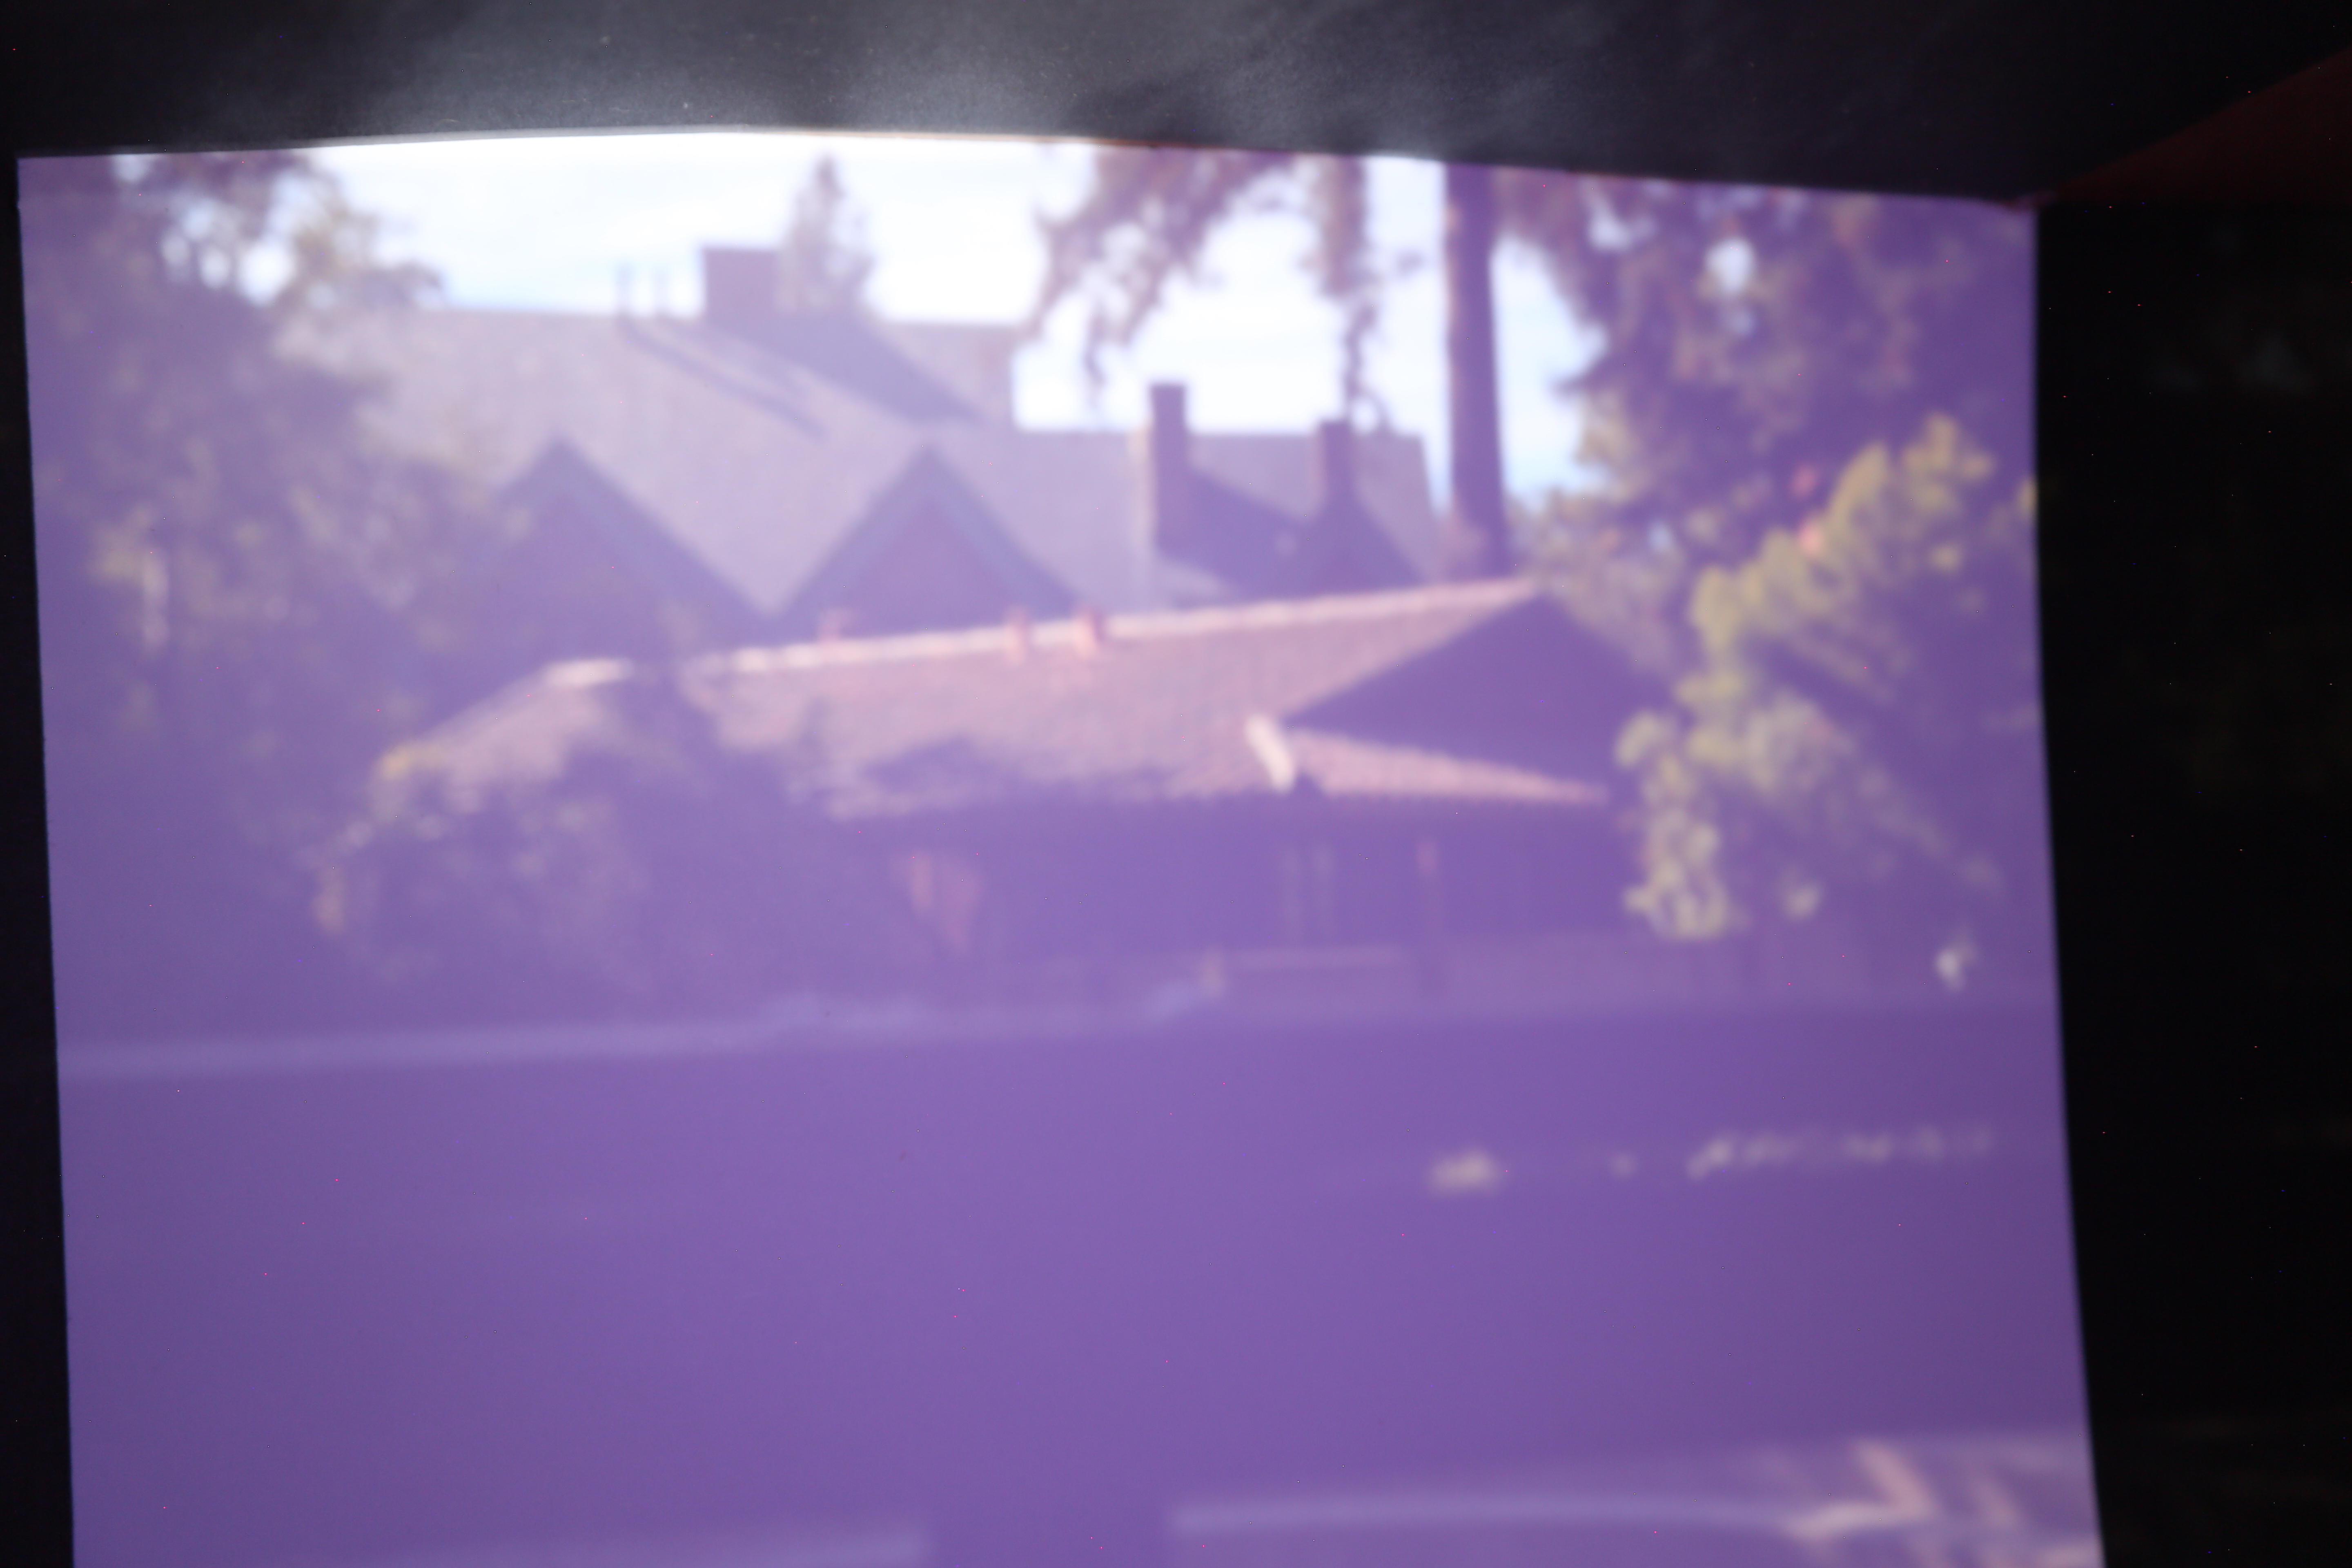
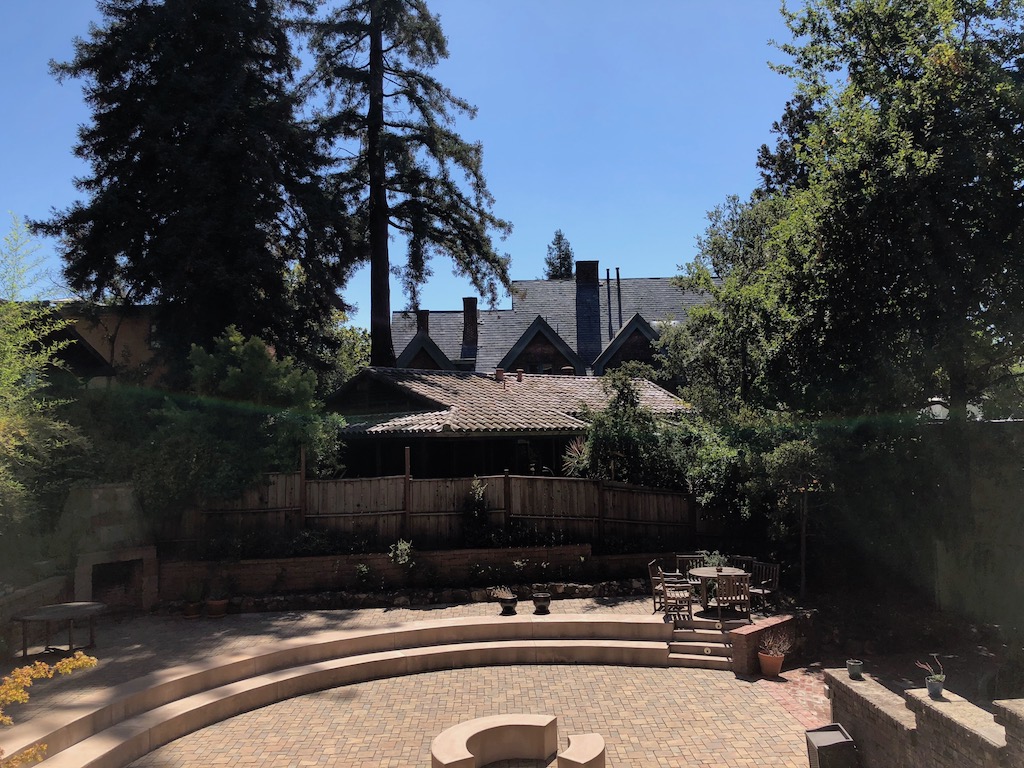
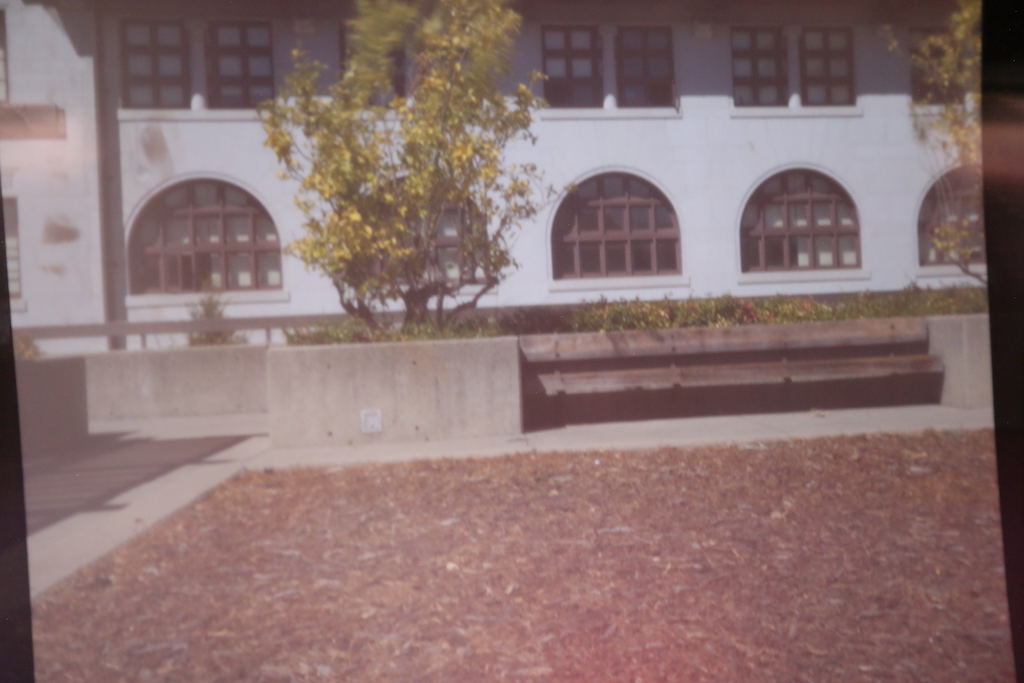
Patio: 30" F4.0 ISO 500 (Outside, pinhole in direct sunlight.)
Flower: 30" F4.0 ISO 500 (Outside, but the pinhole is not in direct sunlight.)
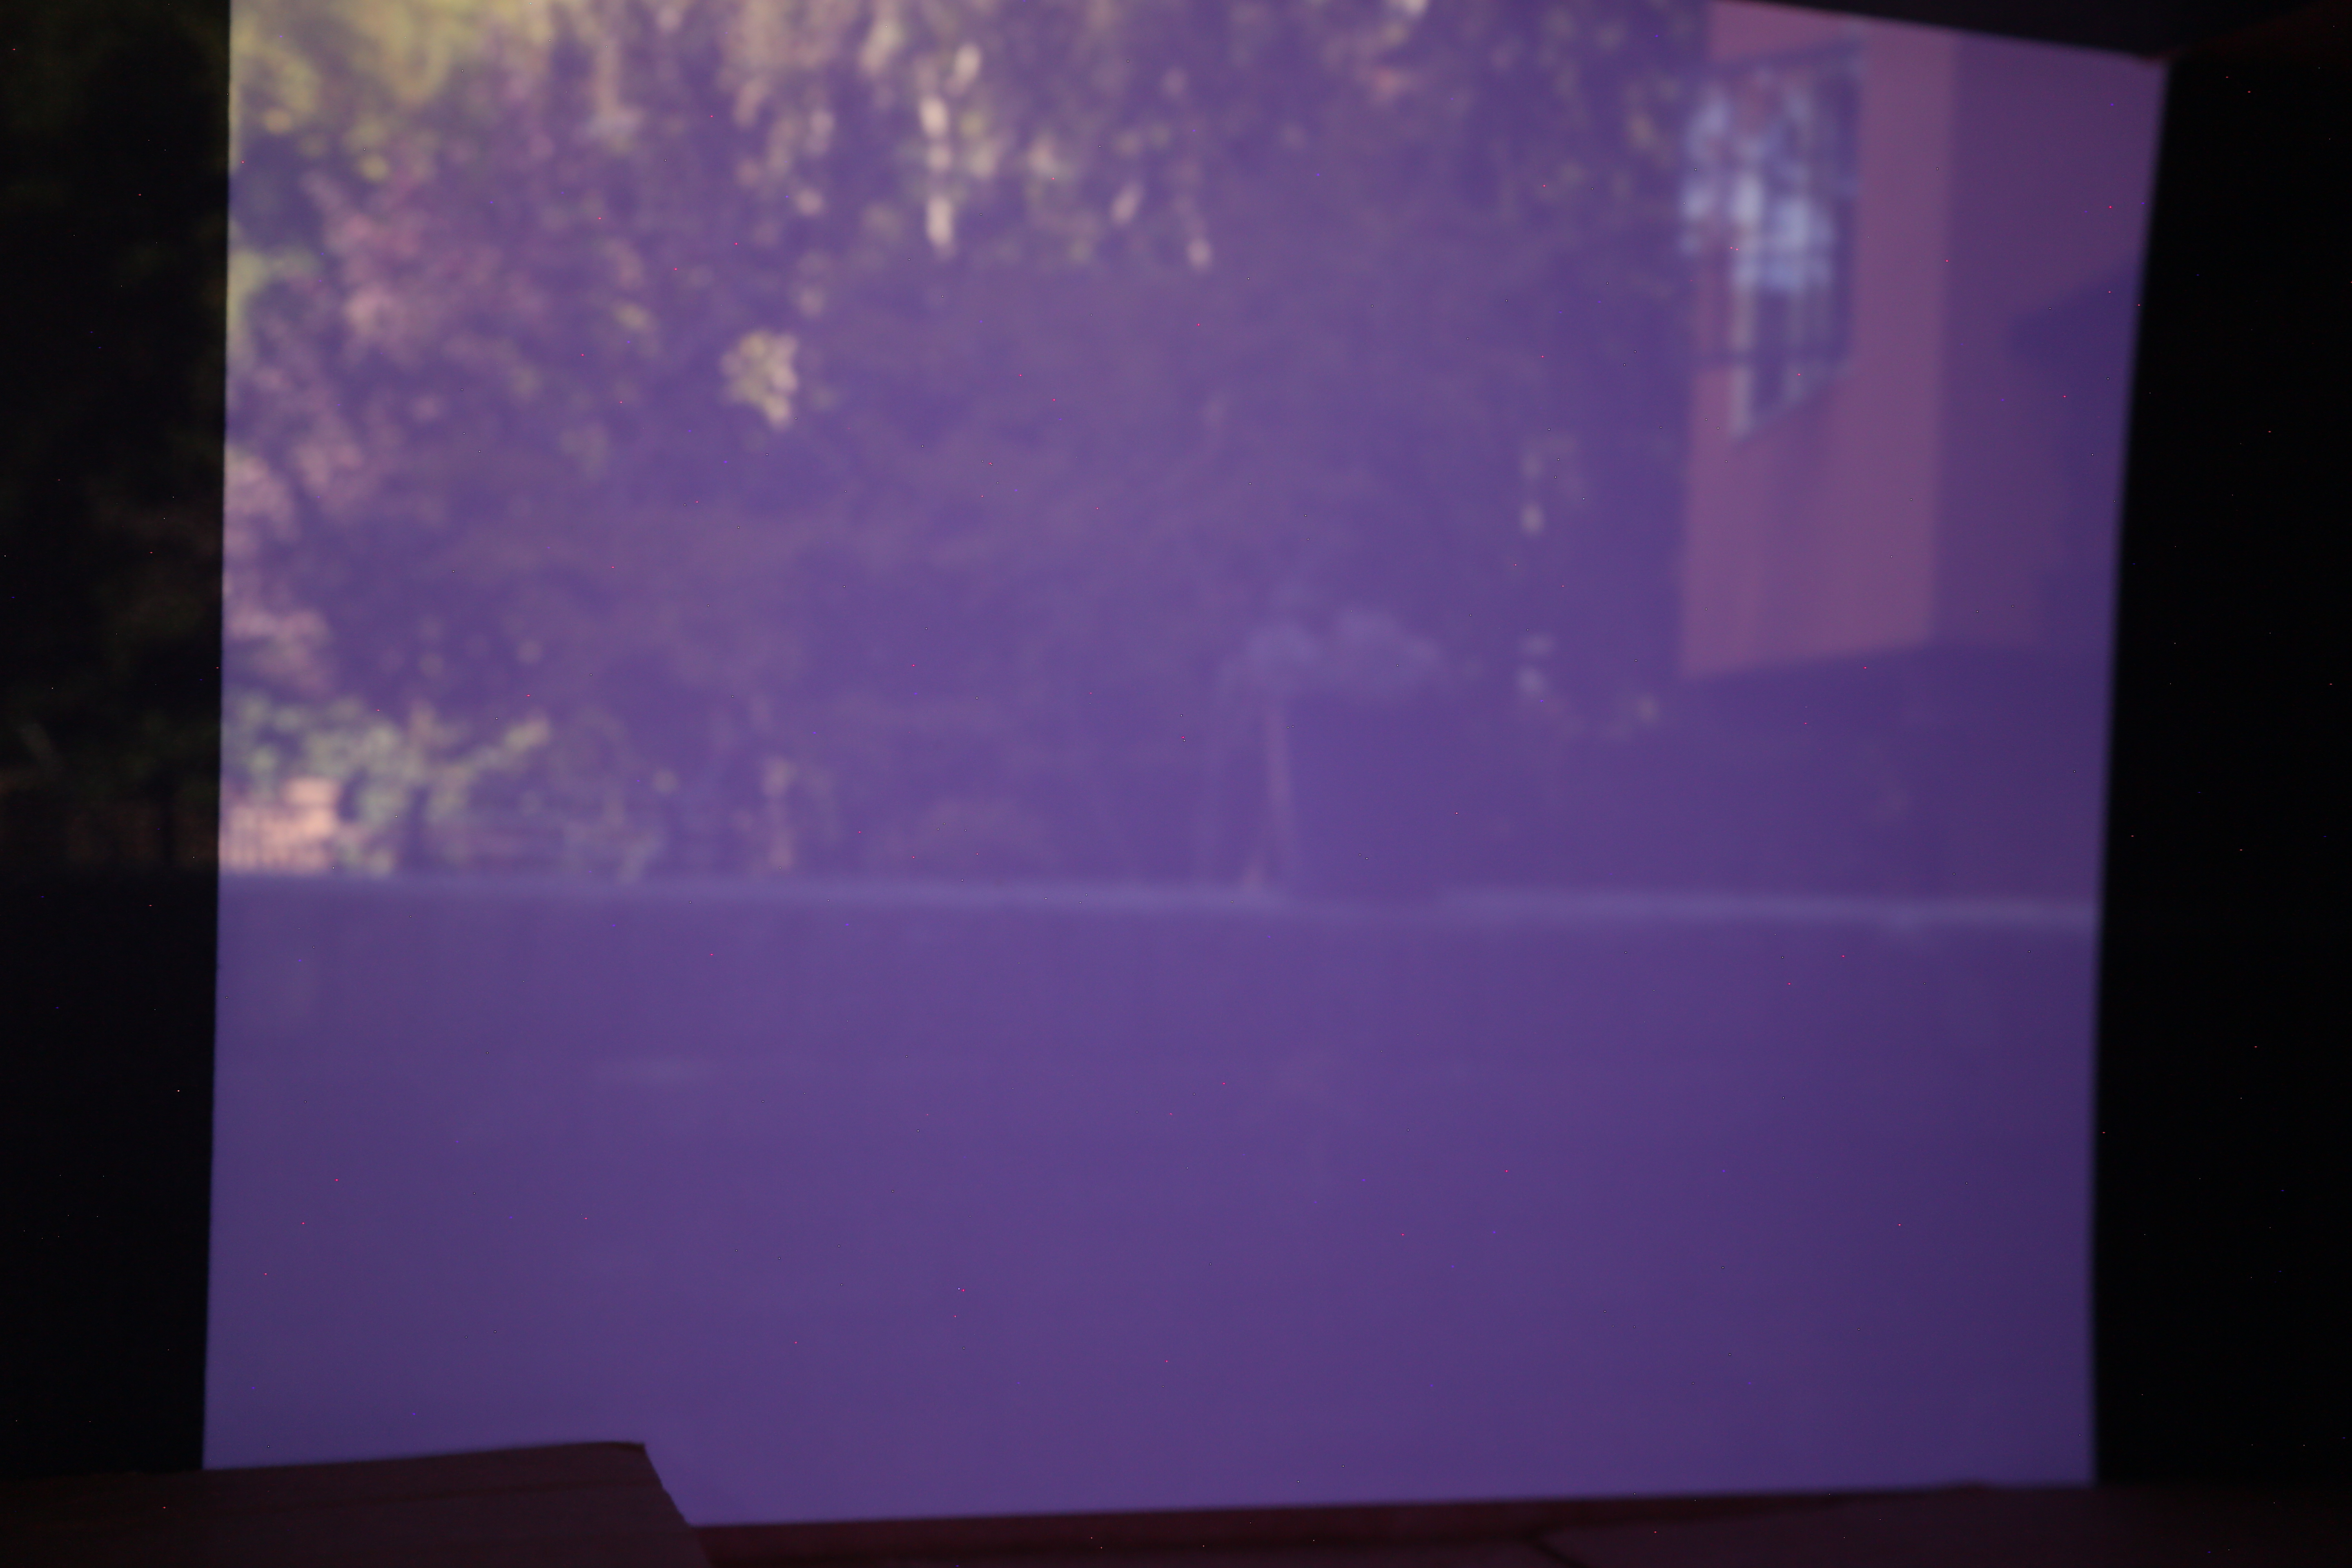
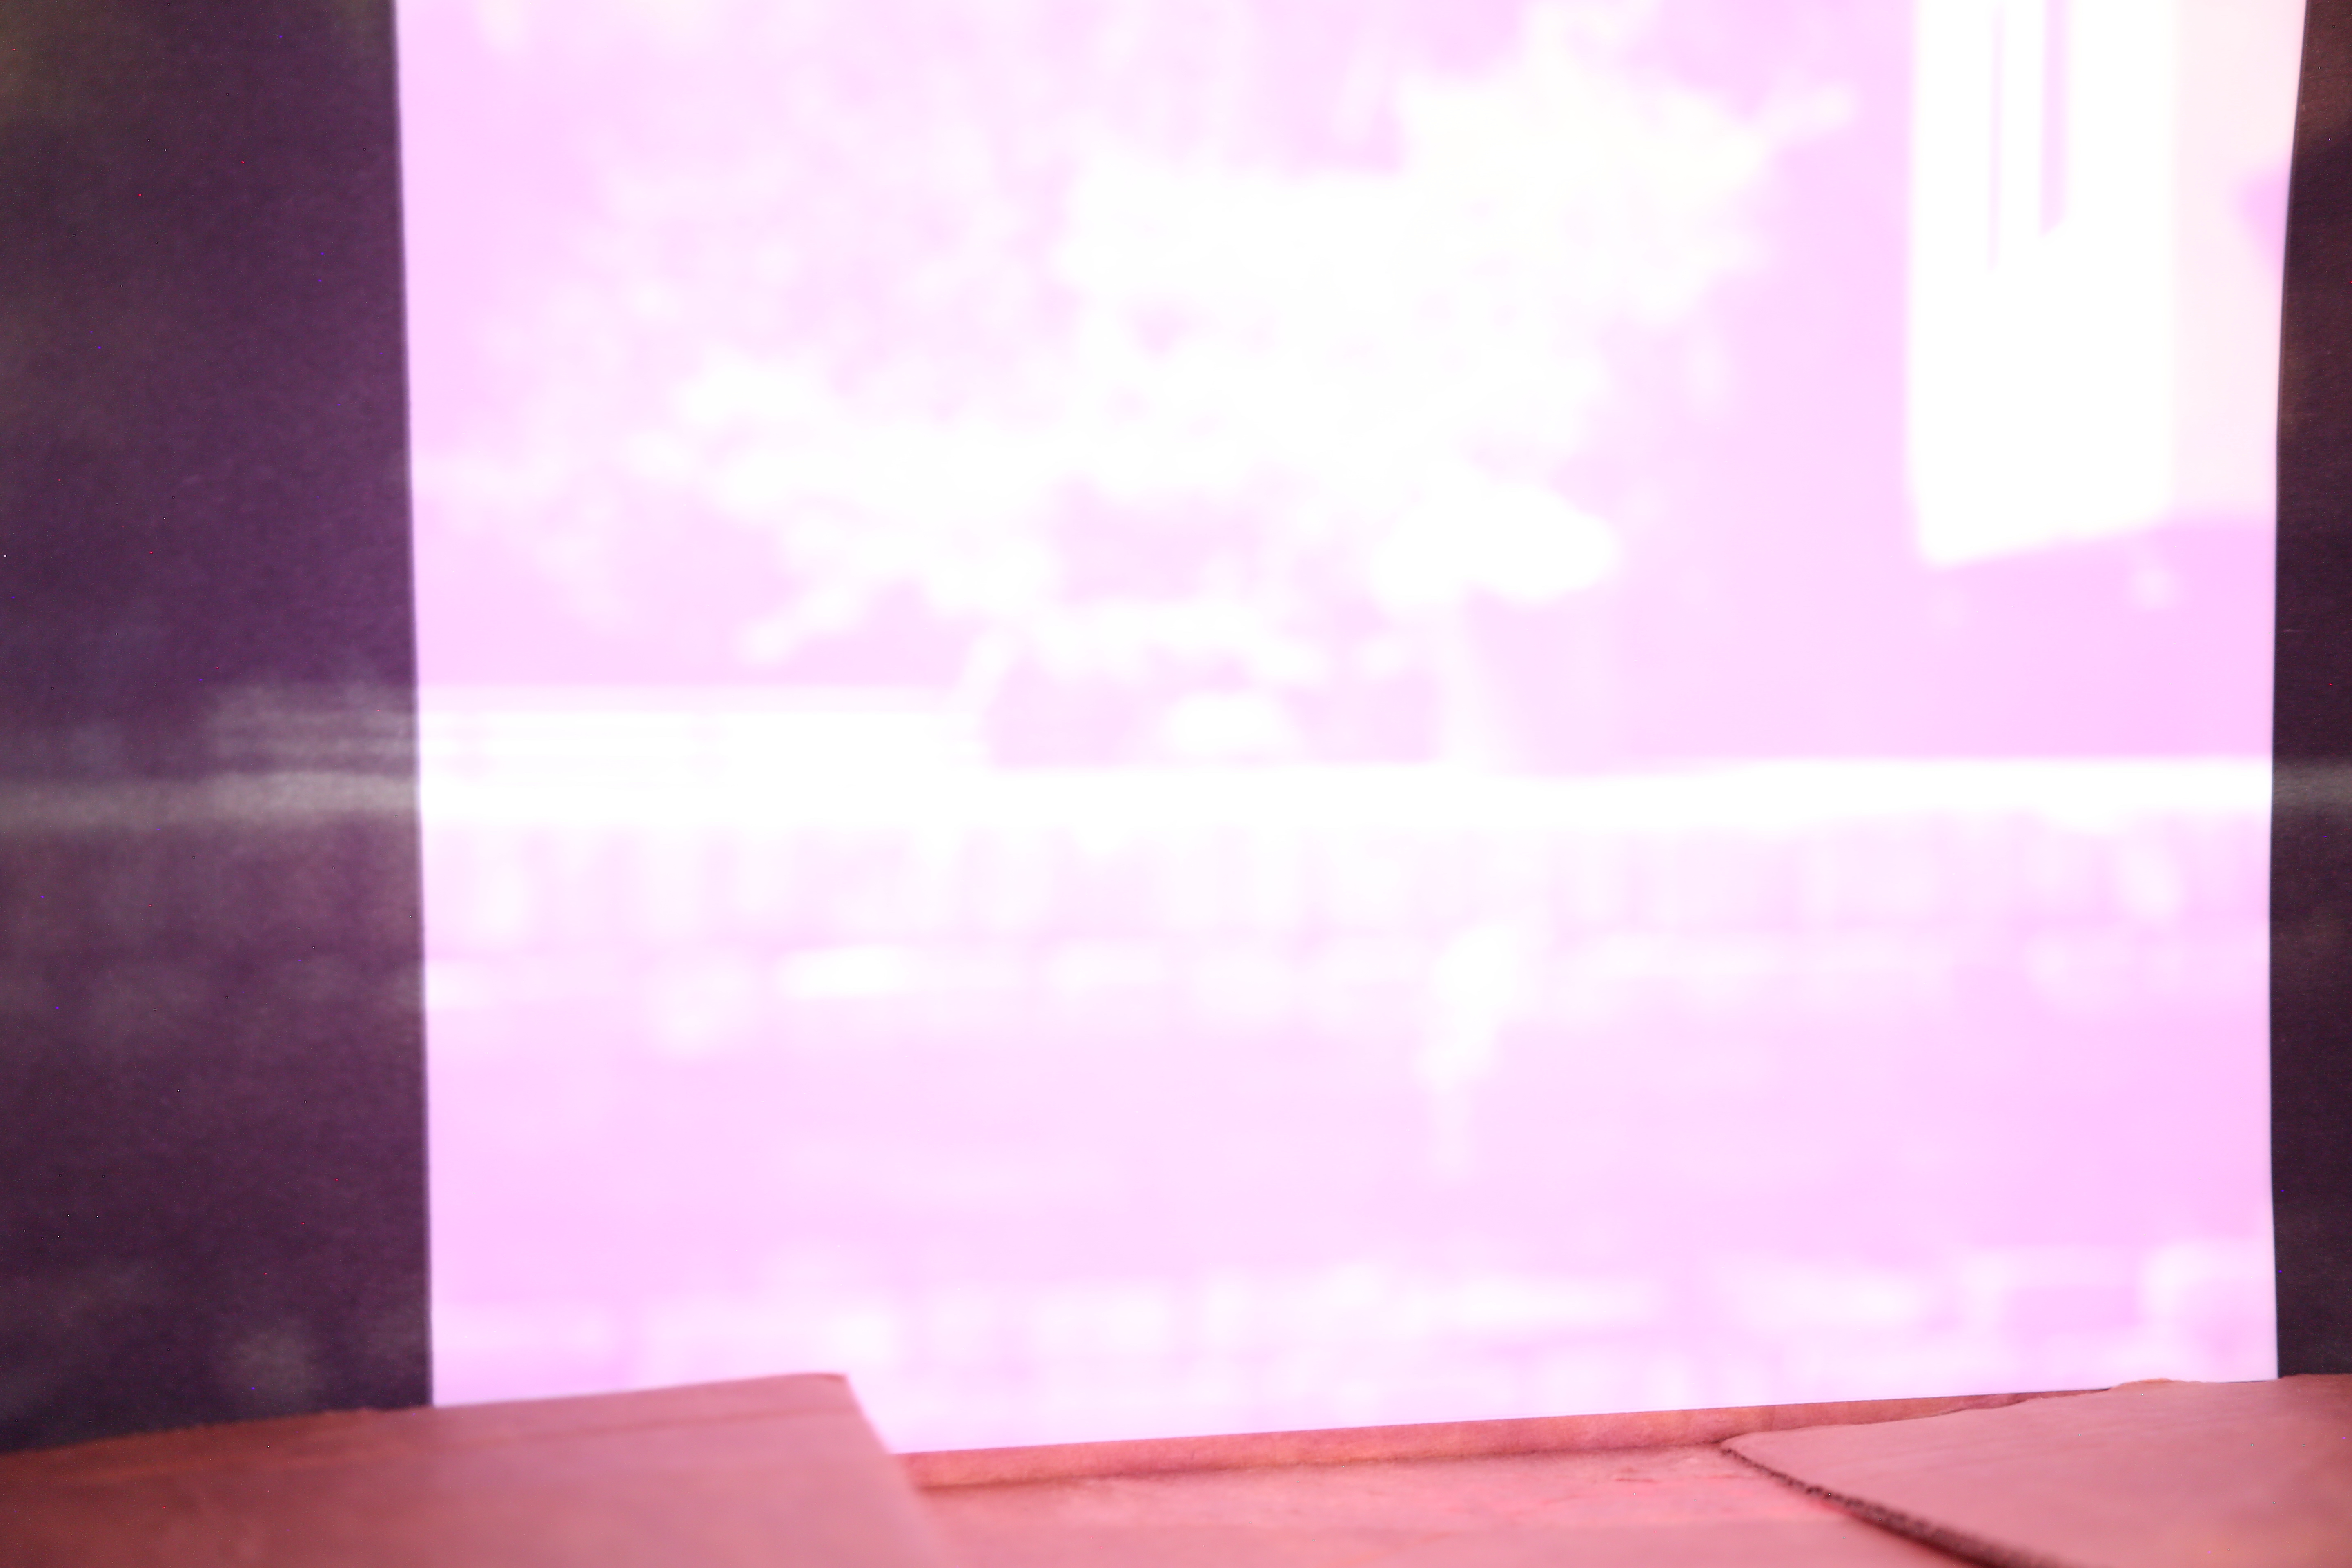
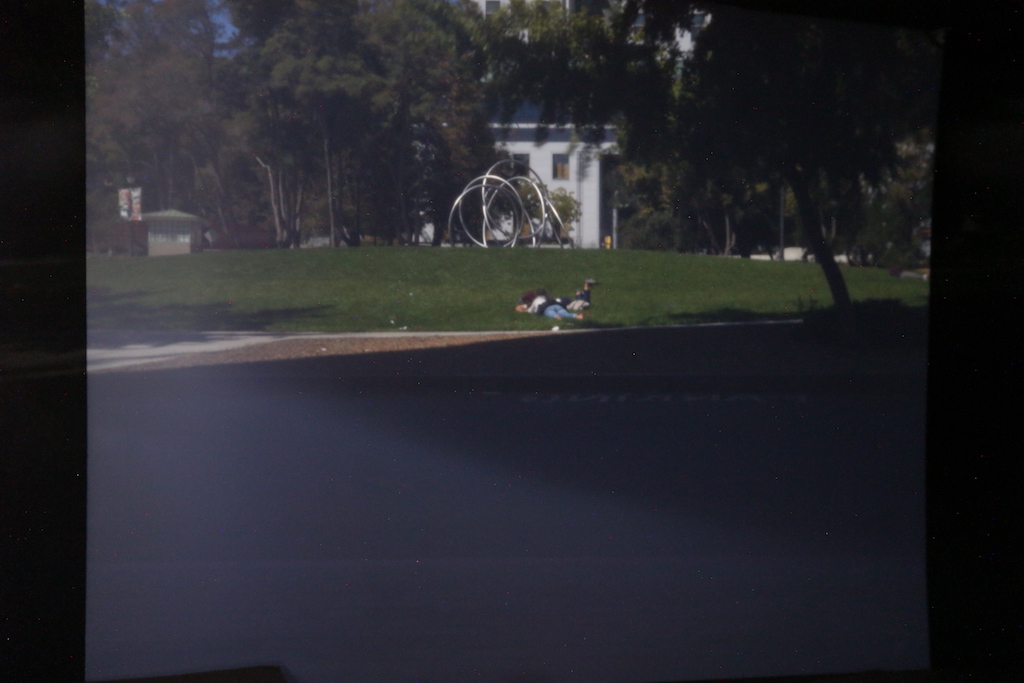
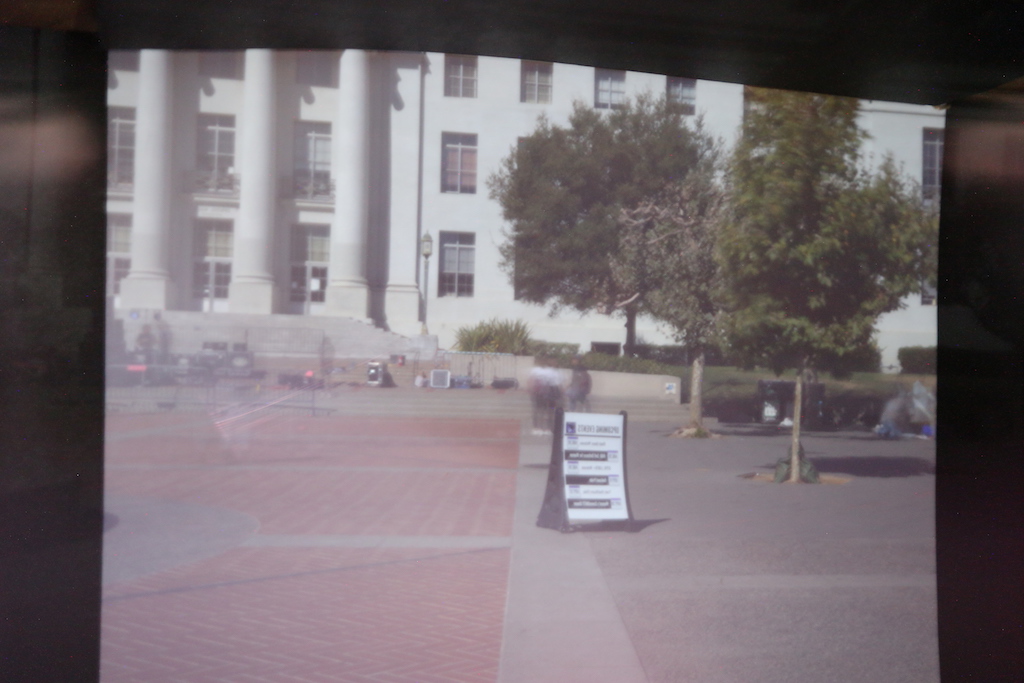
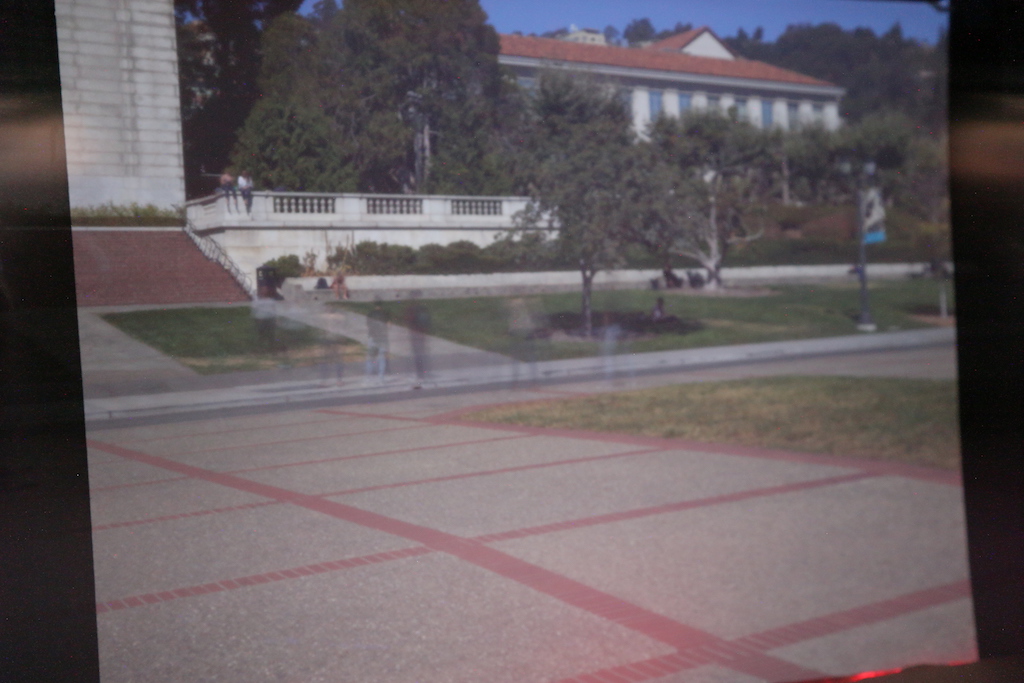
These photos were taken with our ideal 0.85 mm pinhole with a 30 second shutter speed, f-stop 4.0, and ISO 500. You can see a ghosting effect in the Sproul and Campanile photos due to the 30 seconds of exposure.

Our ideal 0.85 pinhole captured images so clearly, when we were experimenting indoors, the 0.85 pinhole captured the reflection of the box in the window!