Lakshya Jain (cs194-26-acc) and Rachael Wu (cs194-26-acr)
Overview
The goal of this project was to build a simple pinhole camera. The camera consists of a lightproof box with a white screen on one side and a small pinhole on the other. Light enters through the hole, projecting an inverted image on the white screen. The image is then captured by a digital camera that is attached to the box. In order to compensate for a longer focal length and f-number, the exposure time for the digital camera was also increased.
Box Design
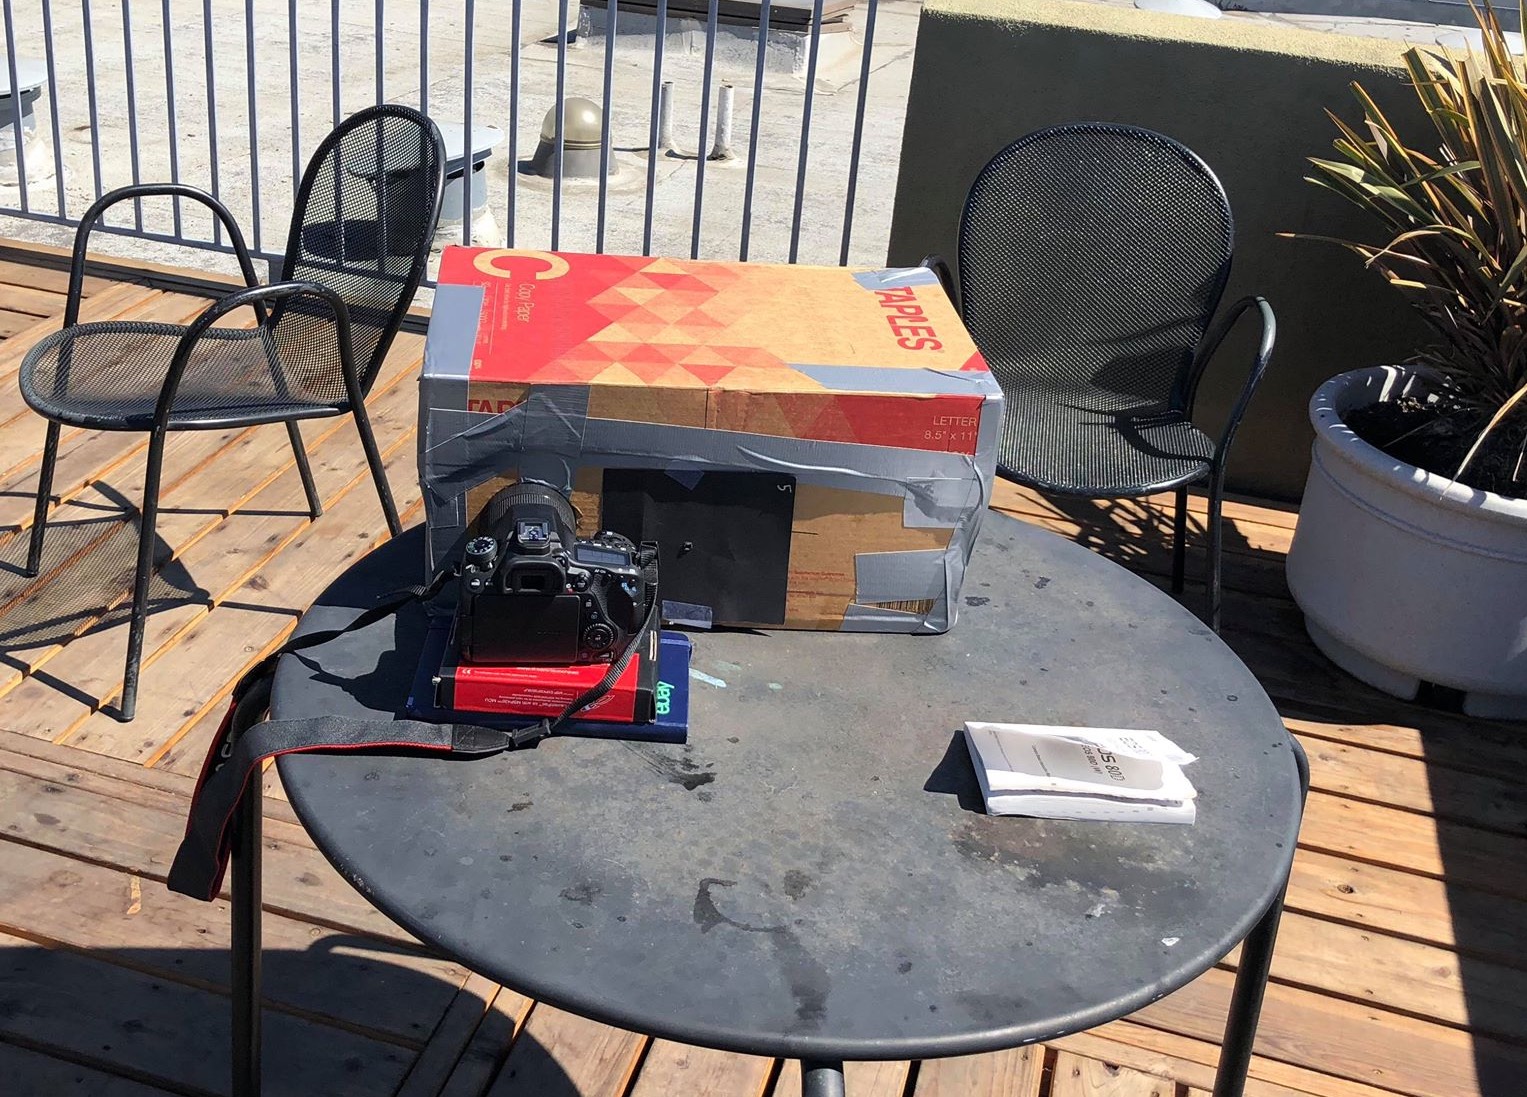
For this project, we followed the pinhole camera design outlined in the spec. However, since neither of us owned a shoebox, we used a larger cardboard box. Its dimensions were approximately 11 x 17 x 10 inches.
First, we covered one face of the box with white printer paper to make a screen. The rest of the box was covered with black paper to minimize reflections within the box. We also used duct tape to cover the corners, edges, and cover on the outside of the box in order to make the box completely lightproof.
Camera Model: Canon EOS 80D
<
On the face opposite of the white screen, we cut two large holes in the box. The first hole was where we inserted the digital camera's lens. In order to prevent additional light from entering the box, we had to make sure this hole was as close to the size of the lens as possible. The second hole was covered by black cardstock with a pinhole. We chose not to cut the pinhole directly into the box, since we wanted to be able to easily switch between cards with pinholes of different sizes.
In order to minimize movement, we placed the box on a table when taking pictures. We also used miscellaneous items (such as a small box, notebook, etc.) to create a stand for the camera in order to hold it steady.
A picture of our setup outside
Pinhole Size
Initially, we used 0.1mm, 3mm, and 5mm for our pinhole sizes. However, we found that these pinhole sizes resulted in images that were too dark for an exposure time of 30 seconds. This was likely due to the fact that our cardboard box is much larger than an average shoebox, resulting in a longer focal length. Thus, we chose to use 2mm, 5mm, and 8mm for our pinhole camera.
Results
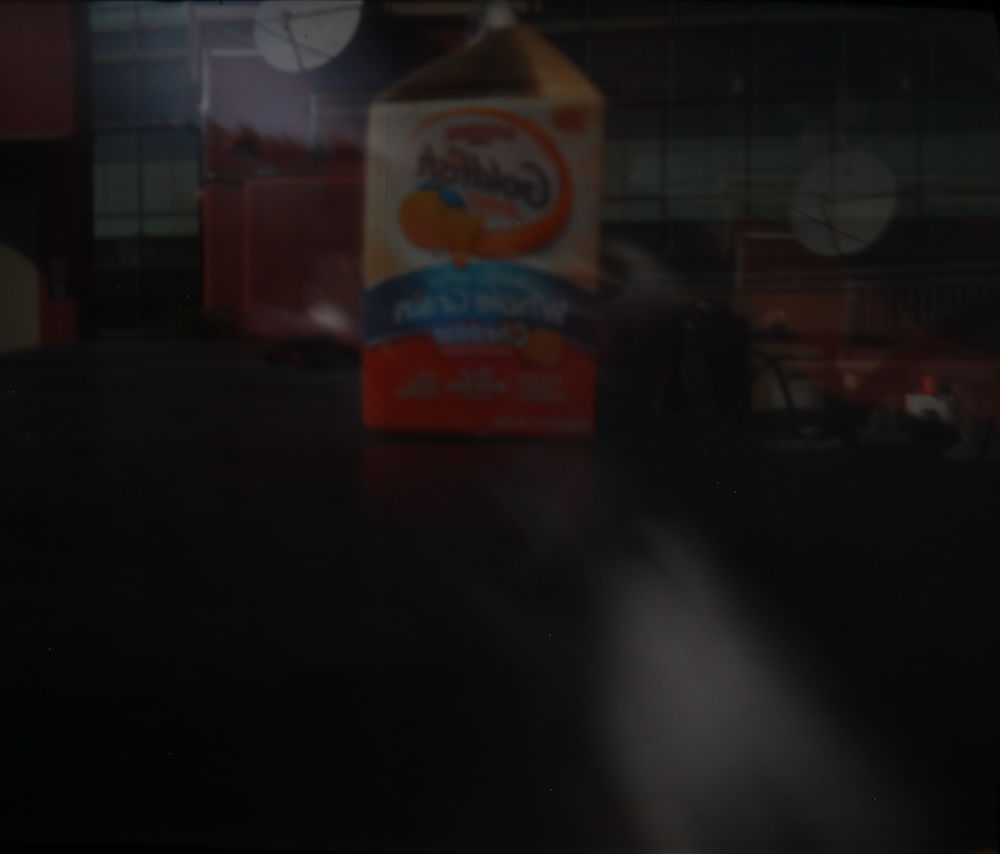
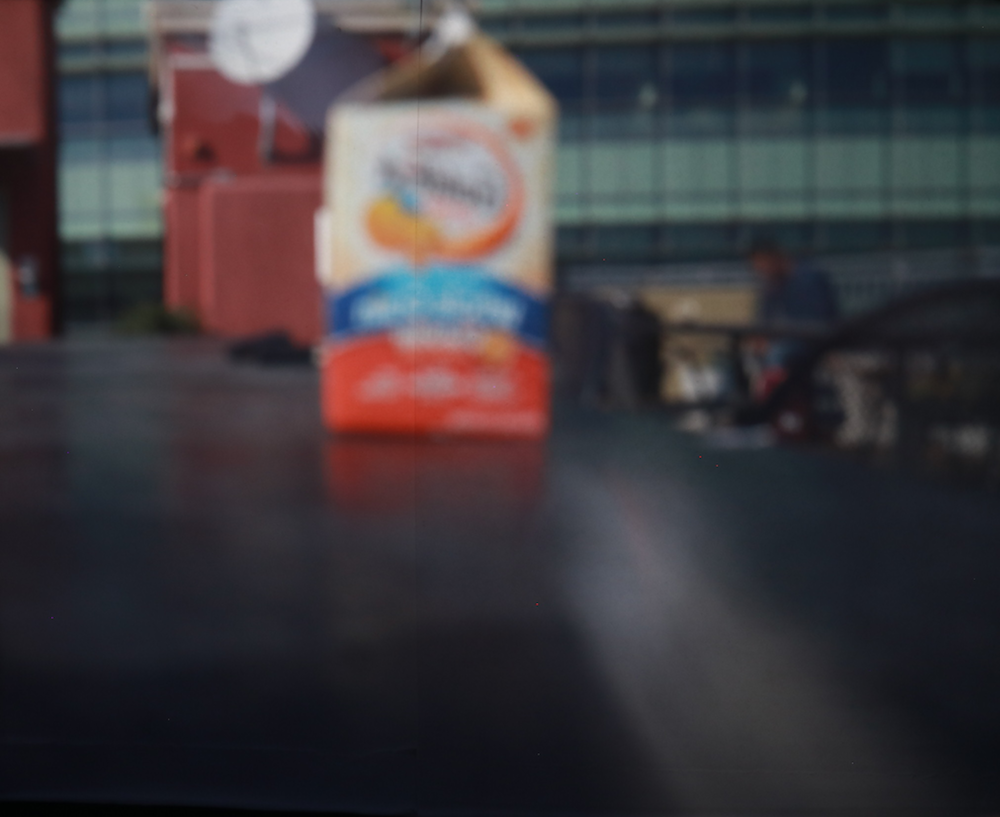
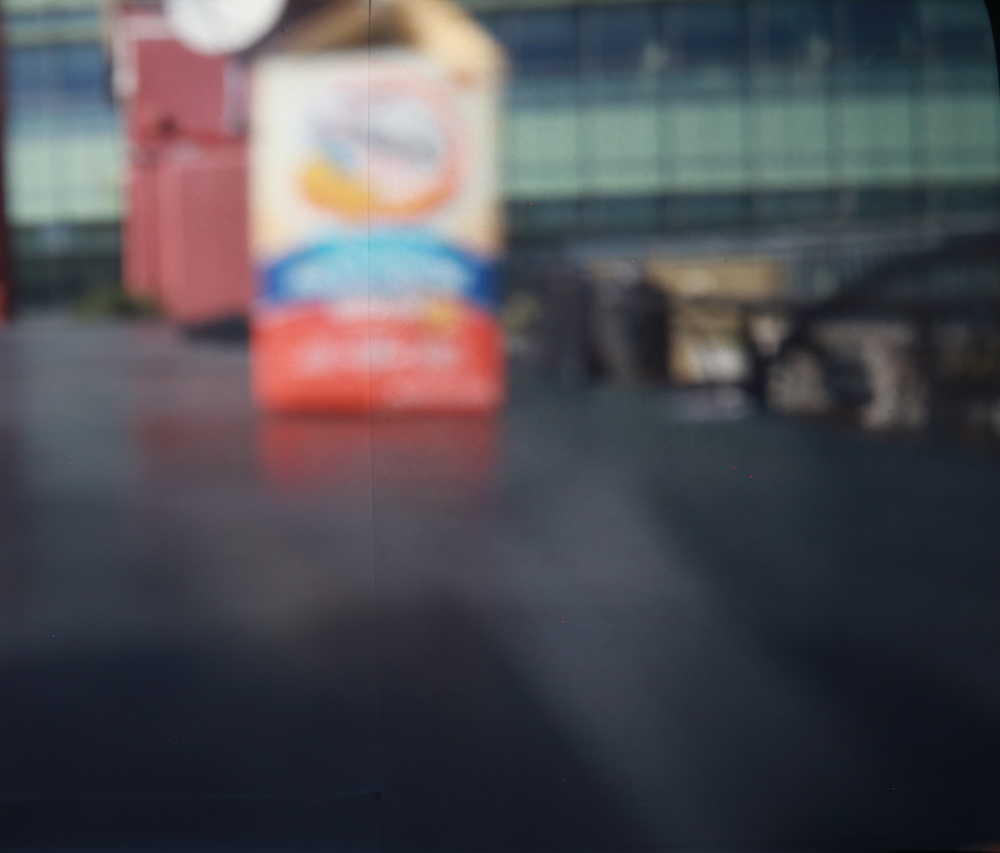
We chose to take photos of Li Ka Shing and a box of goldfish for our two sets of photos. We obtained the following pictures with an exposure time of 30 seconds.
2mm, 5mm, and 8mm pictures of a Goldfish carton
2mm, 5mm, and 8mm pictures of Li Ka Shing
While the 2mm image was the sharpest of the lot, it only allowed minimal light to enter, so we got a sharp image that was far too dark for our liking. On the other hand, with the 8mm hole size, although more light was entering, it was coming from all directions and resulted in a significantly blurrier (albeit brighter) image. Since the 5mm image that provided the best balance in sharpness and lighting, we picked it as our best pinhole size. As we increased the pinhole size, the general pattern was that the brightness would increase, but the sharpness would decrease.
Photos of Best Pinhole
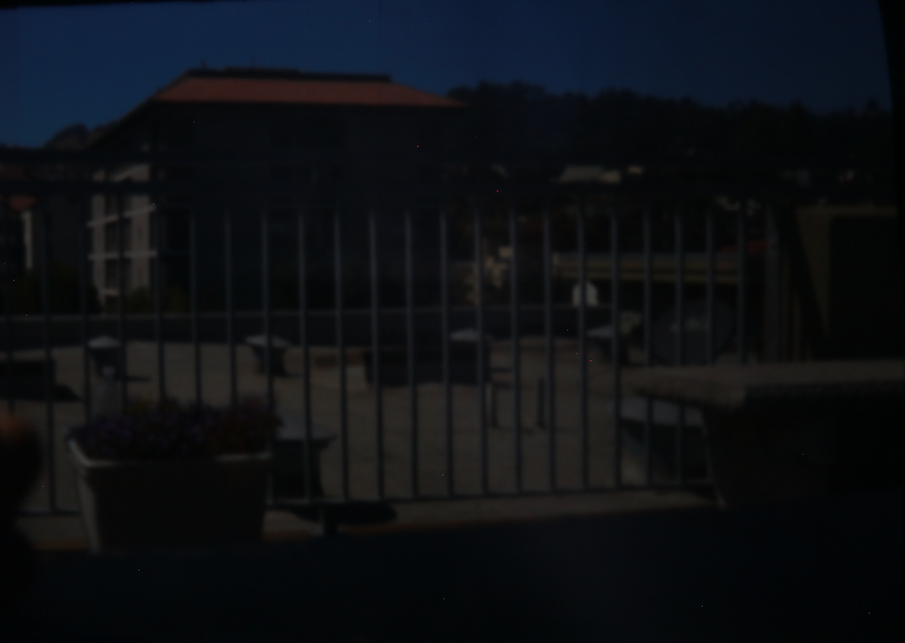
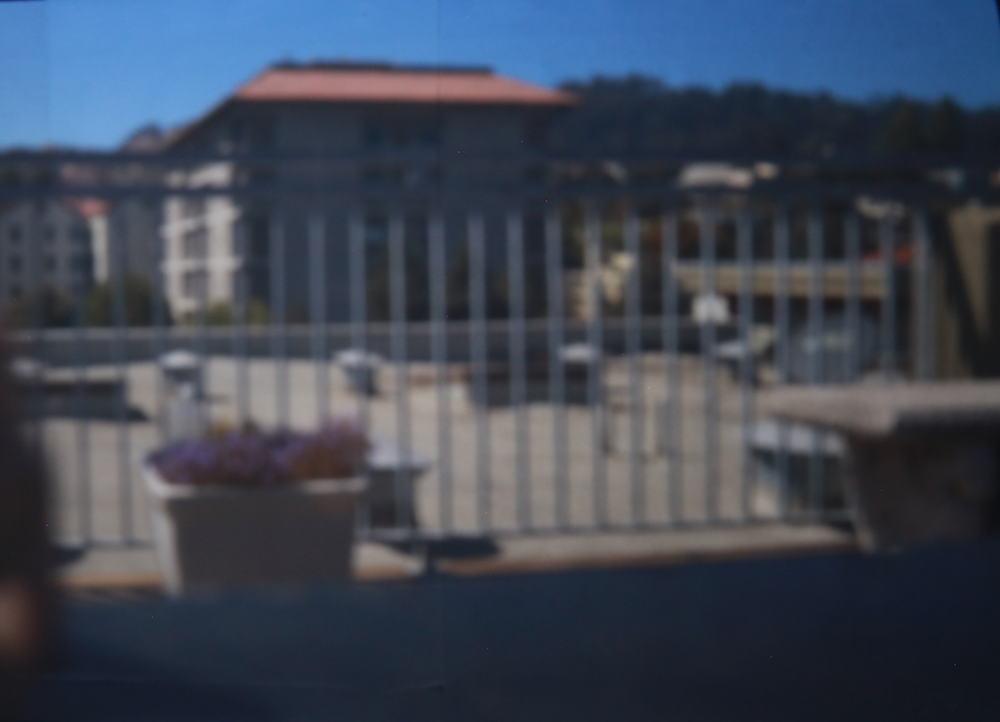
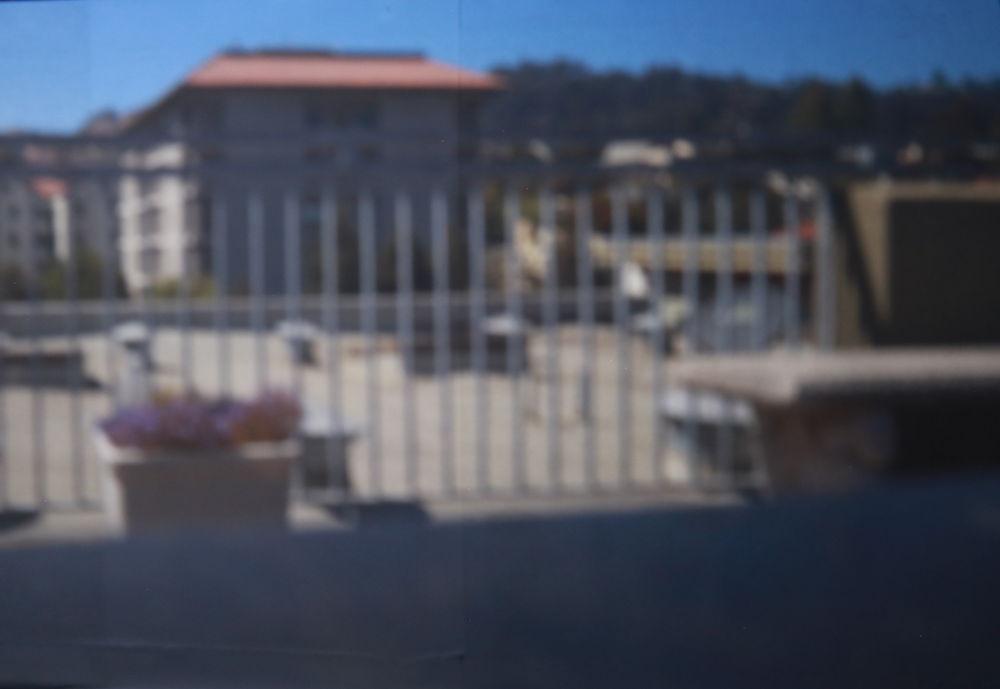
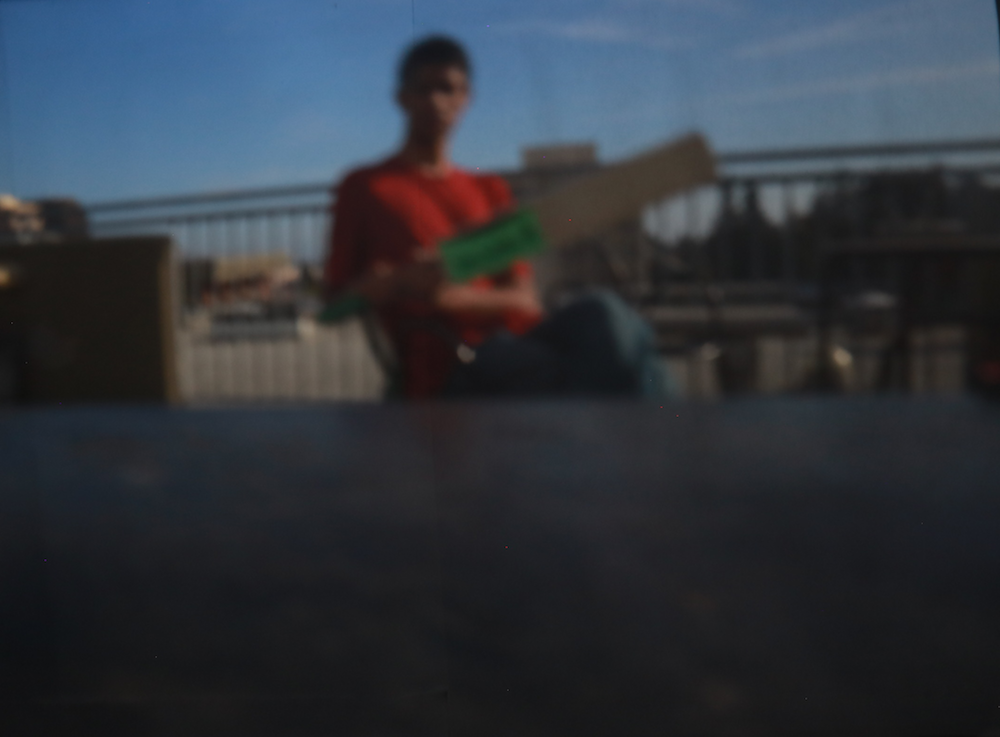
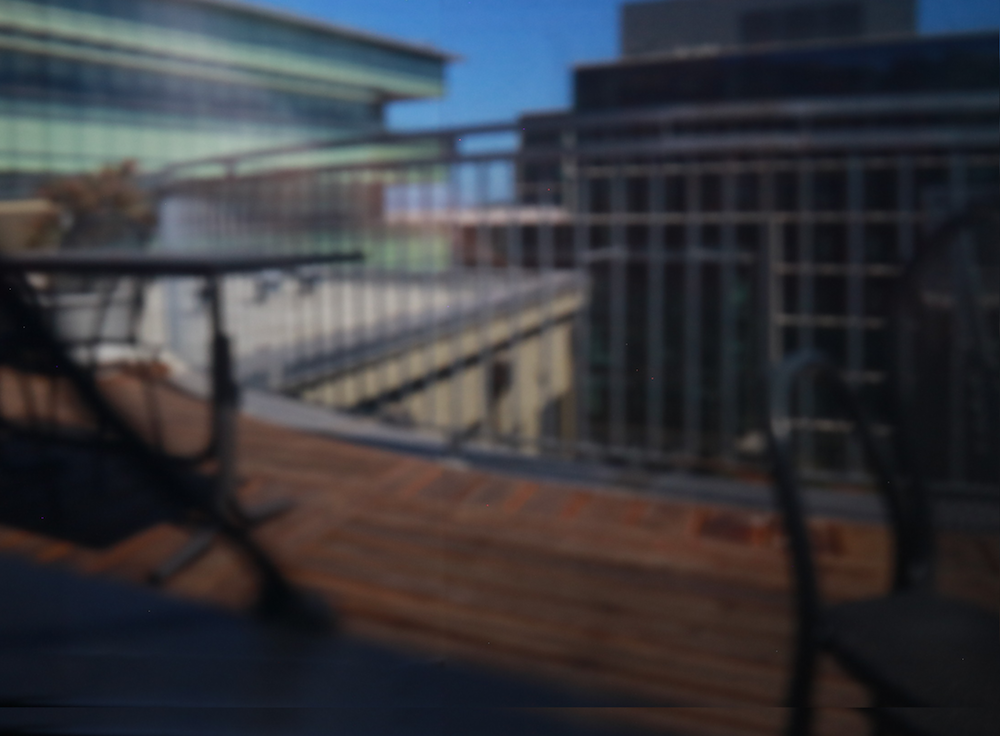
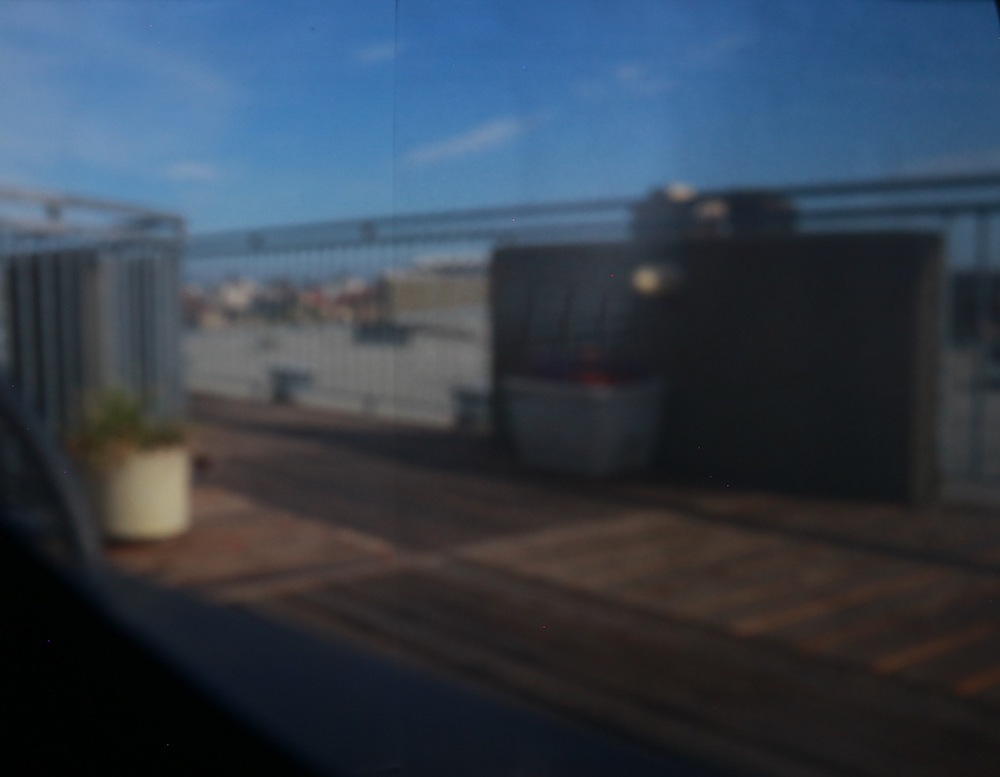
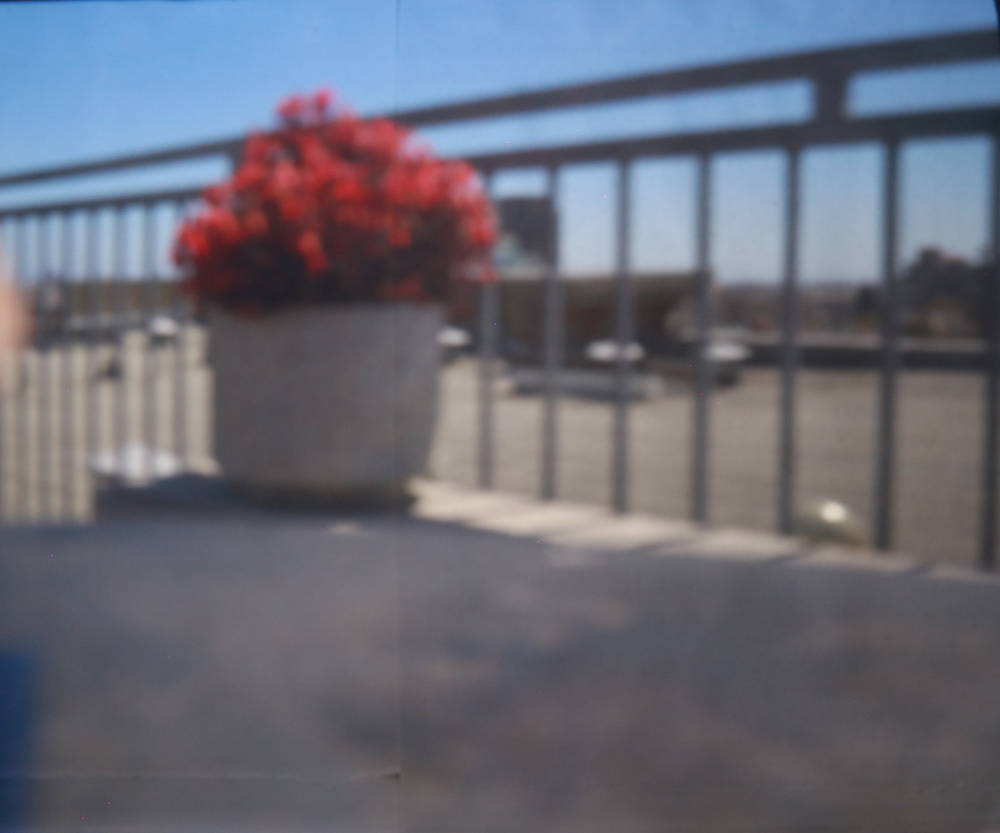
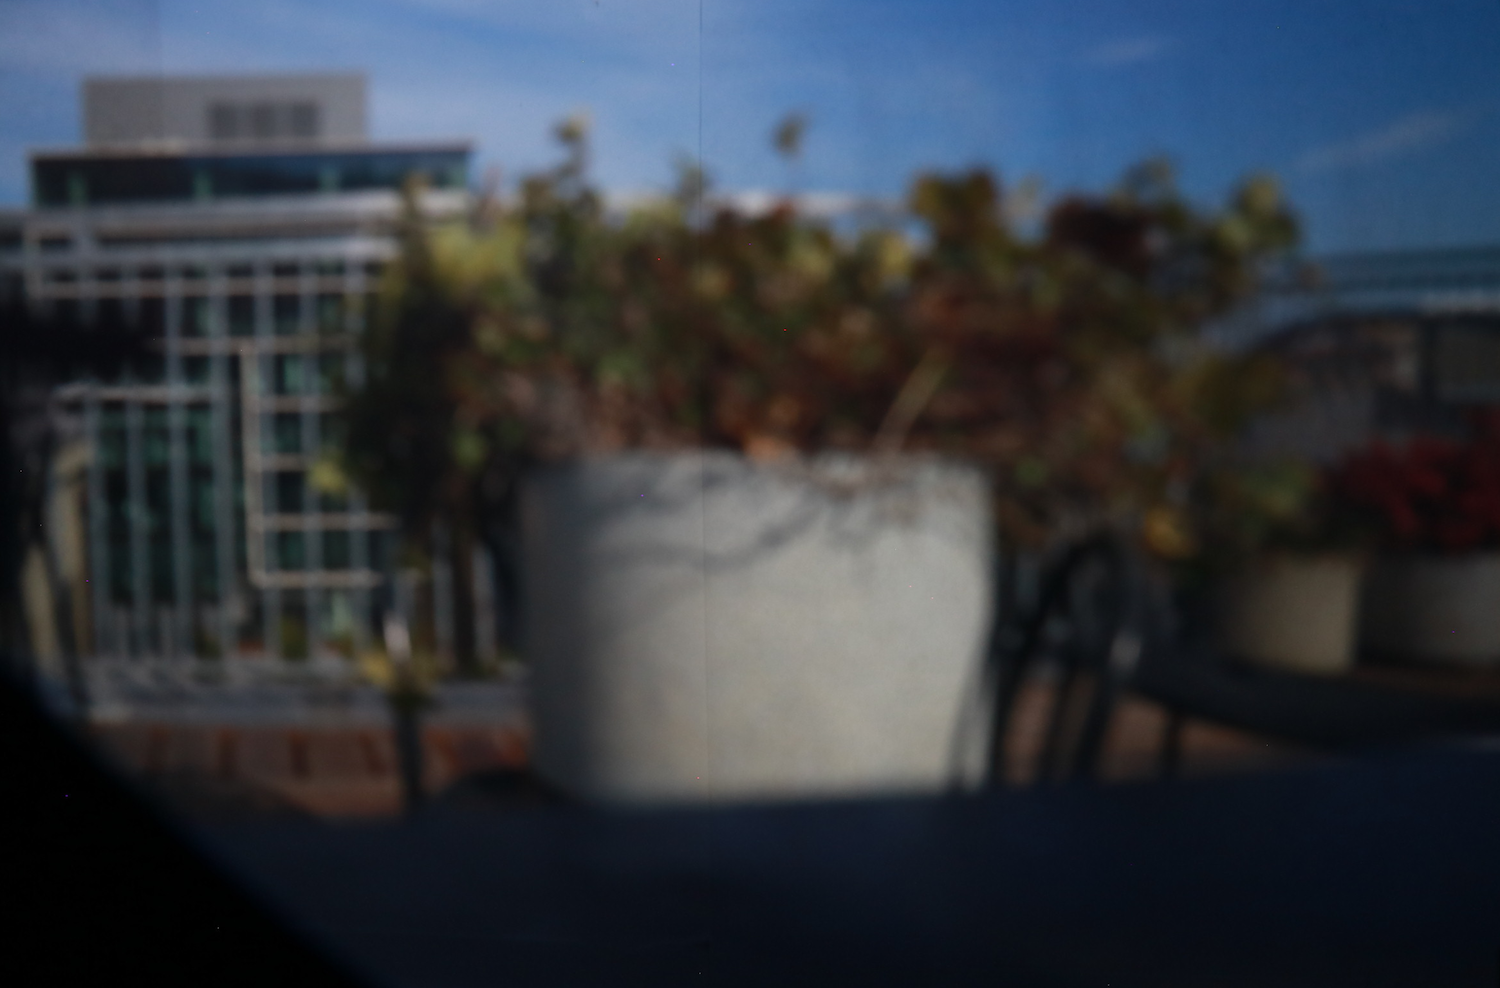
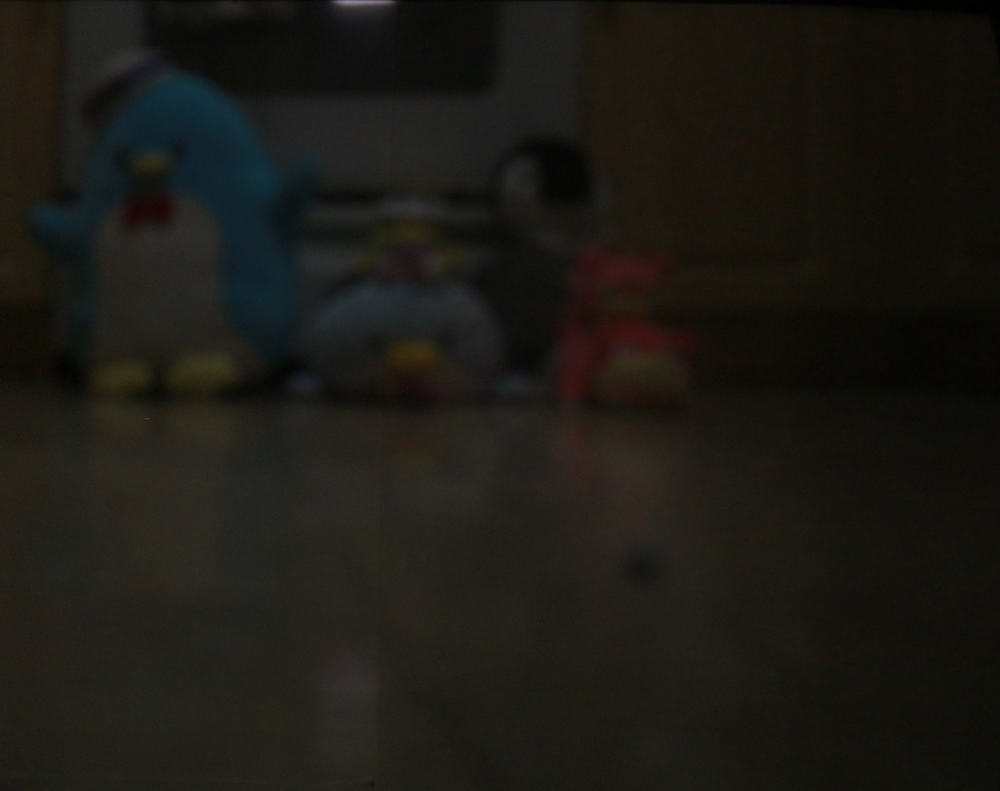
We took 7 additional photos with the 5mm pinhole size. The subjects were, in order: Lakshya, the Biosciences building, the SF Bay and Berkeley downtown view, a pusheen stuffed animal, a flowerpot, a (different) potted plant, and an indoor photo of a row of stuffed animals. All exposures were for 30 seconds except for the indoor photo, which was for 480 seconds; however, even then, we did not get enough light to get a clear image. We realized that in indoor photos, the light source is not as strong or direct and the lighting is not as good, so even extra-long exposure times would not mitigate this issue.