Computer Science 194-26: Image Manipulation and Computational Photography
Project 2: Building a pinhole camera
Ari Pickar
Project Overview:
In this project, we had to create an Pinhole Camera. A pinhole camera is a dark box that has a small hole on the opposite face. Then, you can use a digital camera with a long exposure to capture all of the light that is coming through that small hole onto a projection screen. Since all the light that comes into the camera is limited by the pinhole, and each wavelength will continue on a straight path through the hole, the image that is captured is flipped on both the x and y axis.
My Approach:
I built this camera with a size 11 mens shoebox. I covered 4 of the walls with black paper, one with white paper, and then cut out two holes in the other wall. In the wall with the holes, one was a large hole in which a camera was inserted, and the other was a smaller hole over which an index card was taped on, with a small hole. I tested 3 different sizes of index cards, ranging from .1mm, 3mm and 5 mm. I then set the camera to take long exposure photos, with a 30 second exposure time and an f/4 shutter speed.
Challenges:
The biggest challenge in this project was taking the photos in a way that let in some light, but not too much. Unfortunately, all of the .1 photos took in too little light, as the opening for the pinhole was too small to adequately let light in. On the other hand, when I used the 5 millimeter opening with direct sunlight shining through, there was too much light that was let in, meaning that rather than seeing the reflections of what I was trying to take a photo of, I got a photo of the illuminated paper in the background. I also used towels to limit the amount of light sneaking in to the camera, but that seemed largely unnecessary in the end. Another challenge was due to the camera not being able to detect light in the black box. Because of this, I had to "prime" the camera by allowing it to detect the paper by shining my flashligh through the aperture.
My setup
Without Lid:
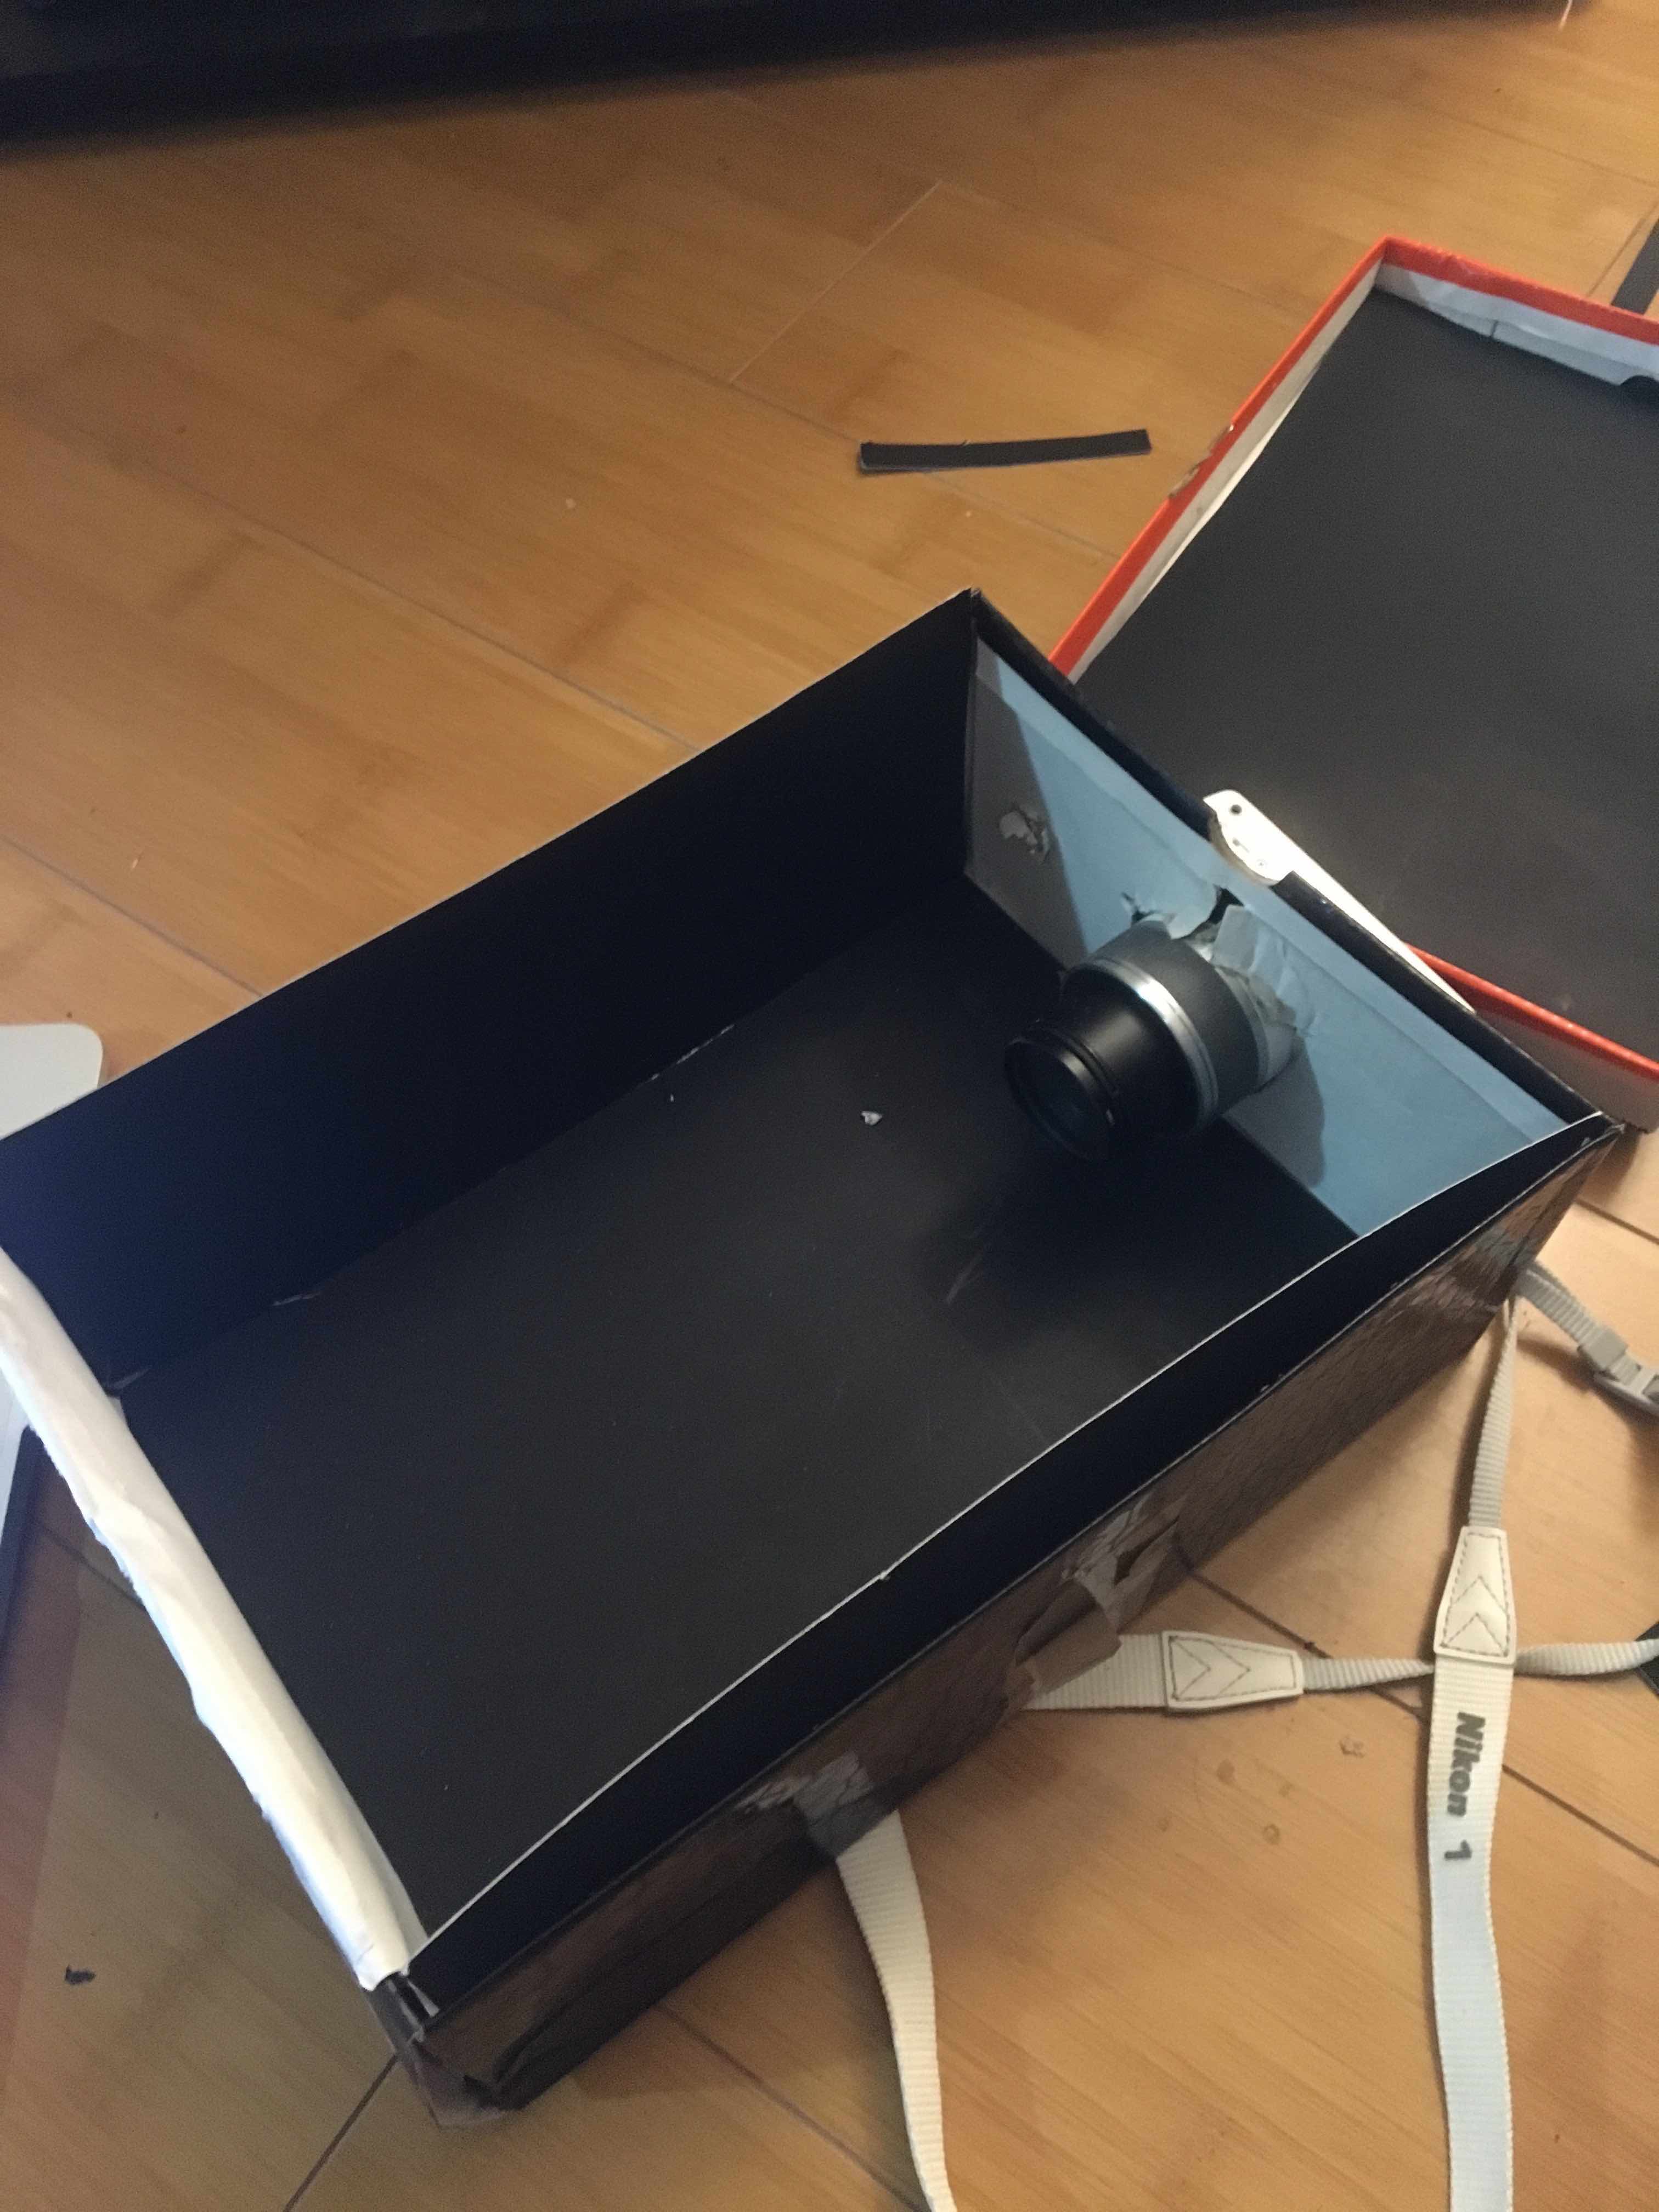
- This is the view of the inside of the box with everything inside blacked out and a white piece of paper to project light onto.
Closed:
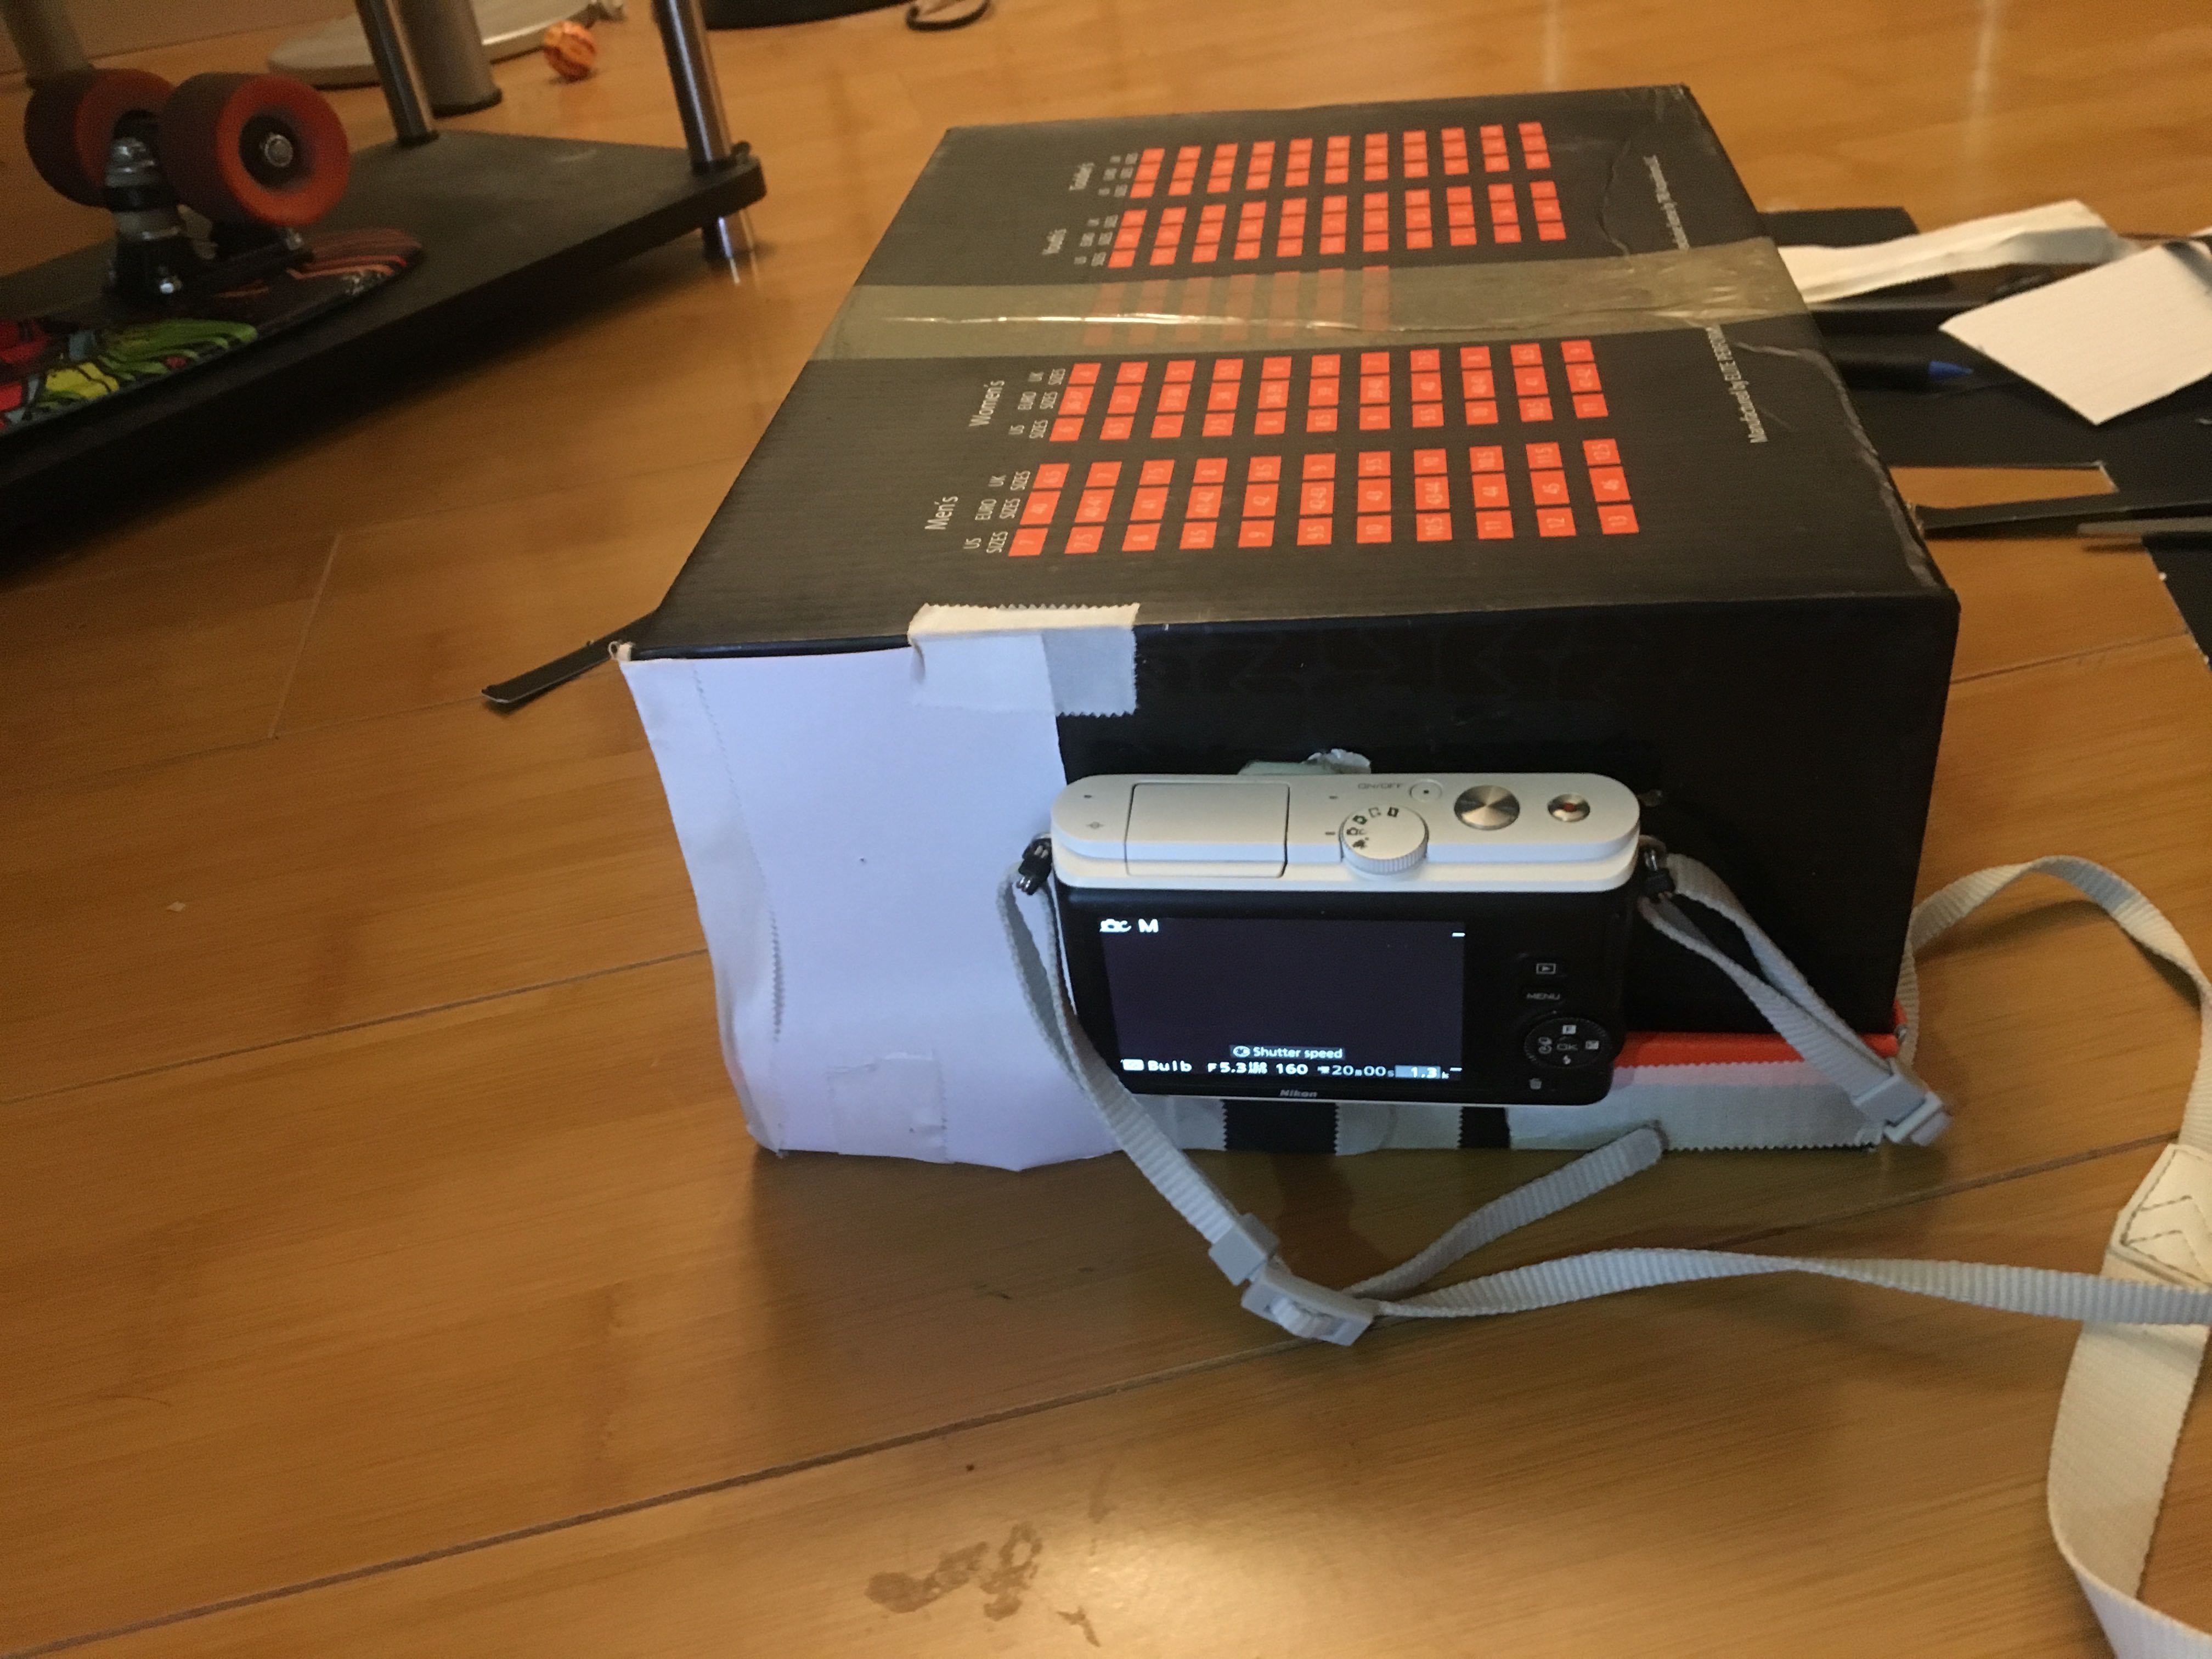
- An image of the box in the closed setub. You can see the camera and the .1mm pinhole.
Covered:
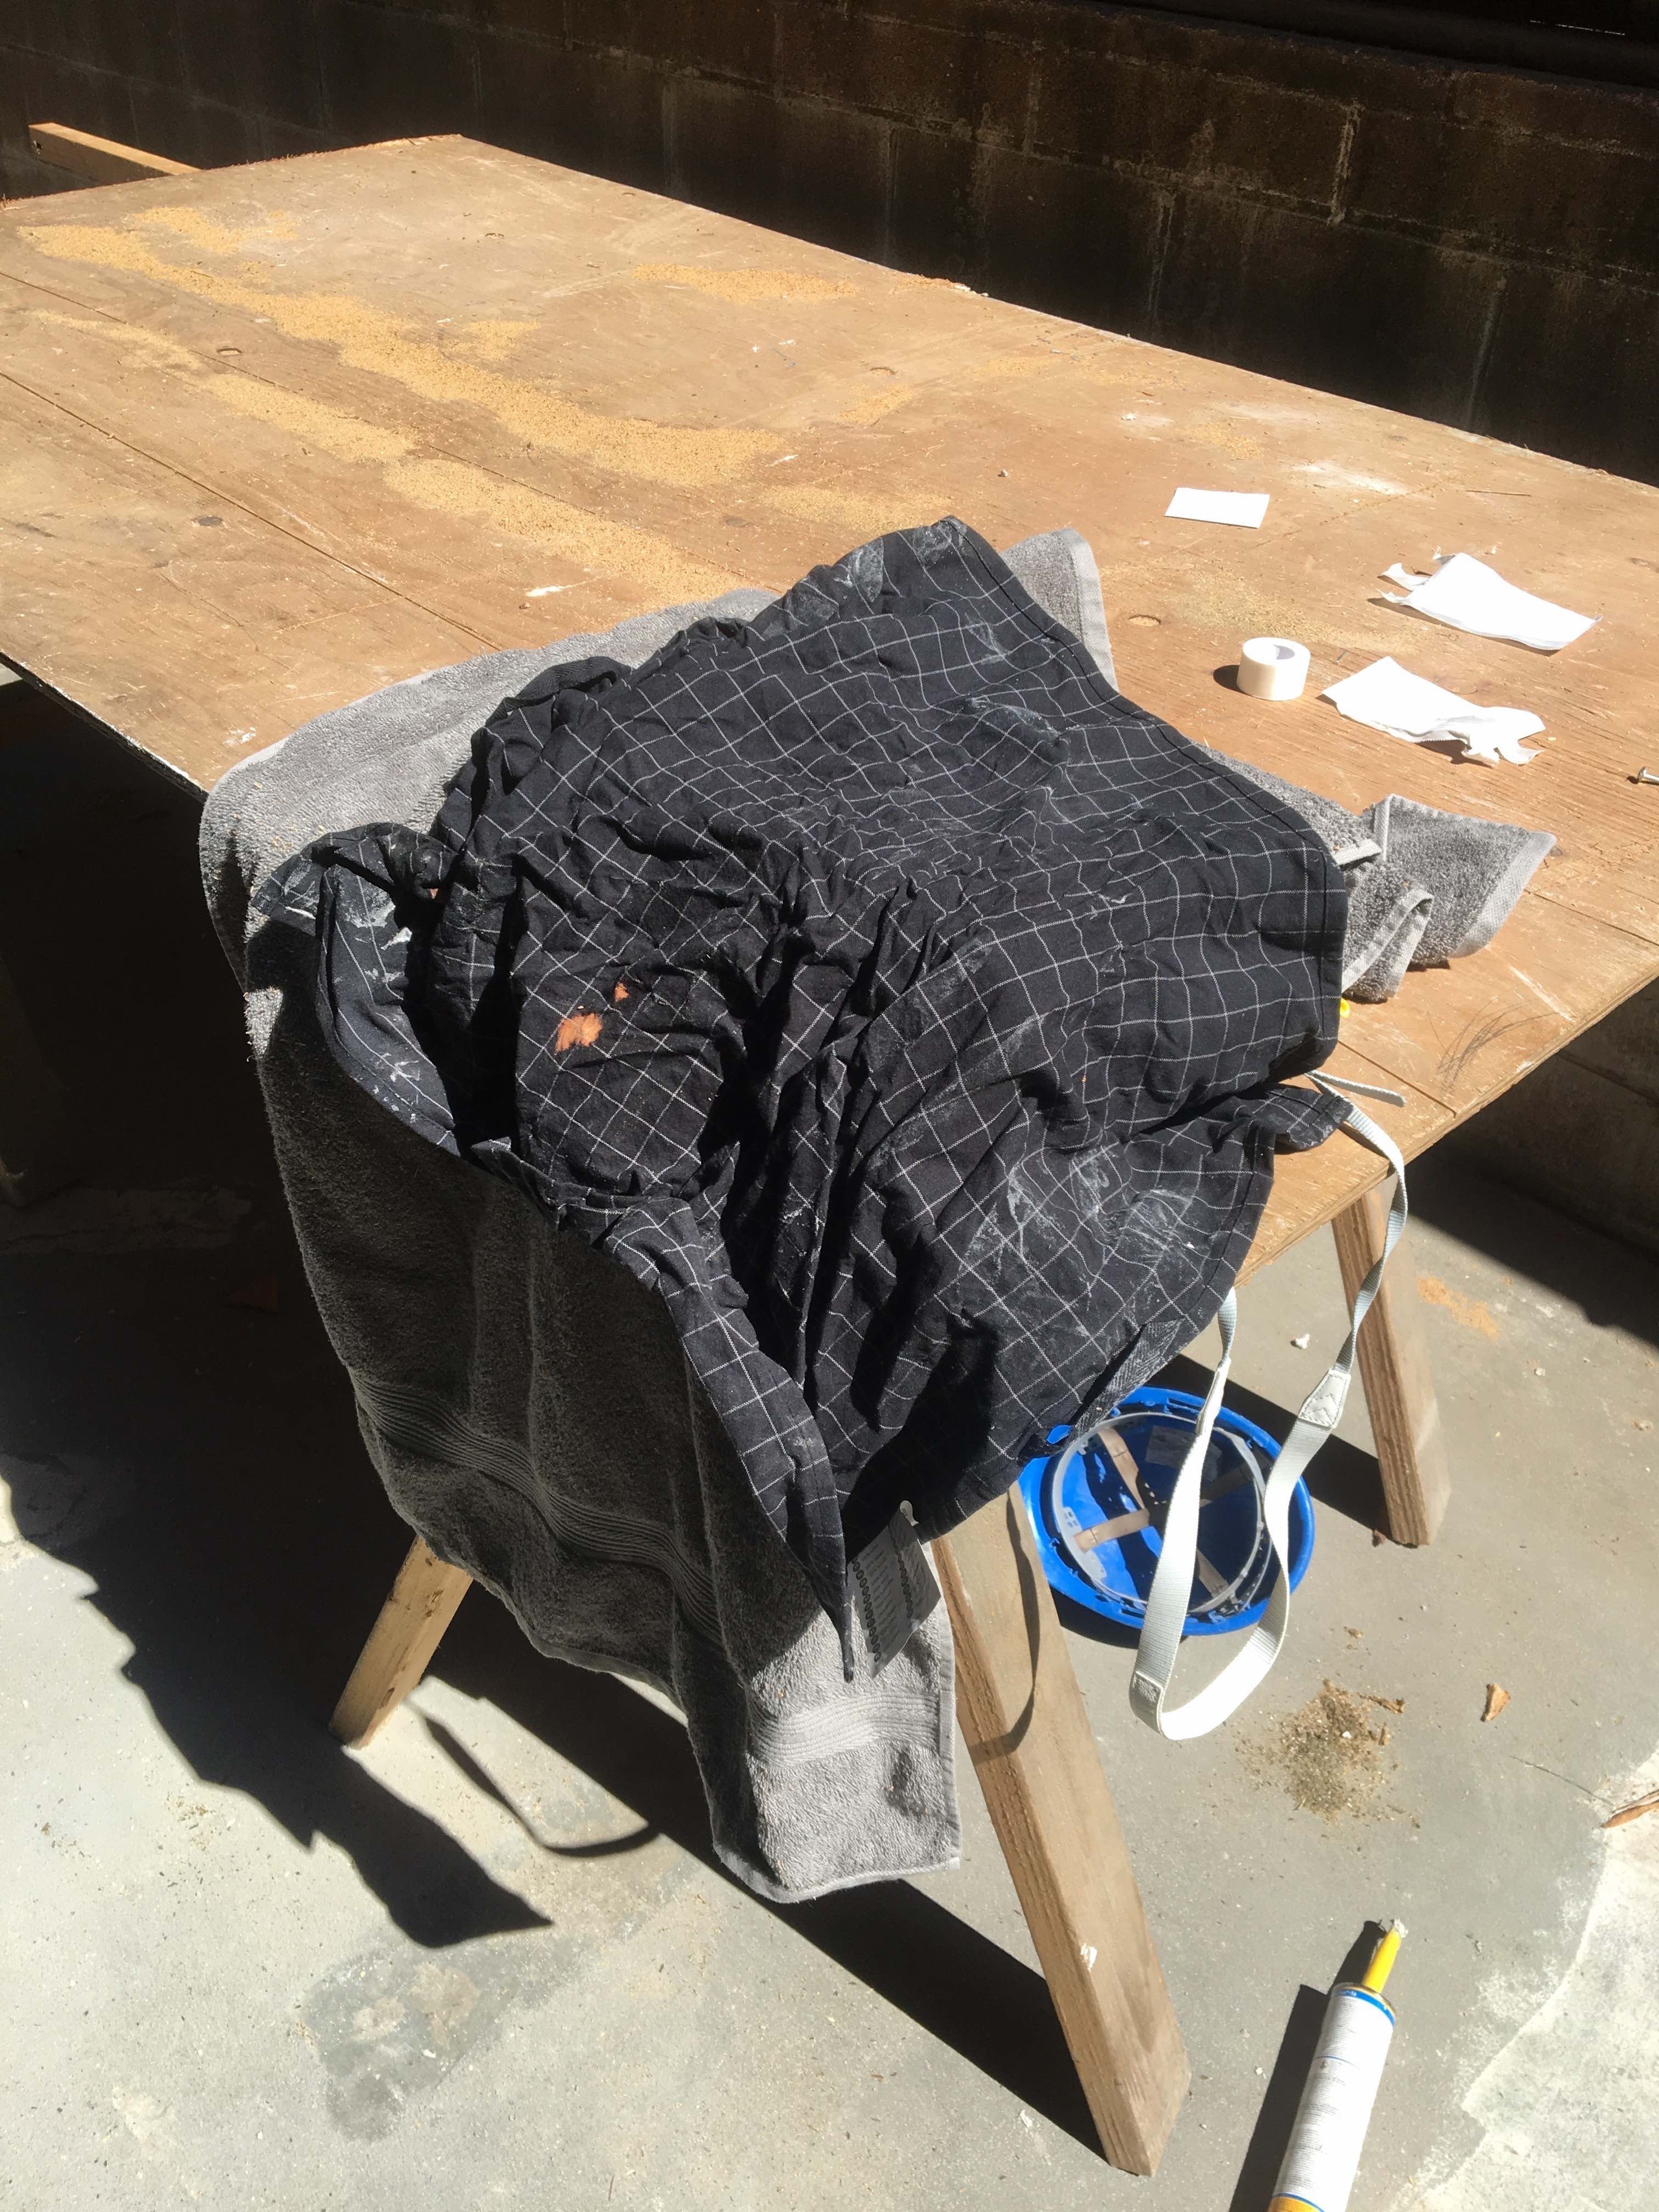
- This is a photo of the box taking a picture. Because of the bright sunlight, light leaked in. To combat this, the box was covered with towels to block out the sun.
Hole Sizes:
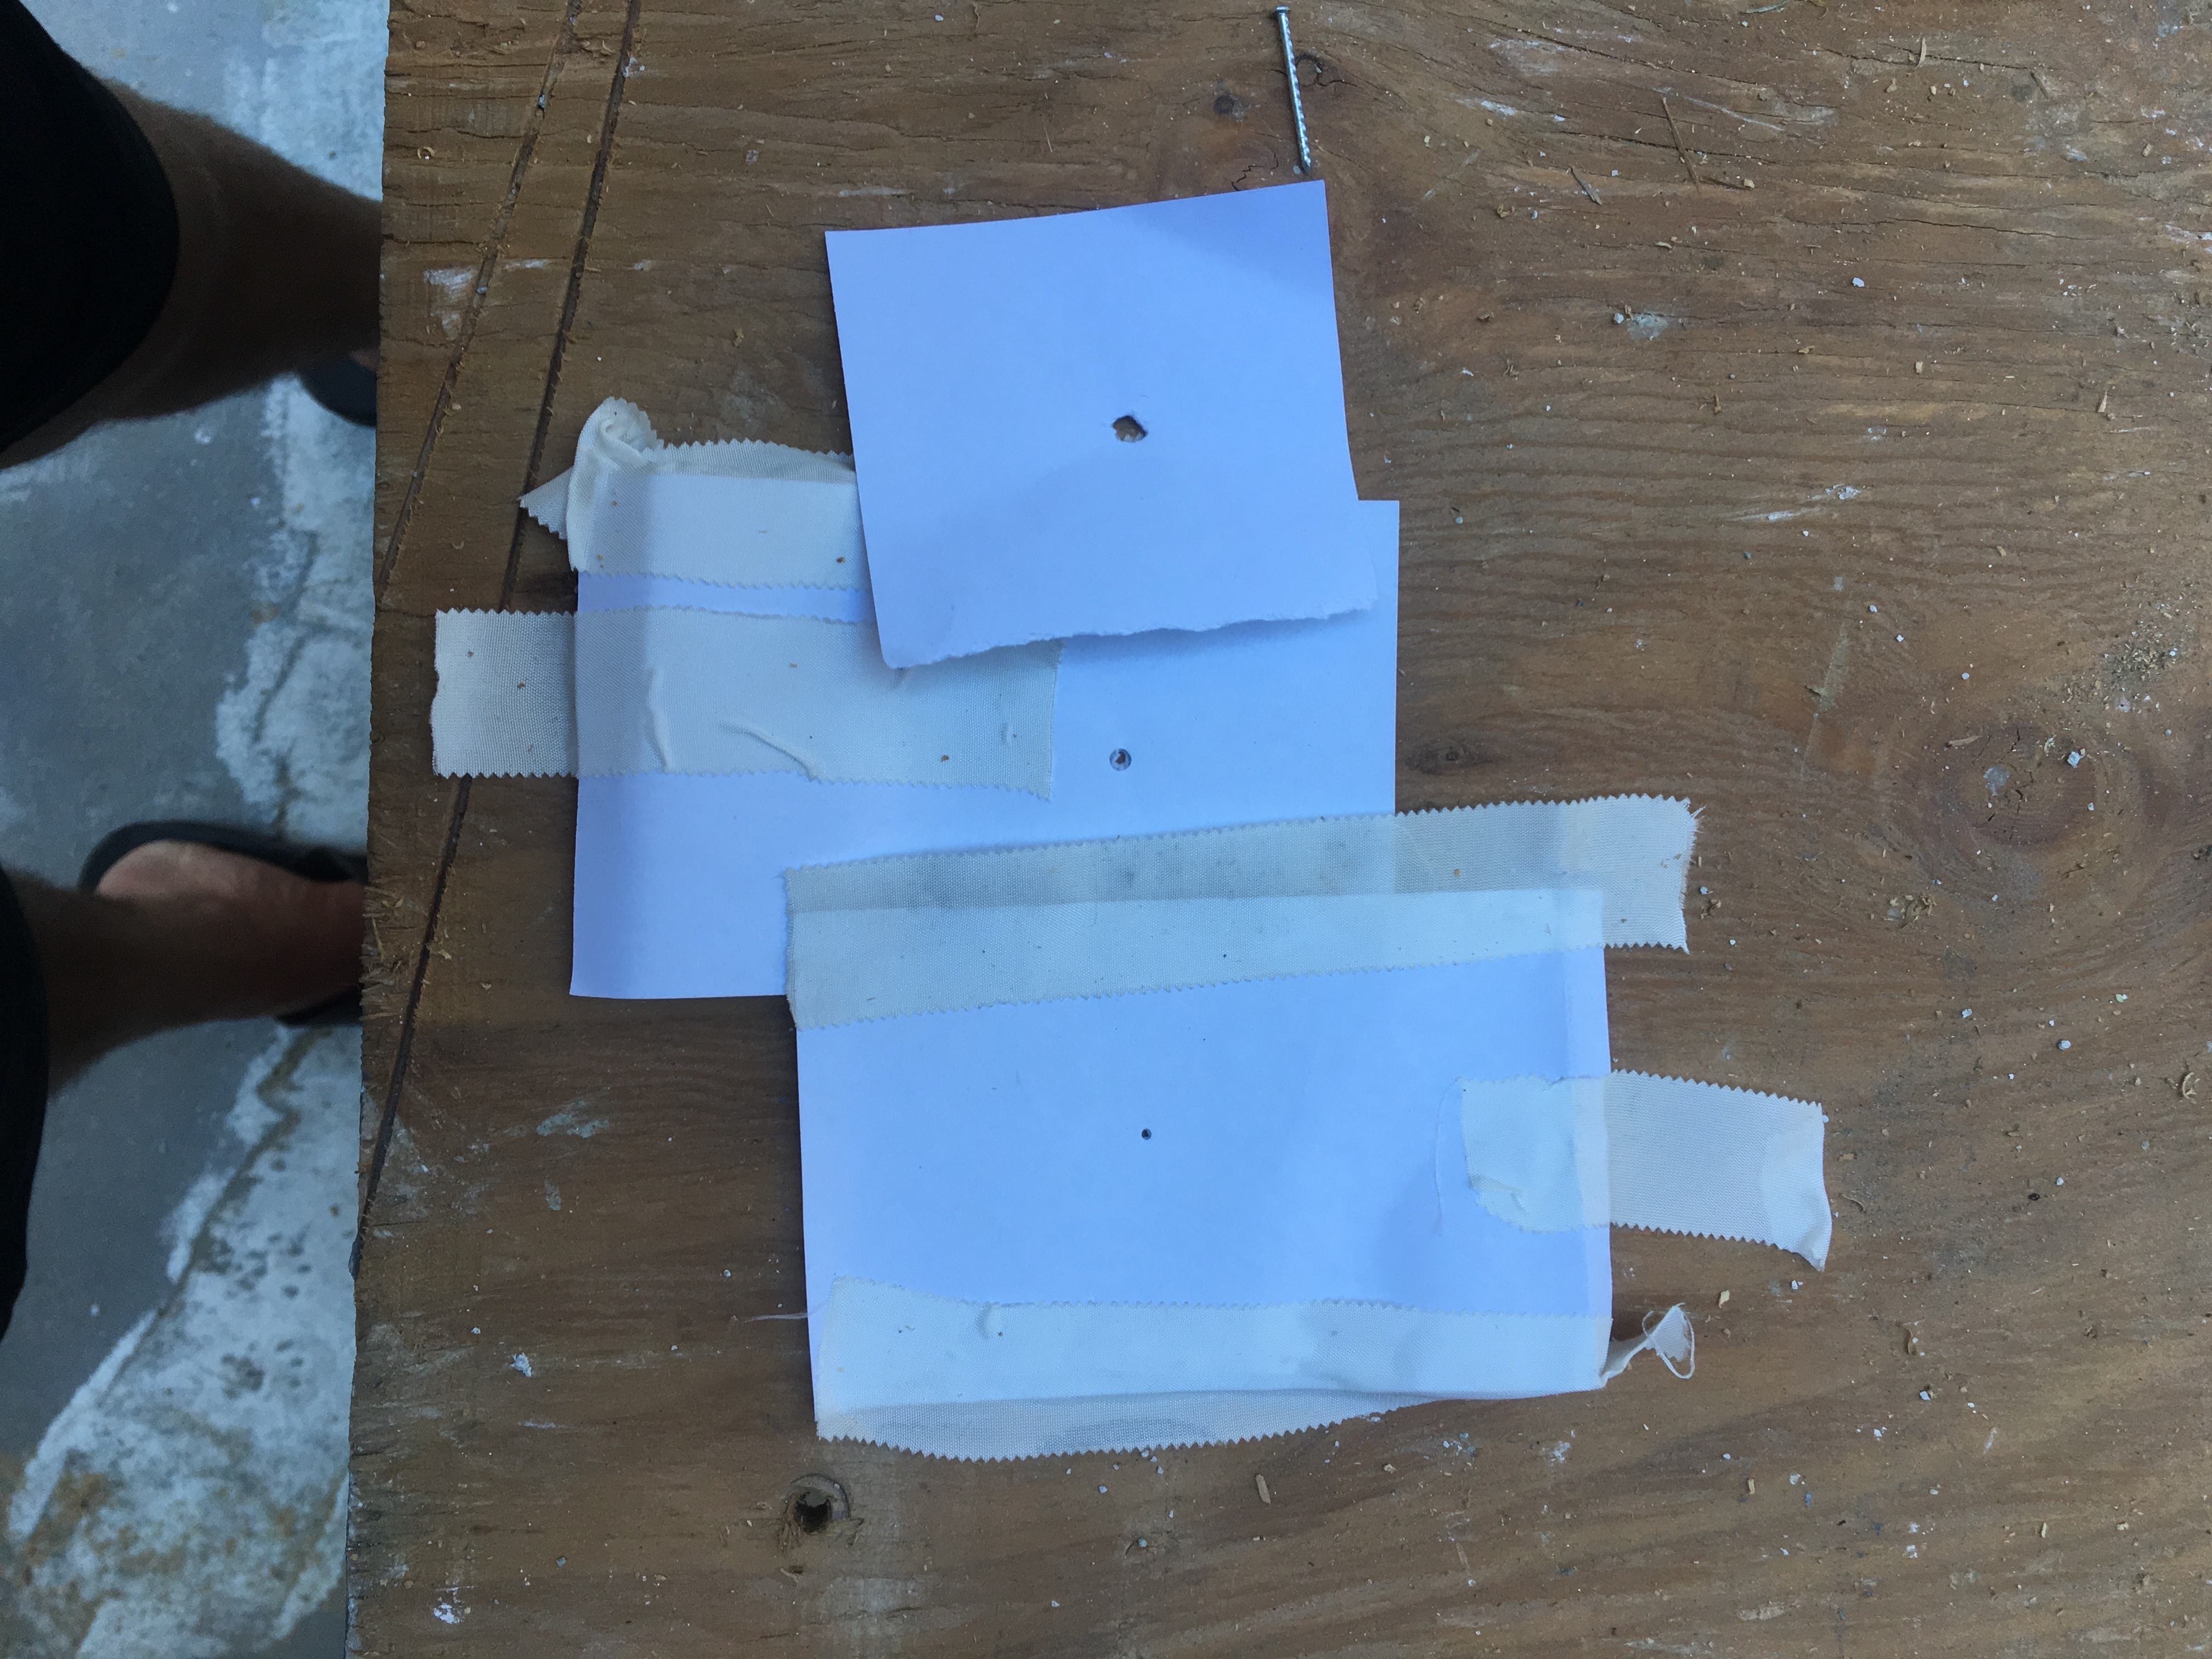
- You can see the different hole sizes, .1mm on the bottom, 3mm in the middle, and 5mm on top.
Photos
.1mm:
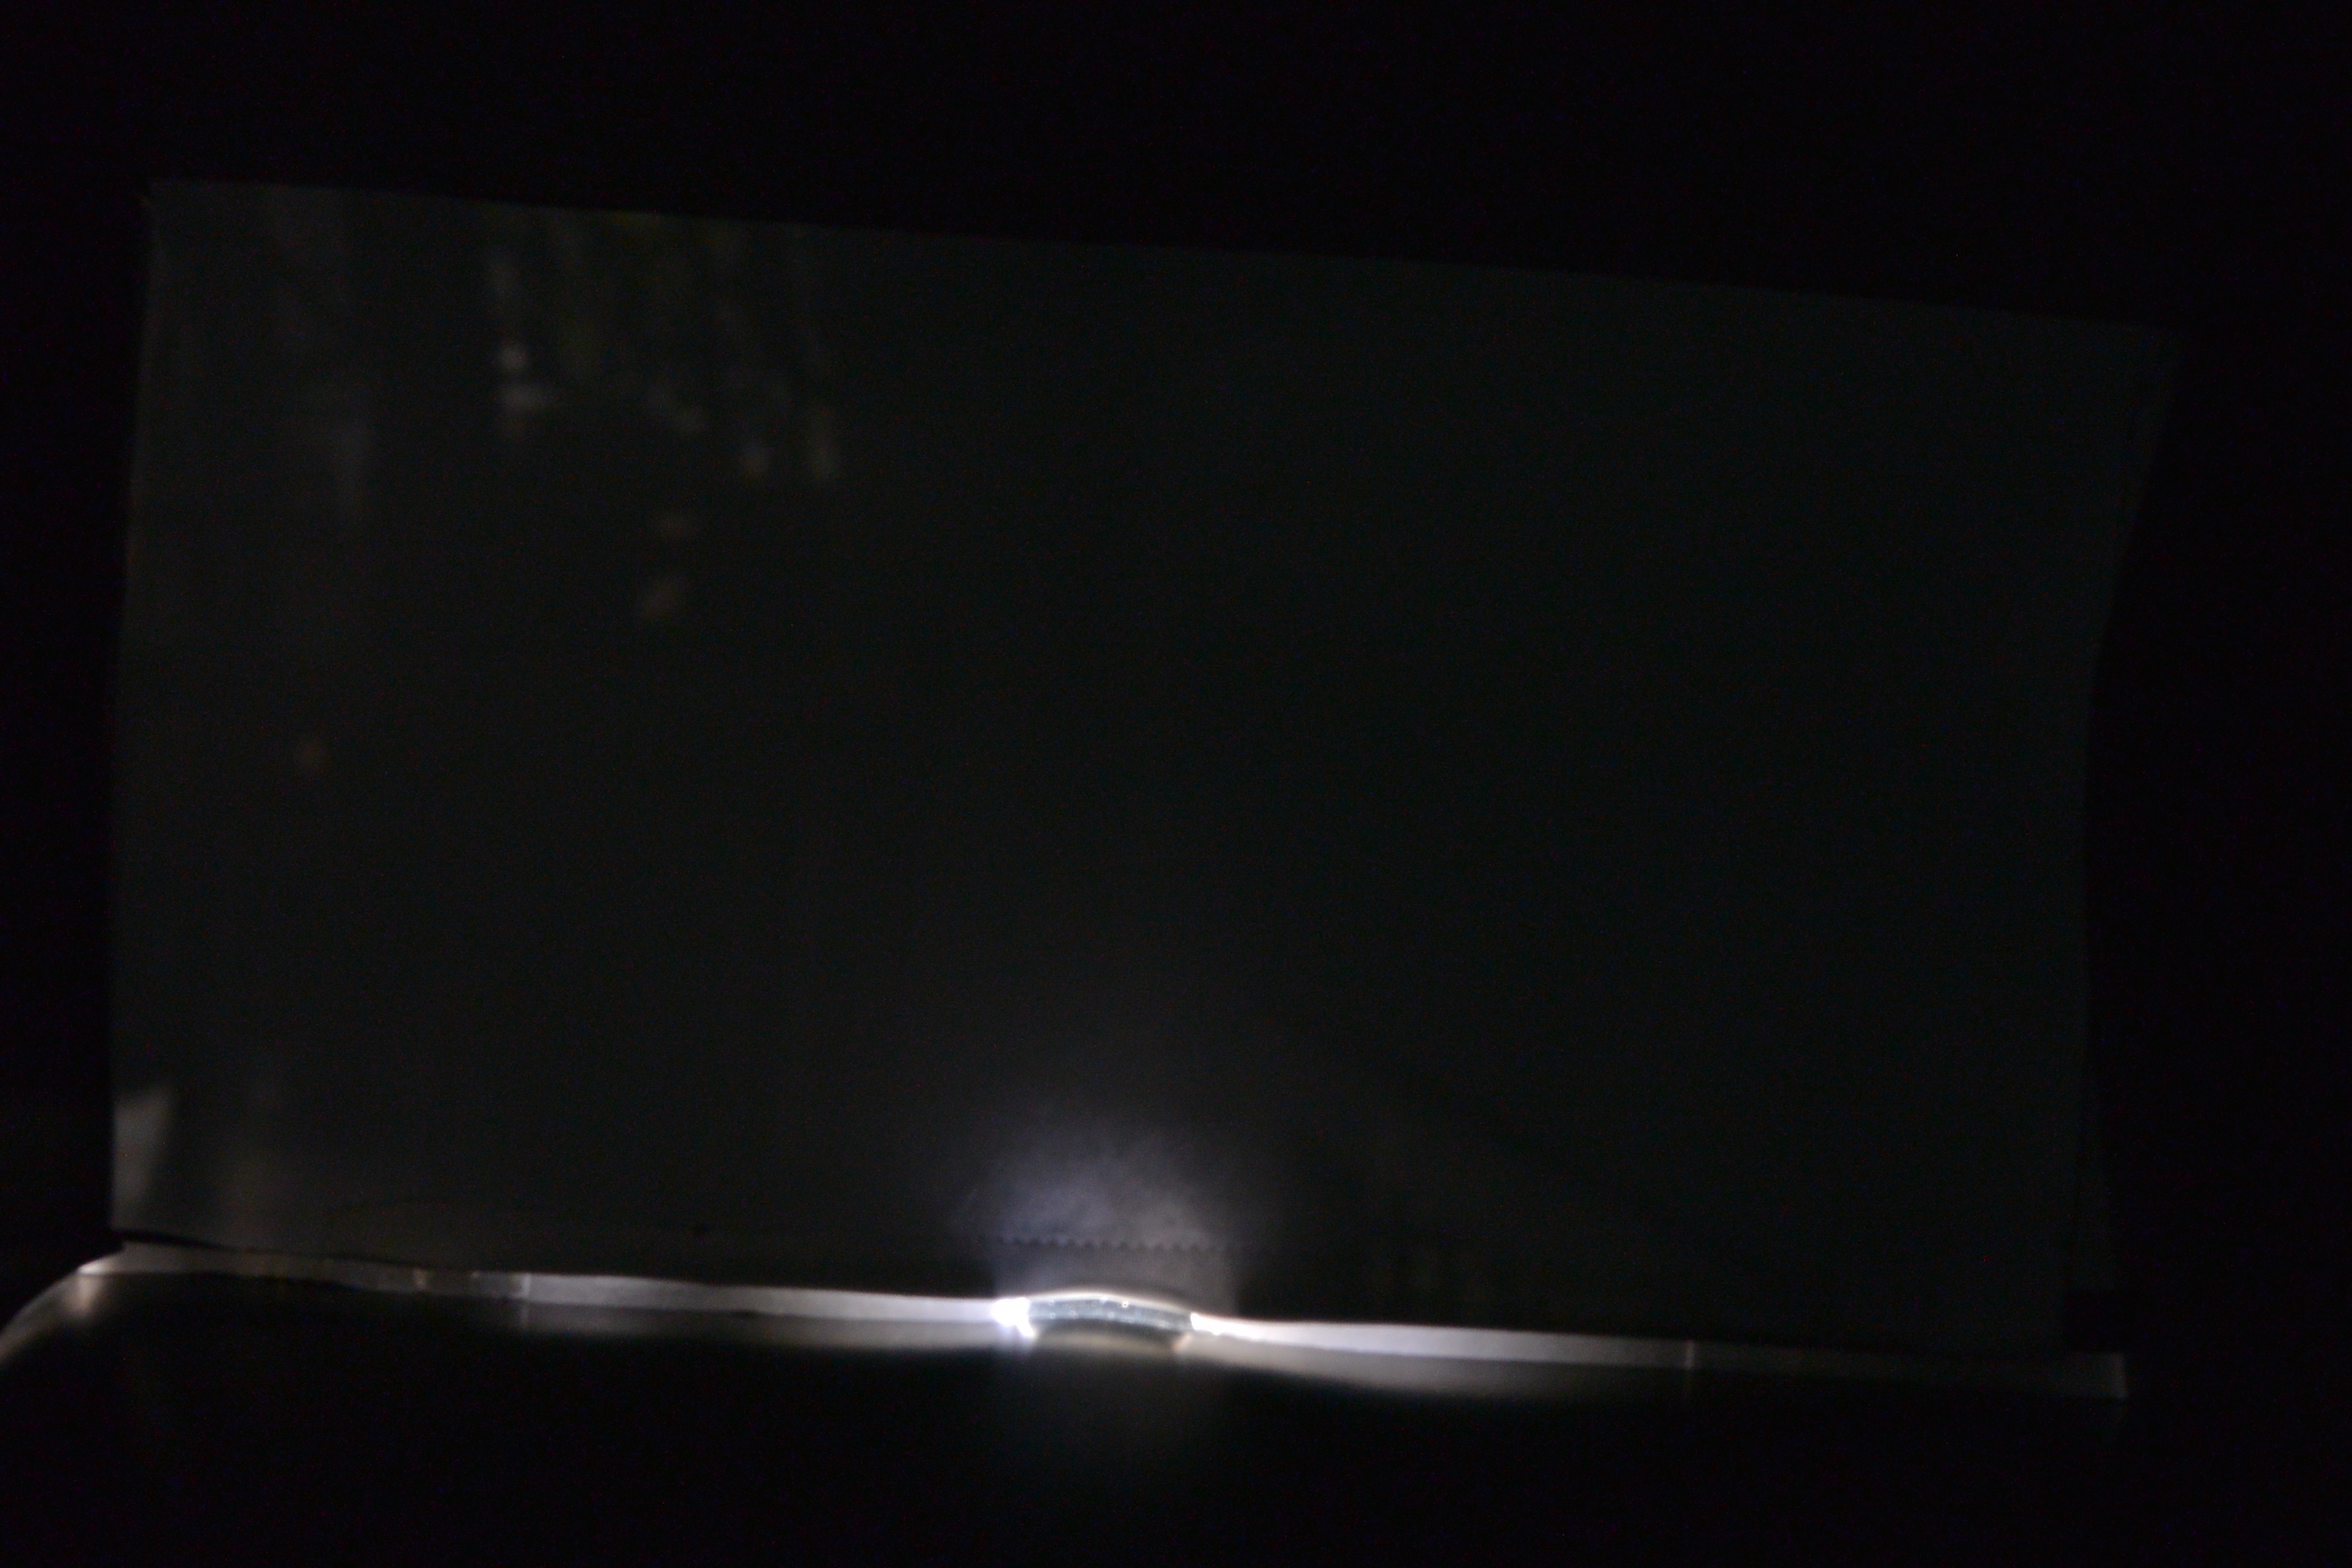
- This was the .1mm before we covered the box with towels. You can see light leaking into the photo.
.1mm:
- This was the .1mm exposure with the box covered. You can faintly see a line from the paper, but there was minimal light let in meaning very little image.
3 mm:
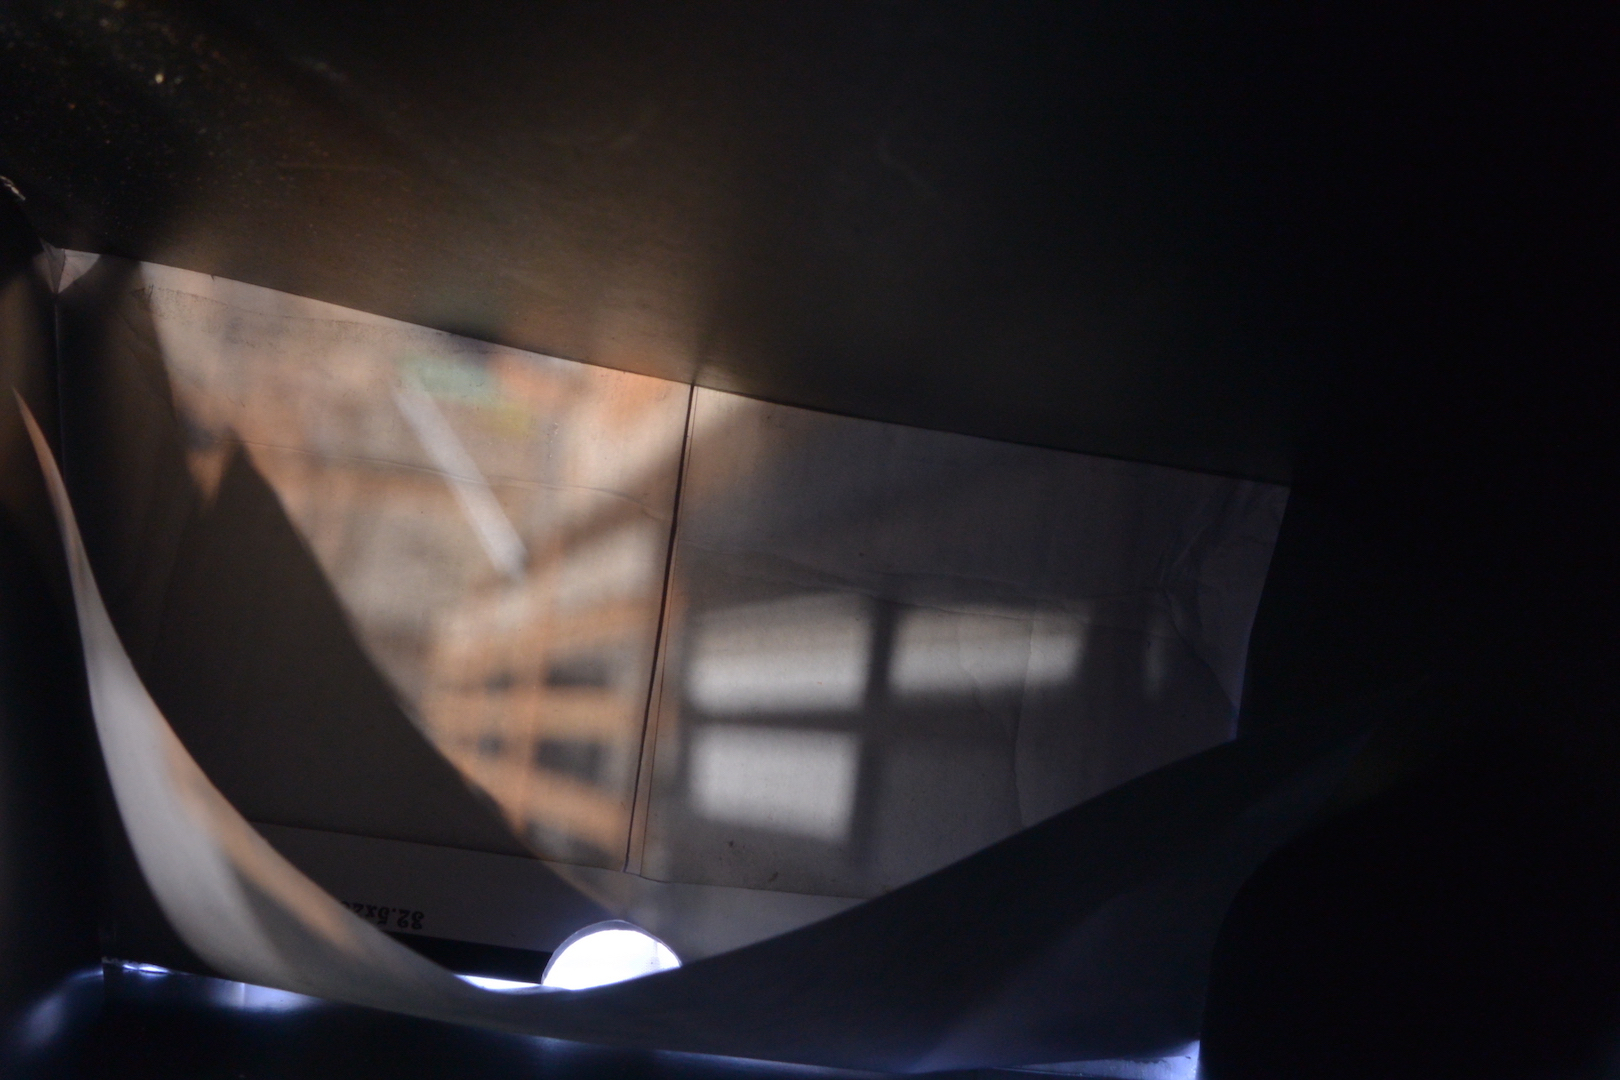
- This was the image that was taken with the 3mm hole. You can see the reflection of a building, and make out the windows, but the image was flipped, as the ceiling shown is actually the floor.
3 mm:

- This was the image that was taken with the 5mm hole. Since too much light was let in, the photo is no longer as sharp, since there is no longer the same focusing from the pinhole. The double image is likely an artifact from the priming of the photo, as it was light being shined through the pinhole to allow the camera to start.
Unfortunately at this point, my camera broke while taking the next photos, and I havent been able to get it fixed. Since the project deadline has already passed, I unfortunately have nothing else to show for this.
Bonus Image (Failed attempts)
Black bear at night
