
5mm pinhole - Barbara sitting close to camera

5mm pinhole - Nathan sitting close to camera
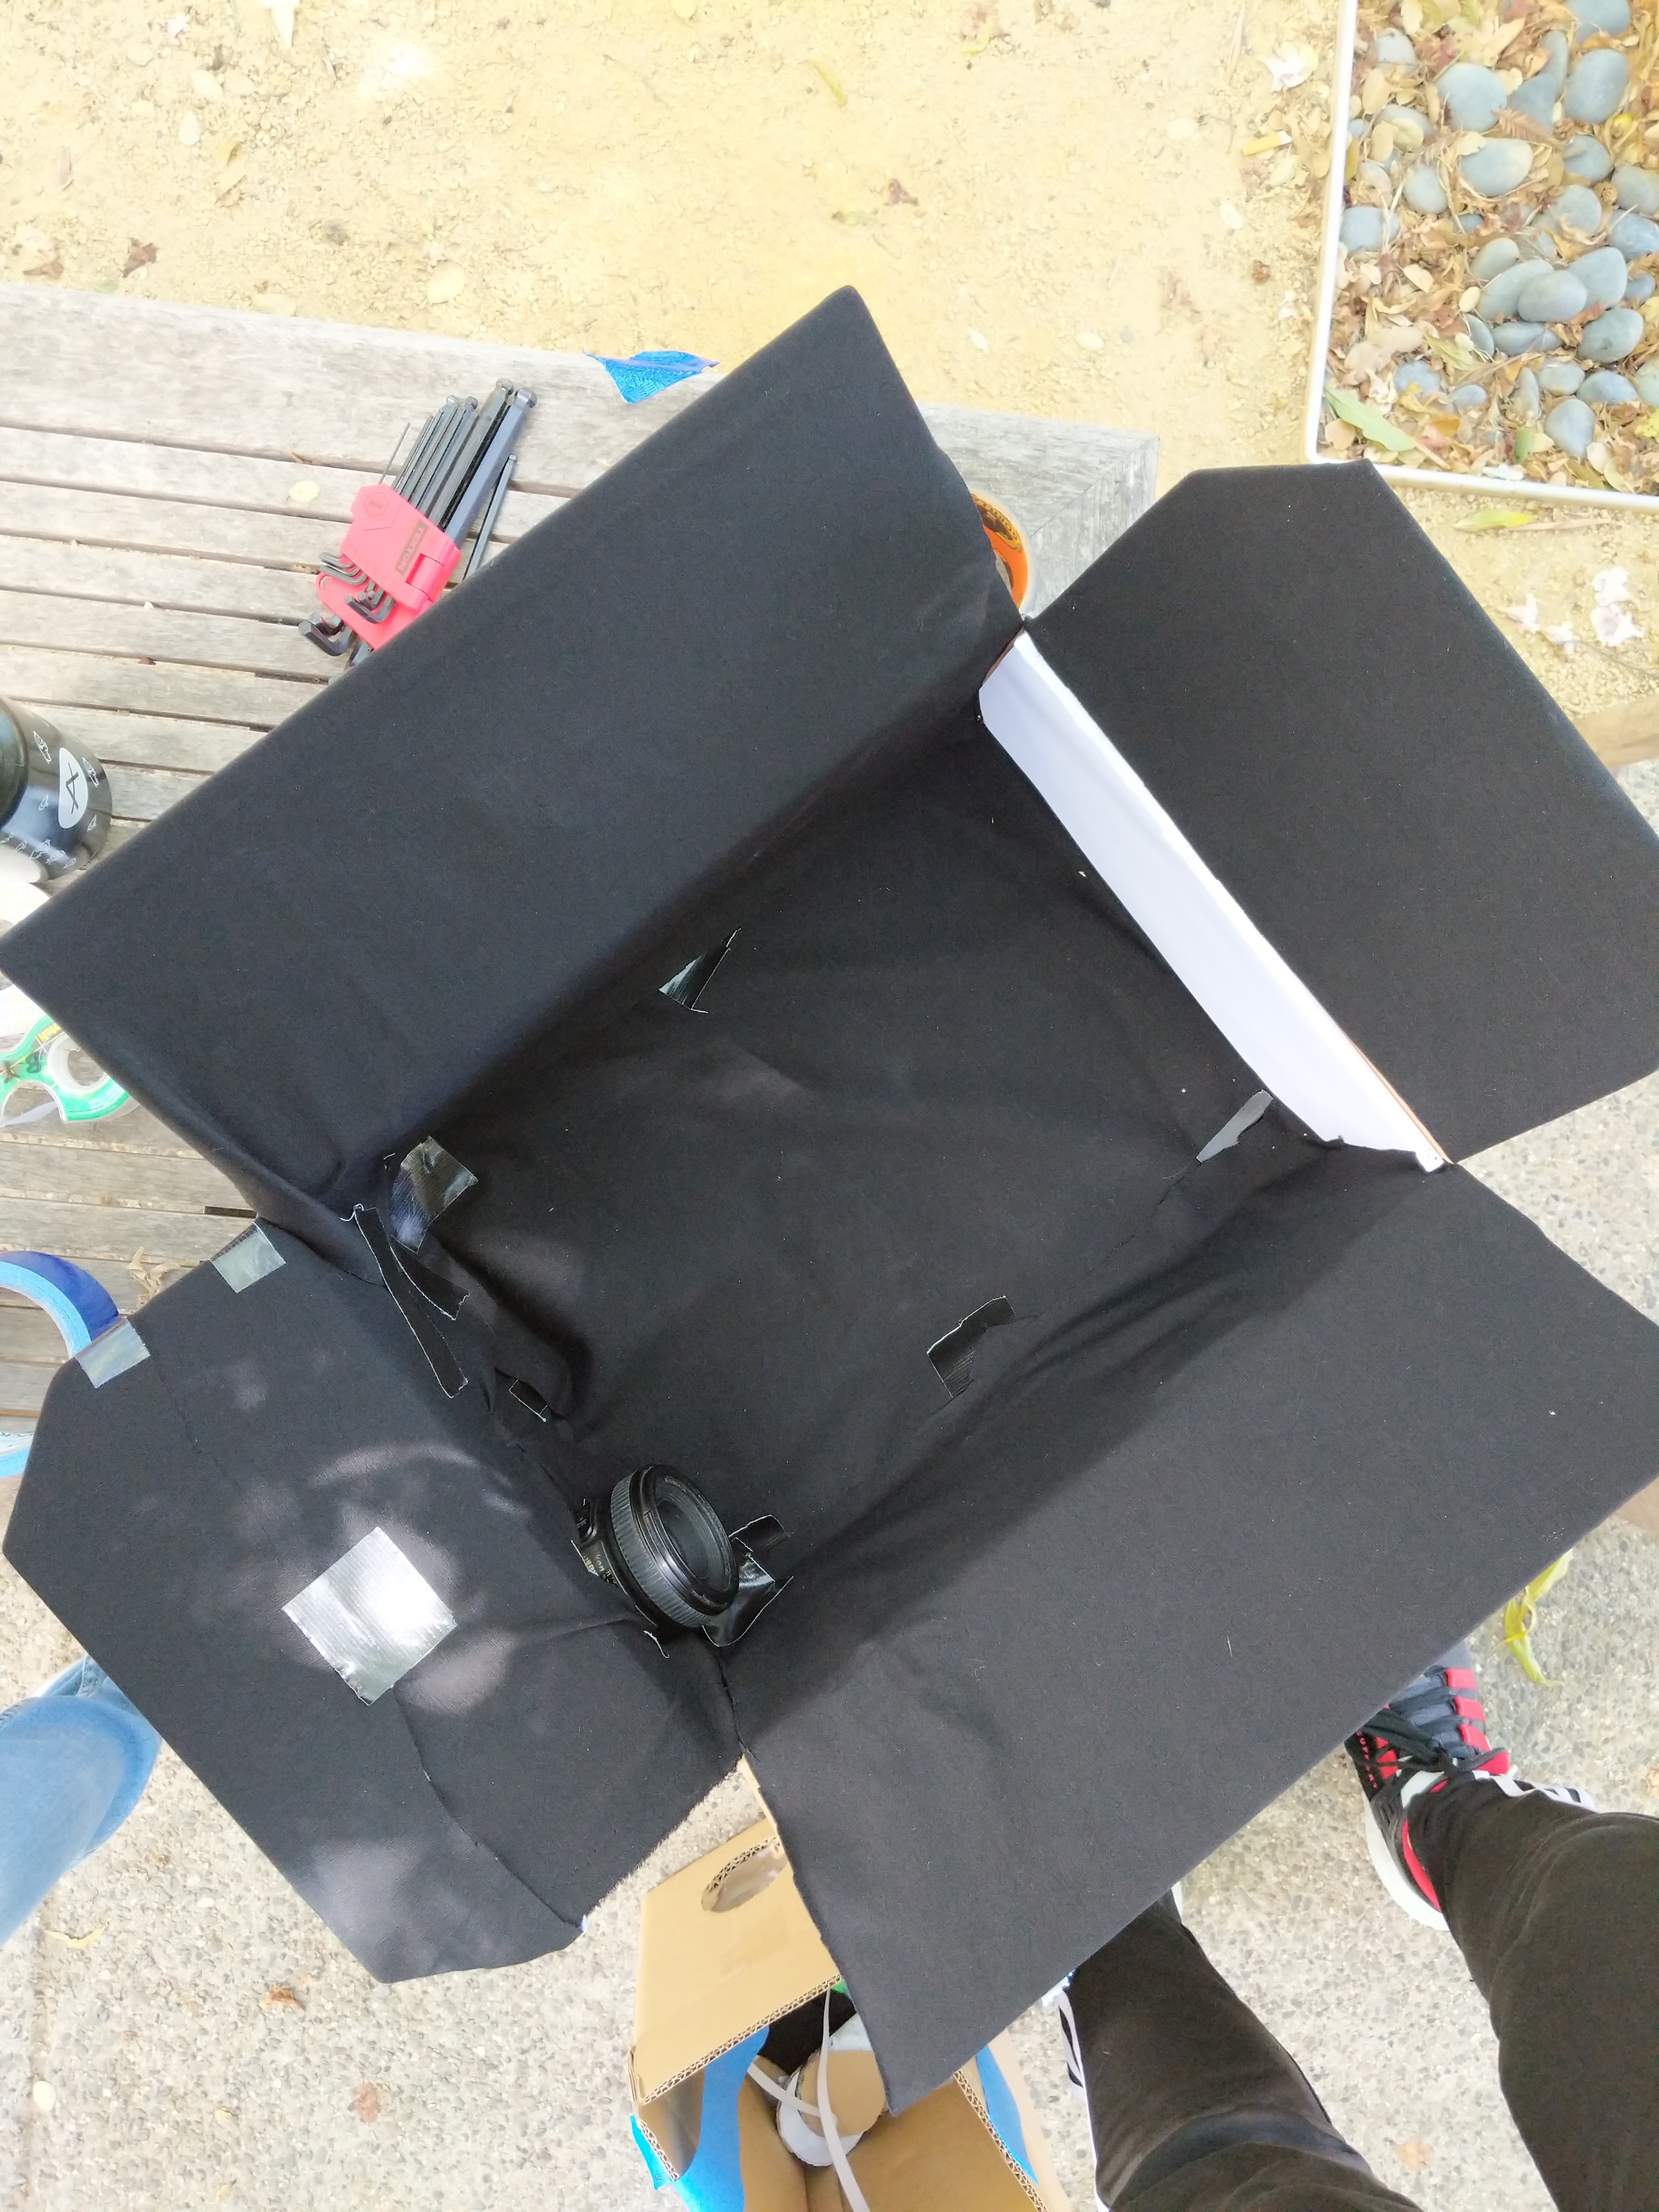
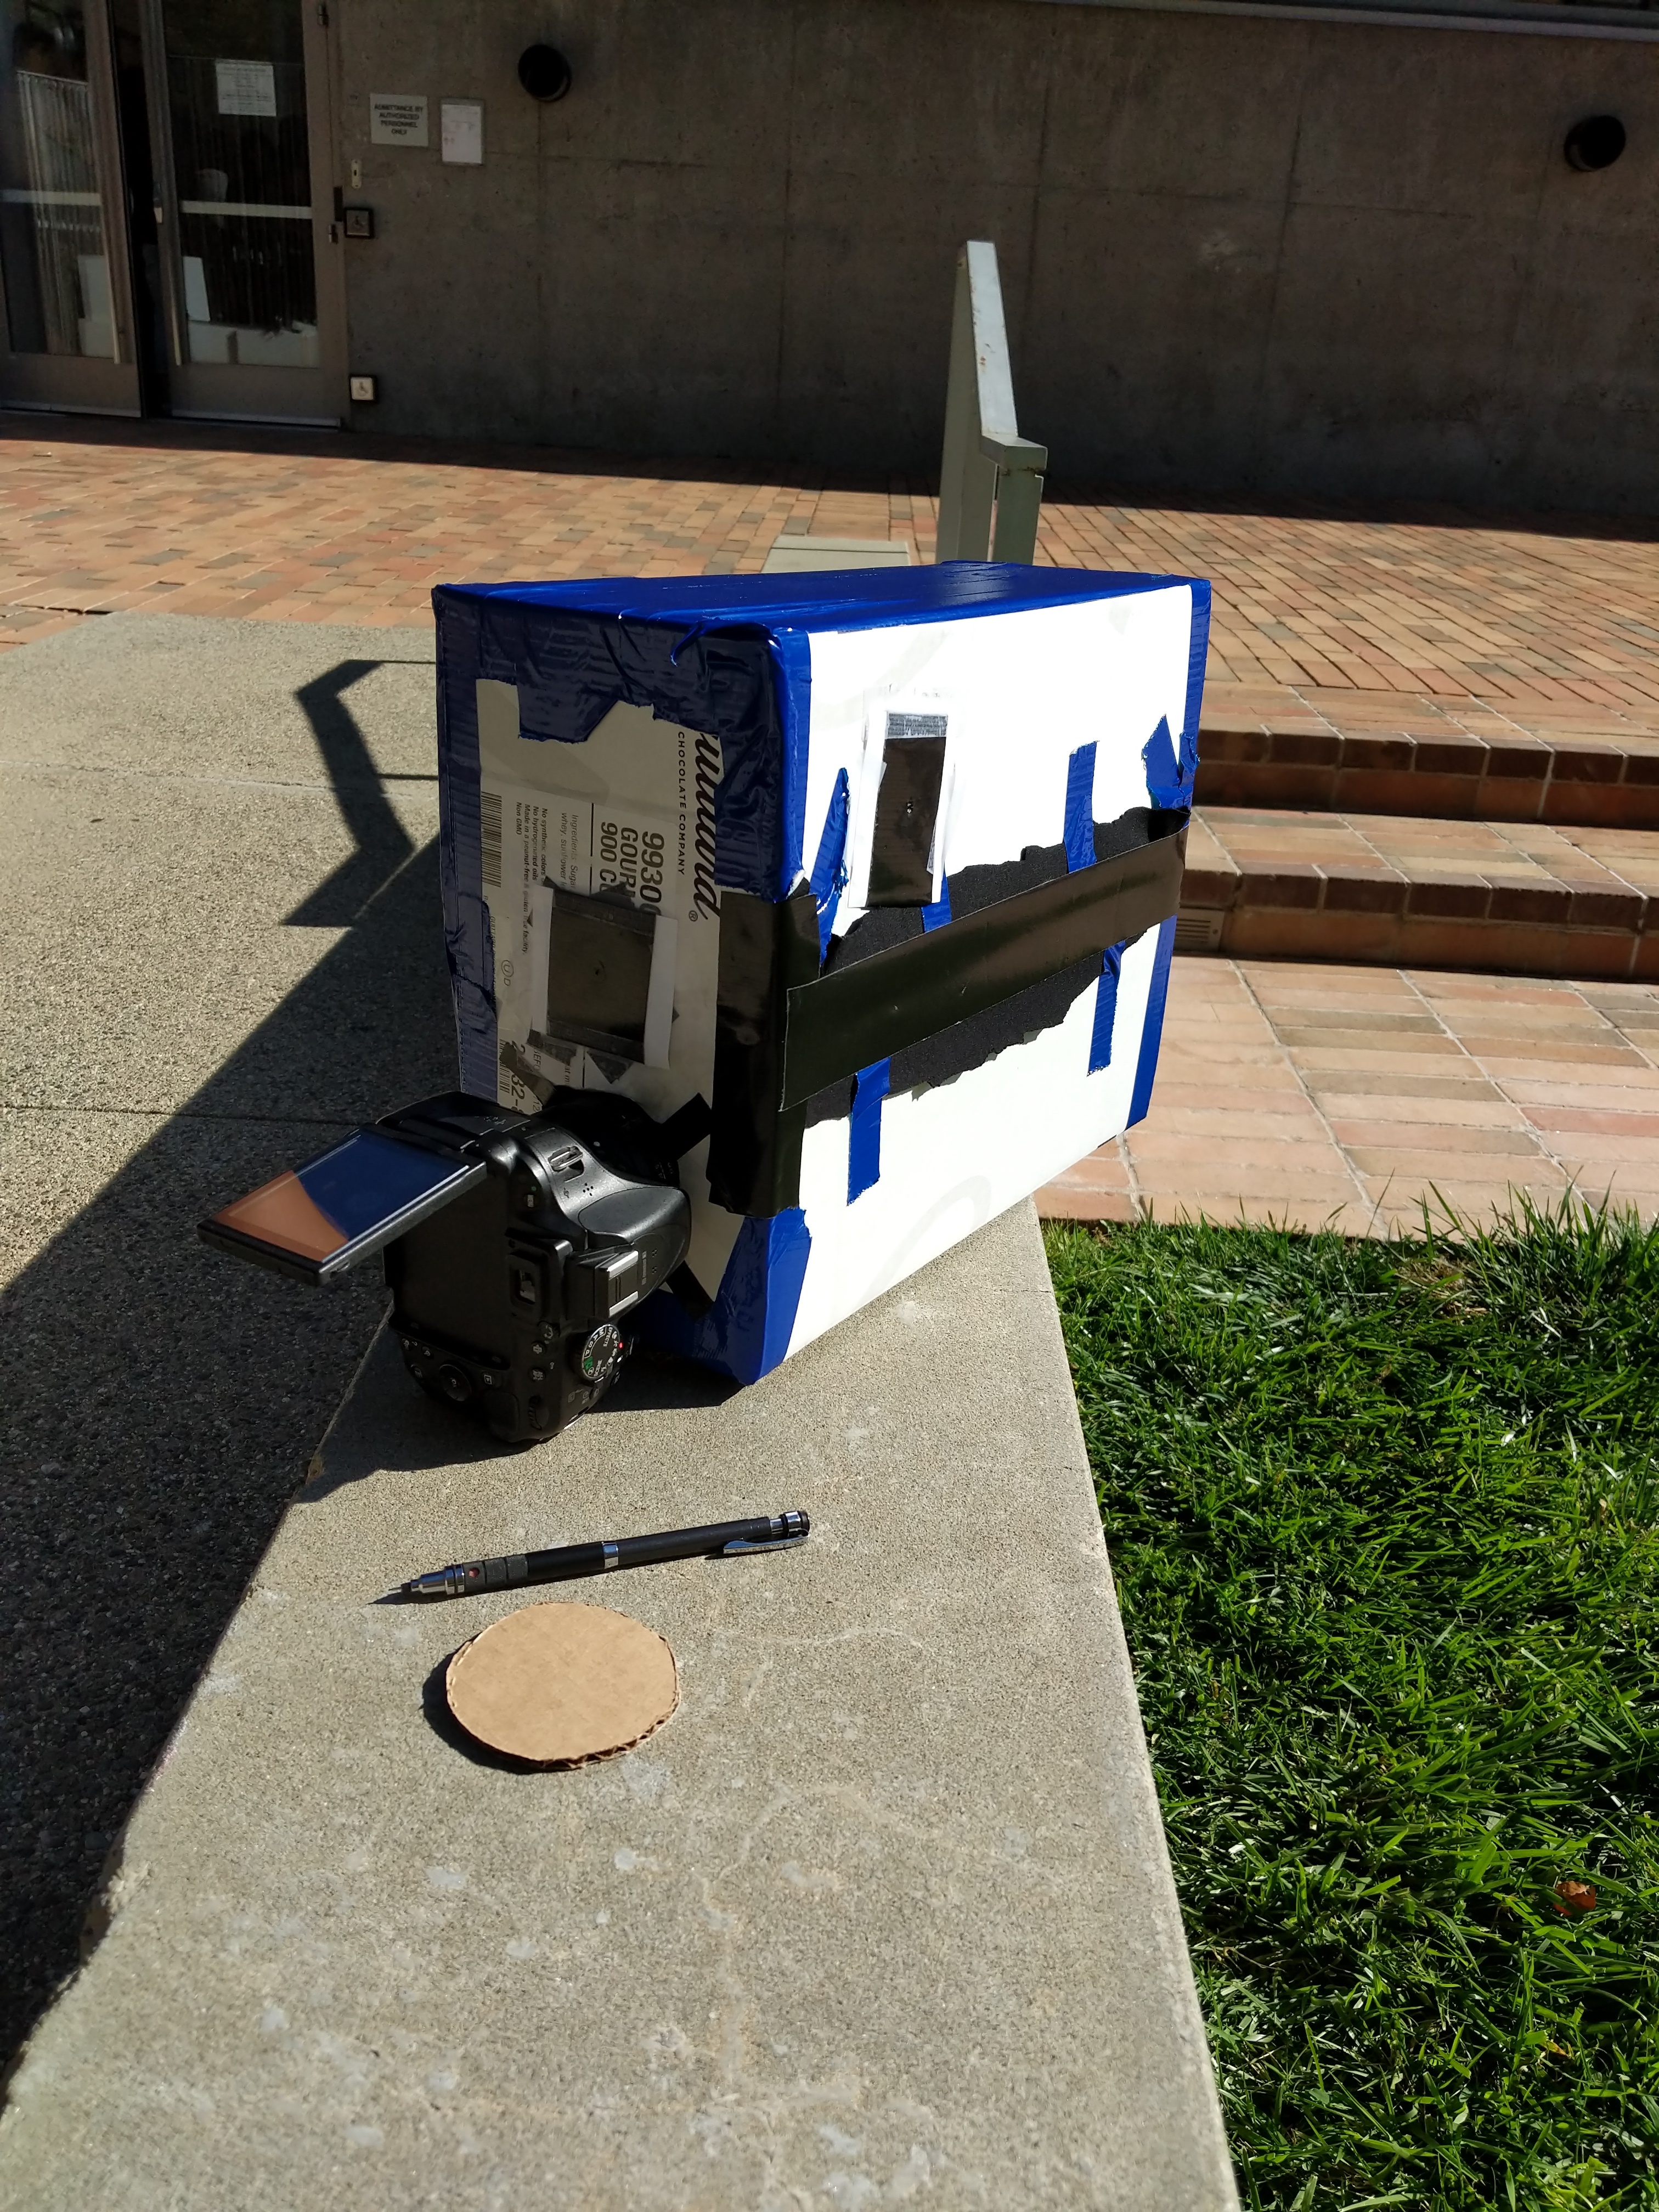
A pinhole camera, aka "camera obscura" demonstrates the particle qualities of light. We built one using a cardboard box, black fabric, and a sheet of white paper. We chose to use black fabric because black paper is much lighter in color than the black fabric. Using the fabric allows us to absorb even more light inside the box and prevent the light reflection that might have happened with the paper. The "image" was projected onto the white paper, and to capture the image, we inserted the lens of a digital camera into the box, making sure no light entered with it.
The results may not be in focus because the circle in the box where we stuck the camera lens through was extremely tight to prevent light from entering through that hole. The hole ends up adjusting the focus ring of the lens as we push the lens in and adjust it to our needs. We had to adjust the focus before putting it through the hole because we had already closed the box, and sealed it very tight with duct tape. To obtain better results, we should have put the camera into the hole and adjusted the focus before closing the final side of the box.
For all photos, we used a 30 second exposure. We found that larger pinholes produced brighter but blurrier photos, while smaller pinholes resulted in sharper images with finer detail. The brighter images can be explained as more light is let in through a larger aperature (e.g. the 5mm pinhole). The images were sharper with a smaller pinhole because the projected circle of confusion was smaller. Light rays from the same location in the scene would converge in a smaller area on the image plane.
The images taken with the largest pinhole were bright, but very blurry.
5mm pinhole - Barbara sitting close to camera
5mm pinhole - Nathan sitting close to camera
Images produced by the 3mm pinhole were and had more detail than those from the 5mm pinhole. (Notice the shadows on Barbara's shirt.) The tradeoff is that the images are noticably more dim.

3mm pinhole - Barbara sitting far away

3mm pinhole - Nathan standing far away
This pinhole was produced using a thumbtack. While the thumbtack may not be .1mm, it was the smallest item we had to punch a pinhole in the card and we can deduce what the results from an even smaller pinhole would be. The smallest pinhole produced images with the finest detail but the lowest values. However, there was still enough light to distinguish color. We present six images using this size.

.1mm pinhole - Barbara standing far away

.1mm pinhole - Nathan standing far away
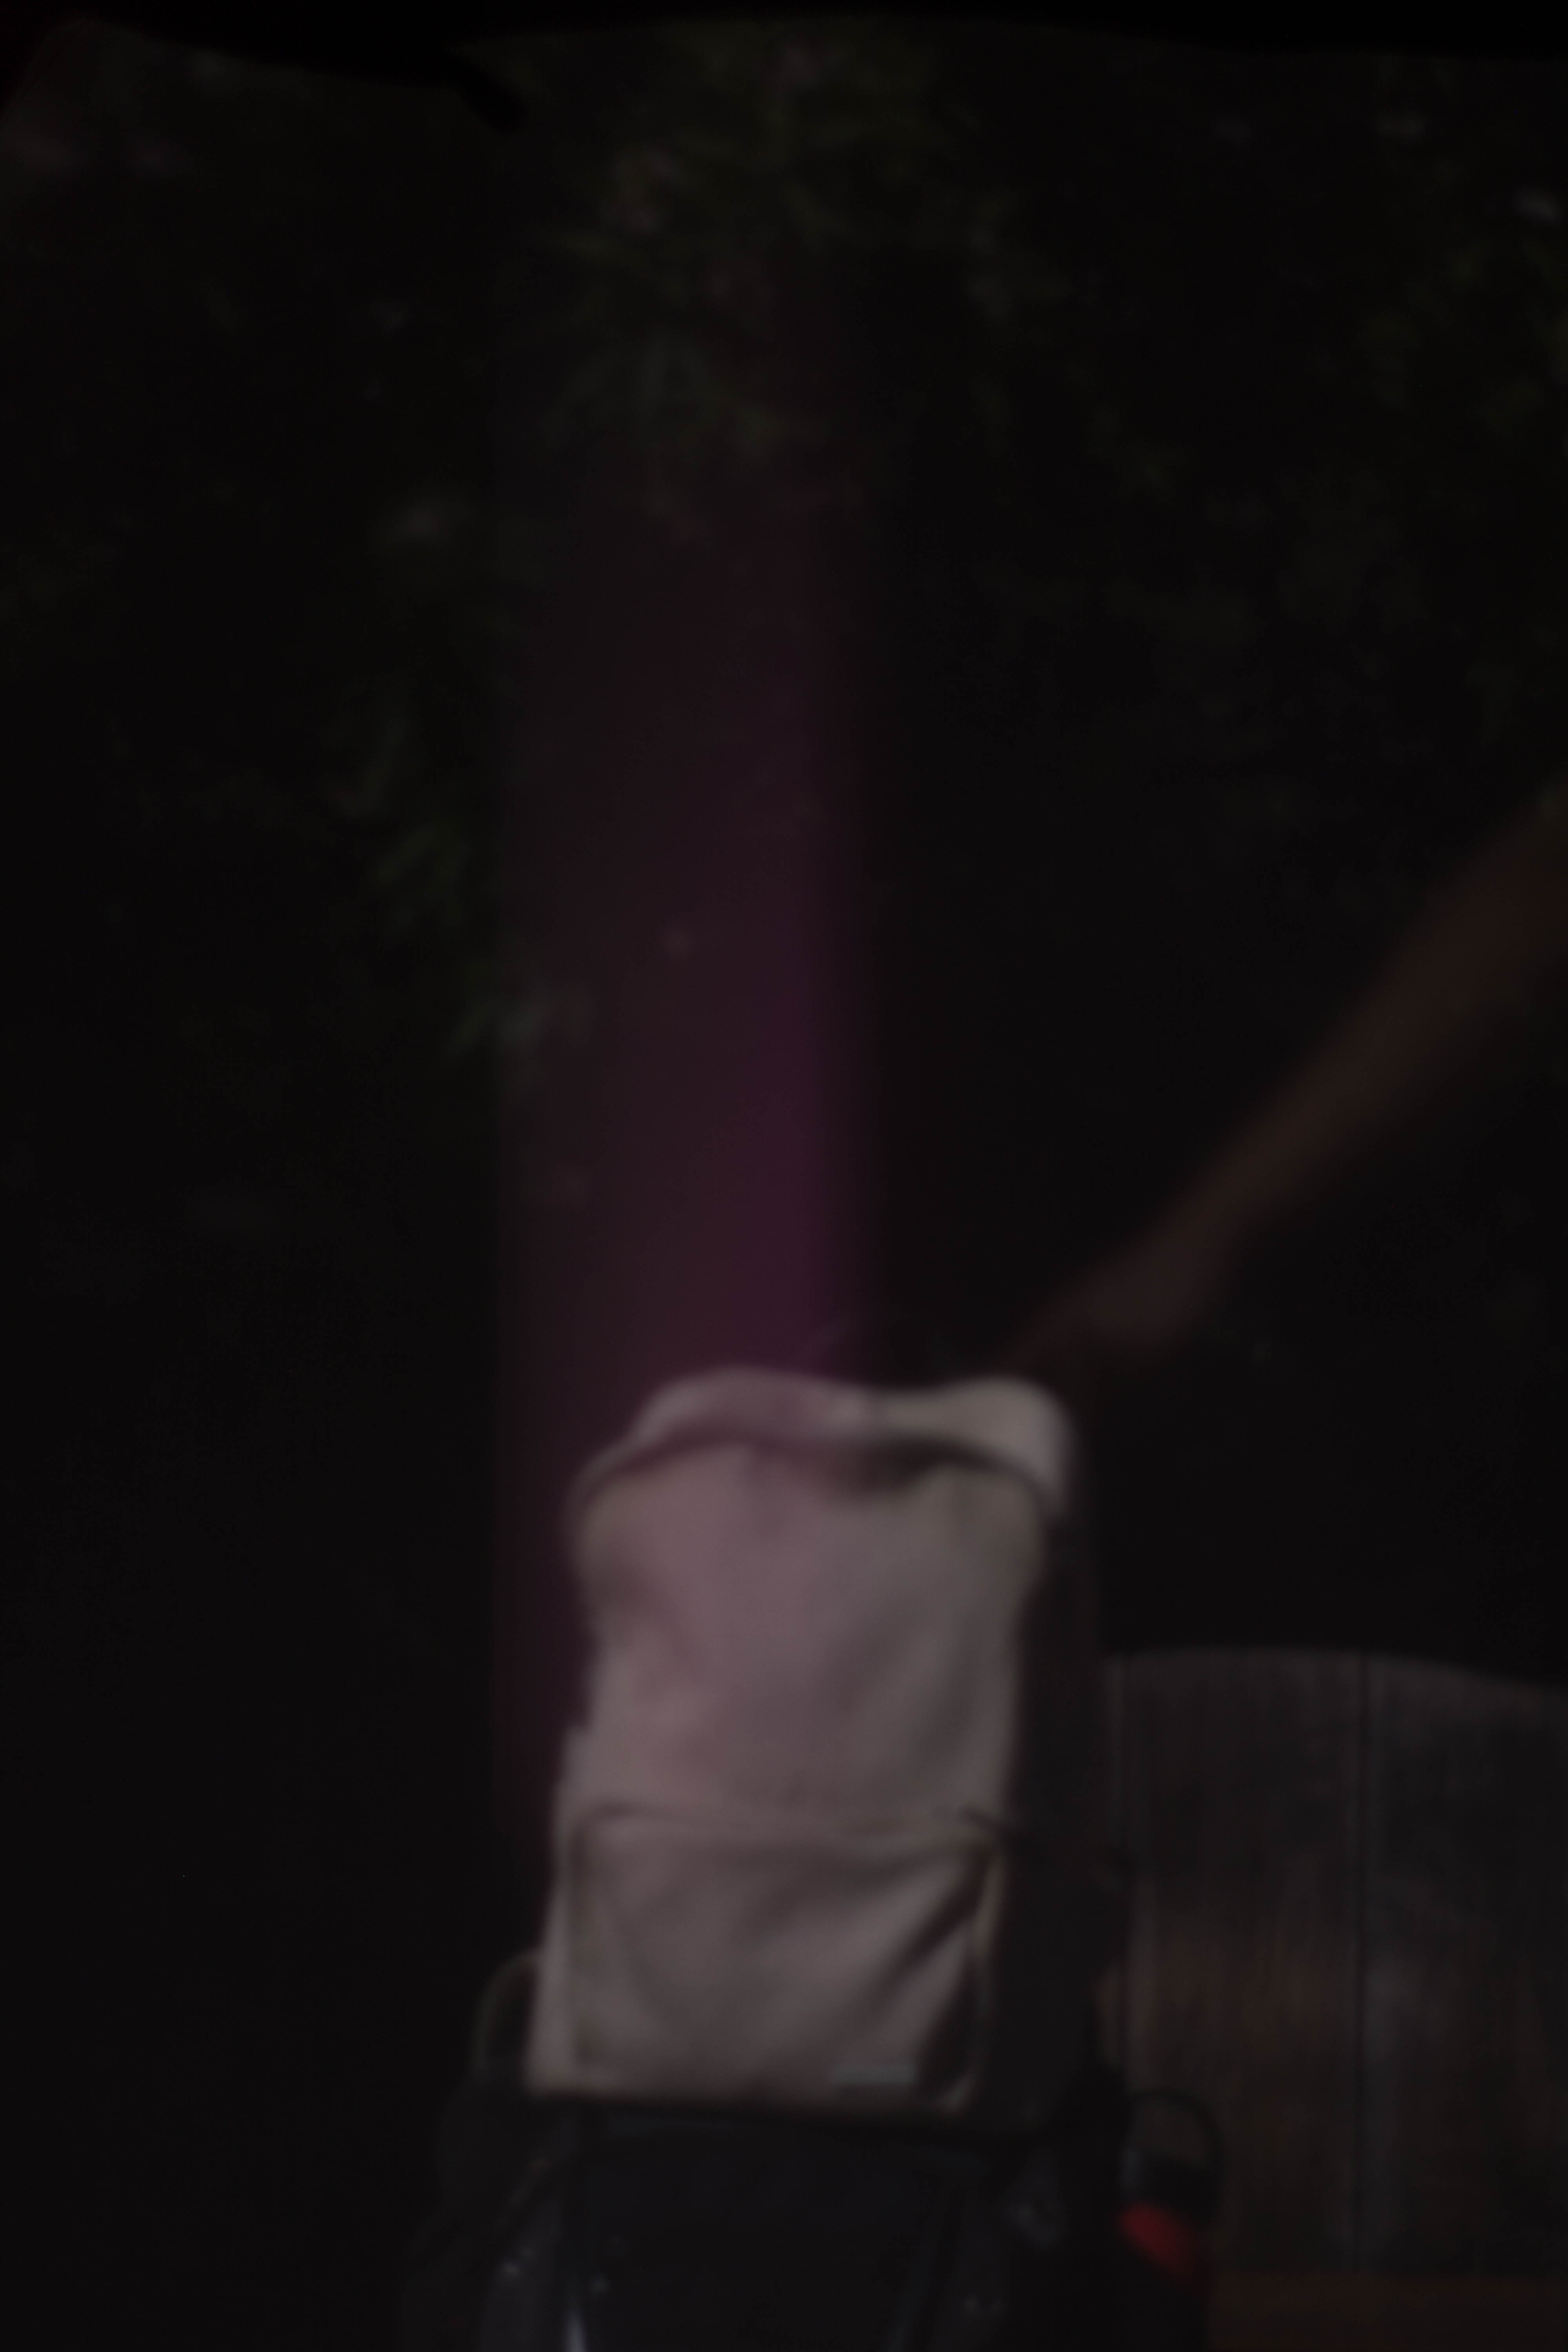
.1mm pinhole - Backpack

.1mm pinhole - Red water bottle and backpack

.1mm pinhole - Sneakers with red stripes
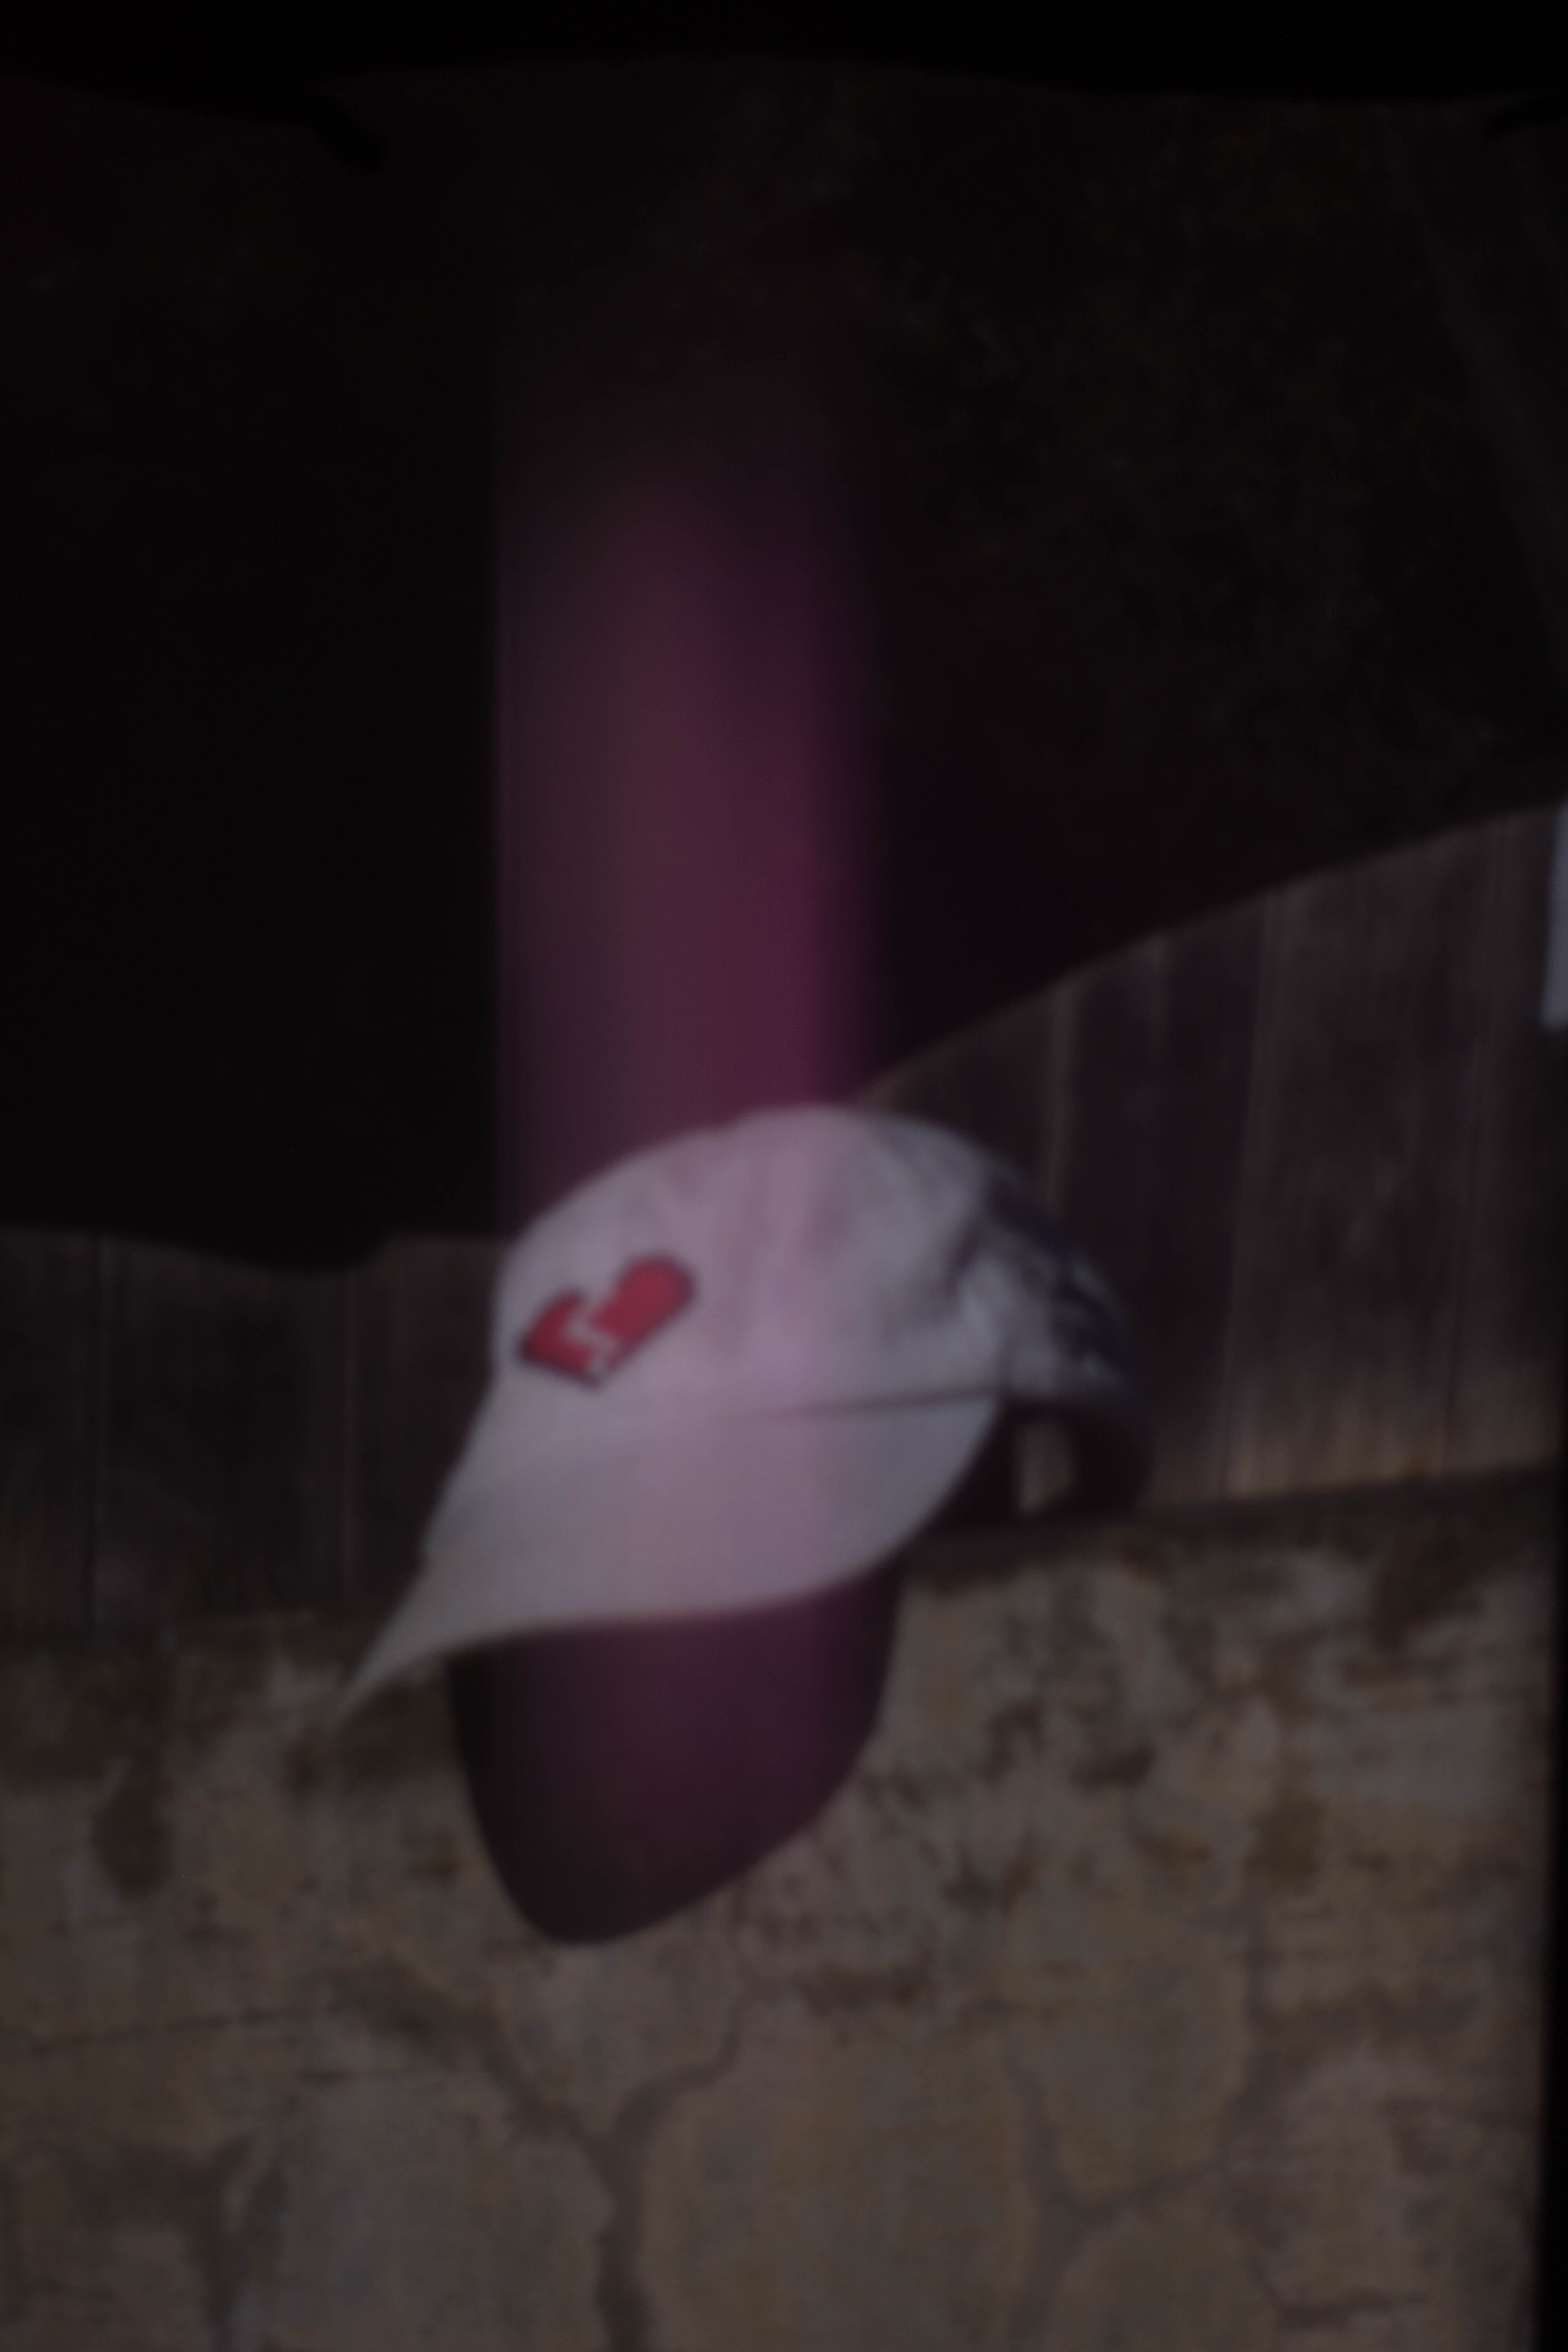
.1mm pinhole - White hat with red image
Interior
Exterior
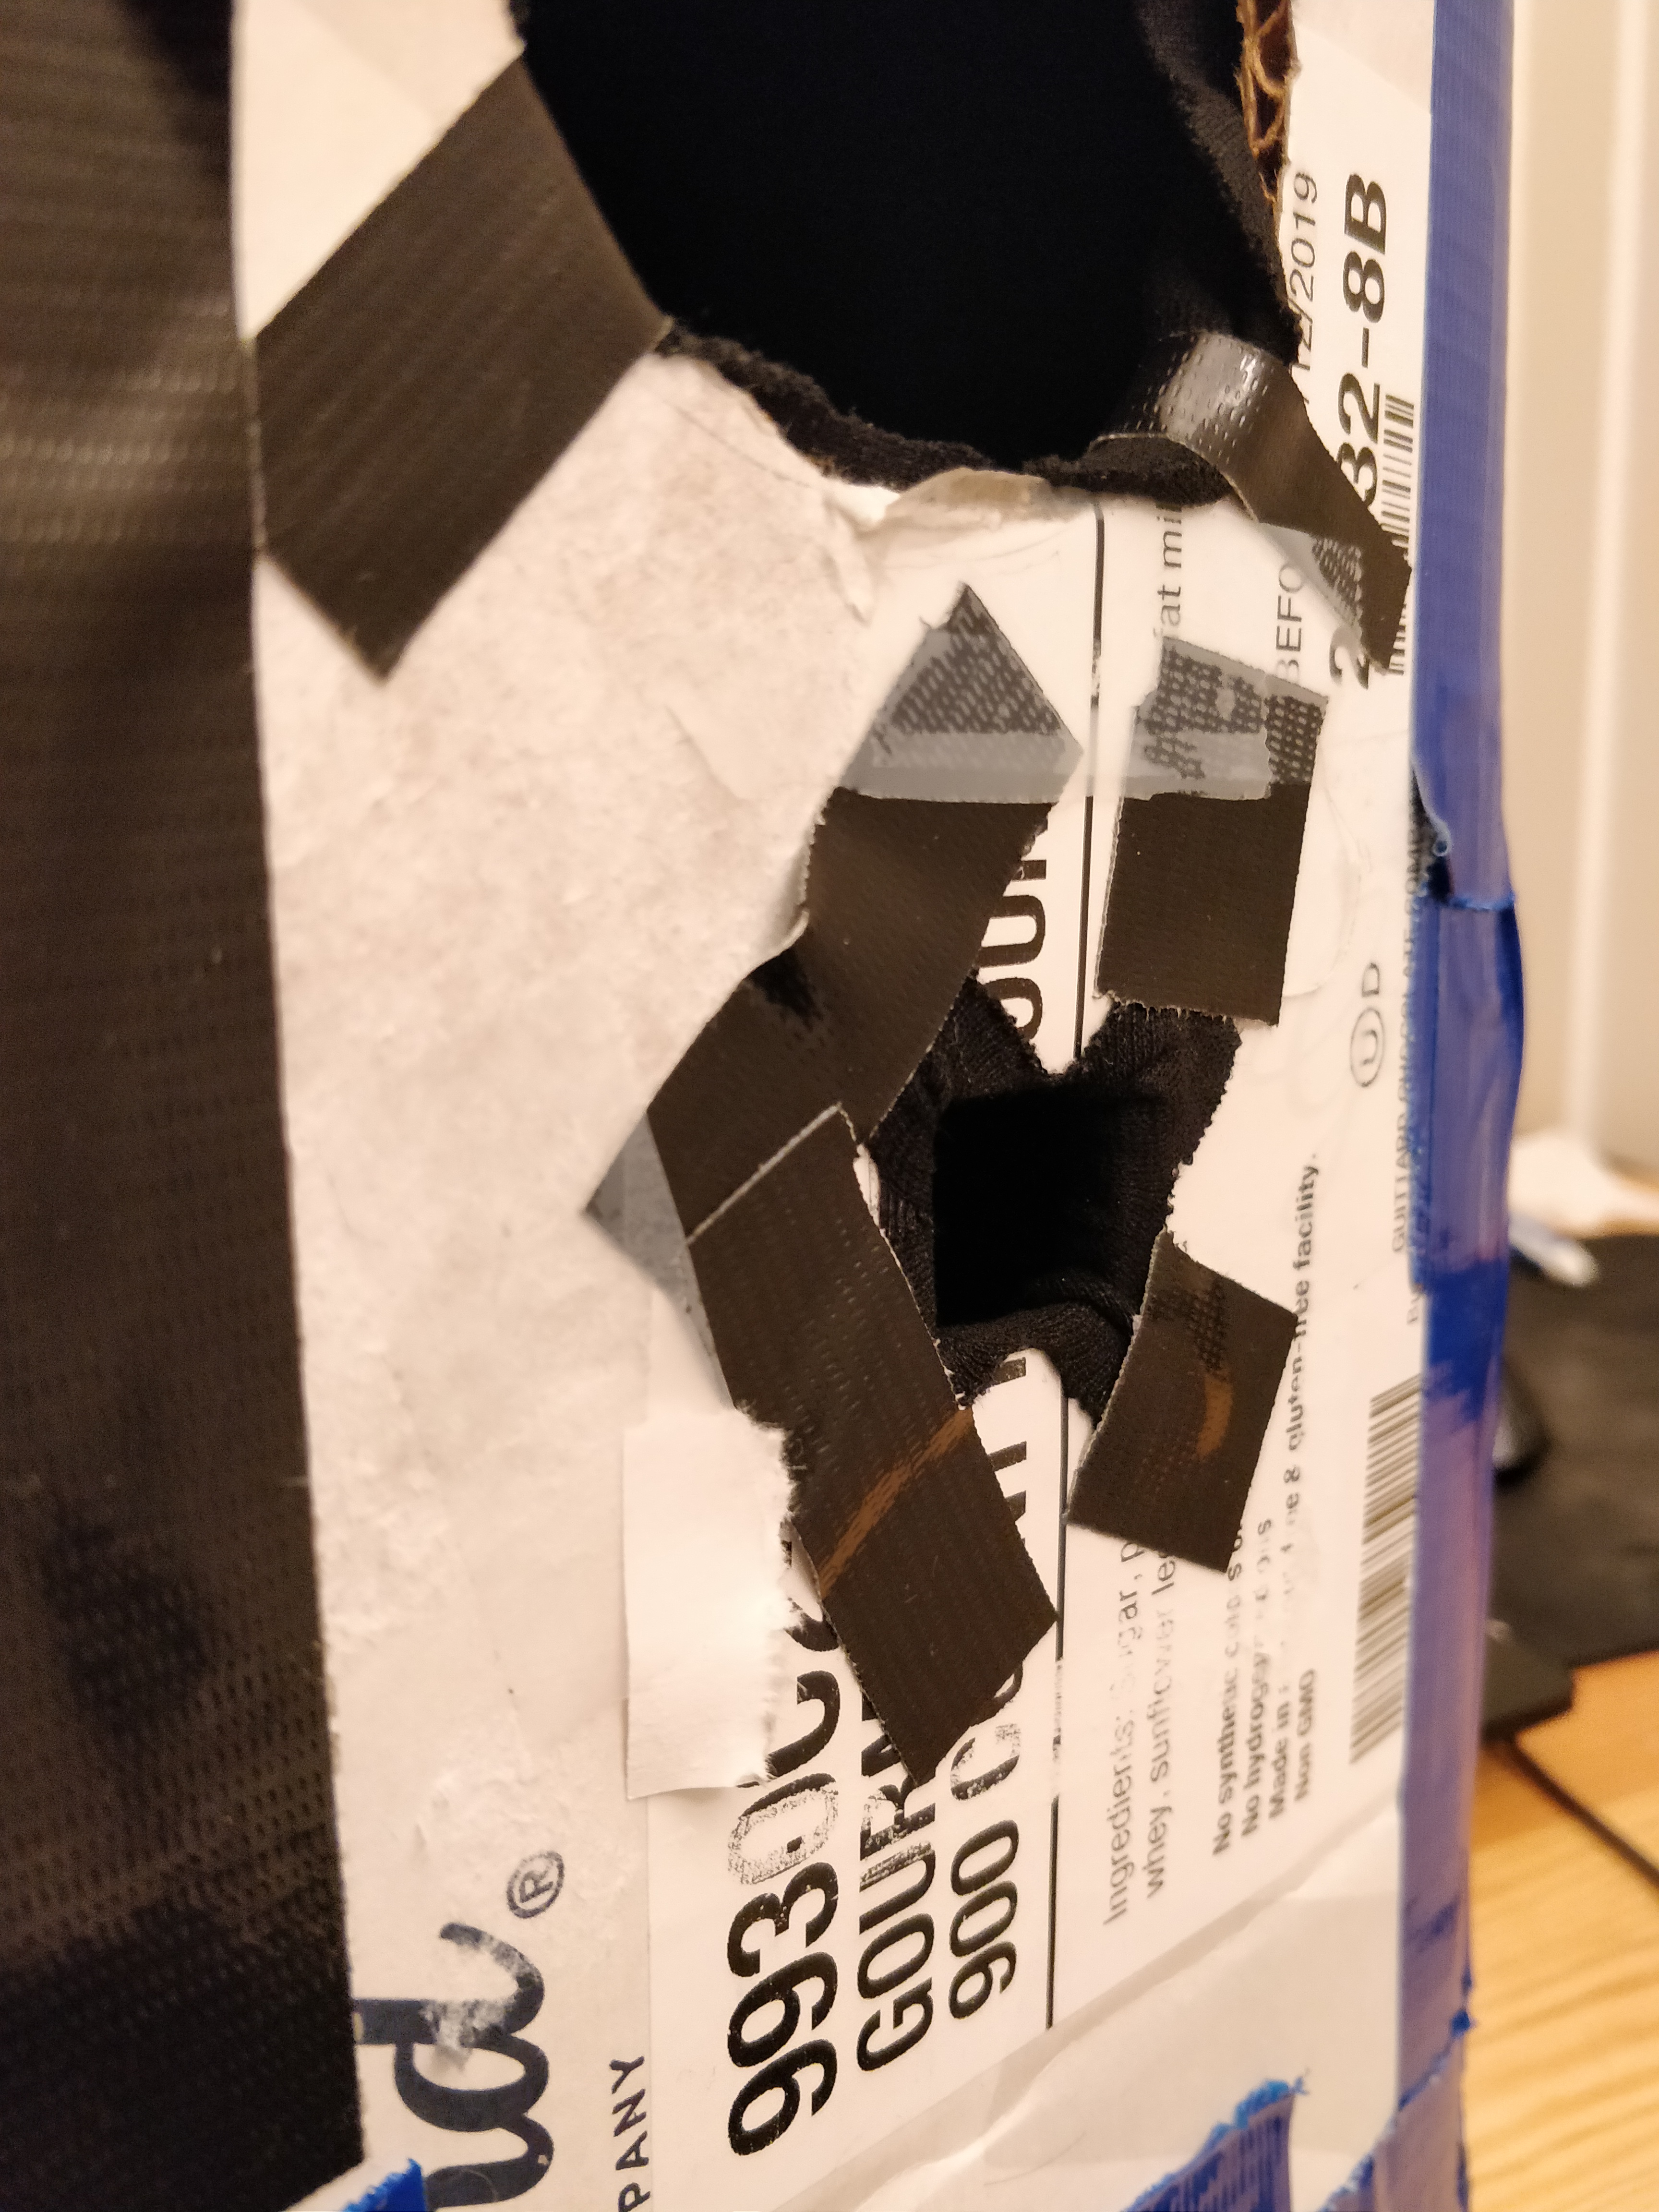
Hole for pinhole cards
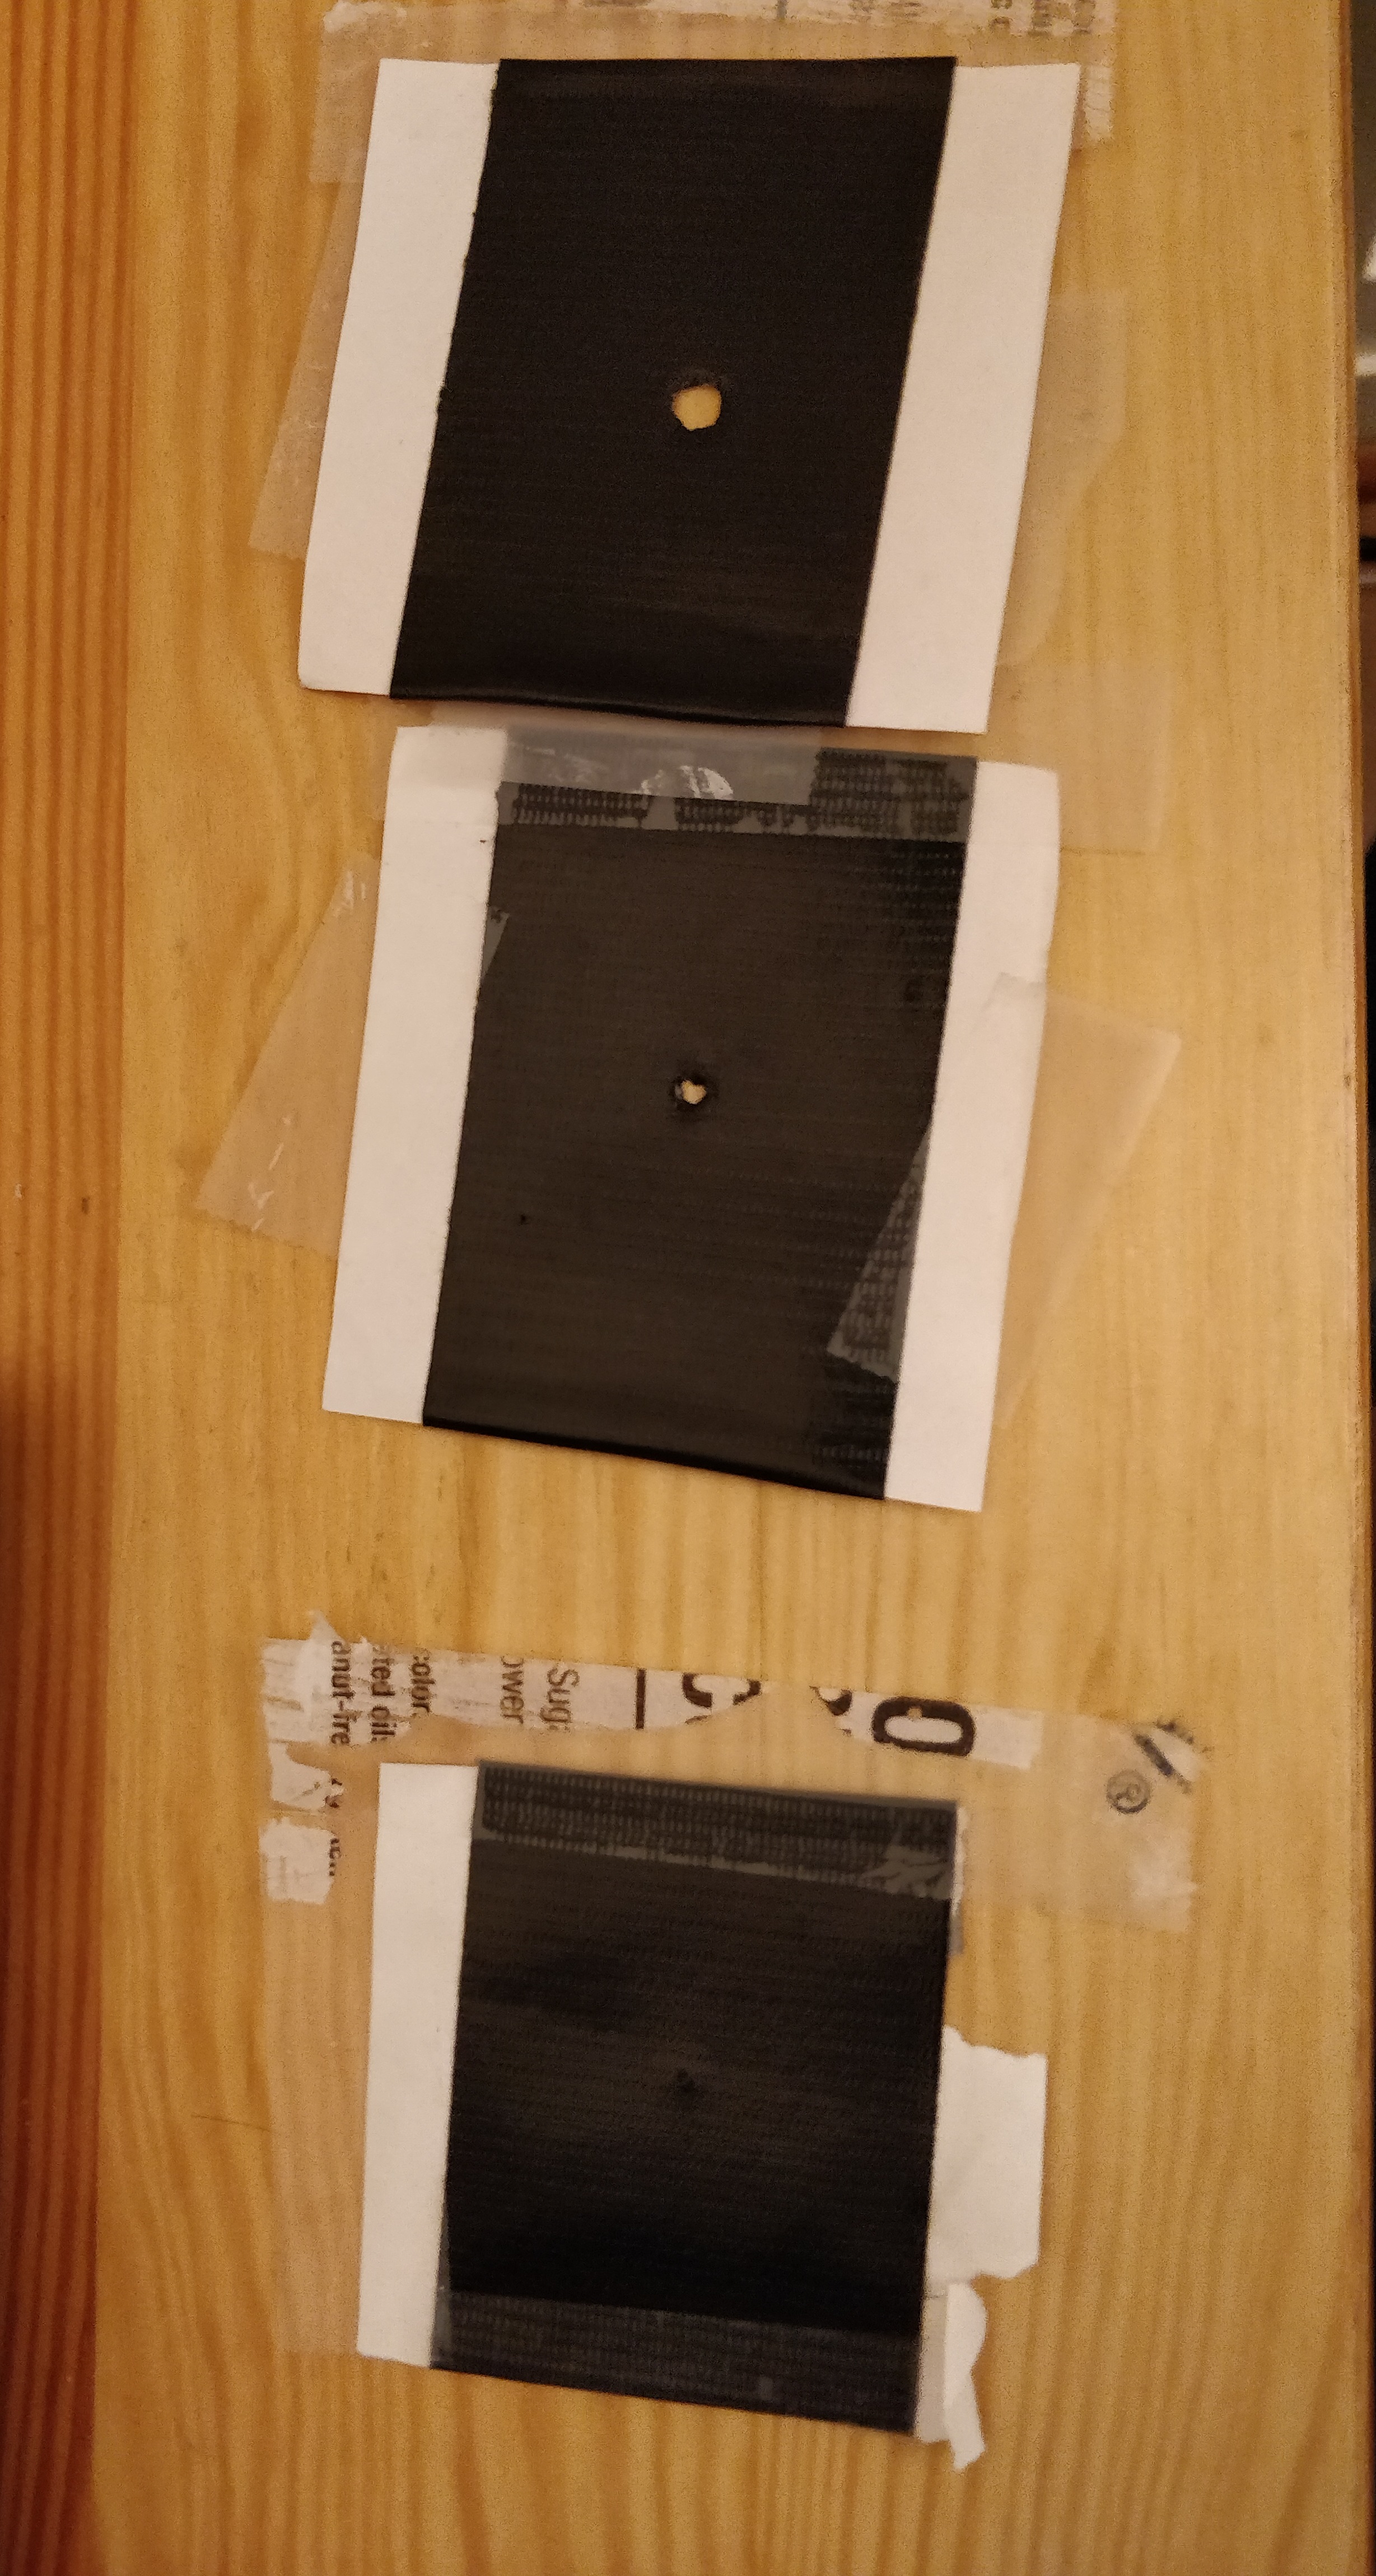
Swappable pinhole cards