CS 194-26 Project 2: Building a Pinhole Camera
Christine Zhou (cs194-26-act), Jennifer Liu (cs194-26-aag)
Overview: The pinhole camera is a dark box with a pinhole on one face, and a screen that ideally displays the projected image, inverted, on the opposite face. Since it is hard to see the image with the naked eye, we use a digital camera (Sony a6000) to capture the image.
Camera Design:
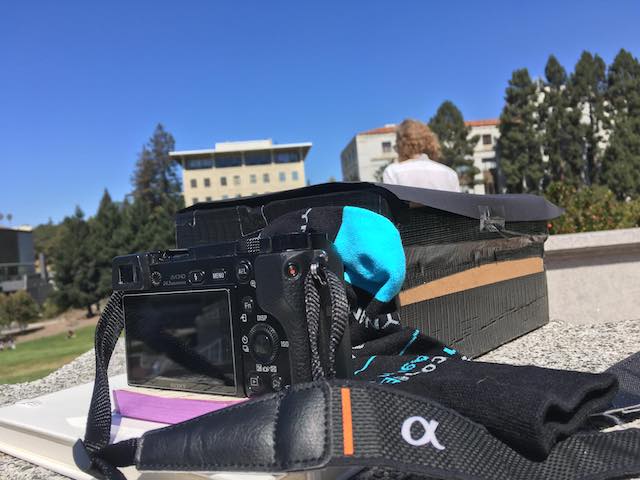
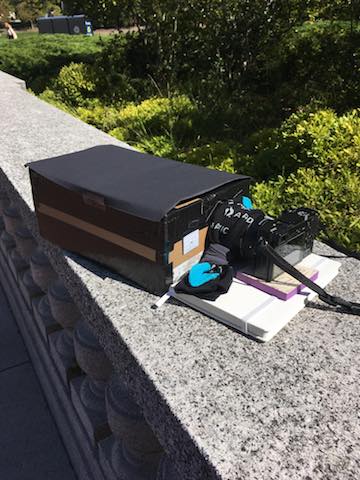
Our pinhole camera was constructed from a shoebox. On one face of the box, we
cut out a circular hole on the right for the digital camera to fit in, and a
smaller square hole on the left of the same face to attach different pin holes.
We made small cards with 1mm, 3mm, and 5mm pin holes and taped the pinhole of
desired size onto the square-shaped hole. We duct-taped the corners and edges of
the outside of the box to ensure that no light would enter unintentionally, and
wrapped a sock around the digital camera to prevent light from leaking through
the gaps between the circular hole and the digital camera. Inside of the box, we
lined 5 sides with black paper and the side opposite the pinhole with white
printer paper. Our shoebox was 12 inches long, meaning that our optimal pinhole
size would be 2 * sqrt(12 in * 550 nm) = 0.81 mm.
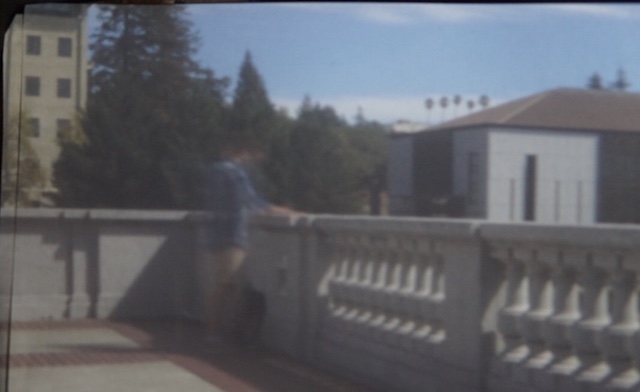
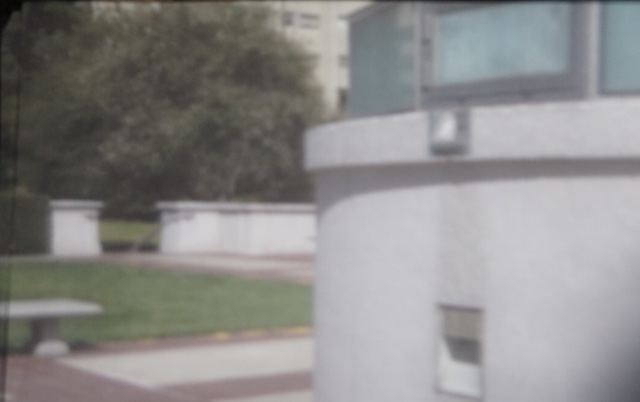
Here are some images of our pinhole camera set-up:
Results:
We obtained the best results with the following camera settings:
F: 16
ISO: 640
Shutter speed: 30 seconds
All photos below were taken with these settings. In general, when the pinhole
size decreased, the picture got more clear since the rays of light pass through
a smaller hole and are more focused. However, these images tended to be slightly
darker since there was in general less light being let in.
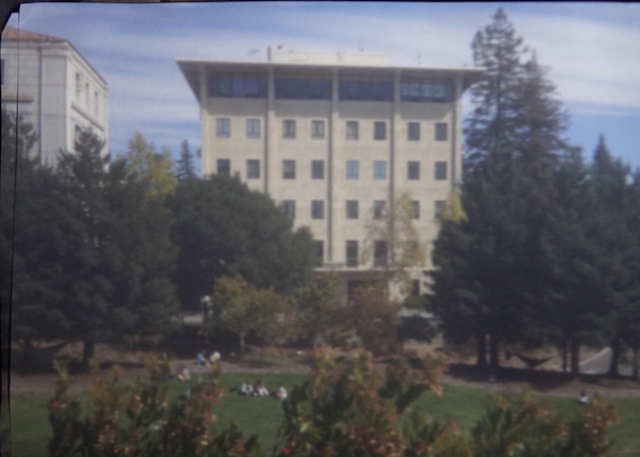
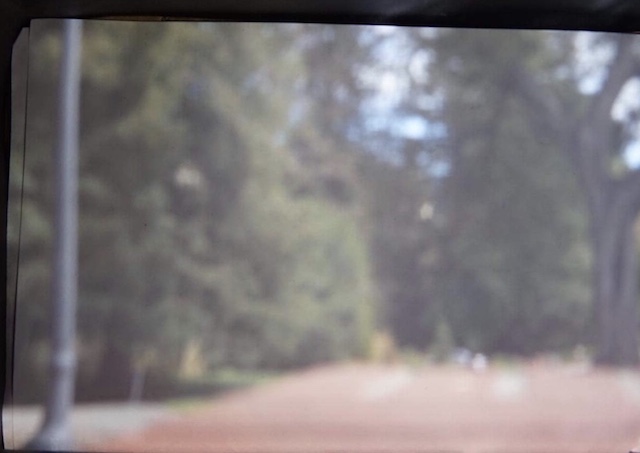
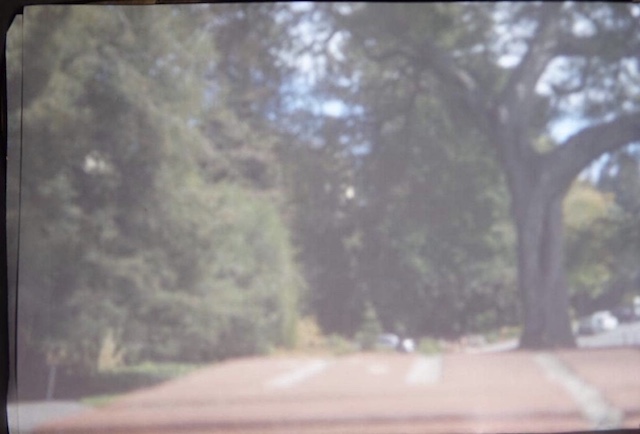
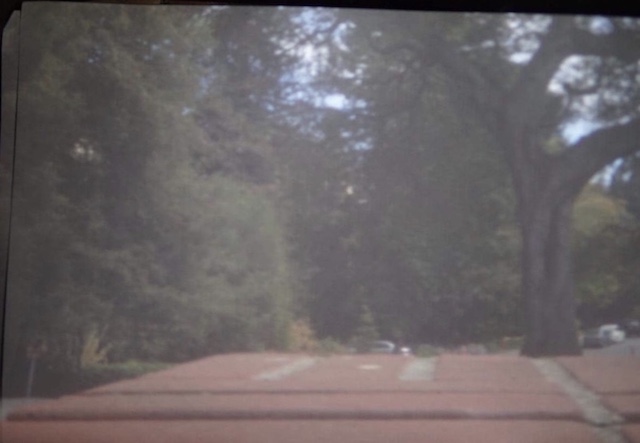
Morrison Hall Trees
5 mm
3 mm
1 mm
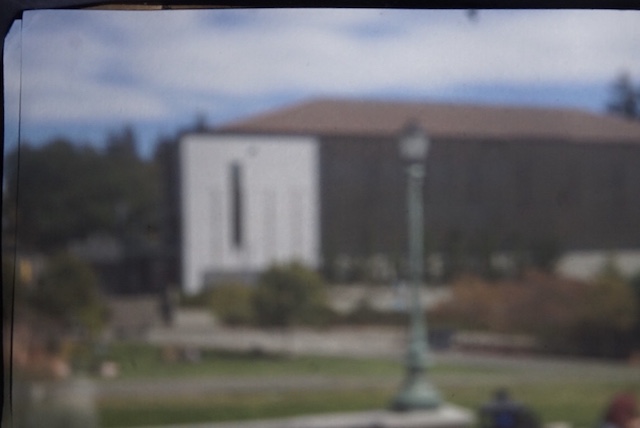
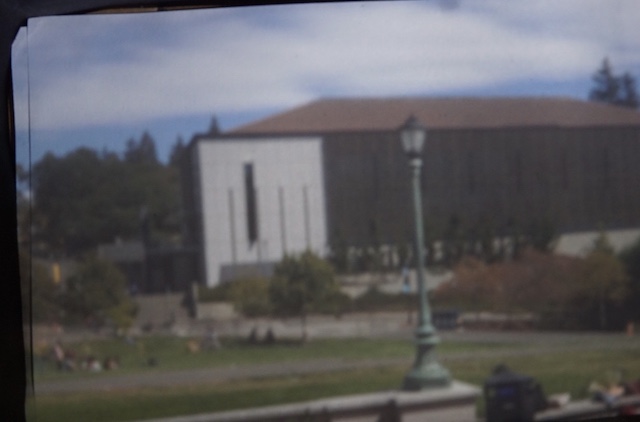
East Asian Library
5 mm
3 mm
1 mm

The 1 mm pinhole performed the best and is also closest to the optimal pinhole
size for our shoebox, so we took a few additional photos with it: