Overview:
The goal of this project was to build a pinhole obscura camera using simple supplies from home. The aim was to have the scene outside of the box shine through a small pinhole to get projected onto a screen on the far side of the box. We can then use a DSLR camera set on long exposure to capture the projected image.
Box Design:
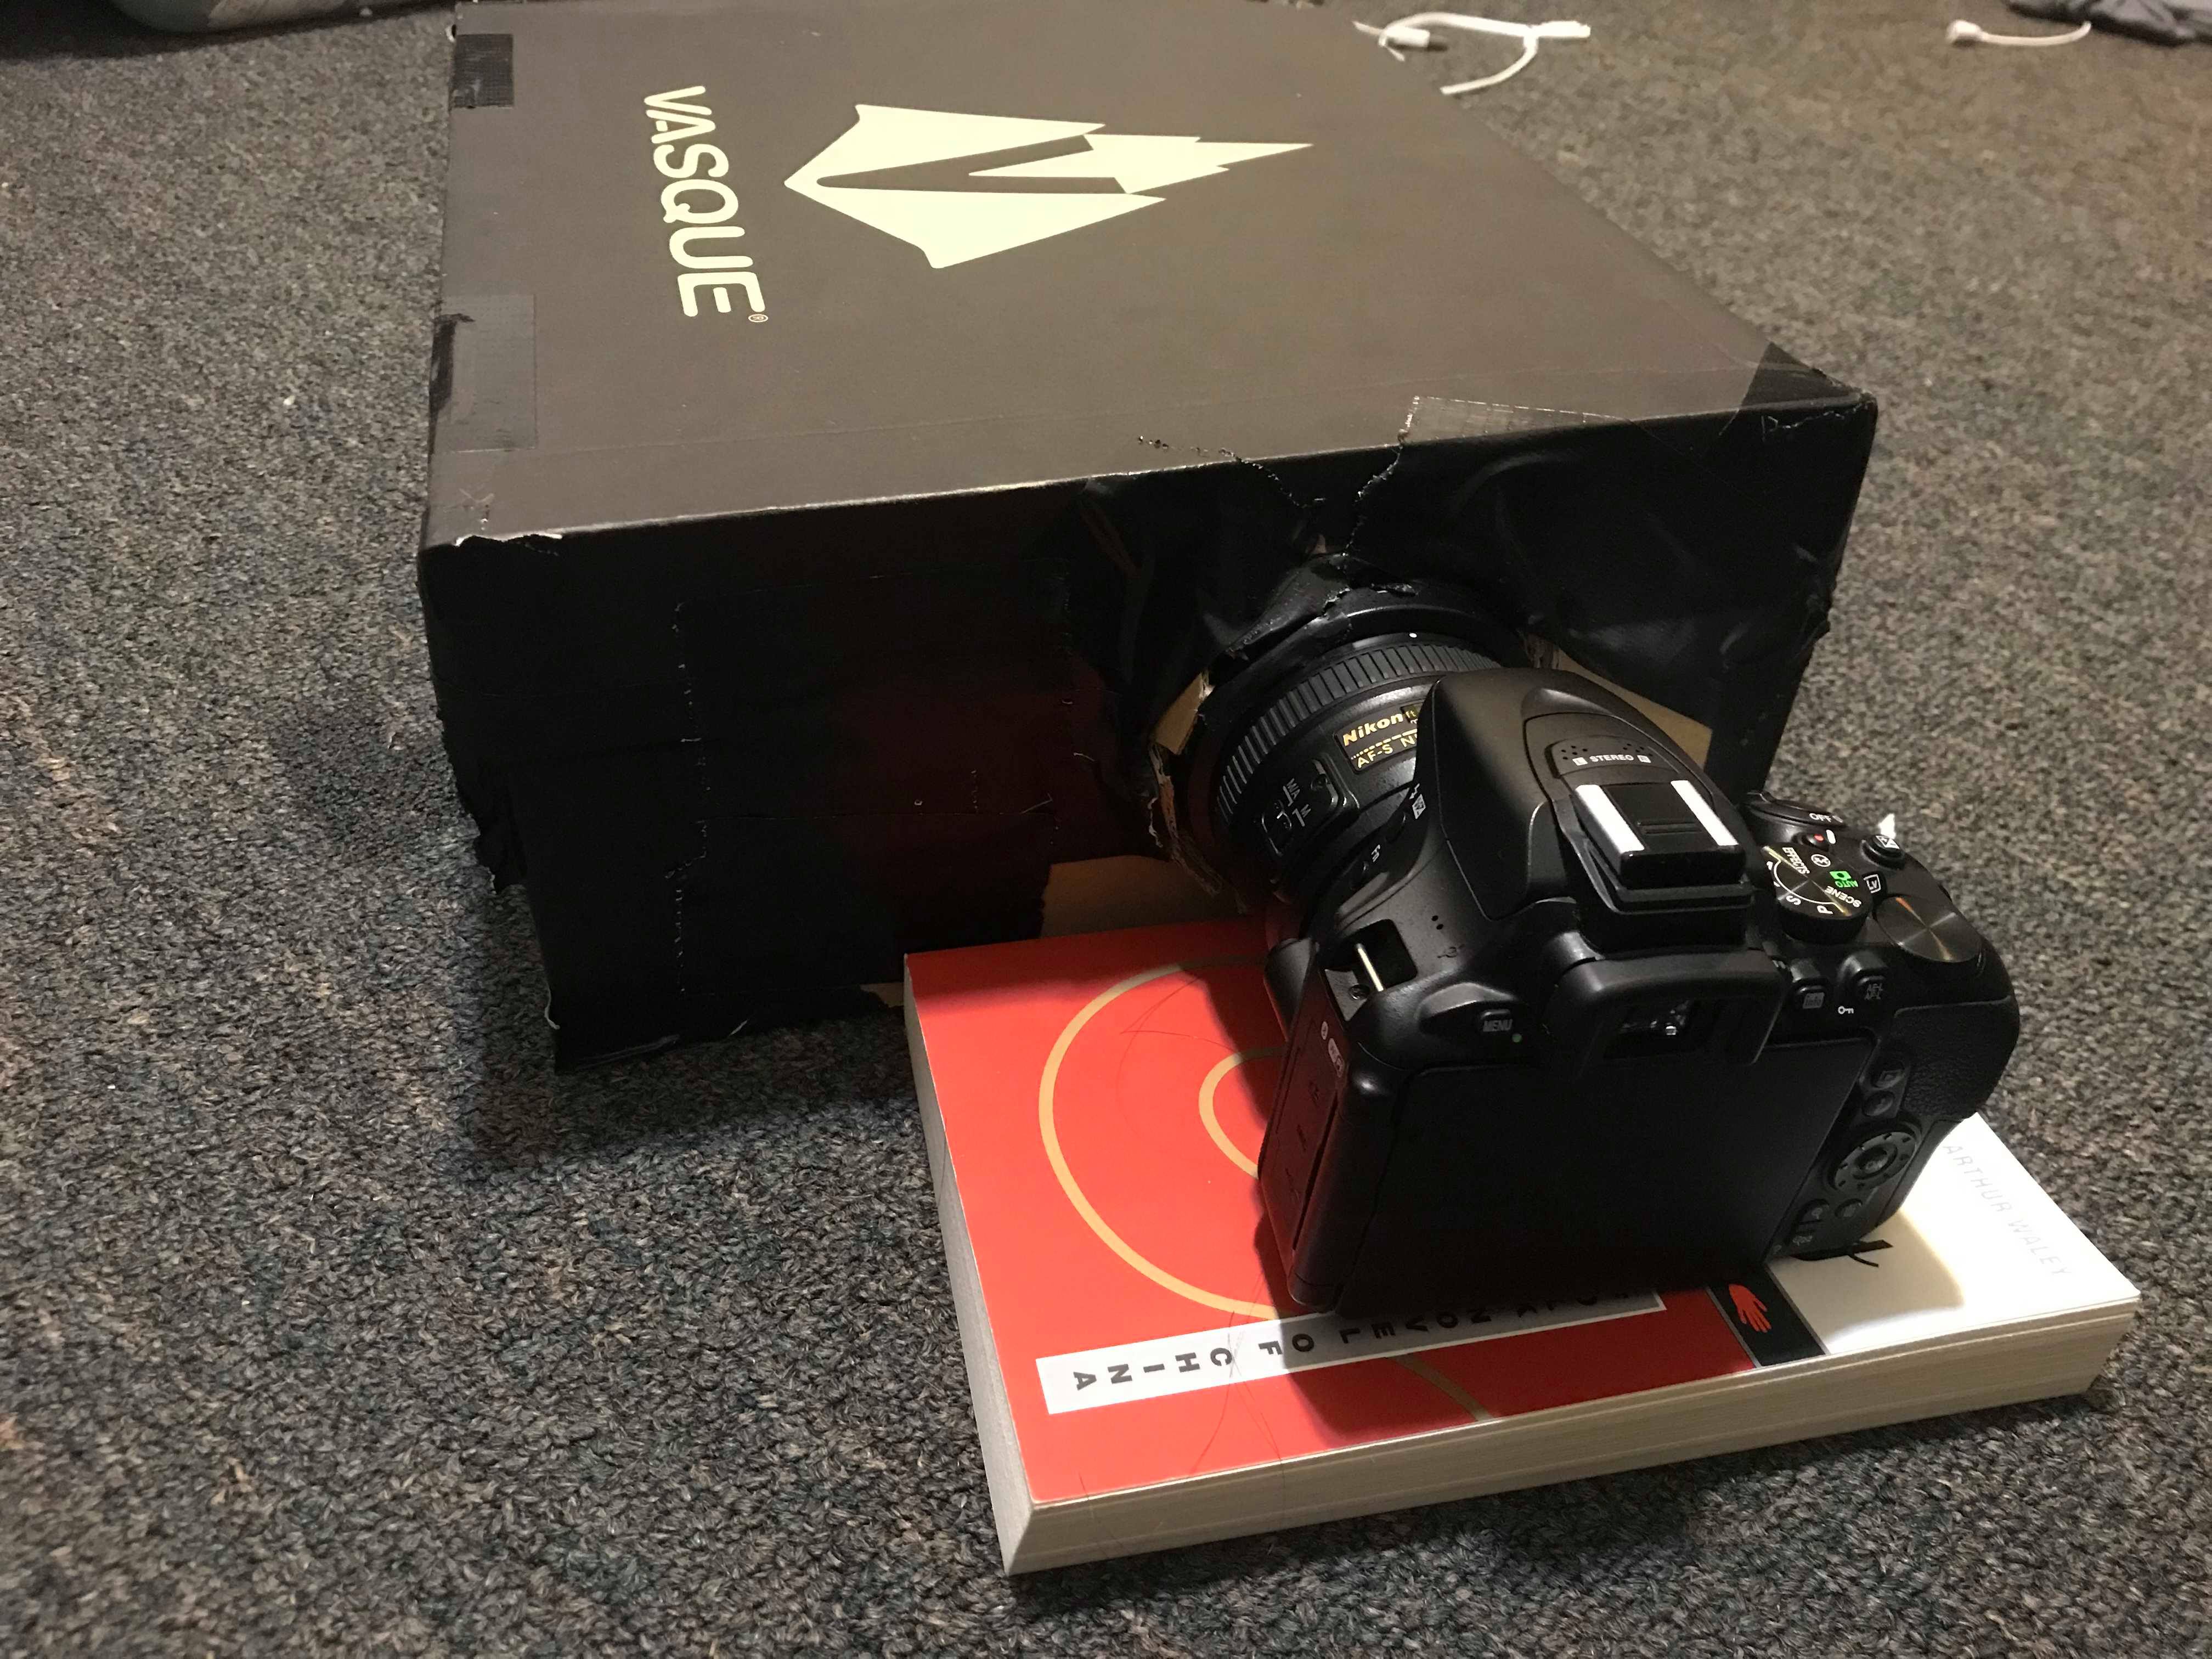

We took a large shoebox from home and covered all faces but one with black paper and covered the last face with white paper to use as the screen. On the opposite side, we cut a circular hole roughly the size of our camera's lens hood, adding nooks perpendicular to the circle ensure the lens hood would fit in tightly. This allowed us to easily insert and remove our DSLR camera from our pinhole camera for easy transportation.
We cut a small rectangle in our box next to the whole for the lens hood. Different pinhole sizes, created using black paper wrapped in duct tape (to ensure light-proofness), could be easiliy switched out by duct taping them over the rectangular opening.
To seal out all light, we used black duct tape to tape all sides/openings/corners of the shoebox as well as around the inserted lens hood on the inside. As a precautionary measure, we also placed the shoebox in a paper bag or covered the box with a sweater to block out any extra light.
A Comparison of Different Sized Pinholes:
For this project, we used a Nikon D5600 with a 50mm prime lens f1.8. We used the manual focus of the camera to focus on the white paper screen backdrop of our pinhole camera prior to sealing the box. For all photos below, we used an fstop of 1.8 and an ISO of 300 and exposure times of around 30 seconds.
Using the equation 1.9 * sqrt(f * 550nm), given the focal length of our camera 43cm, we calculated that the optimal pinhole size would be approximately 0.923mm. Thus, we decided to use recommended pinhole sizes of 0.5mm, 3mm, and 5mm to sample a range of pinholes around this pinhole size and compare/contrast the effect on our final photos.
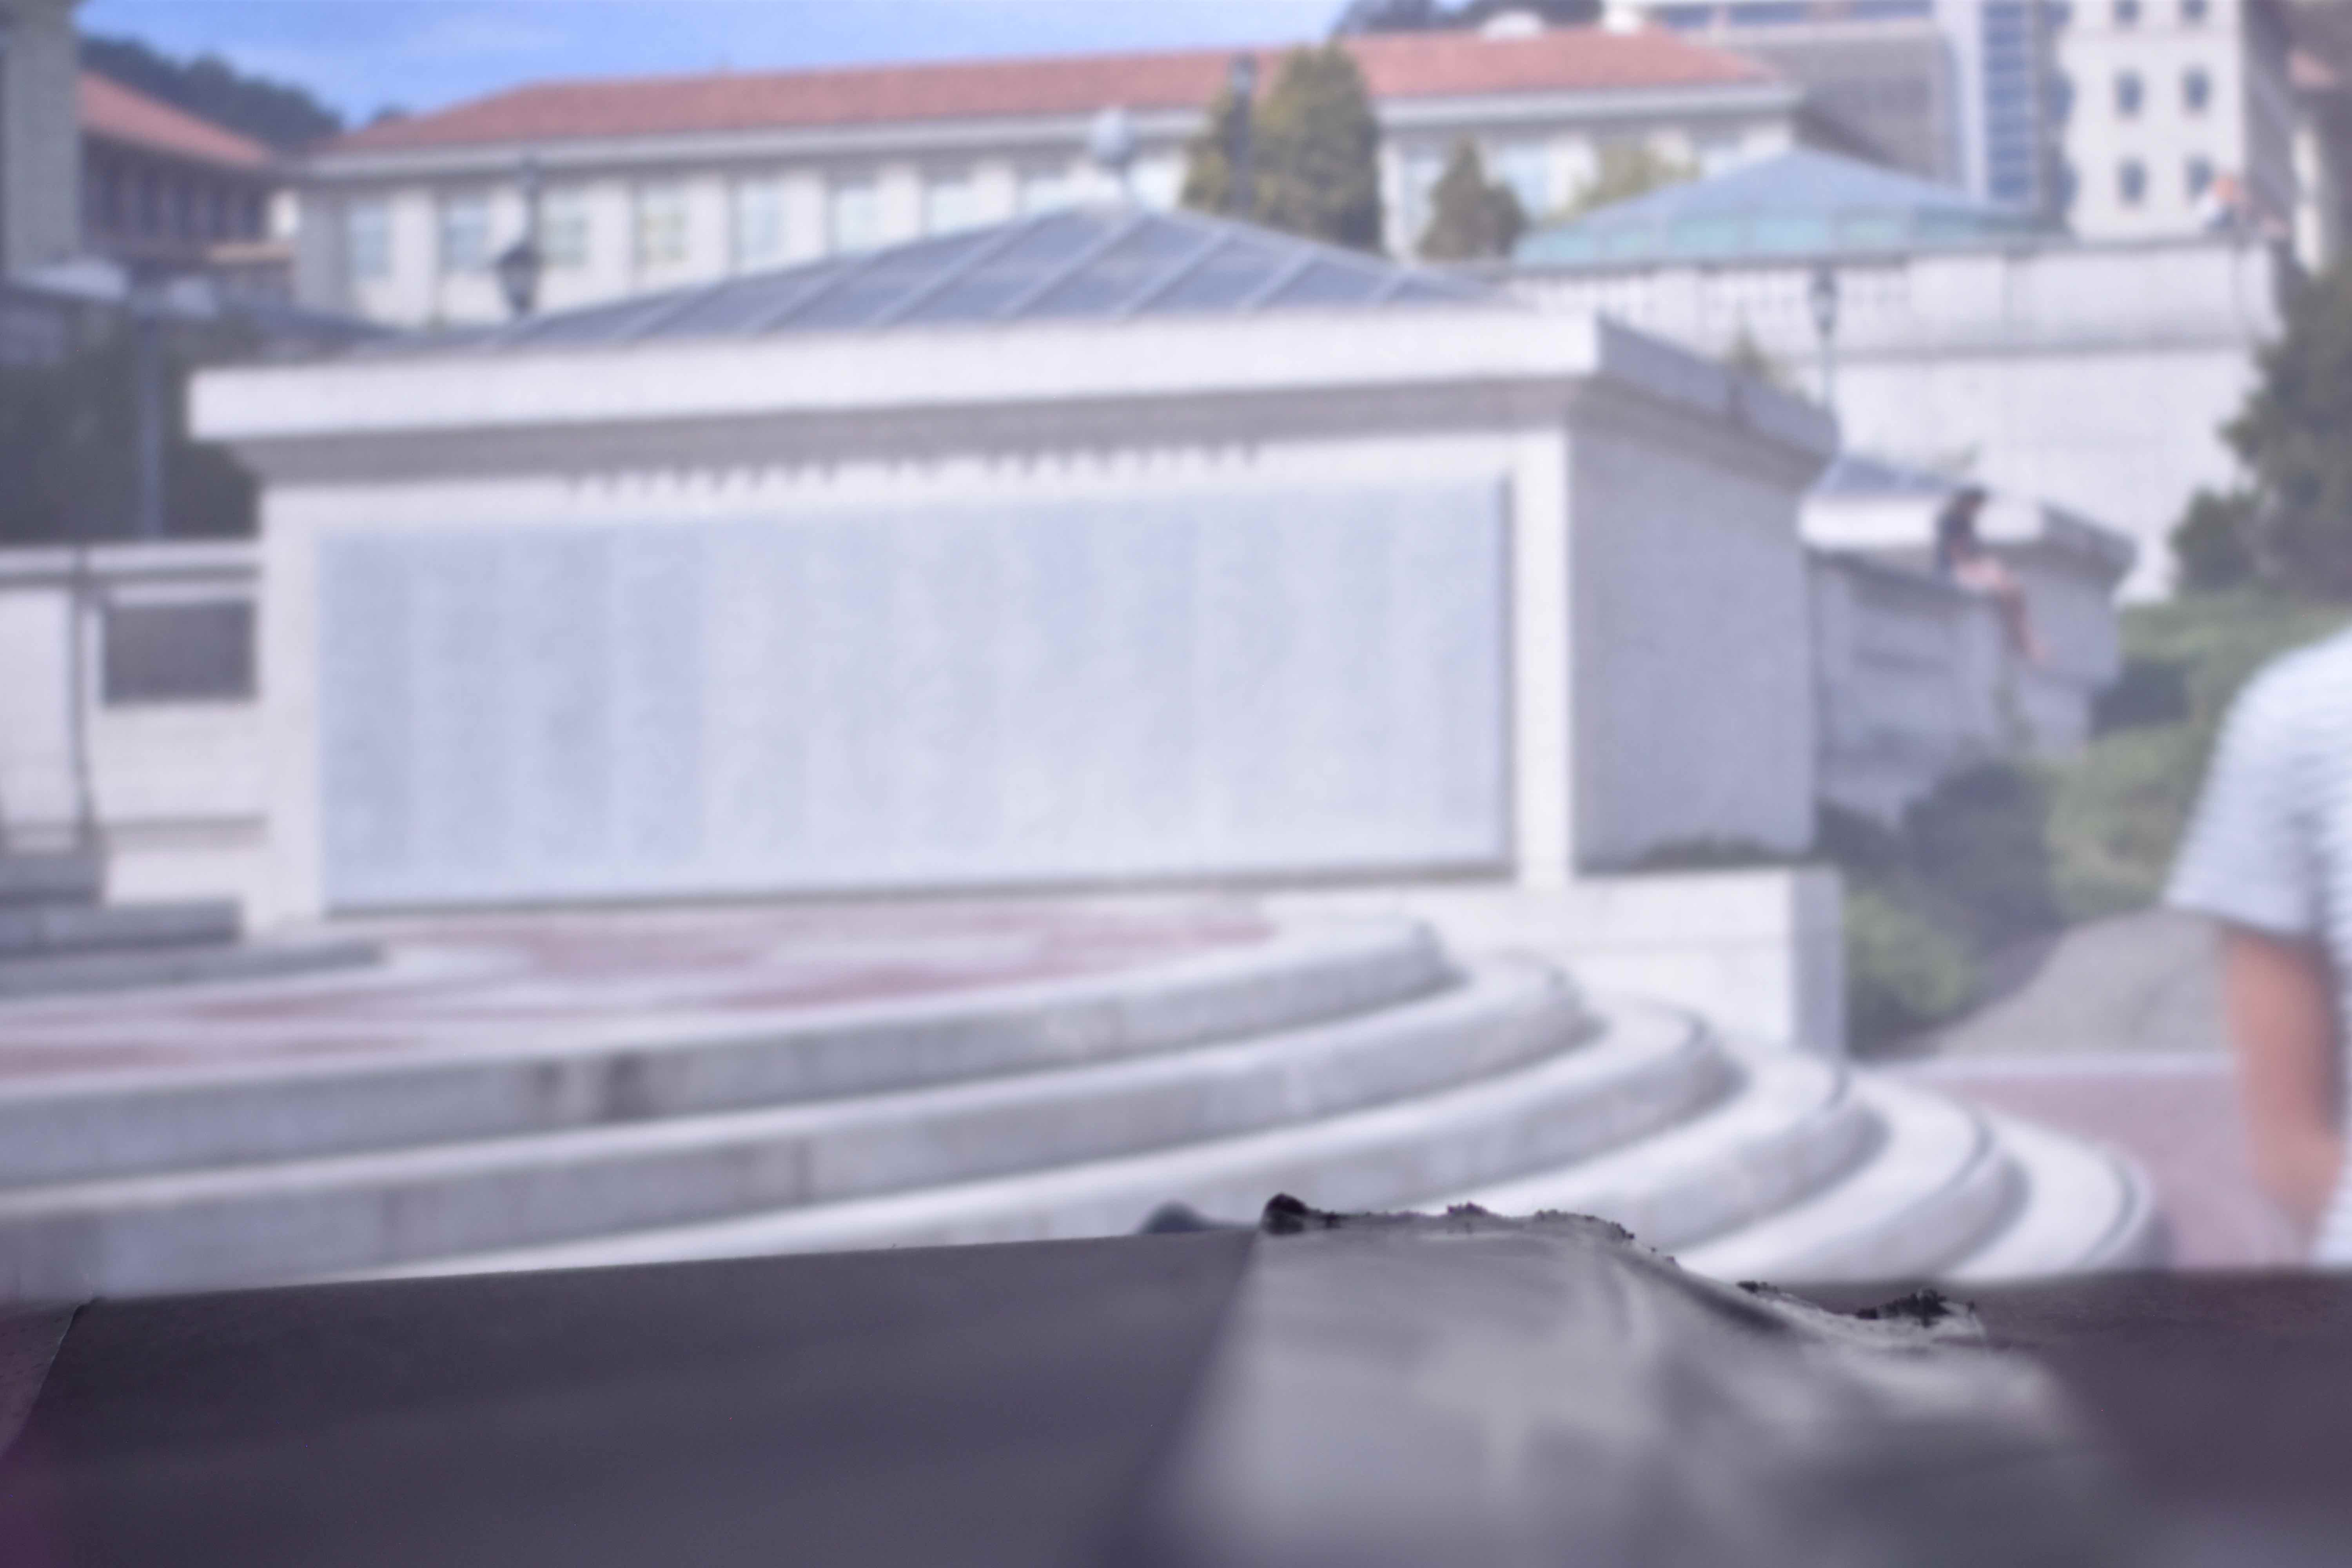
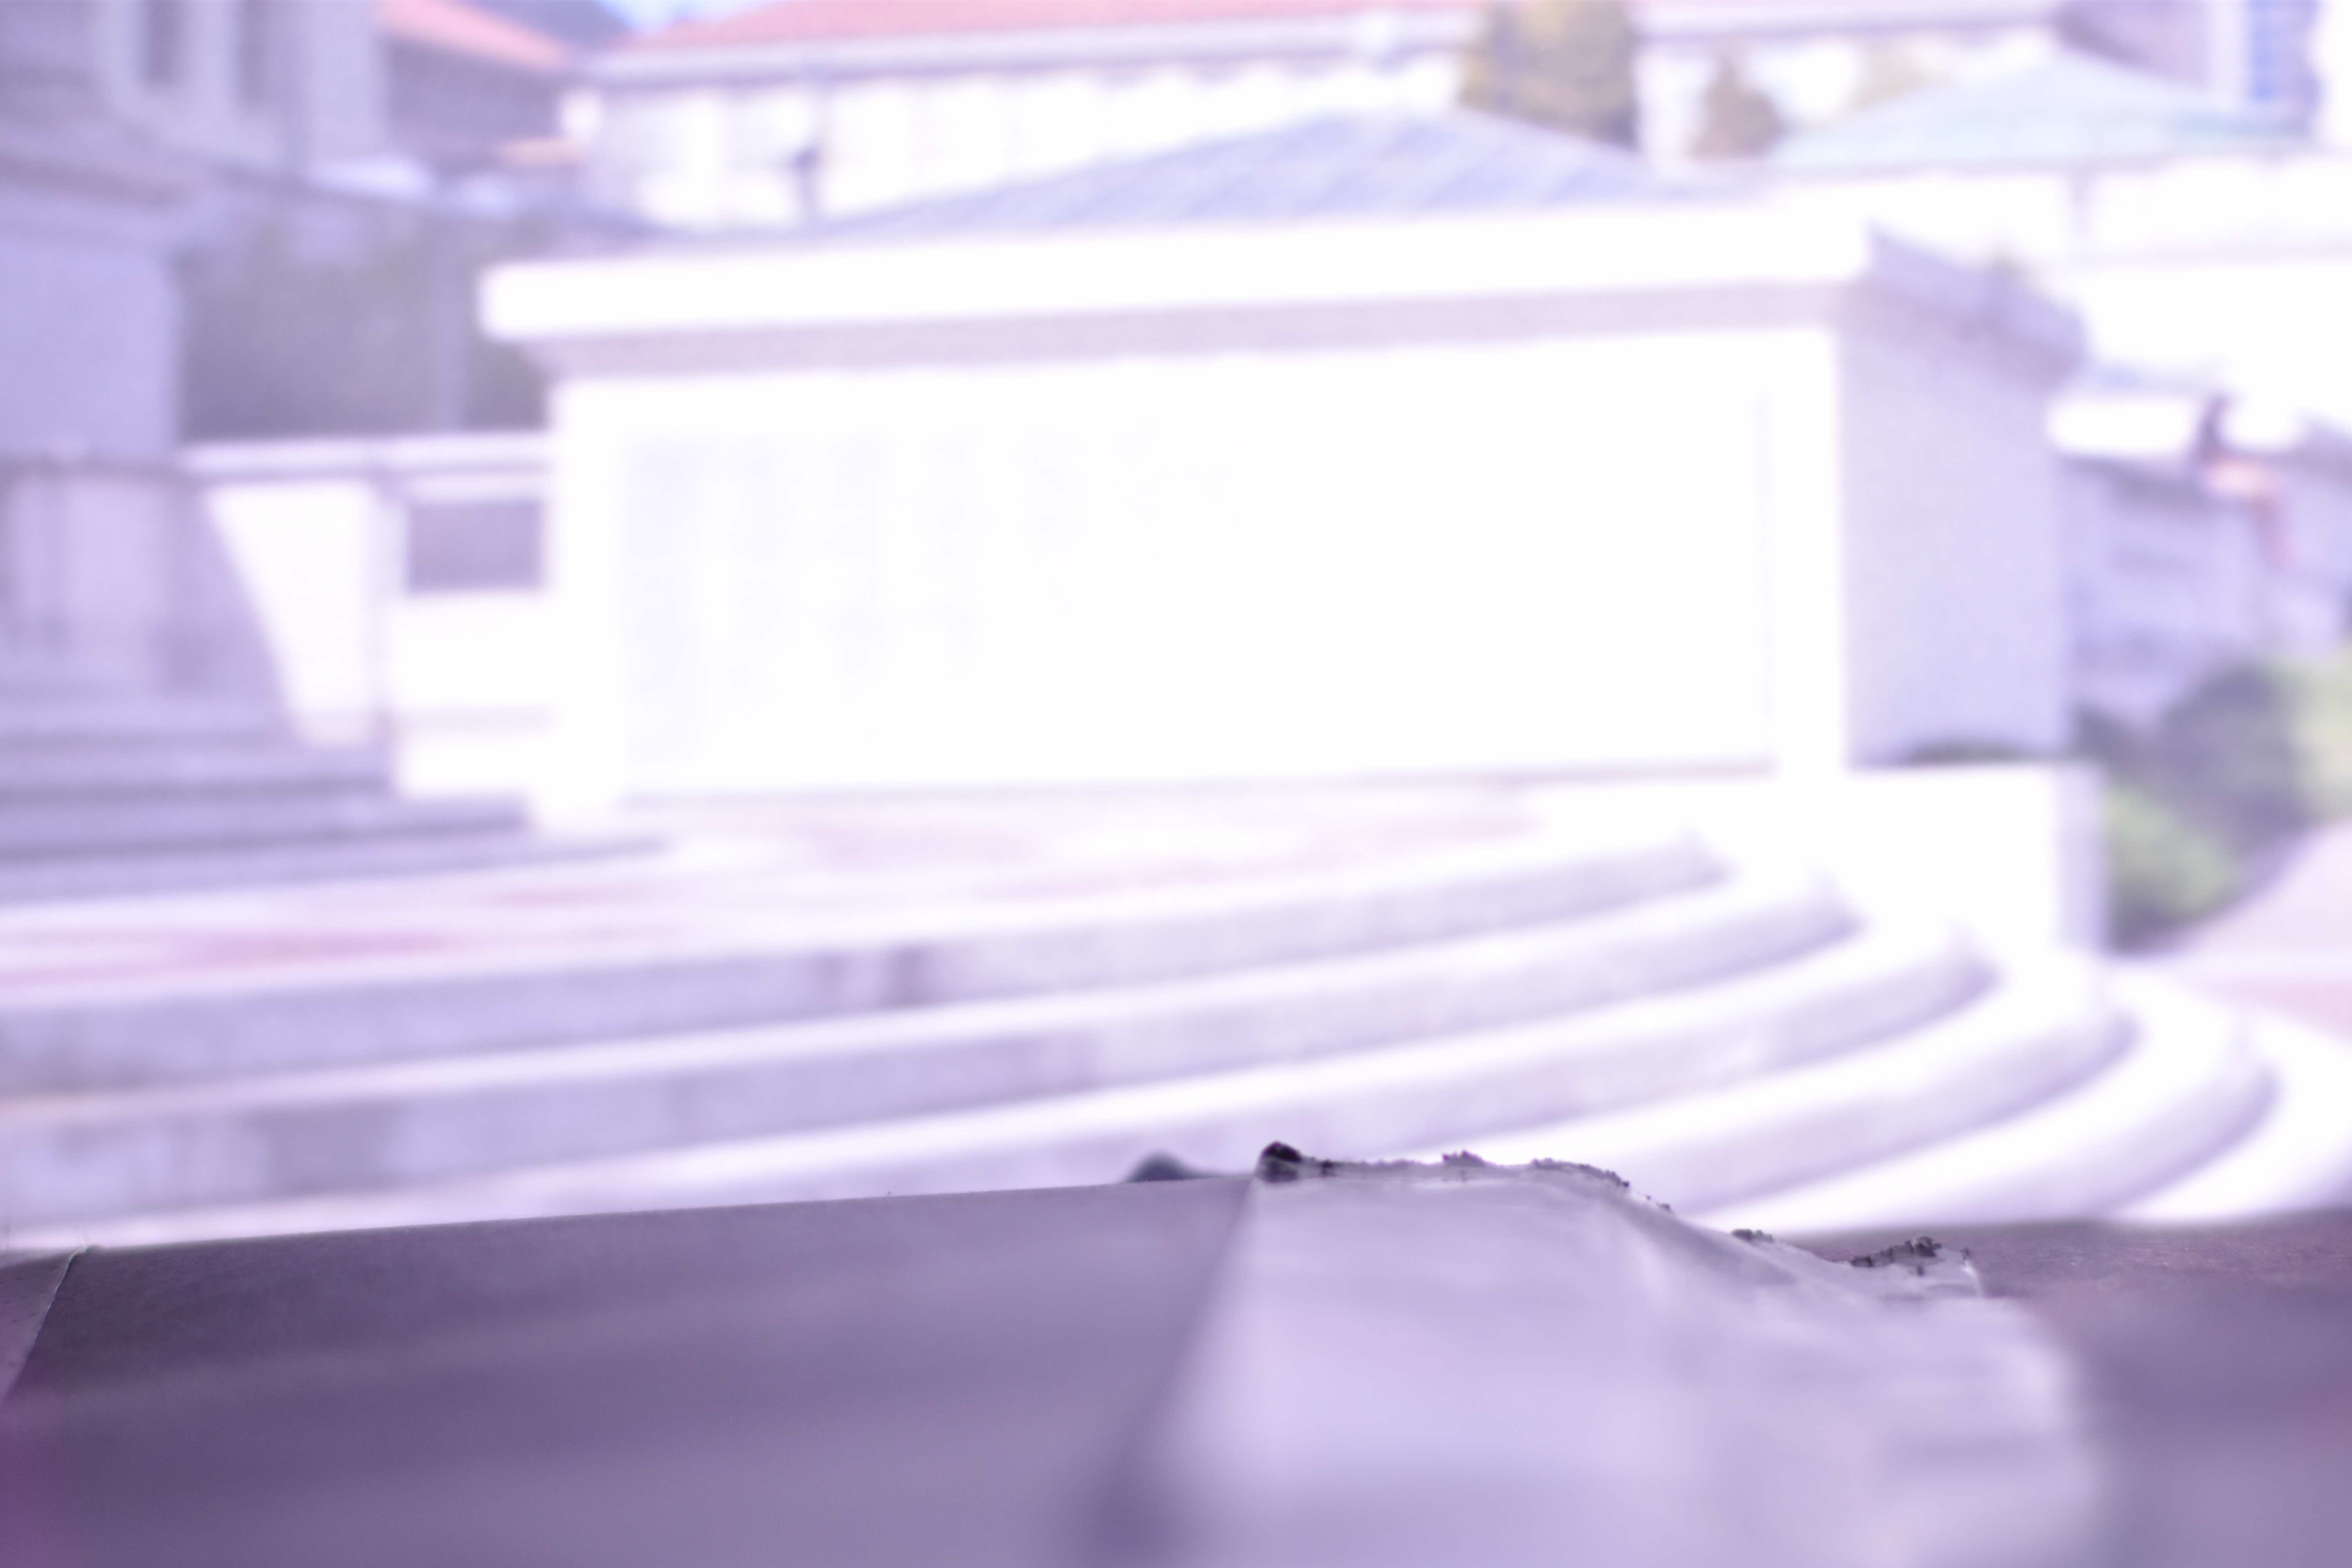
Left: 0.5mm, Middle: 3mm, Right: 5mm pinhole diameter
Steps of Doe Library

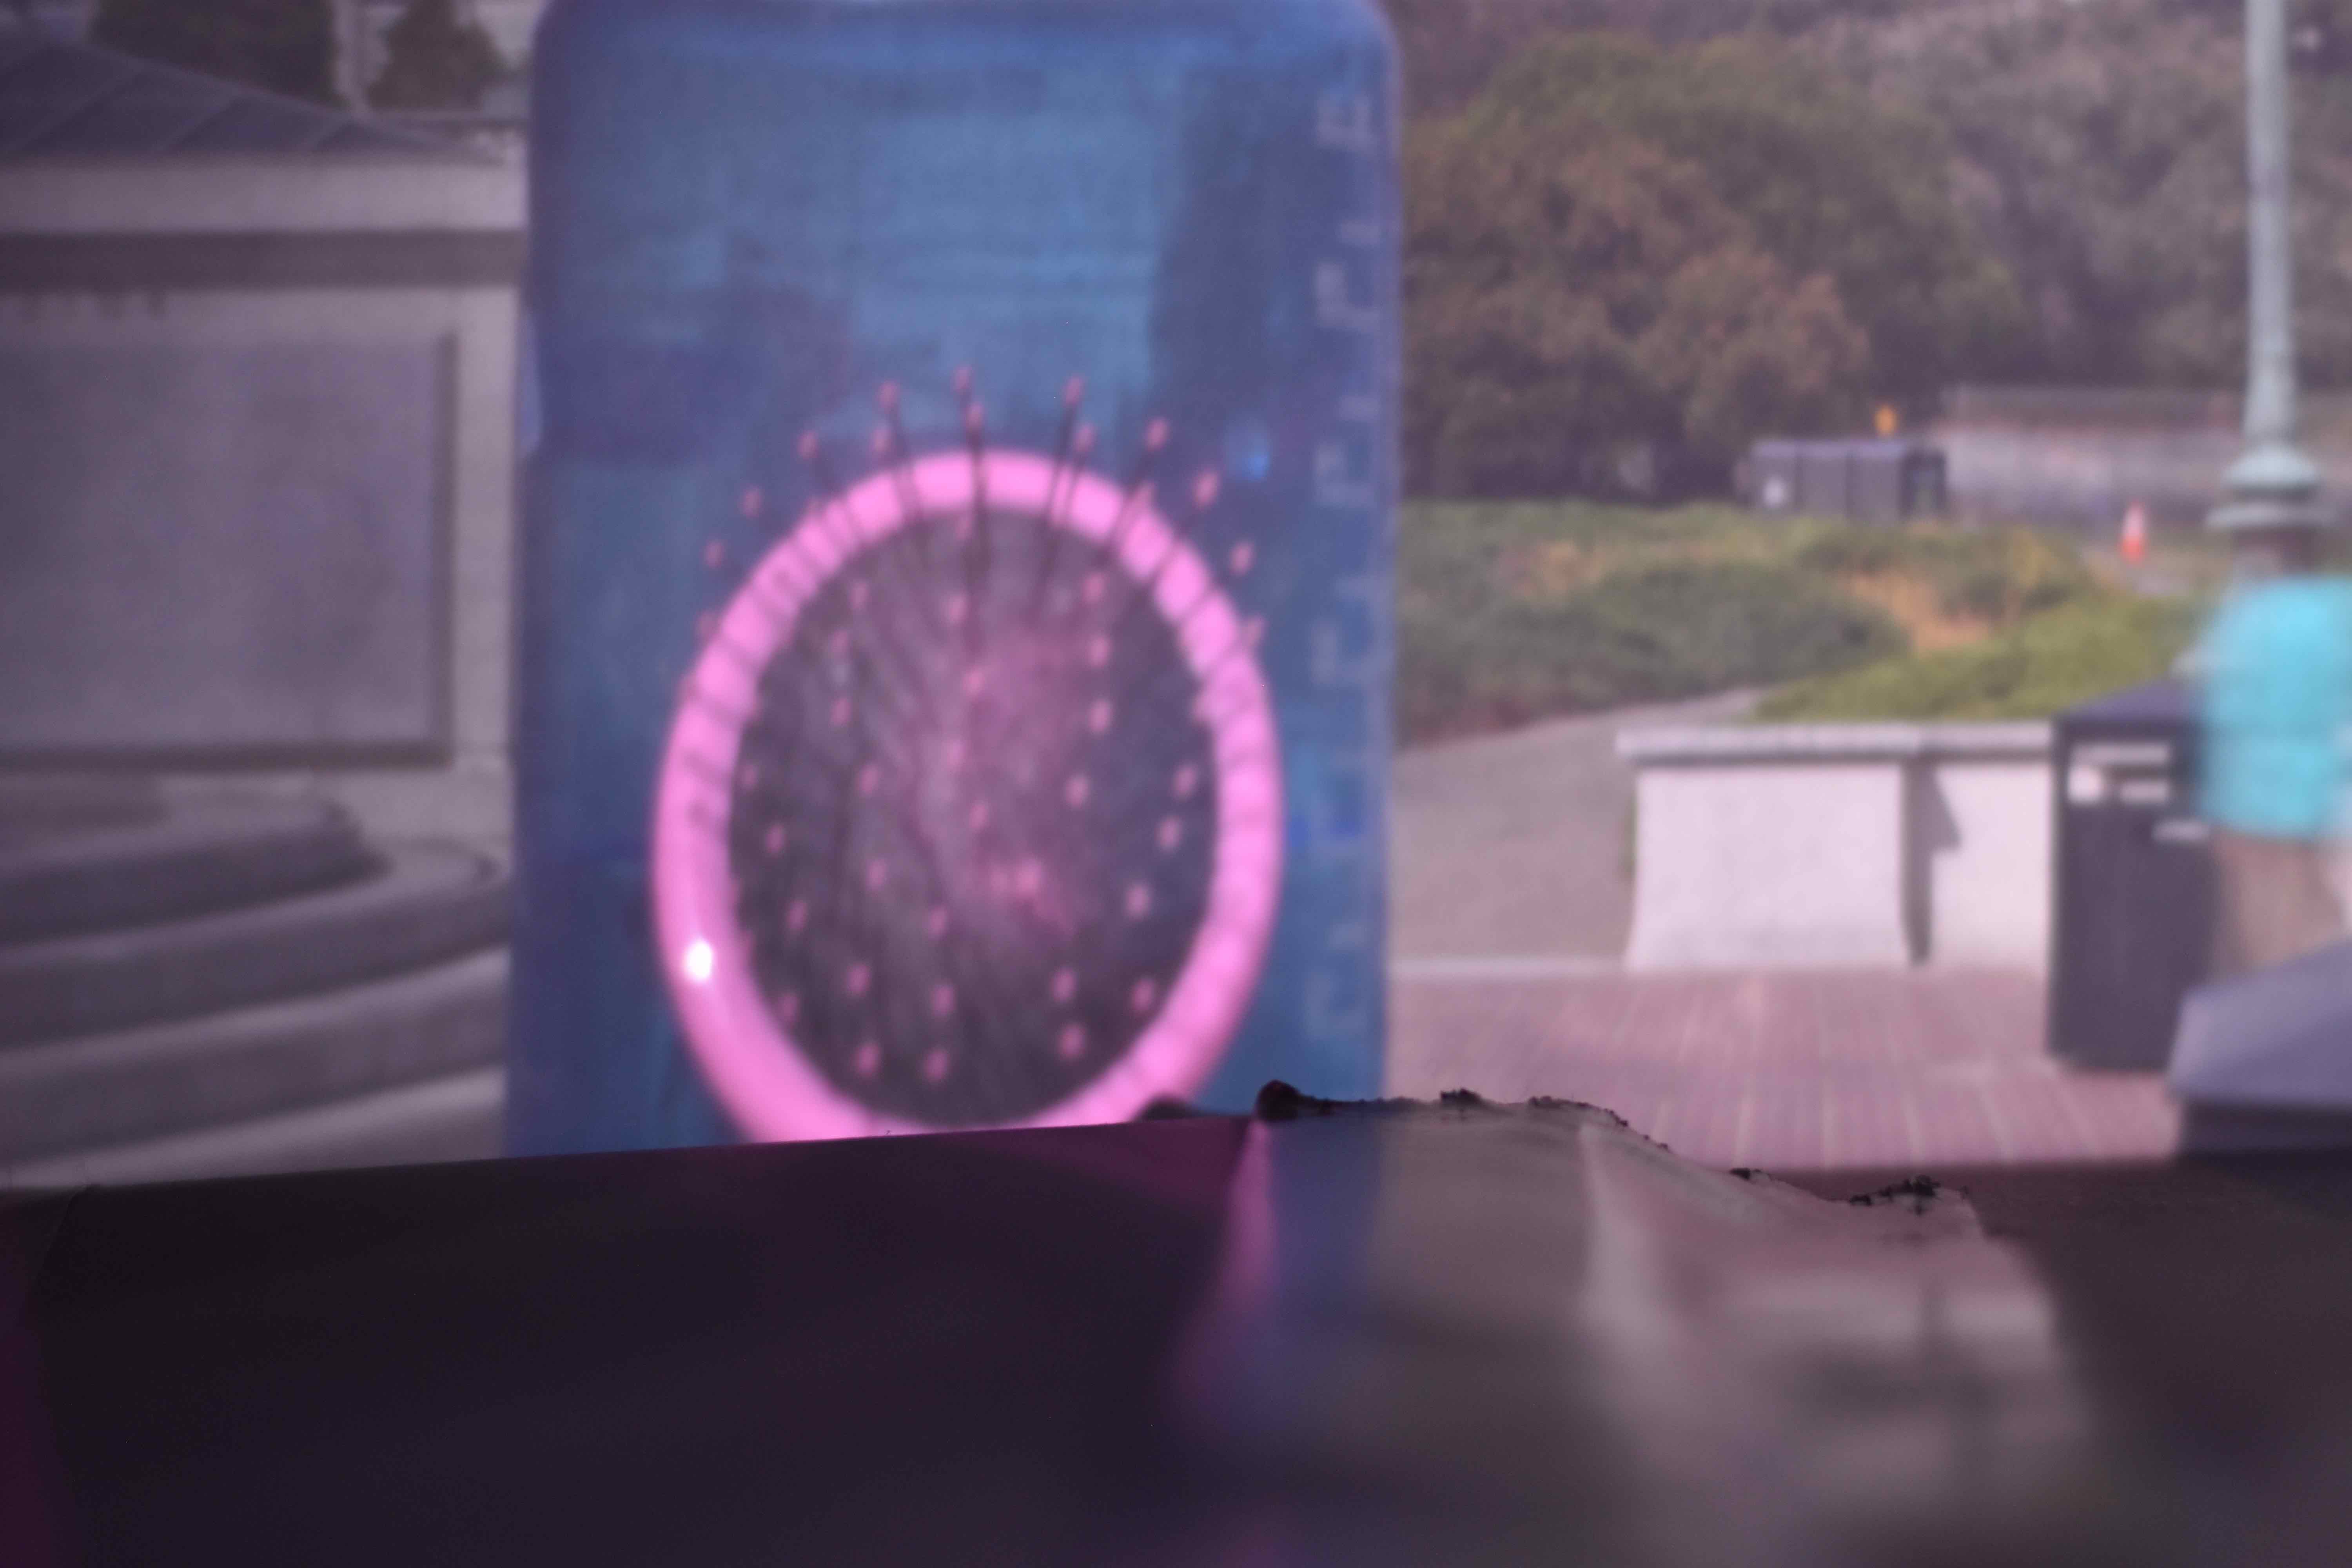
Hairbrush and Waterbottle

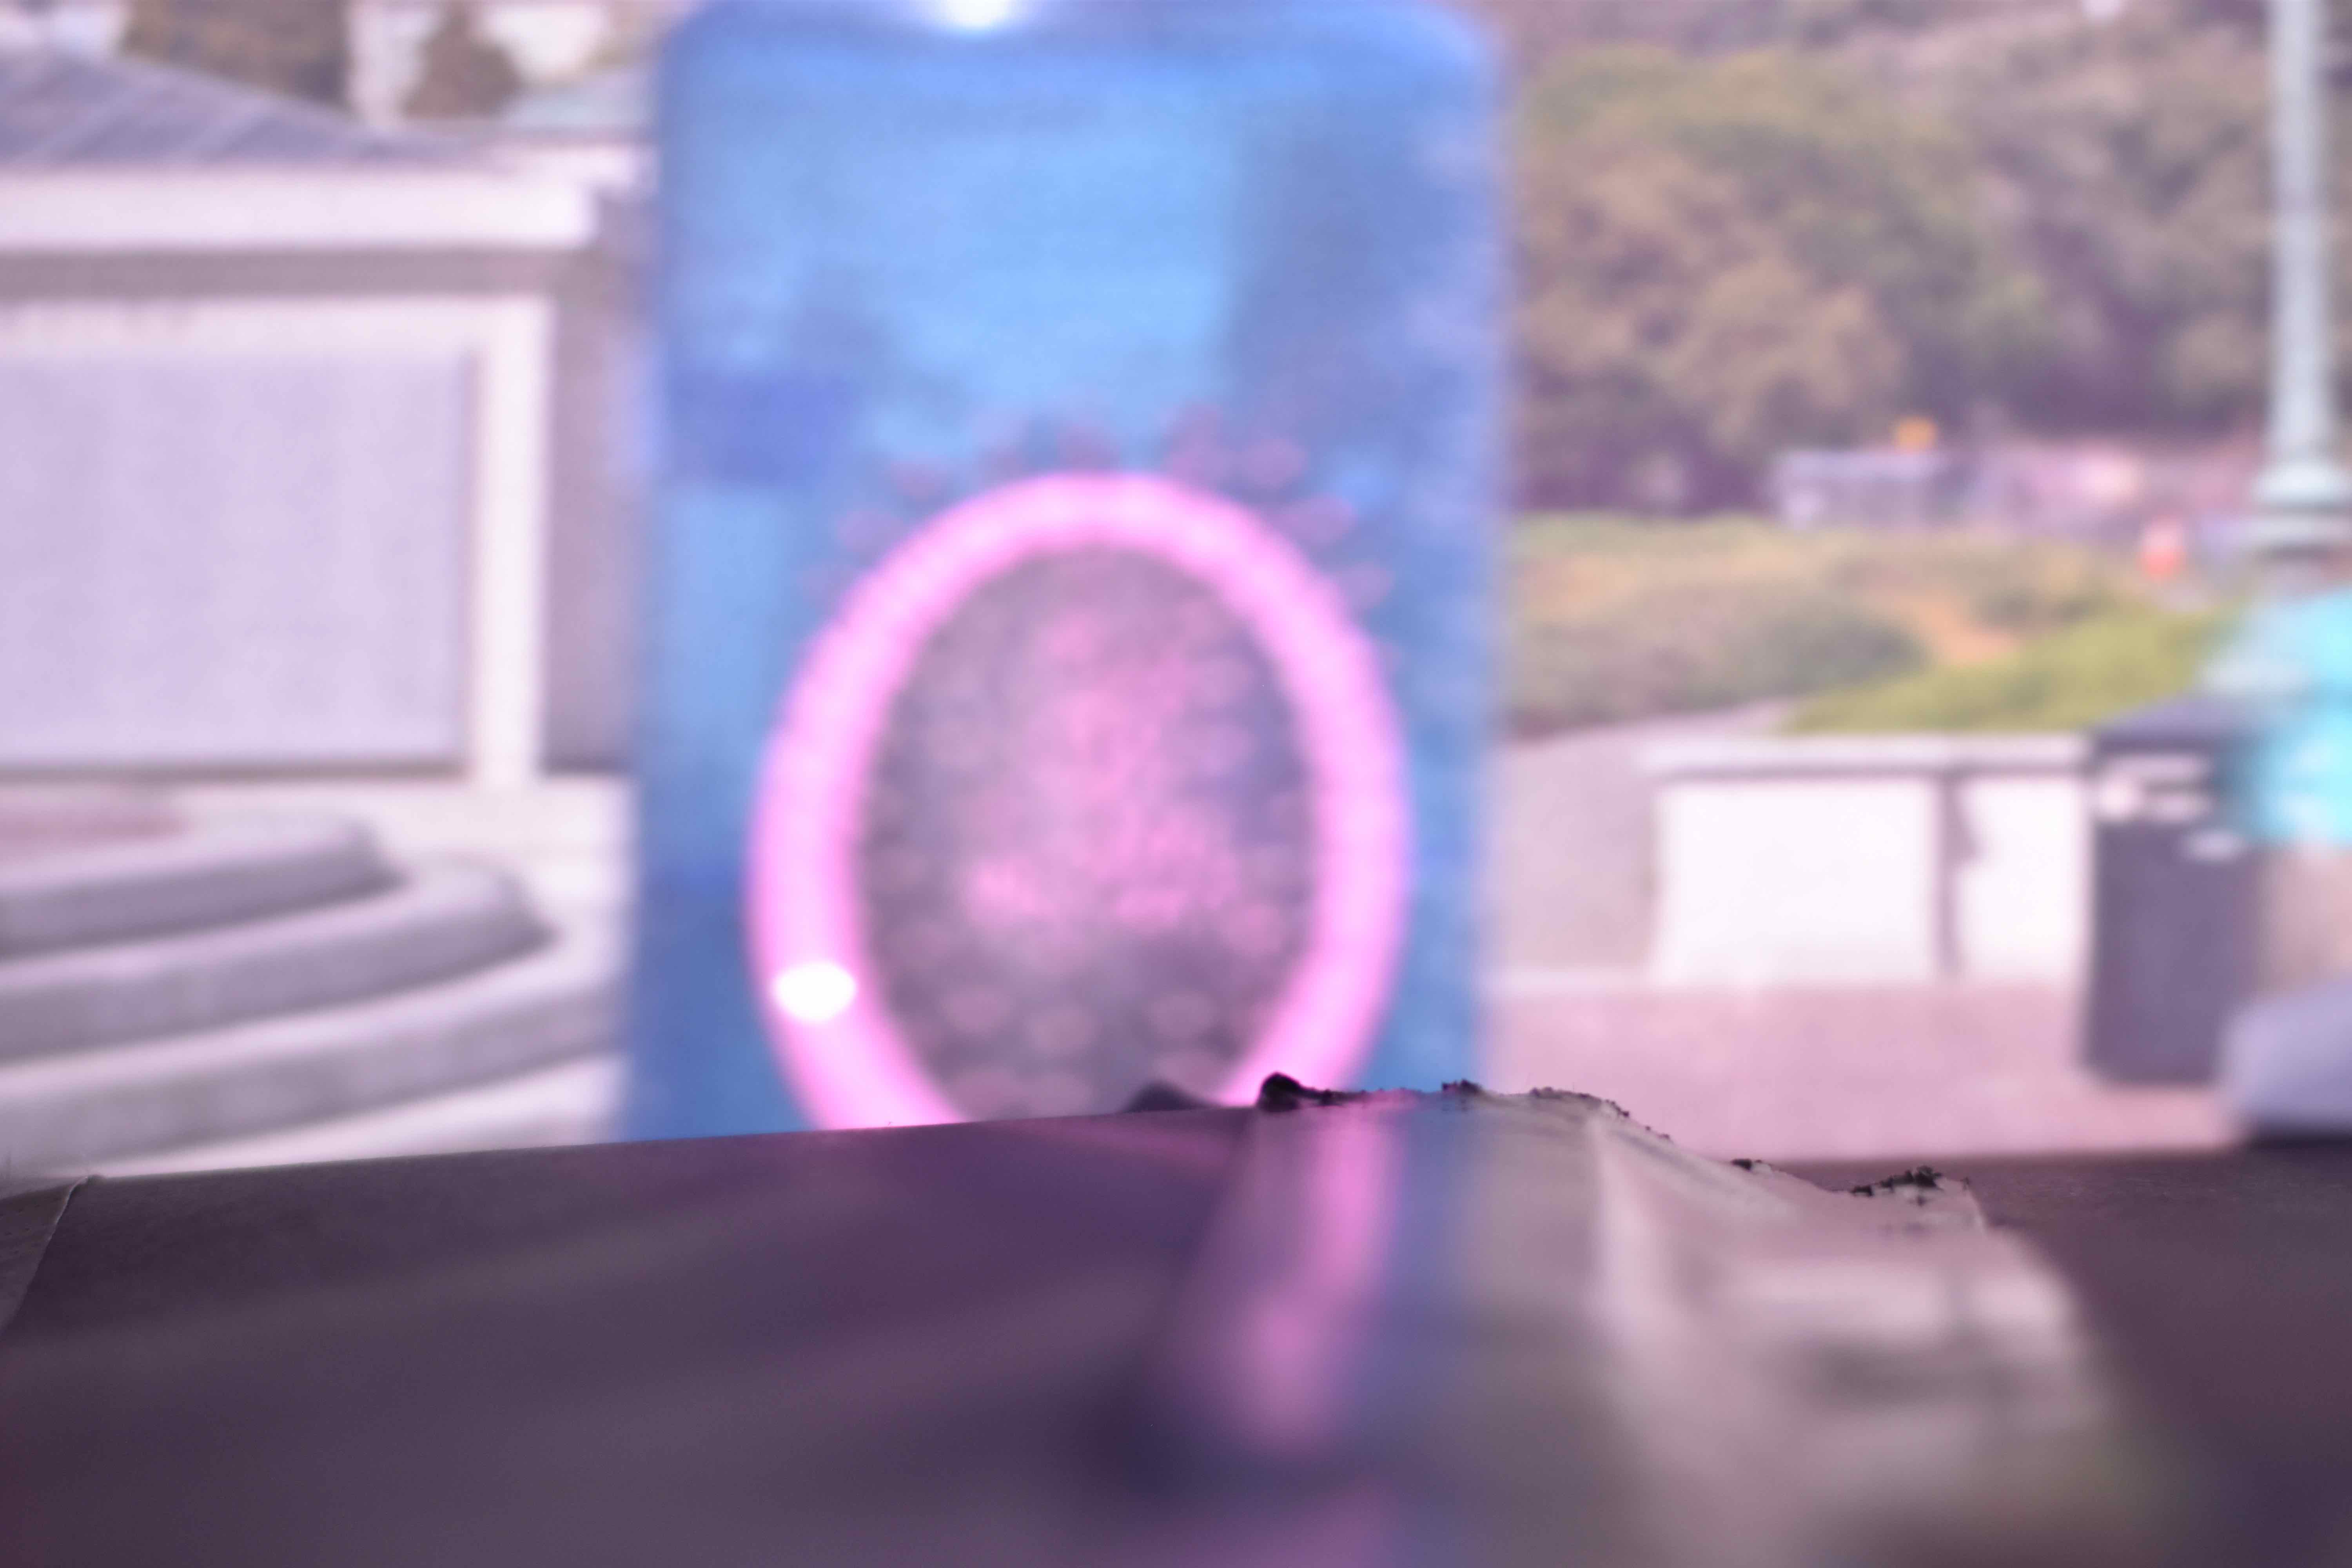
Ultimately, we found that we got the best and clearest photos using the smallest pinhole size (0.5mm). With larger pinhole sizes, we also found that our photos risked being washed out and over-exposed. Ultimately, smaller pinhole sizes resulted in more focused by darker photos, whereas larger pinhole sizes resulted in less focused brighter pictures. Though the brightness variation could be compensated for by adjusting the exposure time on the DSLR camera, this did not address blurriness.
Additional Photos using 0.5mm Pinhole


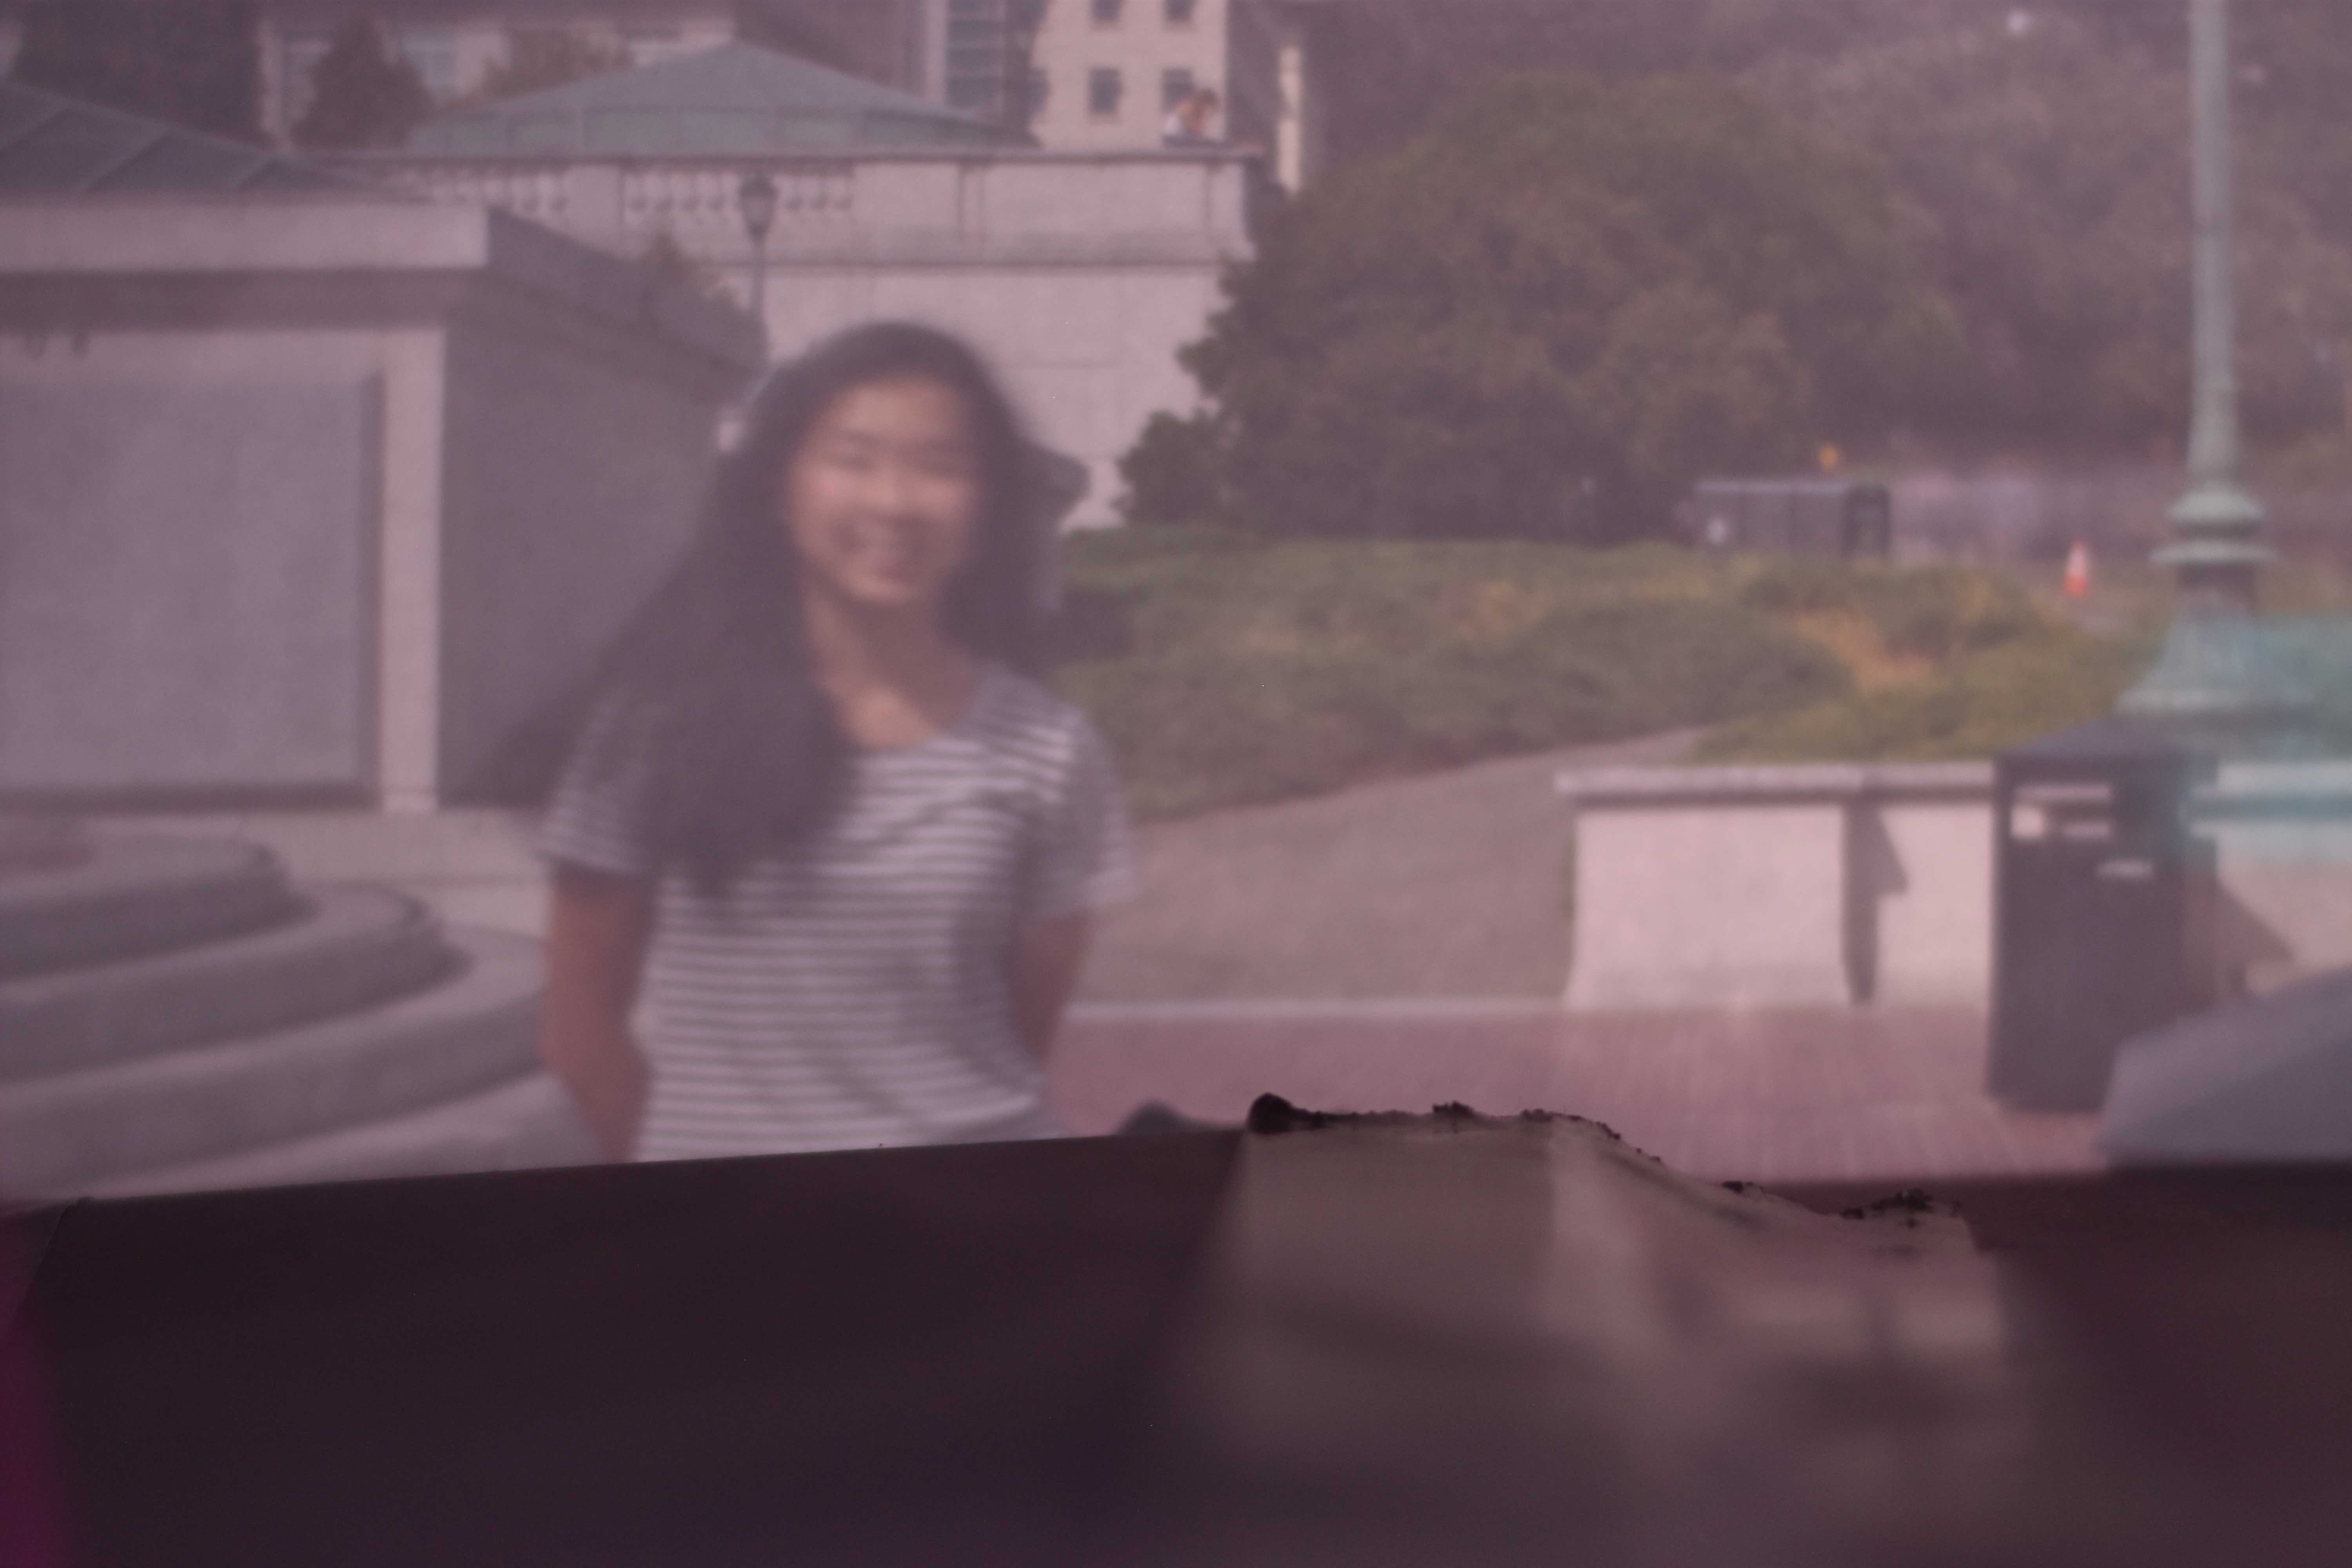

Top Row - Left: Palace of Fine Arts, Right: East Asian Library
Bottom Row - Left: Sandy, Right: Jack and Sandy
Observations: Taking a long exposure of a person is difficult because it is hard to stay still! Also, closer objects seemed to turn out better and clearer in our pinhole camera images. Some of our images also had a border at the bottom, since the weight of the camera cause the camera's lens to point upwards more and capture part of the roof of the box.
Bells and Whistles:
Light Painting:
By taking a long exposure (~10 seconds) shot in a dark room, we were able to light paint by pointing a flashlight at our pinhole camera and drawing shapes by waving our arms around. The biggest struggle was making sure our image was in the frame, and knowing where we were drawing.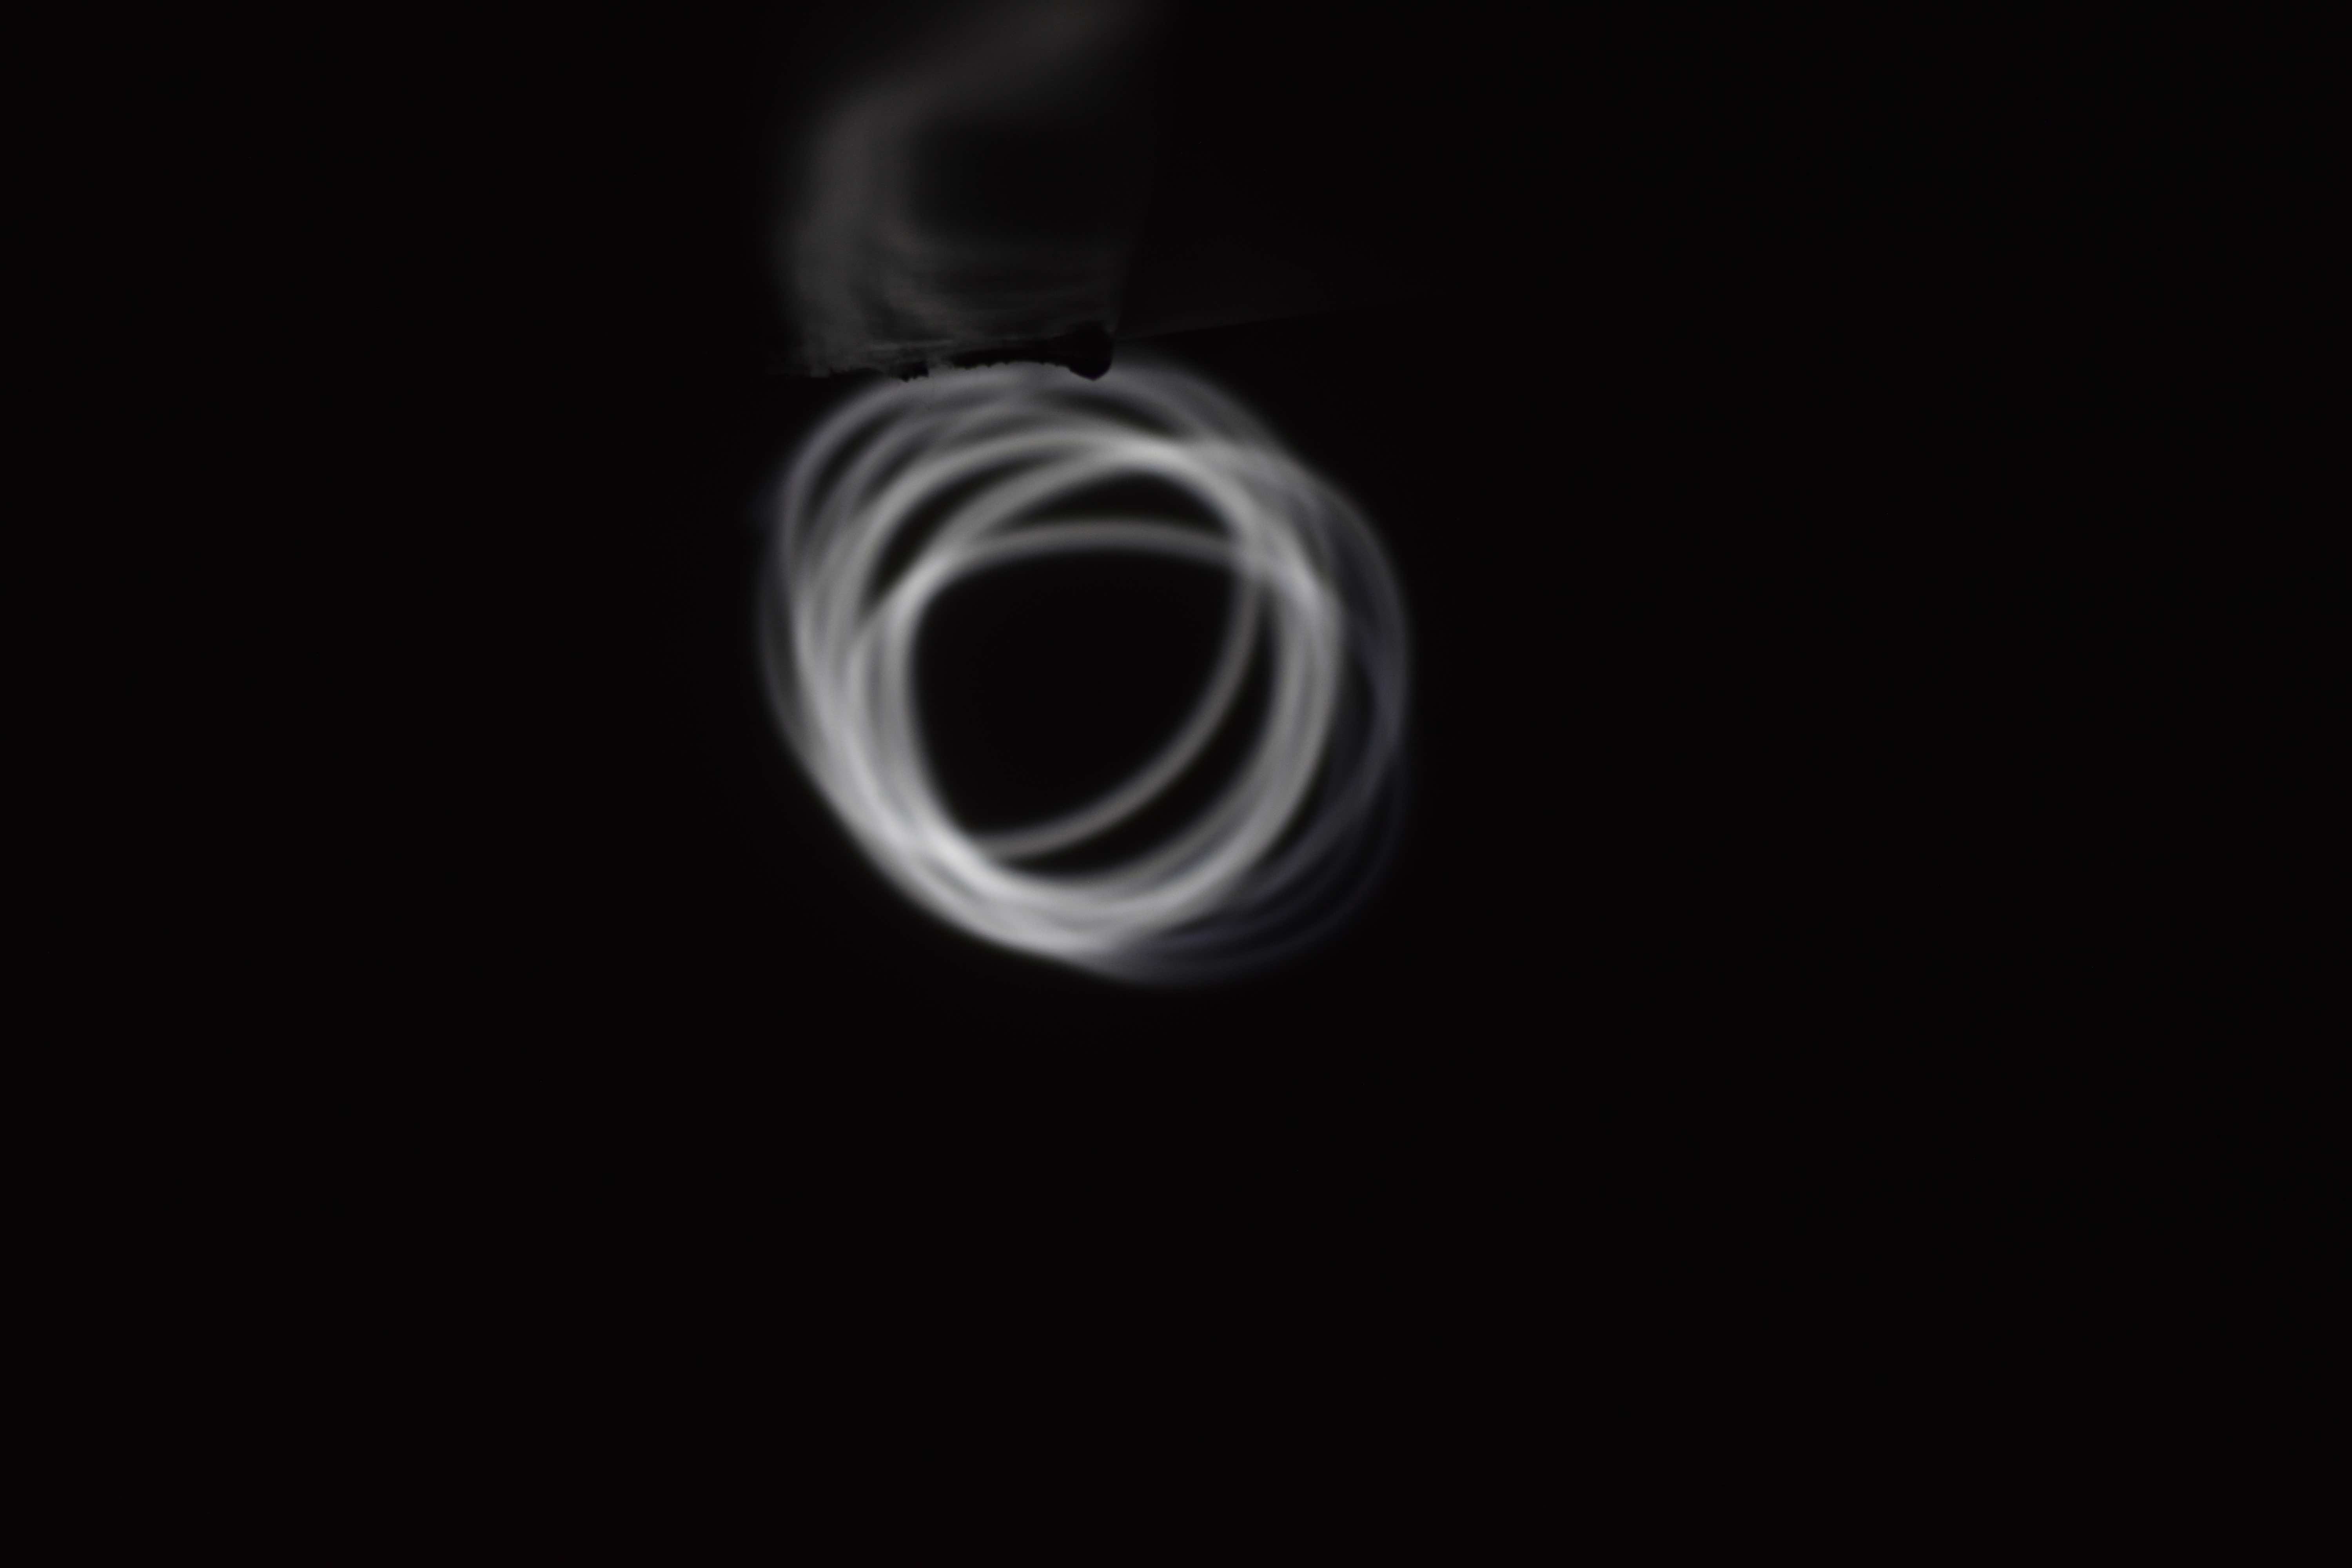

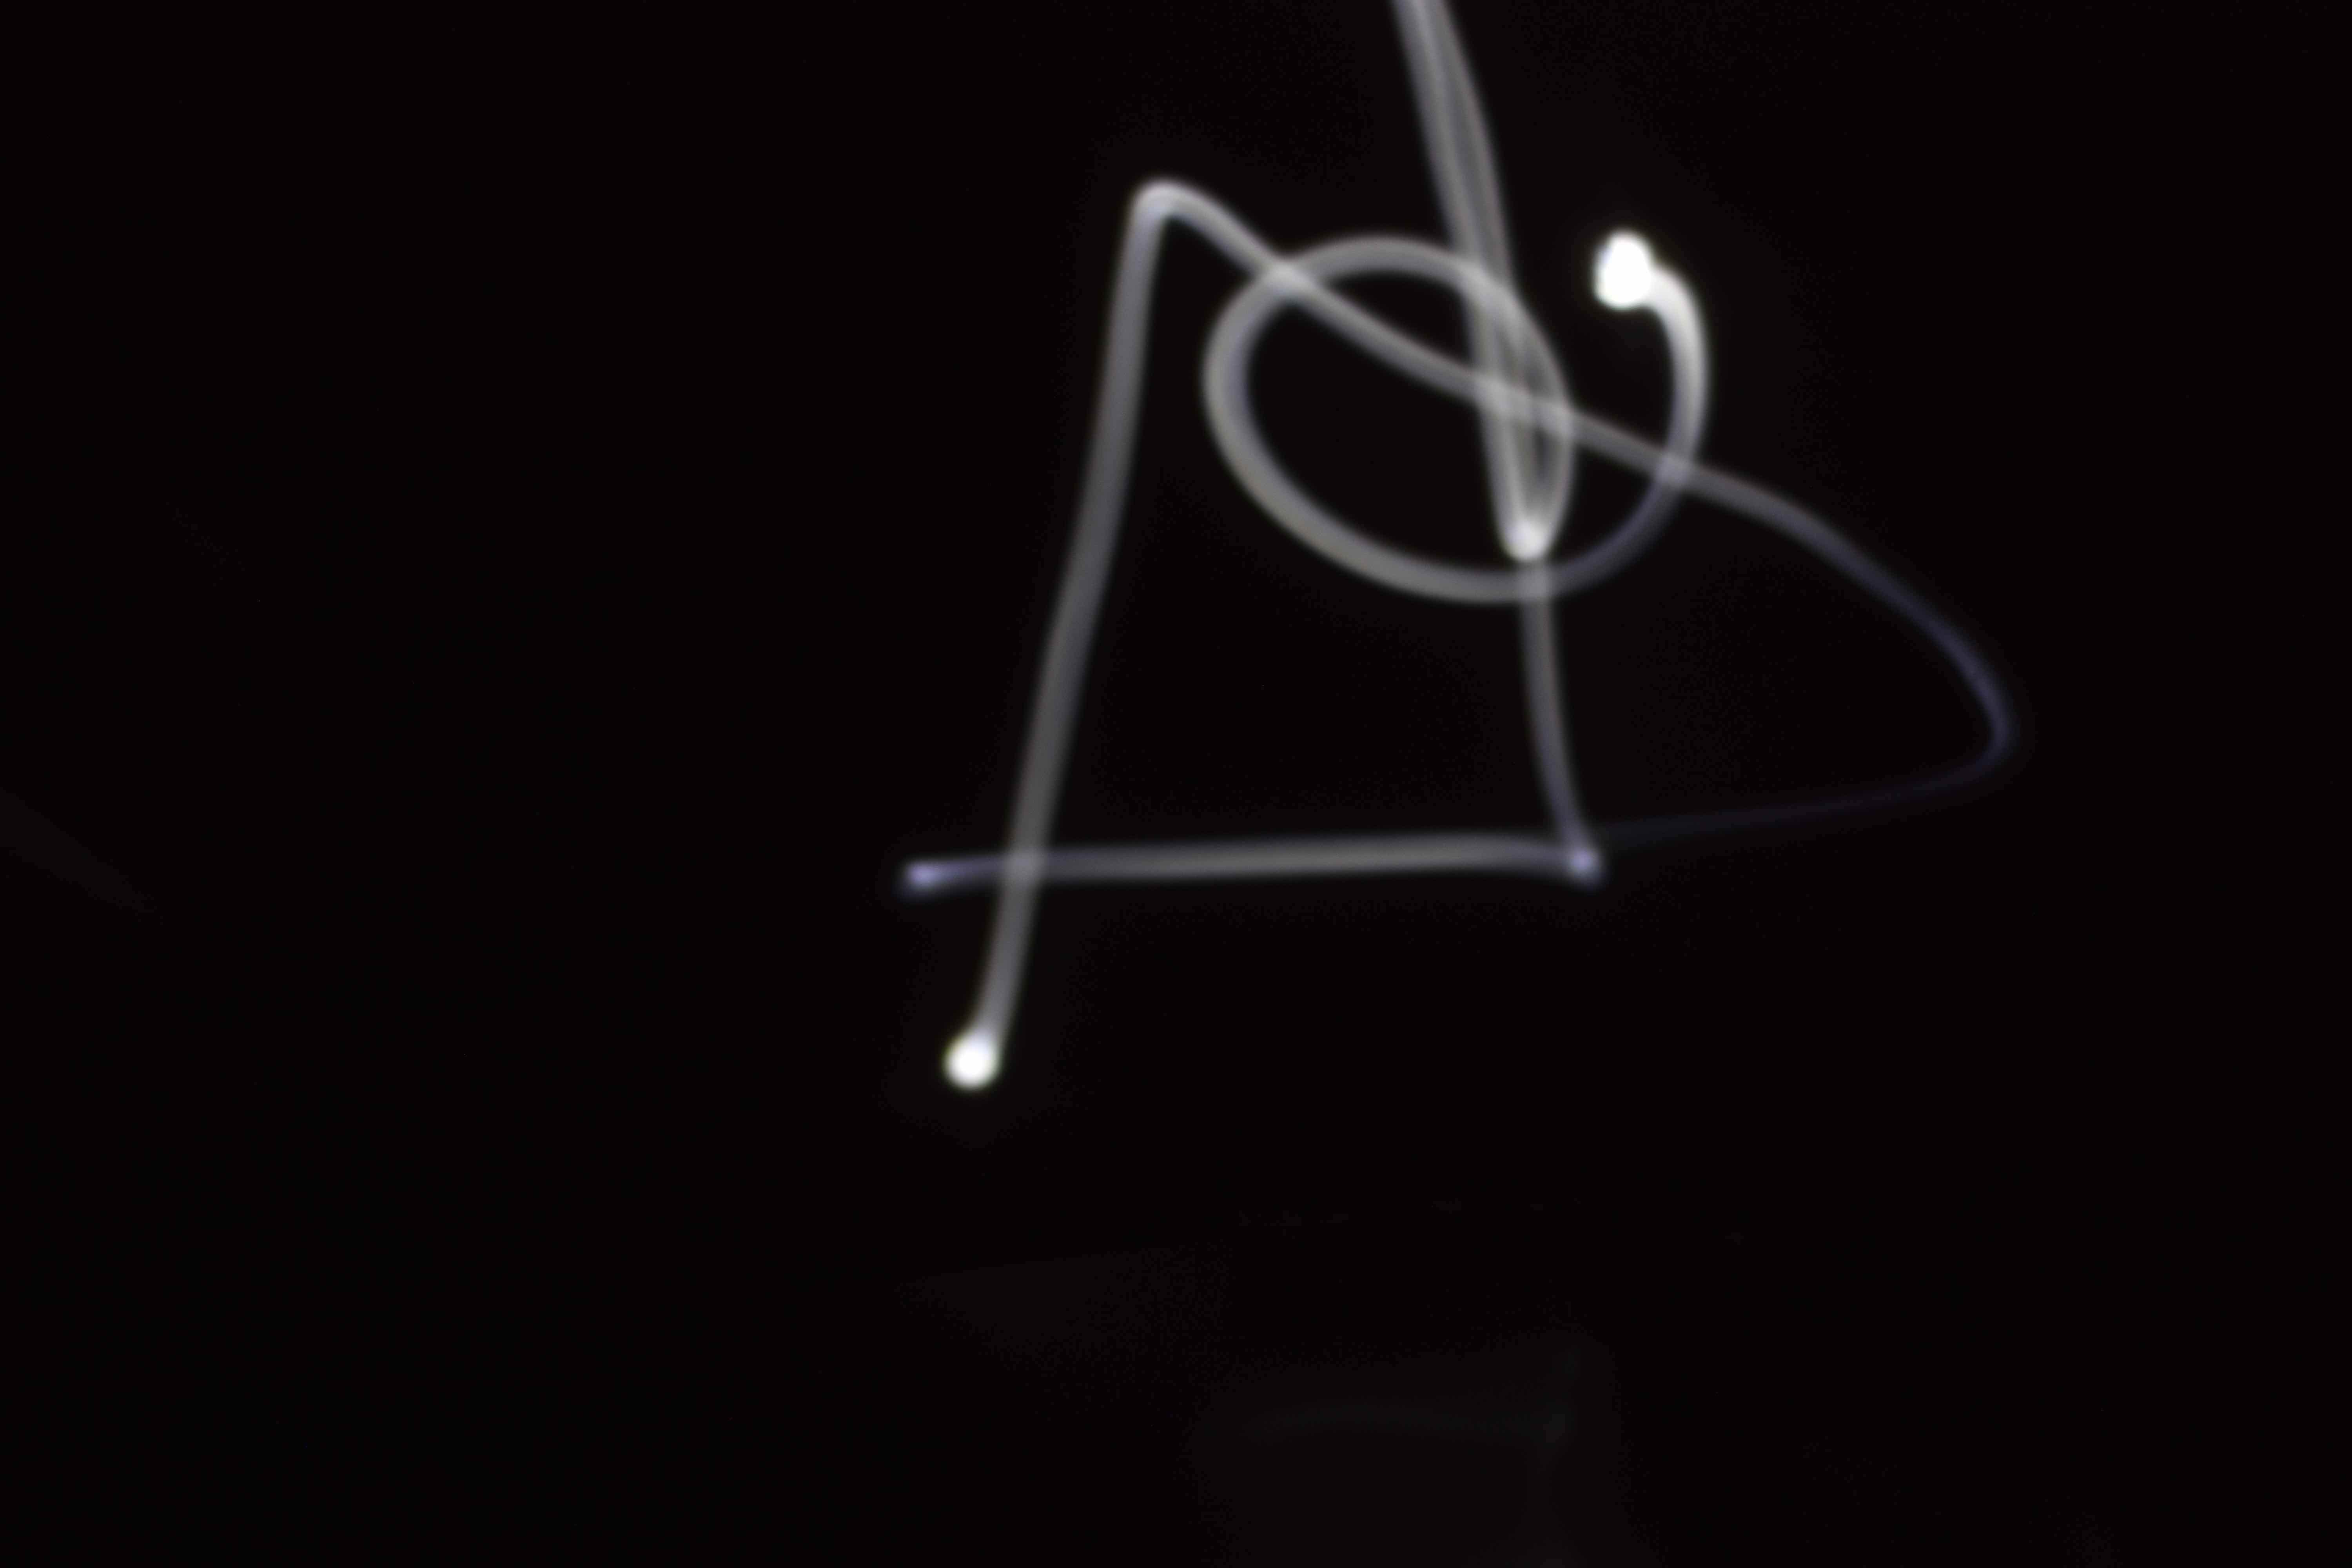

Top Row - Left: Circle, Right: Star
Bottom Row - Left: Deathly Hallows, Right: Hammer and Sickle