Building a Pinhole Camera
CS194-26 Fall 2018
Andrew Campbell, cs194-26-adf
Background

The Camera obscura, or pinhole image, is the natural optical phenomenon that occurs when an image of a scene at the other side of a screen (or for instance a wall) is projected through a small hole in that screen as a reversed and inverted image (left to right and upside down) on a surface opposite to the opening. The image is too dim to see with the naked eye, so a long-exposure photograph of the screen is needed to see the effect.
The Setup
Starting with a shoebox, I chose one side to be the screen and covered it with white paper. I then covered the rest of the faces on the inside with black paper and black tape.

On the opposite face, I cut a small rectangular hole near the center and covered it with black cardstock. In the cardstock, I punched three holes of diameter 0.1mm (using a needle point), 3mm, and 5mm, respectively. I made some flaps out of tape to easily cover/uncover each of the holes for switching between them.
Lastly, I cut a large round hole for the camera’s aperature just to the right of the pinholes. The camera fit snugly into the hole, as I had carefully cut it to match that of the camera’s.
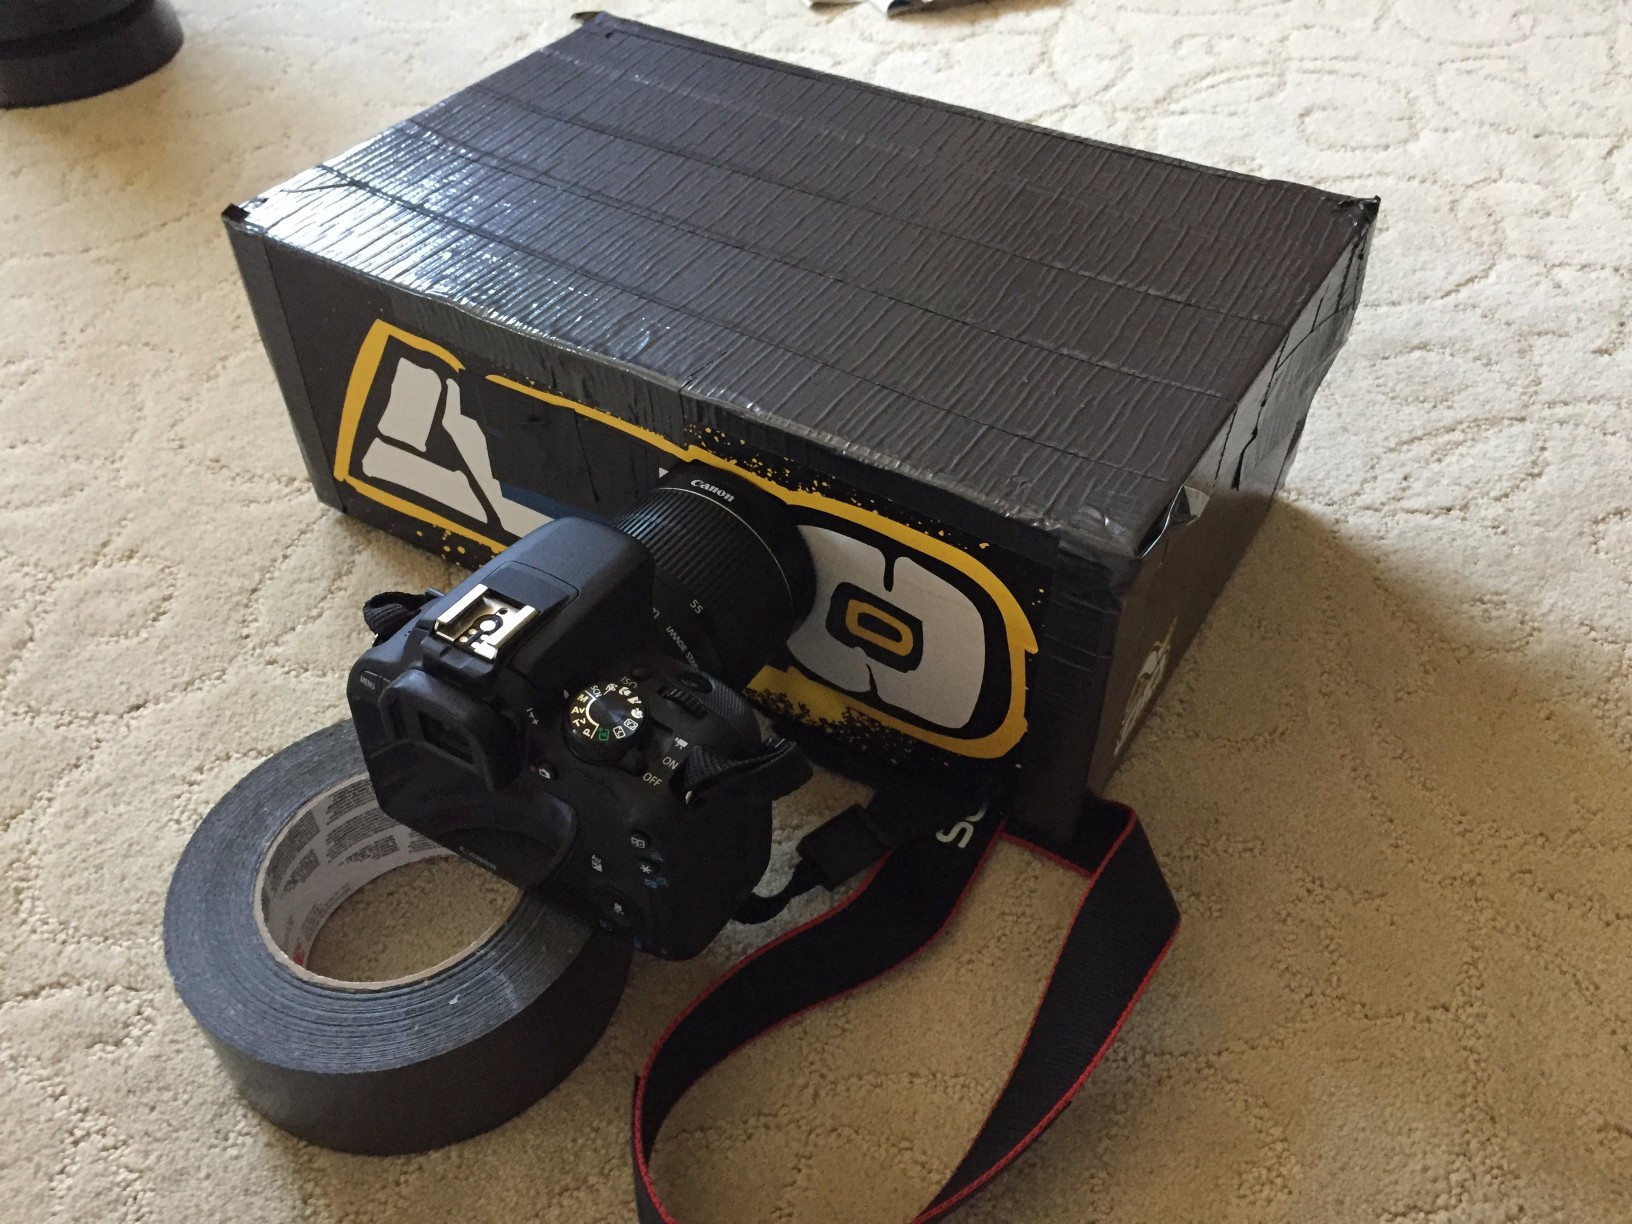
I then covered the box in duct tape to light-proof it completely.

Results
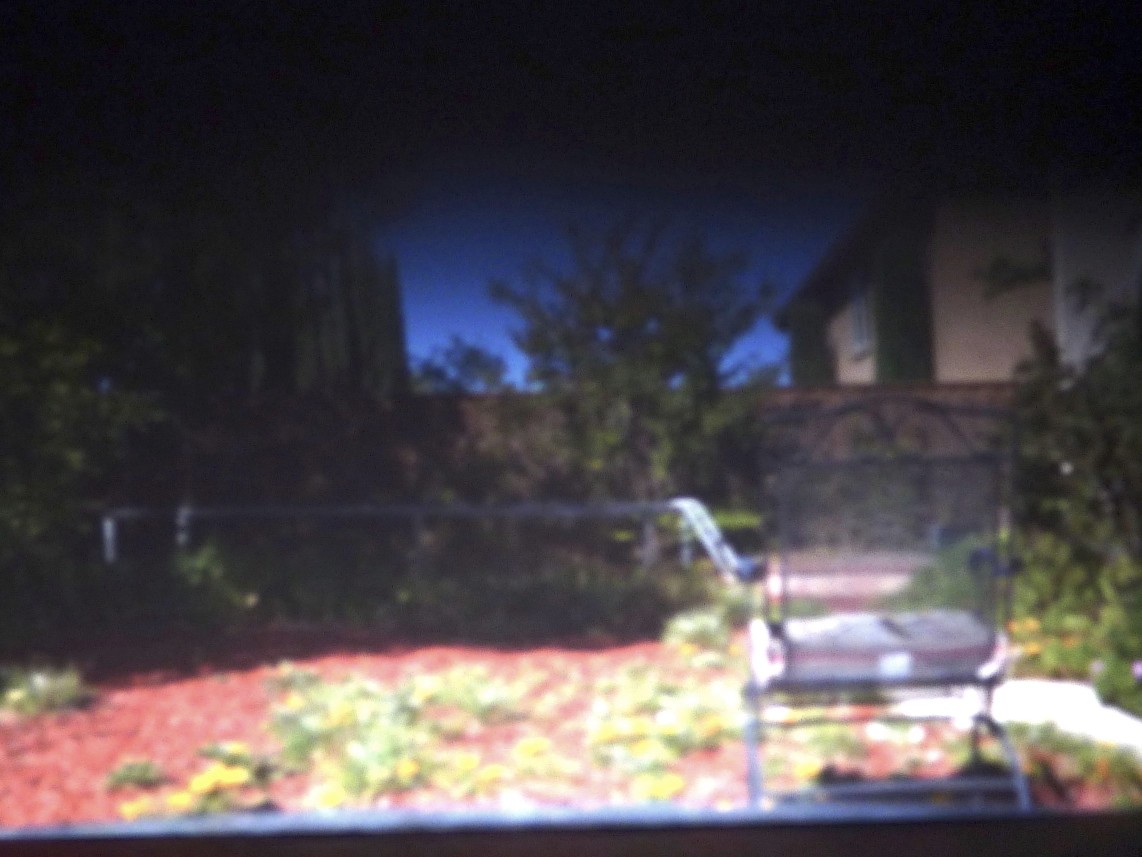
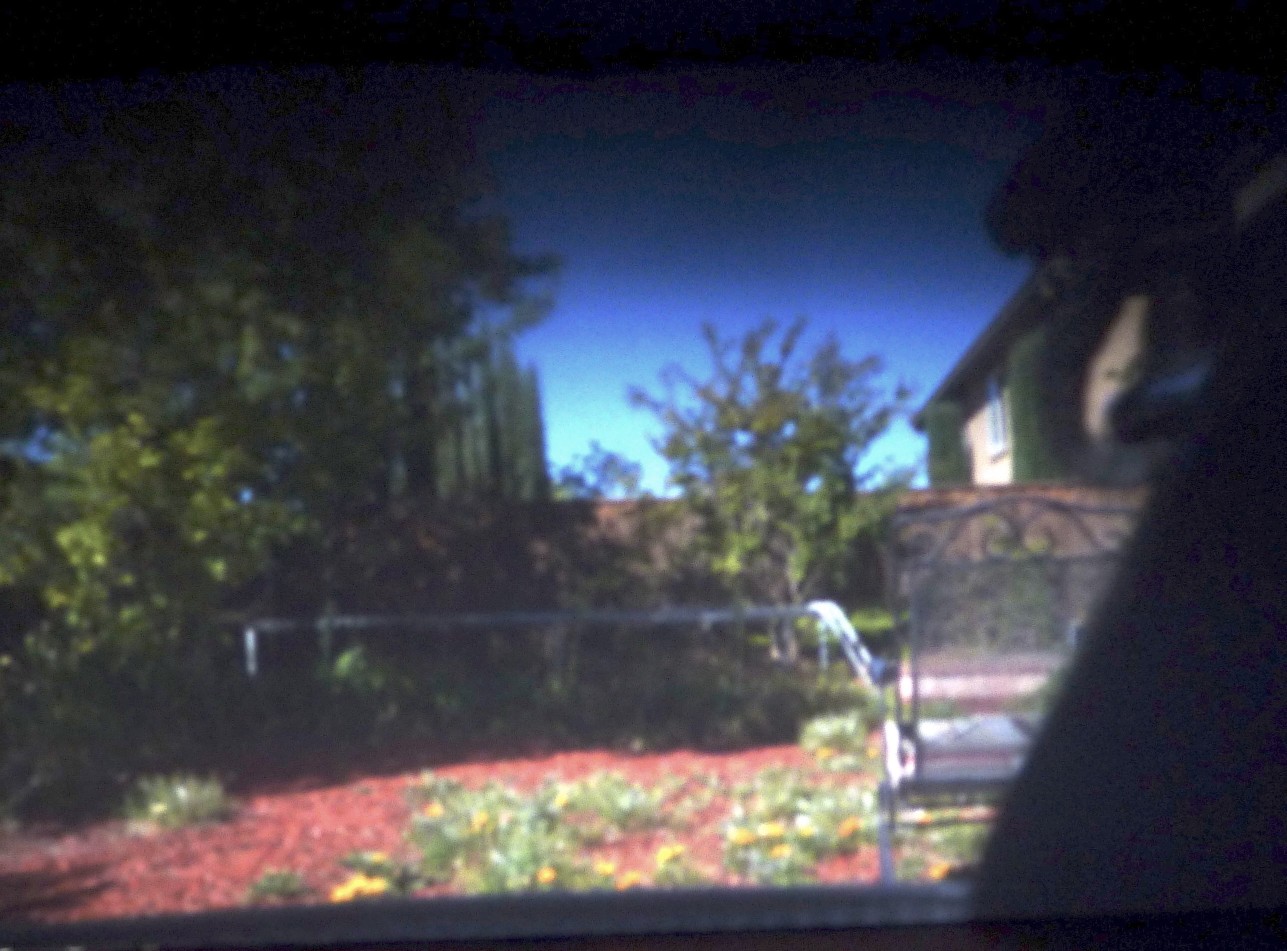
I first tested out the pinhole camera on my backyard. Below is a comparison of the images produced by the different pinholes:
 |
 |
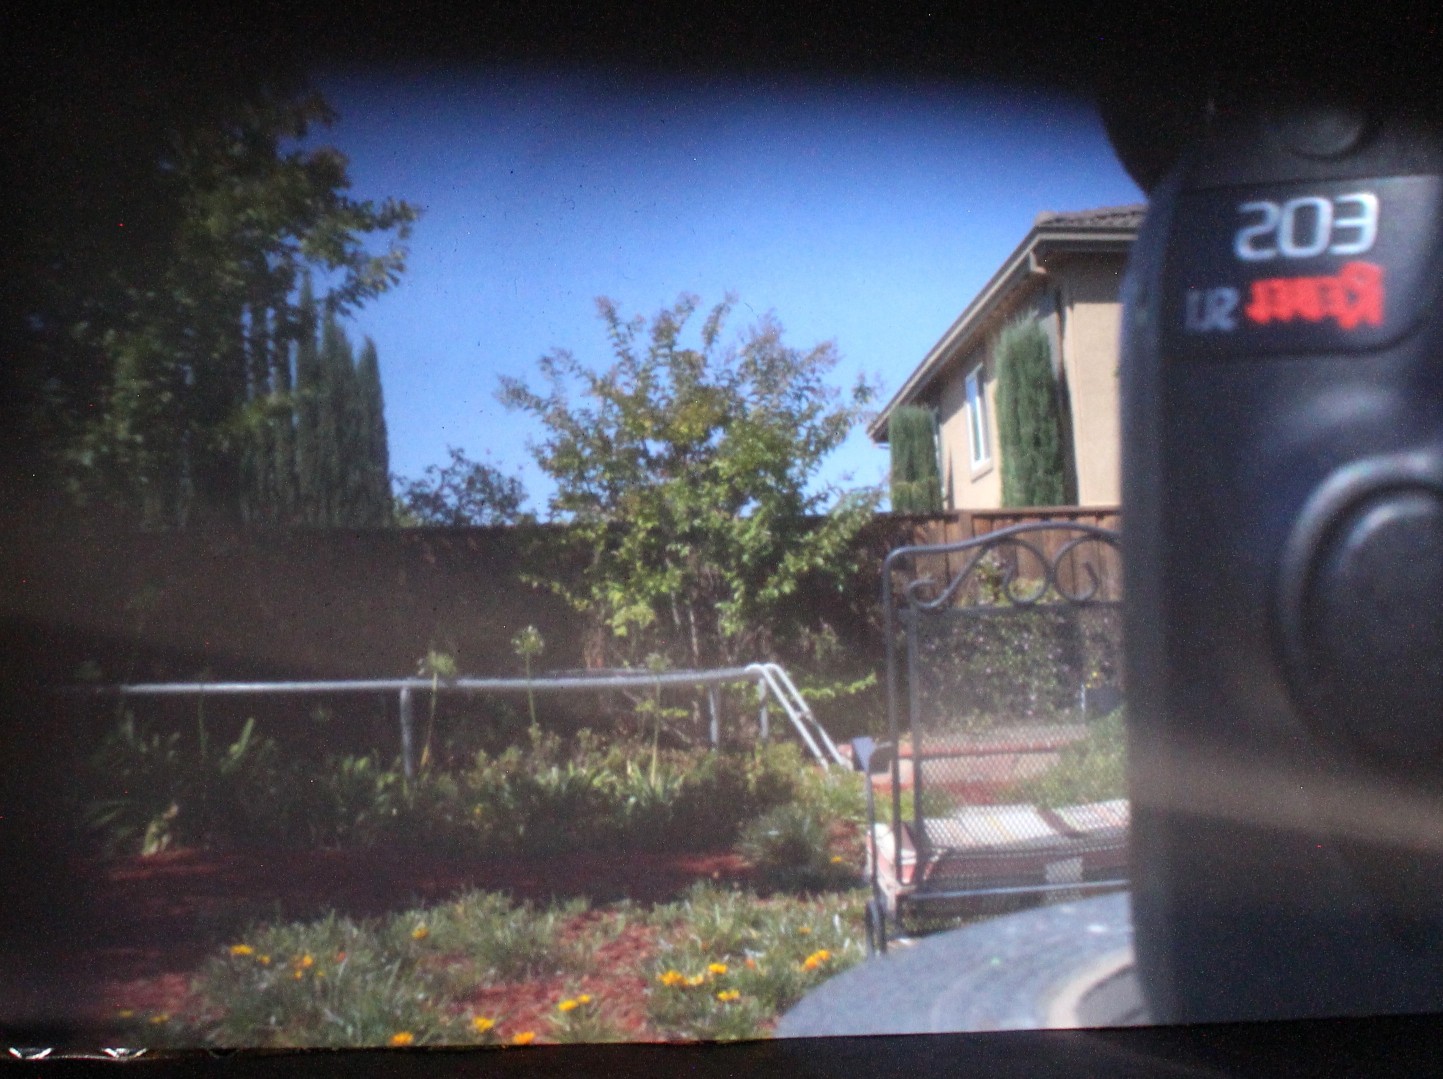 |
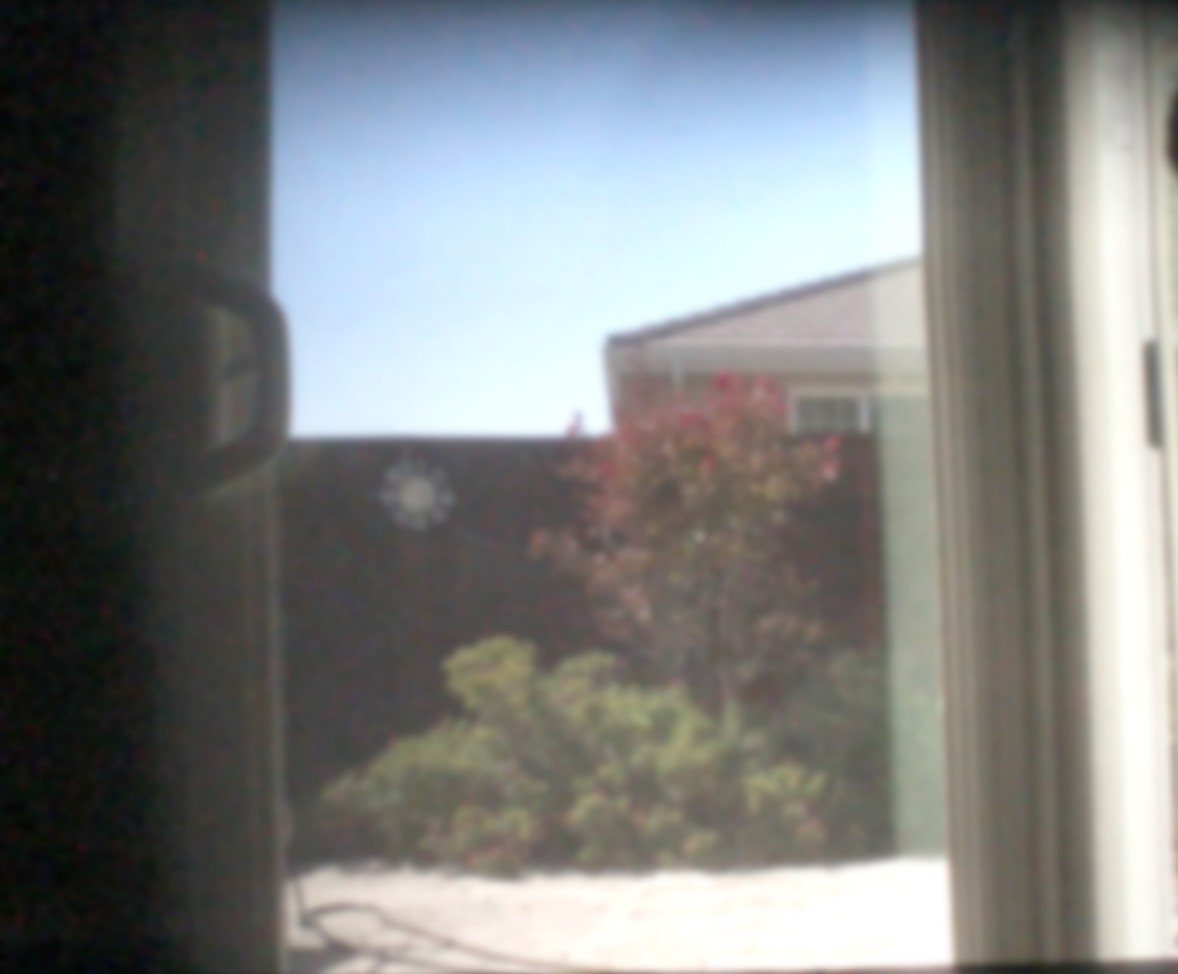
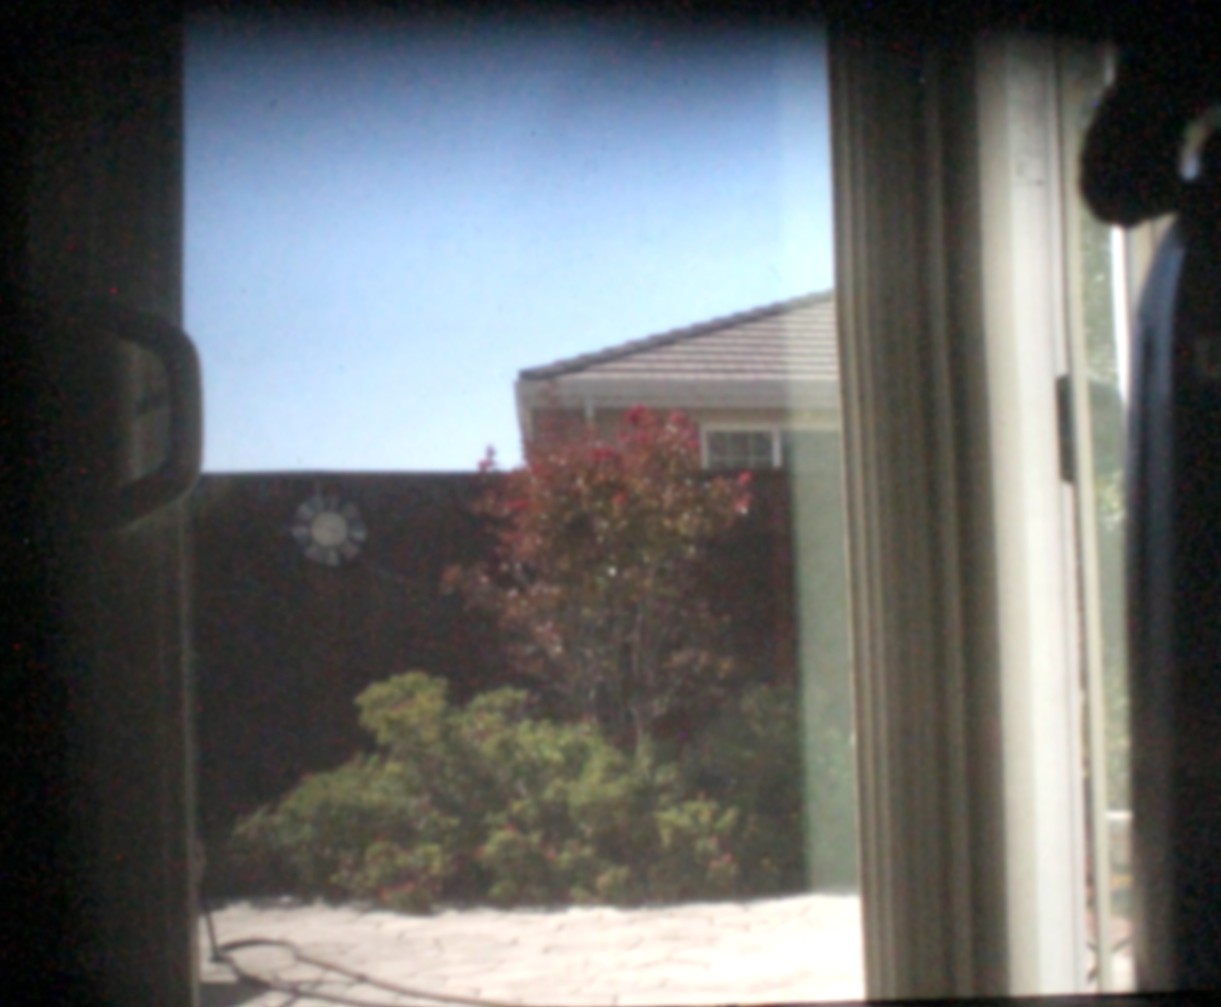
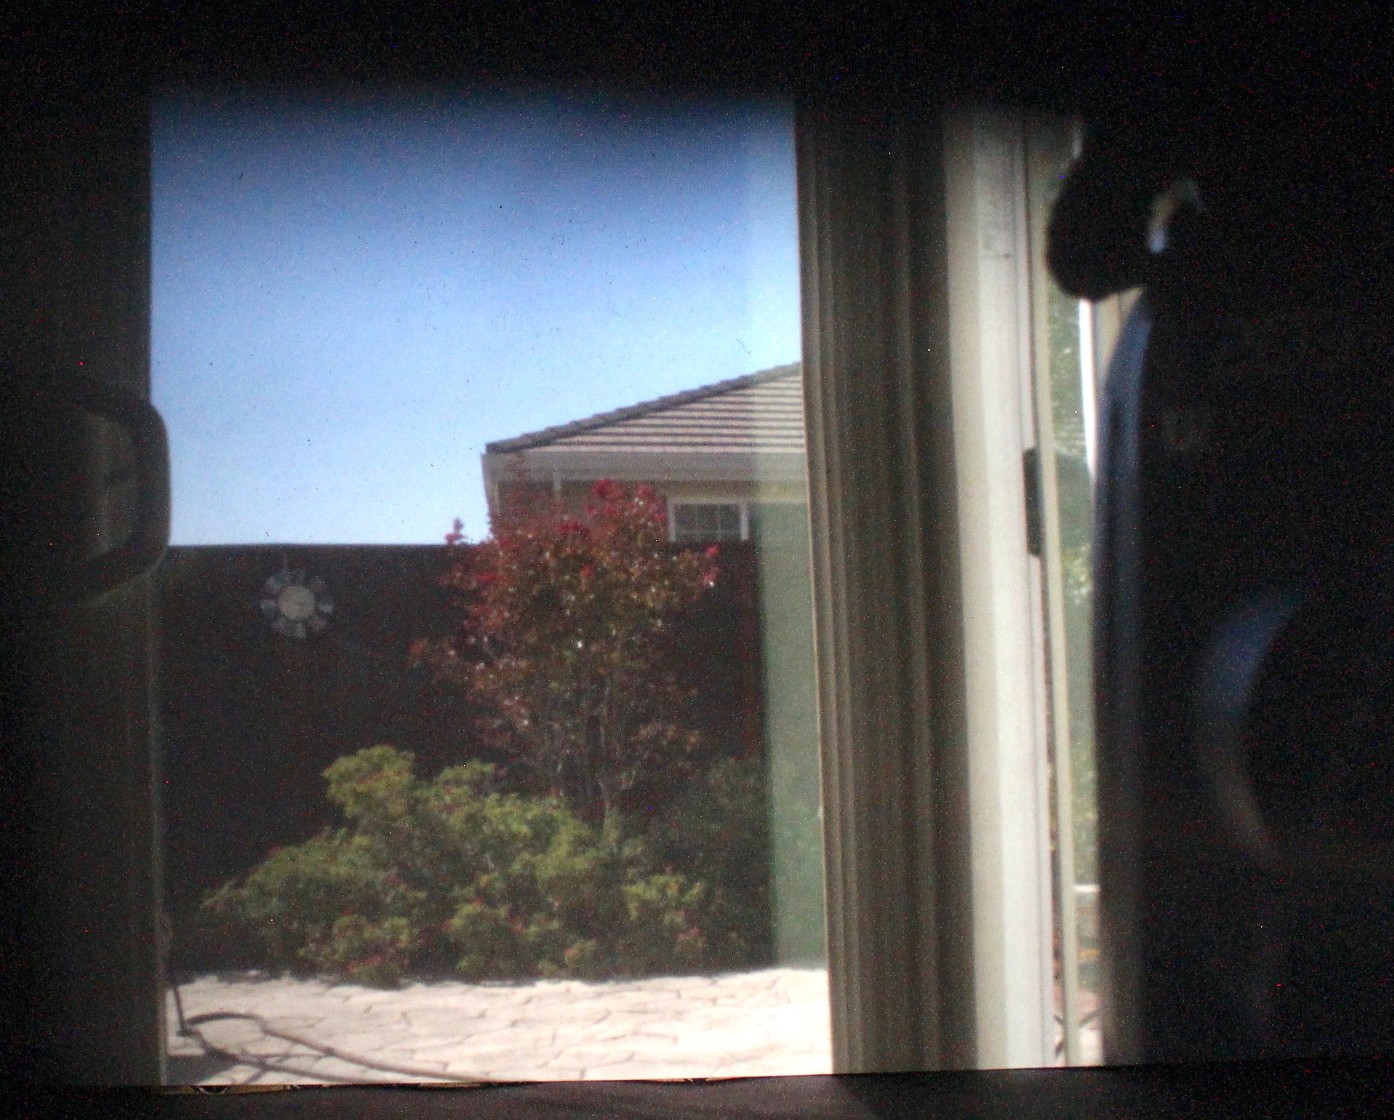
5mm |
3mm |
0.1mm |
Note that I had to tweak the camera settings for each size pinhole; I used ISO 400 for the 5mm pinhole, ISO 800 for the 3mm pinhole, and ISO 1600 for the 0.1mm pinhole. All of them use aperature F3.5 with a 30 second exposure.
Here is another set of comparisons, with the pinhole facing my kitchen door:
 |
 |
 |
5mm |
3mm |
0.1mm |
It is clear that the 0.1mm pinhole produces noticeably sharper images than the larger sizes. The larger holes produce brighter images since more light is let through, but since more rays from different directions hit the screen, the image gets blurrier. With a small pinhole, the path light can take is narrowed, so that the image appears sharper.
Additional Photos
The 0.1mm pinhole was clearly the winner, so I set out to take more photos with it.
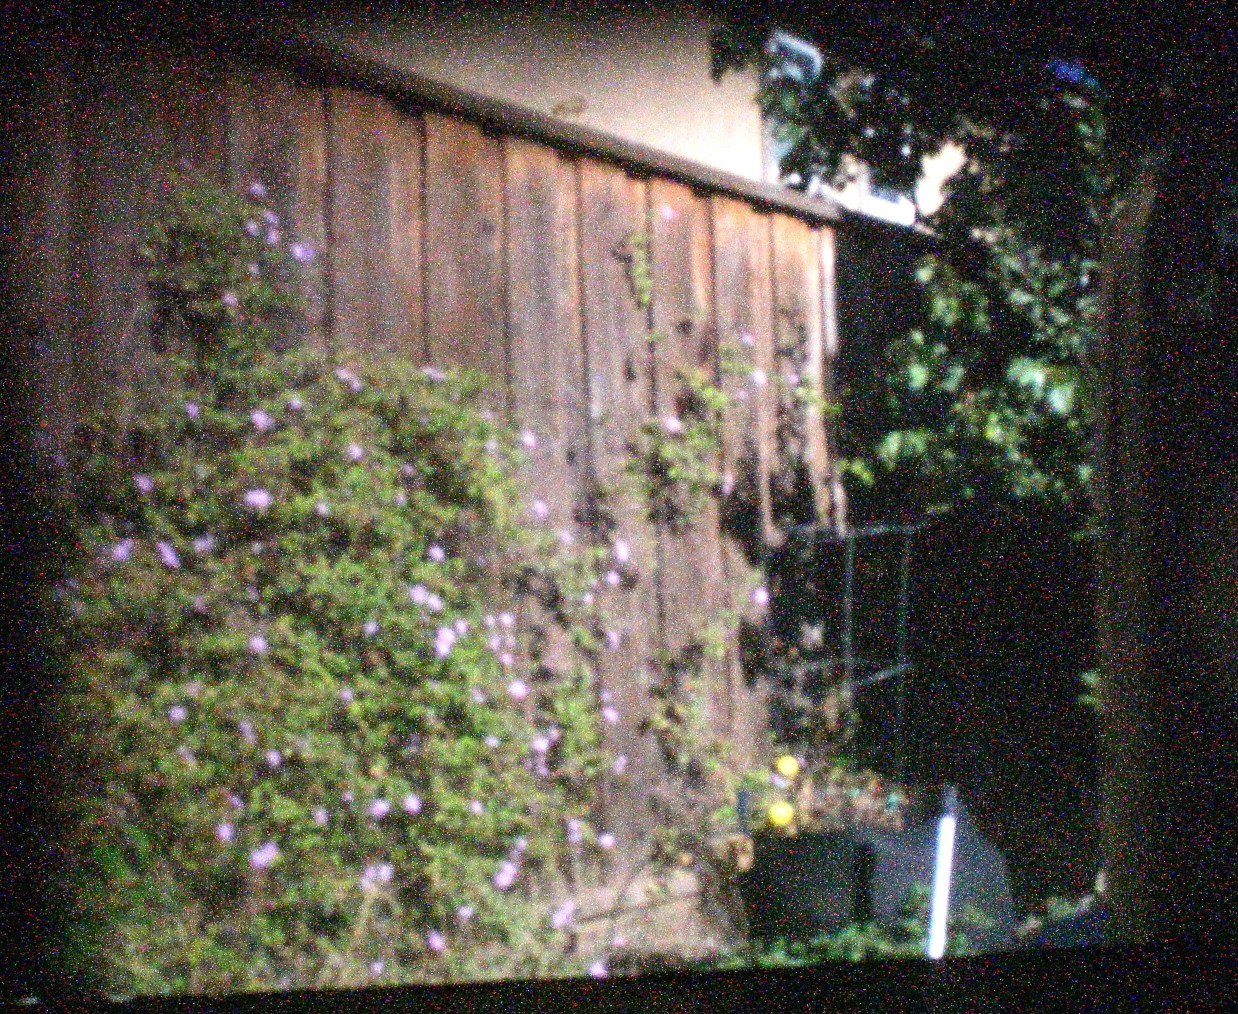 A photo of my backyard fence.
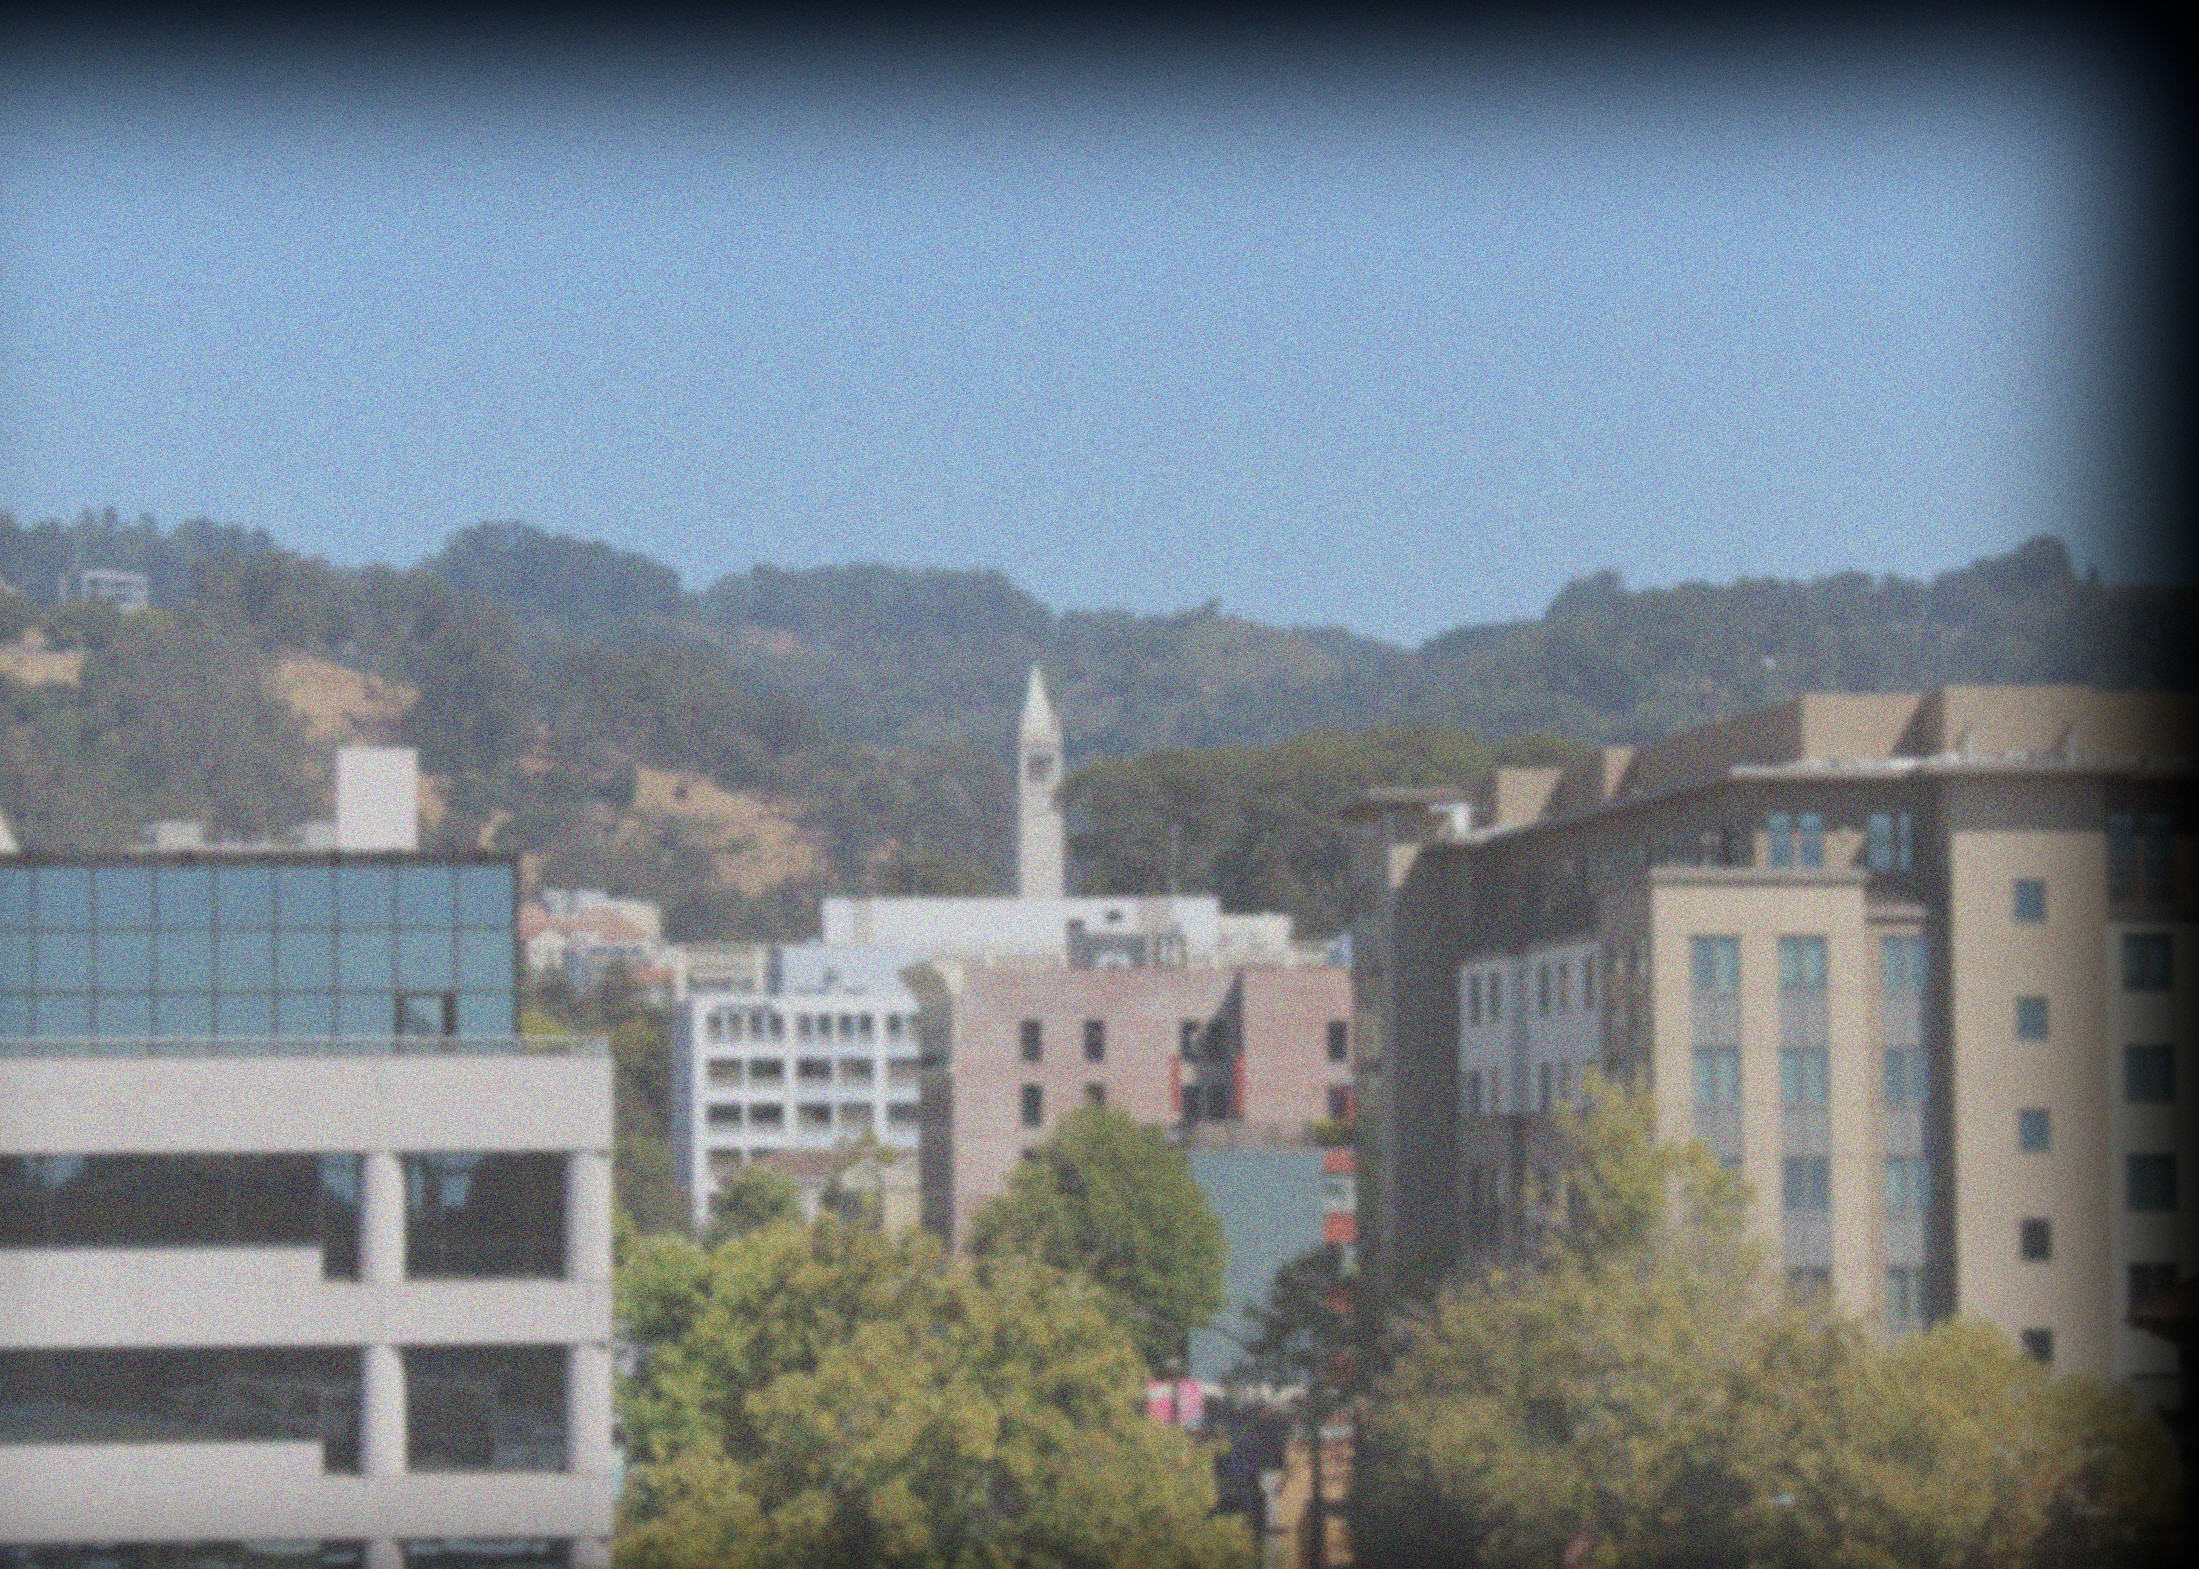 A (cropped) photo of the Campanille from the roof of my Berkeley apartment. I managed to hit the magic focus spot on this shot, as it turned out better than all the others.
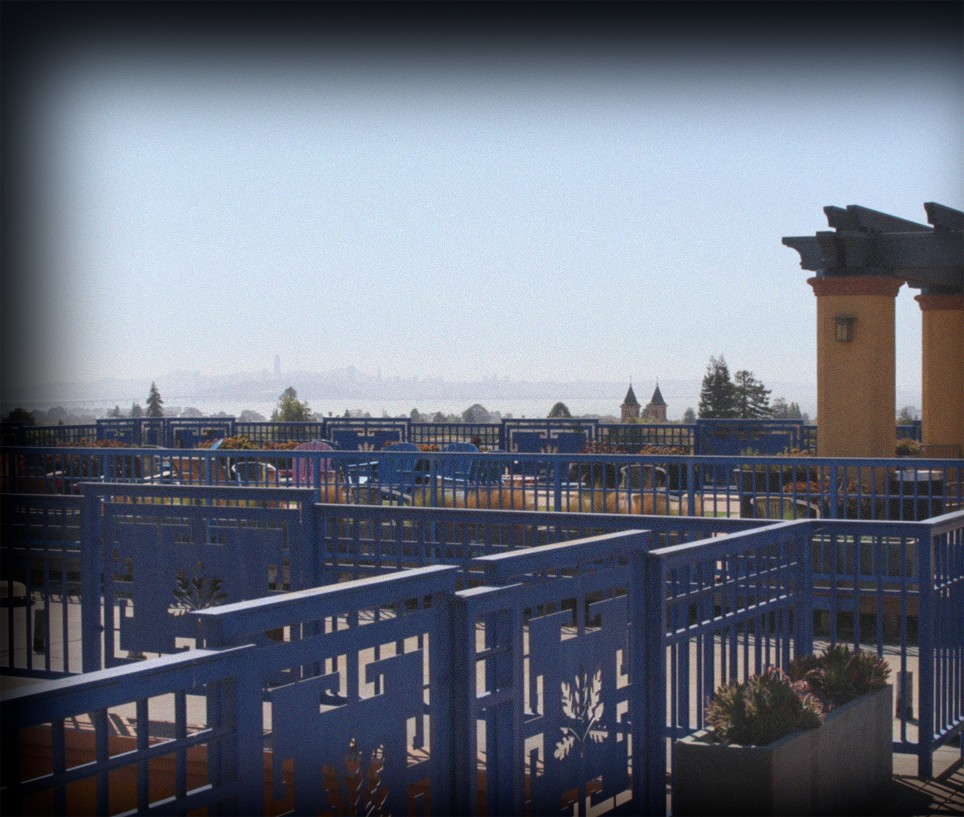 A view of San Francisco from the roof of my Berkeley apartment.
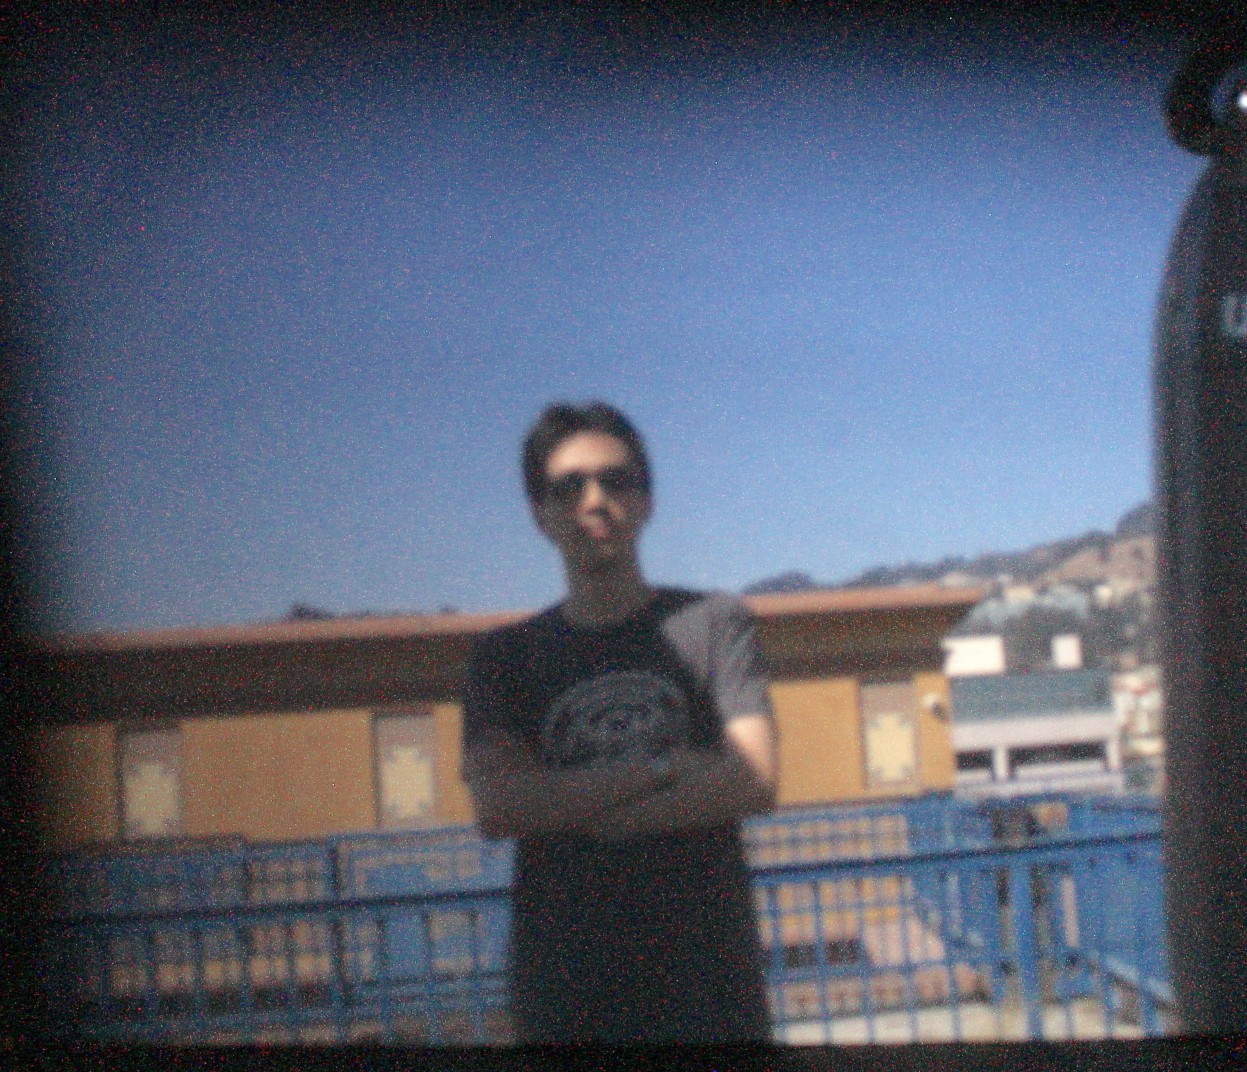 A poor attempt at a self-portrait.
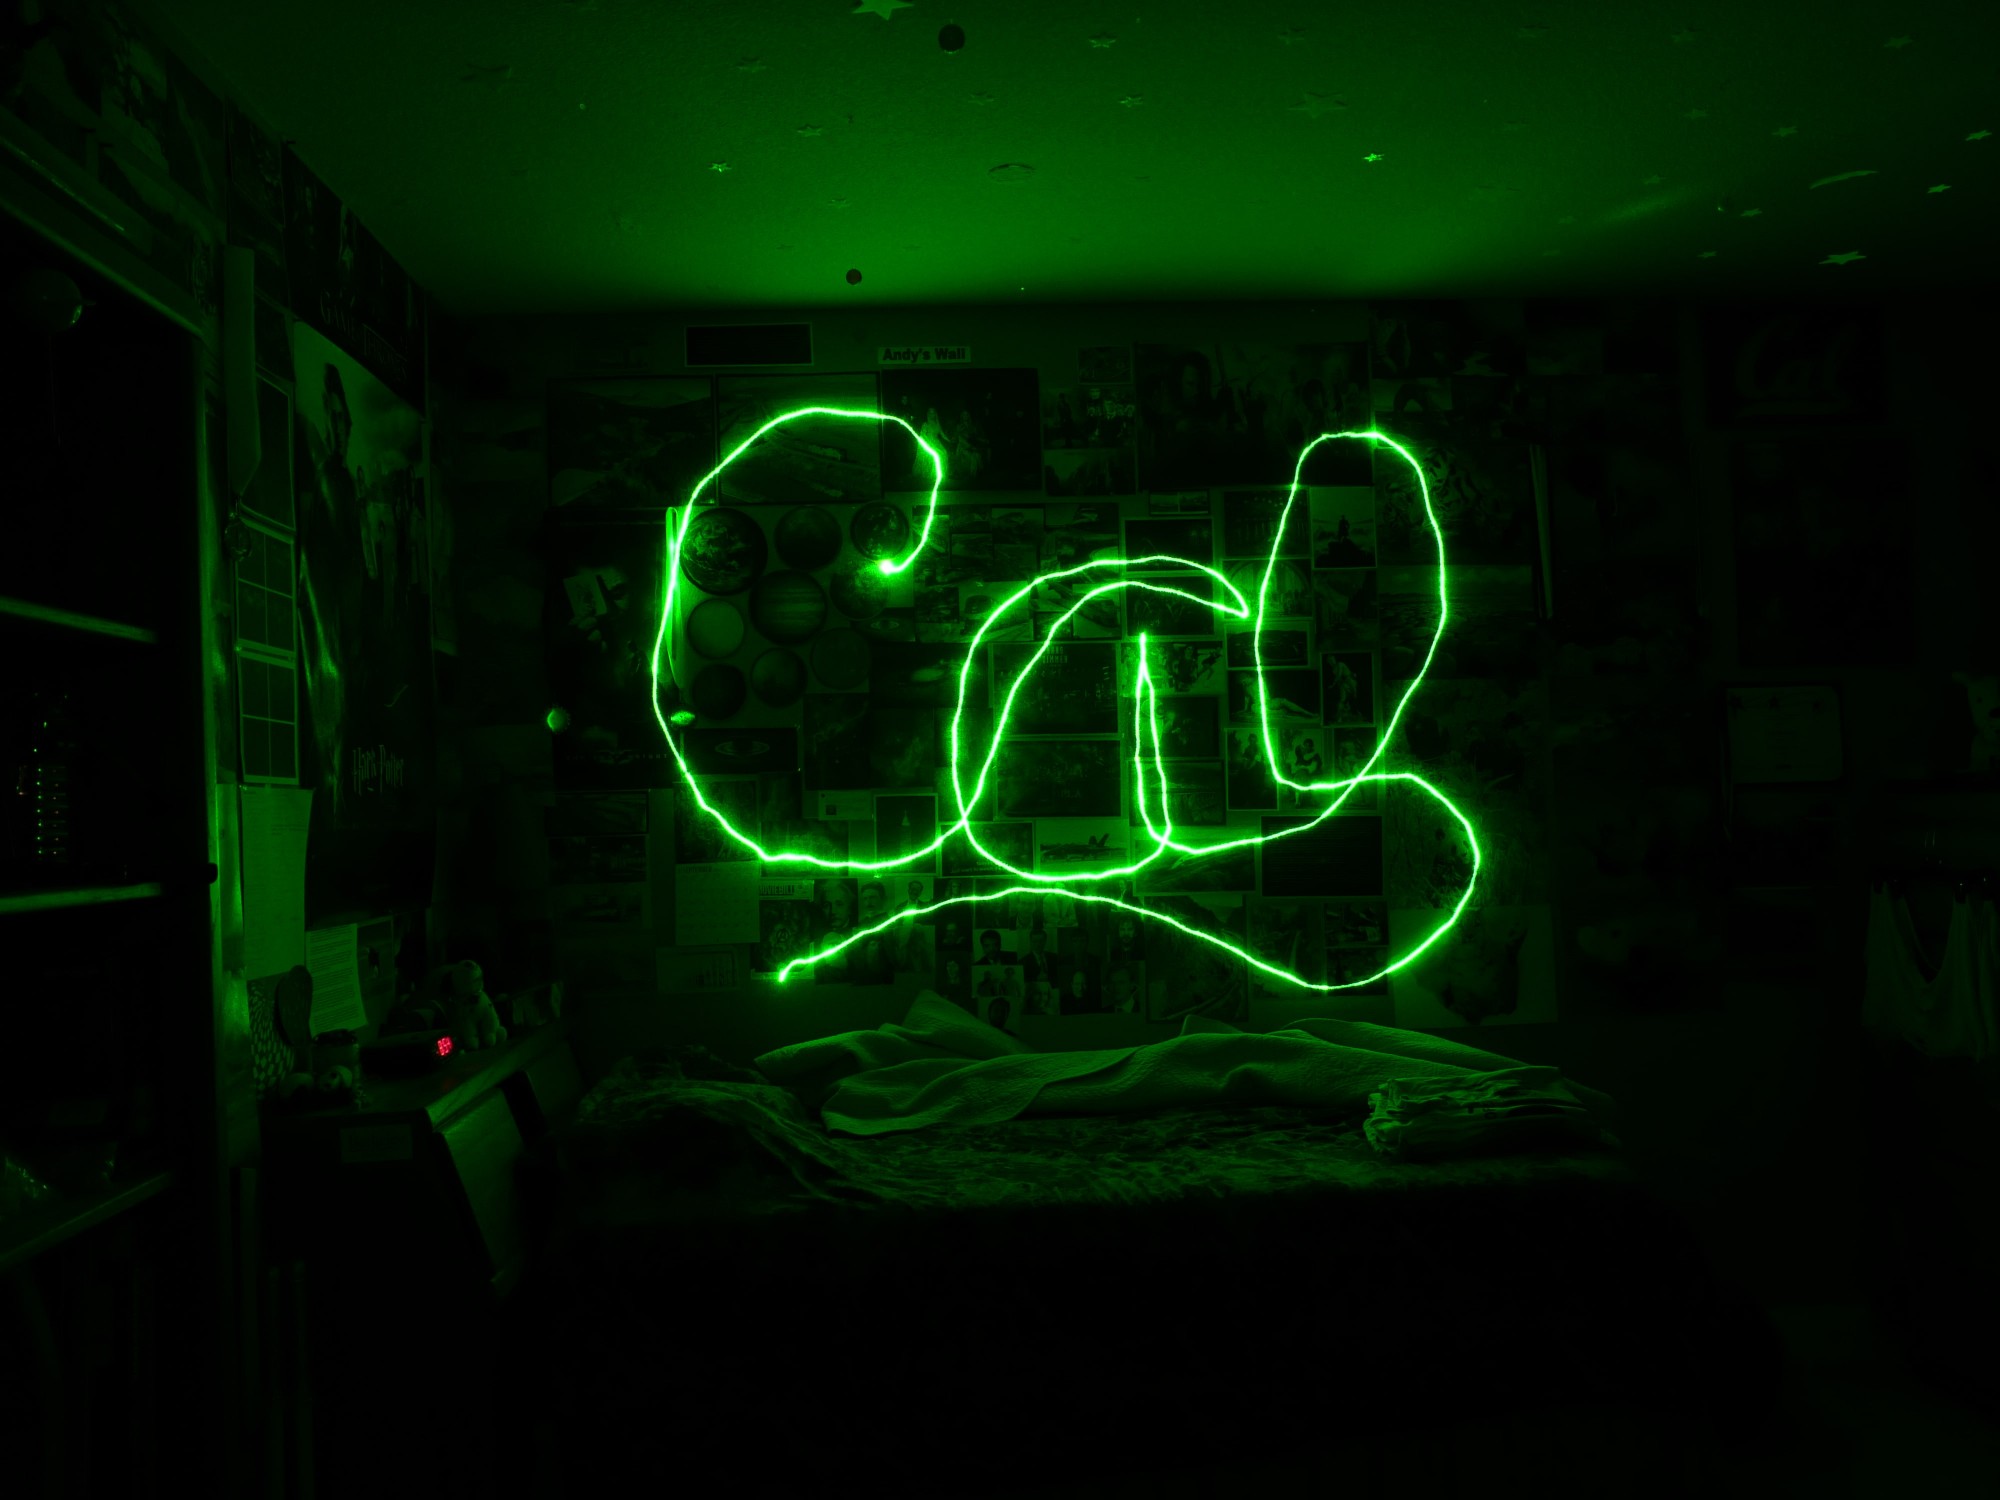
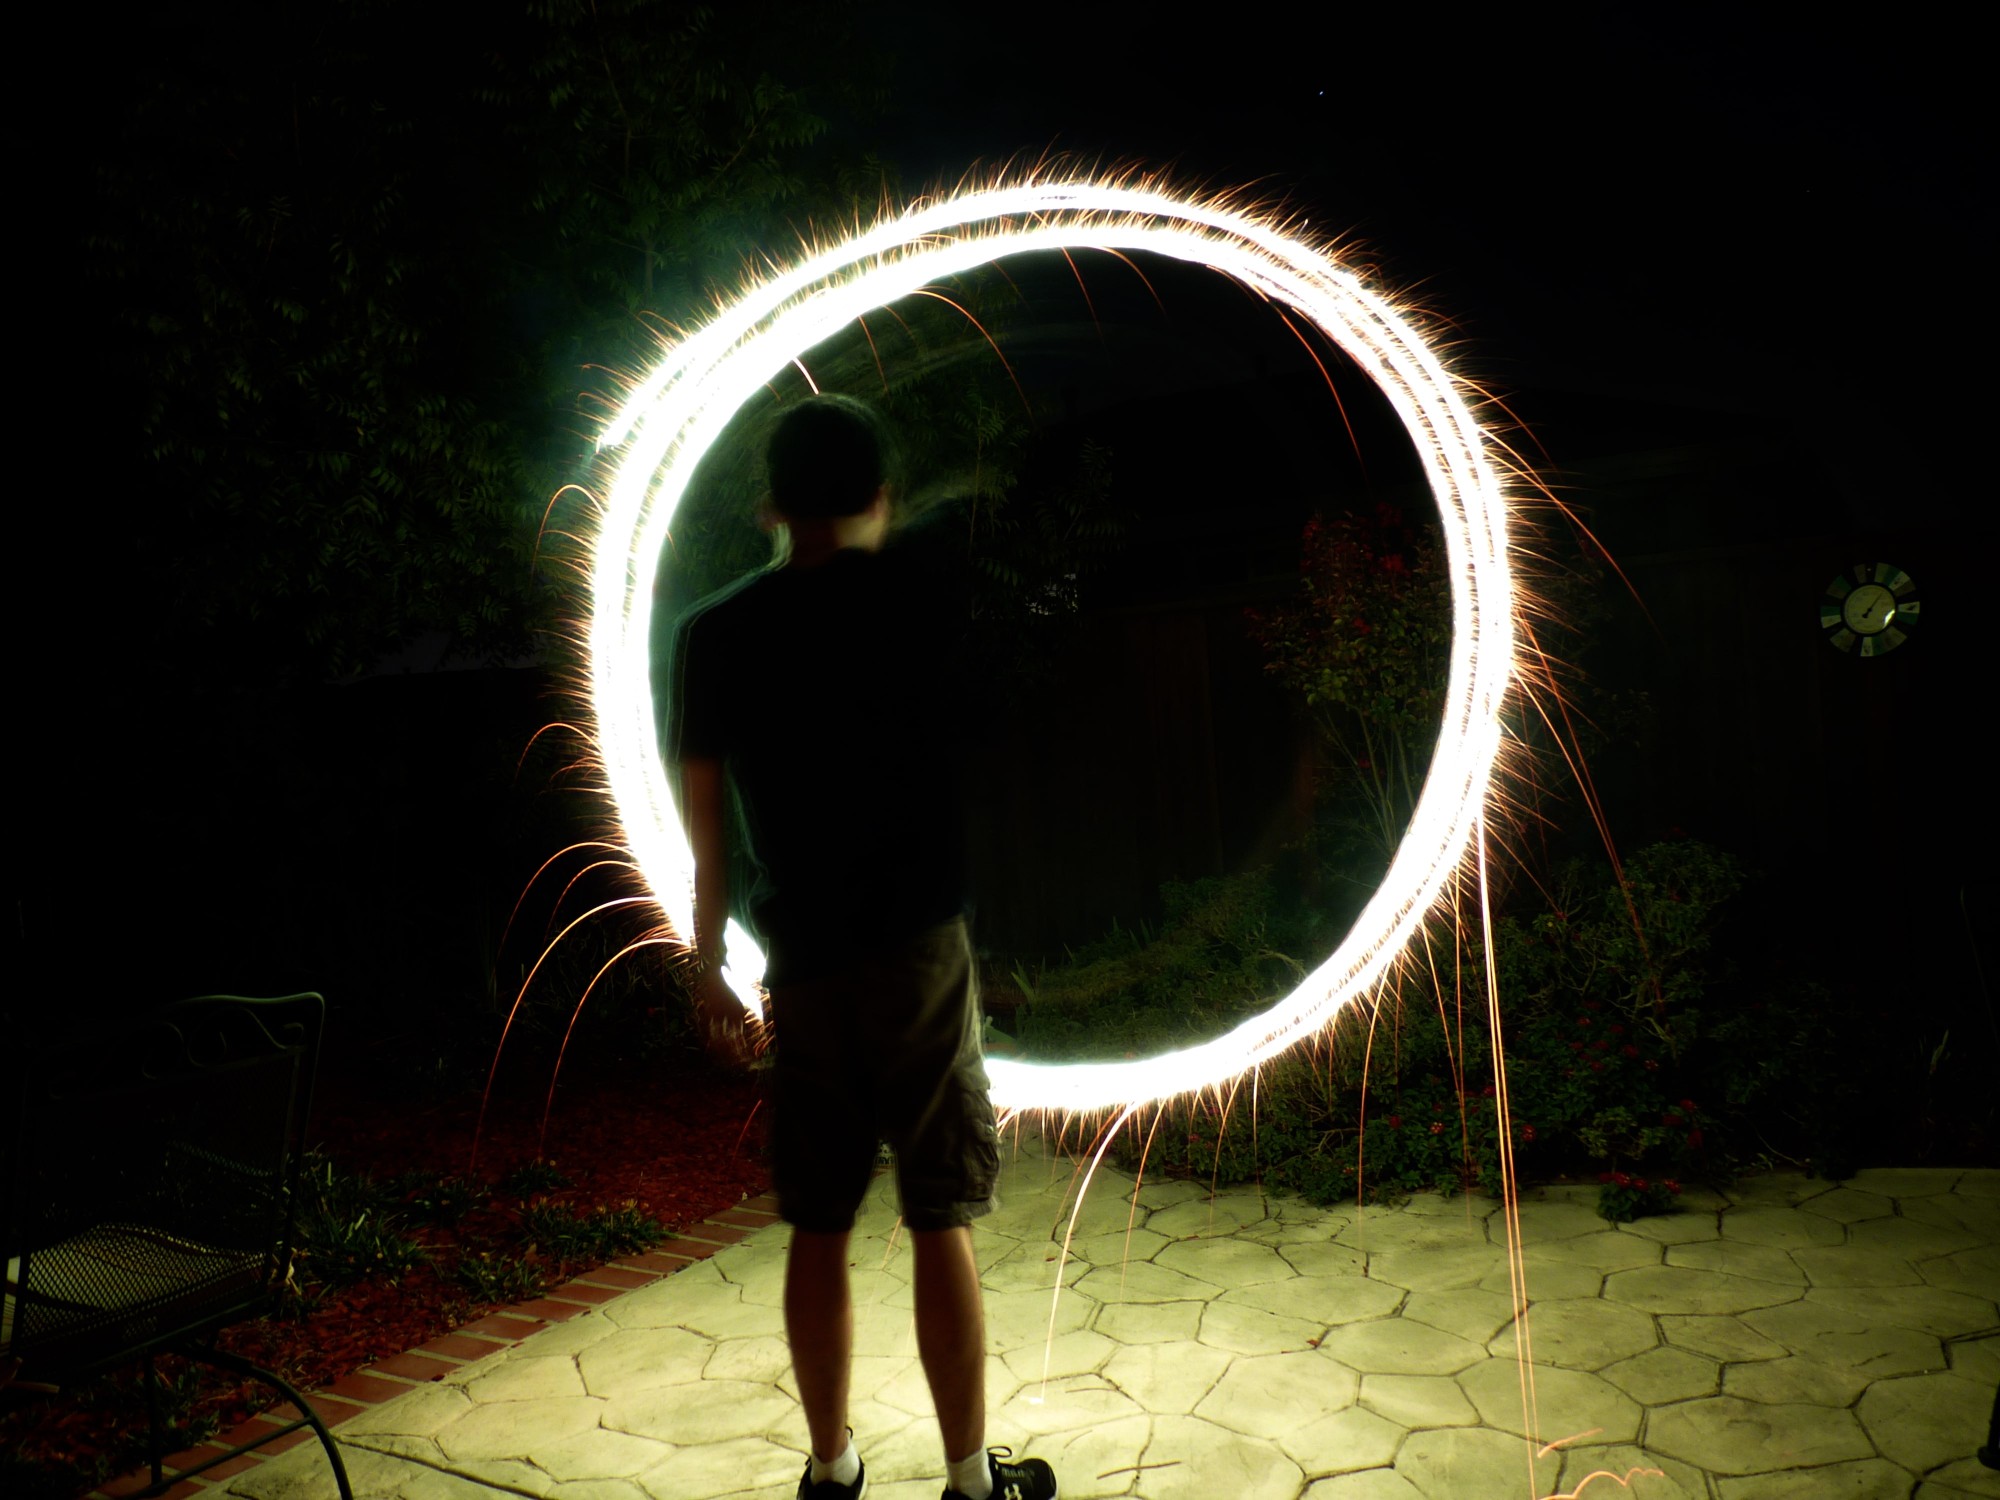
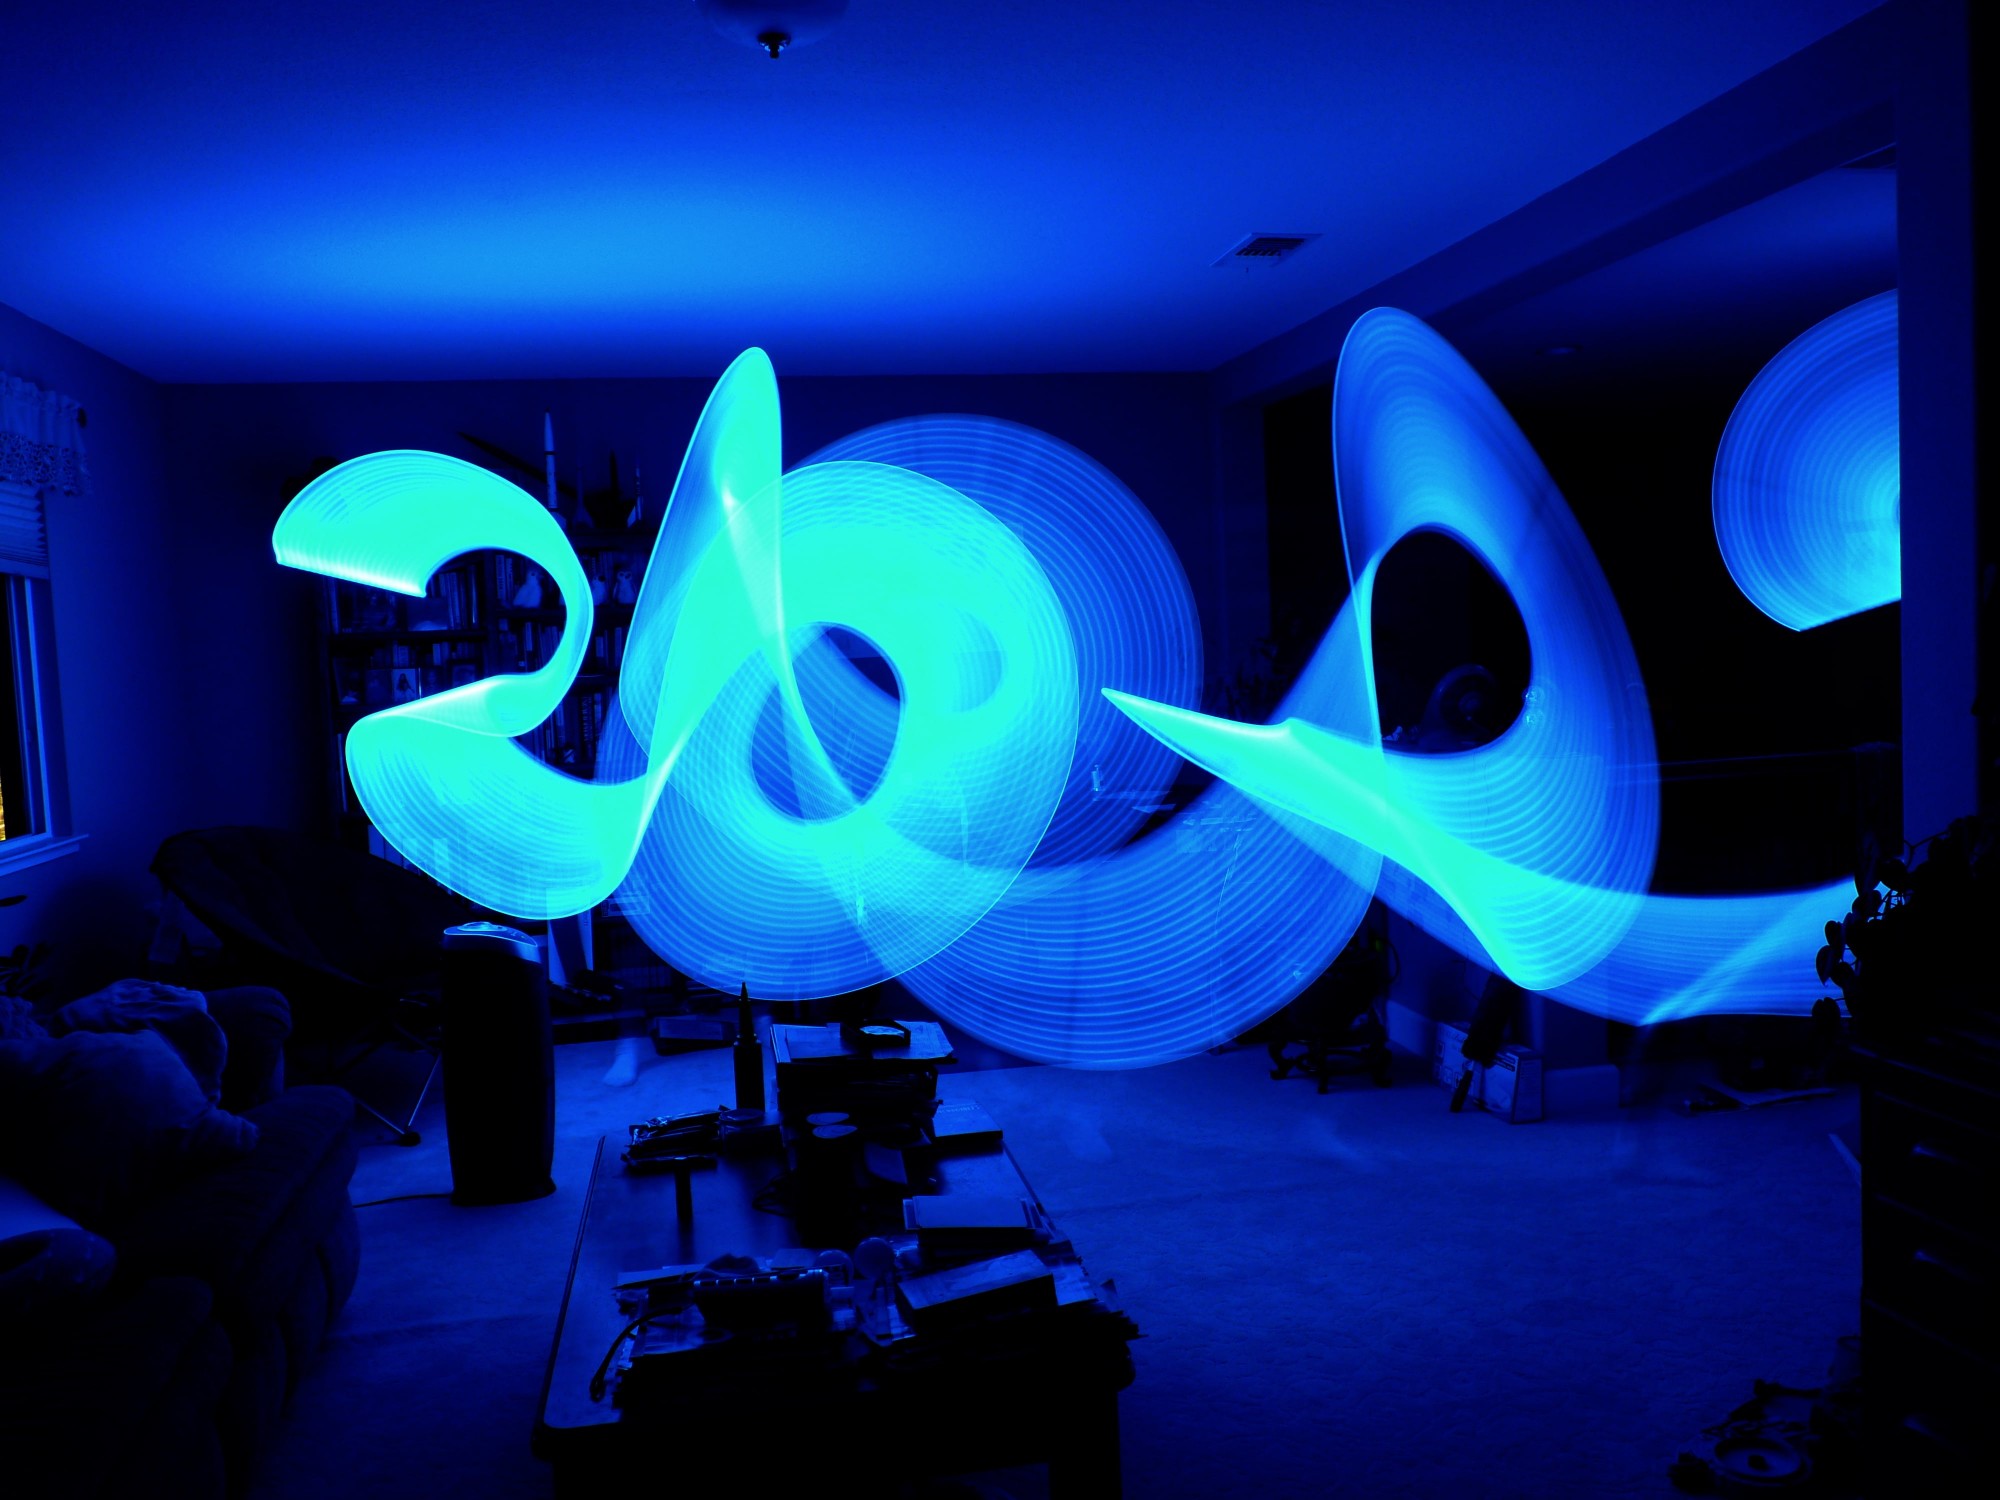
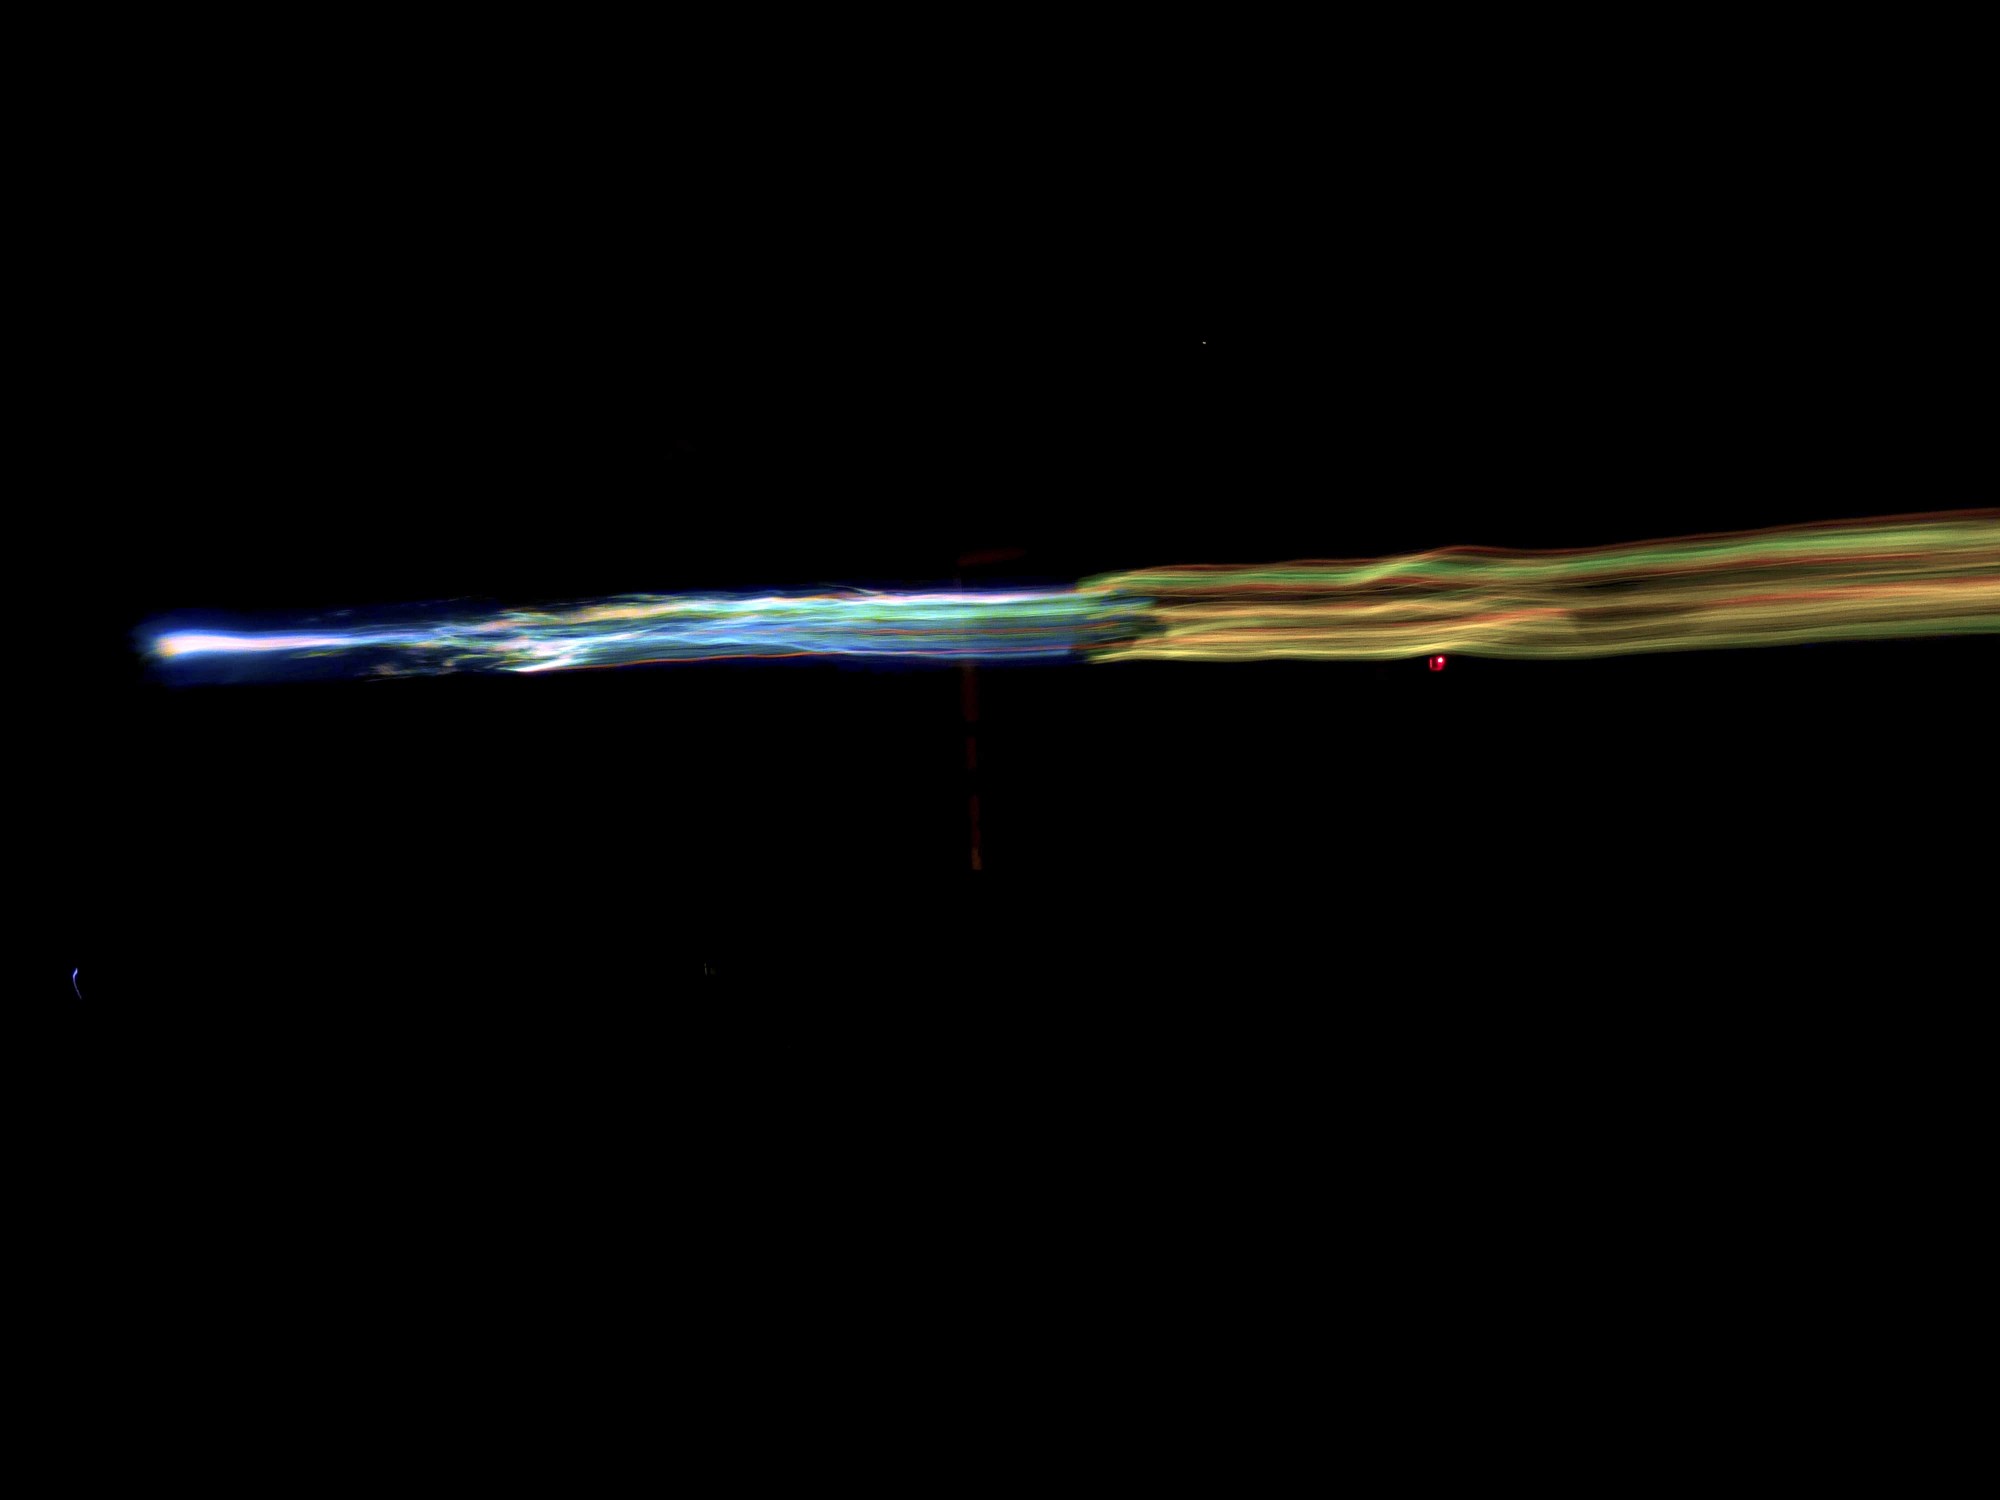
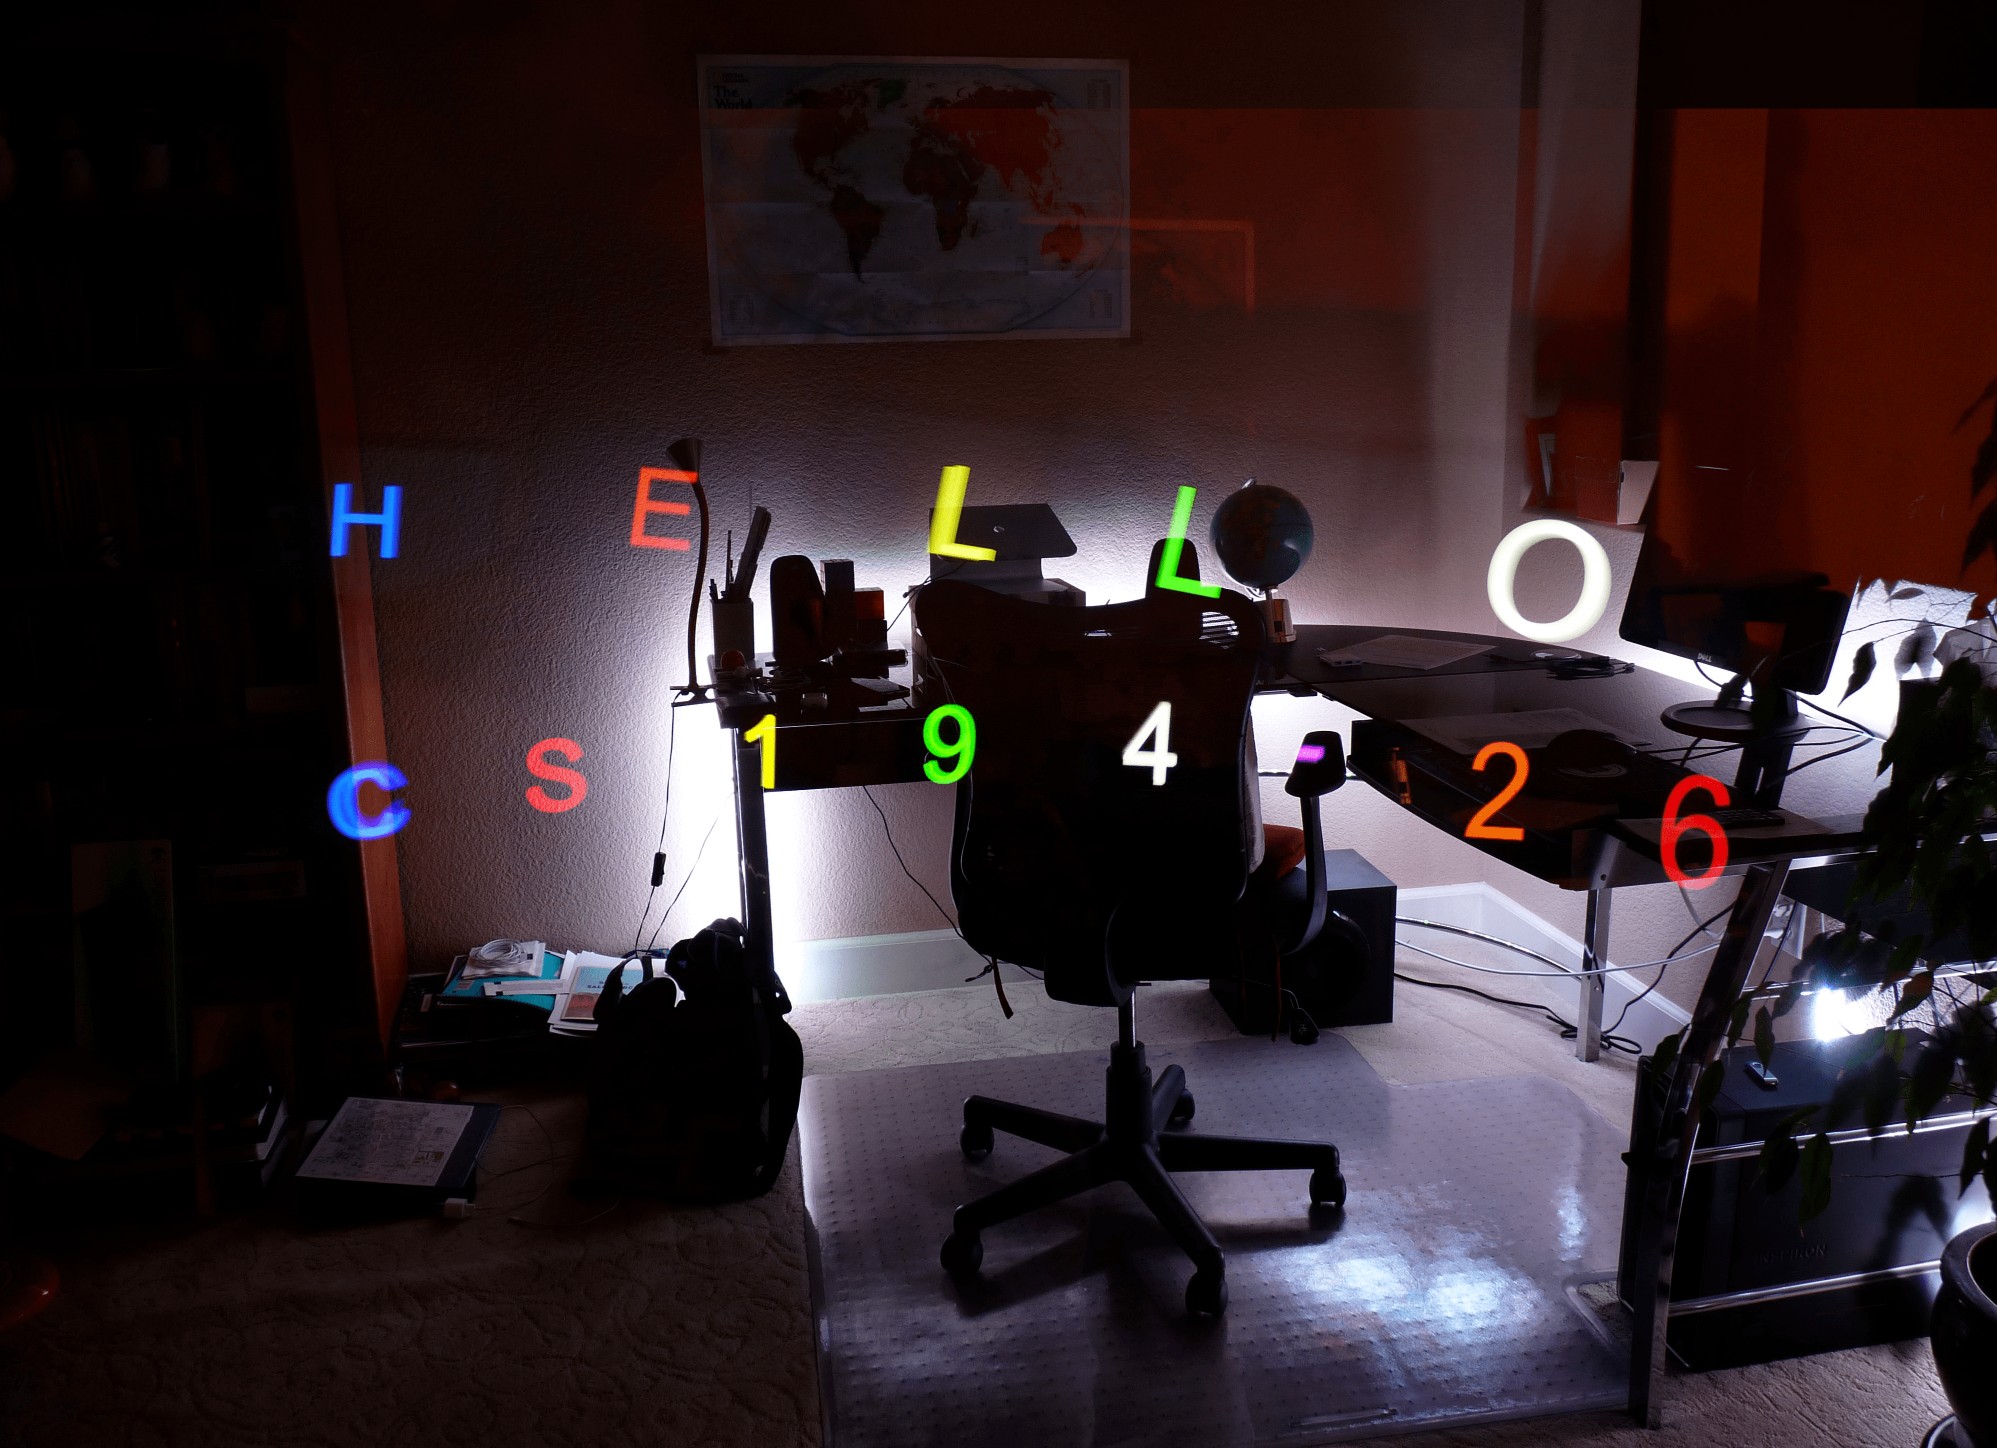
Bells and Whistles: Light Painting
The following images were taken with a 15 second exposure. I experimented with laser pointers, sparklers, LED swords, and moving my laptop around.
 |
 |
 |
 |
 |
 |