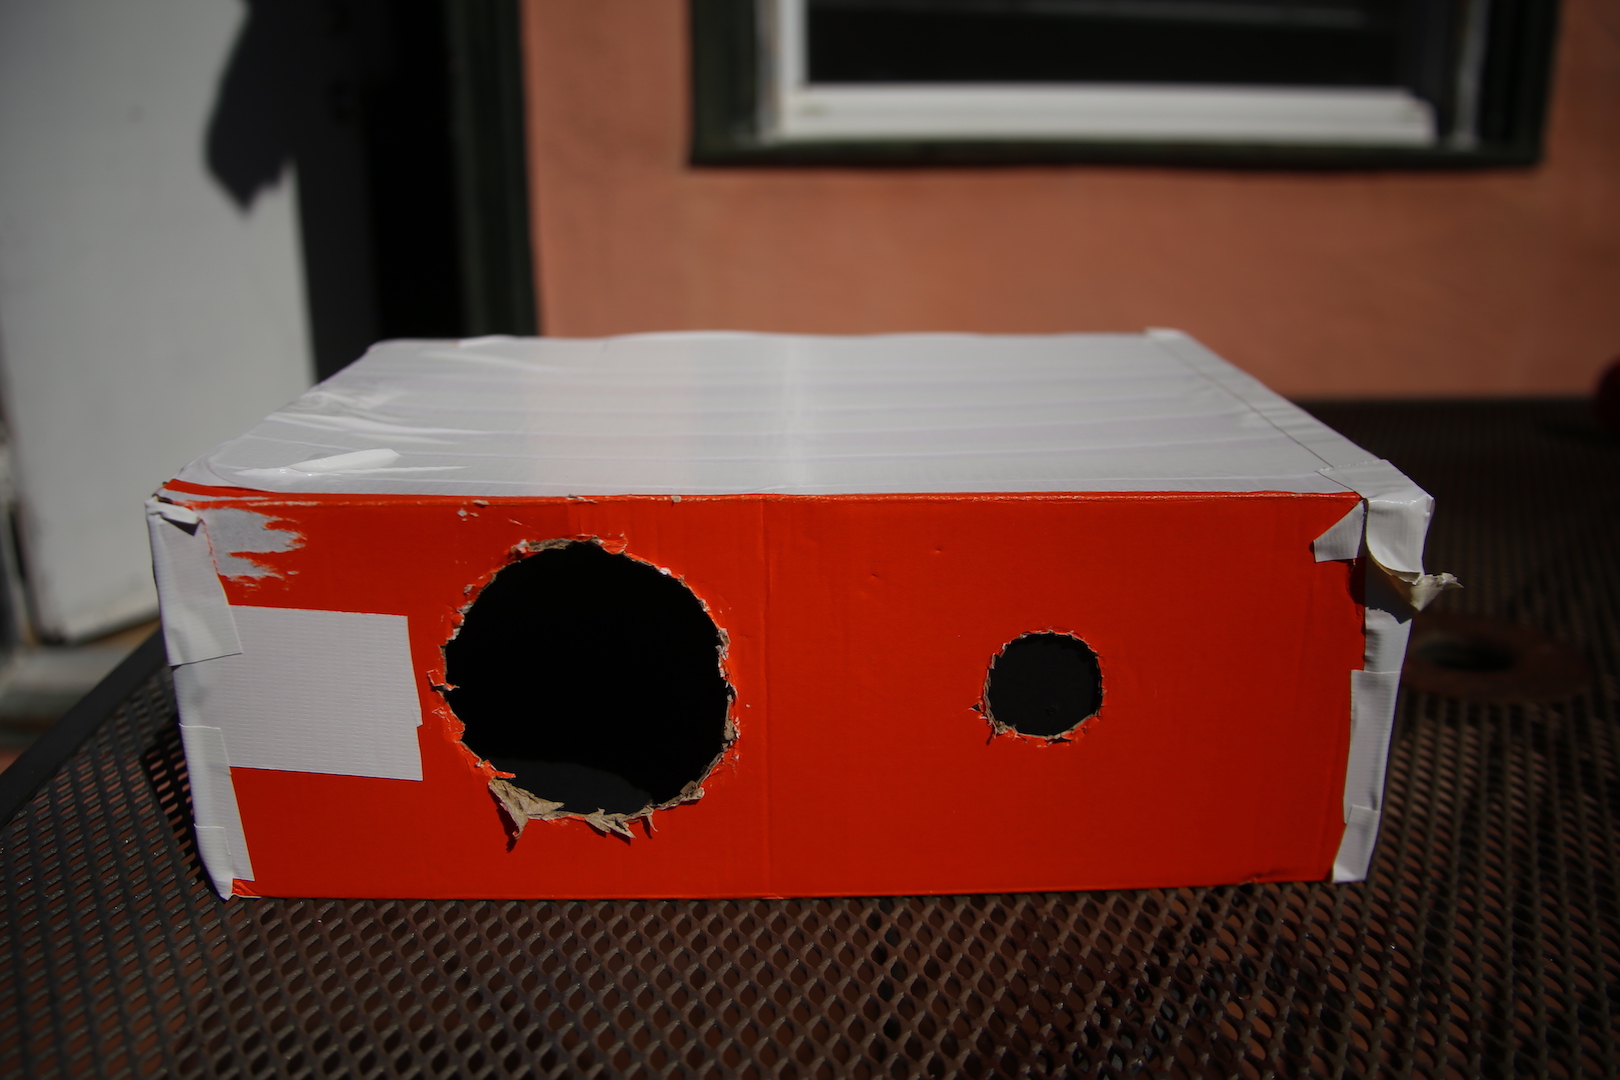
In this project, our goal is to make a pinhole camera.
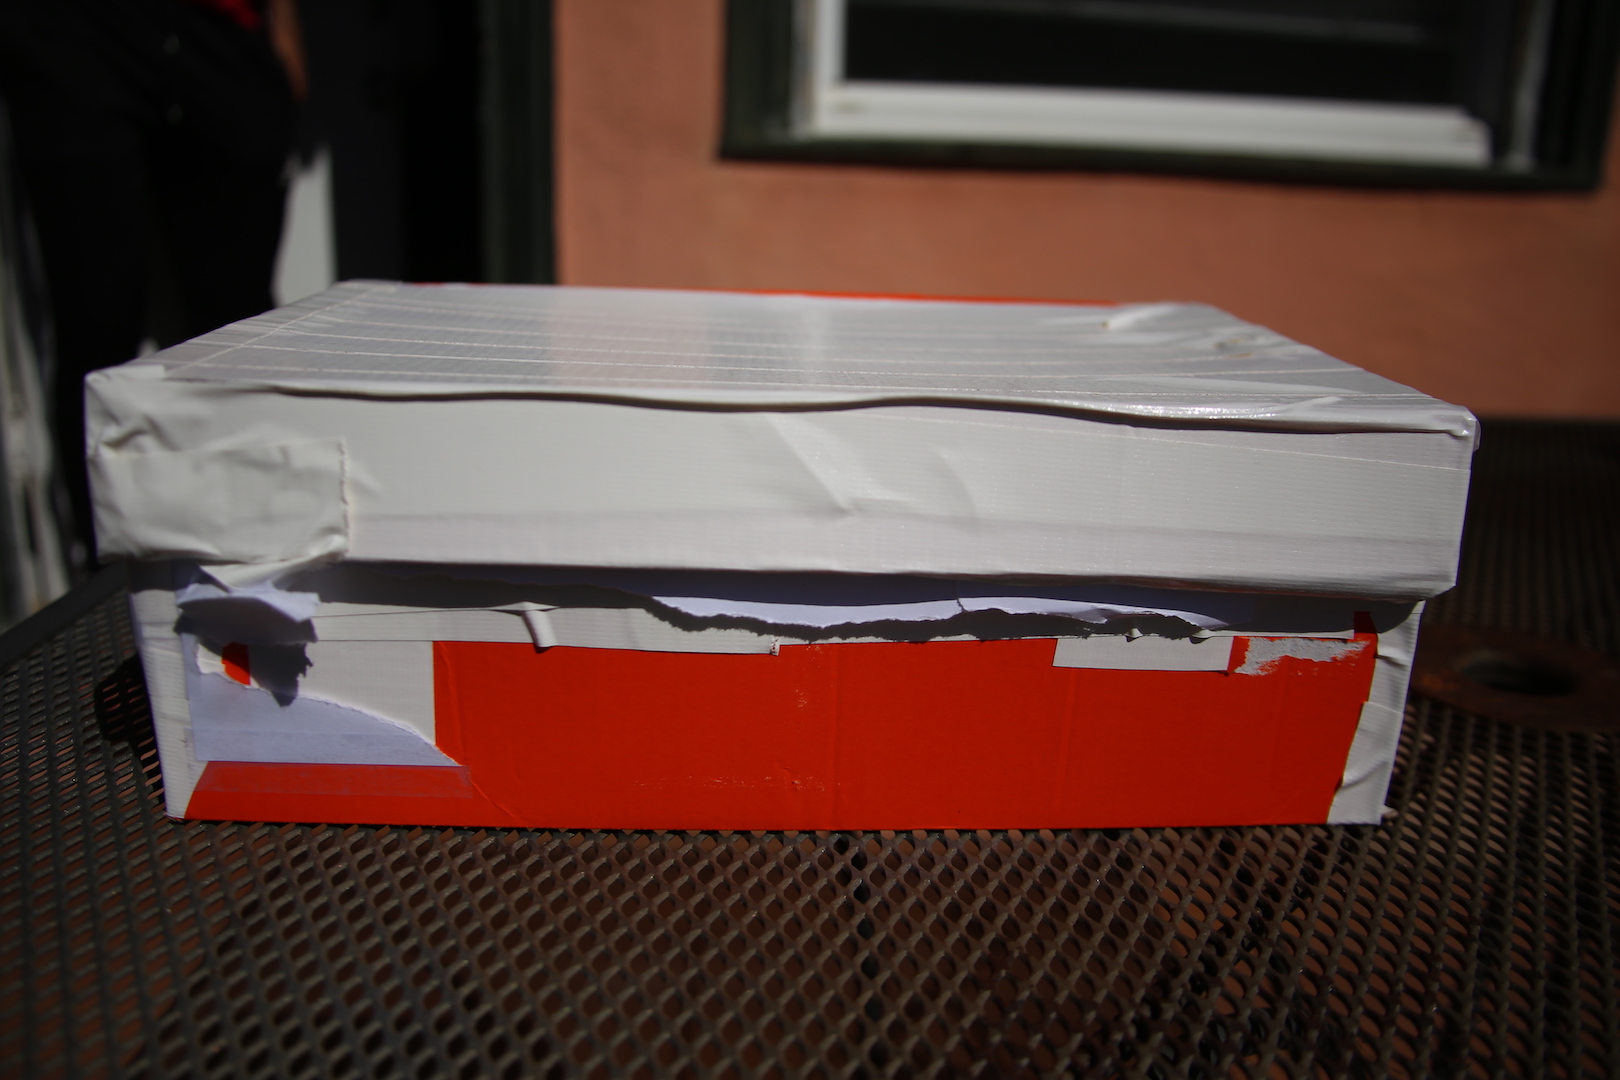
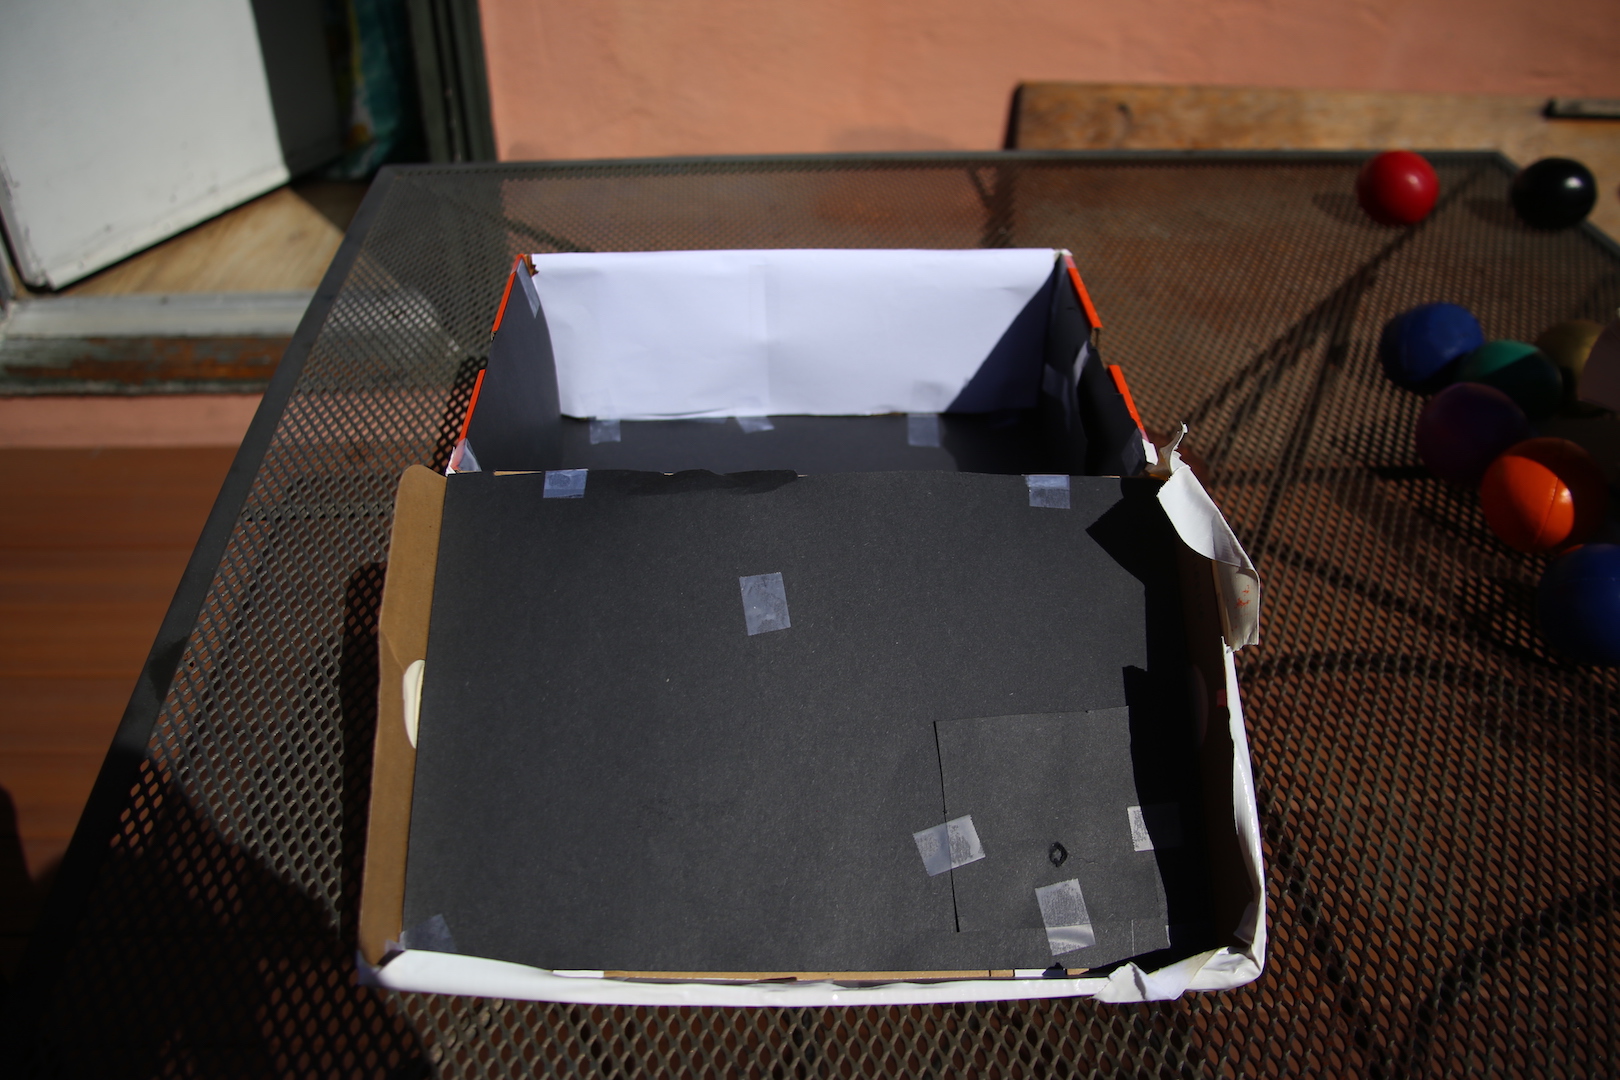
We got a Nike shoebox and added black paper to all the inside sides (except one) and taped up the holes with reflective tape so no light could get in. Then, we picked one side and punched two holes, one for the camera and one for the pinhole. On the side opposite the side with the 2 holes, we placed white paper in the box to act as the screen. To make our pinhole, we would punch our pinhole sizes onto other black card stock papers and tape it over the hole. Below are pictures of our camera.

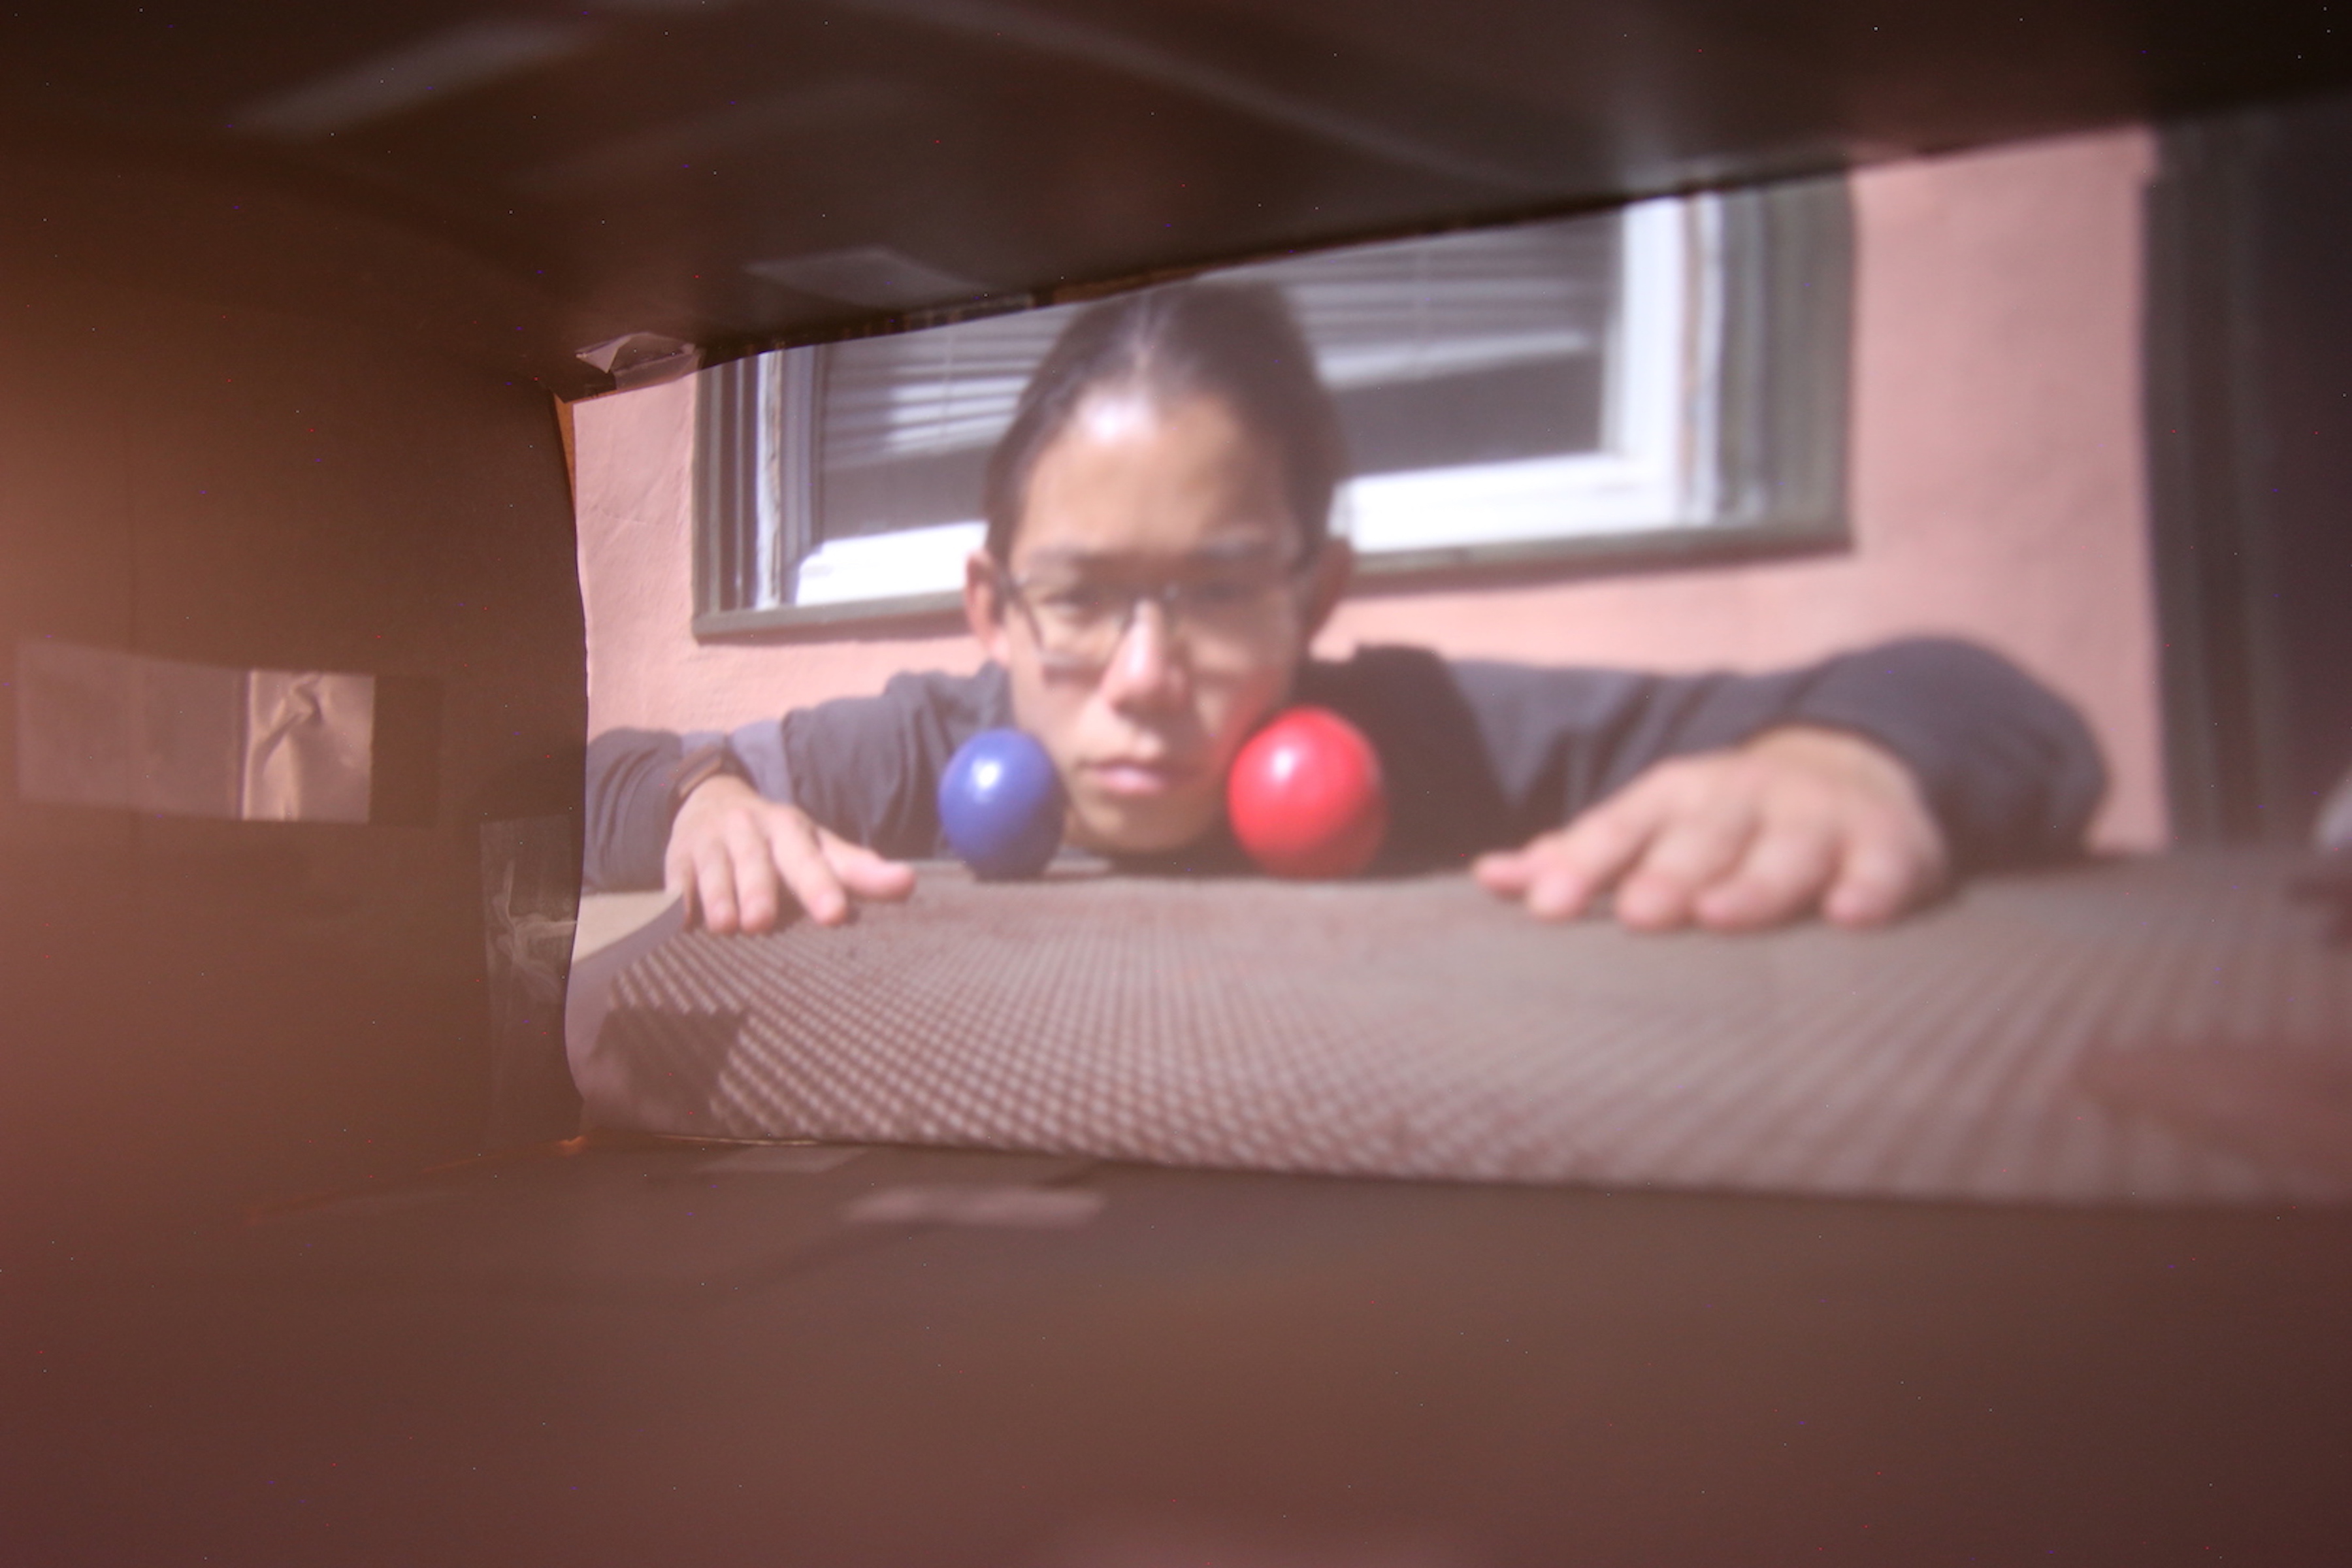
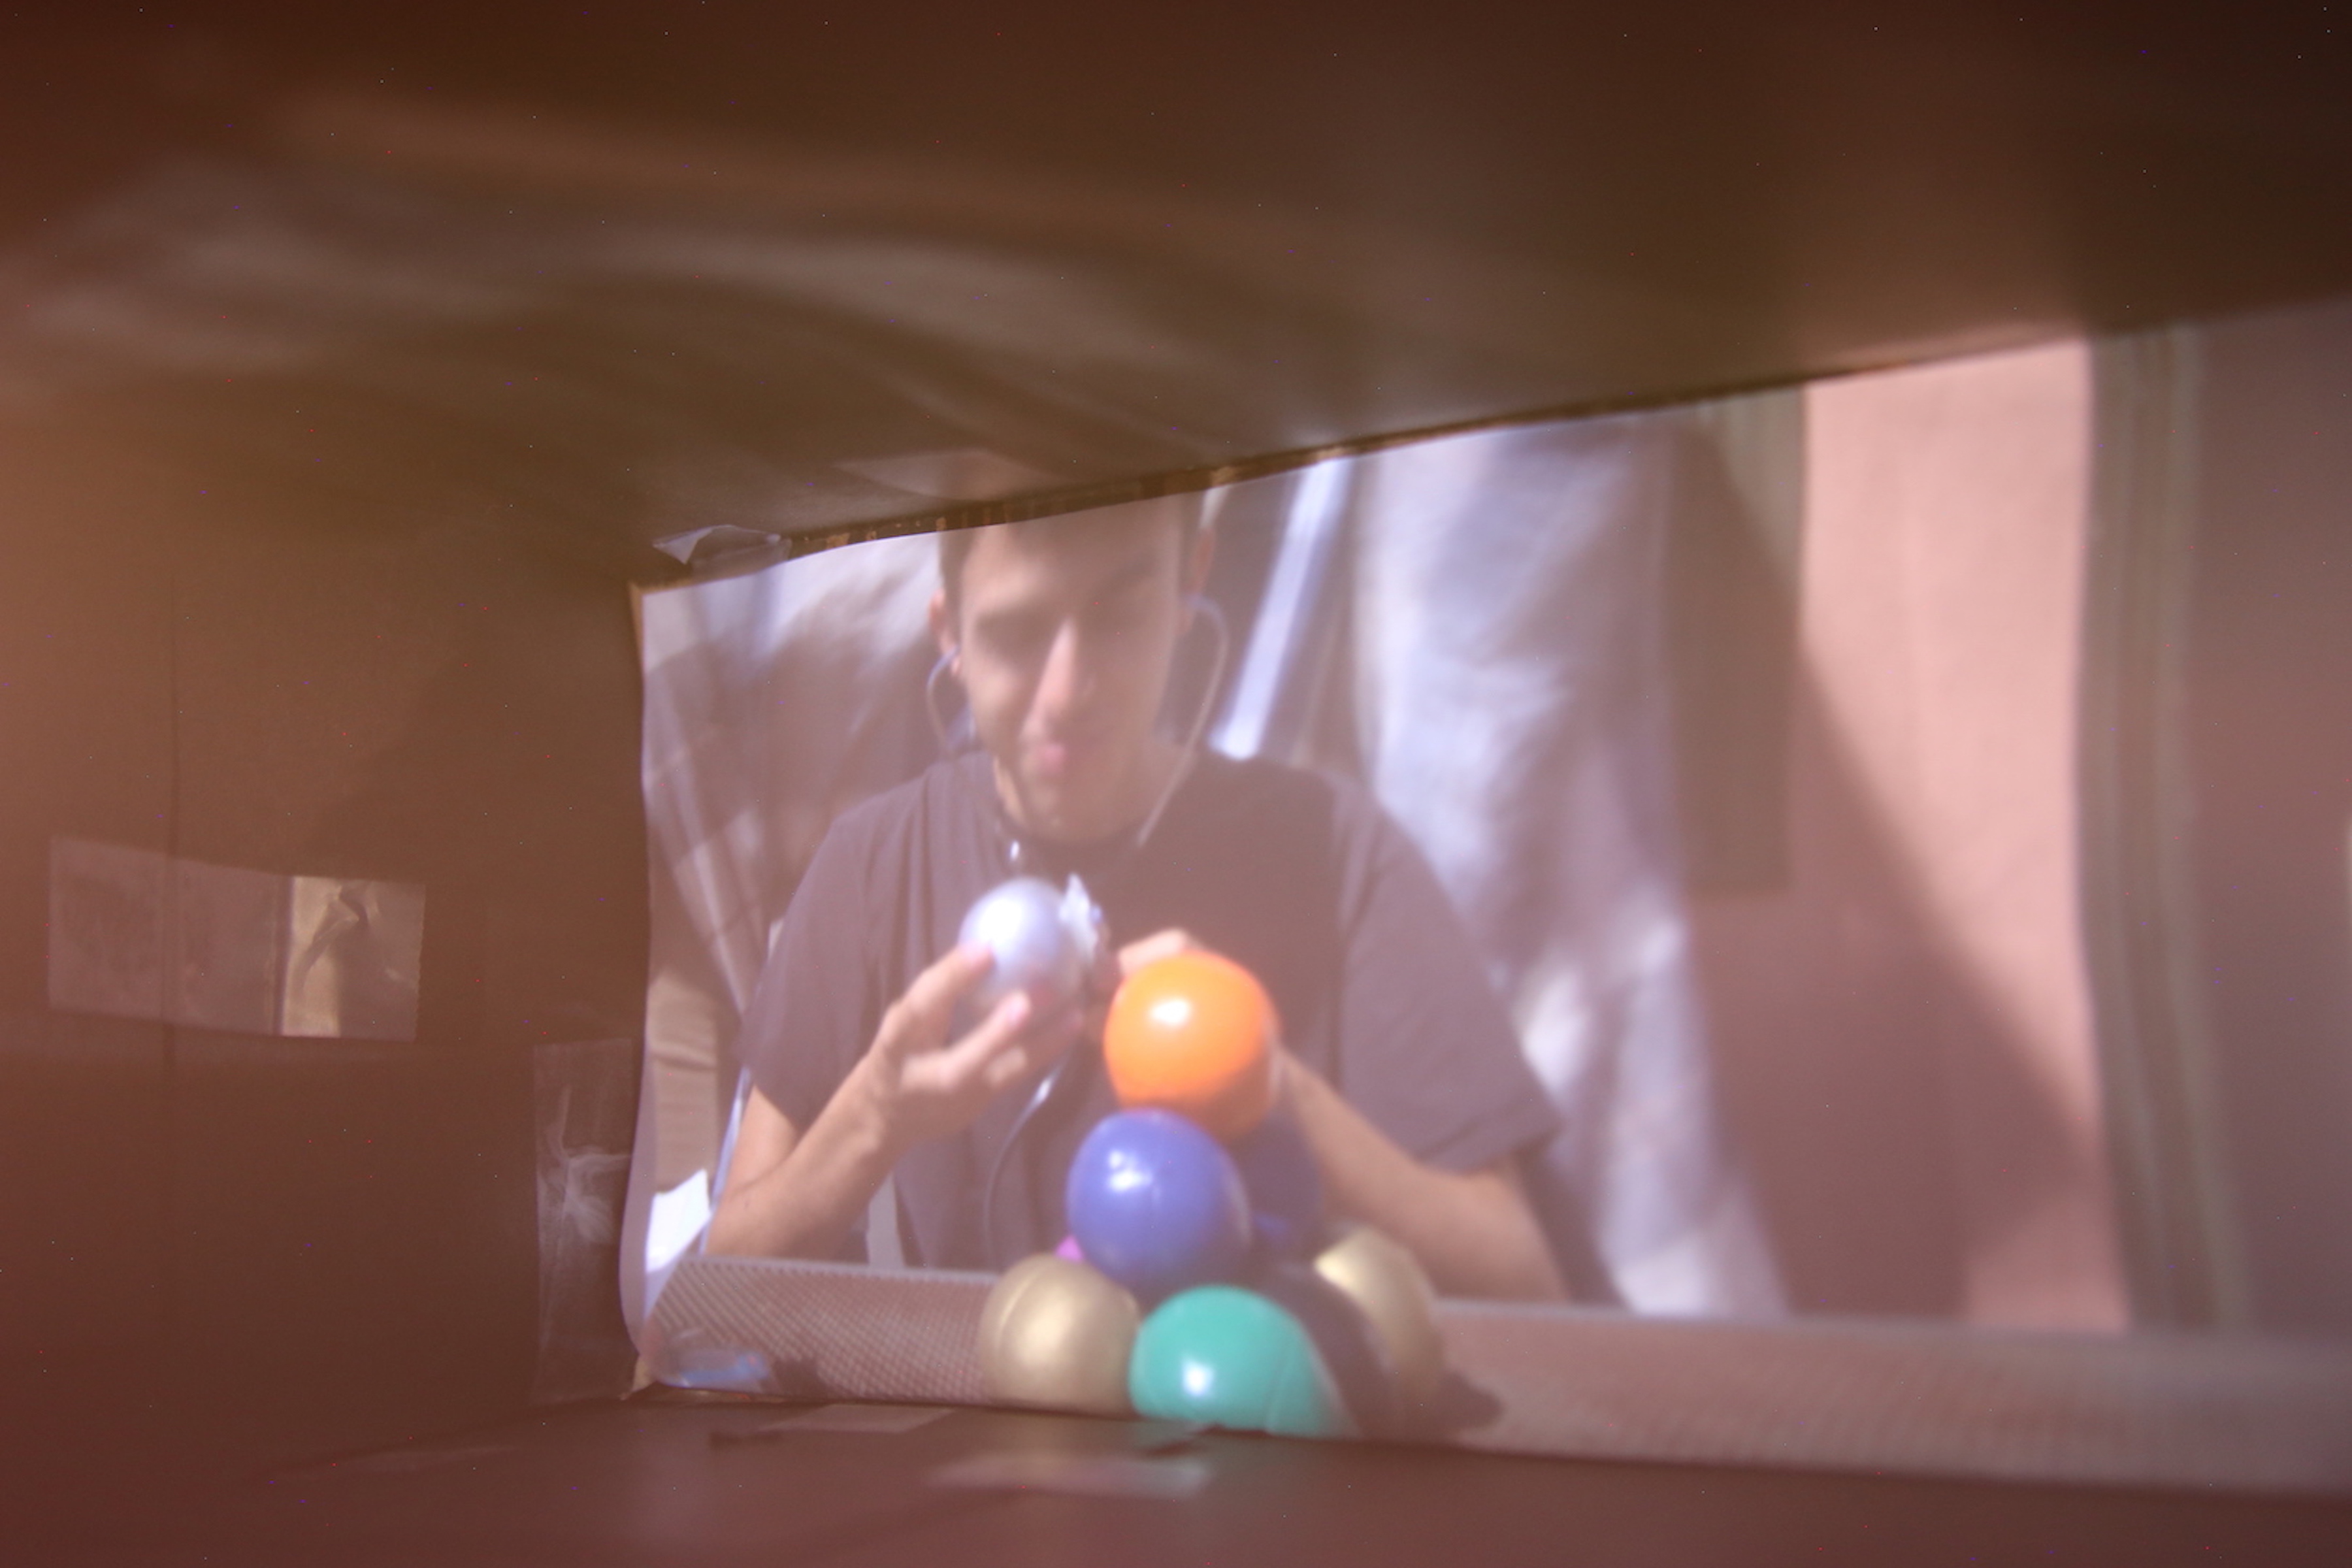
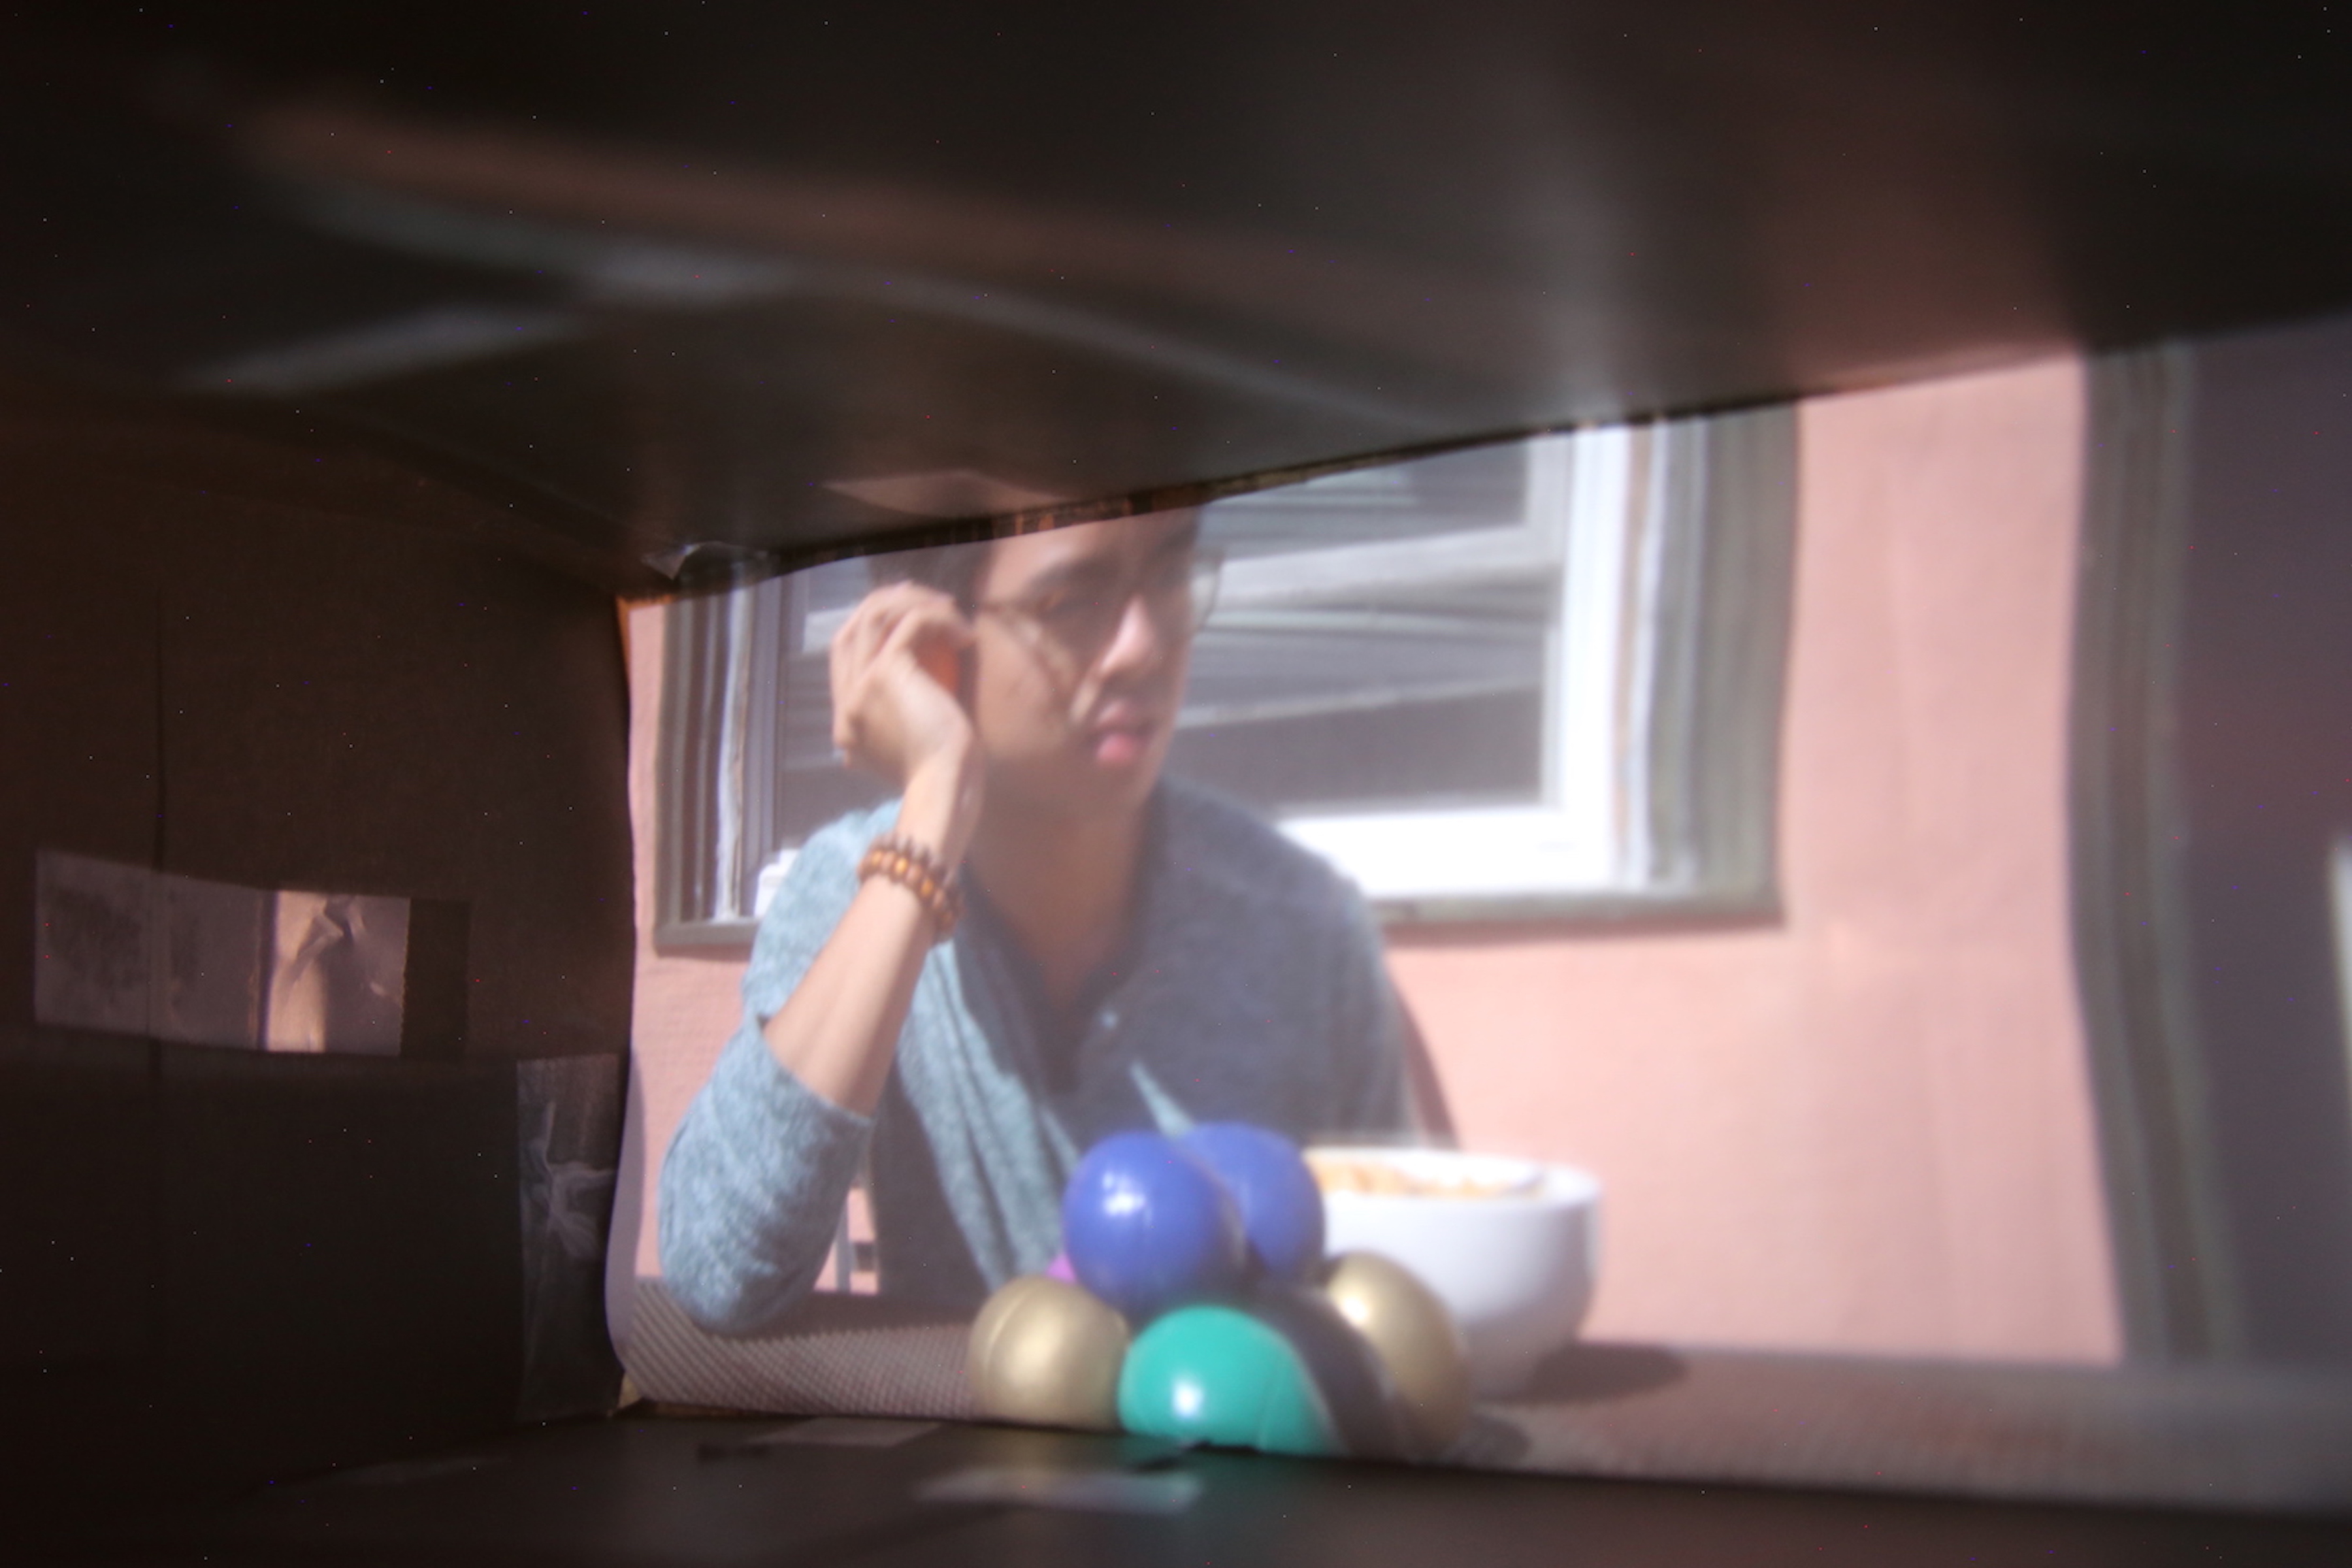
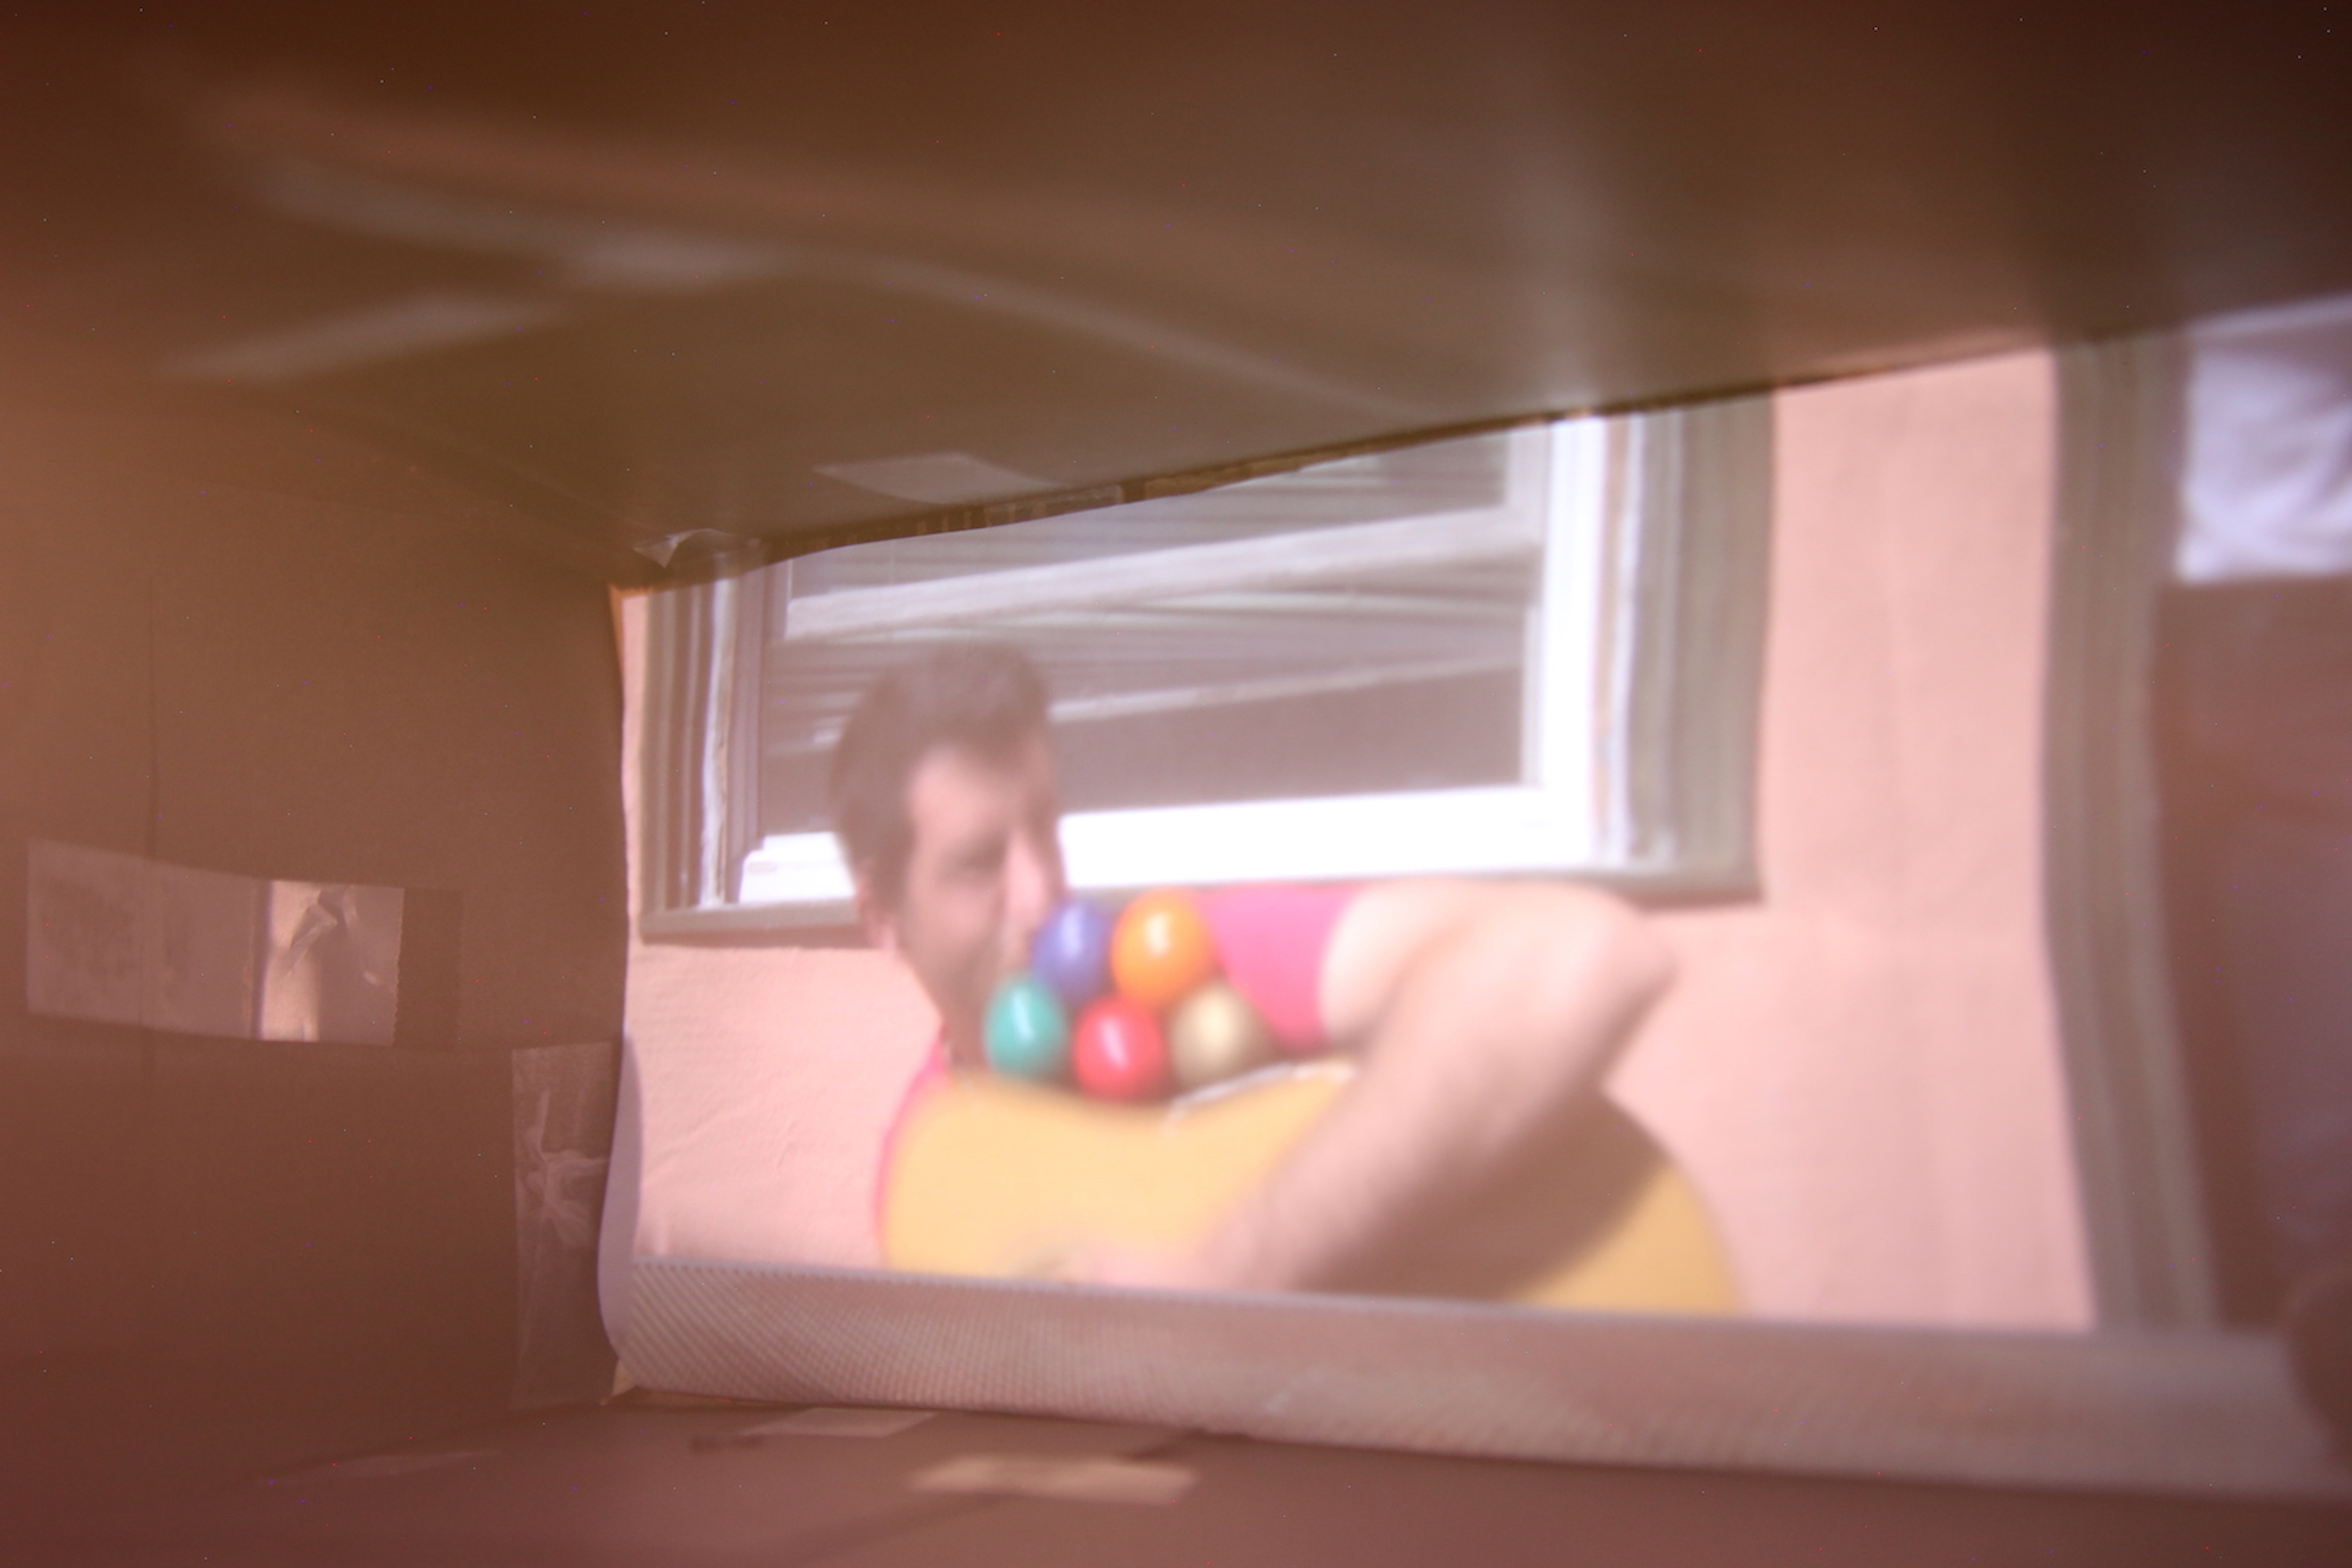
We used 3 different pinhole sizes of .1mm, 3mm, and 5mm, measured using a ruler as suggested in the spec. Below are some pictures we've taken of friends and balls on top of a table.
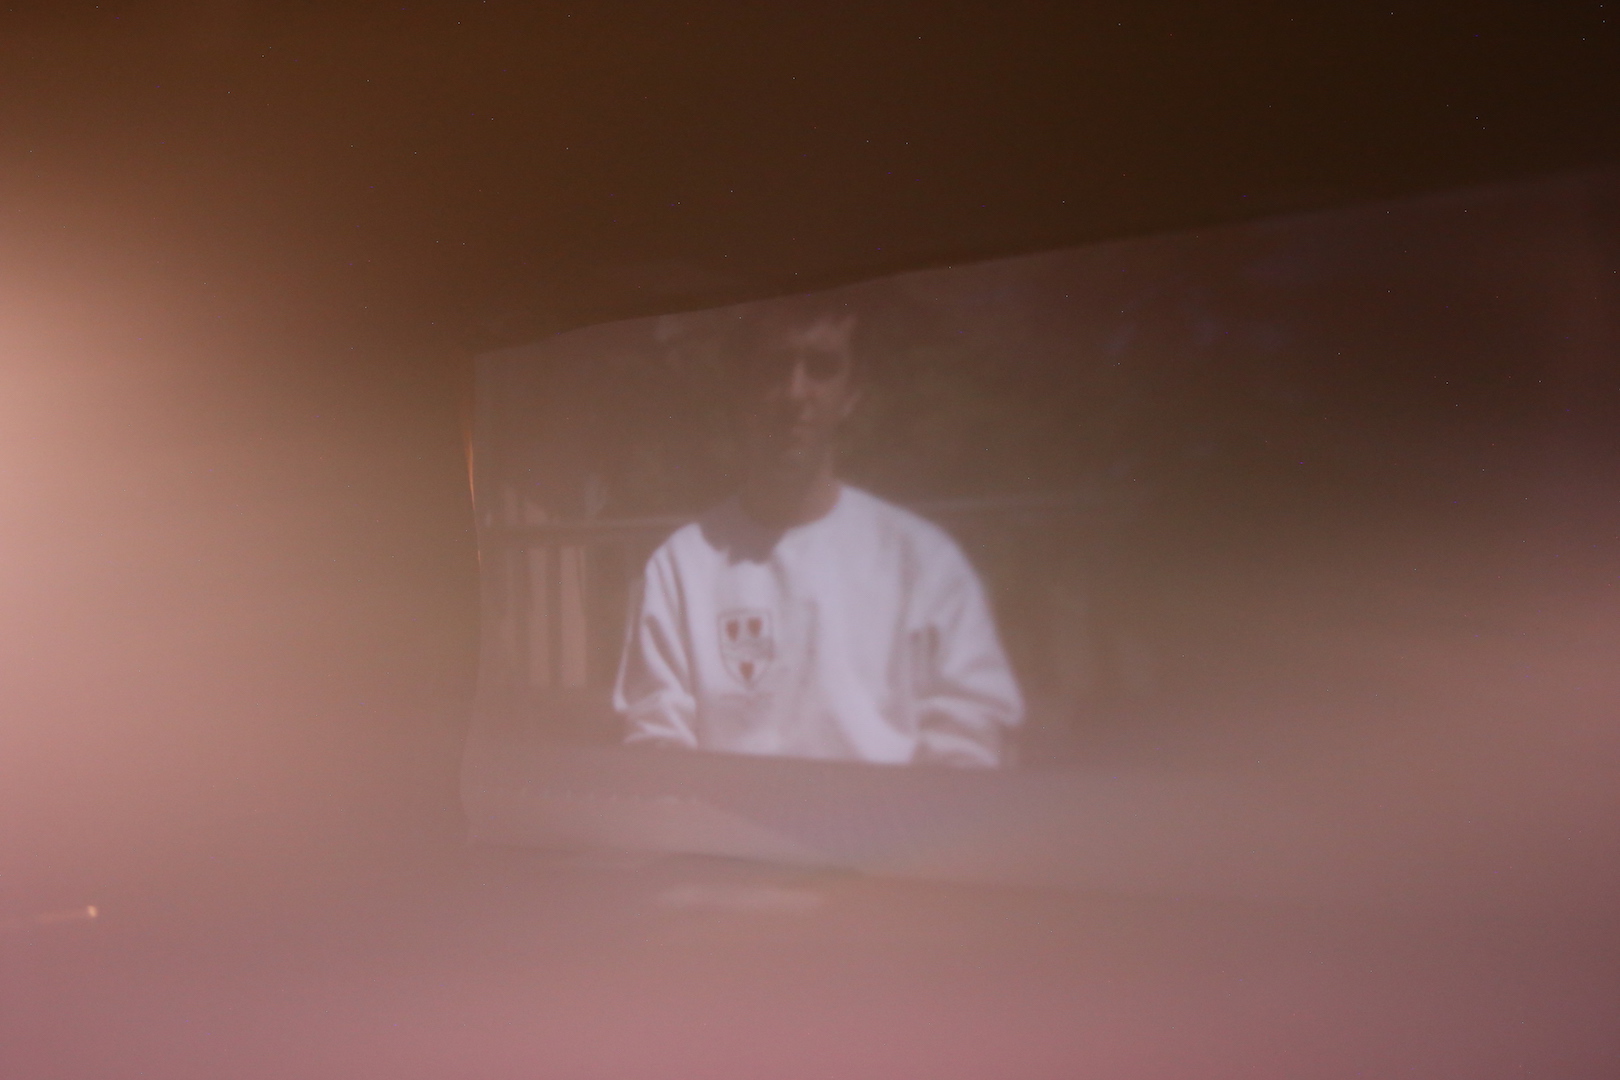
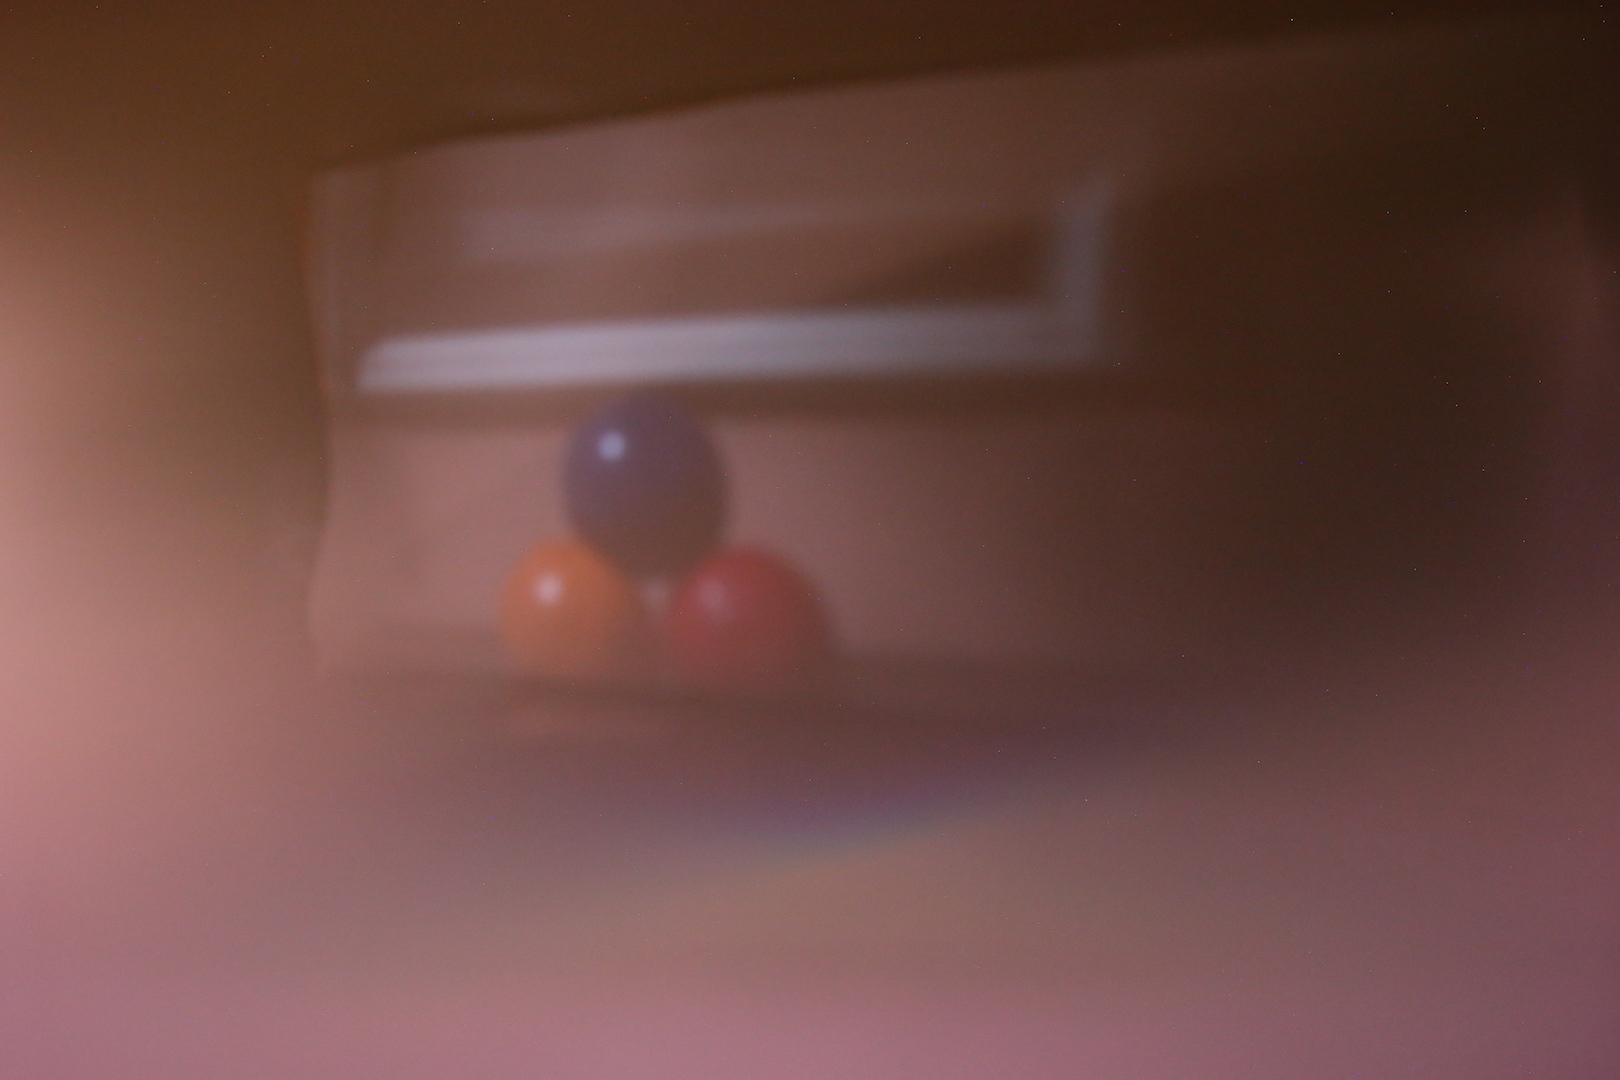
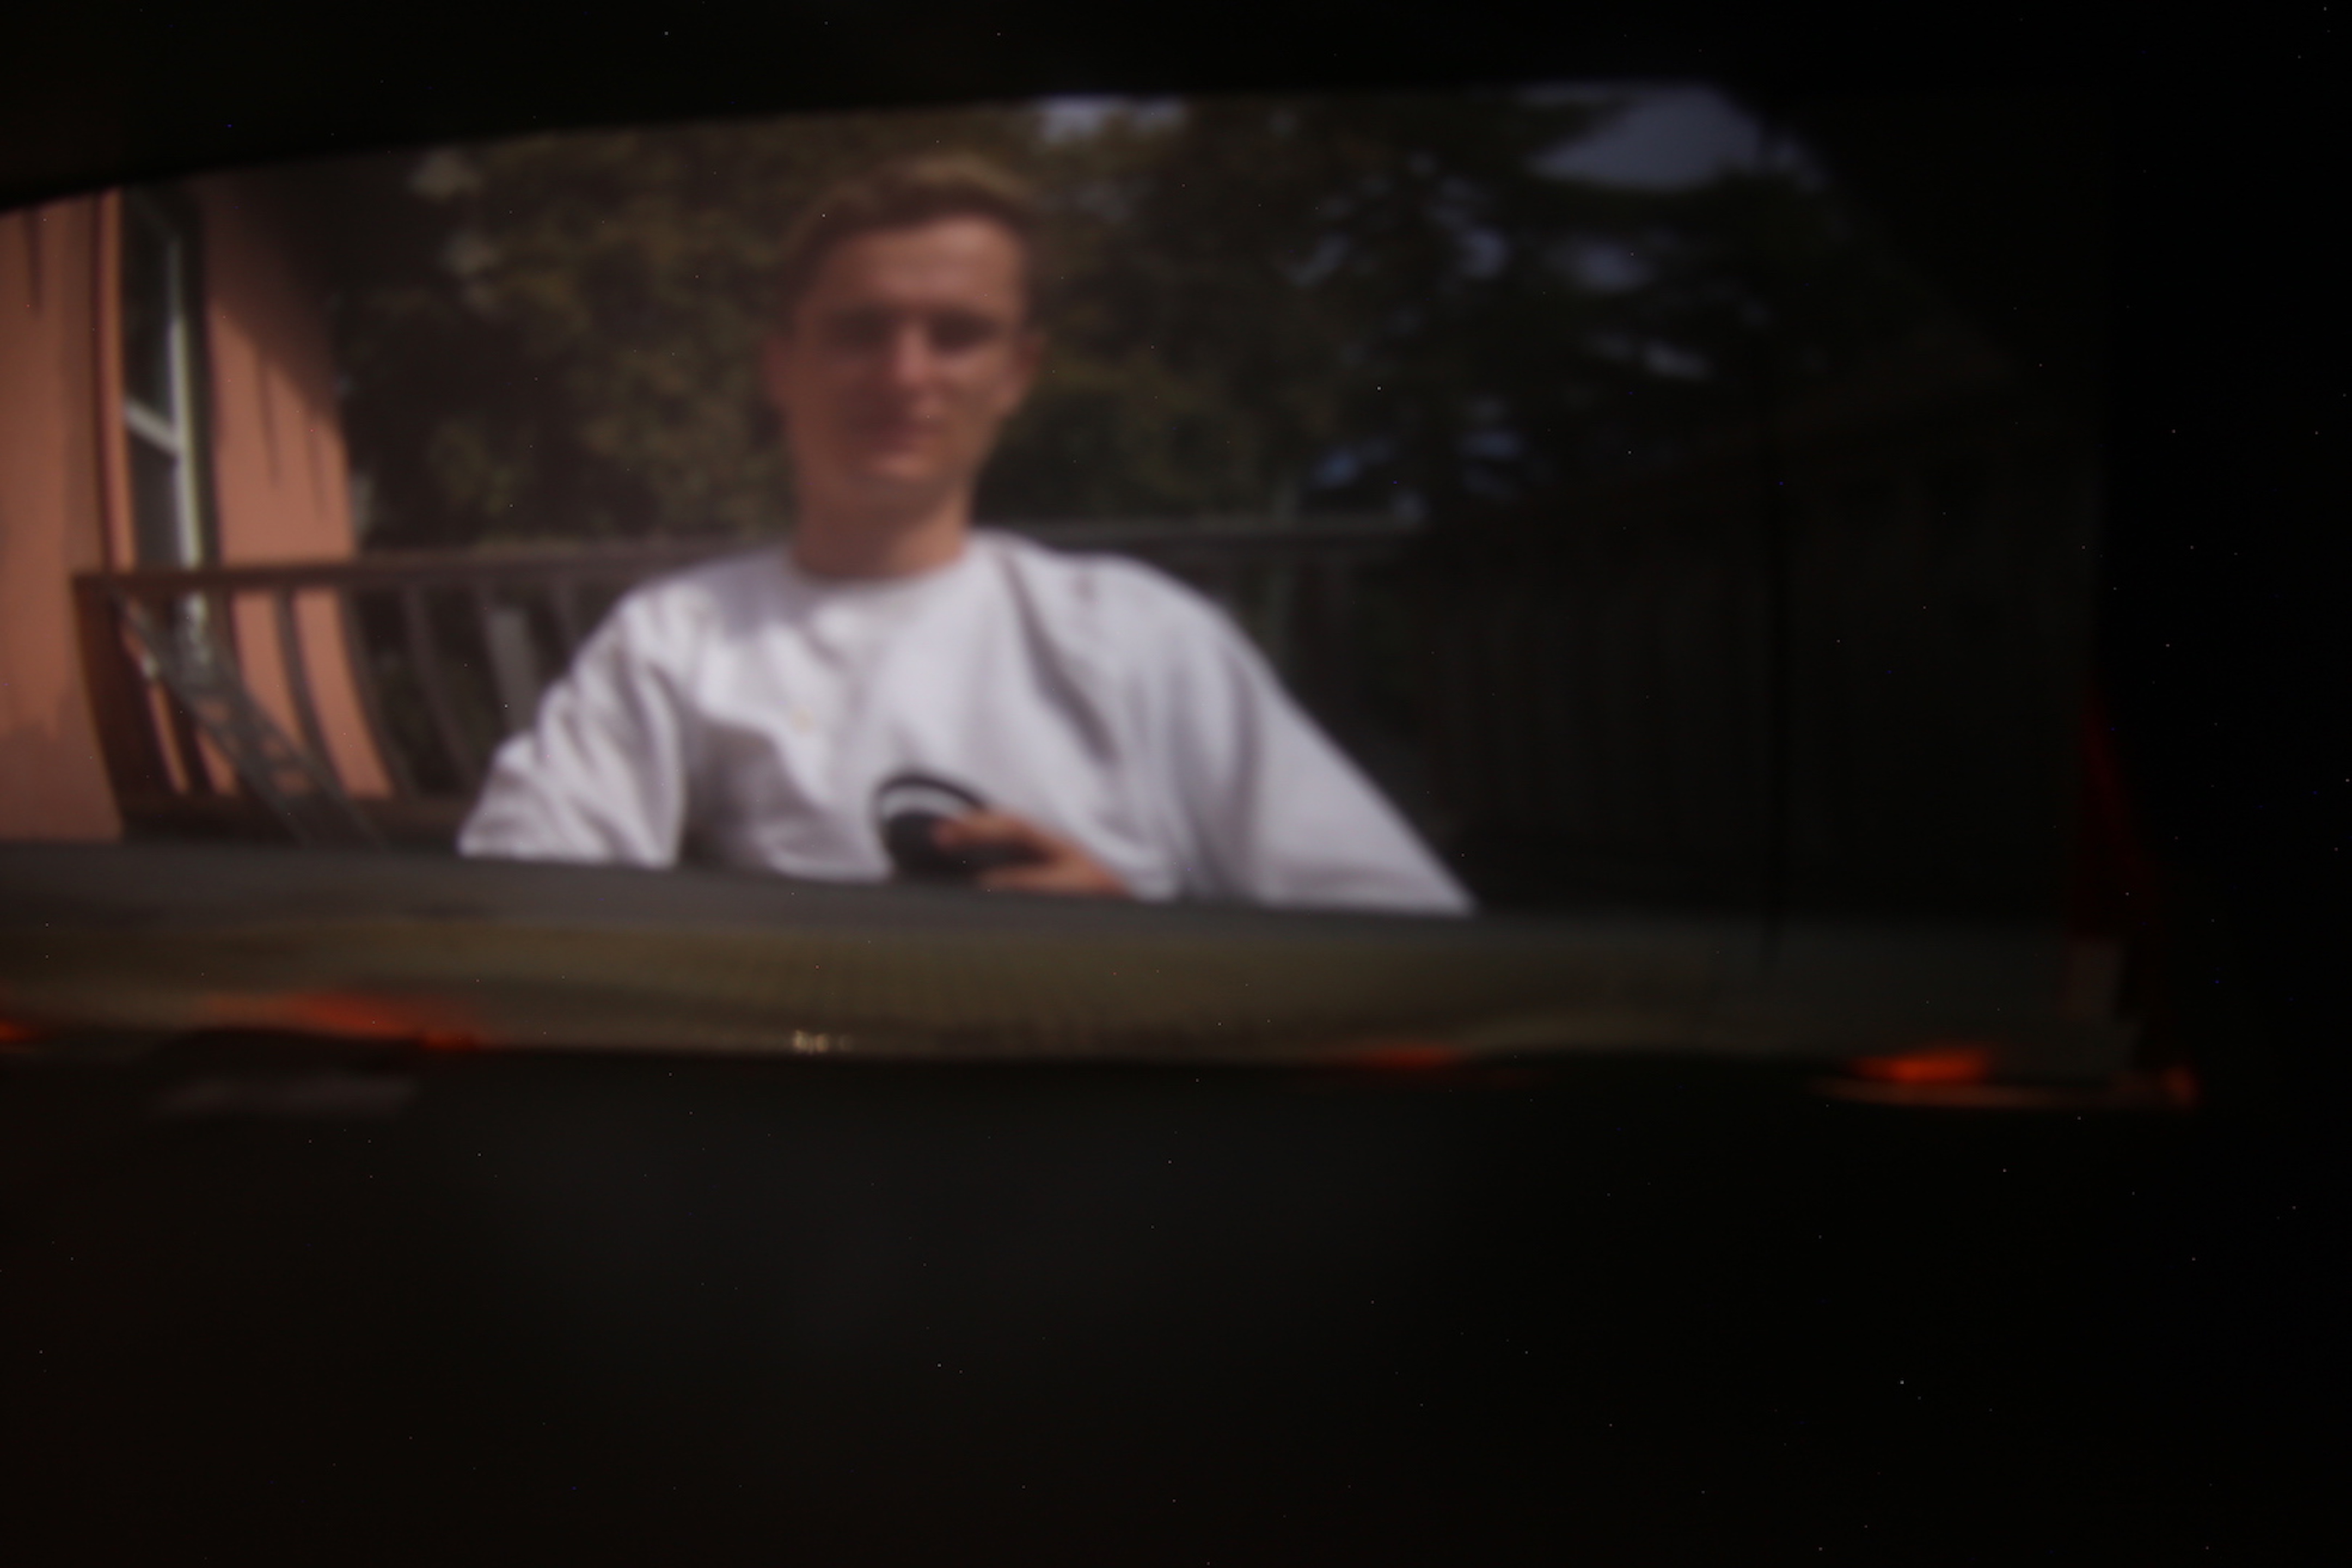
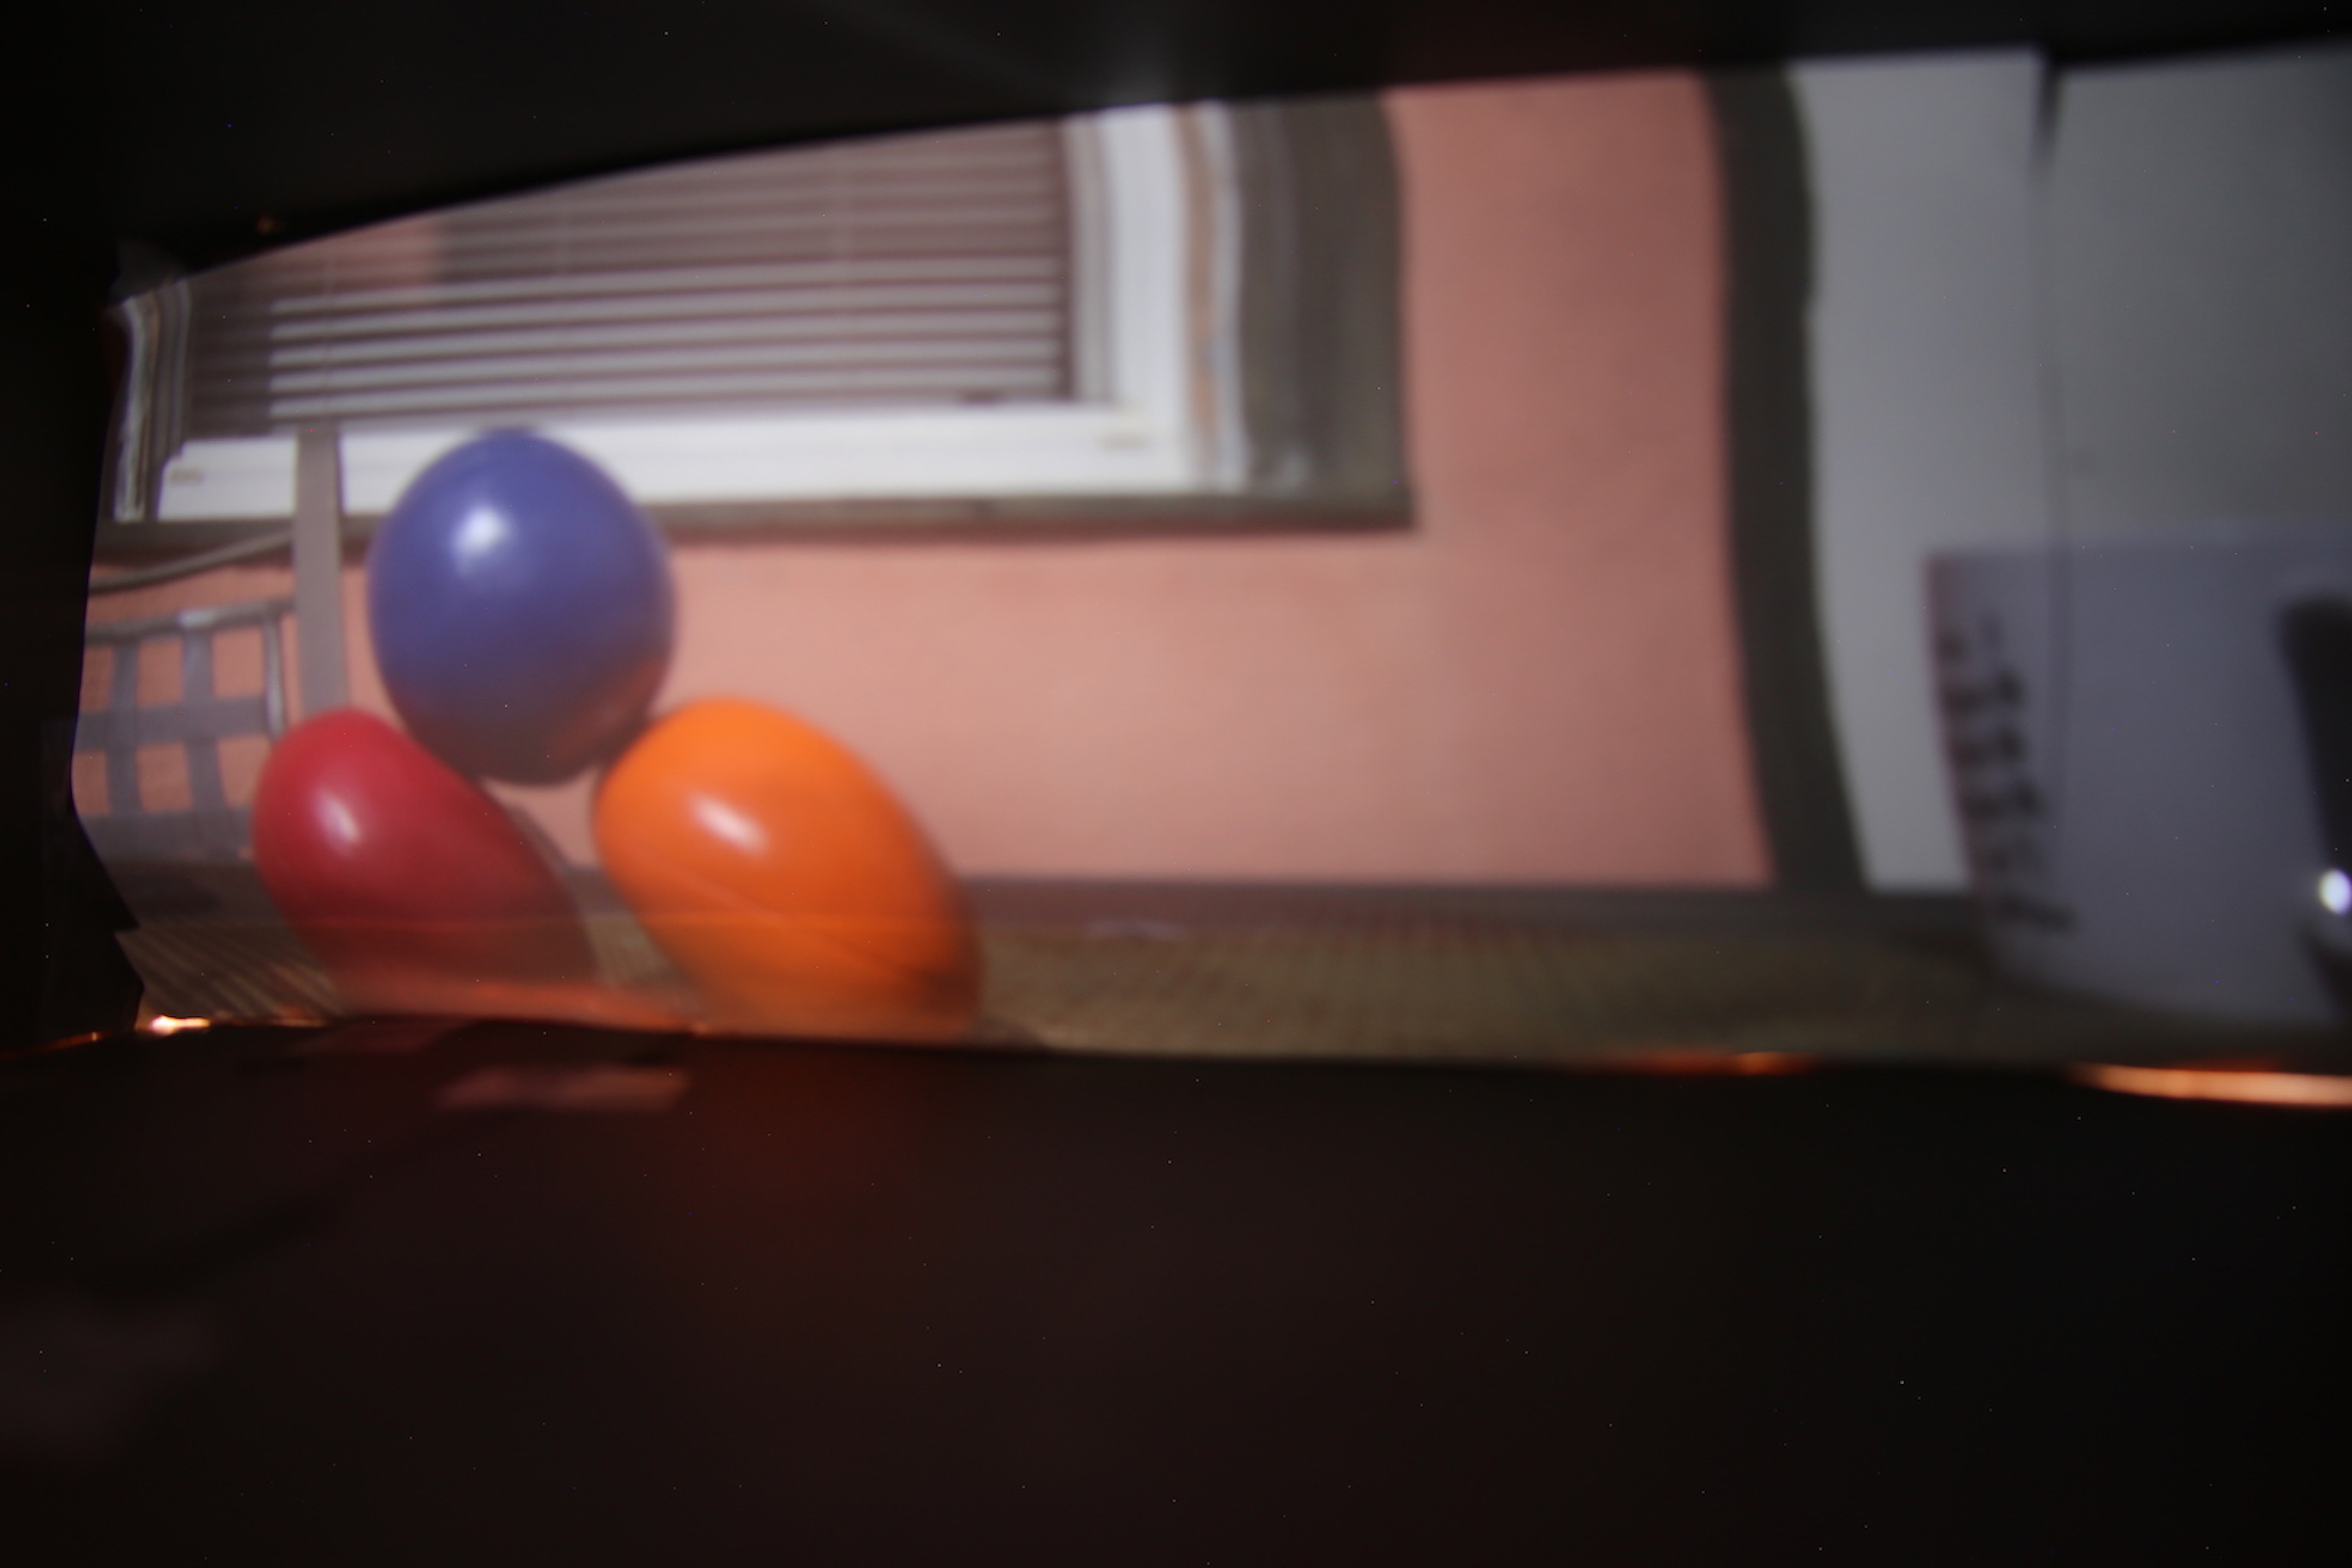
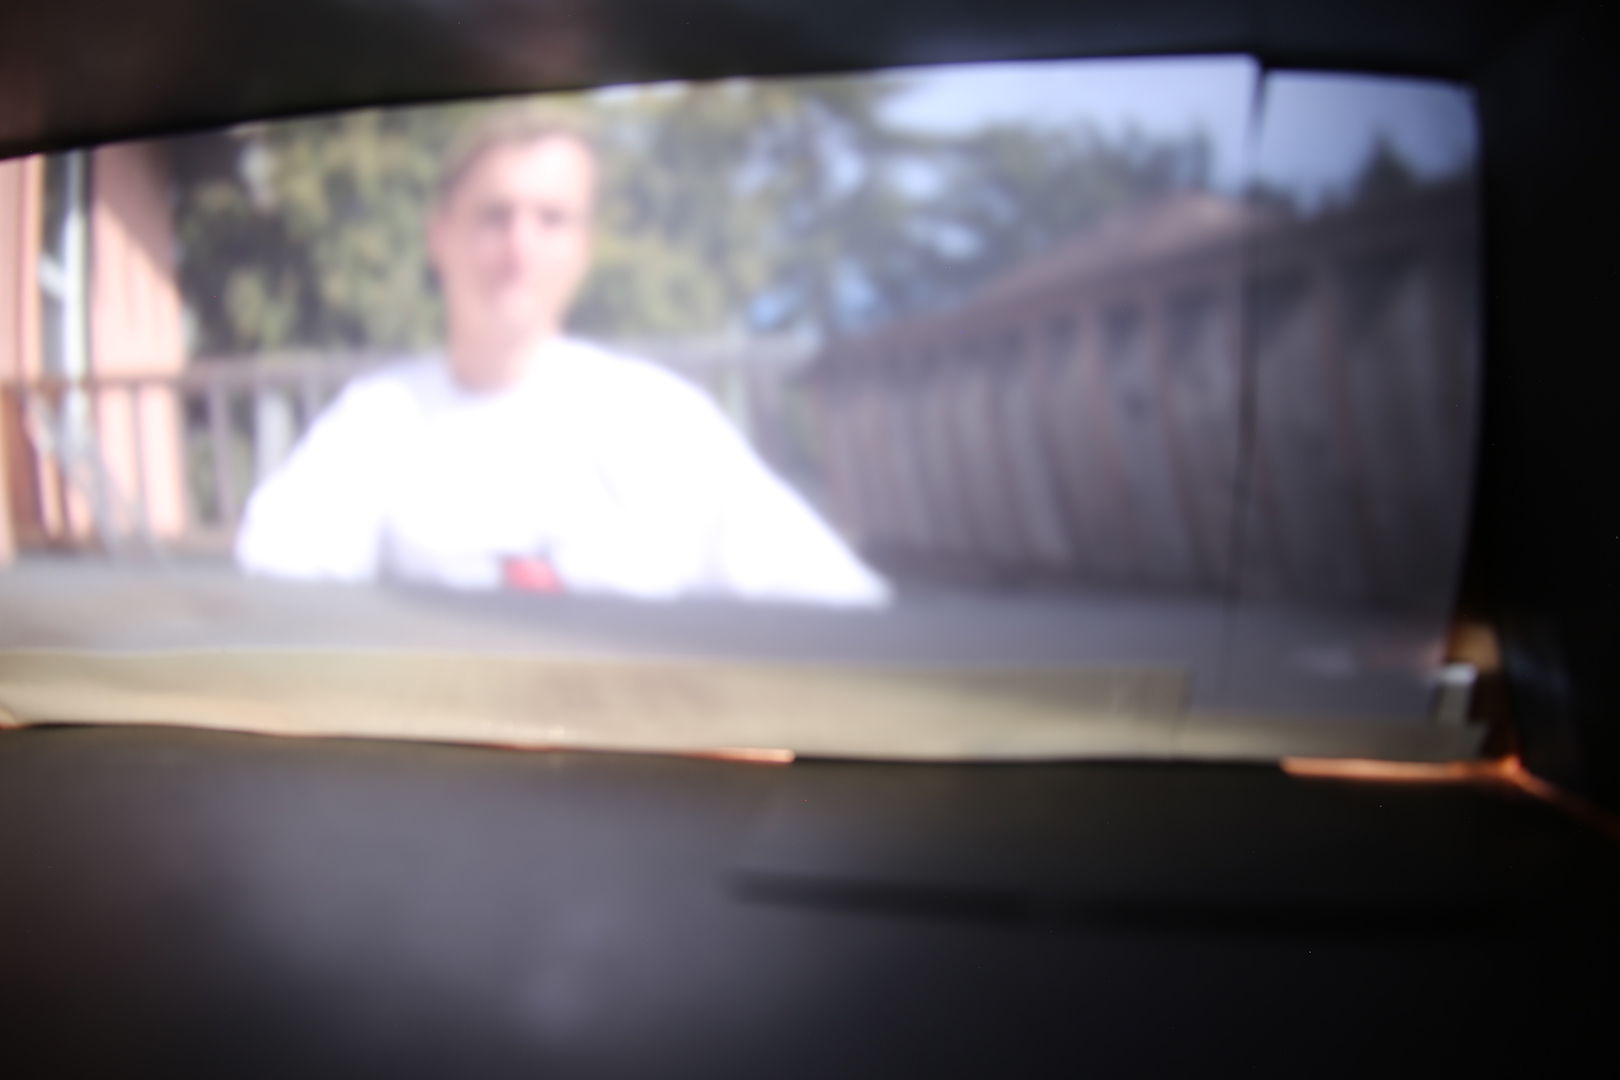

We found that in general the smaller the pinhole size the sharper and darker the image and the larger the pinhole the the blurrier and brighter the image. This is why the middle size had the best results because it had the proper balance of clarity and brightness.
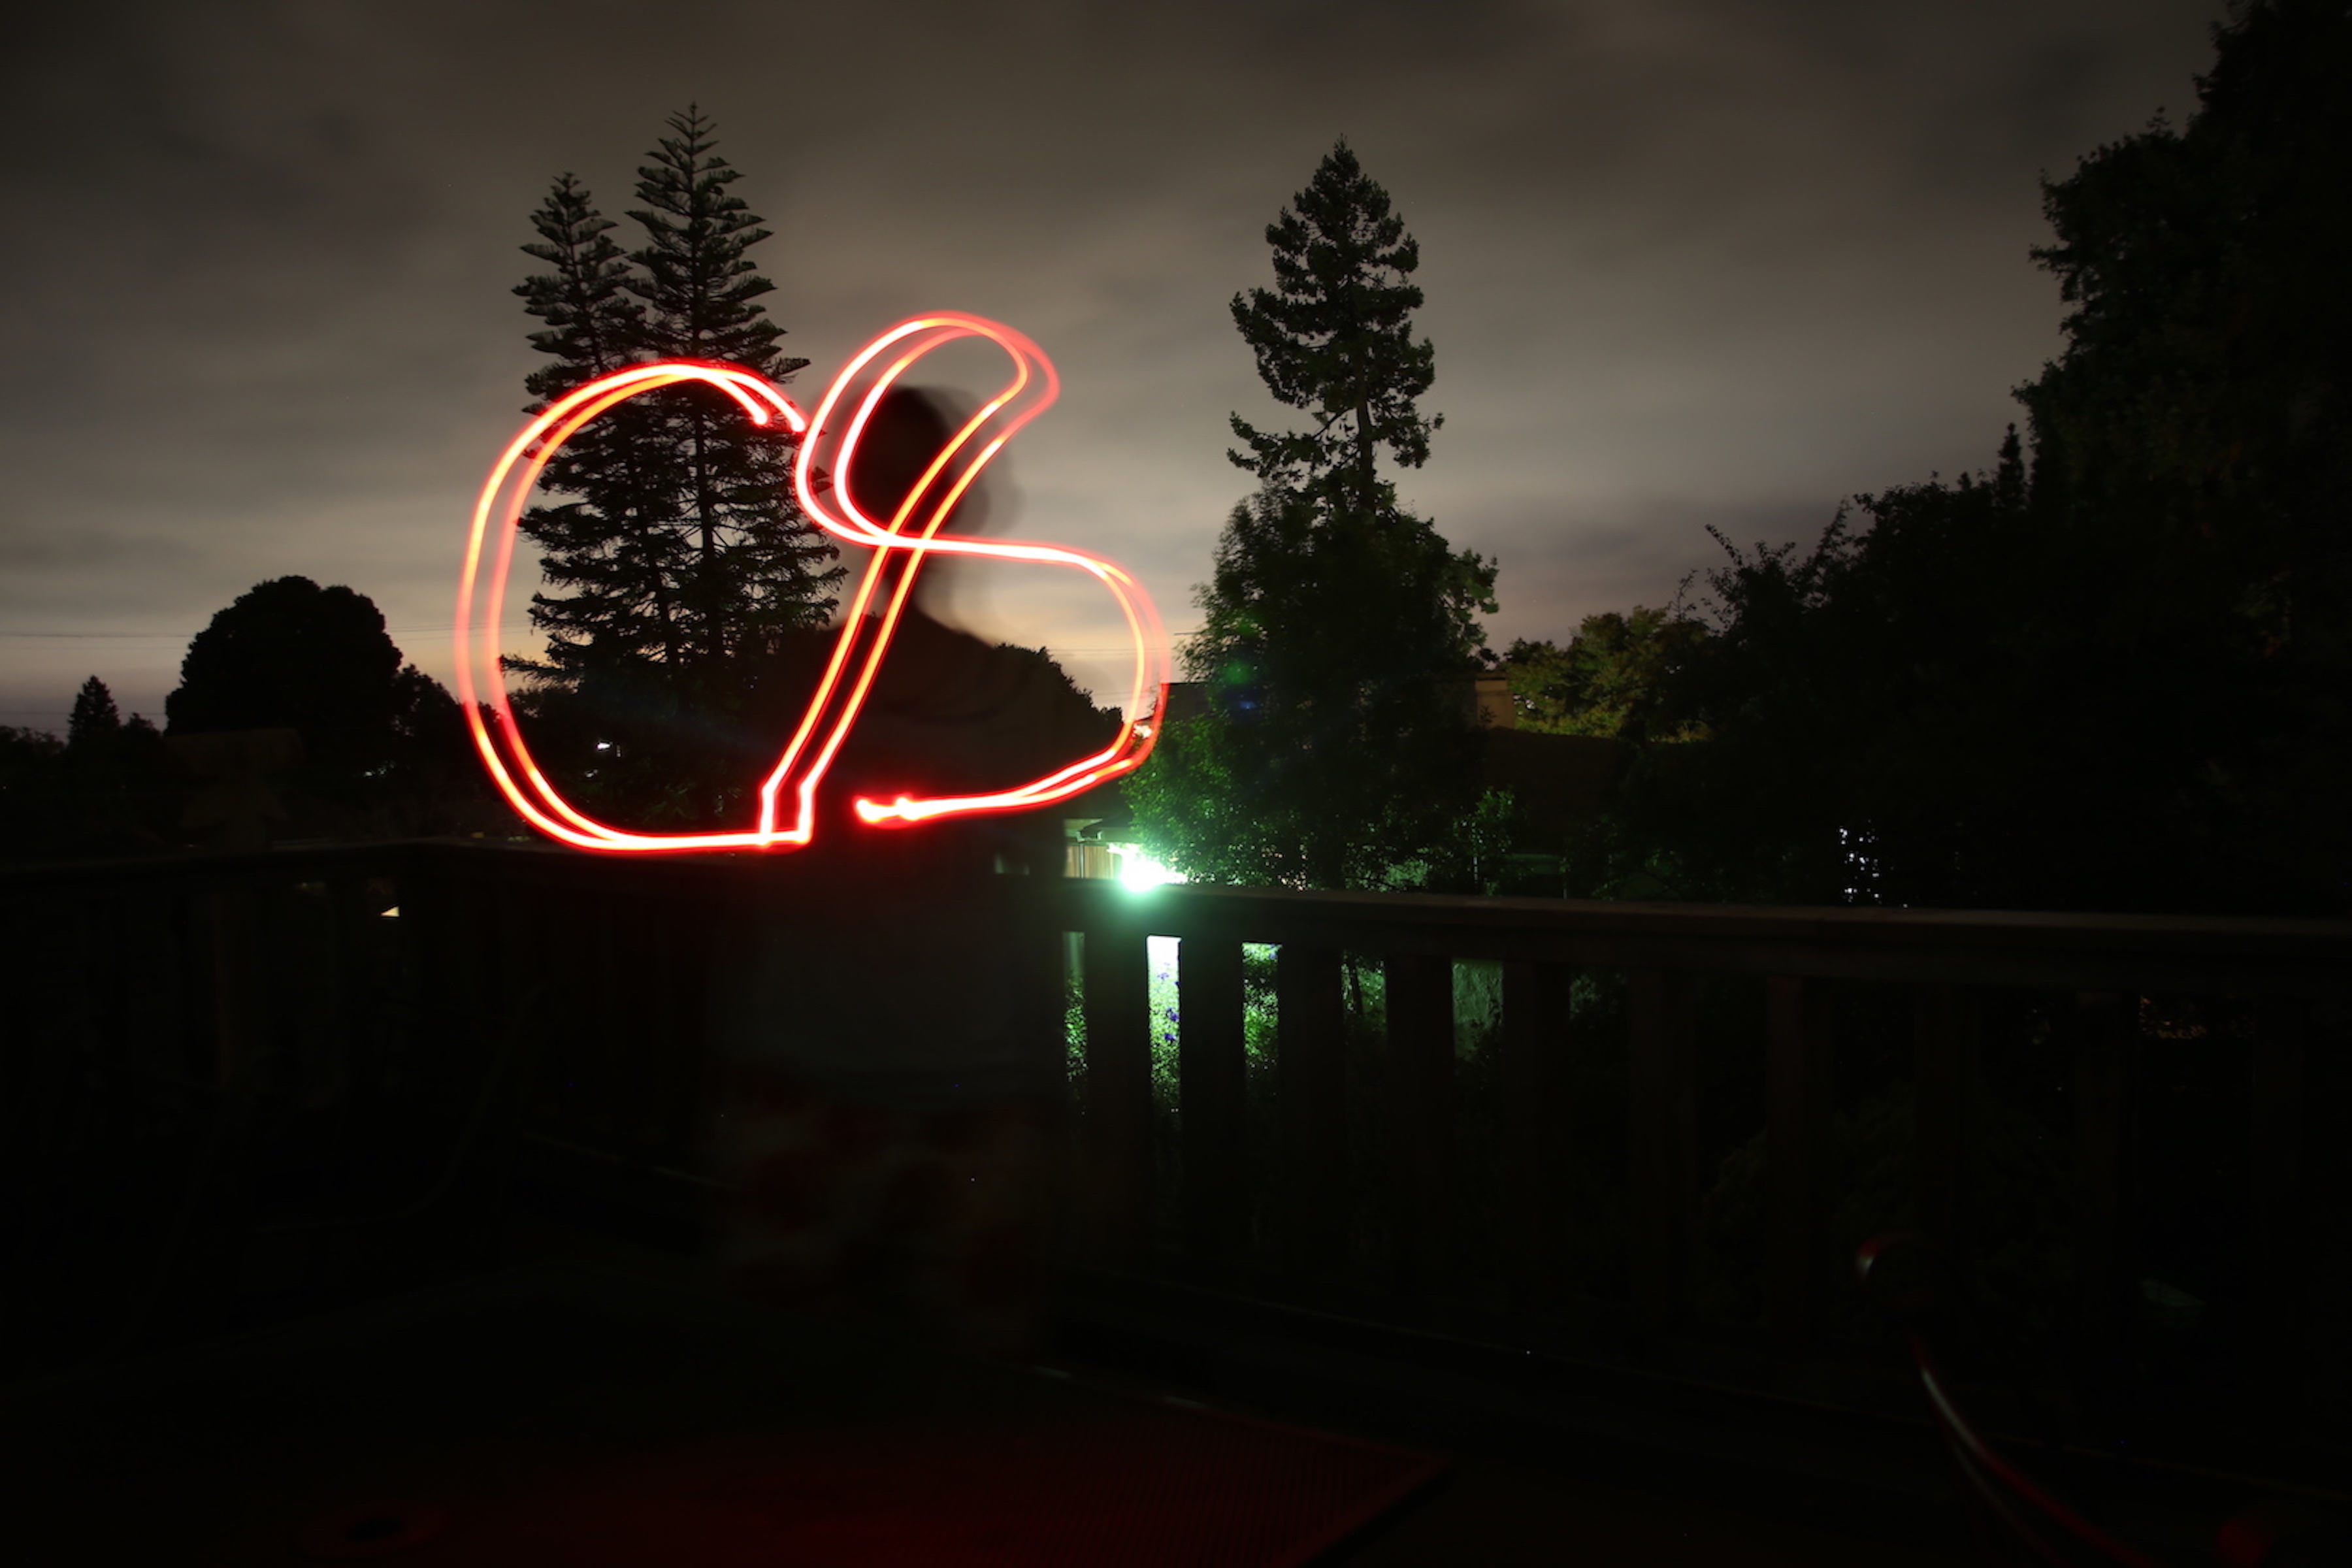
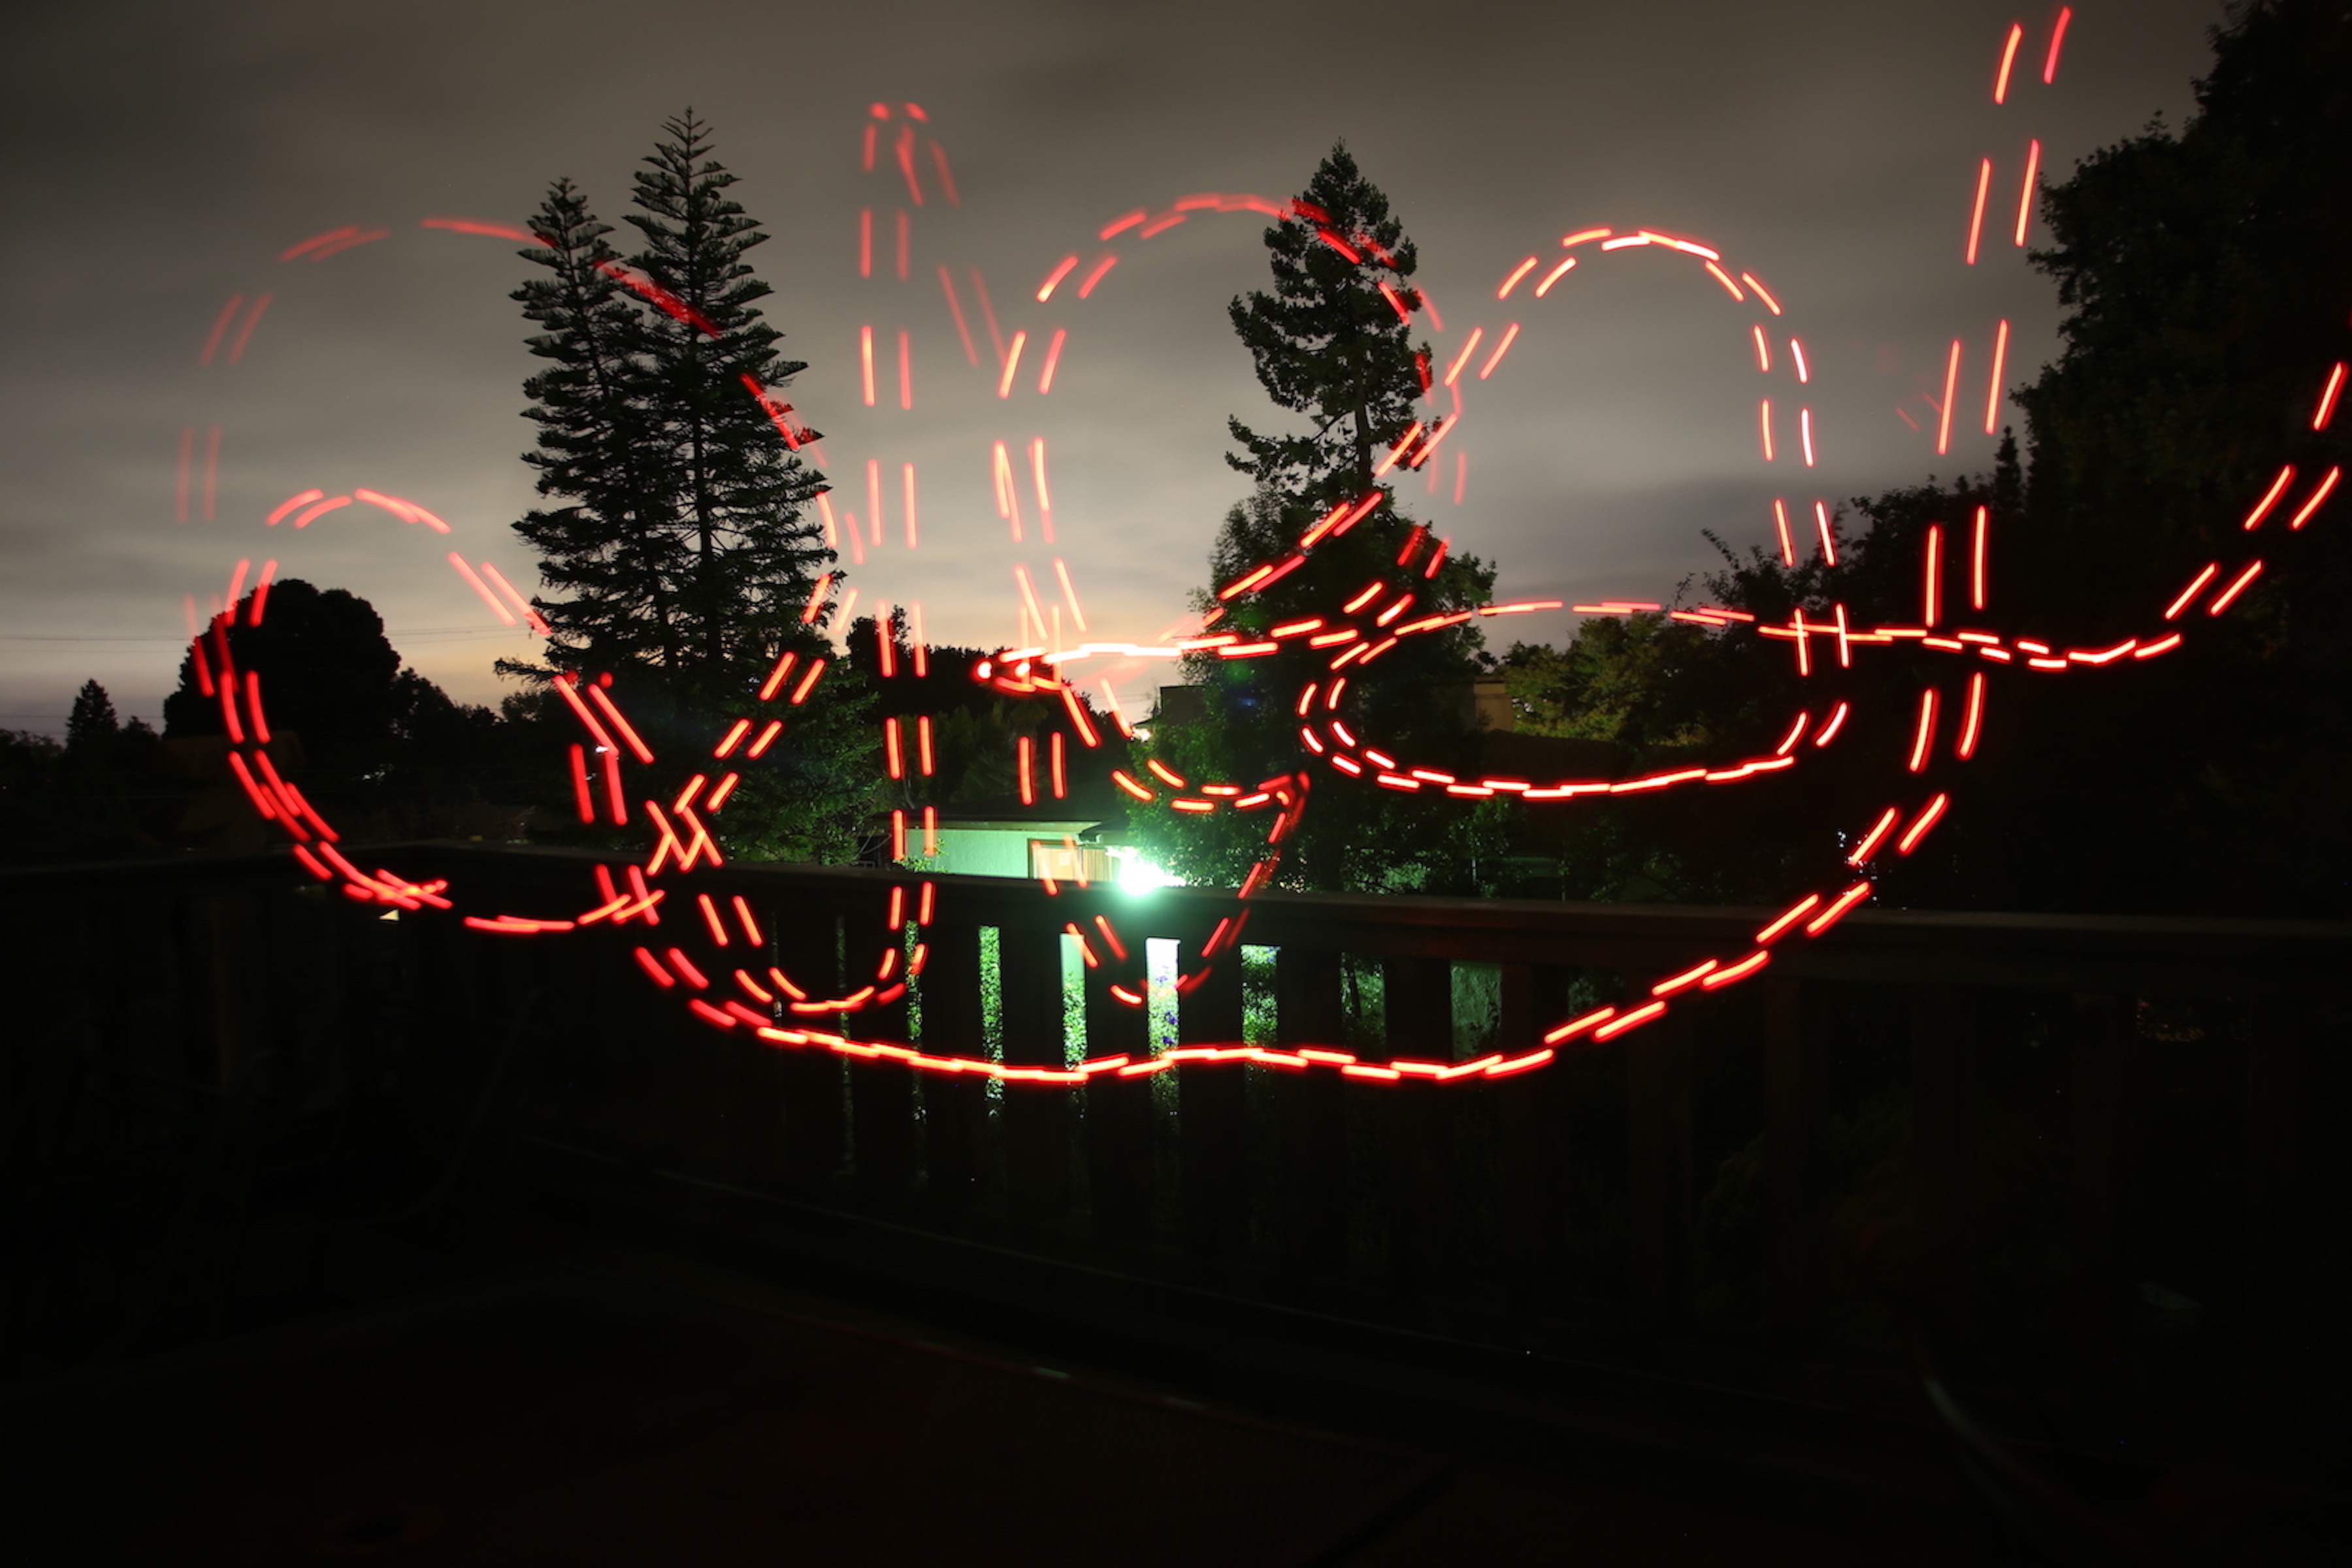
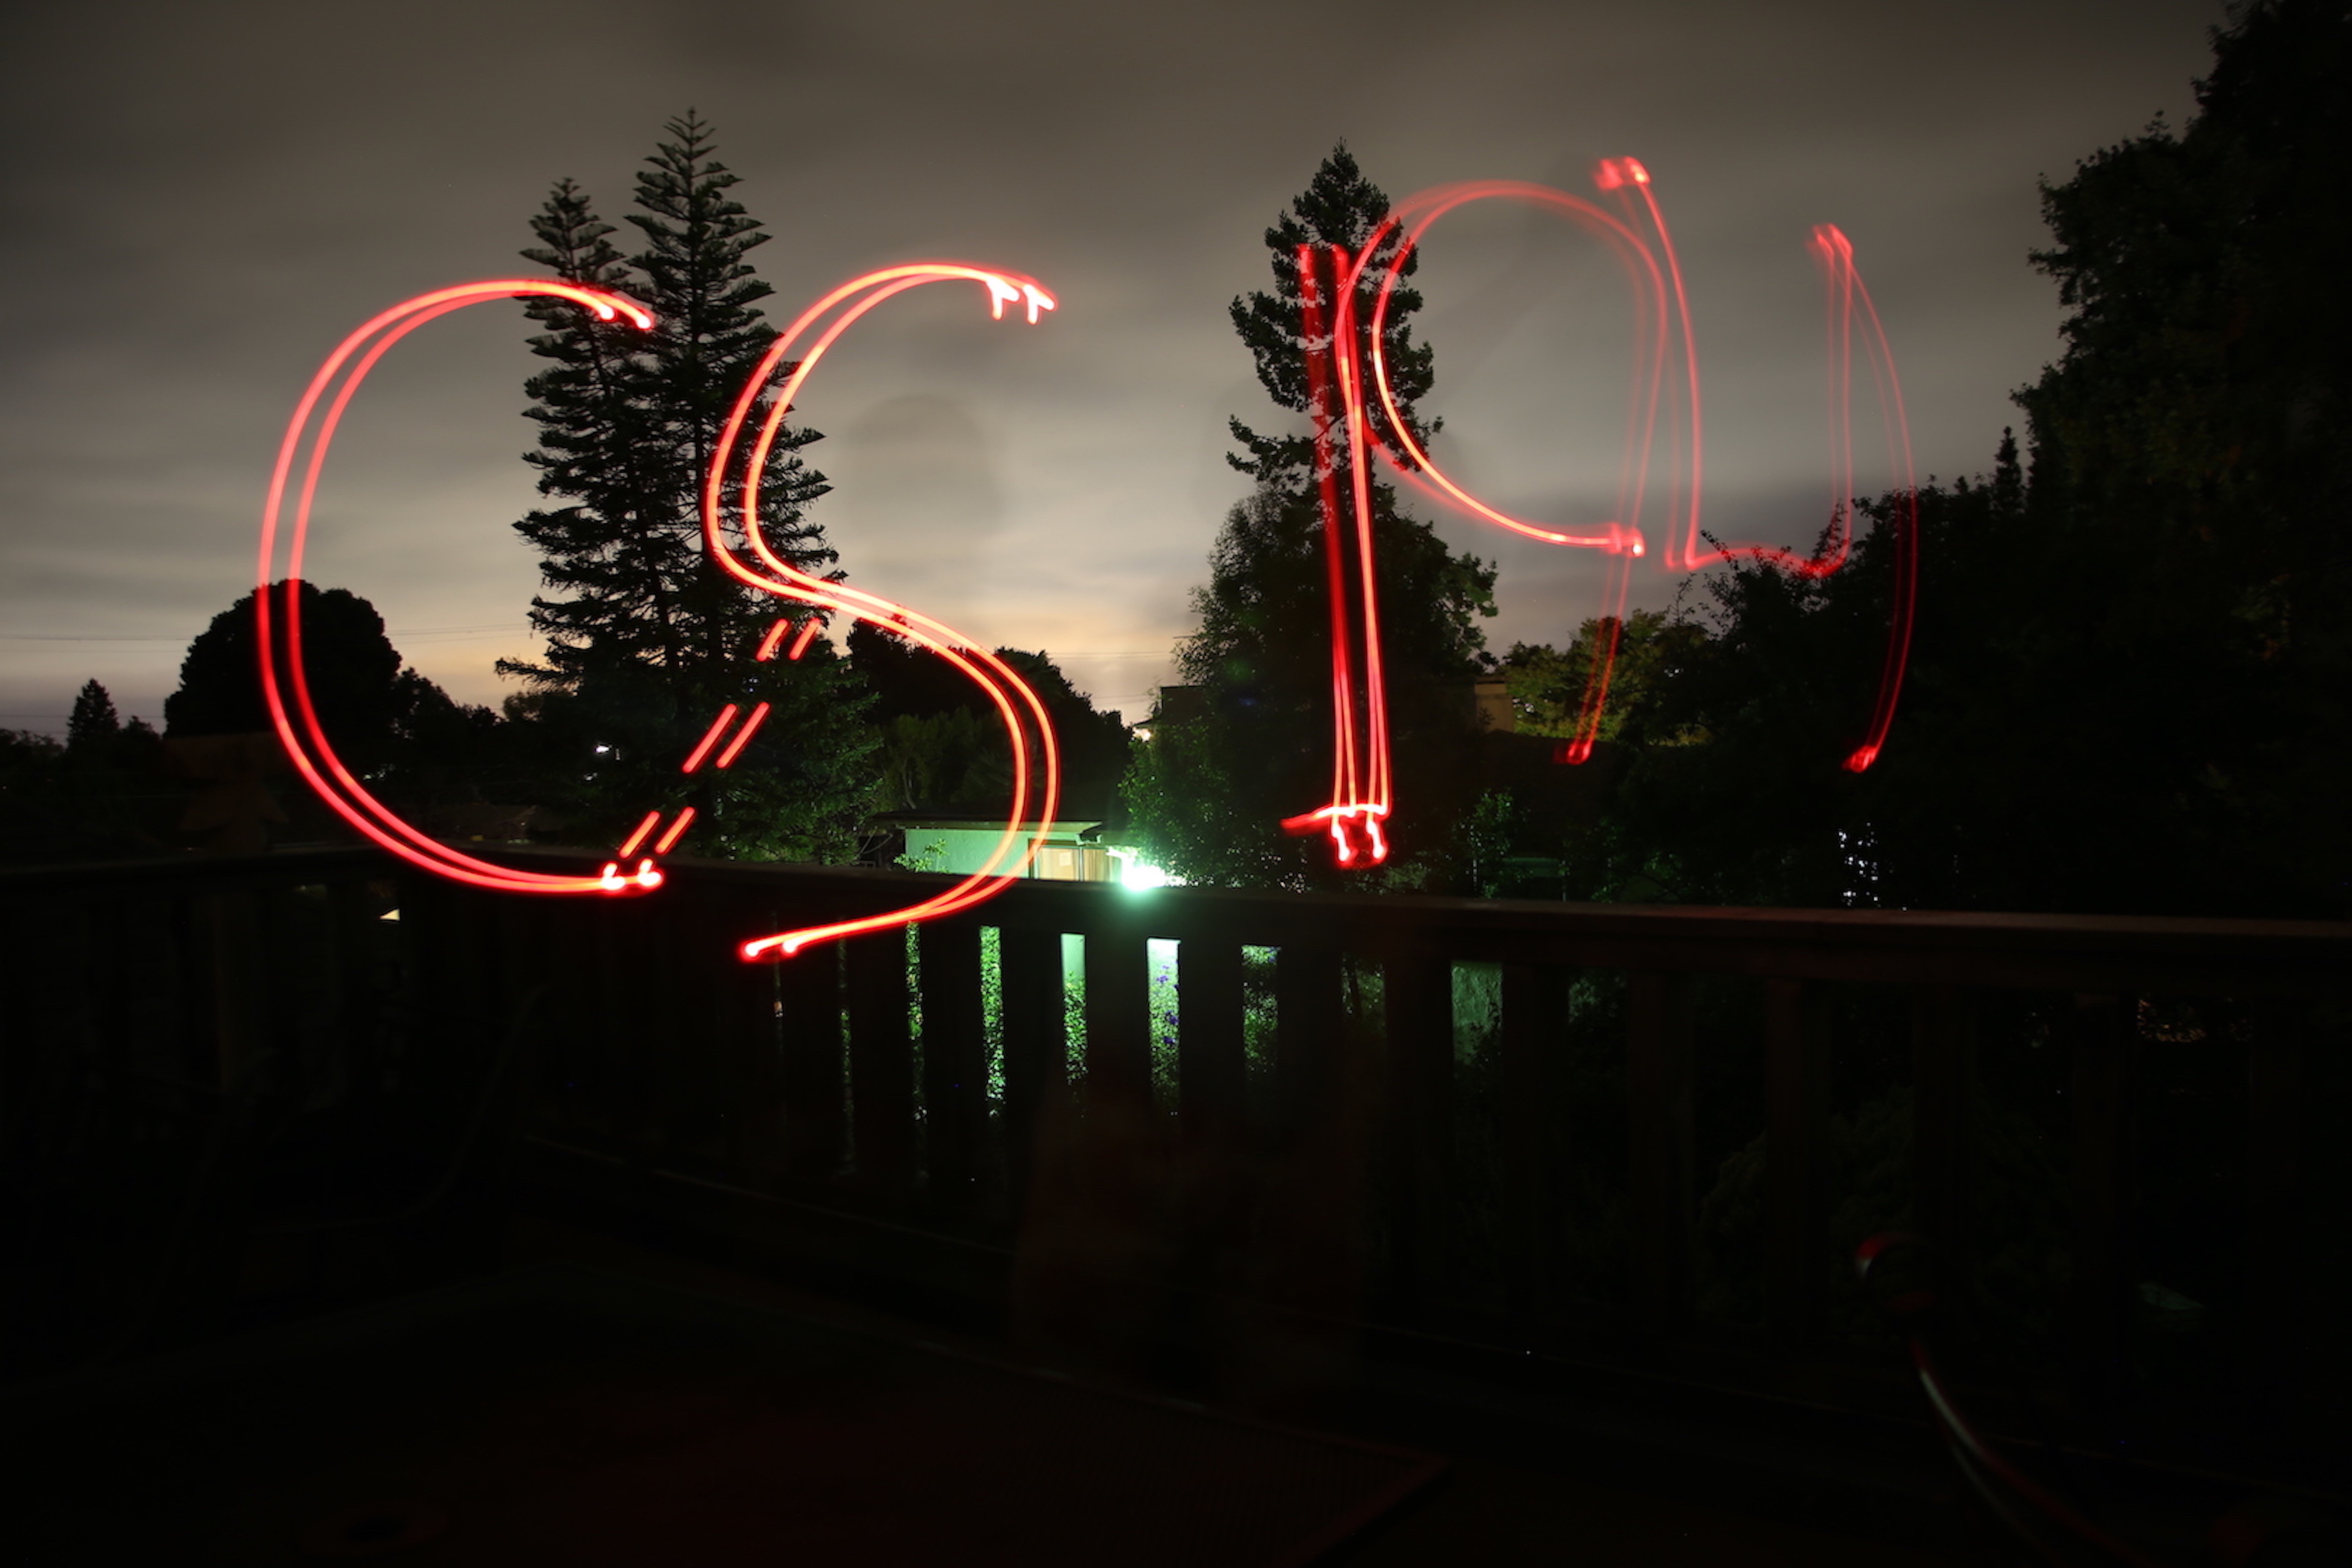
For bells and whistles, we did light painting with a long exposure and here are some pictures we took.