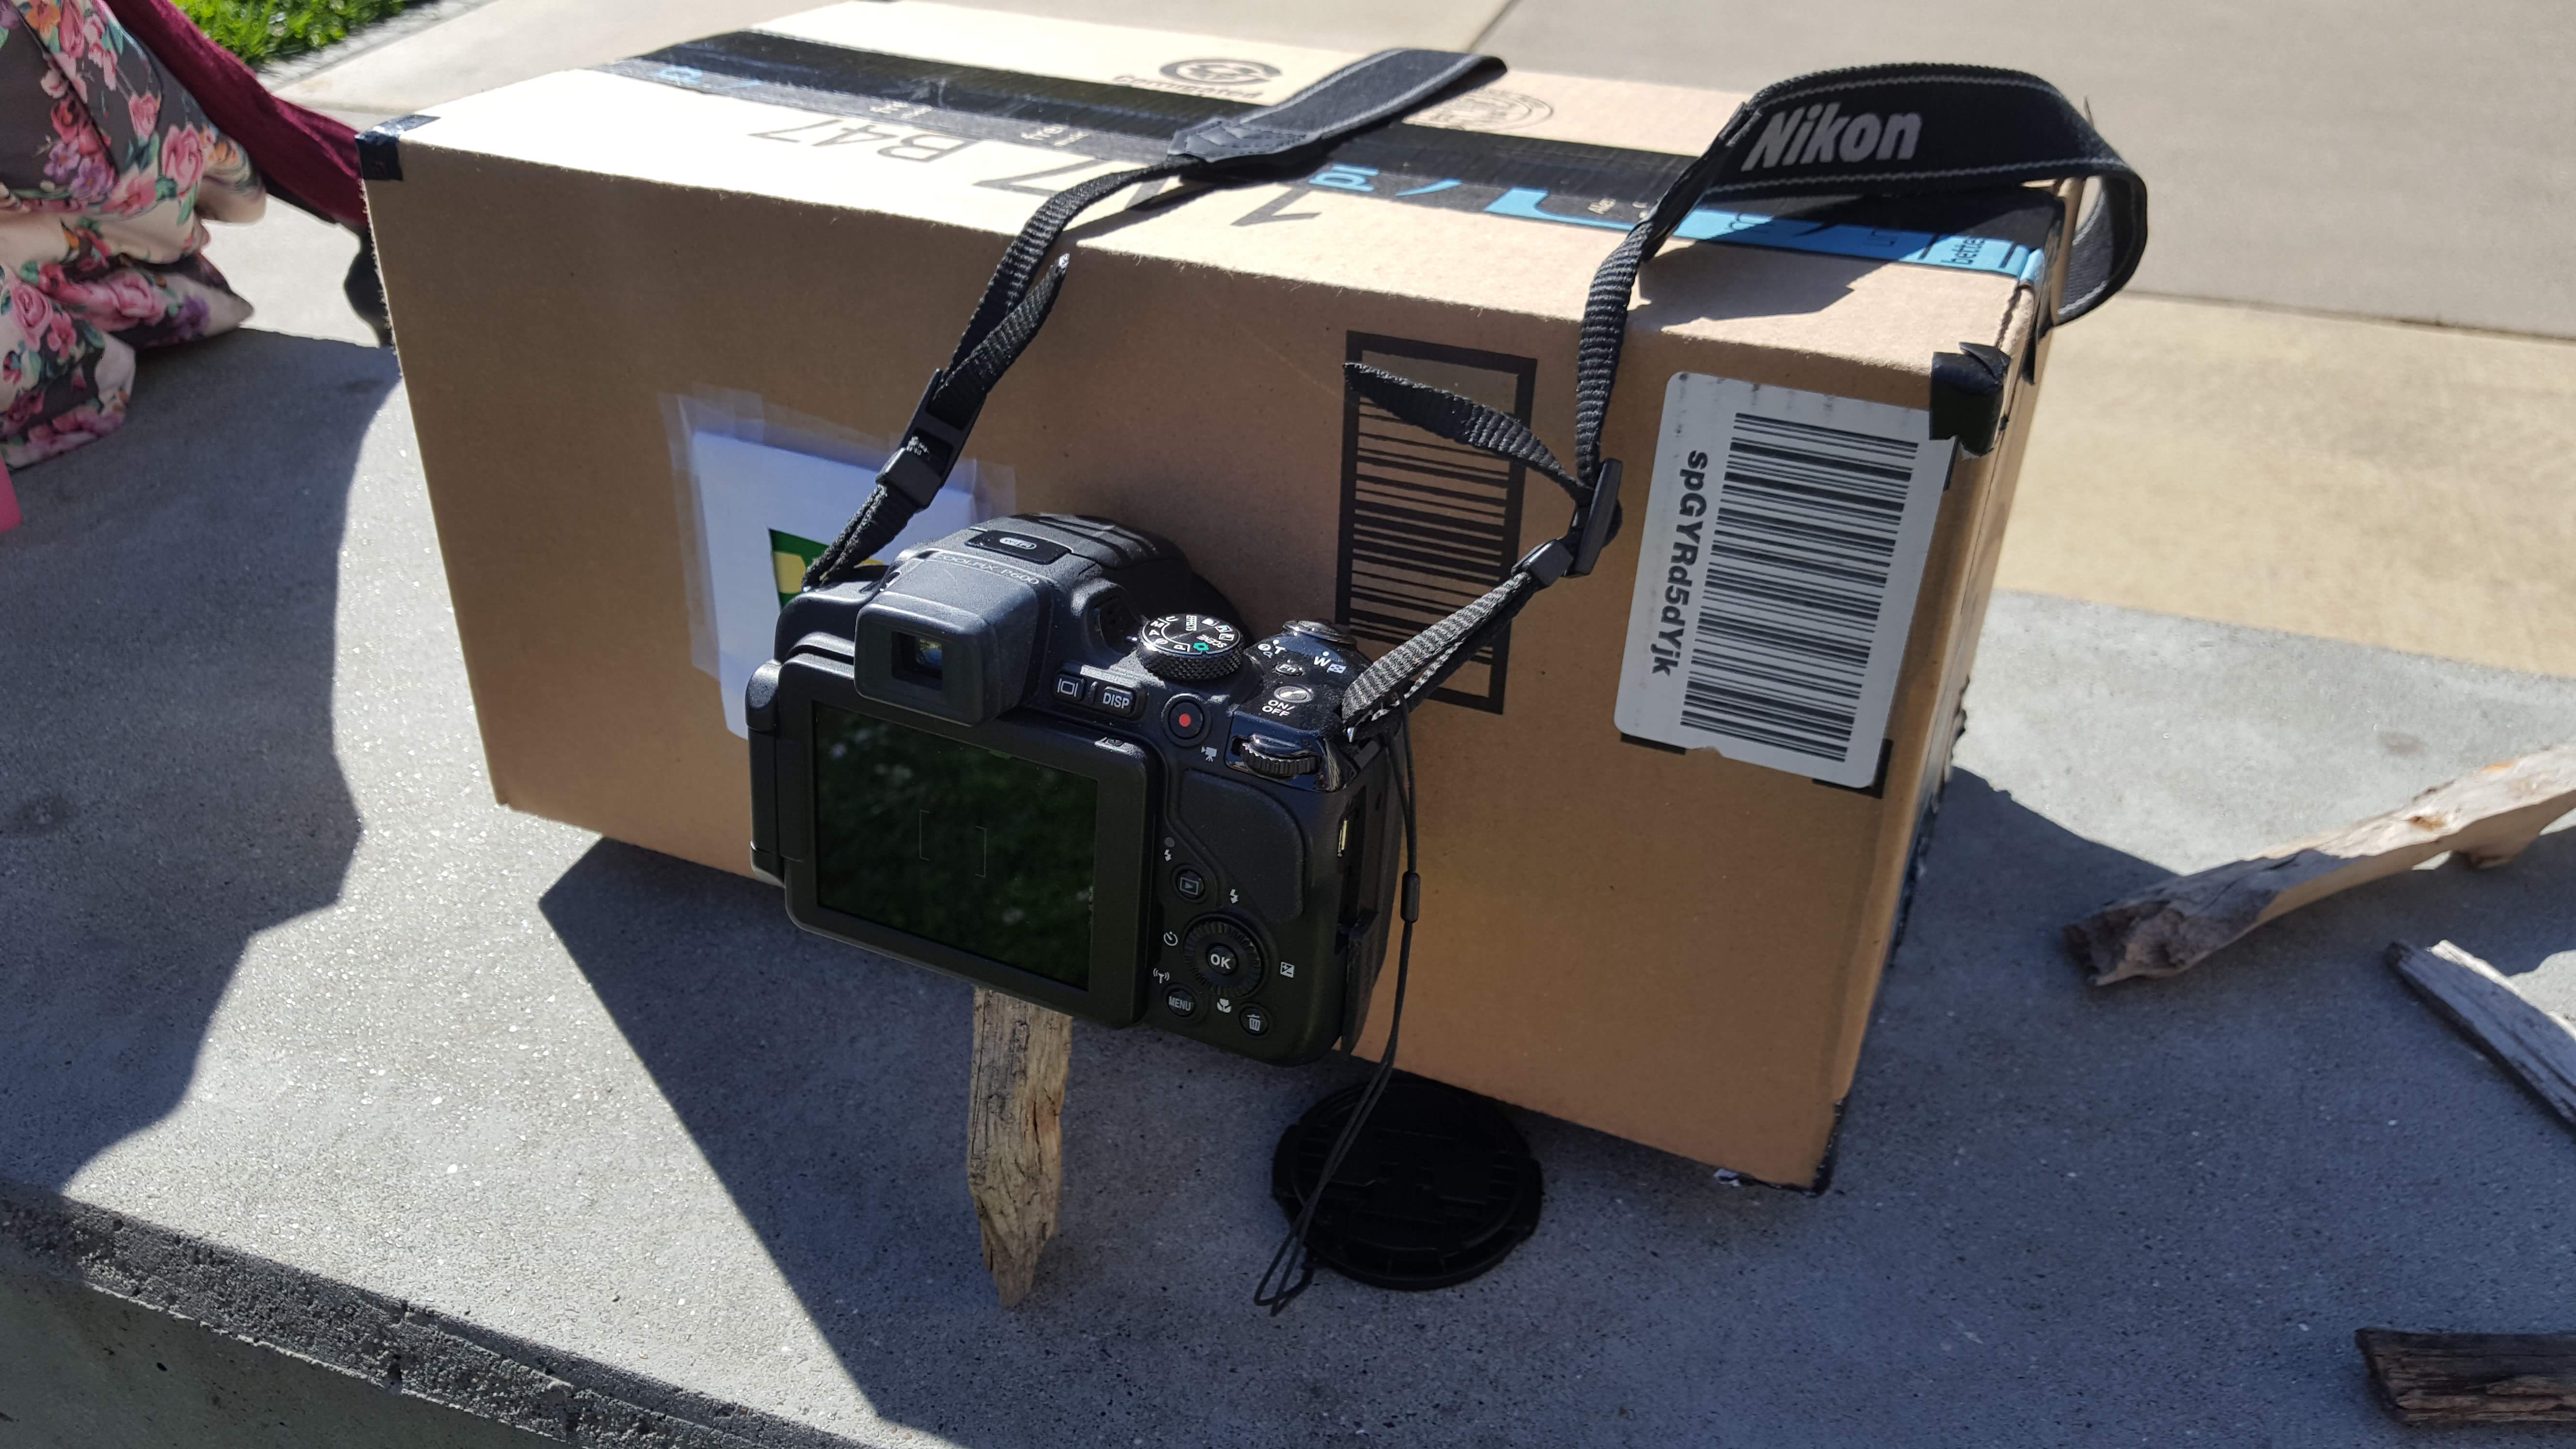
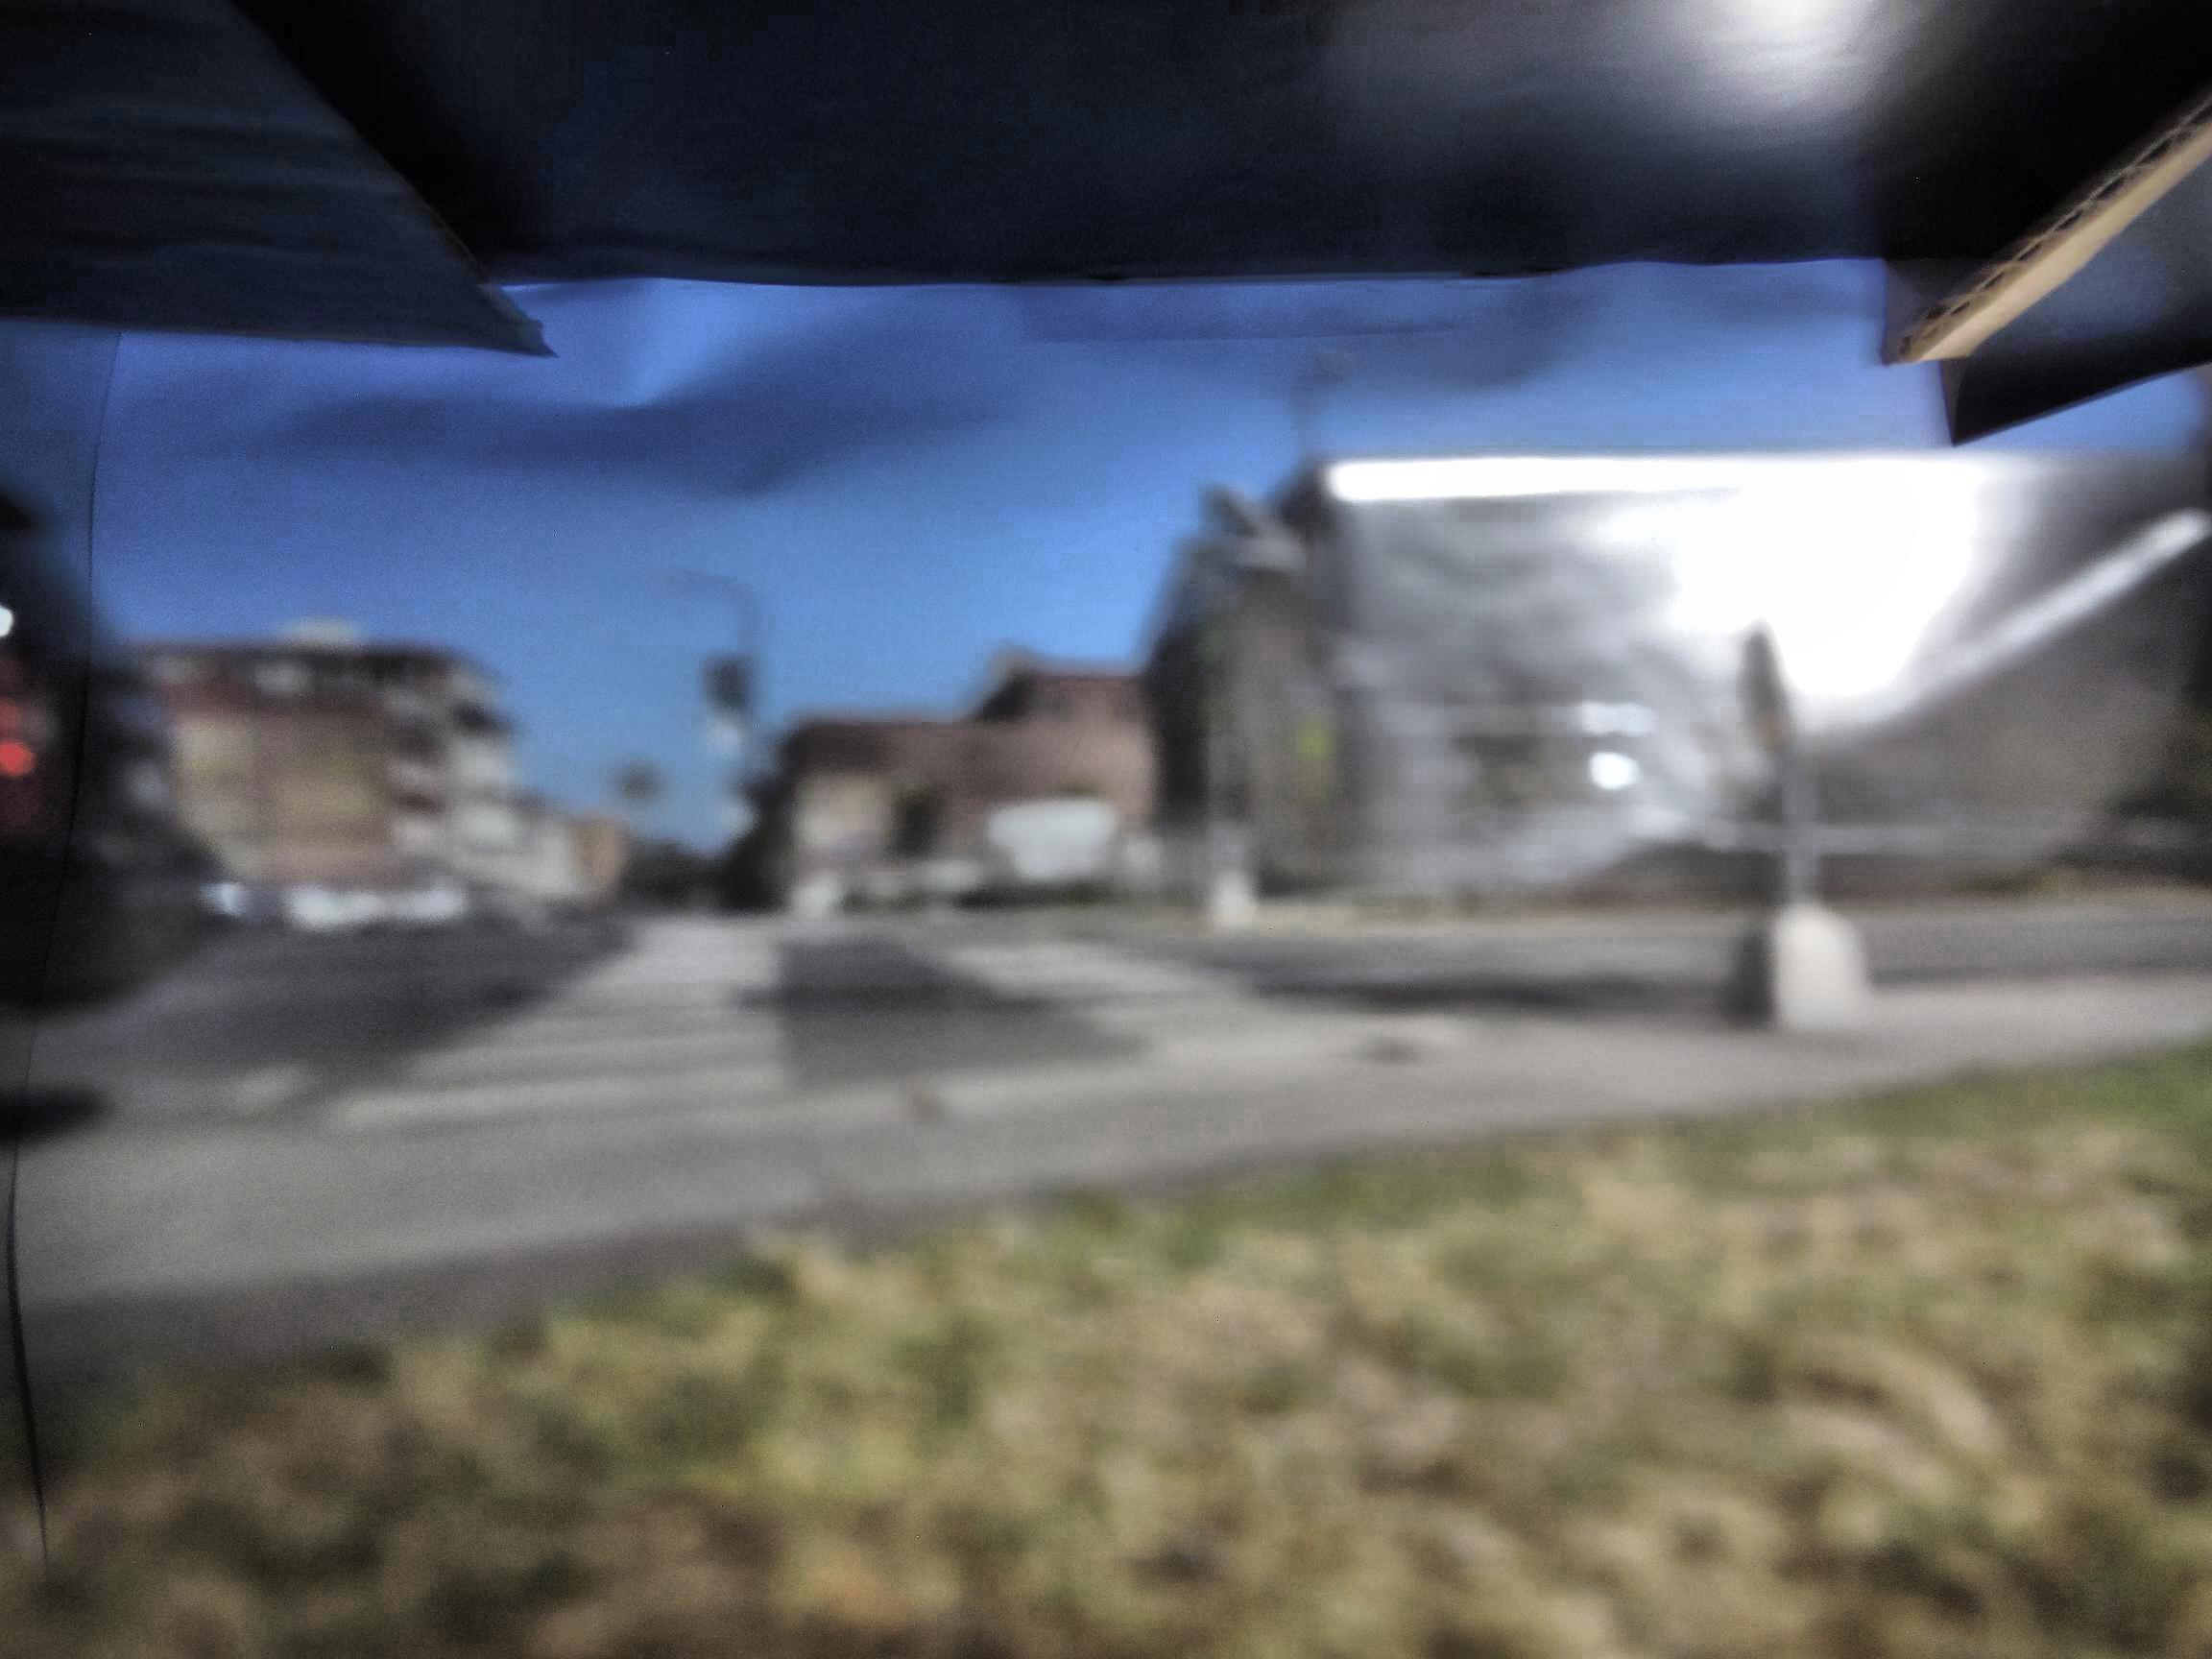
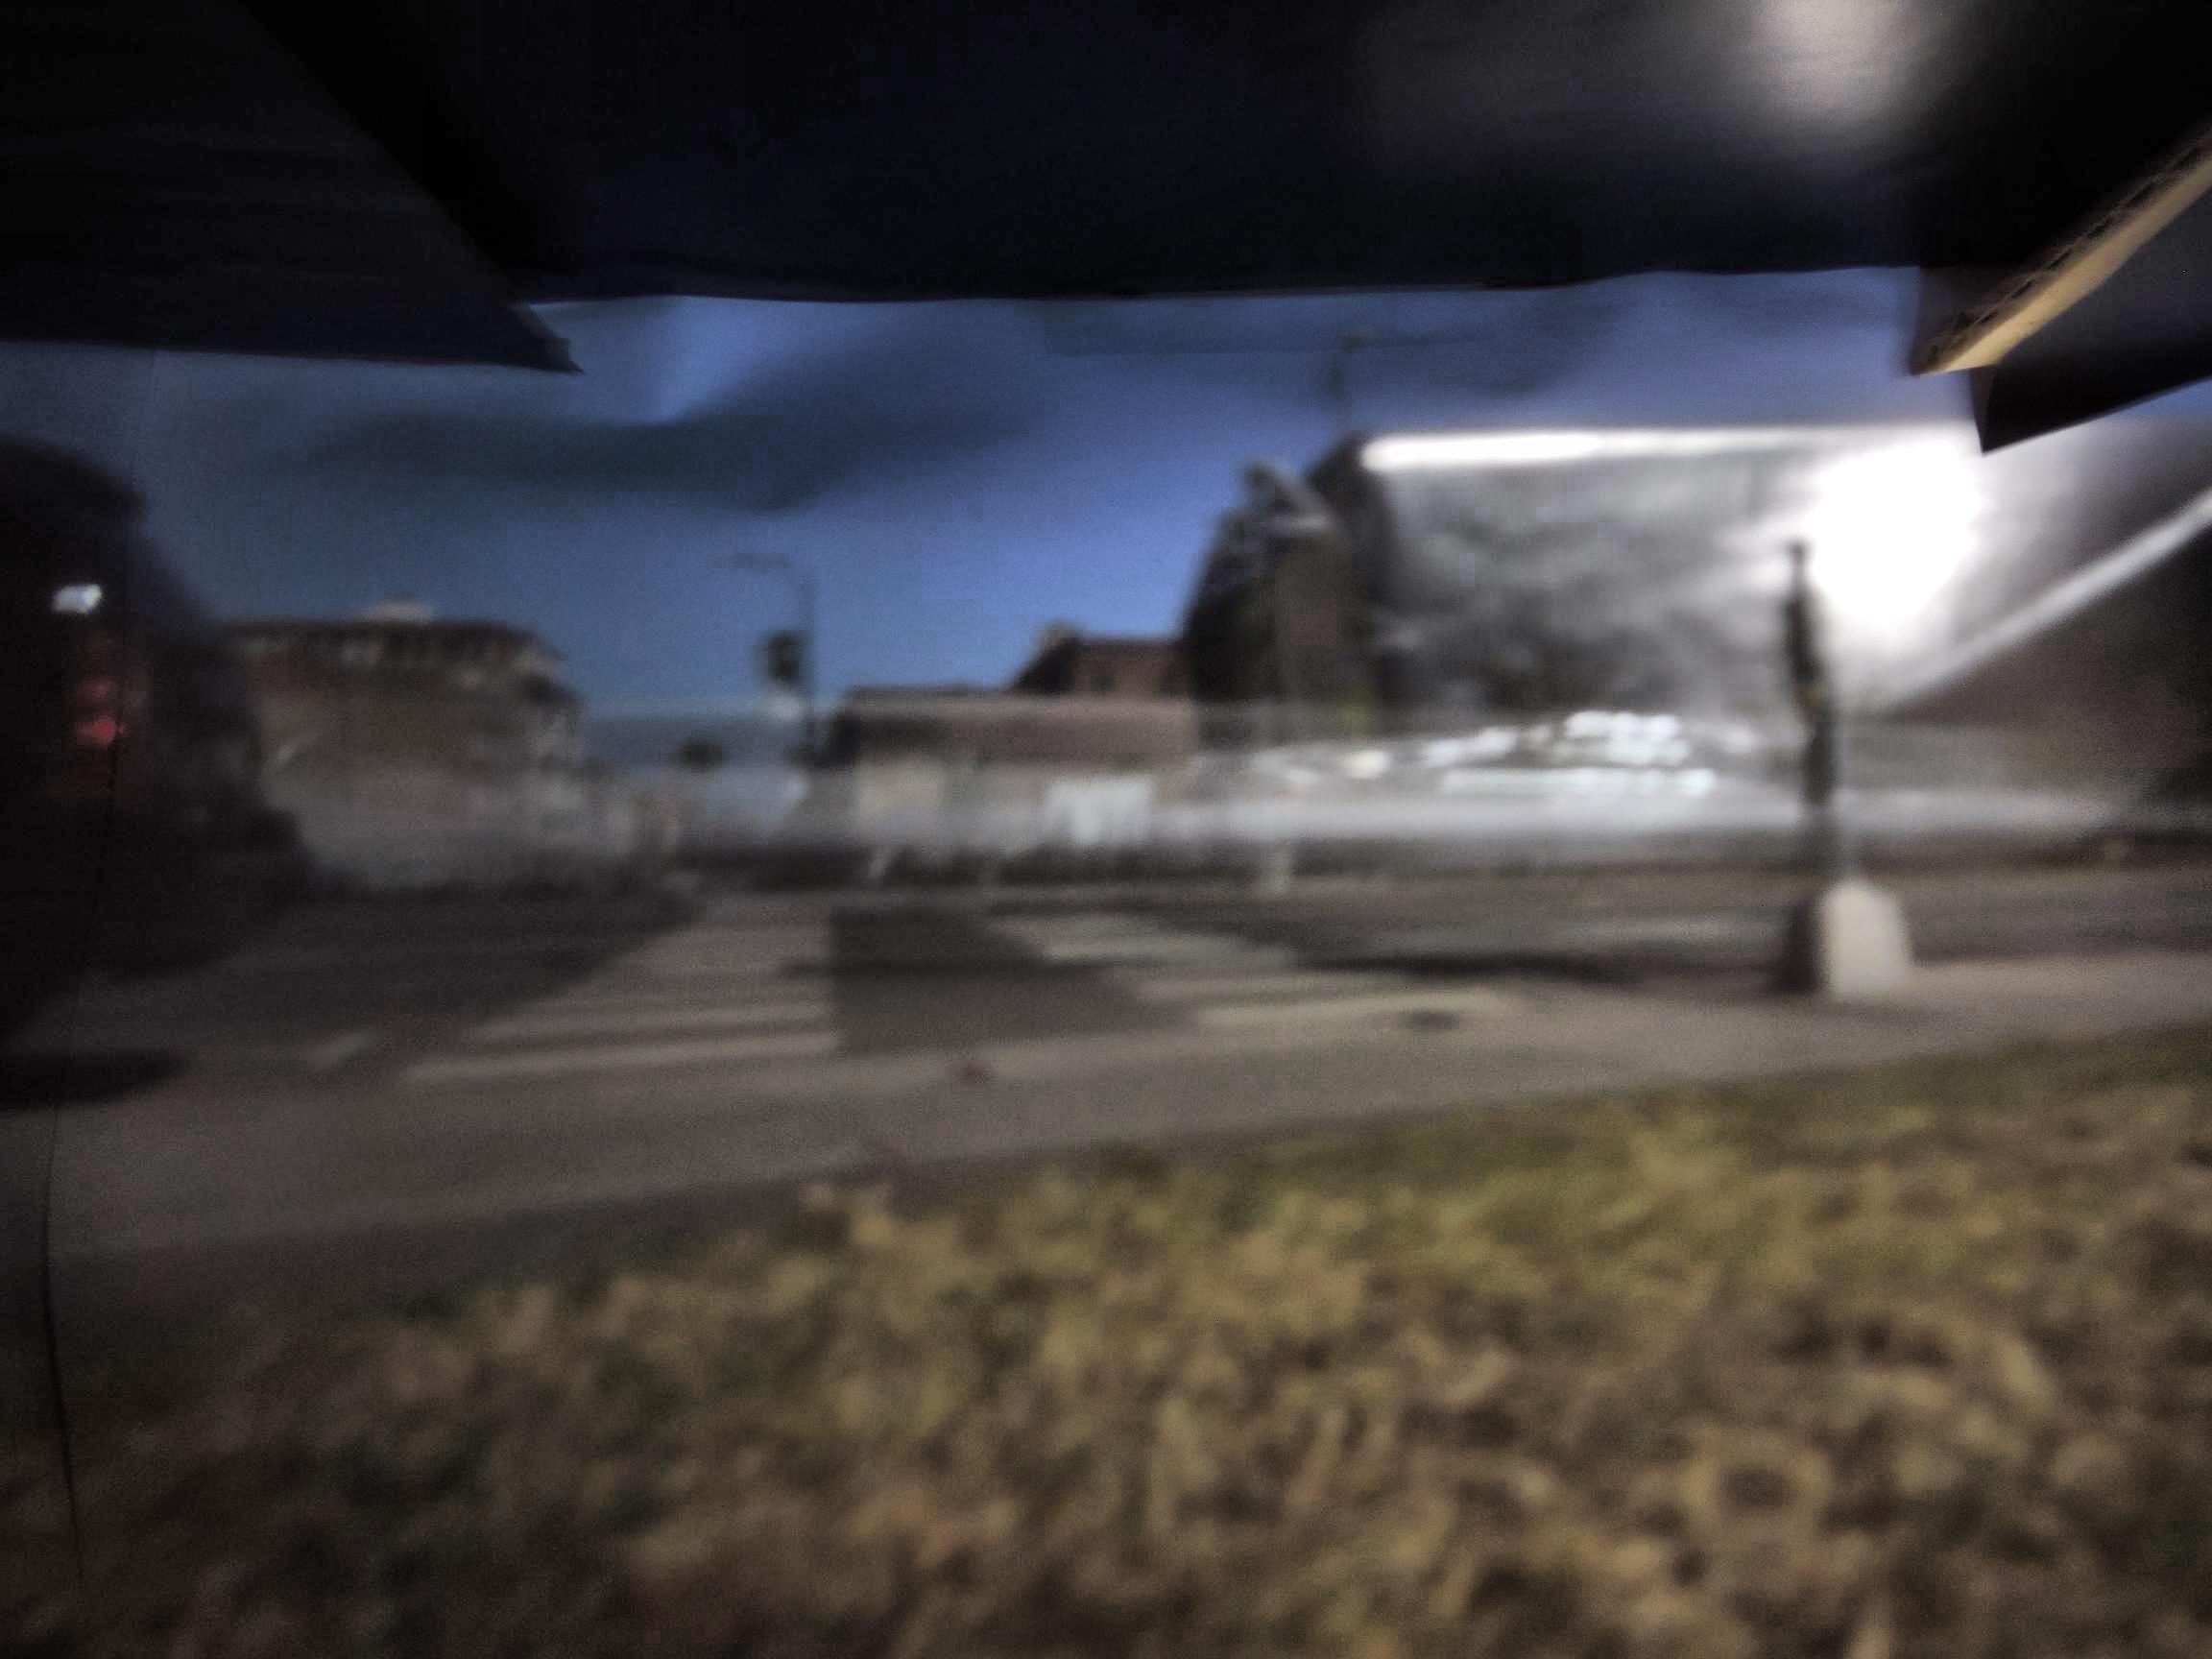
Box Outside Lion Statues
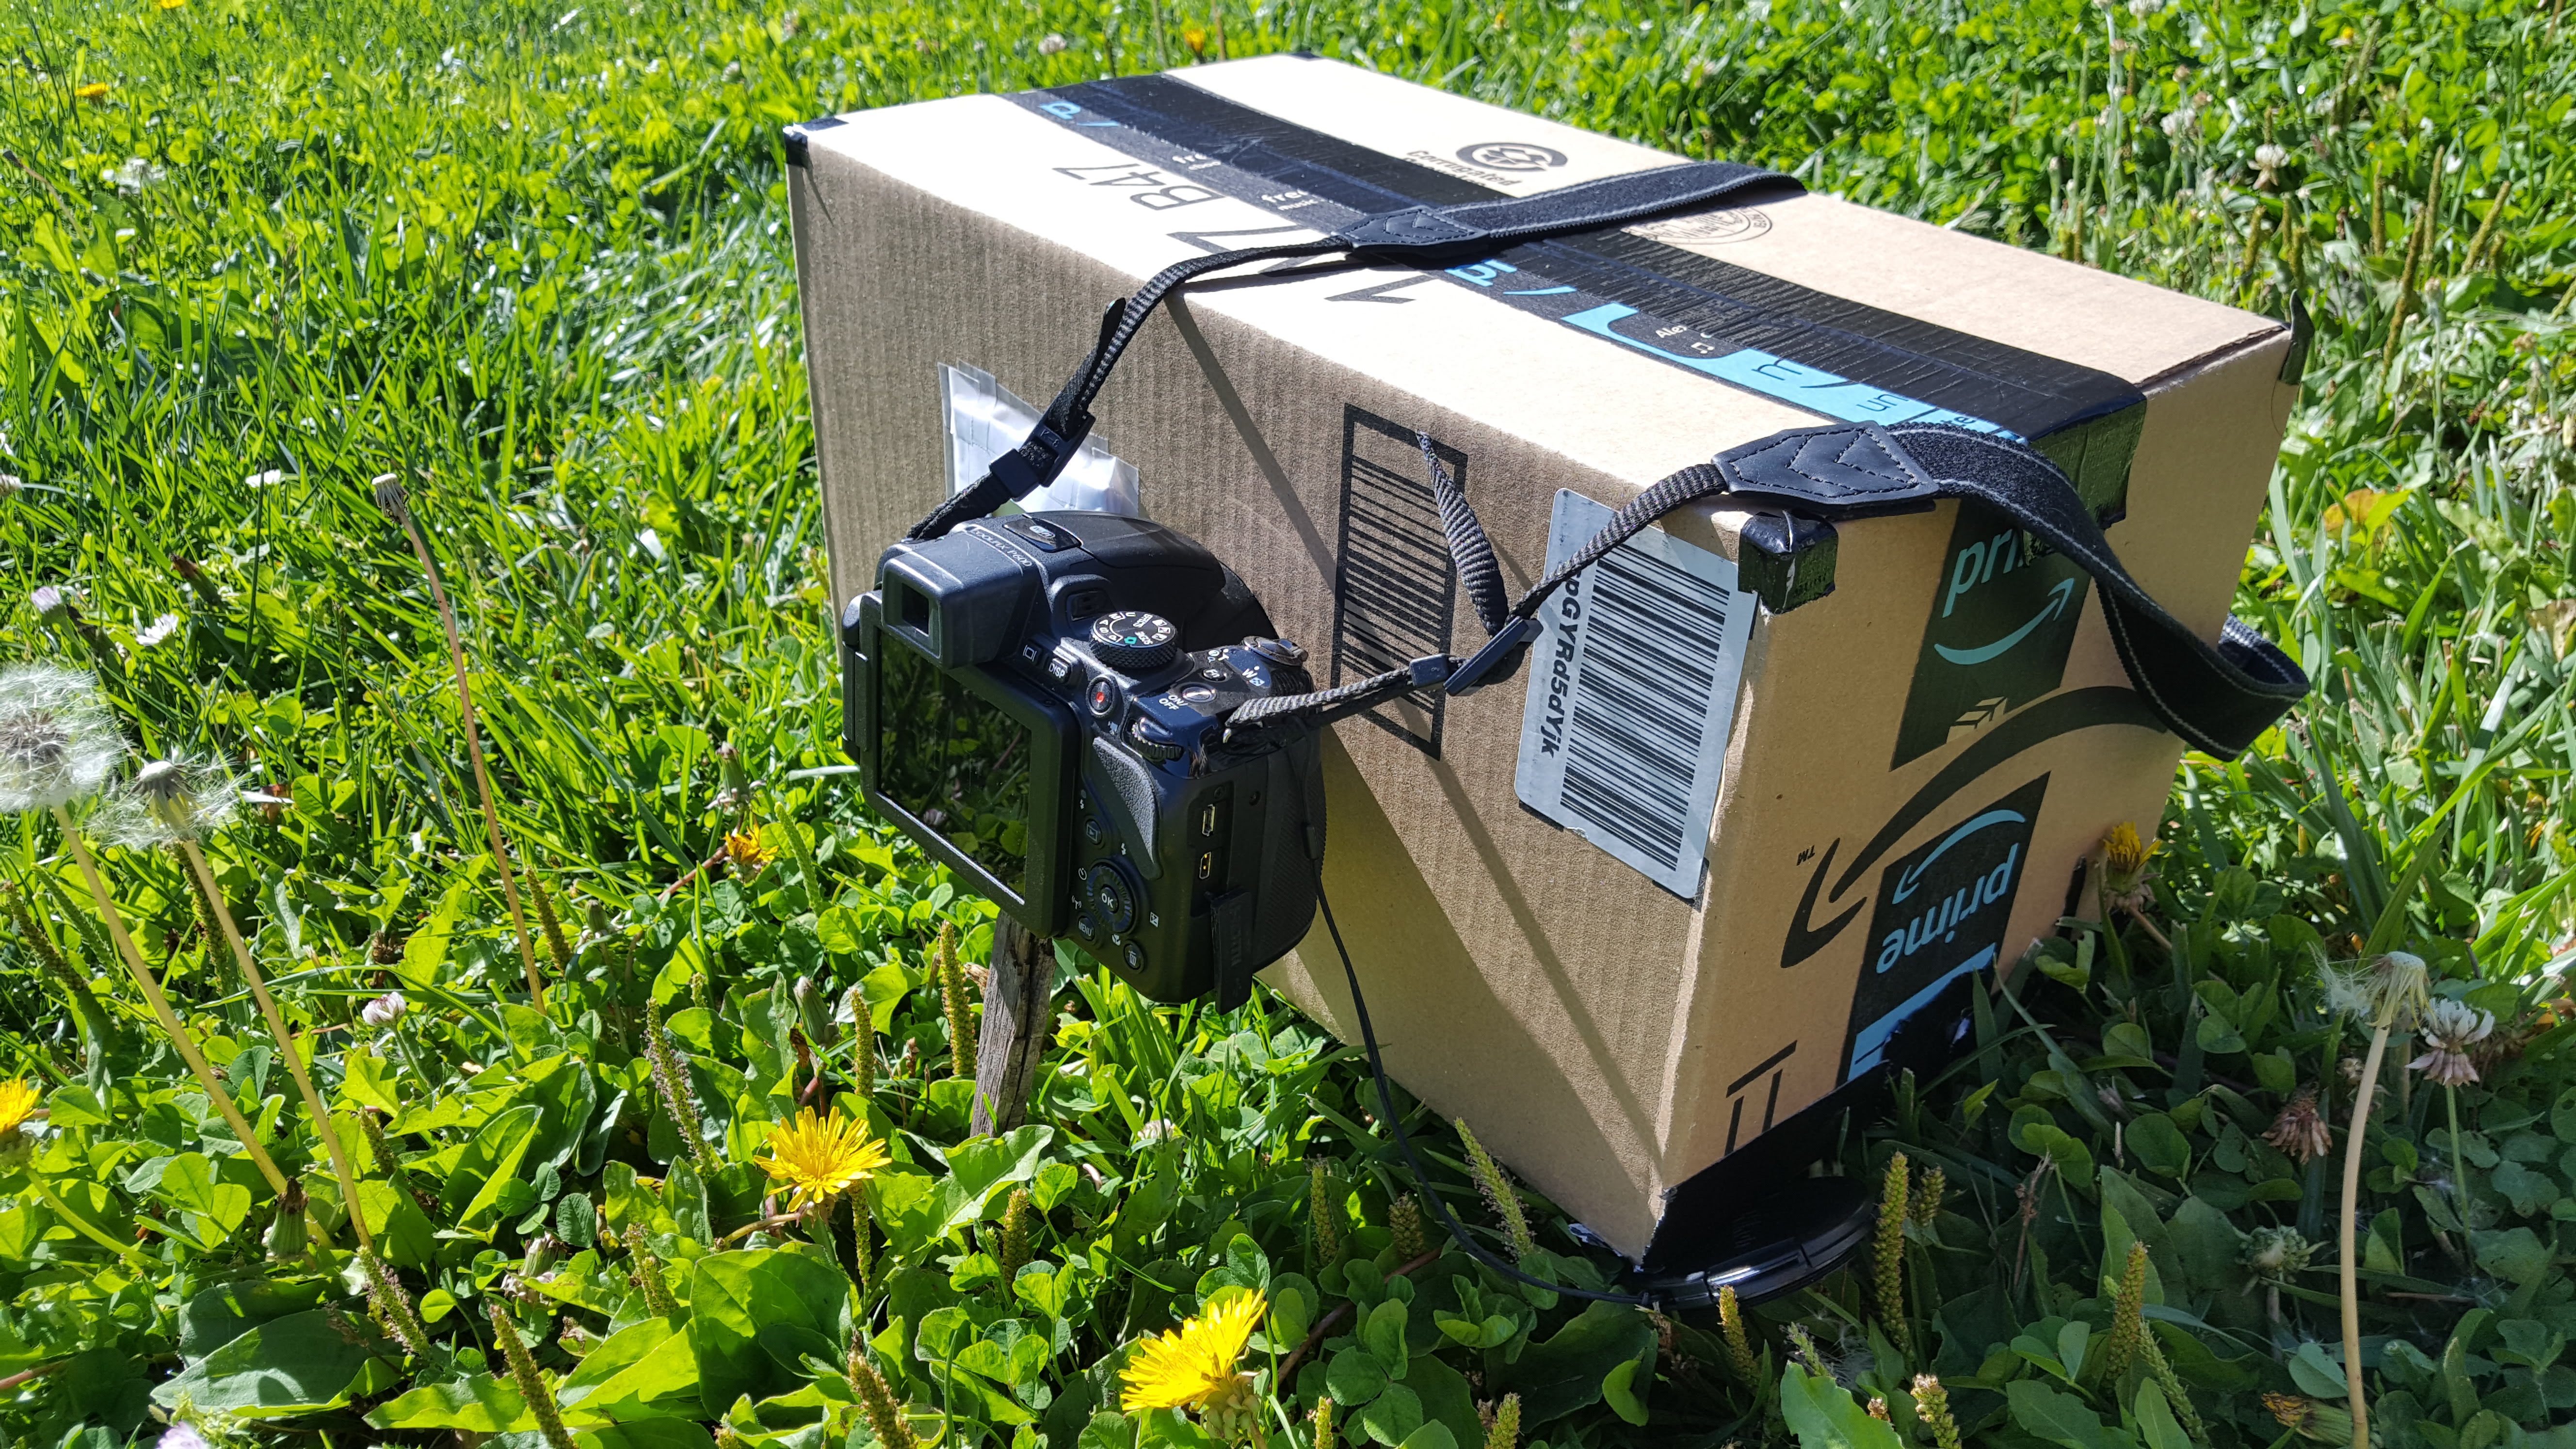
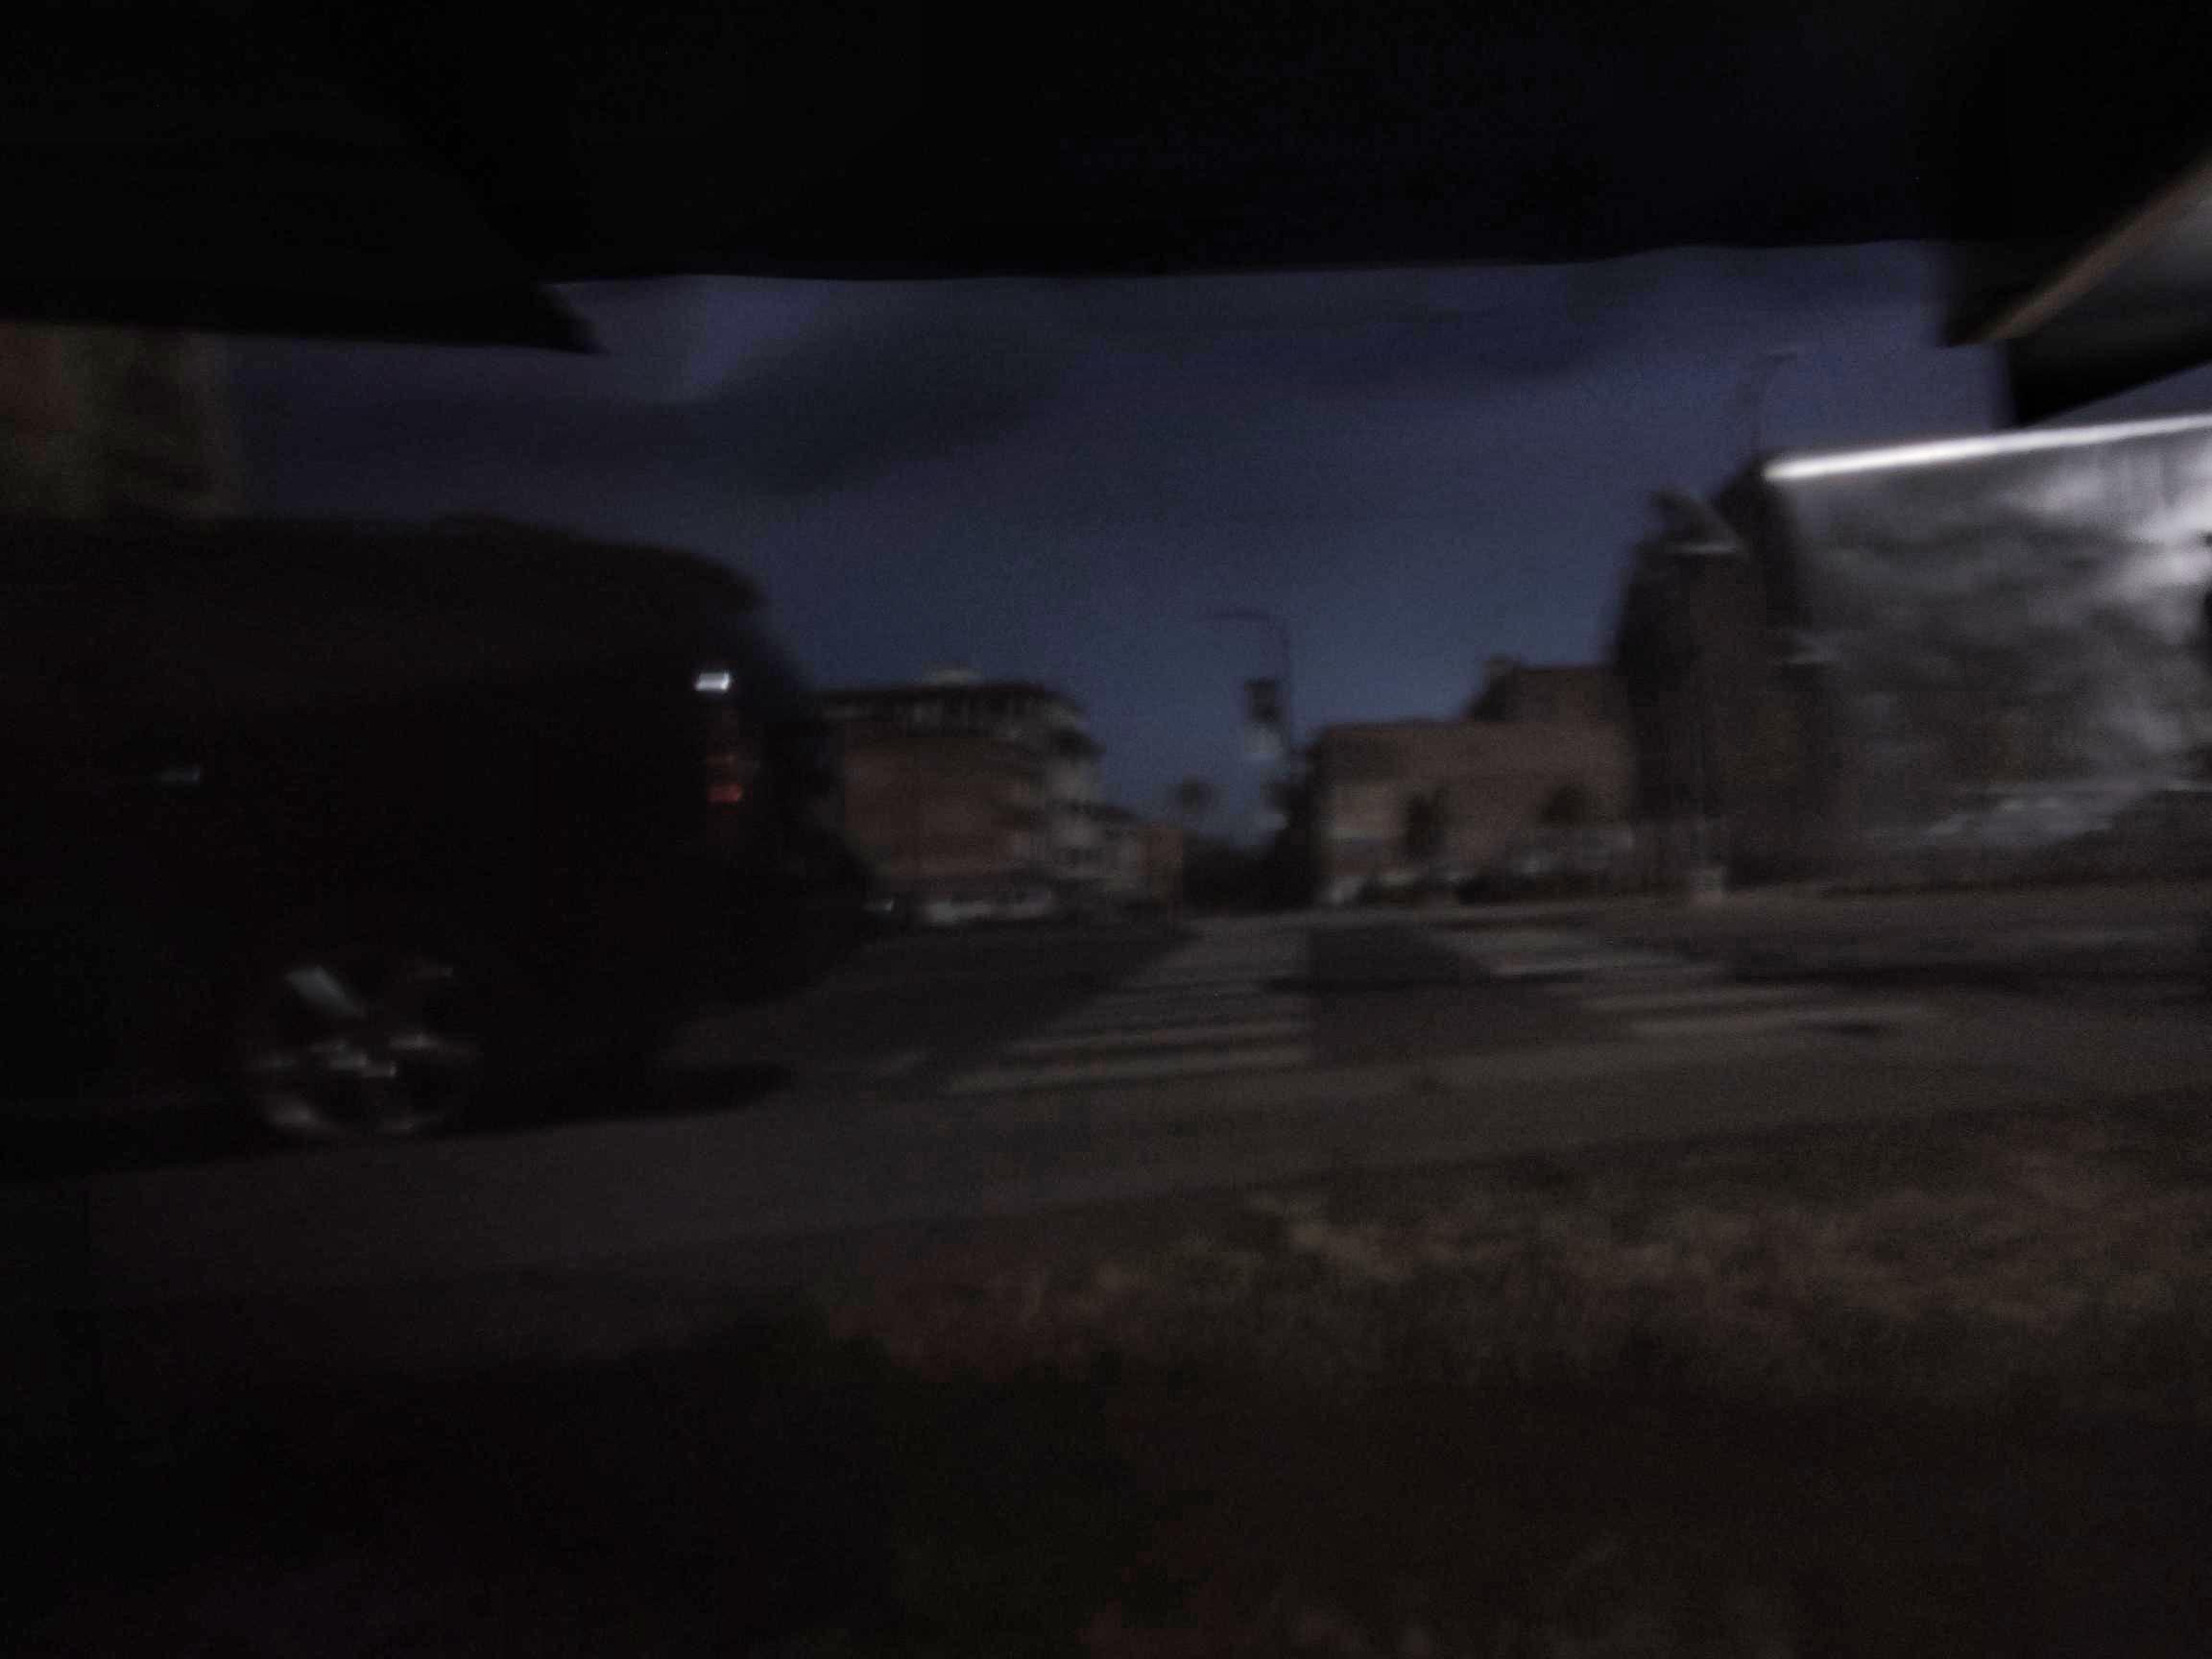
Box In Field
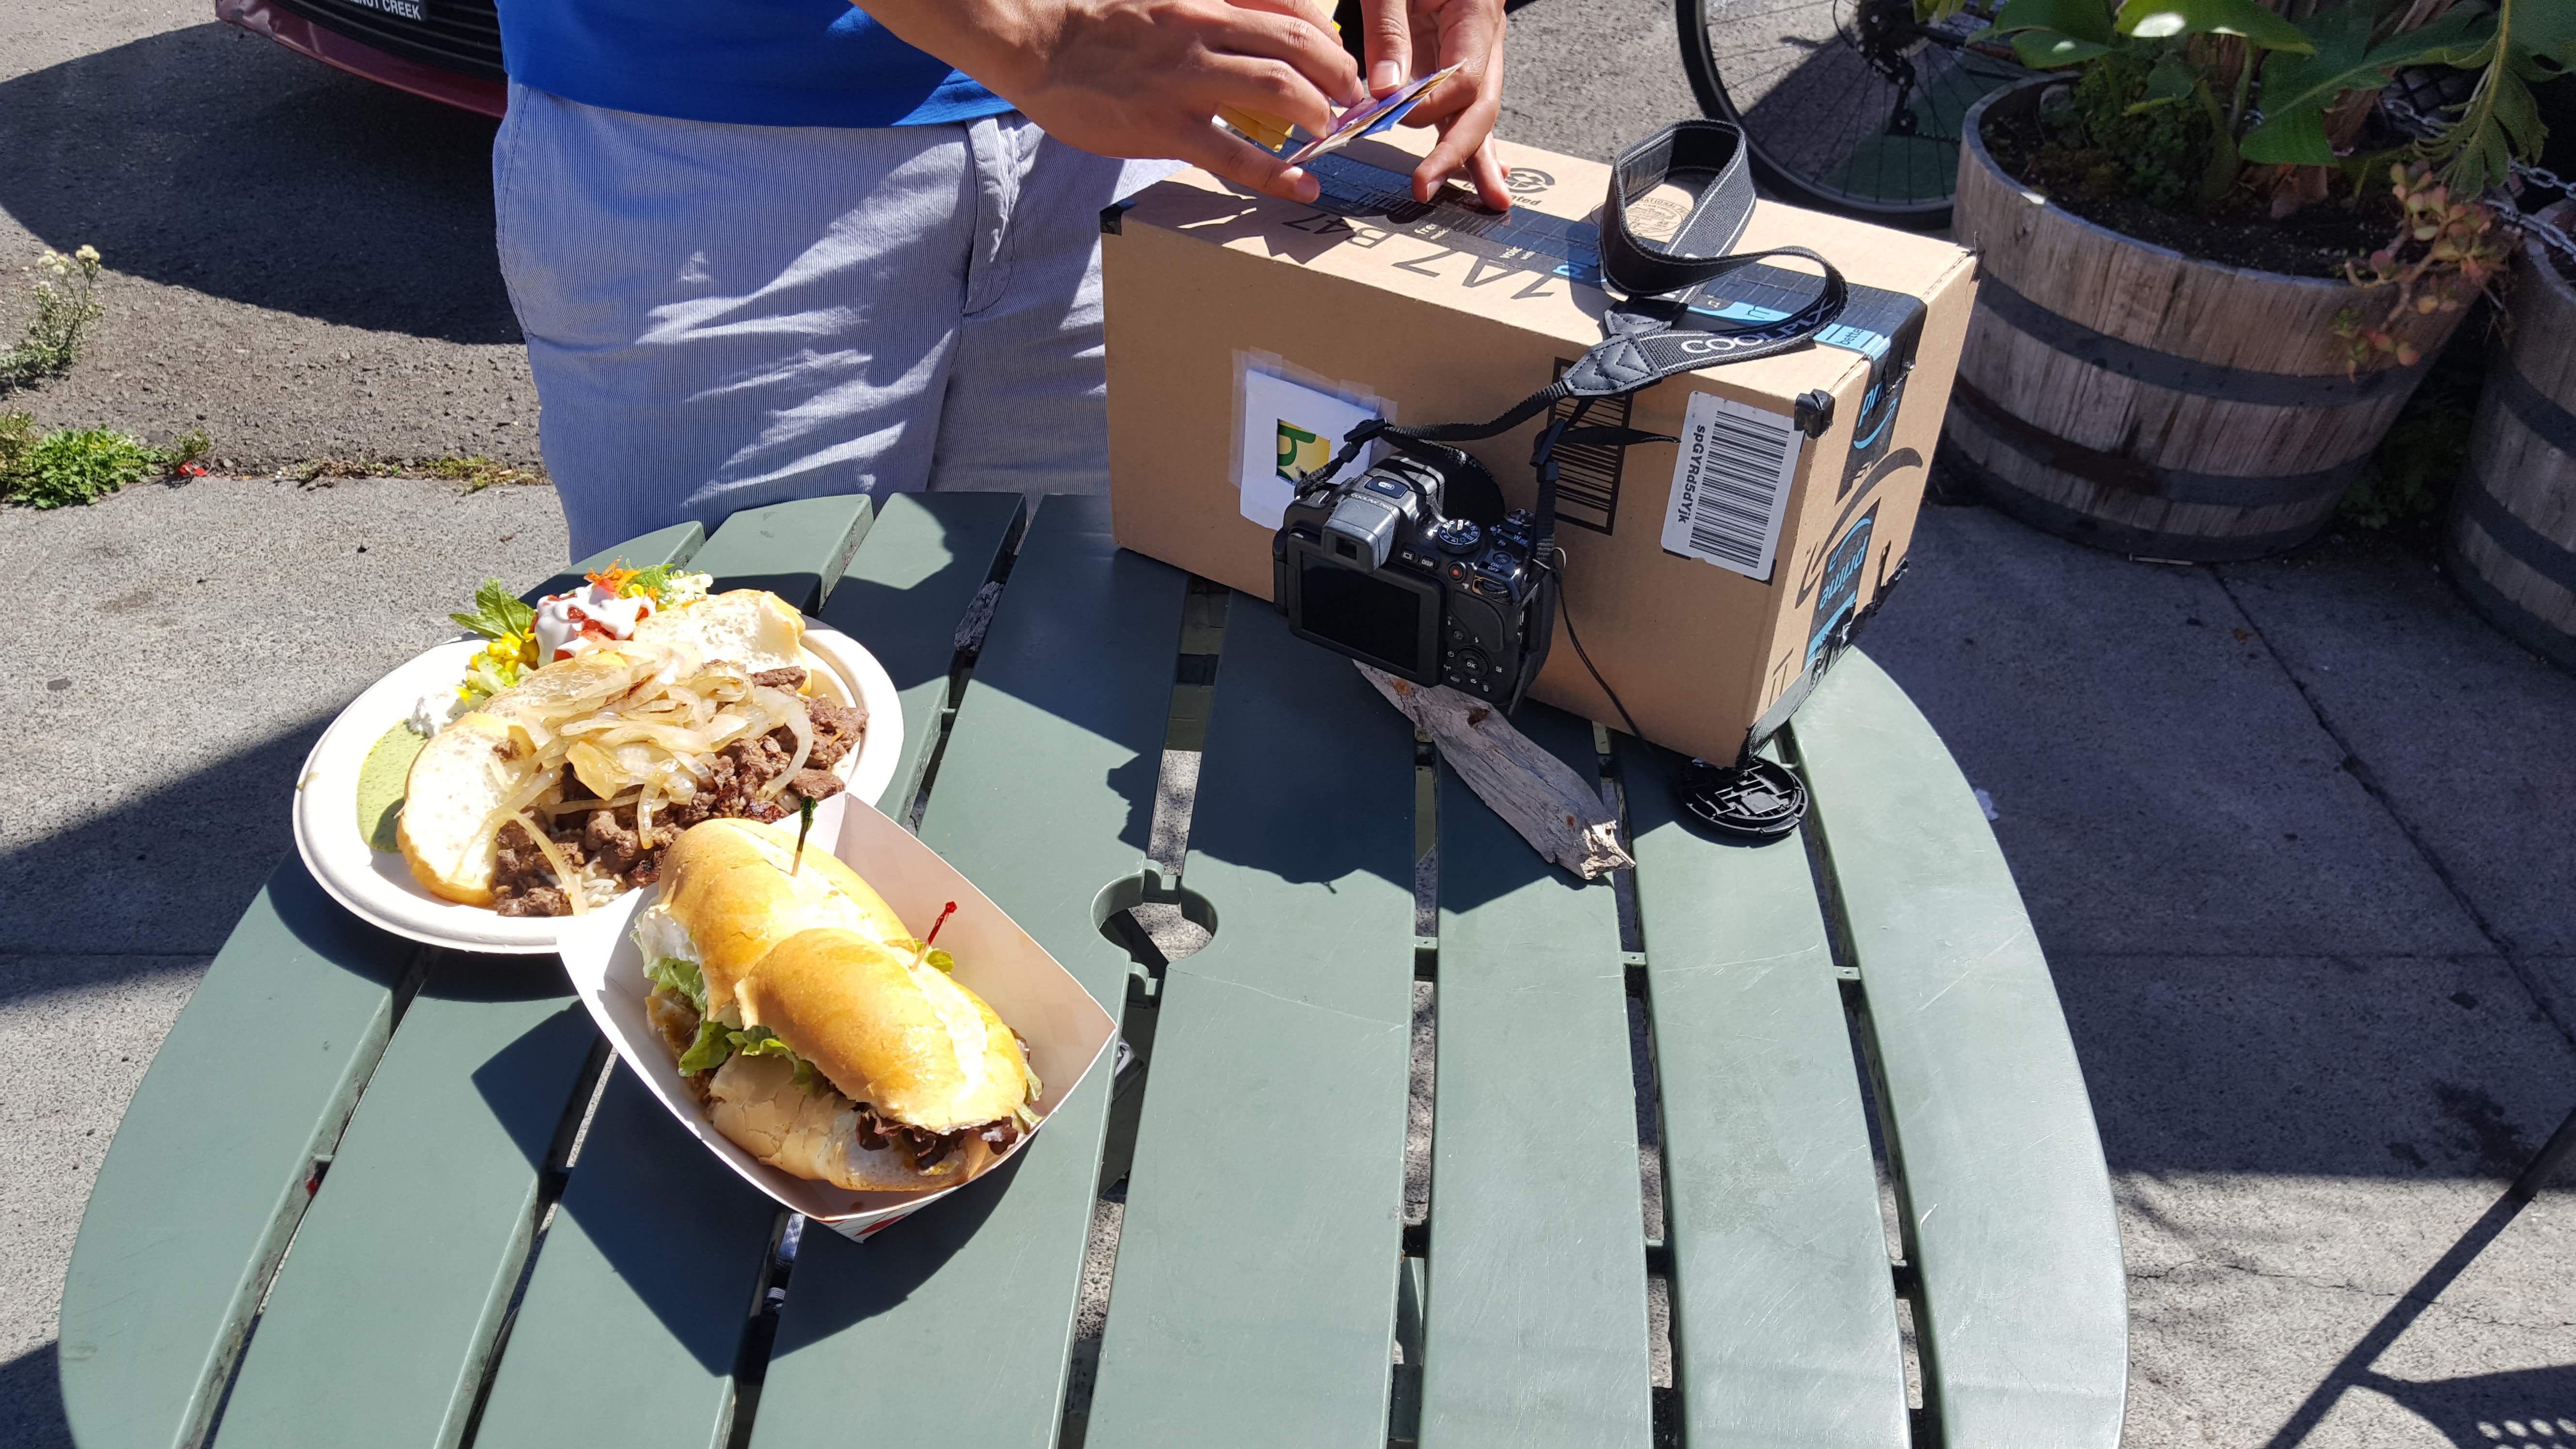
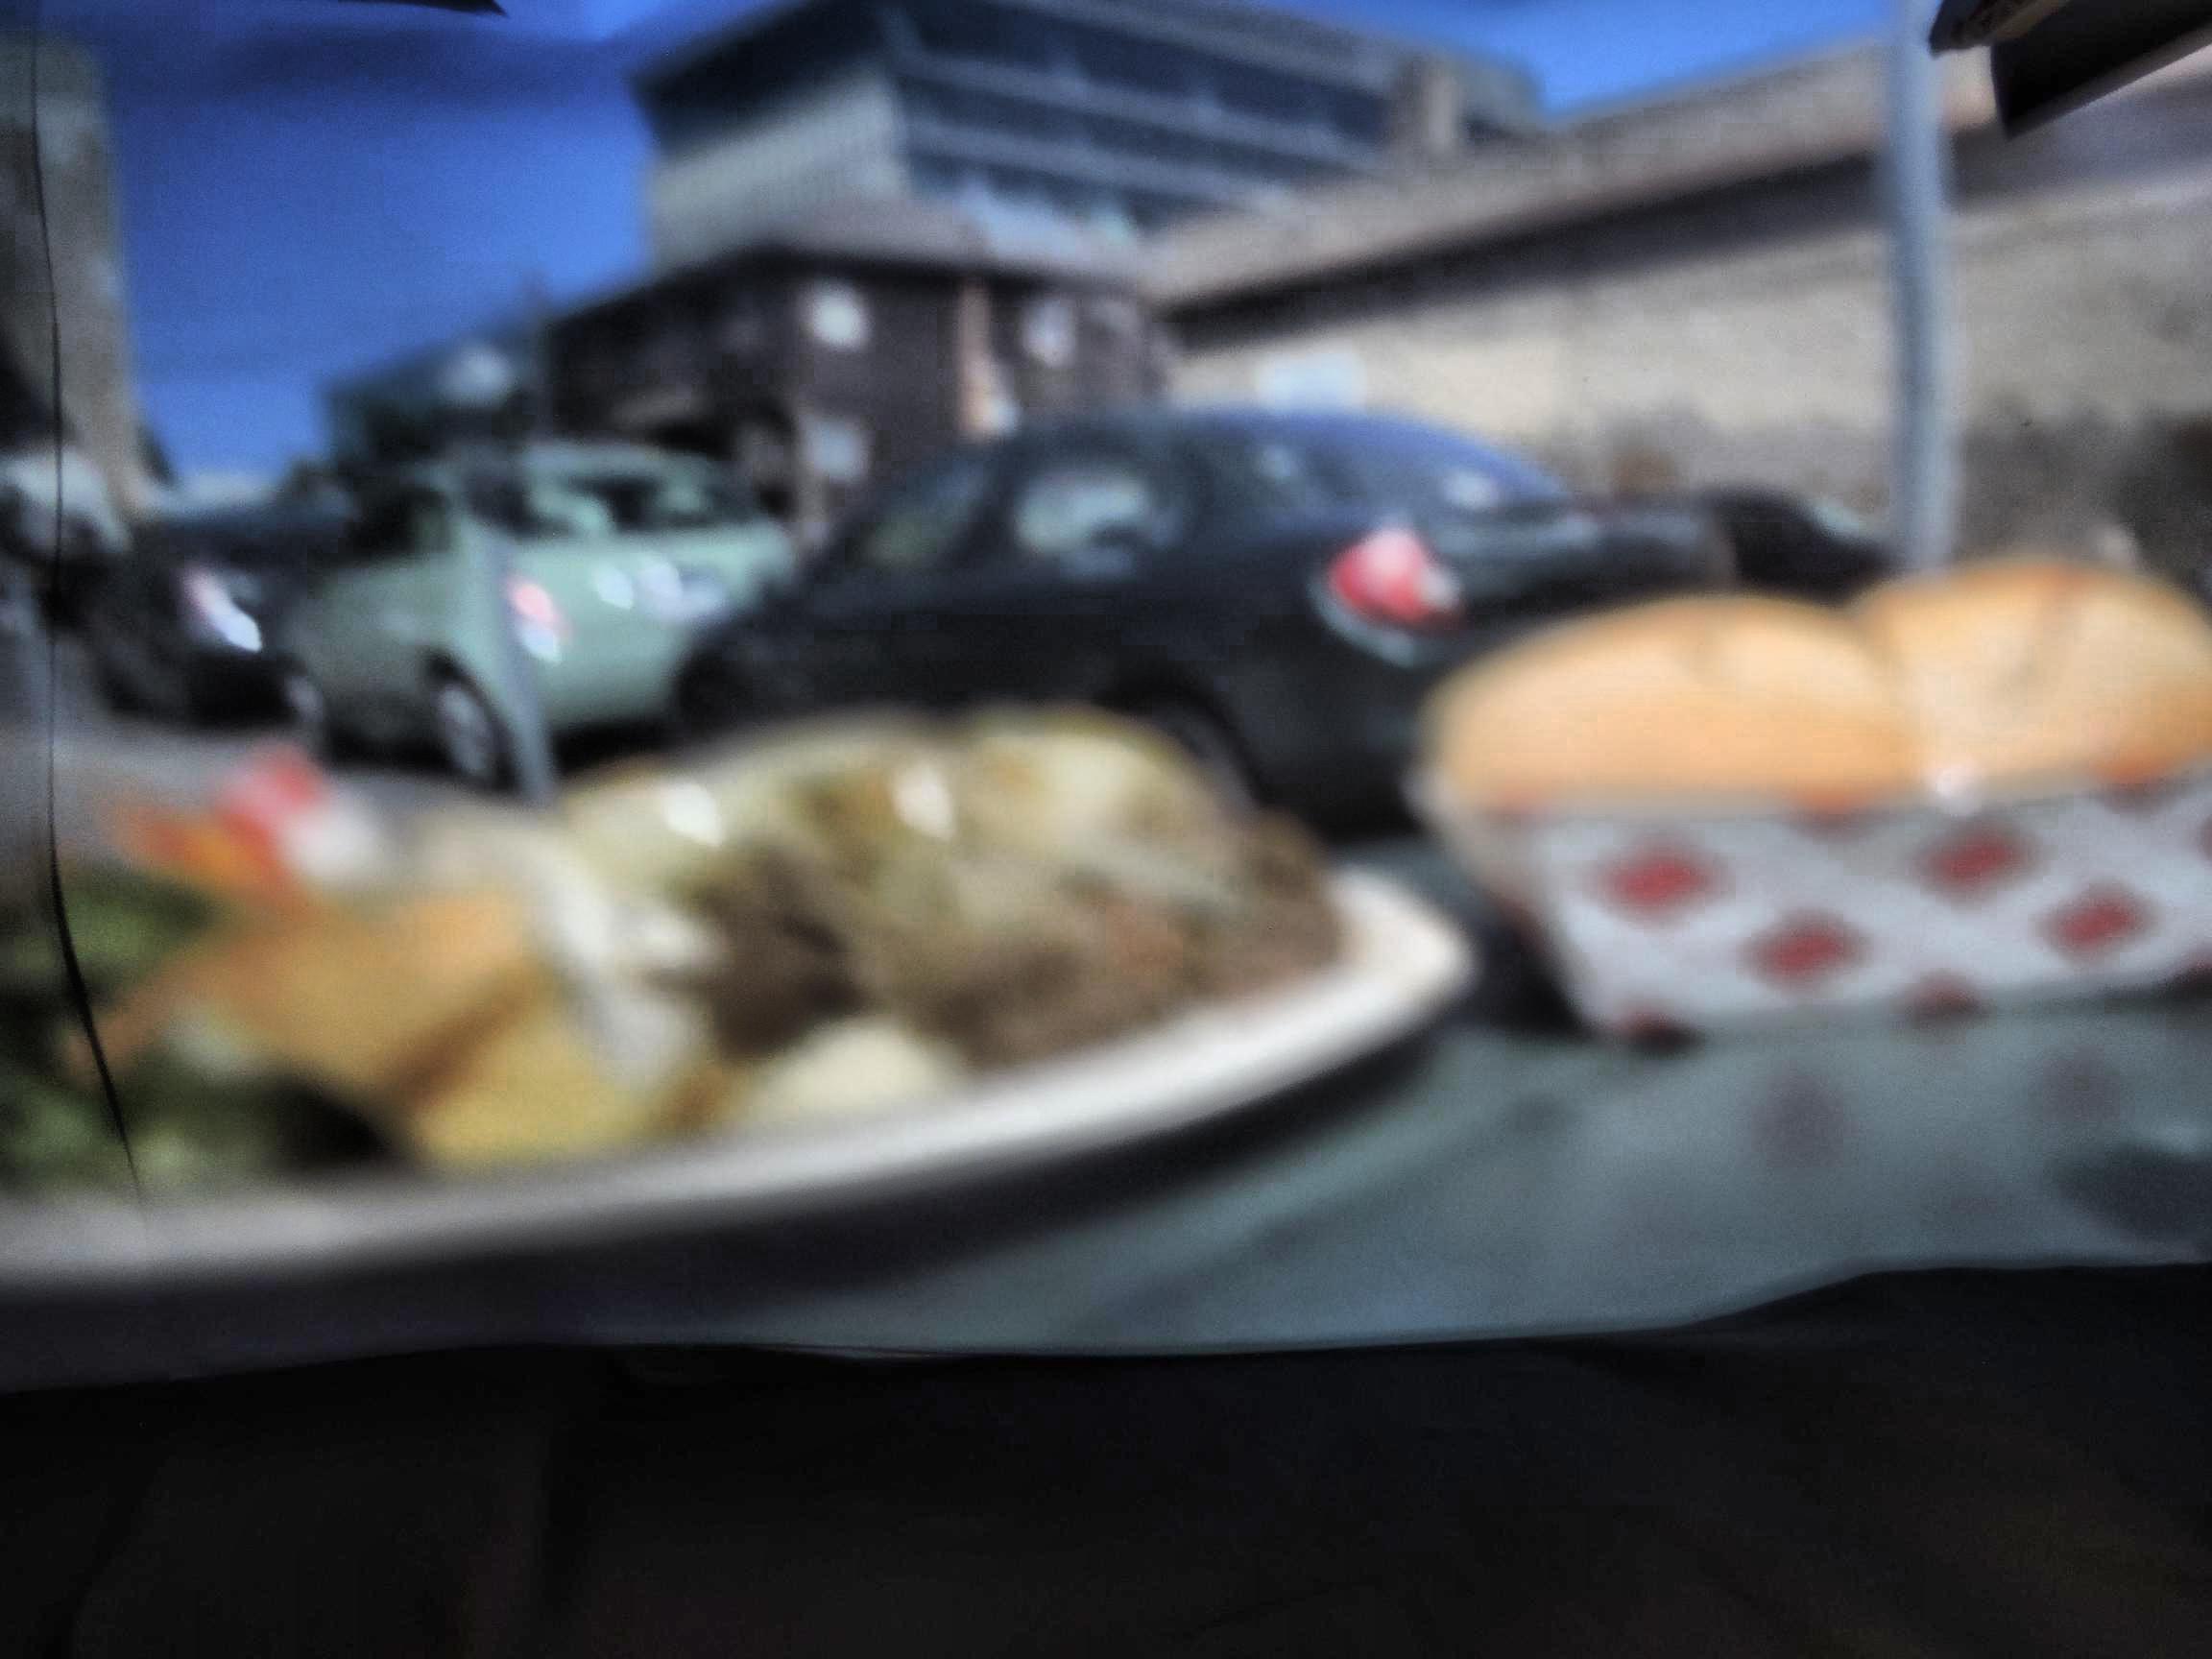
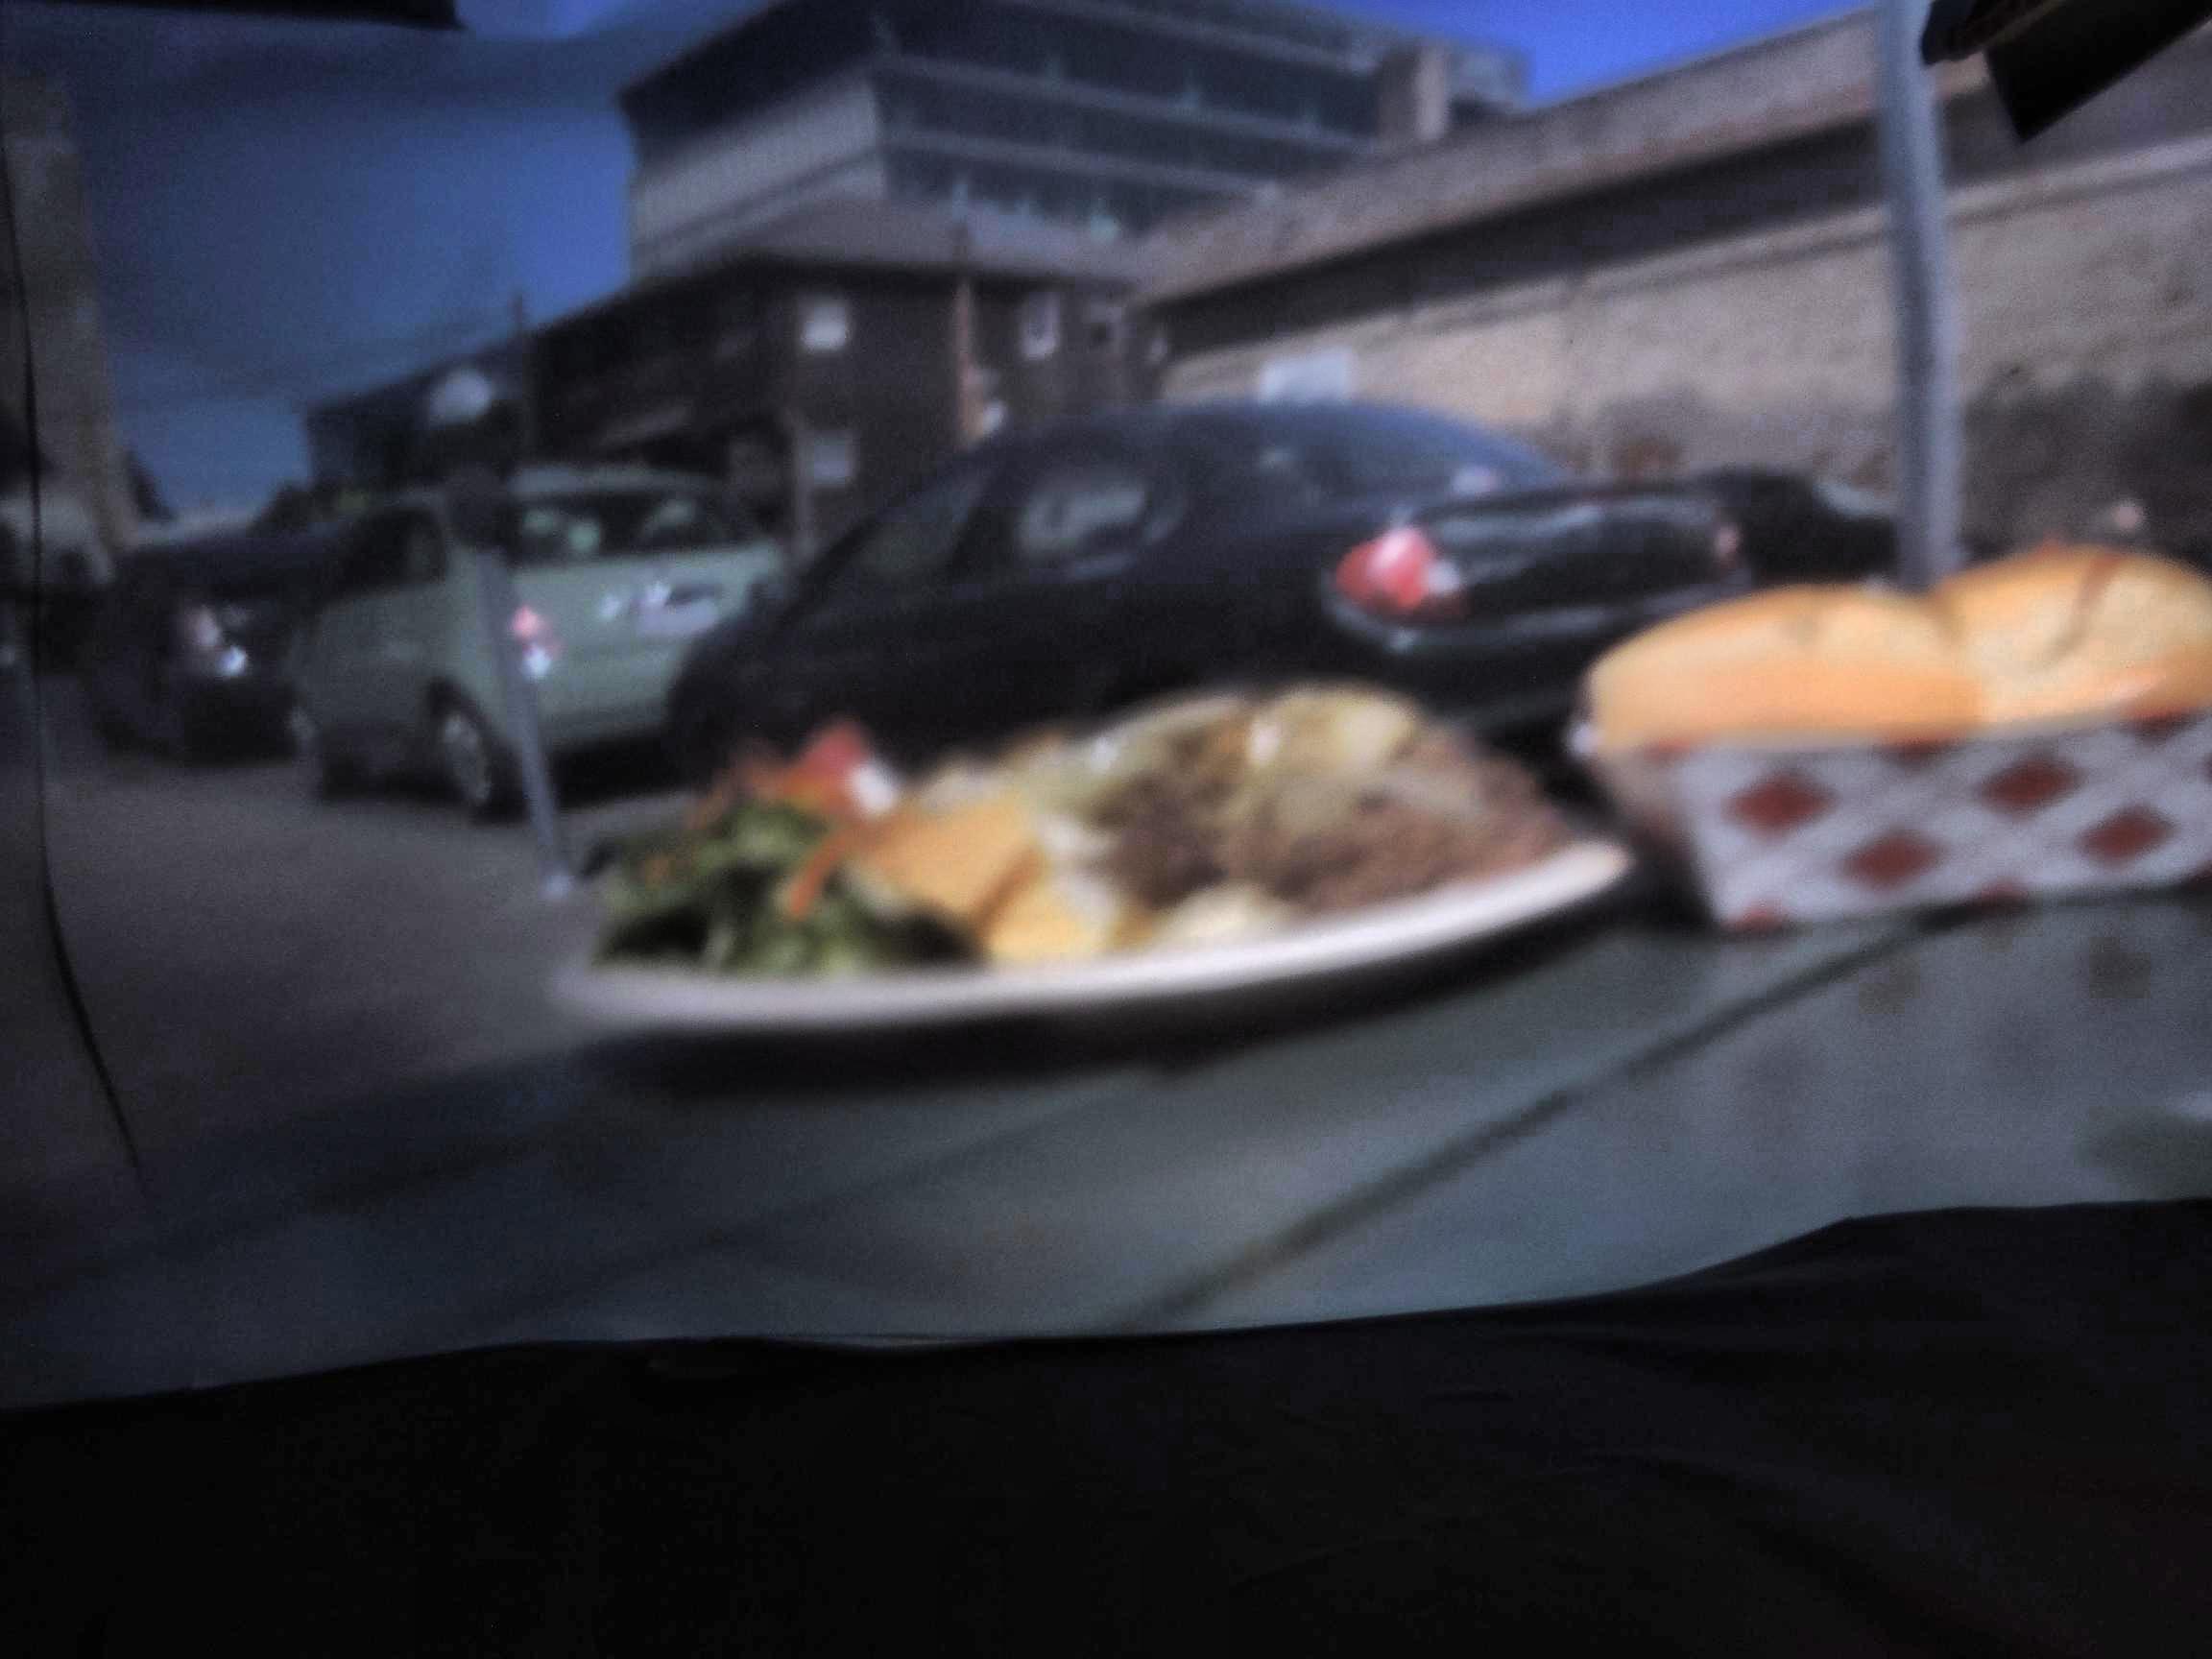
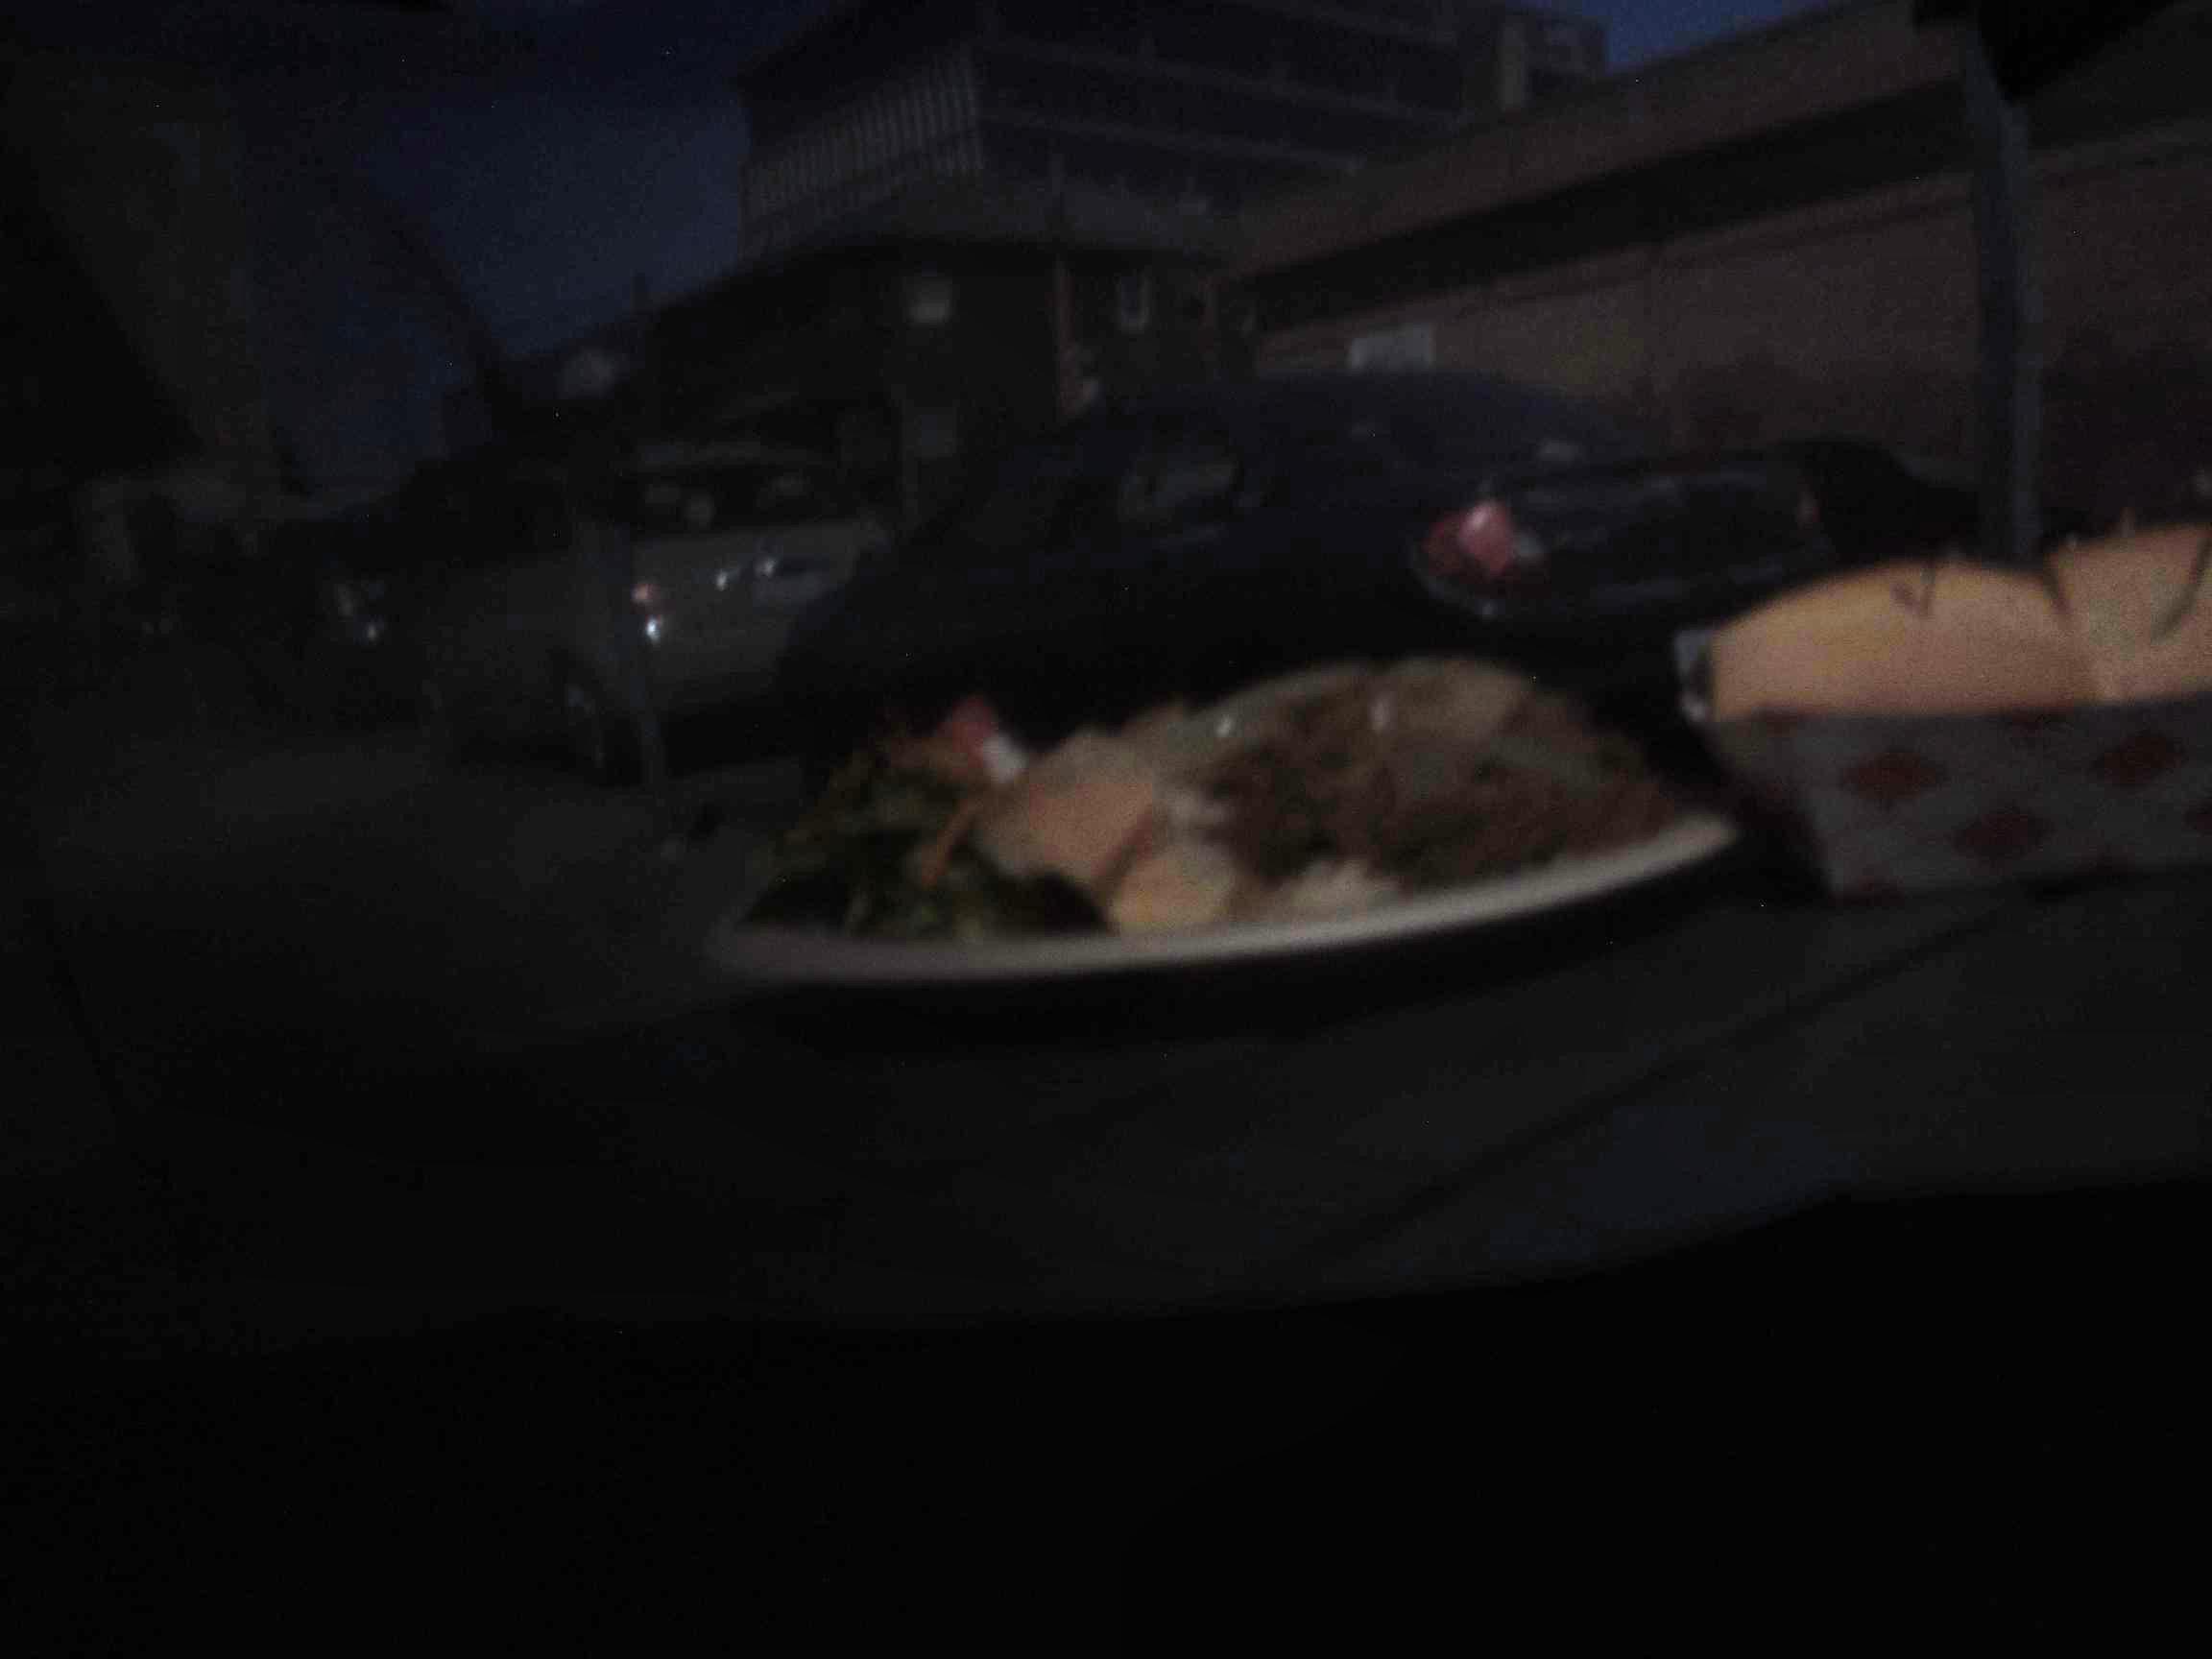
Box With Food
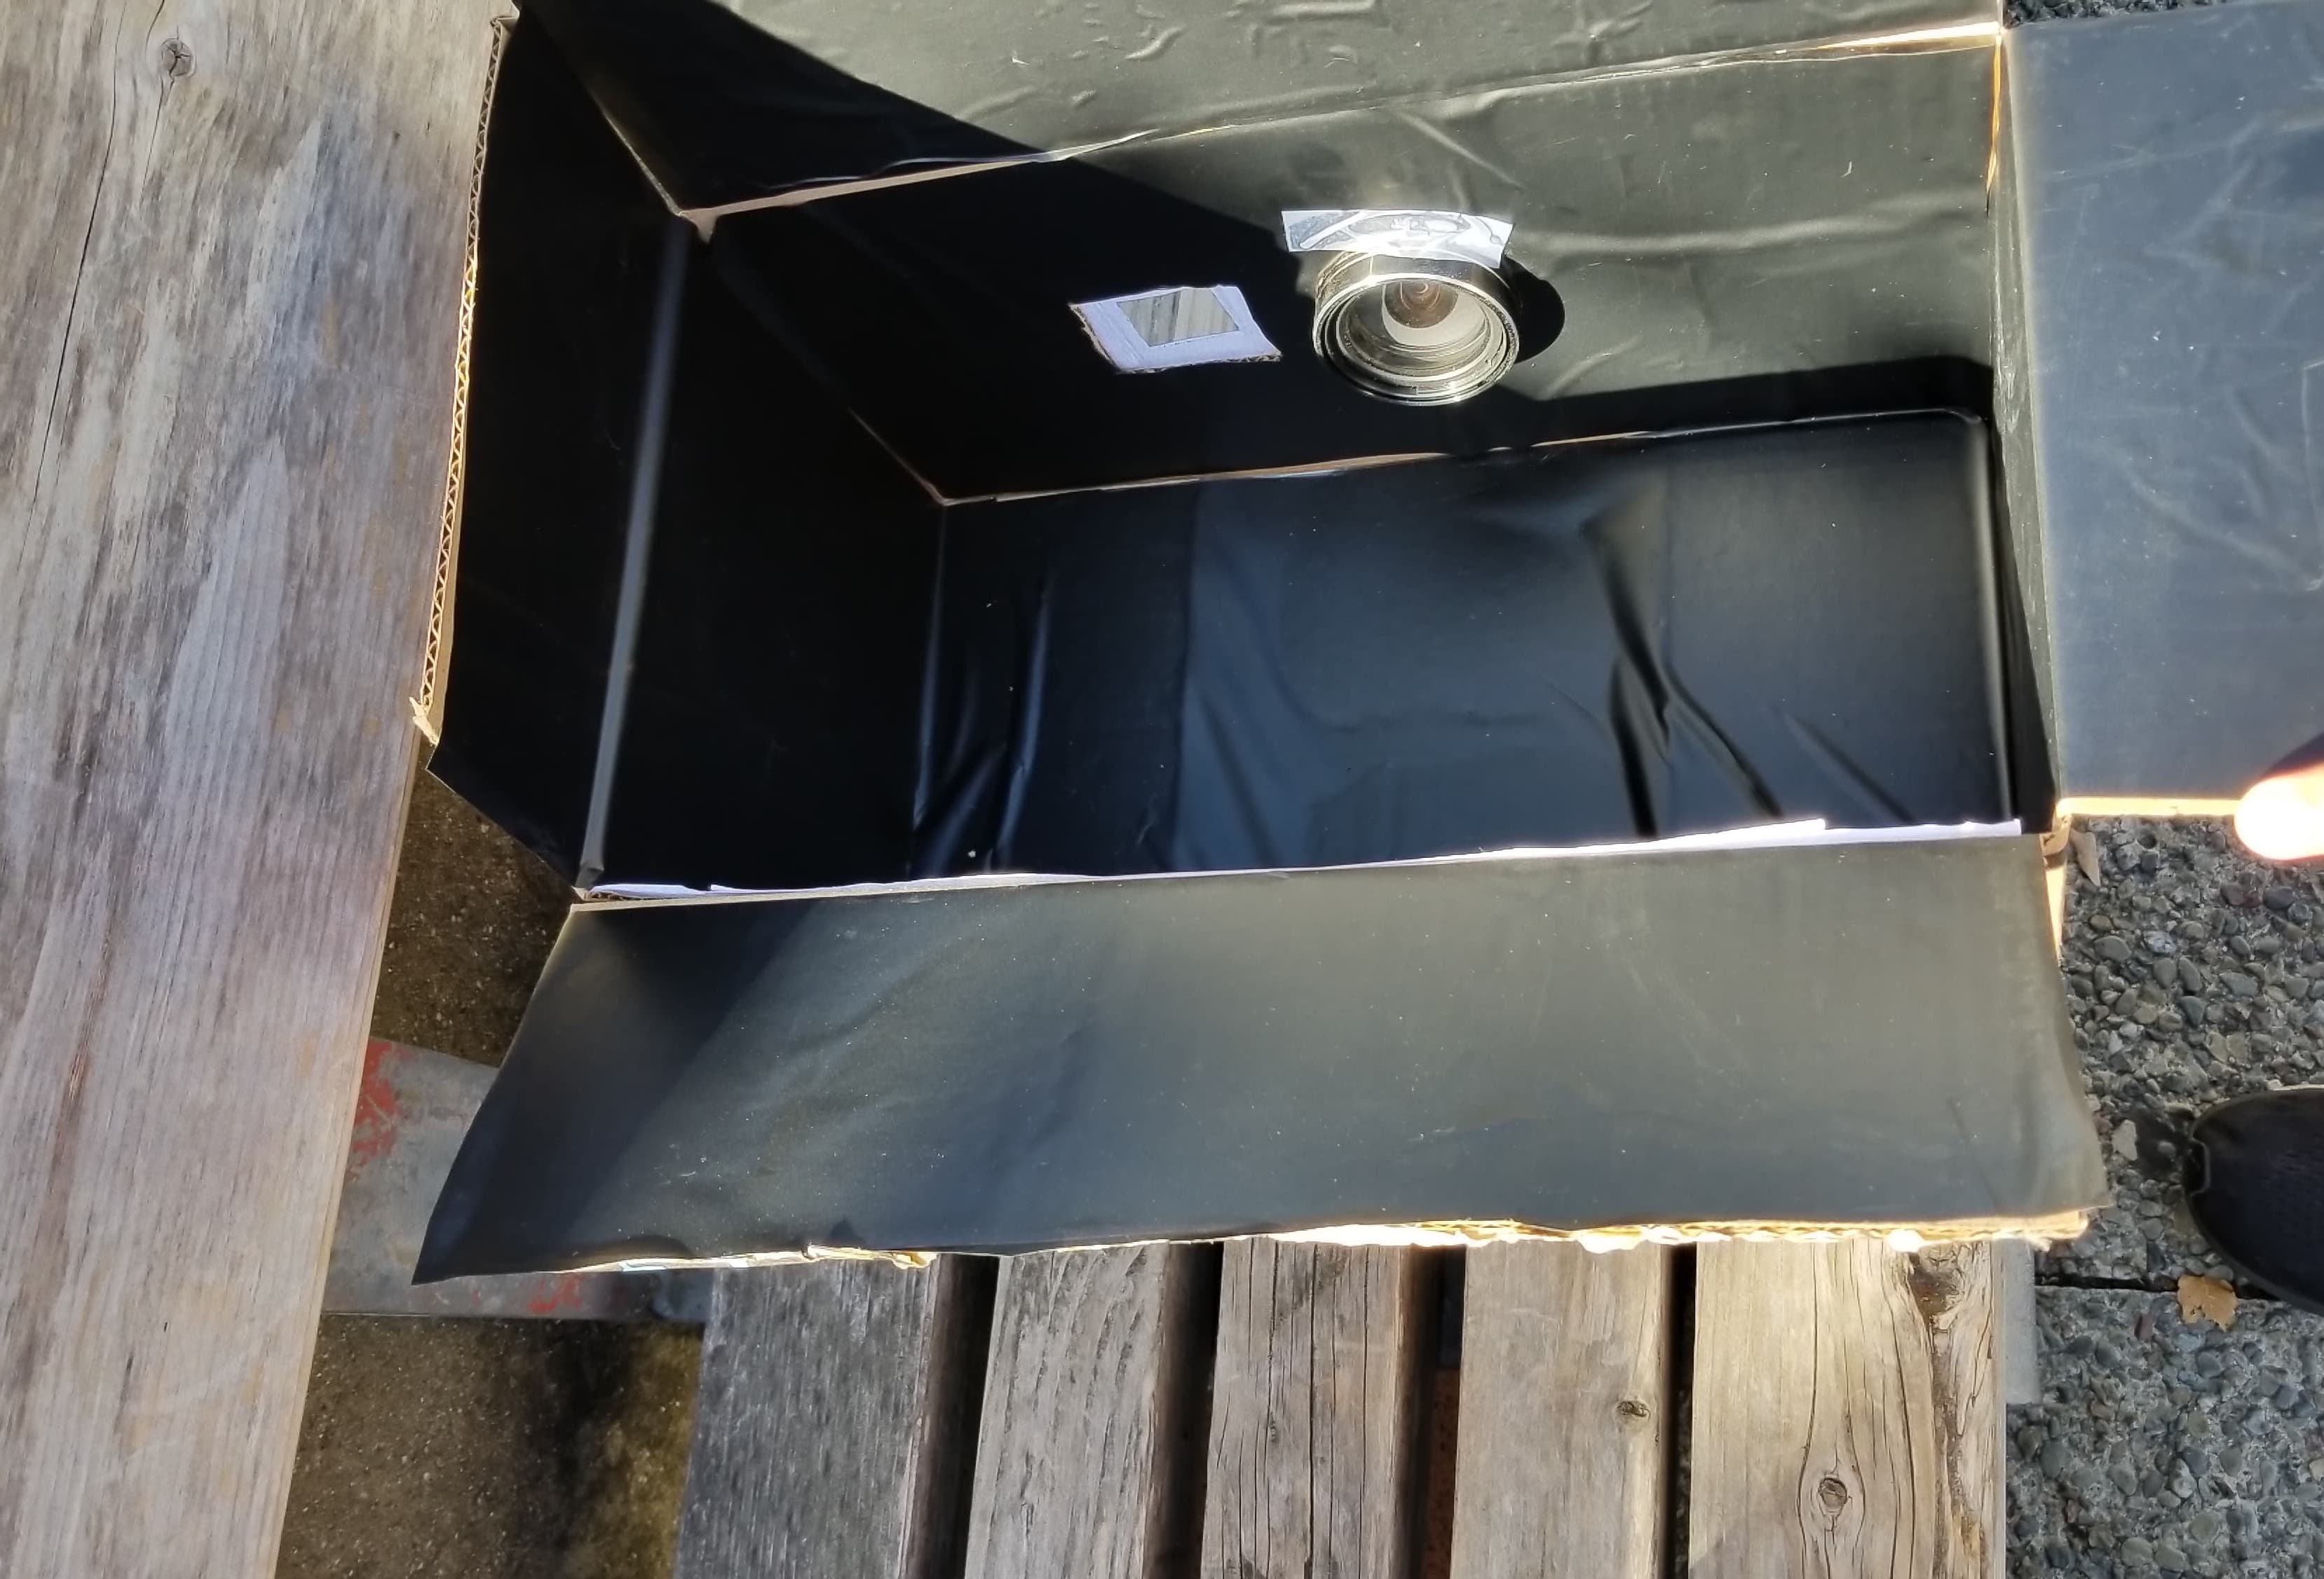
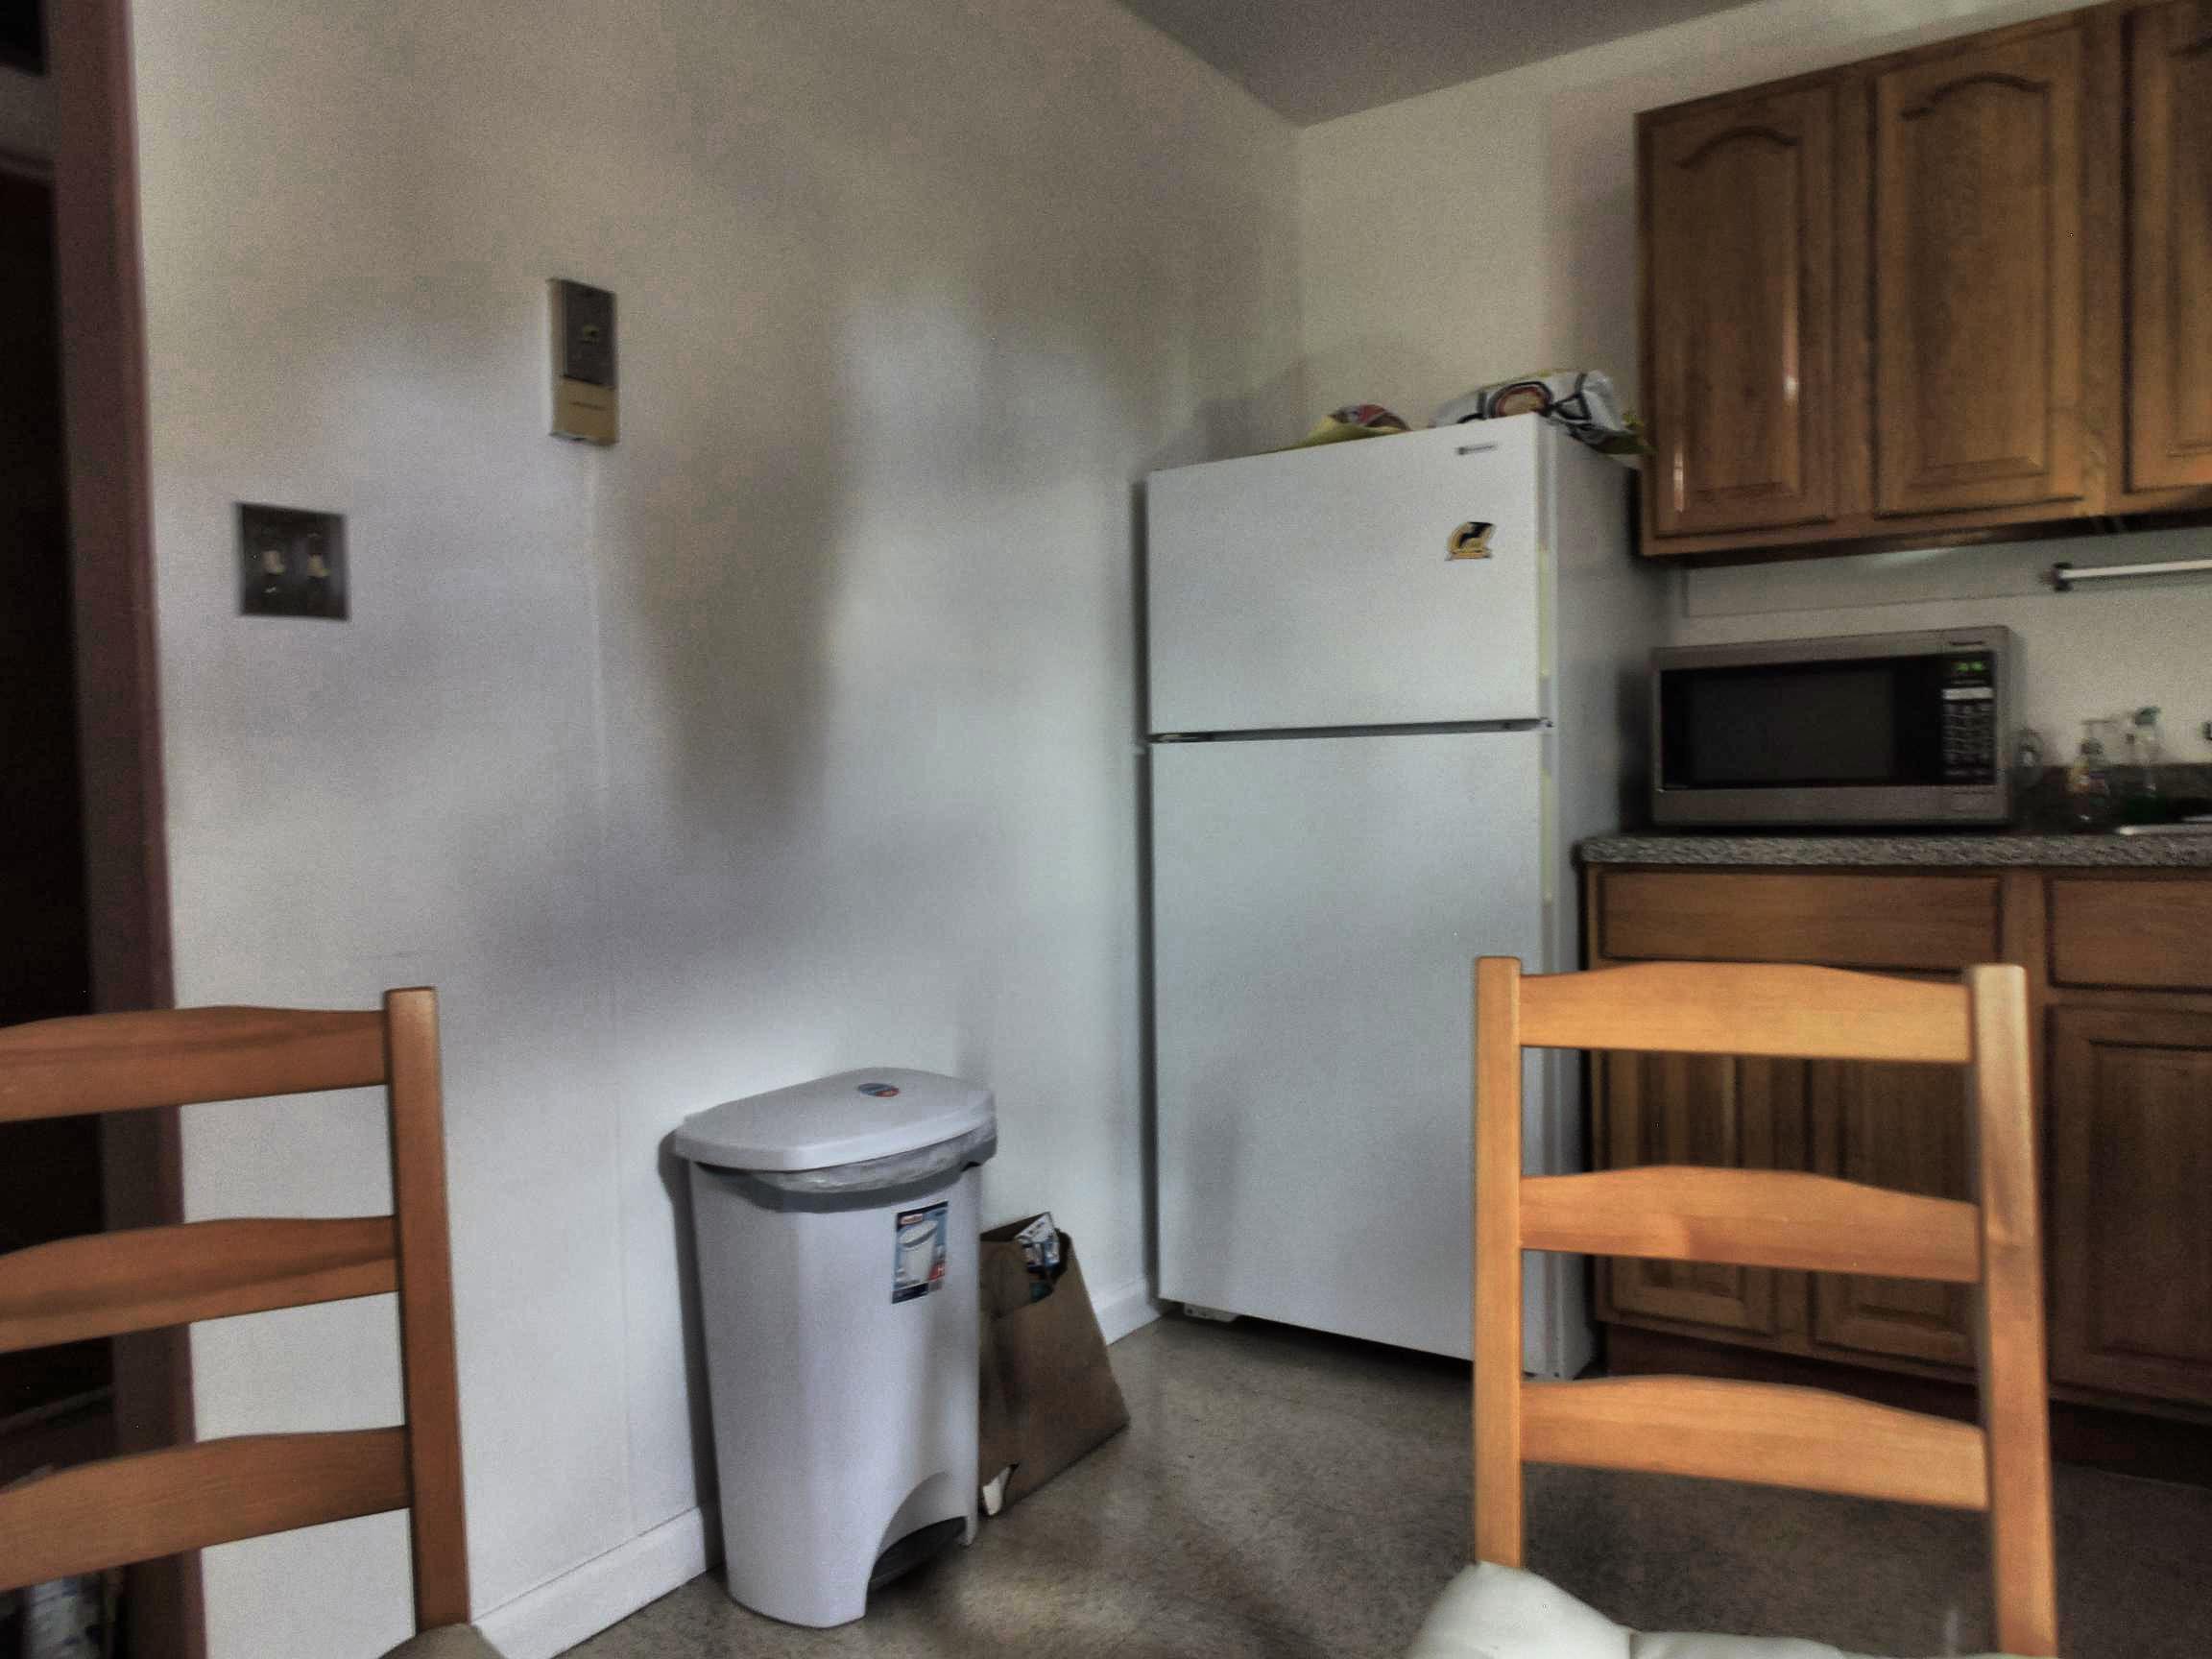
Inside of Box
Create a pinhole camera using a real camera
These days, many people carry small, high resolution cameras in their pockets. Have you ever wanted to convert that small camera into a bulky, low resolution image capturing device? Here's how! We created a camera obscura by covering the inside of a box with black paper (to minimize unwanted reflections) and poking two holes in it - a large hole for our nice camera and a pinhole. Then we sealed the box up (making sure not to seal up the previous holes). The pinhole allows light to enter at a single point, after which it spreads out and forms an image at the back of the box, which is then captured by our camera. We need a small pinhole to create a high-resolution image - otherwise, any point on the back screen receives light from multiple angles, leading to a blurry image.
The pinholes we used were created by a stick (4mm), a screwdriver (3mm), and the tip of a pen (1.5mm). We also tried holes with a corkscrew, pushpin, thumbtack, and needle, ranging from 1mm to 0.3mm, but all of these resulted in holes too small to use.
|
Box Outside Lion Statues |
Box In Field |
Box With Food |
|
Inside of Box |
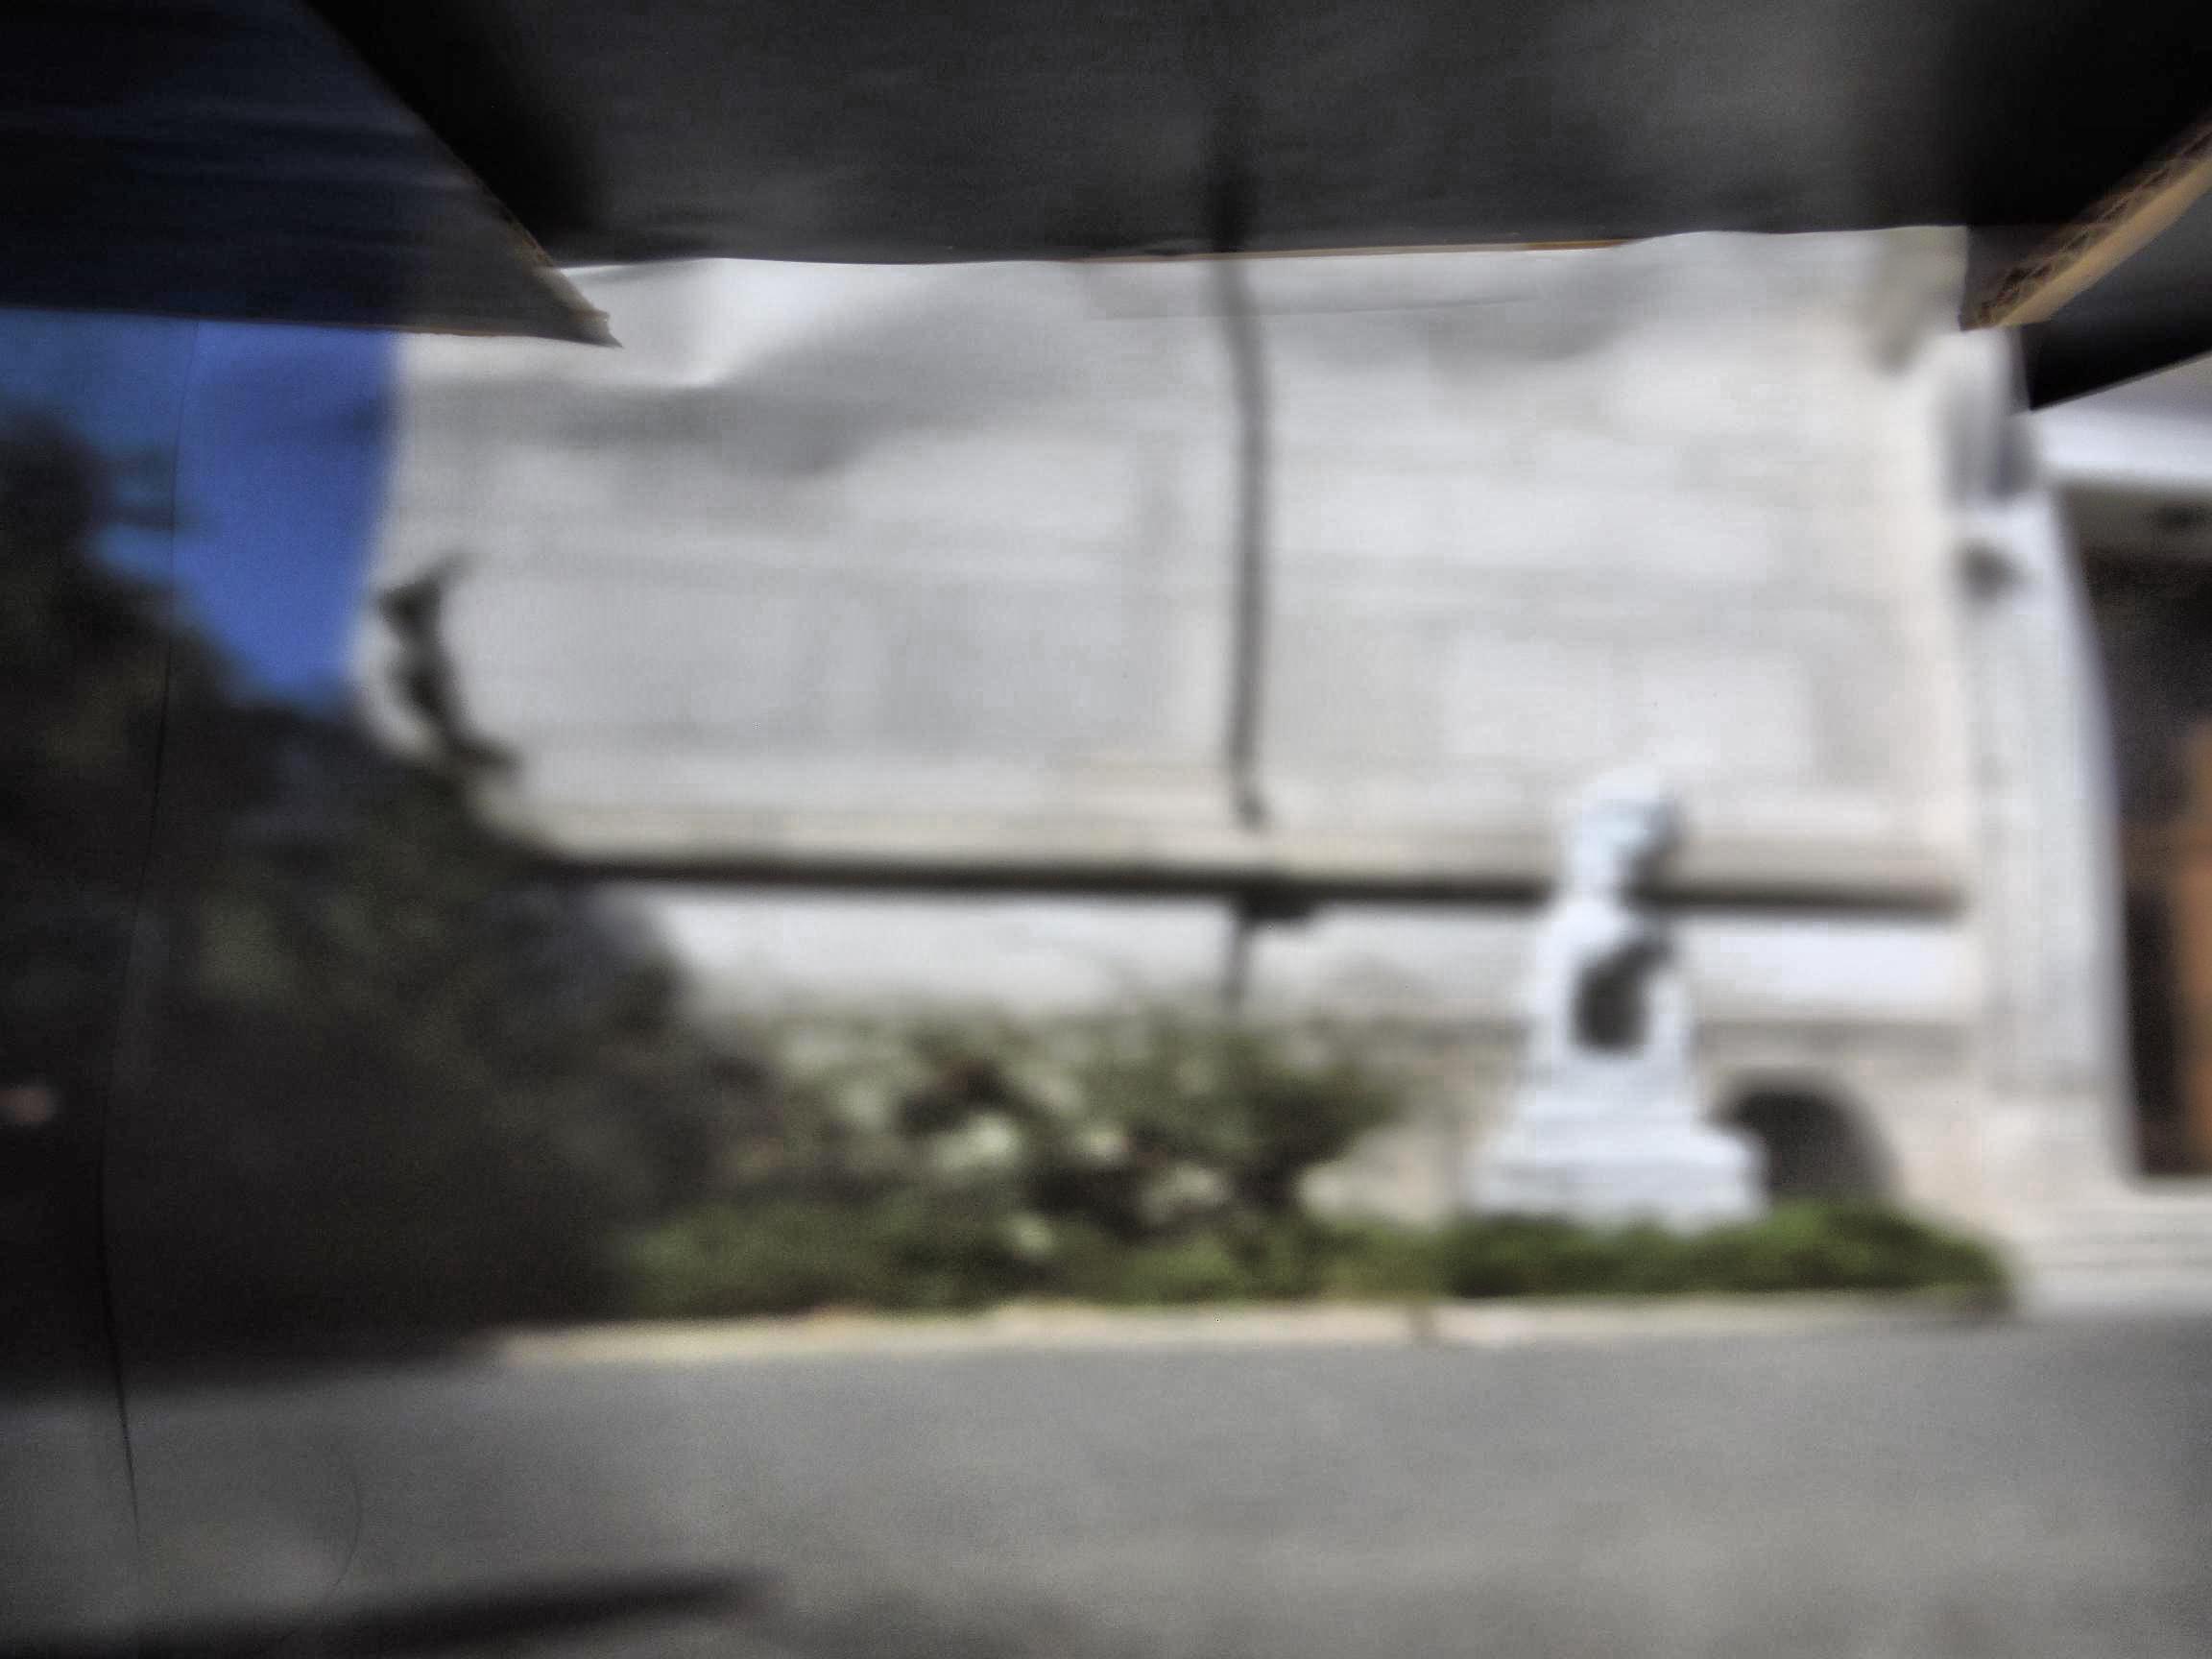
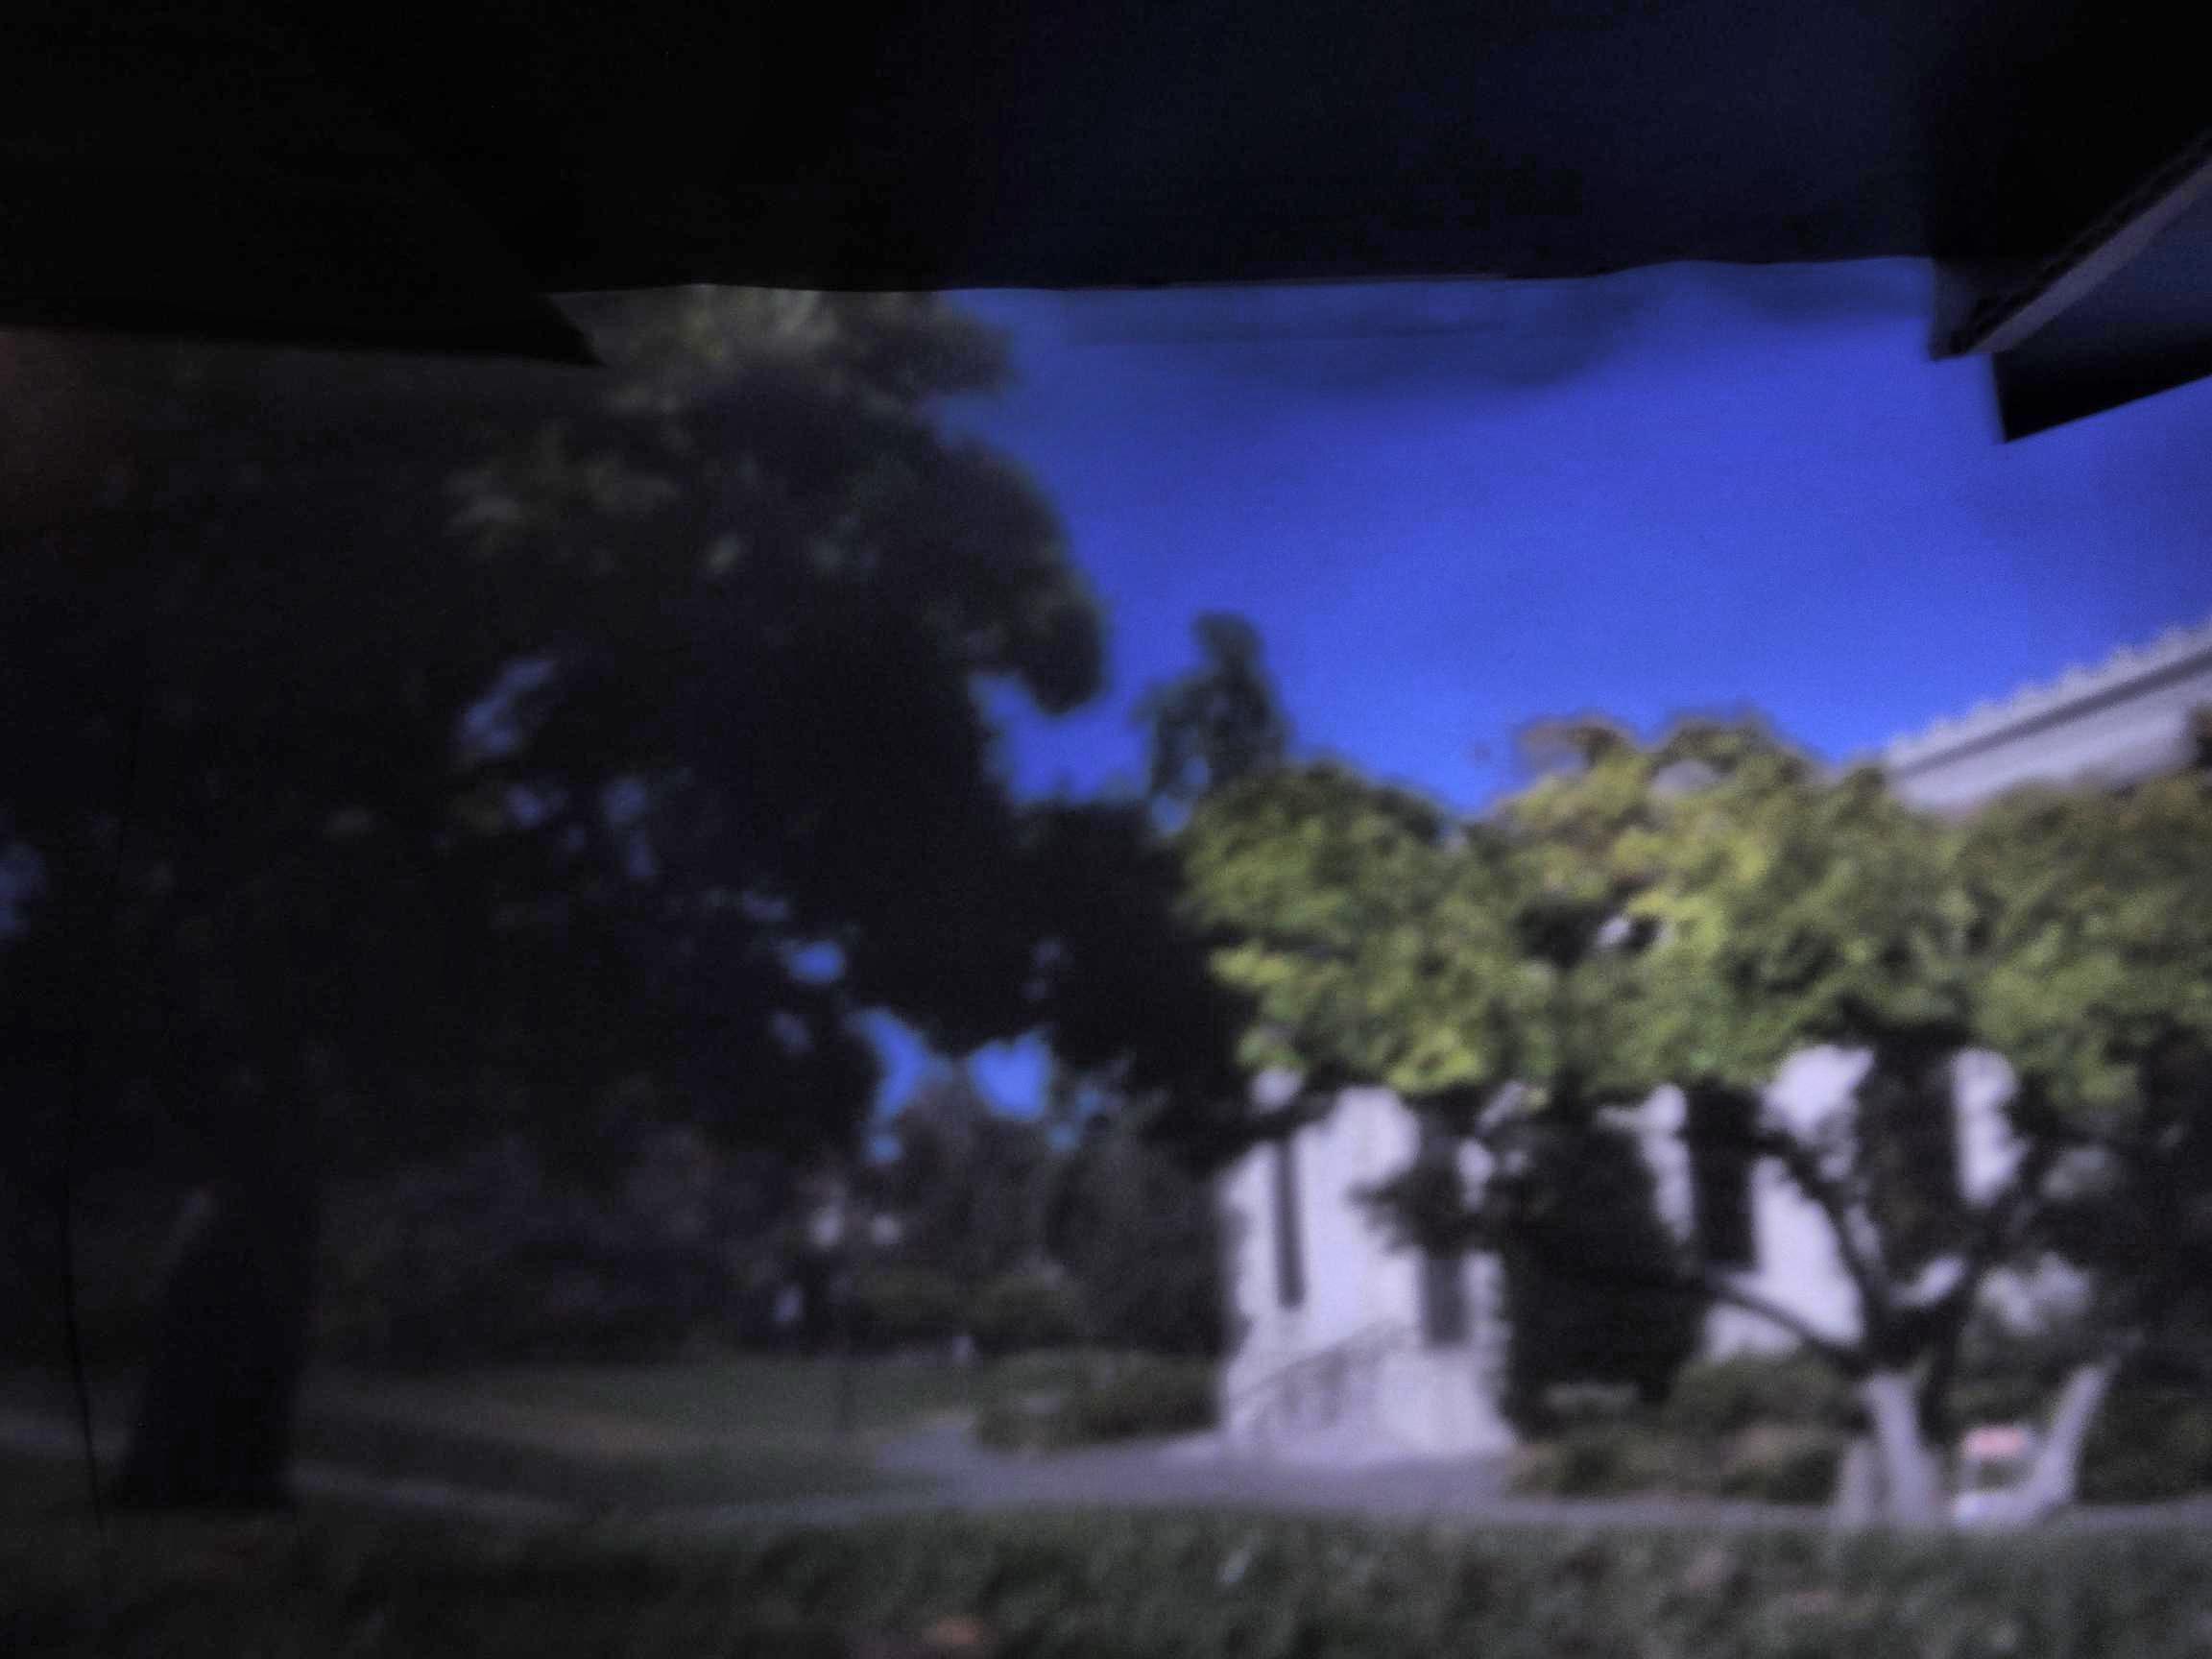
Lion (Stick) |
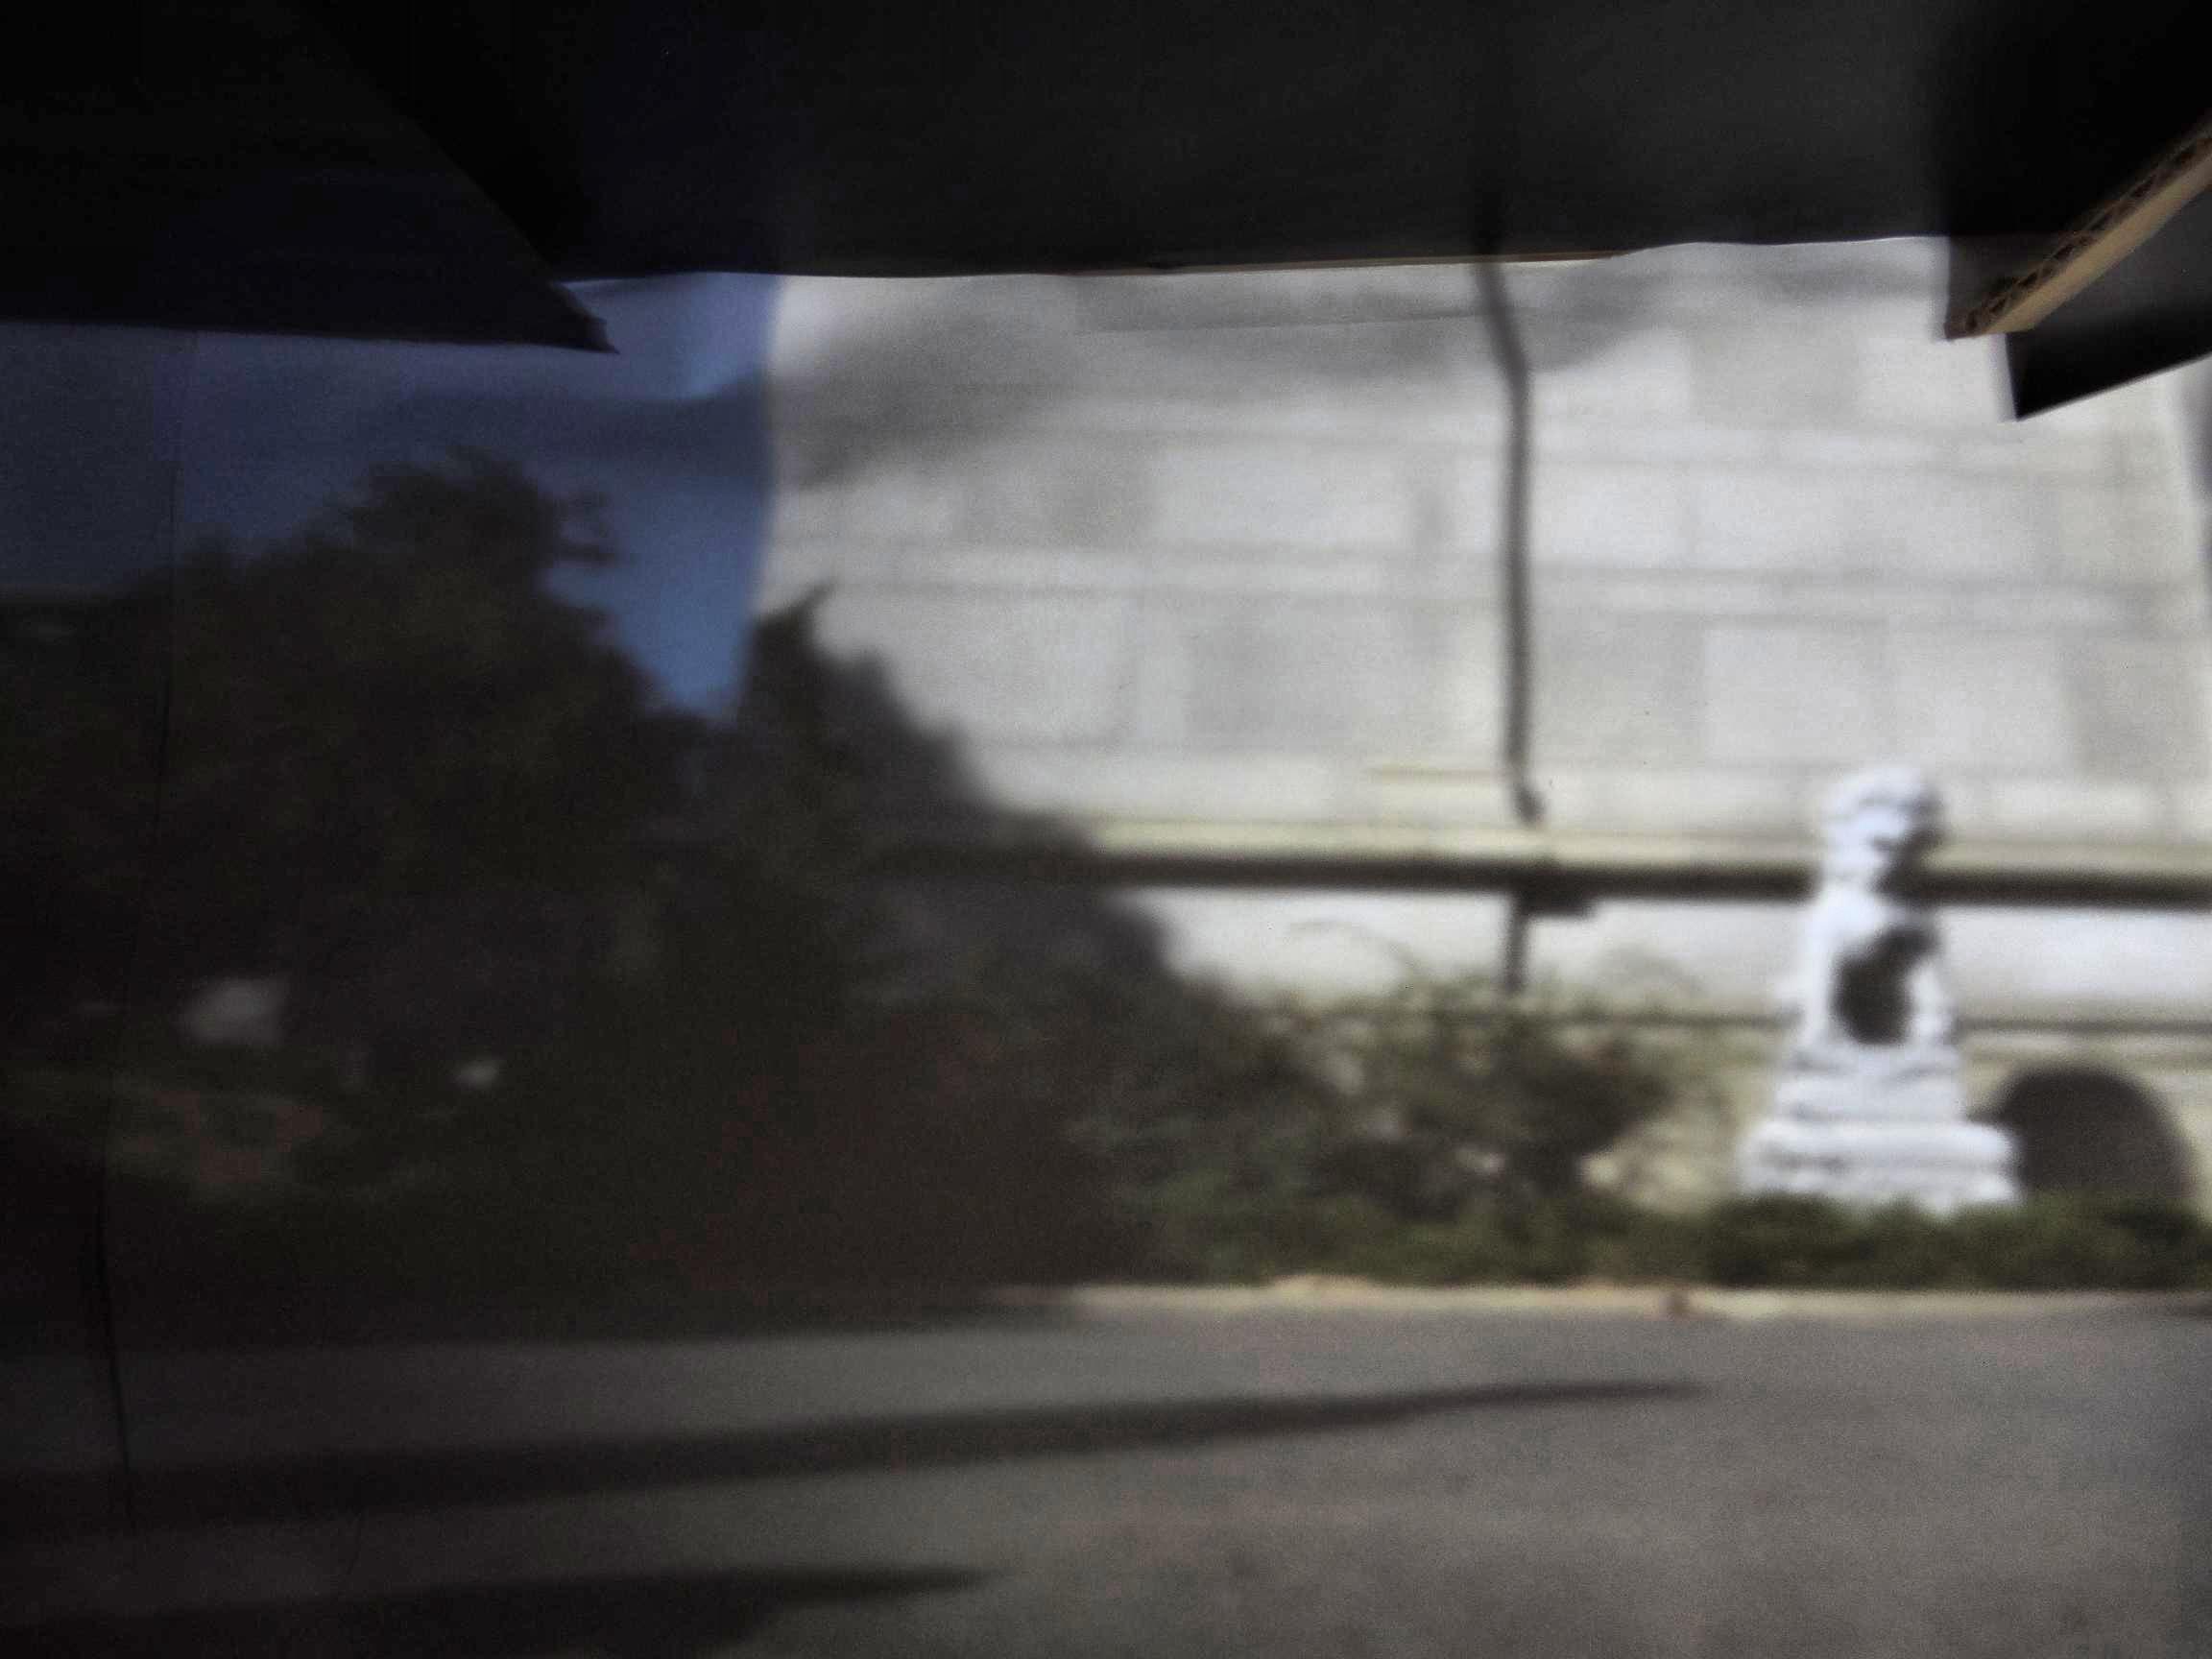
Lion (Screwdriver) |
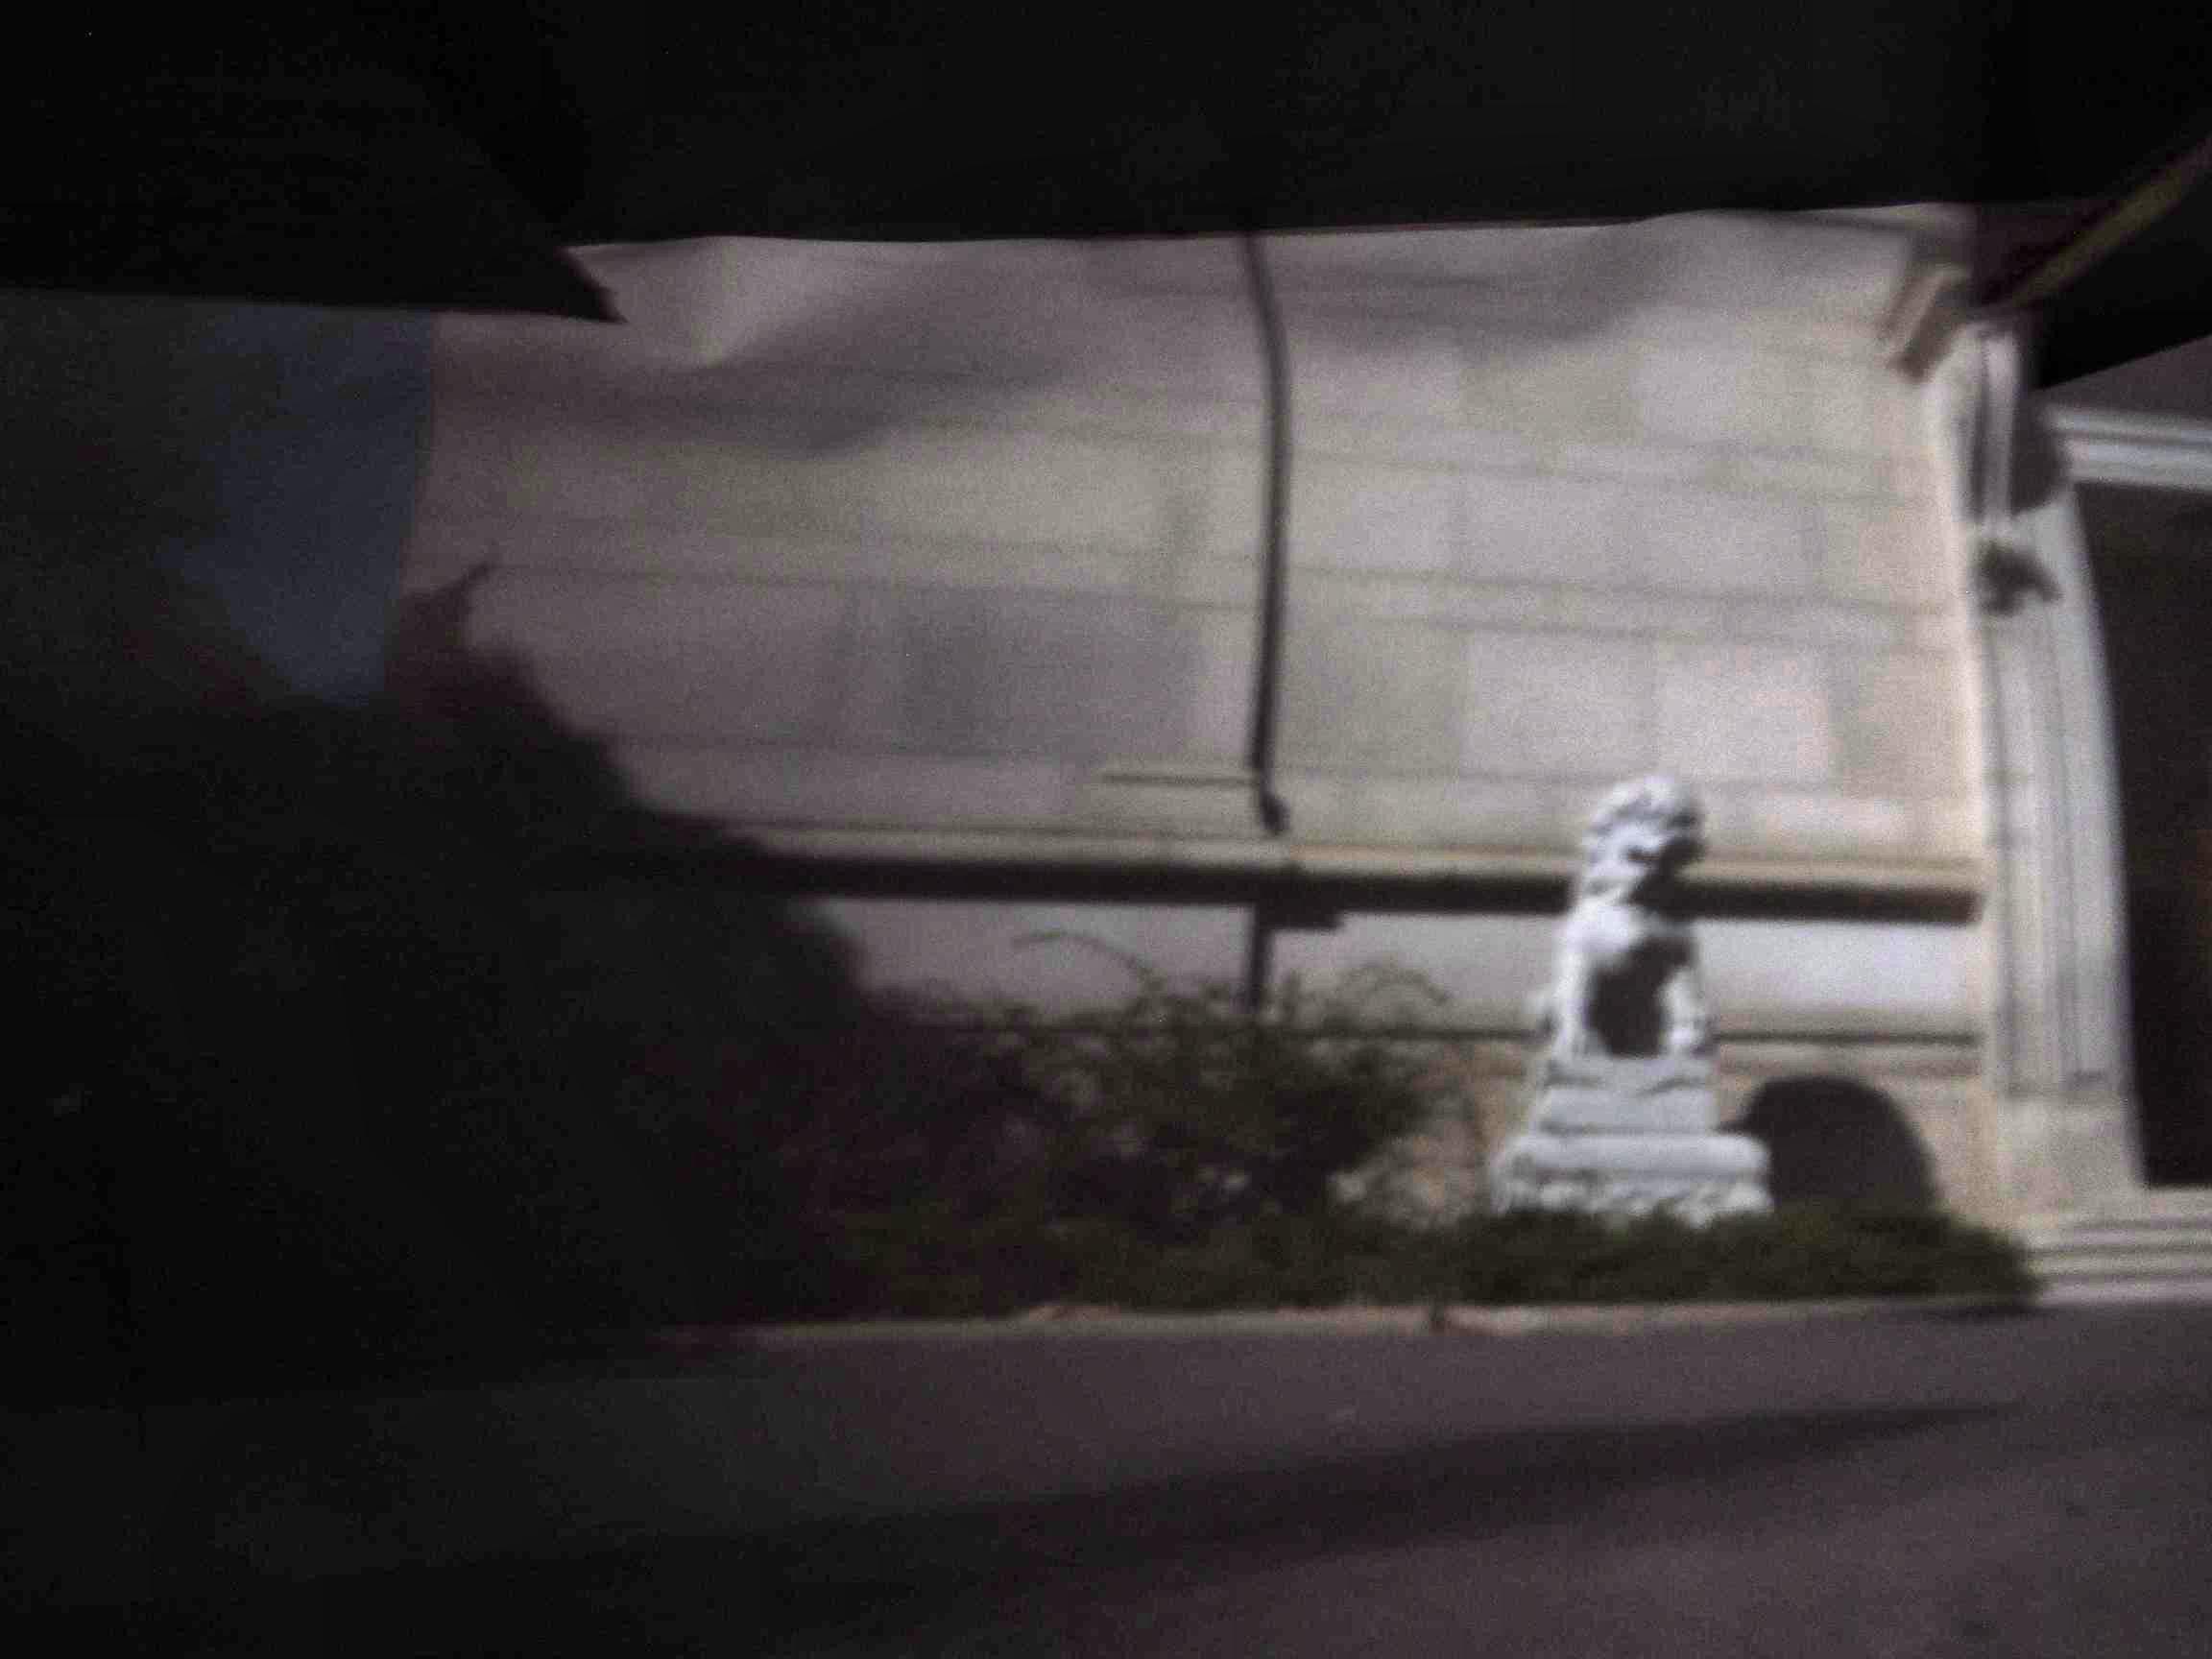
Lion (Pen) |

VLSB (Stick) |
VLSB (Screwdriver) |
VLSB (Pen) |
Red Sculpture (Stick) |
Red Sculpture (Screwdriver) |
Red Sculpture (Pen) |
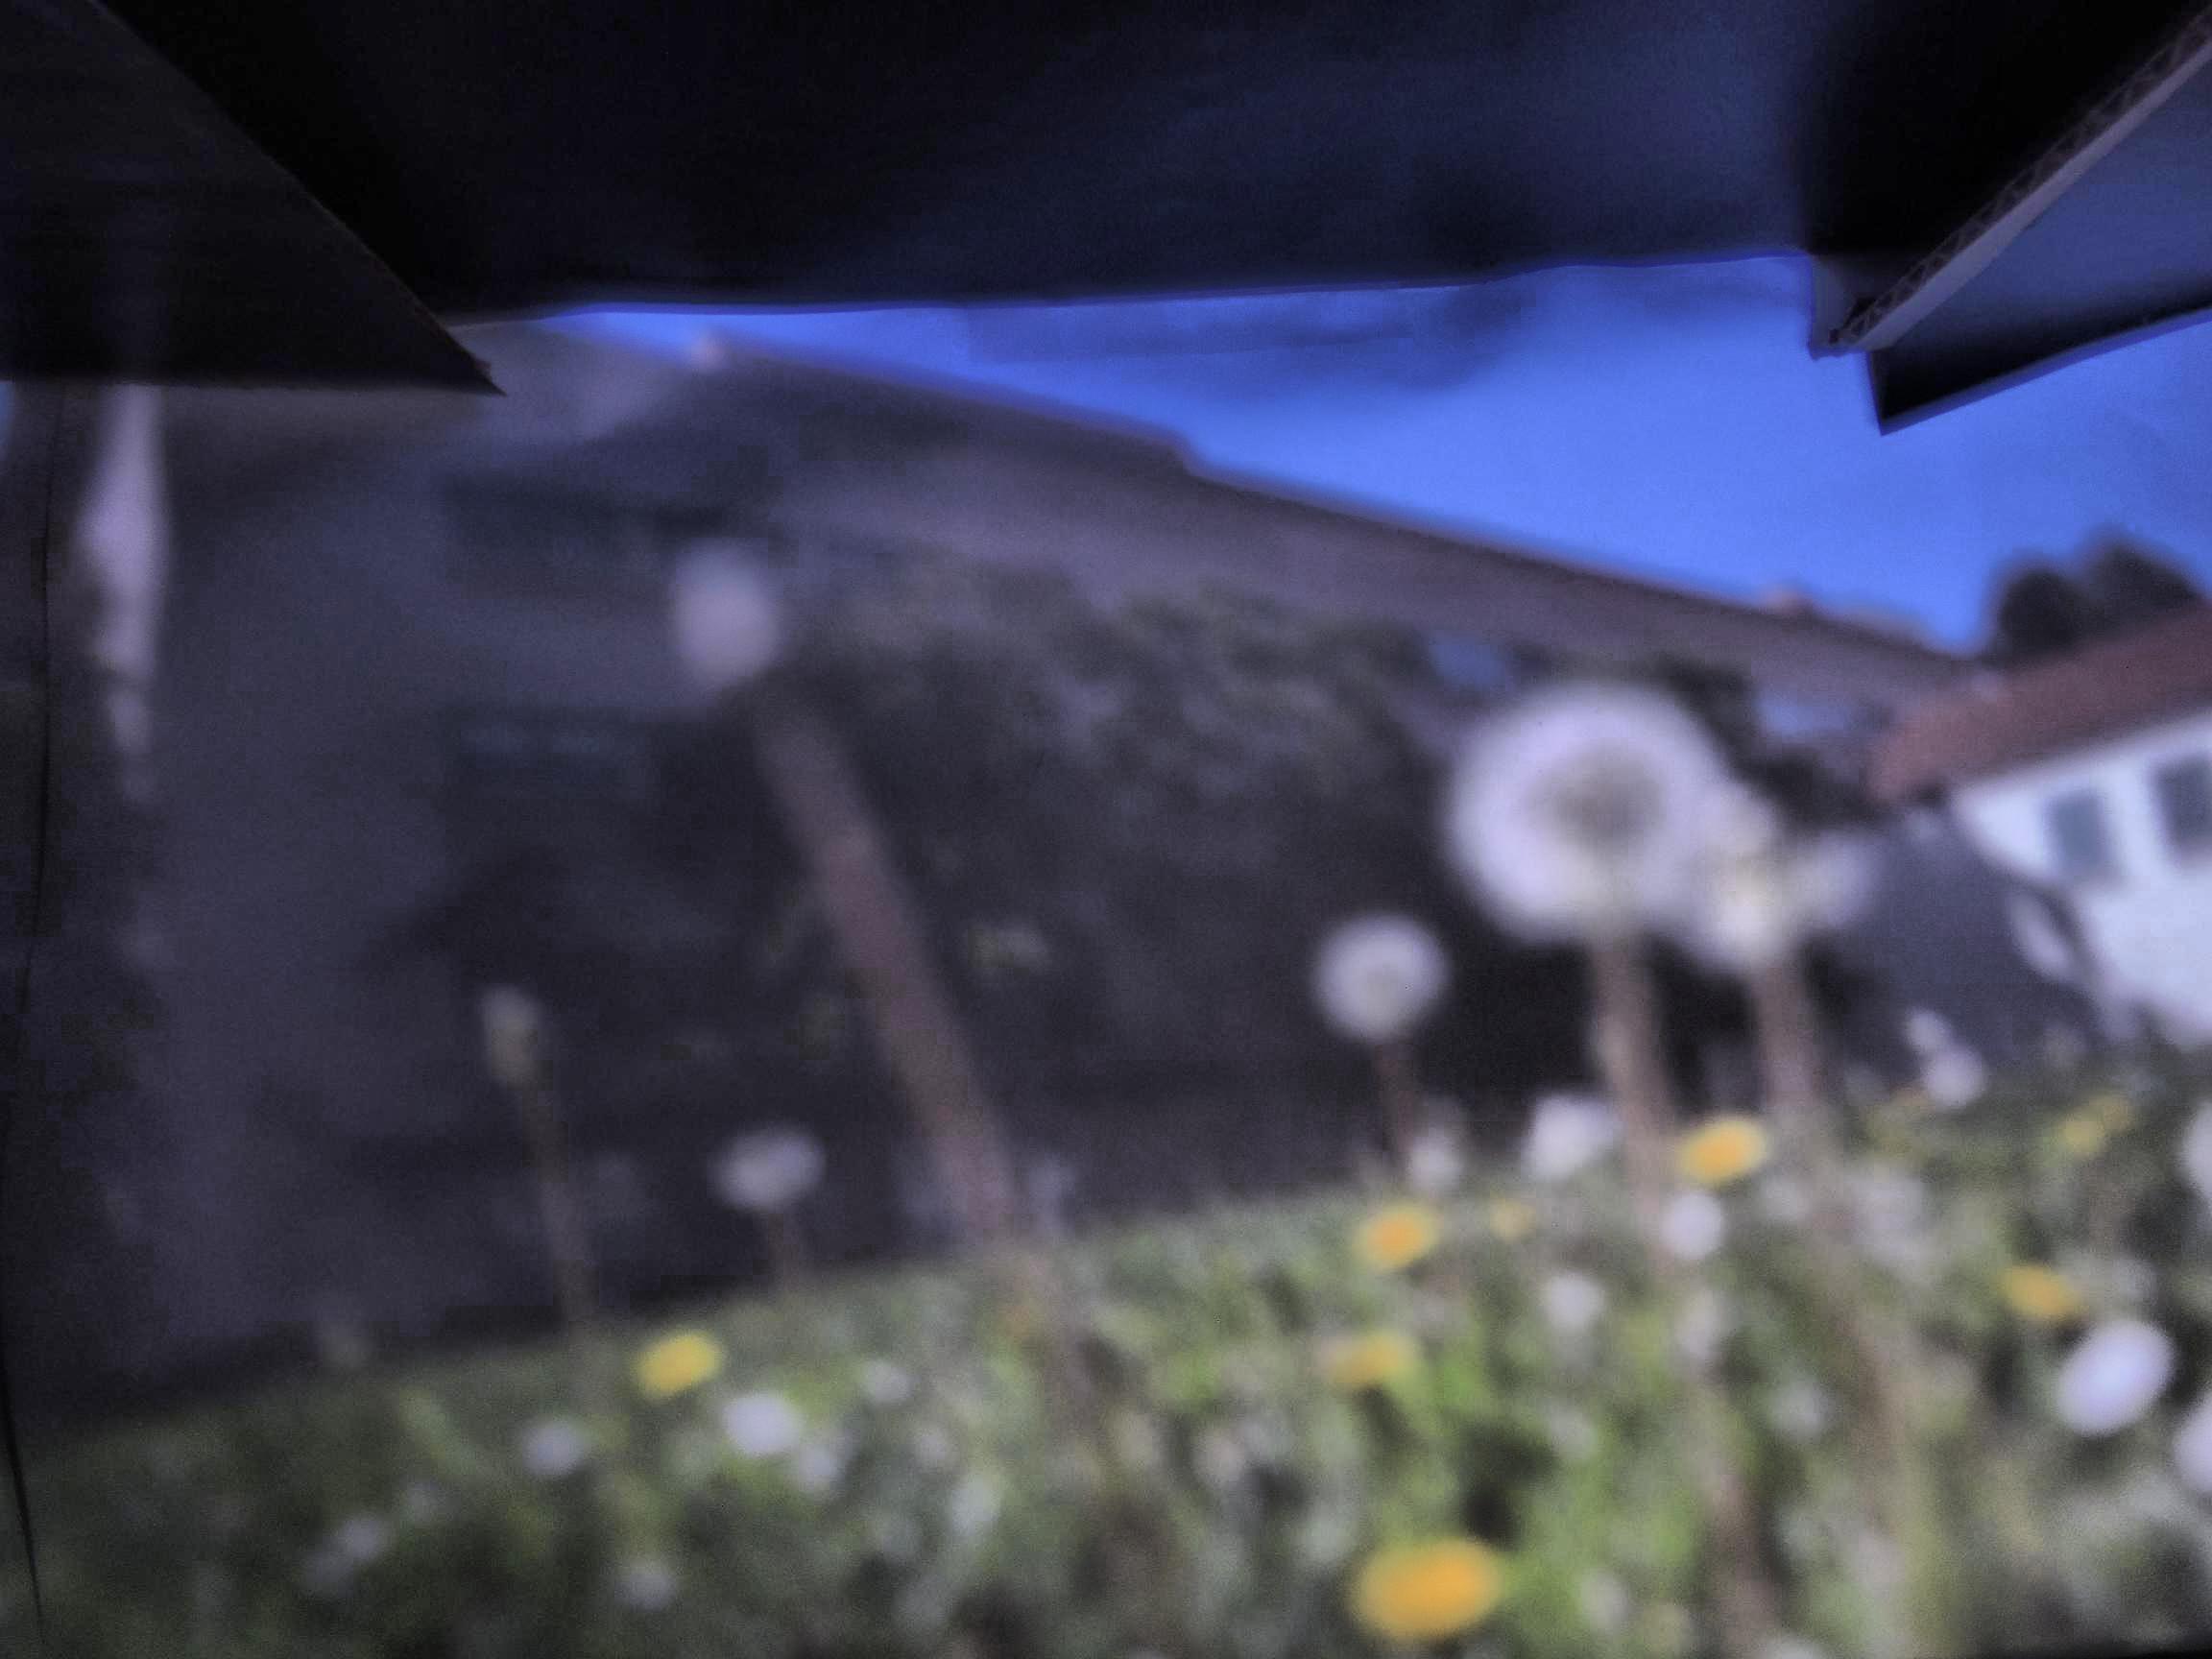
Dandelion (Stick) |
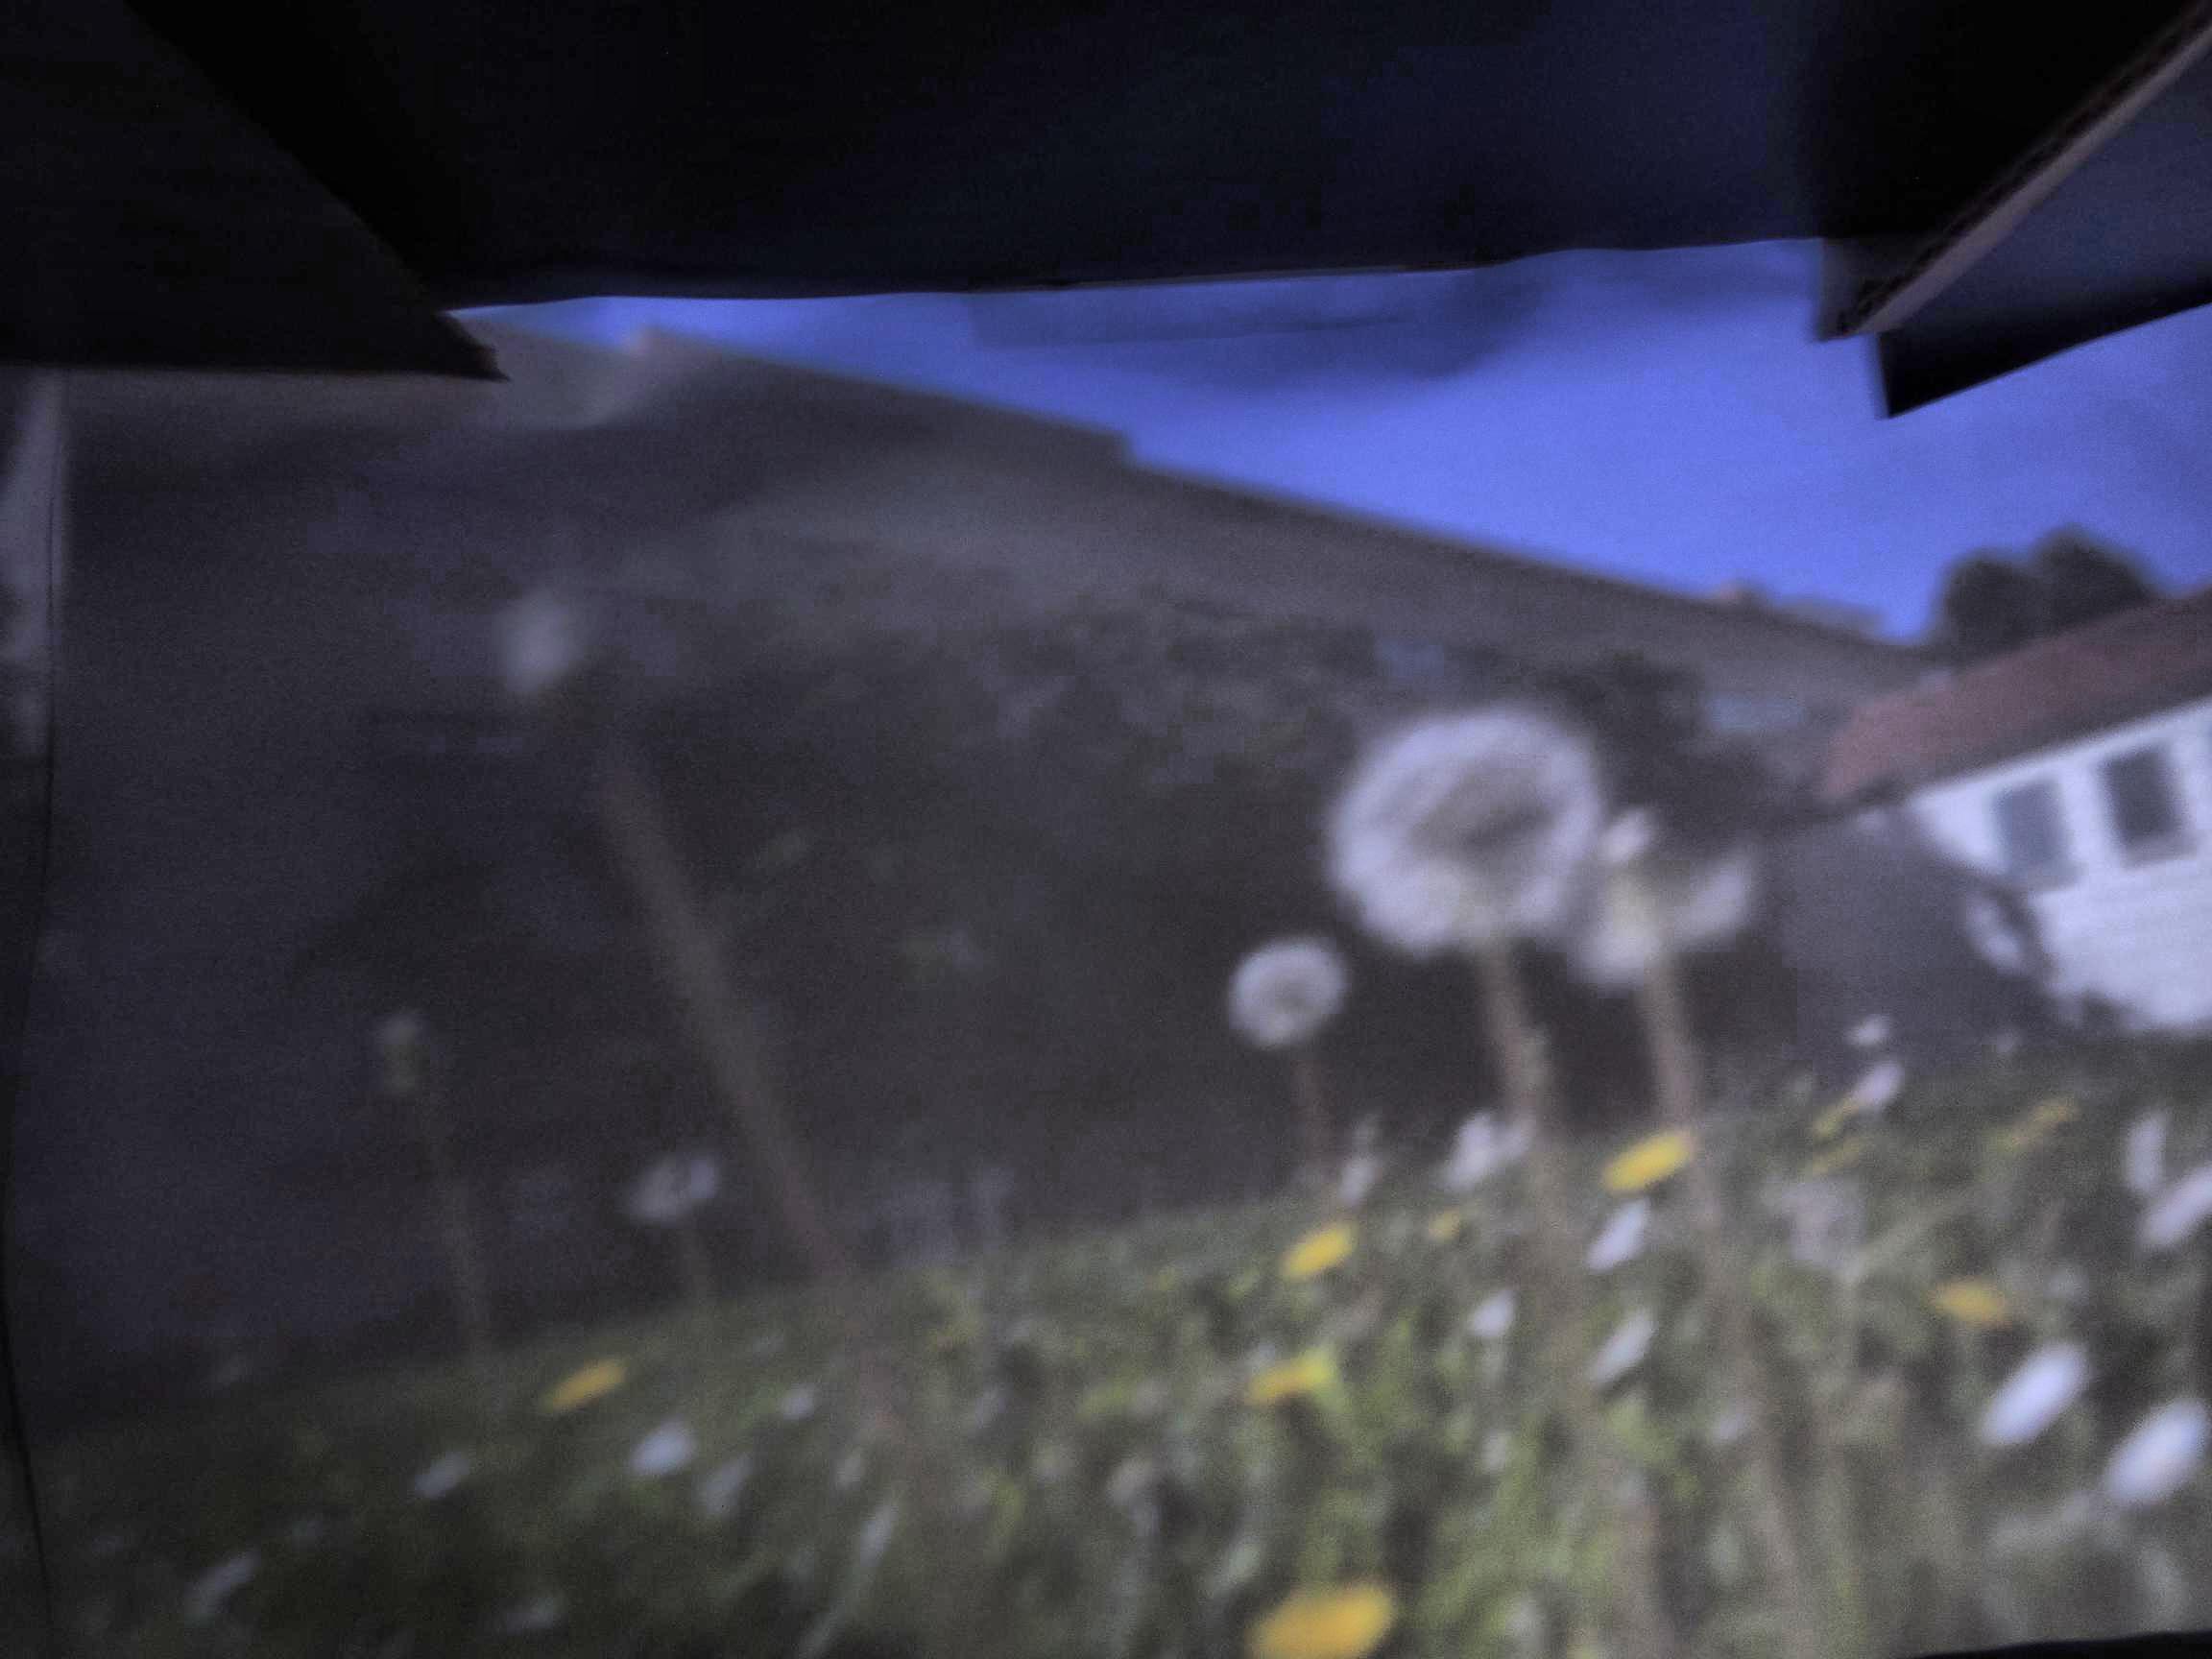
Dandelion (Screwdriver) |
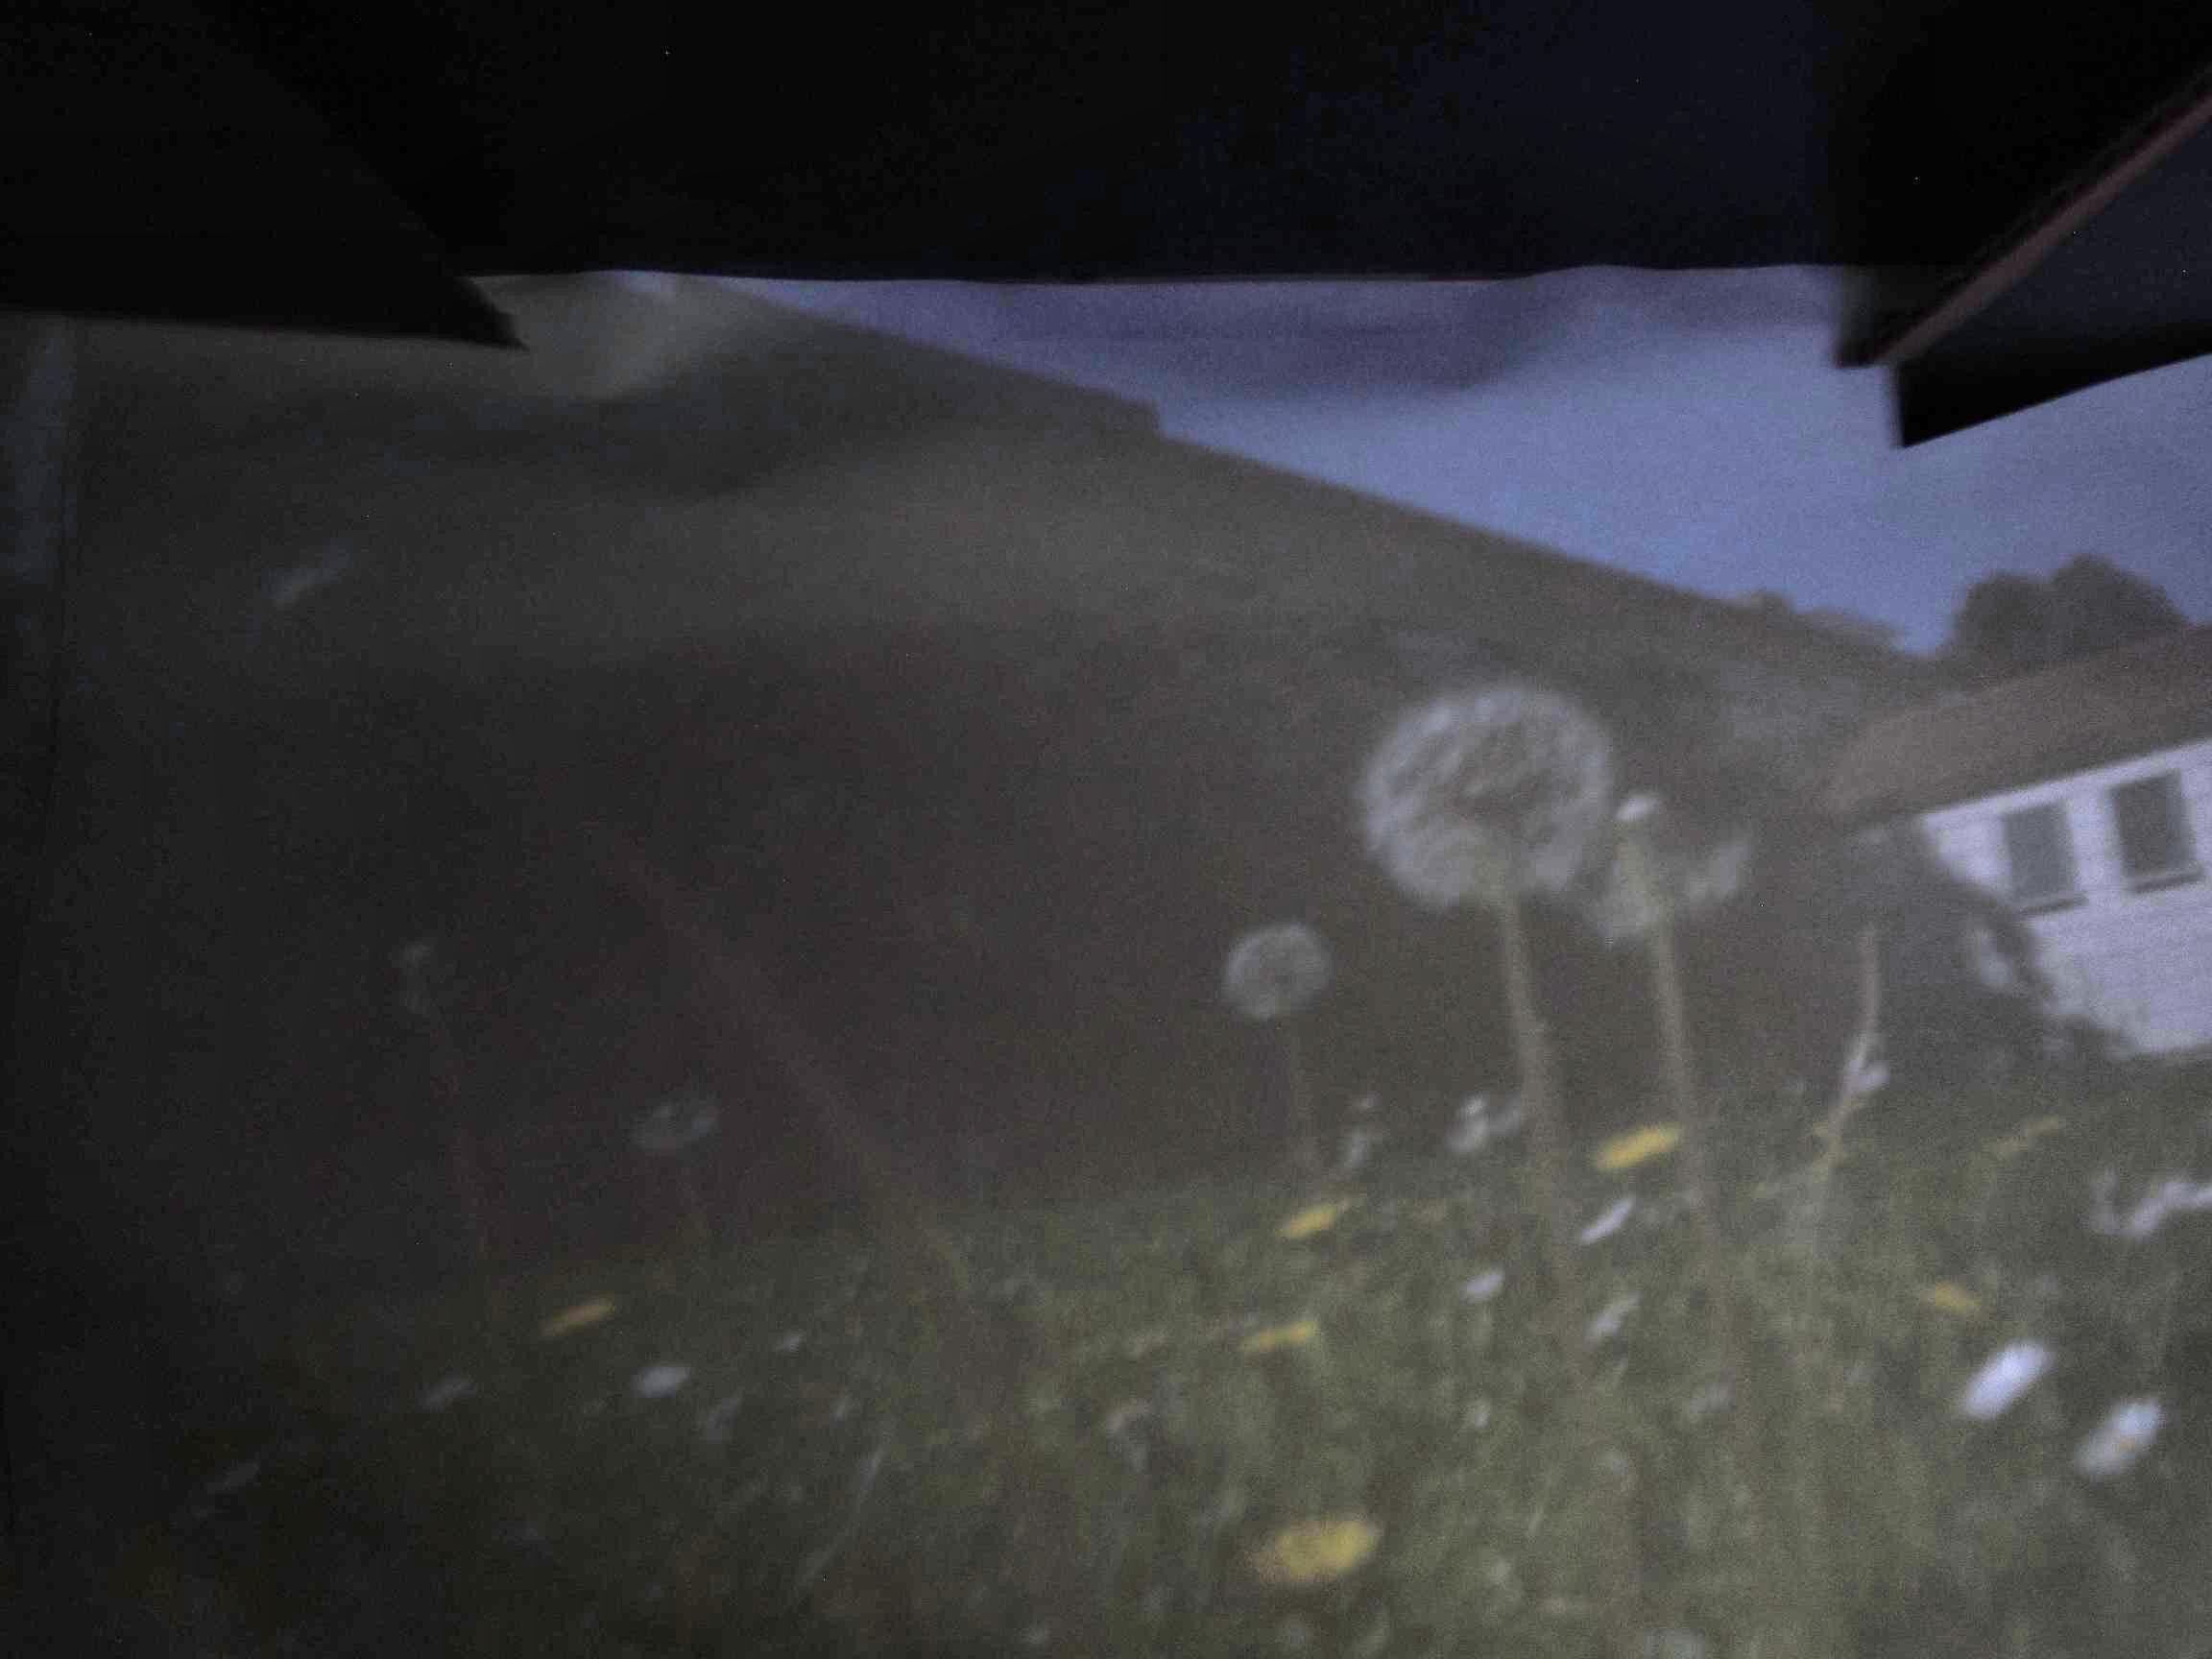
Dandelion (Pen) |
BAMPFA (Stick) |
BAMPFA (Screwdriver) |
BAMPFA (Pen) |
Food (Stick) |
Food (Screwdriver) |
Food (Pen) |
Our camera was about 22cm from pinhole to screen. The formula for pinhole size indicates that a pinhole of 0.66mm is optimal. Unfortunately, we could not use the correct size - our camera only allowed for at most 15 seconds of exposure time, and only at the lowest ISO setting. Under these conditions, the correctly sized pinhole would not let in enough light, leading to a completely black image. Thus, given the constraints of the camera exposure time, we determined that the screwdriver (3mm) actually produced the best quality images. As can be seen in the results section, the larger pinhole (stick, 4mm) produced brighter and more vibrantly colored images, but these were blurrier as the larger hole allowed in too much light such that each point on our screen received light from multiple angles and blurred the image. The pen produced images that appear sharper, but were much dimmer as not enough light could enter the pinhole to produce a sufficiently bright image under the given exposure time.
The first bells and whistles we tried to implement was light painting. We accomplished this by setting the camera on a stable object in a dark room and setting the exposure time to 15 seconds. We then used a flashlight, with the beam pointed towards the camera, to draw images. The following pictures are examples of successful trials.
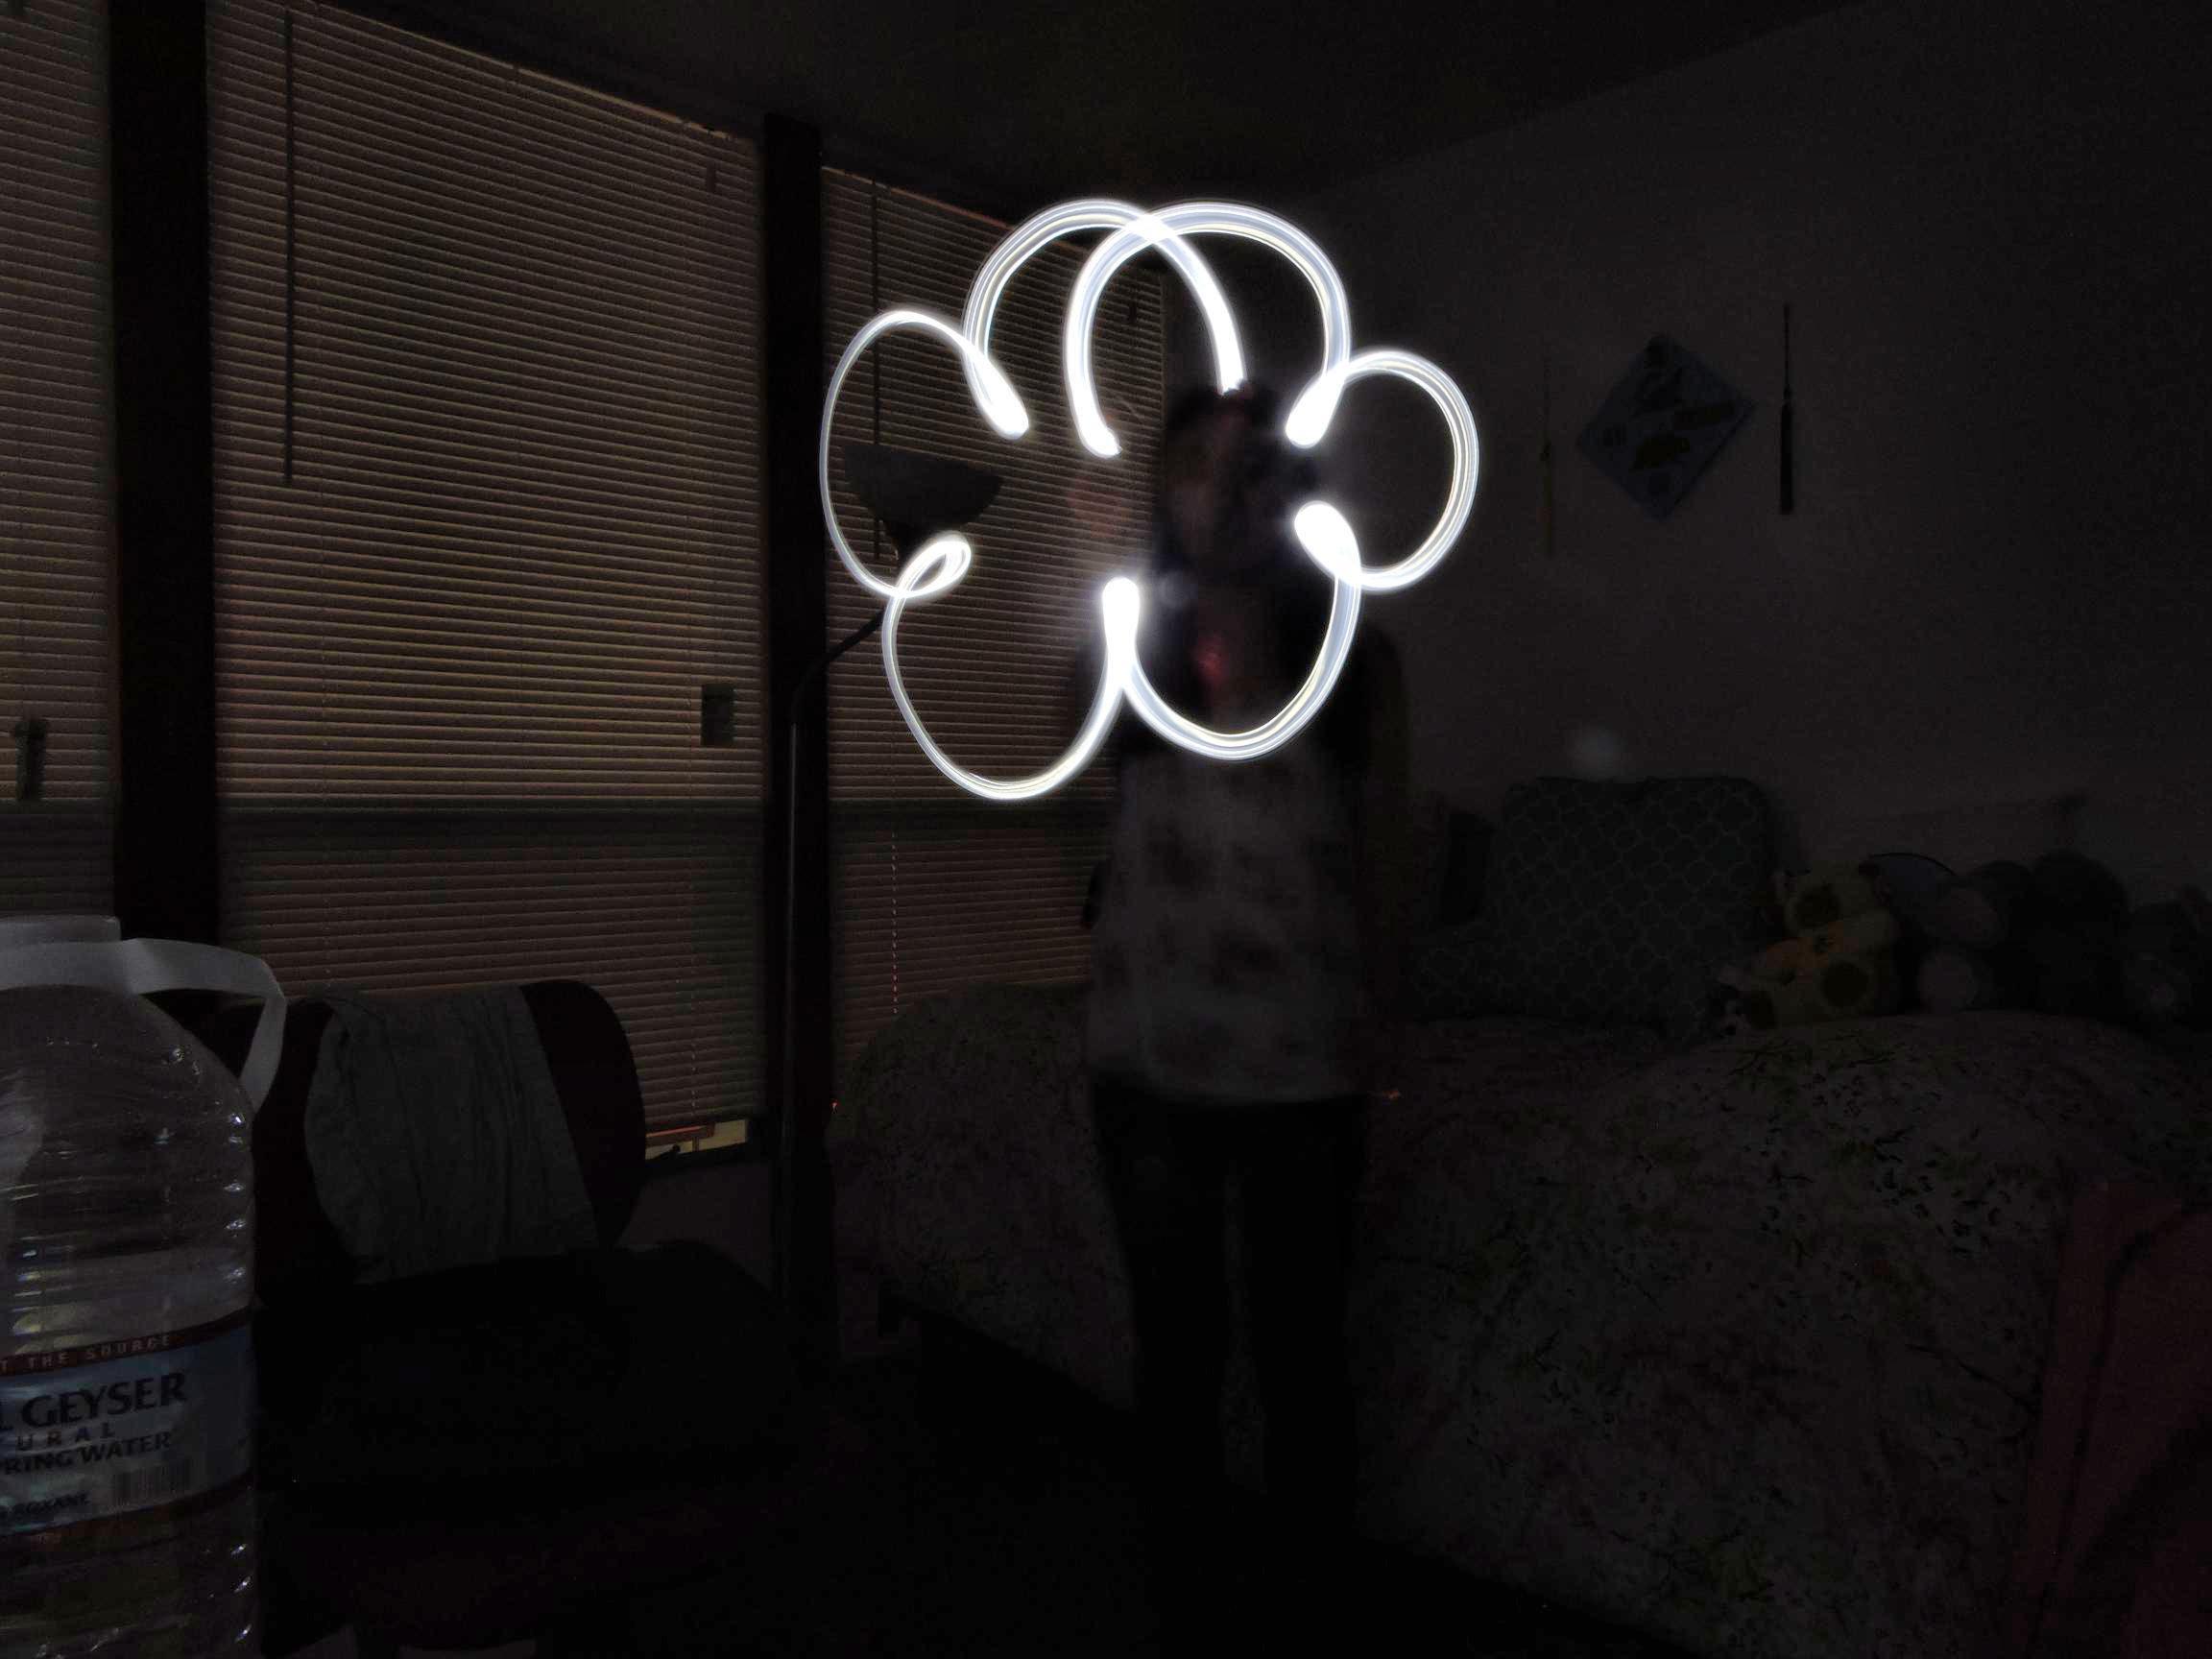
Cloud |
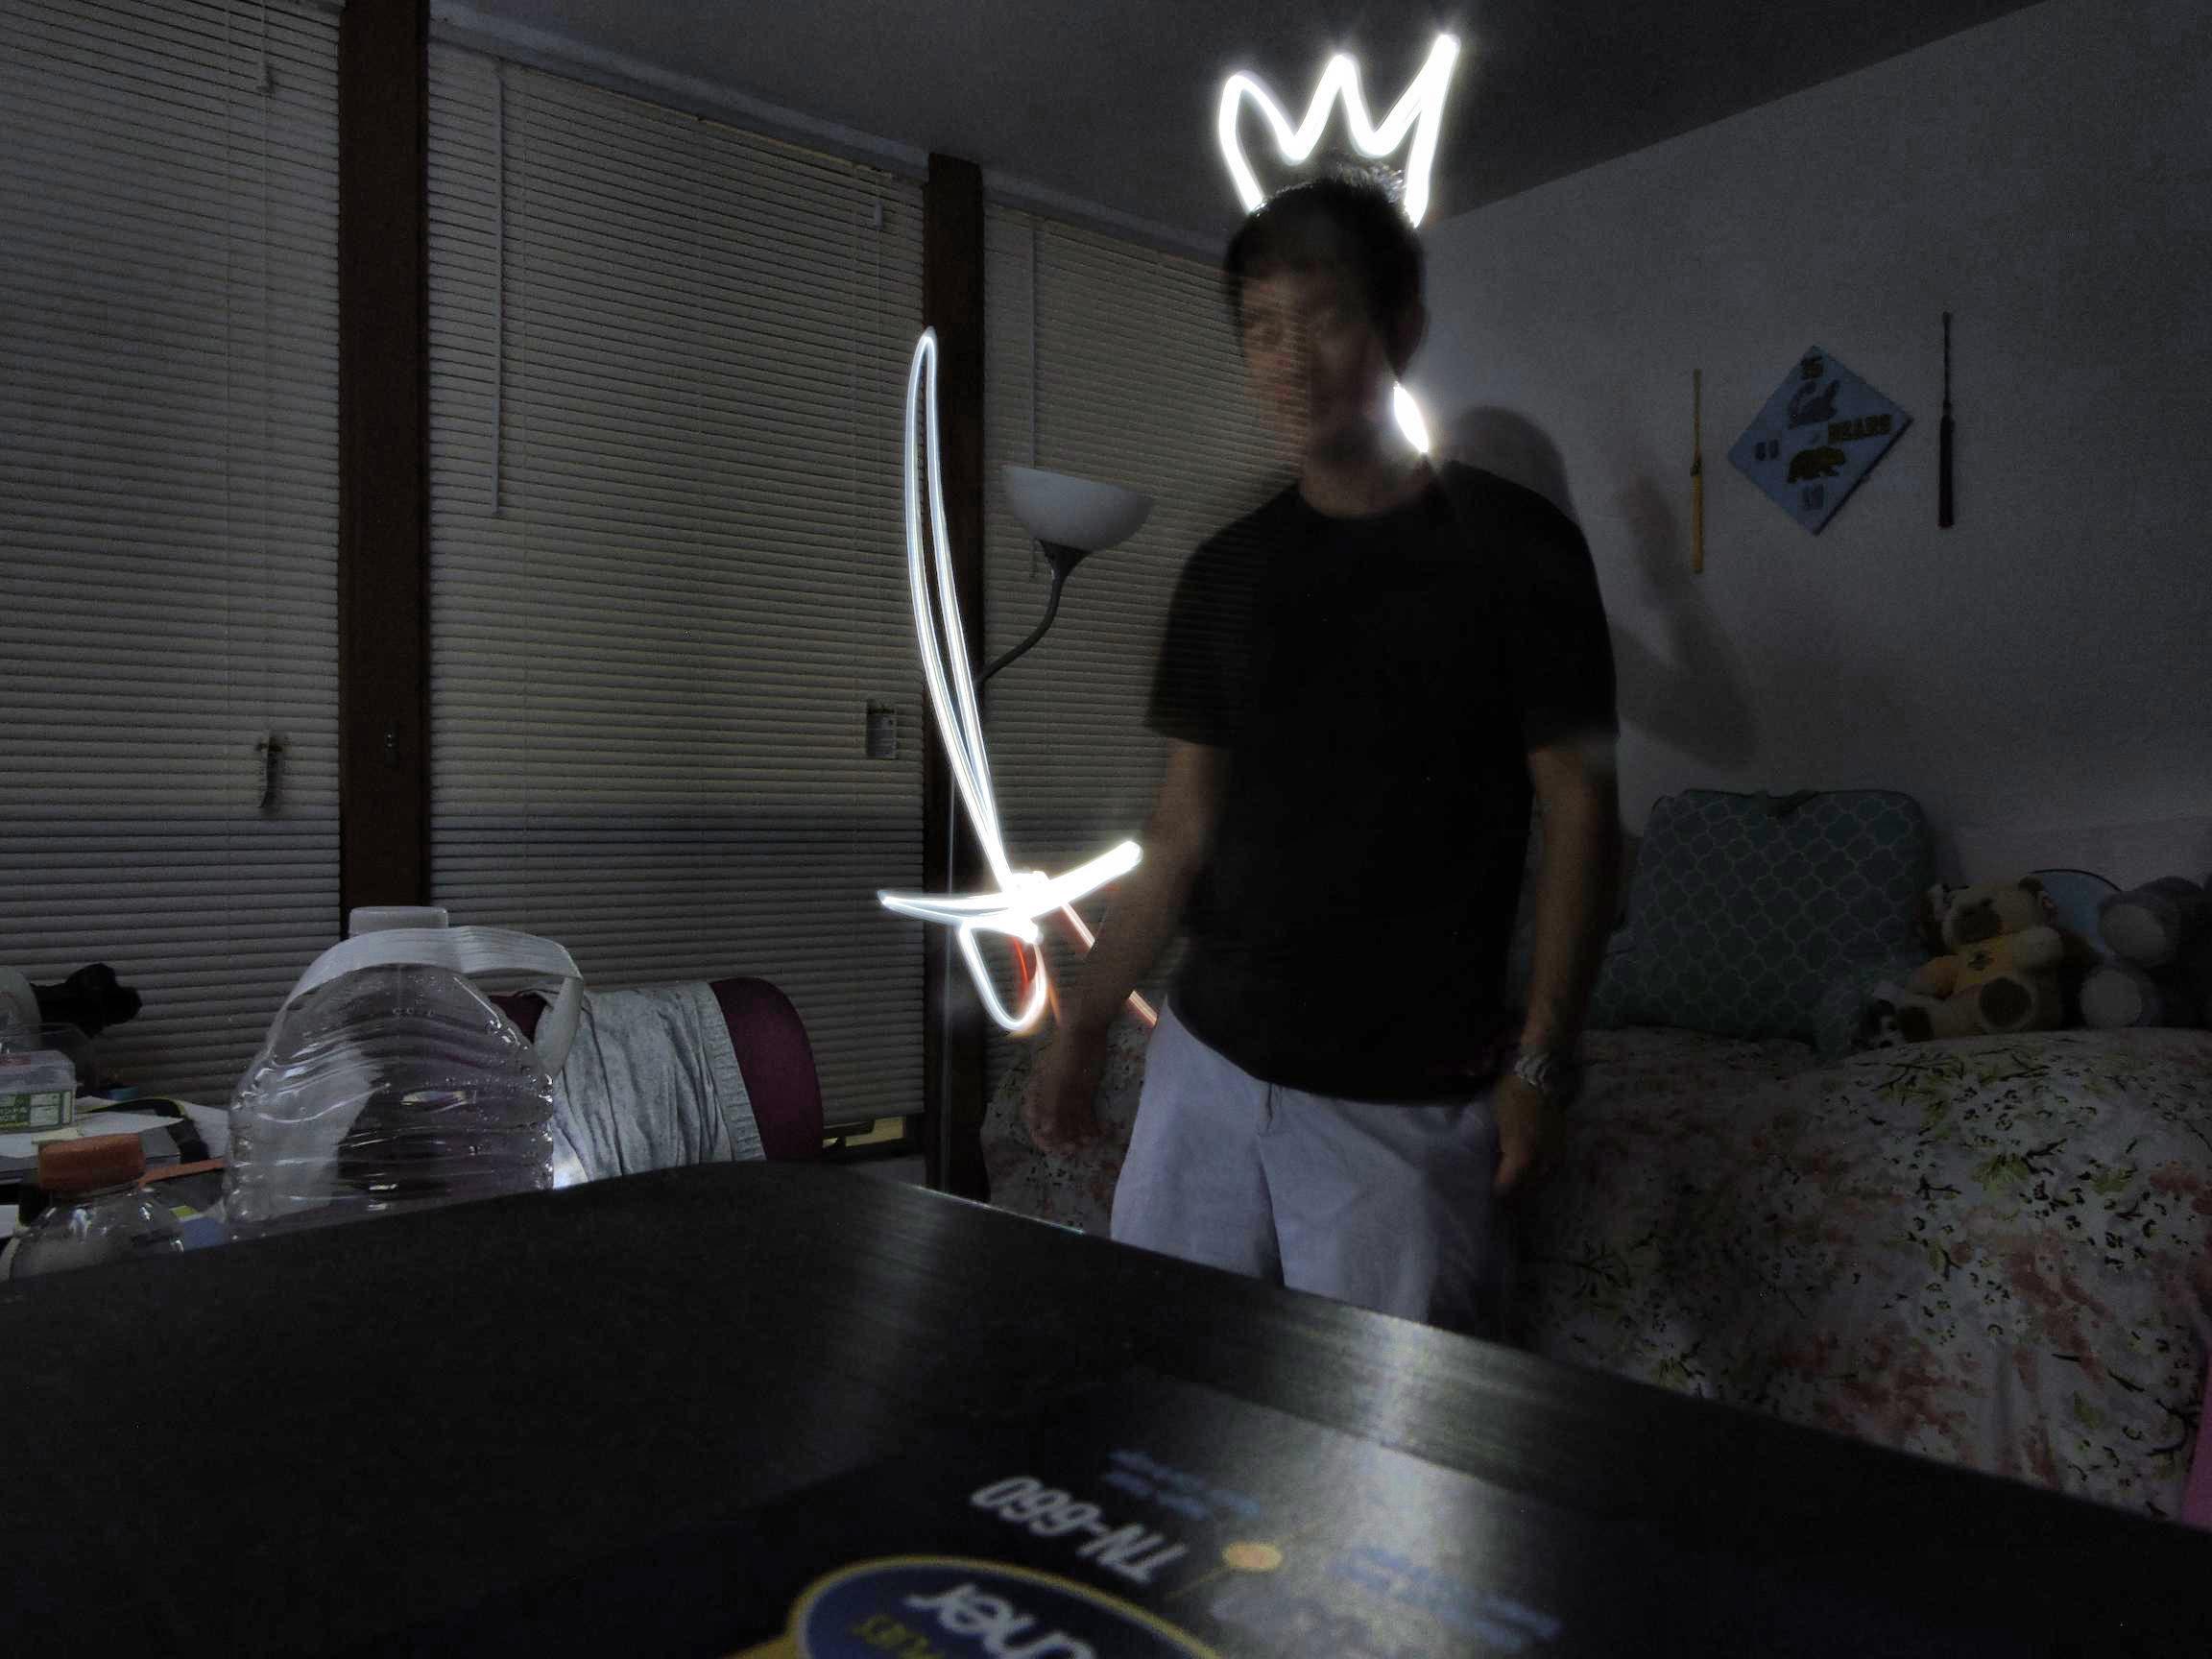
Crown and Sword |
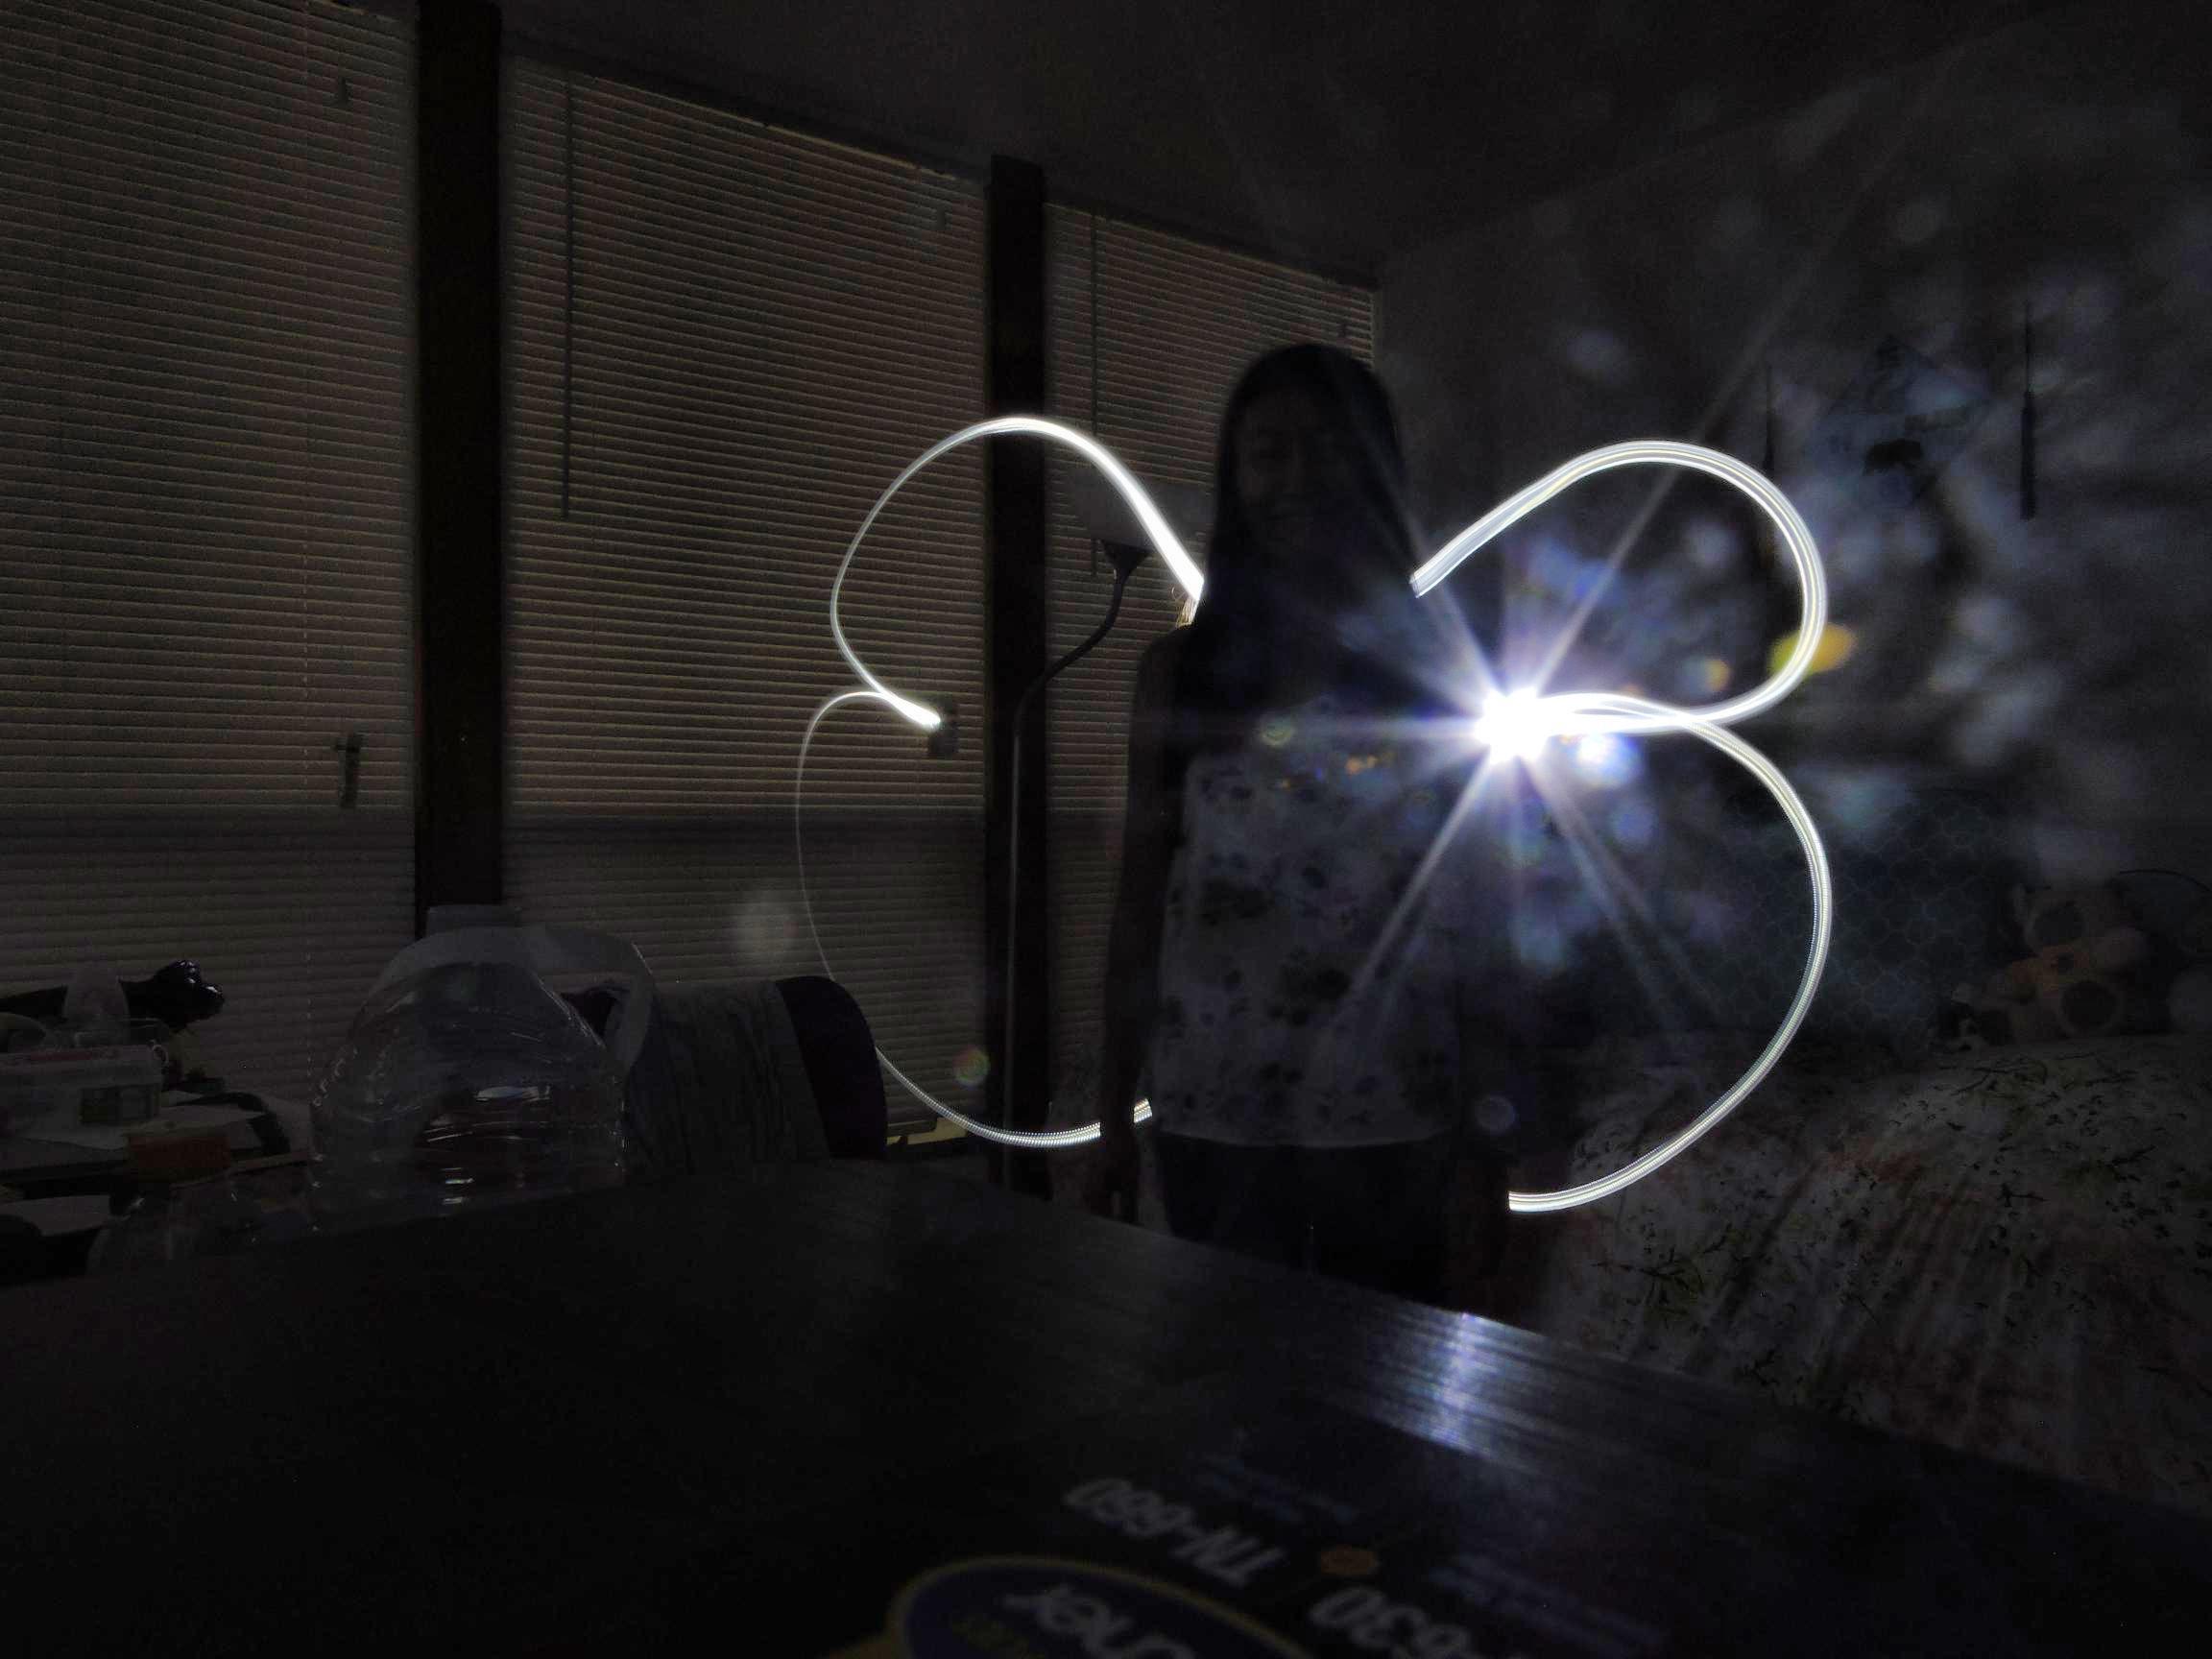
Wings |
The second bells and whistles we tried to implement was the camera obscura with tracing paper instead of a camera. We did this by using another box and poking two holes in it, similarly to how we built the camera obscura for the main project. However, instead of a camera, we used a tissue paper as a screen instead. The image from the pinhole thus projects onto the tissue paper and can be viewed by the naked eye.
Camera Obscura (Screen side) |
Camera Obscura (Pinhole side) |
Demo viewing of a tree |
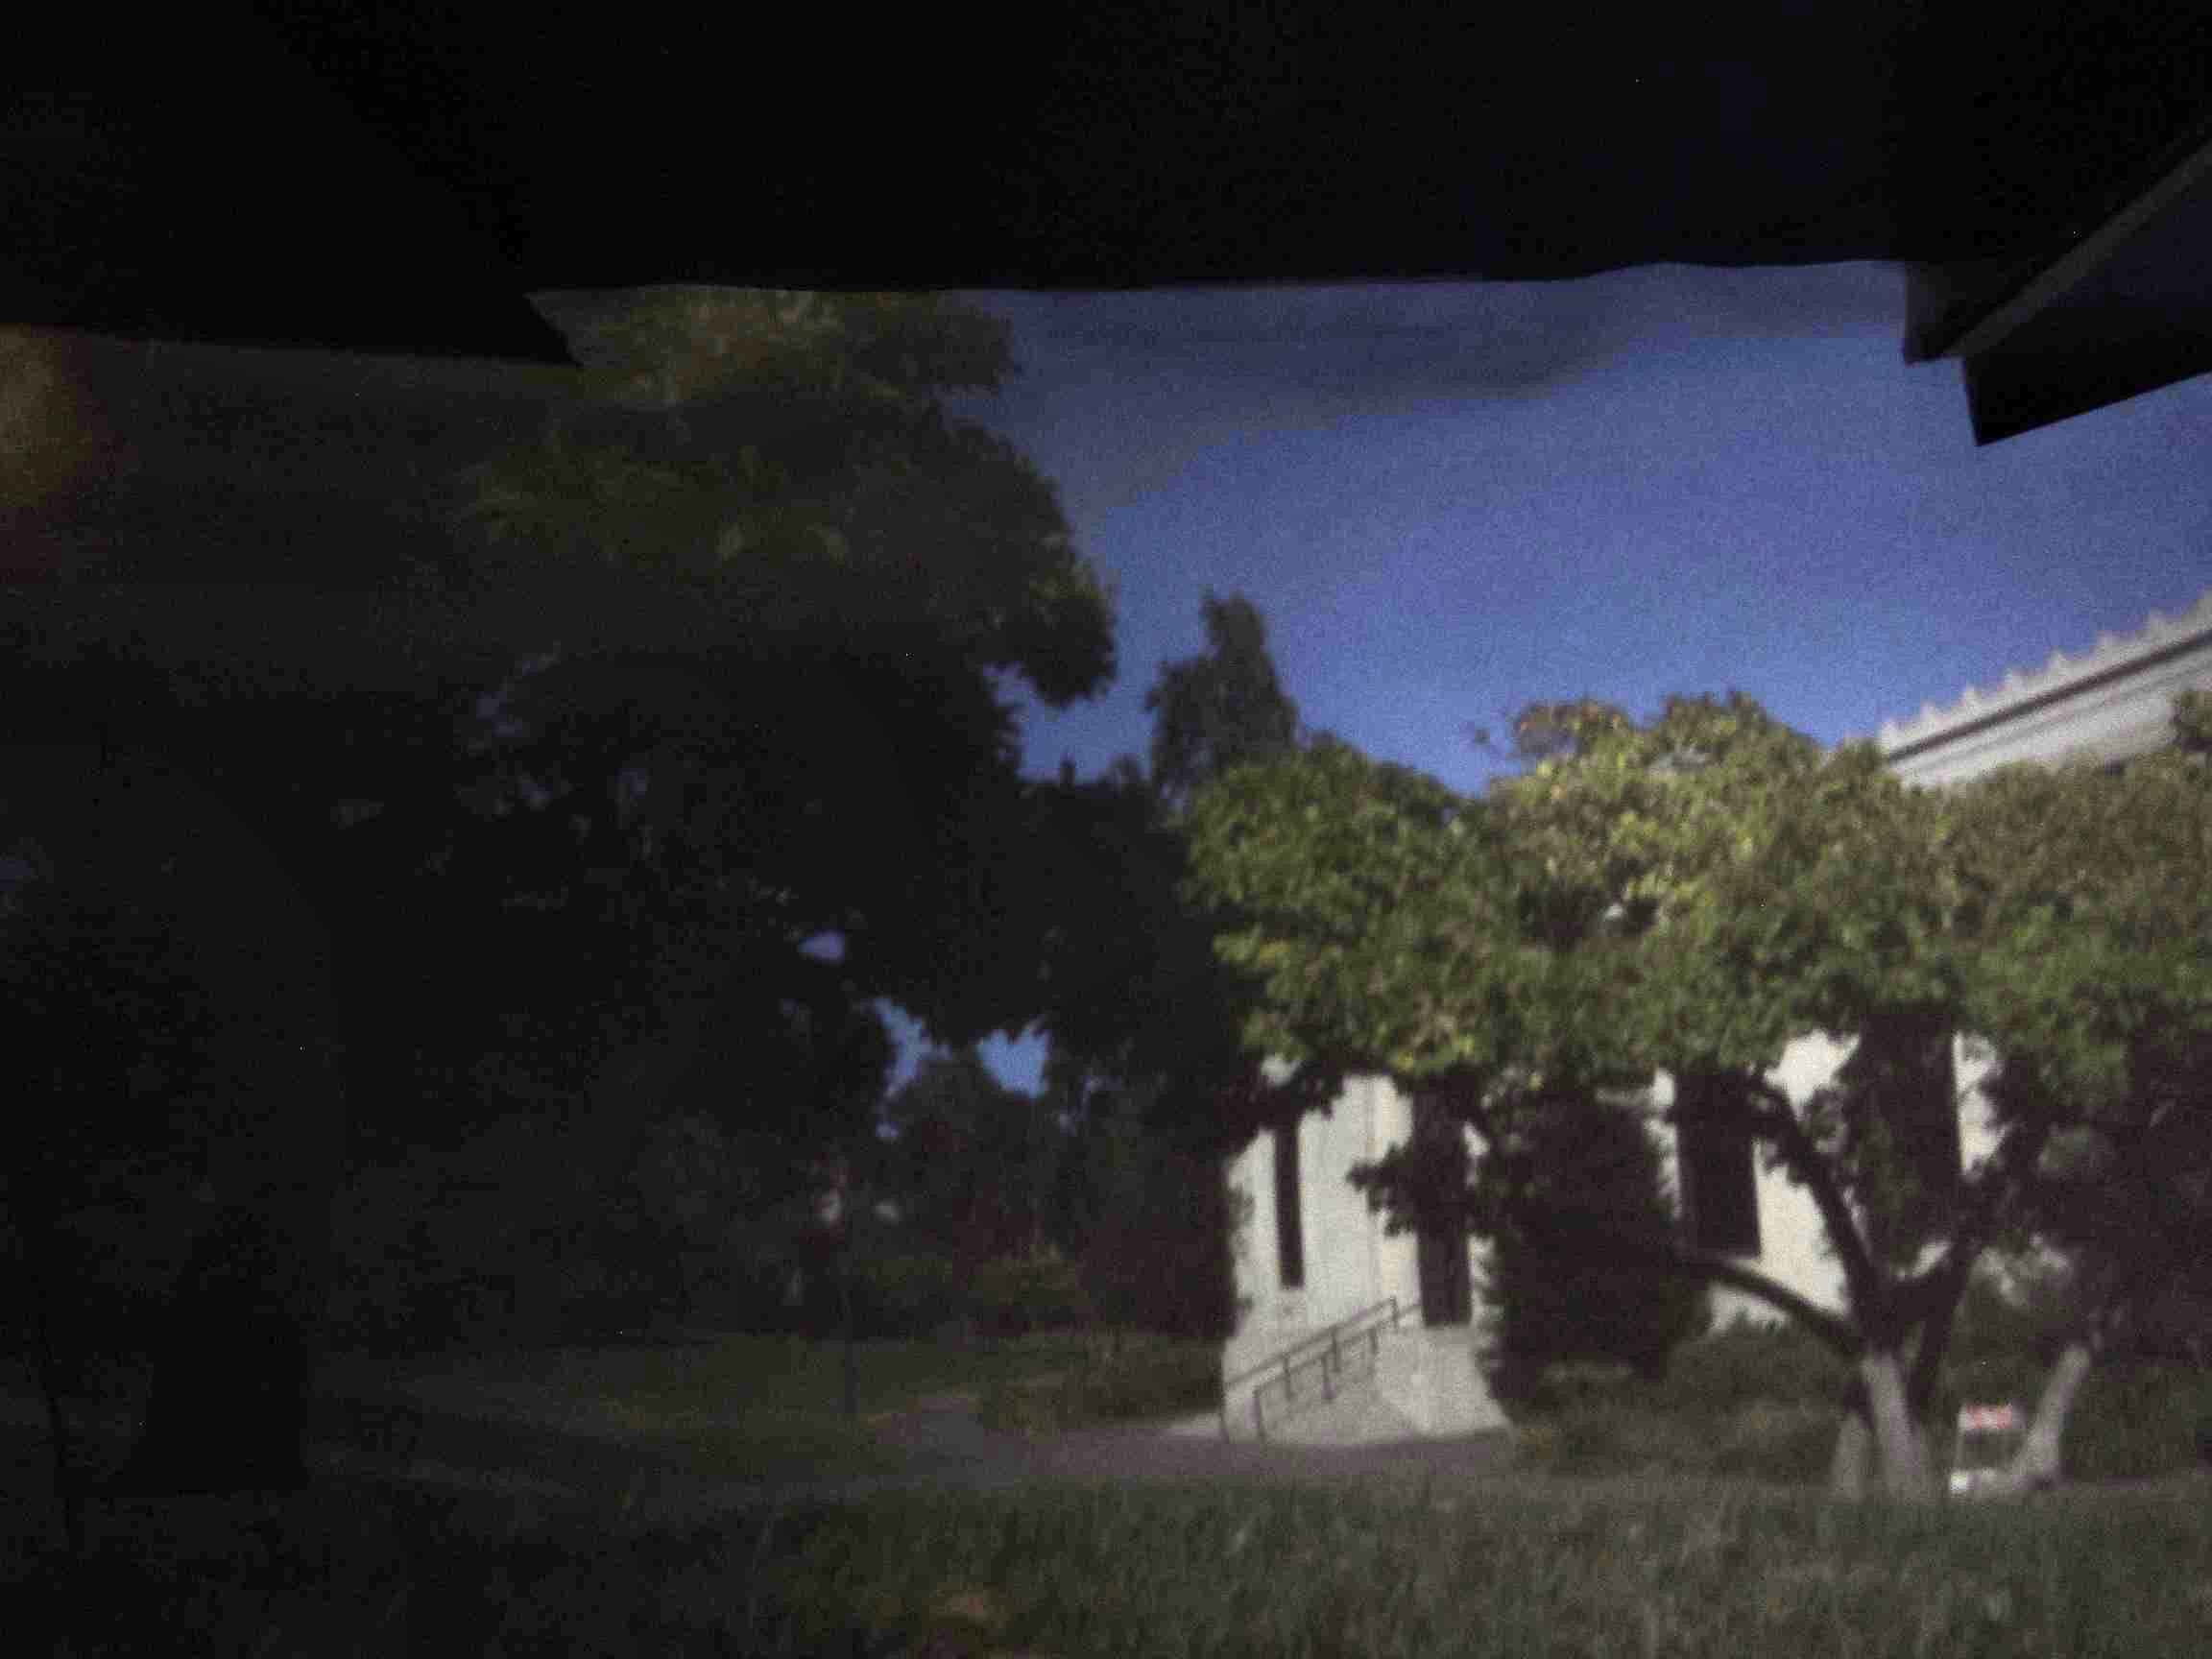
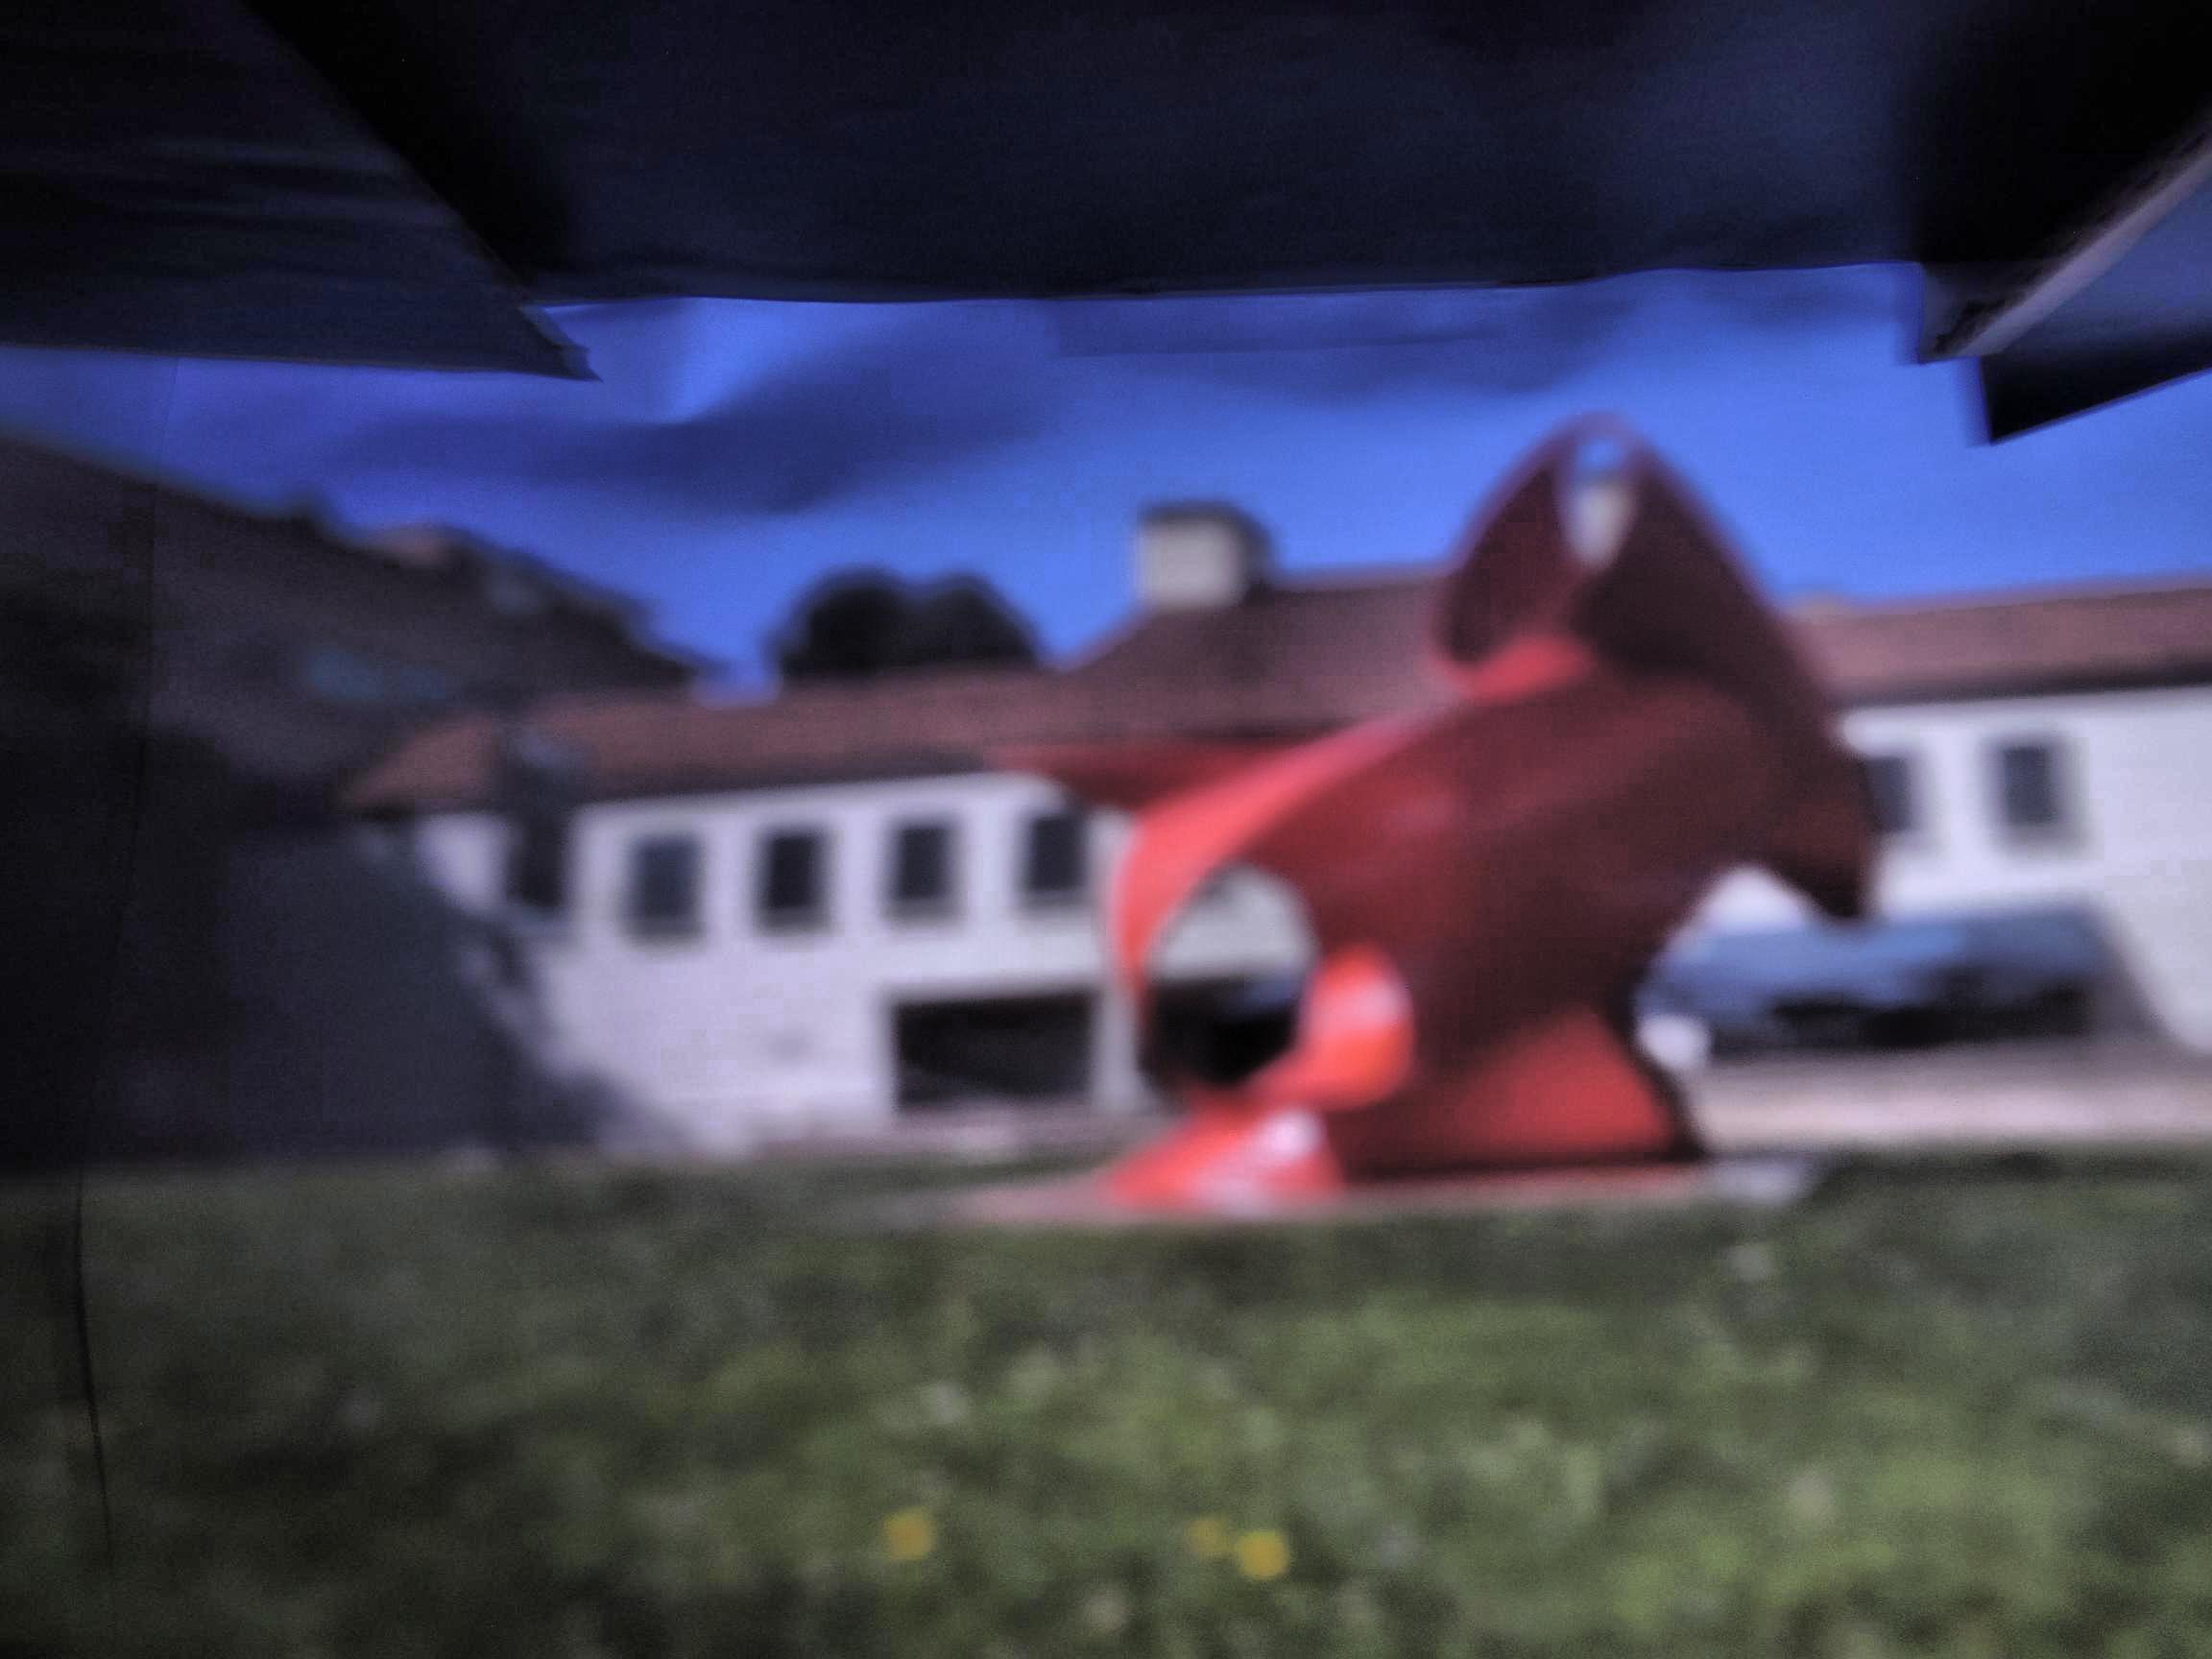
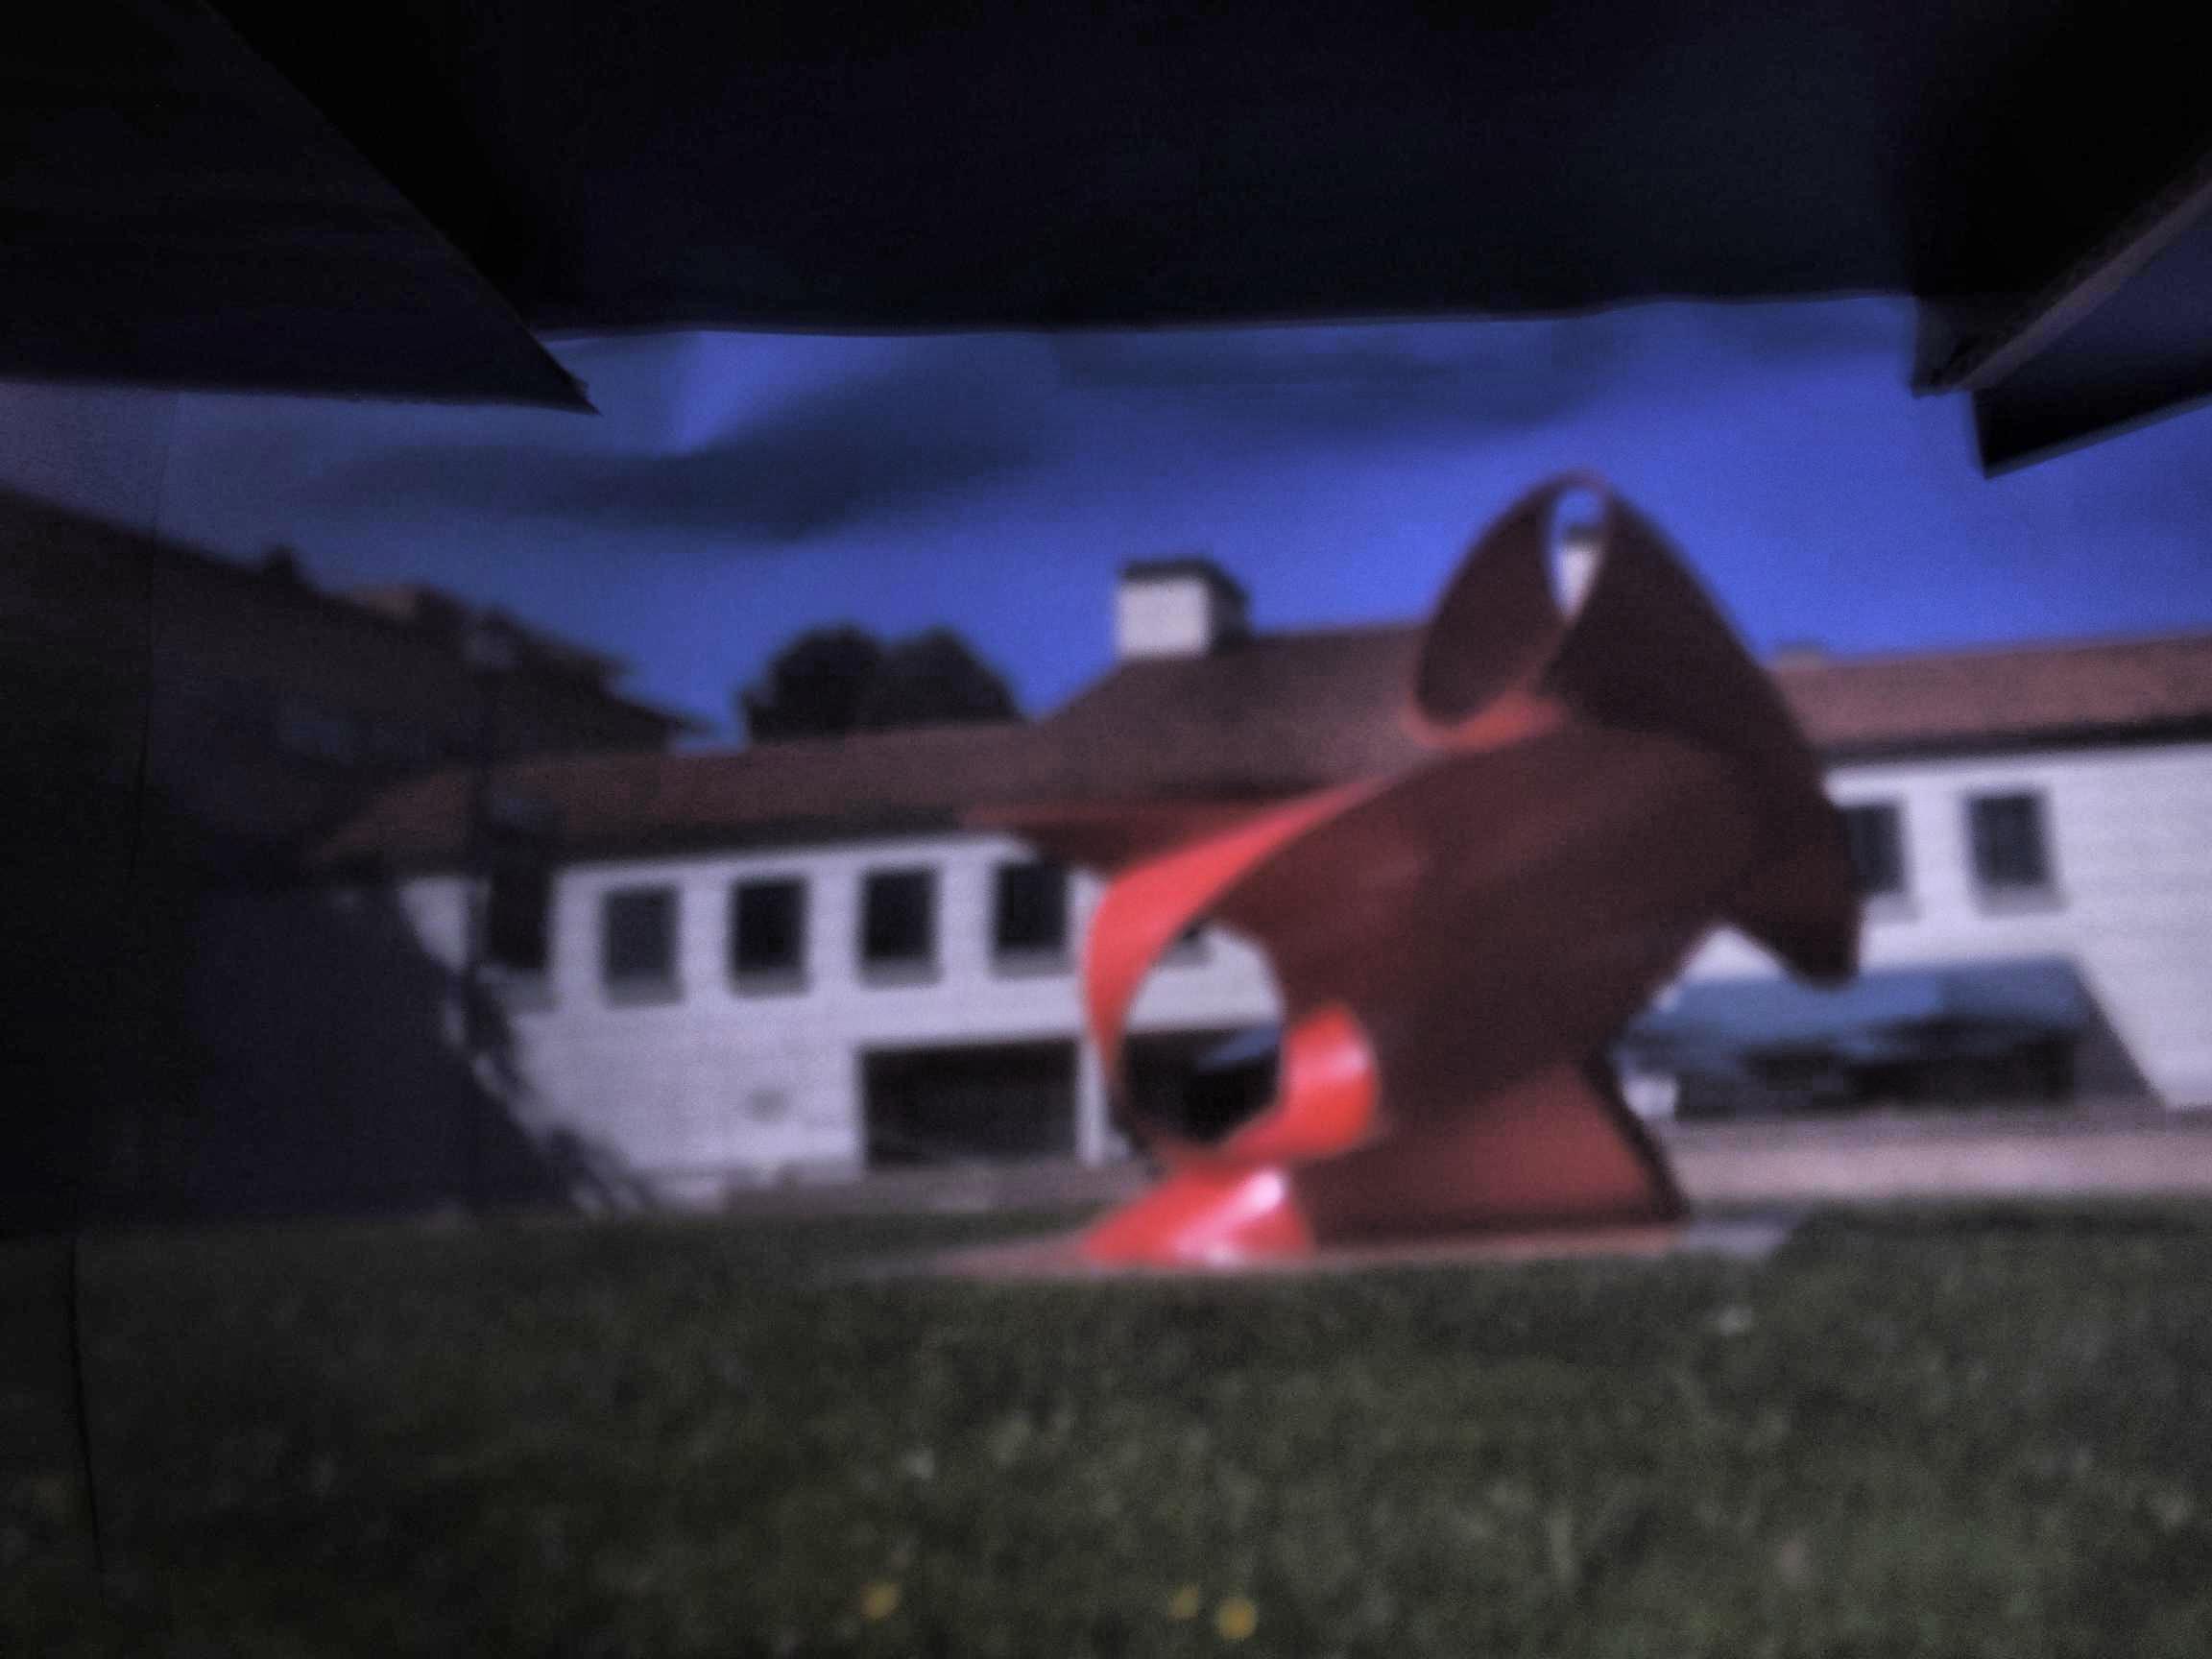
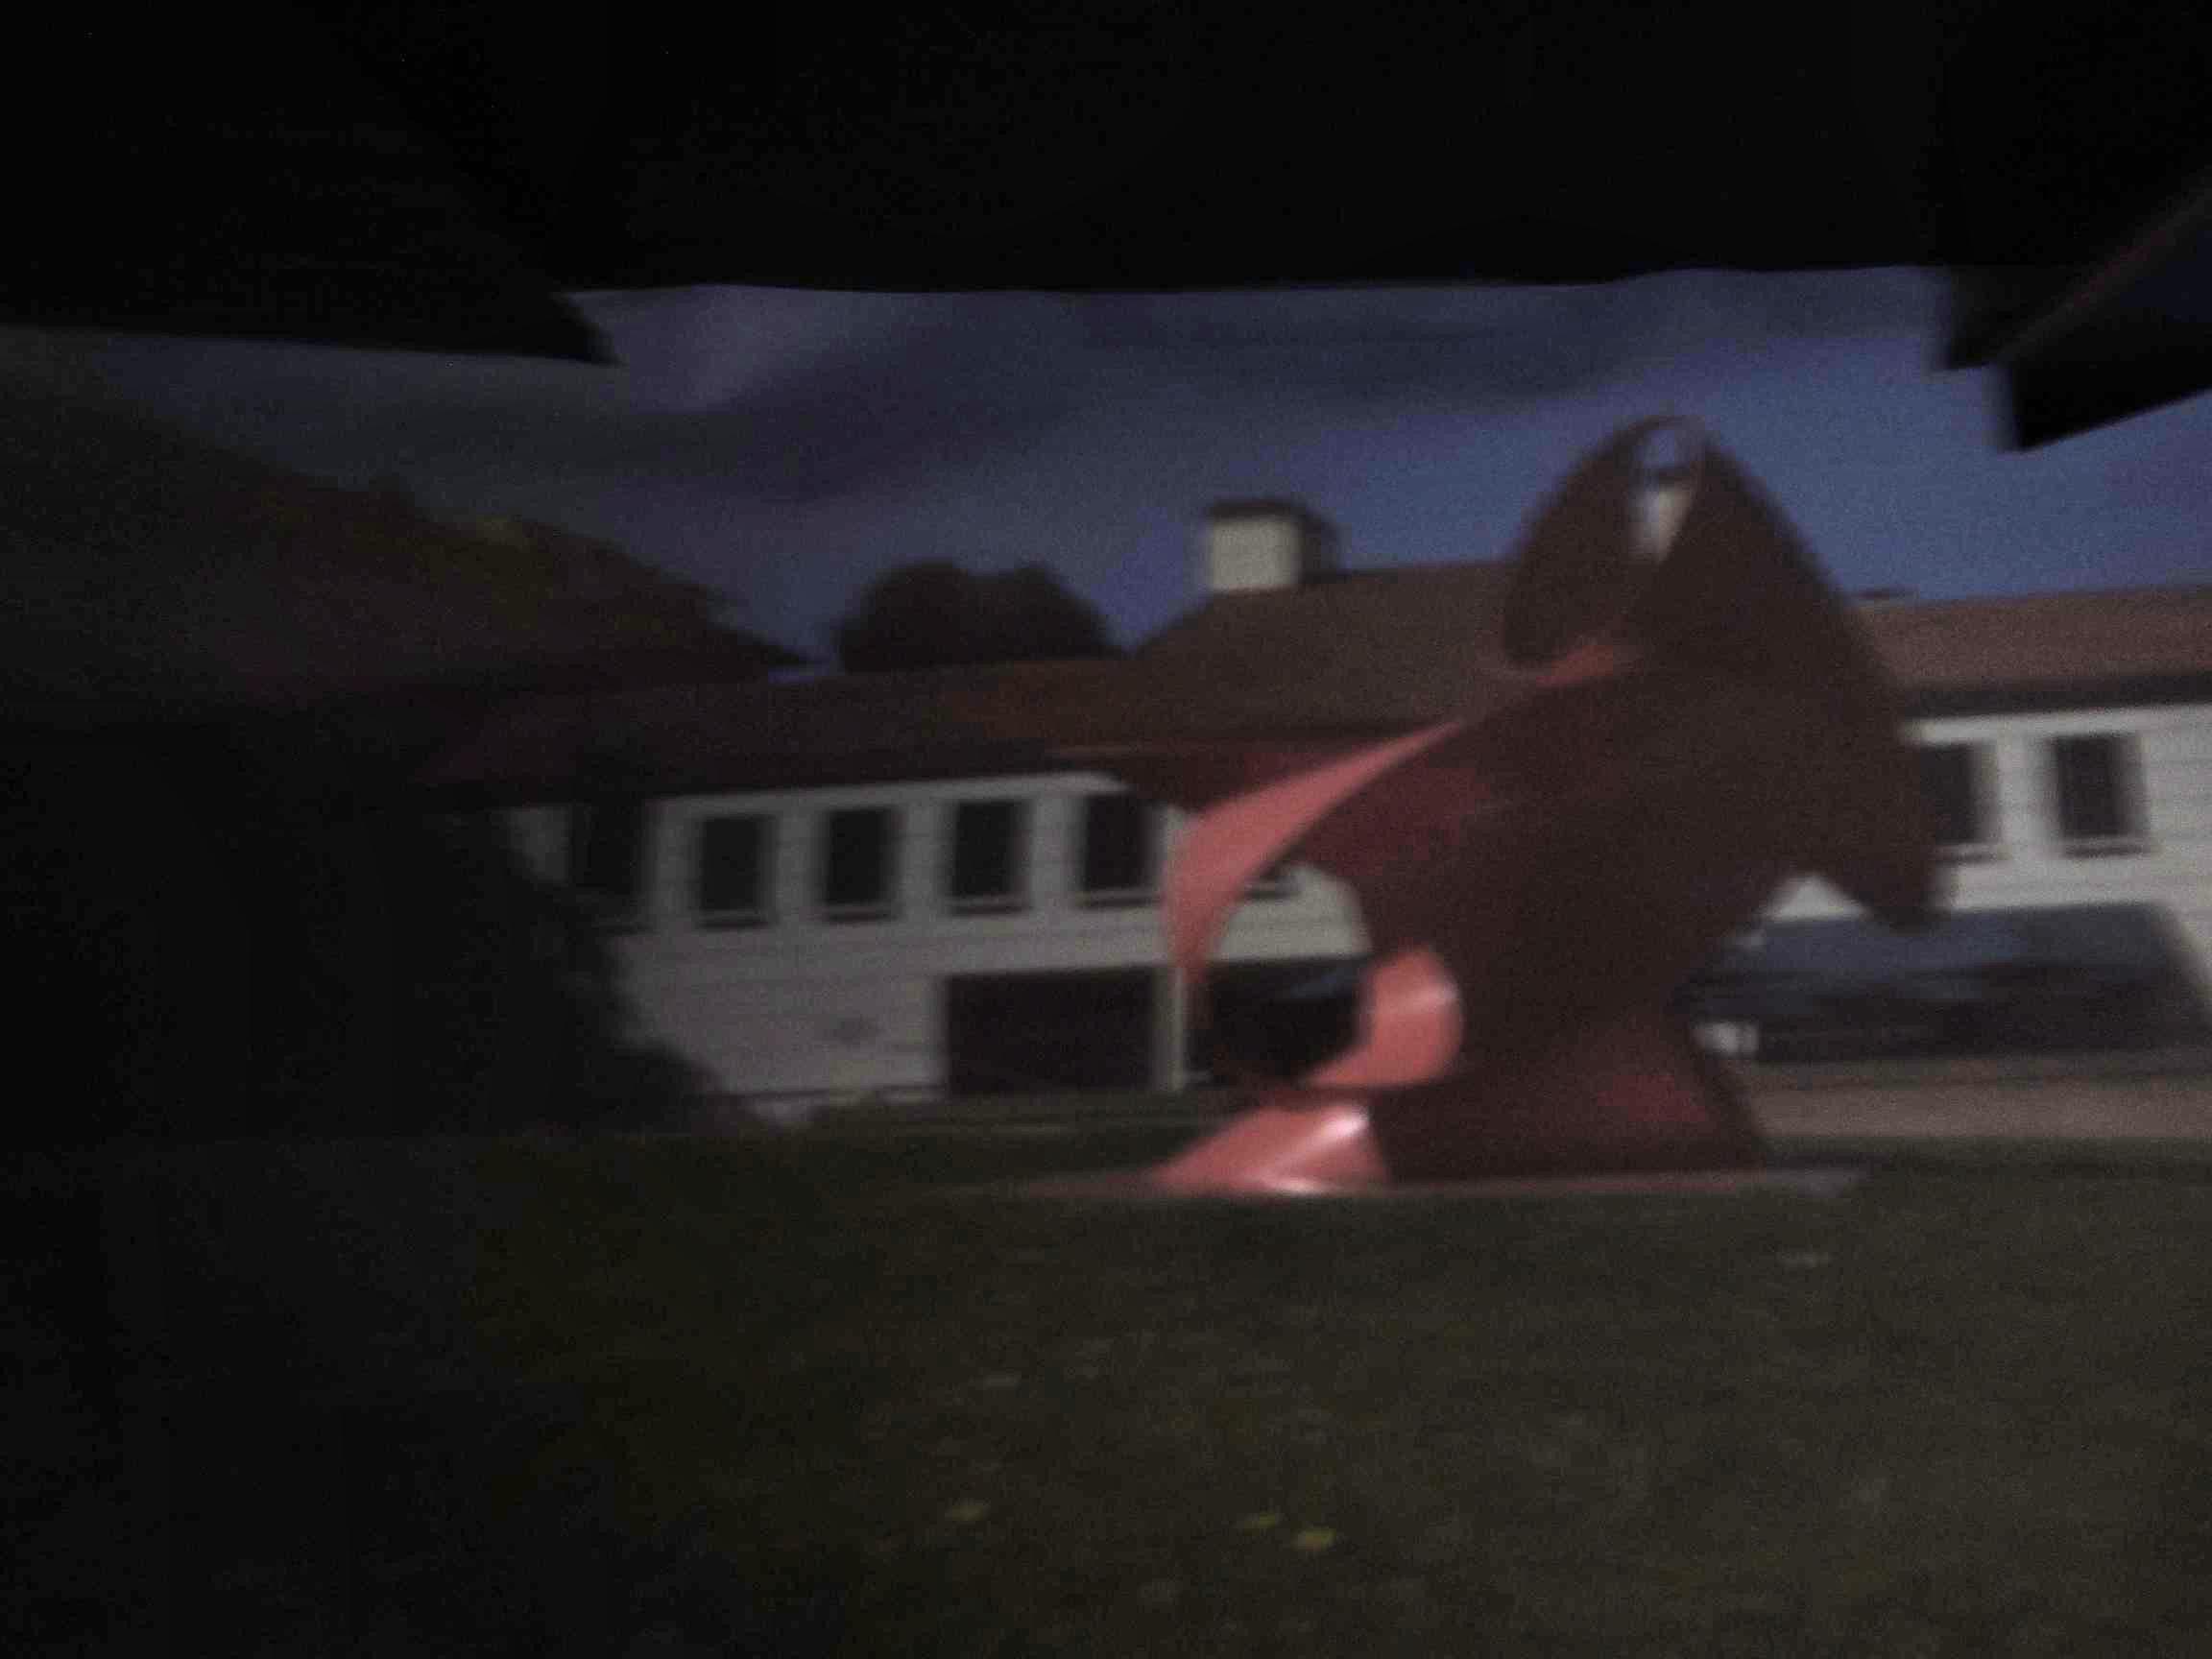
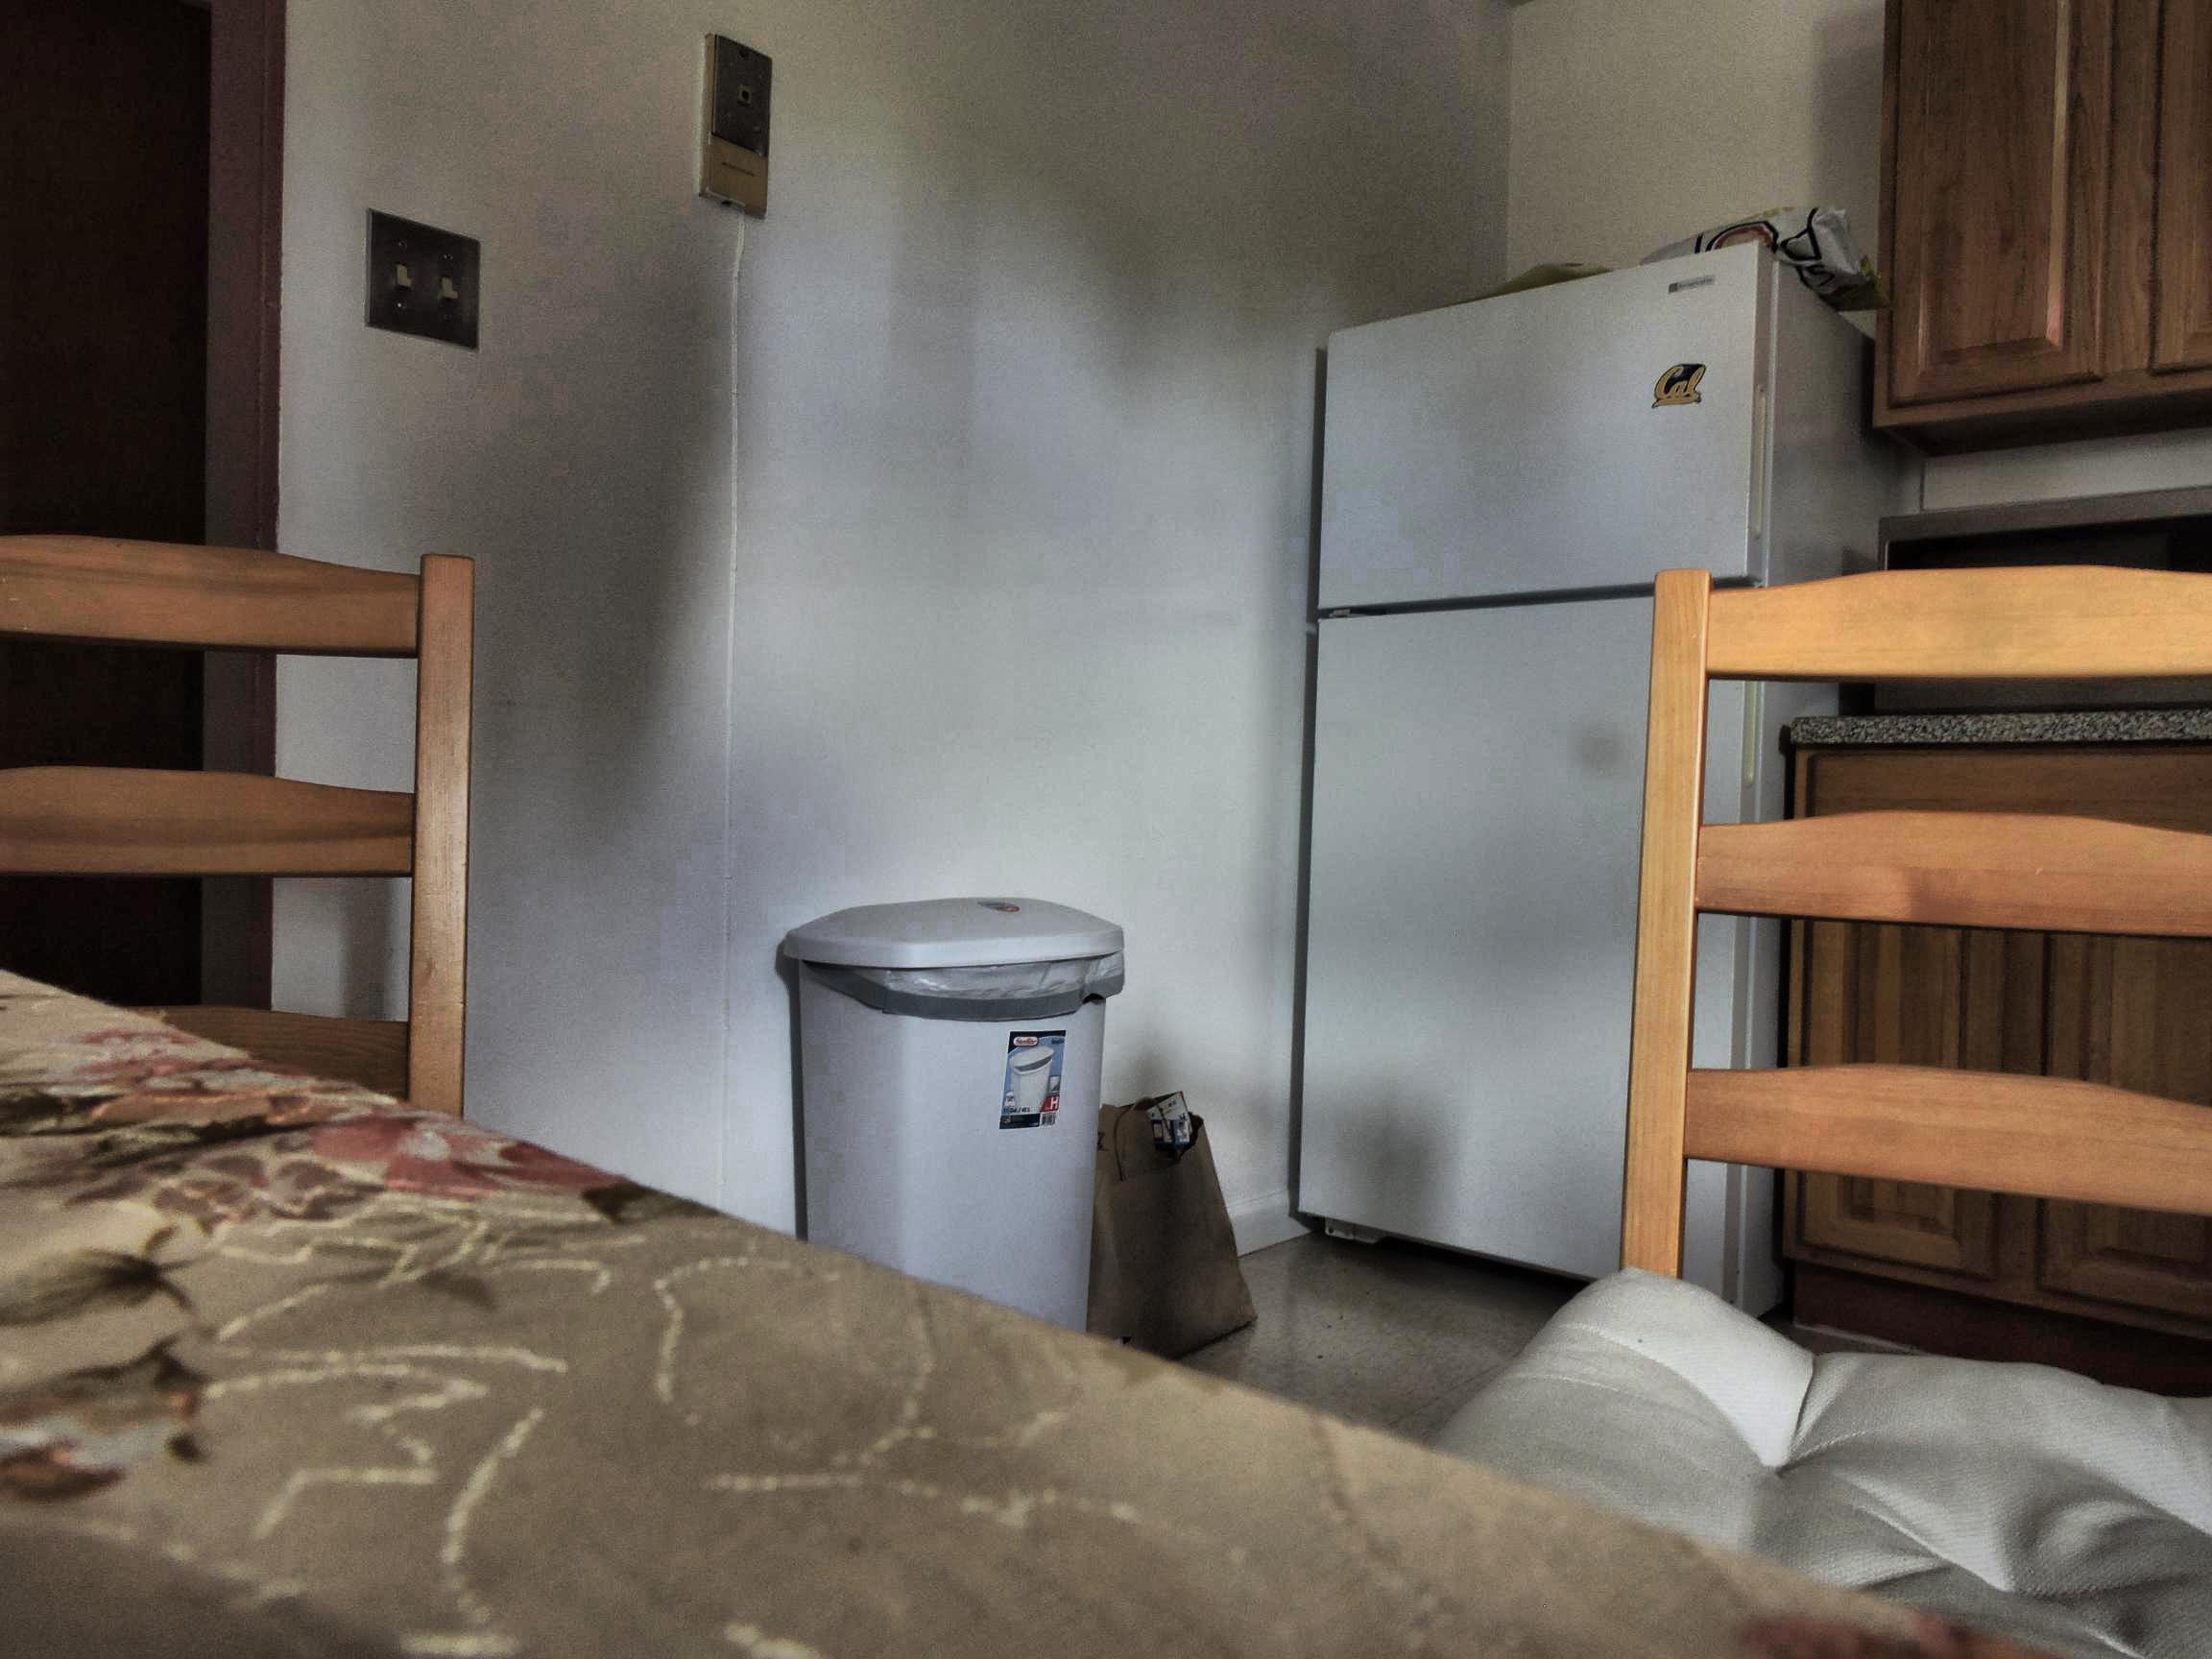
The final bells and whistles we implemented was the room-sized camera obscura. This was accomplished by blocking all the light from a single window using a variety of objects (tables, posters, yoga mats, and blankets) and only allowing light in through a single hole. We then used a camera, setting the exposure time to around 1-2 seconds, and captured images of the projected shadows on the wall. We had to set the exposure time to much shorter than when we build our pinhole camera as we were unable to make the room as sufficiently dark as the sealed box, and longer exposure times resulted in completely white images.
First try |
Second try |
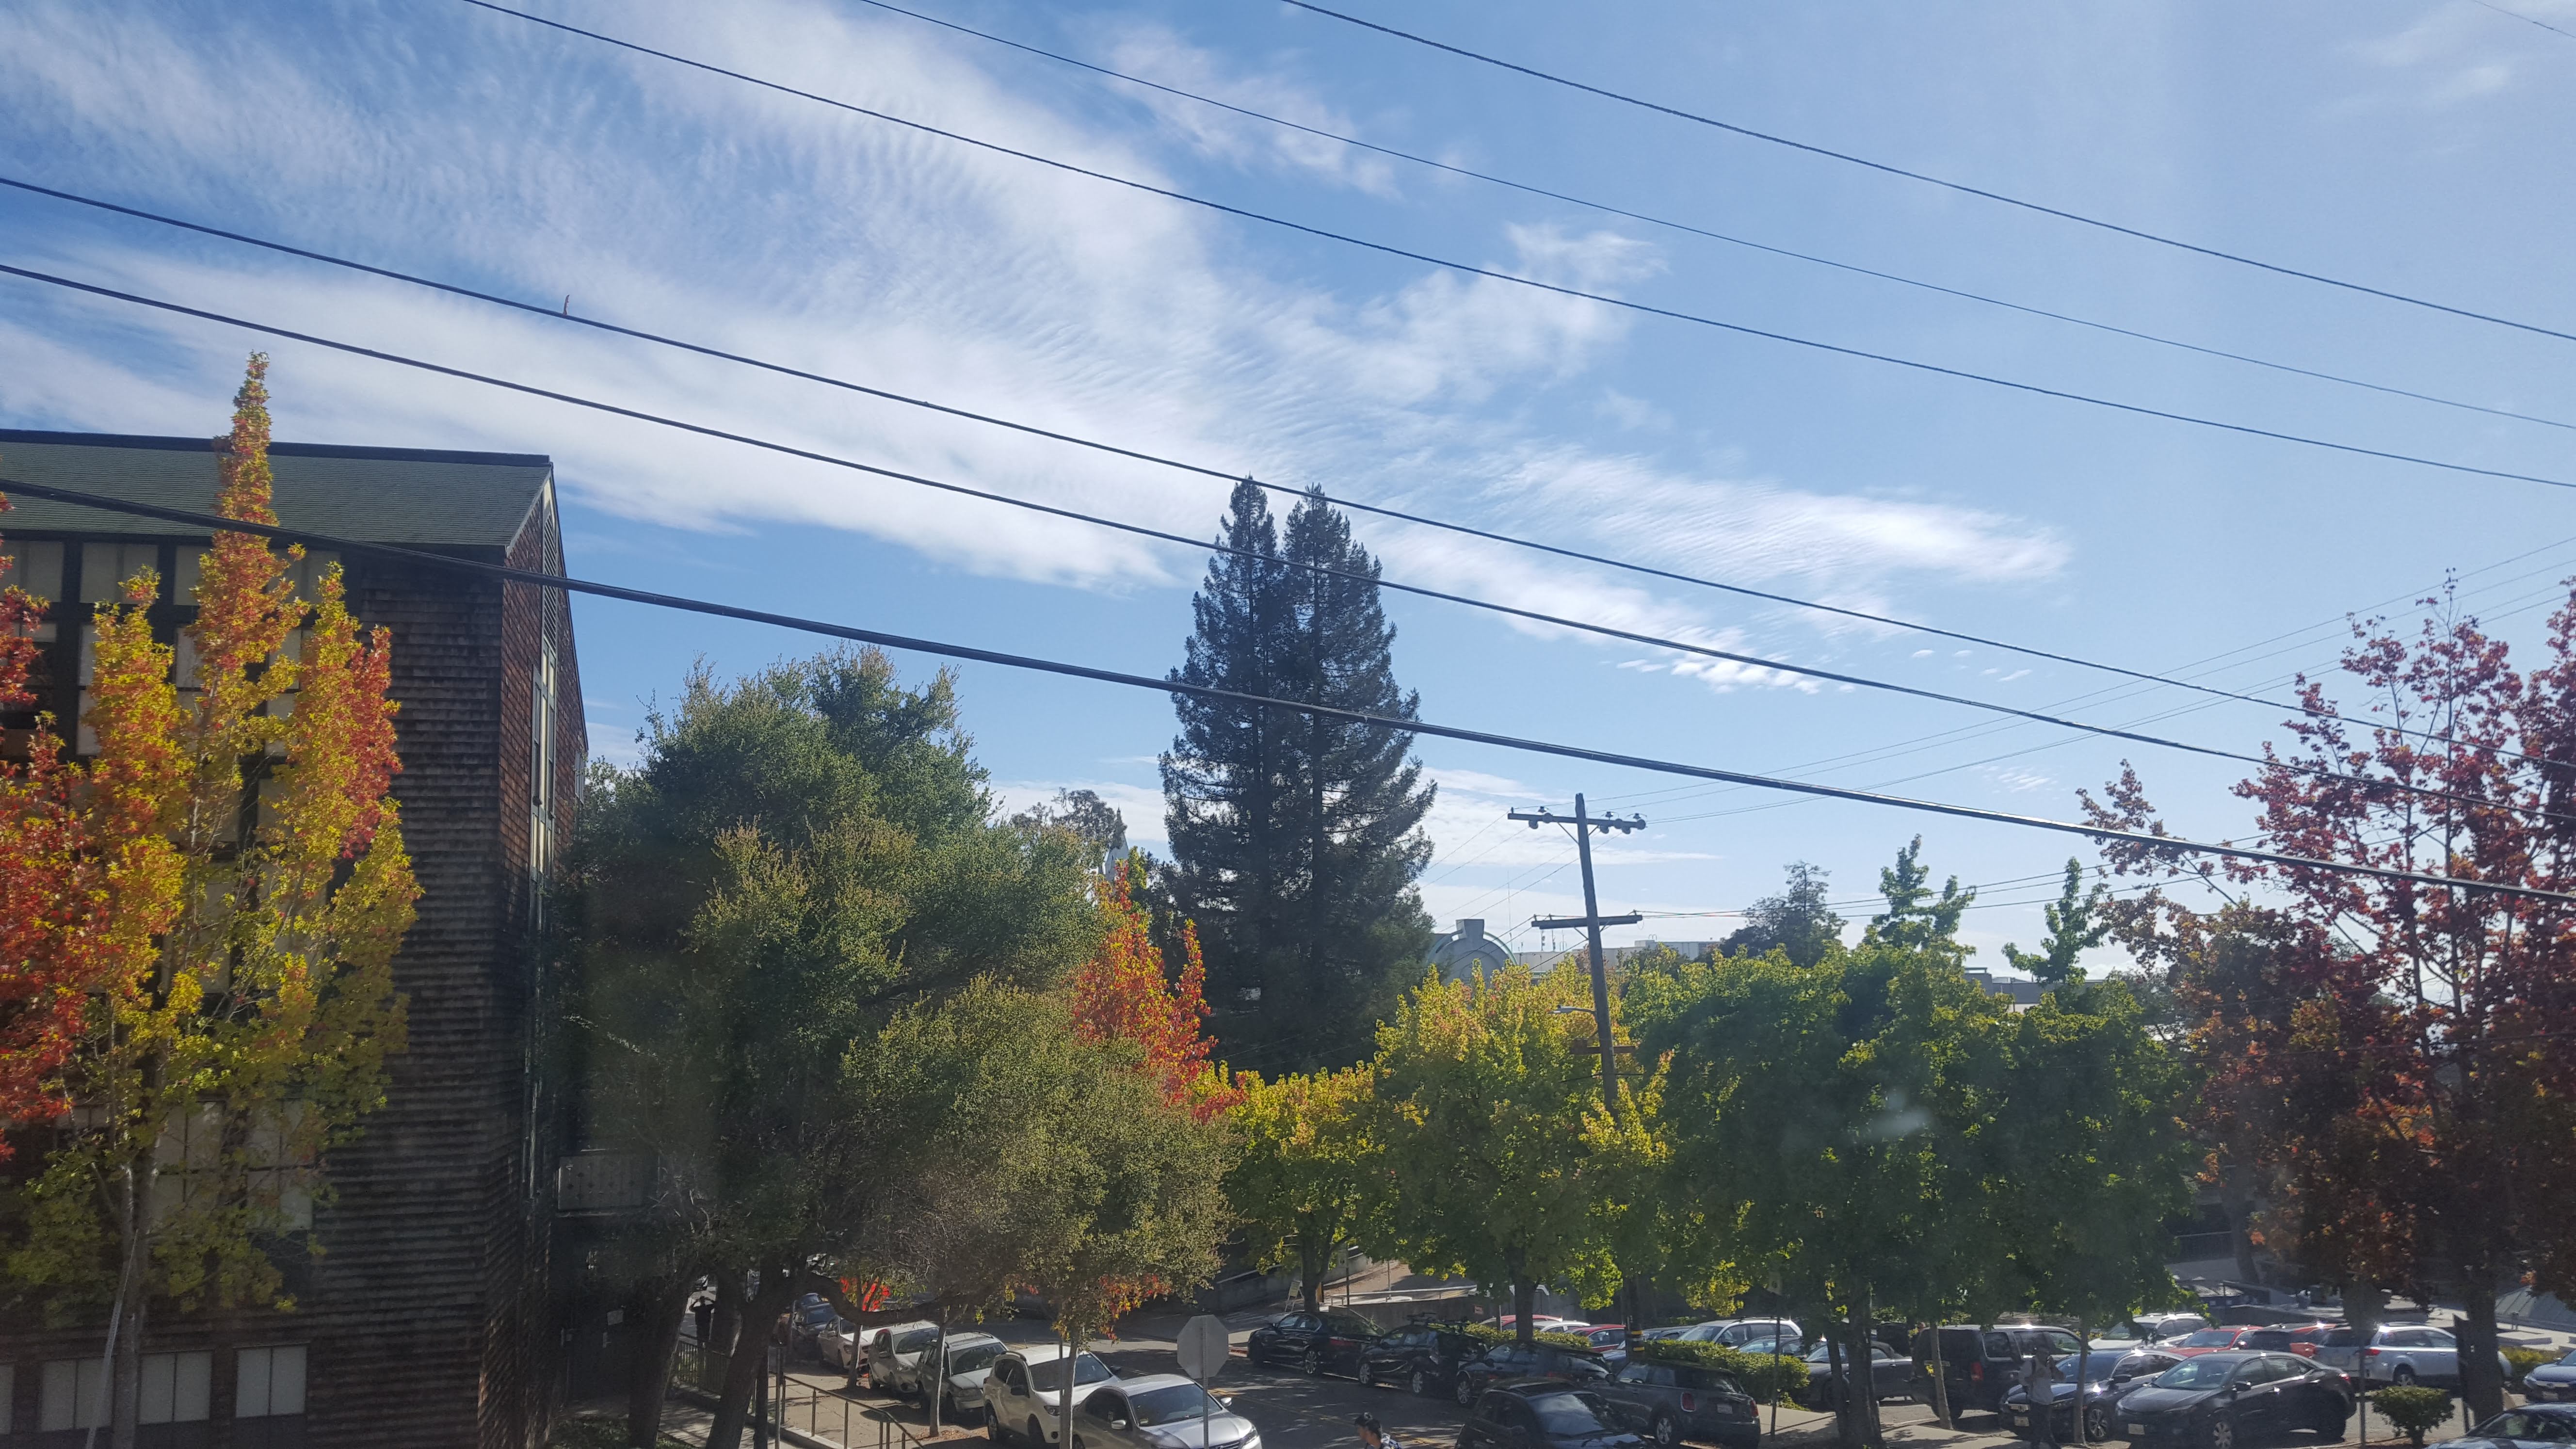
Real view outside |
First try (flipped) |

Second try (flipped) |