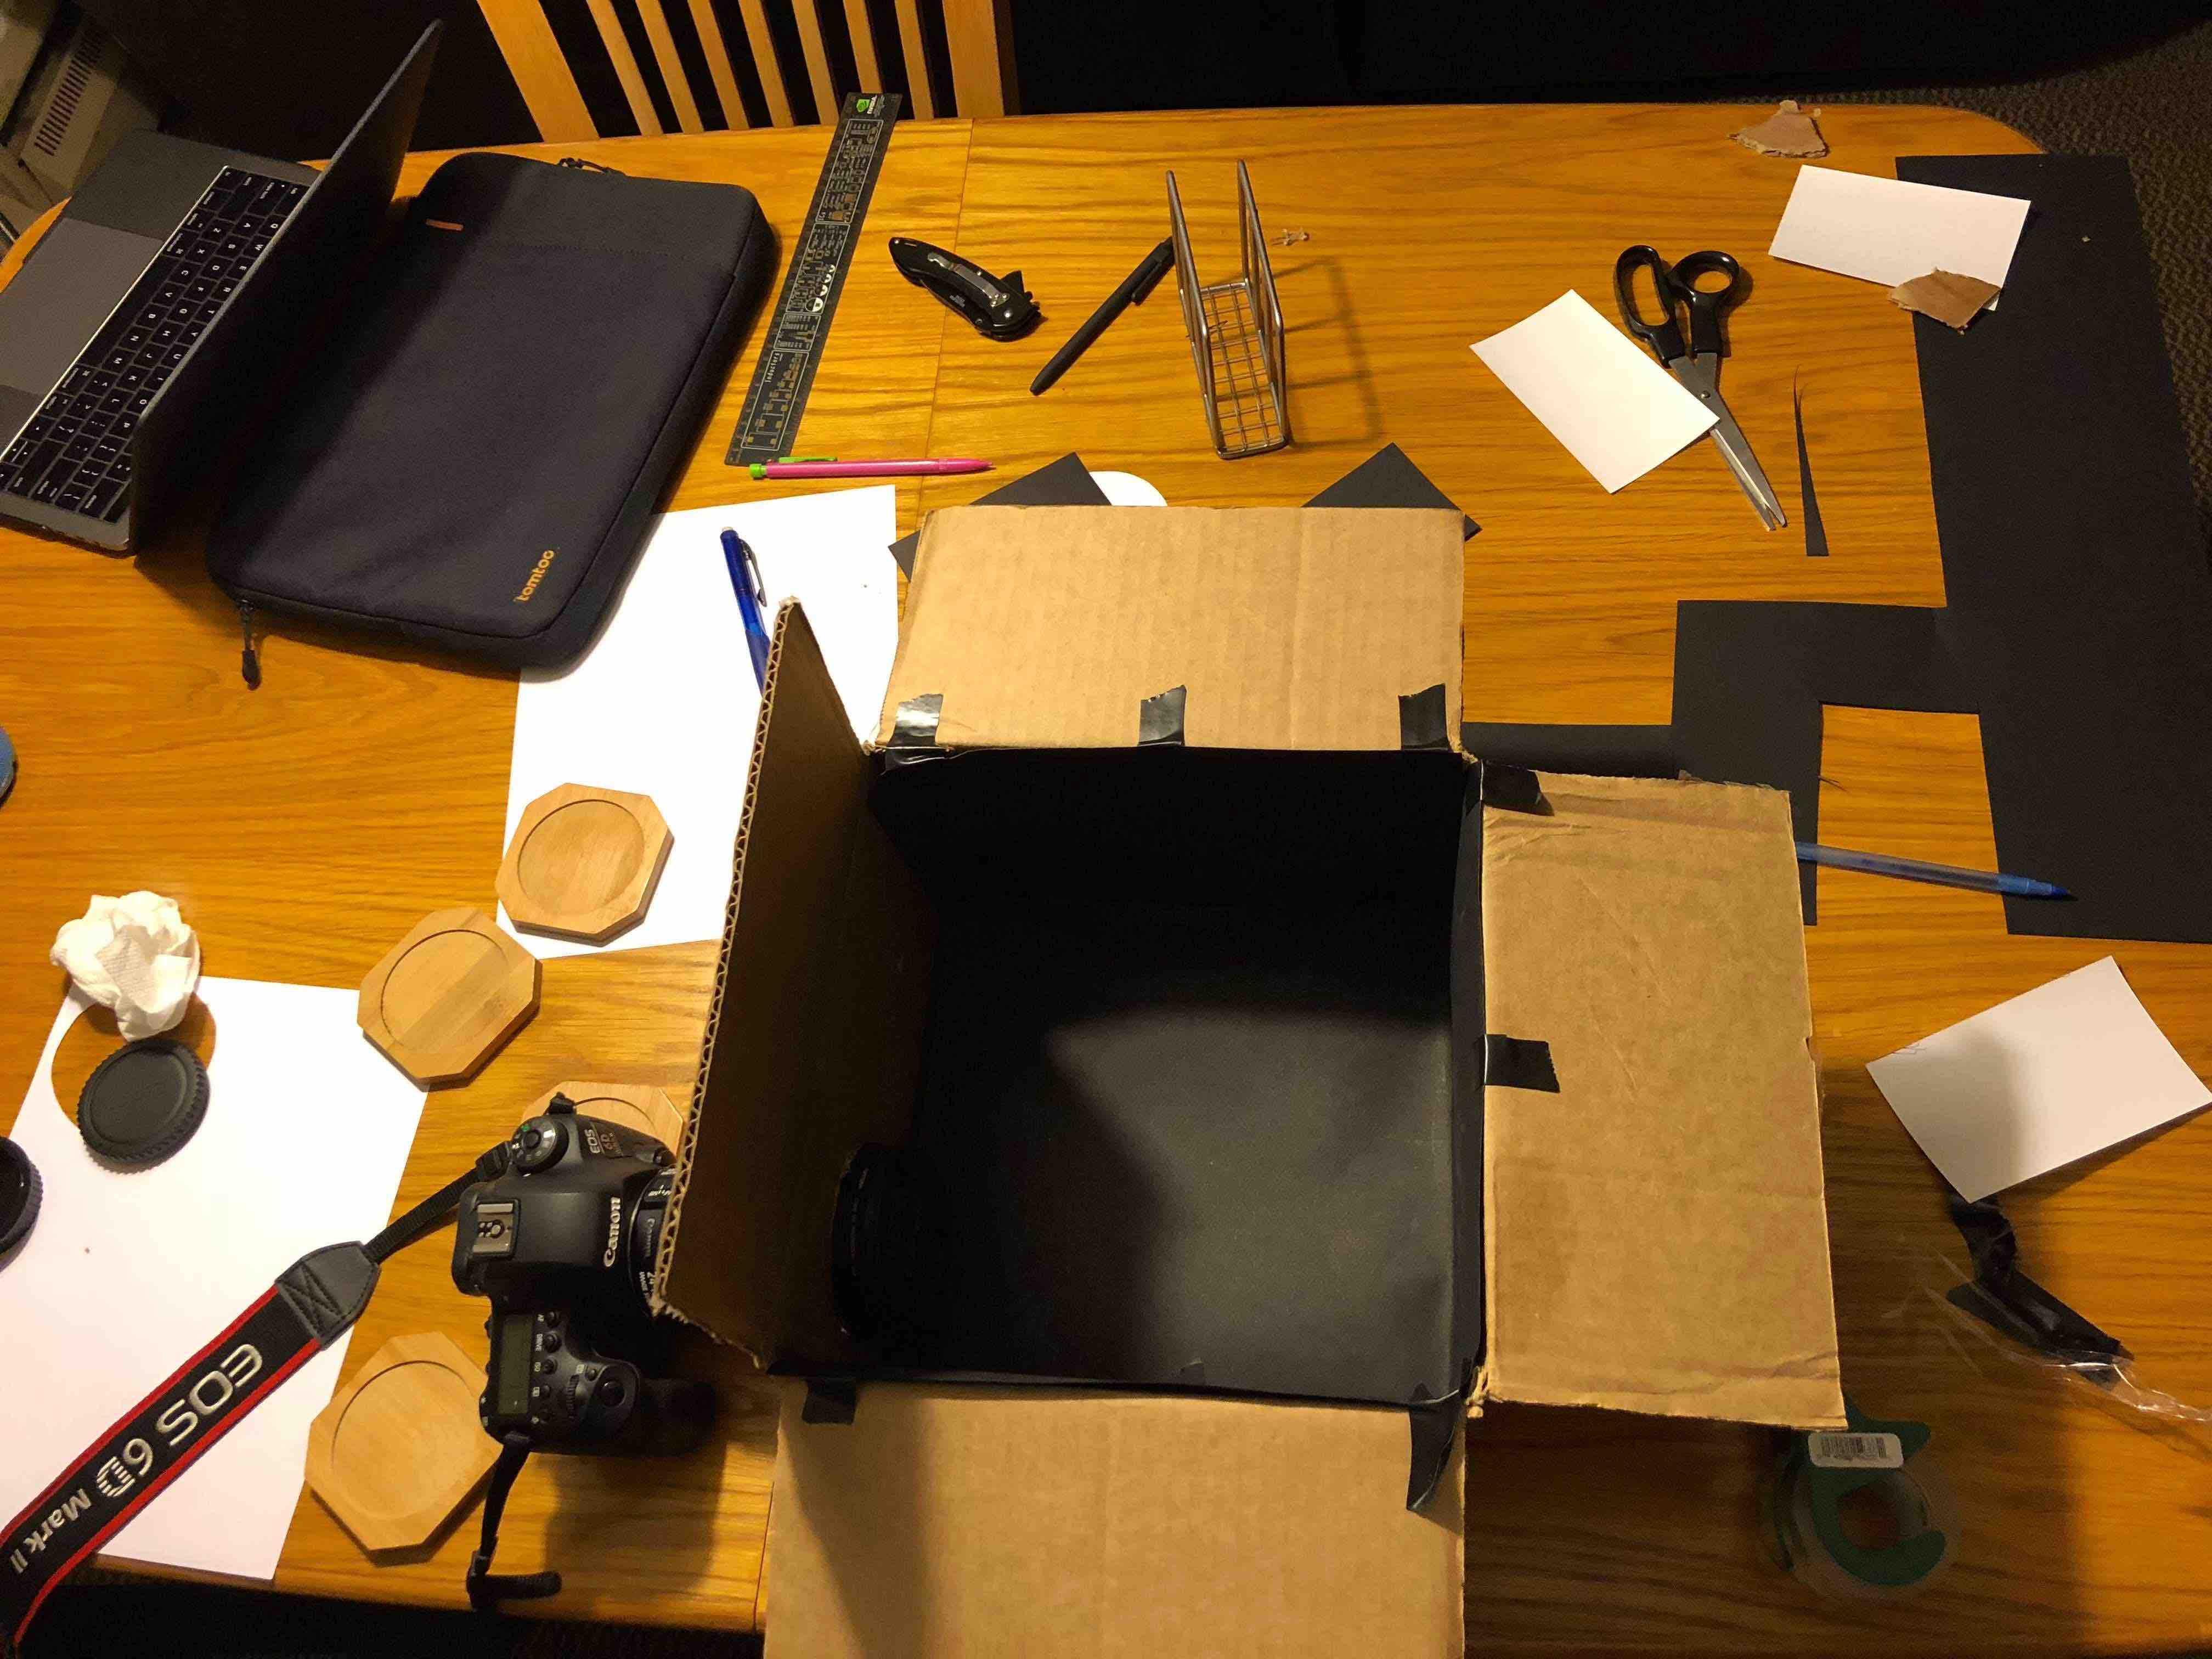
1. LET'S BUILD IT
A.... mess
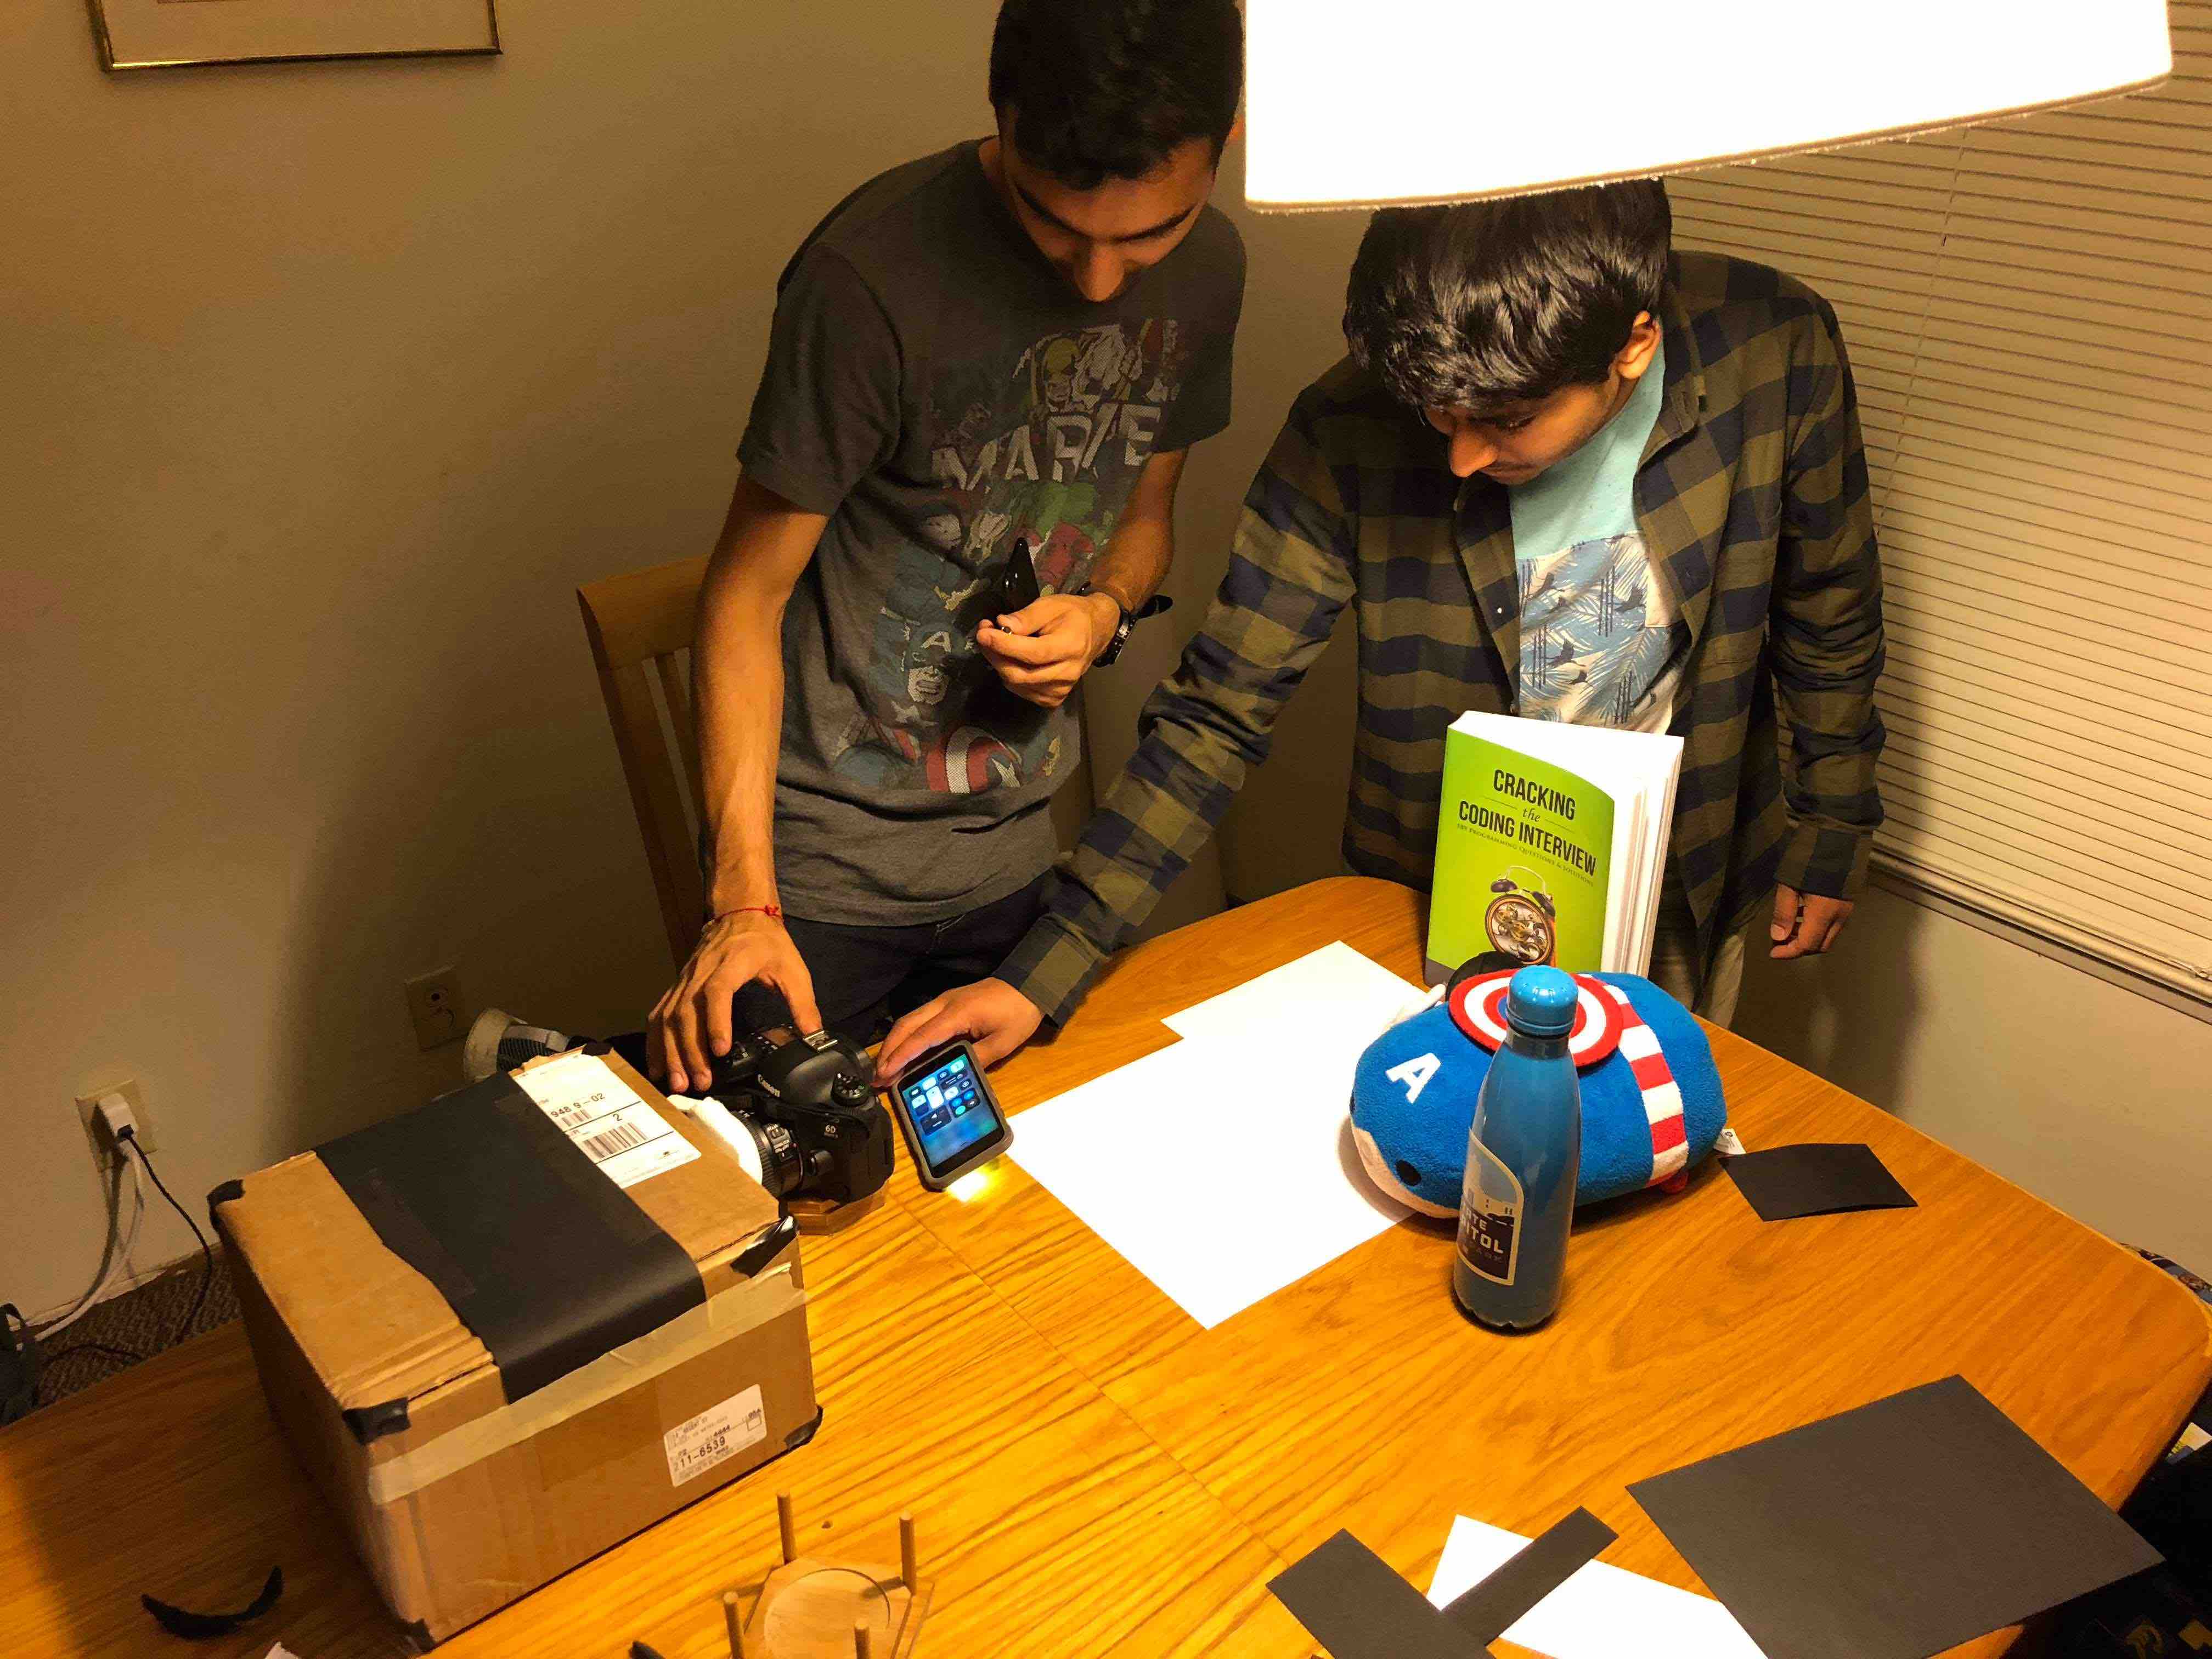
Artificial Light
Finally.... phewwww
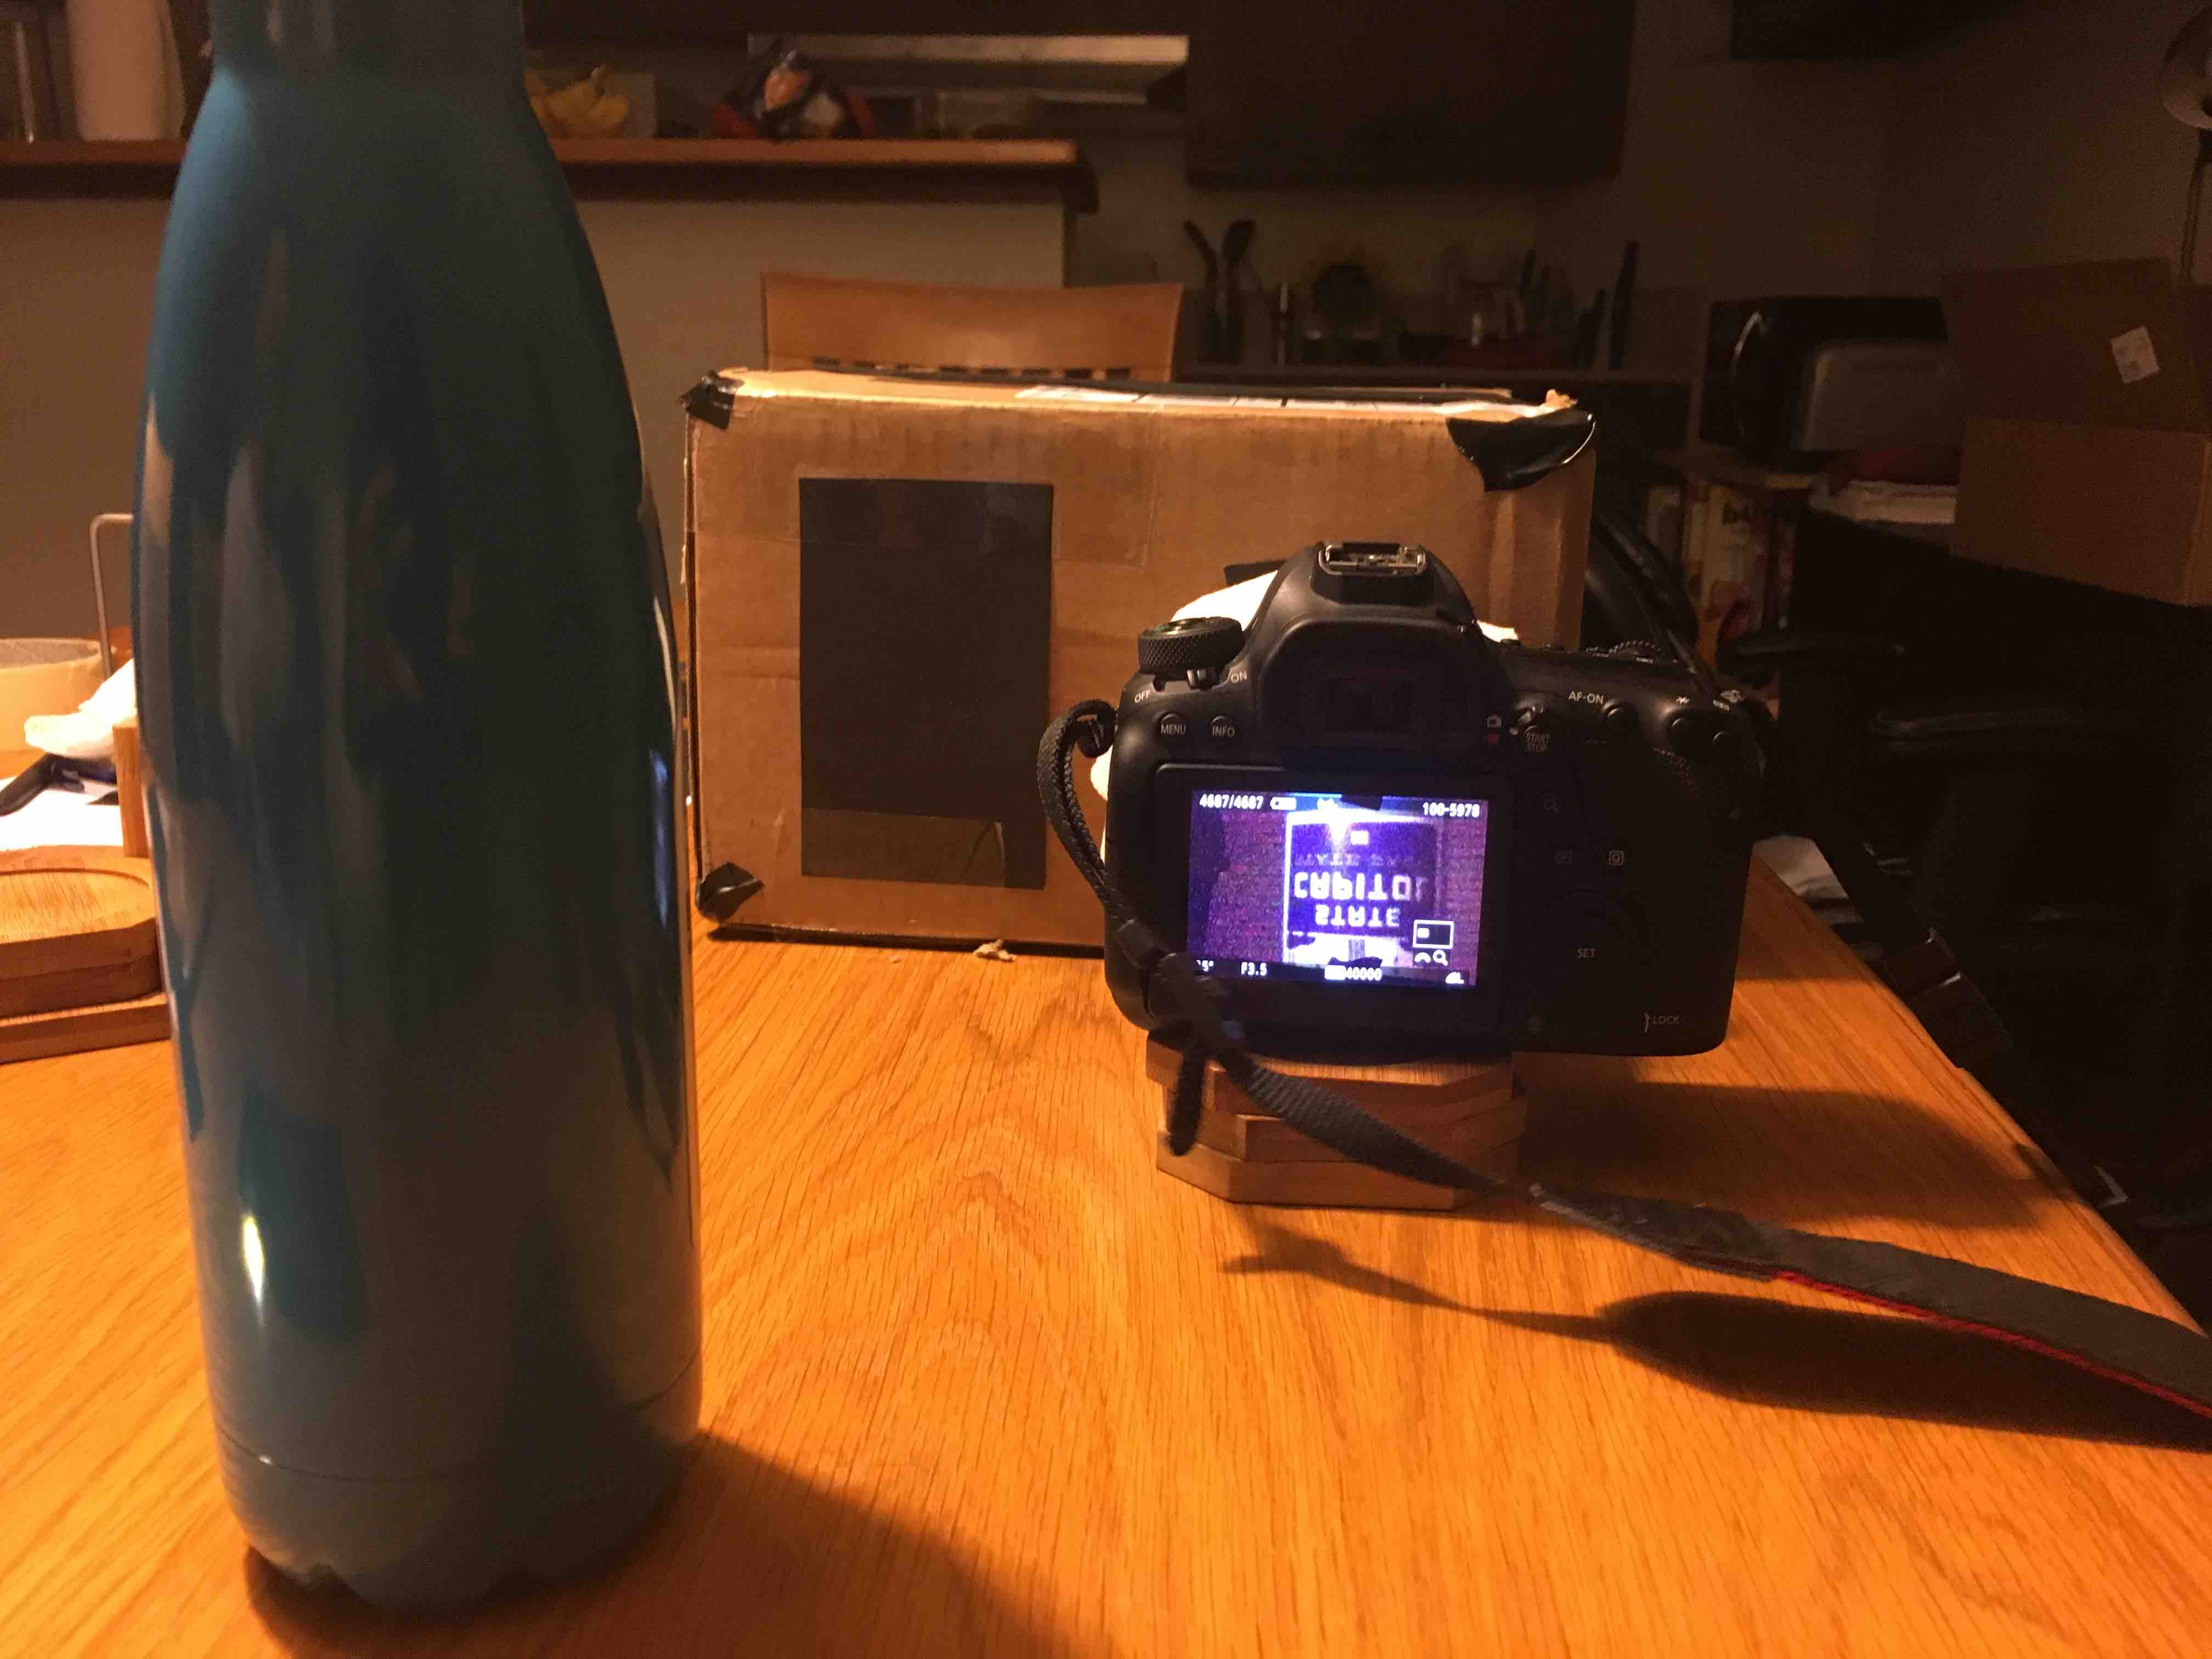
Sniper in ambush
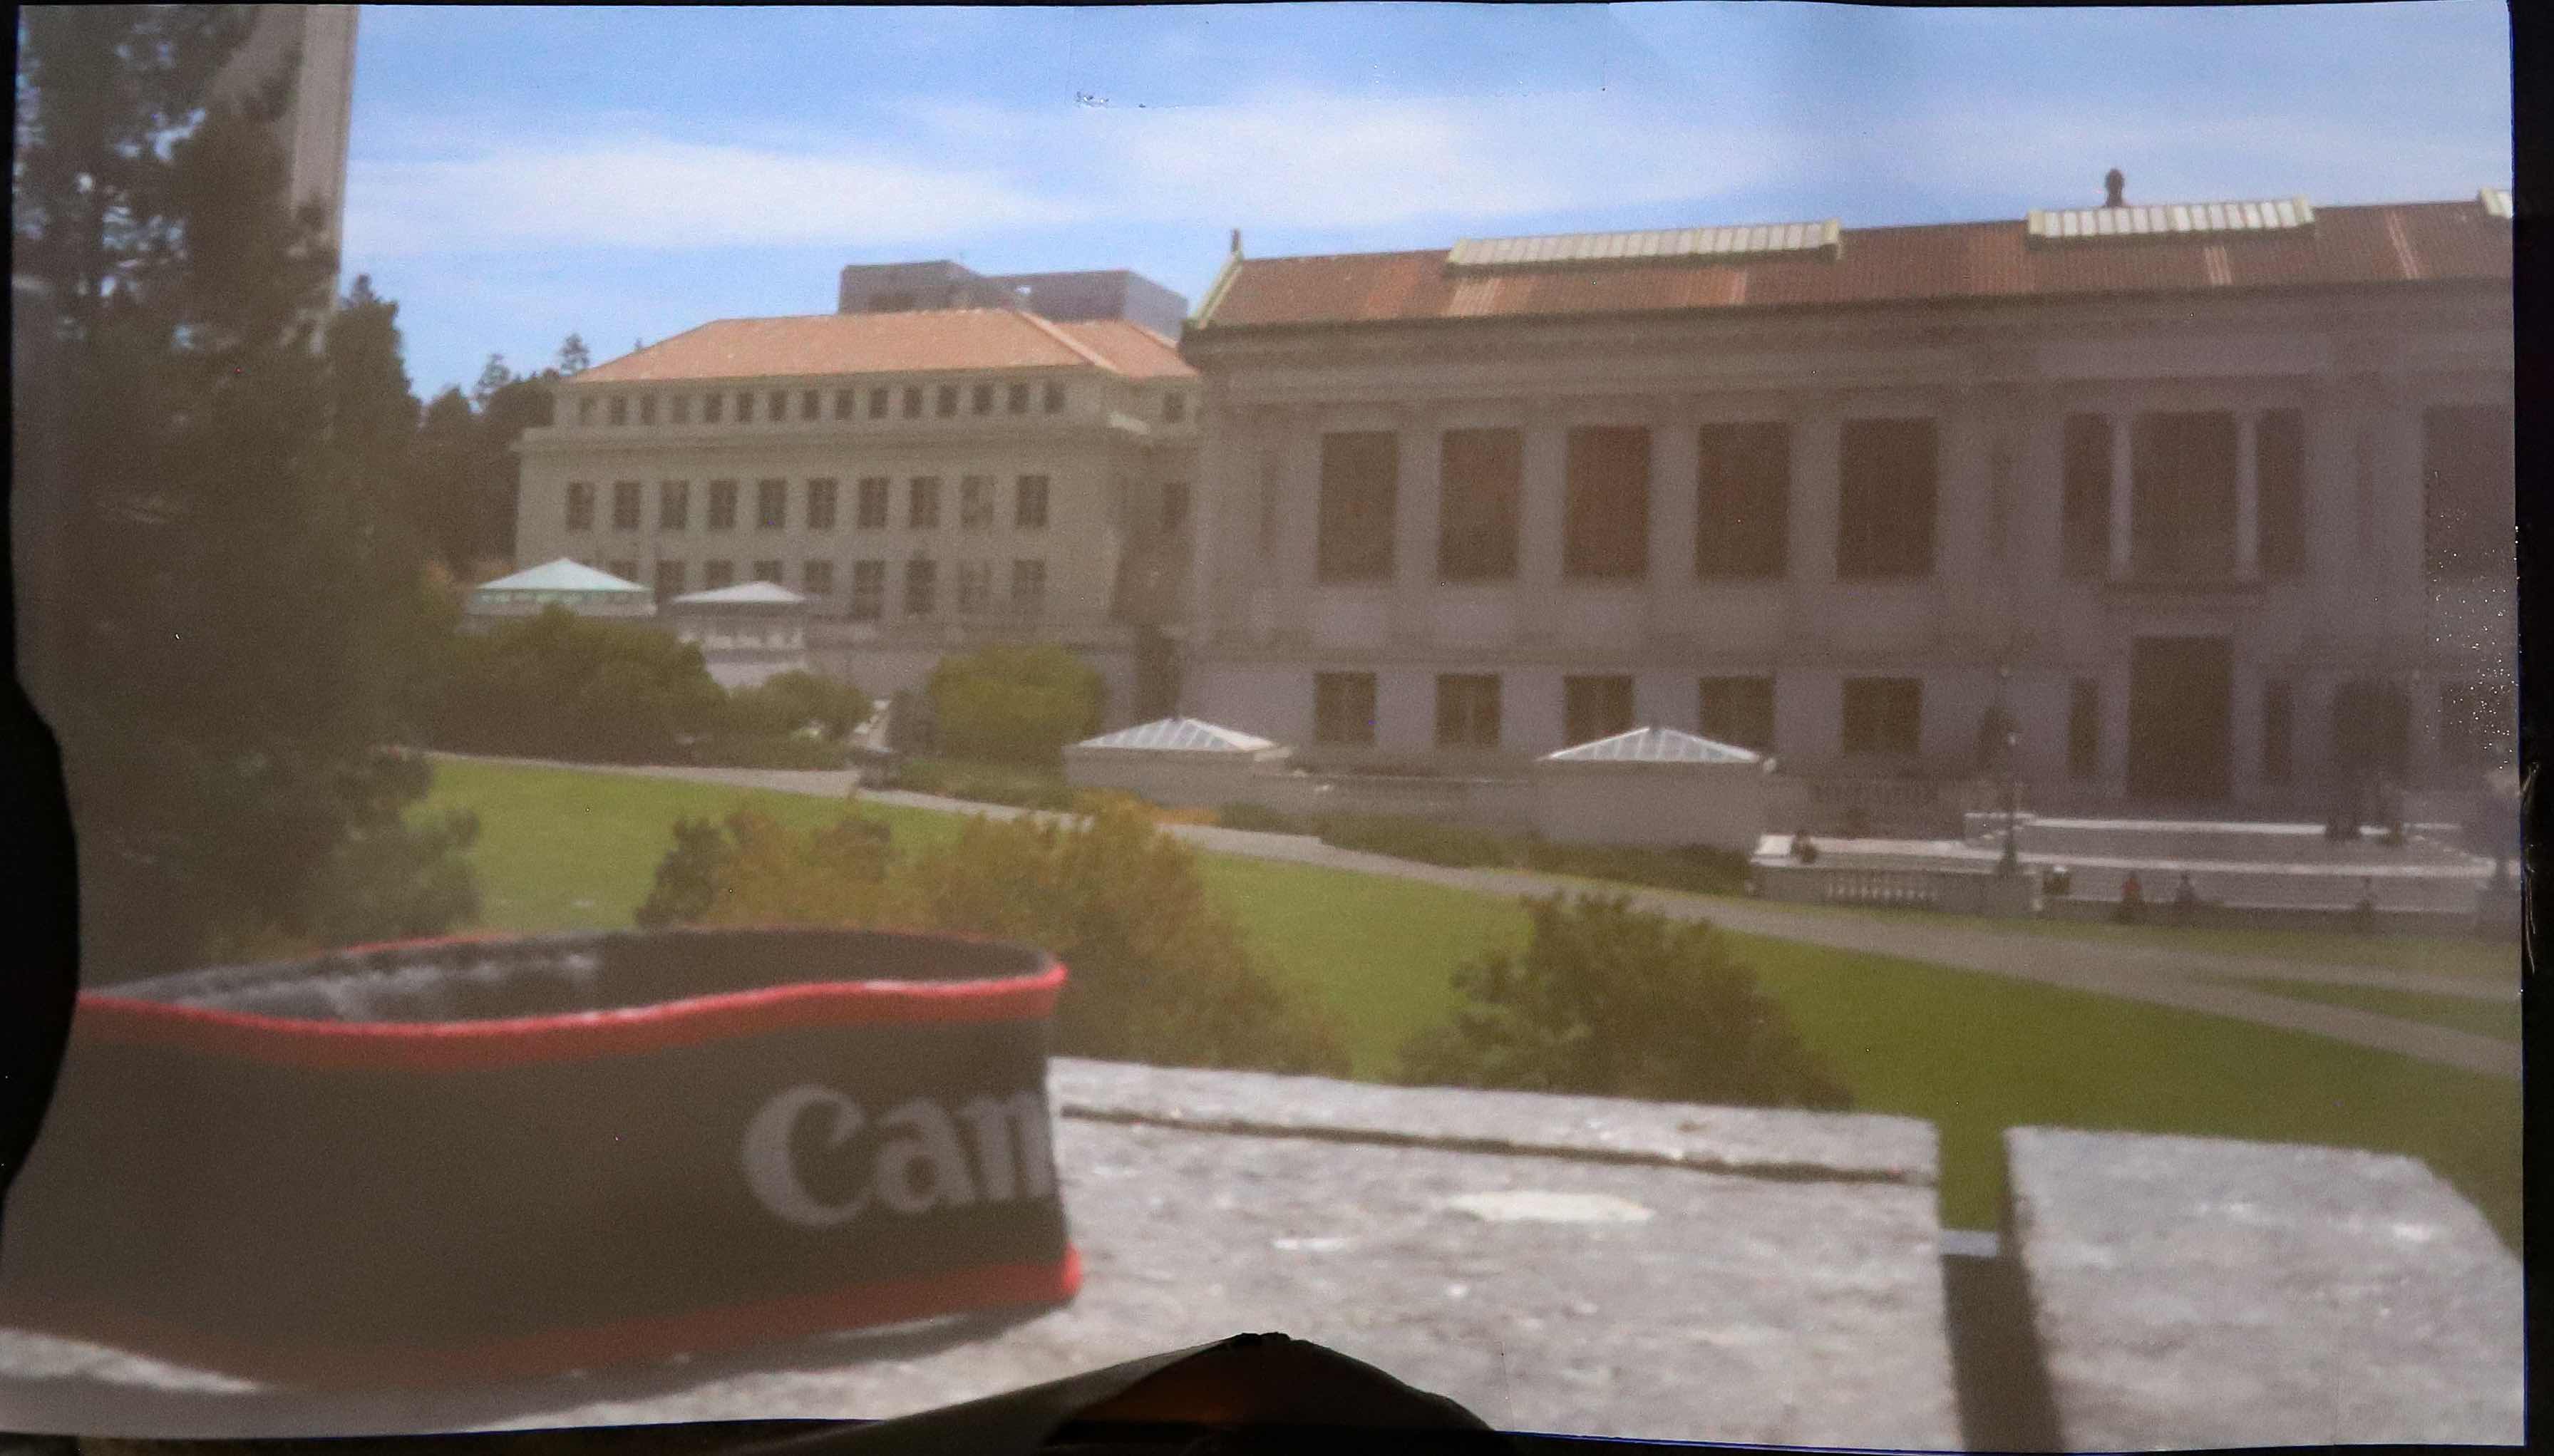
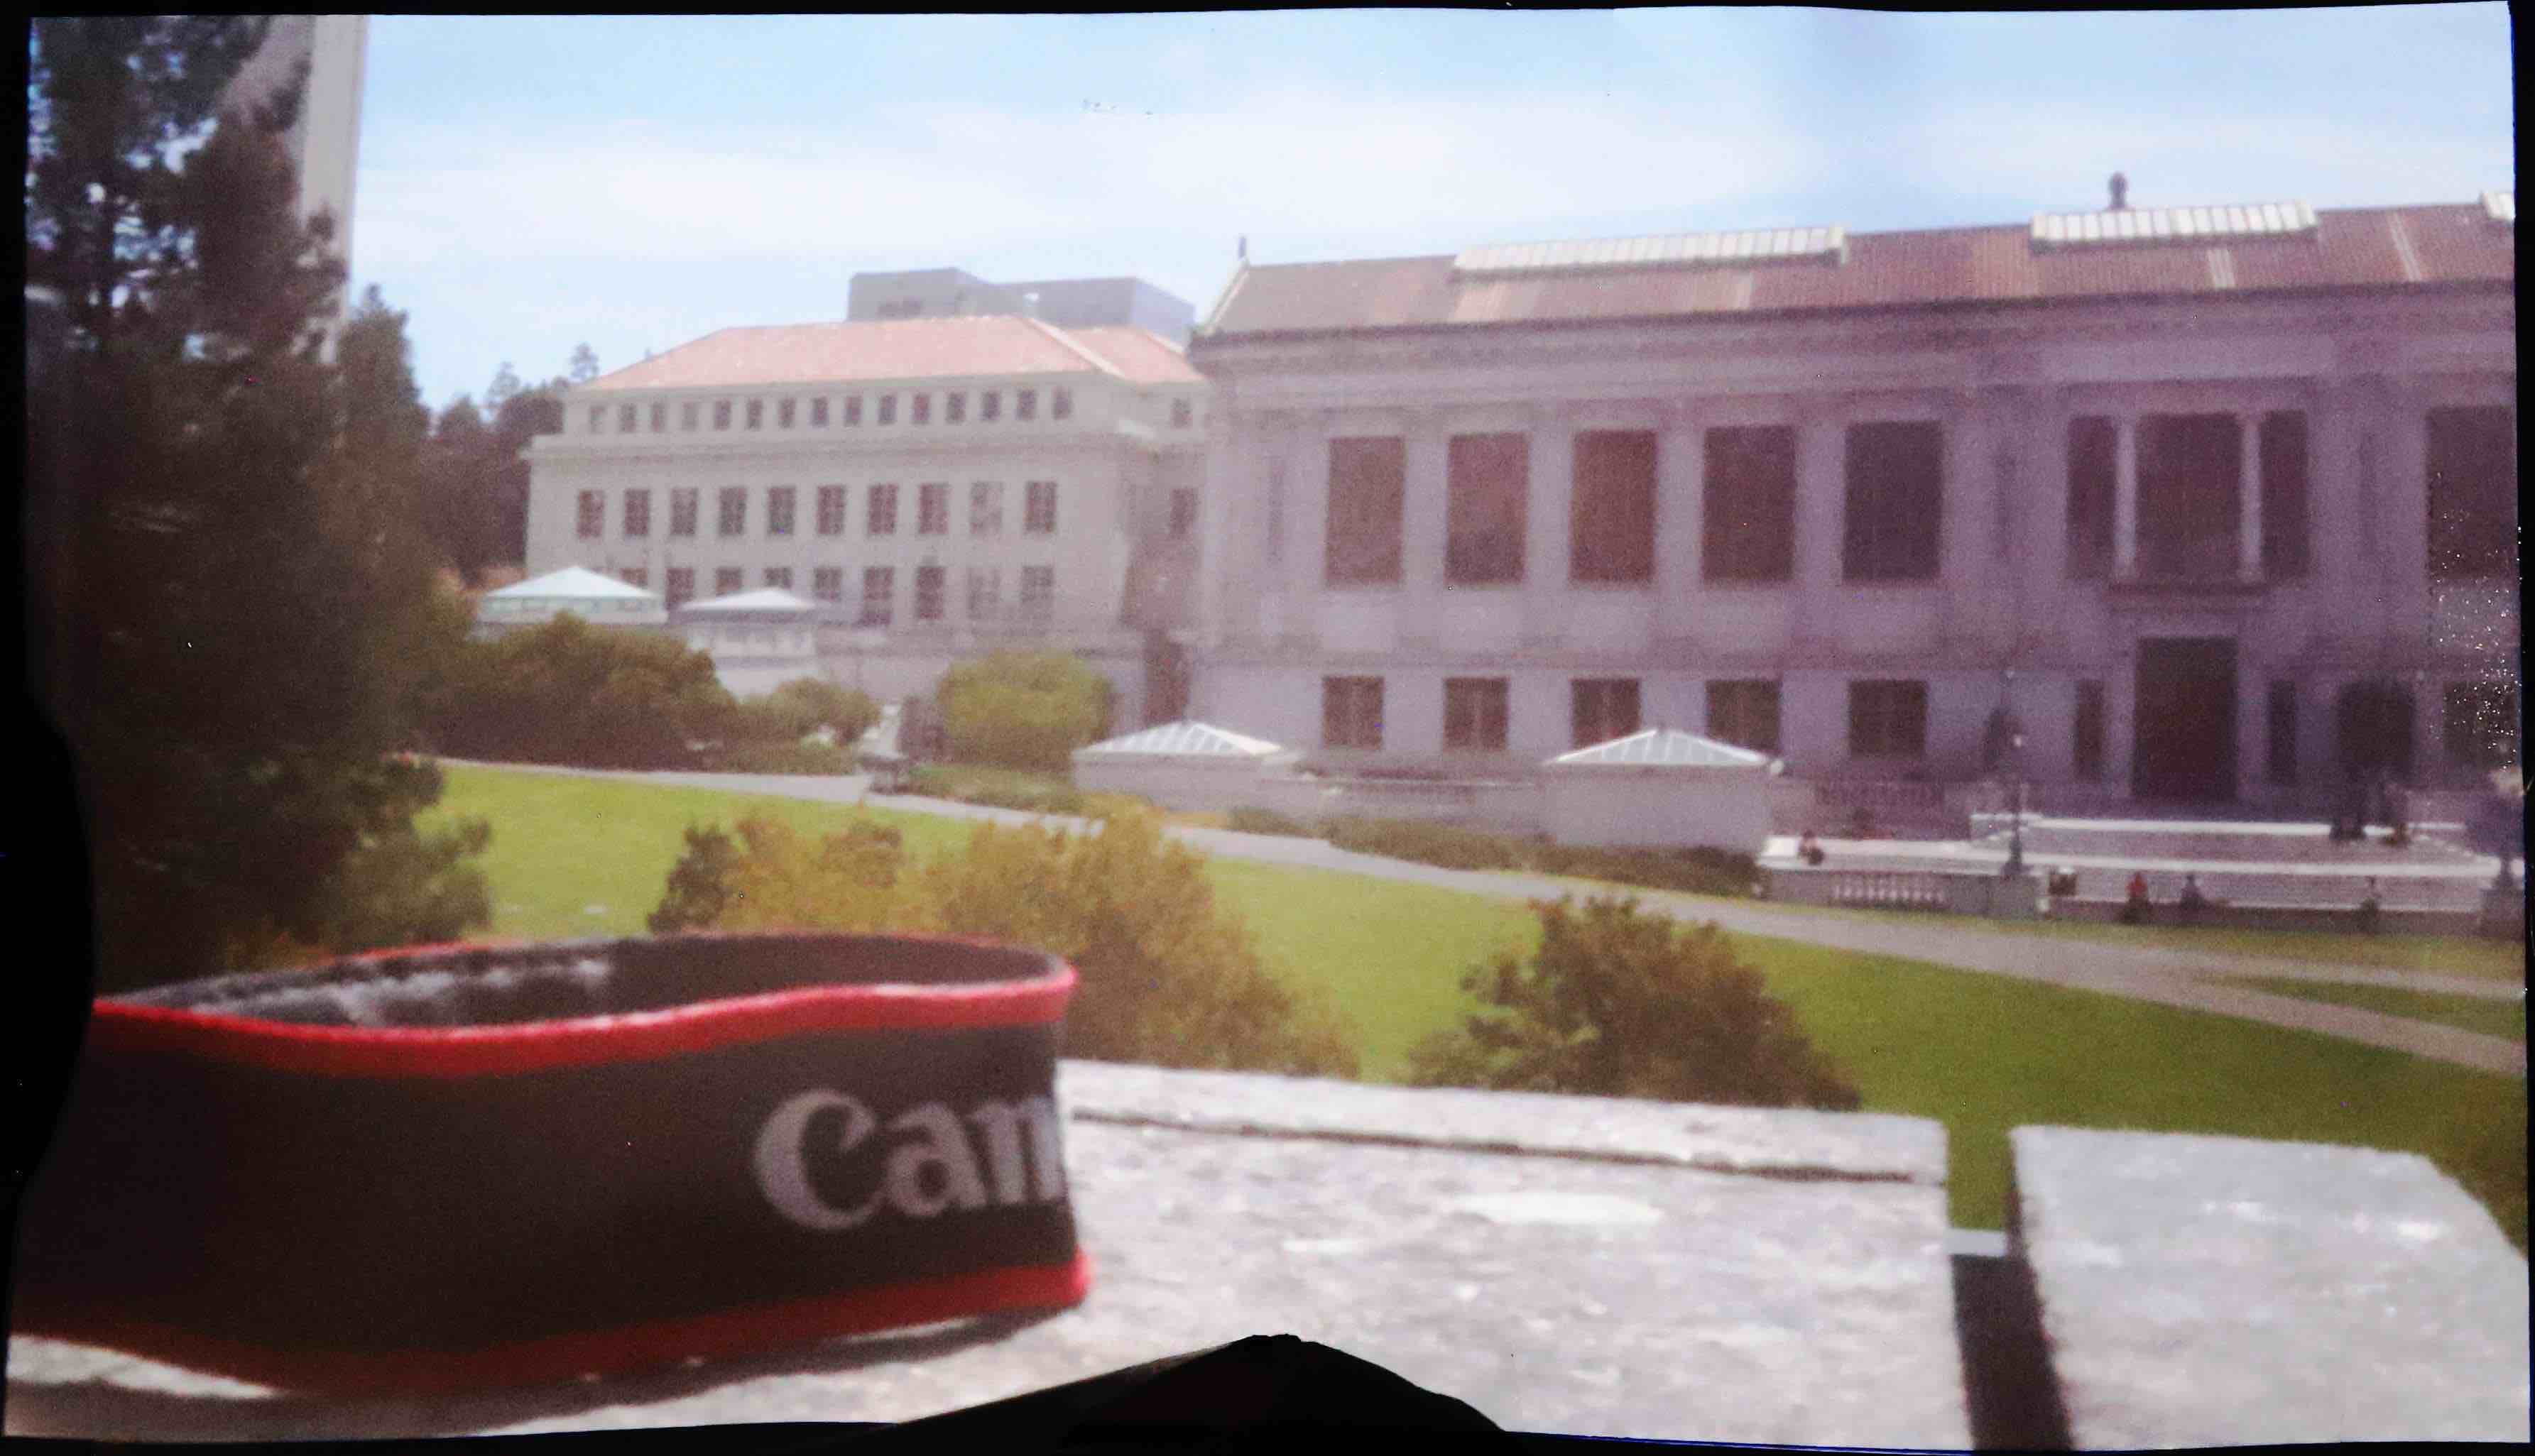
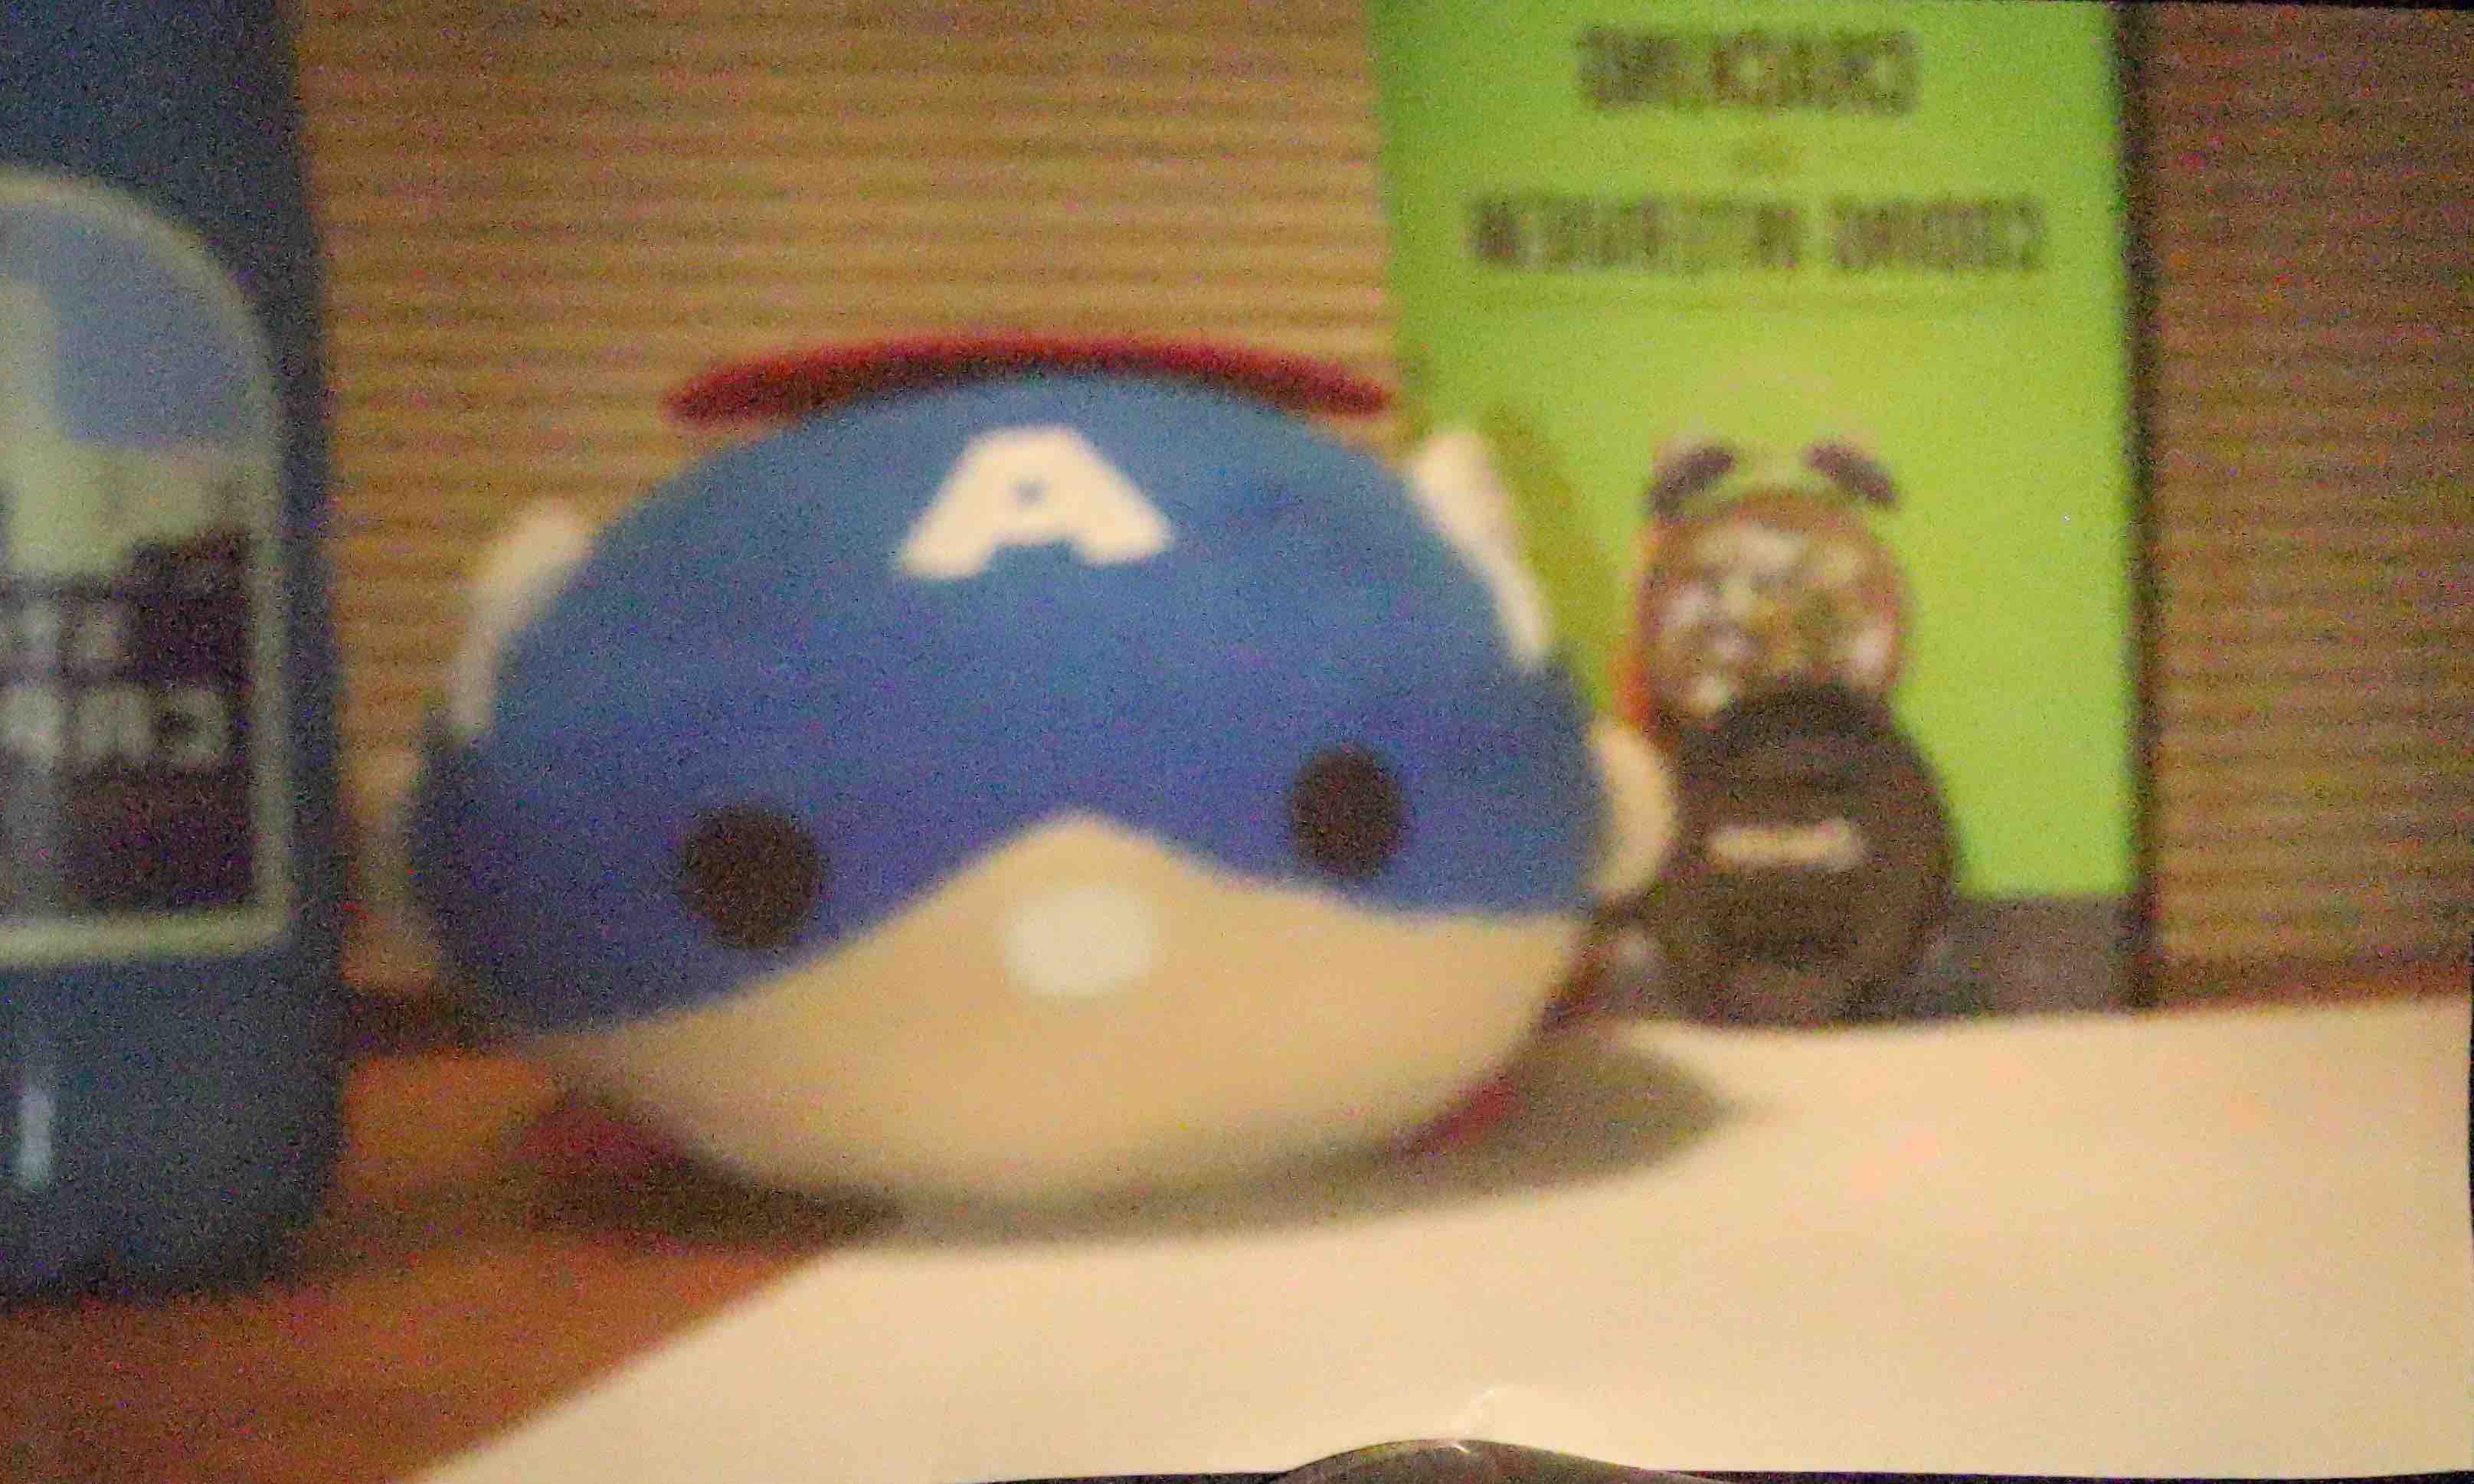
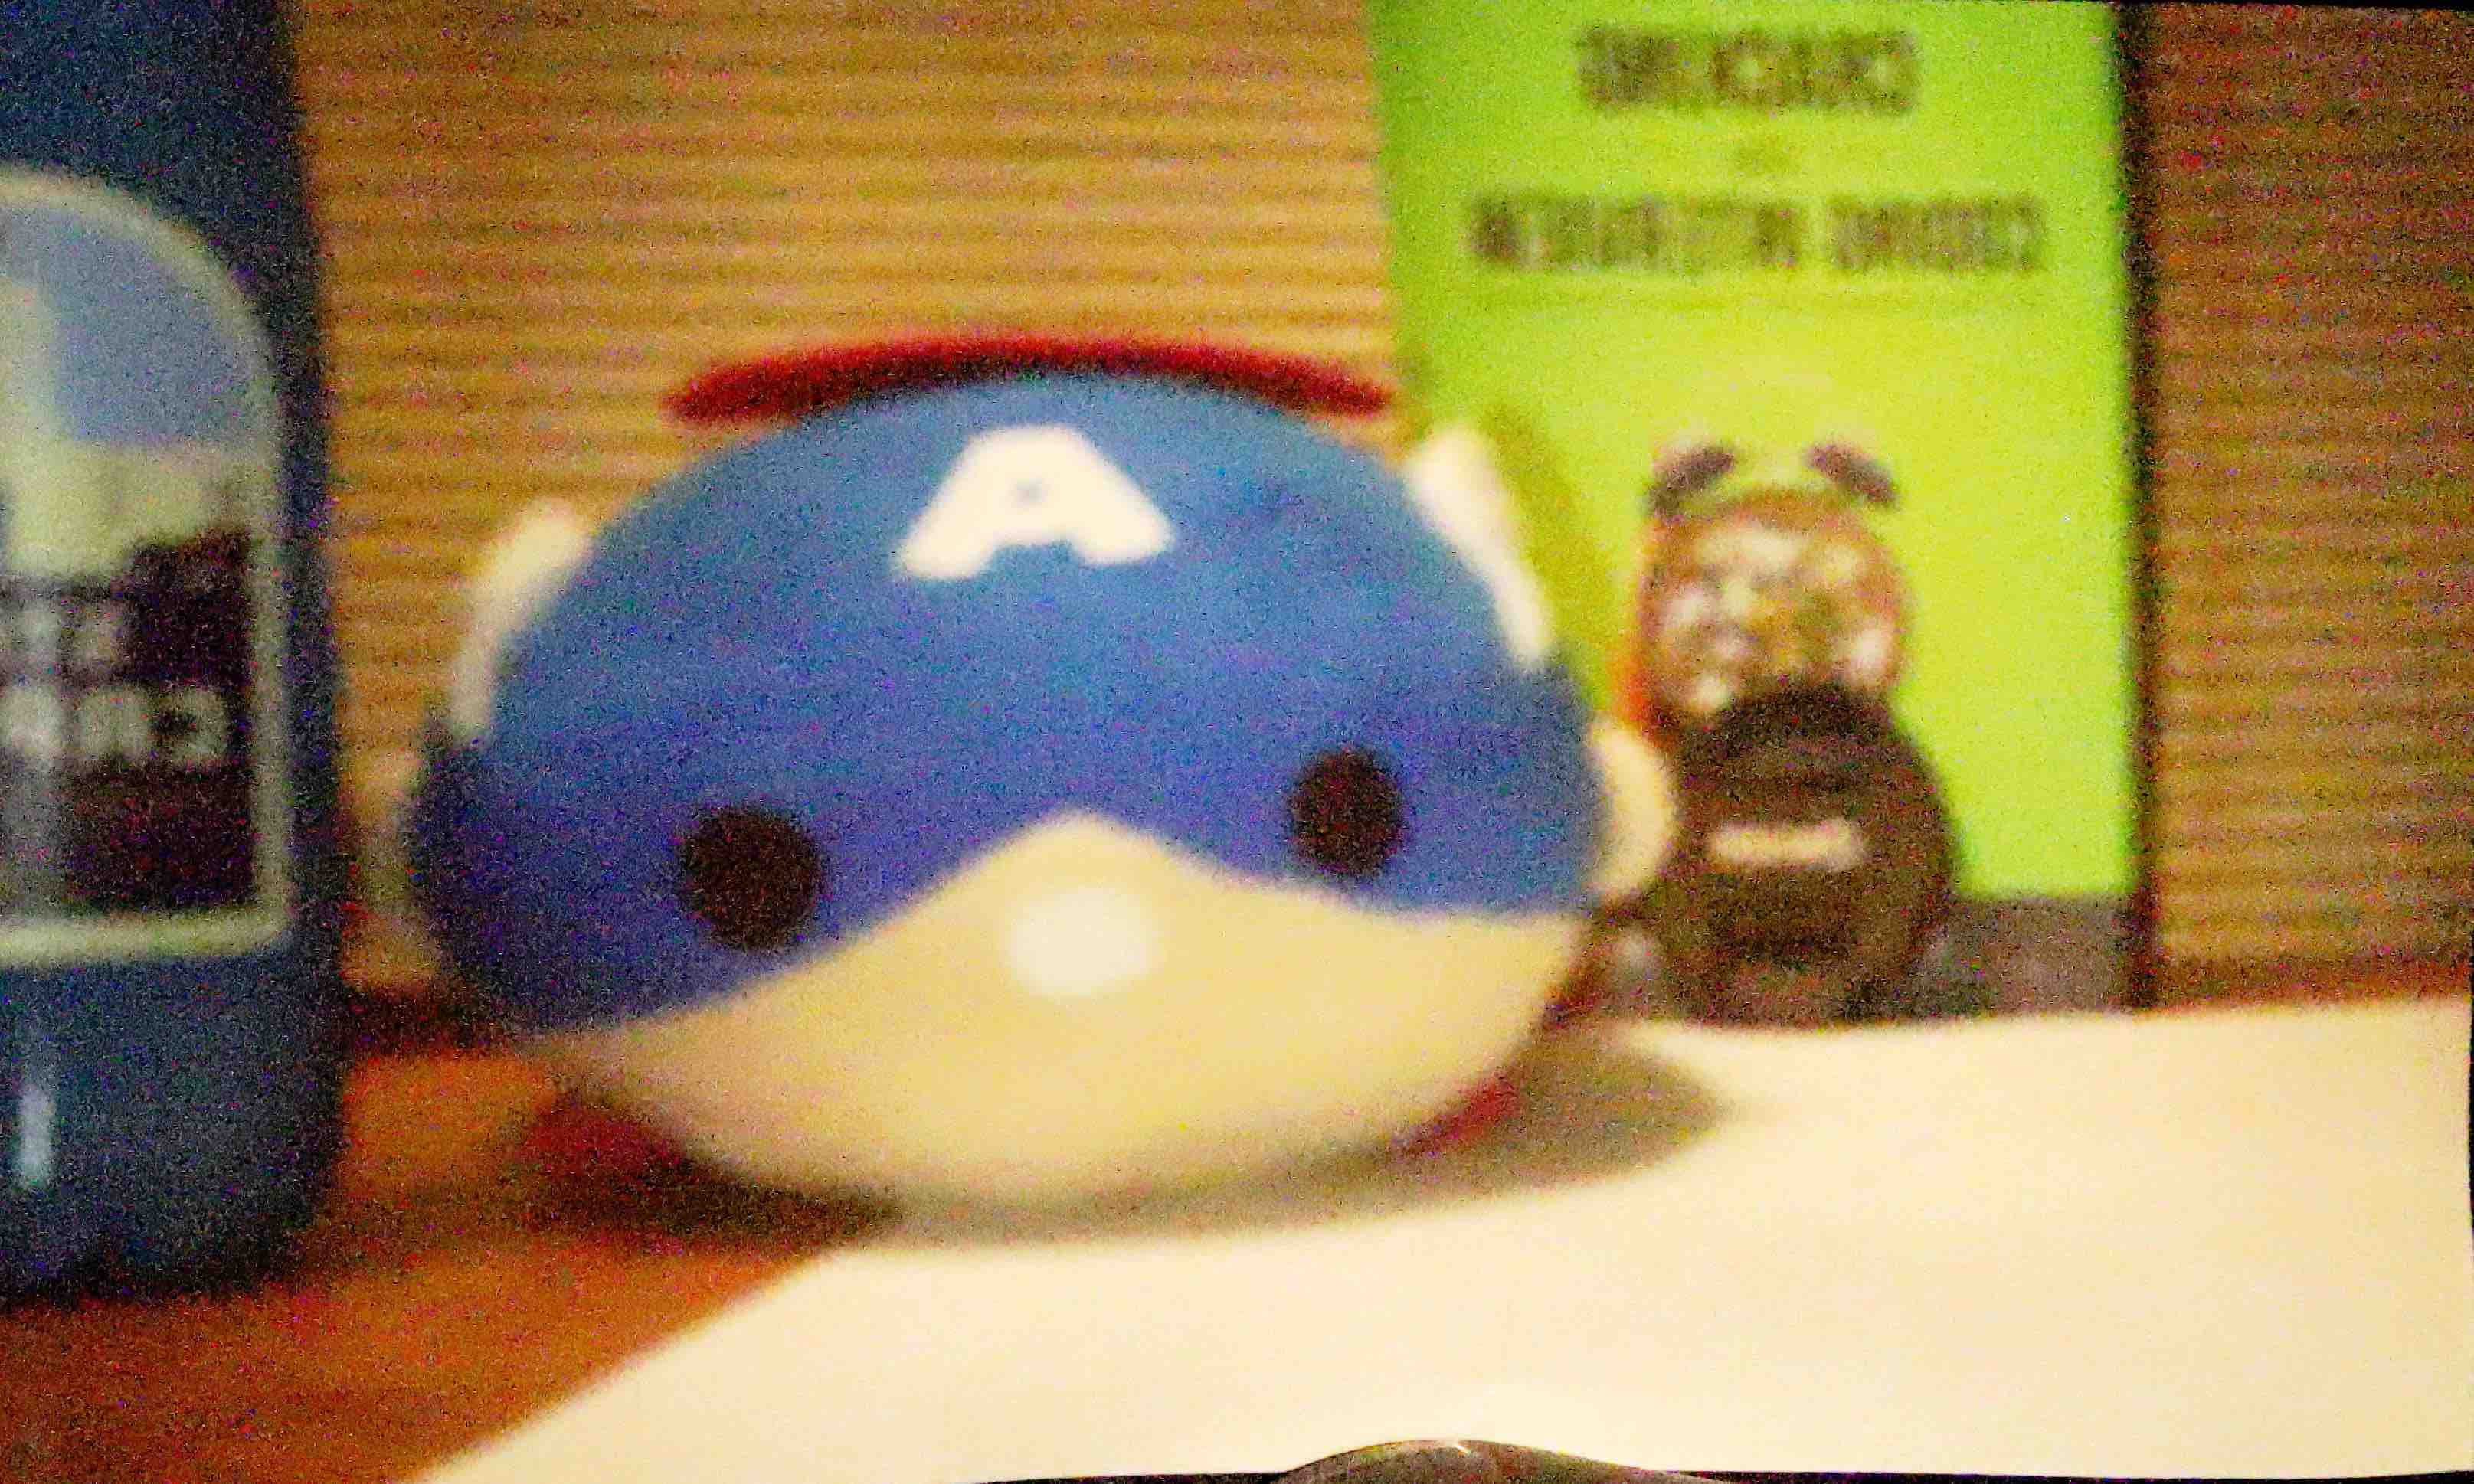
2. FINAL RESULTS TAAADAAAAAAAAA
These are pictures after being cropped, rotated and enhanced.
Captain Ameicaaaaaaaaaaa

Is it Doe, my dear?
A grid of lightsabers?

ughhh, can't see their faces.
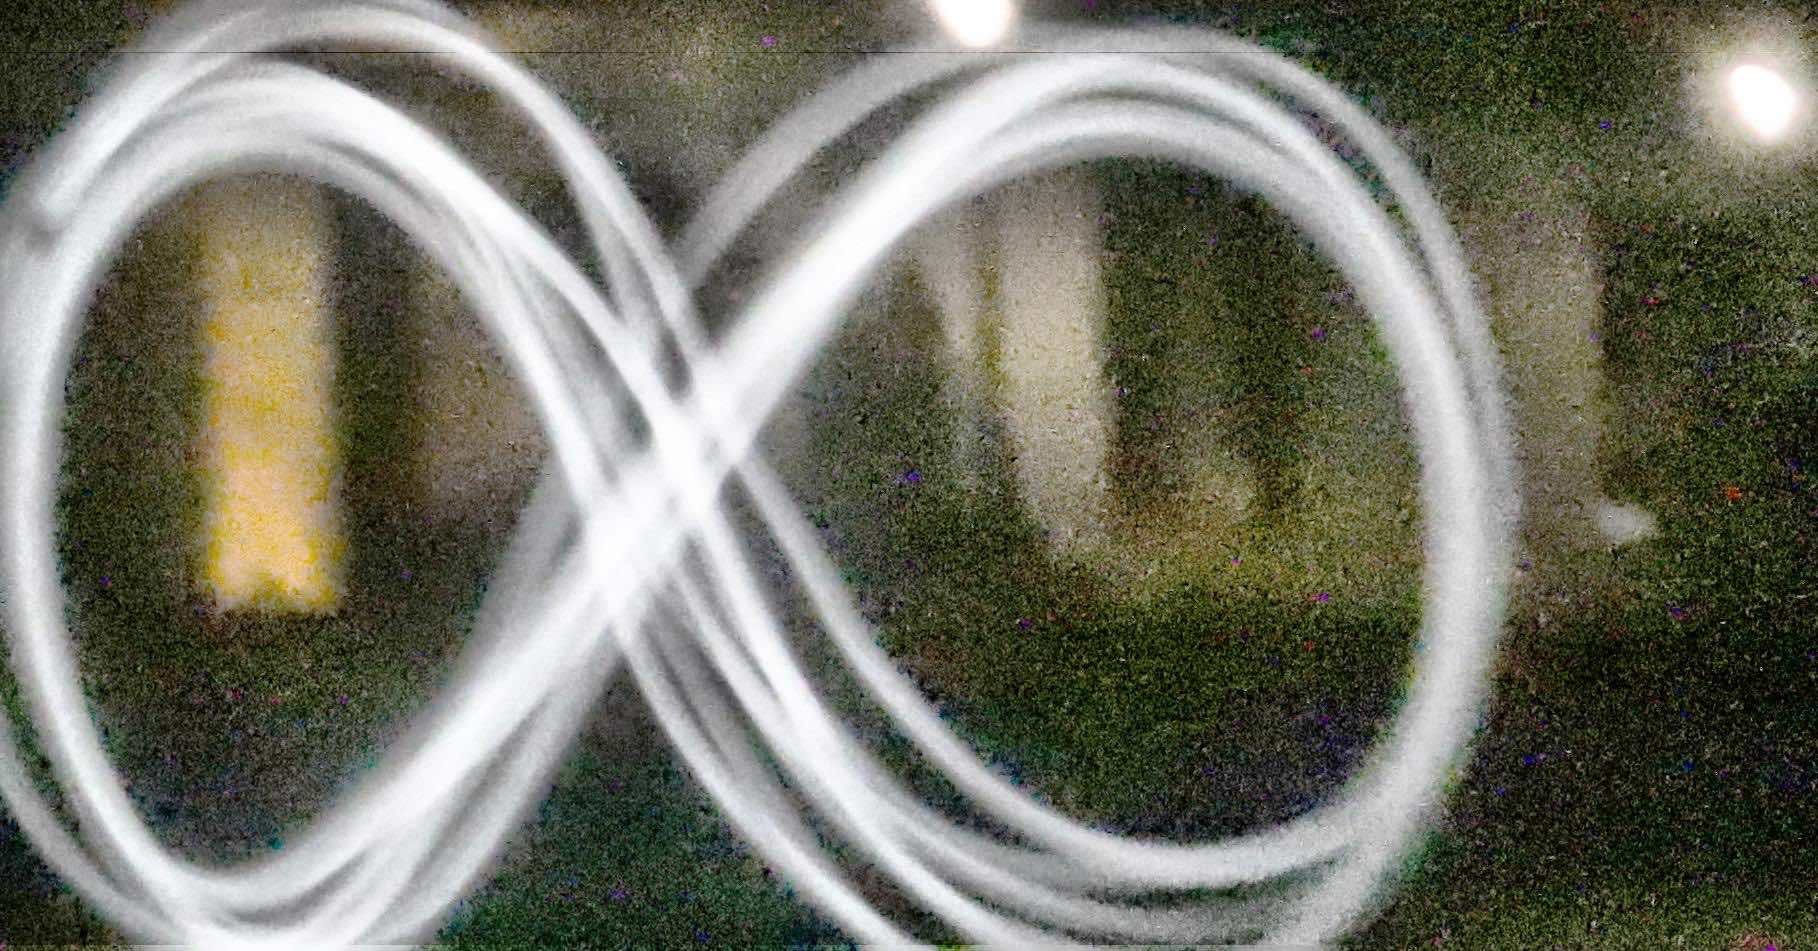
Ghostinggggg
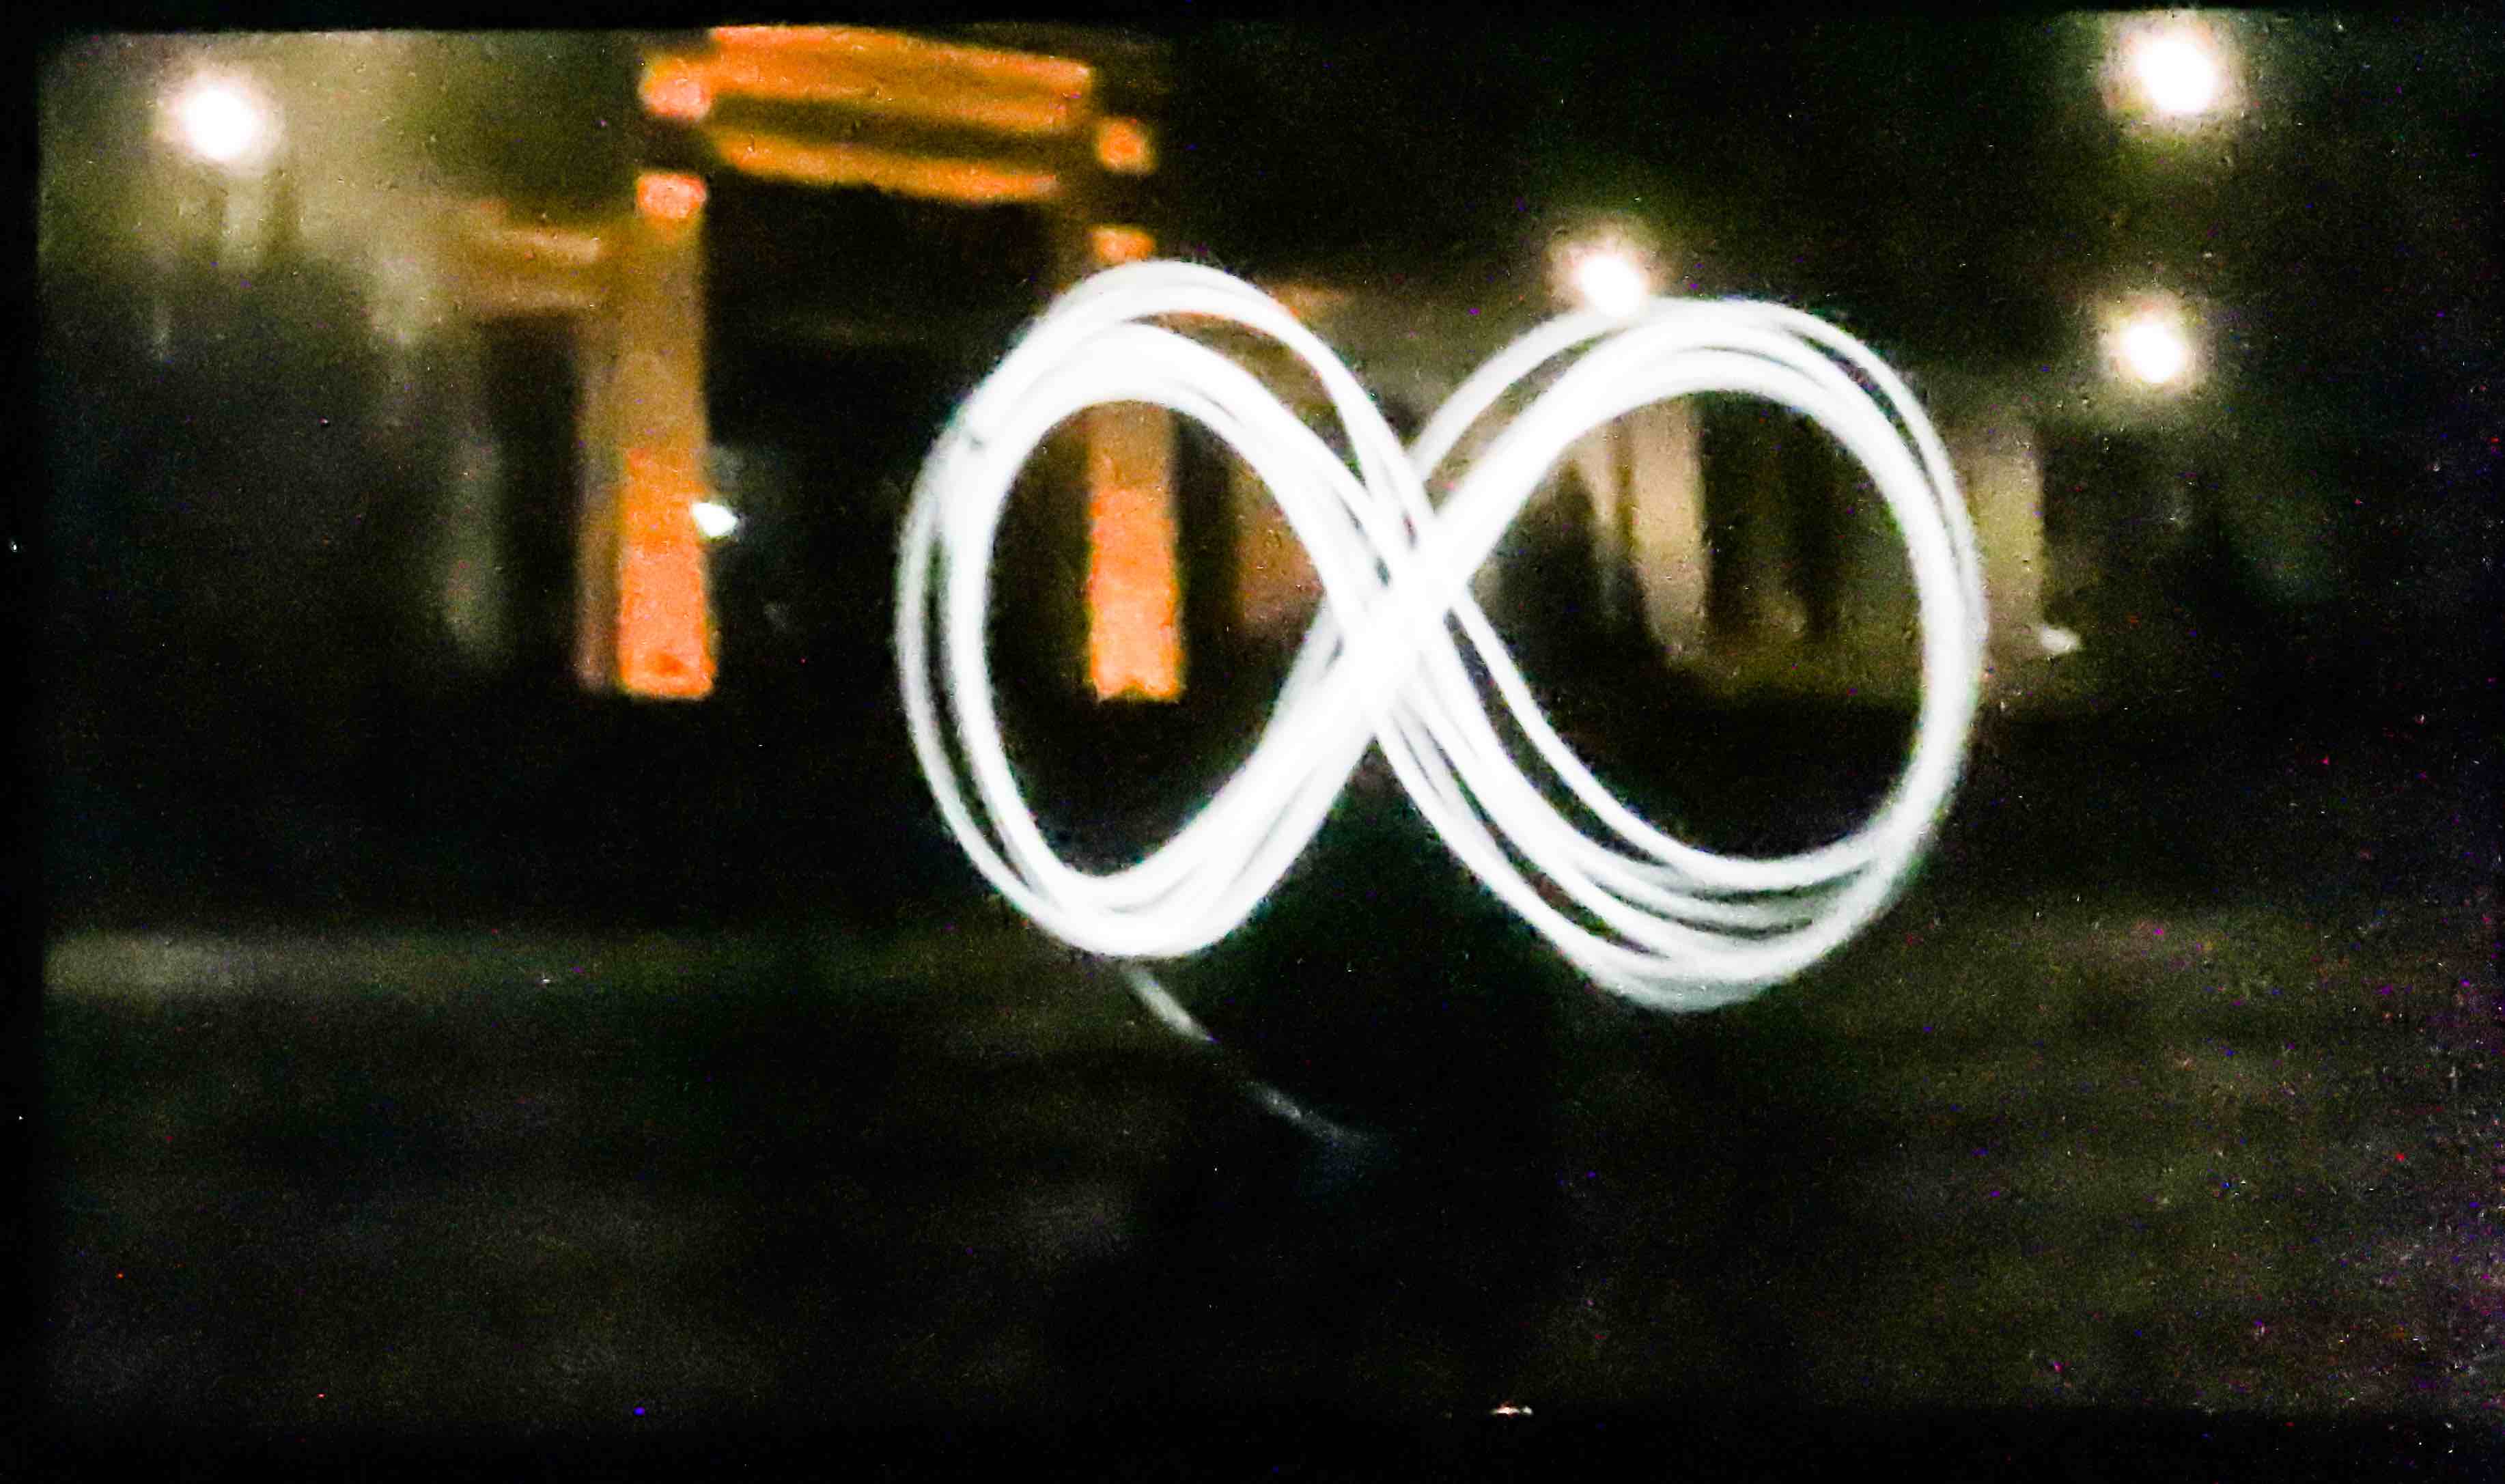
Hope I don't get into this loop, I wanna get outta schoollll
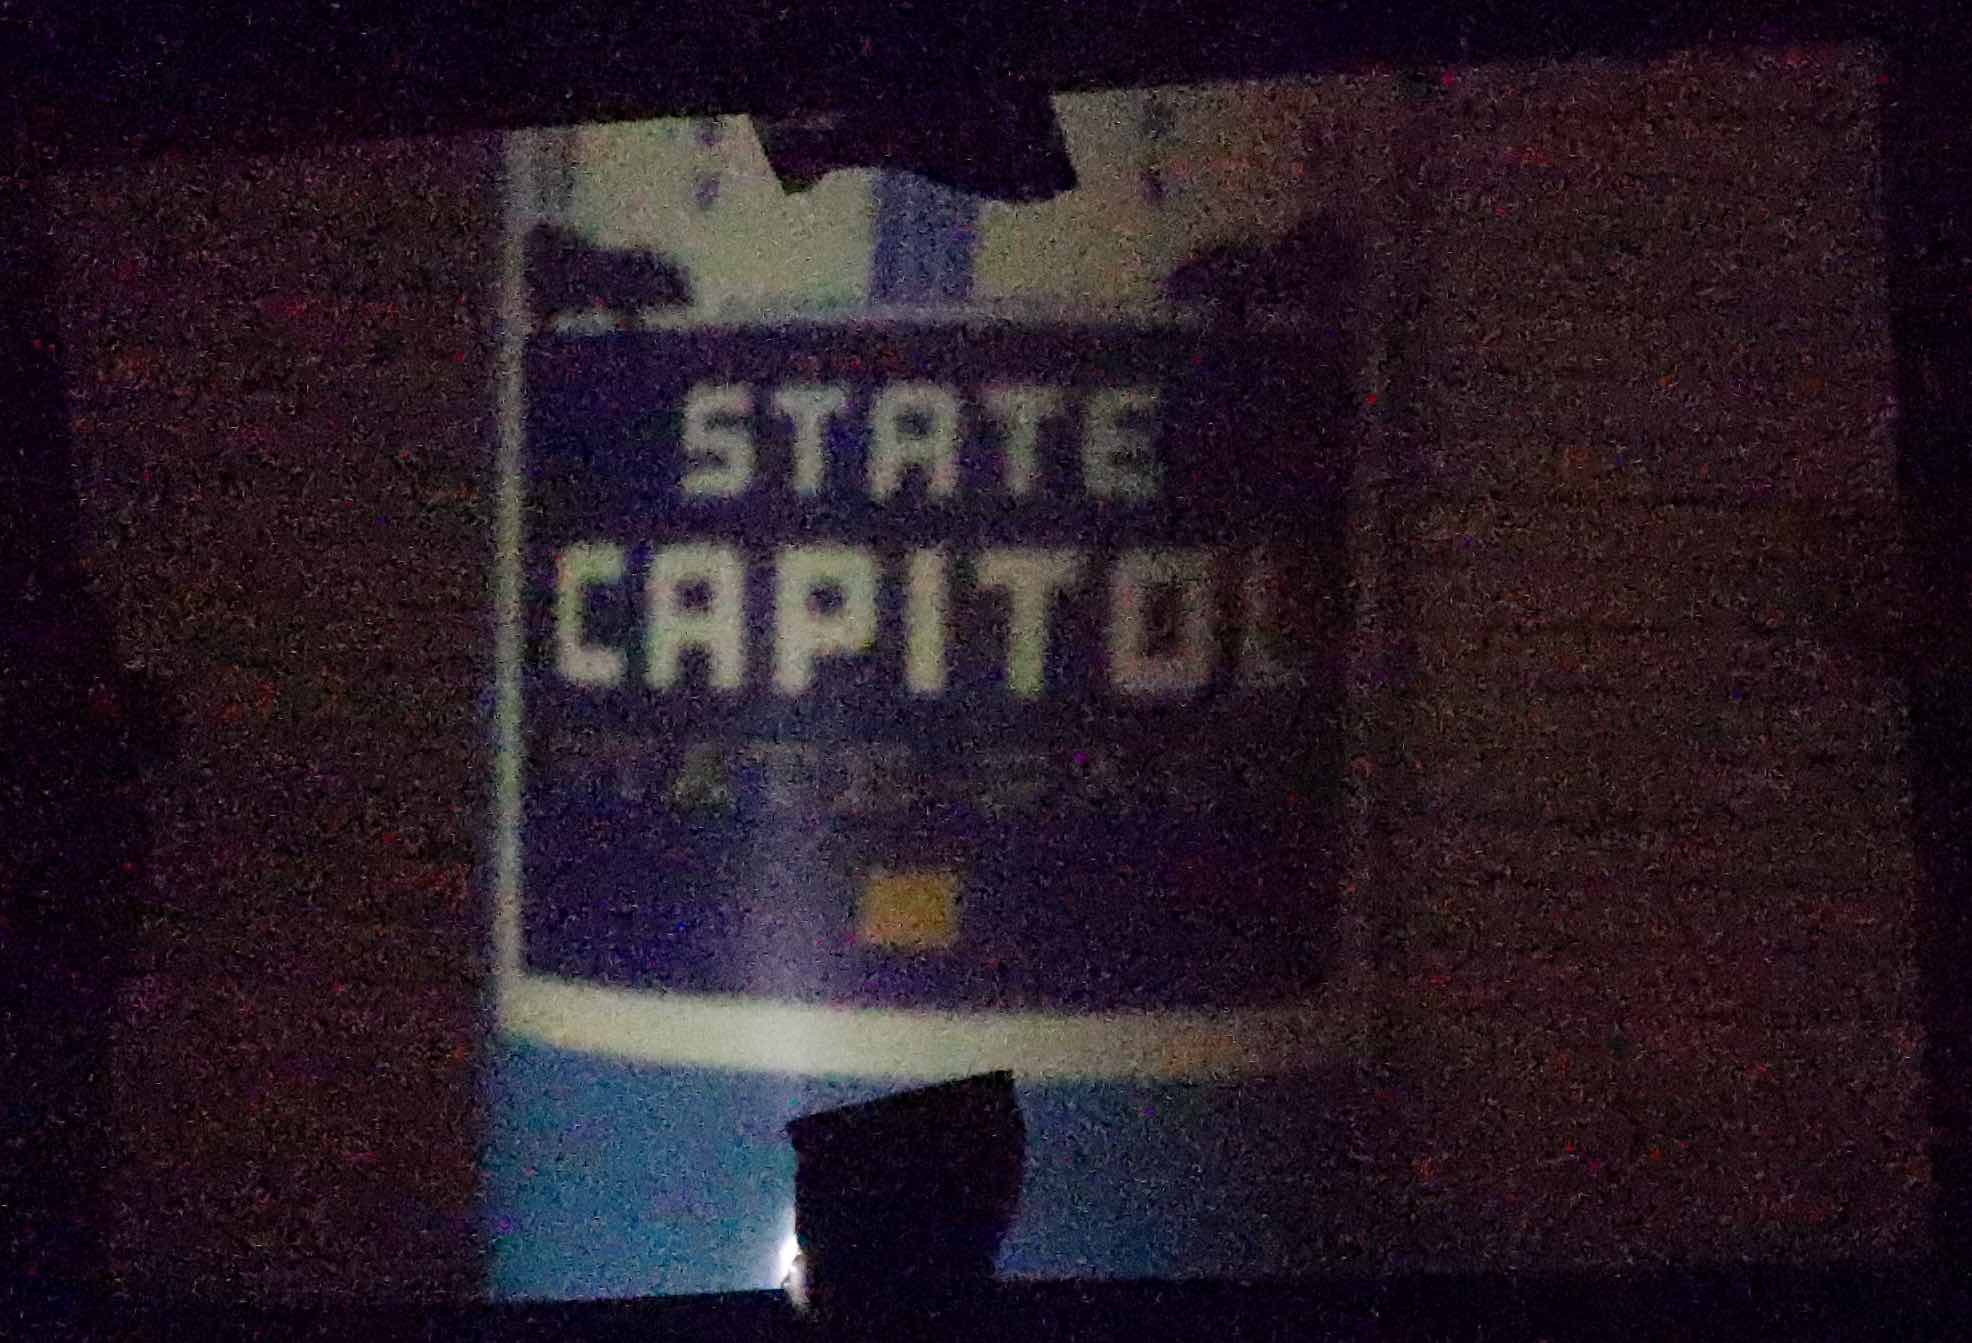
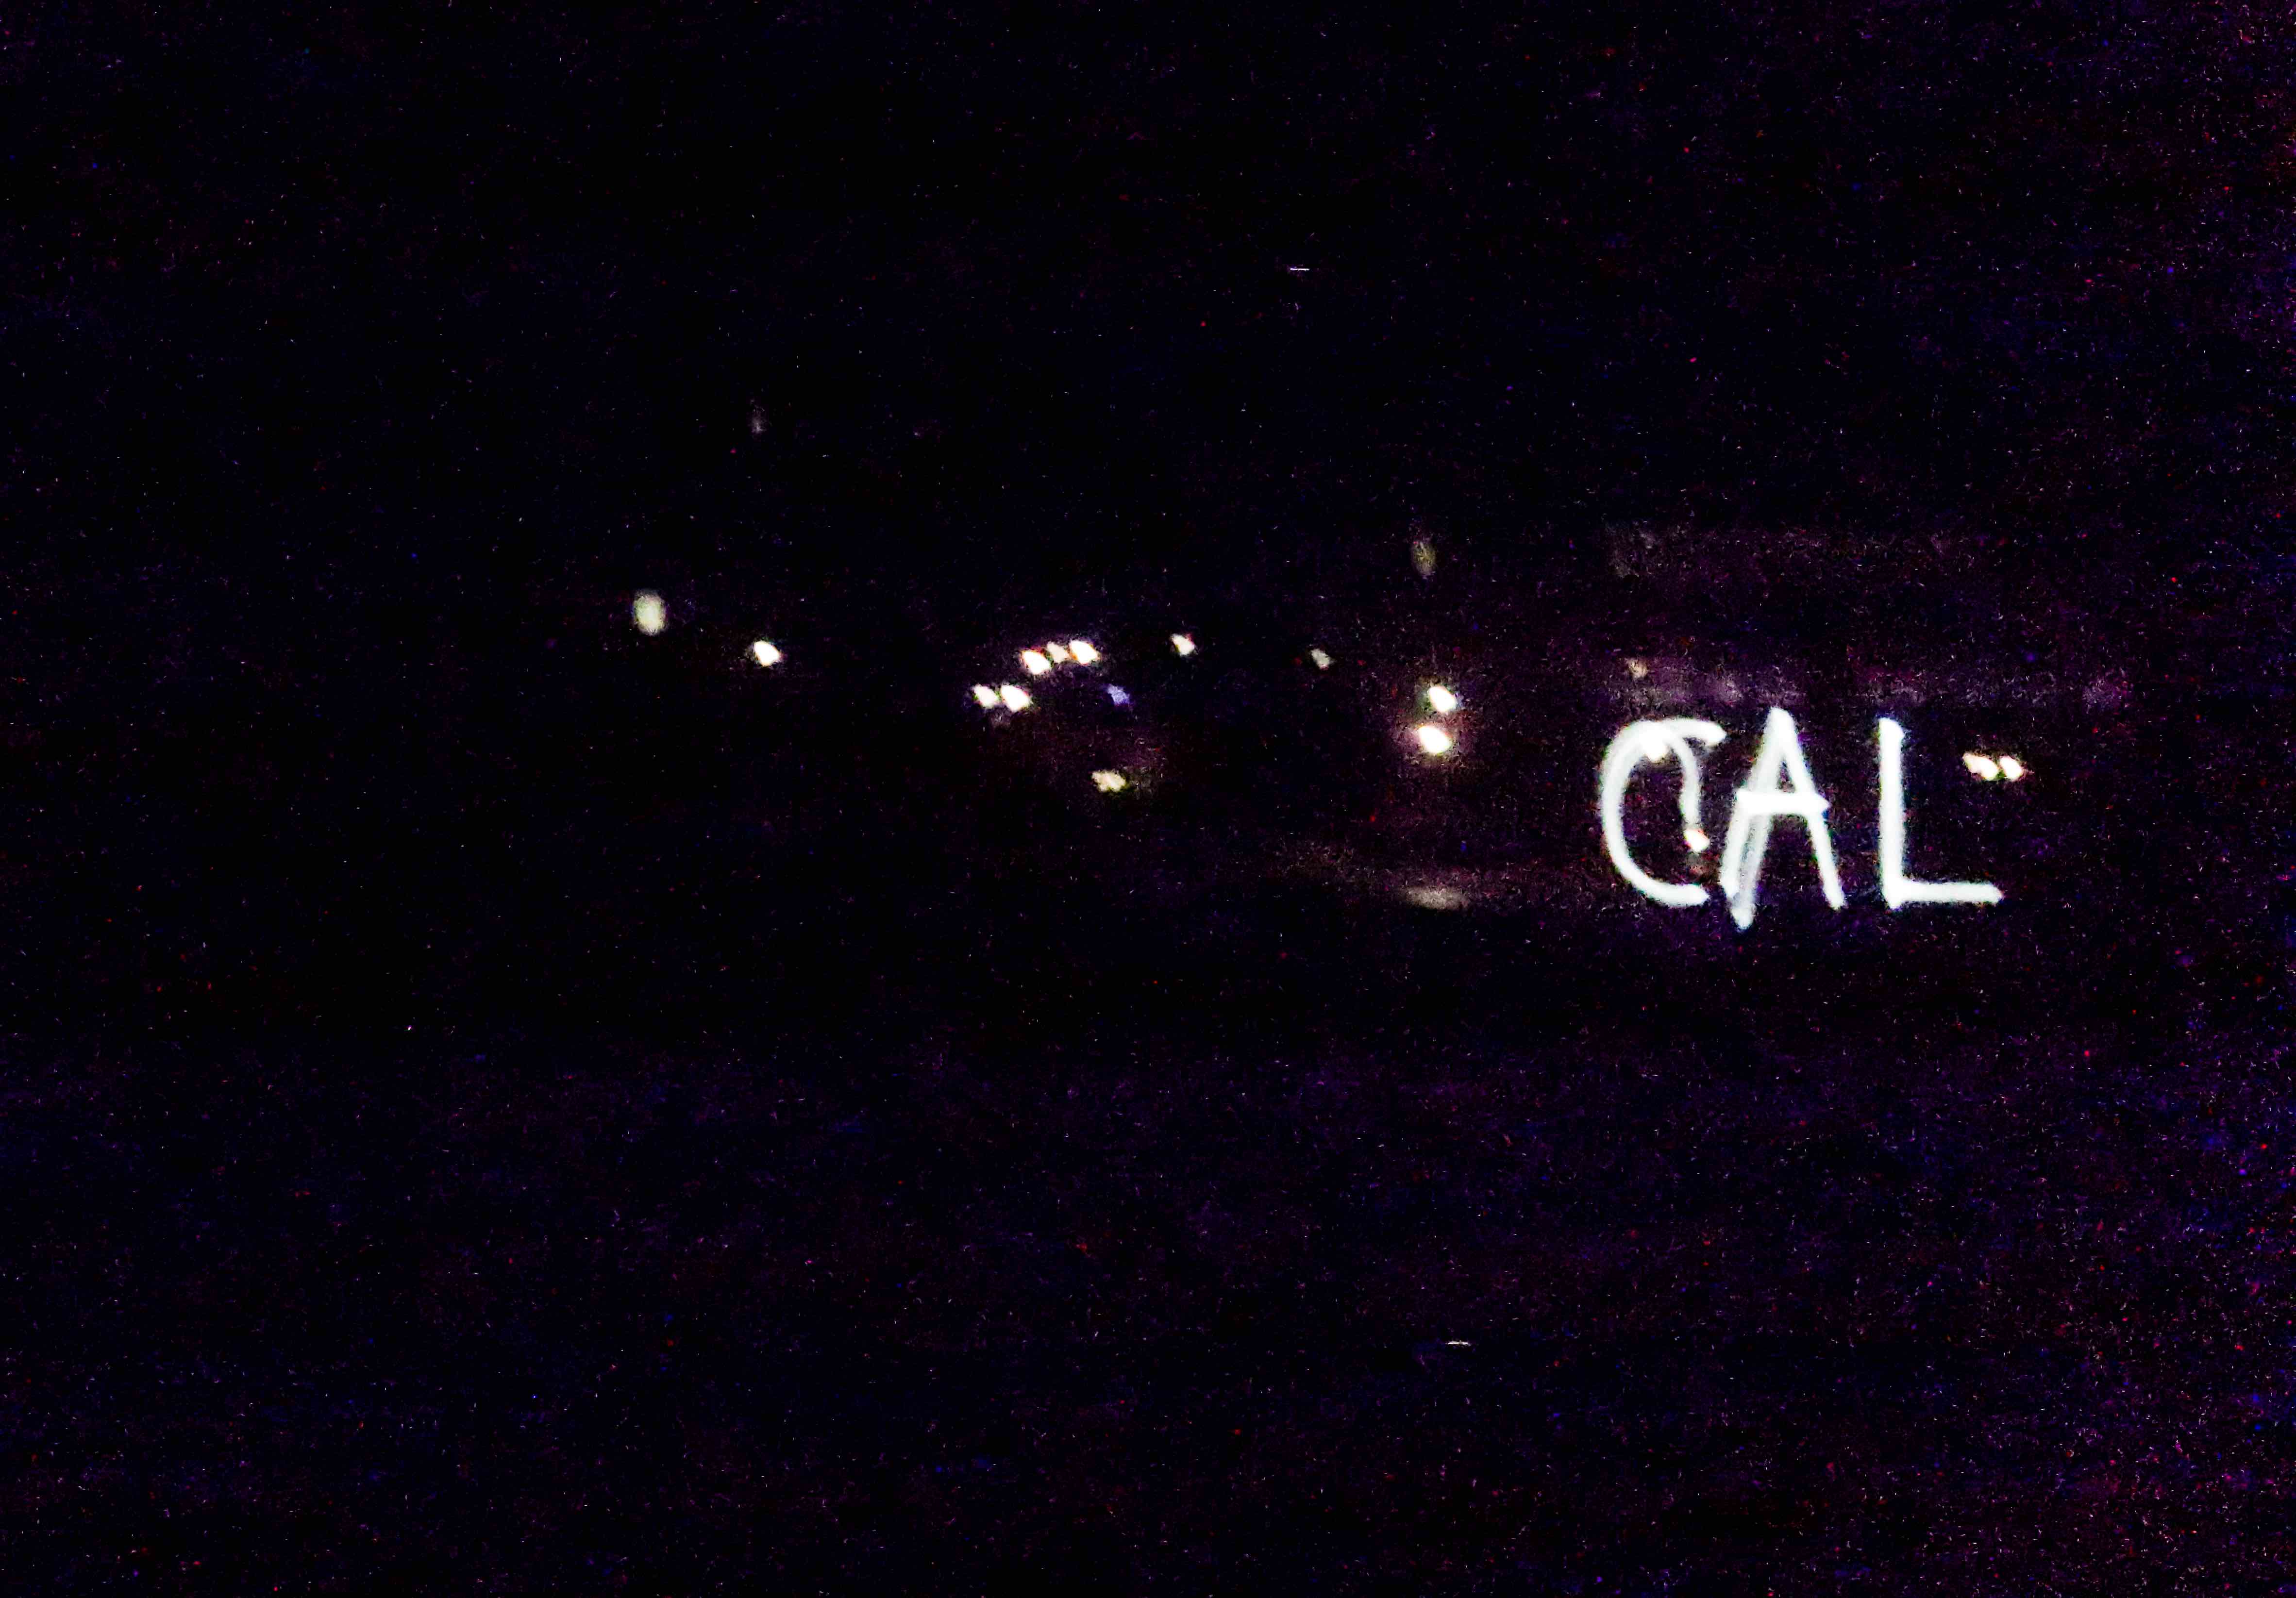
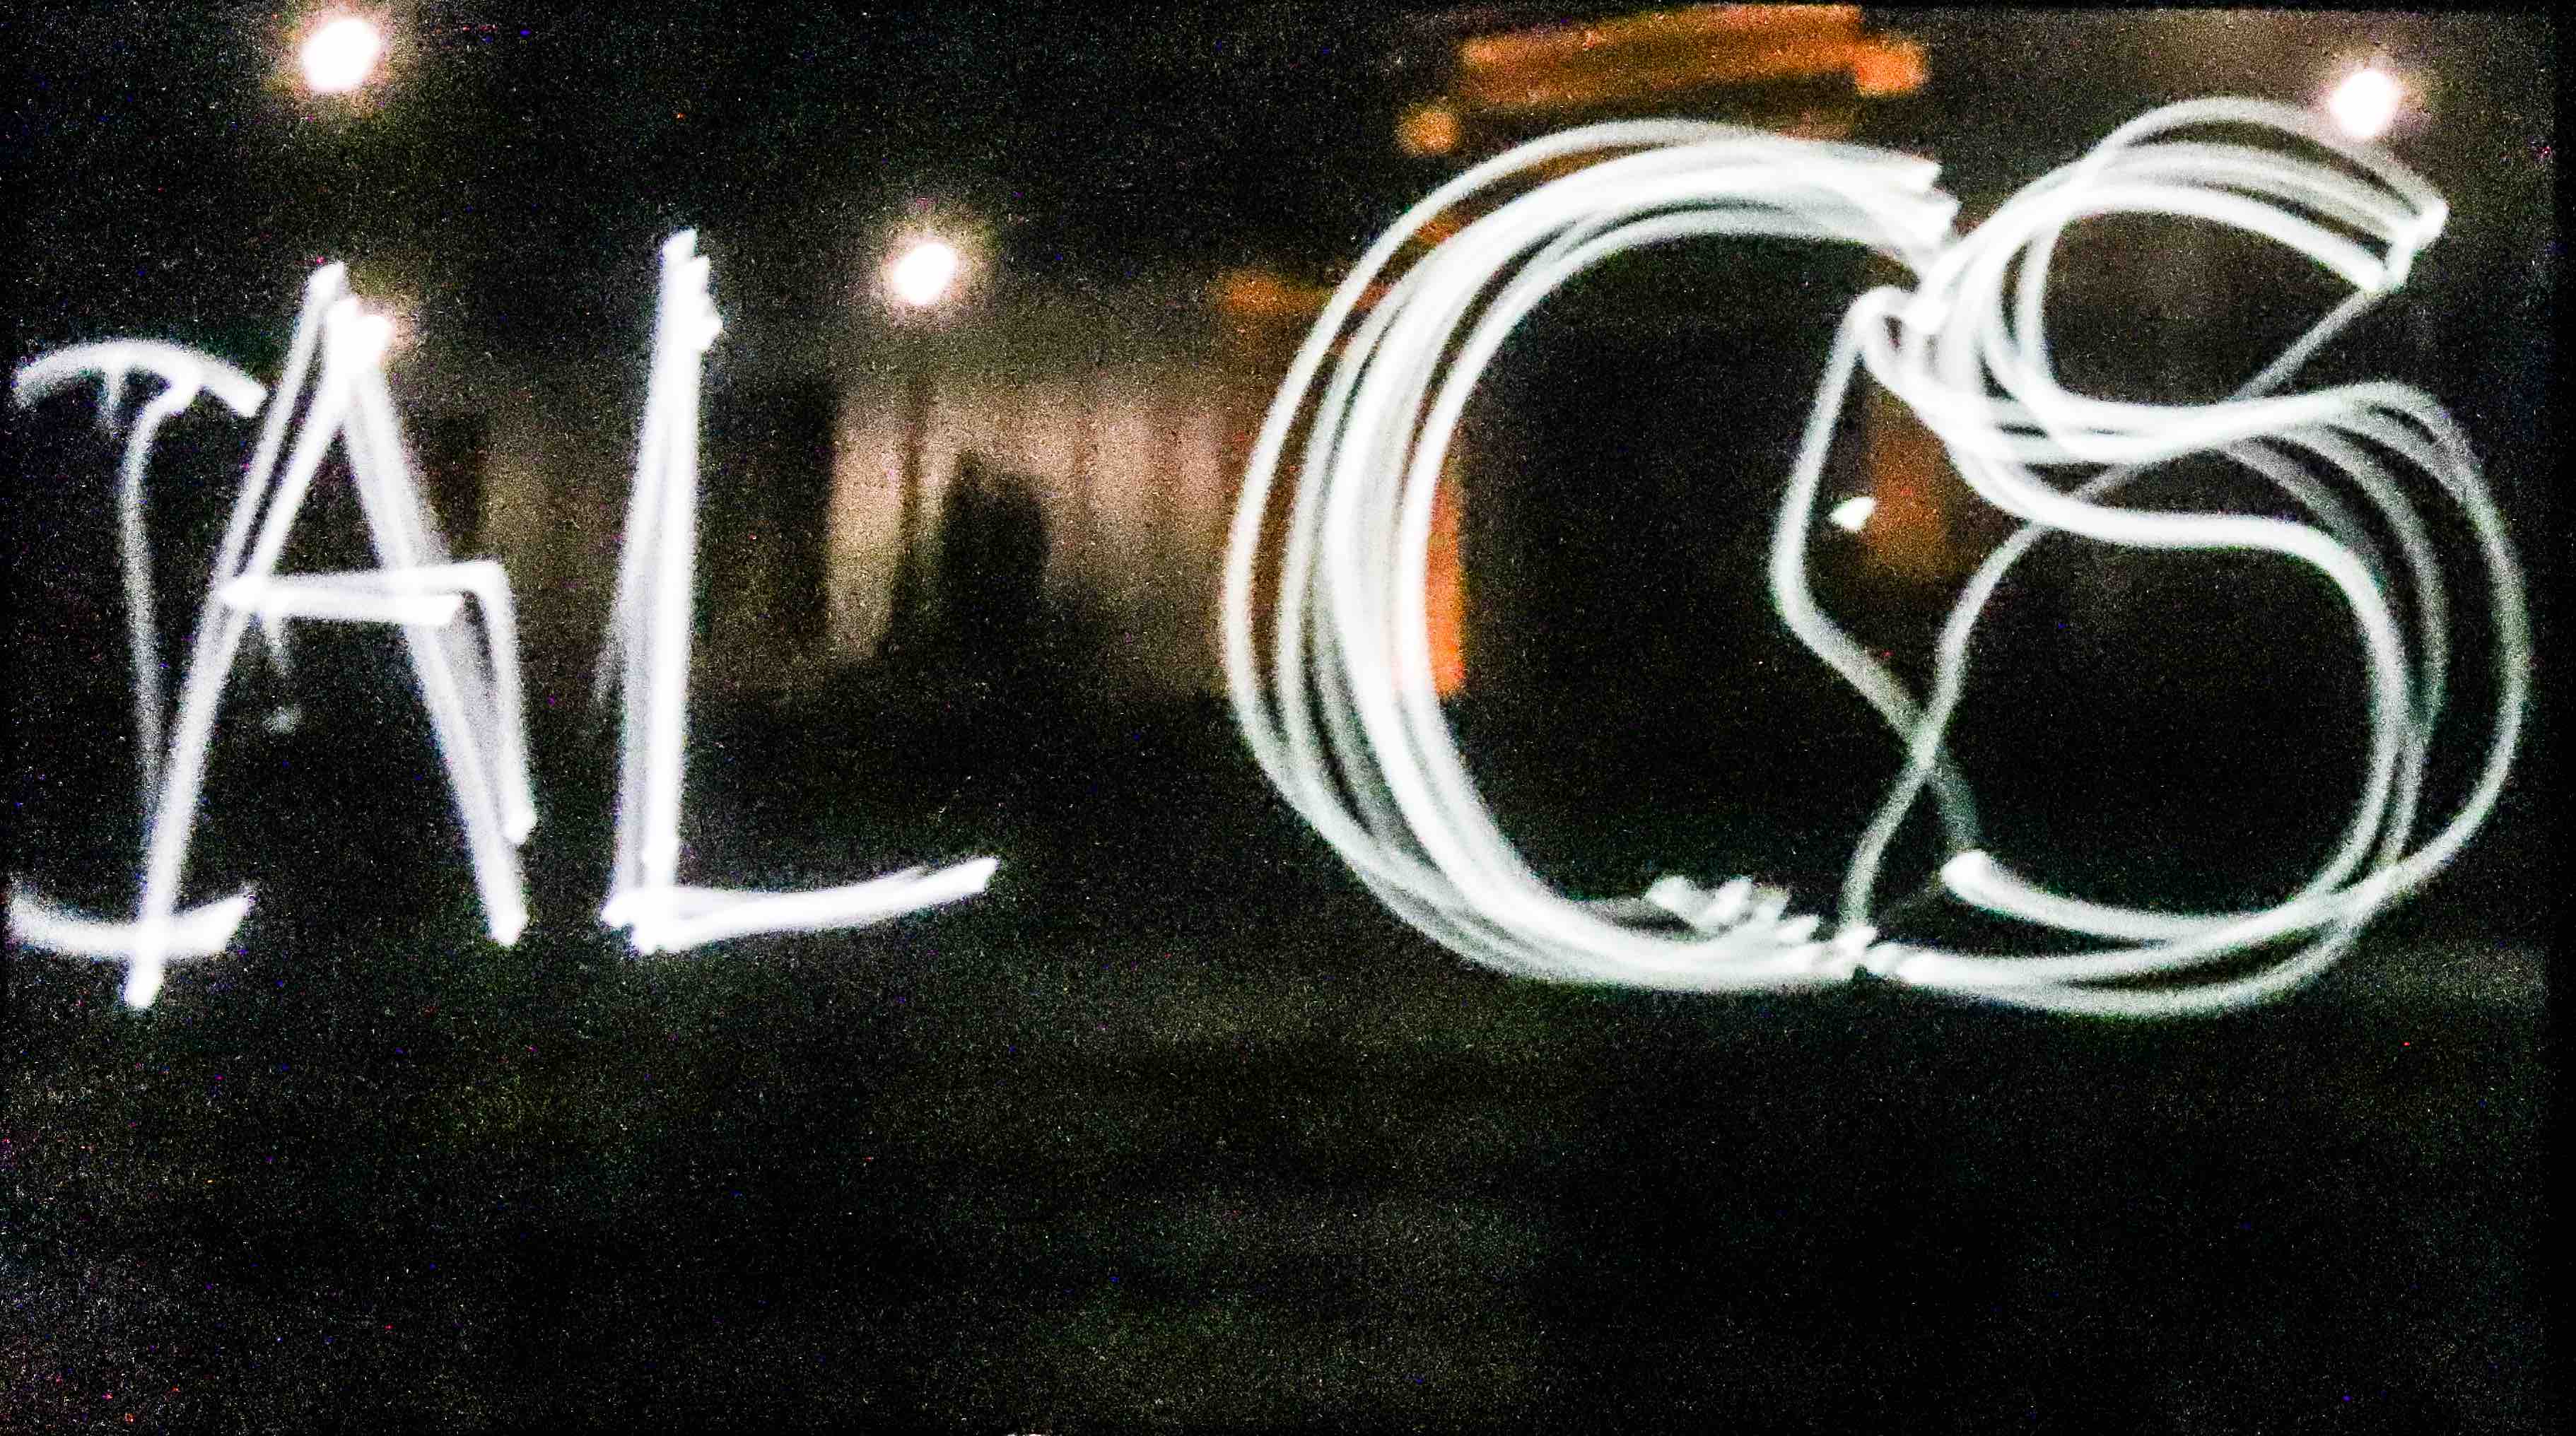
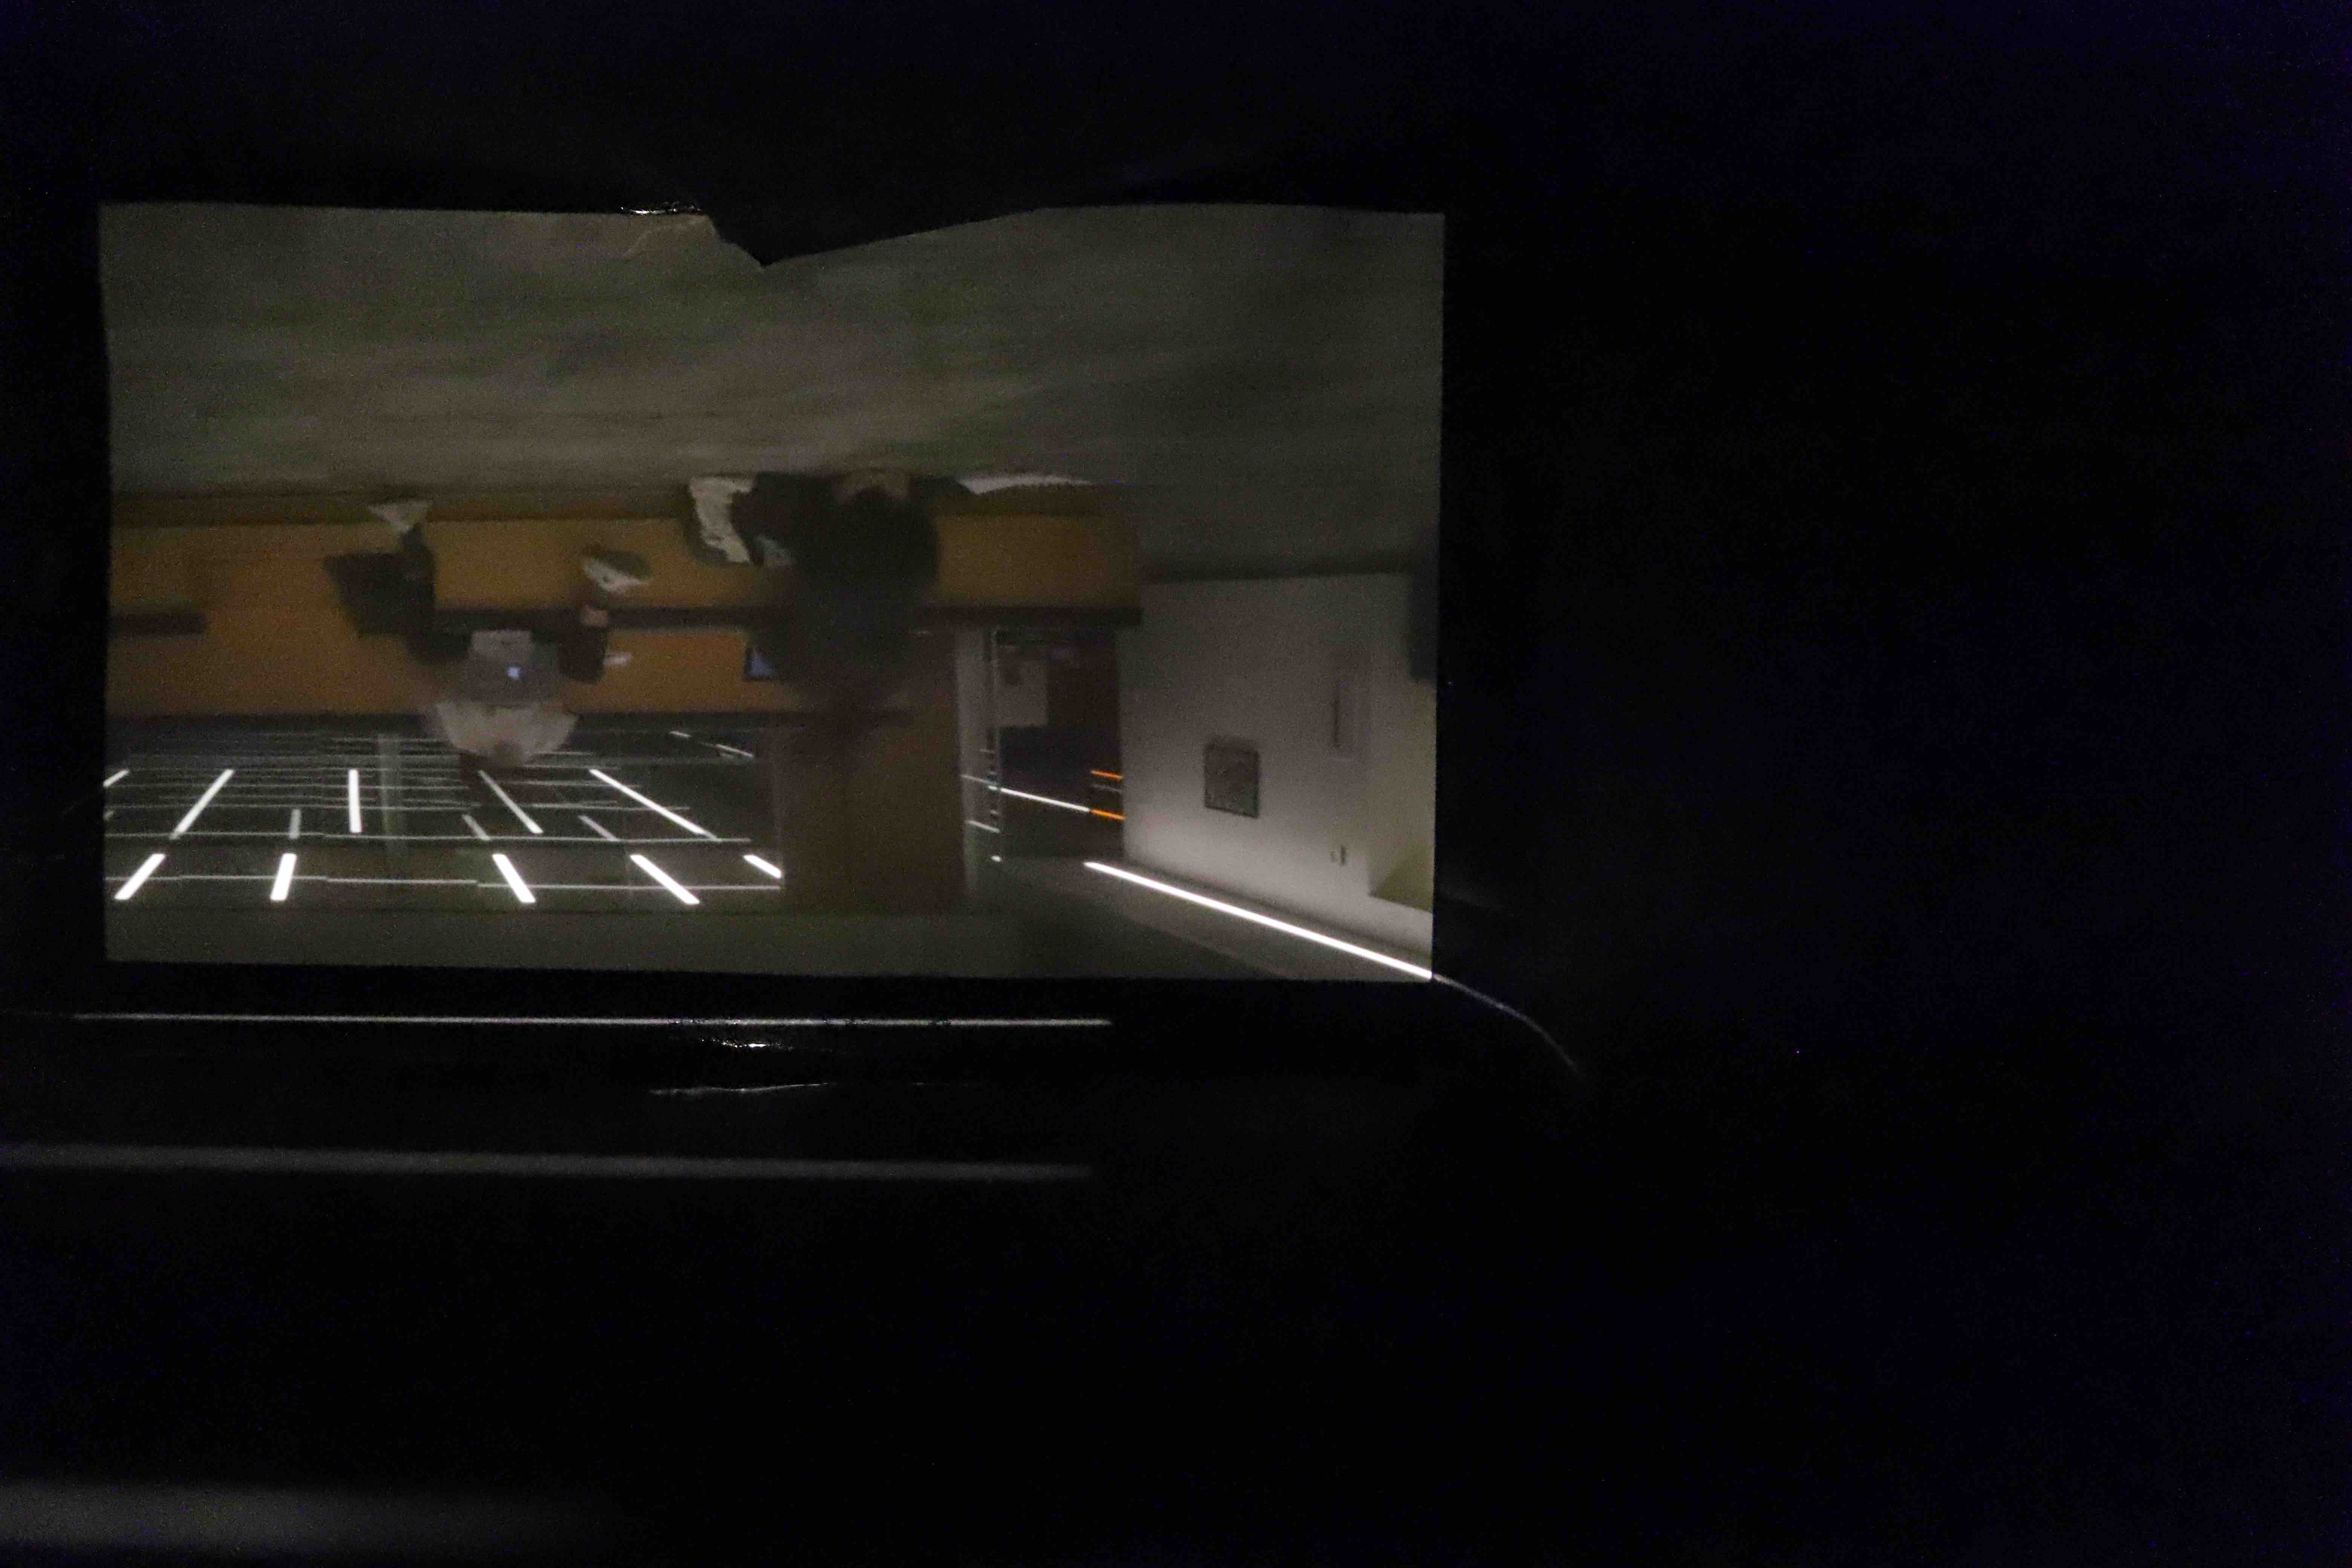
2.5 Some Manual Edits in Lightroom to optimize what we captured
These are also some of our results, but because of the dark nature of them, our automatic editing algorithms were not great and could not improve the quality. Software like LightRoom really helped bring out some of the best features in these images.
3. BELLS AND WHISTLES
3.1 Auto Cropping
First Approach - Matlab
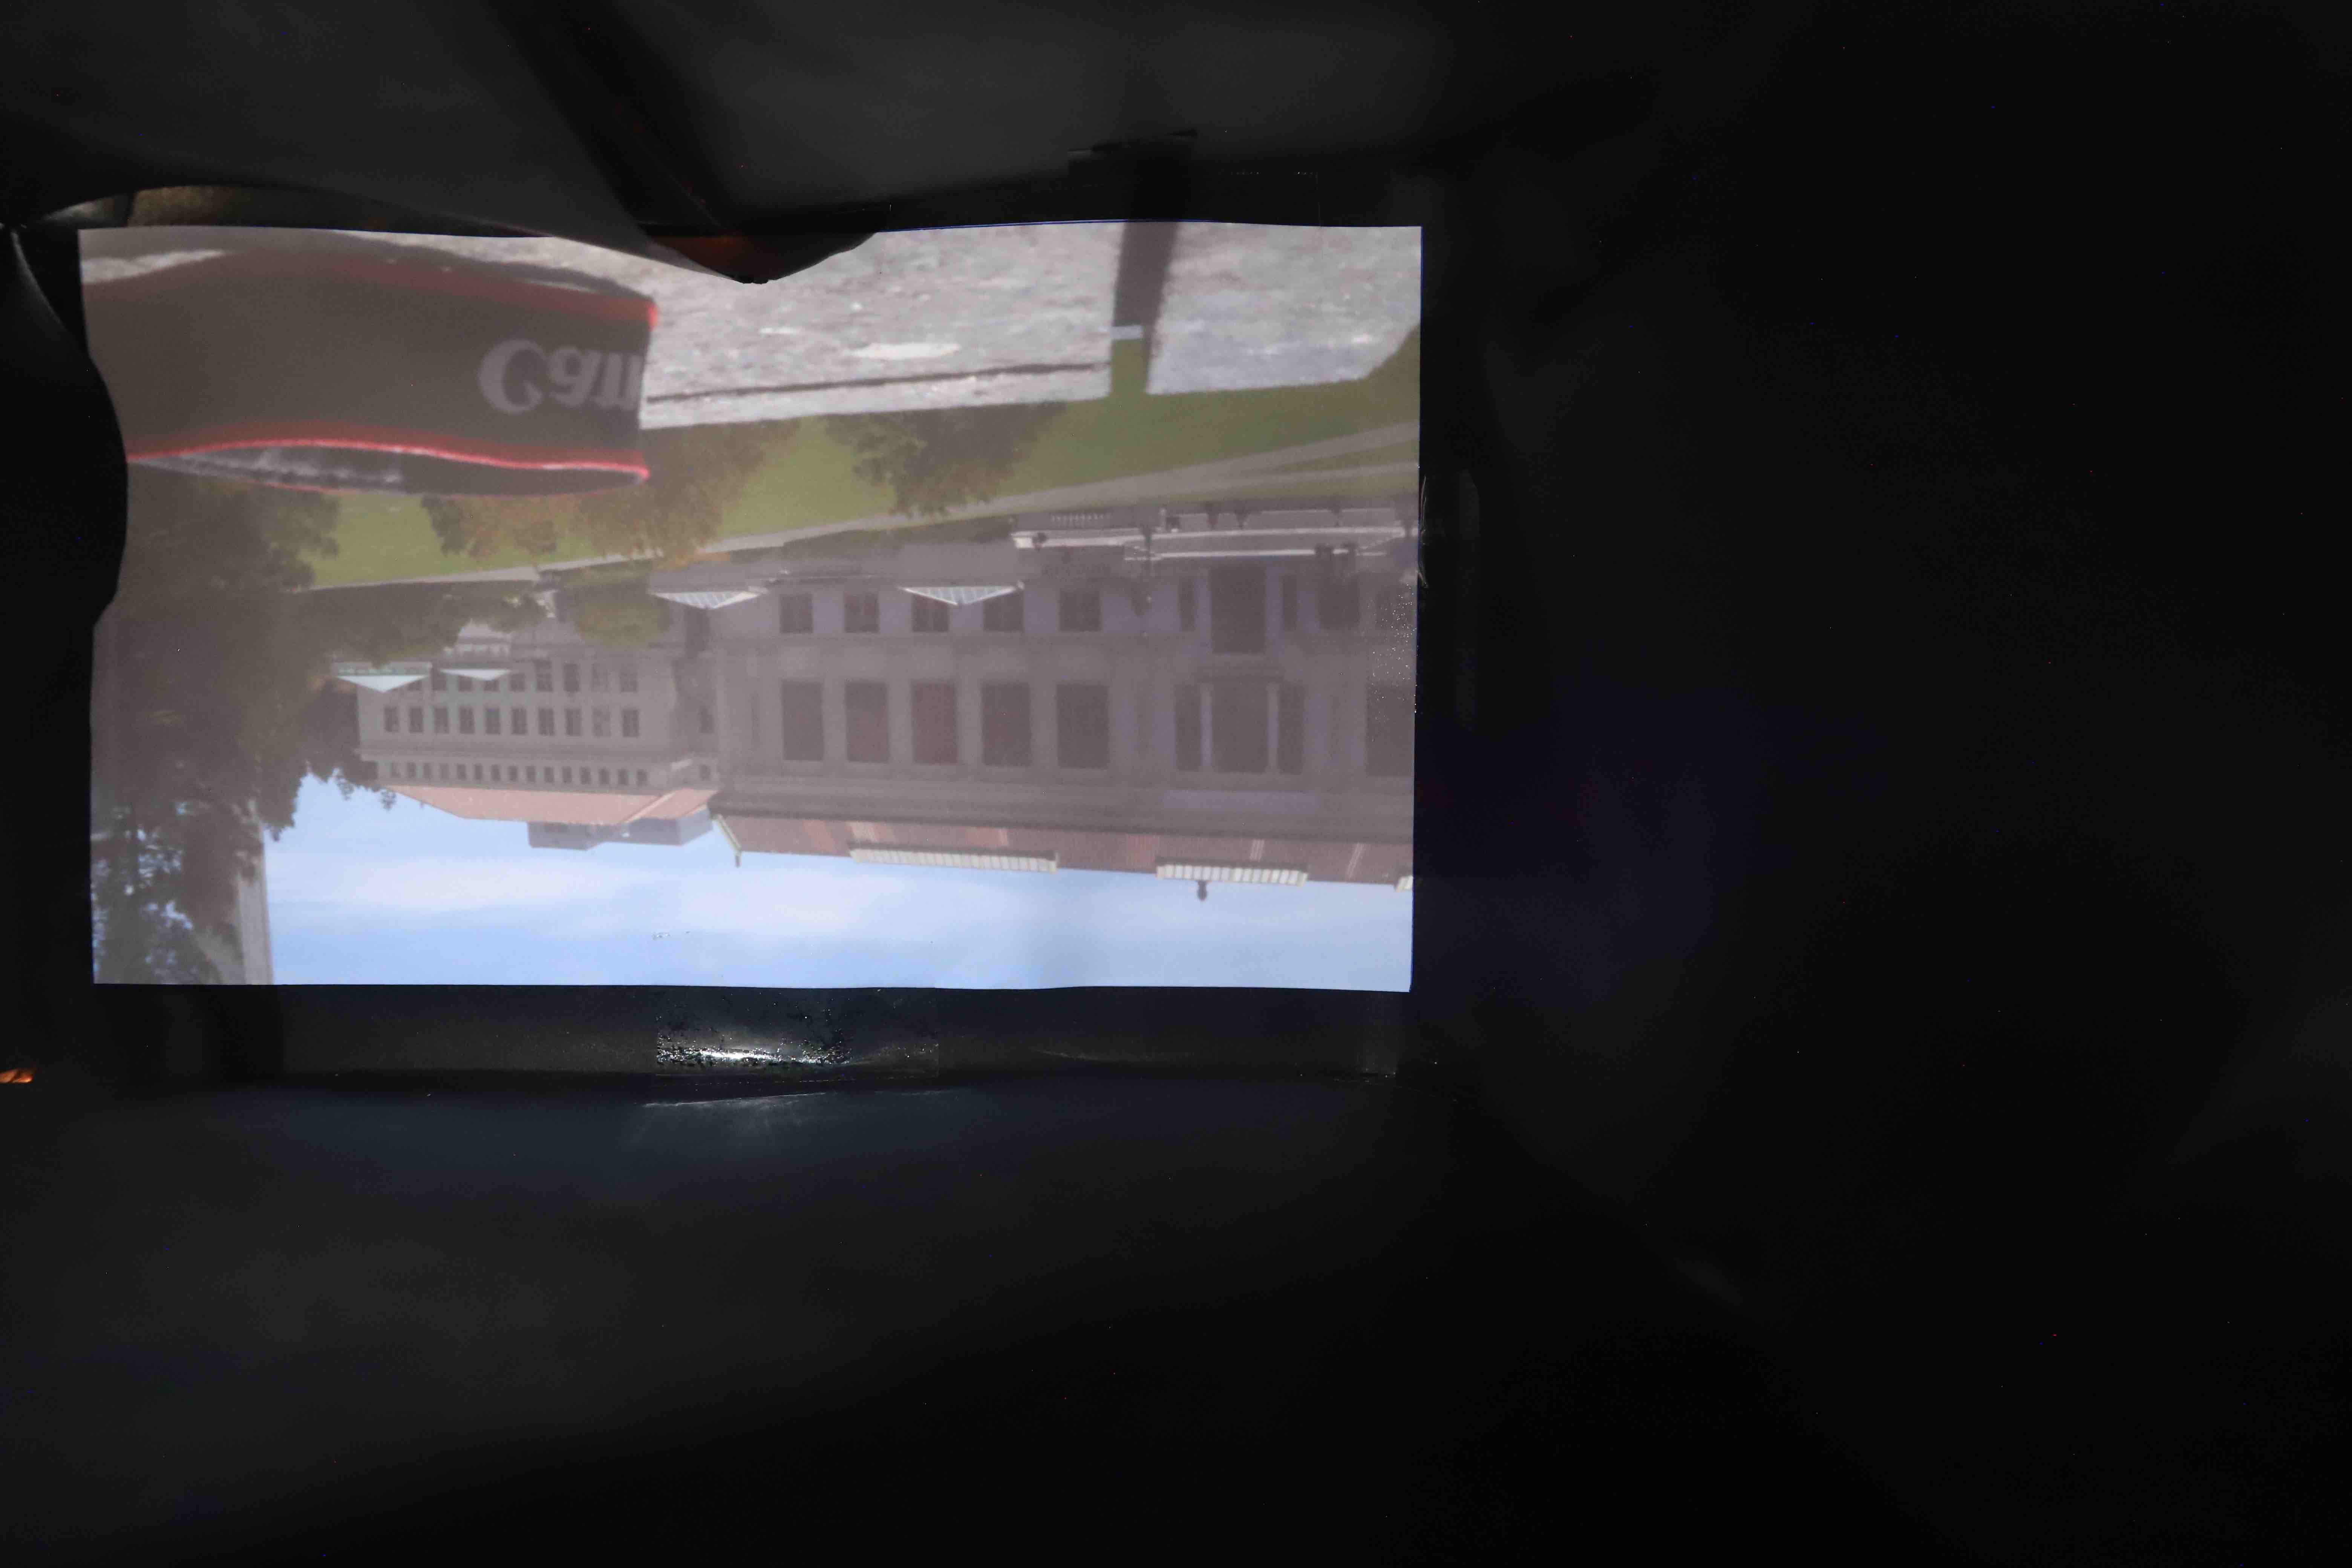
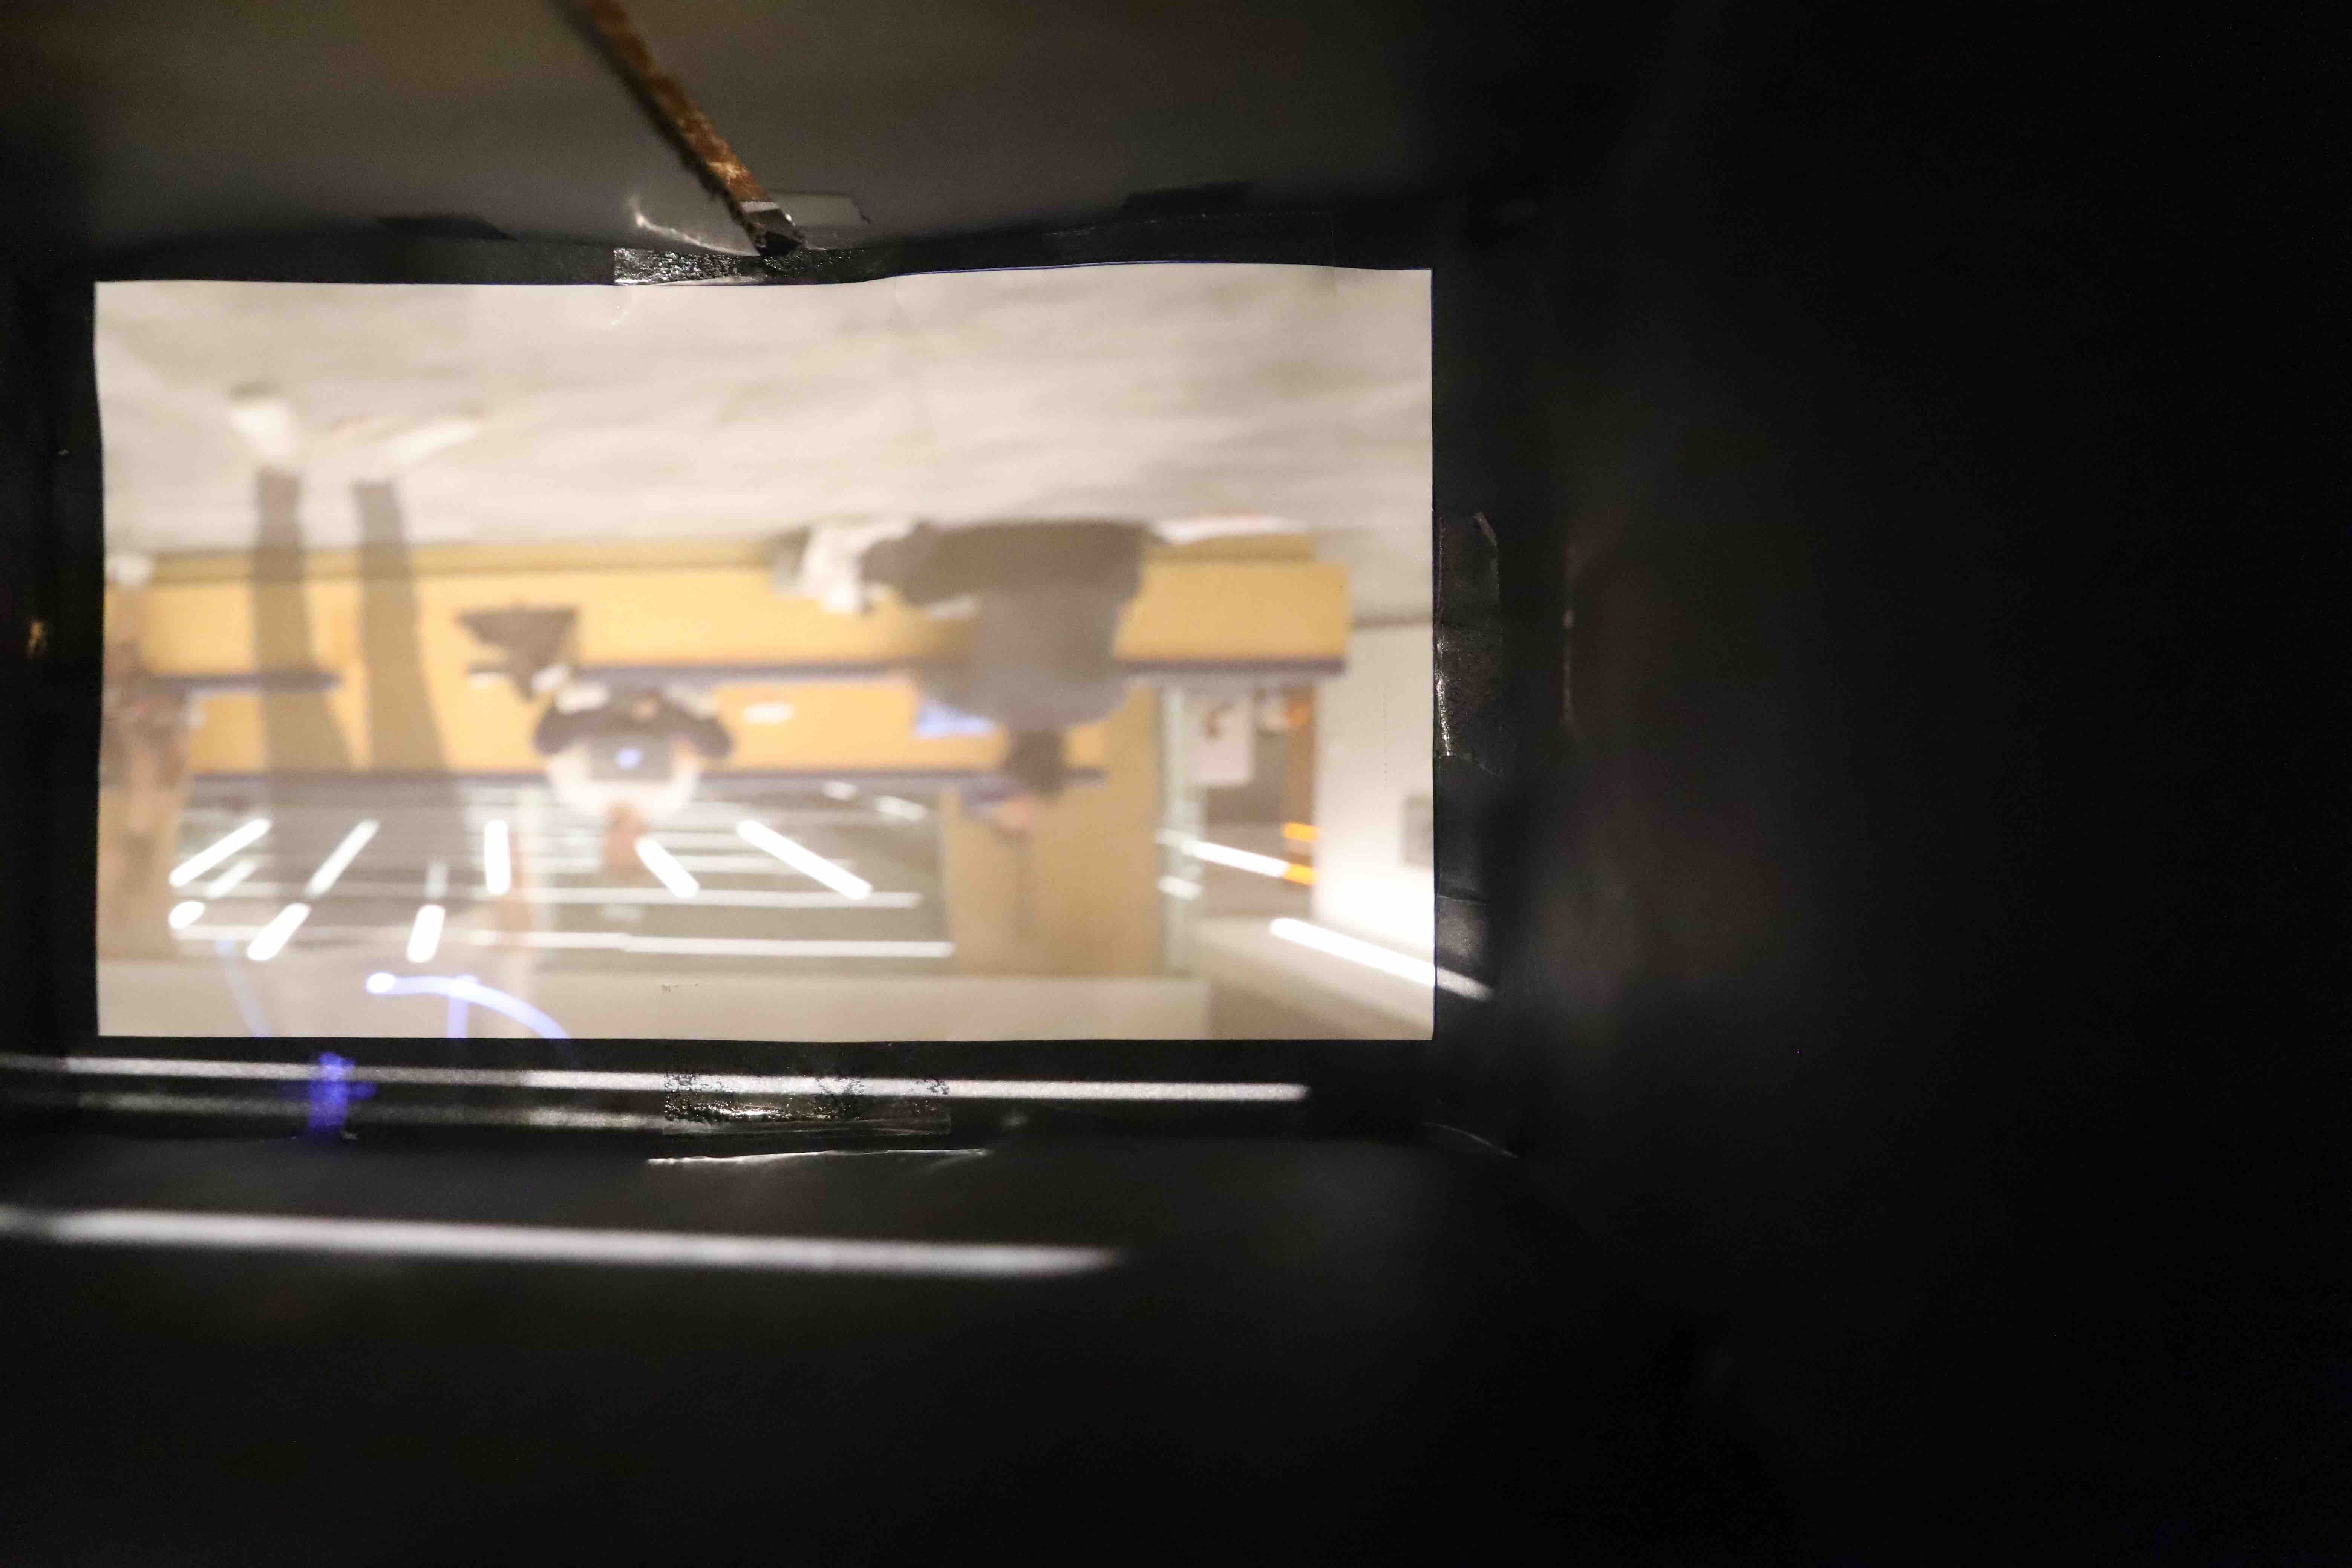
Autocropping aims to localize the image plane of the pinhole camera inside the cardboard box, automatically. Here's an image of what the imaging plane of the pinhole camera looks like when captured by the DSLR.
We recognize that the pixel intensities where the image is formed is much higher than the intensities of the pixels around it. This suggests a need for a global thresholding in order to binarize the image. This is what the binarized image looks like.
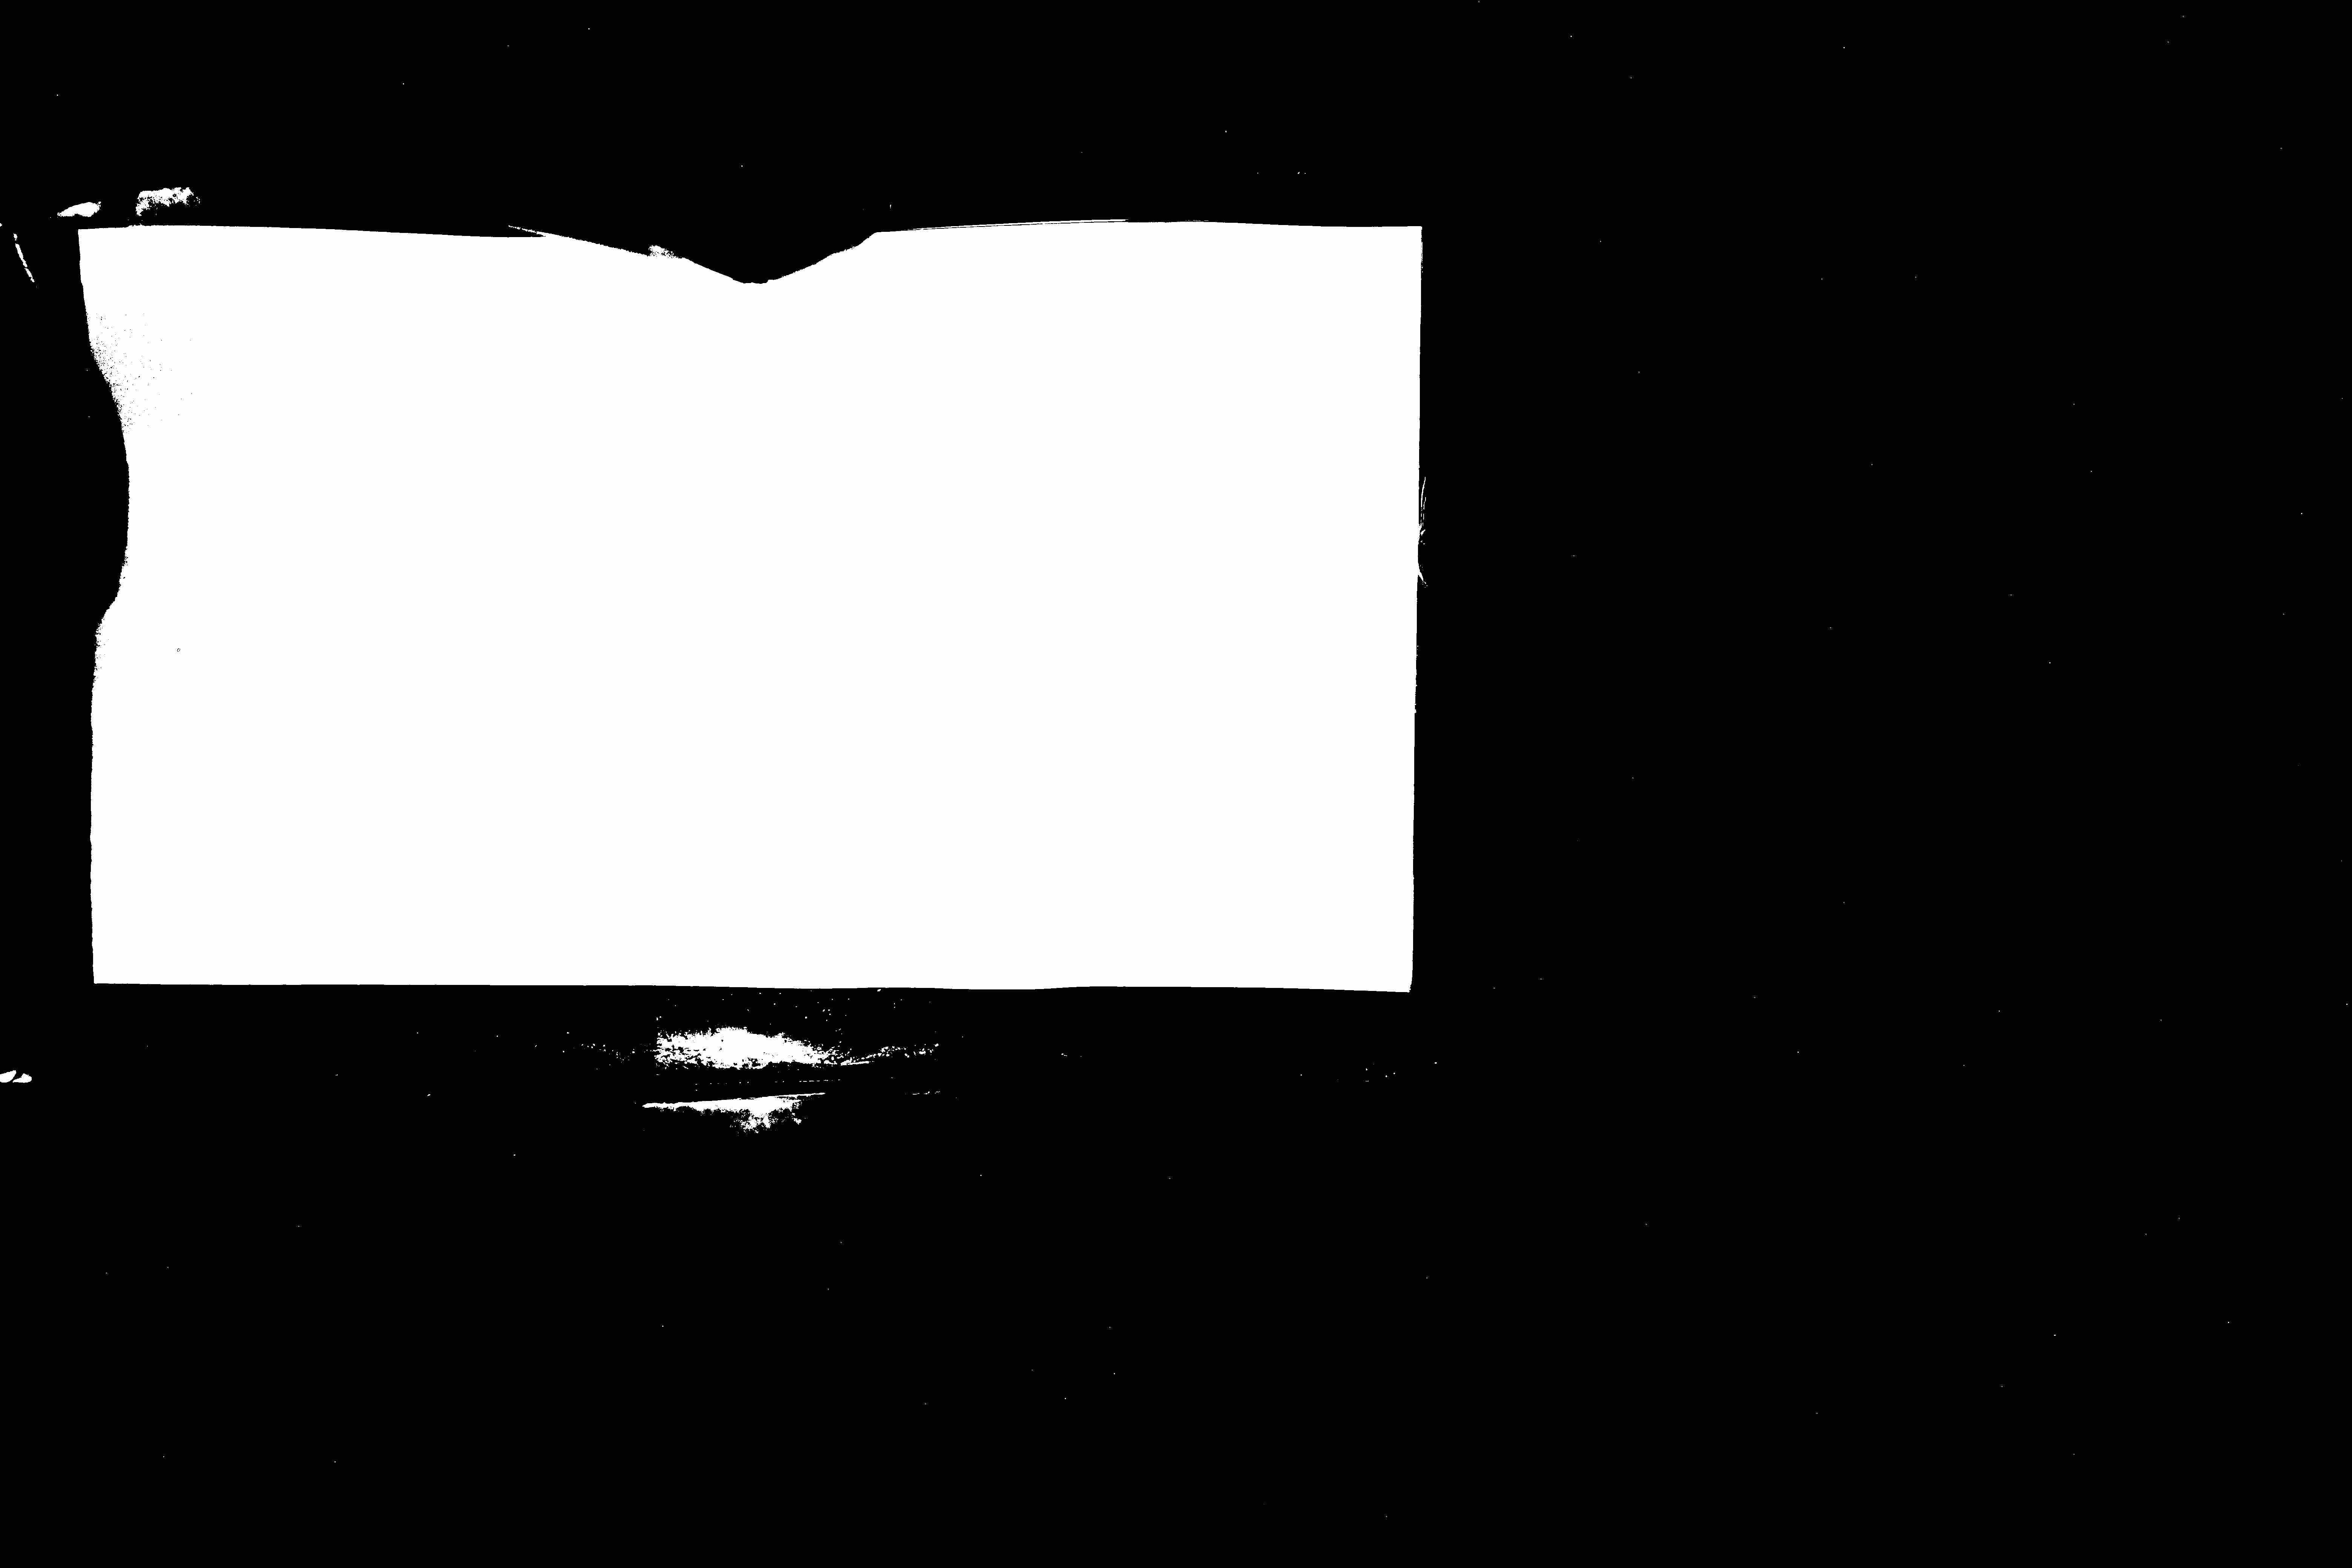
You may notice that there are still some white blobs which don't belong to the imaging plane we're interested in. We use the MATLAB function bwareaopen to denoise the image by removing connected components of white pixels smaller than a specified area. Since the connected component we are interested in is much larger than the noise, this is easy. Here's the result of denoising.

Now that we have segmented the region of interest, we need to compute a crop region. We recognize that the imaging plane is a convex shape, so we can use the MATLAB function convhull to find the convex hull which is a tight set of vertices of a polygon surrounding the region of interest.
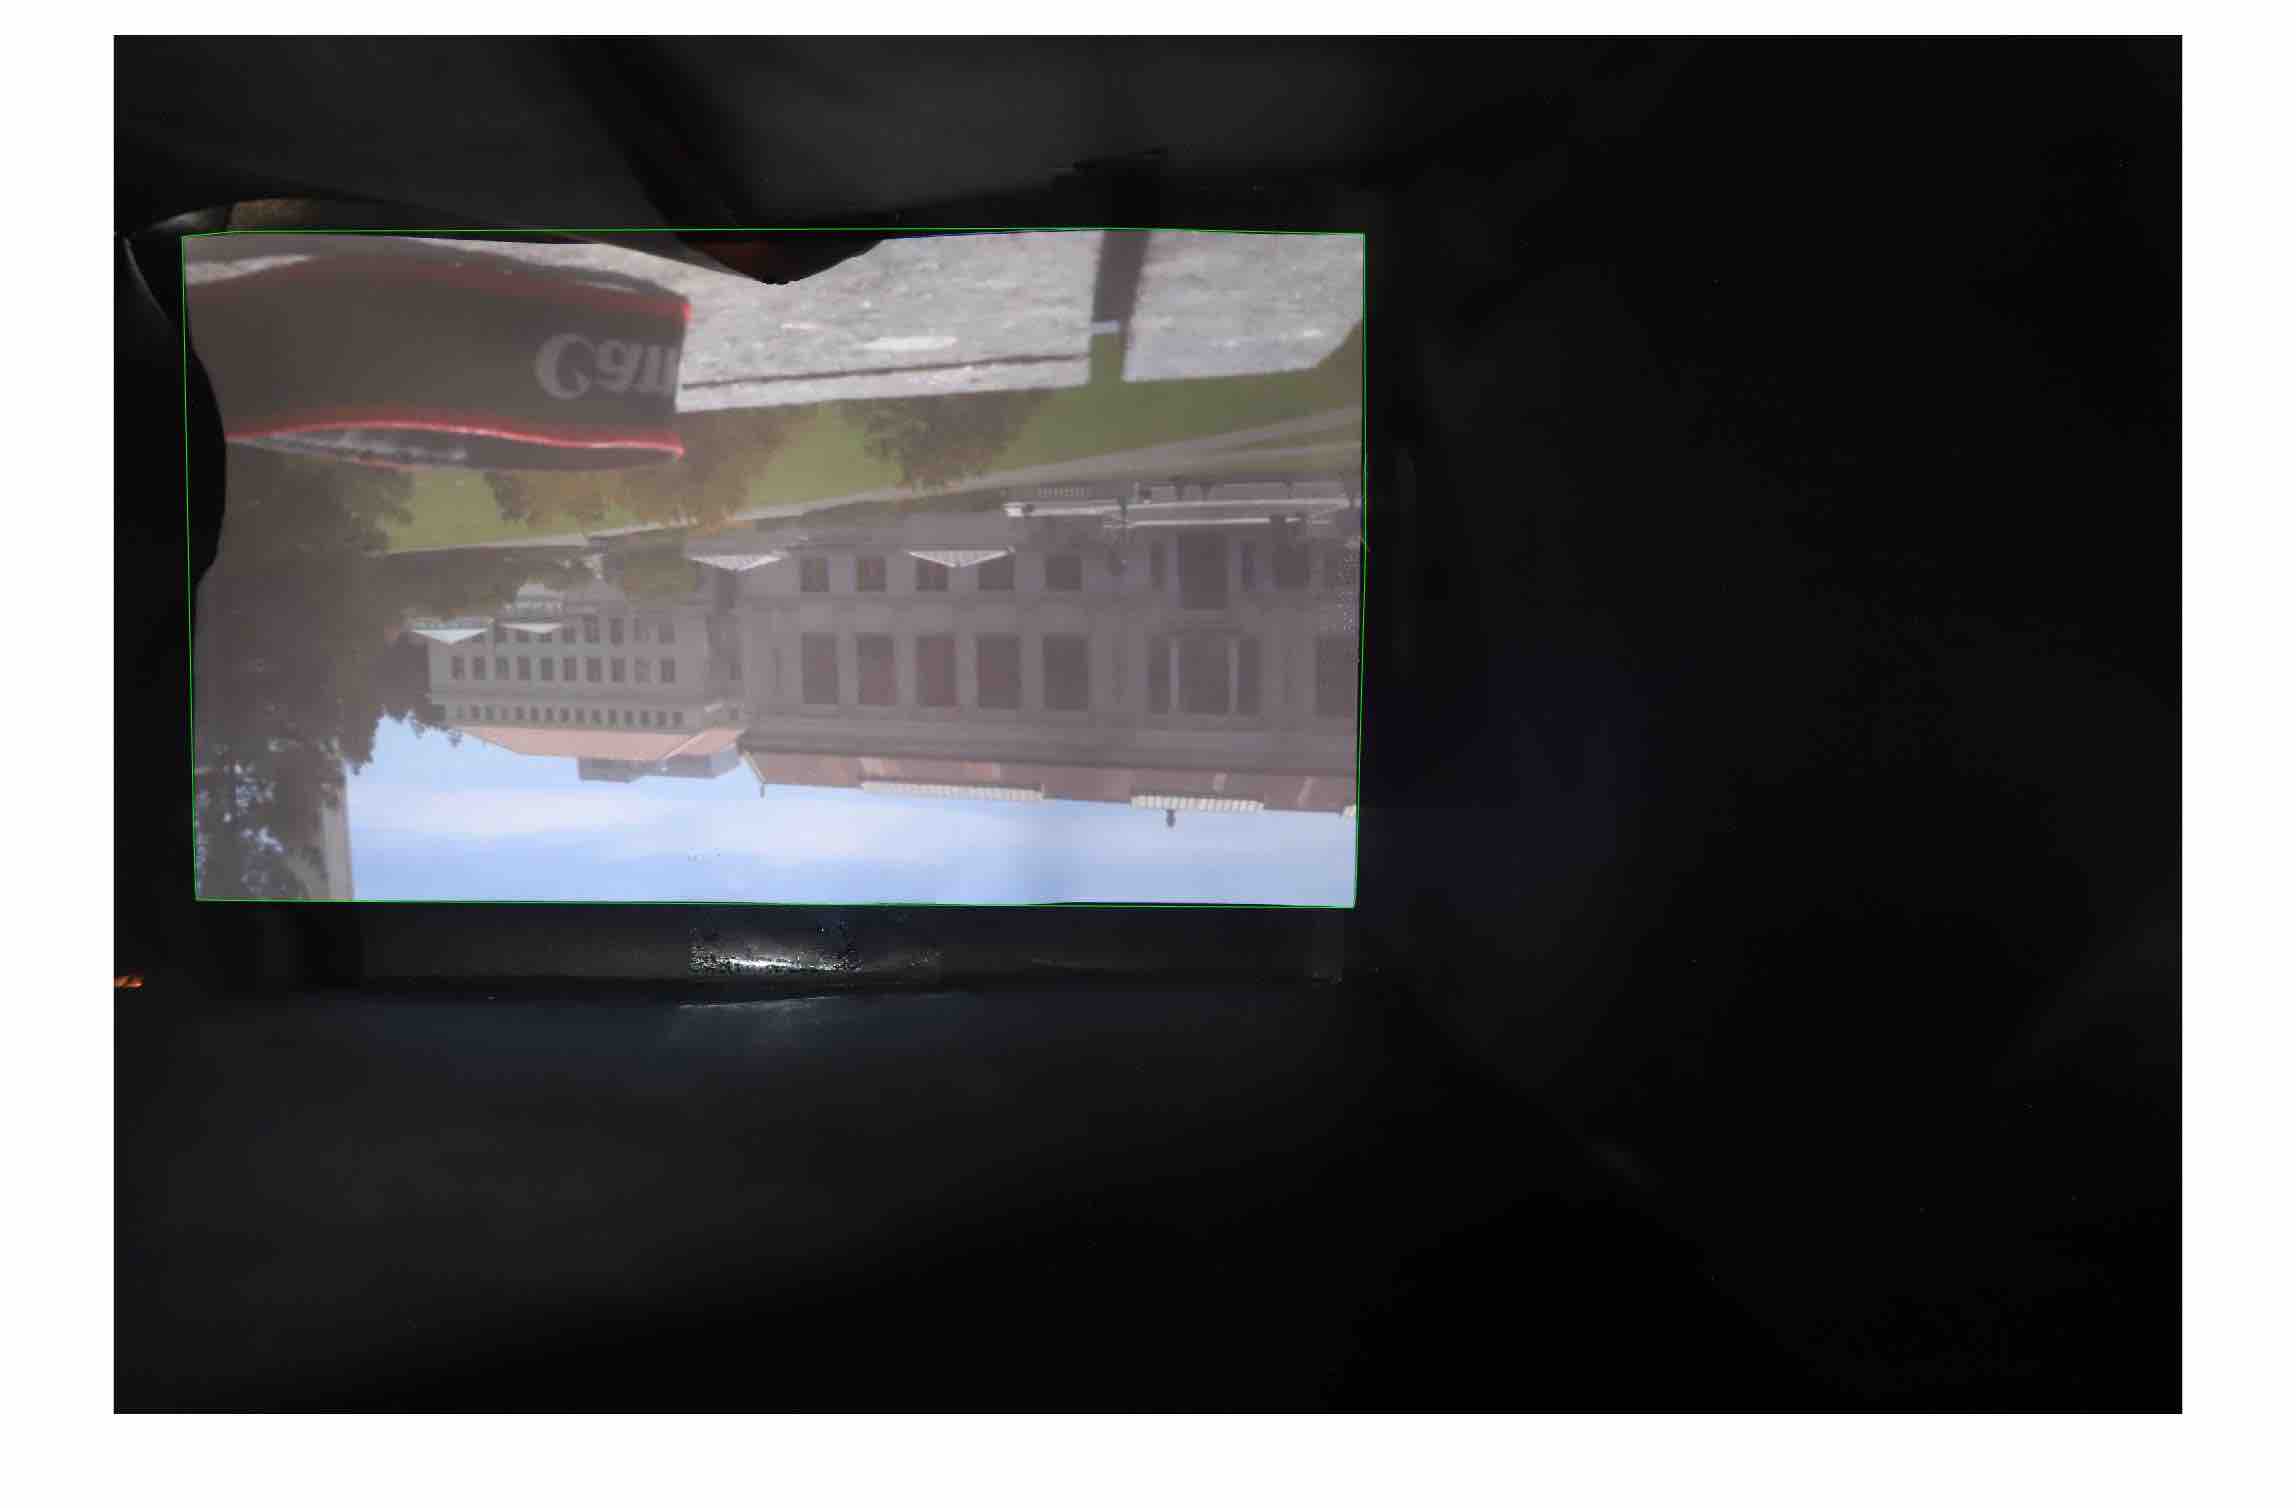
Finally, we find the closest rectangle to the computed convex hull (which we assume to be rectangular-ish) and do some color correction, described in the next section. Here's the output image of our algorithm.
Second Approach - Python
This approach searches for rows and columns which have higher intensities than or rows and columns and return the four corners of the most recognized parts of the image.
This is the original image.

This is the result after cropping and rotating process.

The black borders is almost completely eliminated.
The biggest challenge was to choose a threshold that works for every image and the problem was solved by averaging out the max and min intensities in both rows and columns.
3.2 Image Enhancing
First, I tried to use fuction rescale_intensity in Skimage library to balance the intensity of the image.
Before
After
Secondly, I tested the with function equalize_hist in Skimage library to balance the histogram.
Before
After
Then I tried another function called adapthist in the same library to see if it made any difference.
Before
After

Finally, I combined all three methods above.
Before
After
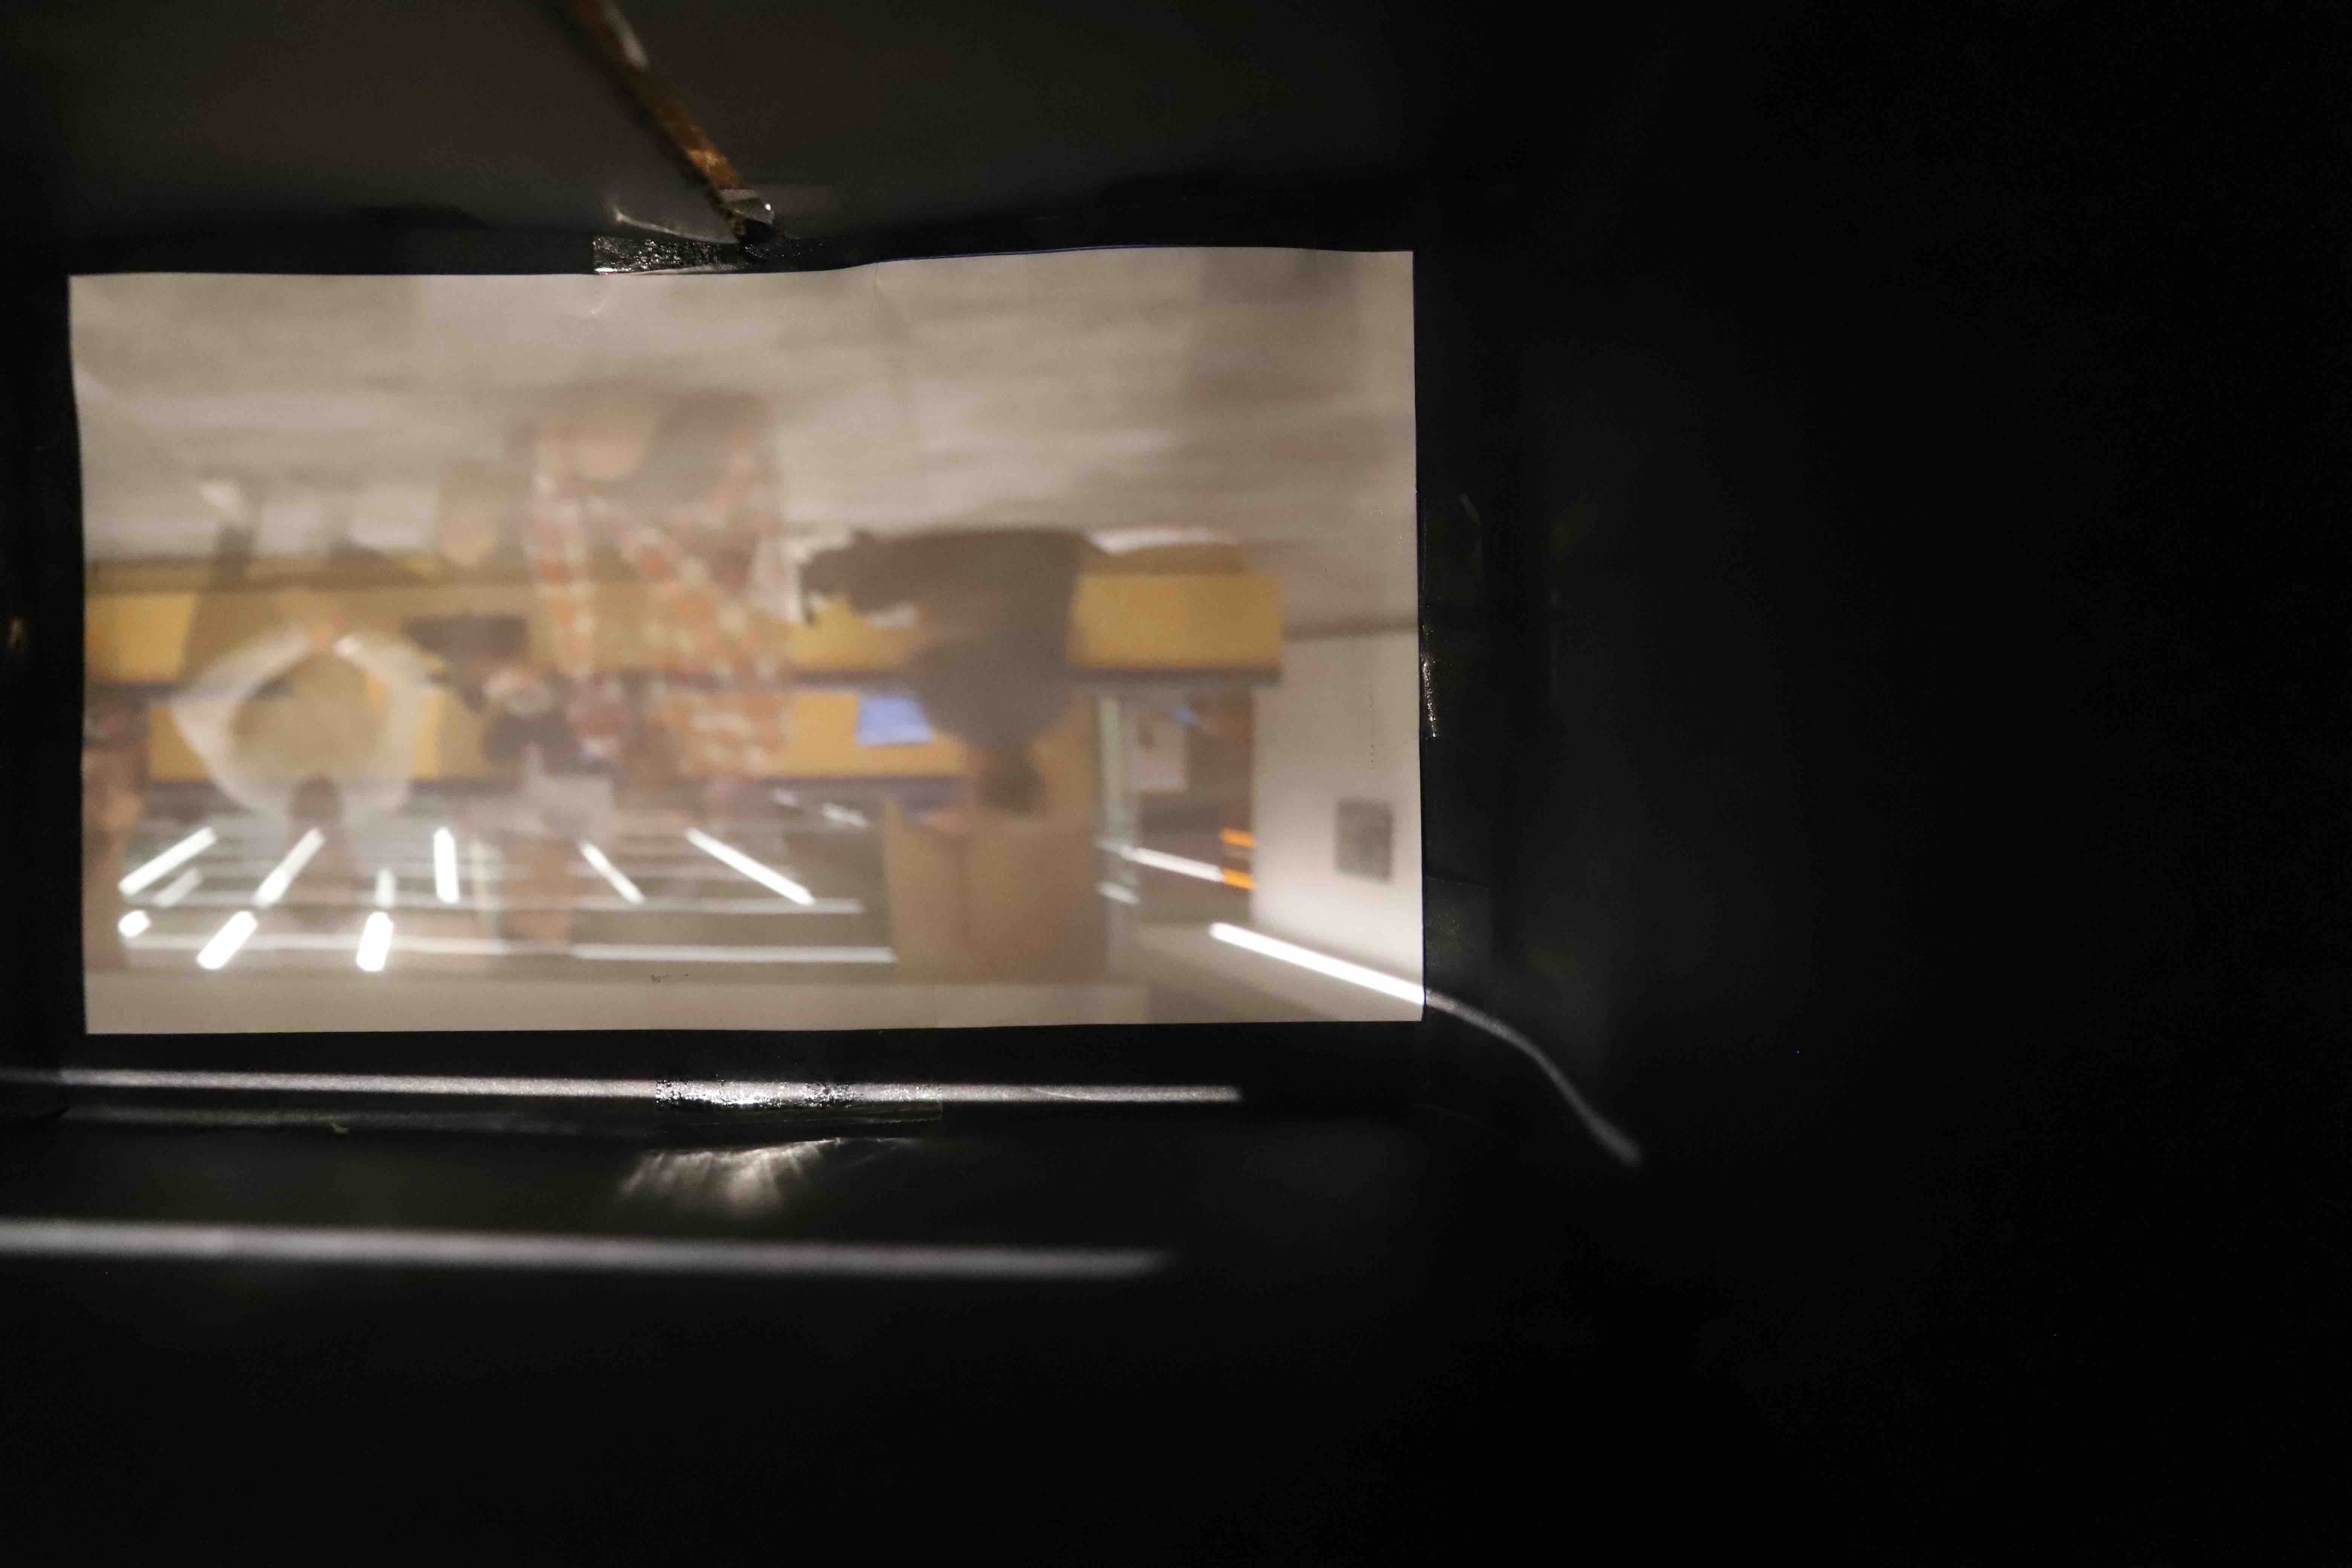
4. RAW IMAGES
These are different results in different apartures, locations, and time in the day
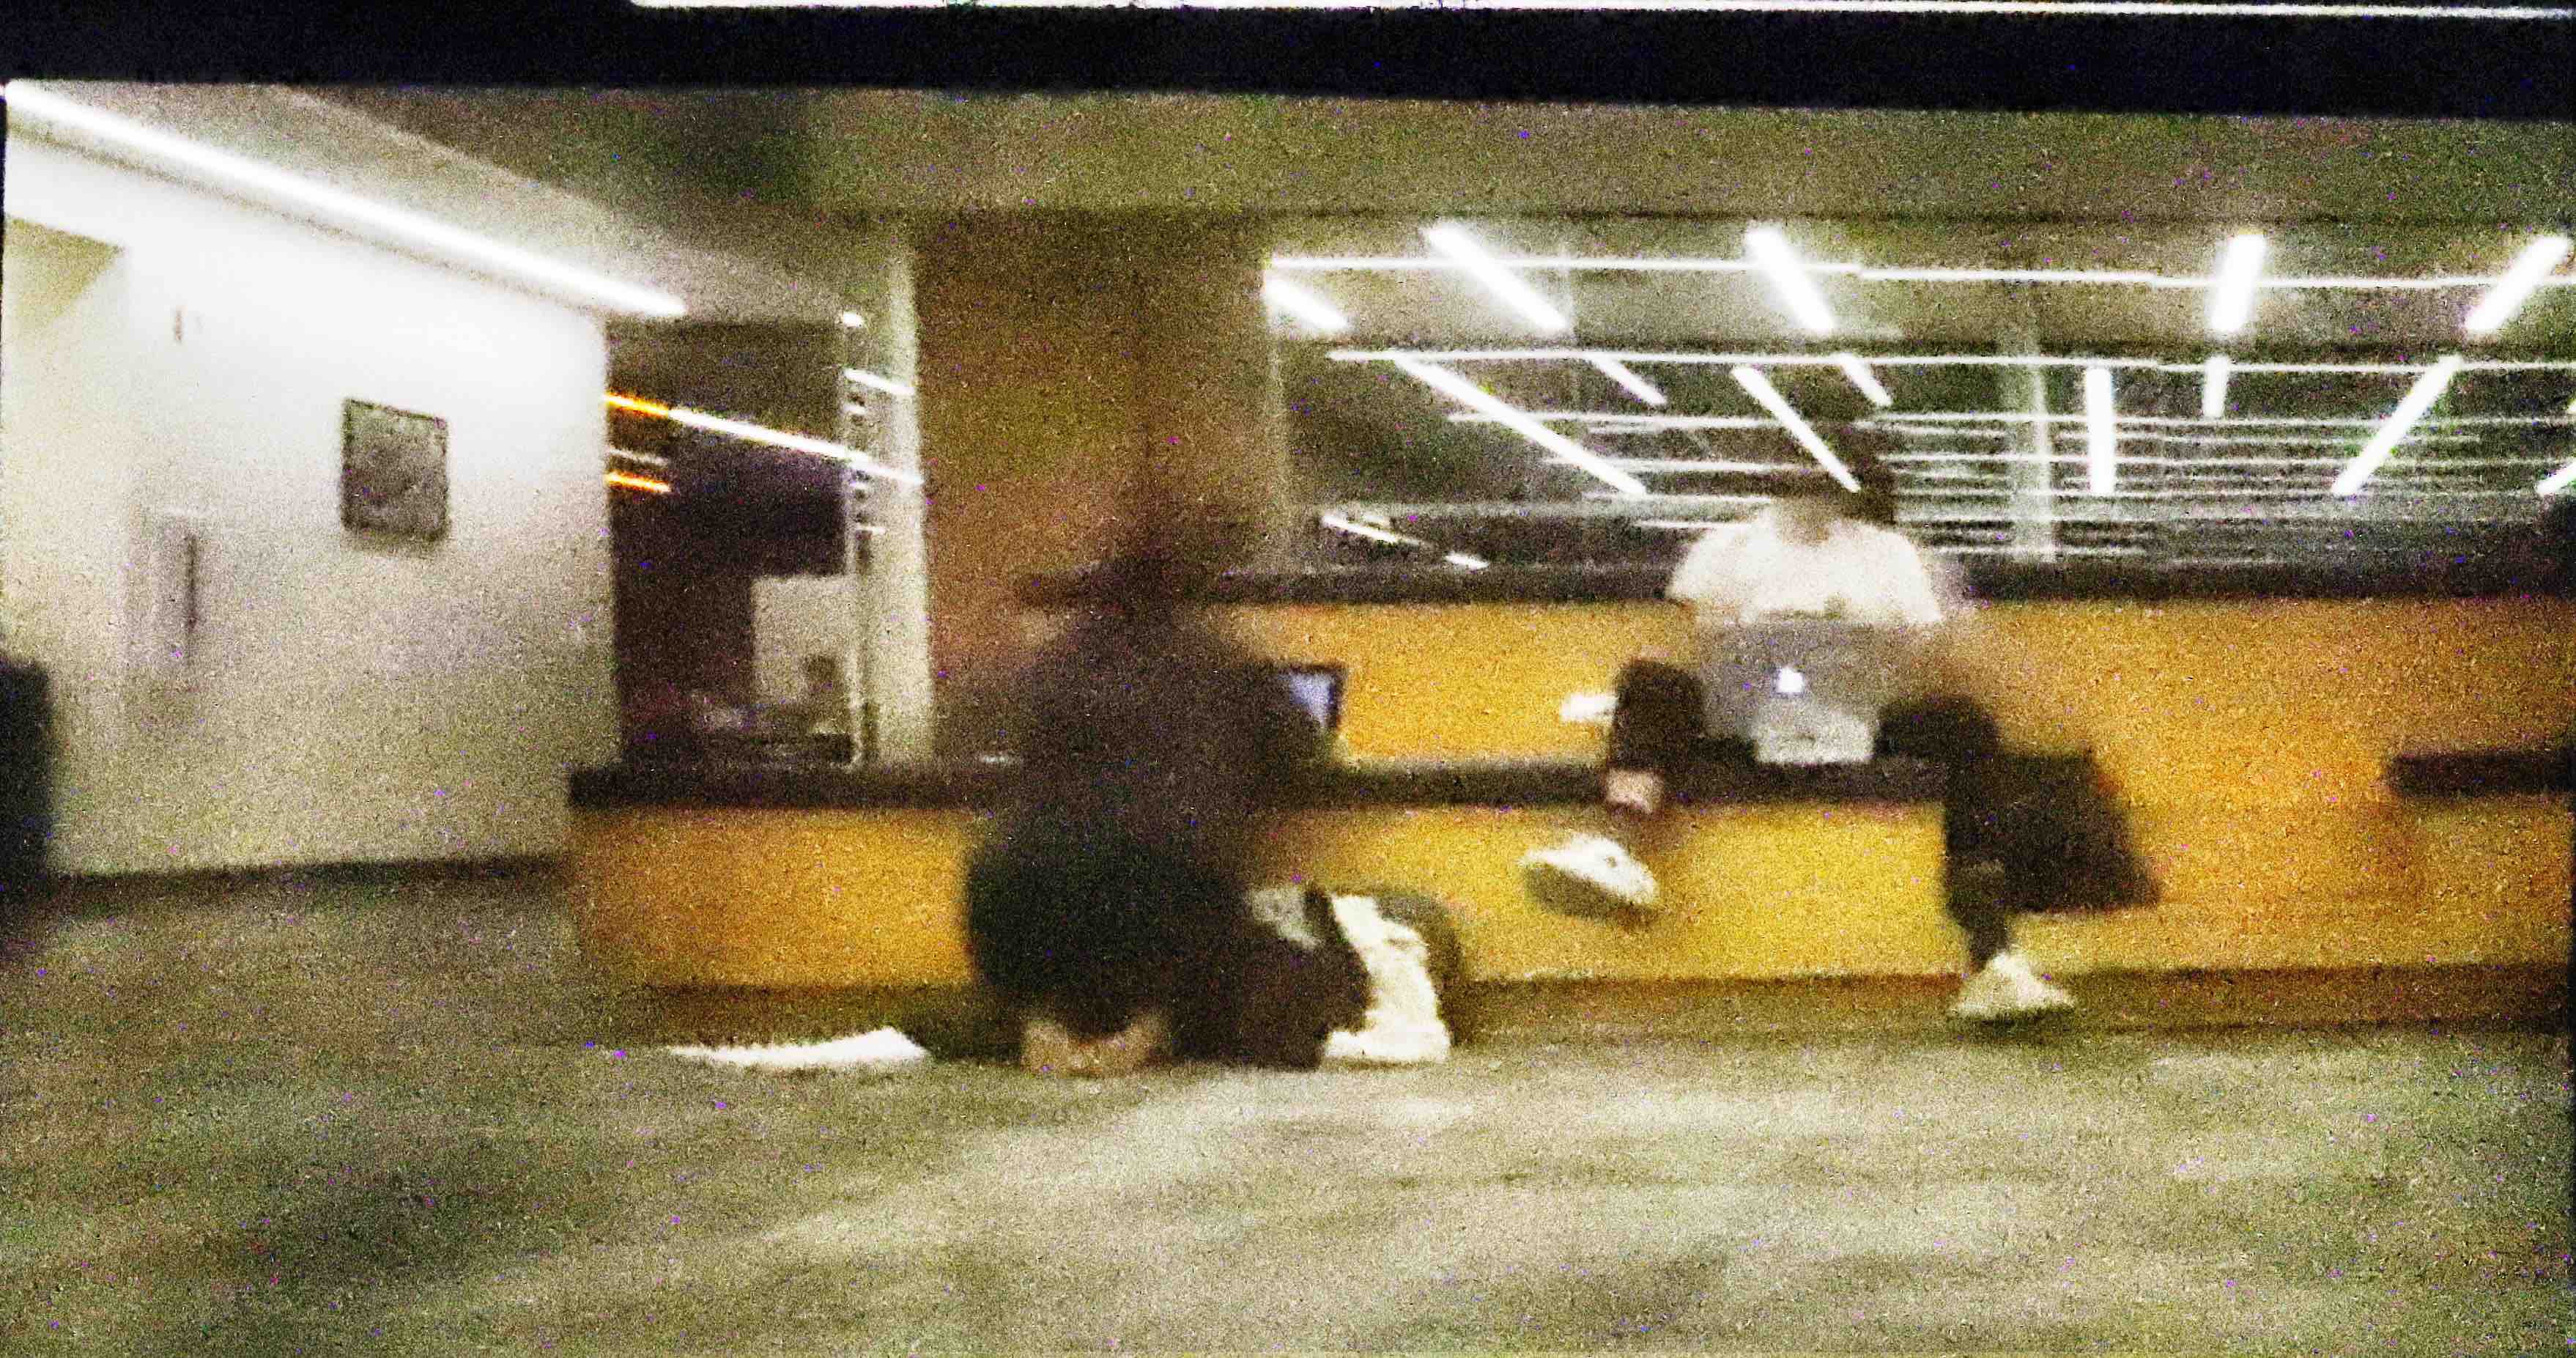
1mm Aperture inside Moffitt Library
f/3.5, ISO 32000, 30 sec
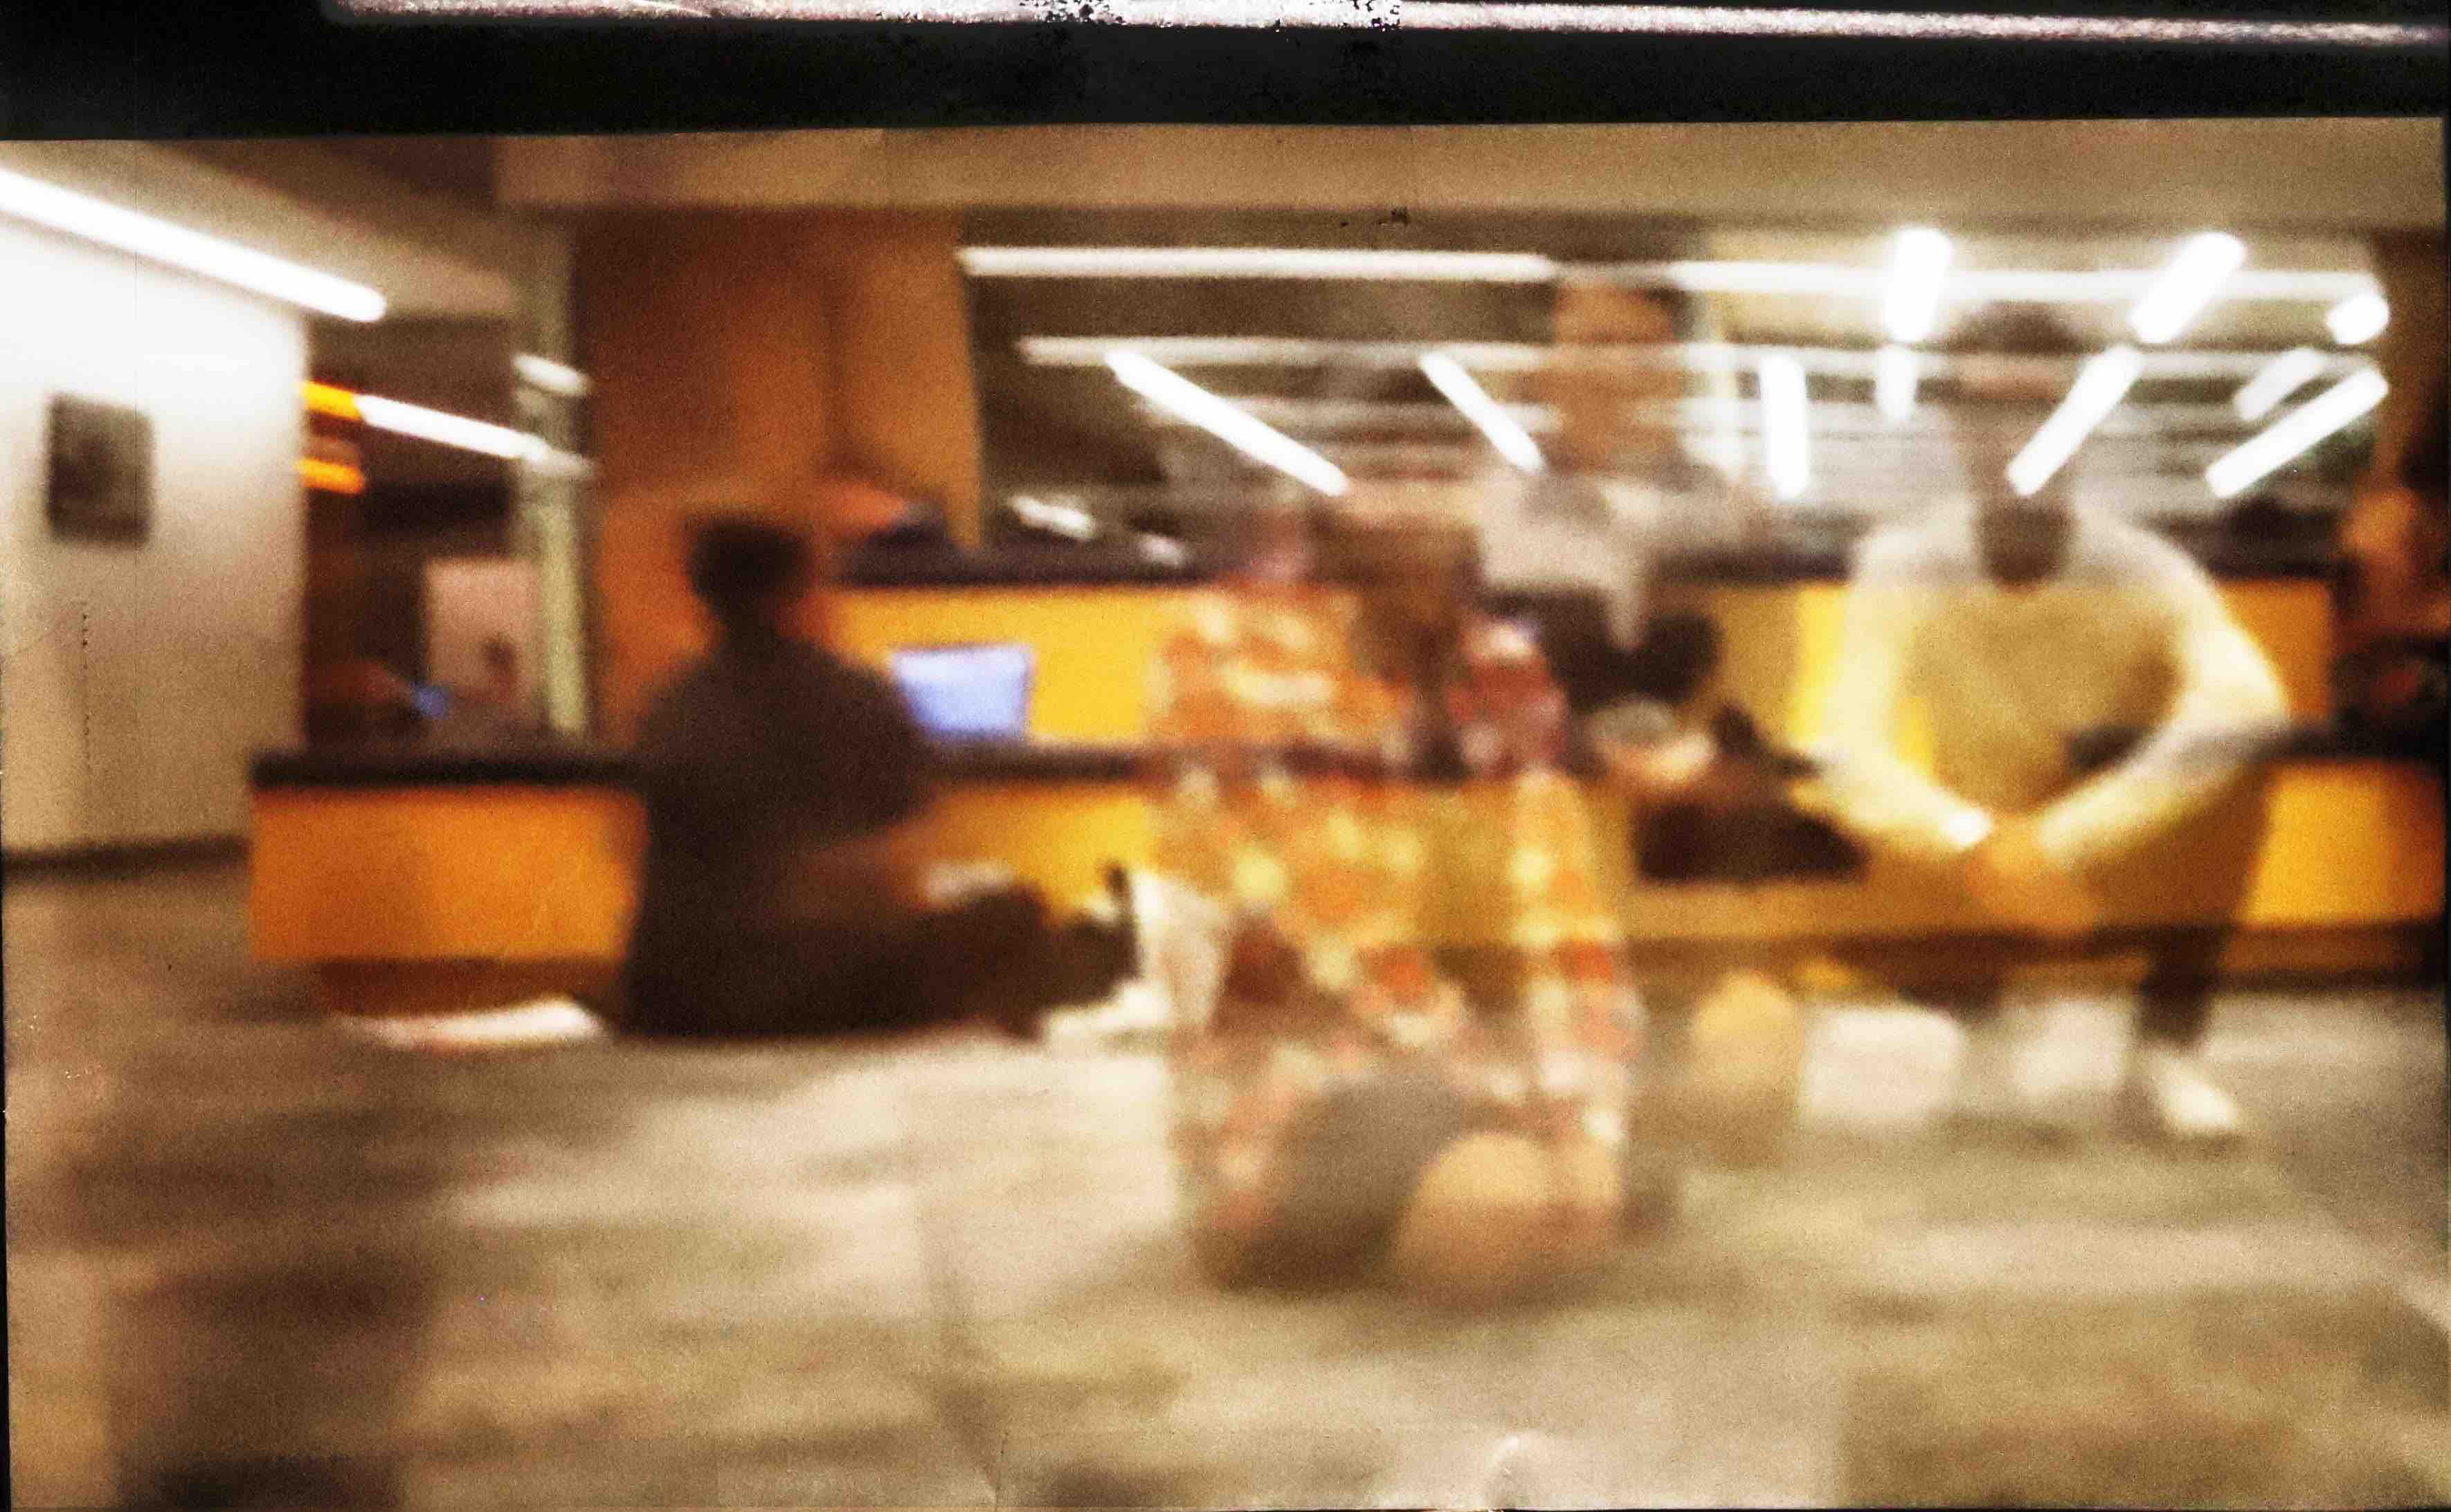
3mm Aperture inside Moffitt Library
f/3.5, ISO 16000, 30 sec
4mm Aperture inside Moffitt Library
f/3.5, ISO 10000, 30 sec
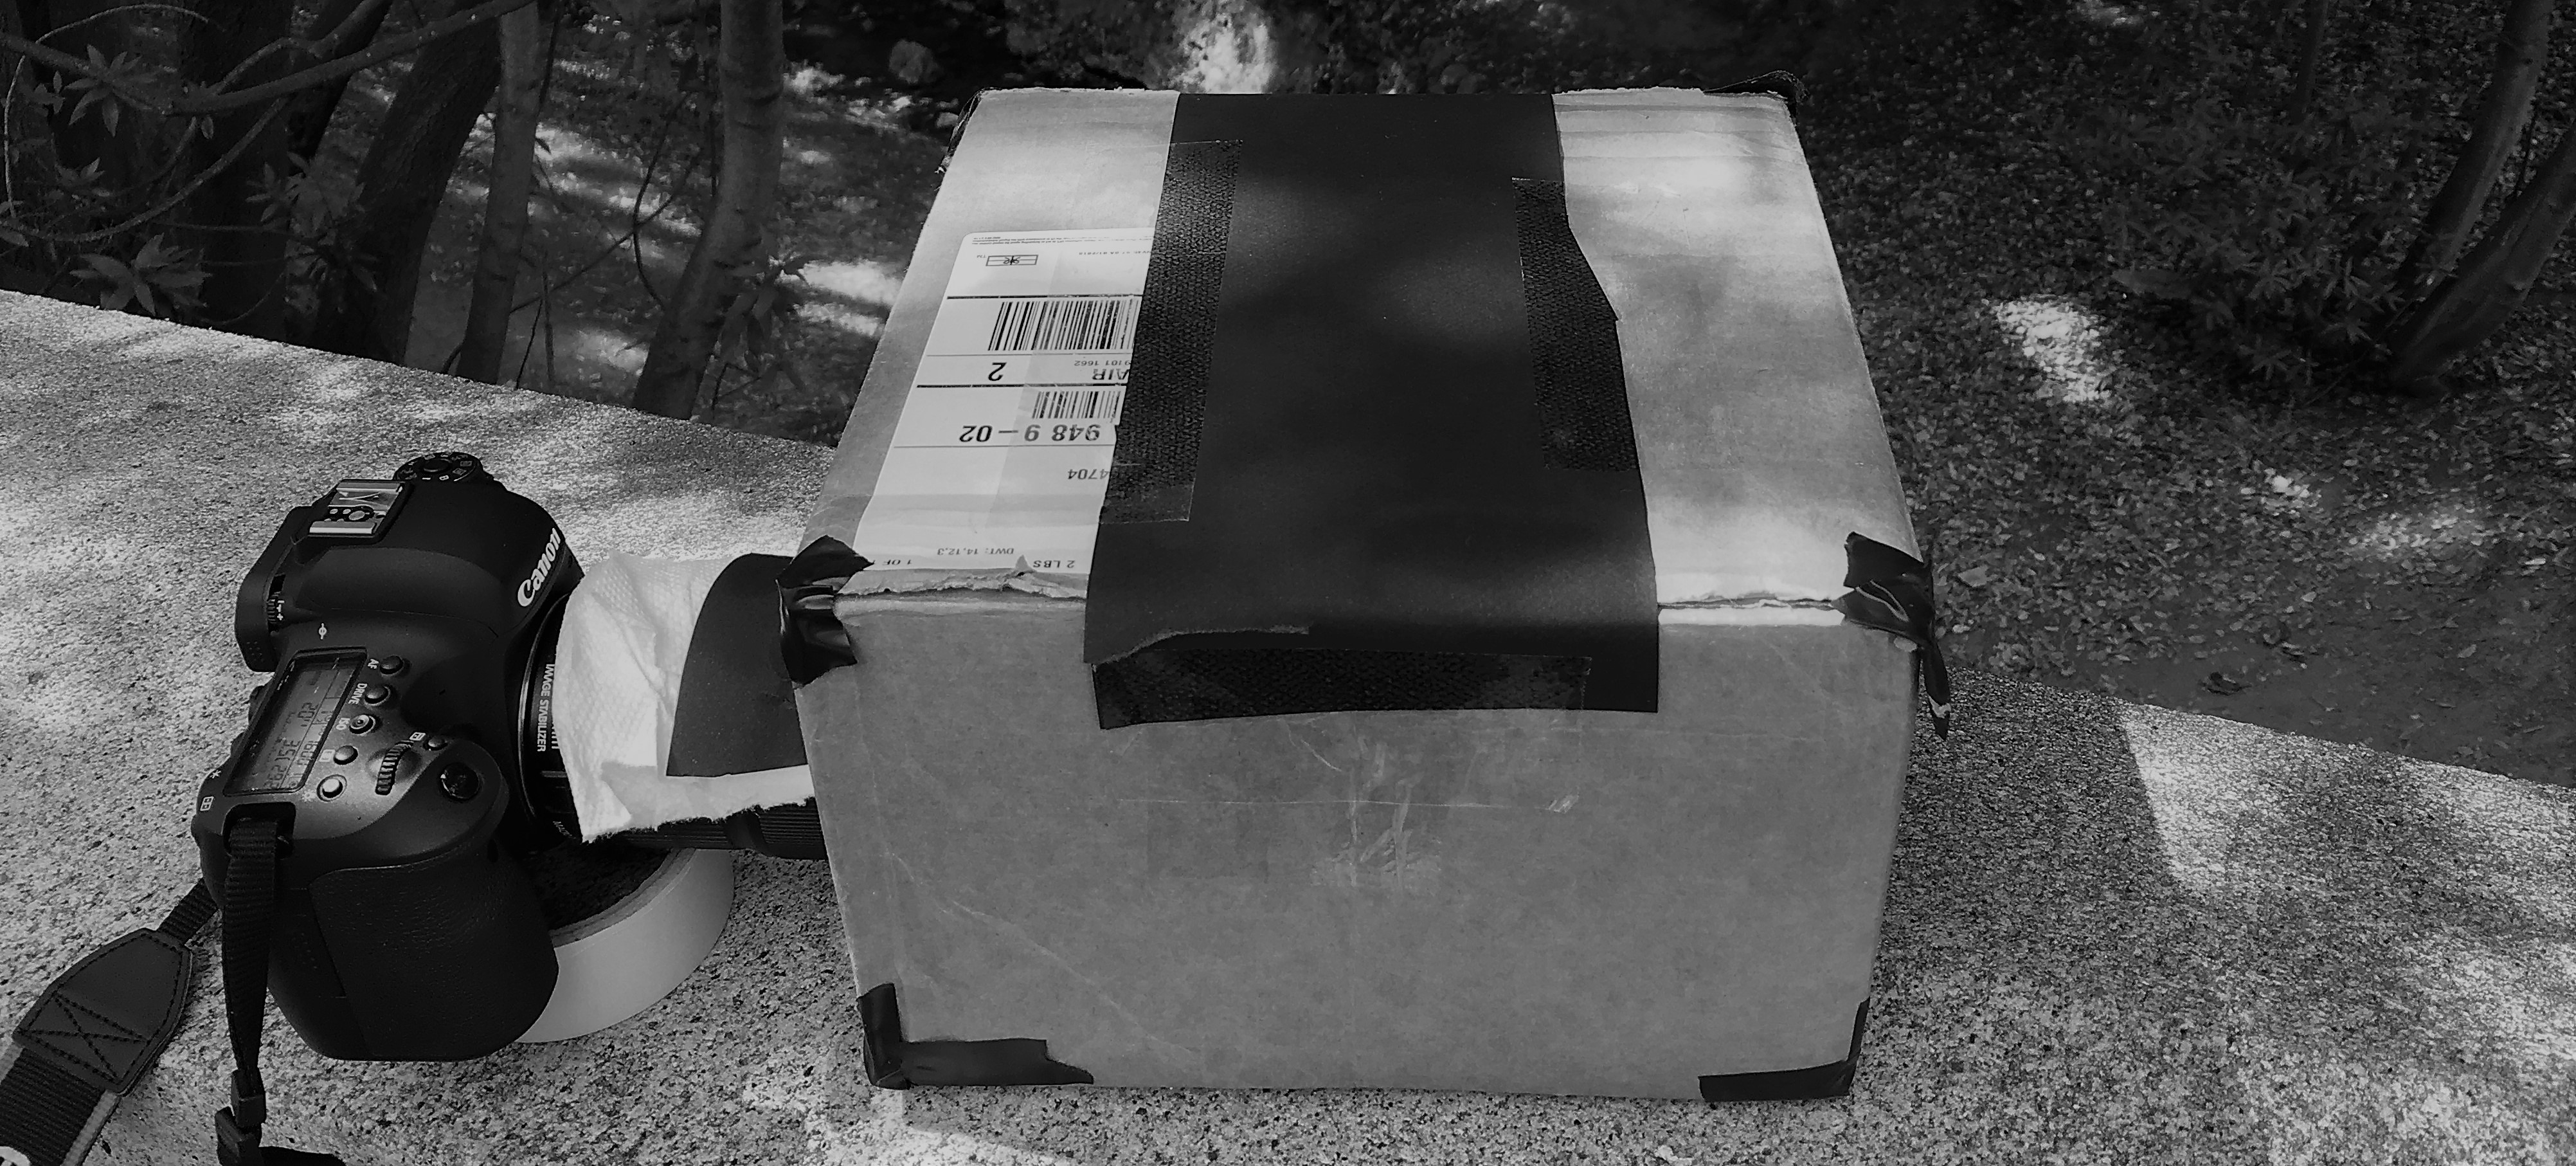
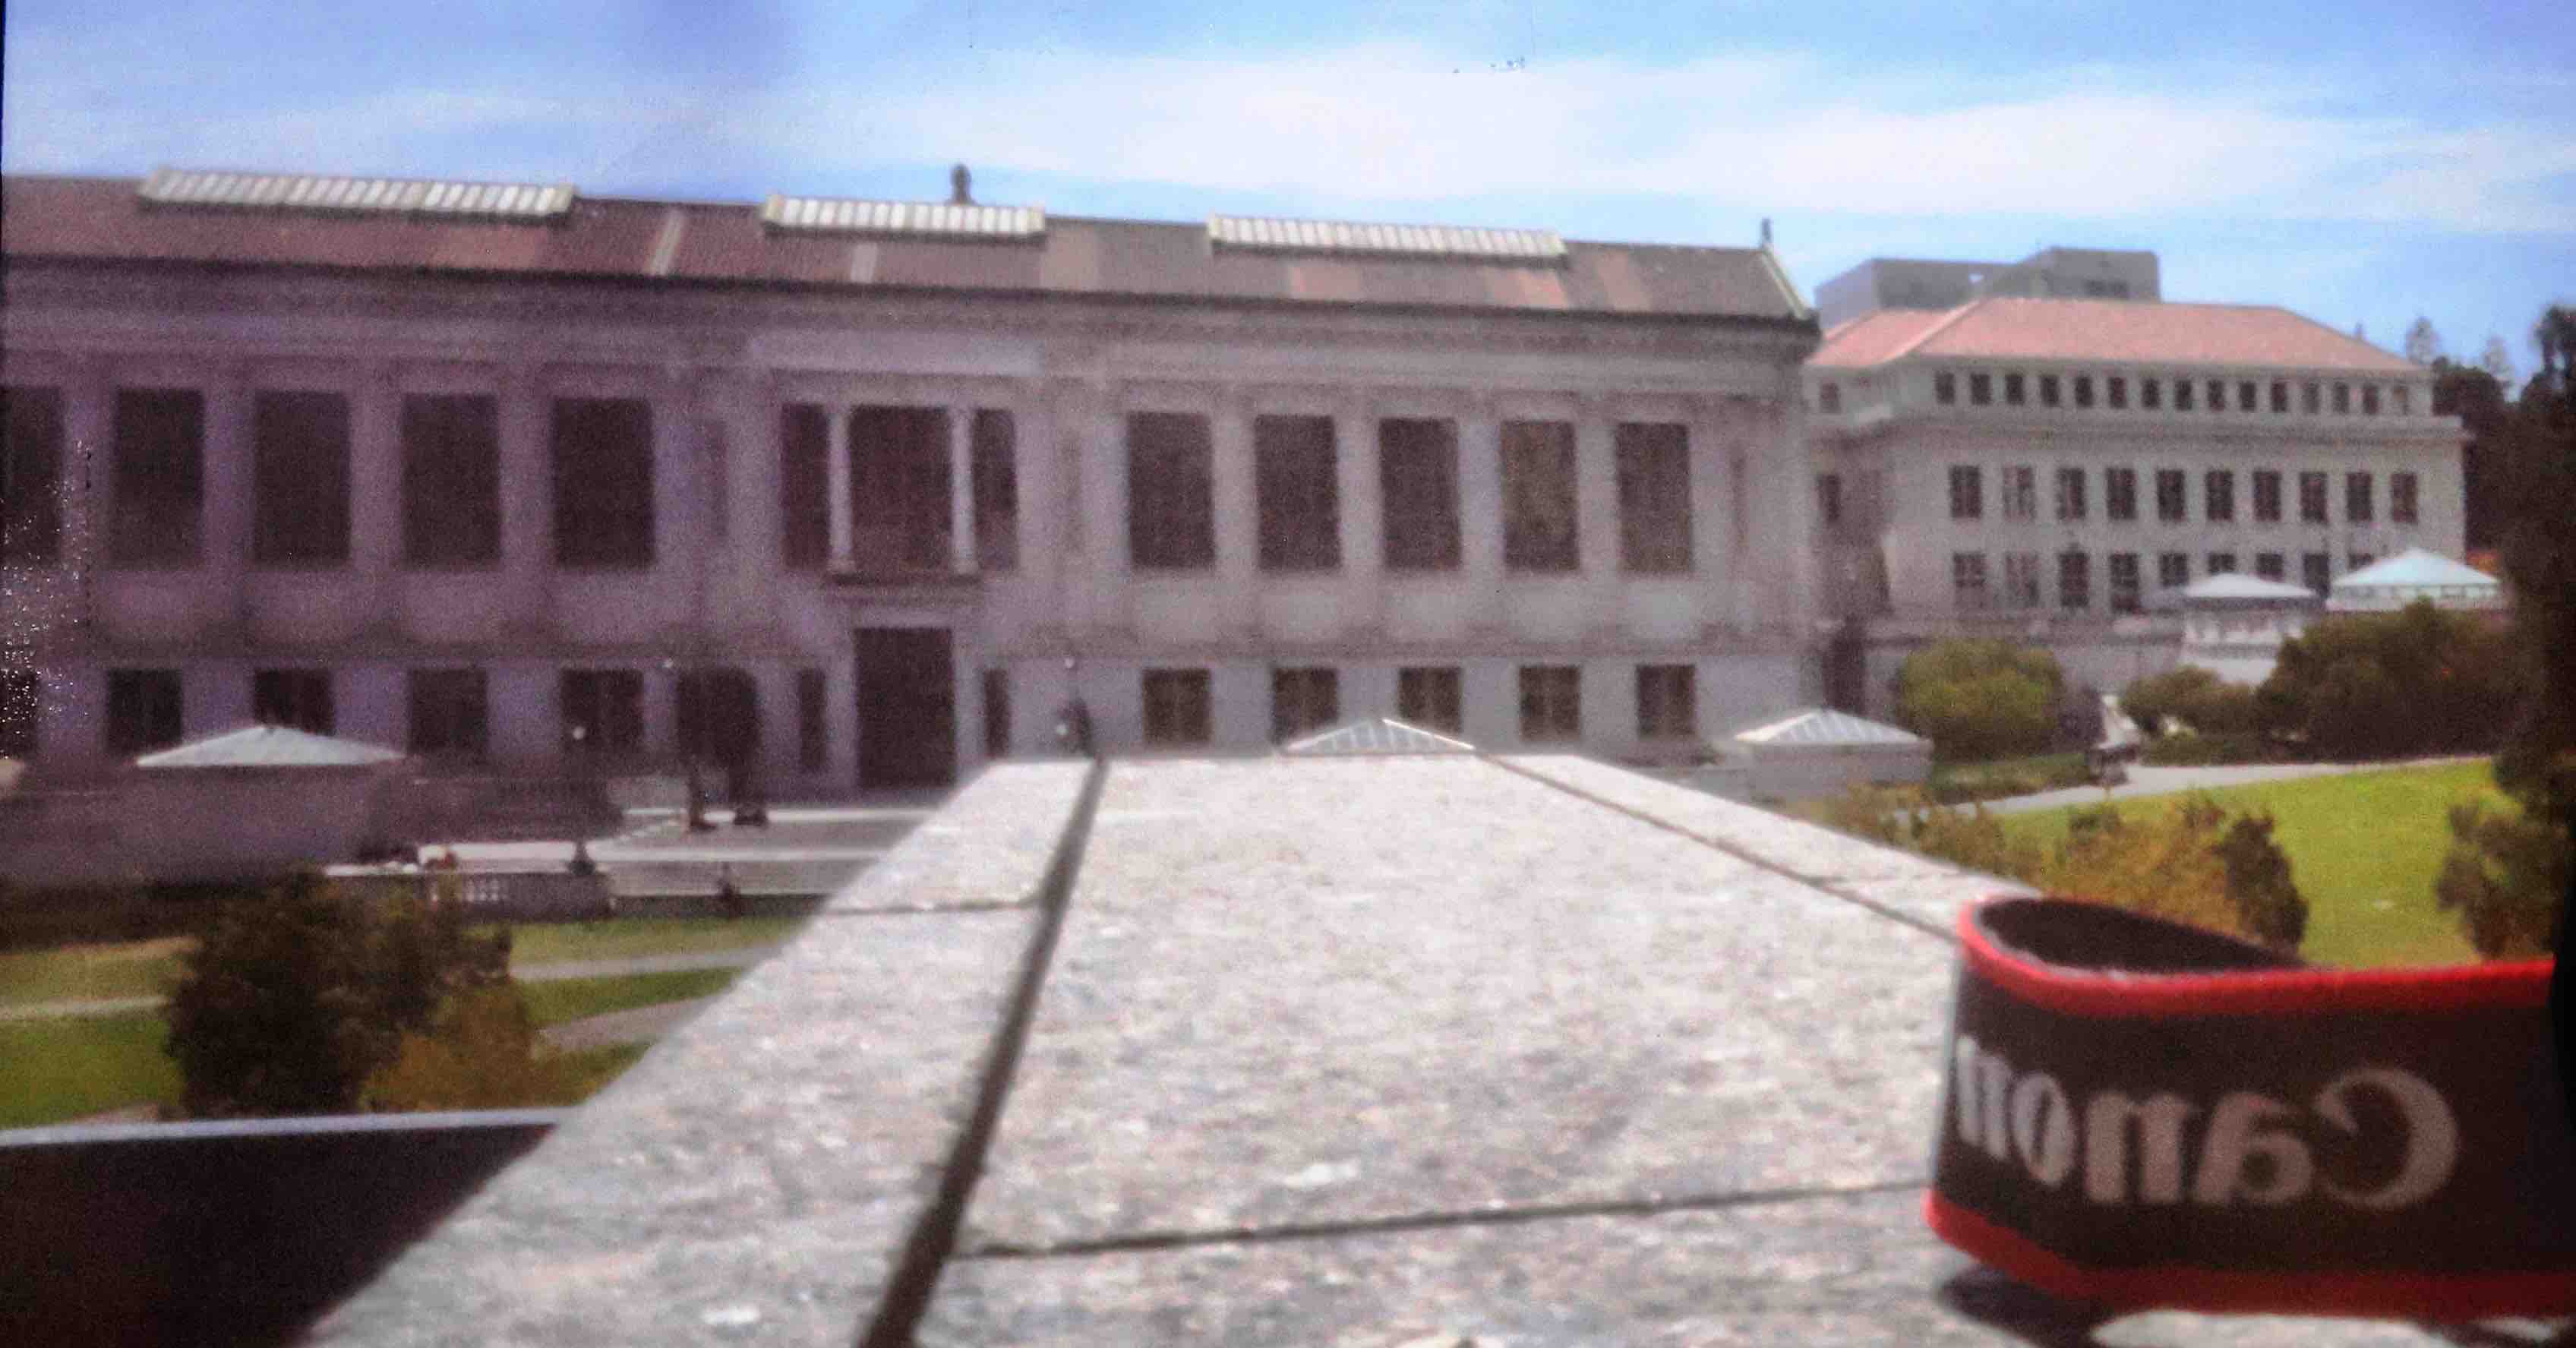
1mm Aperture outside, East Asian Library
f/3.5, ISO 10000, 30 sec
3mm Aperture outside, East Asian Library
f/3.5, ISO 40000, 30 sec
4mm Aperture outside, East Asian Library
f/3.5, ISO 40000, 30 sec