Project 2: Building a Pinhole Camera
Louise Feng, Yena Kim
Overview:
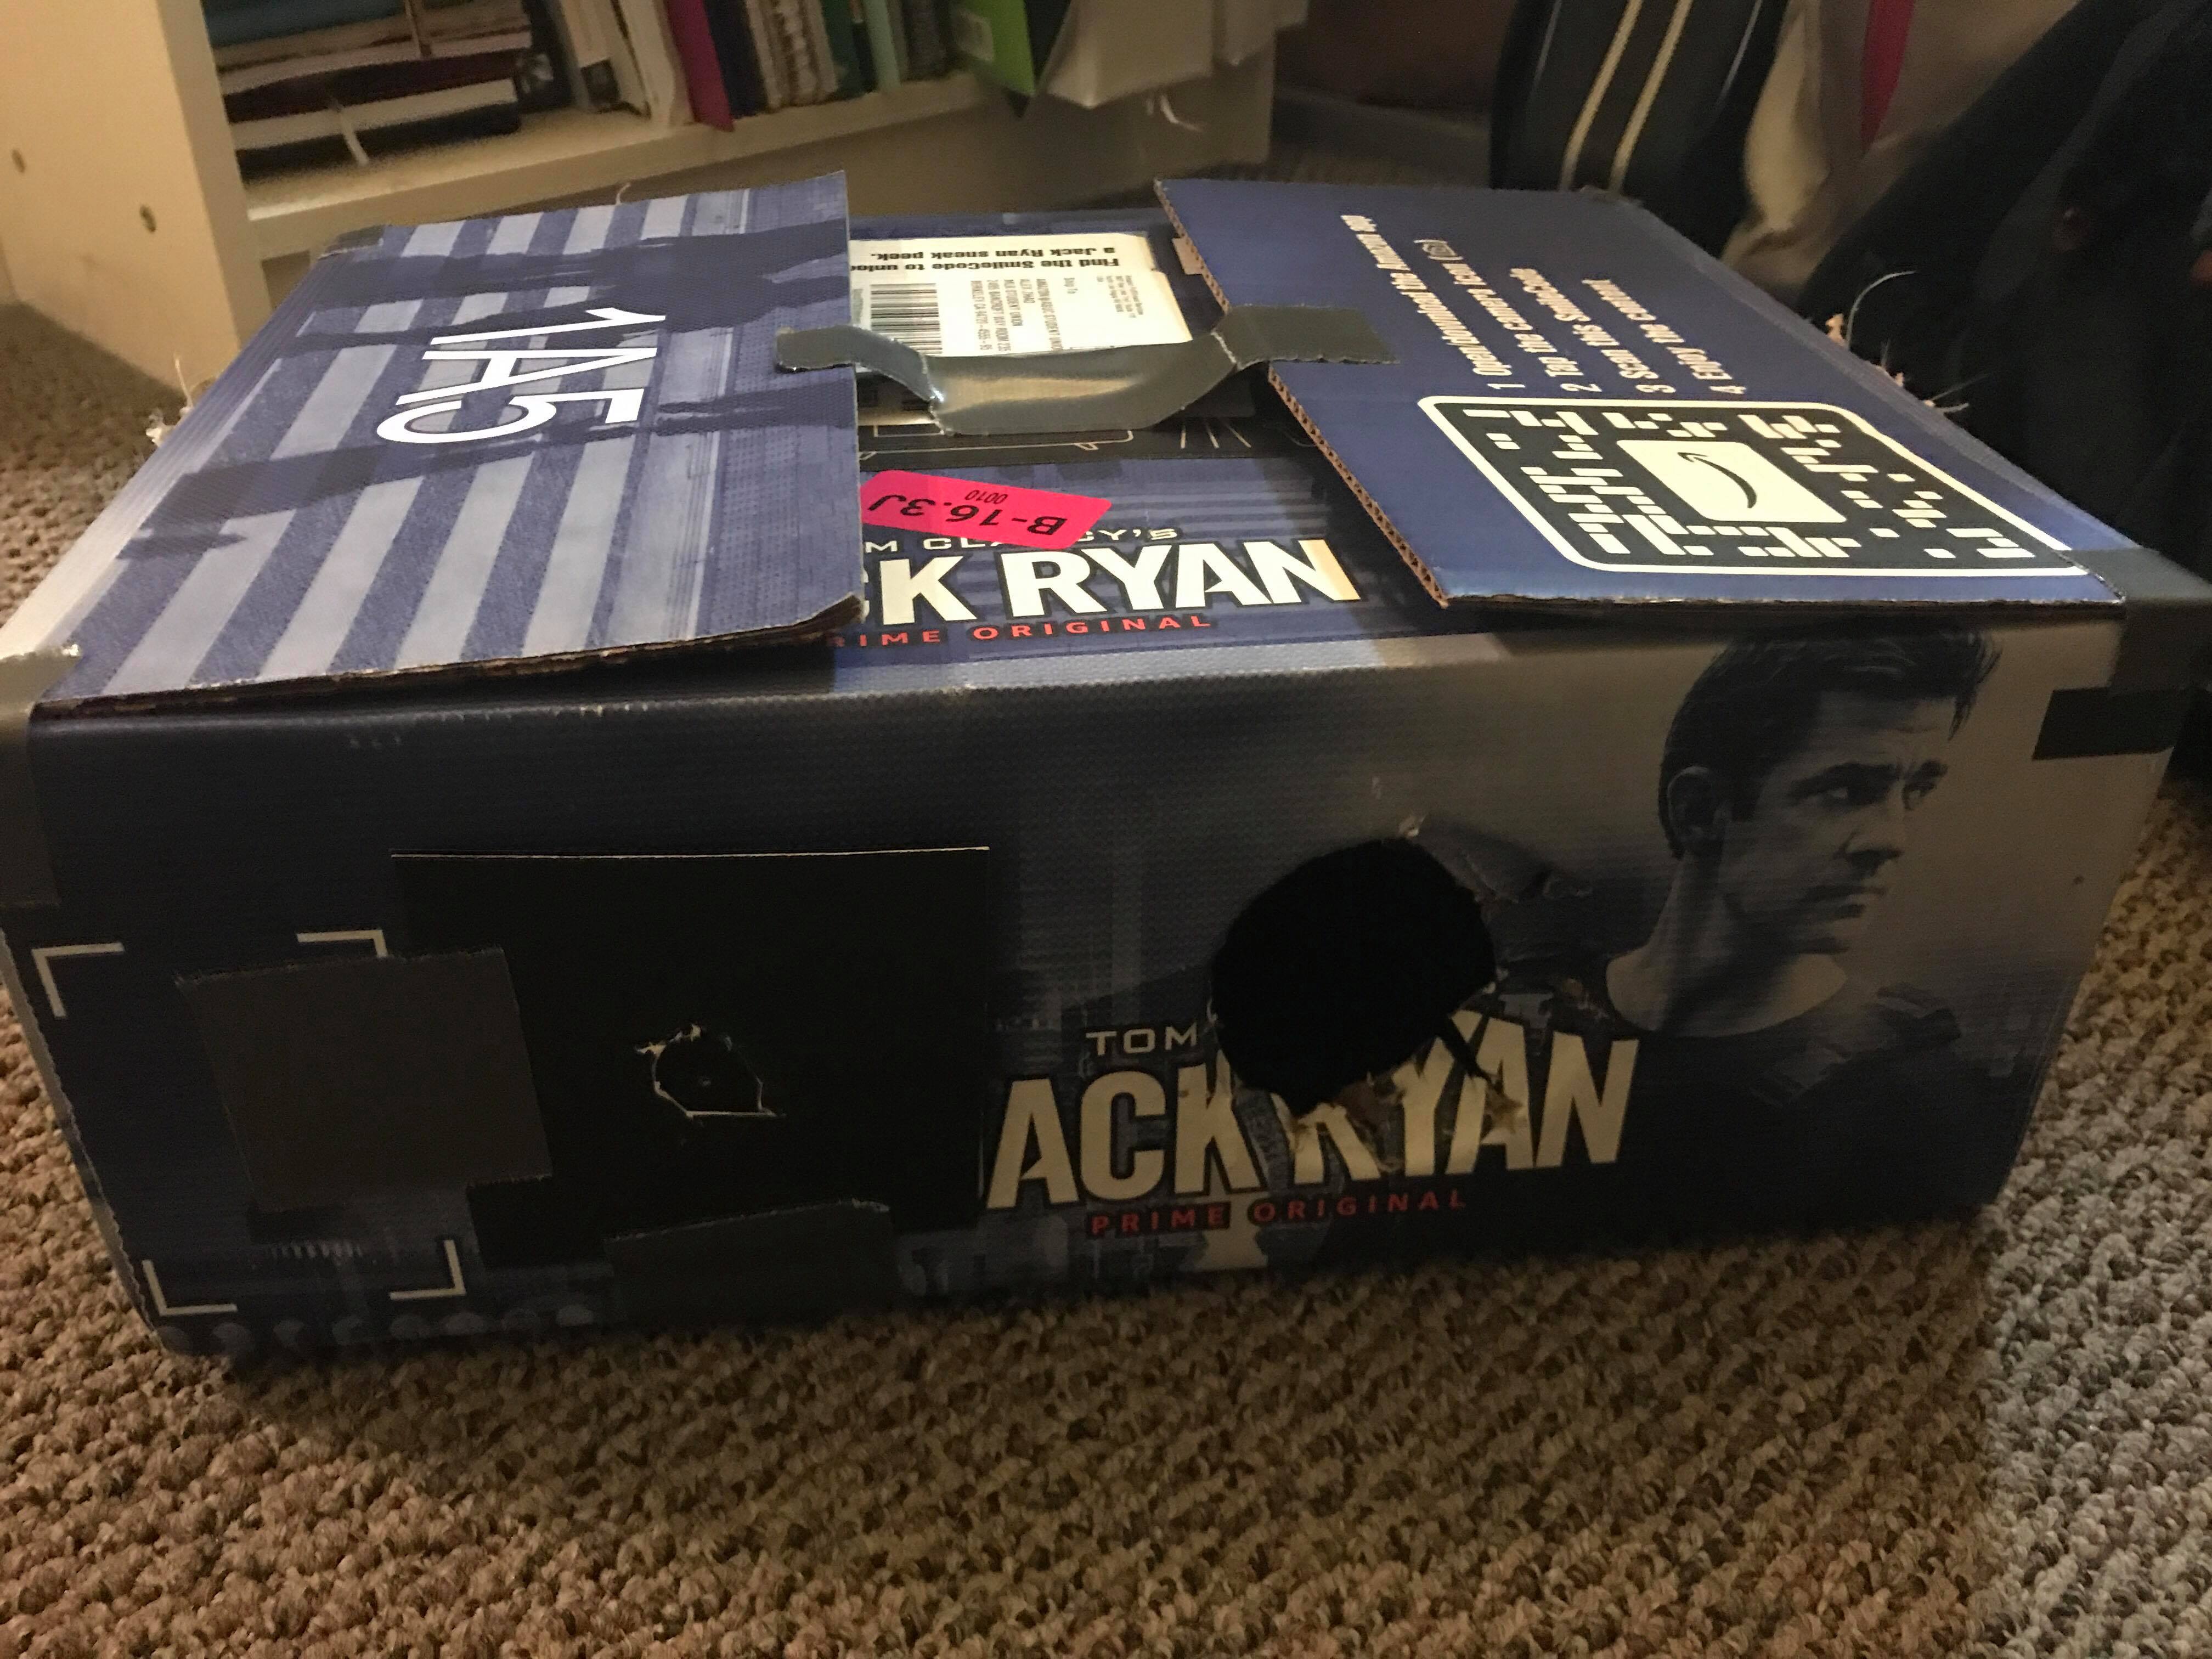
For this project, we created a pinhole camera using a cardboard box (10.5" x 14" x 4"), duct tape,
black poster paper, white printer paper, and a Canon EOS Rebel t5i. The lens we used was 24 mm. Of the
six inside faces, we cut a hole (with scissors, roughly) to snugly fit the size of the
camera lens. At a distance of approximately two and a half inches away on the left, we cut a smaller hole
for the pinhole. On that face of the box, we covered the inside with black paper.
The black paper helps to keep the inside of the box "lightproof" by absorbing light
that hits it and keeping excess light from bouncing off to the screen and messing with the image. We do the same for
the 4 other faces adjacent to the face that holds the actual camera. On the face opposite
of the face with the holes we covered the surface with white printer paper to act as a
screen. Because the paper was held in place by duct tape, the tape is visible in some of the shots.
We duct-taped the box shut to prevent light from entering our camera and producing a too-bright image.
To level our camera with the box, we improvised using a stack of cardboard. While the best images probably would have
been taken by securing the camera to the box with duct tape (which would have also effectively cut out more light that gets through
the gaps in the hole cut for the camera lens), we didn't do that because the camera was borrowed from a friend. Instead,
many of the pictures were taken with a sweater draped across our model and stuffed into areas around the camera where there might be
crevices for light to enter.
Camera Settings
- ISO: 3200
- Aperture: f4
- Exposure time: 30 seconds
- Pinhole sizes: ~0.3 mm, ~1 mm, ~5 mm


Pinhole Size Analysis
The pinhole size should be determined by the following equation: 2 * sqrt(distance from pinhole to screen * wavelength).
For our pinhole camera, the appropriate size should be as follows:
2 * sqrt(10.5 in * 550 nm) = .77 mm.
We then ultimately decided to use .3 mm, 1 mm, and 5 mm as our pinhole sizes.
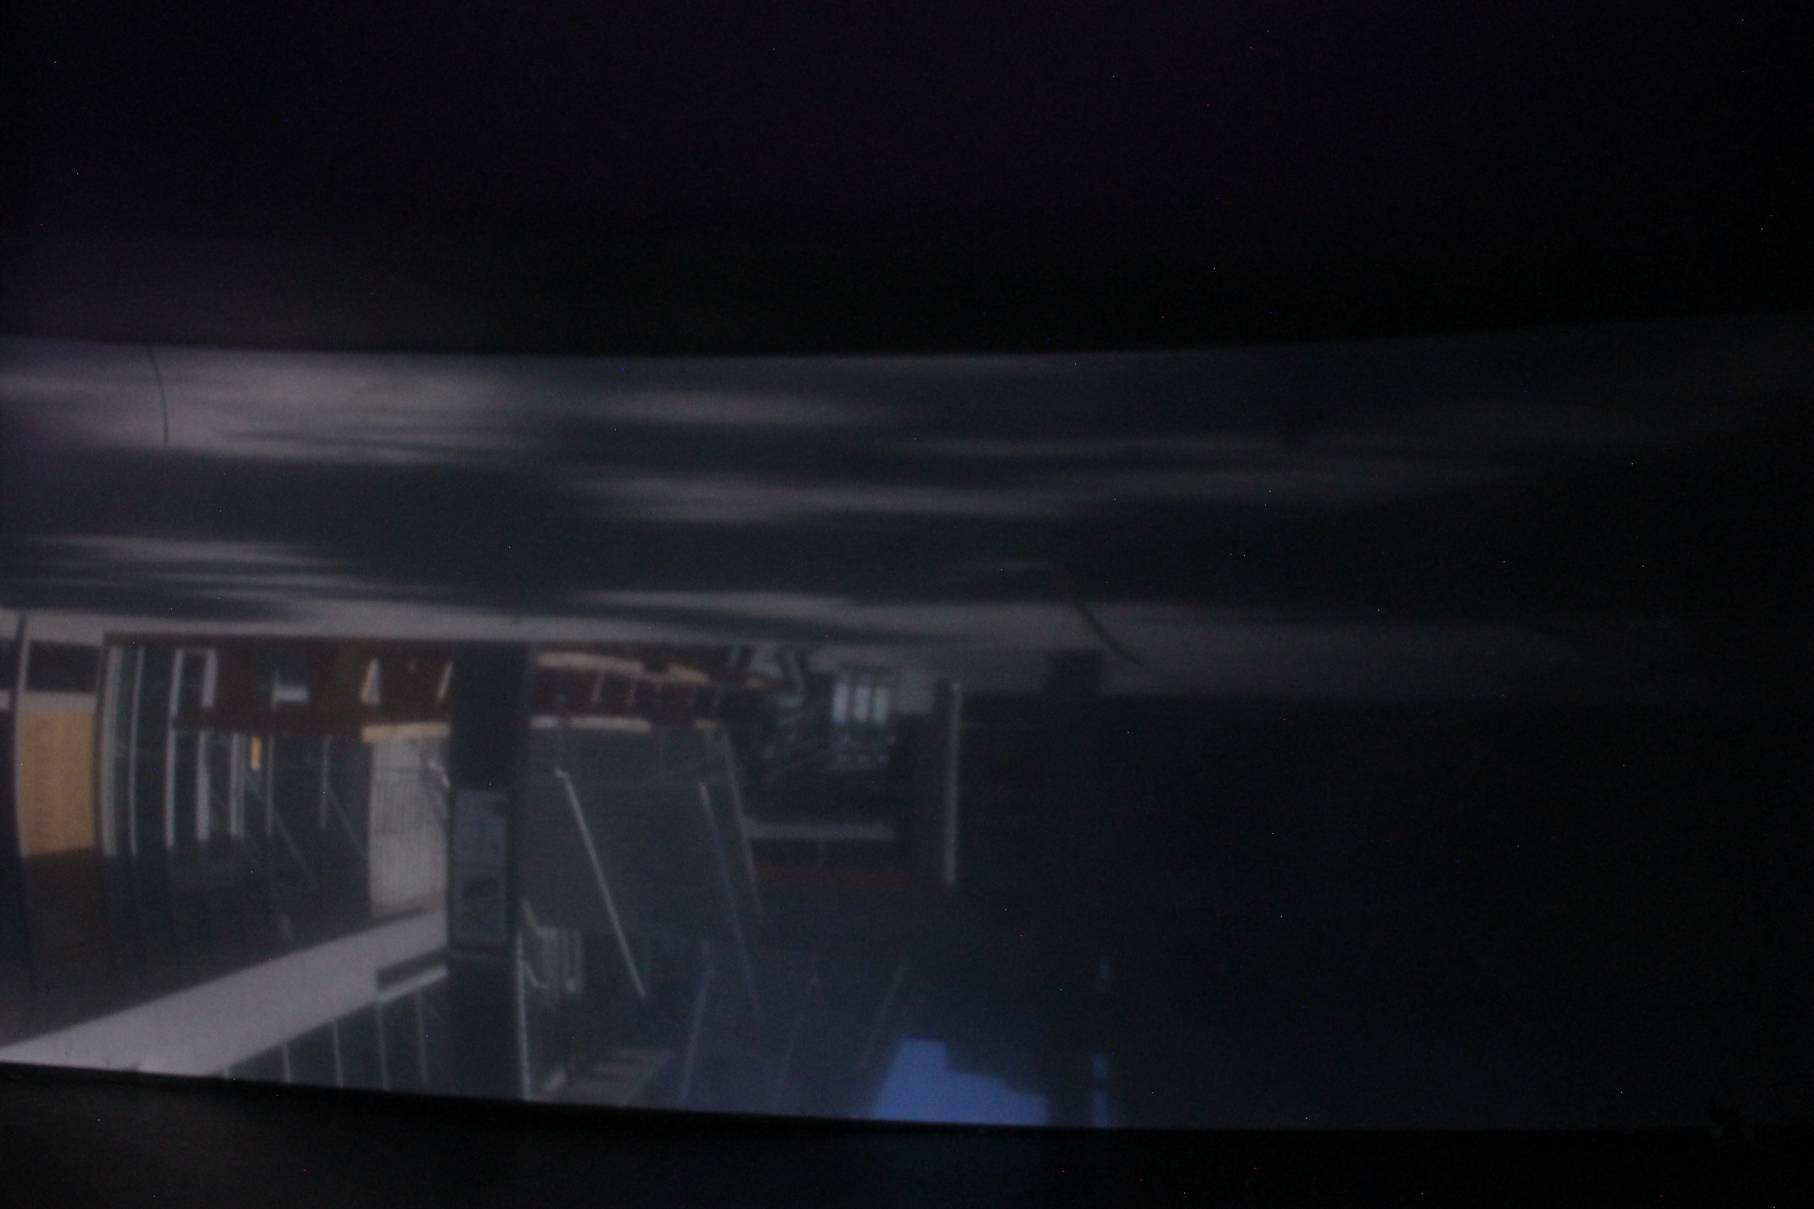
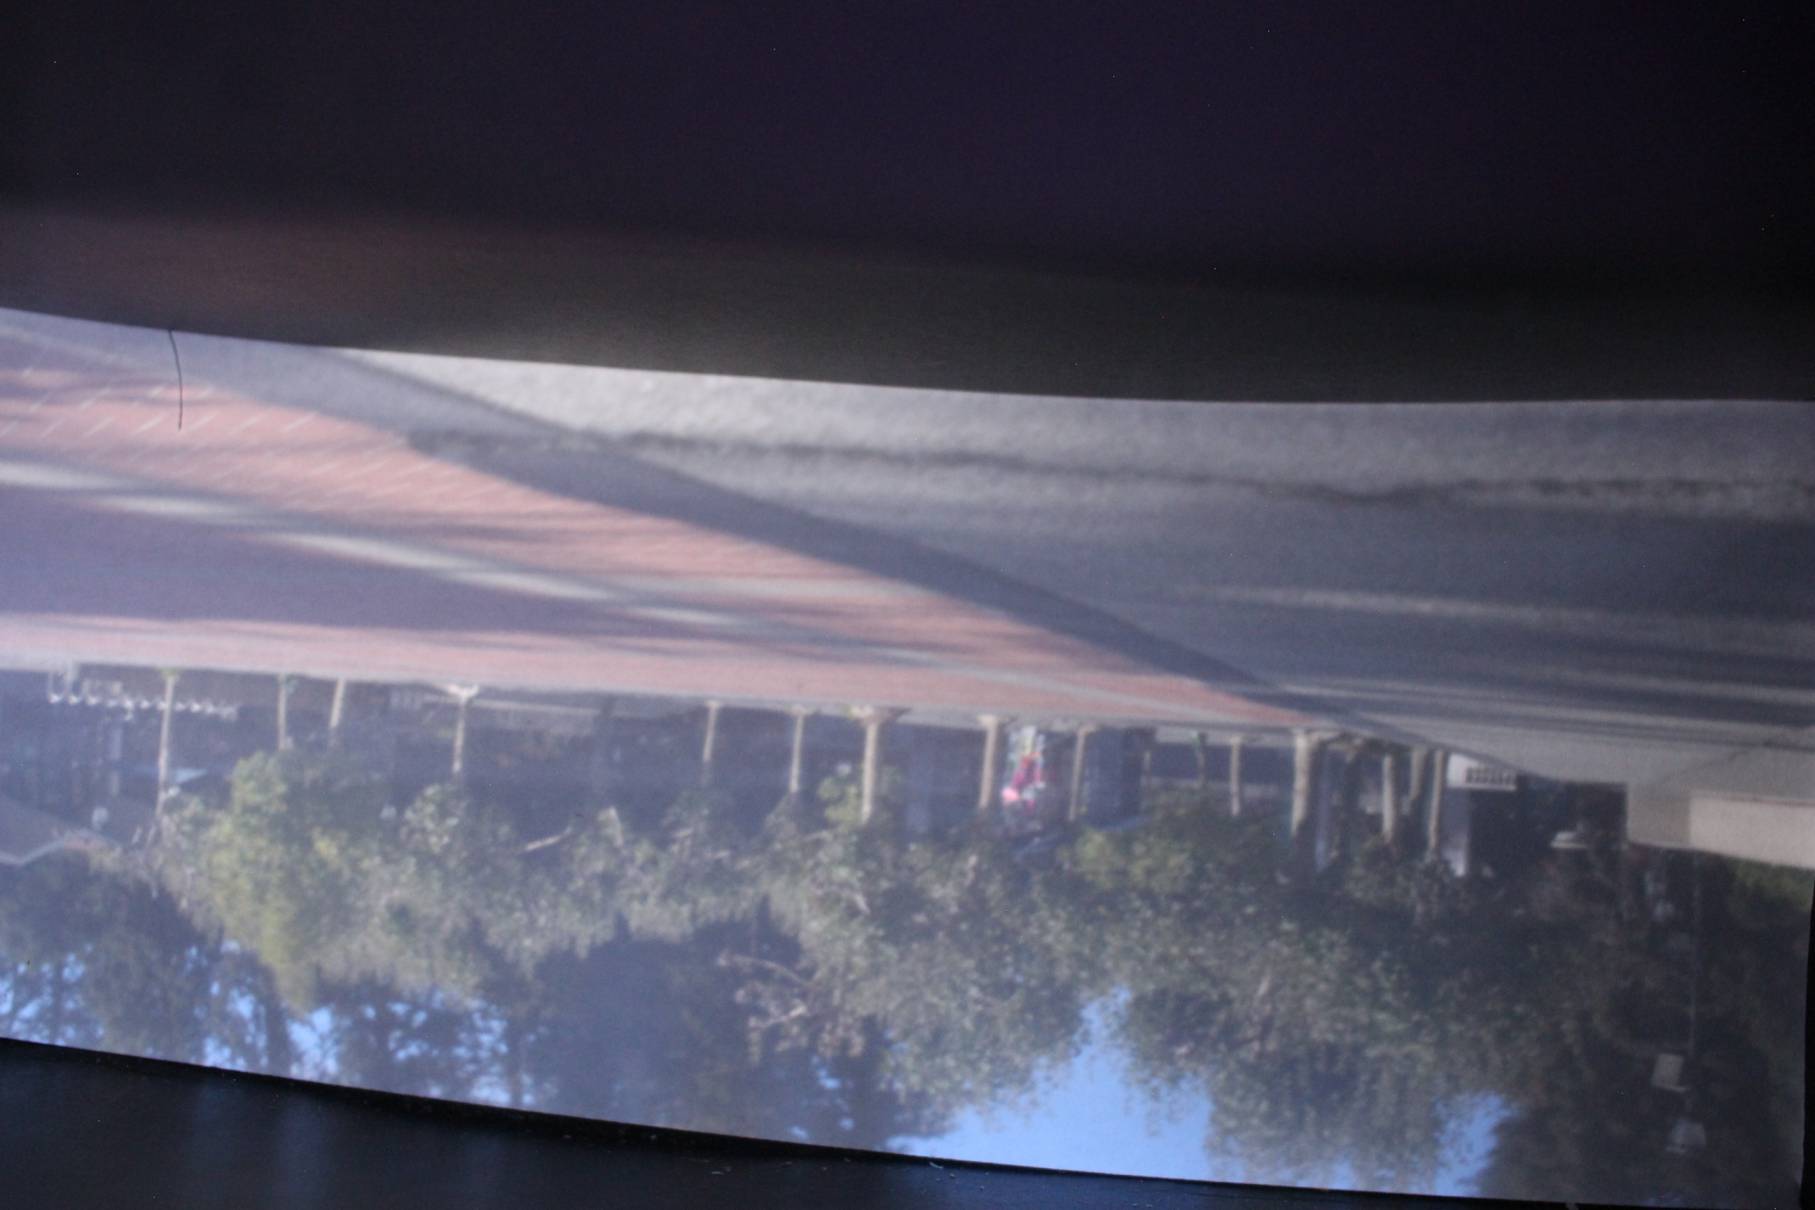
The .3 mm pinhole size resulted in darker images, because less light is able to get in through the small pinhole.
This also means that all the rays of light come in fewer directions, resulting in sharper and clearer lines.
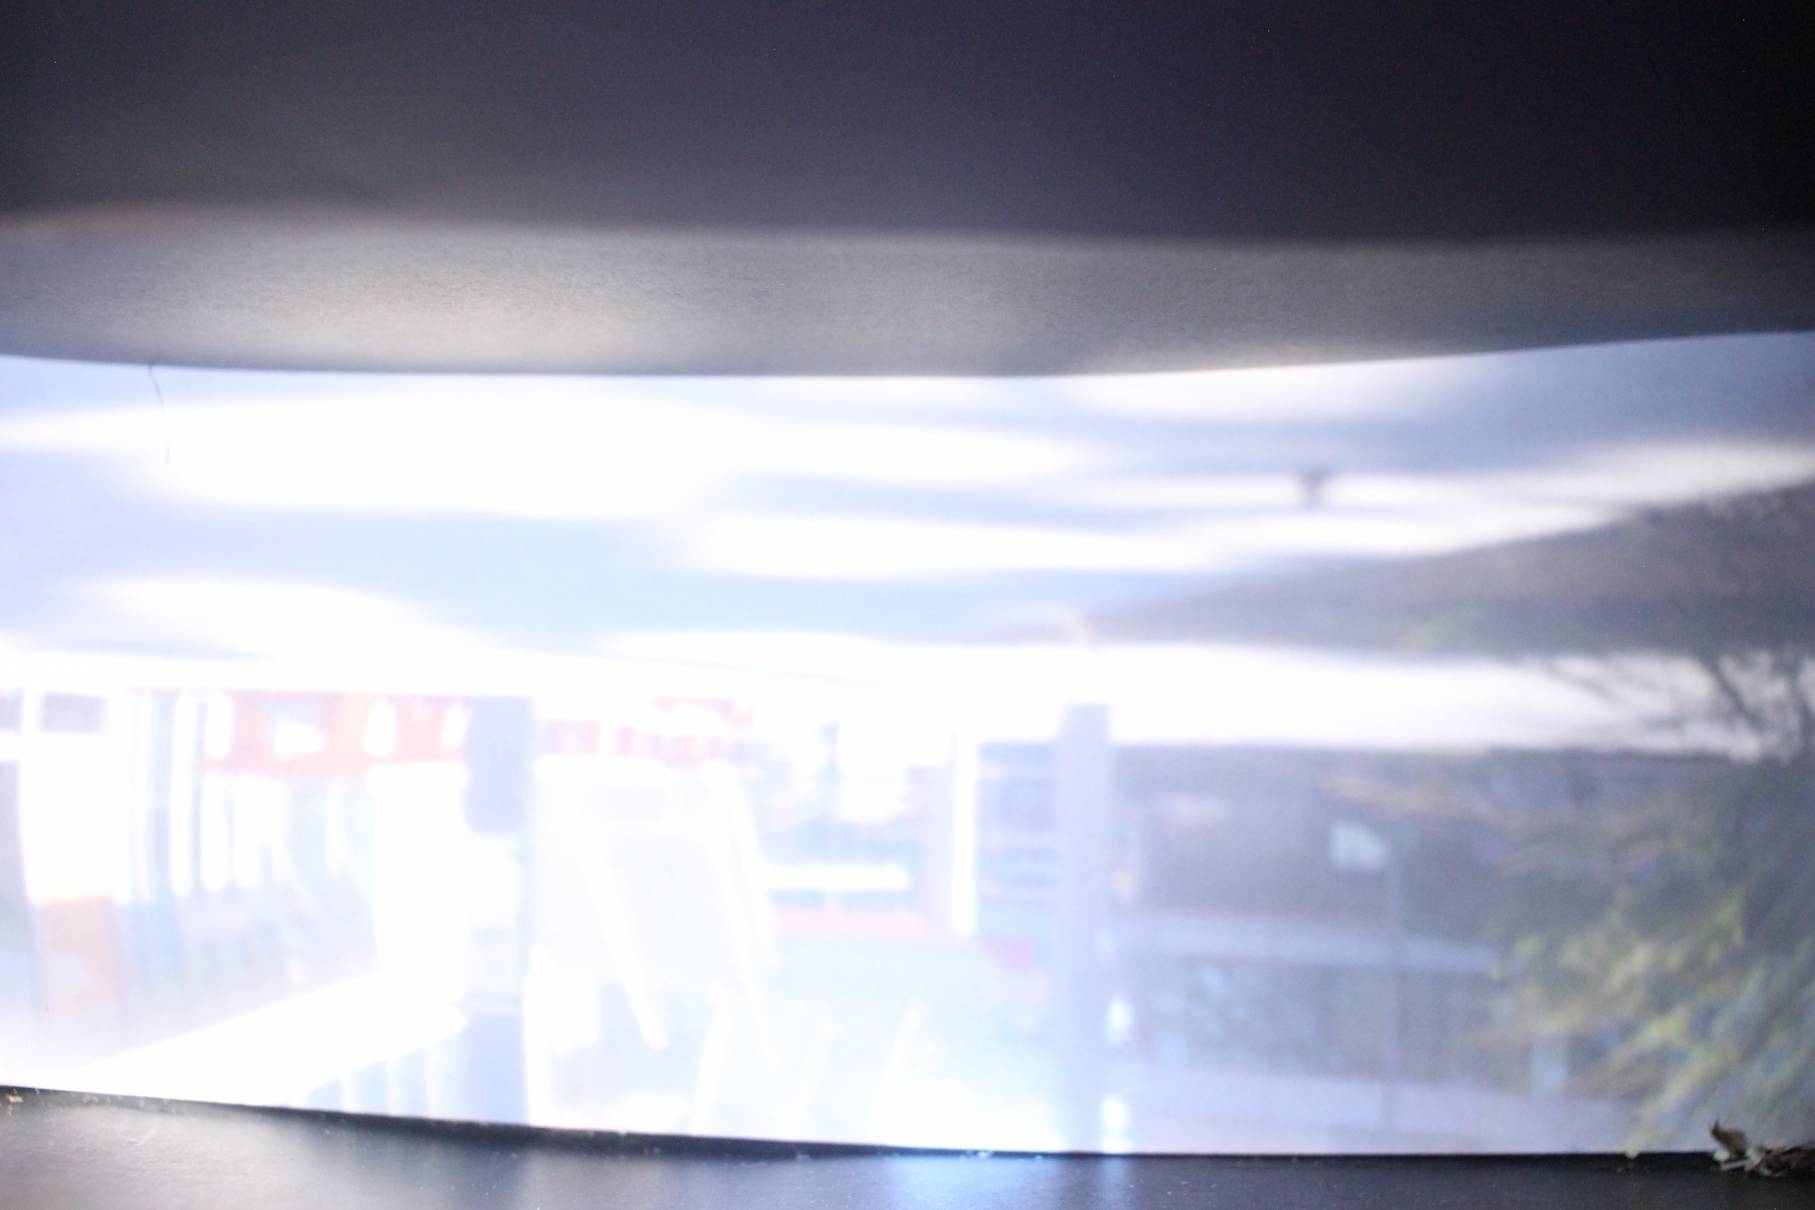
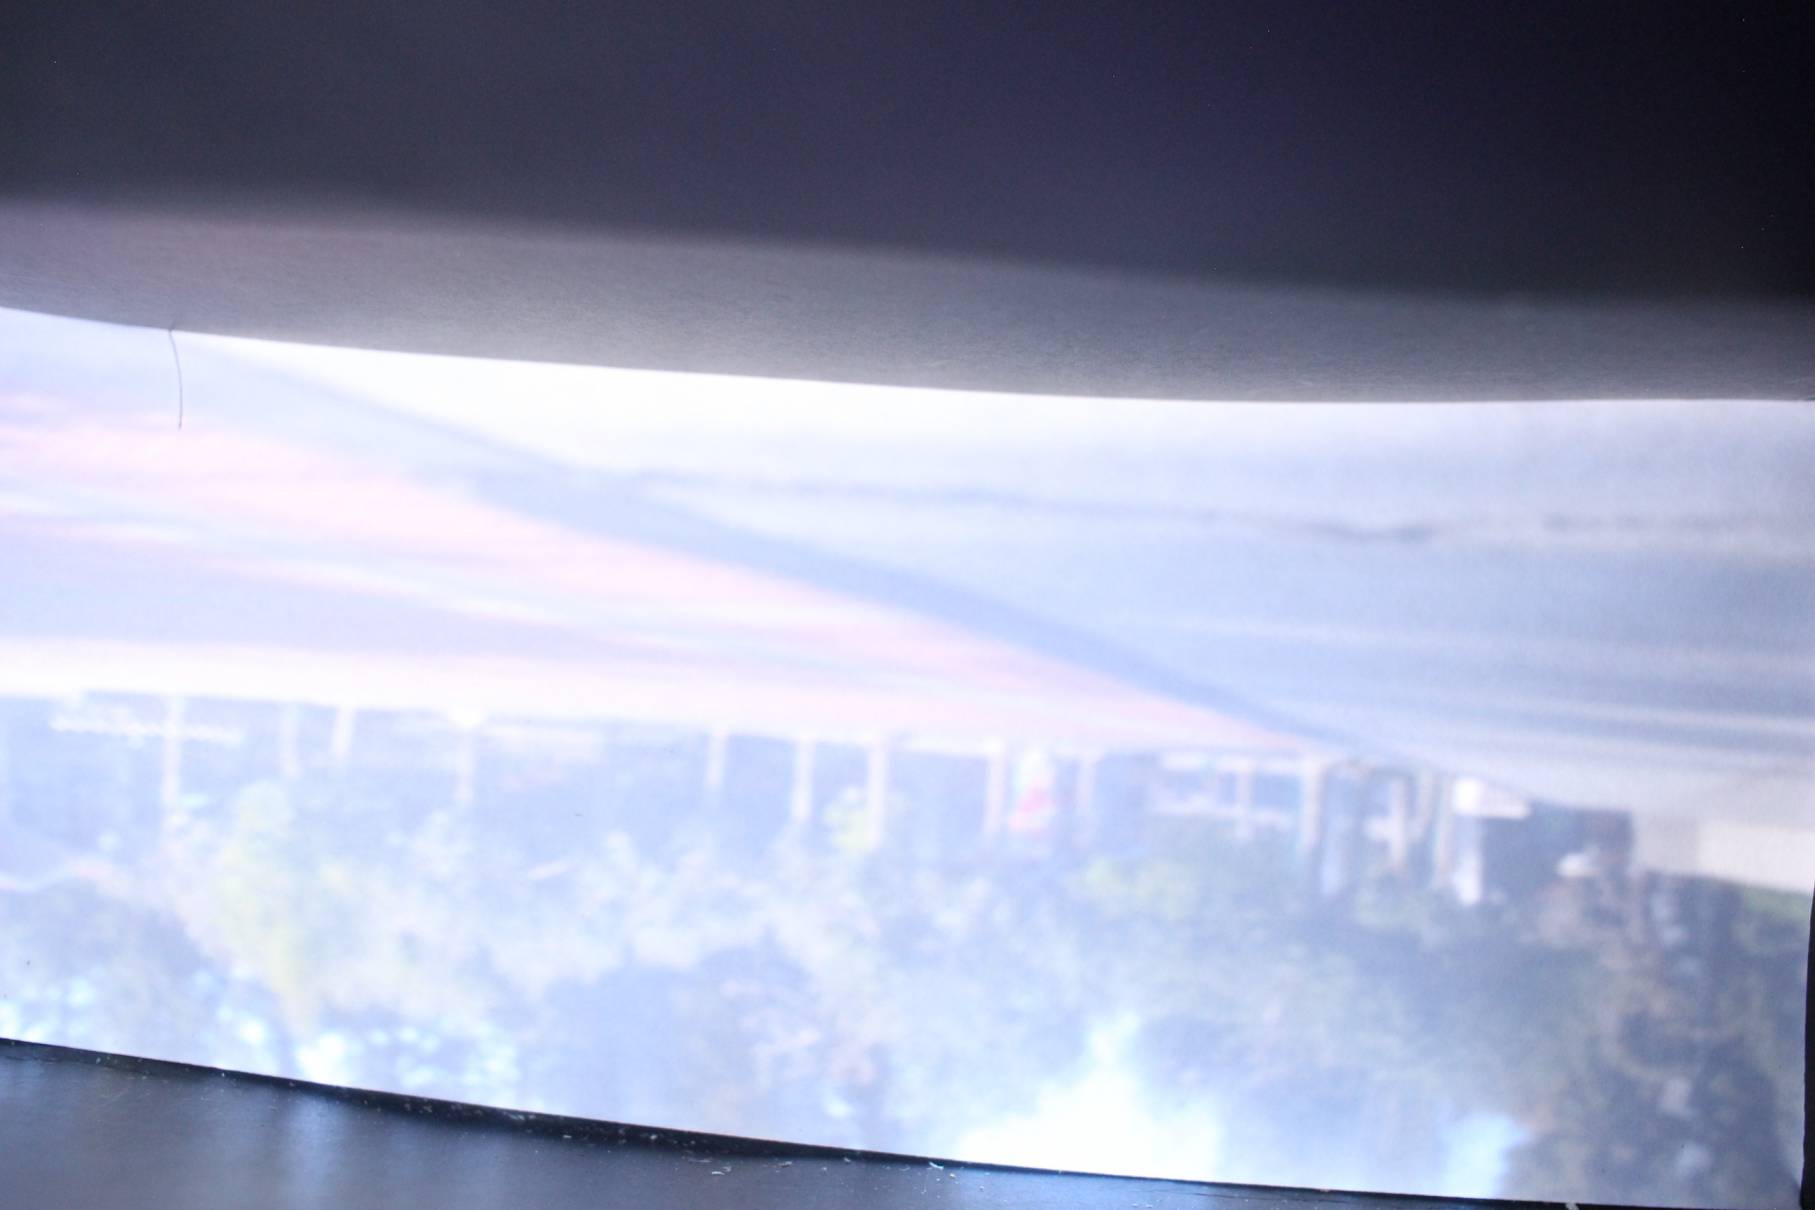
On the other hand, the 5 mm pinhole resulted in over-exposed images that are too bright with blurry lines.
We could've brightened the image by lowering the exposure time, but that would not have changed the blurriness of the image,
since the wider pinhole allows more light to filter in from all kinds of different directions which affects how blurry the image is.
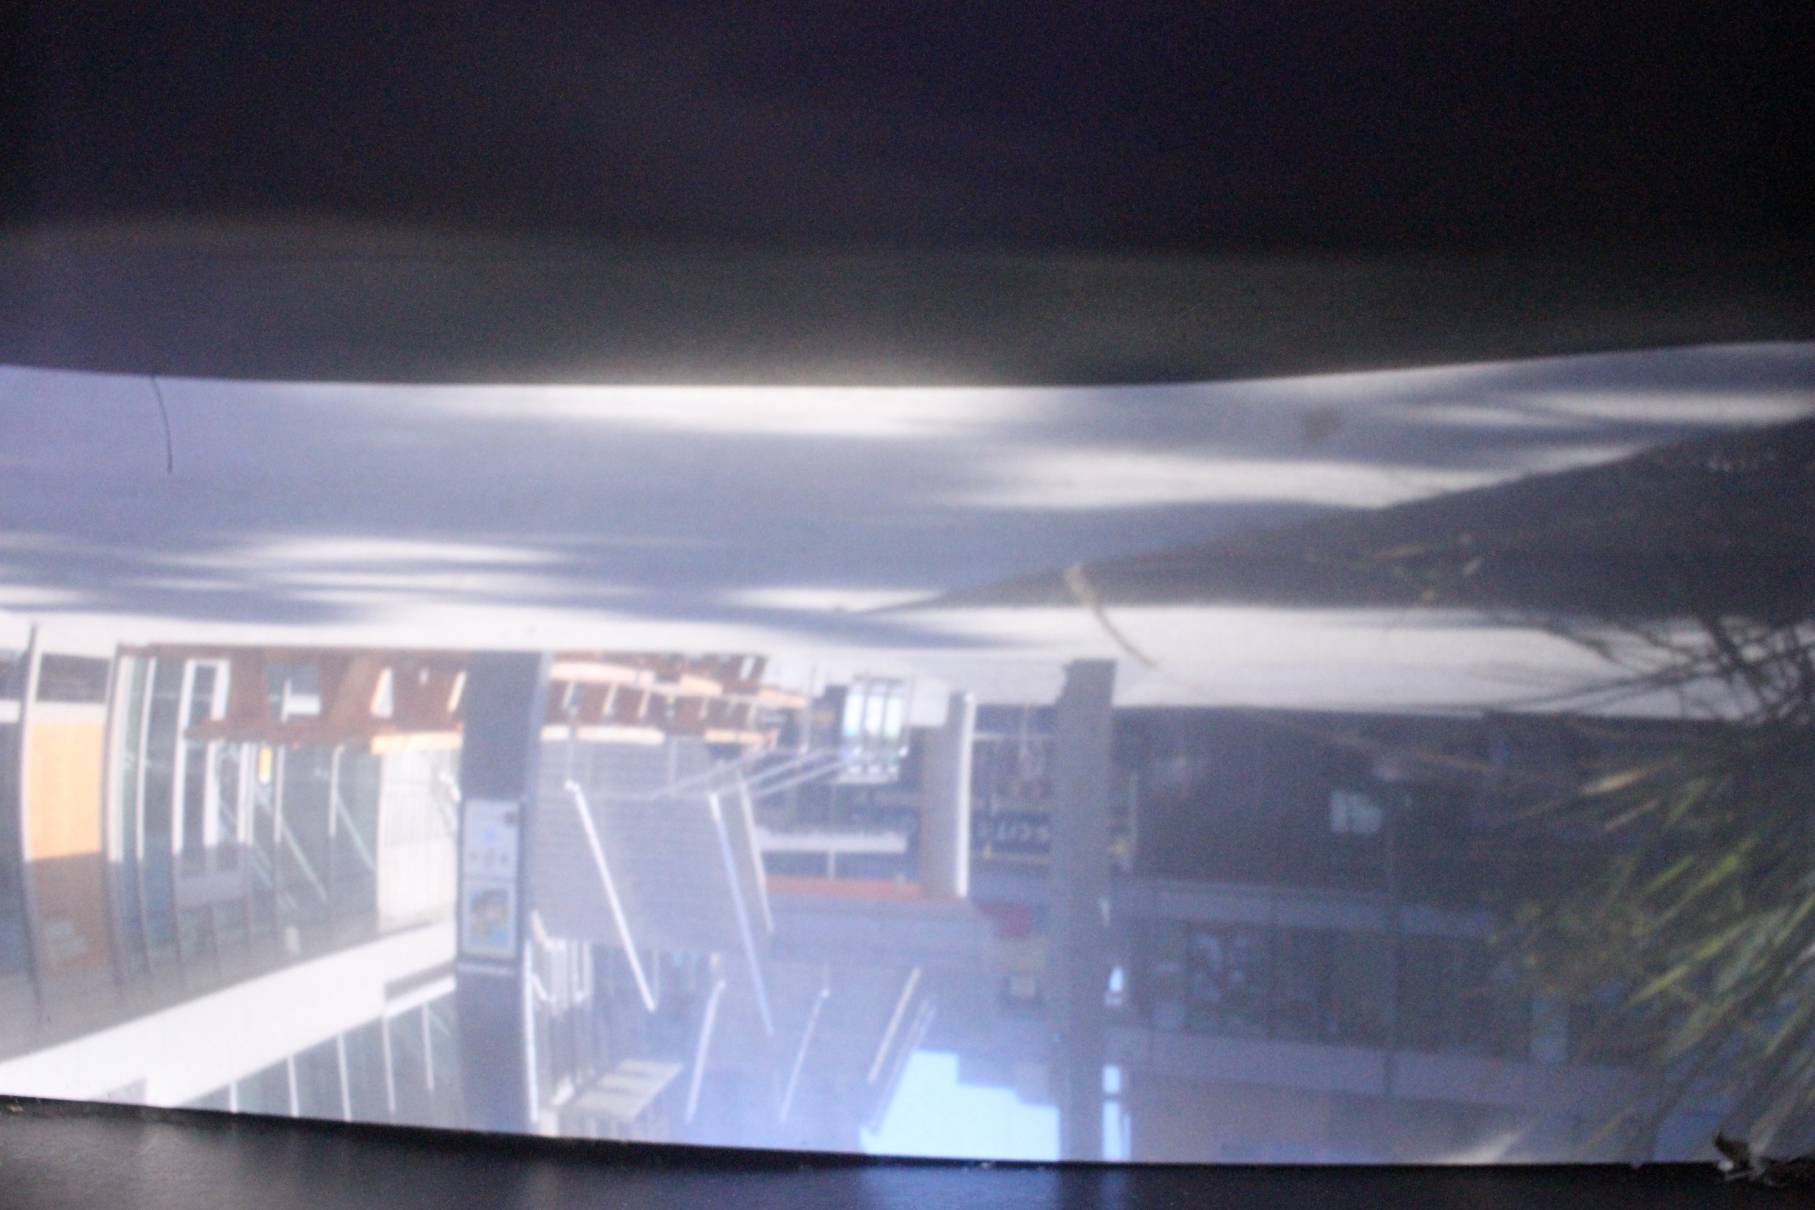
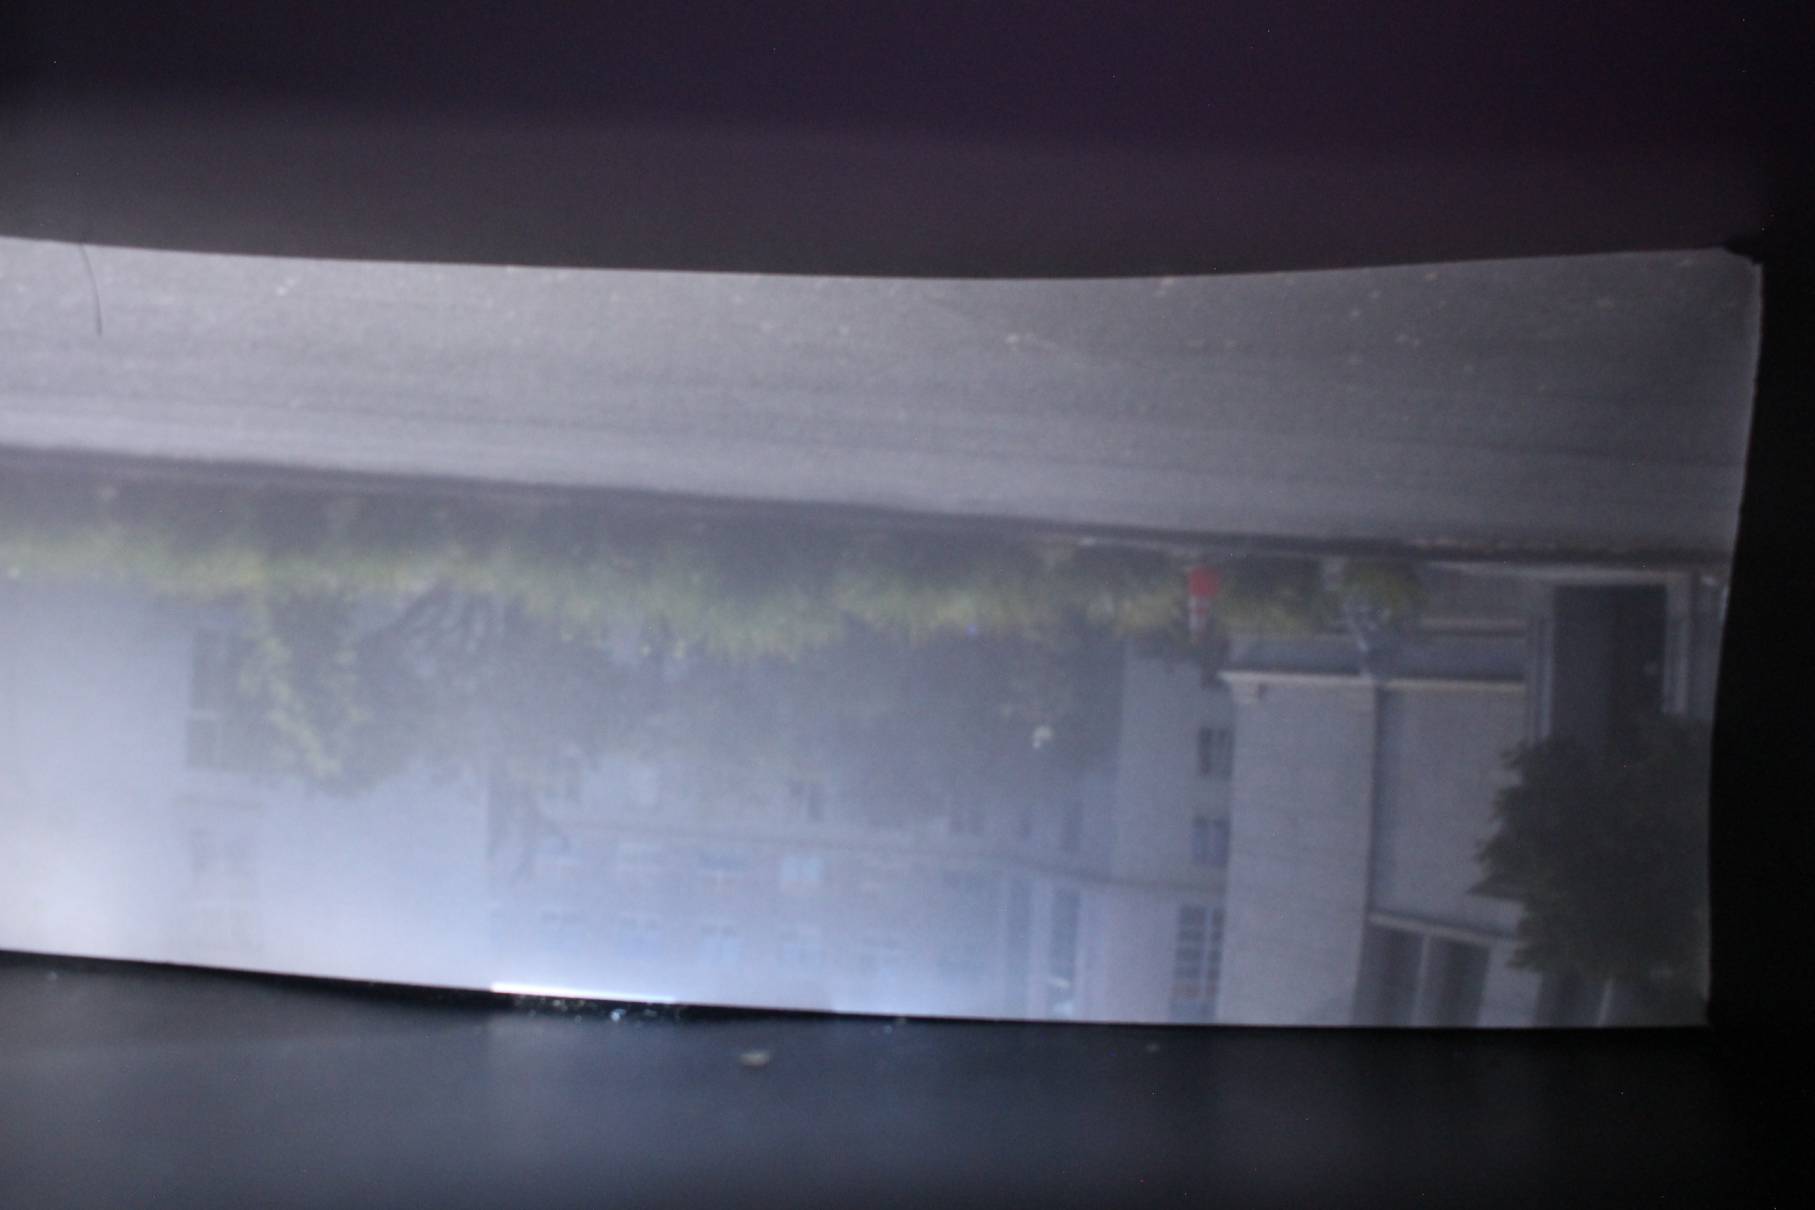
The 1 mm pinhole was the best of the three as expected, resulting in a nice mix of the other two pinholes, being not too bright or too dark
but still having the lines of the image remain relatively sharp.
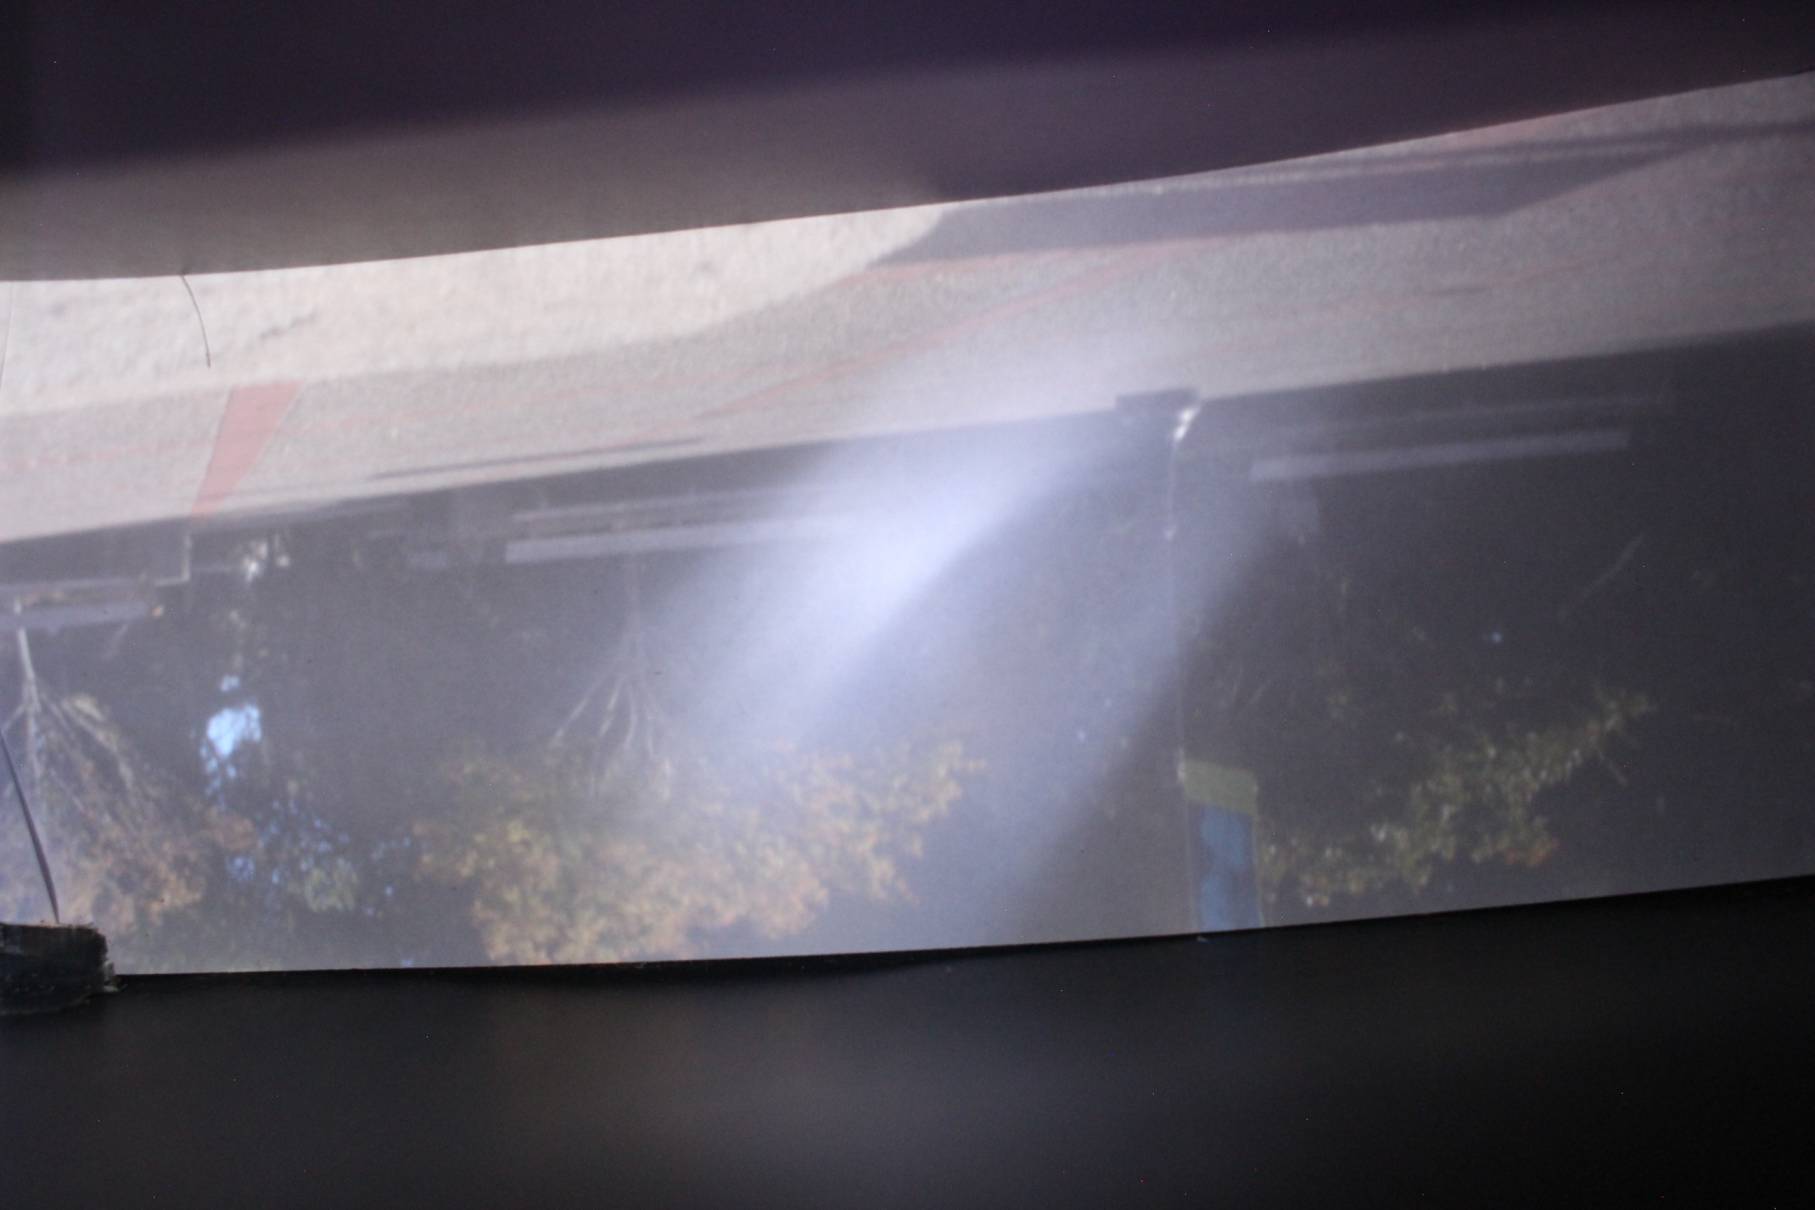
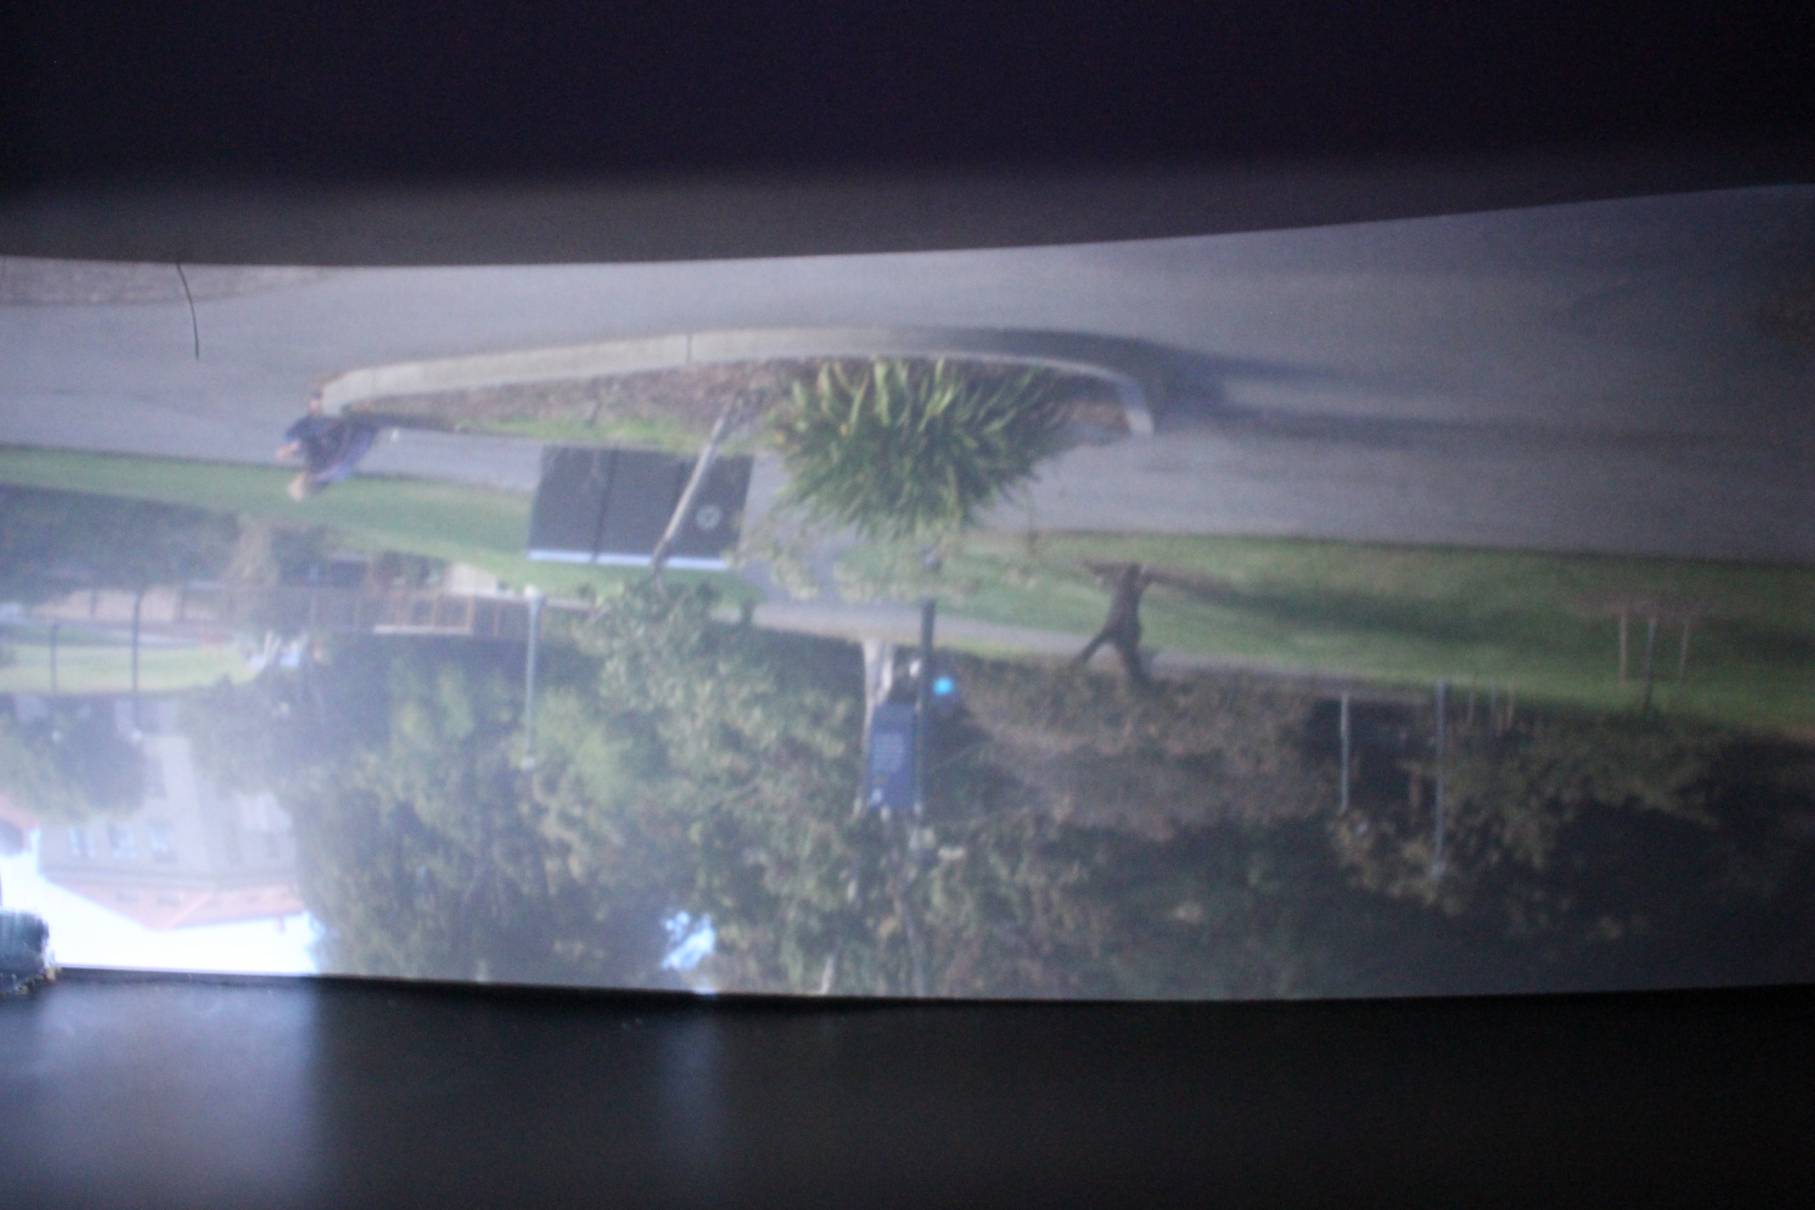
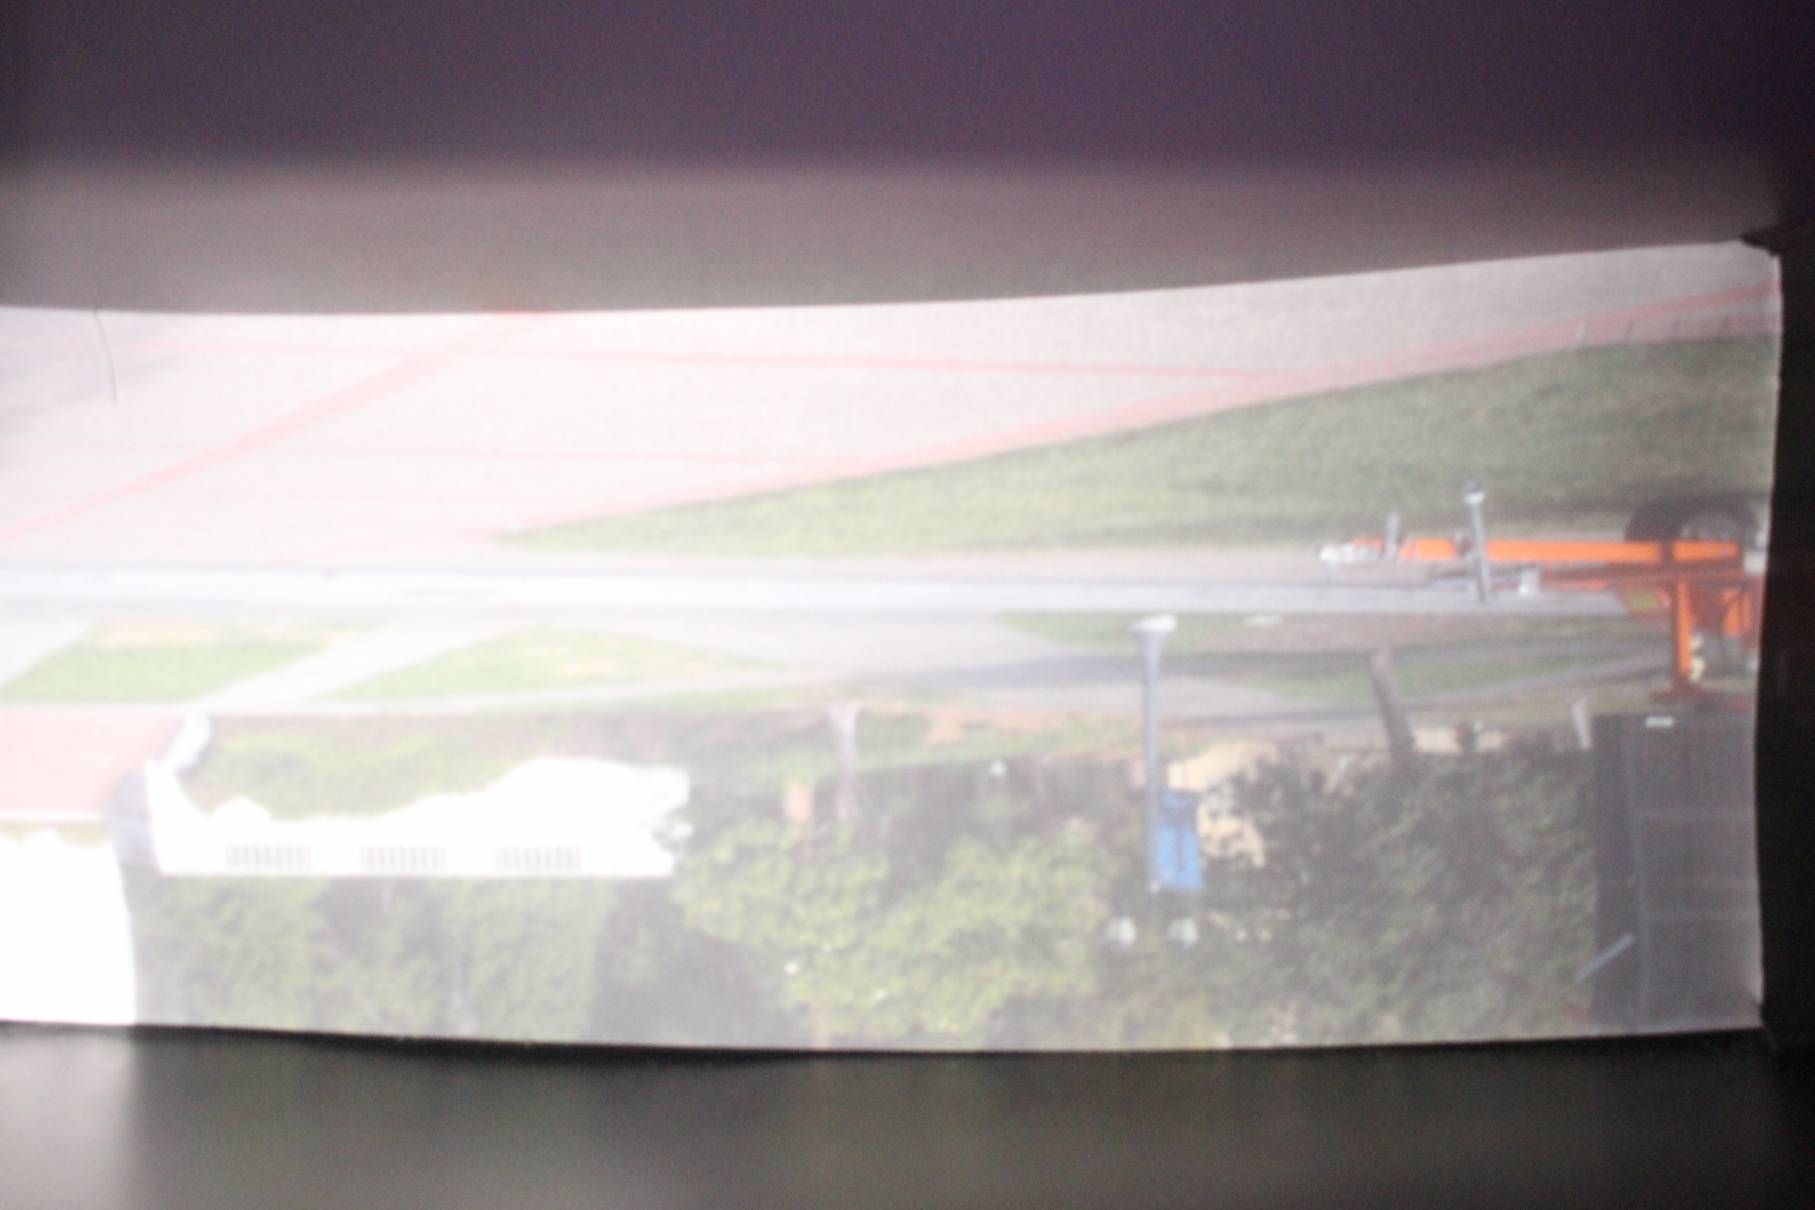
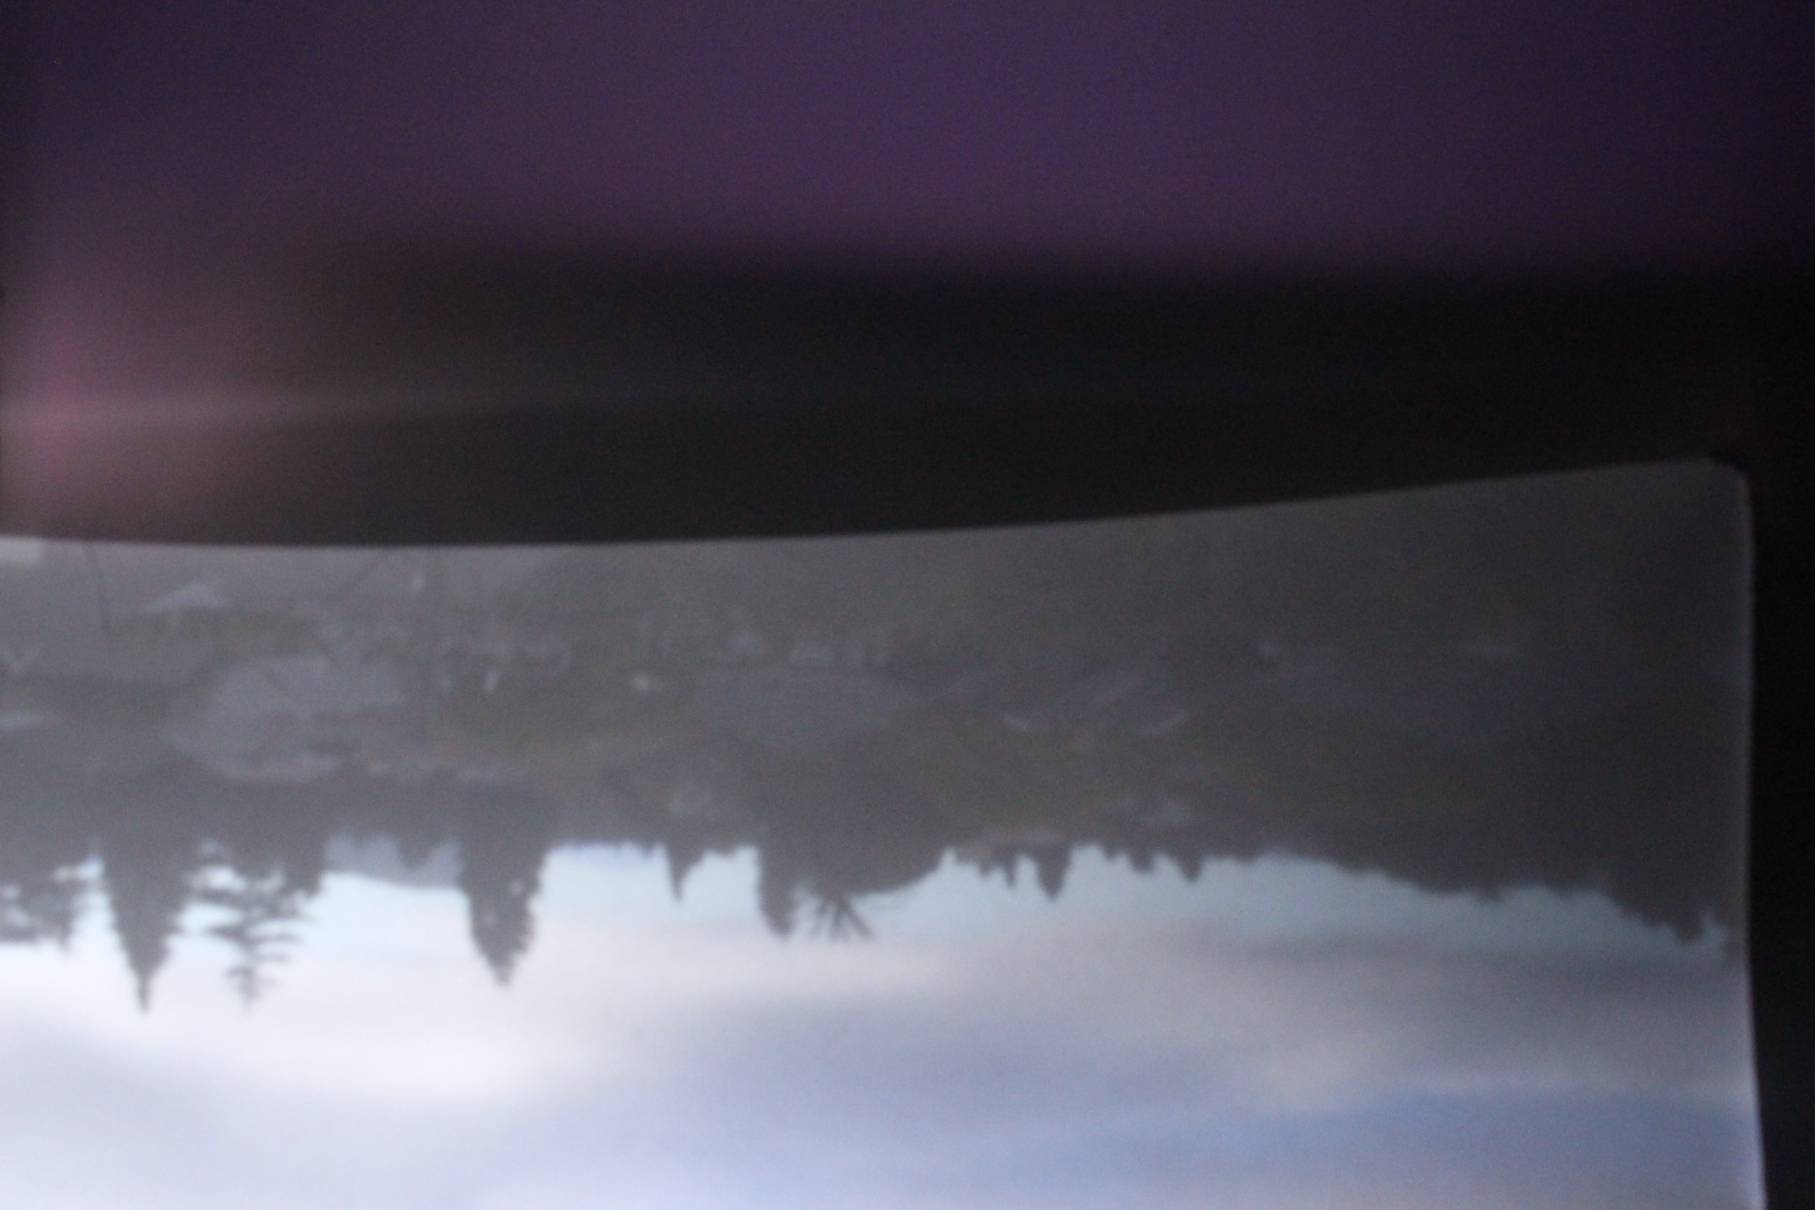
Results
Extra Images
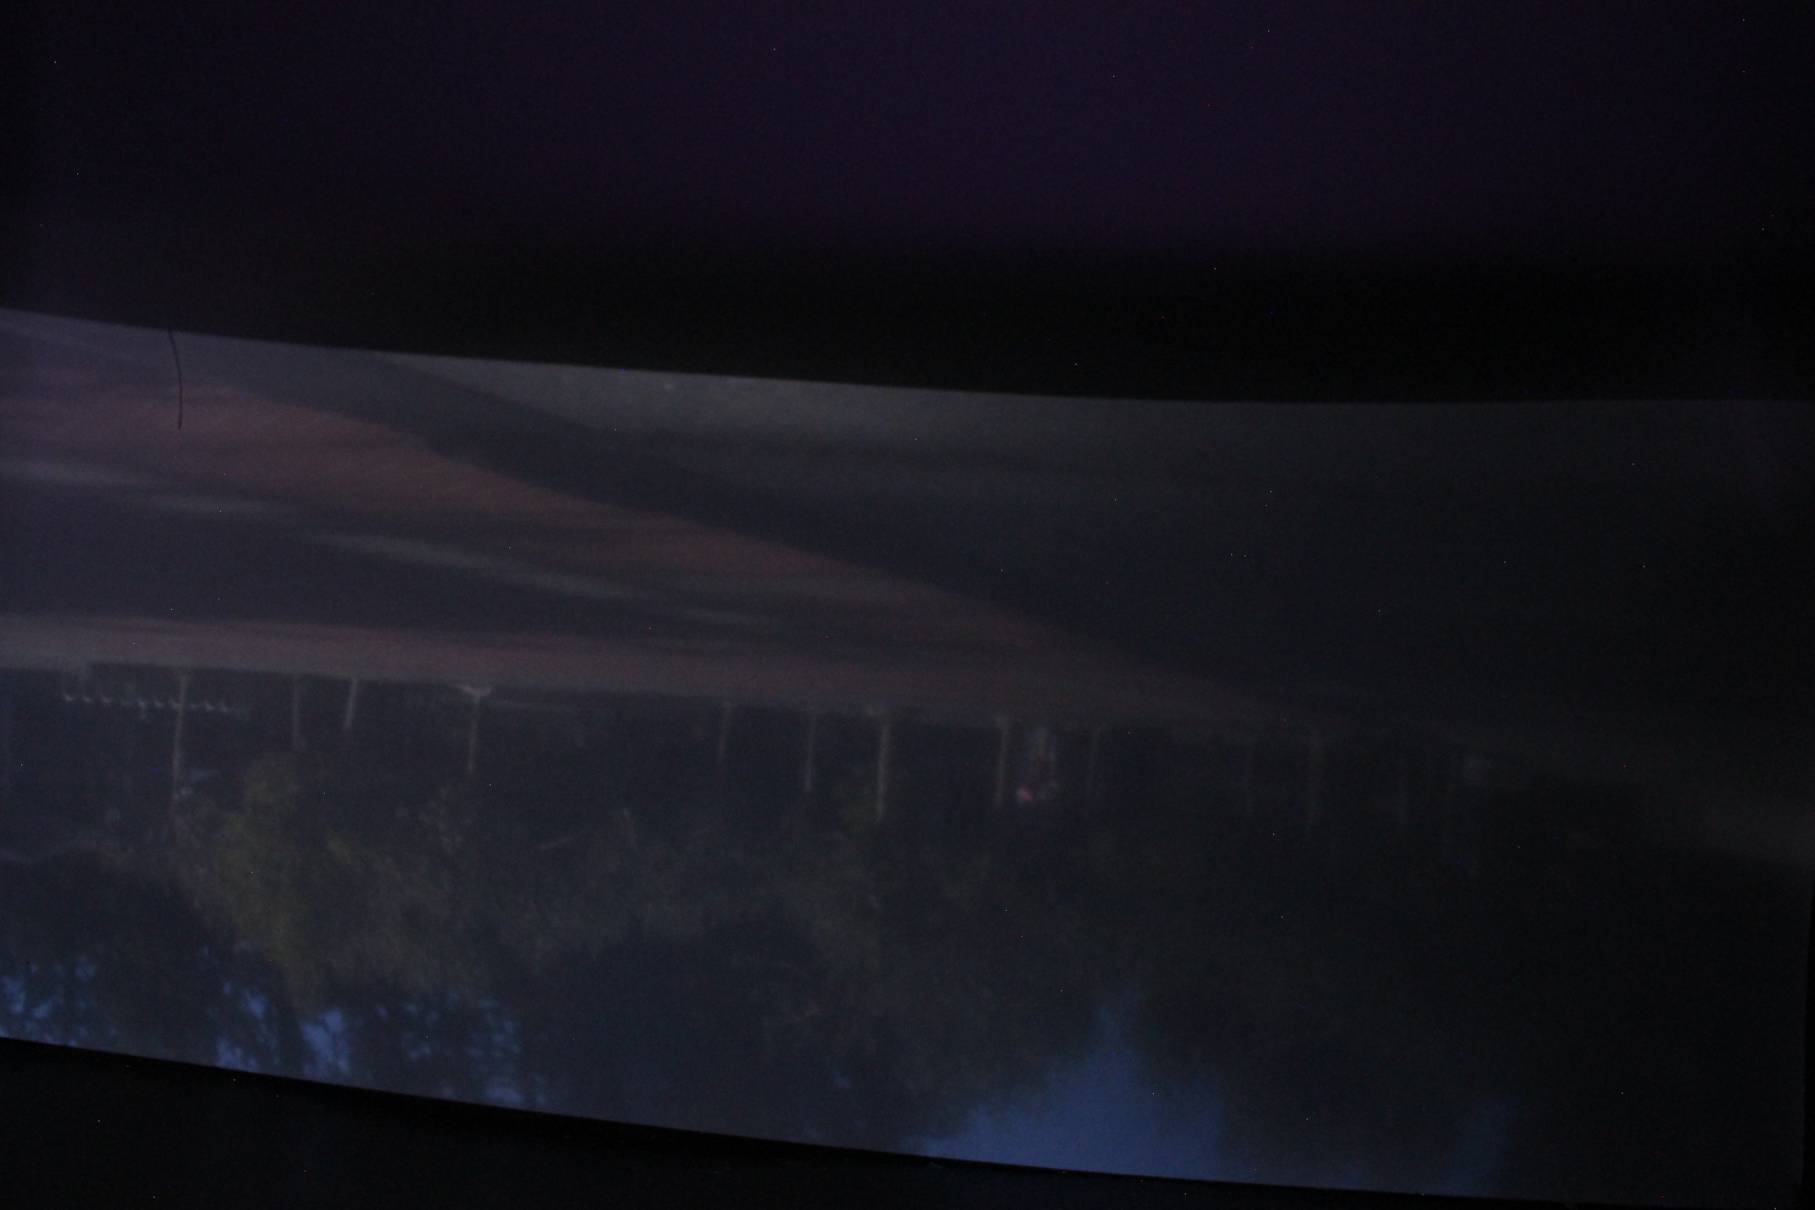
The following images were all taken with a pinhole size of 1 mm, which we decided was the best pinhole size.
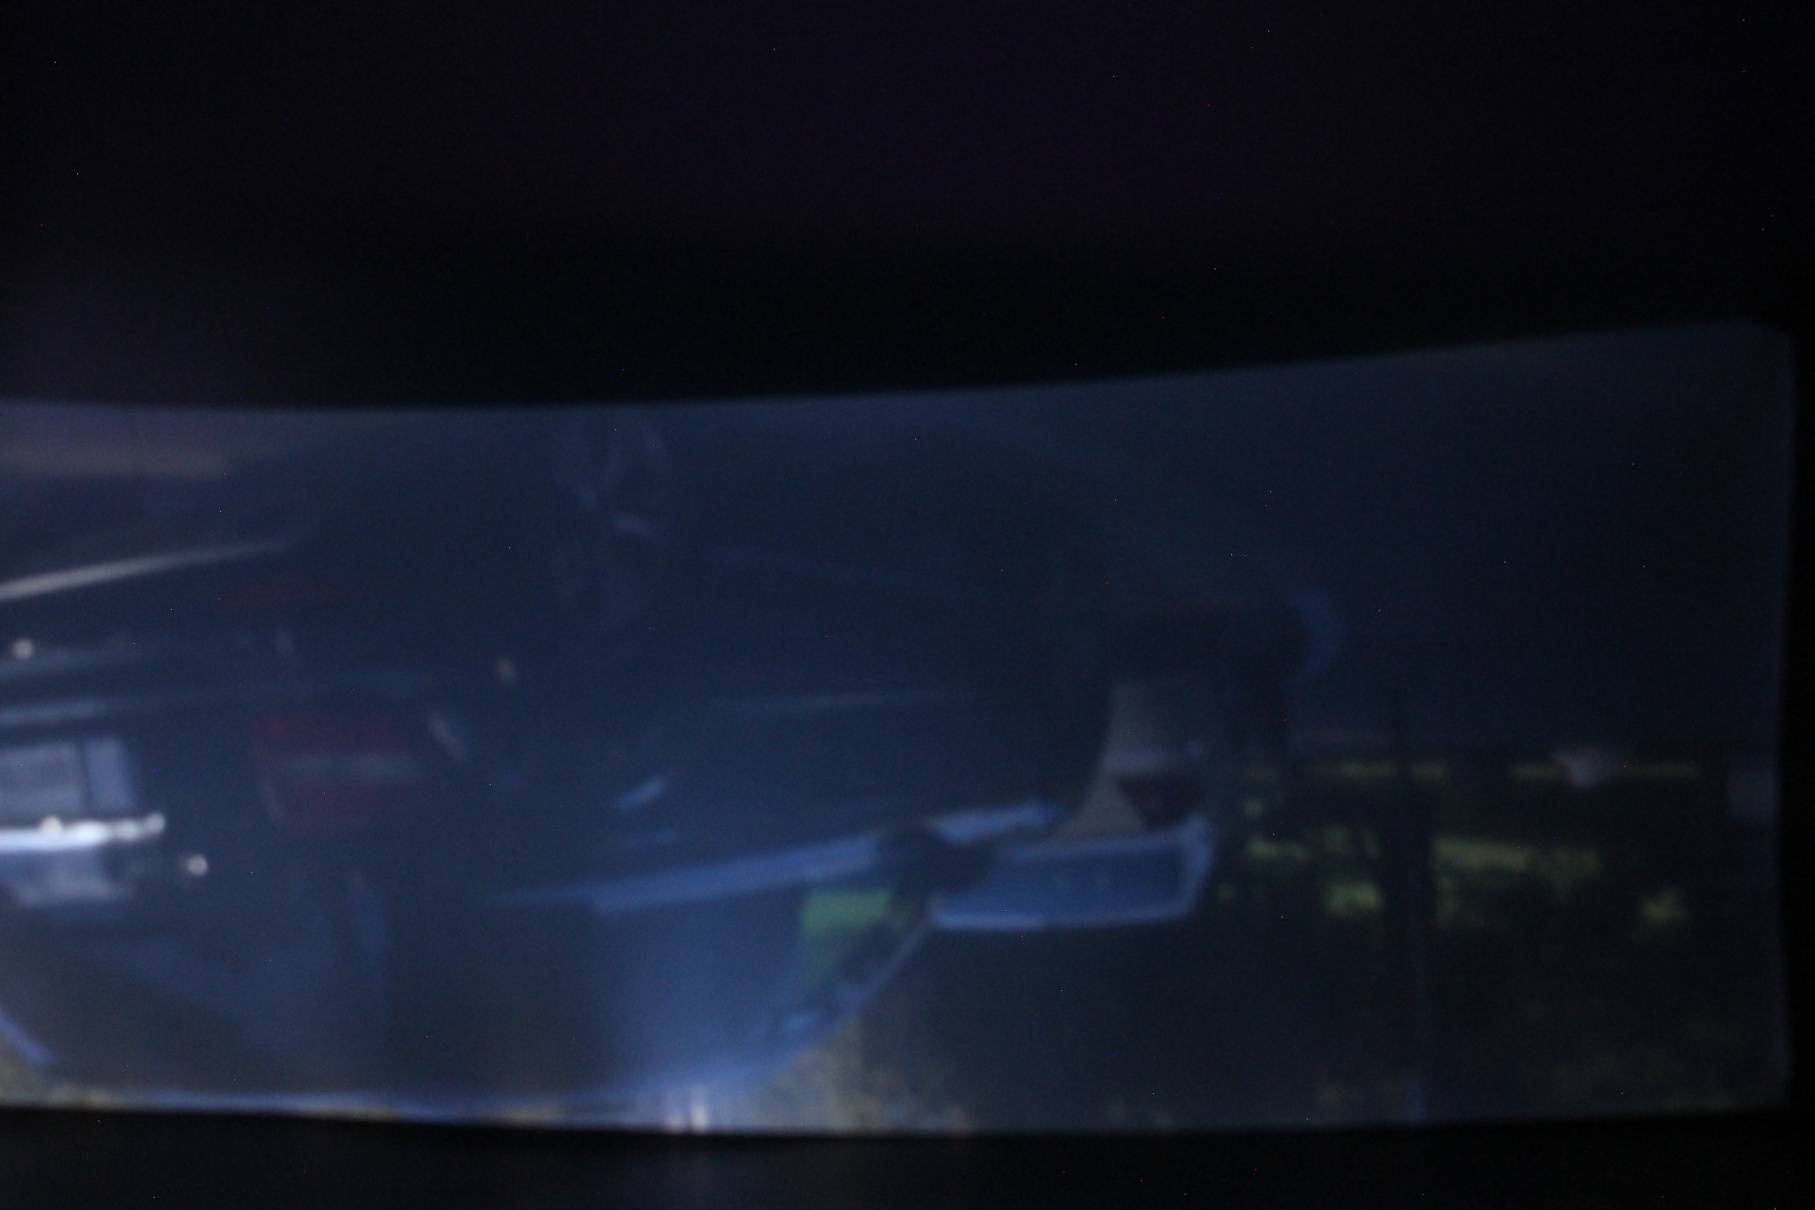
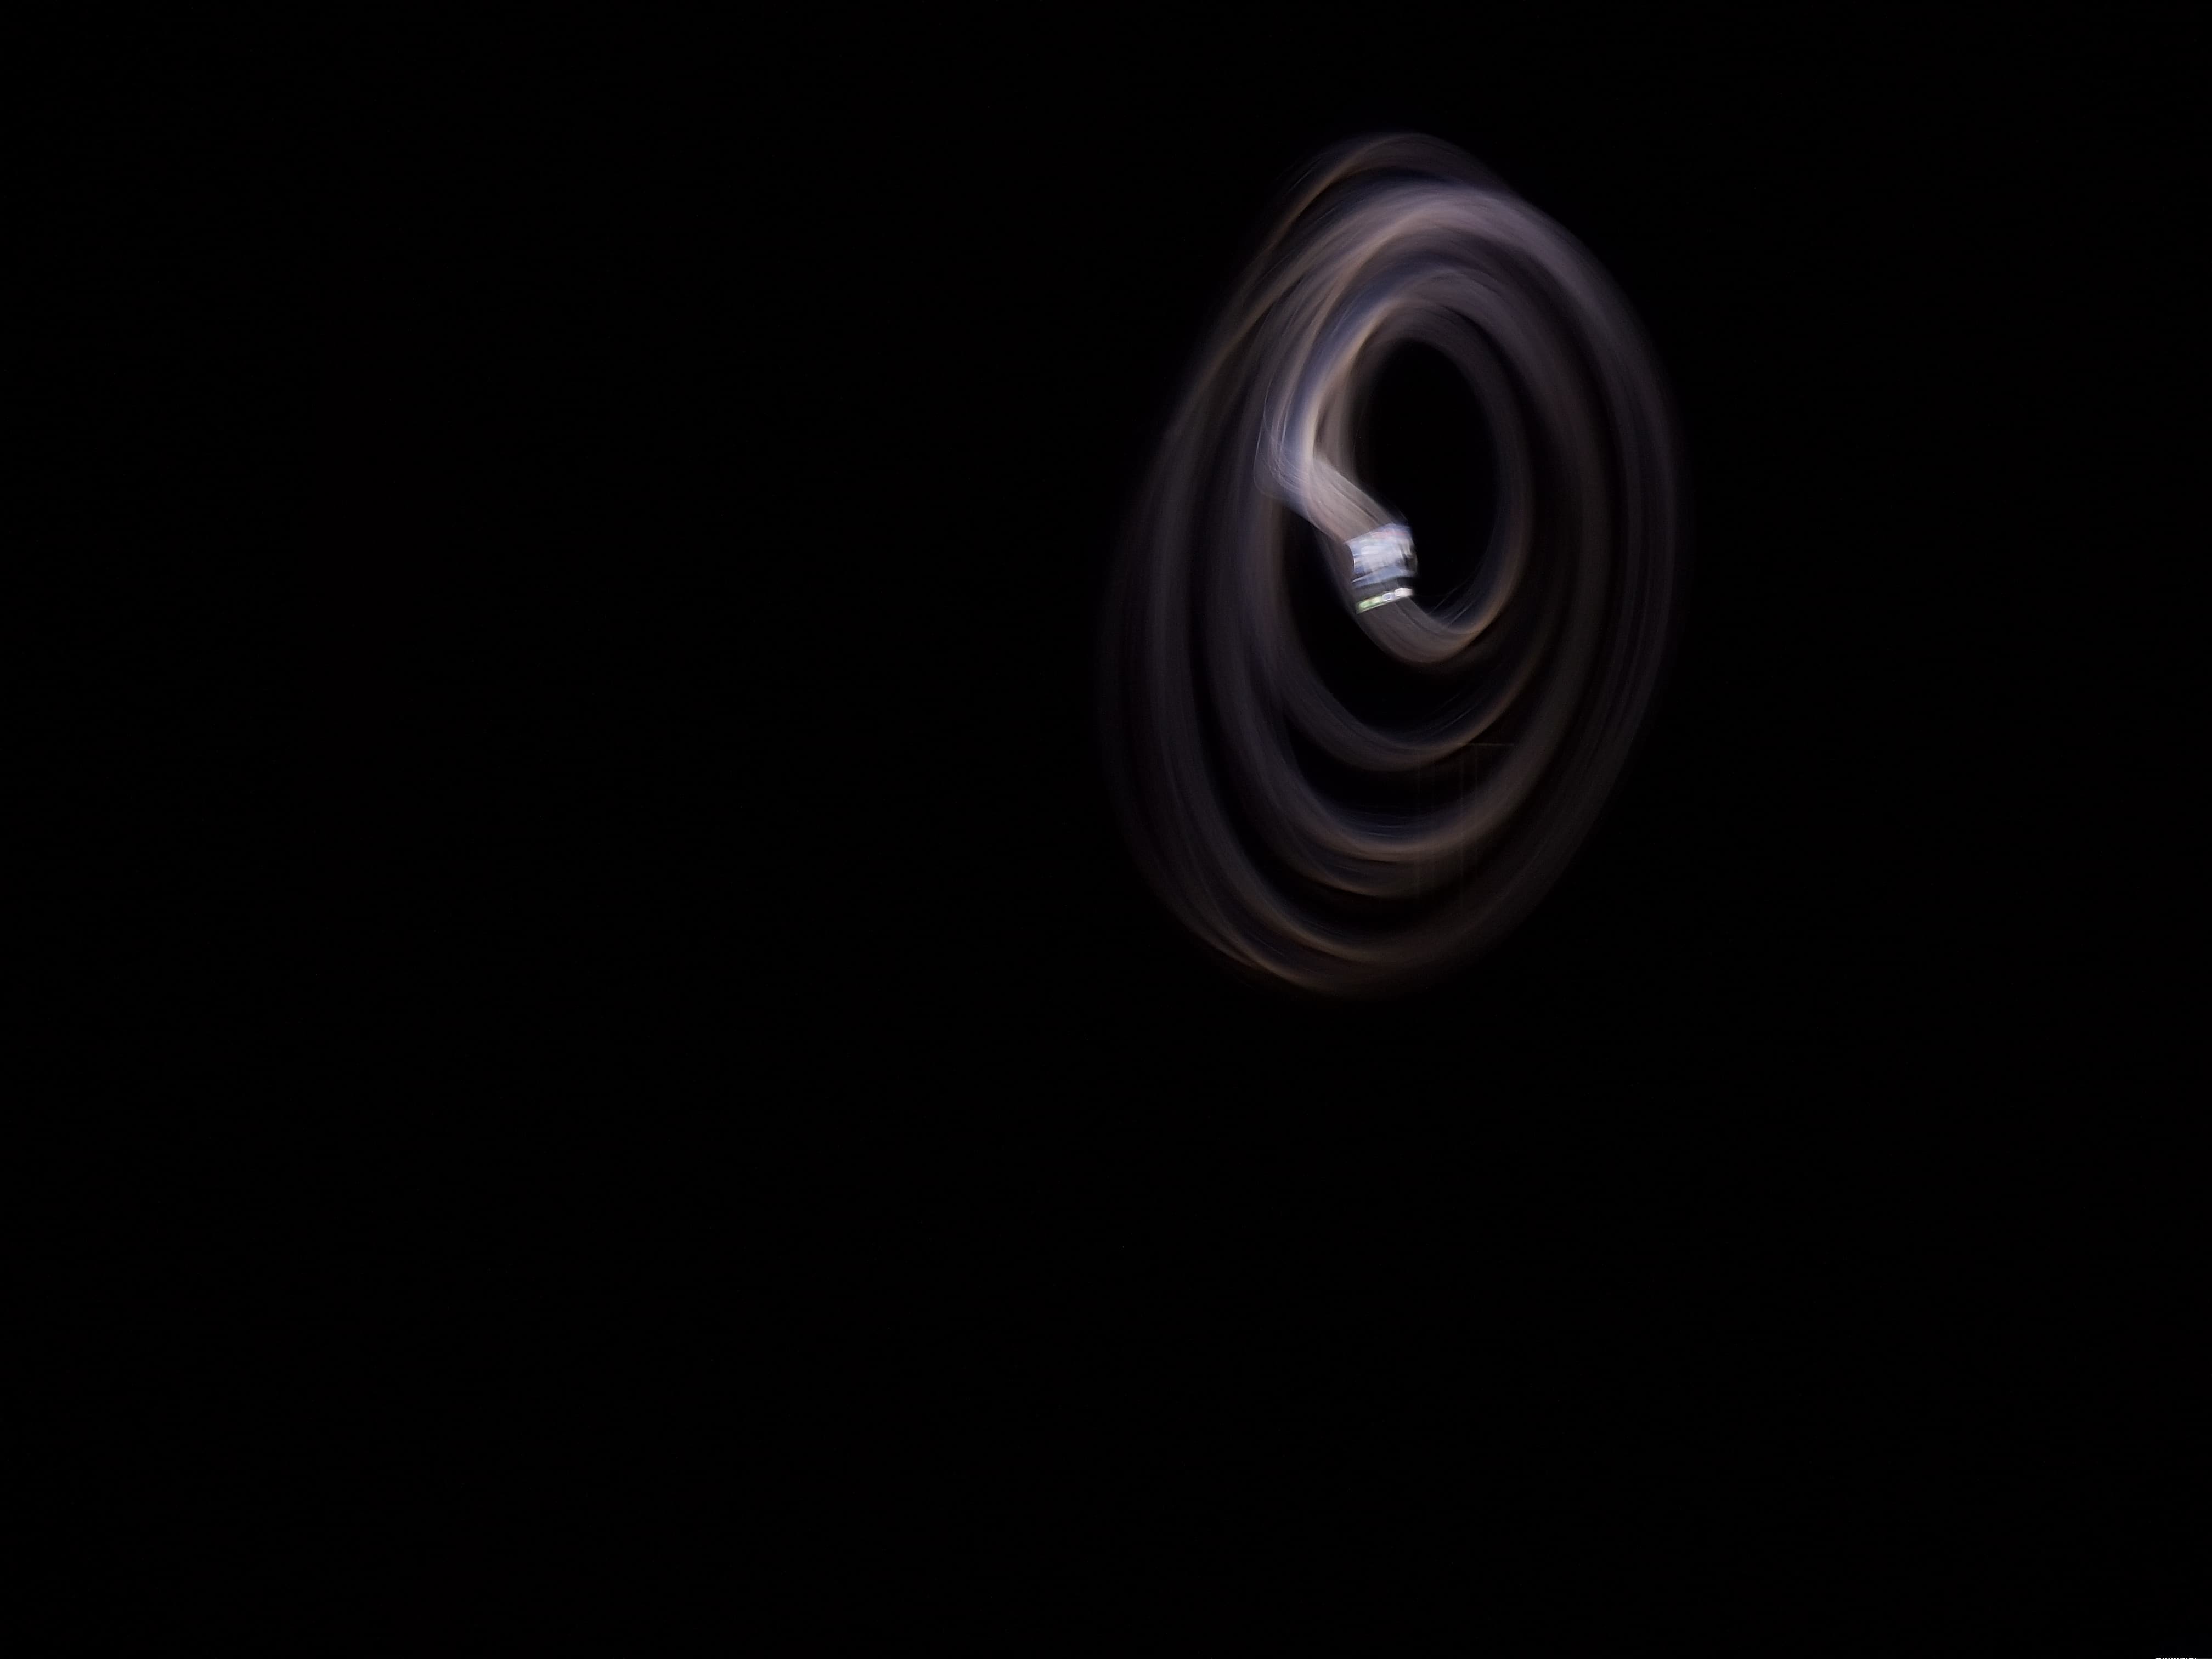
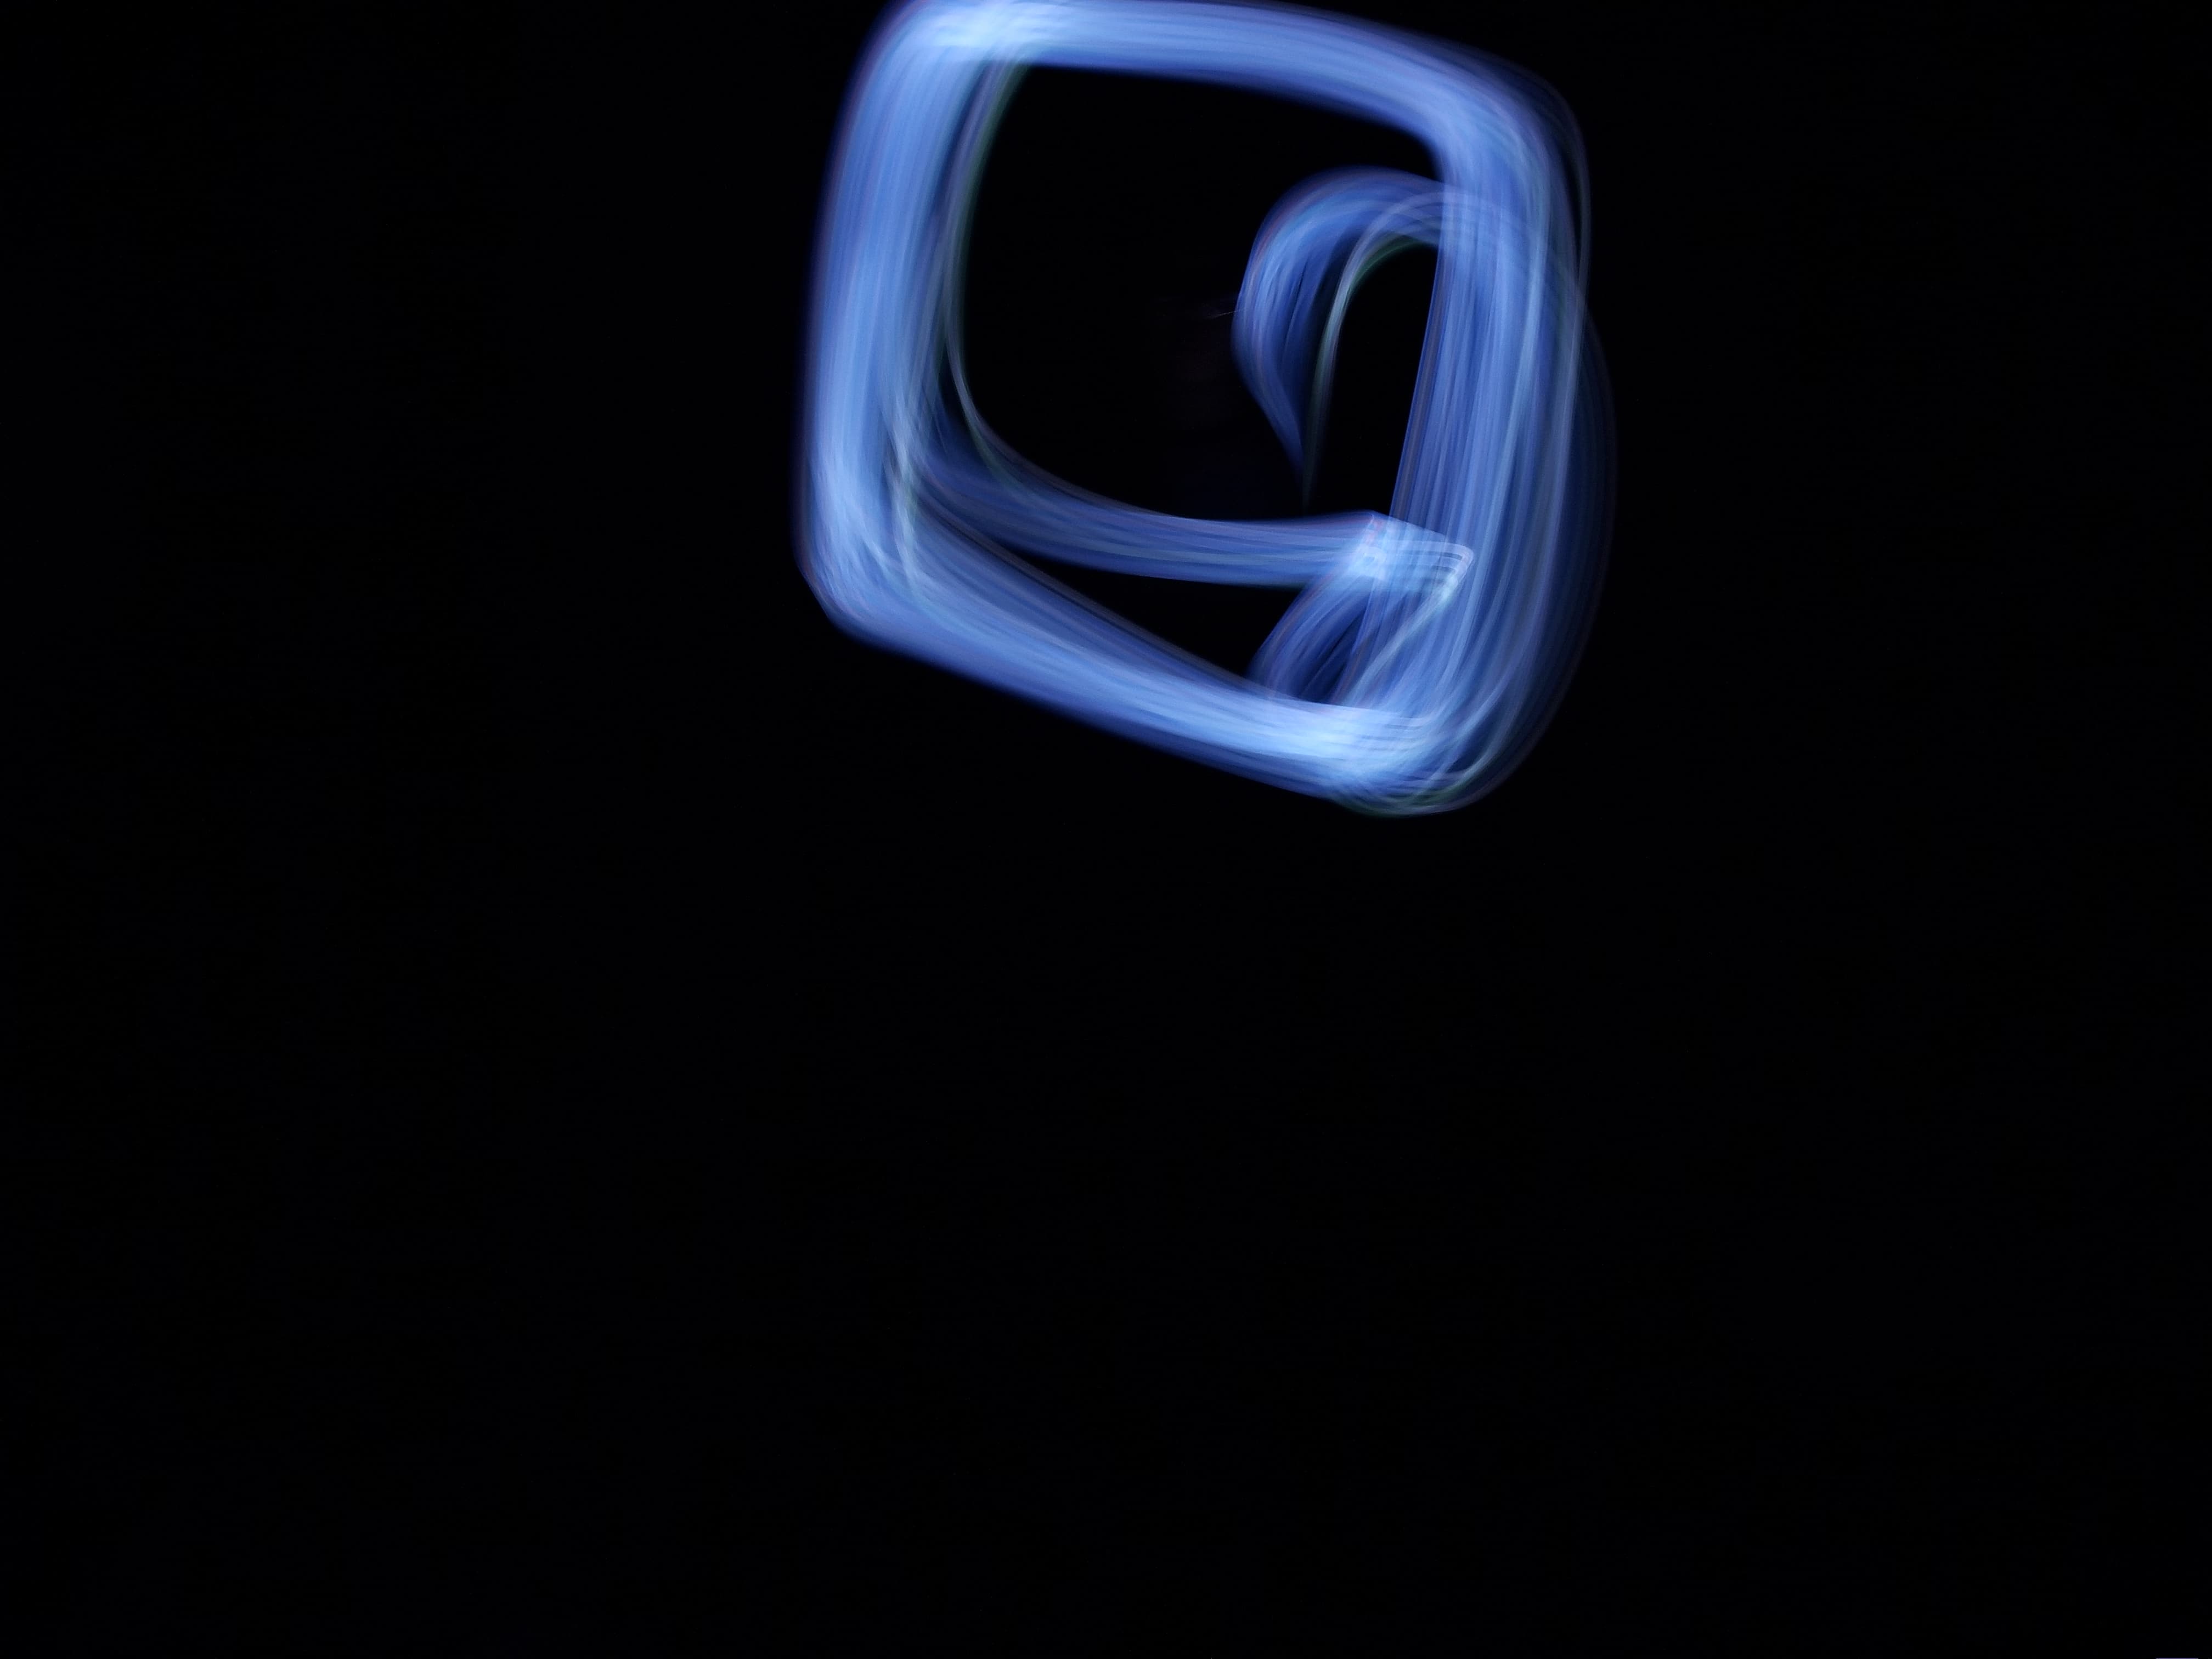
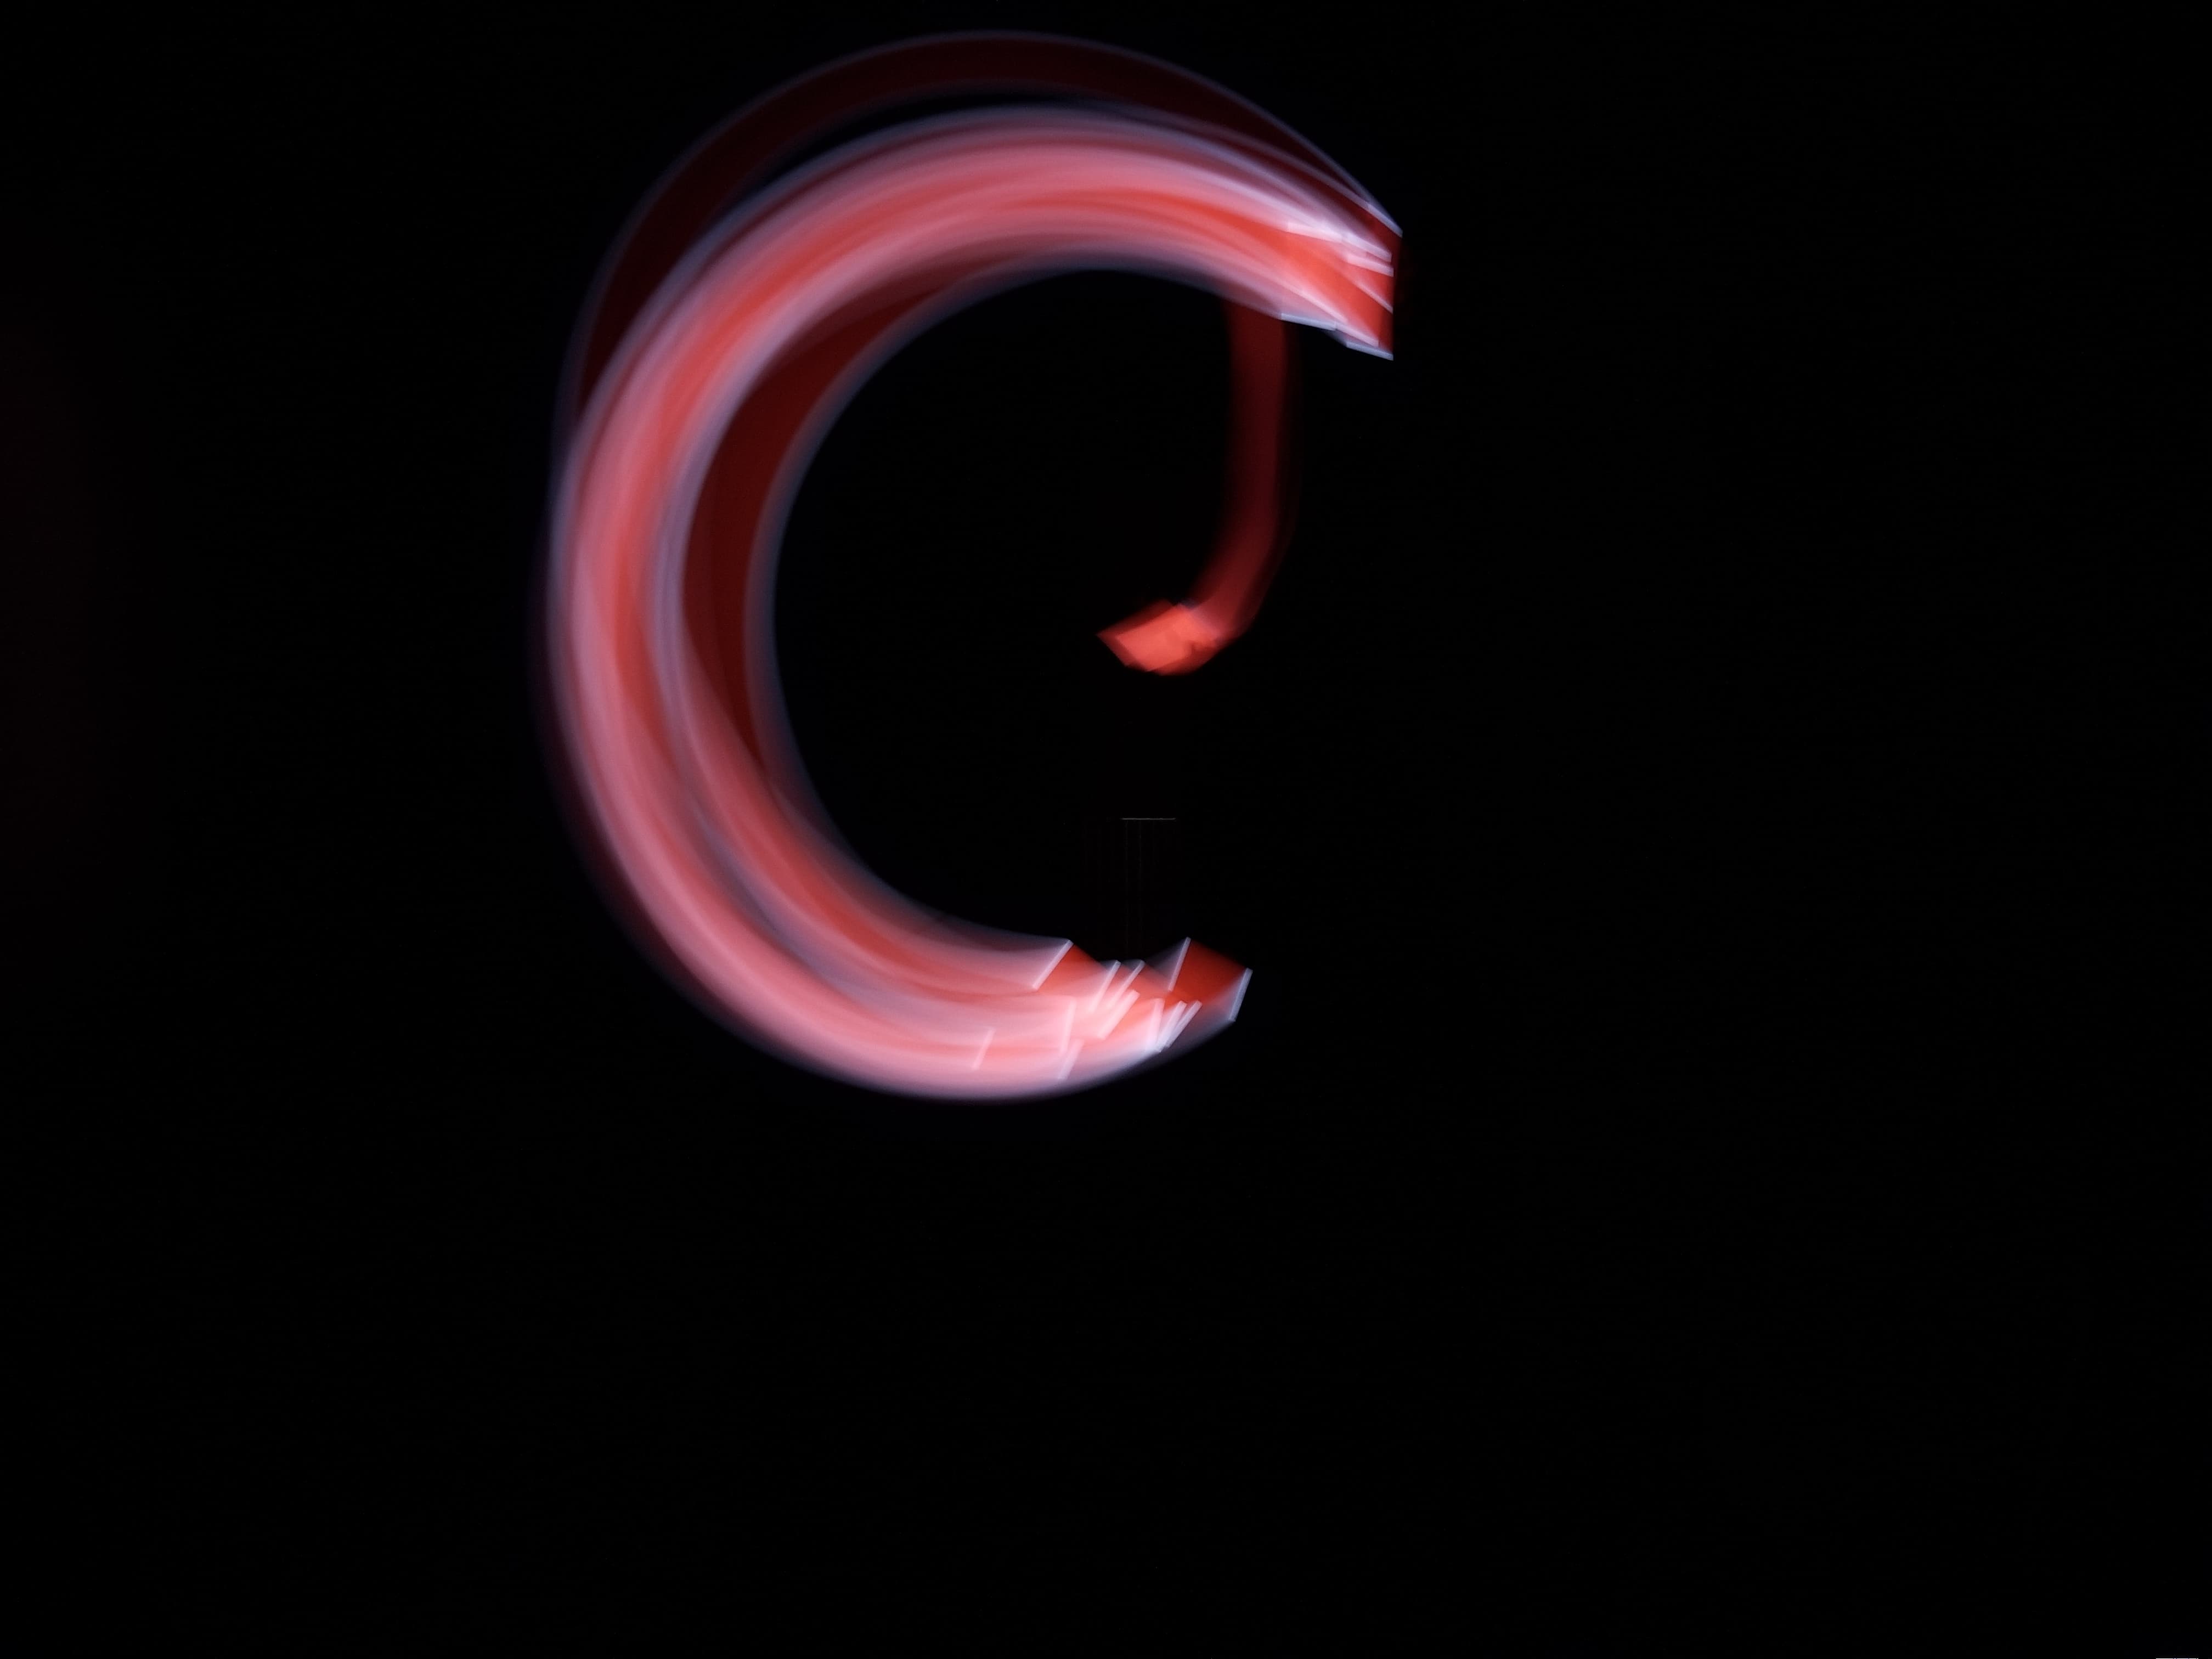
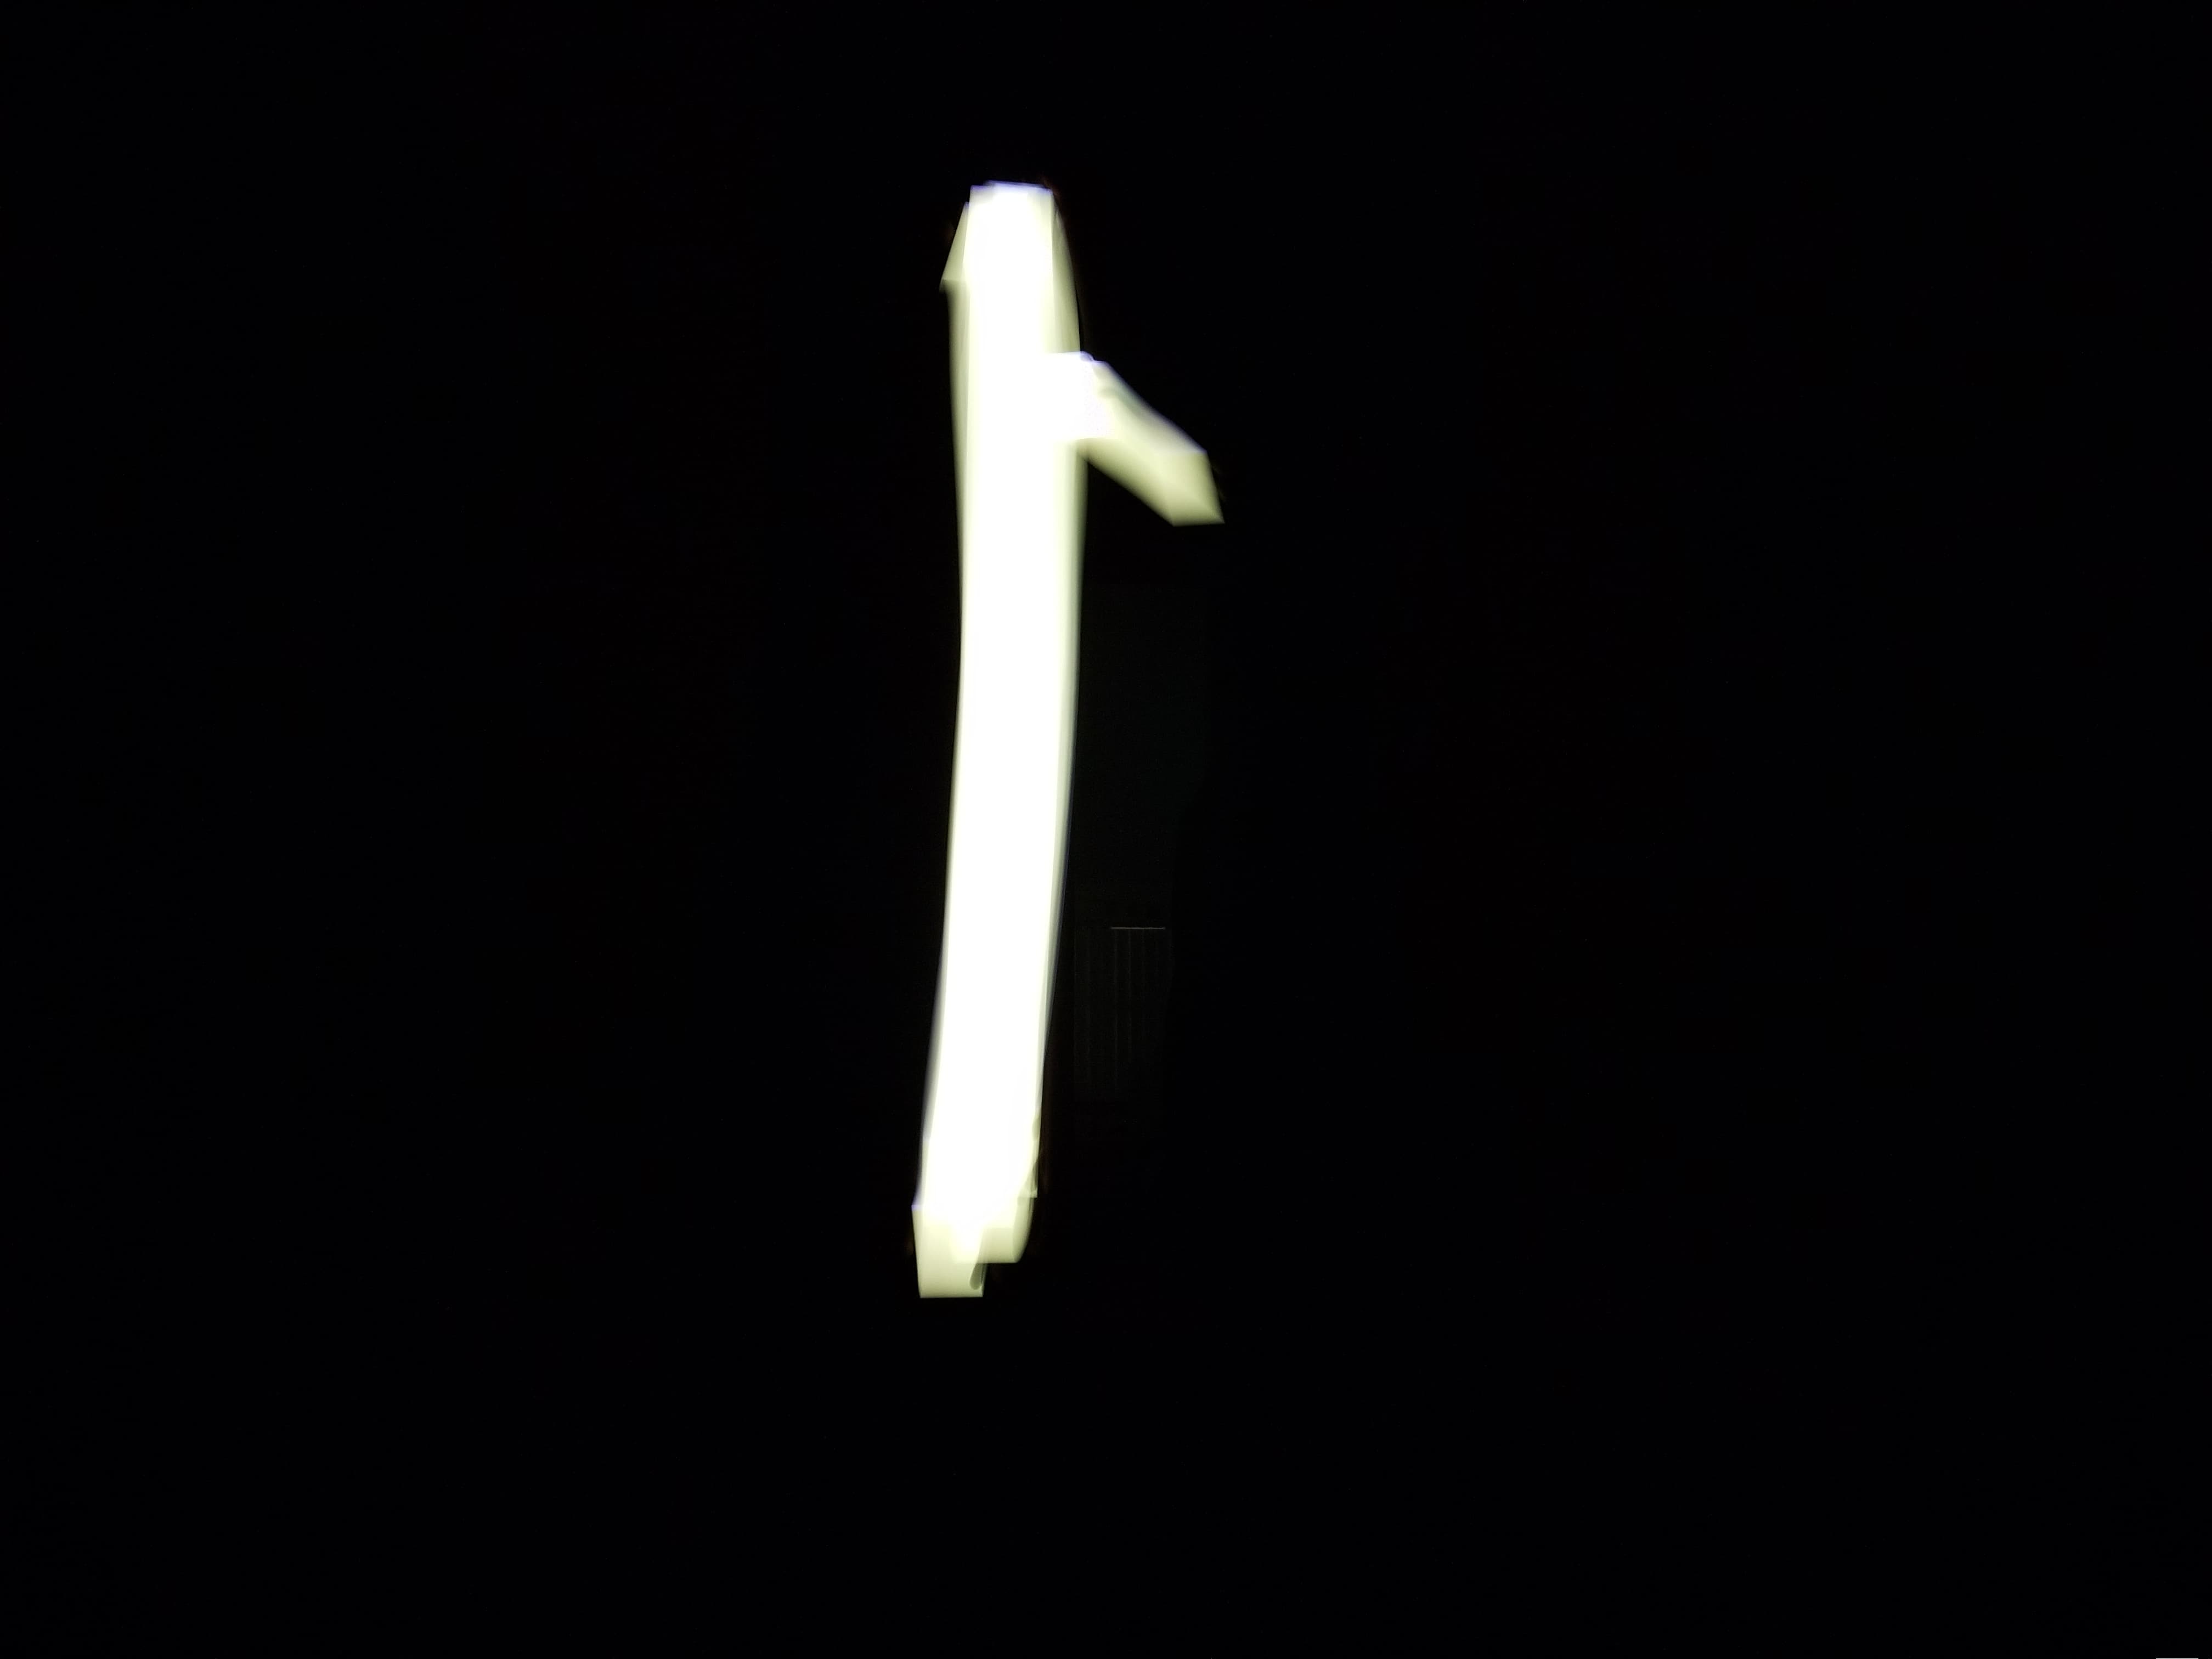
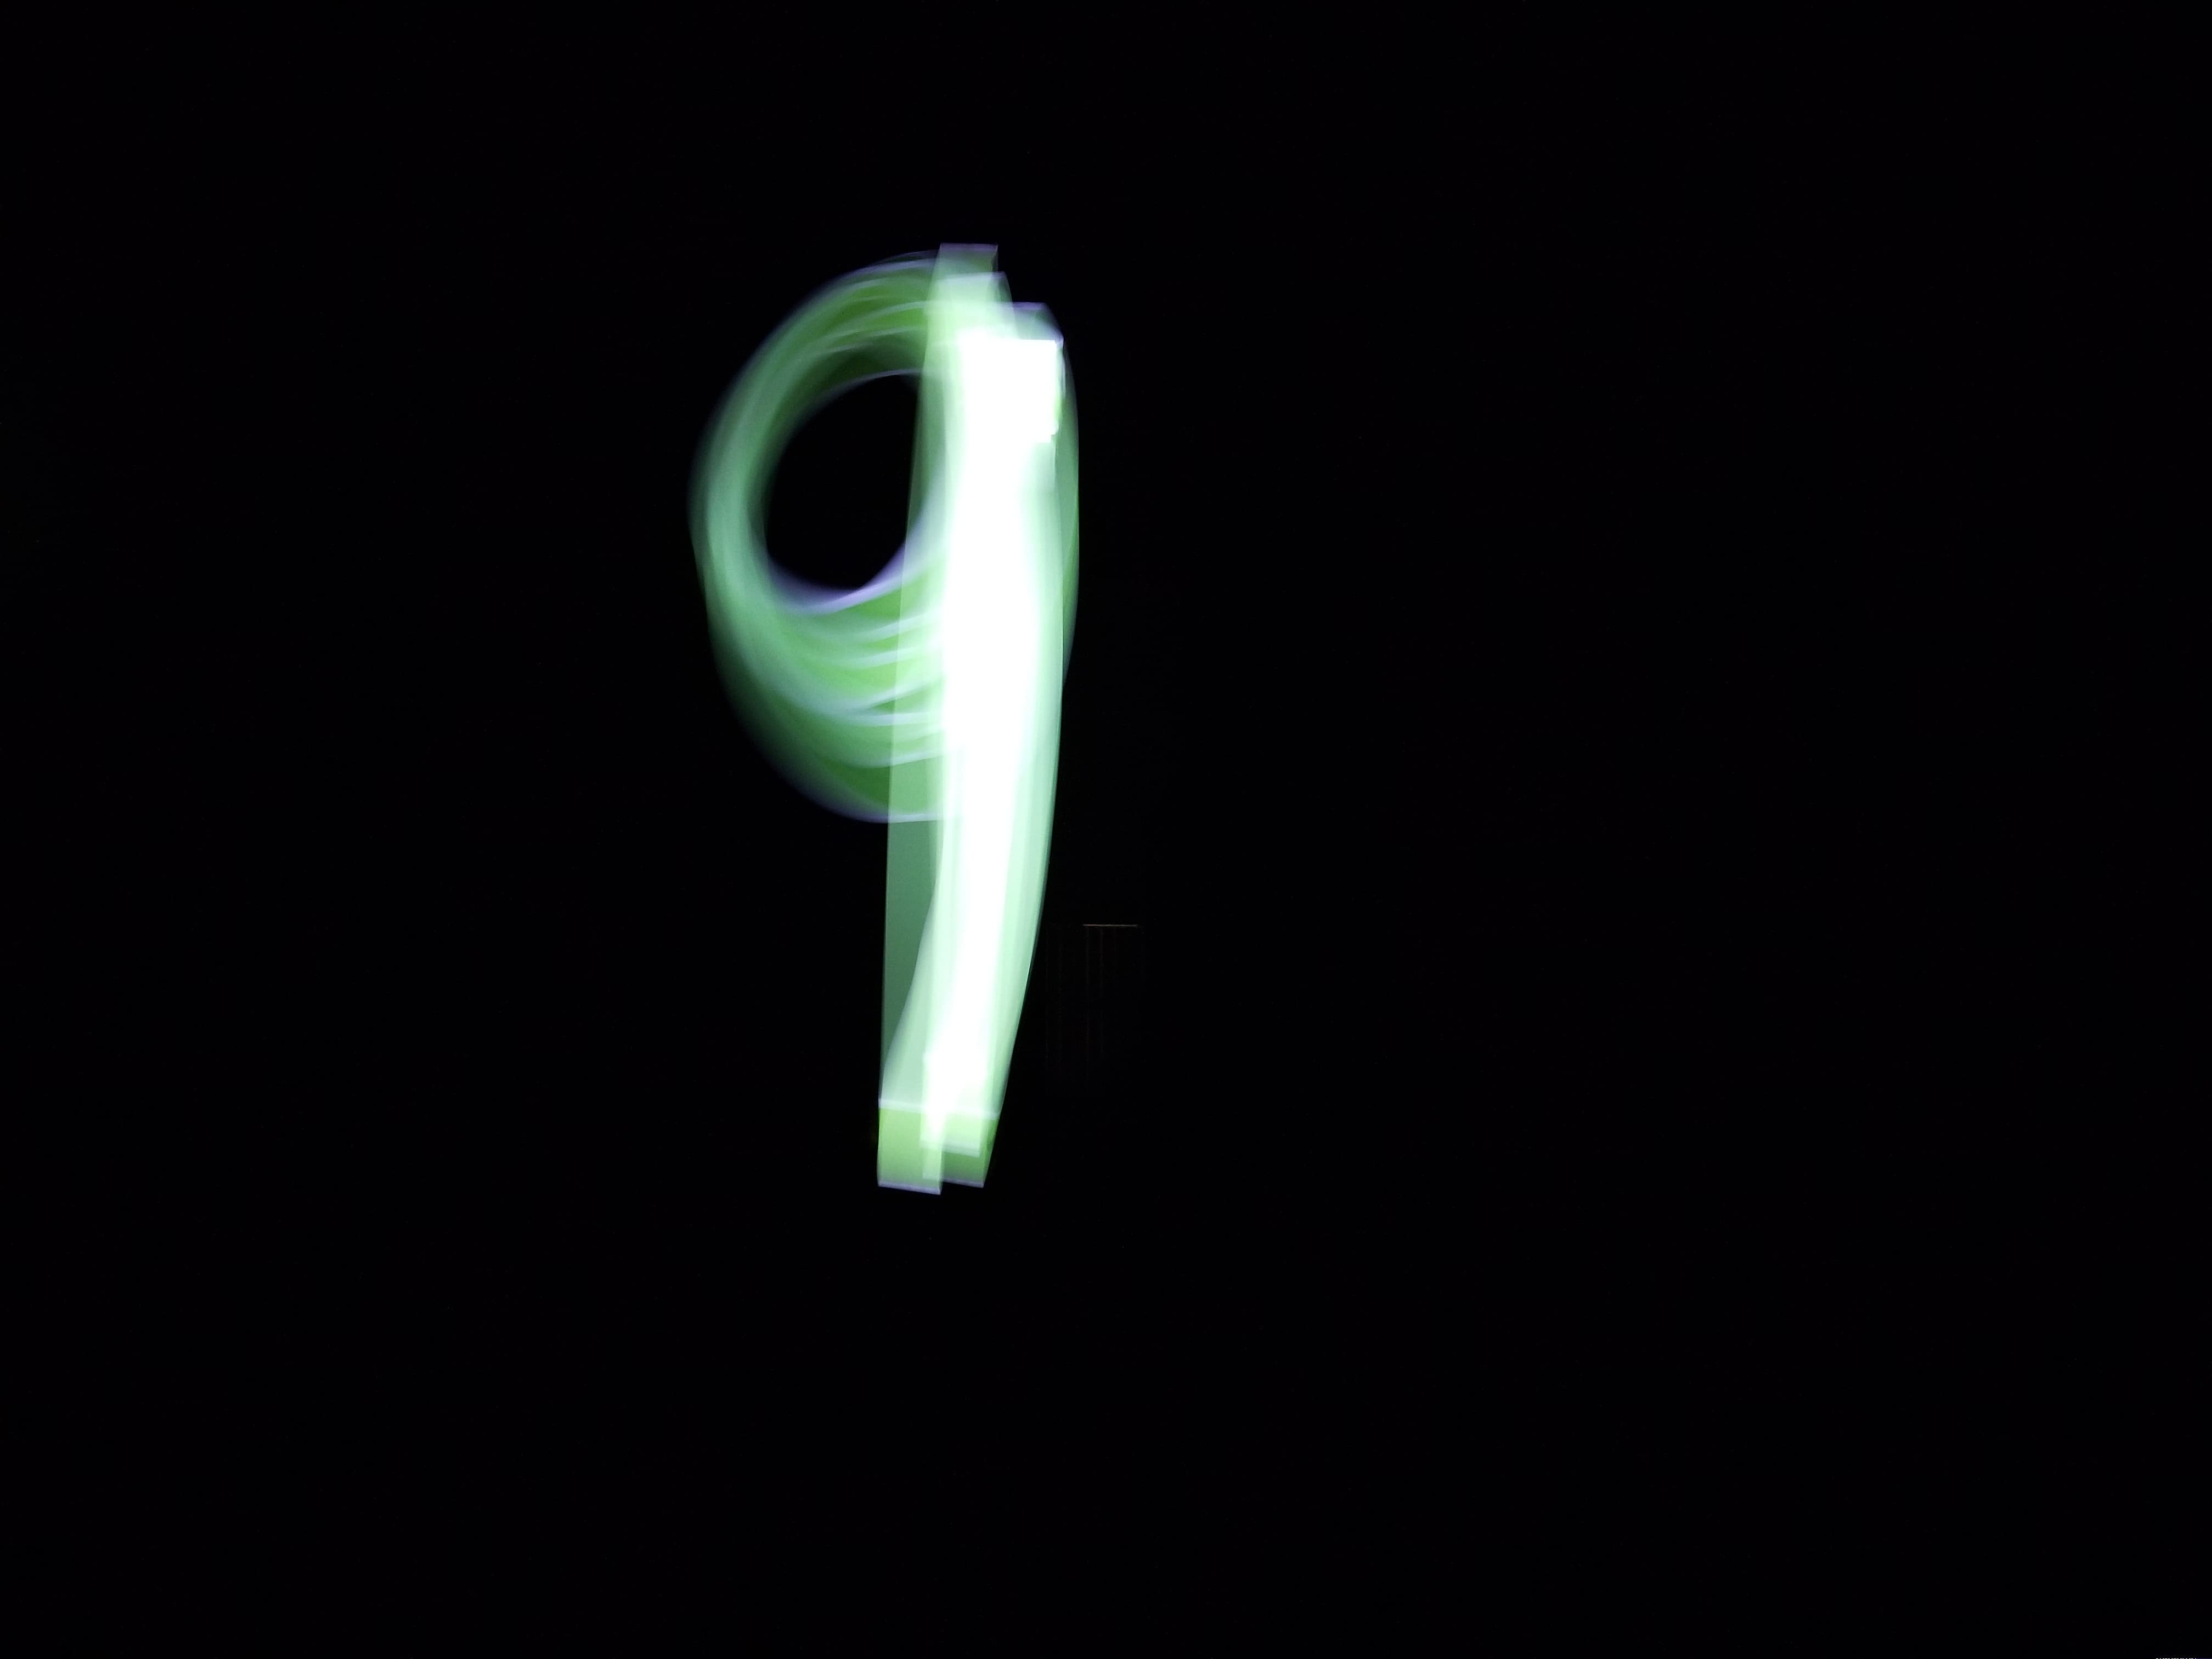
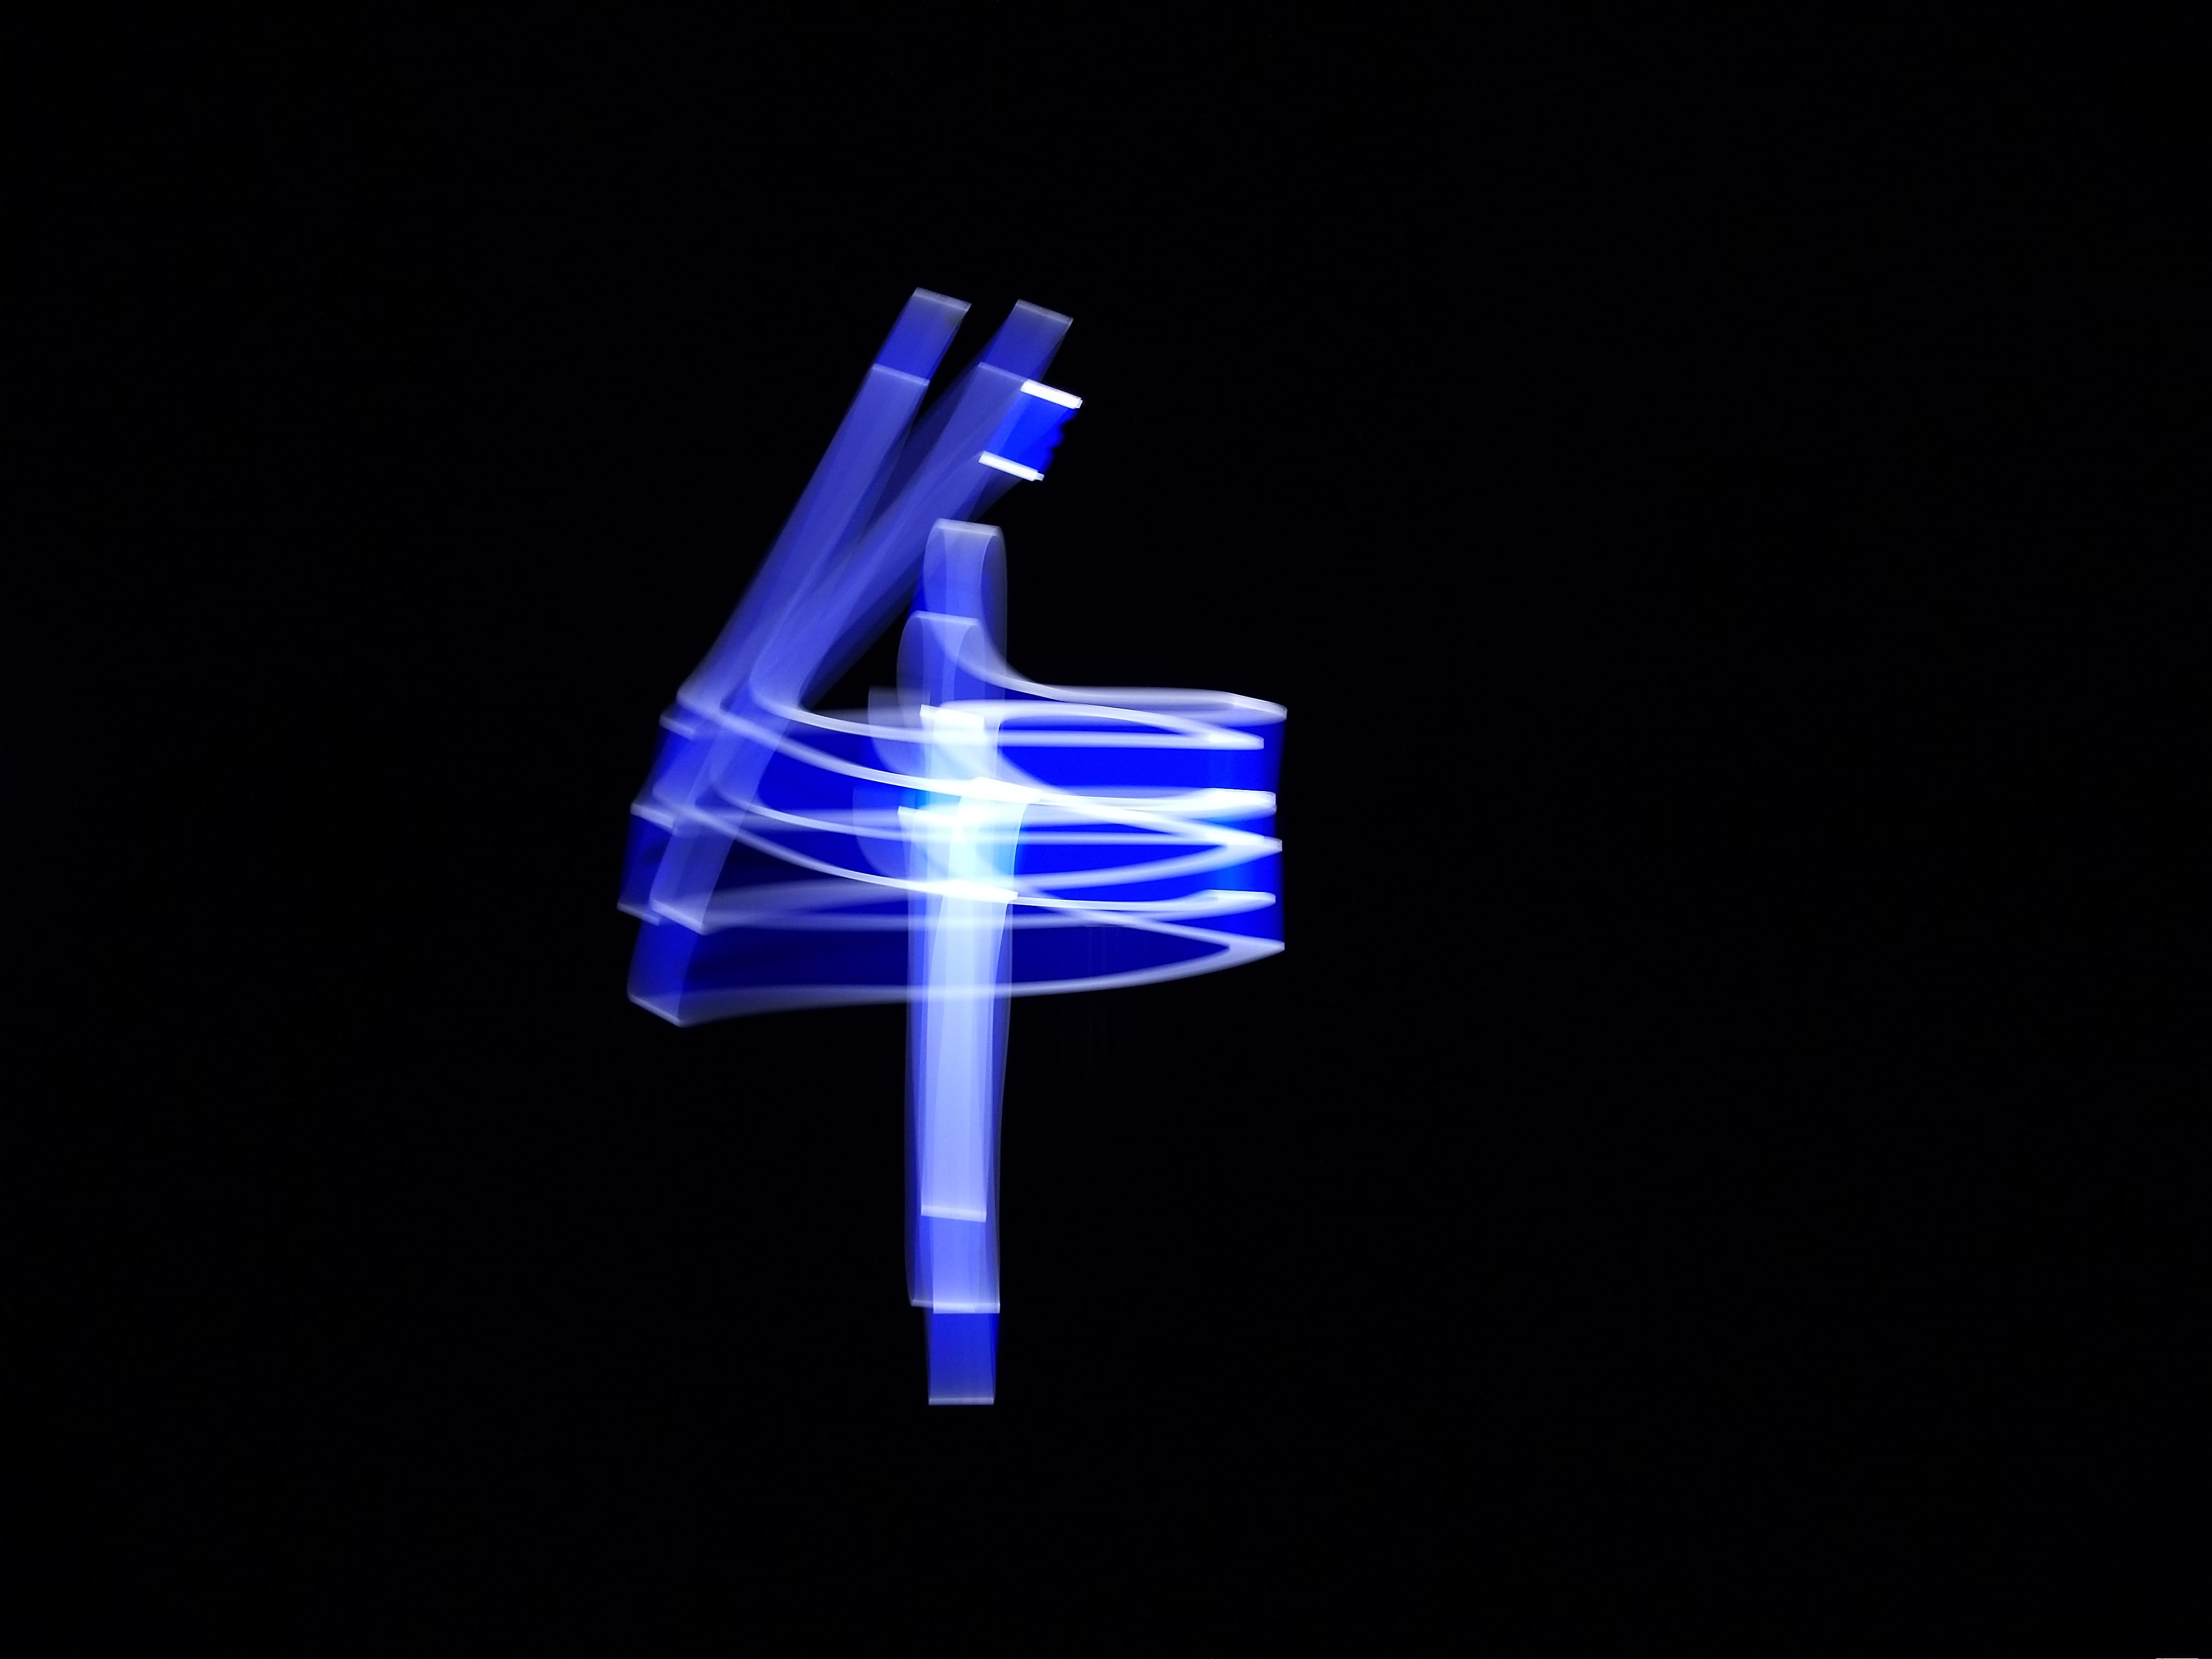
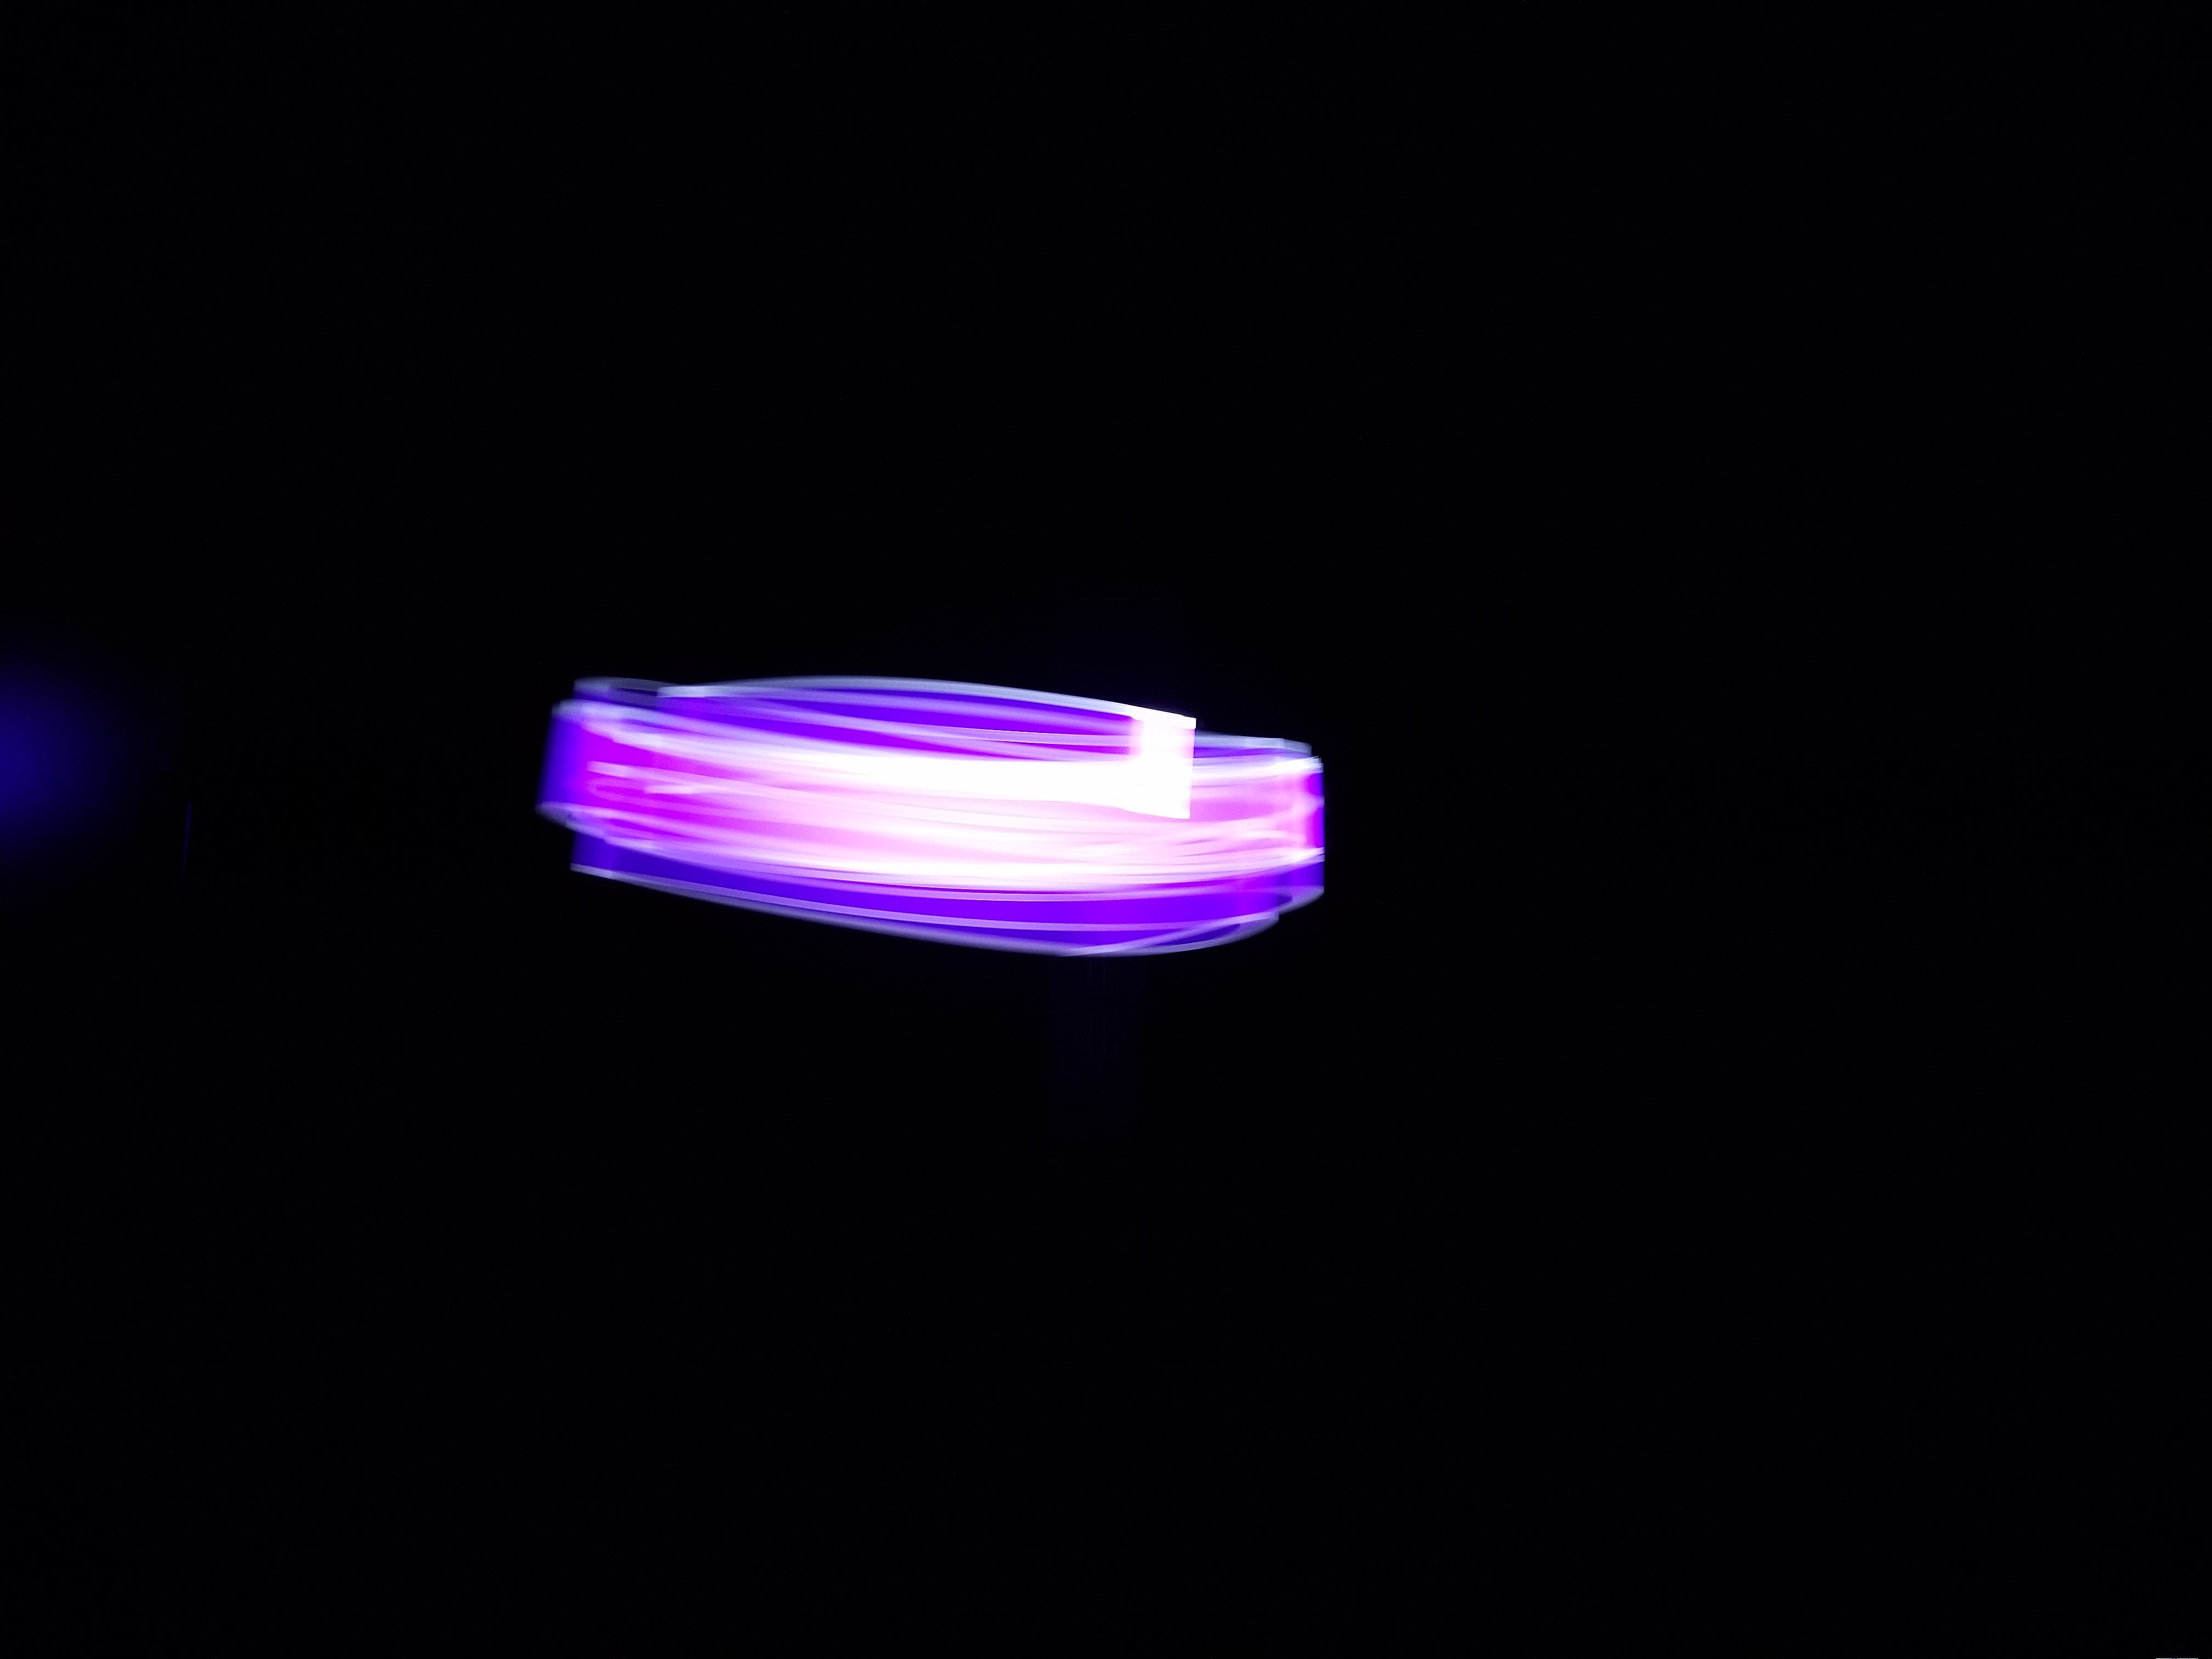
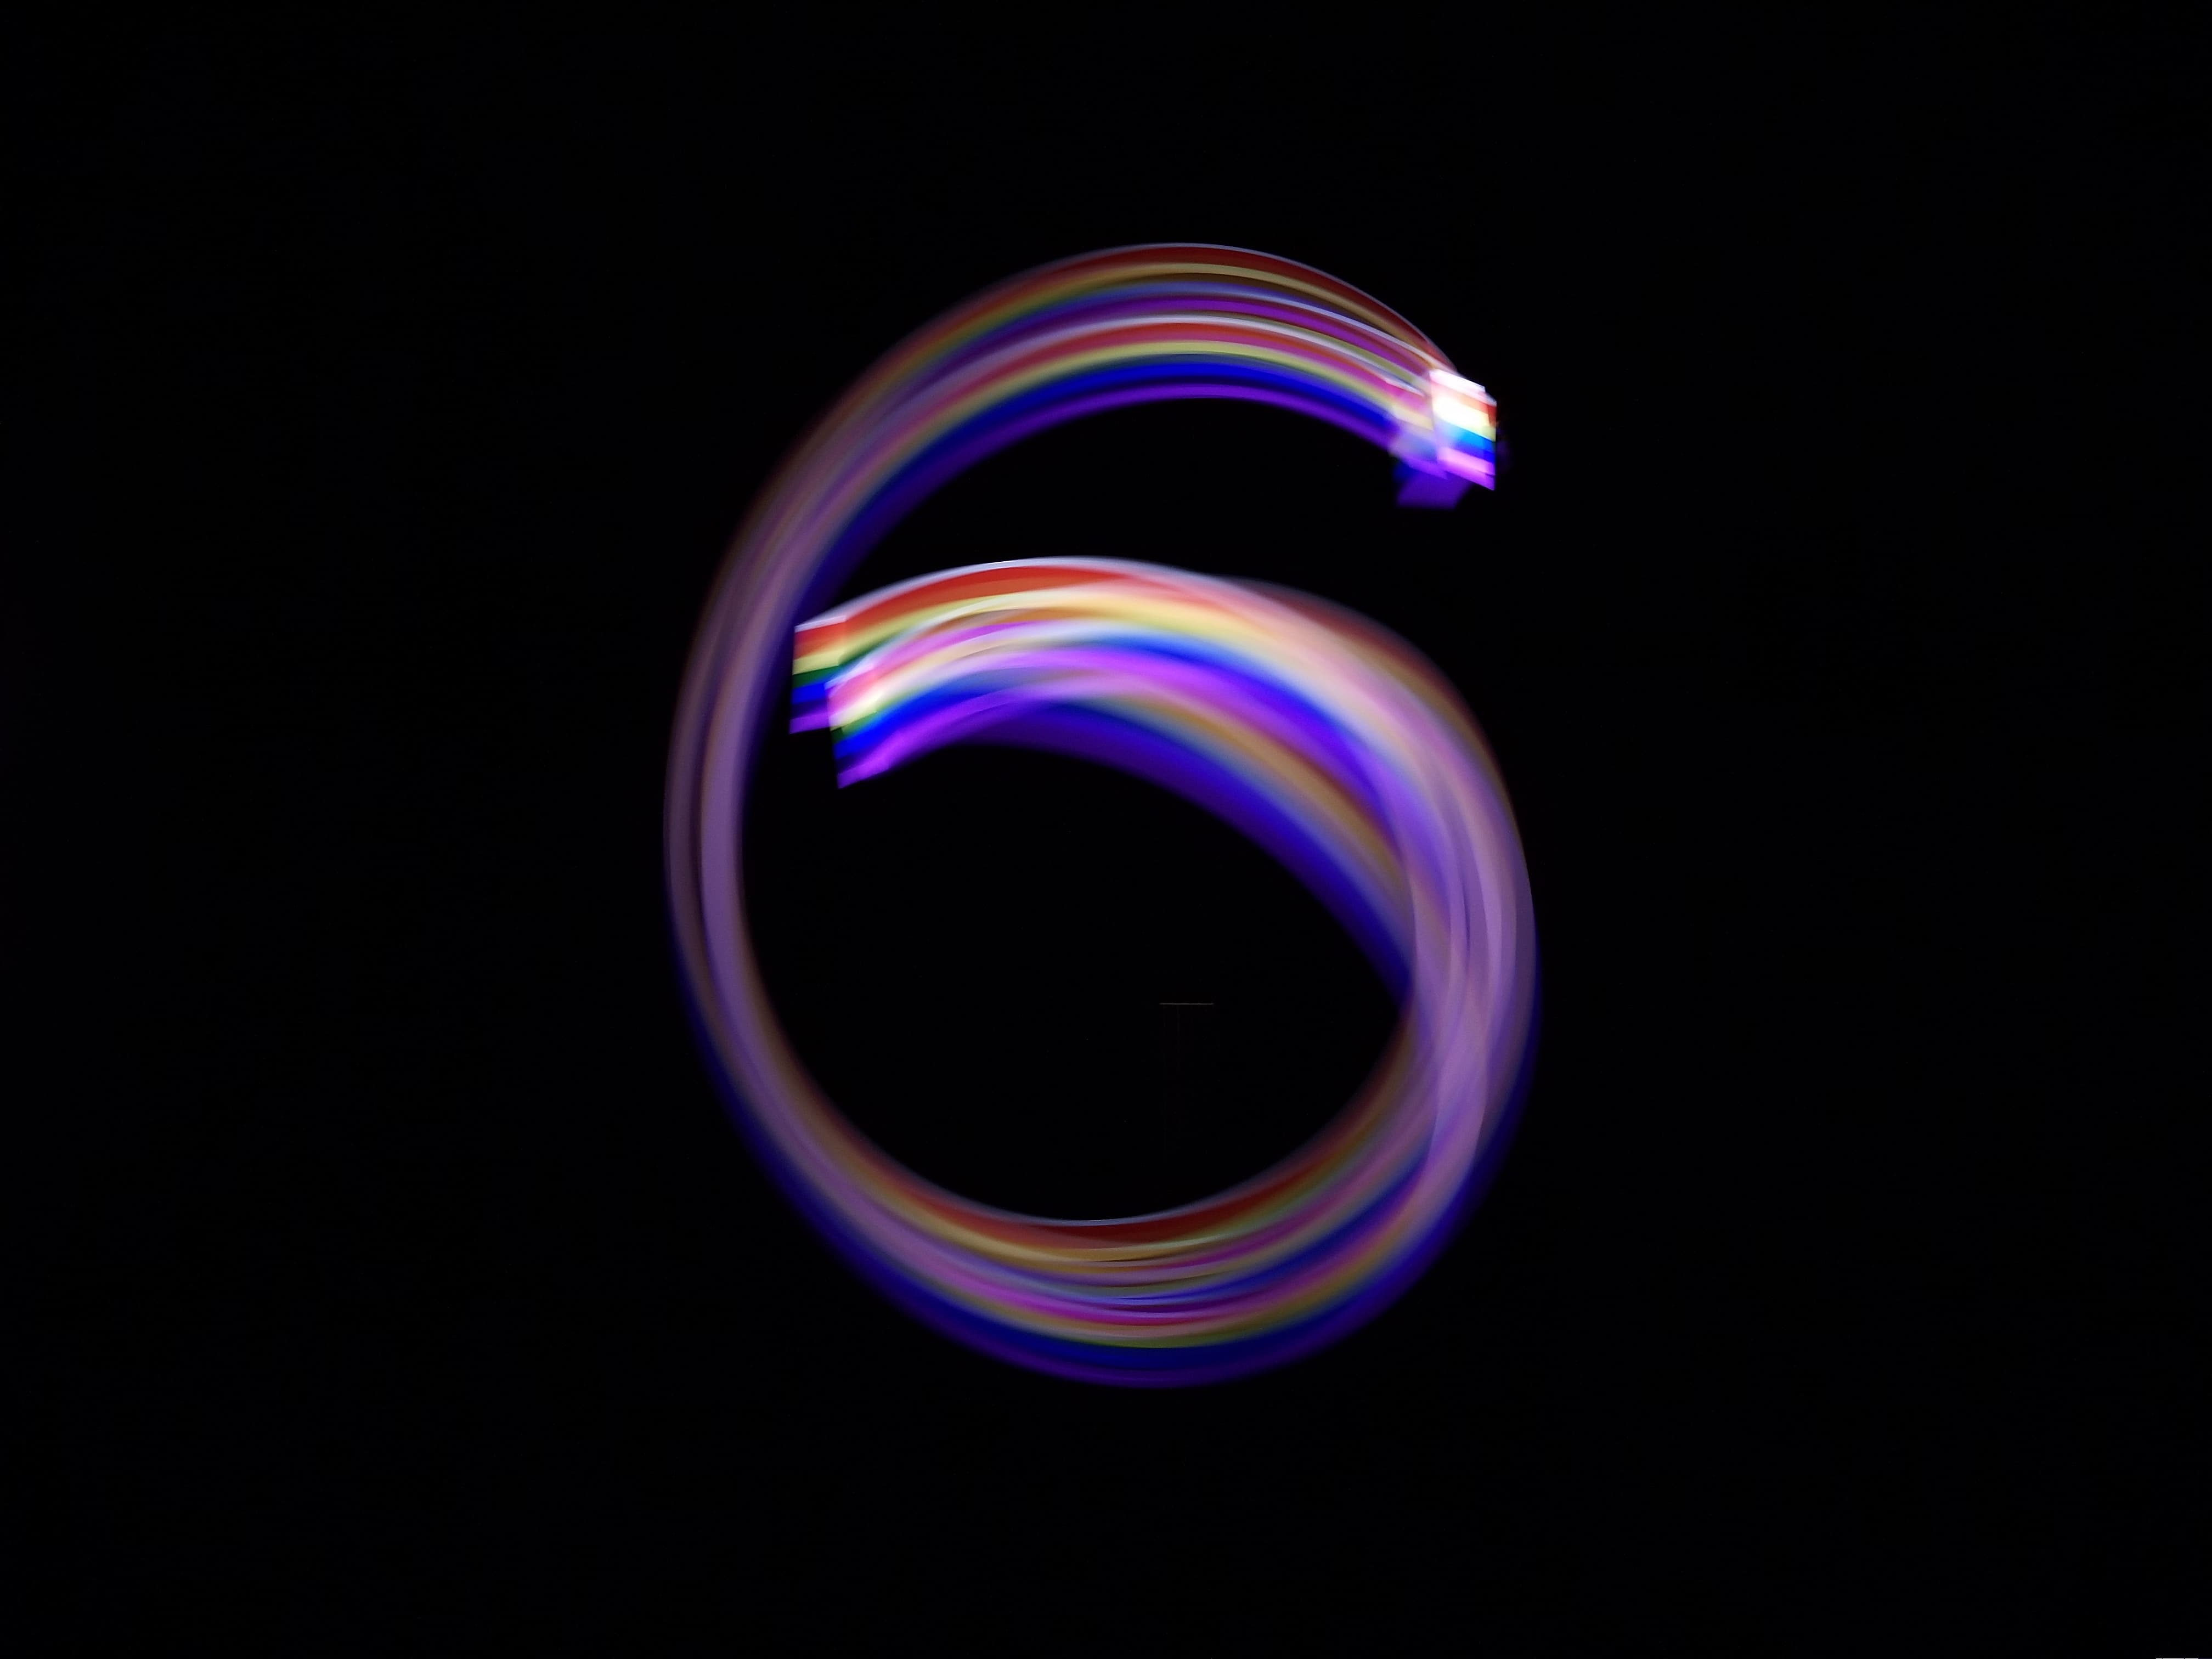
Light Painting (Bells & Whistles)
We did our light painting by taking a long exposure of a dark room with someone making shapes with a phone screen.
Originally, we used the phone's flashlight setting, but that was too bright and illuminated the room as well, removing the
focus from the actual light painting, so we decided to go with just the light from the phone scereen, which was dimmer.
We captured the light paintings on a Samsung Galaxy S8 using an exposure time of 10 seconds and an ISO of 50.