CS 194-26 Project 2: Pinhole Camera
This is the submission of Kyla Woyshner (cs194-26-agr) and Myron Liu (cs194-26-afp) for CS 194-26 Project 2.
Special thanks to Peitian Xiong for letting us borrow her Sony Alpha 6000 digital camera, Sean Sullivan for his endless support and ideas and LeConte Hall for letting us steal their chair.
Background Box Design Image Capture and Analyses Bells and Whistles More Fun Stuff!
Background
A pinhole camera is a light-proof box with a small aperture on one side. Light passes through the aperture to project an inverted image of the scene opposite the box onto a screen. For this project, we explored building a pinhole camera using an Amazon box, duct tape, white paper and black paper. We took images using a Sony Alpha 6000 digital camera for a shutter speed of 25 seconds, camera apertures of F5, box apertures of 1 mm, 3 mm and 5 mm and an ISO of 500.
Box Design
![Thumbnail [100%x225]](images/overall_setup.jpg)
Overall setup
![Thumbnail [100%x225]](images/box_inside.jpg)
Inside the pinhole camera box
![Thumbnail [100%x225]](images/camera.jpg)
Sony Alpha 6000 digital camera
![Thumbnail [100%x225]](images/box_front.jpg)
Front of the pinhole camera box
![Thumbnail [100%x225]](images/working.jpg)
Project work in action
![Thumbnail [100%x225]](images/general_setup.jpg)
Project breaks: feat. Sponge Cake
Images Capture and Analyses
![Thumbnail [100%x225]](images/orb1.JPG)
Scene 1: Campanile Orb - 1 mm pinhole
![Thumbnail [100%x225]](images/orb3.JPG)
Scene 1: Campanile Orb - 3 mm pinhole
![Thumbnail [100%x225]](images/orb5.JPG)
Scene 1: Campanile Orb - 5 mm pinhole
![Thumbnail [100%x225]](images/person1.JPG)
Scene 2: Person - 1 mm pinhole
![Thumbnail [100%x225]](images/person3.JPG)
Scene 2: Person - 3 mm pinhole
![Thumbnail [100%x225]](images/person5.JPG)
Scene 2: Person - 5 mm pinhole
Explanation
When we increased the shutter time (increasing exposure time), we found that images would have greater contrast owing to the increased time to take in light. Decreasing camera aperture increased the quality of our picture. We found that the 3 mm pinhole size gave us the clearest screen images - the smallest pinhole size at times did not have enough light going through it to give a clear image on the screen so the contrast was not very good while the largest pinhole let in too much light leading to the blurriness seen in some of our scenes (especially person 3 with the 5 mm pinhole). Below are the addition 4 scenes we took with a 3 mm pinhole size:
![Thumbnail [100%x225]](images/chair3.JPG)
Scene 3: Chair - 3 mm pinhole
![Thumbnail [100%x225]](images/campanile3.JPG)
Scene 4: Campanile - 3 mm pinhole
![Thumbnail [100%x225]](images/saber3.JPG)
Scene 5: Saber Tooth - 3 mm pinhole
![Thumbnail [100%x225]](images/cone3.JPG)
Scene 6: Lone Cone - 3 mm pinhole
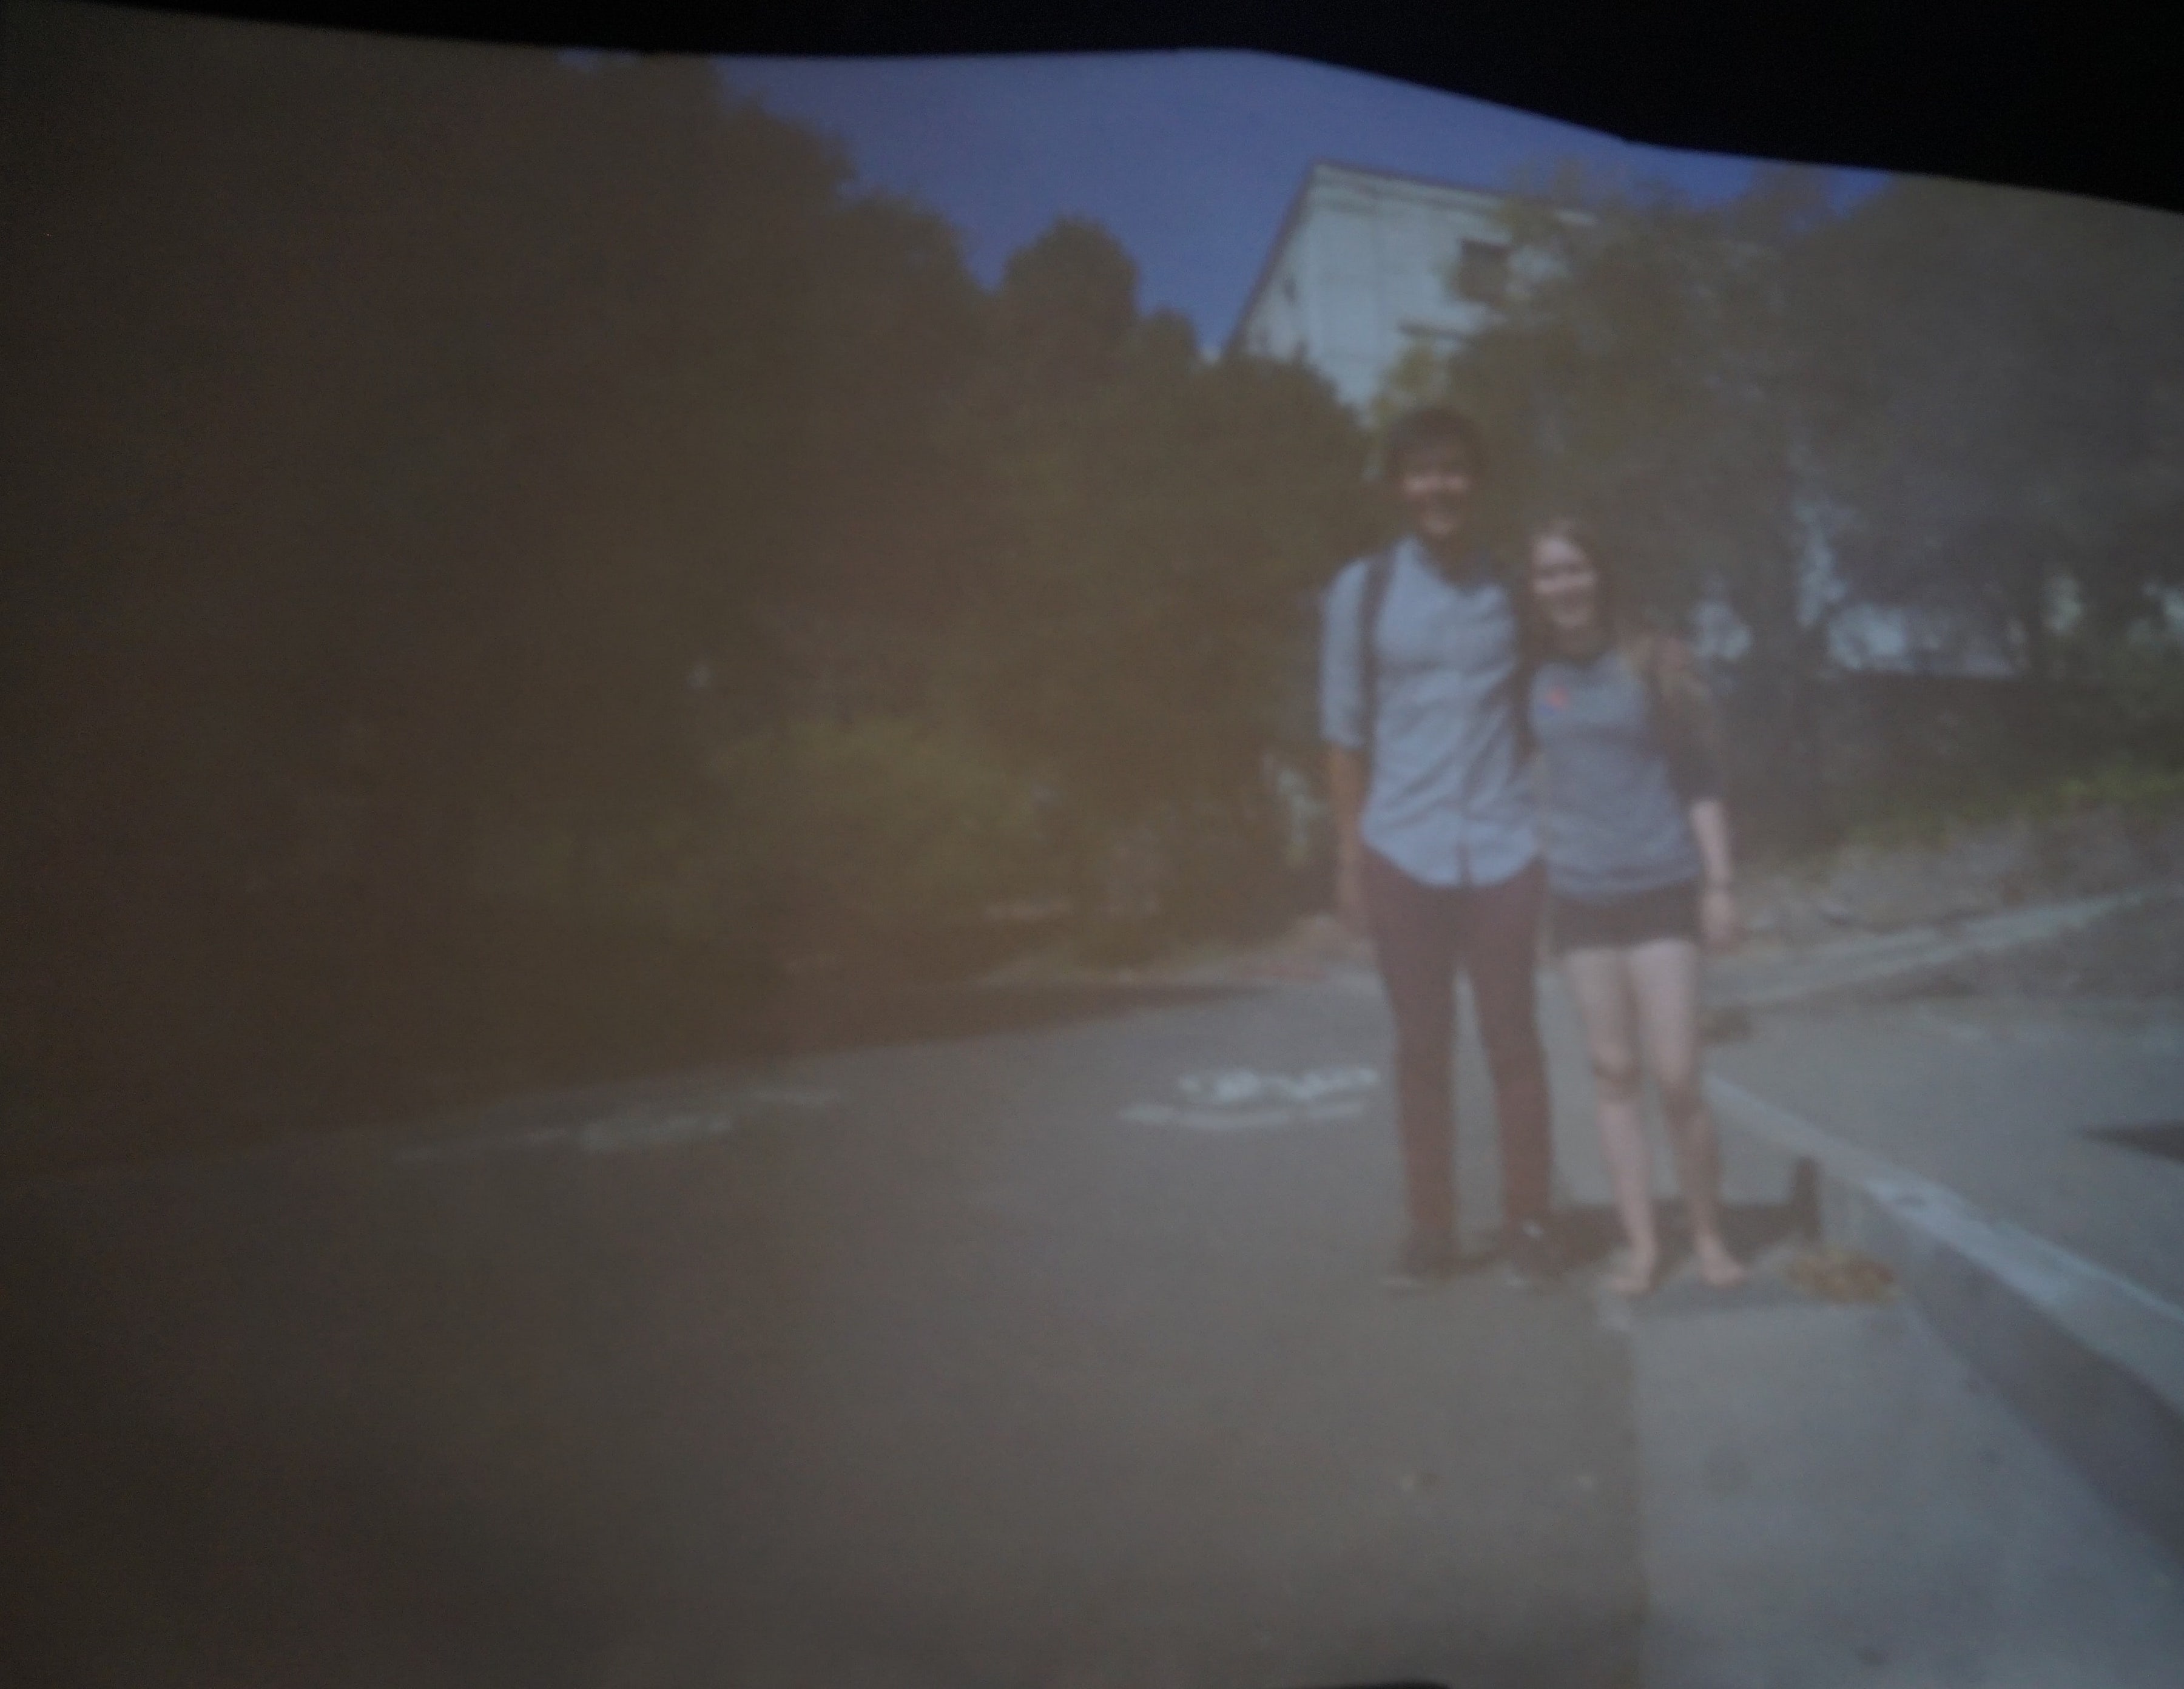
Scene 7: Friendship - 3 mm pinhole
![Thumbnail [100%x225]](images/kiwi3.JPG)
Extra Scene: Trapped Kiwi - 3 mm pinhole
Bells and Whistles
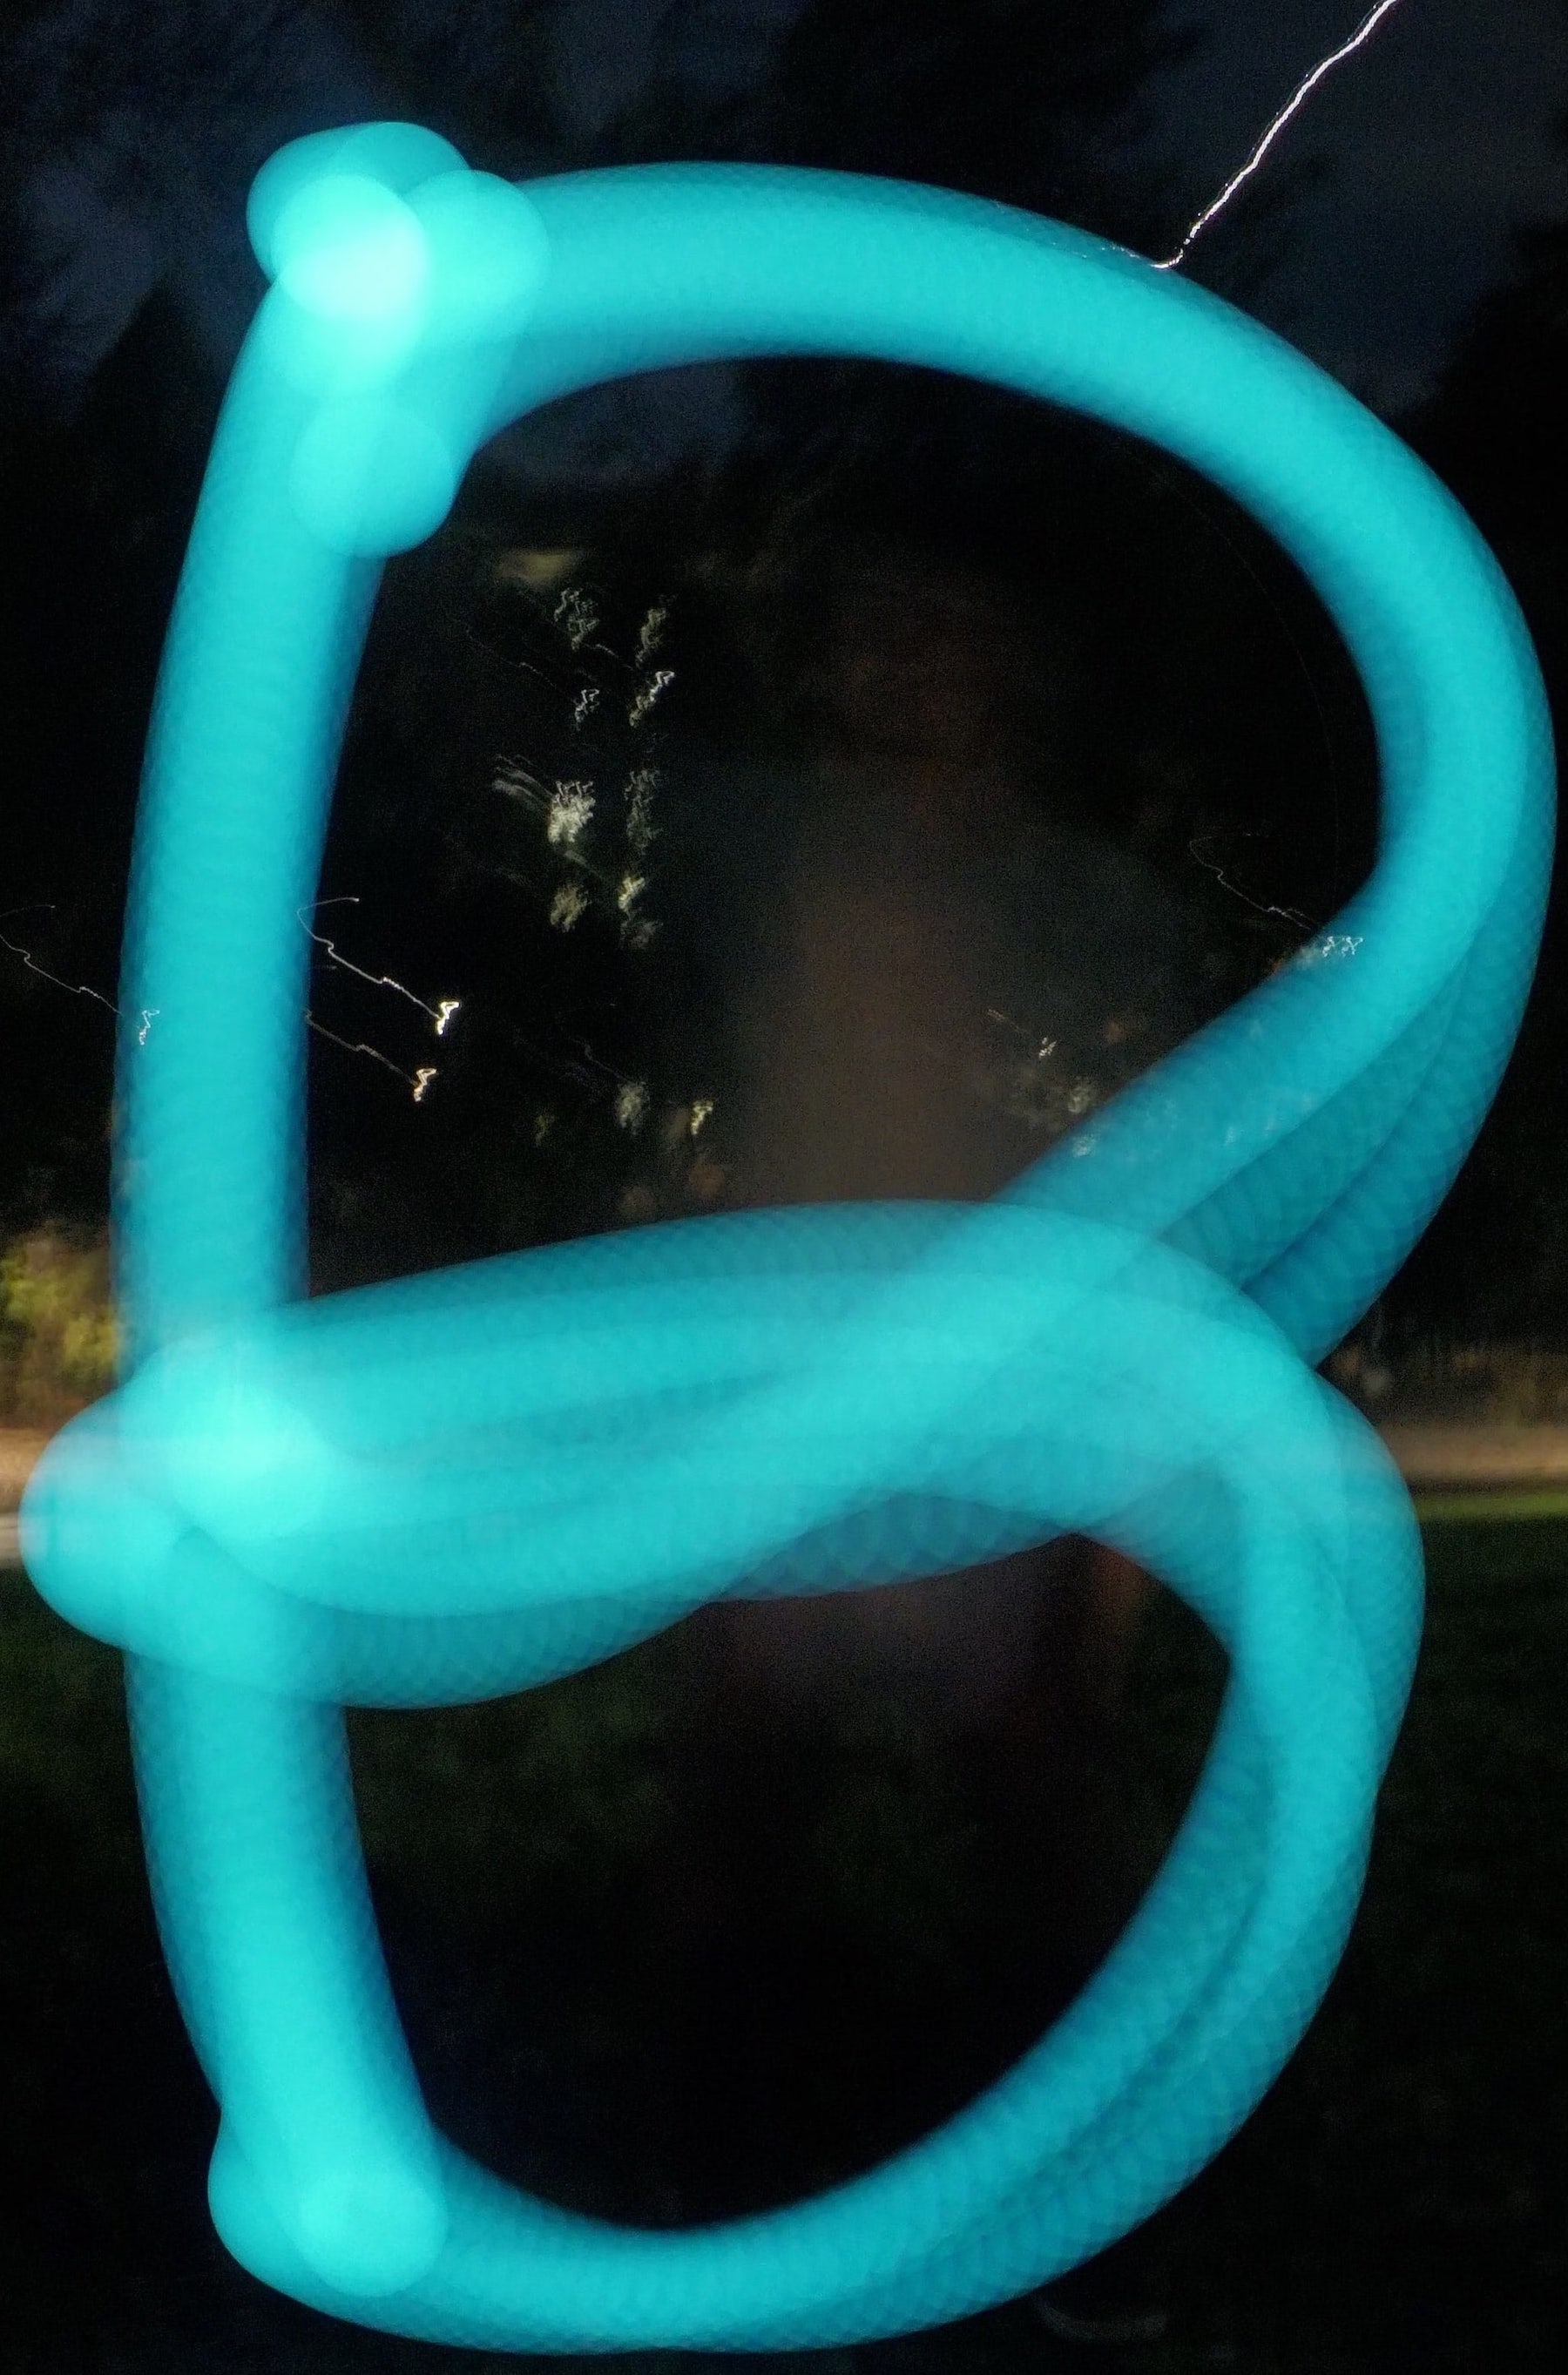
Light Painting
We found it easy to light paint without the pinhole camera but quite difficult to get enough light through the aperture to get an image on the screen for light painting with the pinhole camera. Thus we increased the pinhole aperture size to around 1 cm, camera aperture of F6.3, shutter speed of 30 seconds and ISO of 500. Below are our images:
![Thumbnail [100%x225]](images/darkroom.jpg)
General Dark Room Setup
![Thumbnail [100%x225]](images/prima.JPG)
Prima Luce: On the Screen
![Thumbnail [100%x225]](images/prima_off.jpg)
Prima Luce: Off the Screen
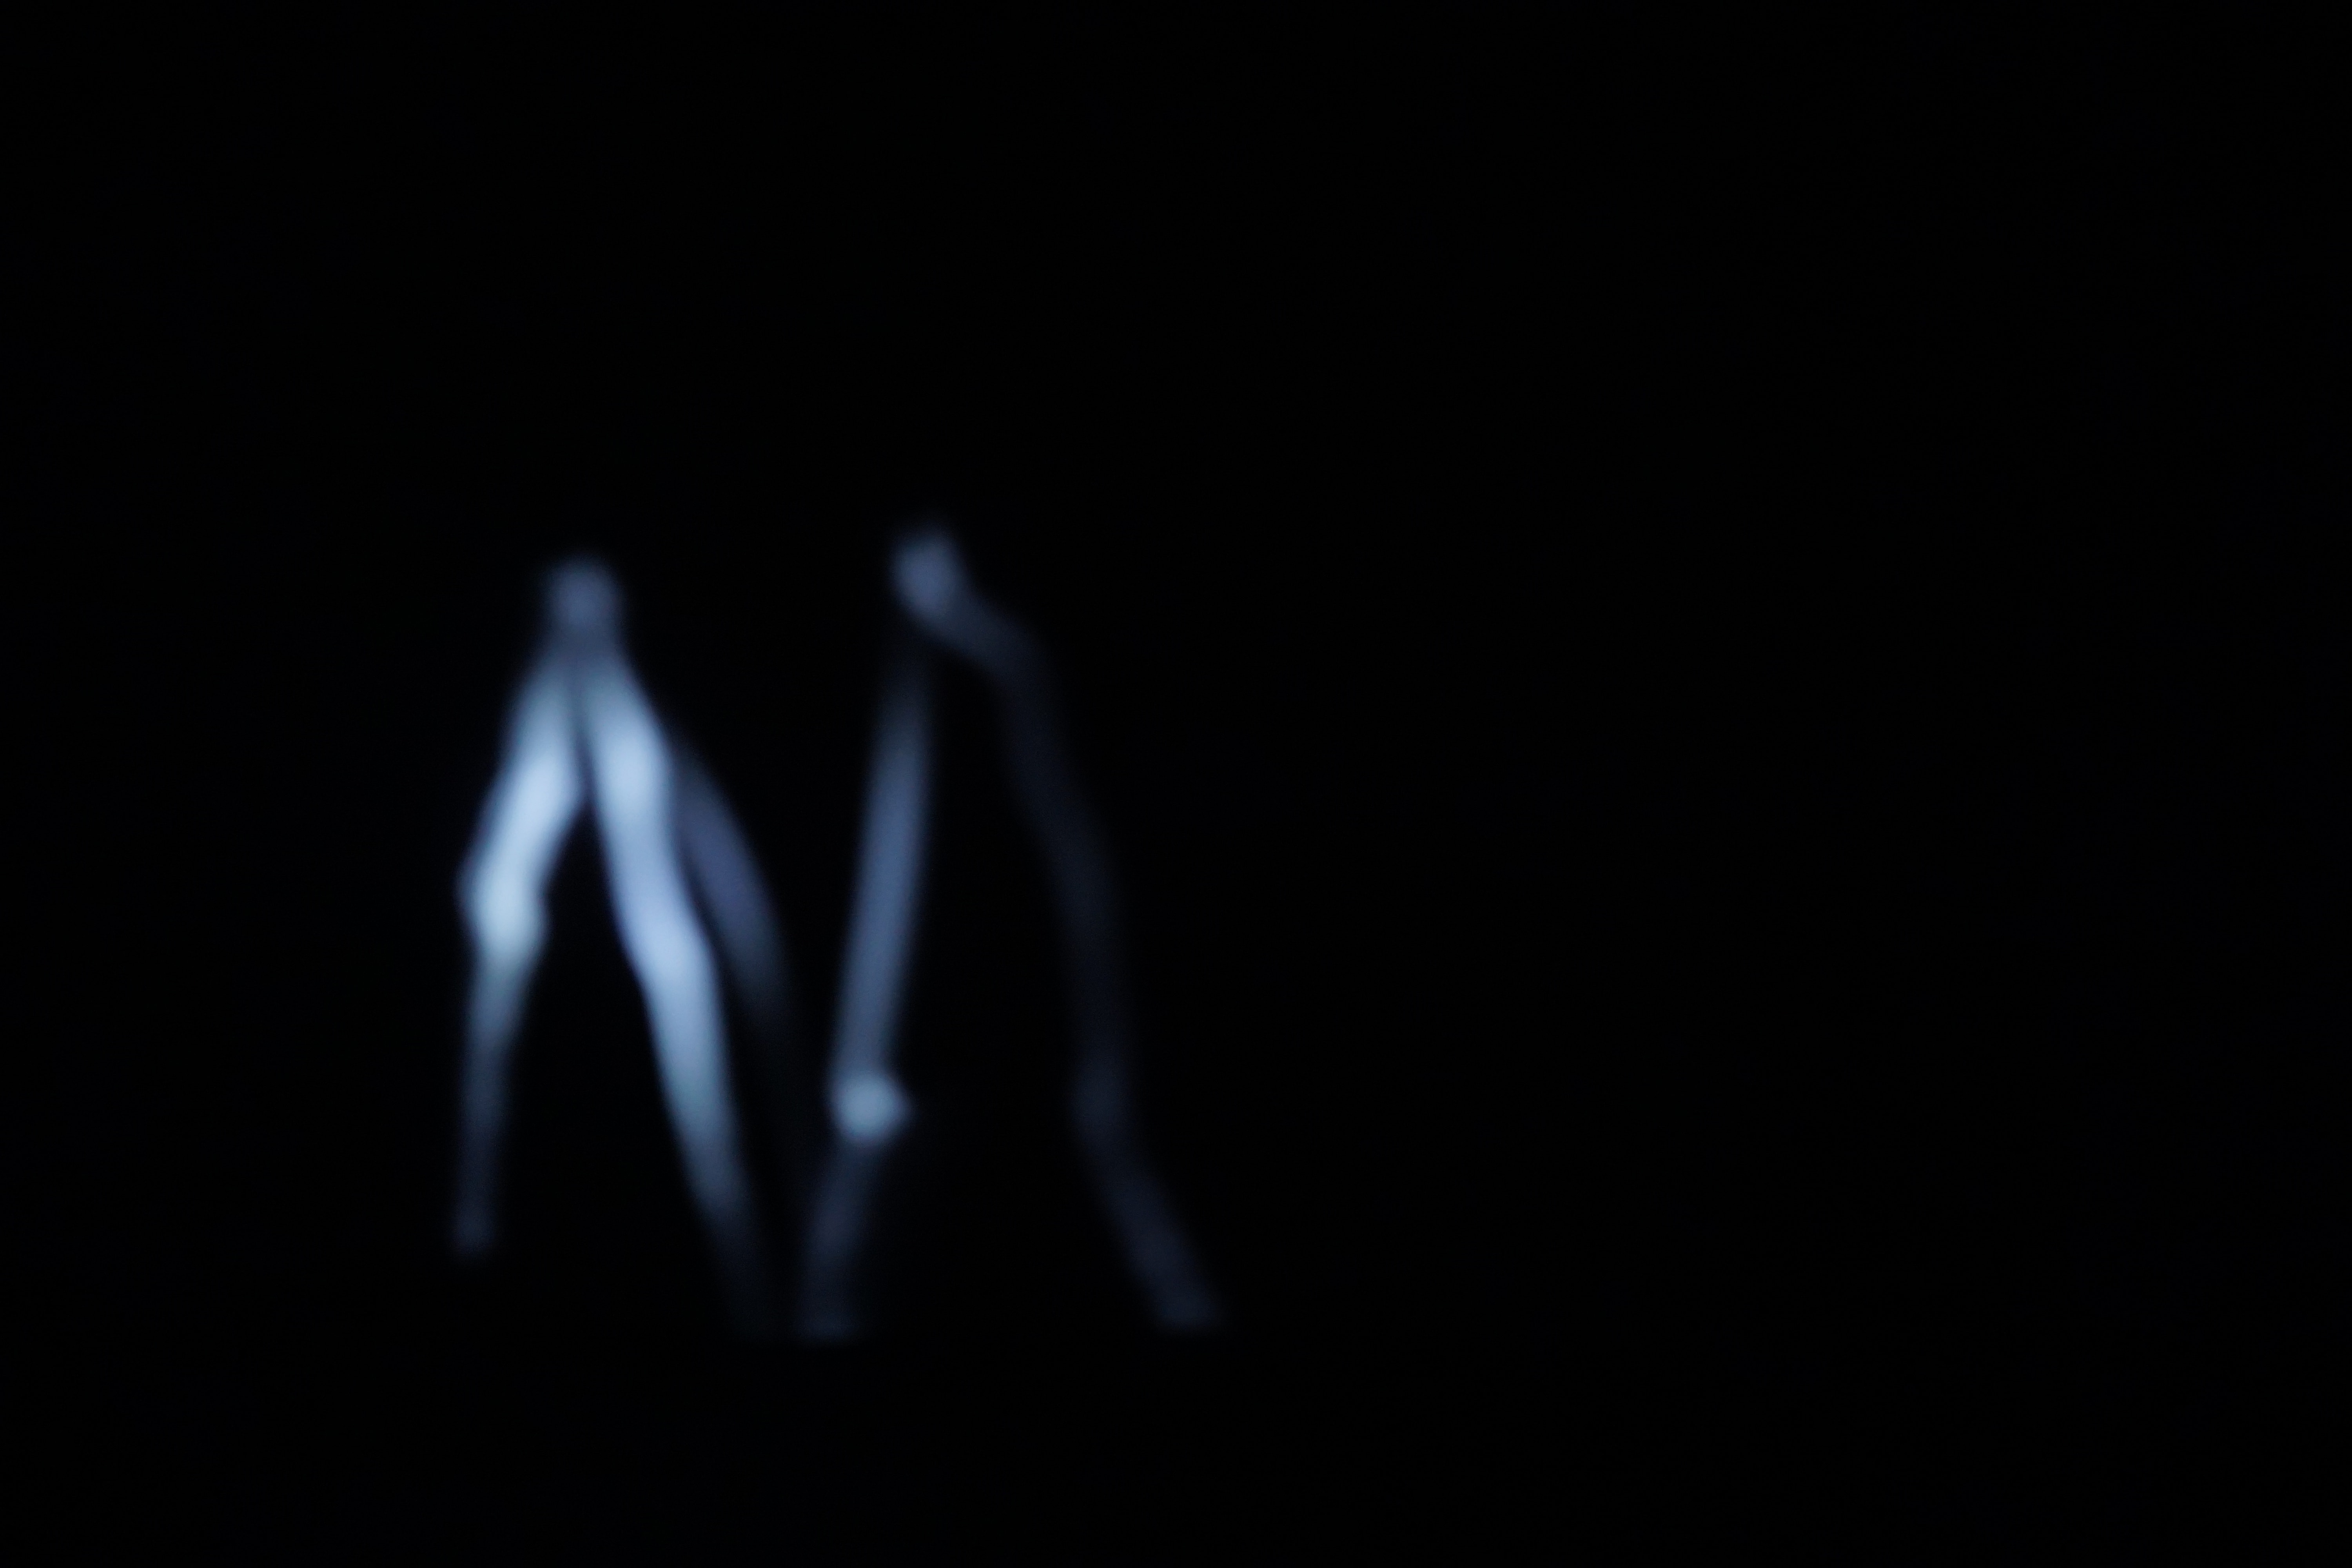
M written on pinhole box screen
![Thumbnail [100%x225]](images/L.JPG)
L written on pinhole box screen
![Thumbnail [100%x225]](images/K.JPG)
K written on pinhole box screen
![Thumbnail [100%x225]](images/W.JPG)
W written on pinhole box screen
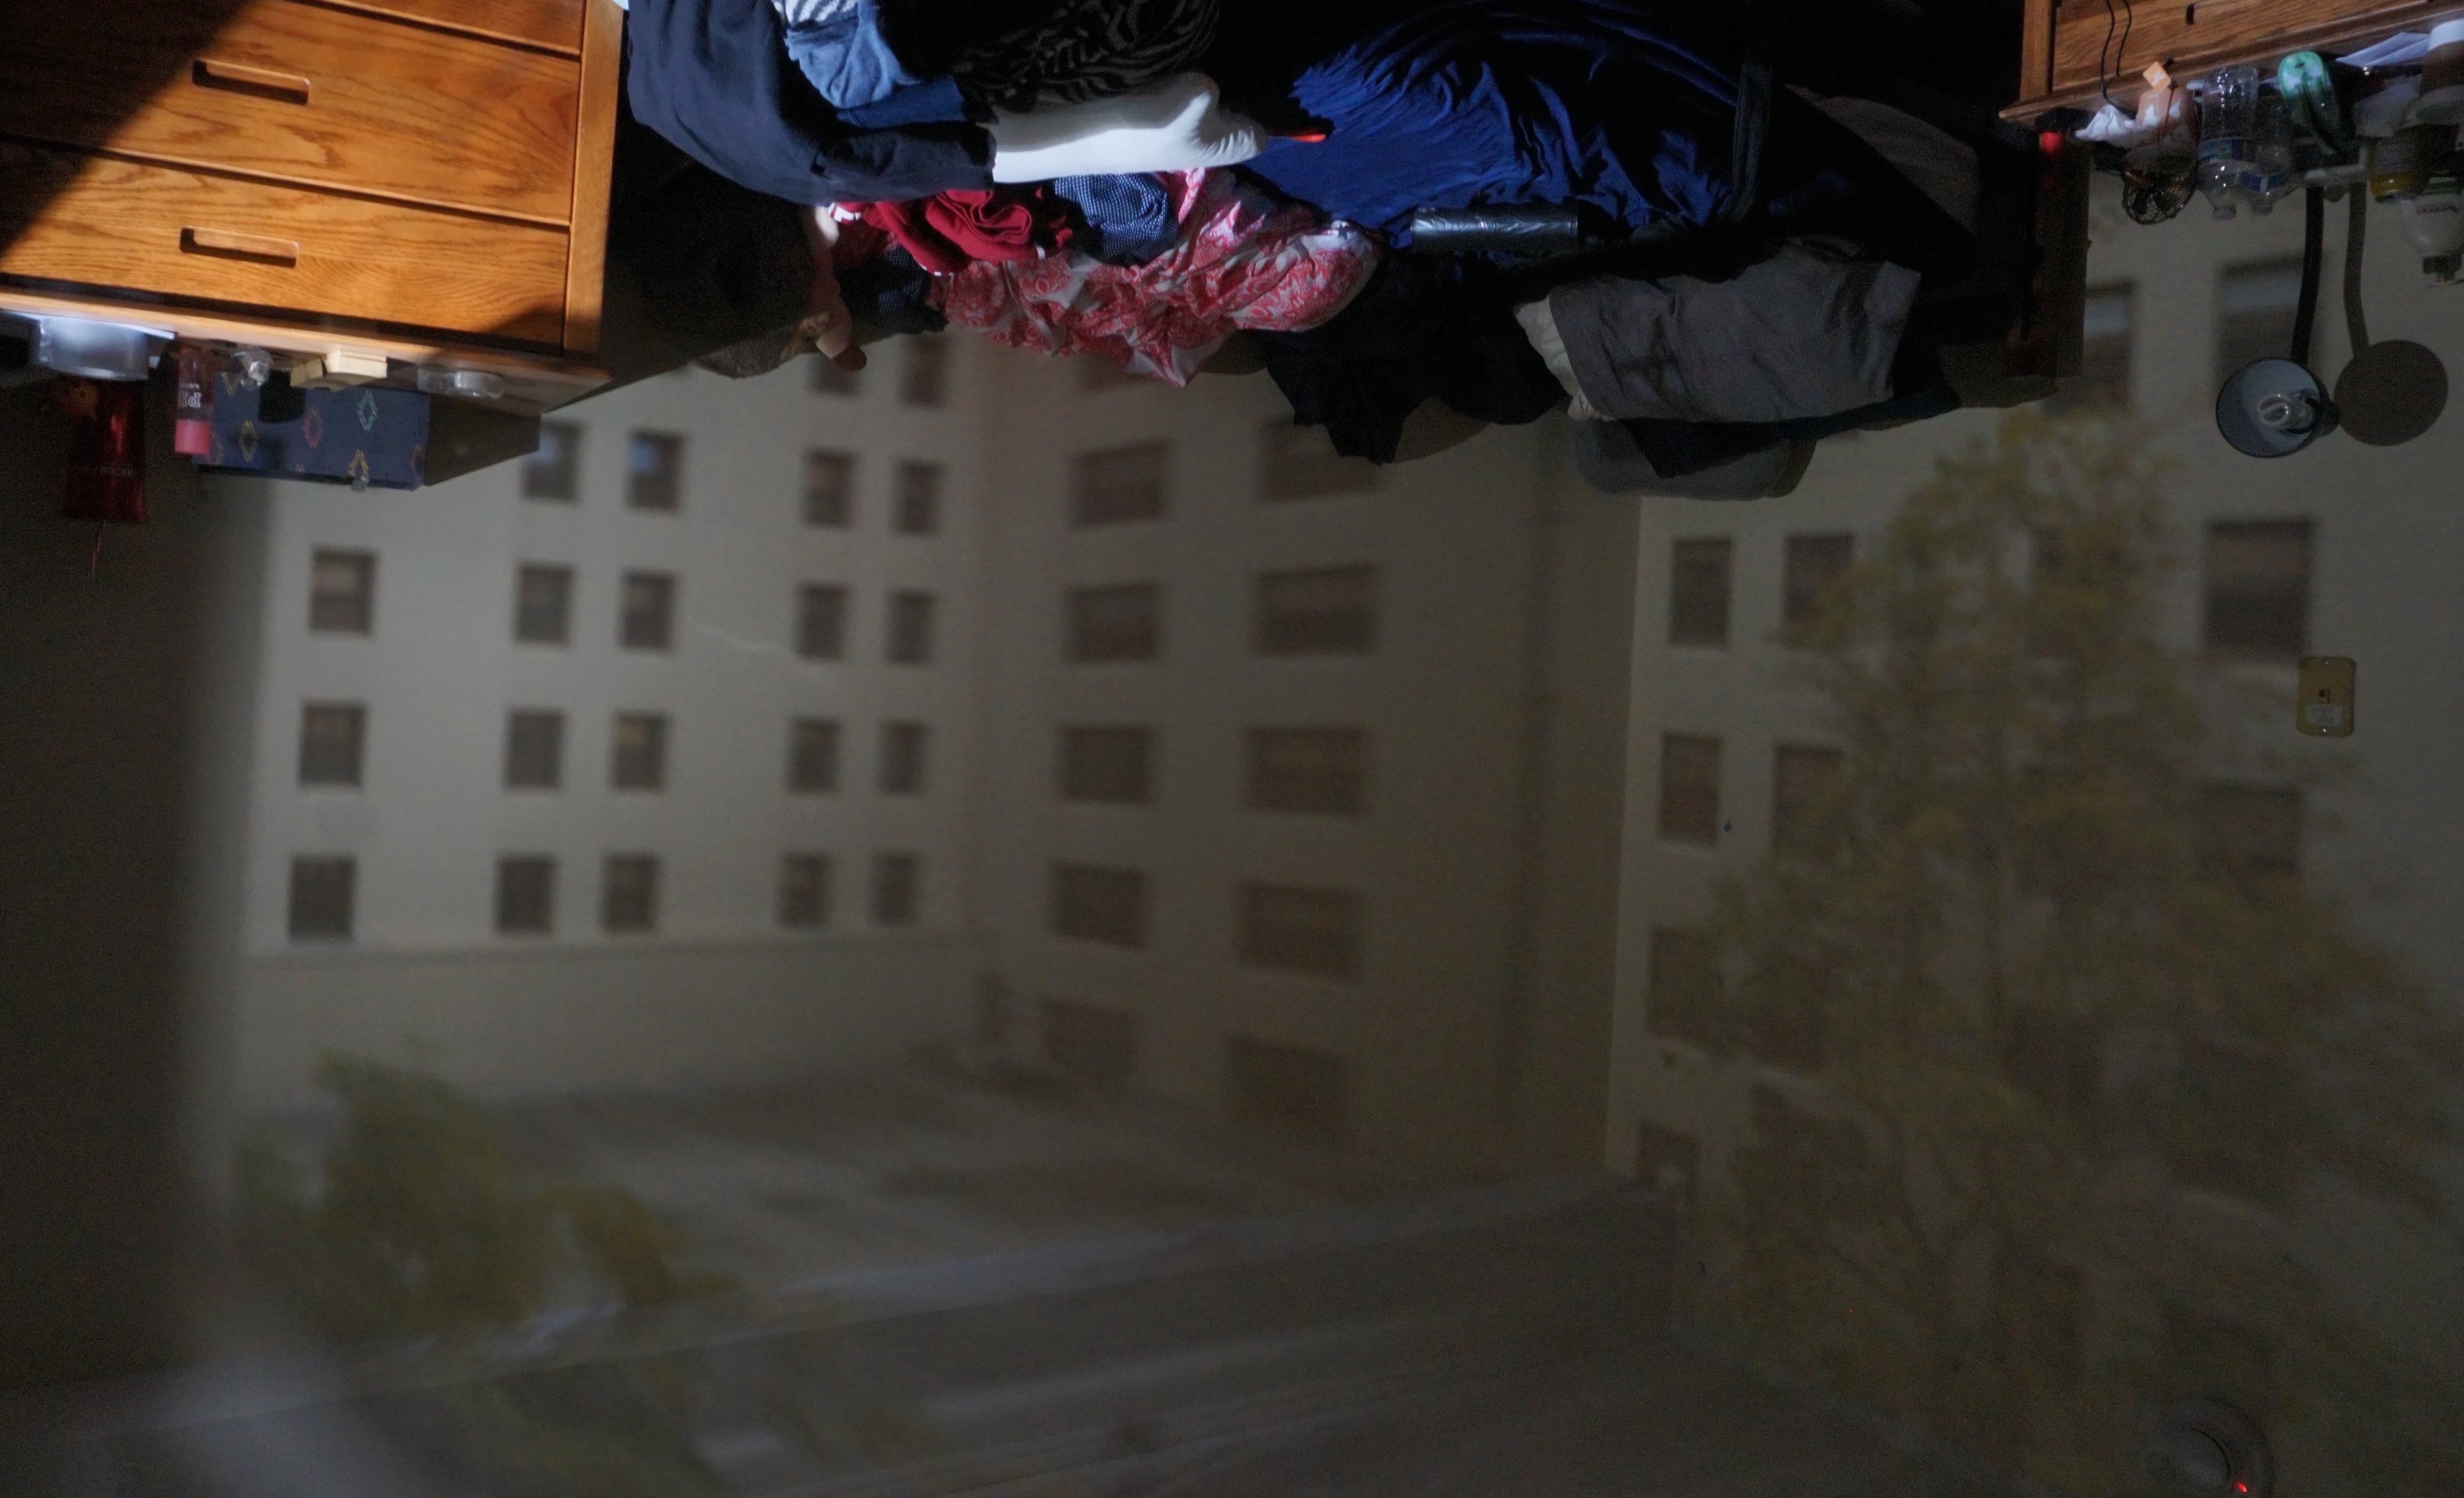
Turning a room into a pinhole camera
Our setups involved using trash bags to cover a window and creating an aperture by cutting a small hole through the trash bags. We adjusted the aperture size and attempted to manipulate the image by using makeshift filters through objects we found in the room. We used a shutter speed of 15 and 30 seconds respectively, > 10 cm pinhole aperture, F6.3 camera aperture, and 500 ISO.
![Thumbnail [100%x225]](images/window.jpg)
Window Setup
![Thumbnail [100%x225]](images/outside.jpg)
View from Window
![Thumbnail [100%x225]](images/wall_screen.jpg)
Wall Screen
30 second shutter speed
![Thumbnail [100%x225]](images/15s.JPG)
15 second shutter speed
![Thumbnail [100%x225]](images/red.JPG)
Red Filter
More Fun Stuff!
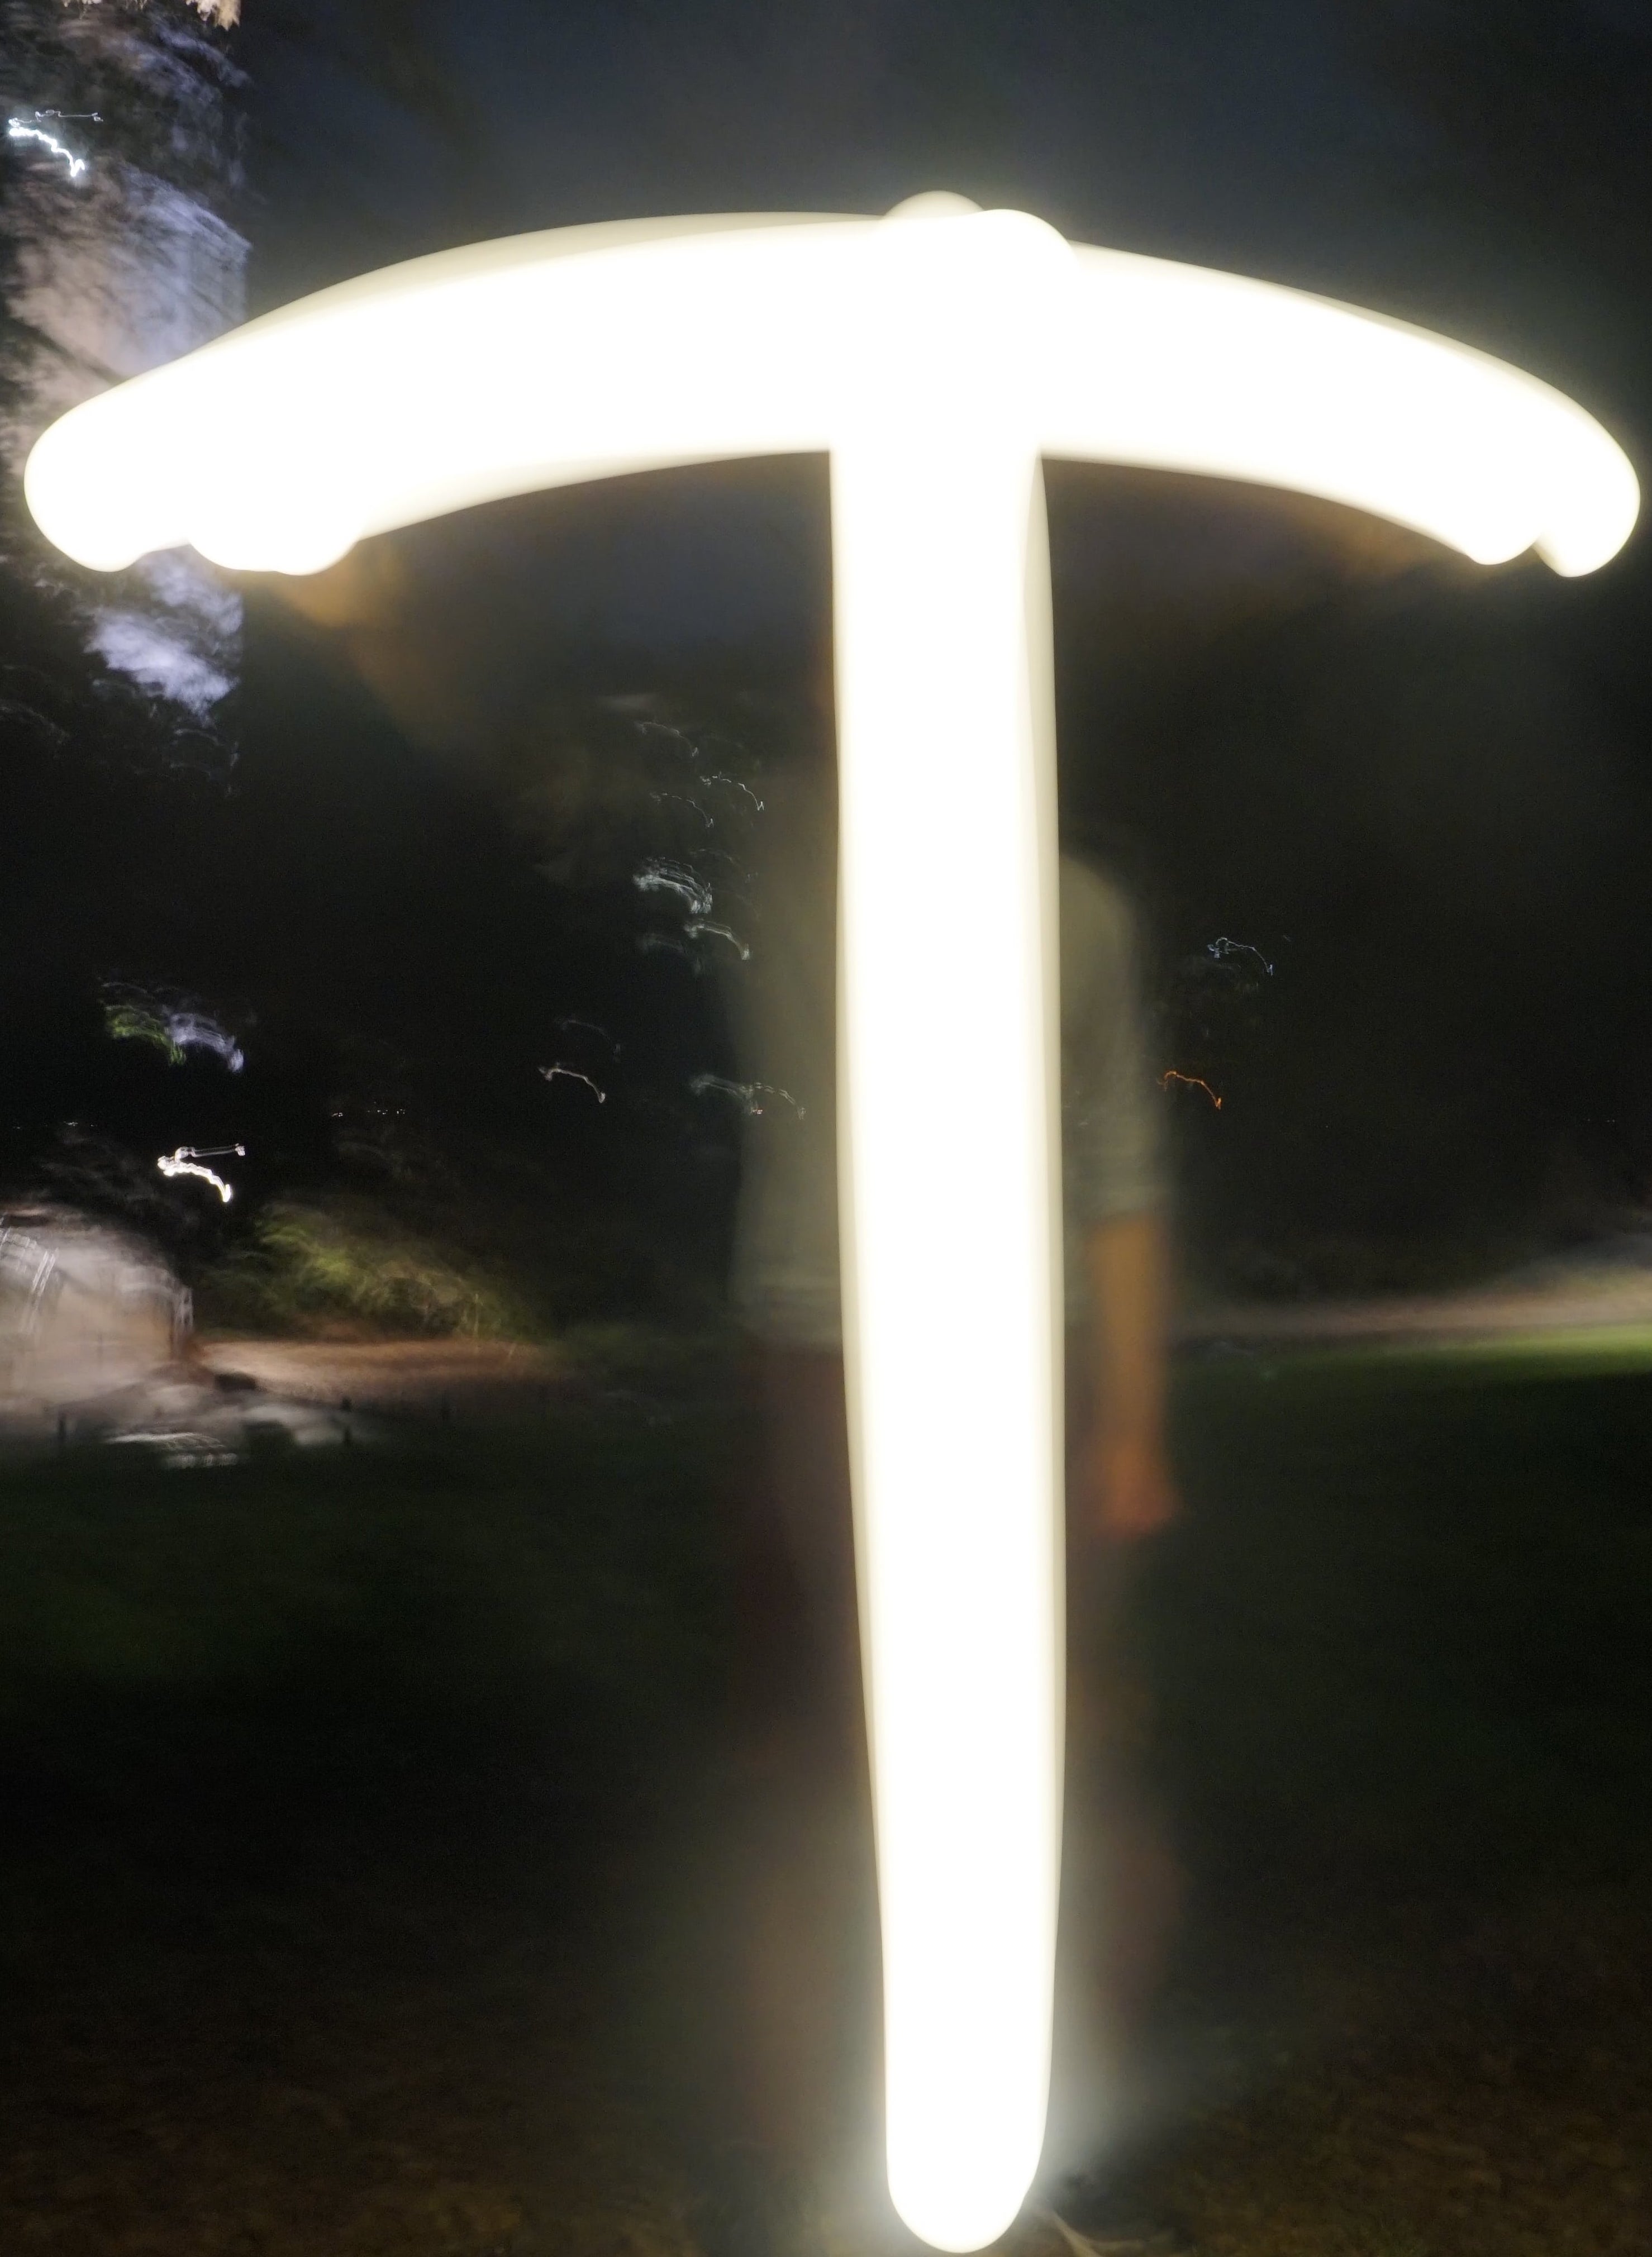
T
A
E
I
S
B
A
E
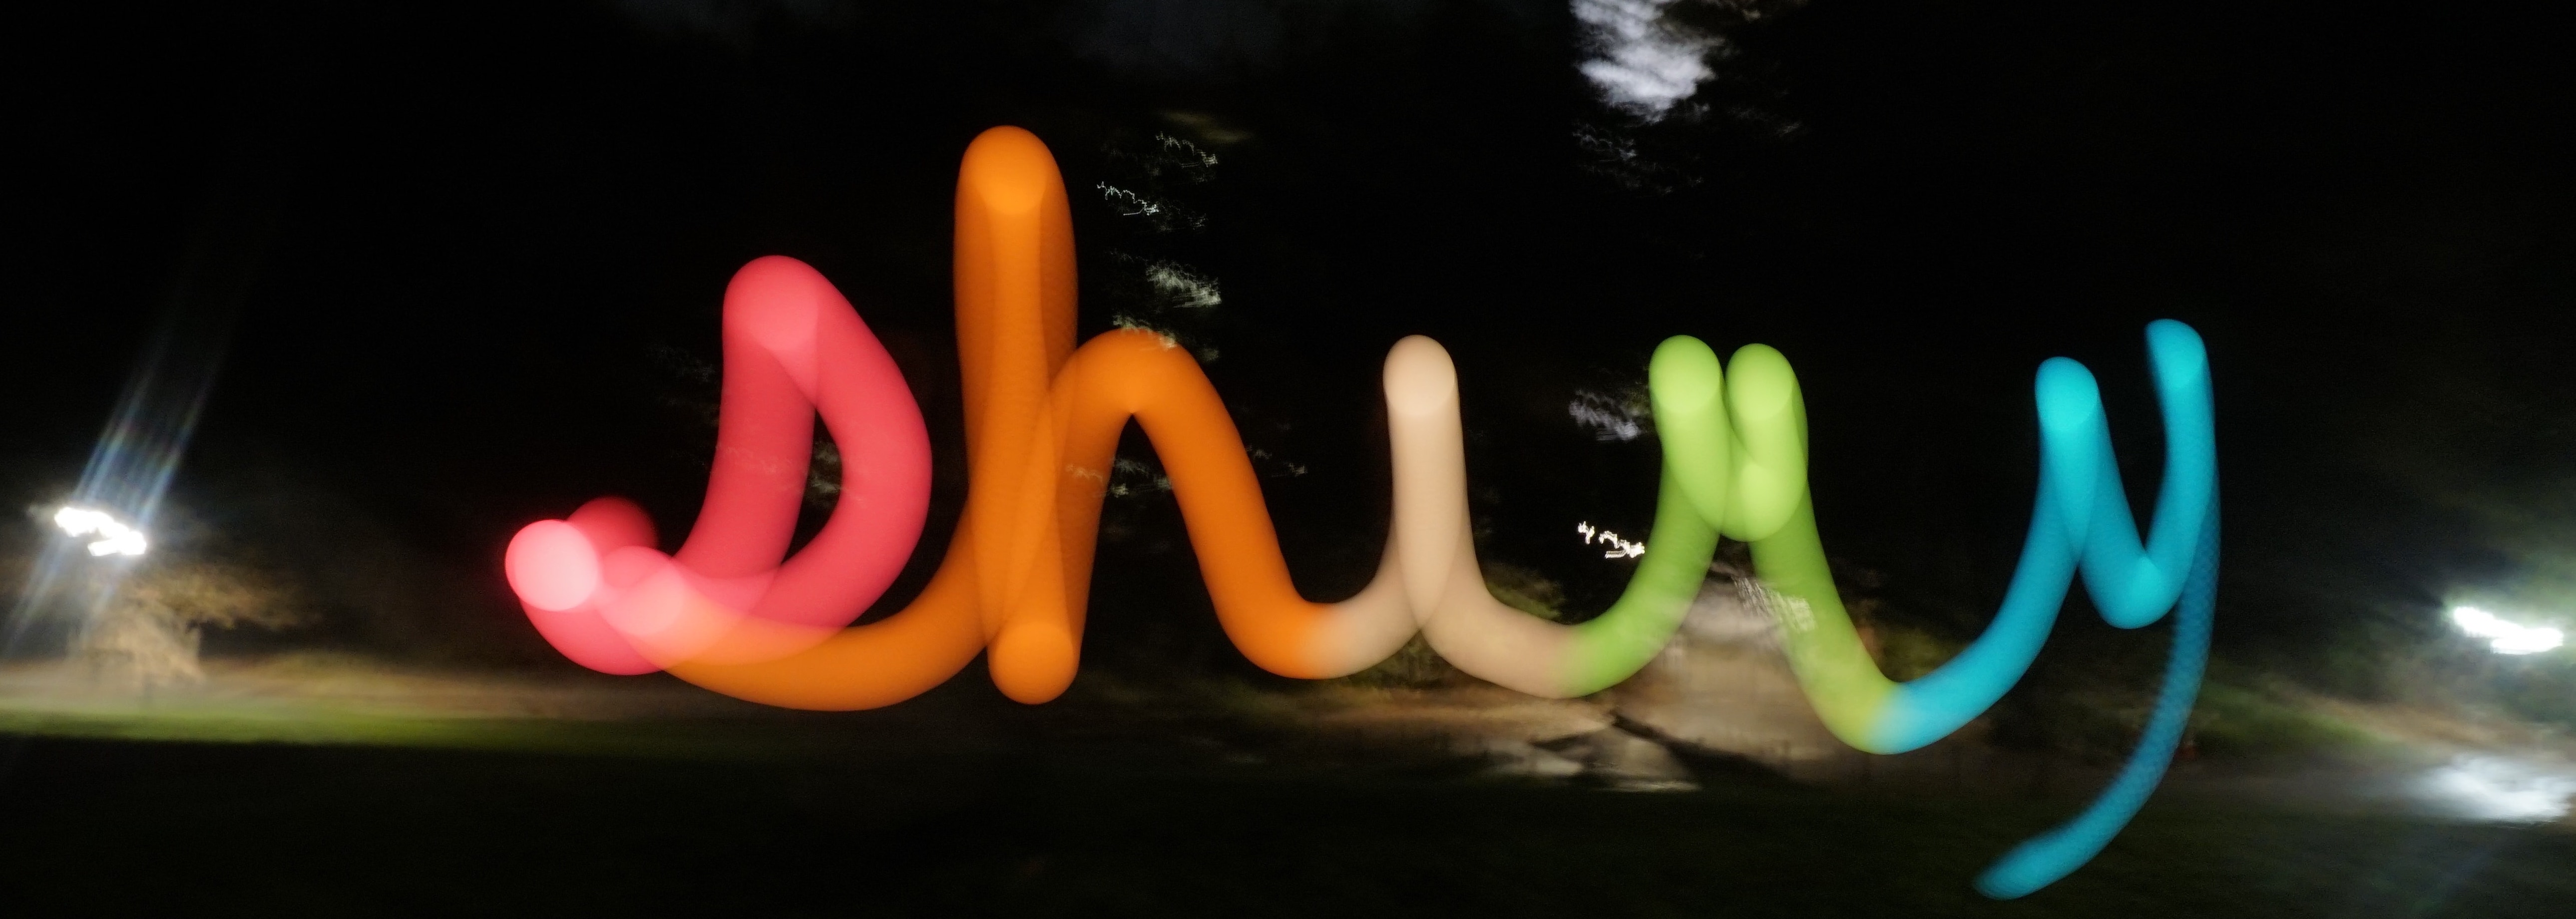
Shiry!
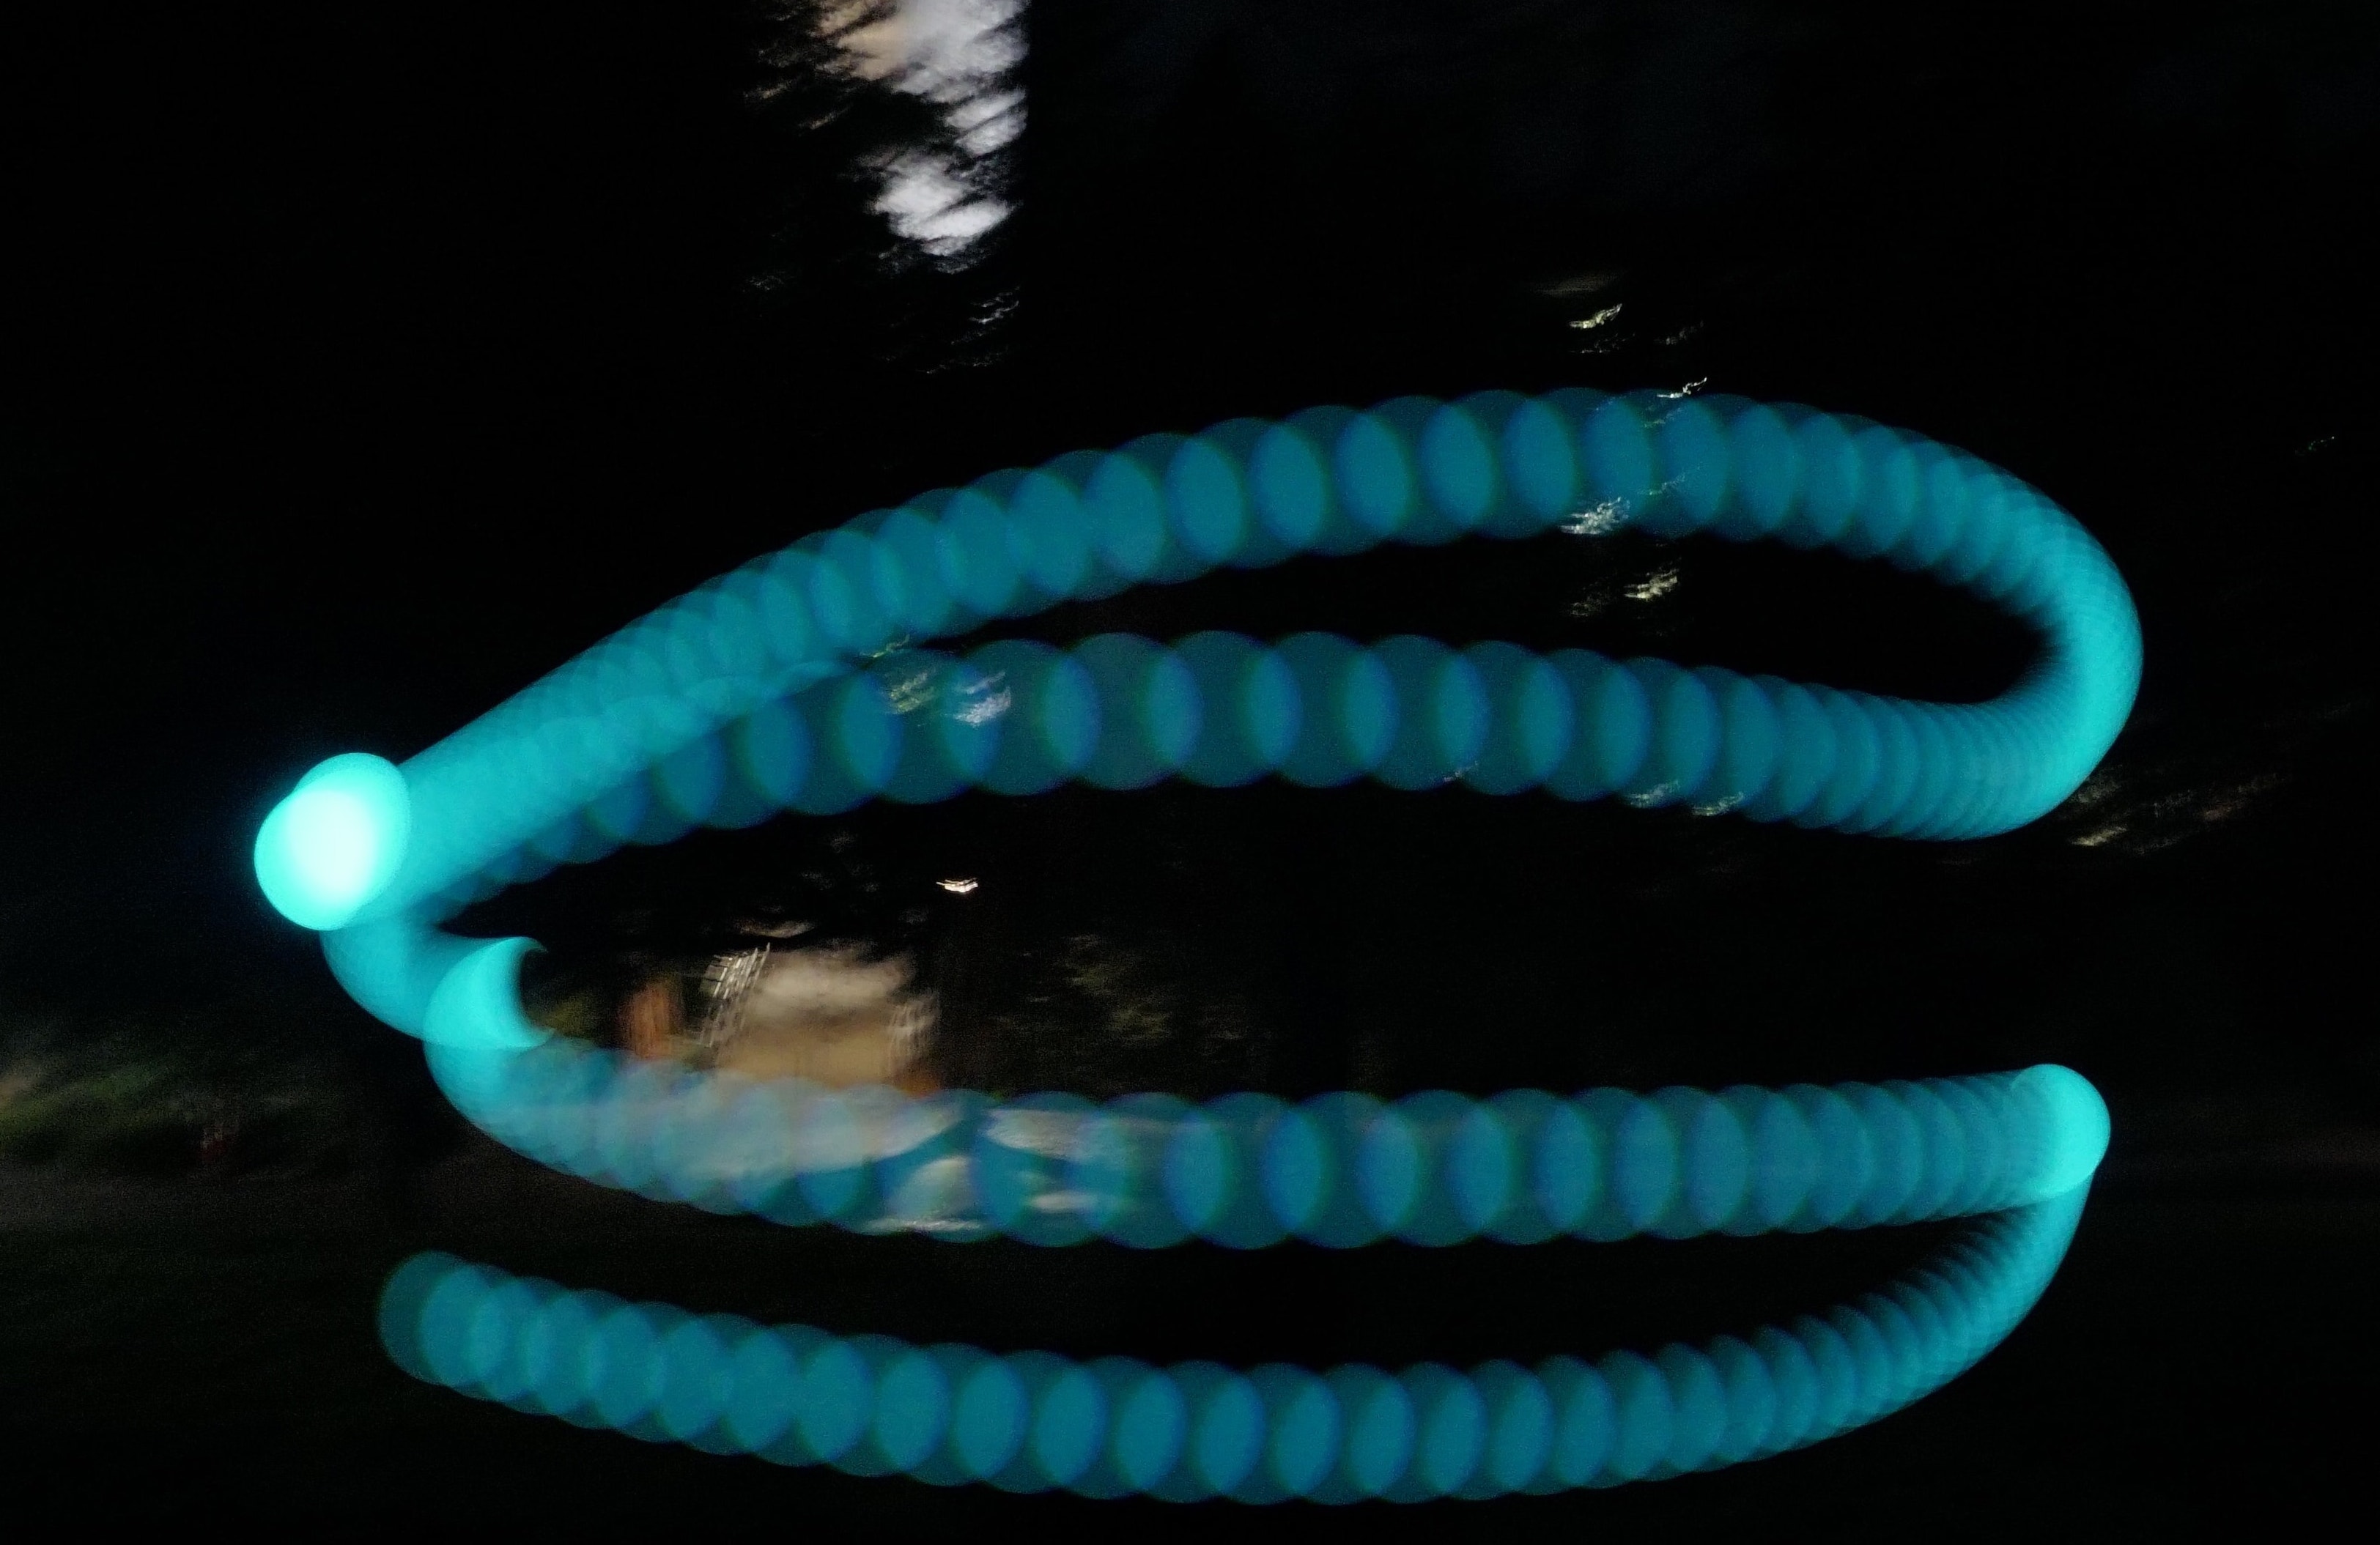
Snake
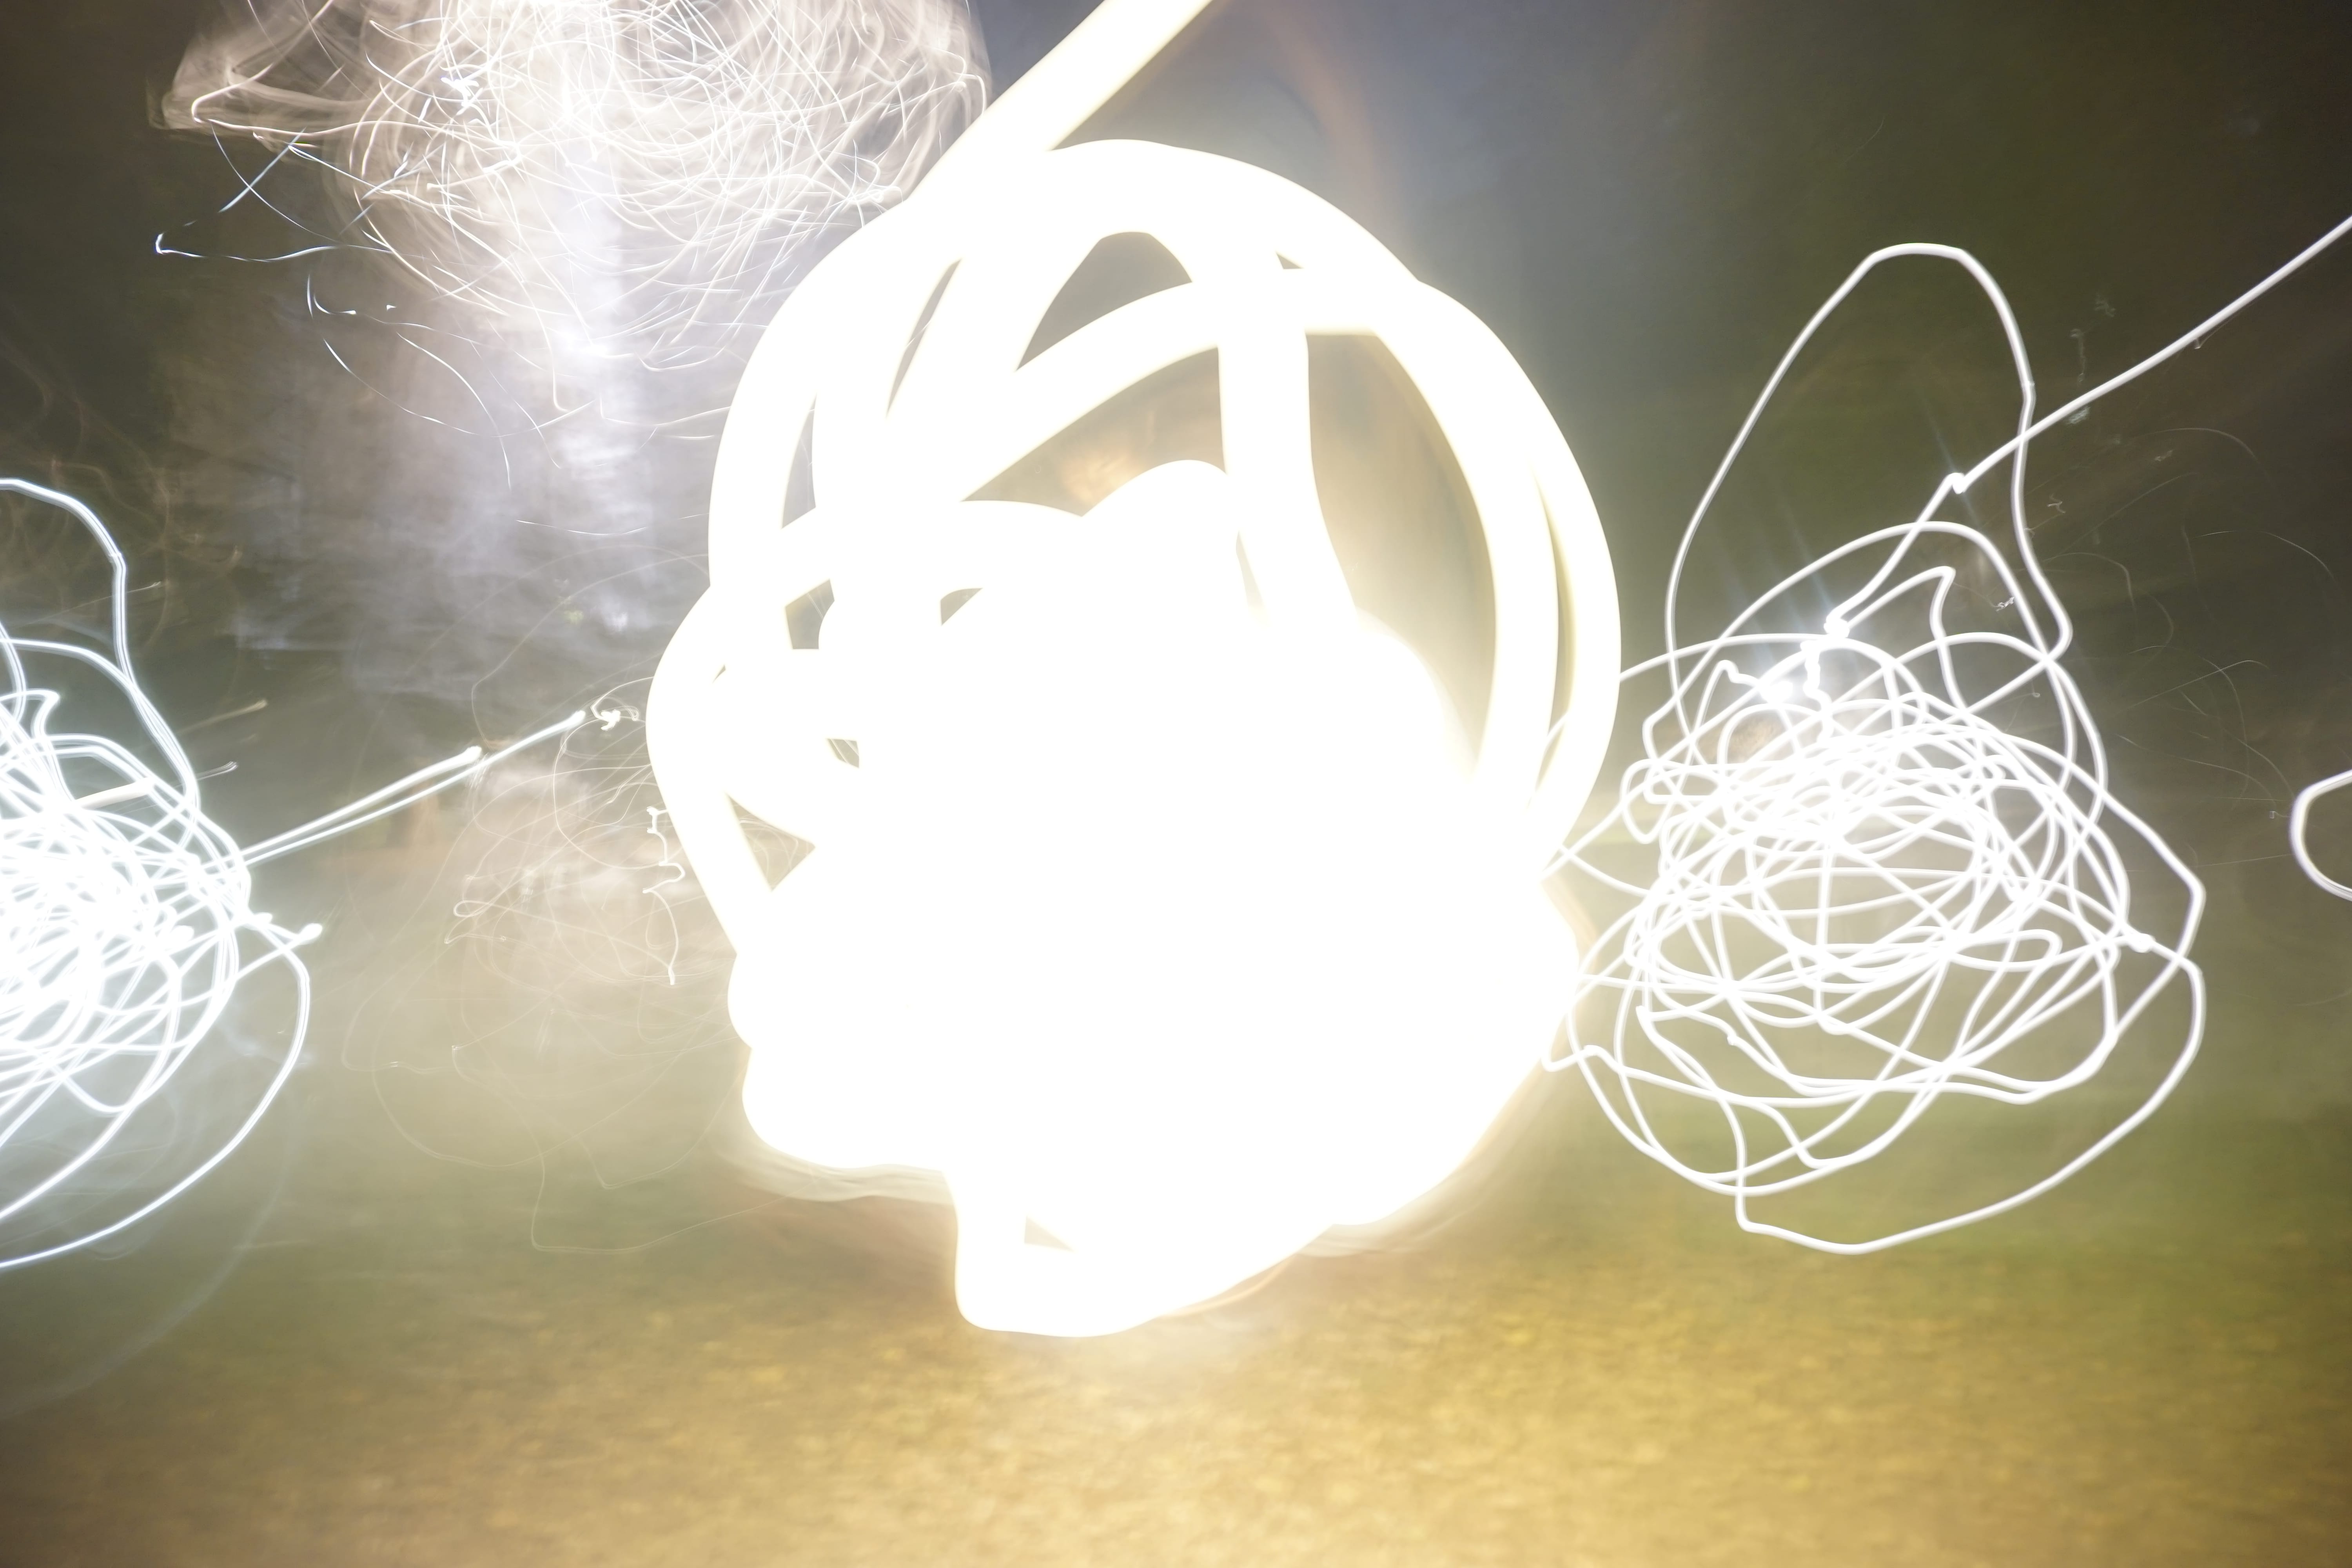
Light Ball