Project 2: Building A Pinhole Camera
Samantha Lai, Kin Seng Chau, Franklin Heng
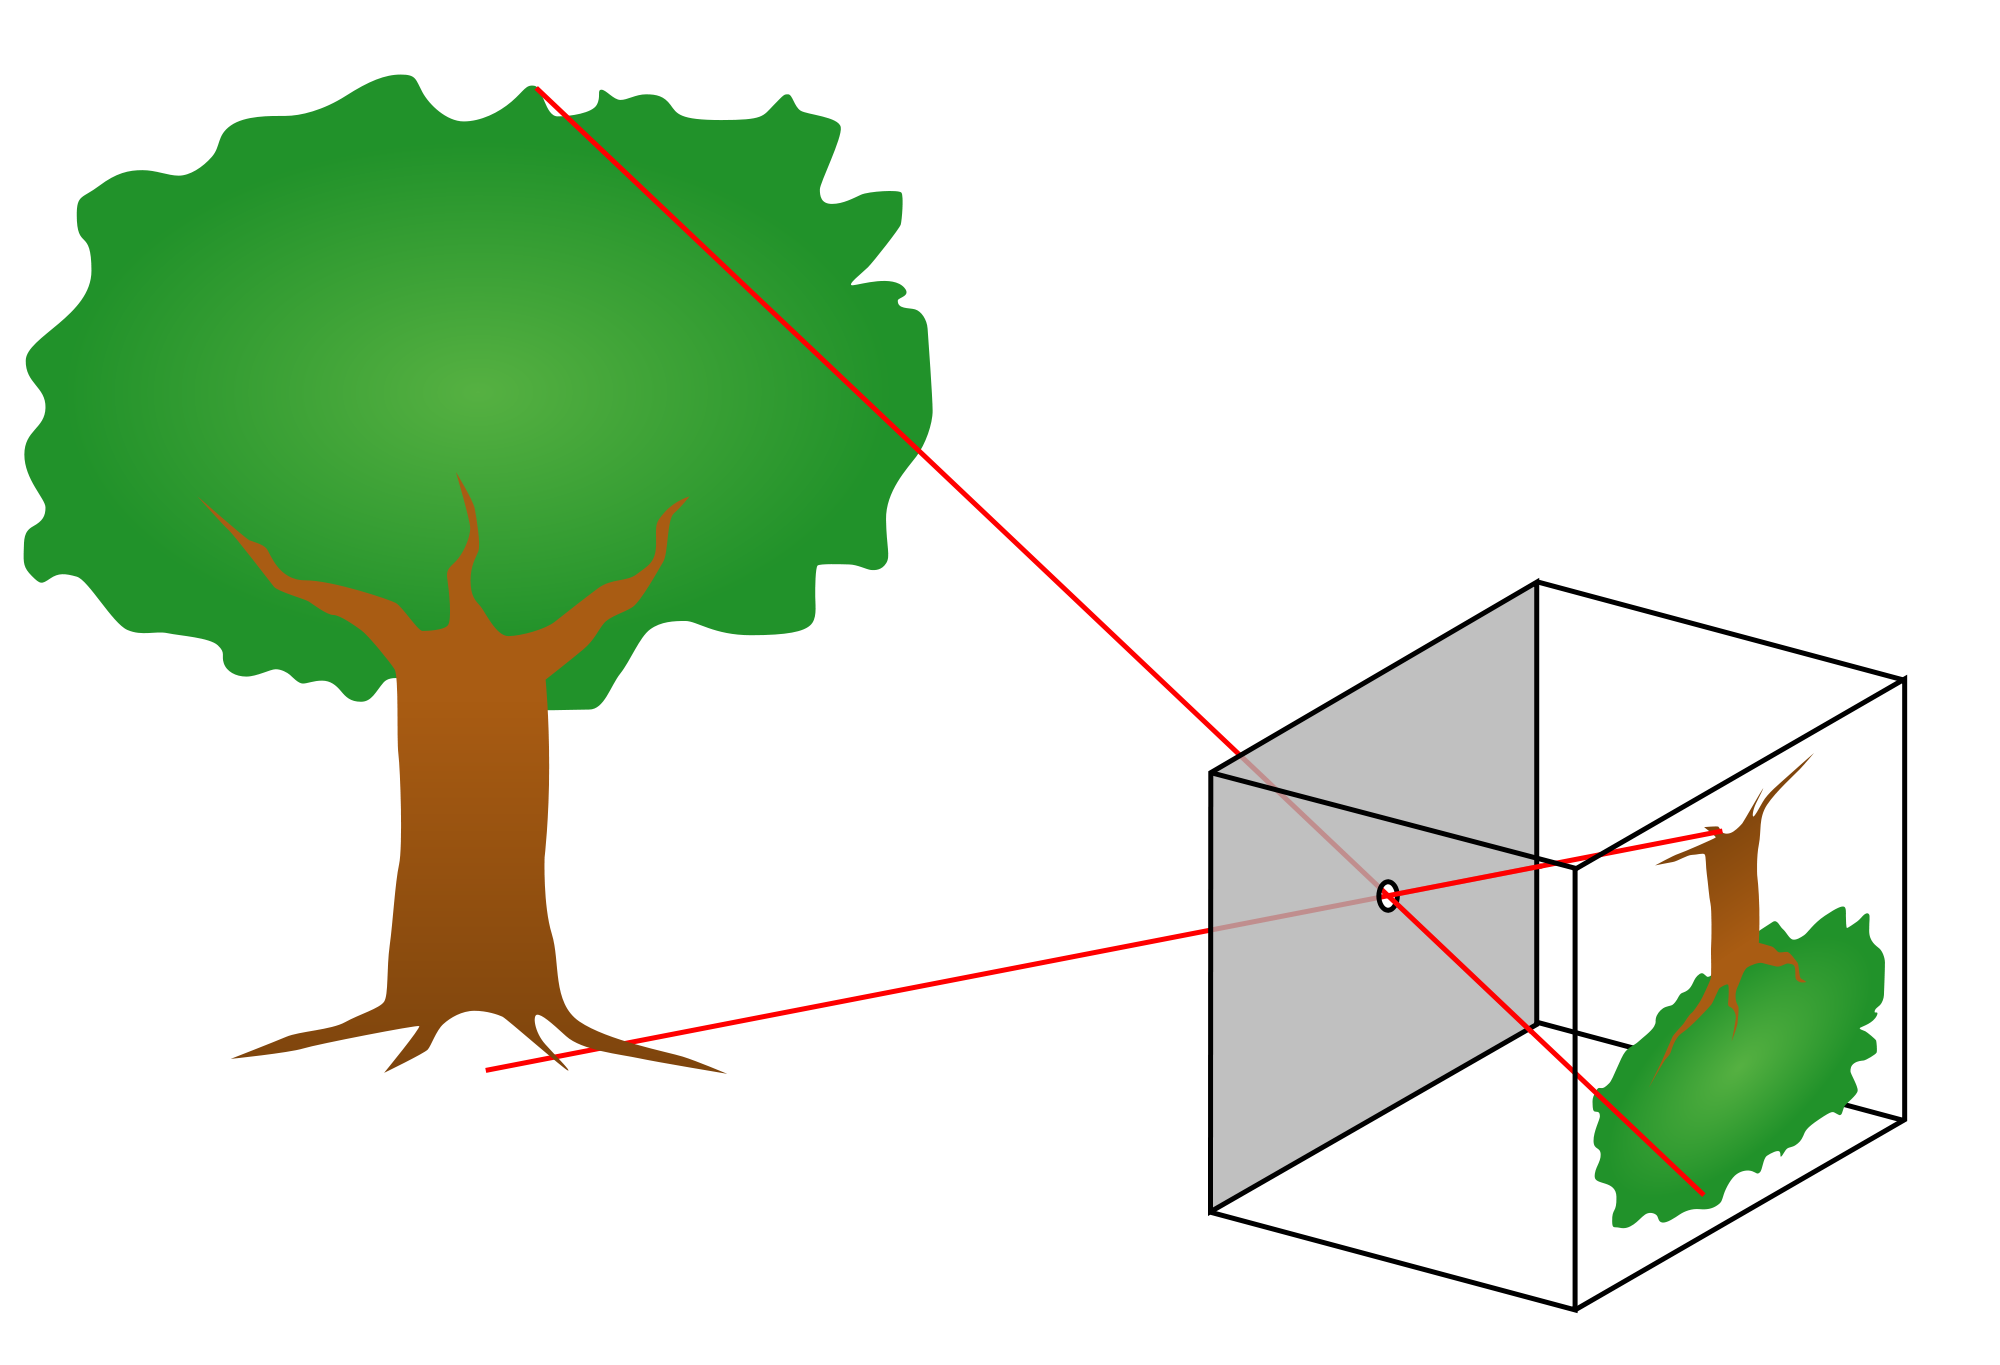
For this project, we designed a pinhole camera using ordinary materials such as cardboard boxes and duct tape. Akin to the mechanics that are used in modern day digital cameras, a pinhole camera obtains an image by capturing light reflected off of objects that passes through the pinhole. With a suitable pinhole size, enough light will enter the pinhole to produce a visual image of objects from the outside world. In the following sections, we will explain how we assembled our pinhole and display results.
Dimension of the box: 12.5cm x 19.0cm x 35.5cm (Height x Width x Length)
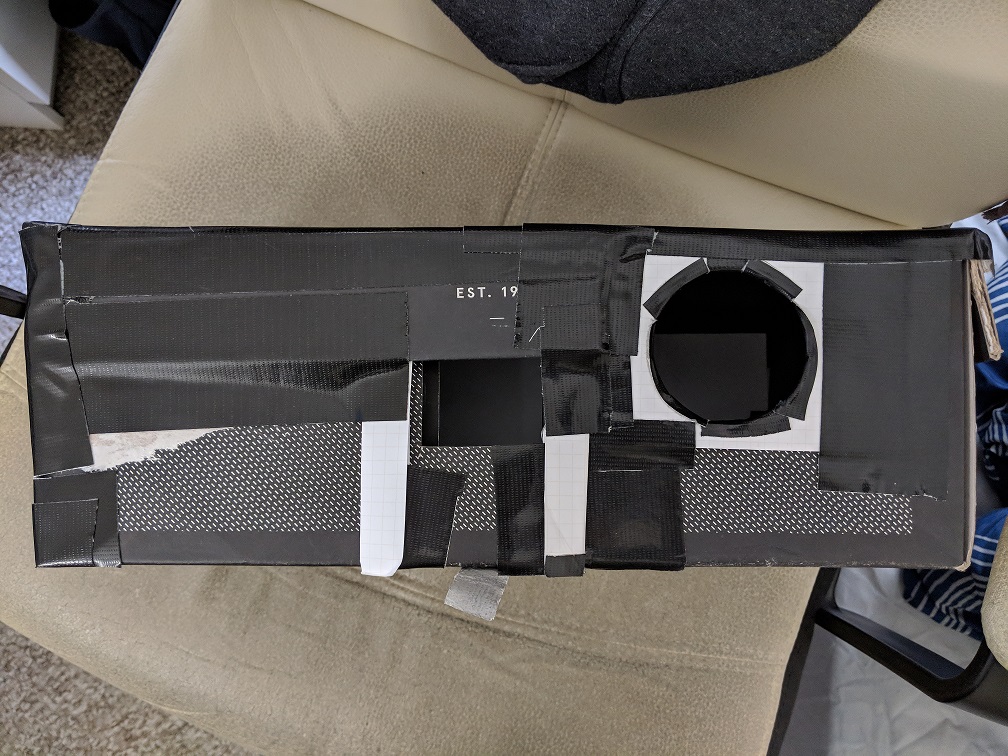
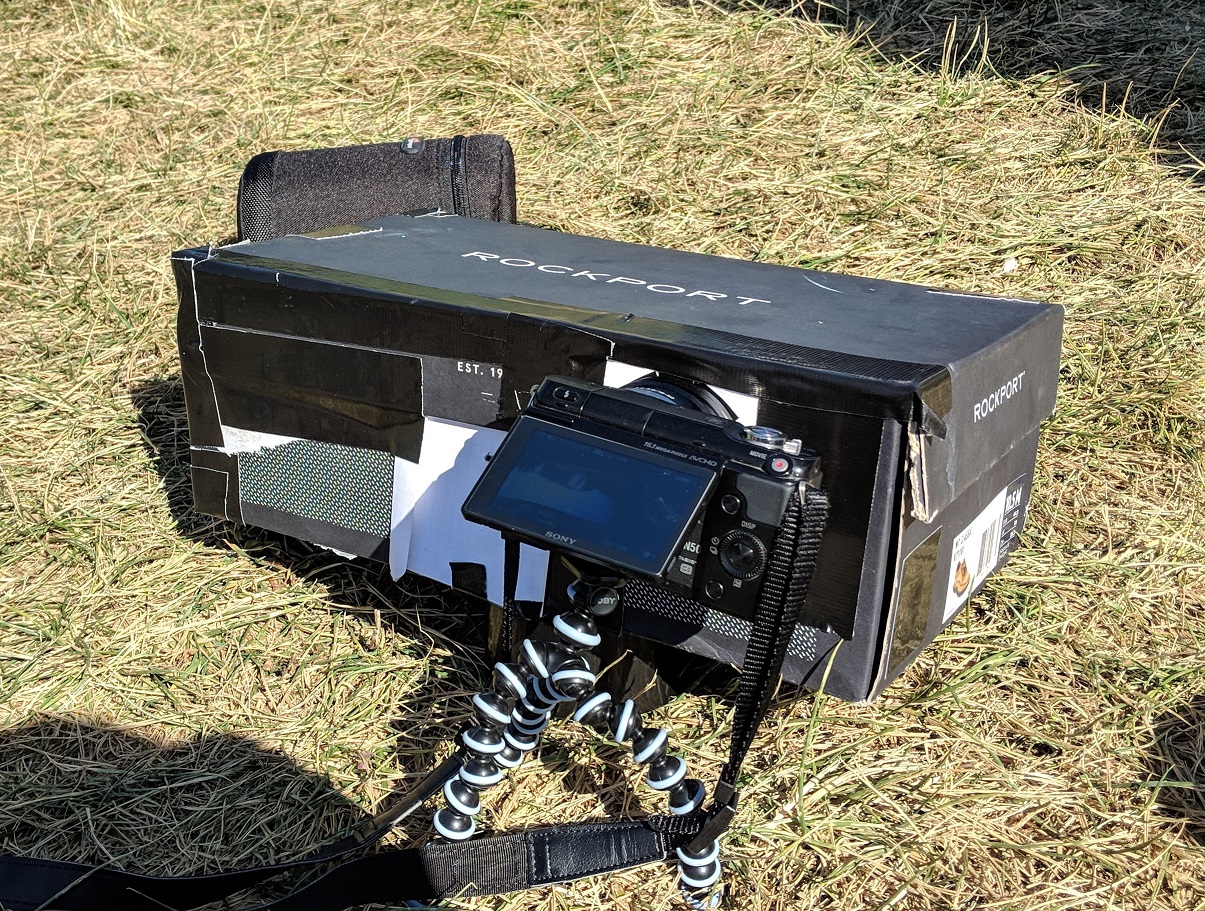
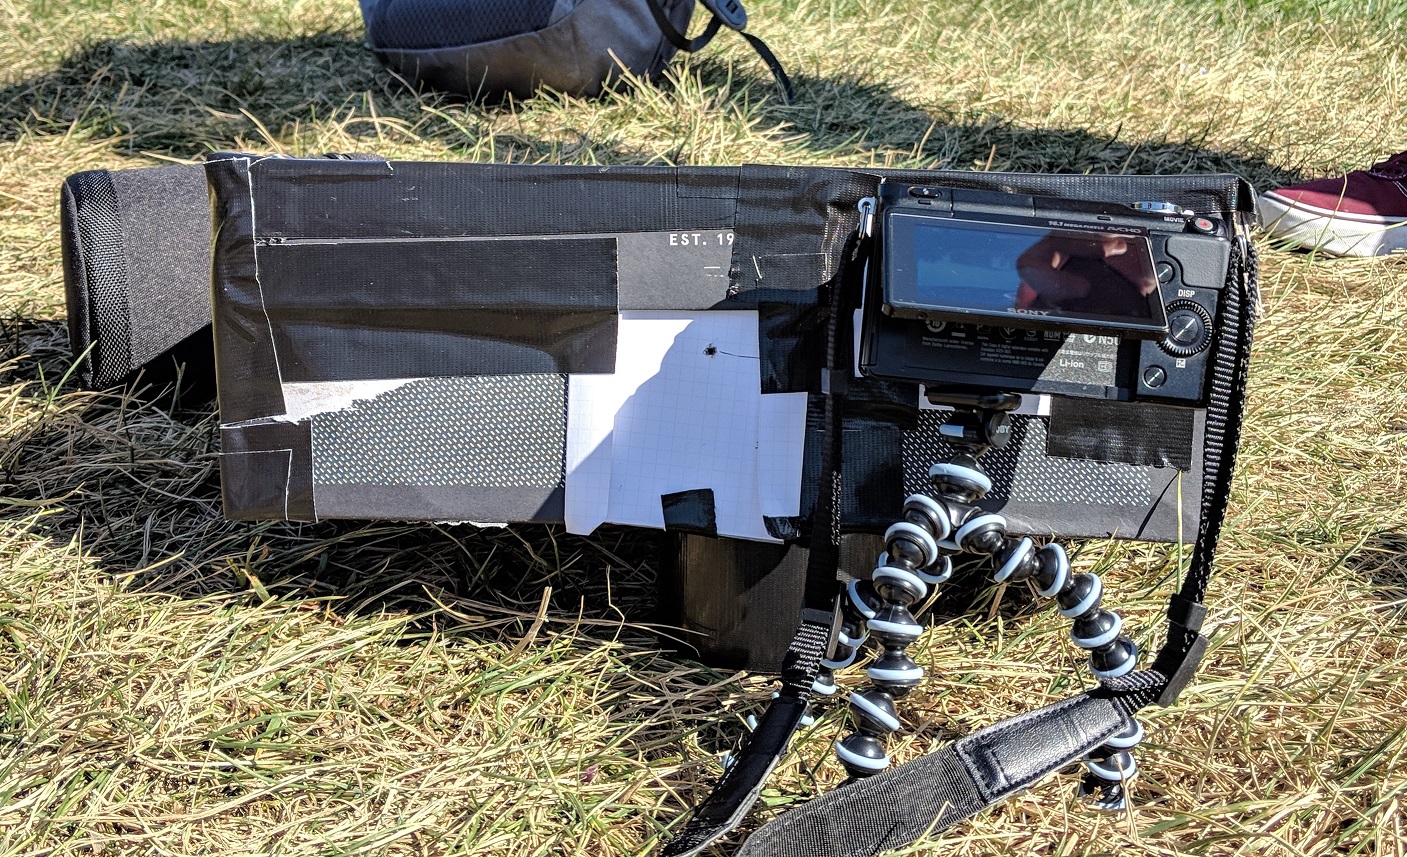
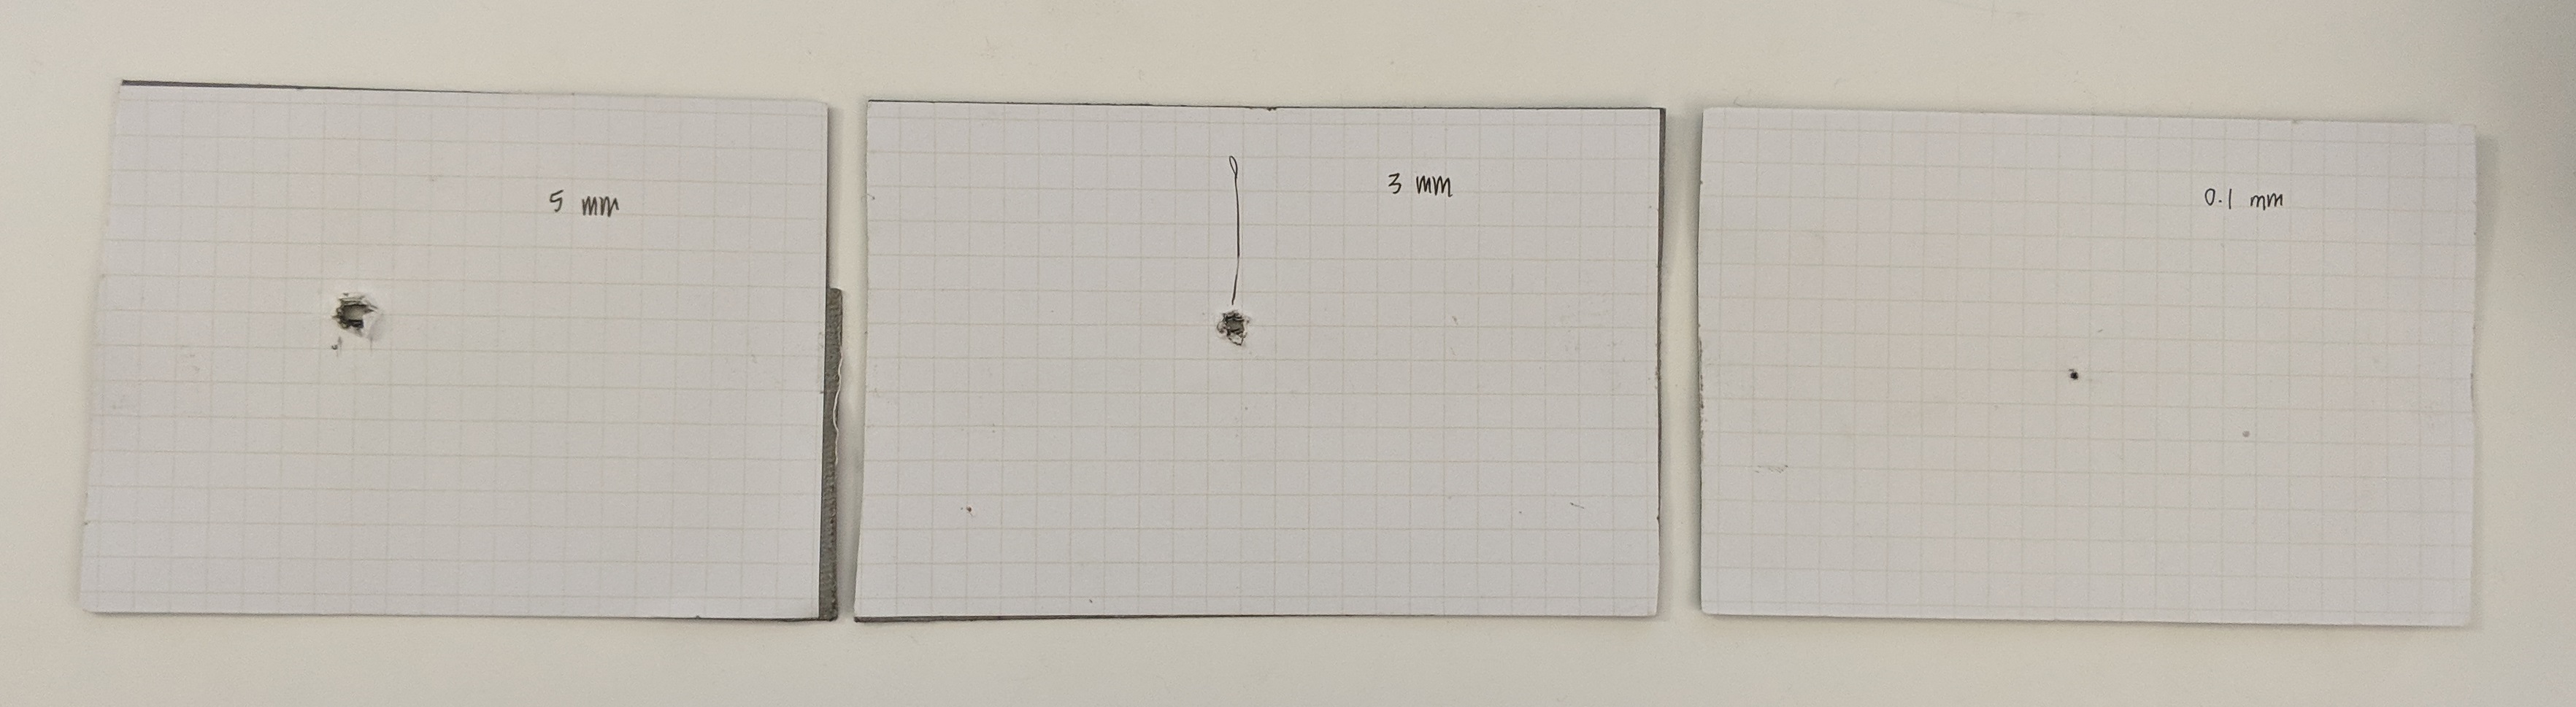
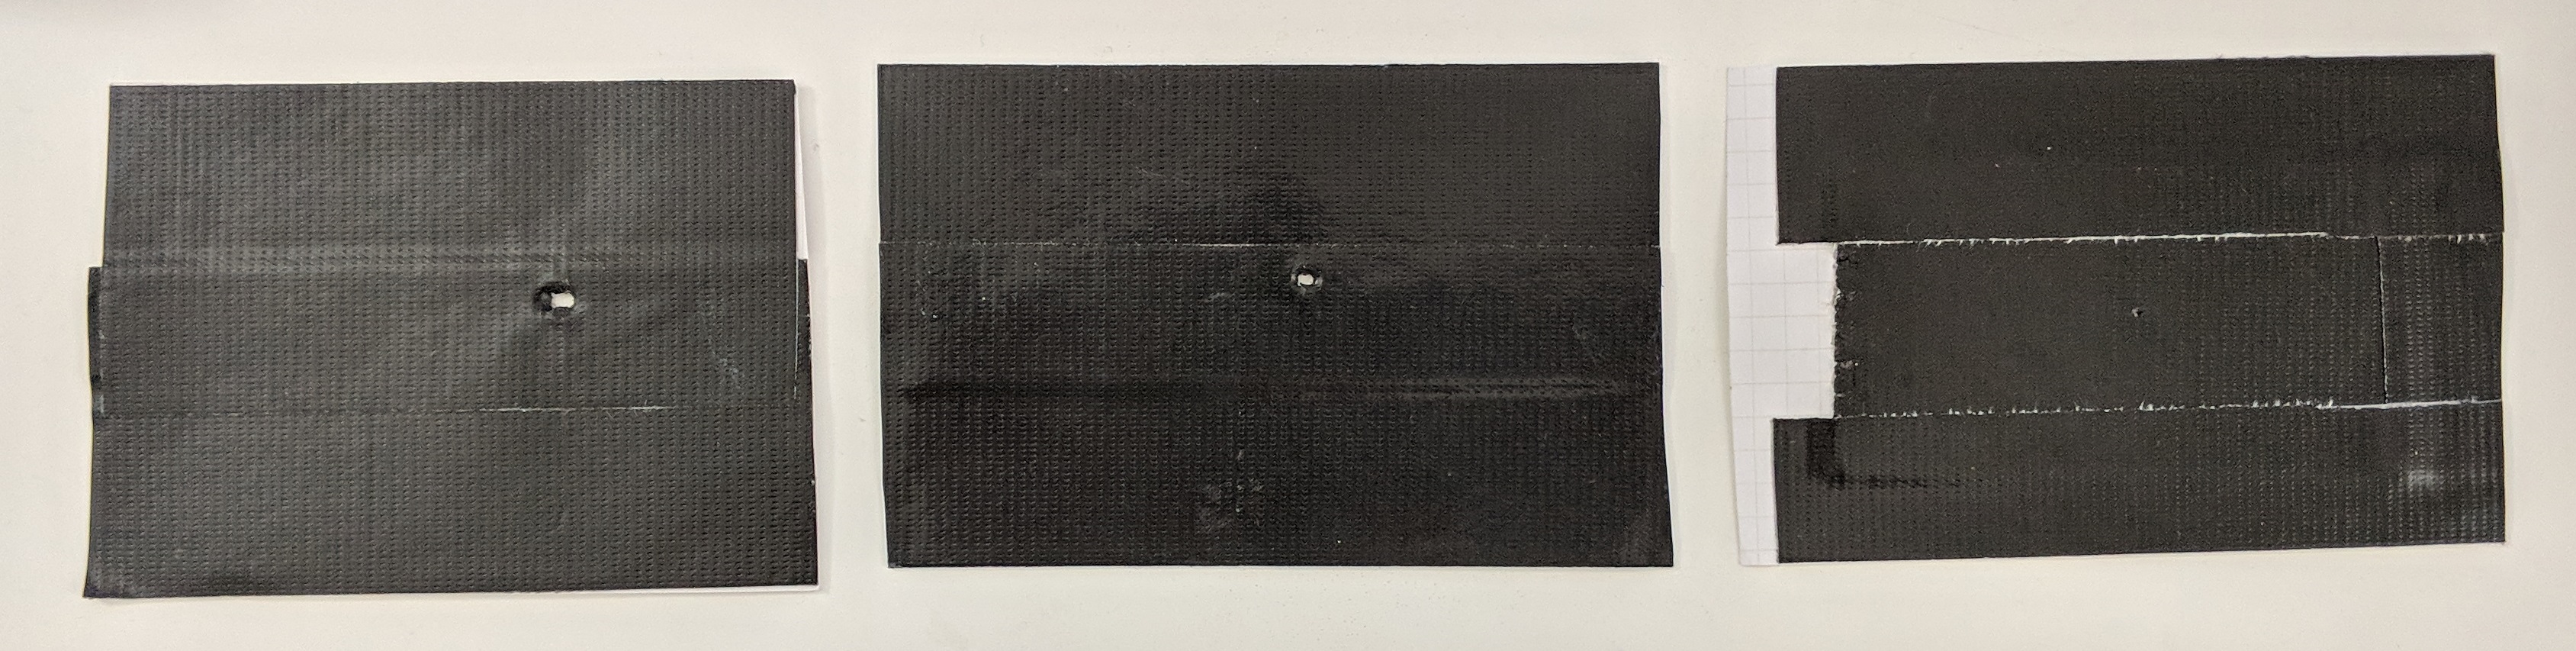
We cut out a large rectangle from the center on one side of the box, and we made a little pocket around the rectangle to hold the pinhole cards. We made a pinhole on 3 duct-taped notecards, with diameters of 0.1mm, 3mm, and 5mm. They can be replaced easily by sliding in and out of the pocket anytime. We also cut out a circular hole from the right of the pinhole pocket for the lens of the camera.
As you can see from the pictures above, much of the sealing is done by duct taping everywhere that could potentially leak light, especially the edges along the cover, pocket and the camera hole. To minimzing reflection of light inside the box, we taped black papers on the interior except the area that the light would hit directly from the pinhole, or the screen, where we taped a piece of white paper.
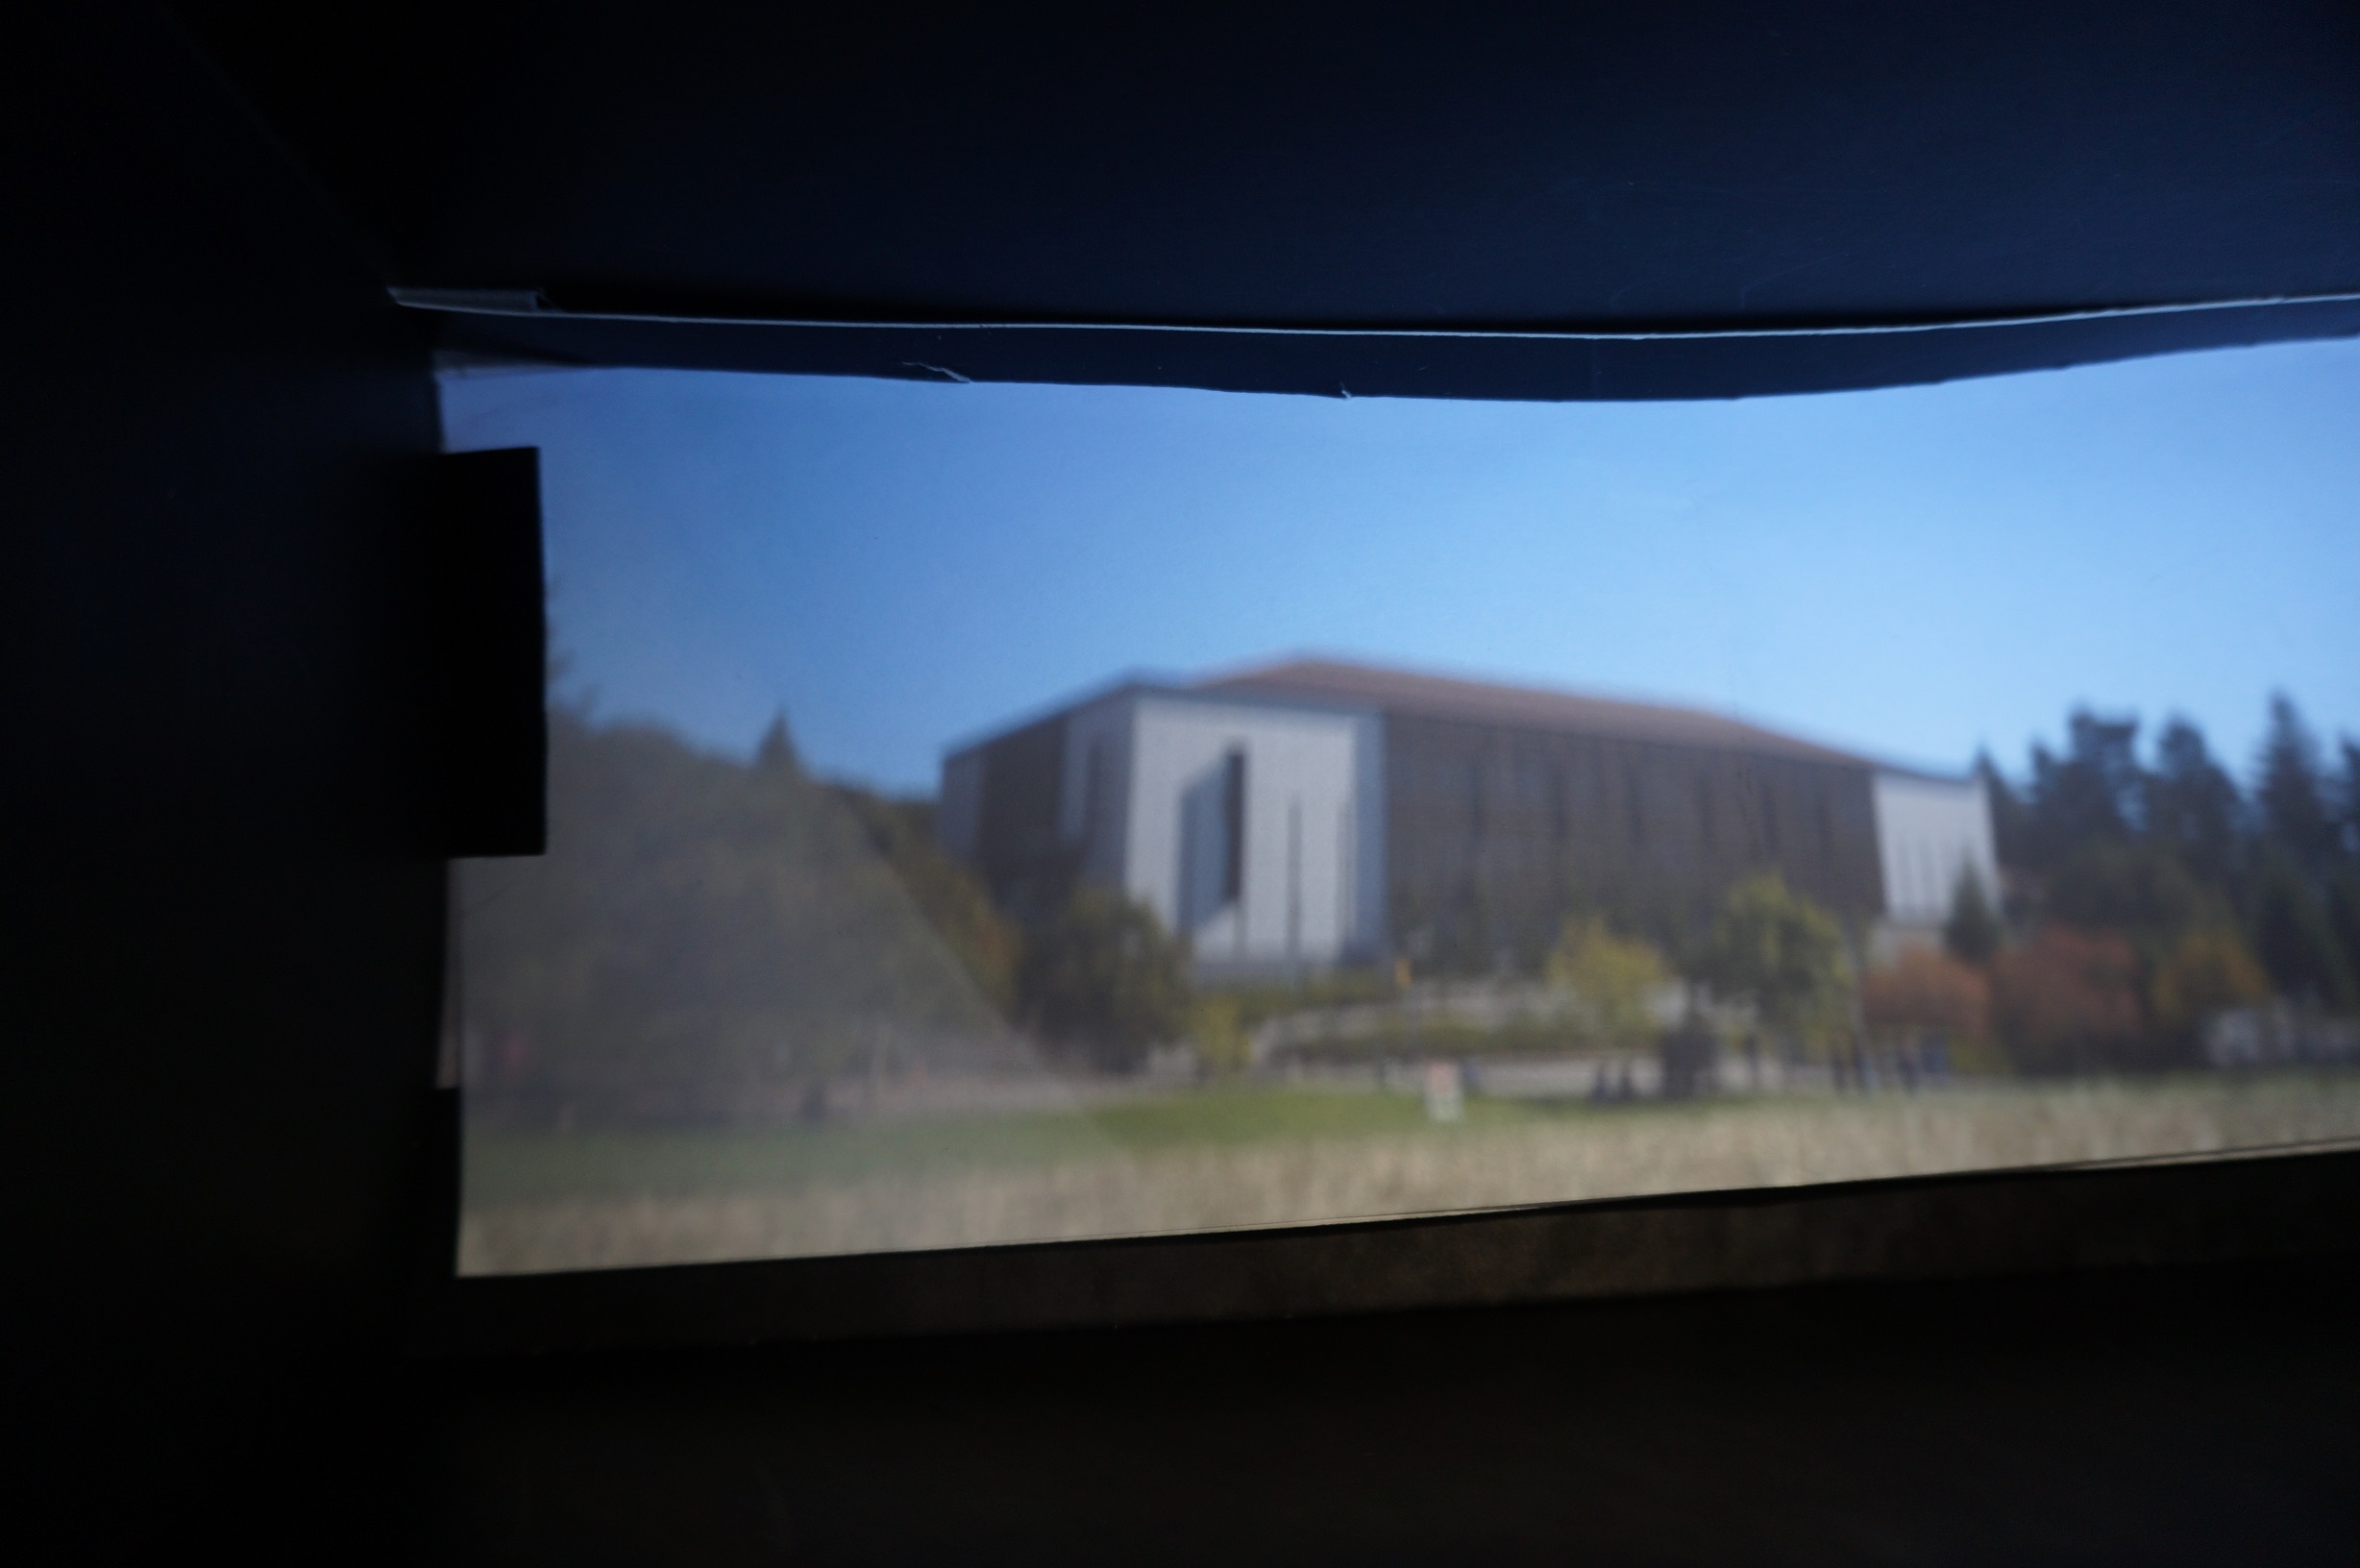
The pinhole sizes that we tried were 0.1 mm, 3 mm, and 5 mm. According to our calculations, 0.63 mm should have been the optimal pinhole size for the size of our box. We thought that the smallest pinhole would have given us the best images, since it was the closest to the calculated optimal size. In practice, however, the 0.1 mm pinhole produced very dark images and the best images came from the 3 mm pinhole.
One explanation for our results is that the cards which we used to switch out the different sized pinholes had nonzero thickness to them. We covered the cards in black duct tape to try and minimize any extra light that might have passed through the cards. Consequently, the cards ended up being about 1-2 mm thick. This means that a light ray entering the pinhole on one side of the card could only pass through to the other side (and not be absorbed by the walls of the card) if its angle of incidence was sufficiently small. If the angle of incidence was too large, the ray would be absorbed by the walls of the hole. This reduces the effective size of the pinhole, which may be why our “3 mm” pinhole ended up giving us the best pictures—at this point in time, its effective size was closest to our optimal size.
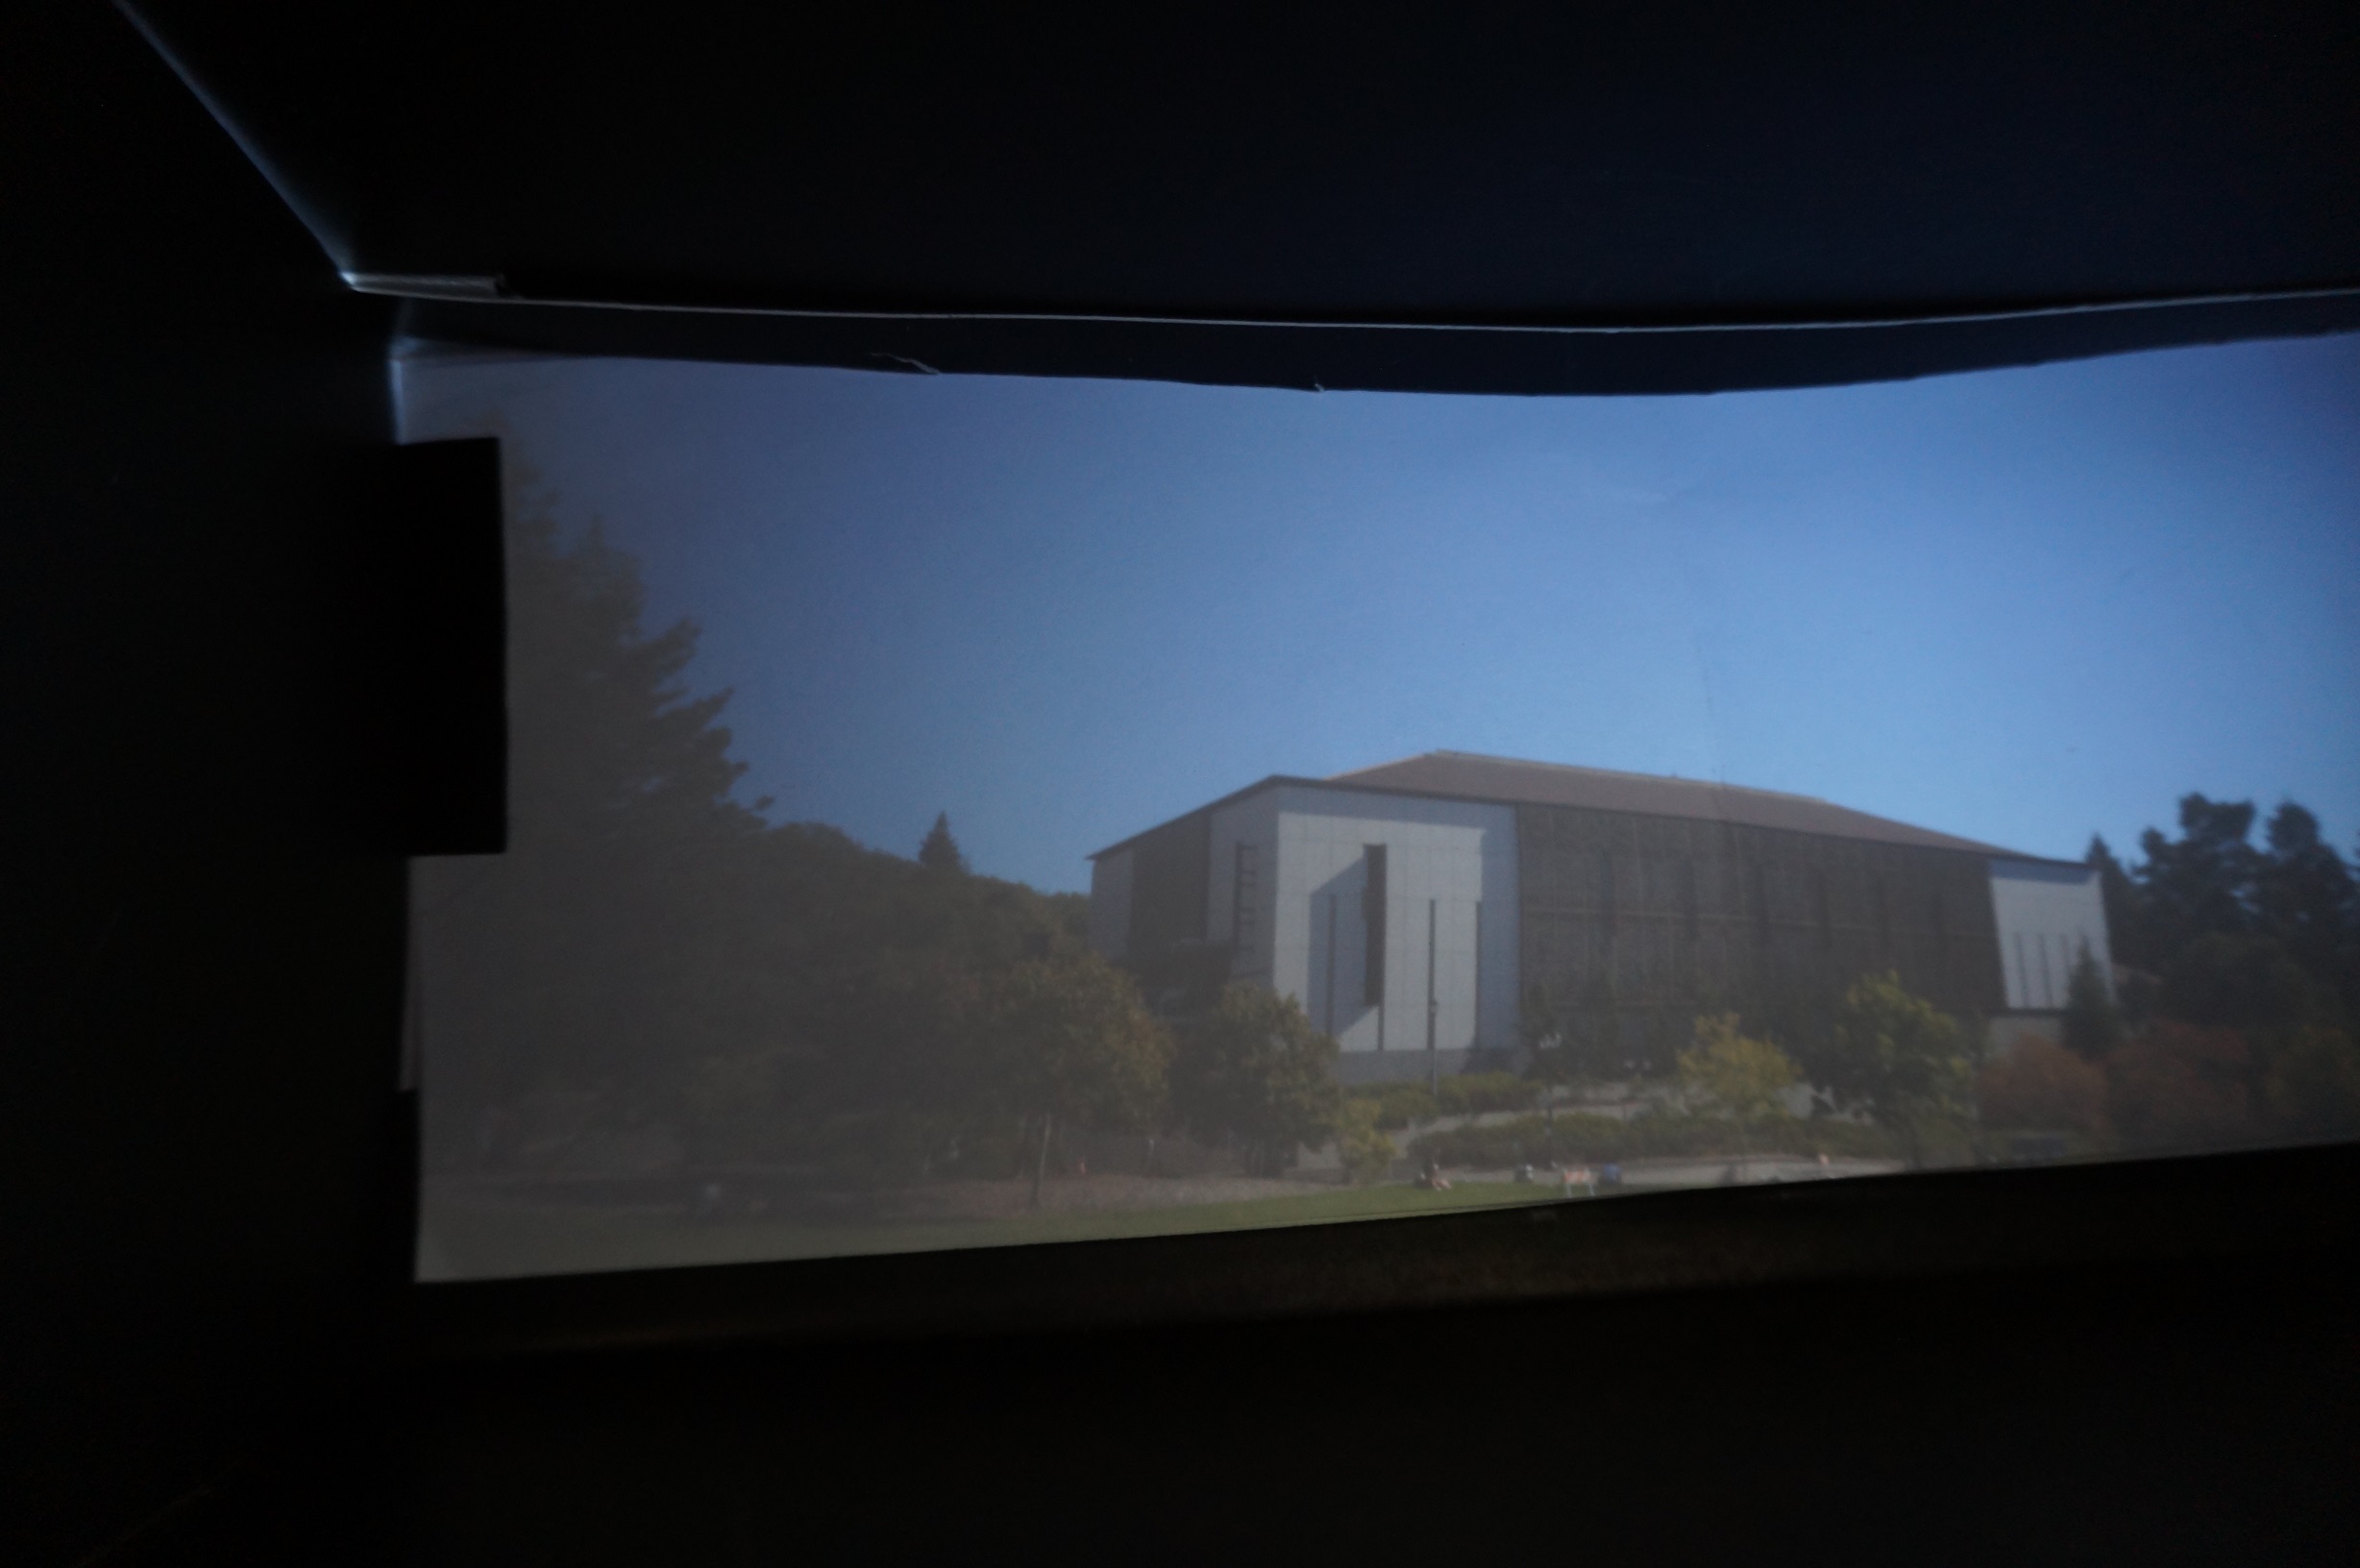
We made the “0.1 mm” pinhole slightly larger (the diameter of the hole was now closer to 1 mm) before taking pictures of the East Asian Library, which resulted in the sharpest and brightest picture with the smallest pinhole that we took. This is likely because the effective size of the pinhole was now closer to the previously calculated optimal size of 0.63 mm.
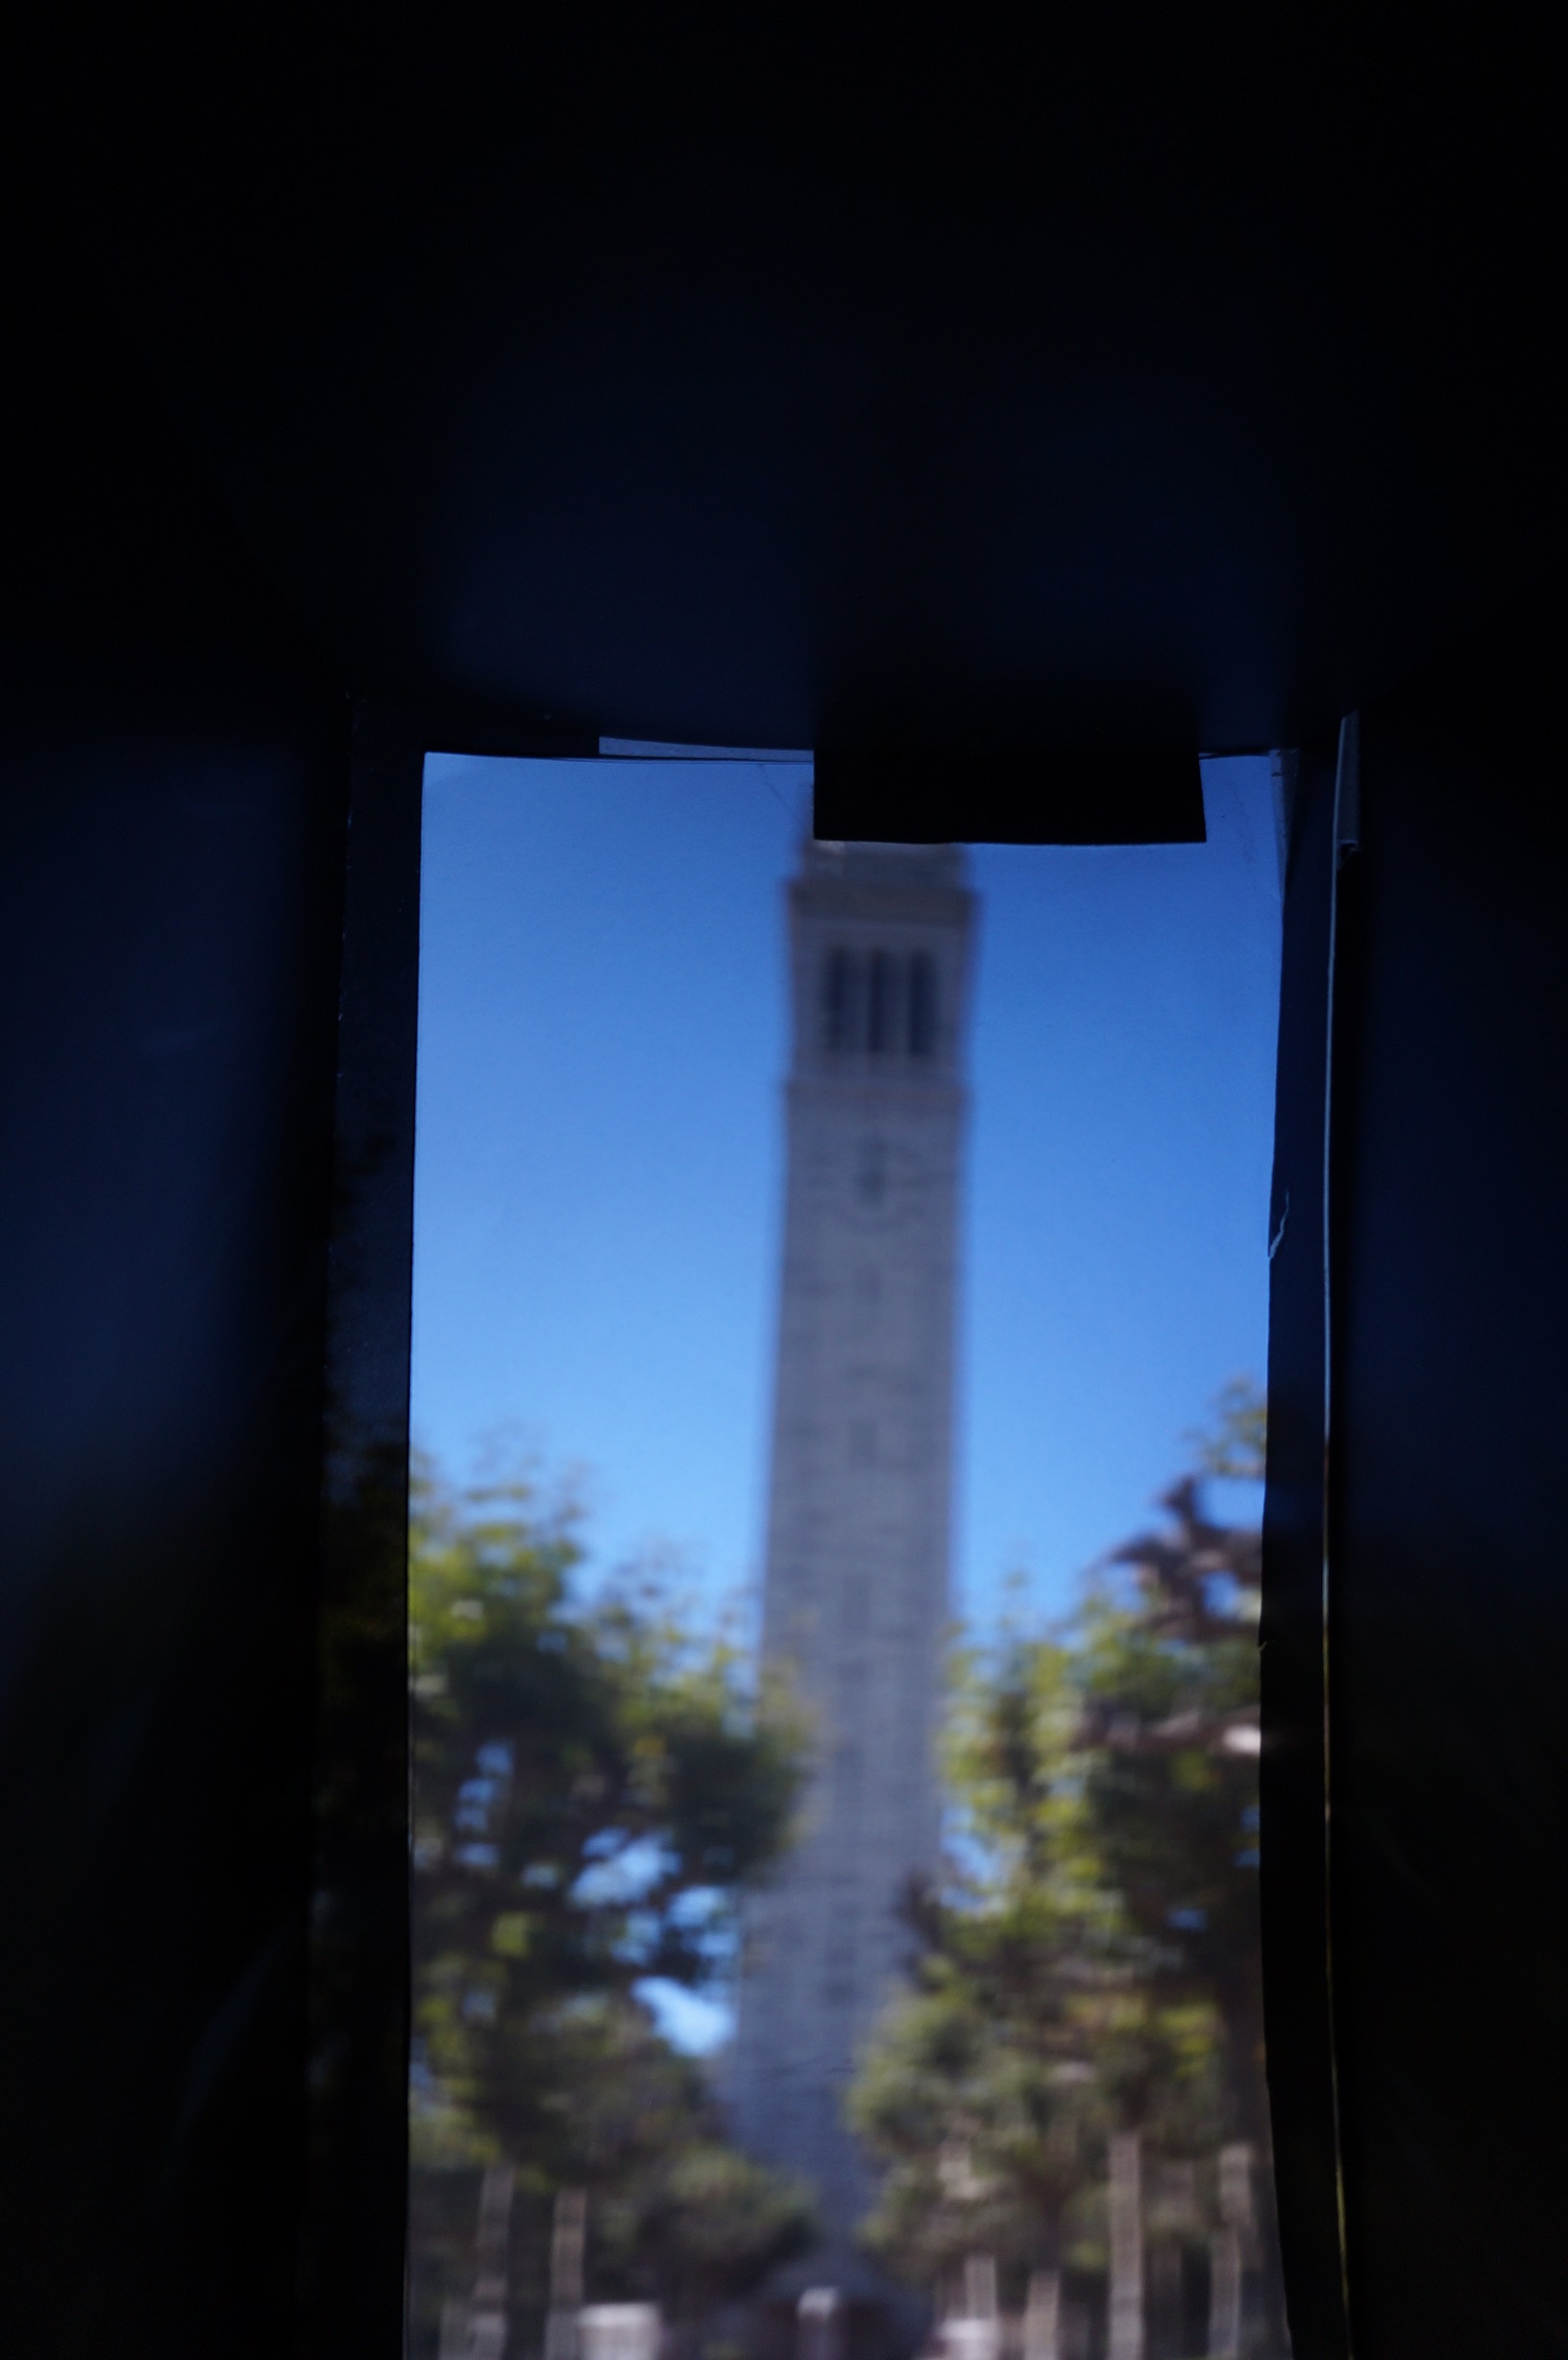
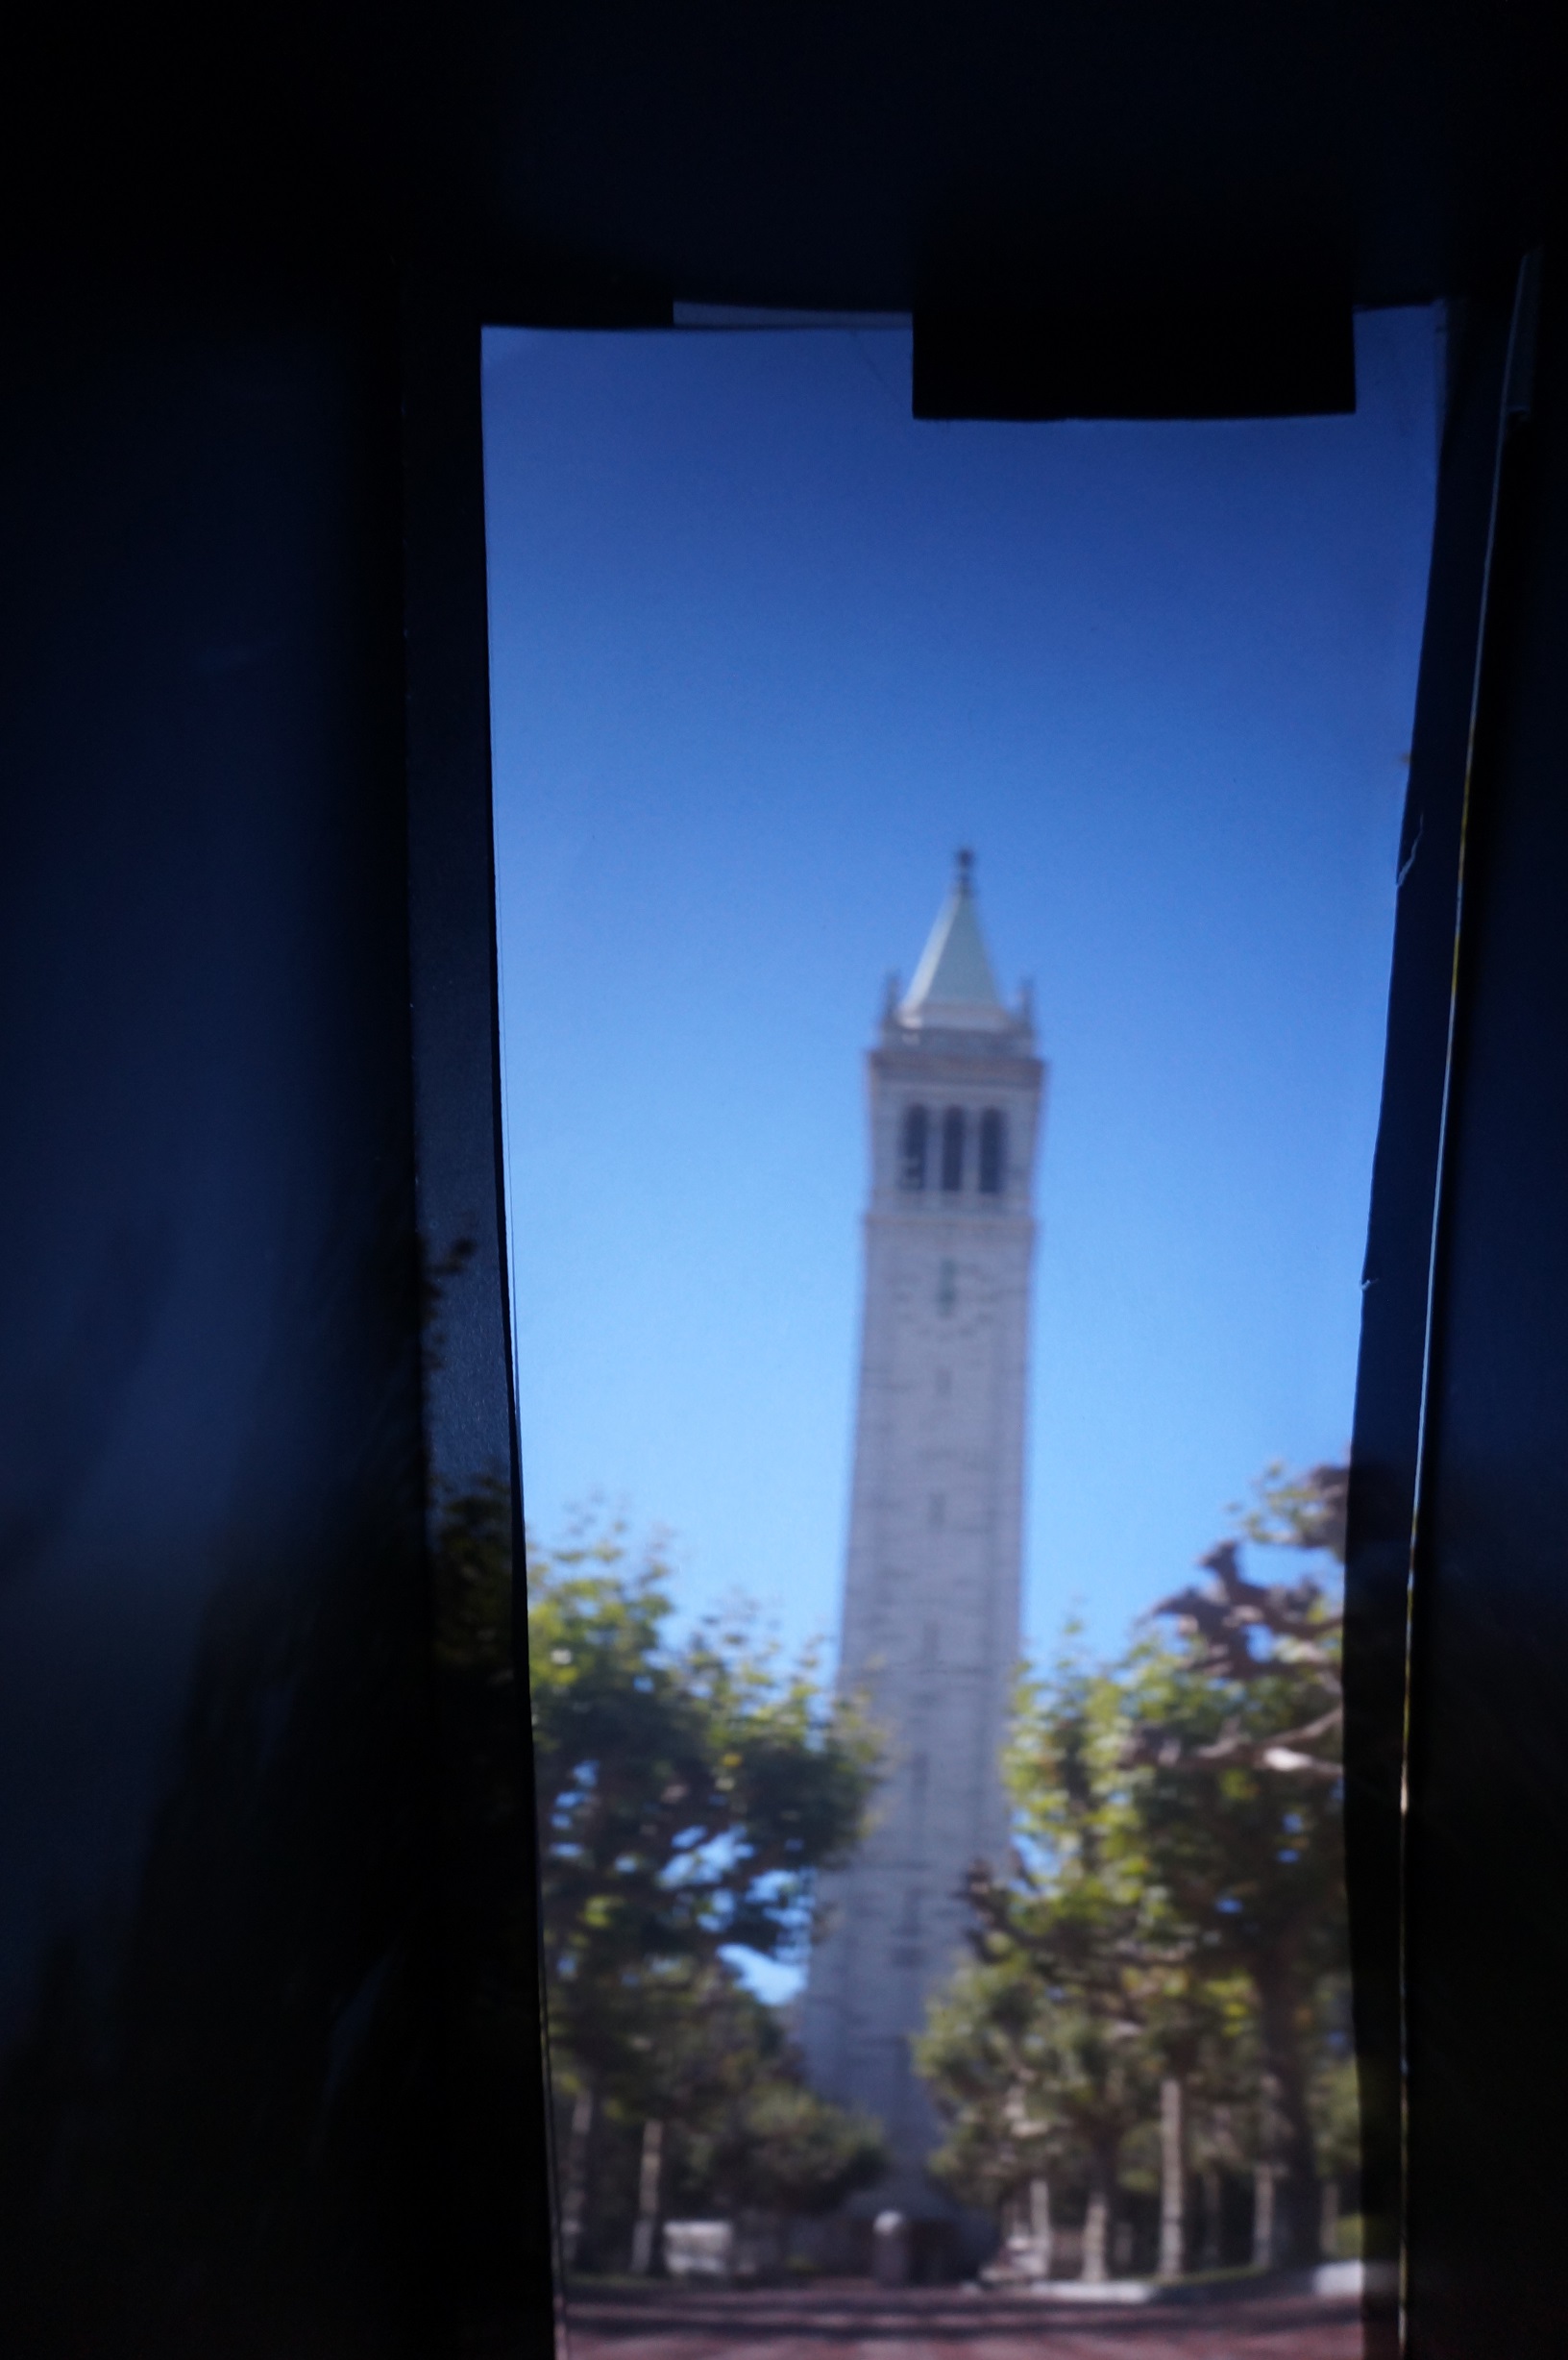
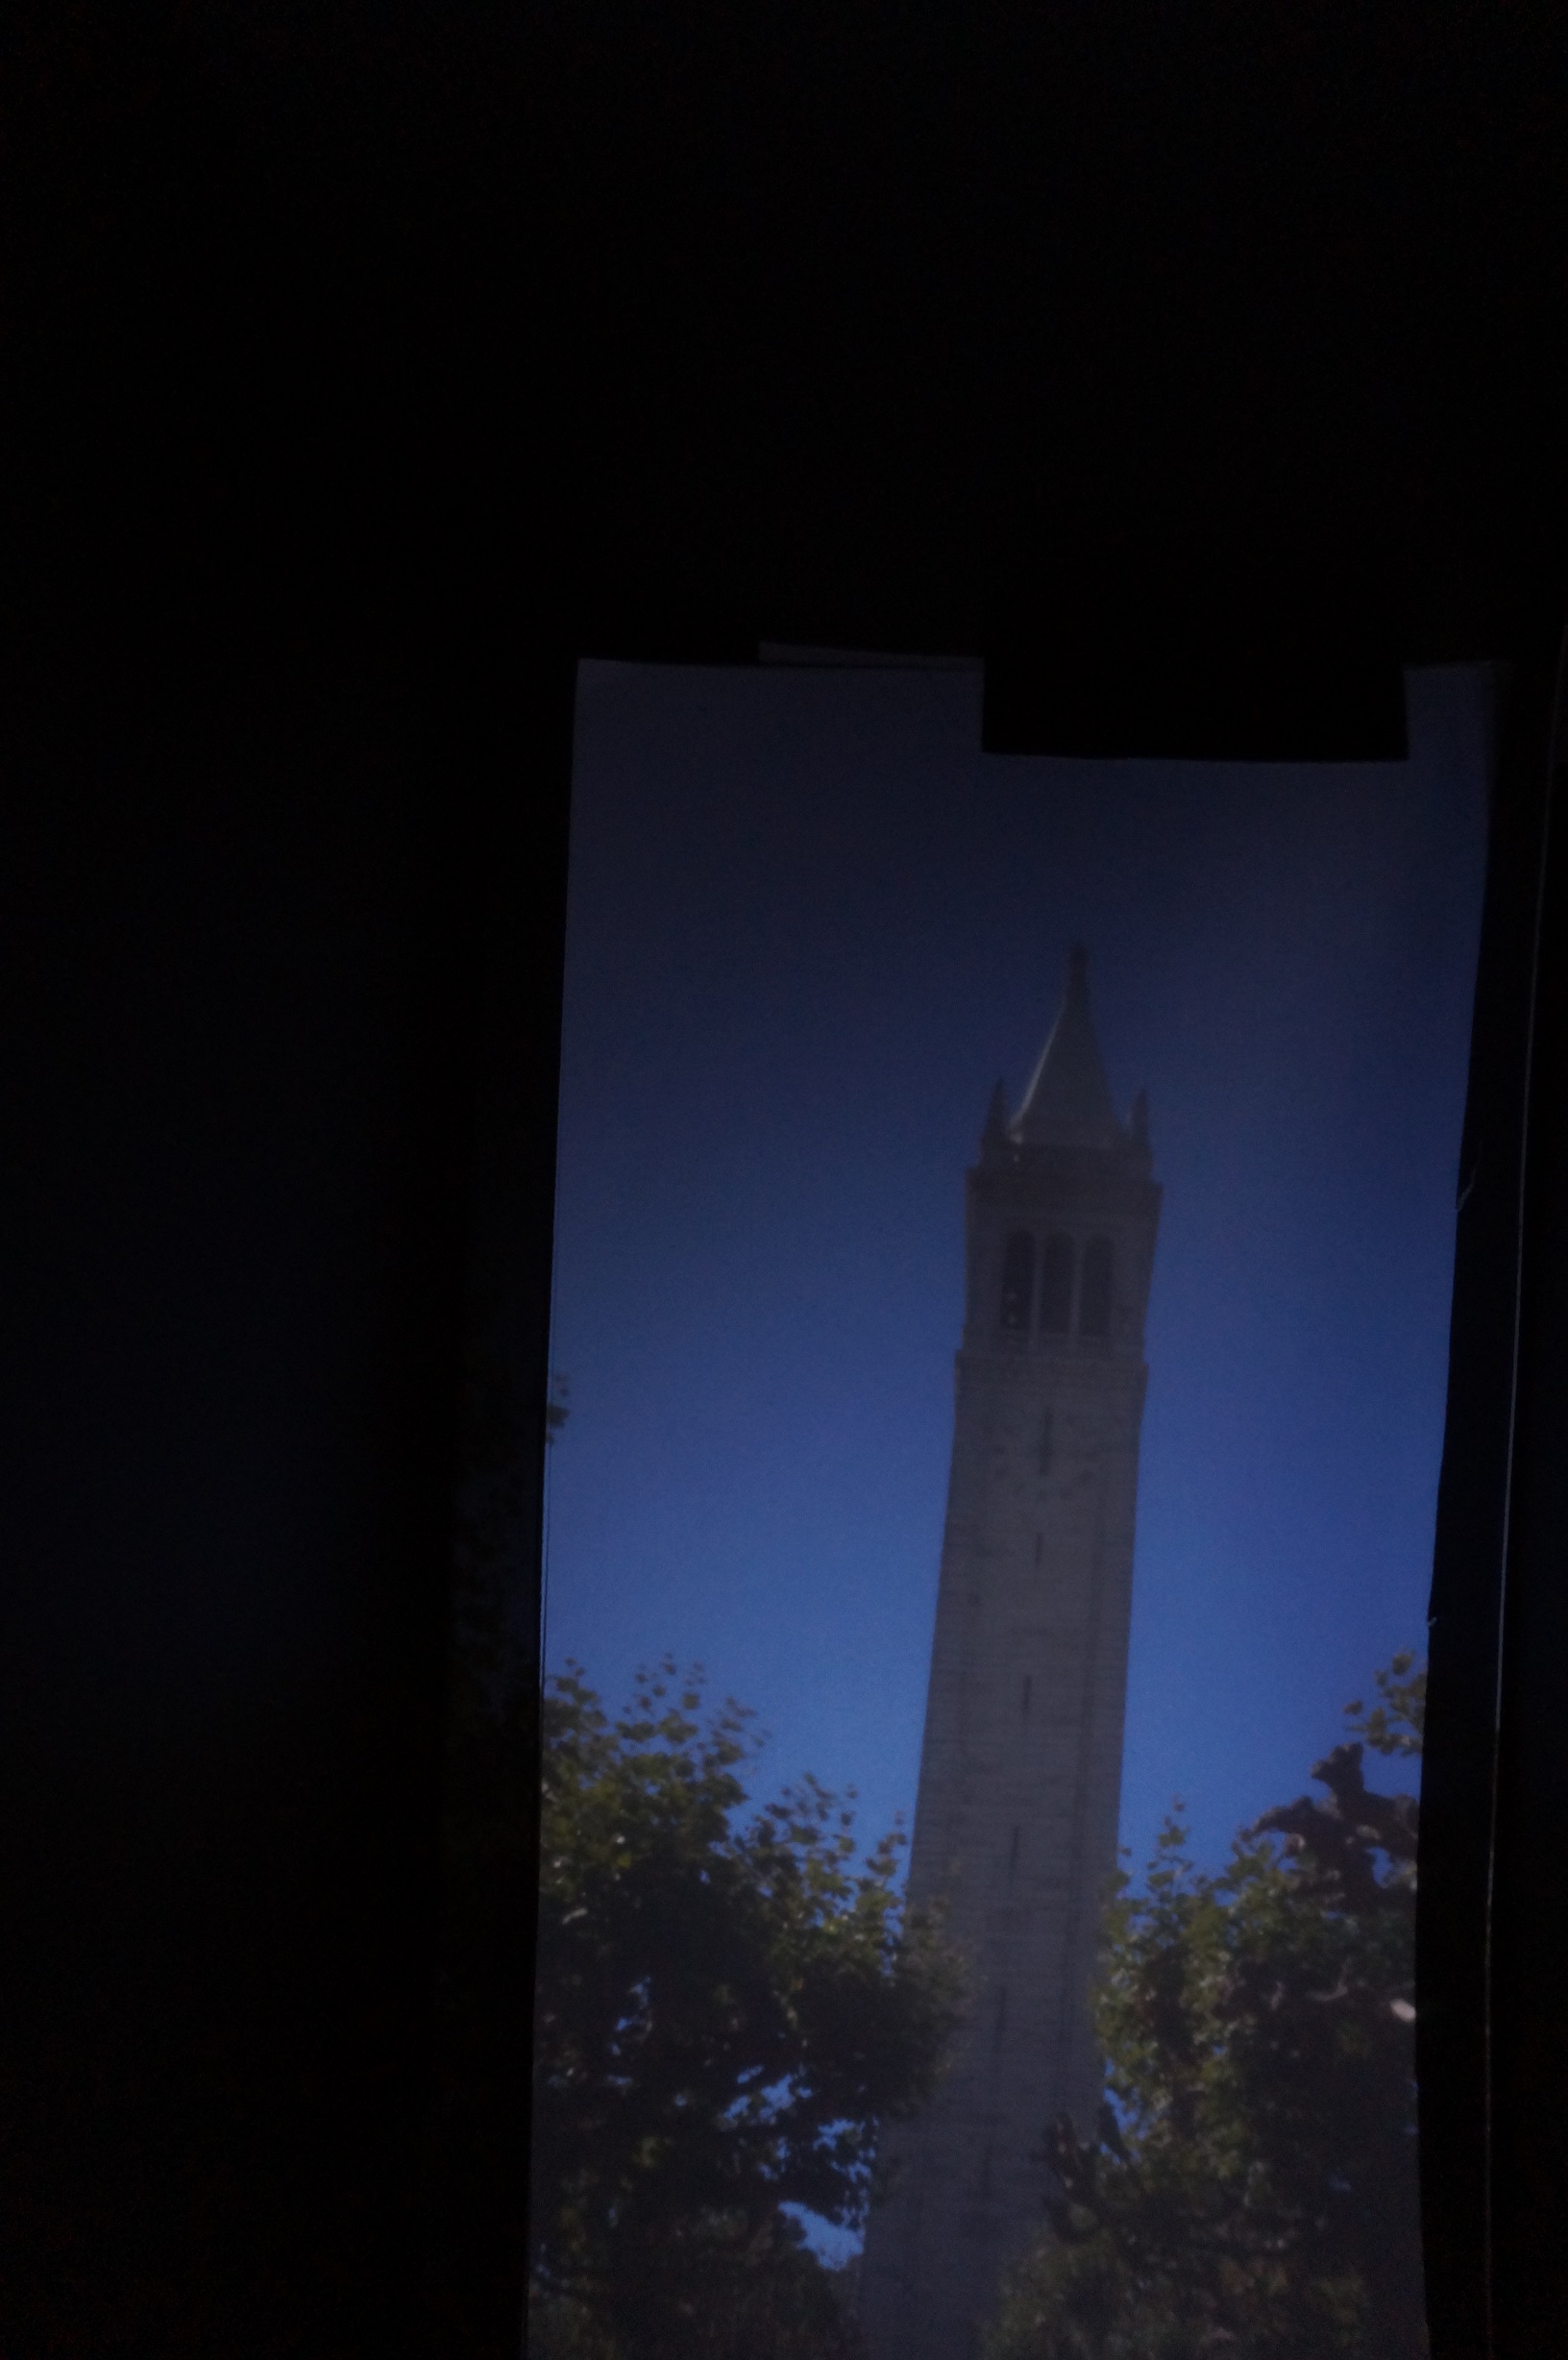
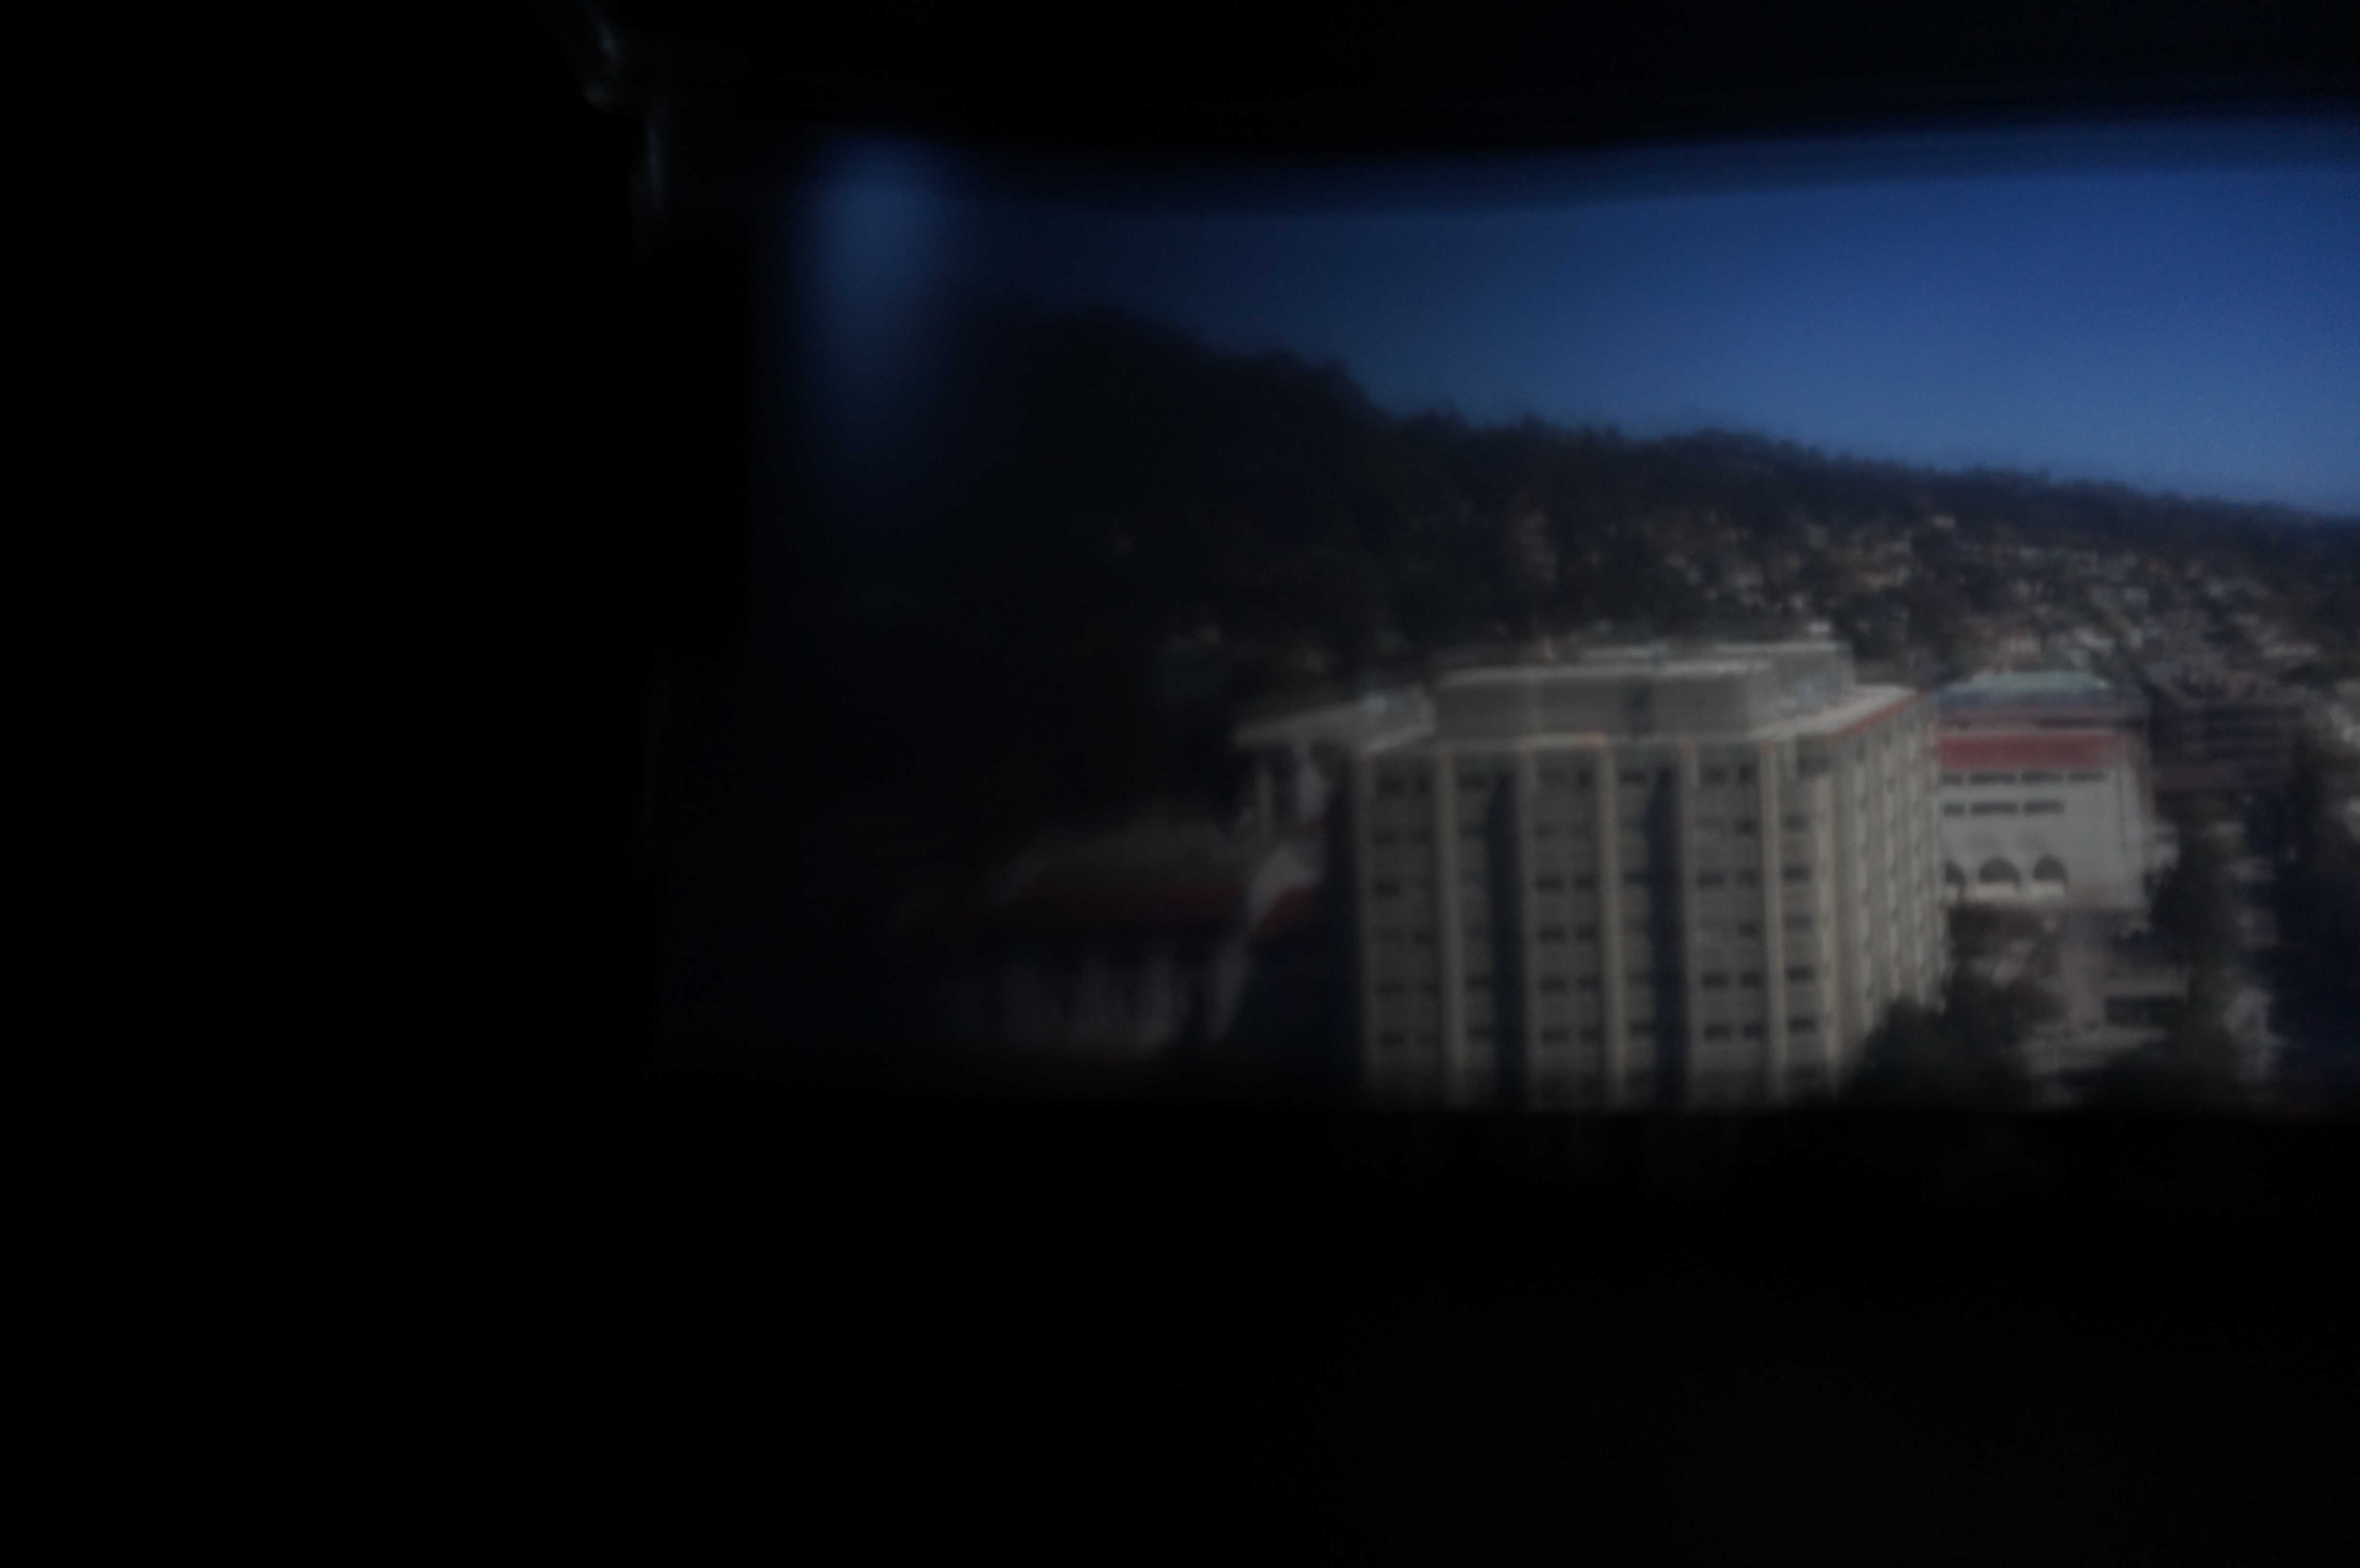
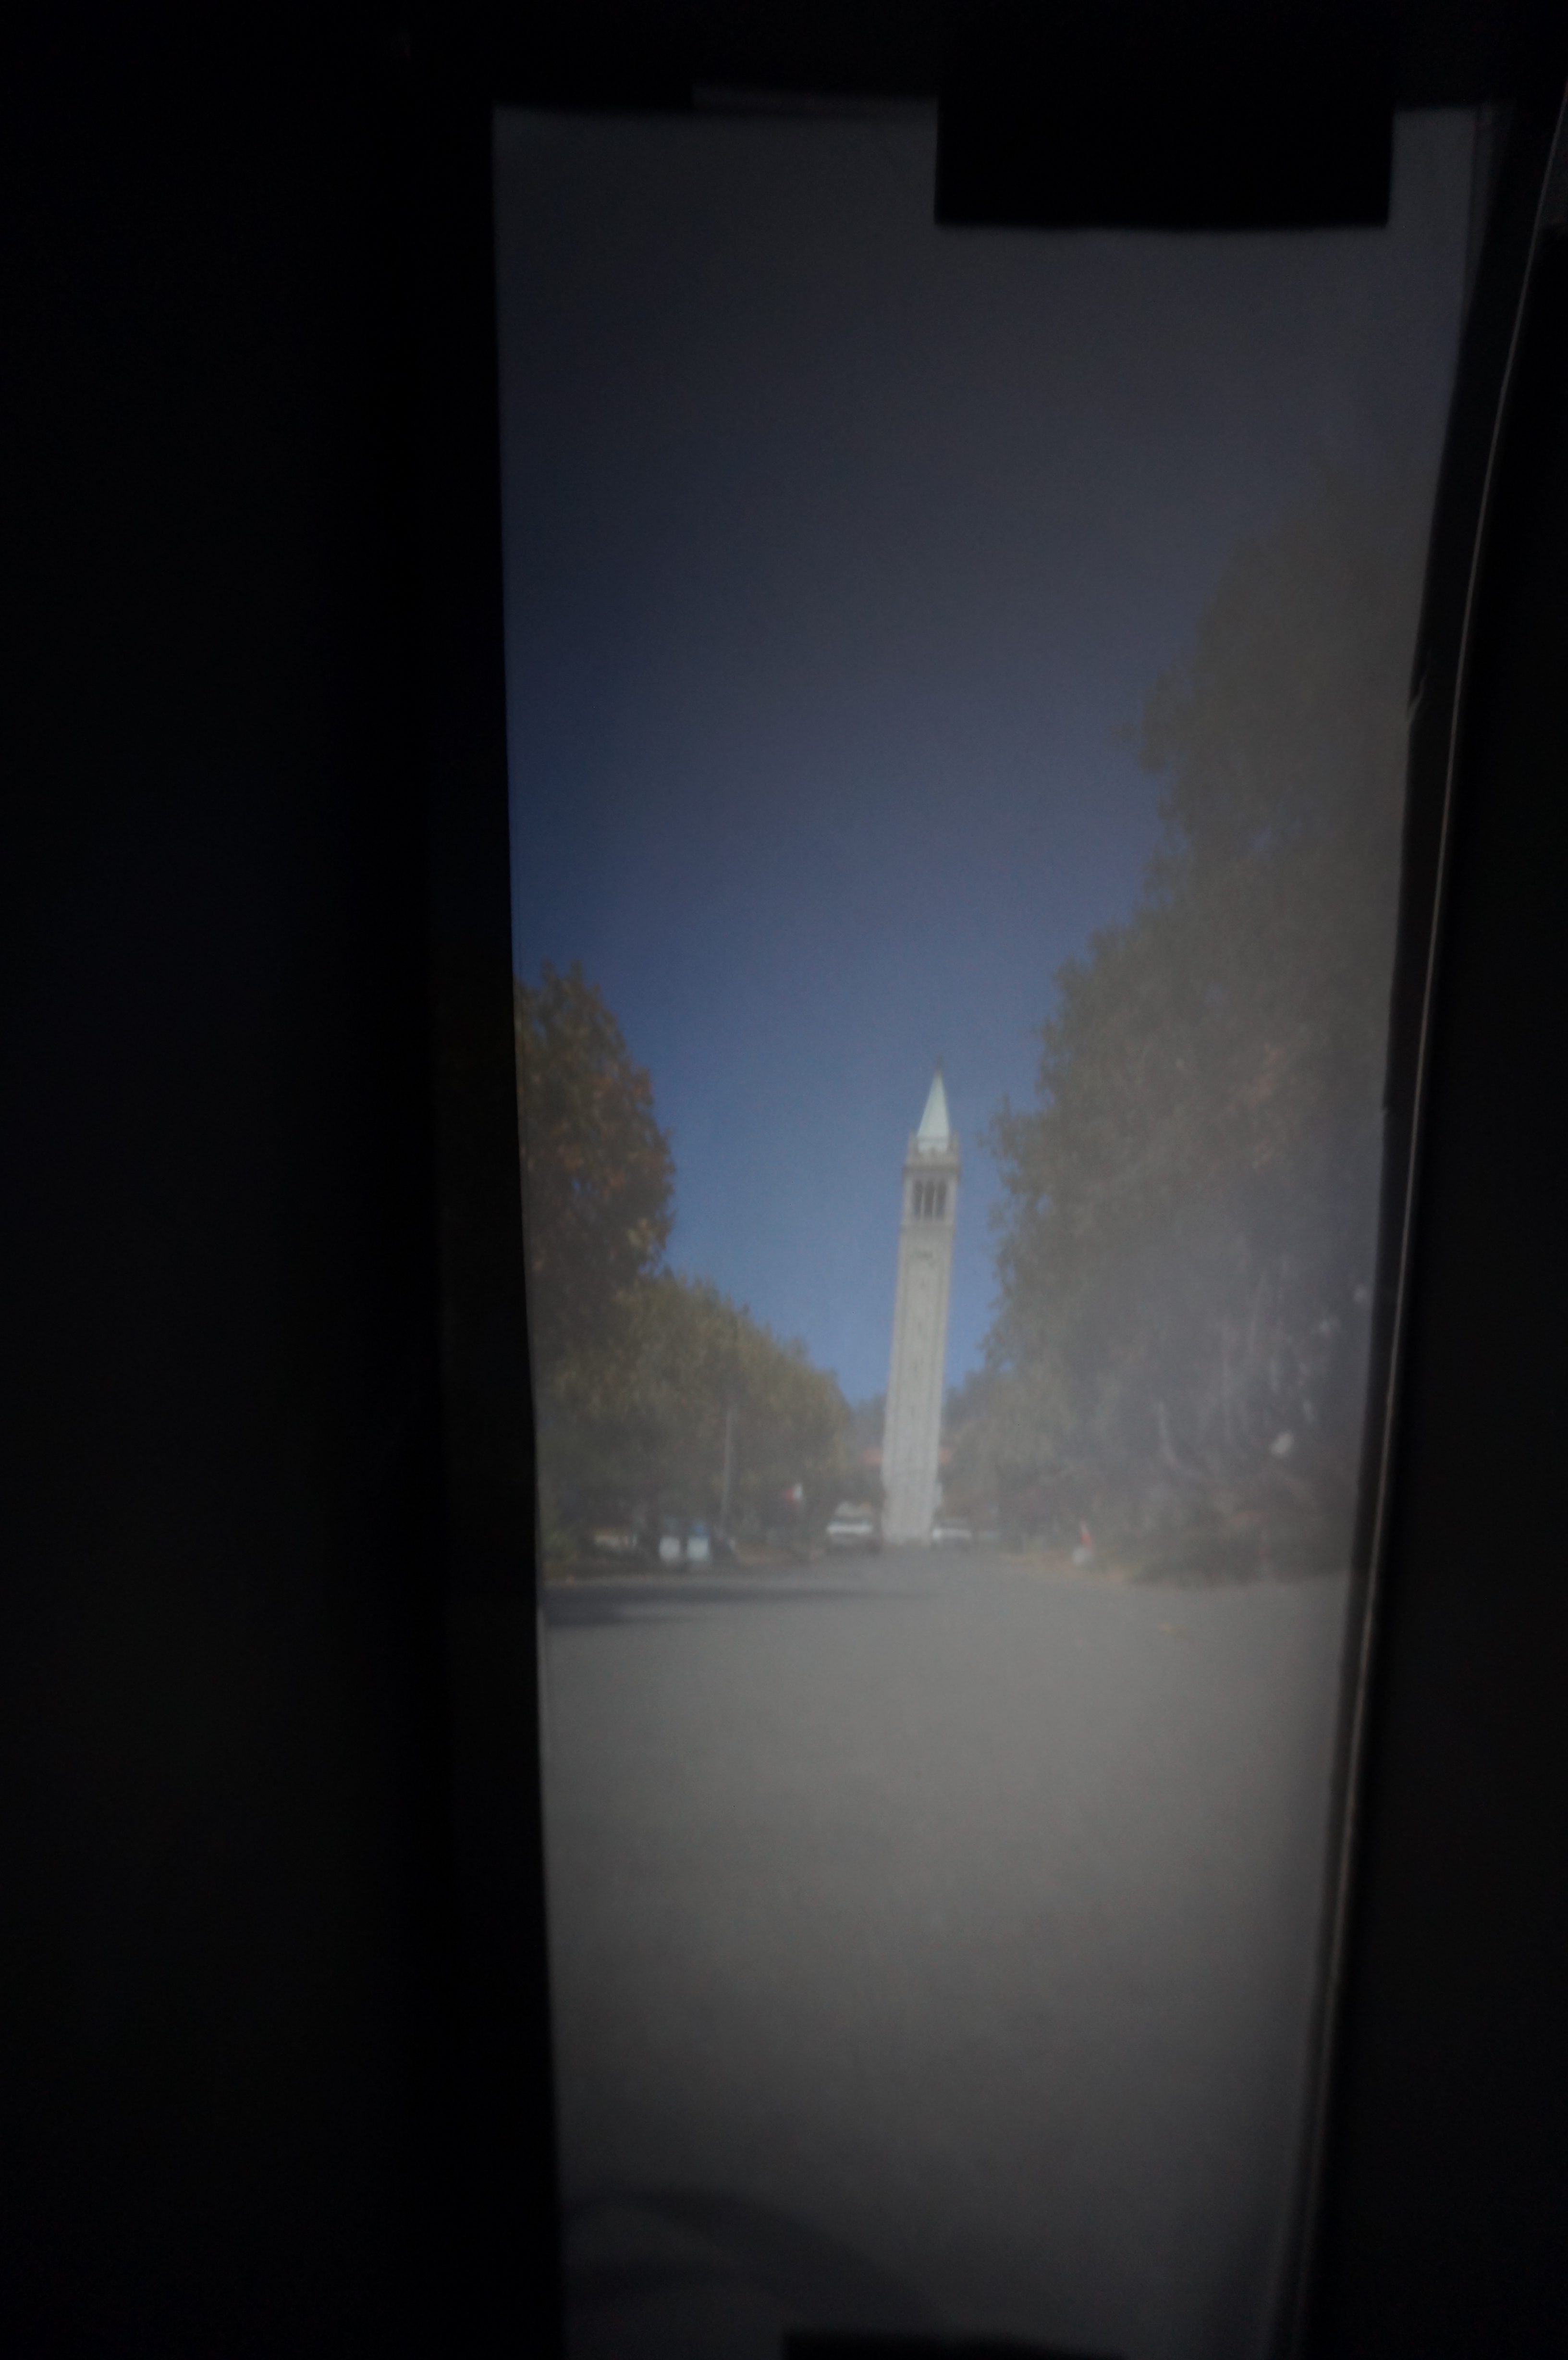
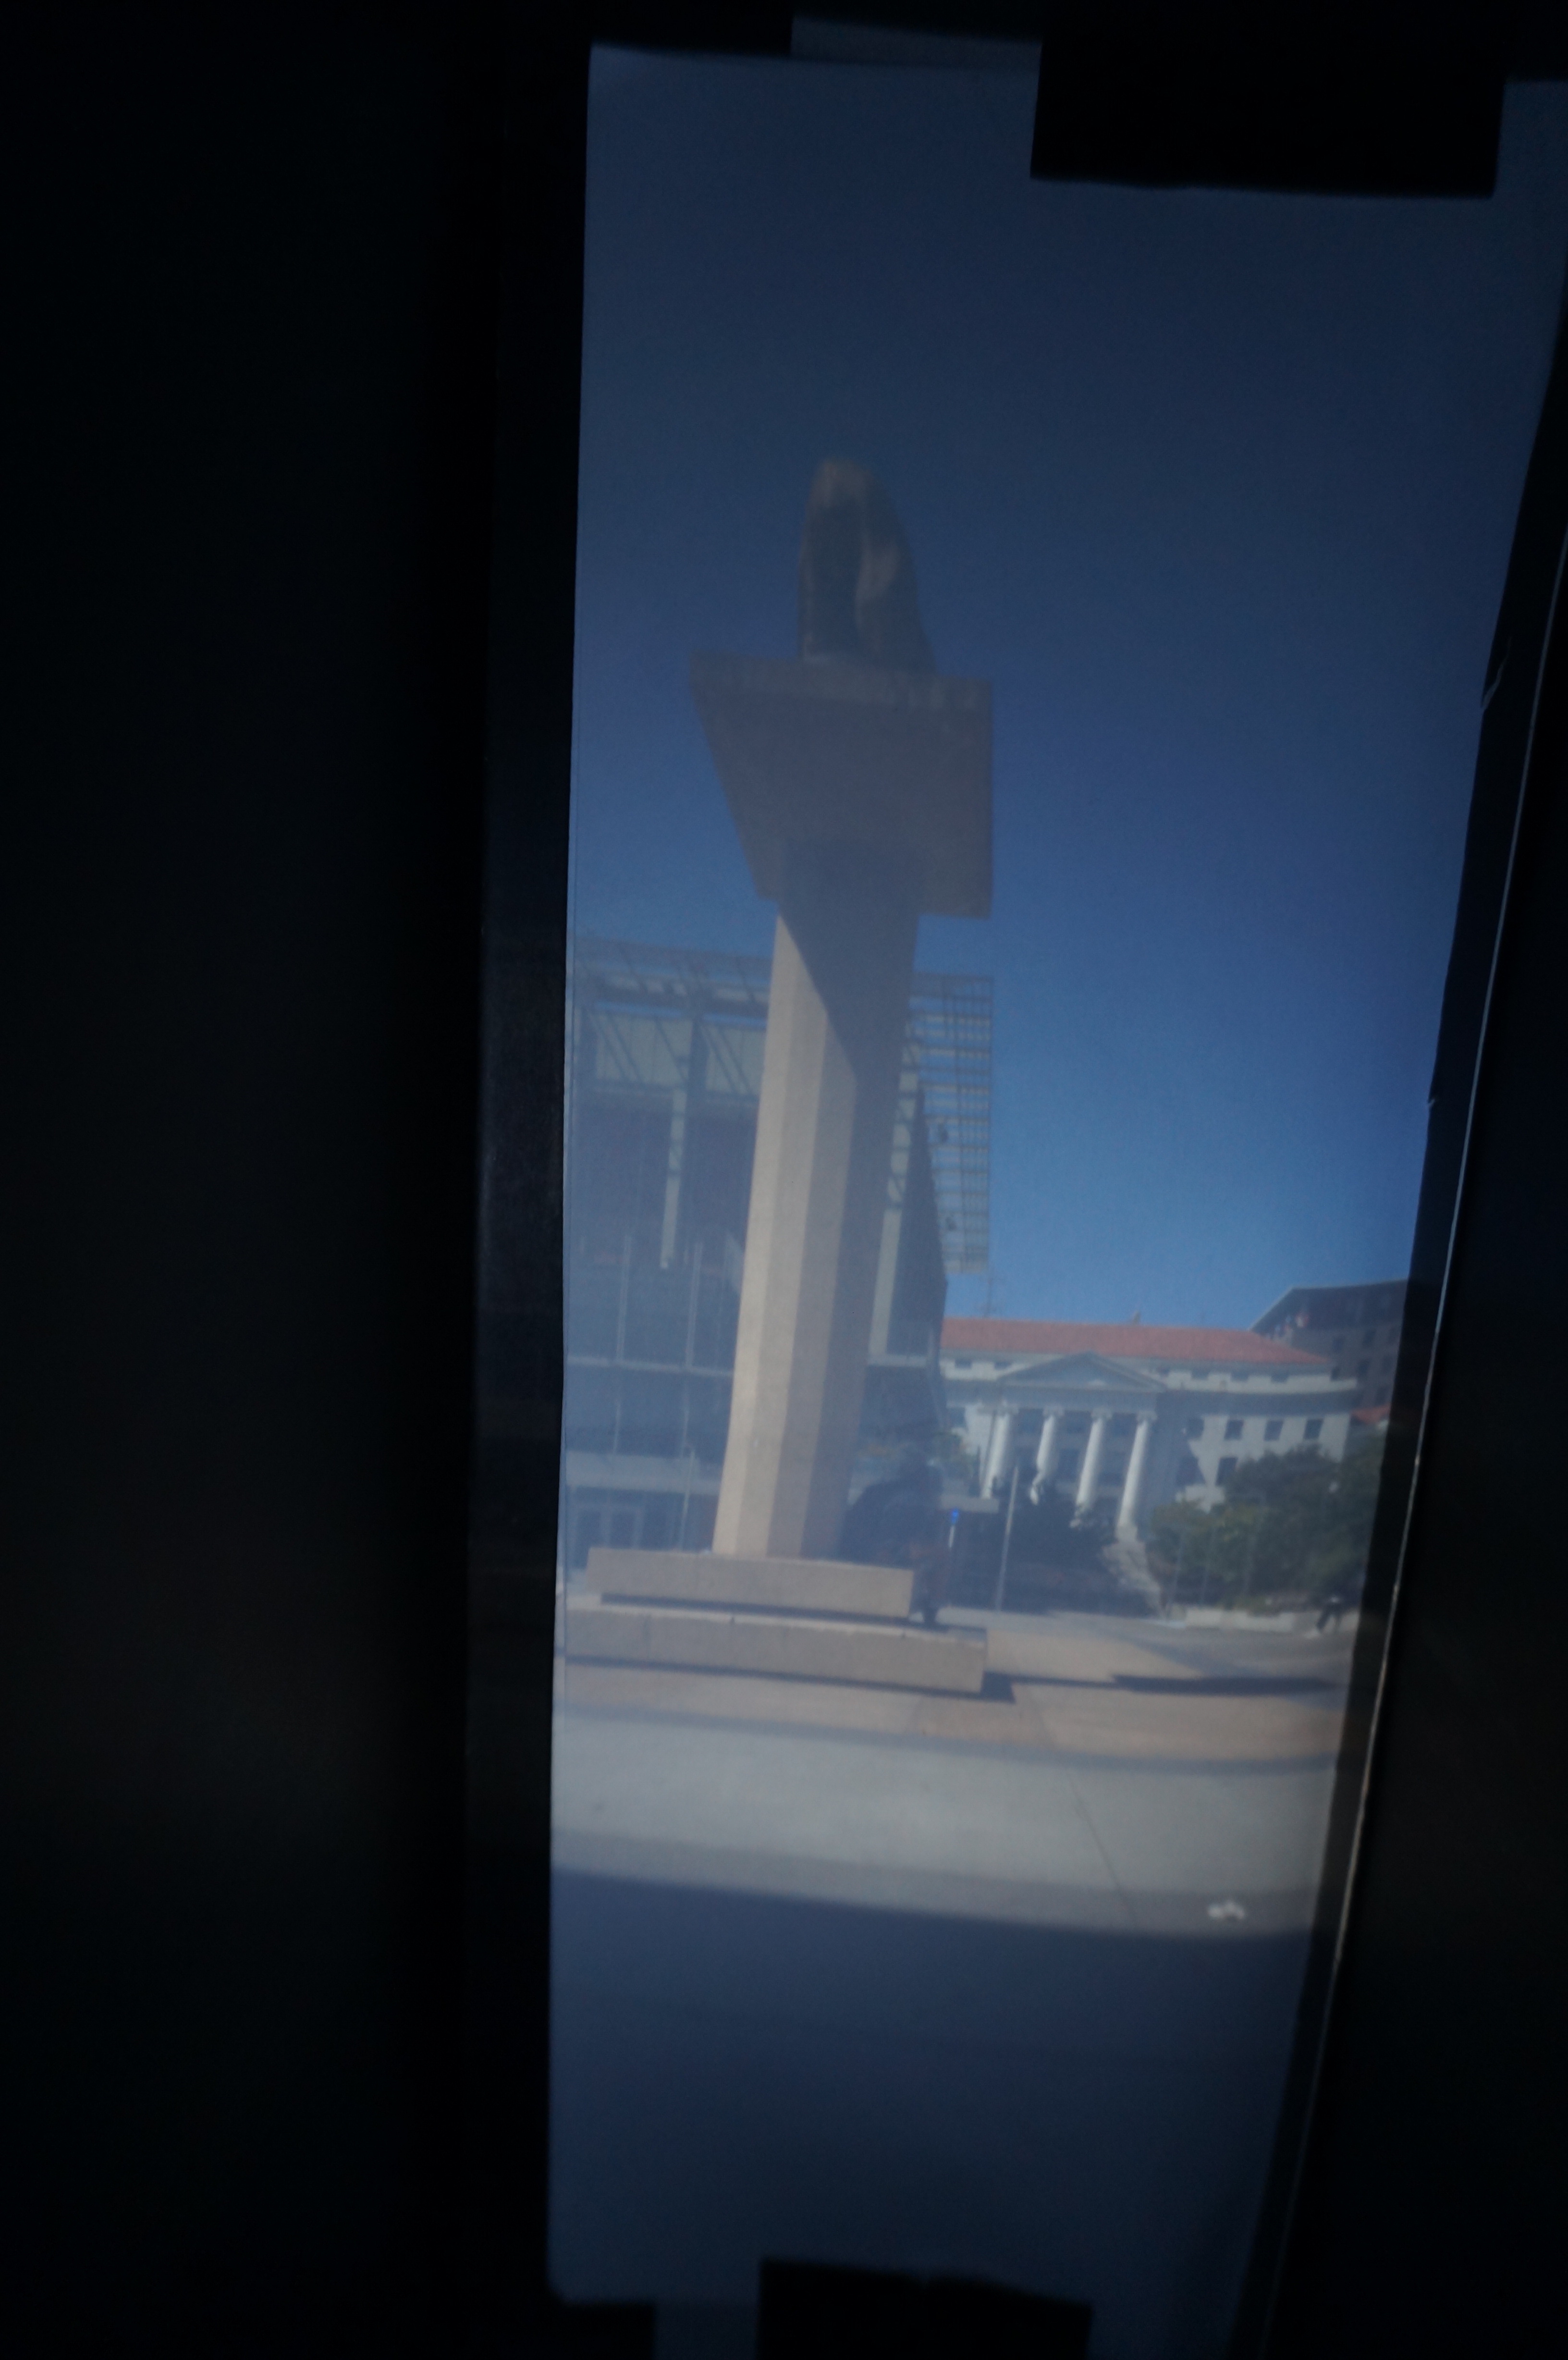
We had some issues on top of the Campanile with overexposure when we used the 3 mm pinhole, since the sun was shining directly into the pinhole and we initially started with 15-20 seconds of exposure time. We solved this issue by shortening the exposure time to 4 seconds and angling the camera so that it did not point as directly into the sunlight.
At the top of the campanile, most of the objects that we were trying to capture were very far away, which made it difficult to capture the details of things closer to the ground. At such a large distance, the proportion of photons bouncing off of these objects that came directly towards us (and into our pinhole camera) was much smaller that it would have been if we were closer to the objects.
f/3.5 ISO-200 13s
f/3.5 ISO-400 15s
f/3.5 ISO-800 30s
f/3.5 ISO-200 8s

f/3.5 ISO-400 15s
f/3.5 ISO-400 30s
f/4 ISO-400 30s
f/3.5 ISO-800 30s
f/3.5 ISO-400 30s
f/3.5 ISO-400 30s
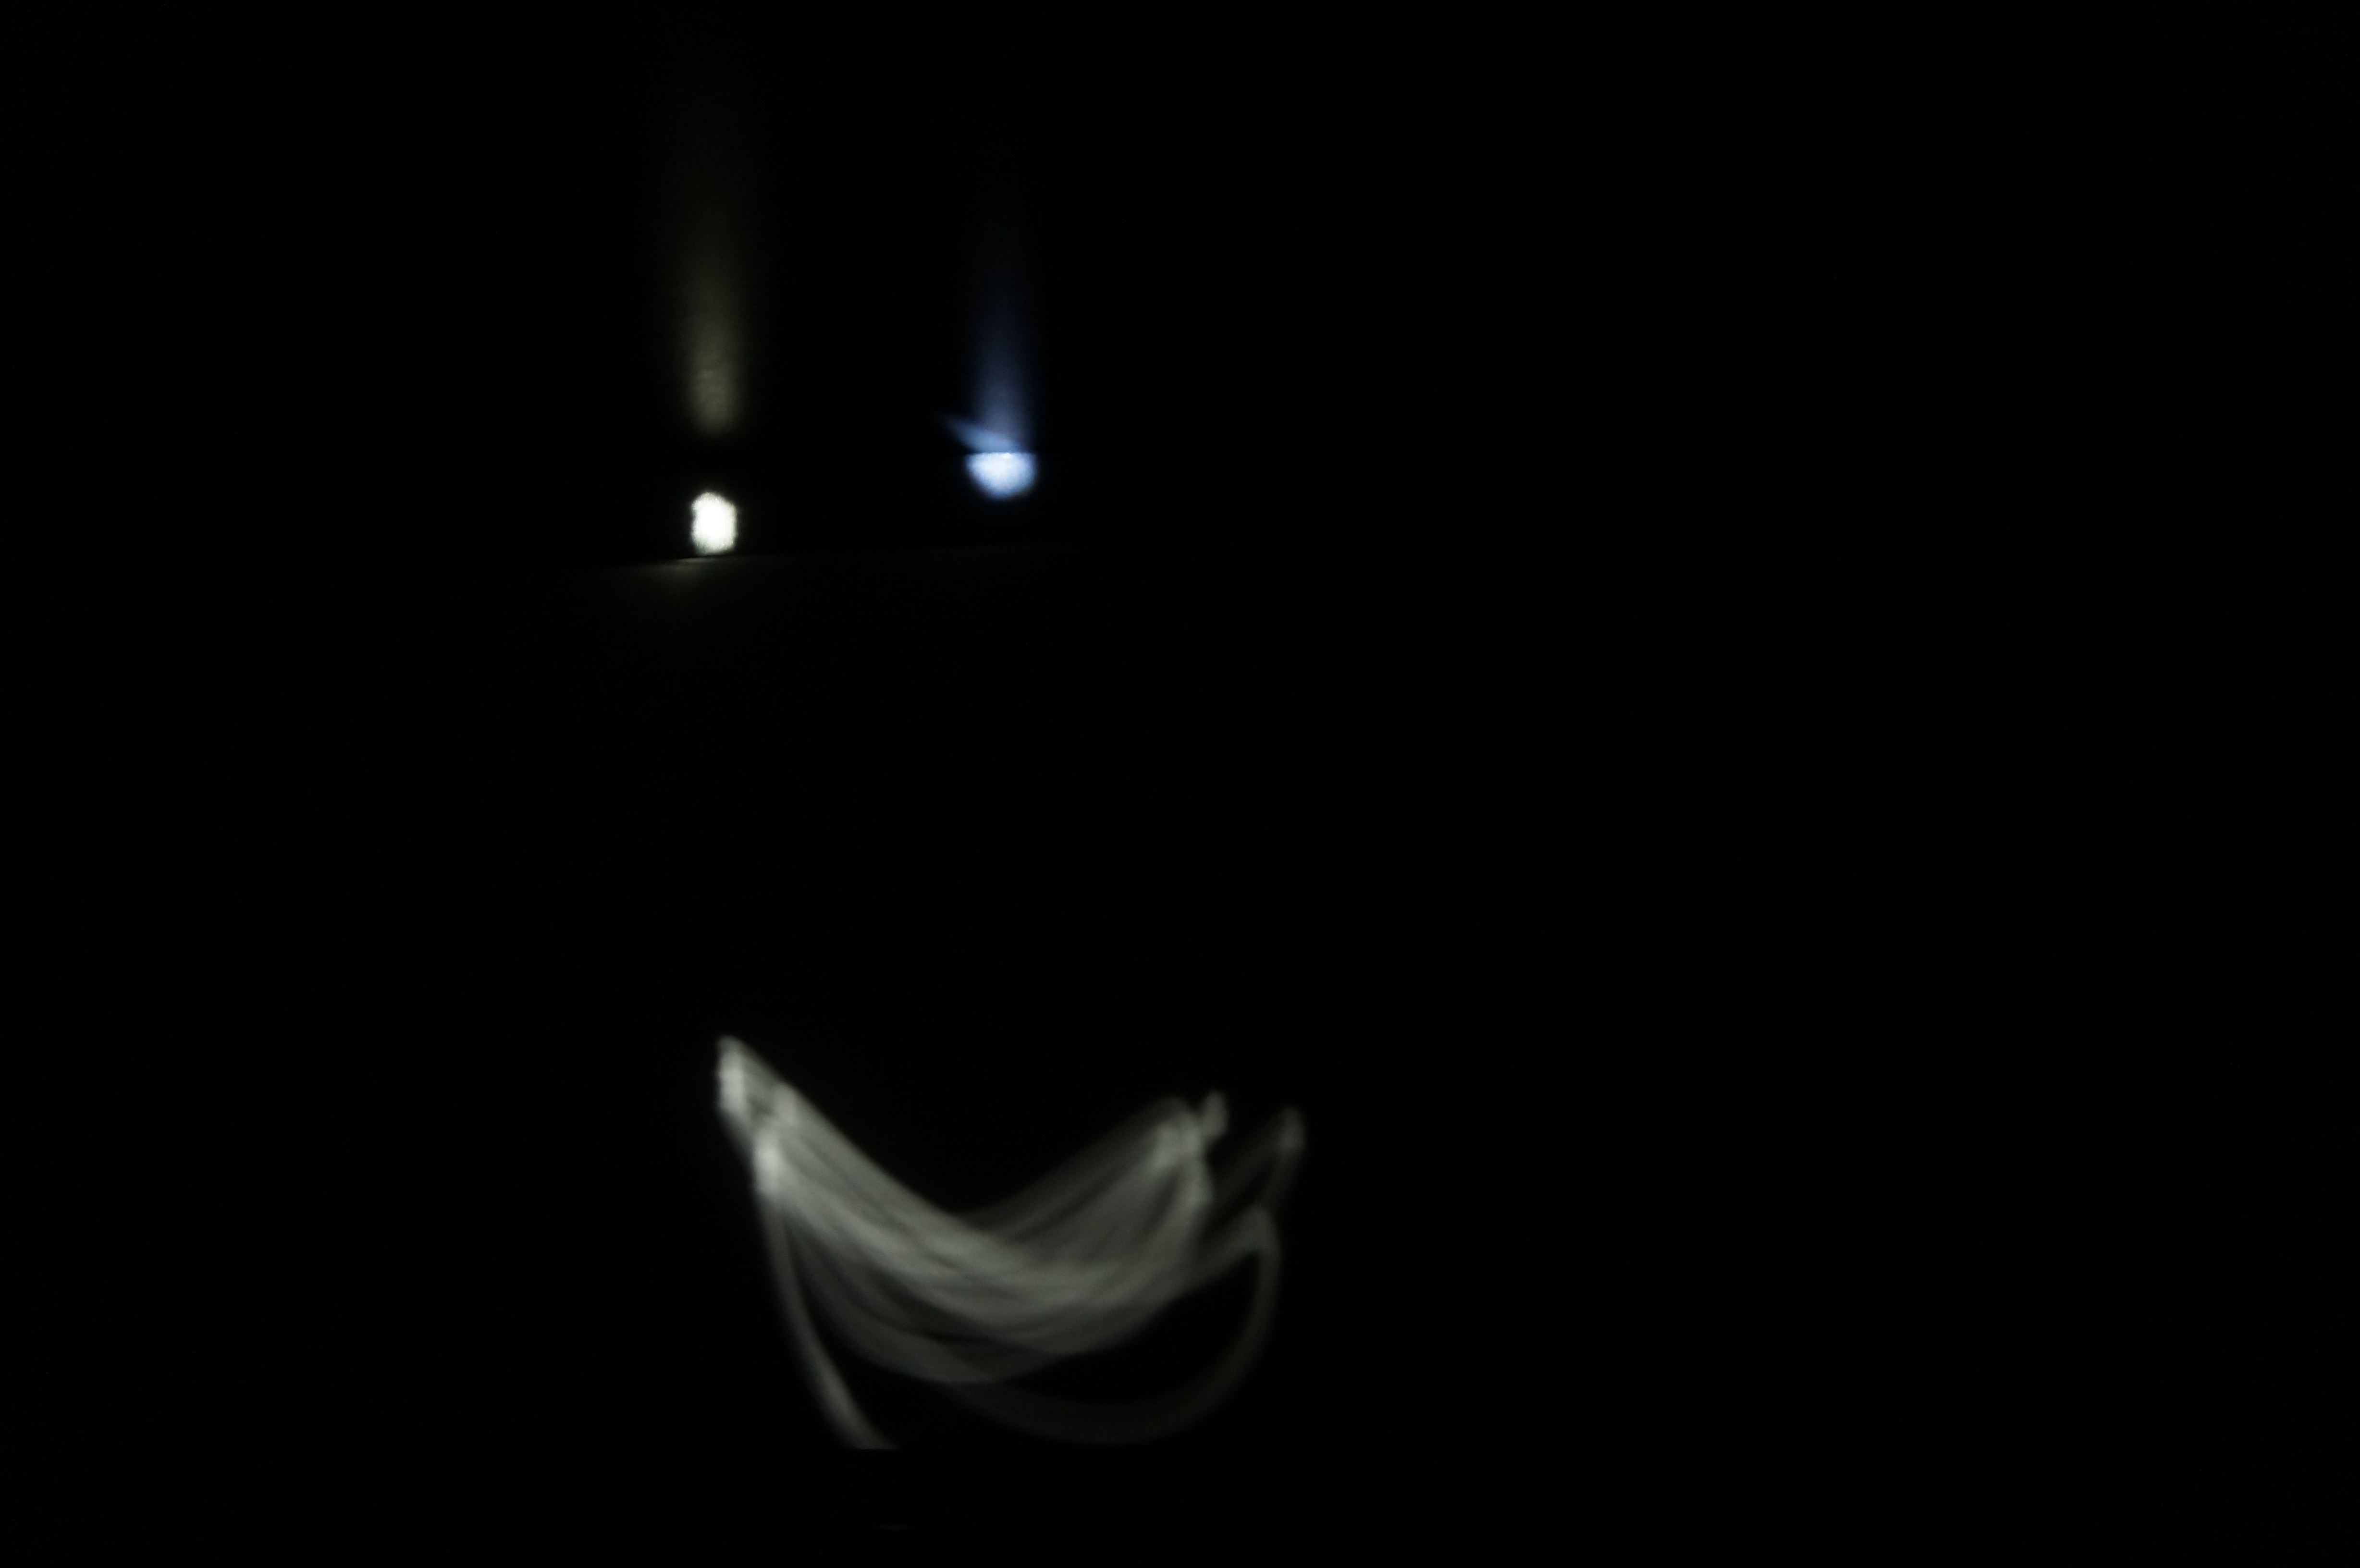
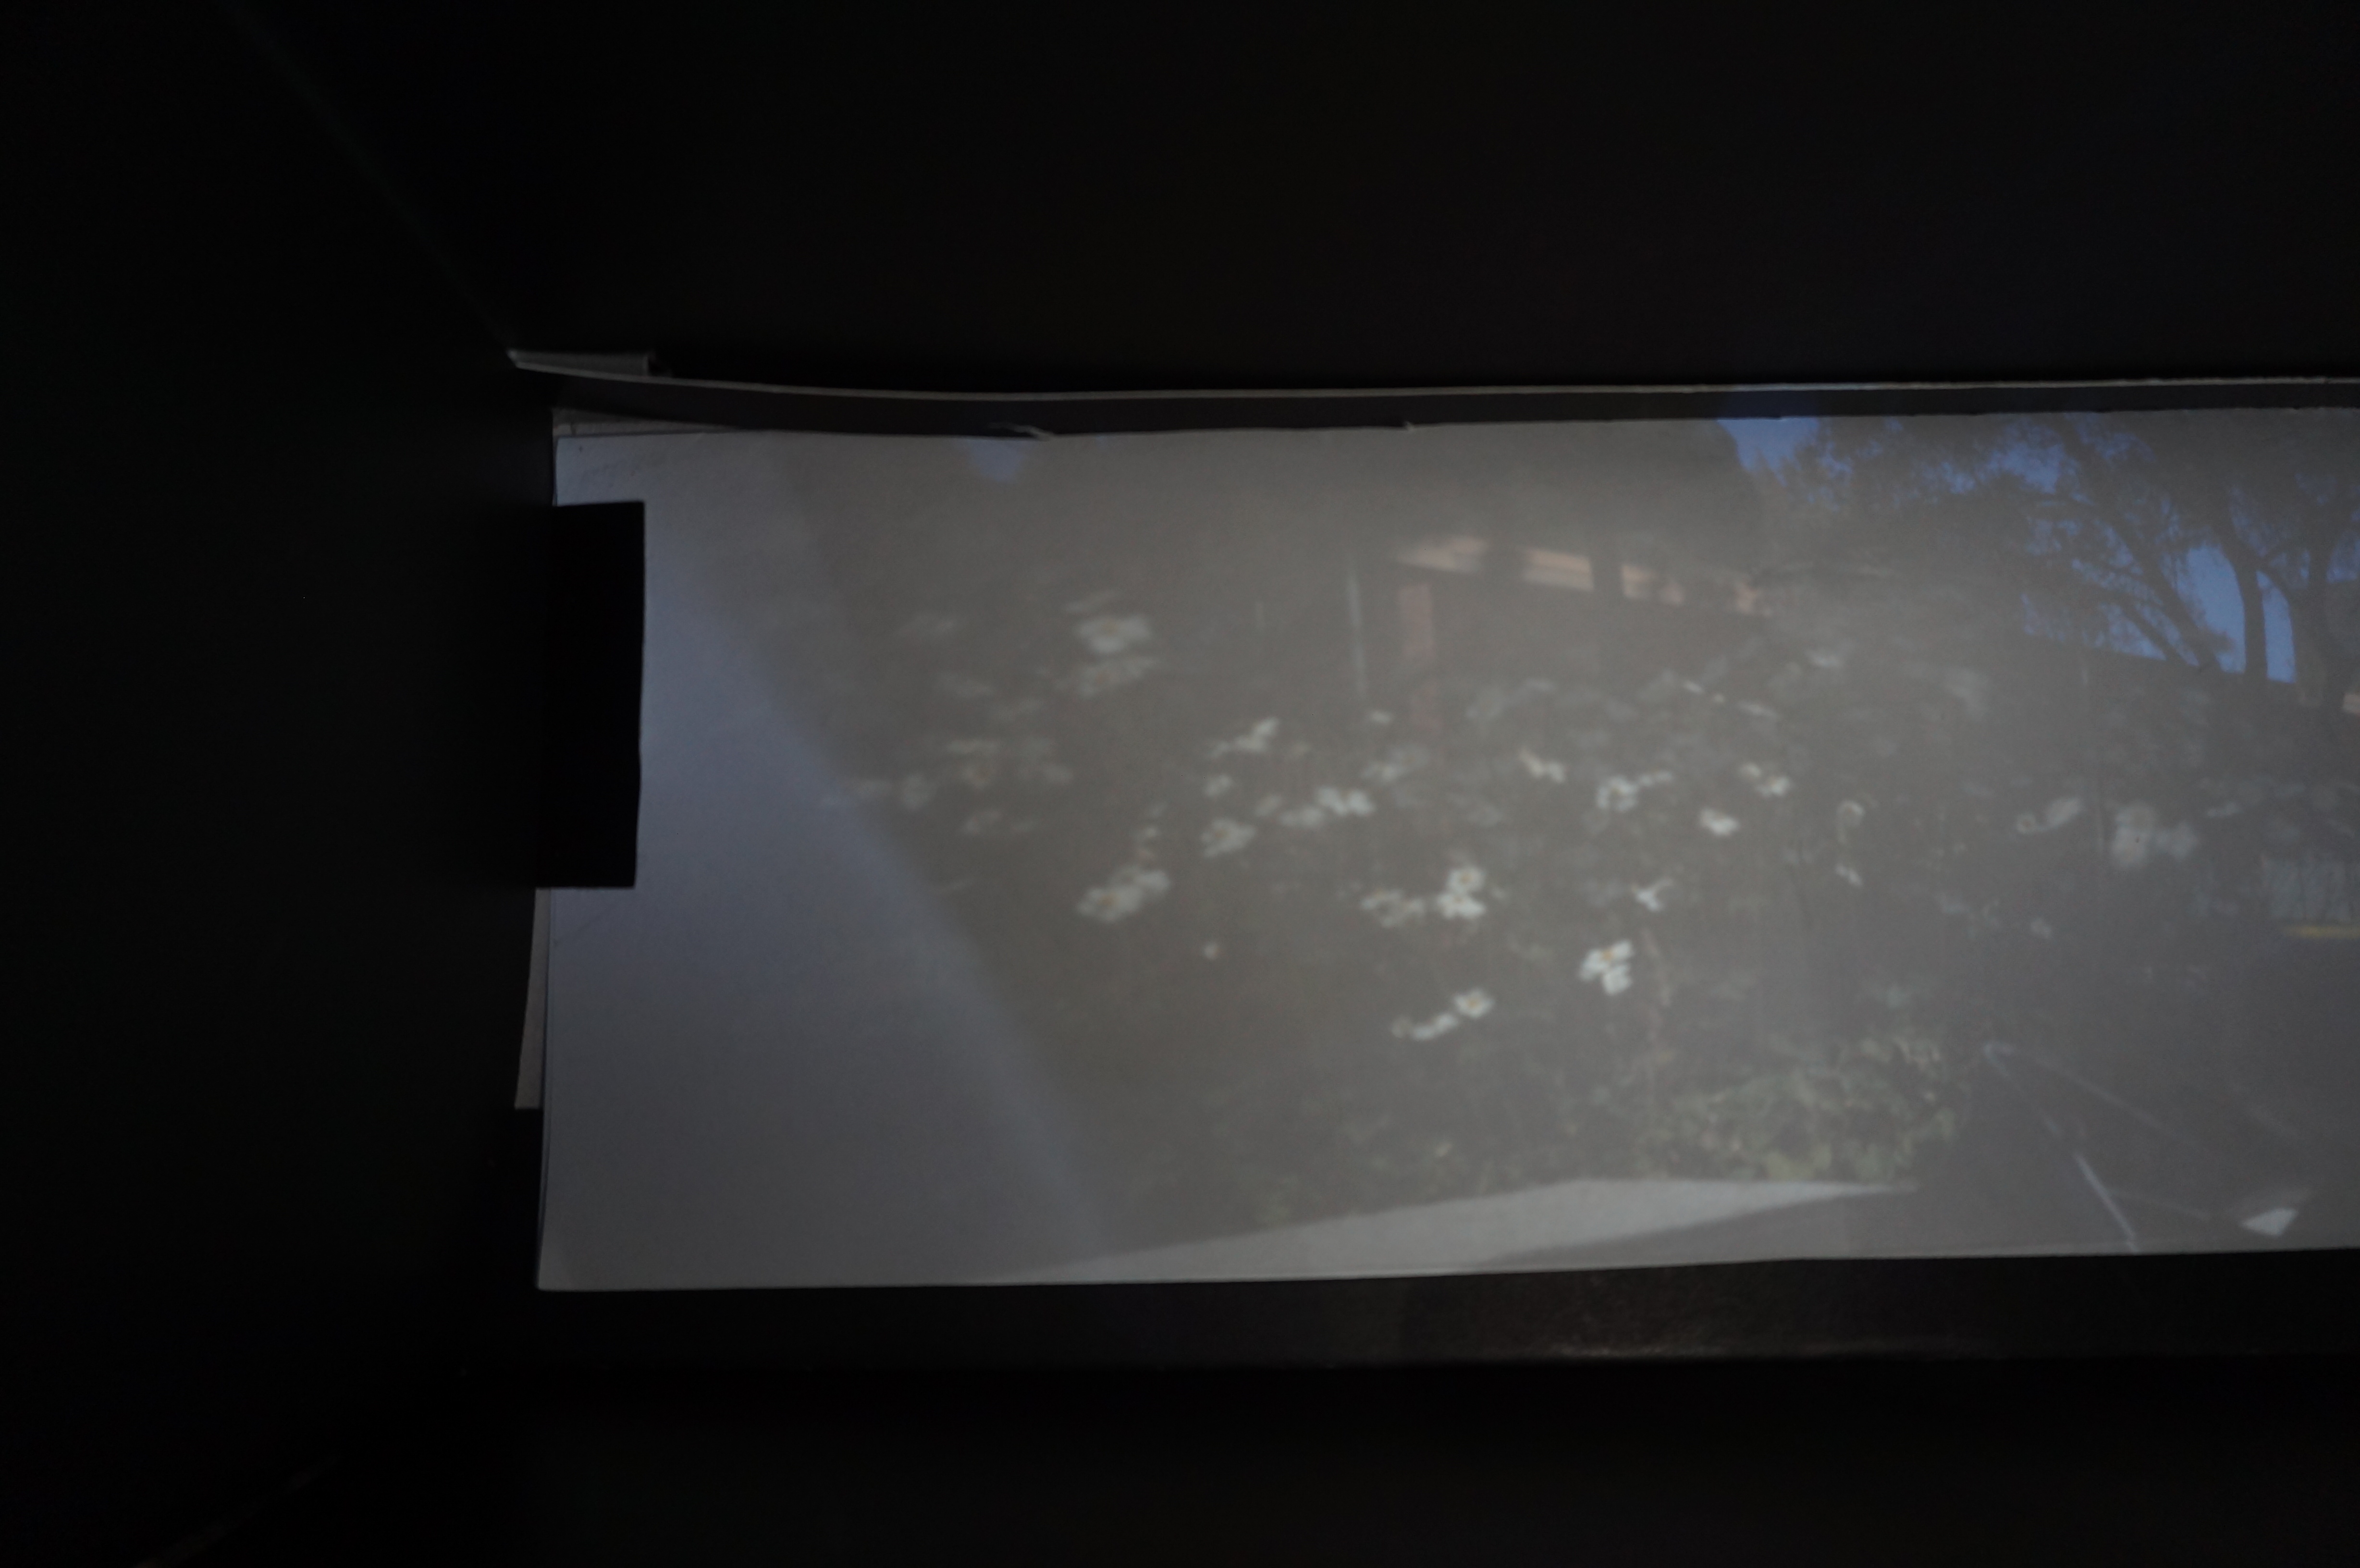
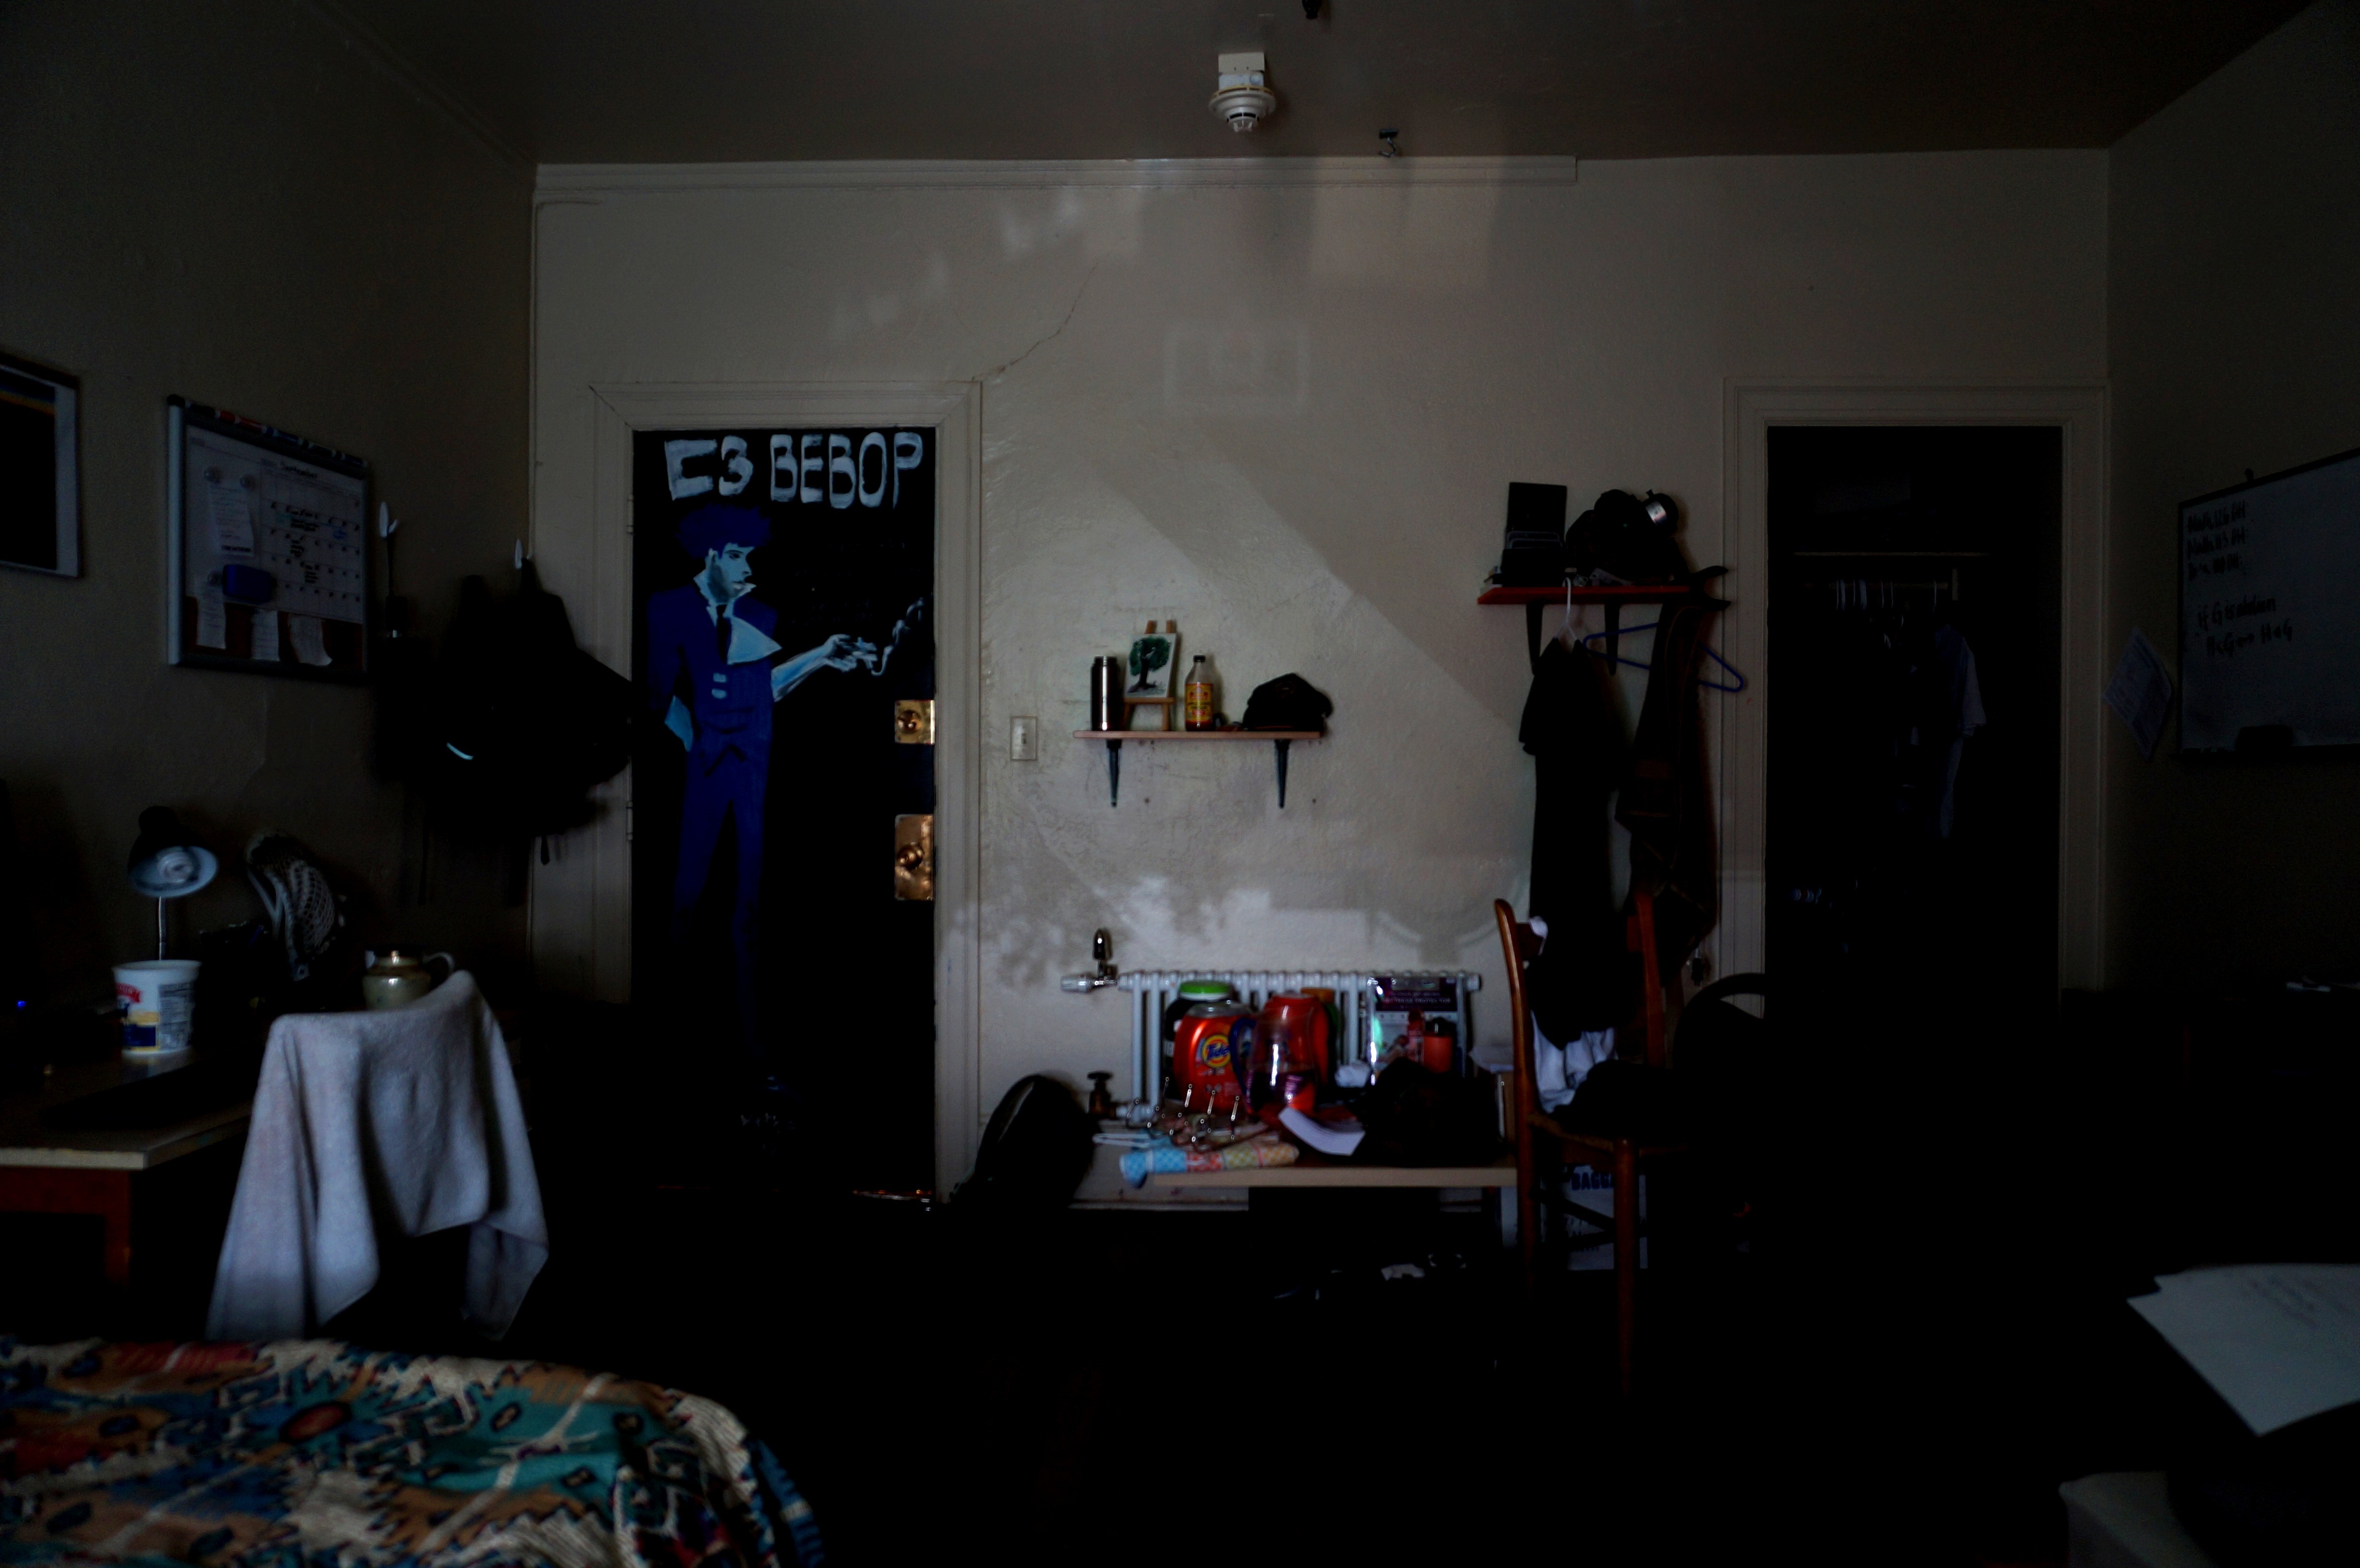
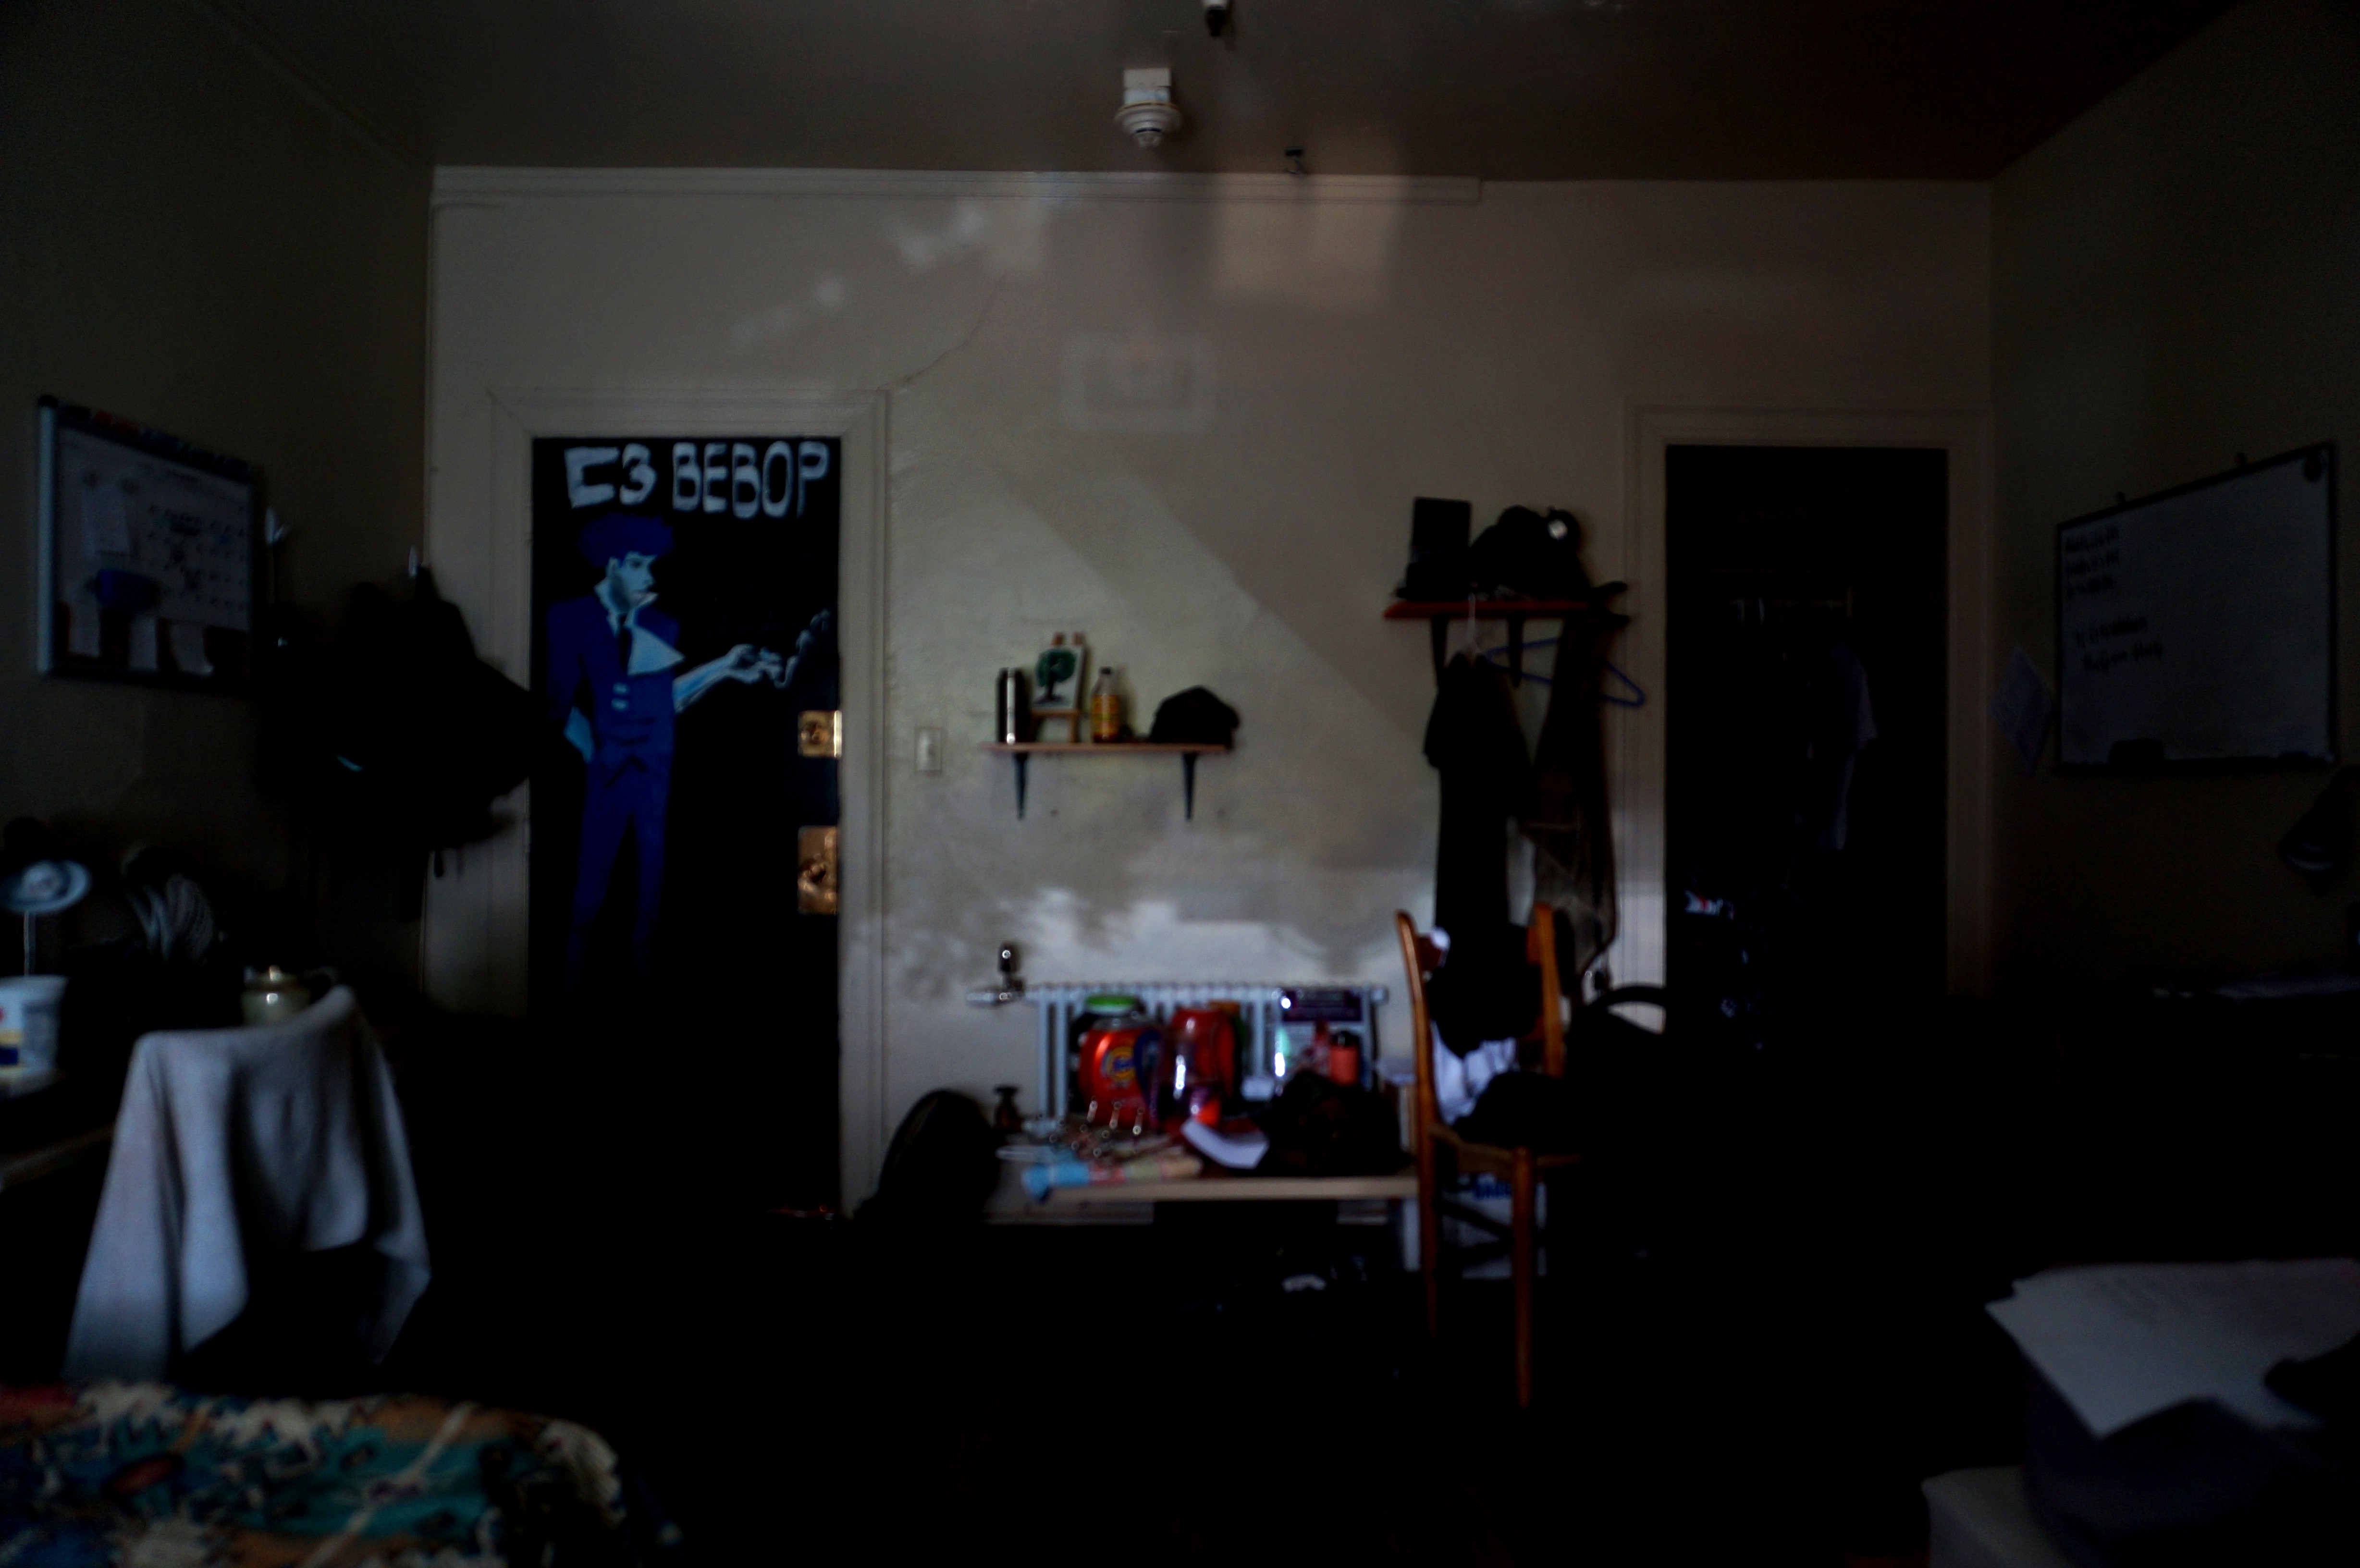
For our bedroom camera obscura, we captured an image of a bedroom view that was on the third floor. In order to successfully capture the scene, we blocked off all light entering the room by covering the windows with curtains and blankets and left a small hole as a pinhole. If looked at closely, the following results below show a basketball hoop, part of a coop house, trees, and cory hall in the back.
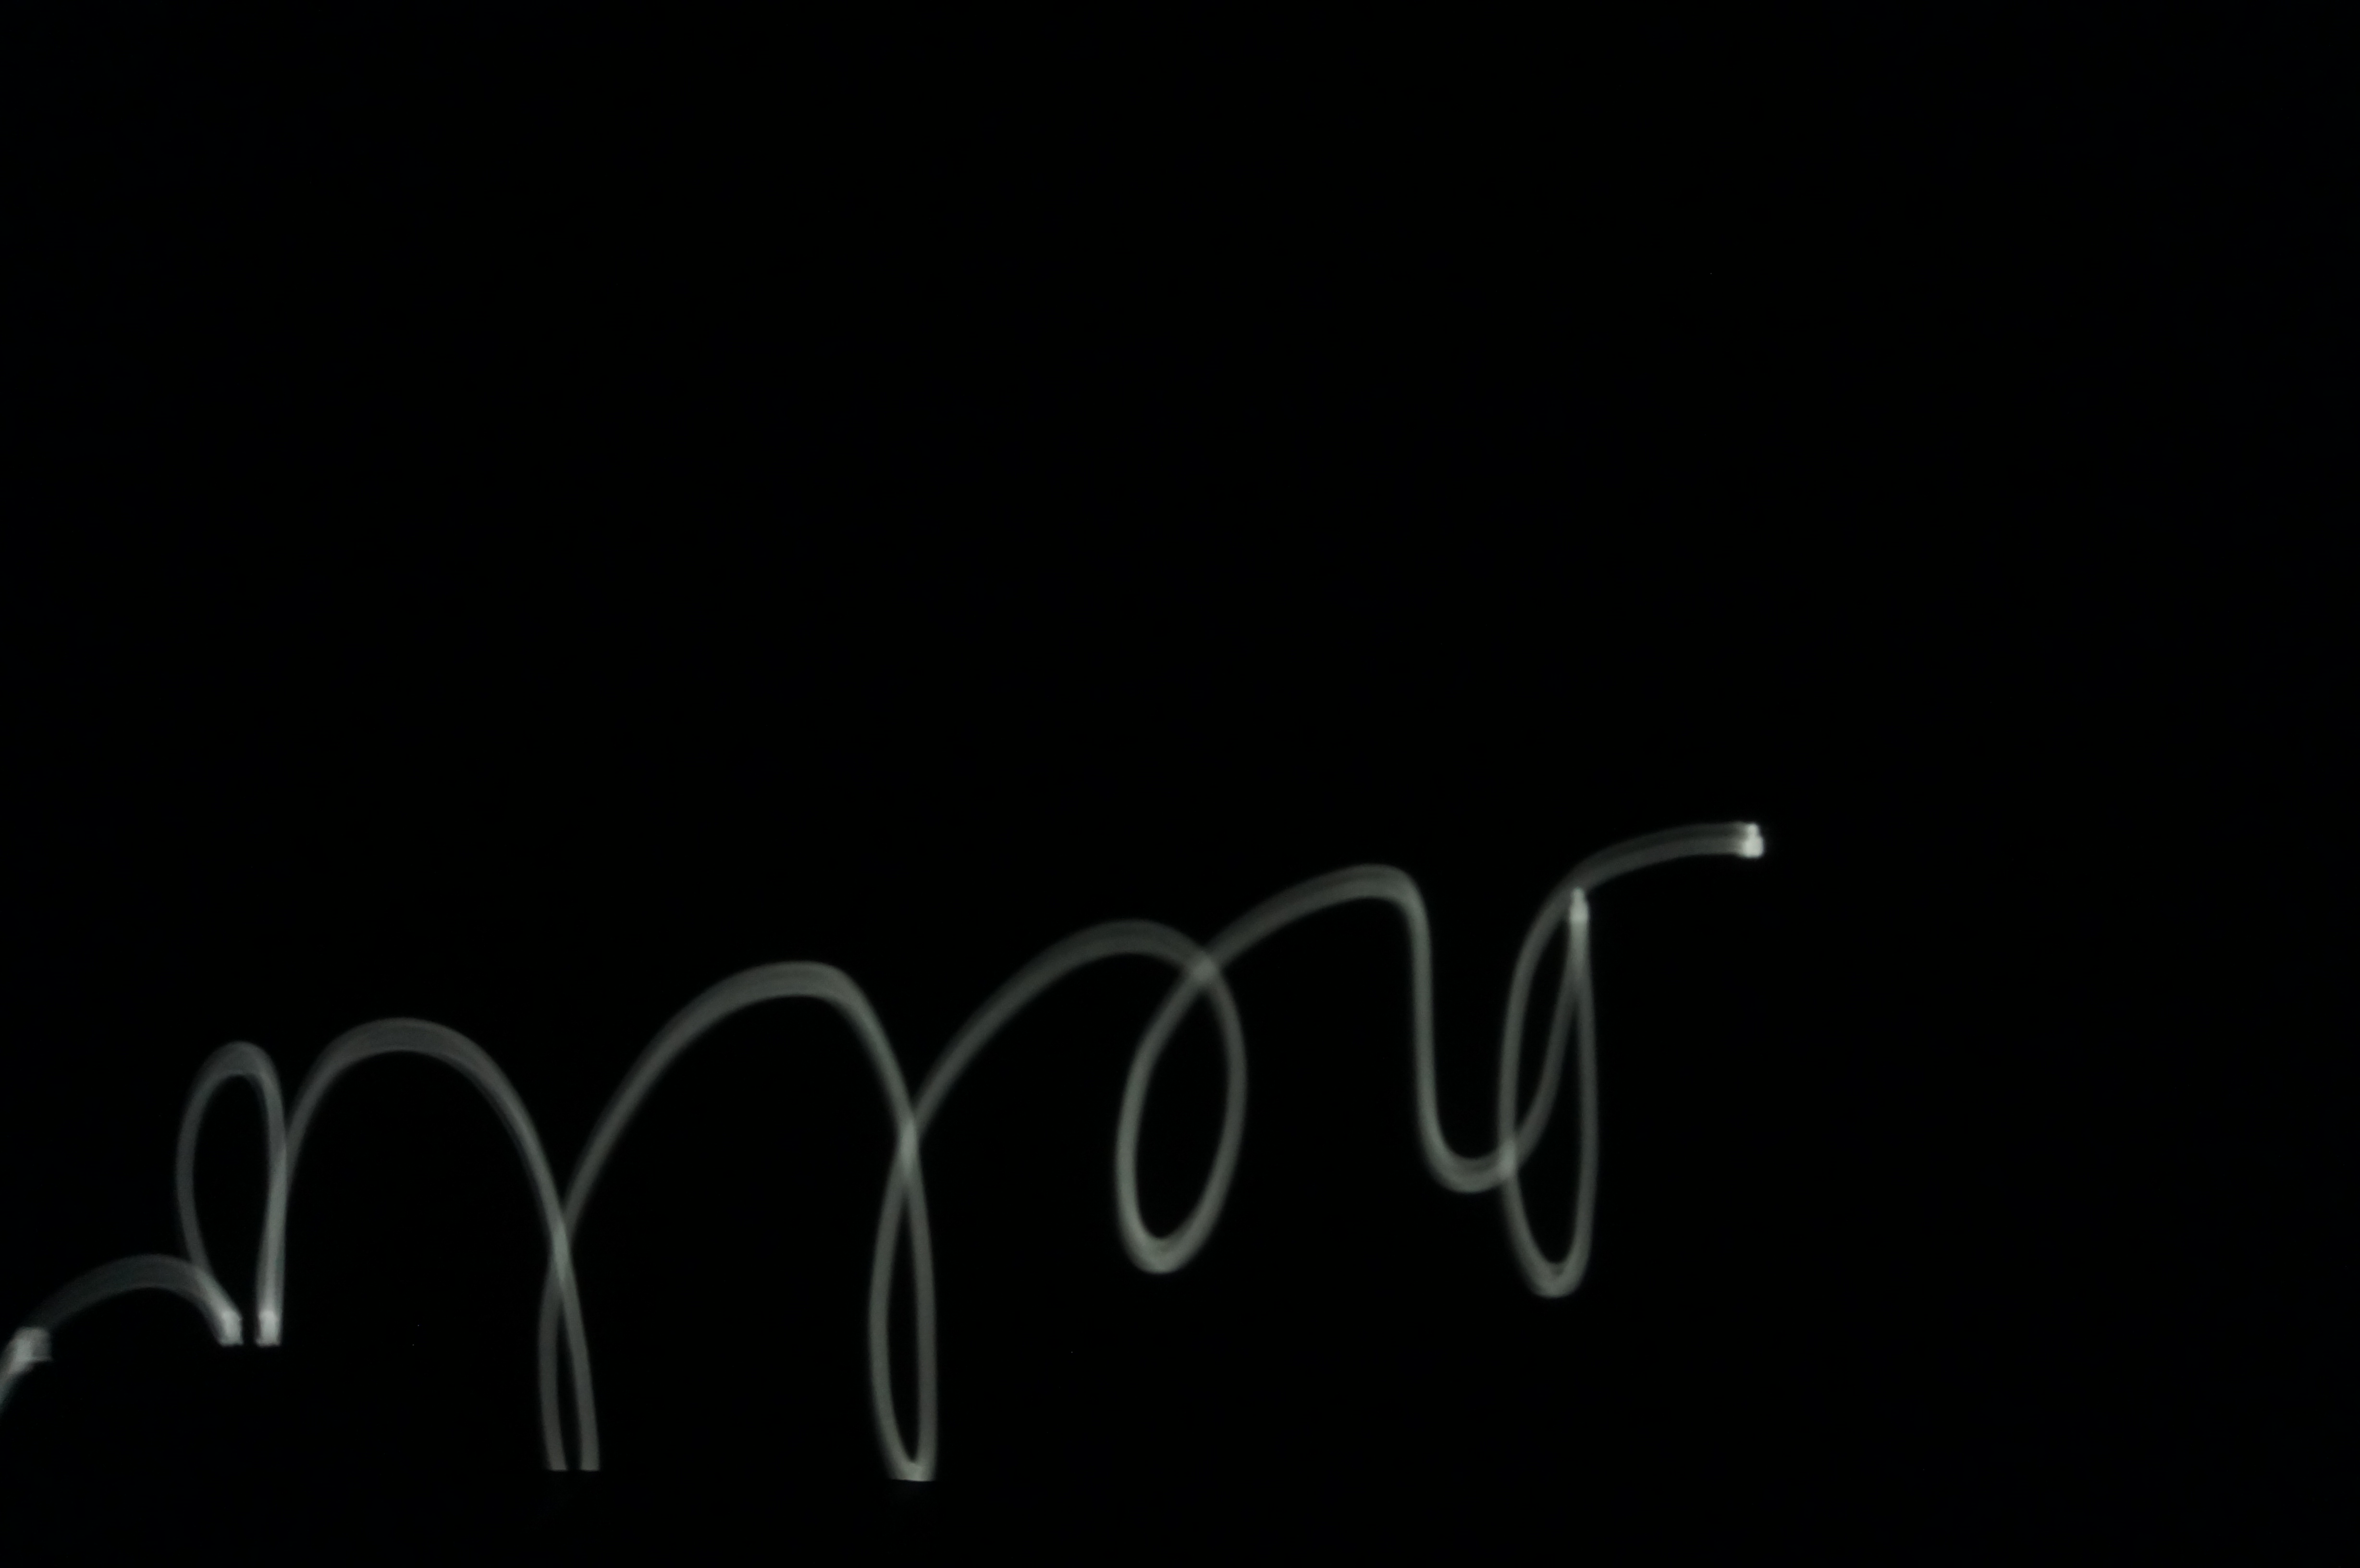
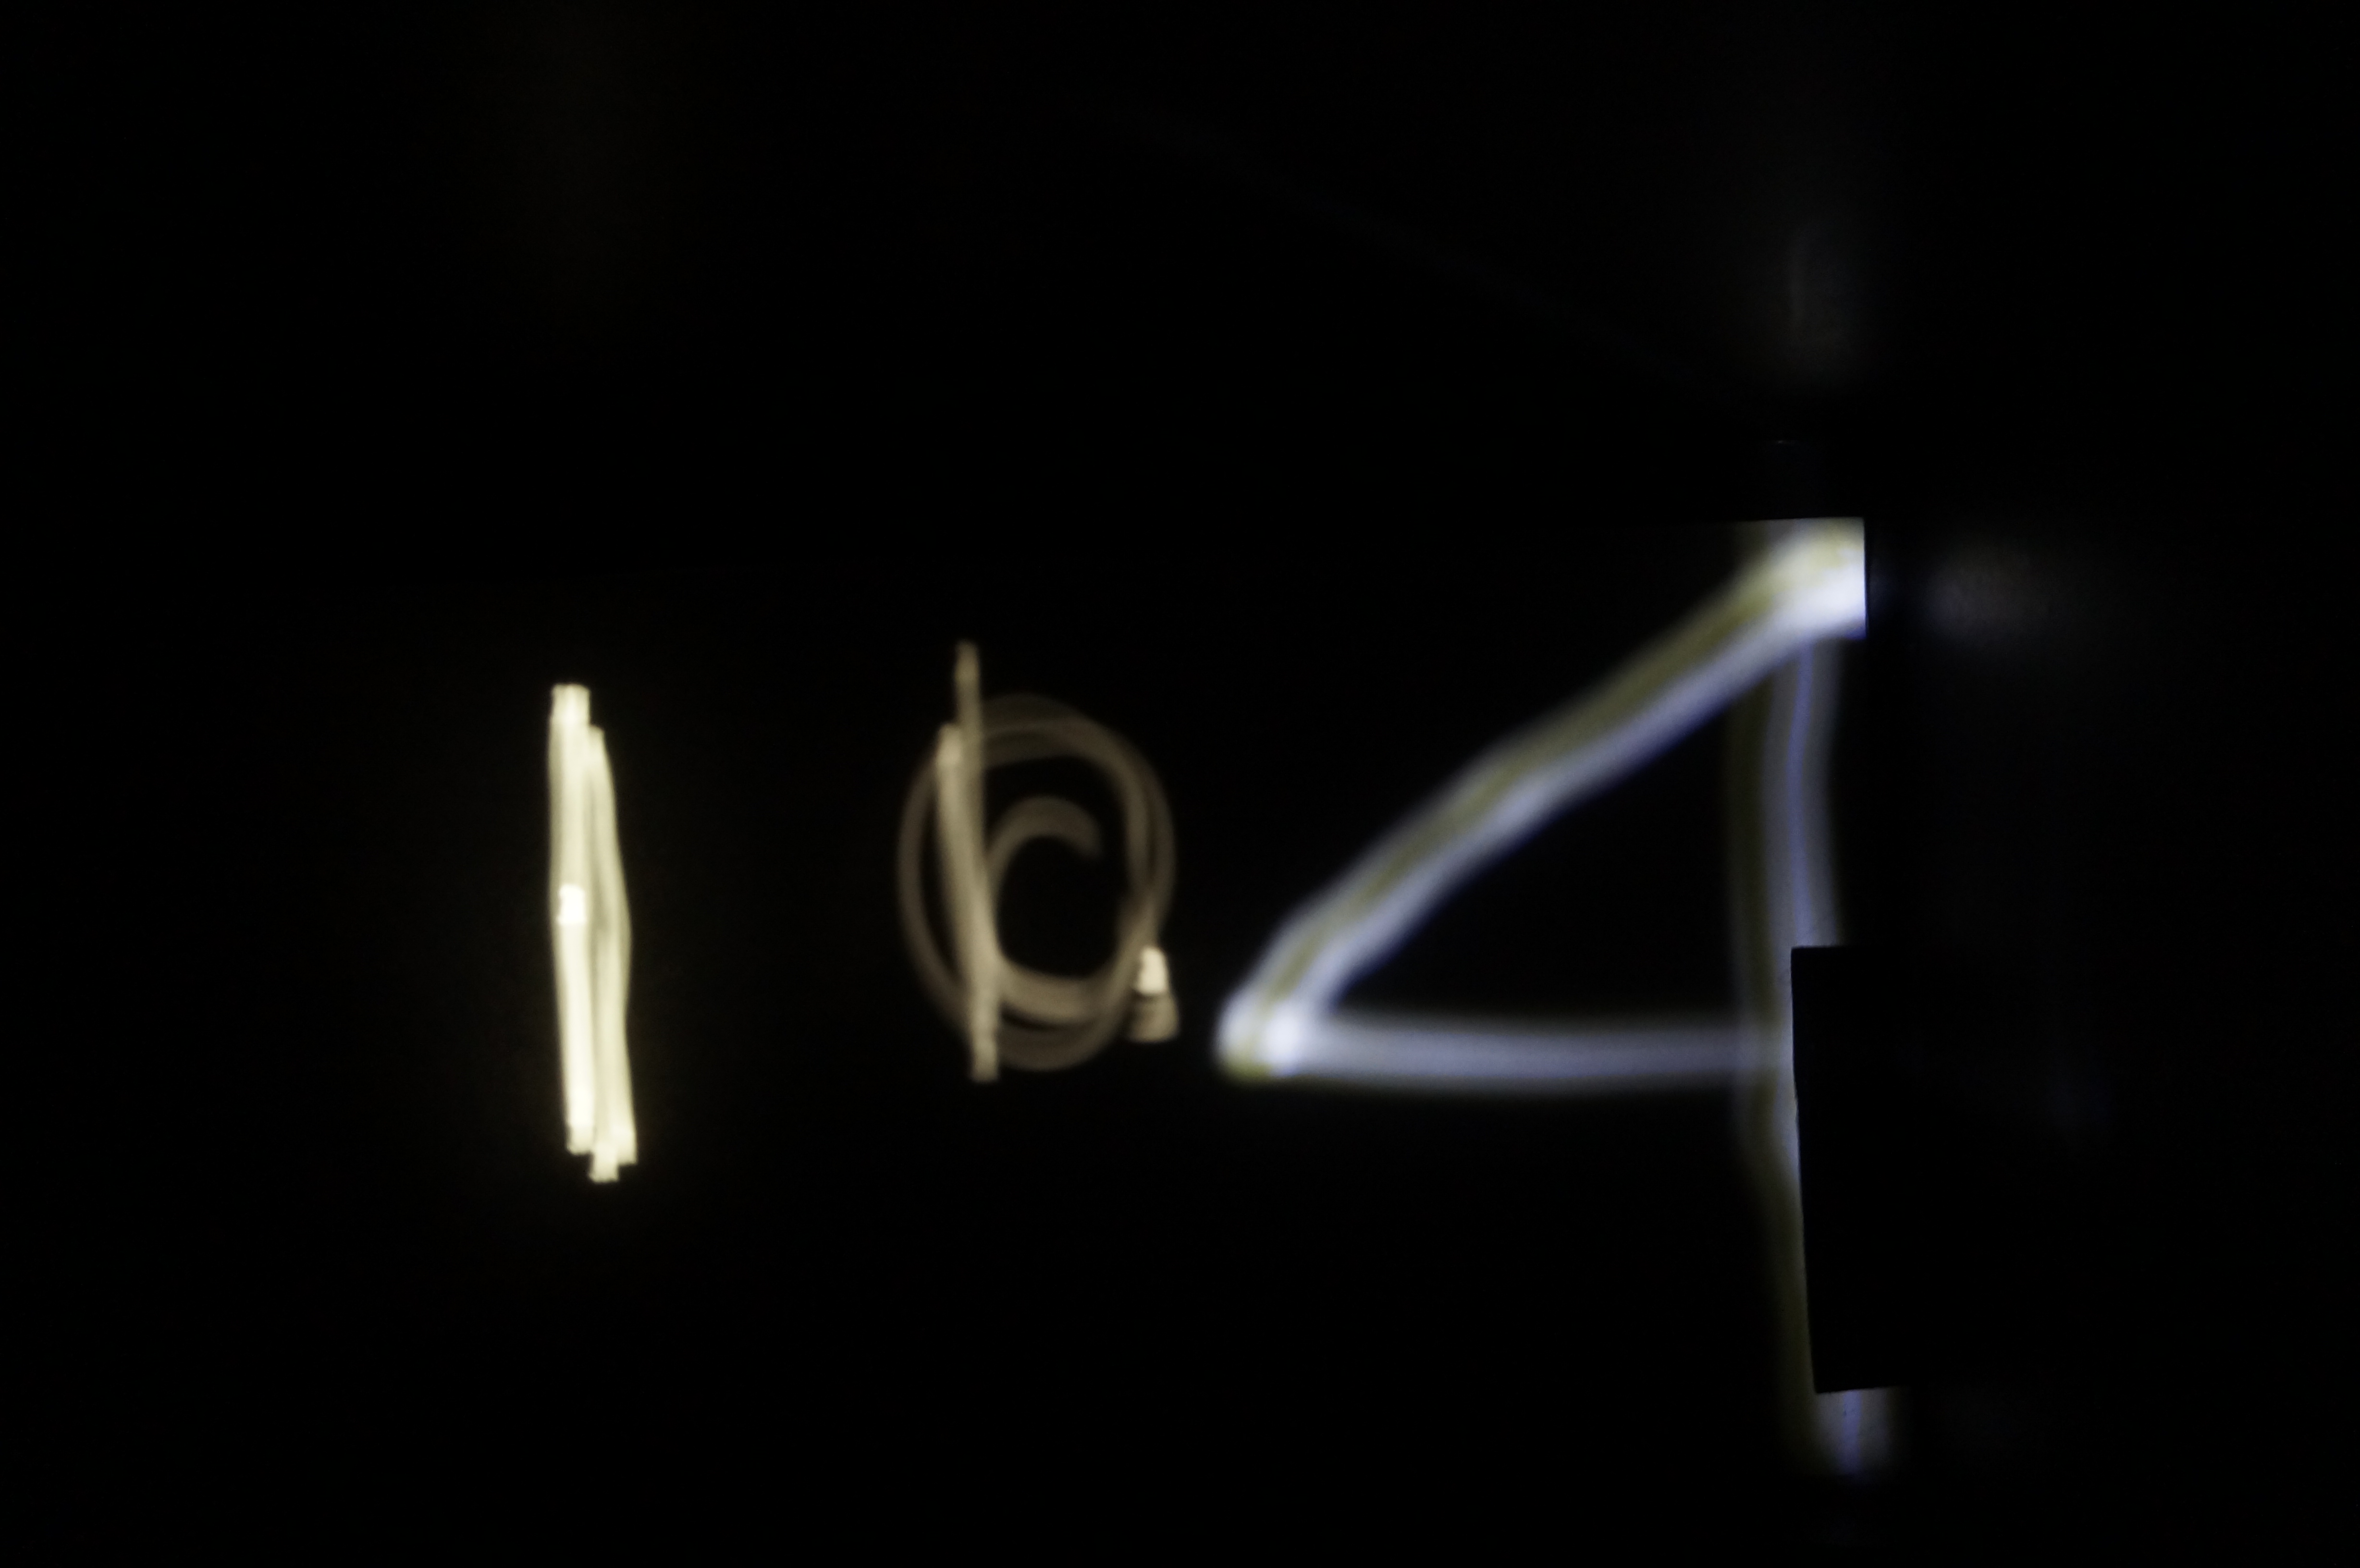
In order to recreate the light painting ideas in which we saw in class, we went to a dark room, had the camera exposure on for about 10 seconds, and drew the scenes with our cellphone lights. The following images below display "hello", "194", and a smiley face.