A Pinhole Camera
By: Gefen Kohavi, Jose Xu, Daniel Geng
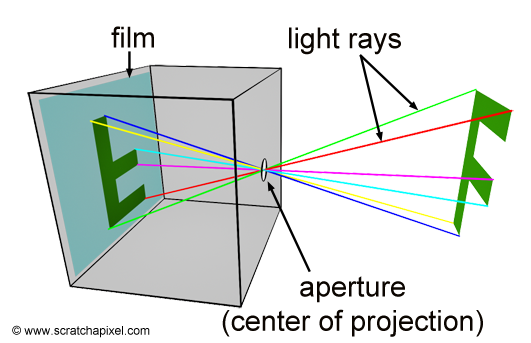
A pinhole camera works by focusing light through a tiny aperature. In this project we construct a pinhole camera using household items and use it to take pictures of various scenes.
Theory
A pinhole camera works by letting light in to a dark area through only a tiny aperature. Normally when light falls on a surface it comes from all directions and ends up becoming an incoherent jumble (which we usually preceive to be just light). When we force light to travel through the aperature we are forcing light to come from only one direction. This makes sharp, well-defined images to appear.
A pinhole camera
The Camera
We used a shoe box for the pinhole camera. We cut out two holes, one for the aperature and one for the (real) camera. The aperature was at first made of index cards with pinpricks in them. We soon found out that index cards let in too much light, so we covered the inde cards with aluminium foil. We also covered the inside walls with black construction paper to reduce the scattering of light inside the pinhole camera.
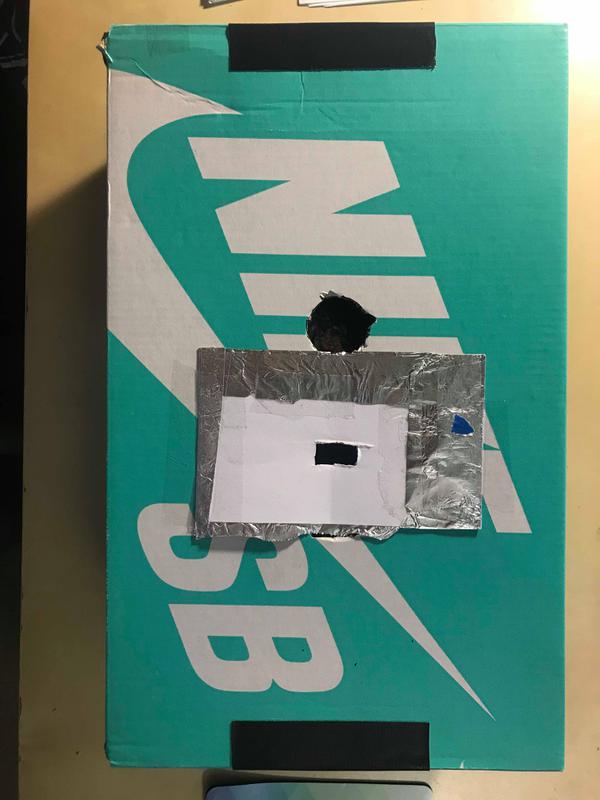
Our pinhole camera. The round circle is for the aperature and the rectangular circle is for the phone camera.
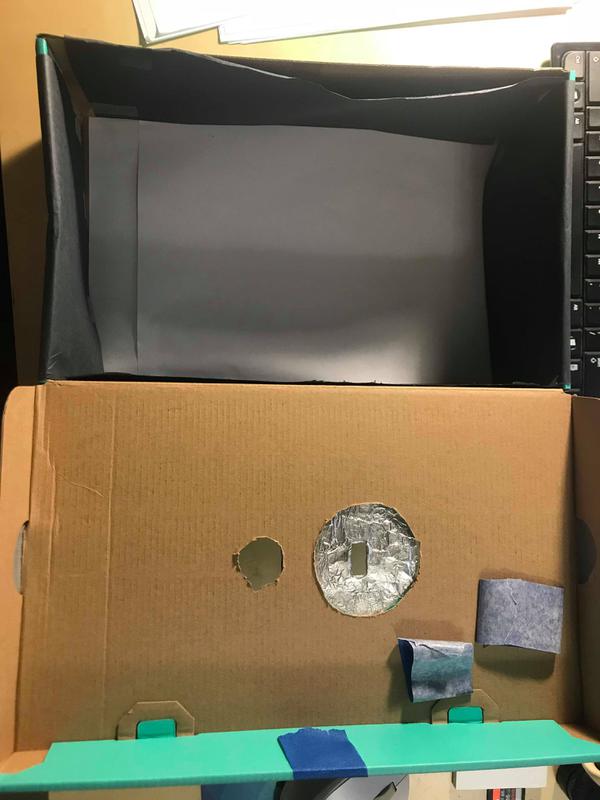
Another view

1mm aperature (.1 mm was just too small, we couldn't get any light in)
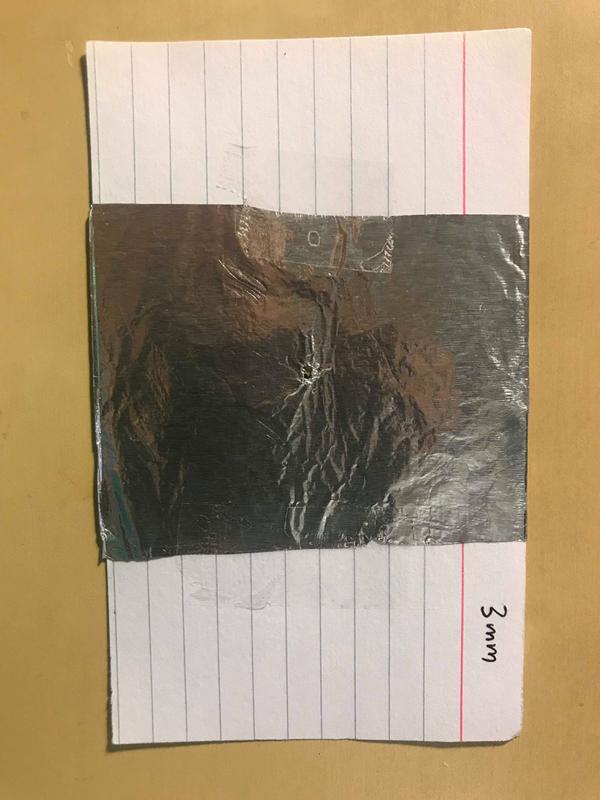
3mm aperature
5mm aperature
Images
The results of our pinhole camera
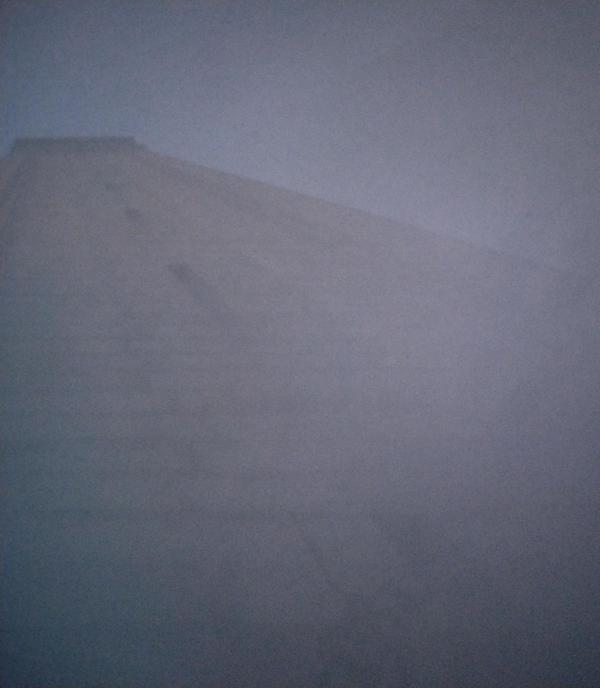
Top of the Campanile
Top of the campanile, 1mm aperature
Top of the campanile, 3mm aperature
Top of the campanile, 5mm aperature
.
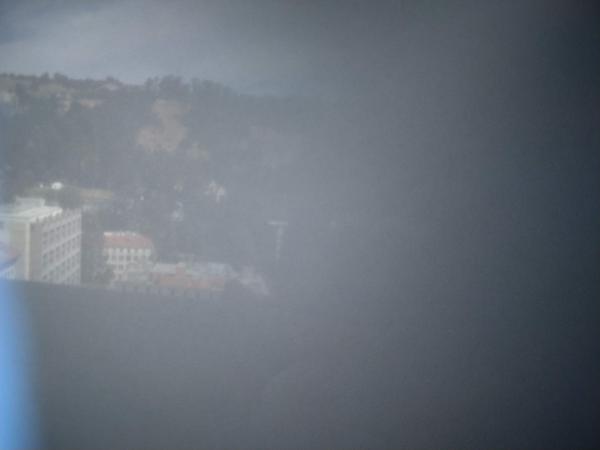
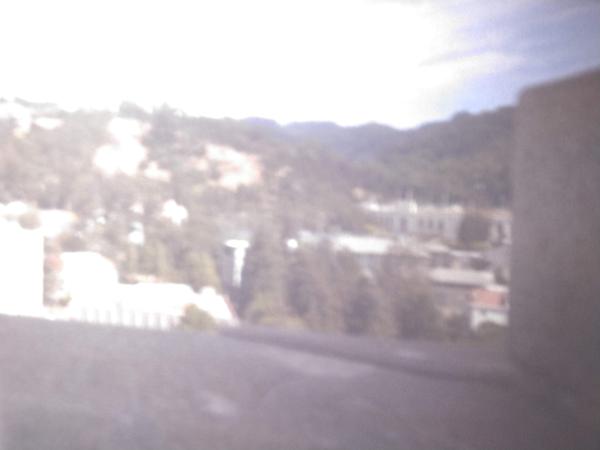
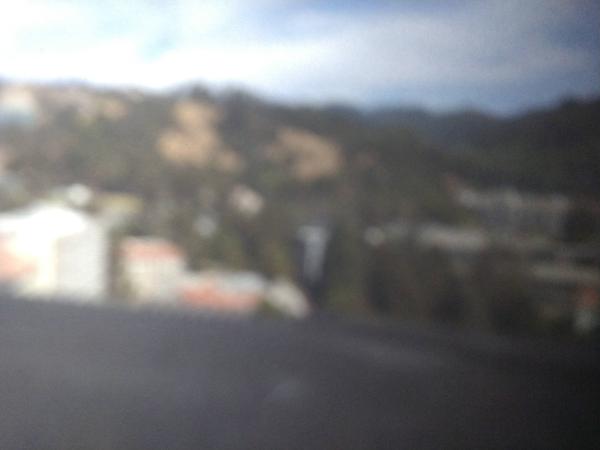
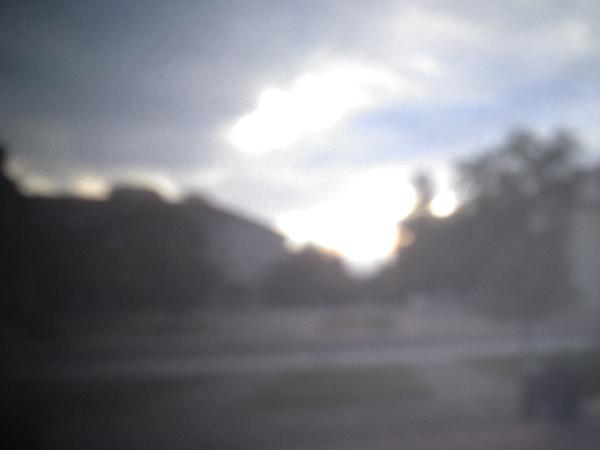
View From Campus
View from campus, 1mm aperature
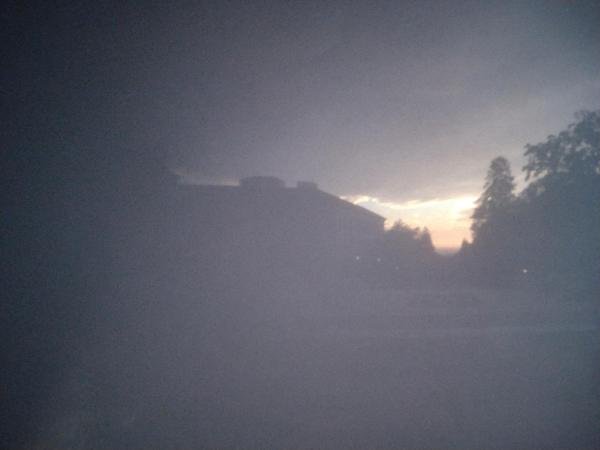
View from campus, 3mm aperature

View from campus, 5mm aperature
.
We found that a smaller aperature resulted in a sharper, but dimmer image. In addition, our smaller aperatures resulted in a smaller field of view, as can be seen in the “View from the Campanile” photograph. A larger aperature provided brighter but blurrier images. We found that the 3mm aperature was the best. Here are a few pictures from that aperature.
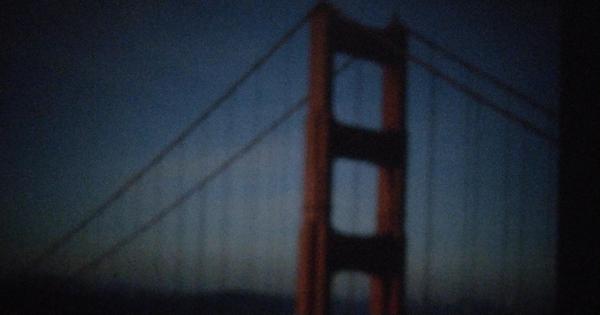
Unit one
Golden Gate Bridge
Campanile from the Ground
Did we mention we're dropping an album?

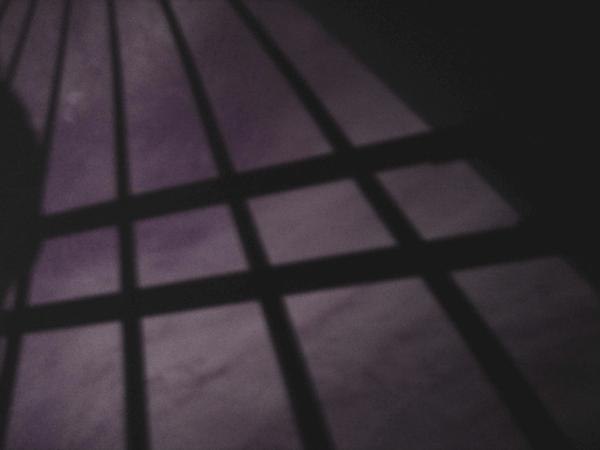
We call this composition "The Gates of Hell"
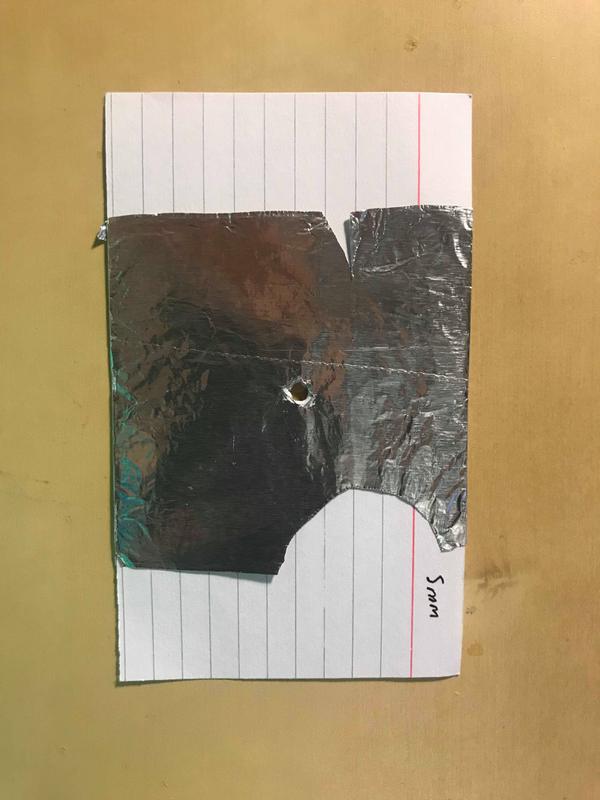
Snowman!

The Ground
Excursion to Paris! (Not really...)

Stereoscopic Images
We also ran a quick experiment where we used two aperatures slightly displaced, to capture the depth of a scene. Our aperature looked like this:
Double Aperature

The holes might have been a bit too far apart...
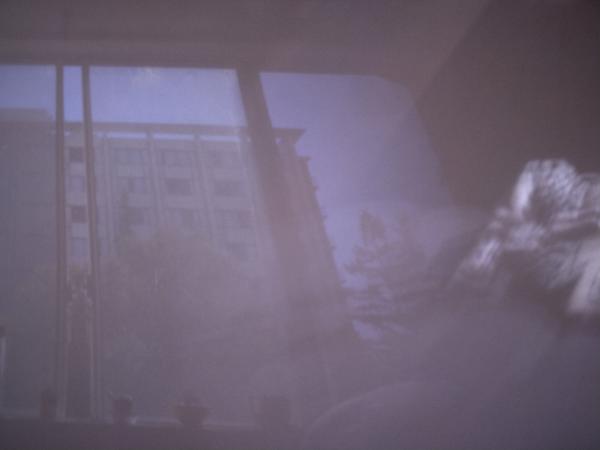
Room Camera
We also transformed Daniel’s room in to a camera obscura by covering the windows completely with aluminum foil.
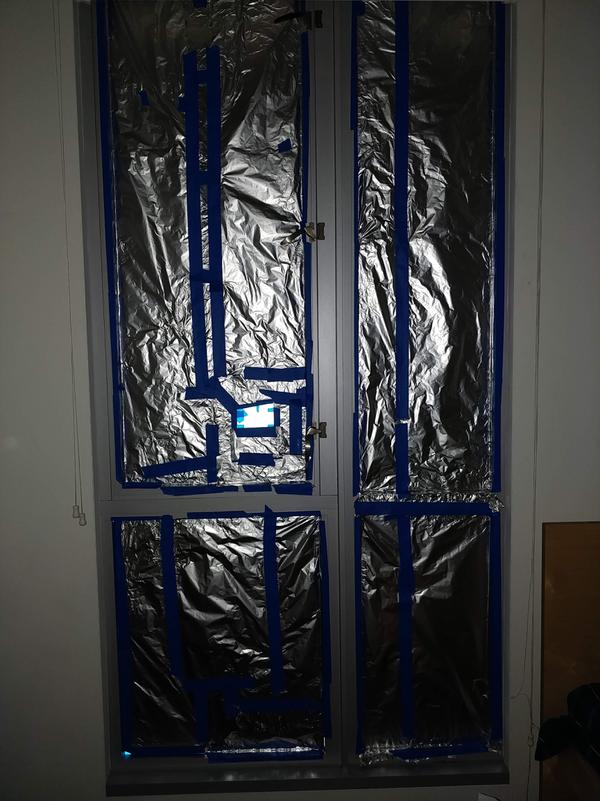
Looks and feels like a submarine now!
We got some pretty cool results!
It's pronunced jif
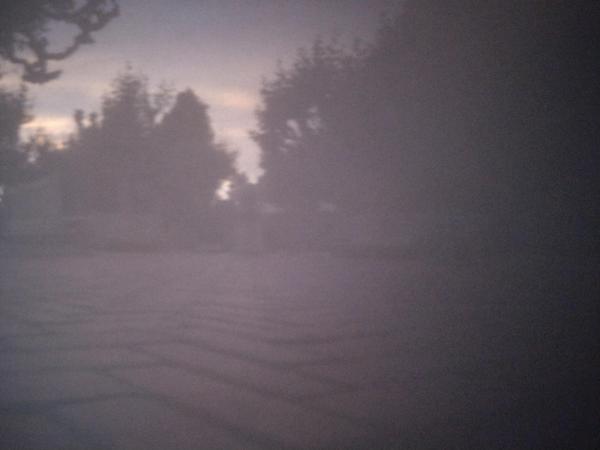
Here’s the view outside:
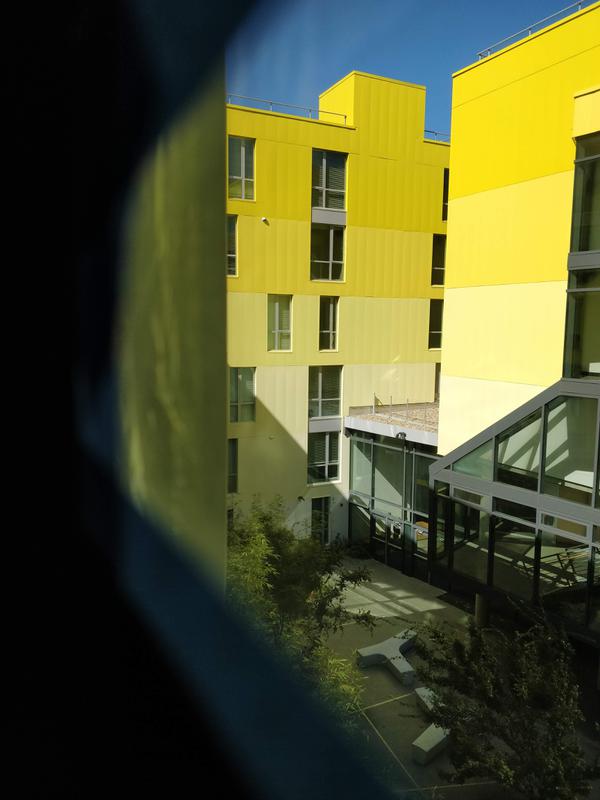
Outside
and here’s a nice picture of the result
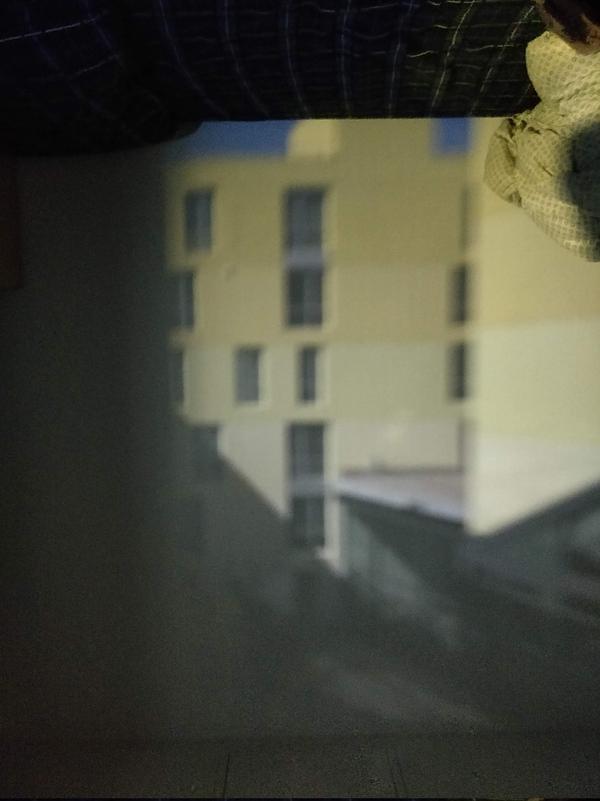
Inverted, featuring Daniel's dirty bed
We also adjusted the aperature of the camera obscura:
Cycling through aperatures of size 3 inches to .5 inches
Evidently, a smaller aperature results in a sharper but dimmer image.
Pinspeck Camera
We also tried making a pinspeck camera. This unfortunately was a complete failure. For one, it’s very hard to levitate a small ball in mid-air so we resorted to the following set up:
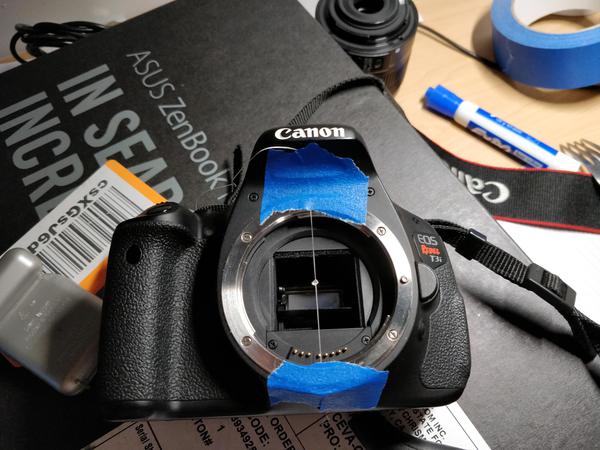
Hopefully it works well in practice...
The result…
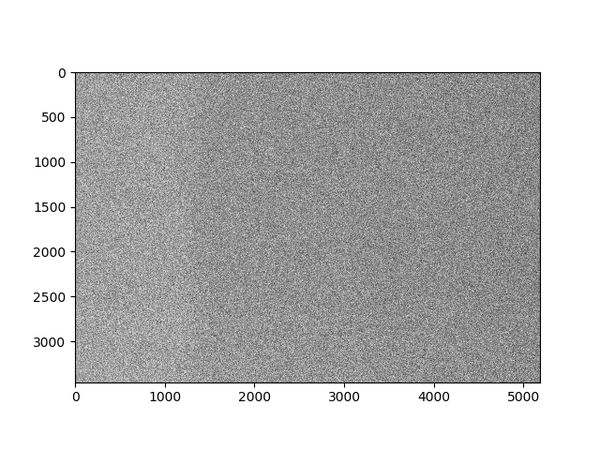
Oh well...
There a couple possible reasons for this result. One possibility is that the signal to noise ratio may be very very low. A second possibility may be that the string keeping the ball afloat in mid-air is actually distorting the light too much. One possible work around then is to ditch the ball completely and use only the string. We then only have to figure out what happens when an image goes through a slit rather than a pinprick. Apparently it’s the spatial fourier transform. Unfortunately, we poor students don’t have the time to teach ourselves fourier optics in less than a week, but this would be a cool project for the future.