Alex Jiang
Ben Wu
Bradley Qu
CS 194-26: Project 2
Building a Pinhole Camera
|
|
|
Setup
Box Construction
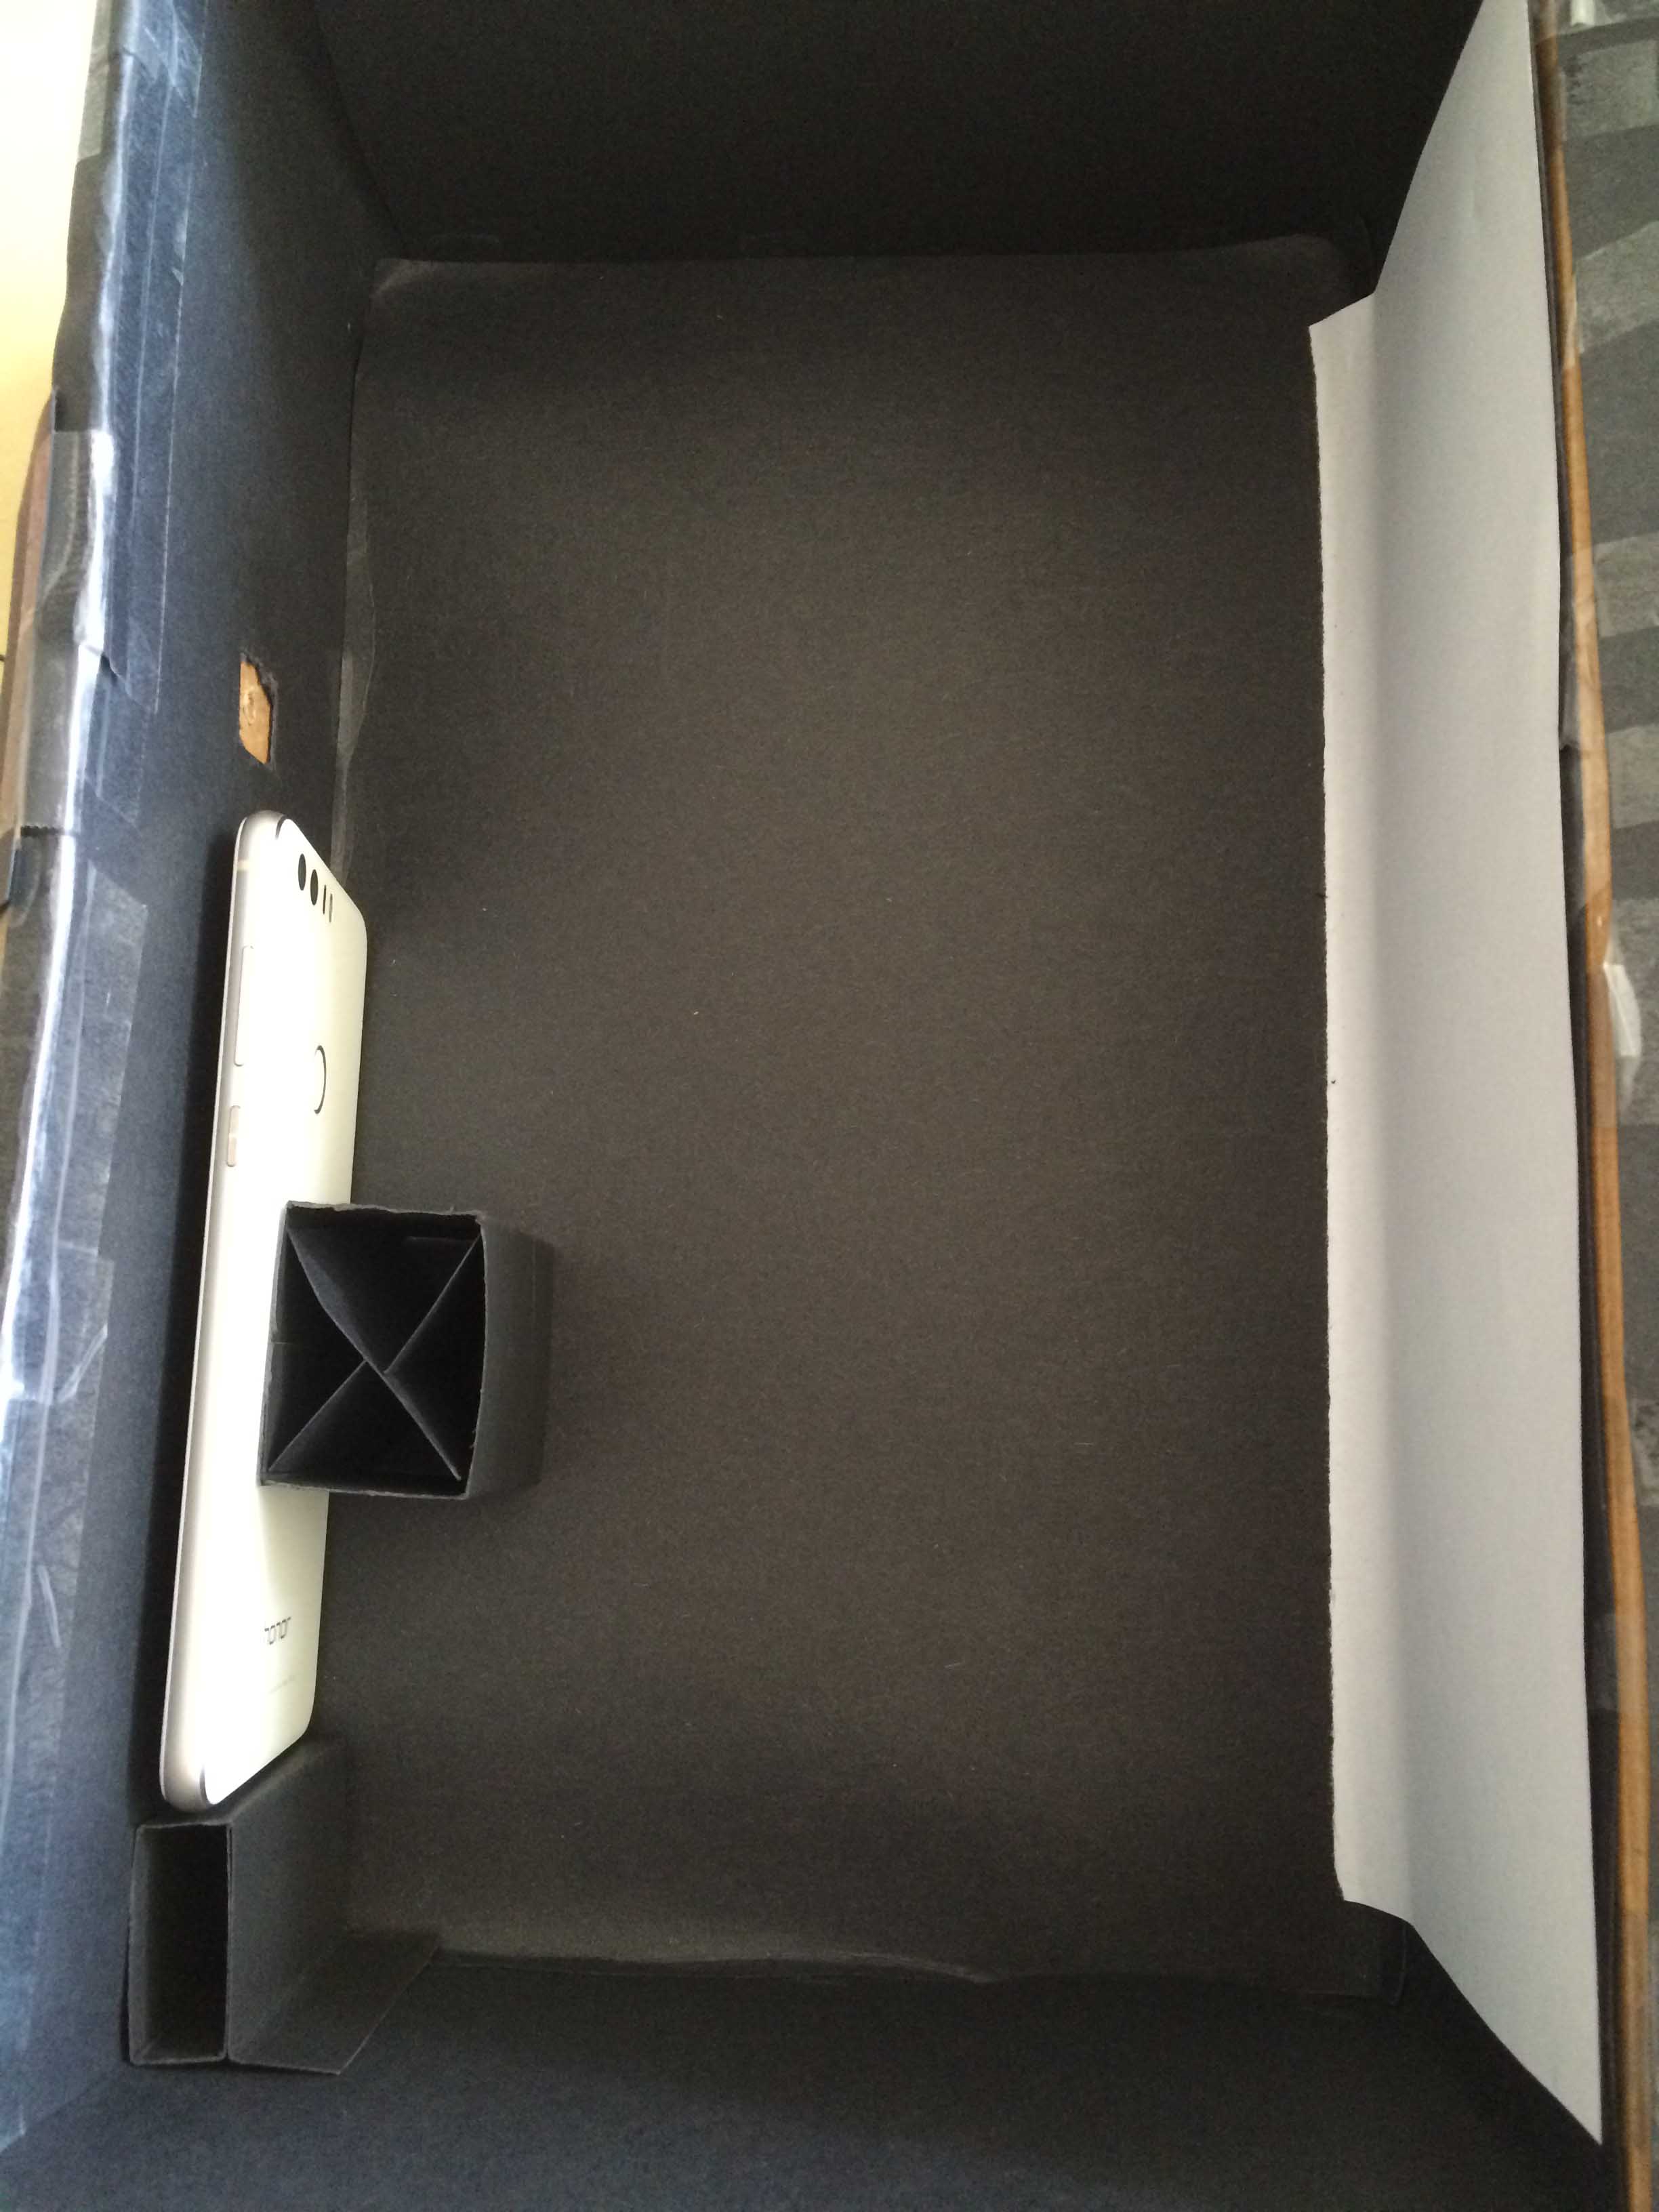
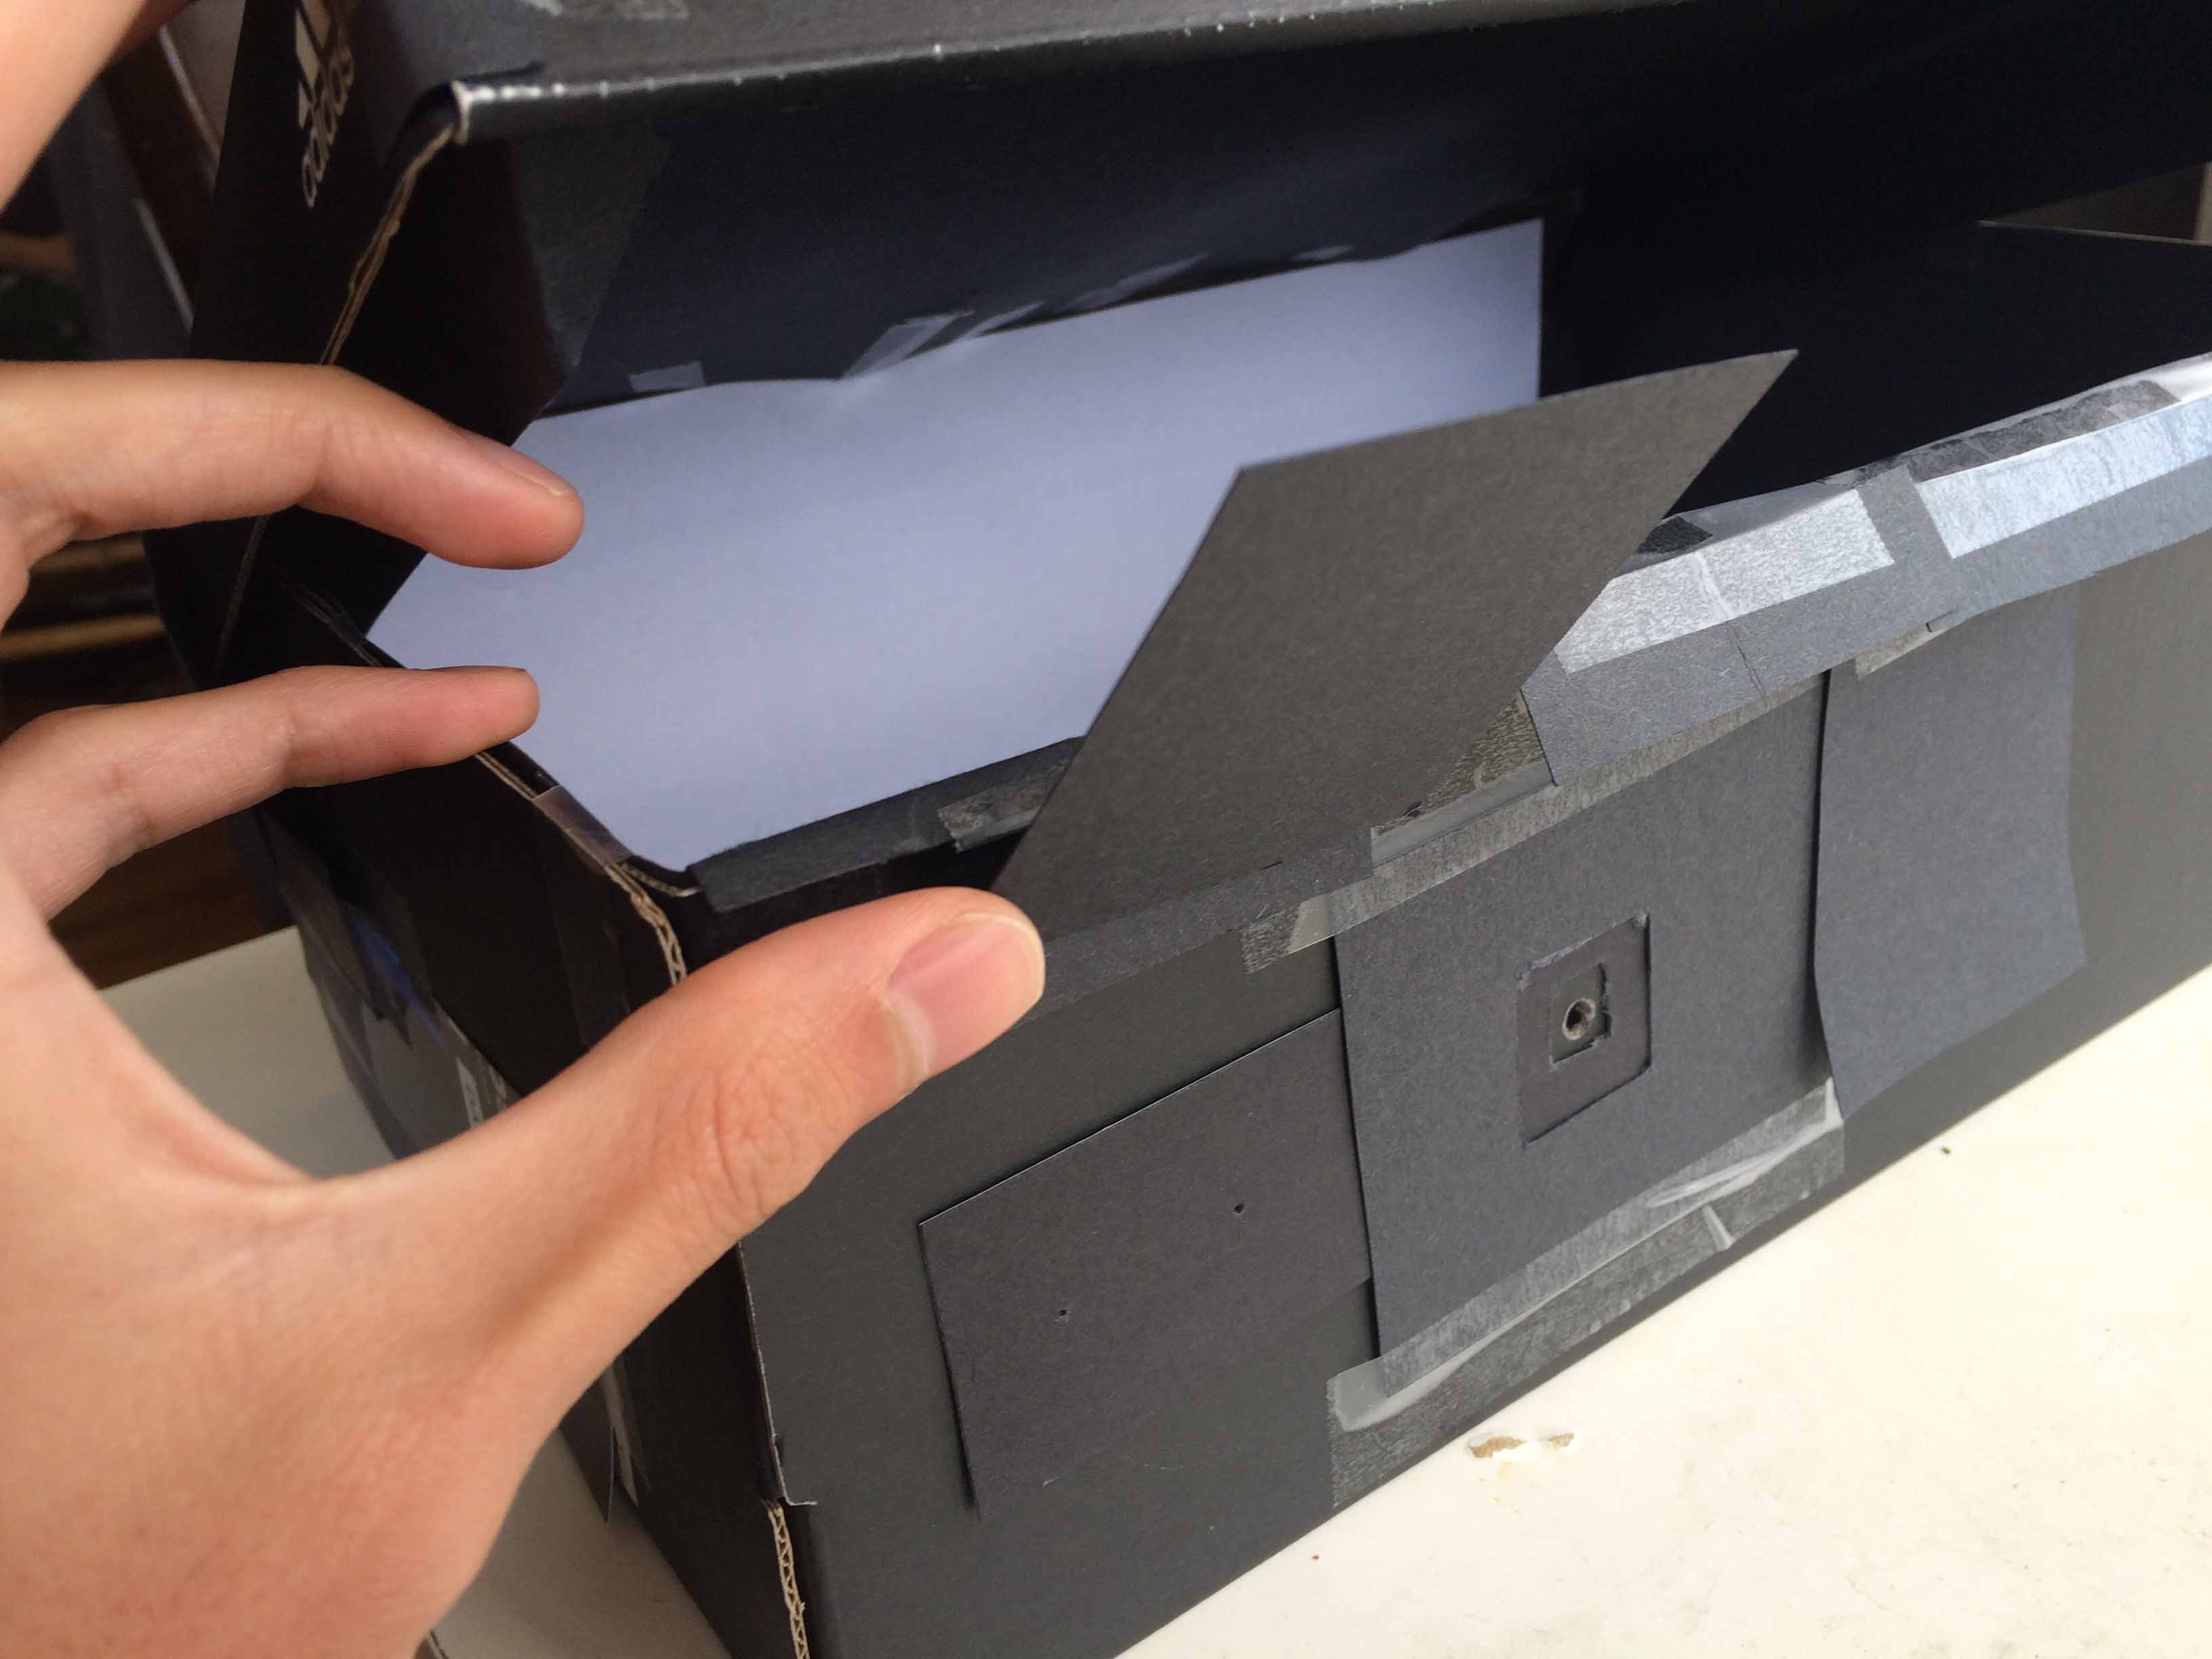
The basis of our pinhole camera started with an 19x31x11 cm shoebox, which was lined with black paper on all sides except one, which was lined with white and a hole for our aperture slider on the opposite side. Light travels through our small pinhole and our pinhole alone and projects a flipped image onto the white screen, which we then take a picture of over 15-30s exposure time. We created an external sliding panel on the side opposite of the white-lined inside, which allowed us to easily switch between four apertures of 0.5mm, 1mm, 2mm, and 5mm. The camera used was the Honor 8 main camera, which features full exposure, ISO, and focus adjustment, all equivalent to that of a modern DSLR camera. We set a black pillar on the inside of the box so that the phone could rest inside easily while the photo was taken. Tape was applied over the box accordingly to ensure that it was completely impermeable to light, aside from the sliding panel pinholes.
|
|
First Pics
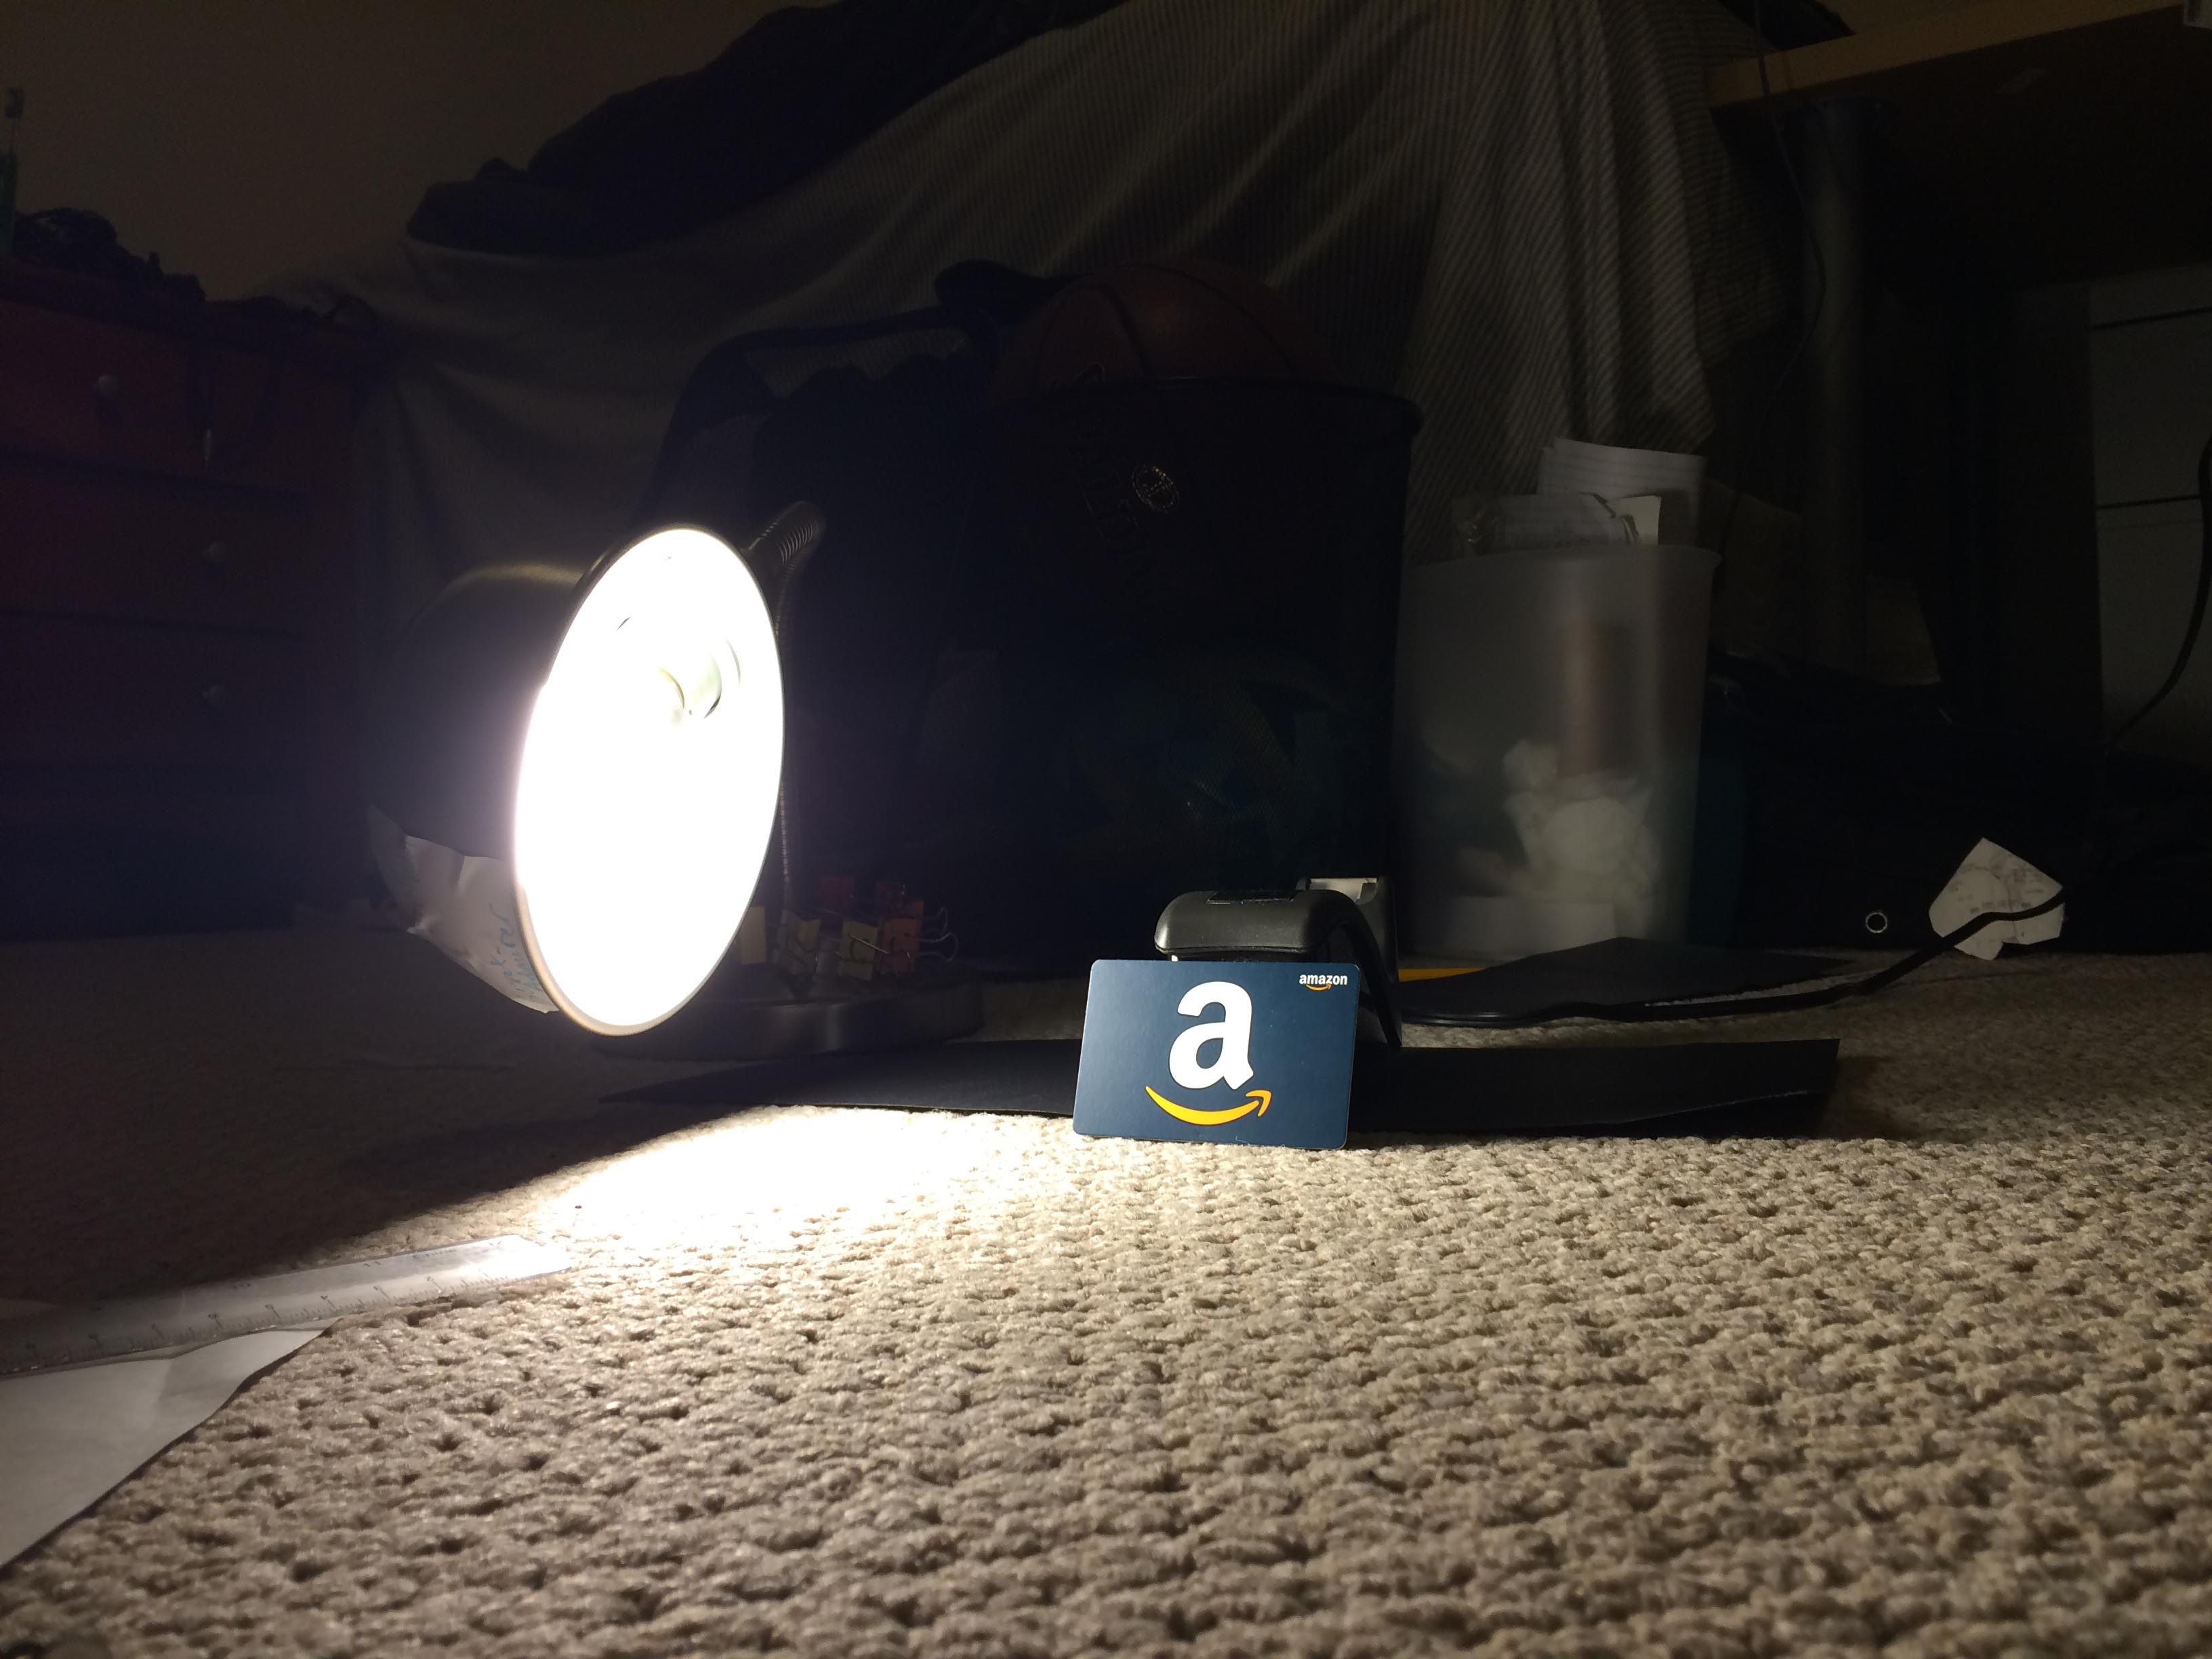
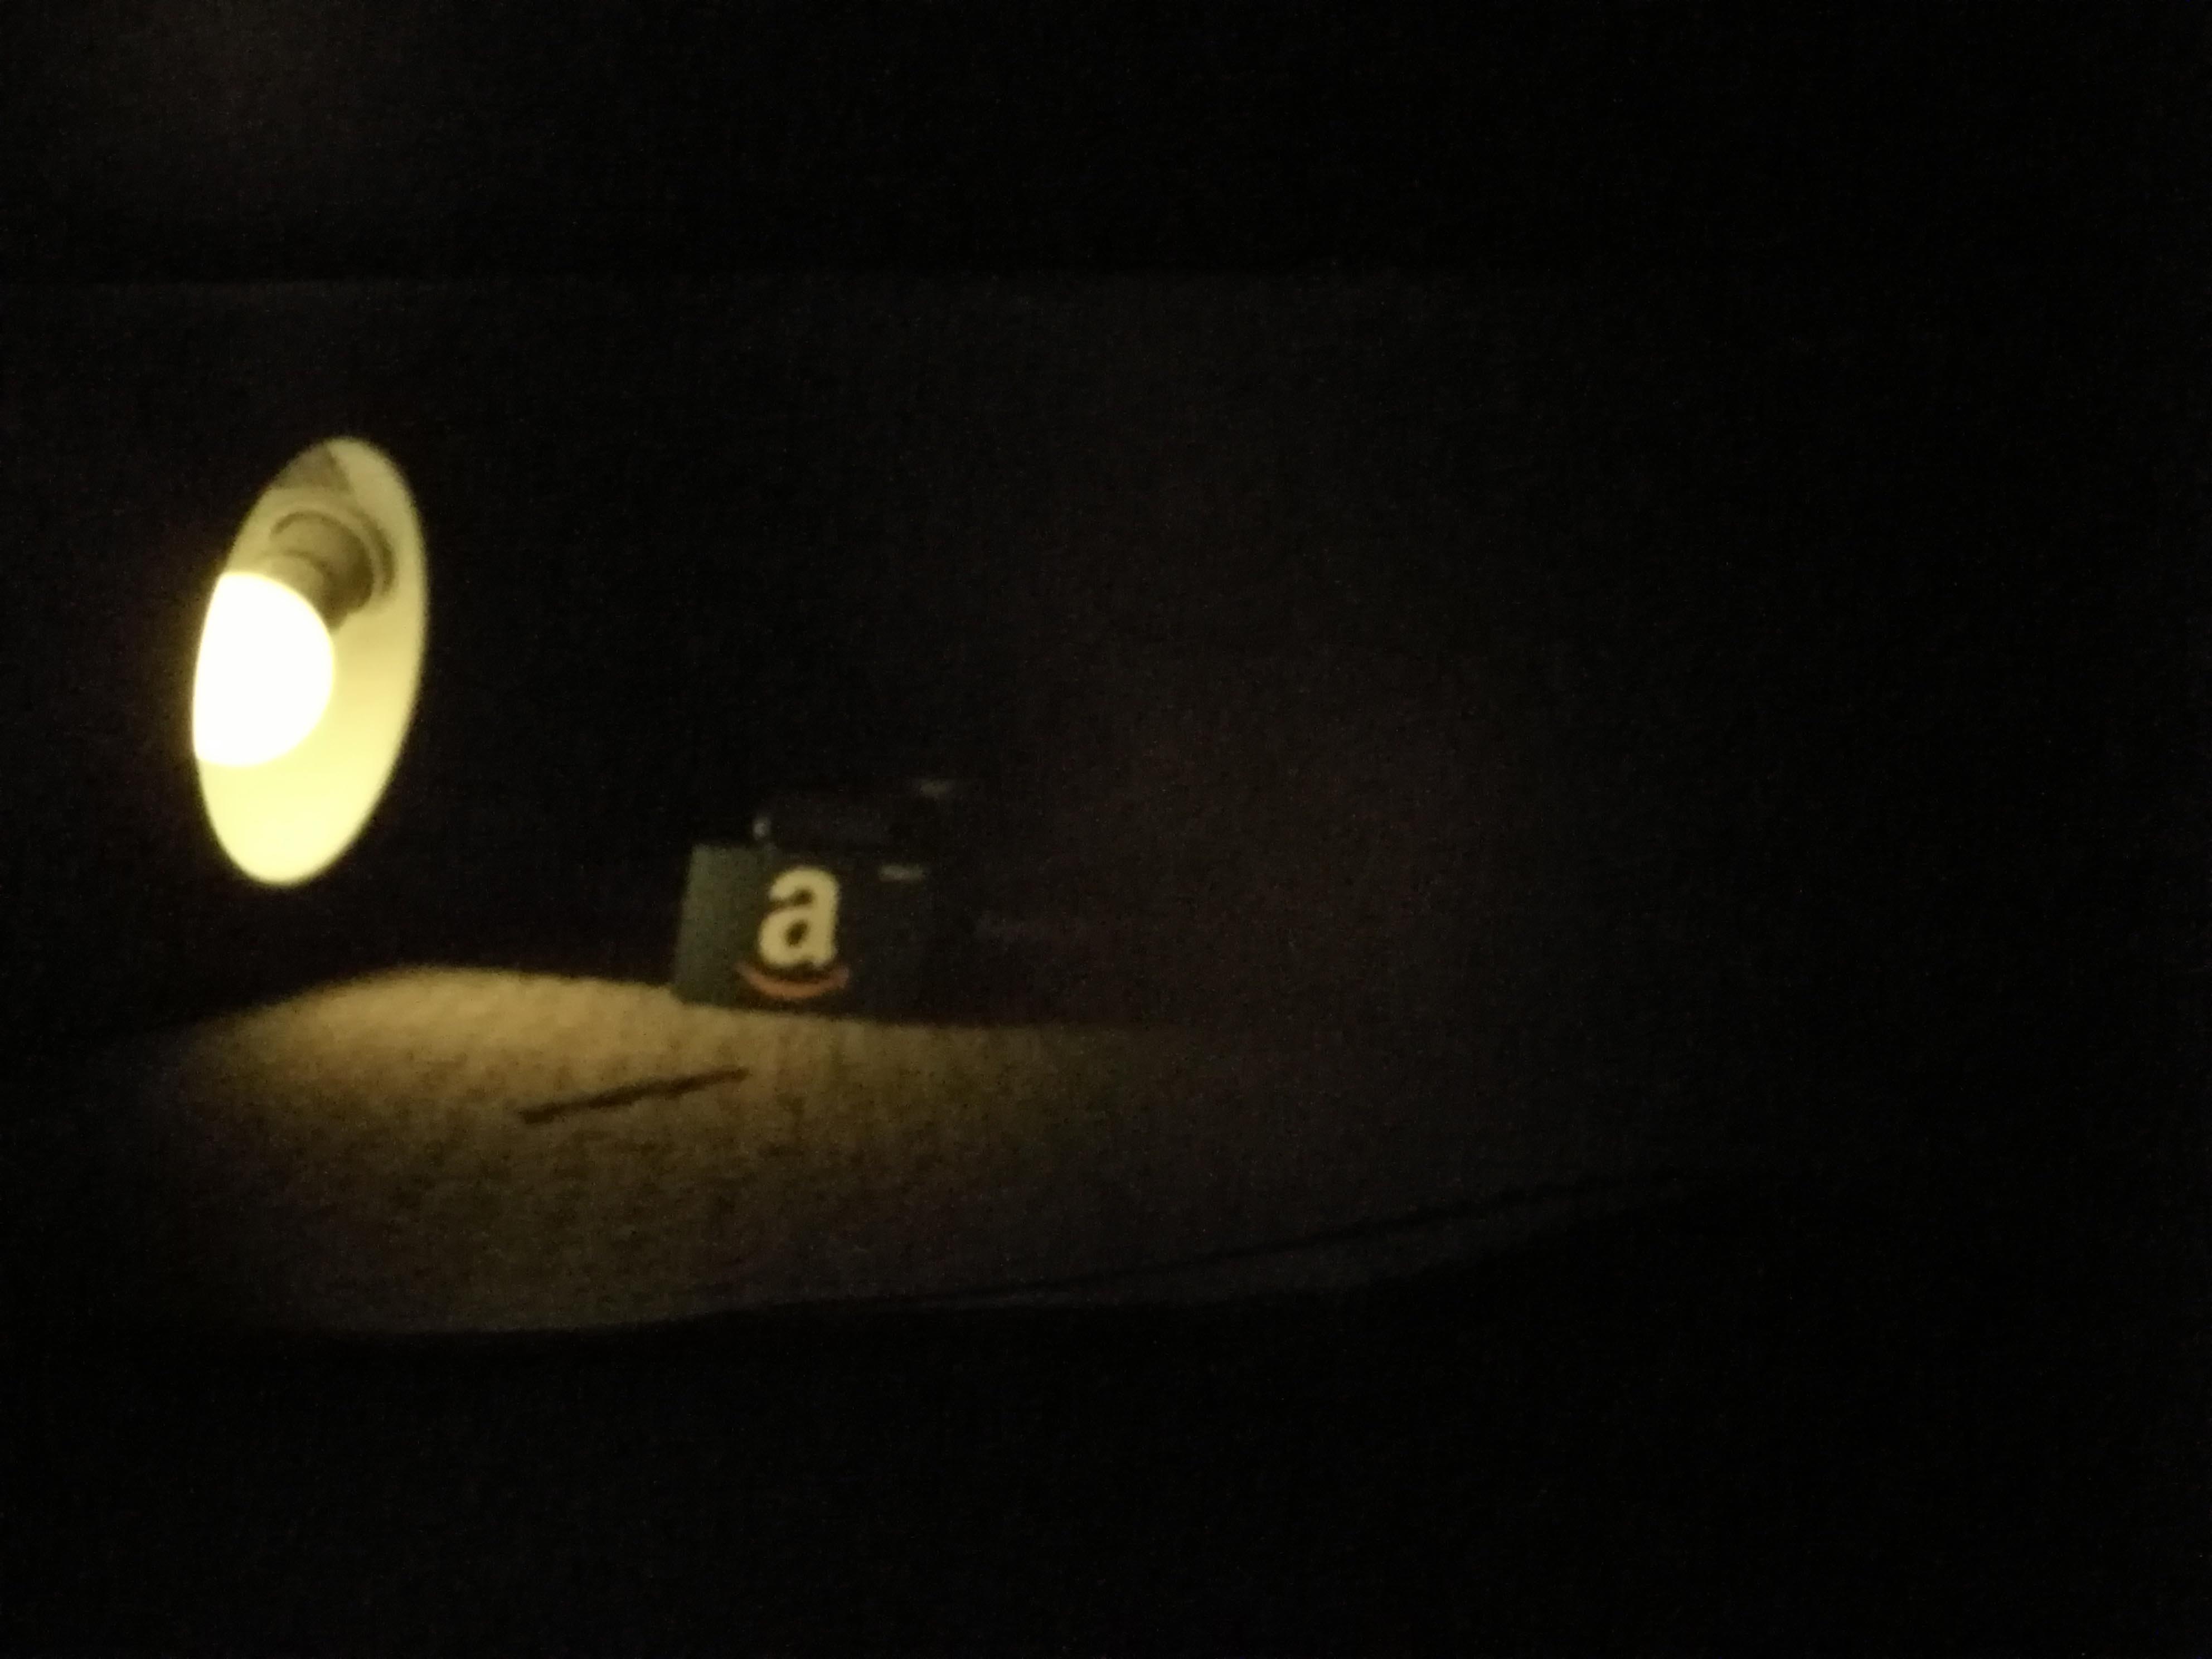
We initially tried this with only a lamp for light and thus left our ISO at 3200 and max exposure time of 30s:
|
|
Pinhole Sizes, Exposure, and ISO
Our four pinhole sizes and appropriate accompanying settings were as follows:
|
Pinhole Size/Aperture |
Exposure Length |
Camera ISO |
|
0.5mm |
30s |
3200 |
|
1mm |
30s |
1000 |
|
2mm |
30s |
250 |
|
5mm |
30s |
50 |
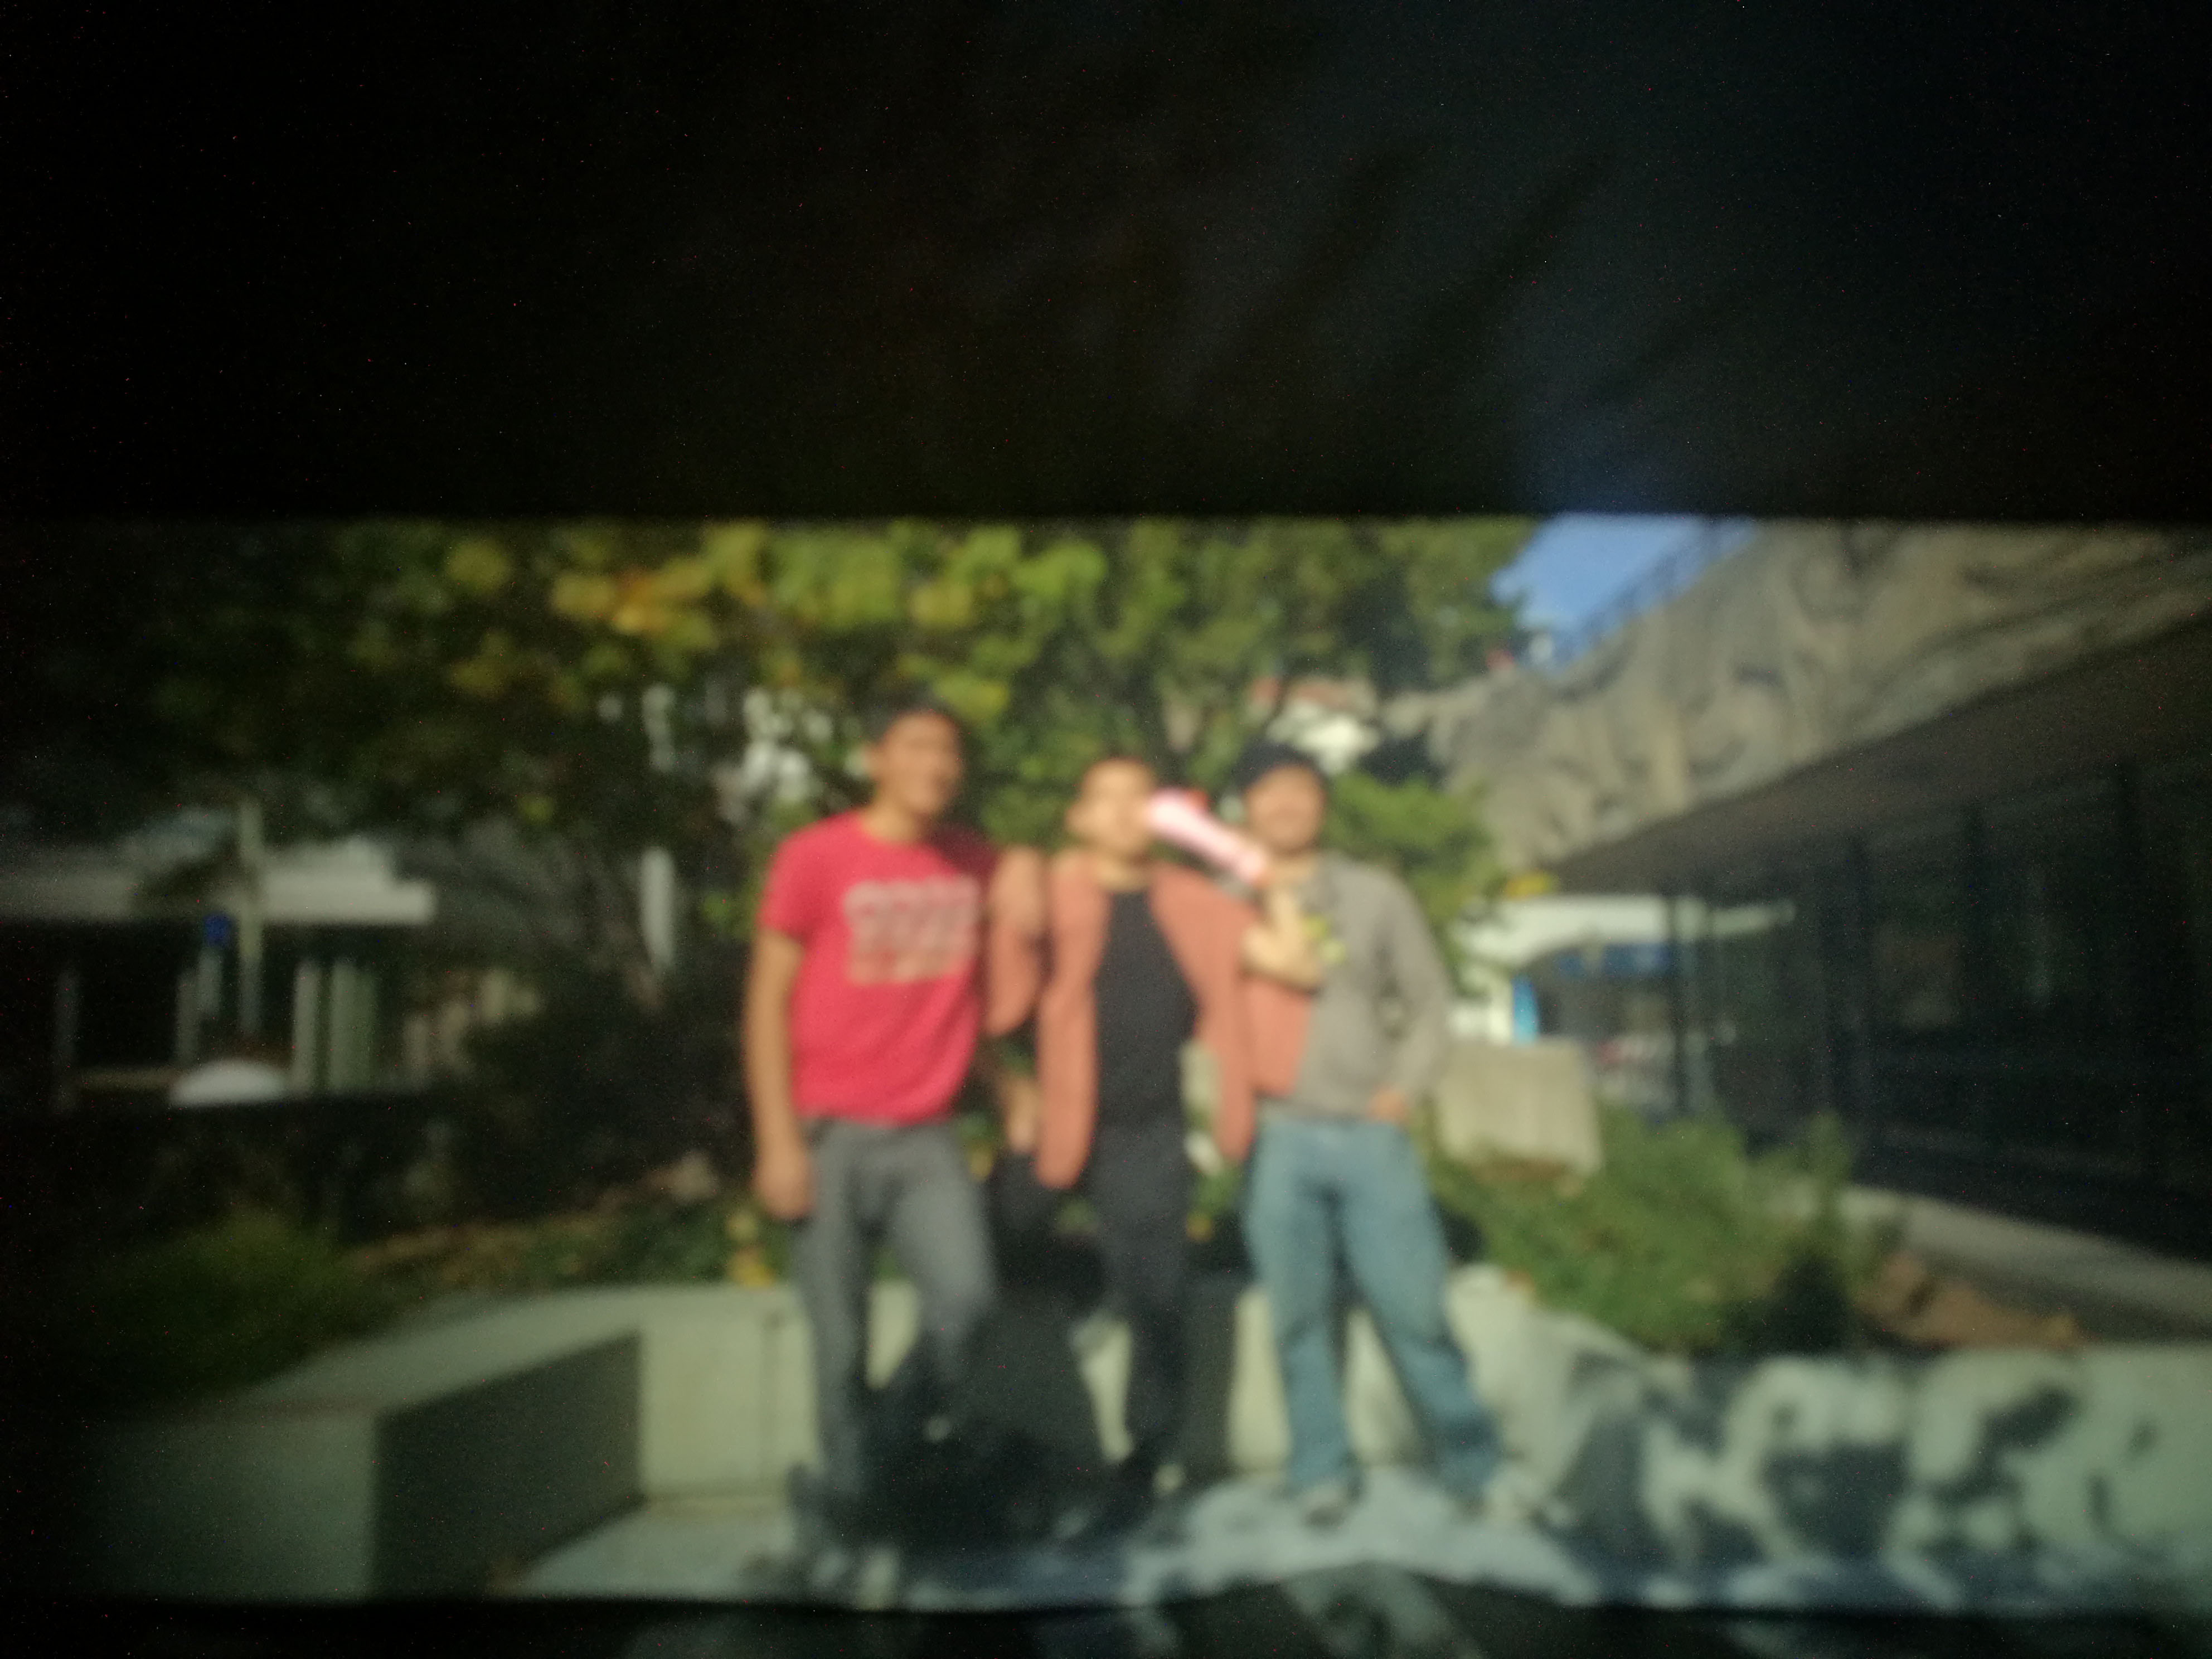
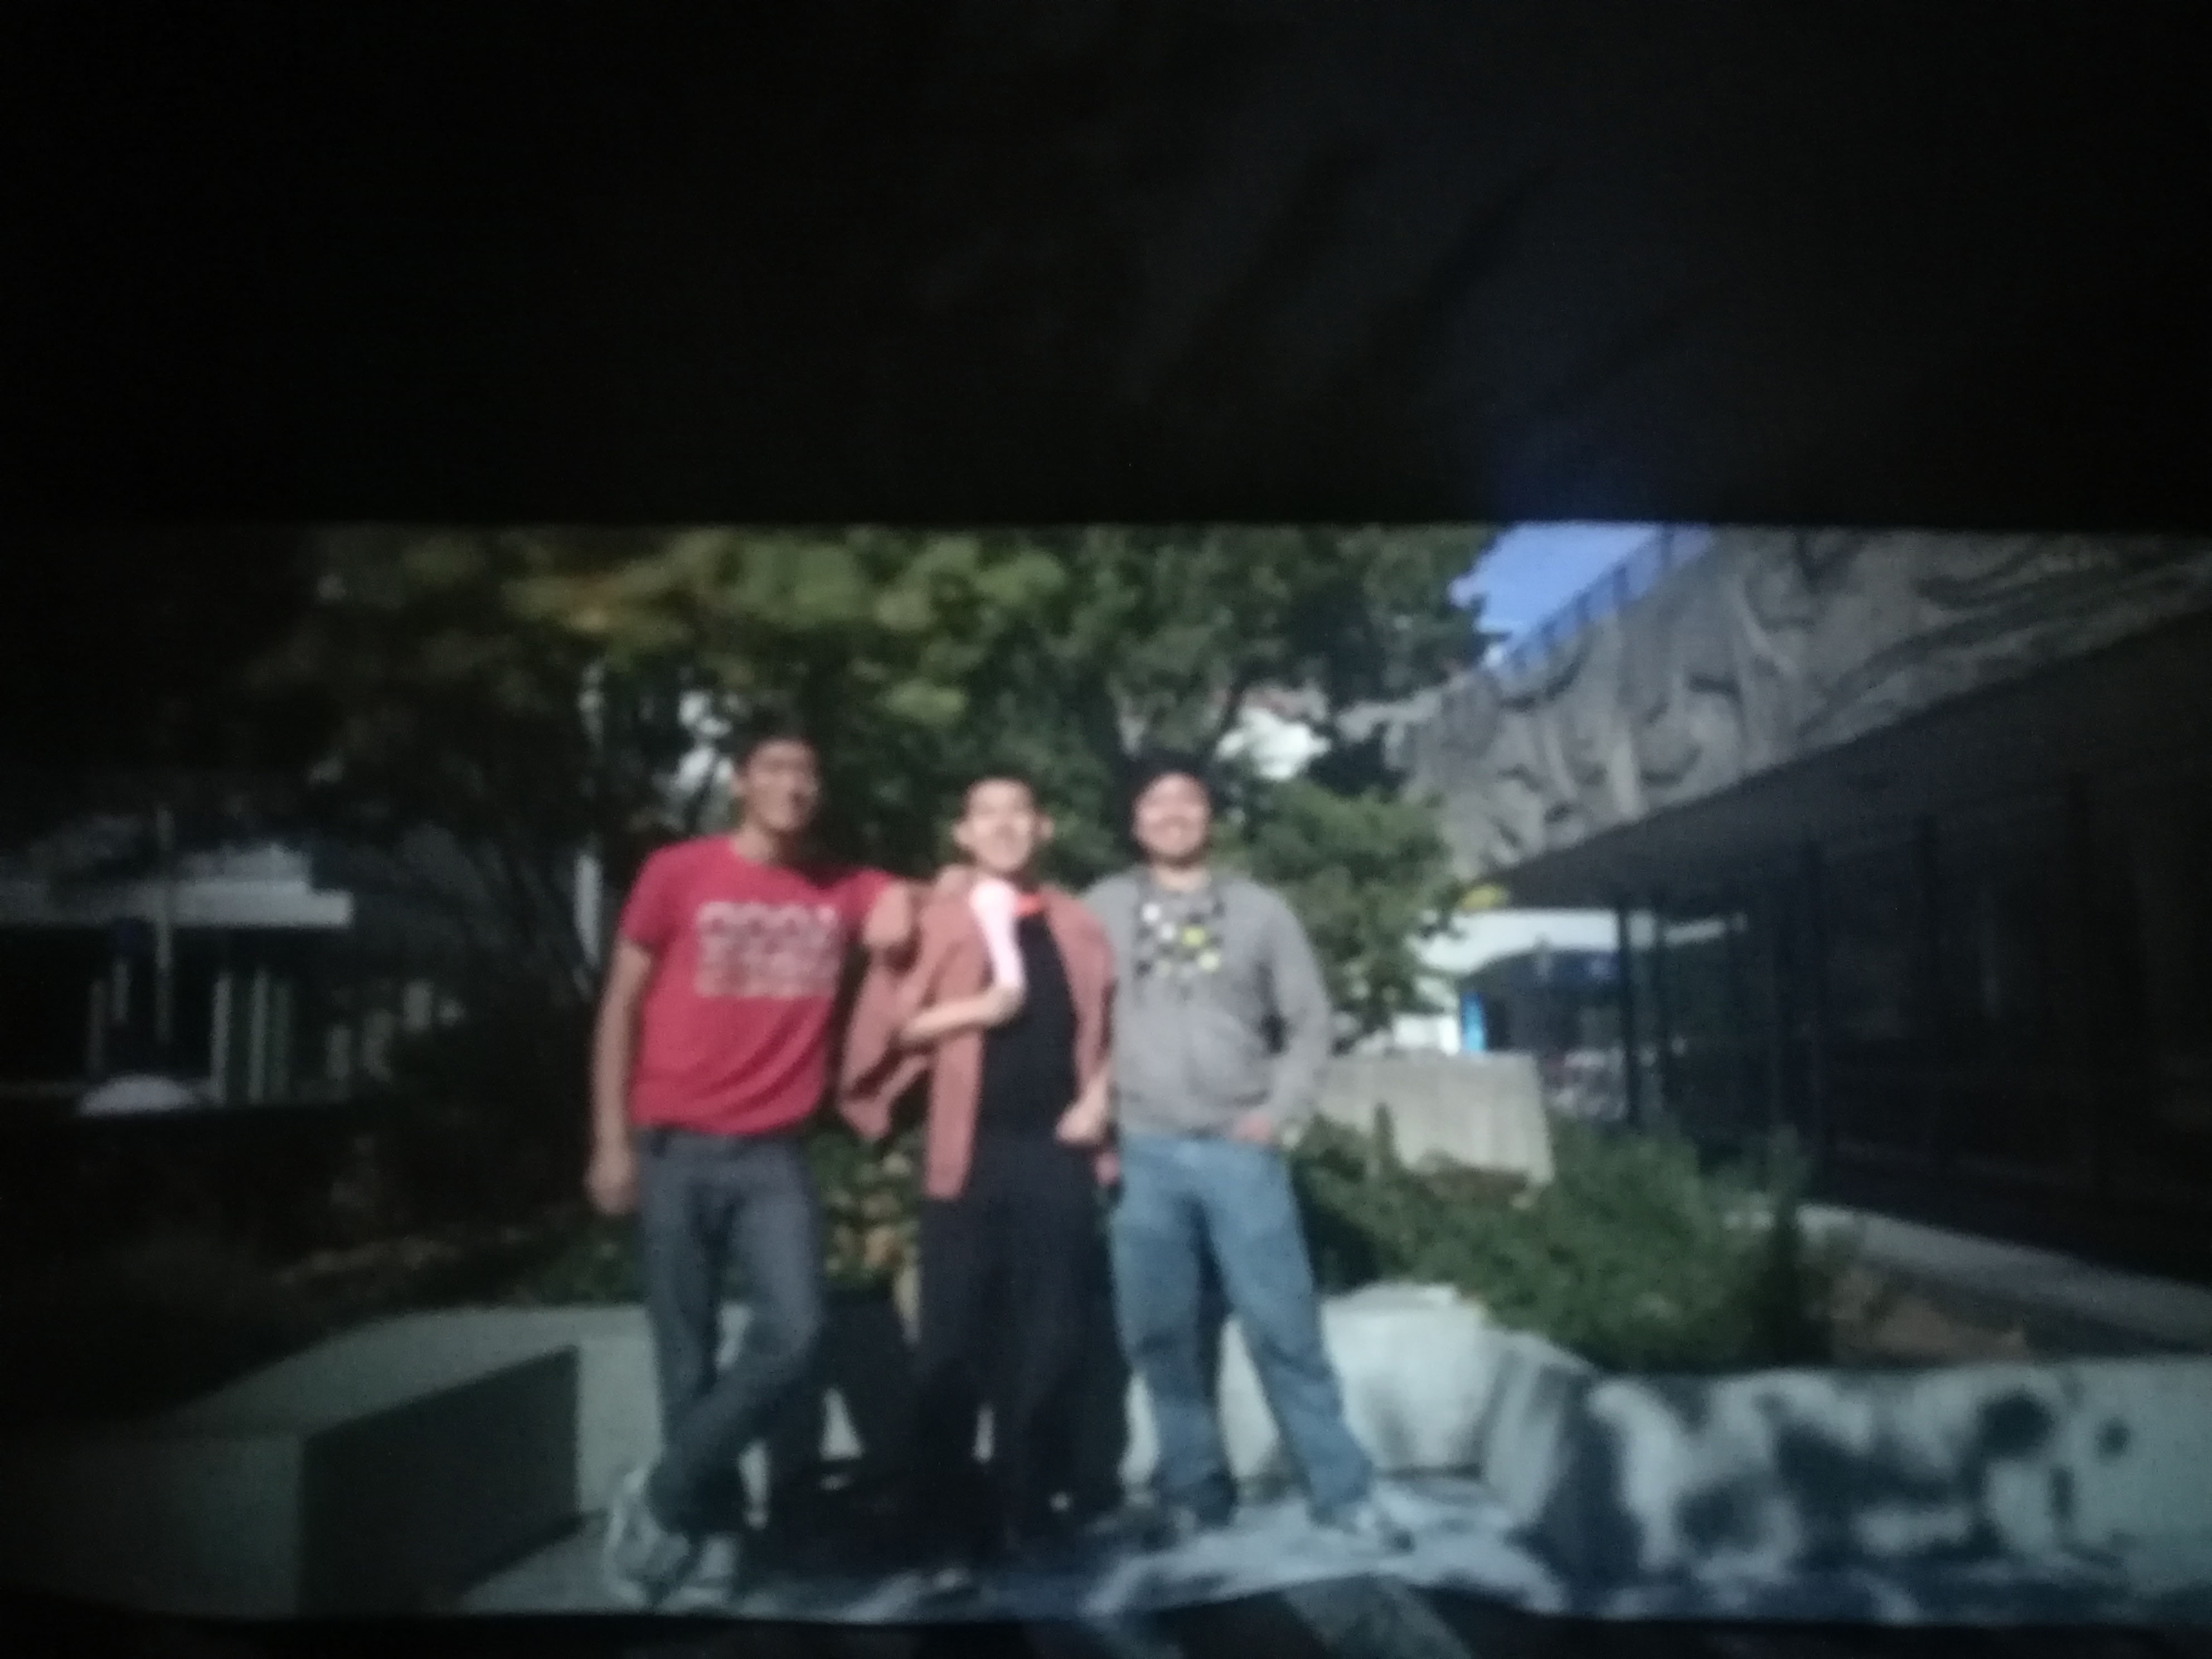
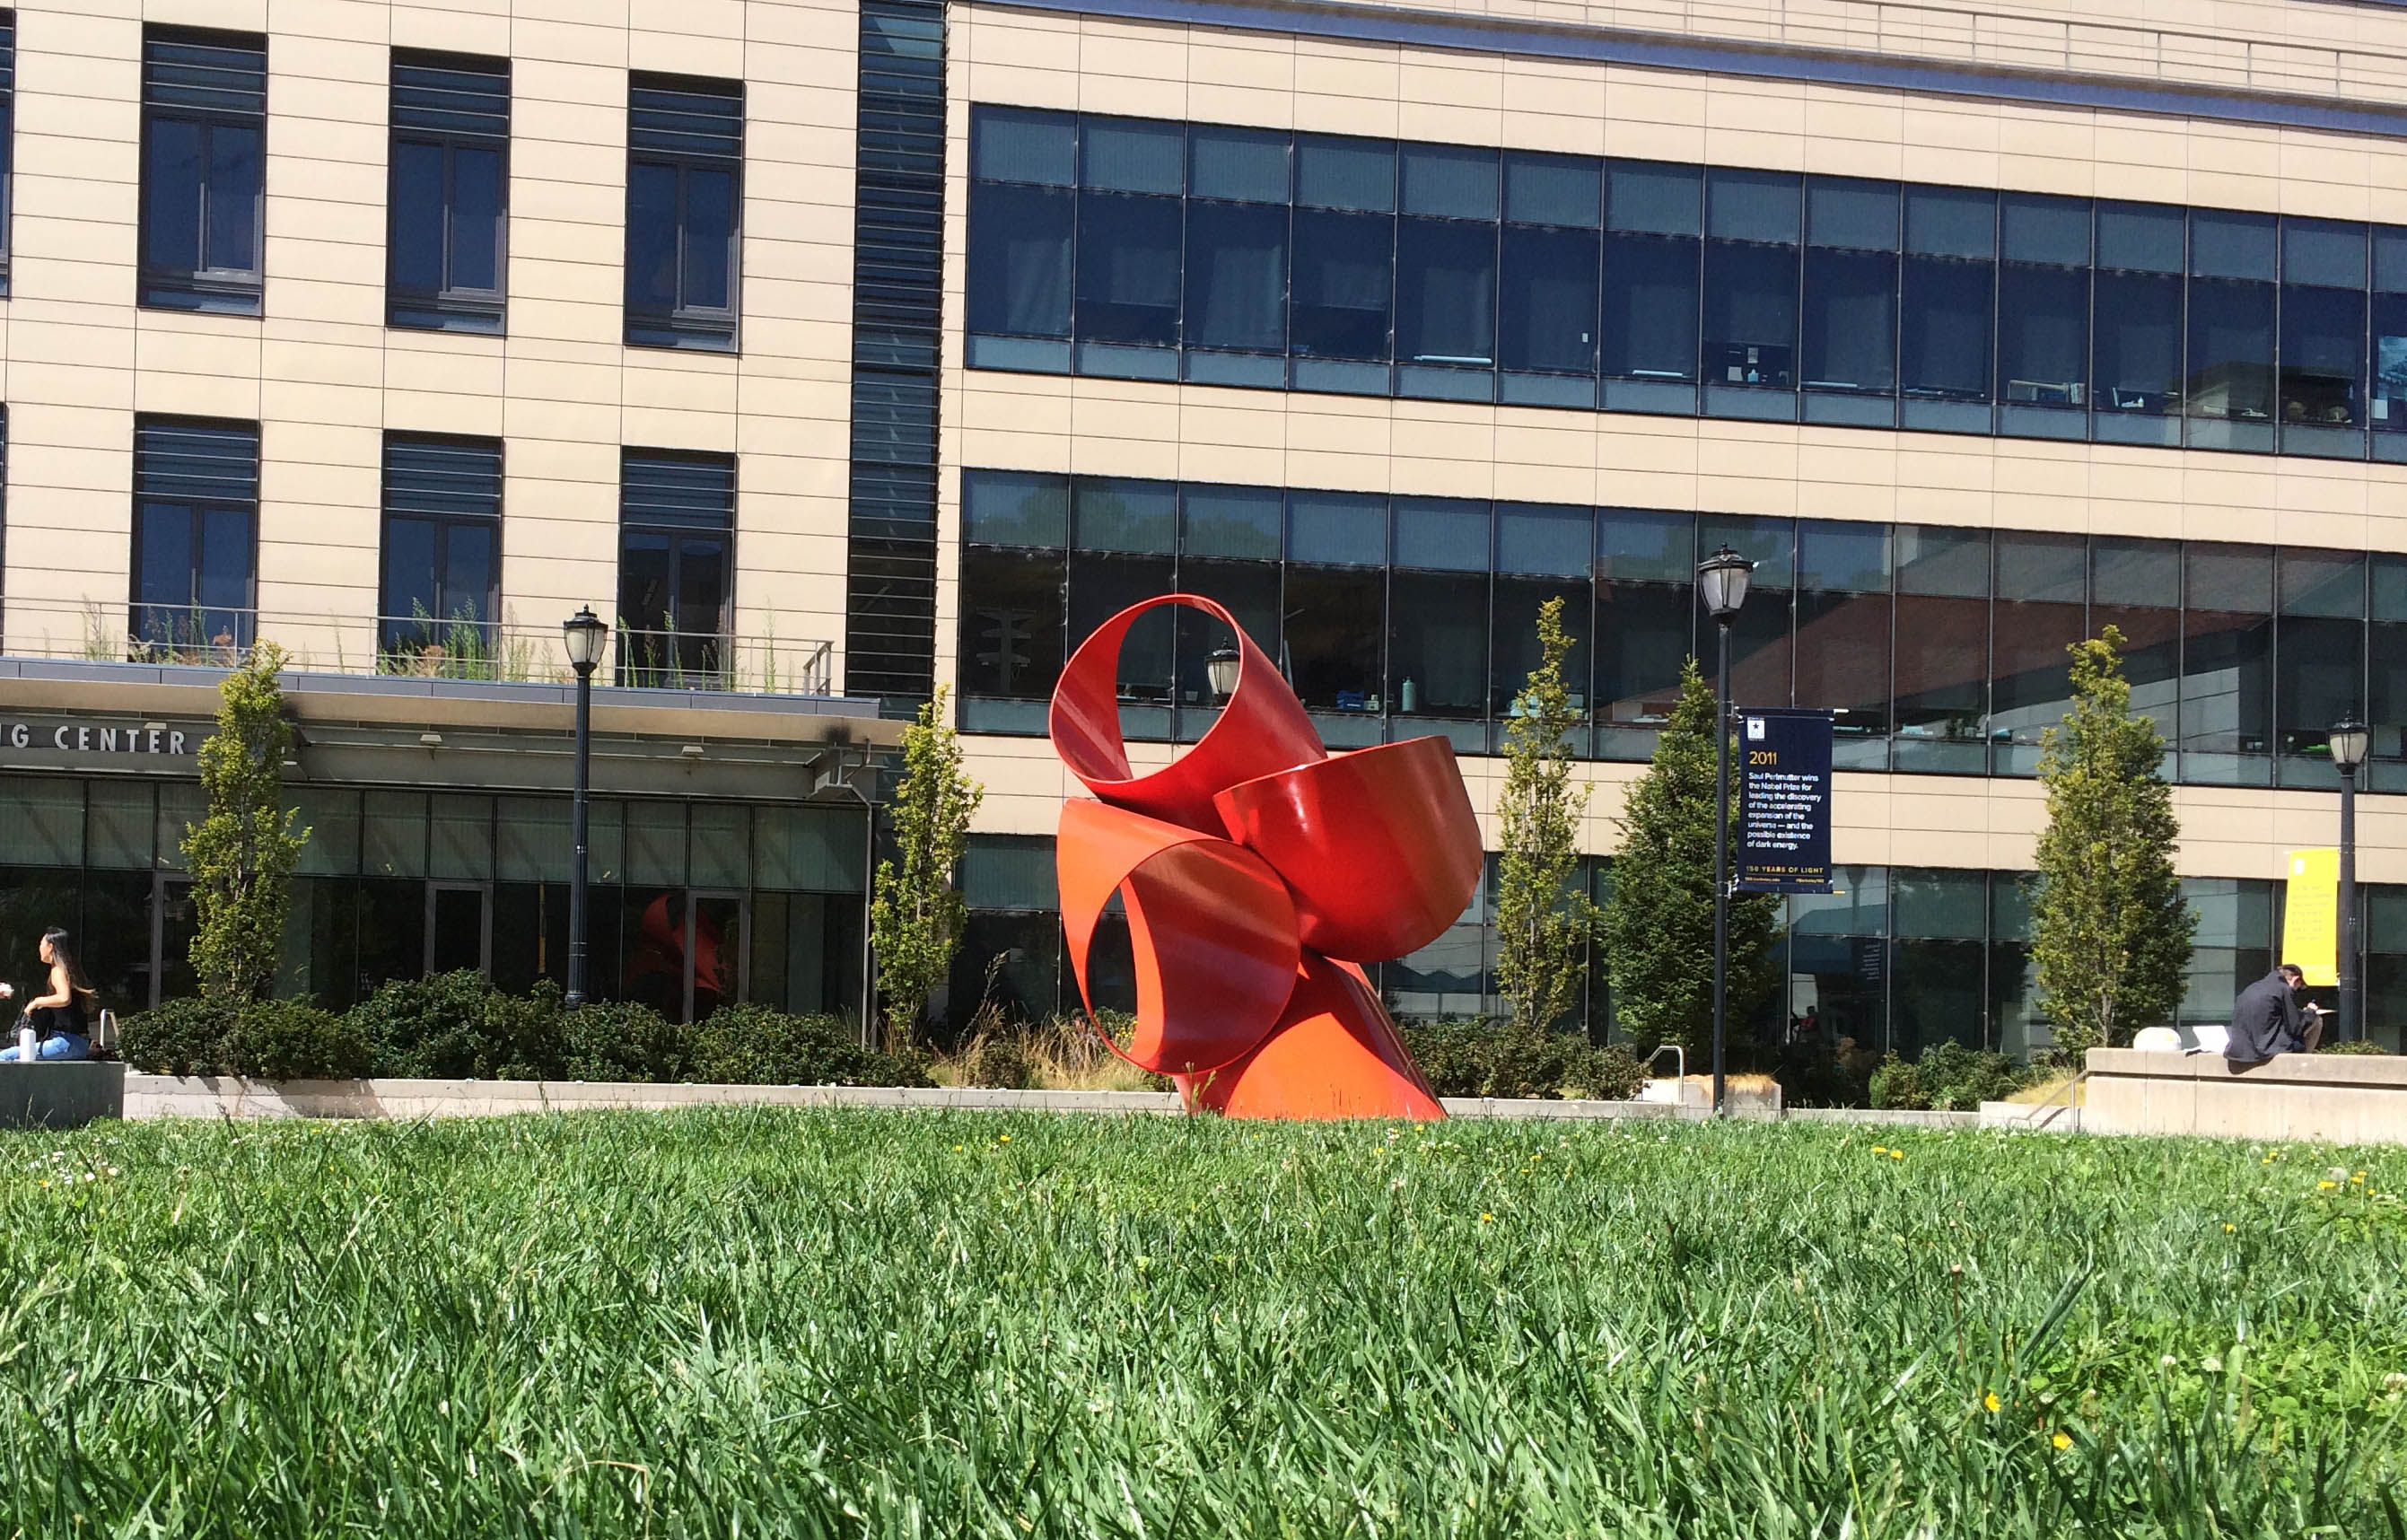
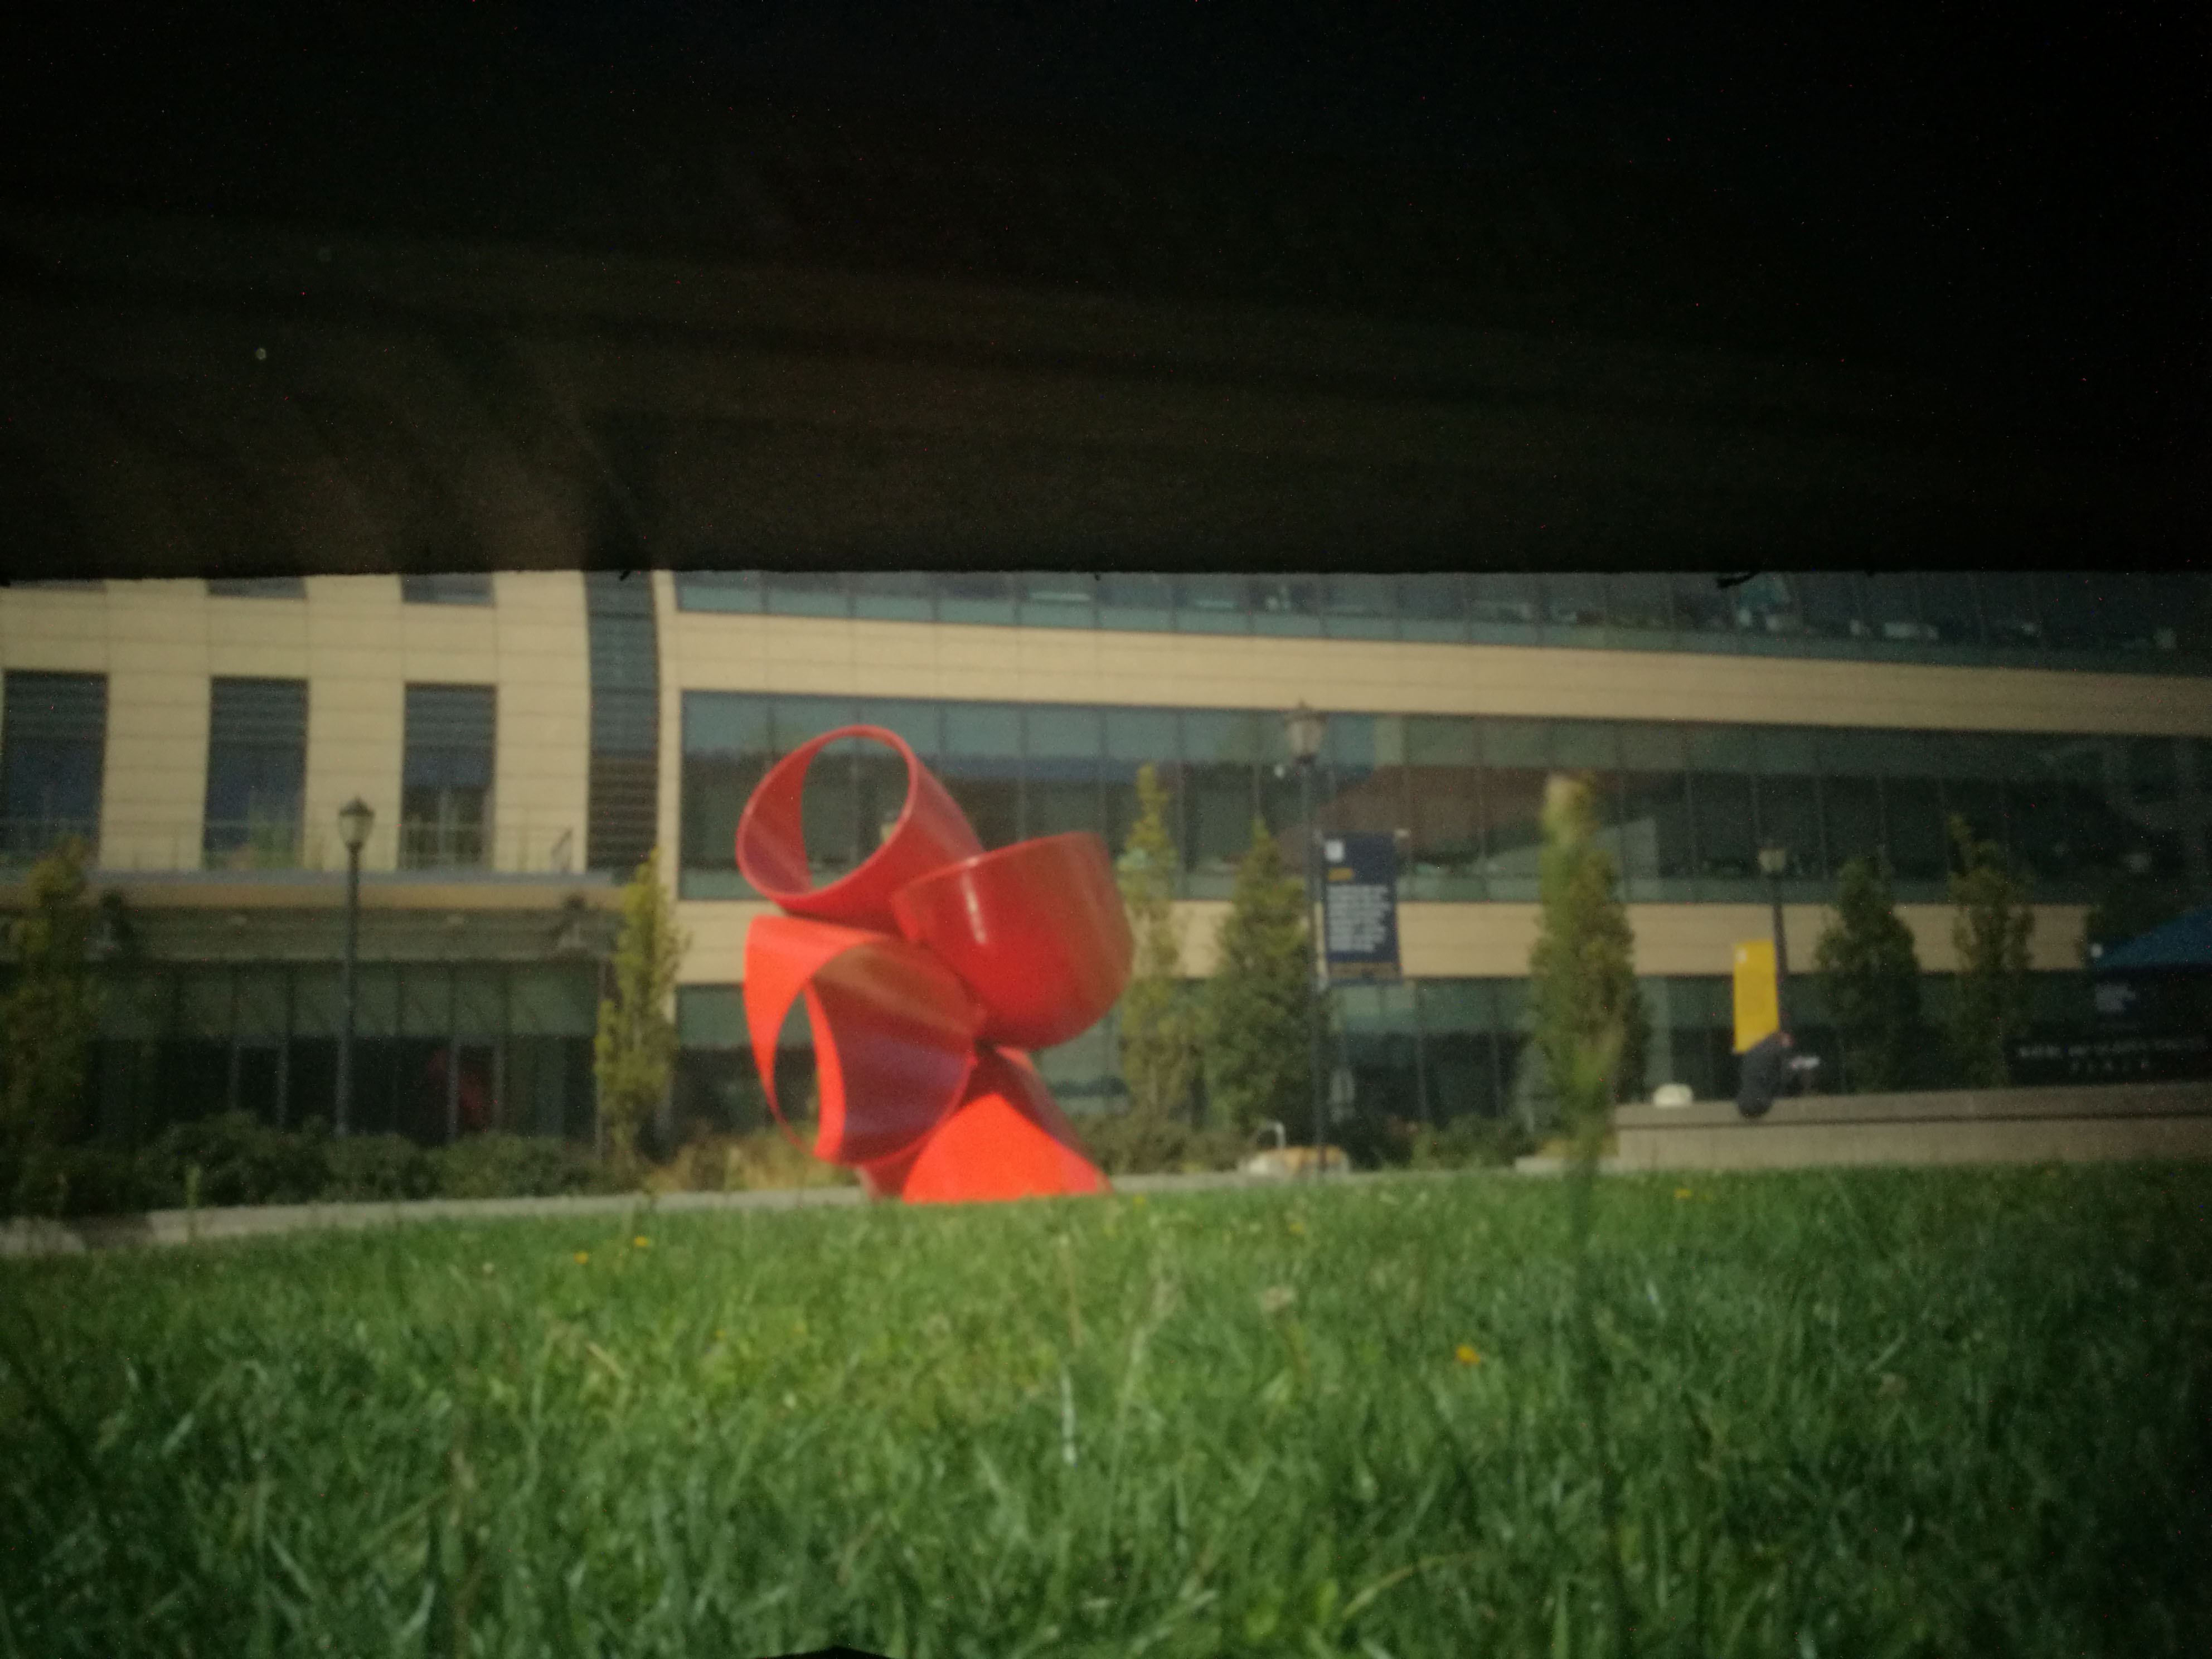
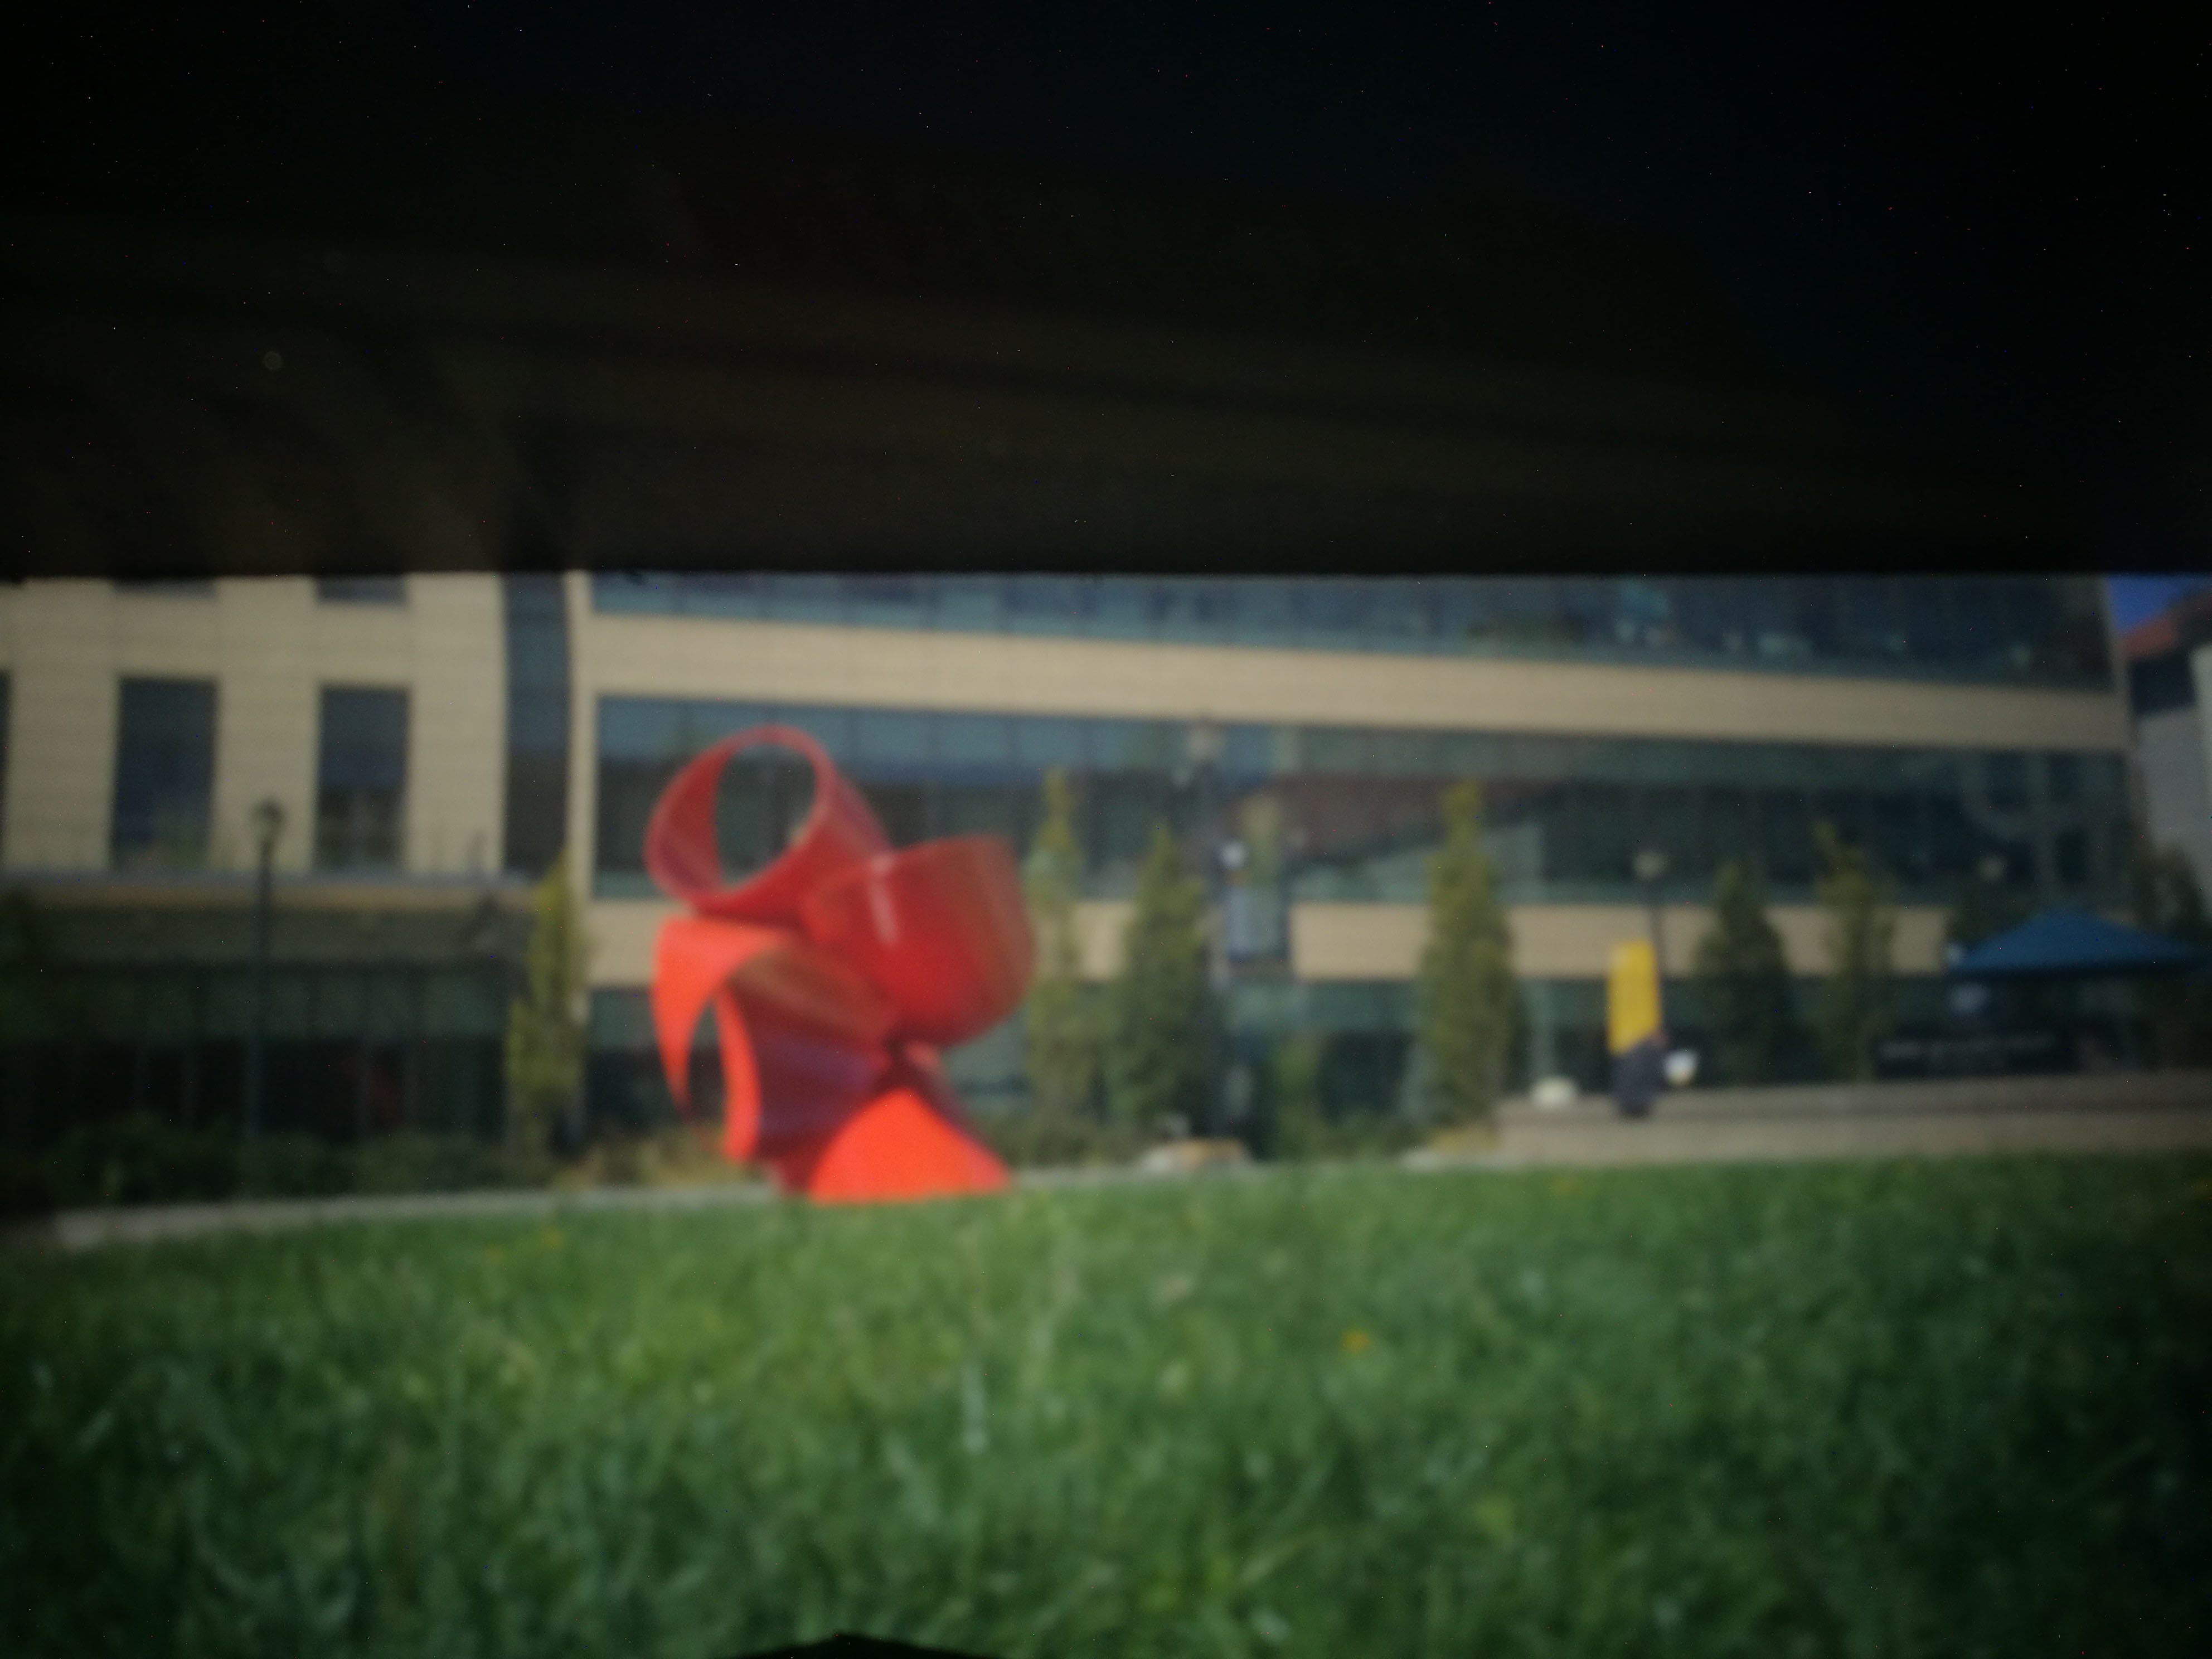
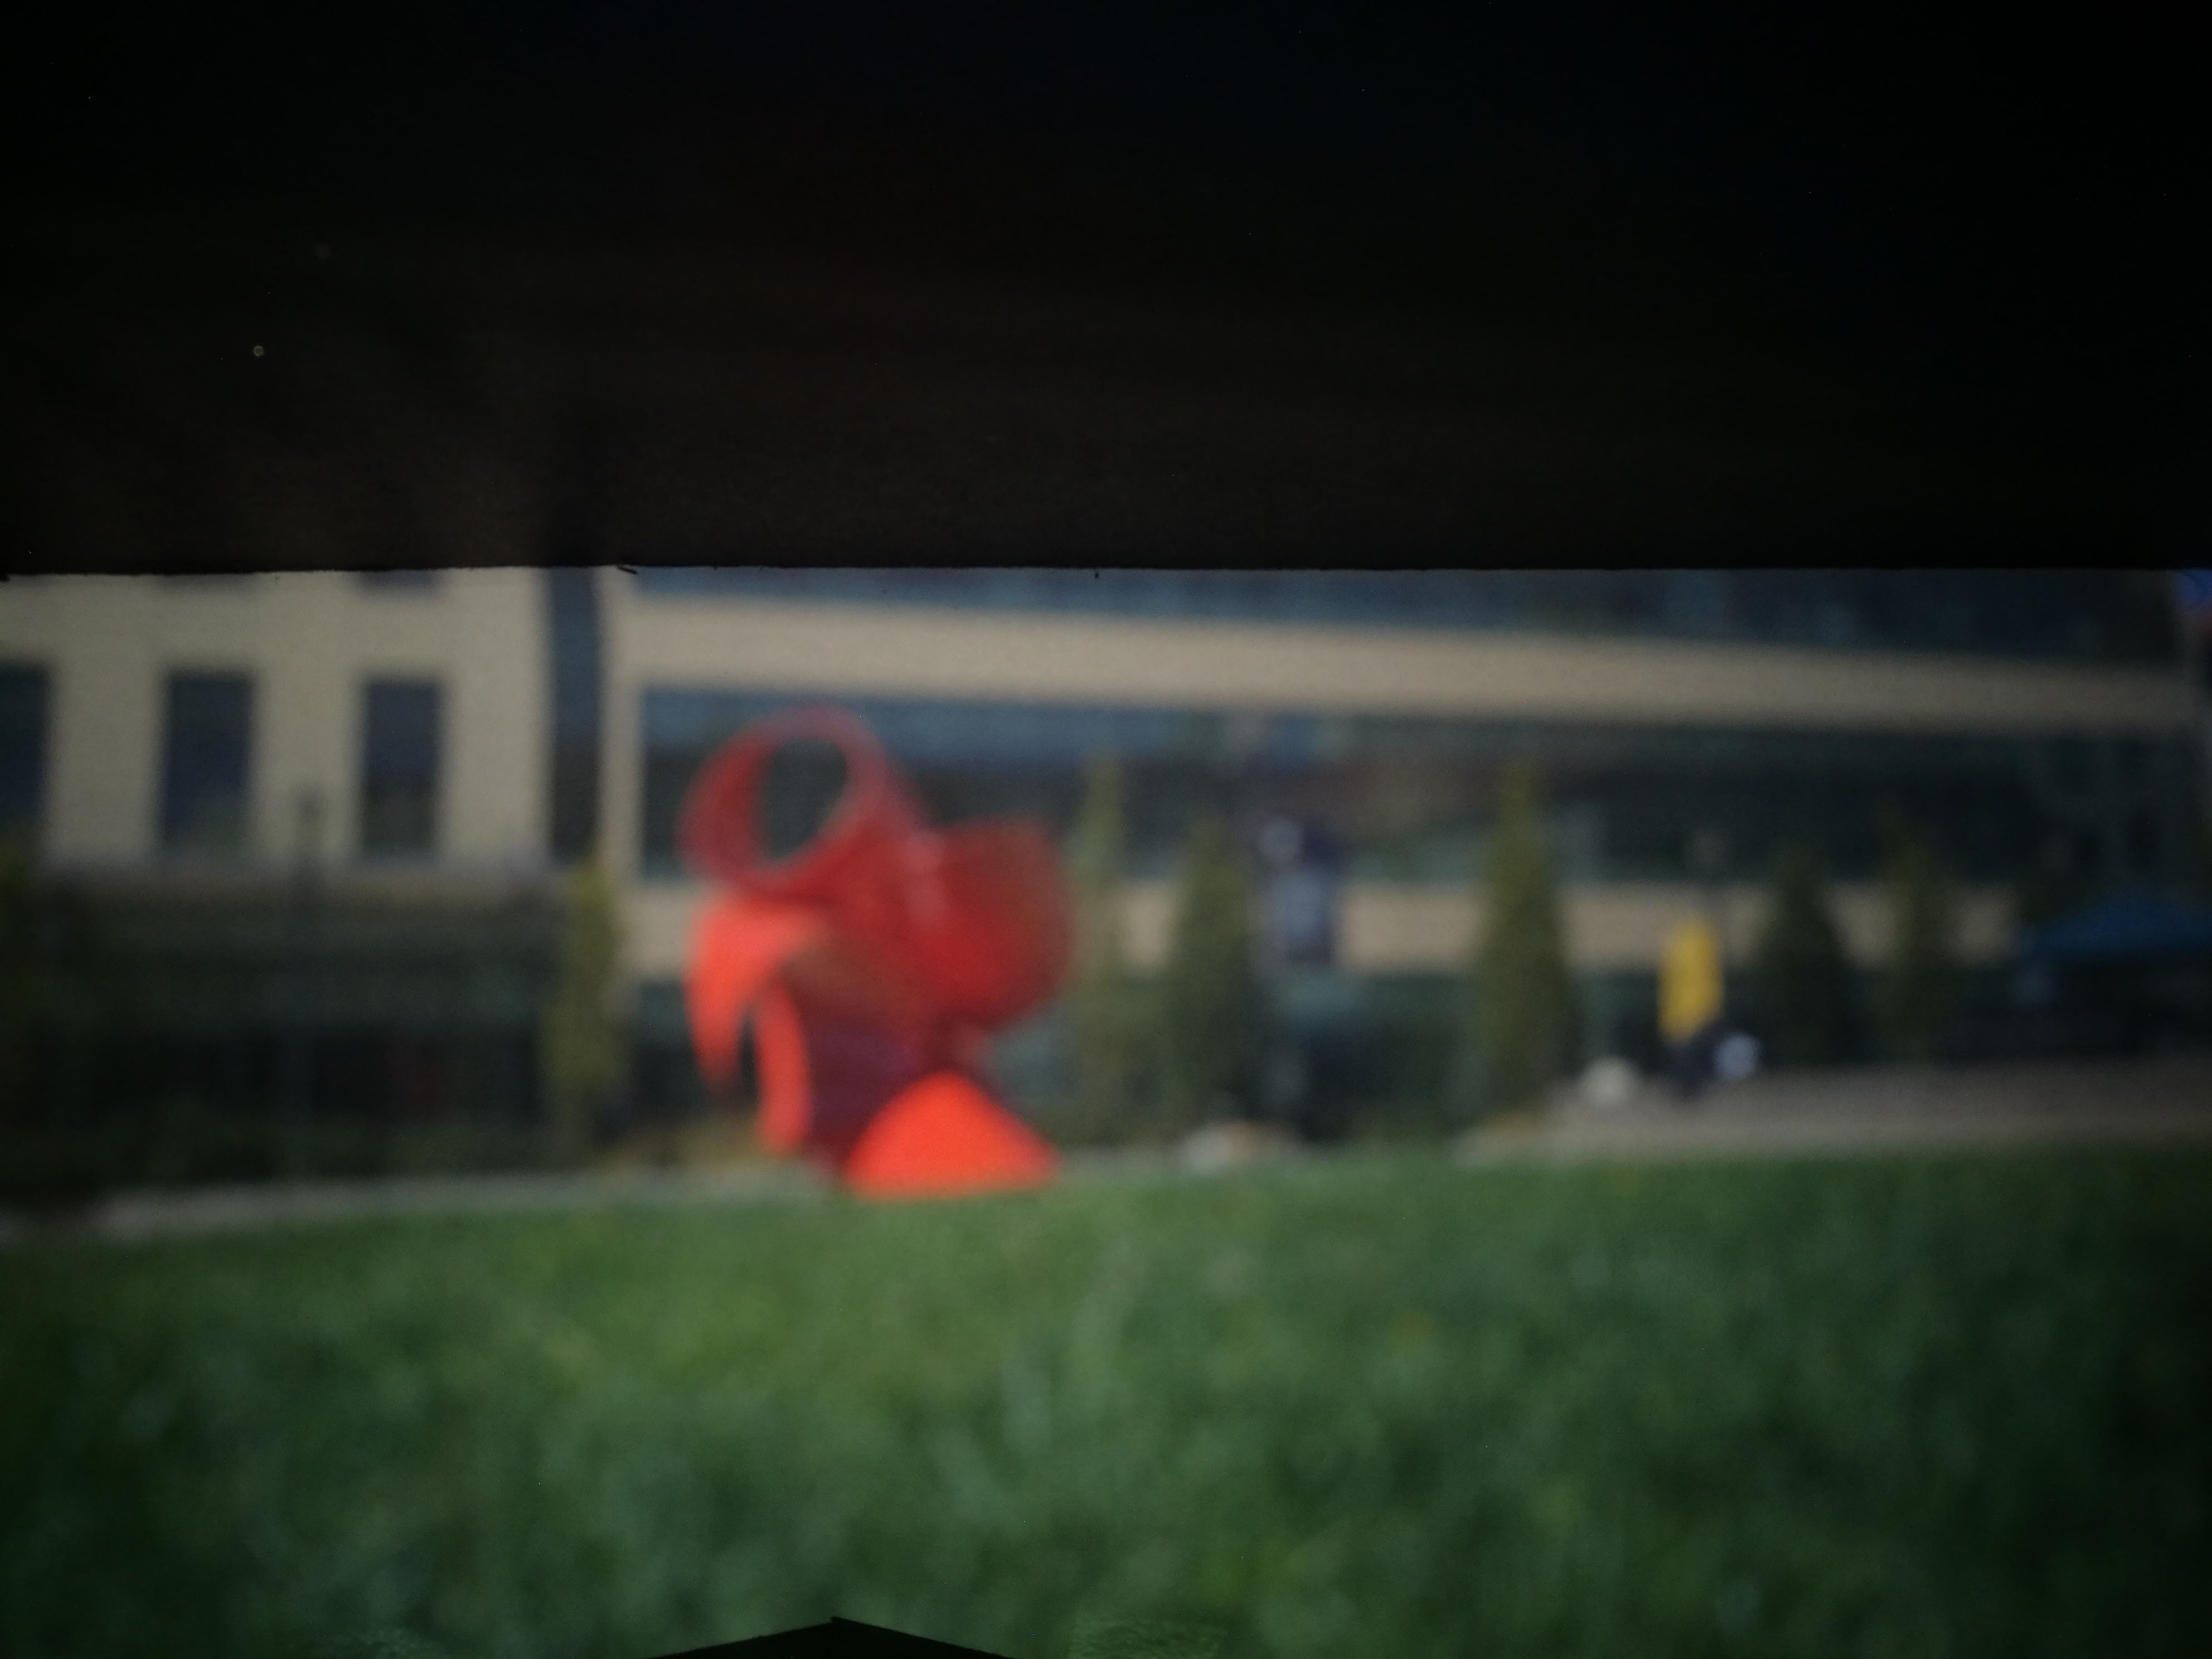
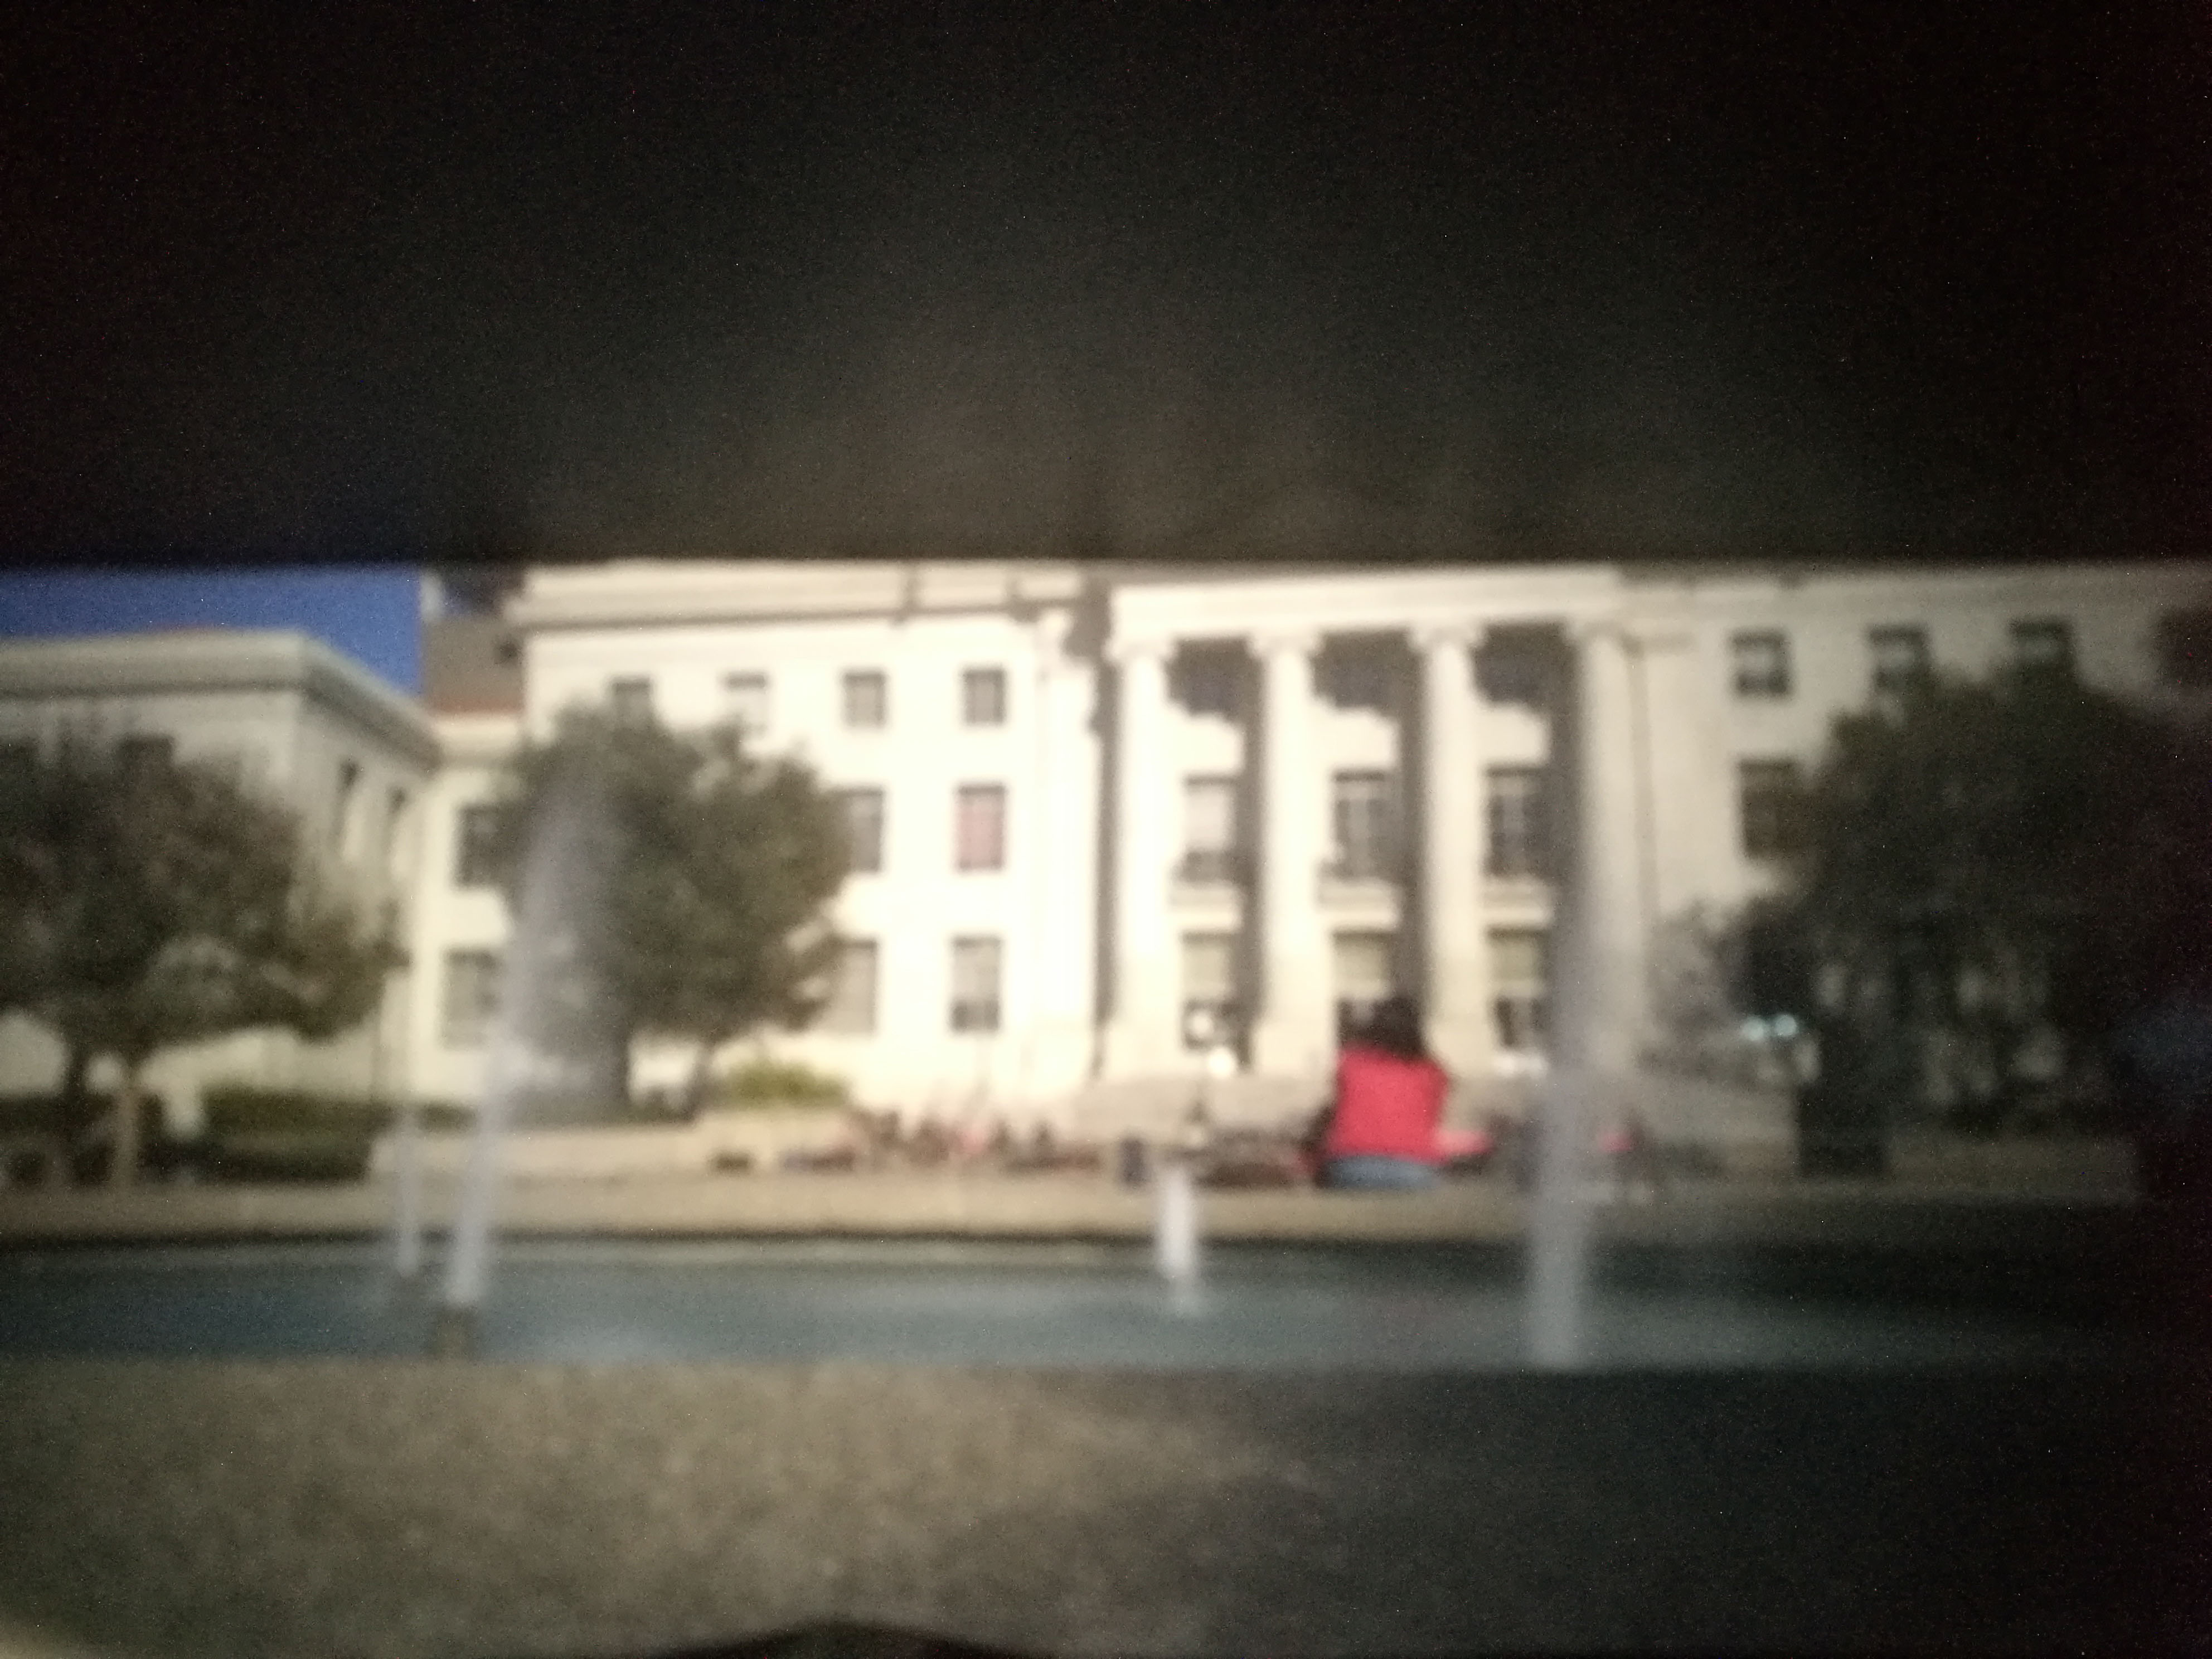
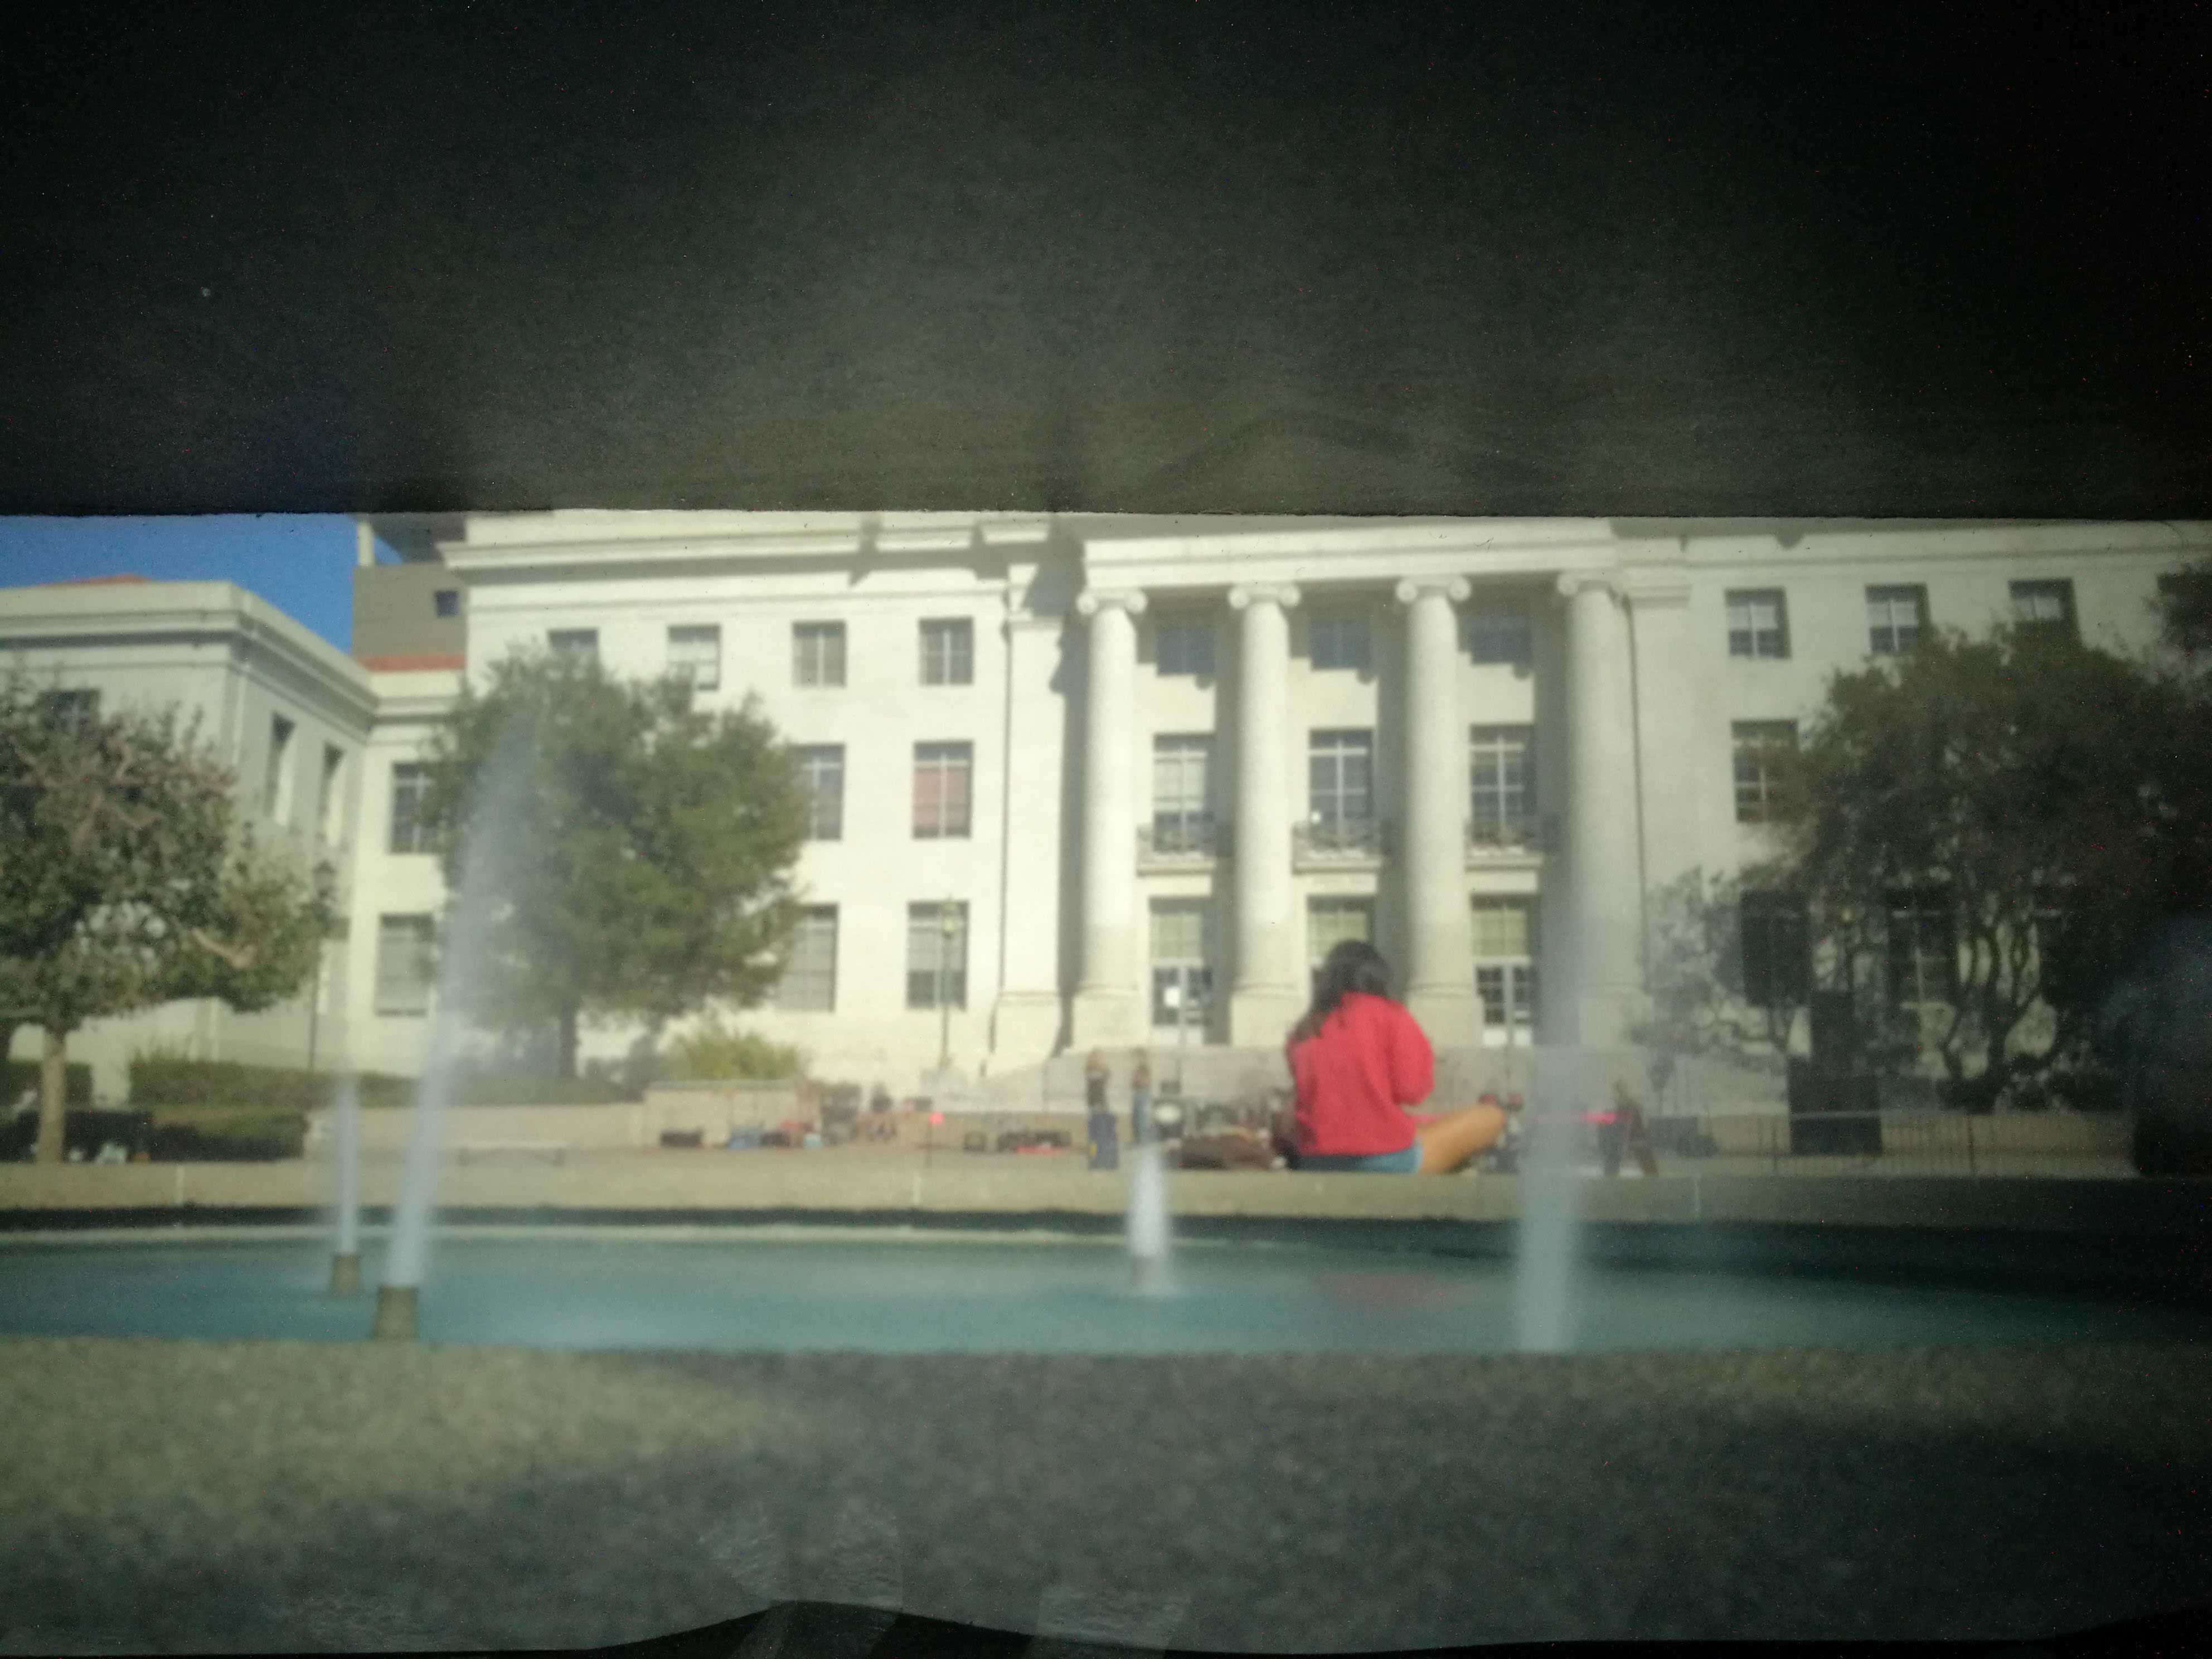
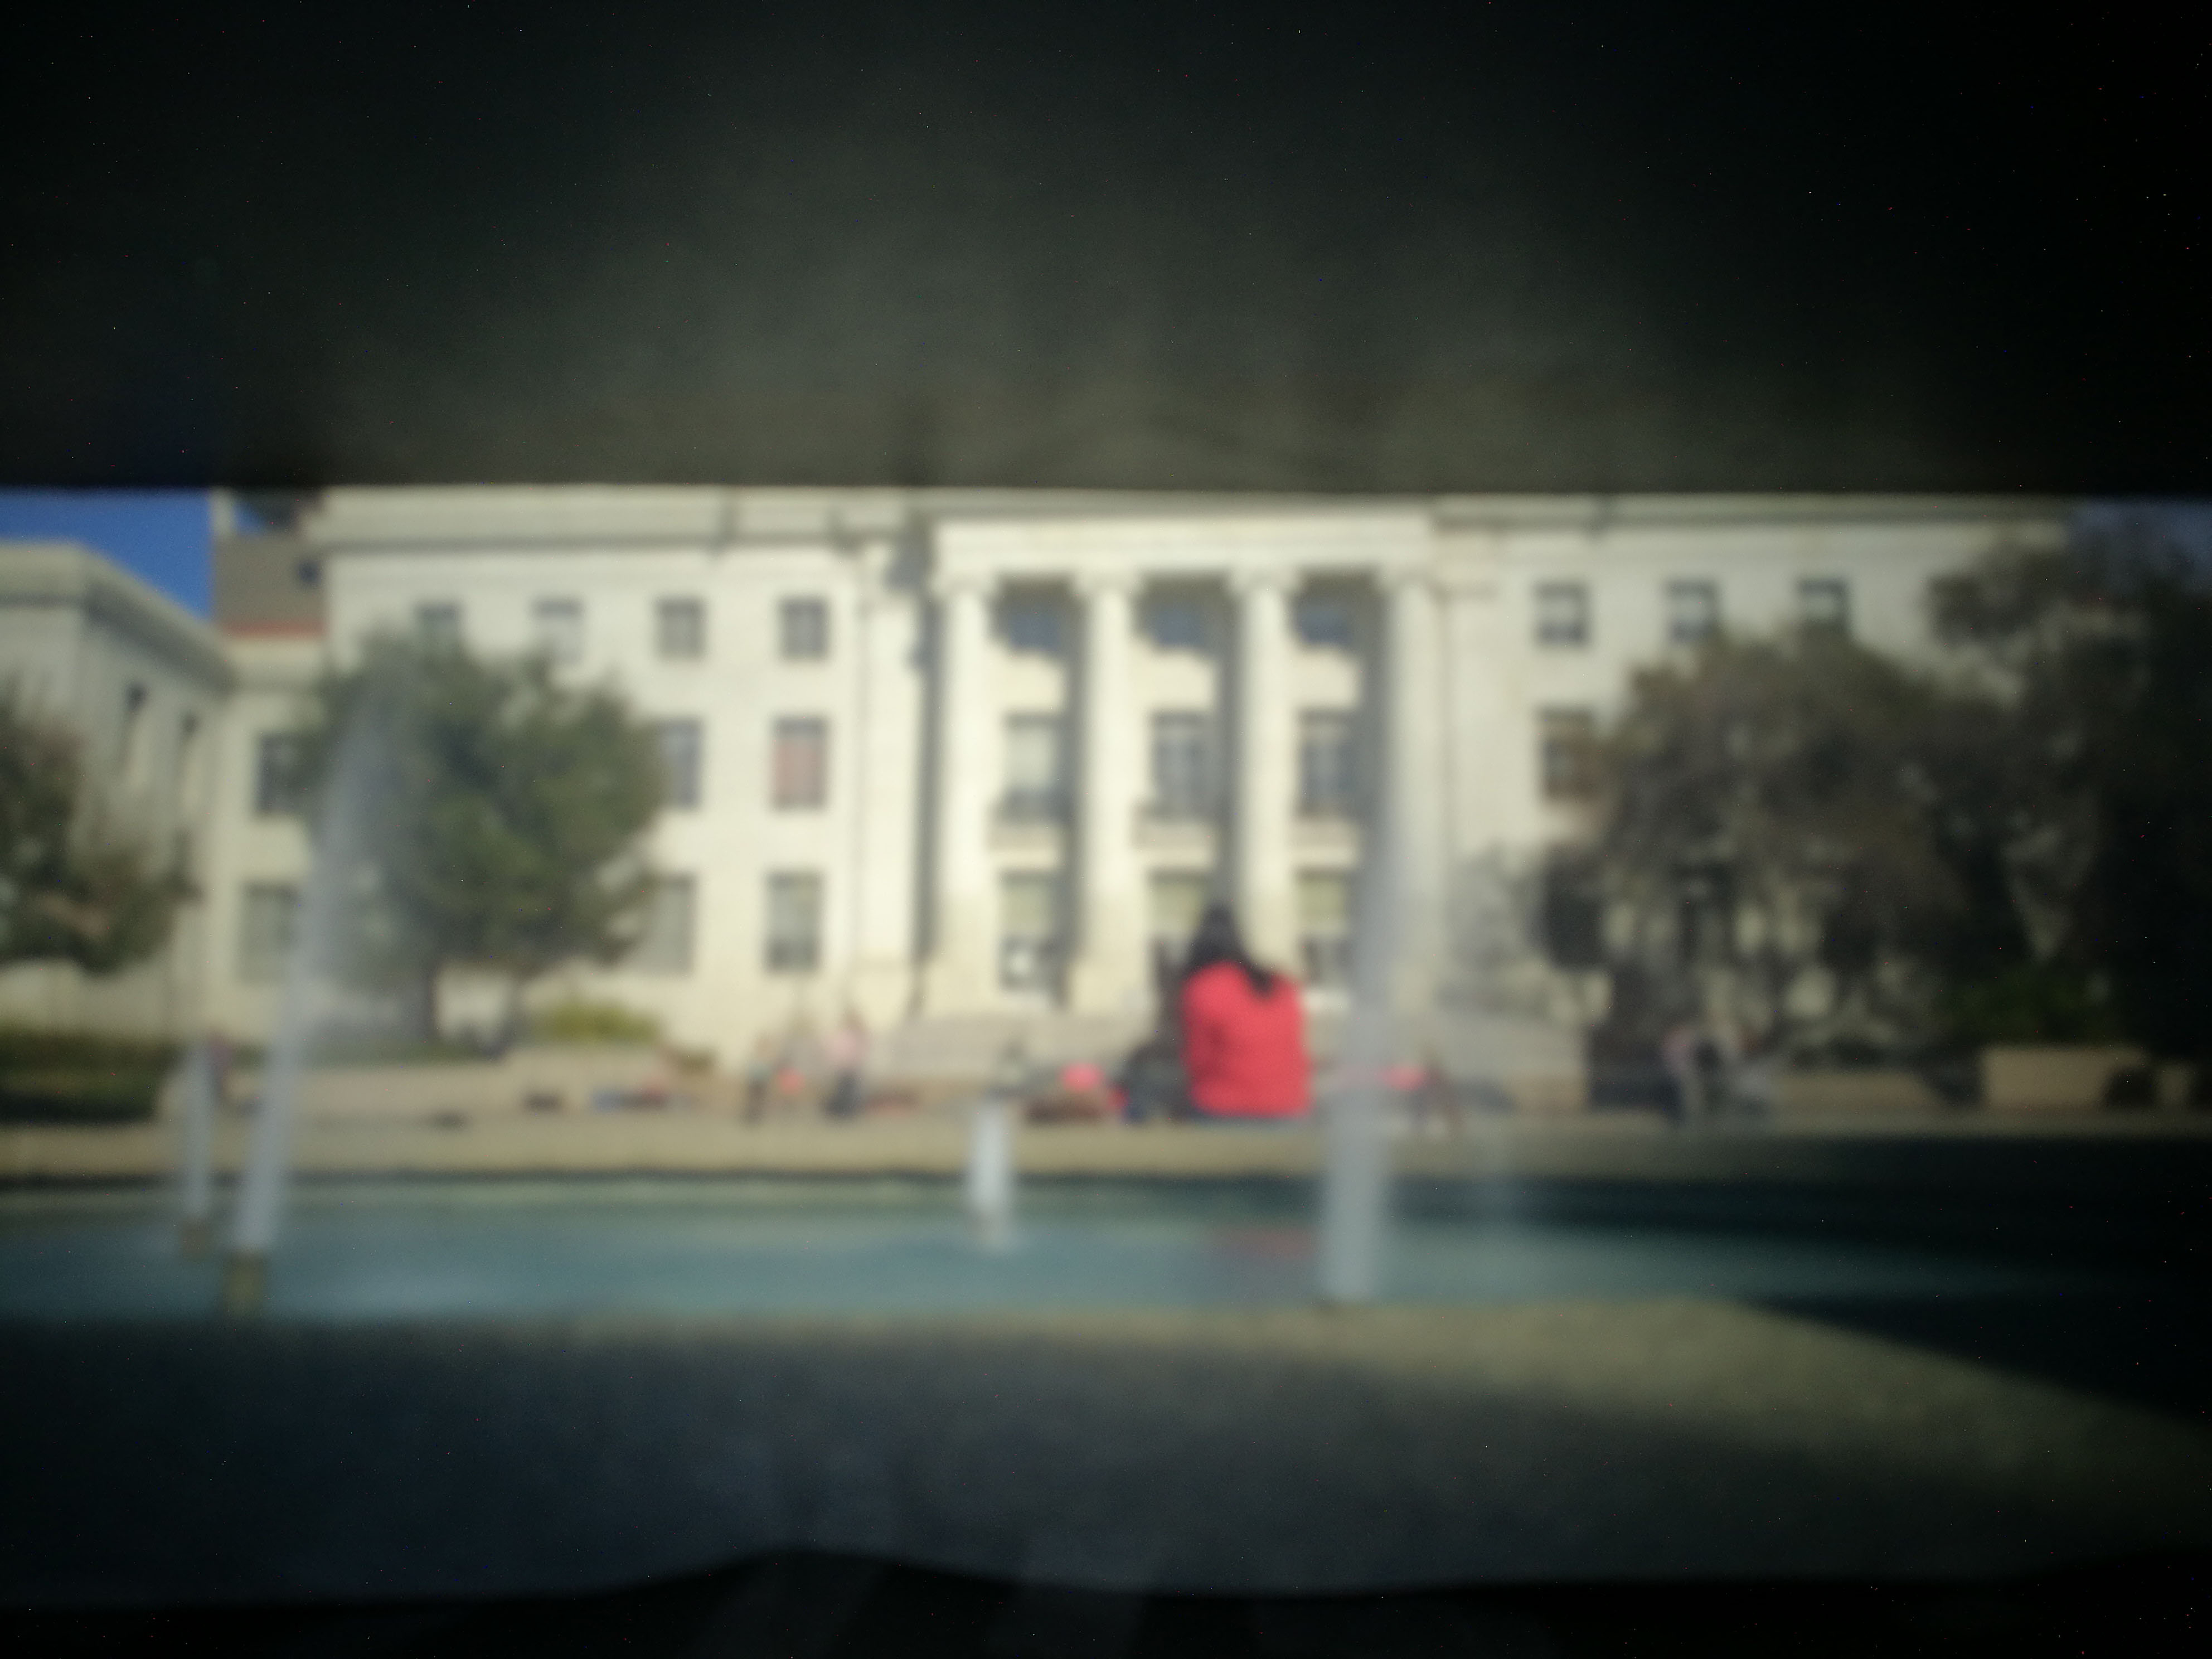
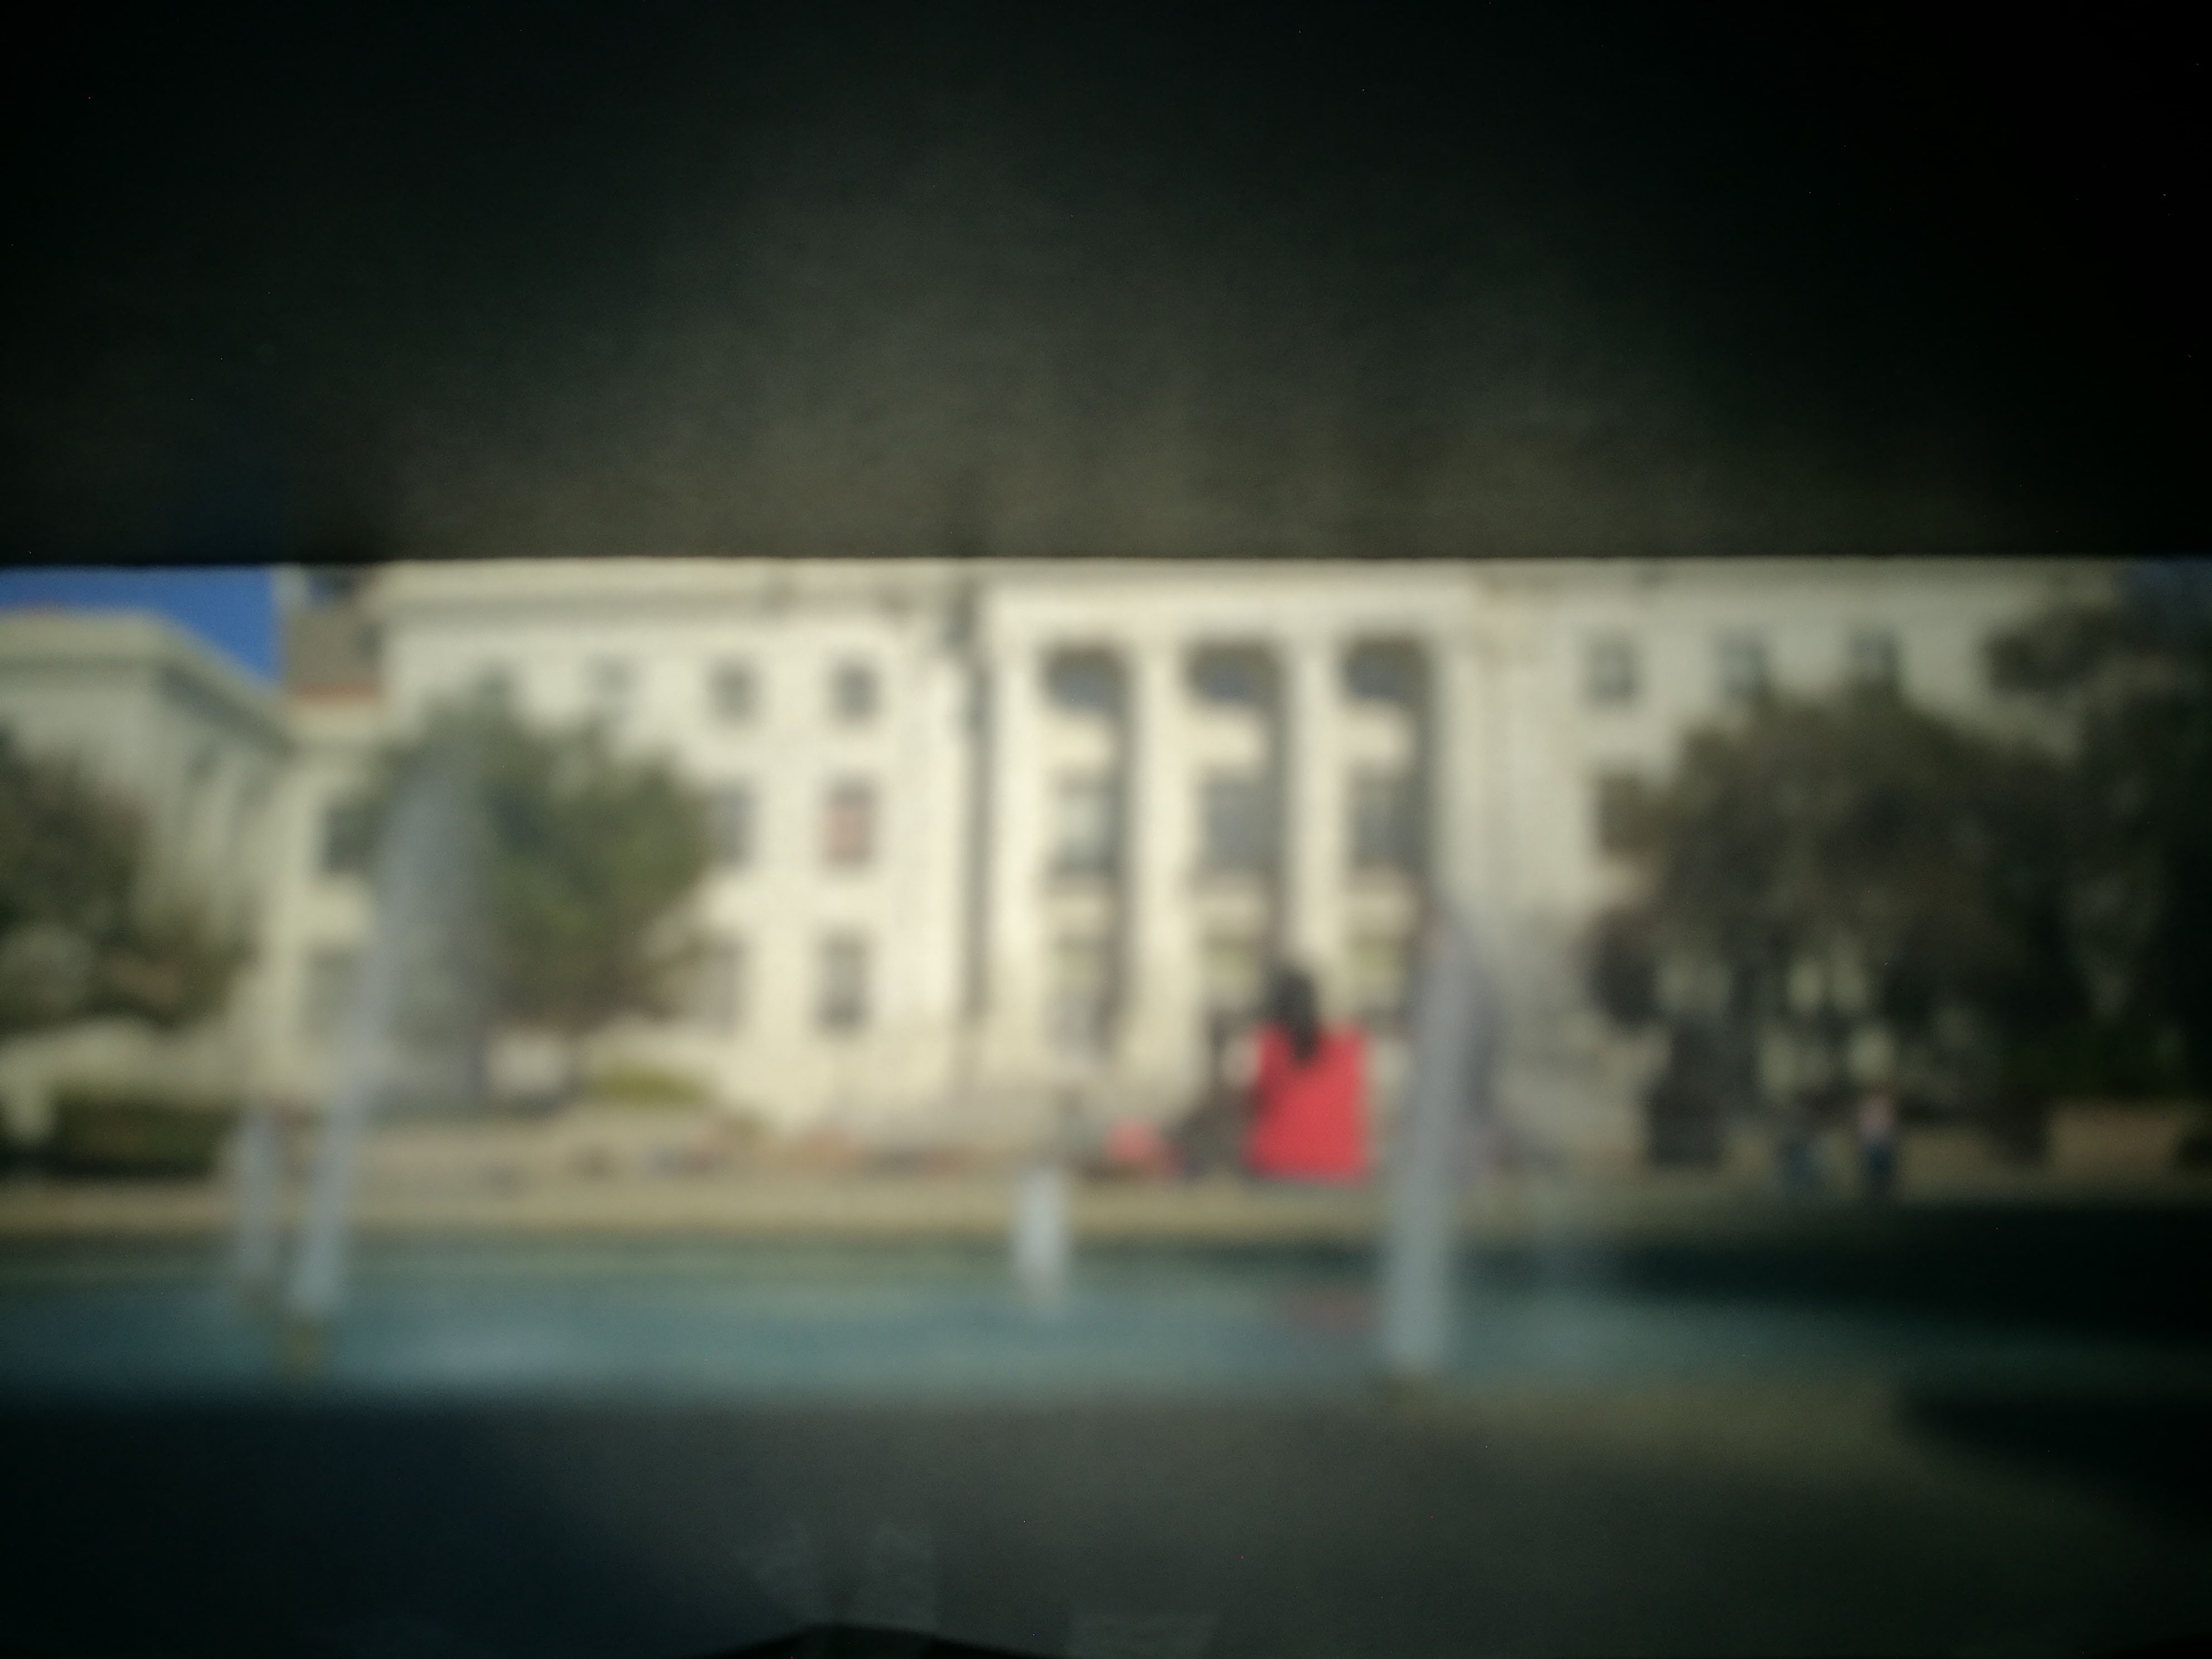
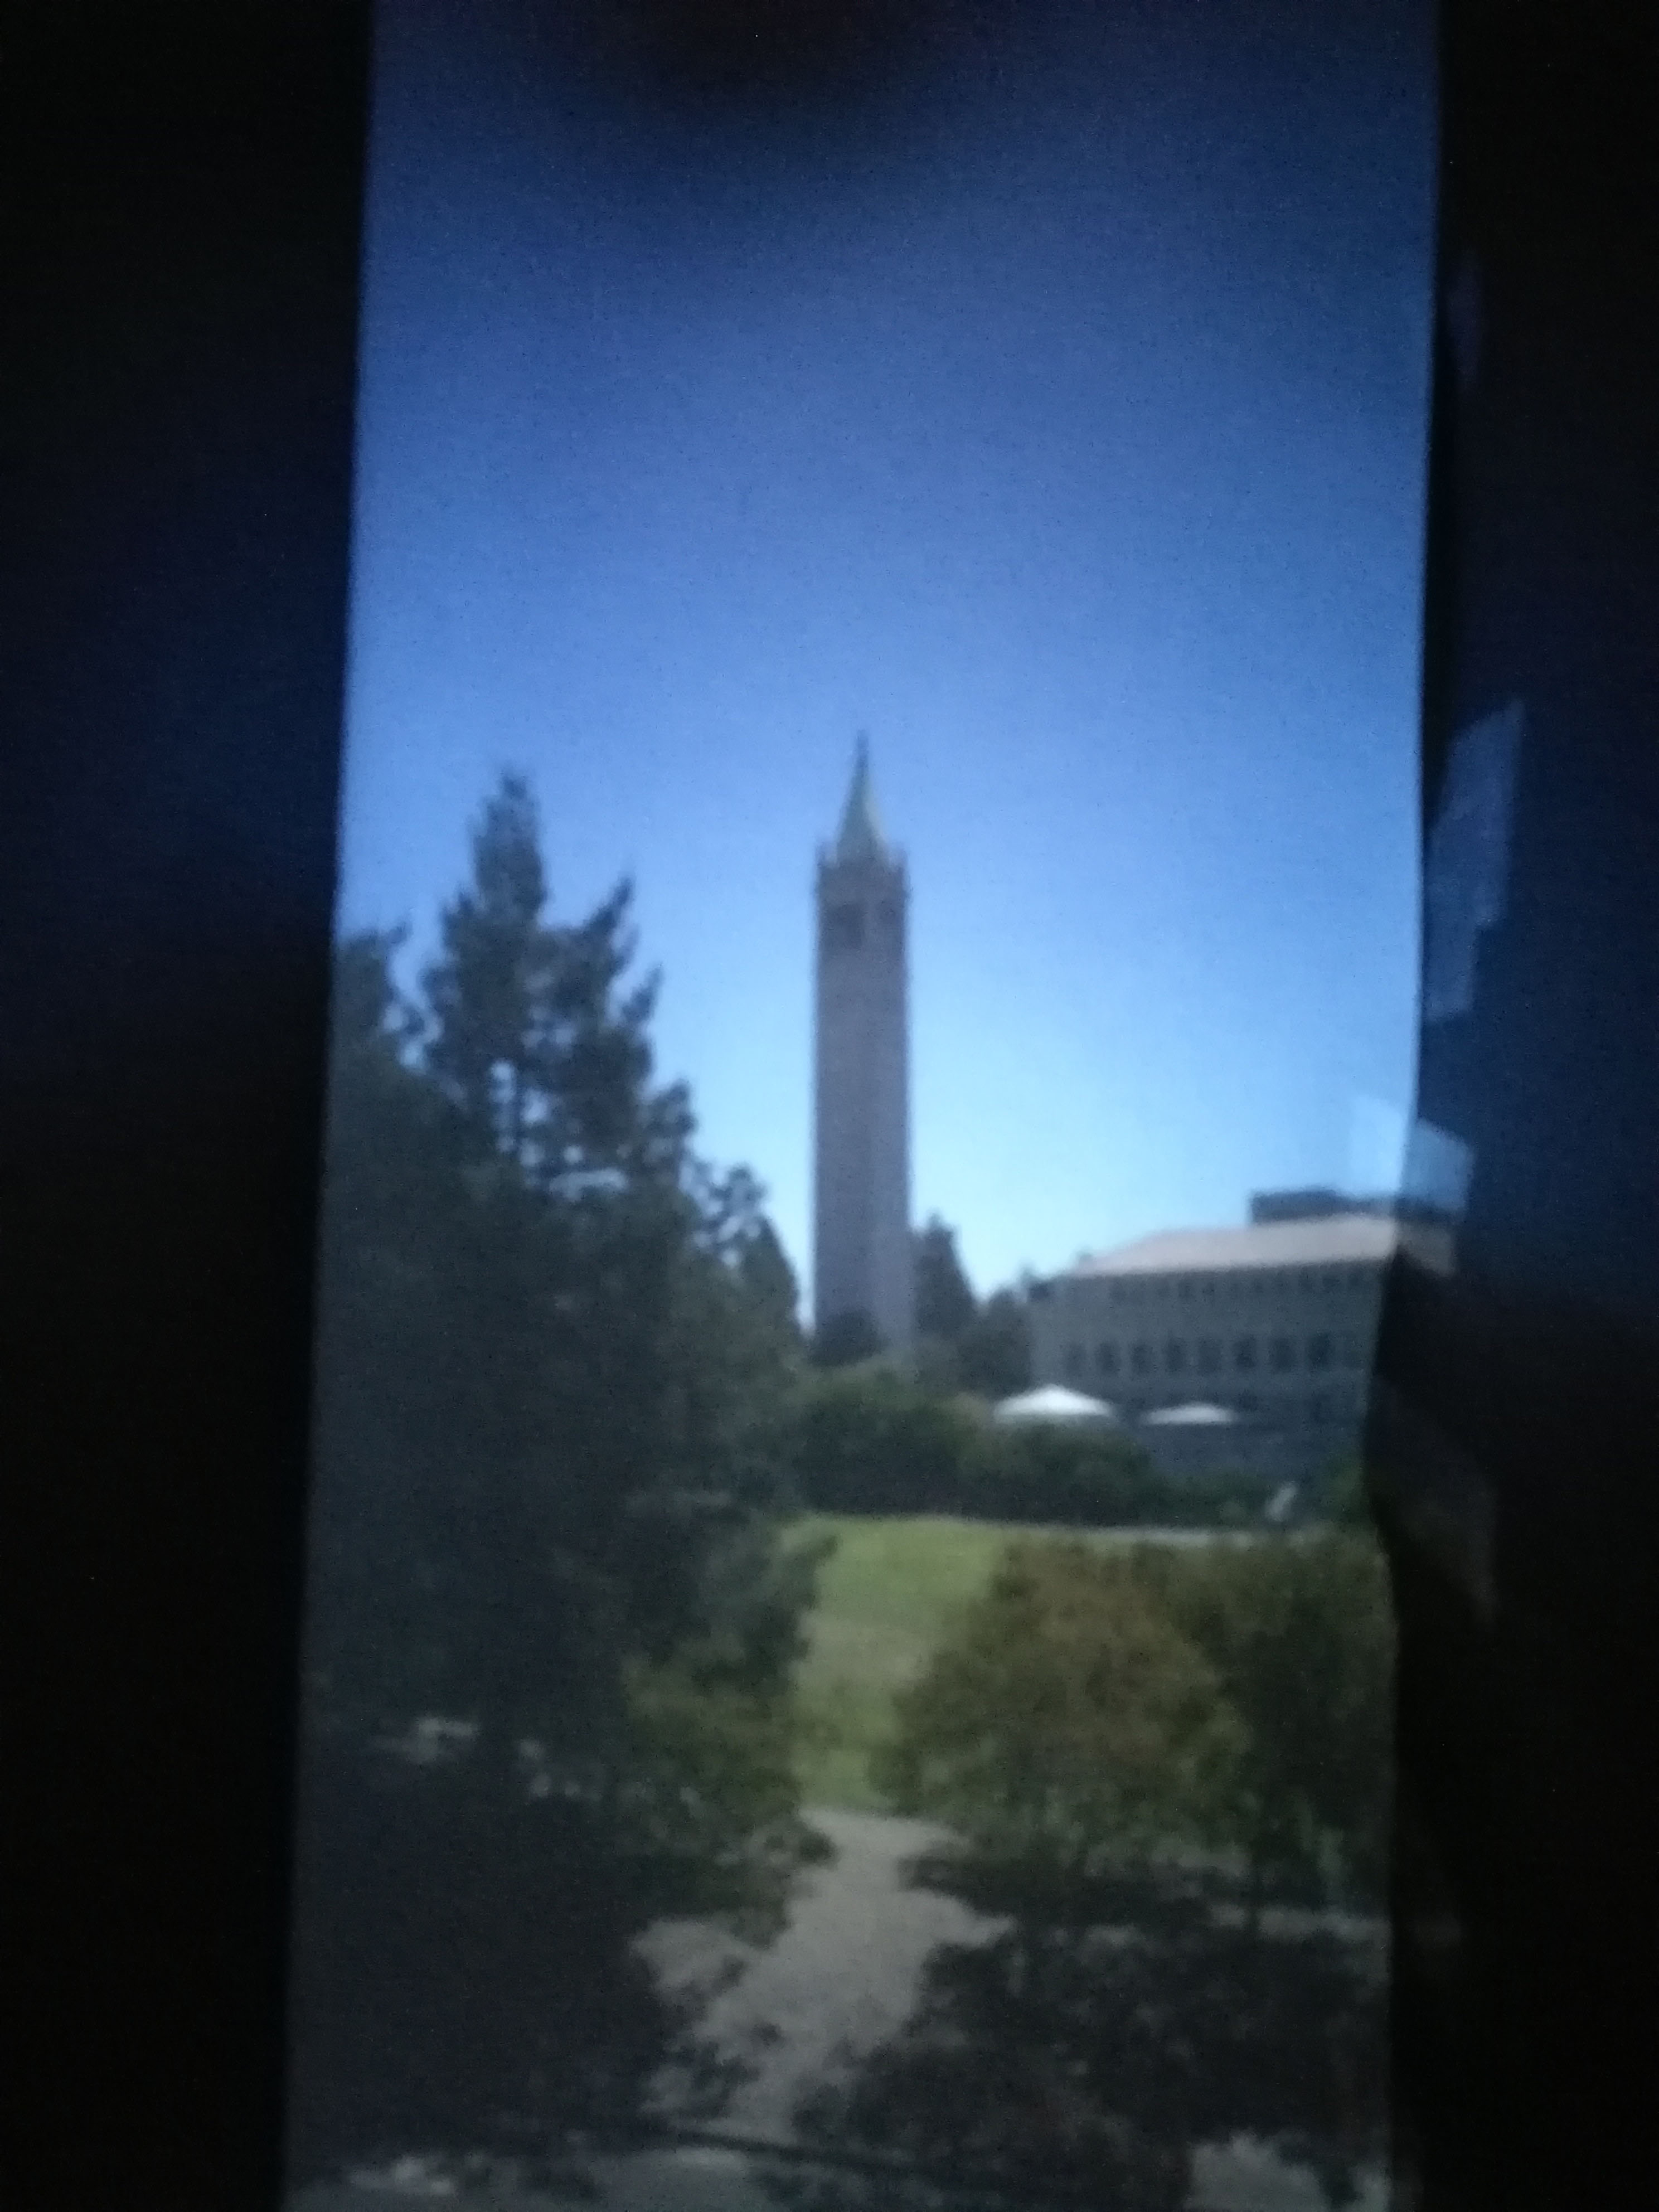
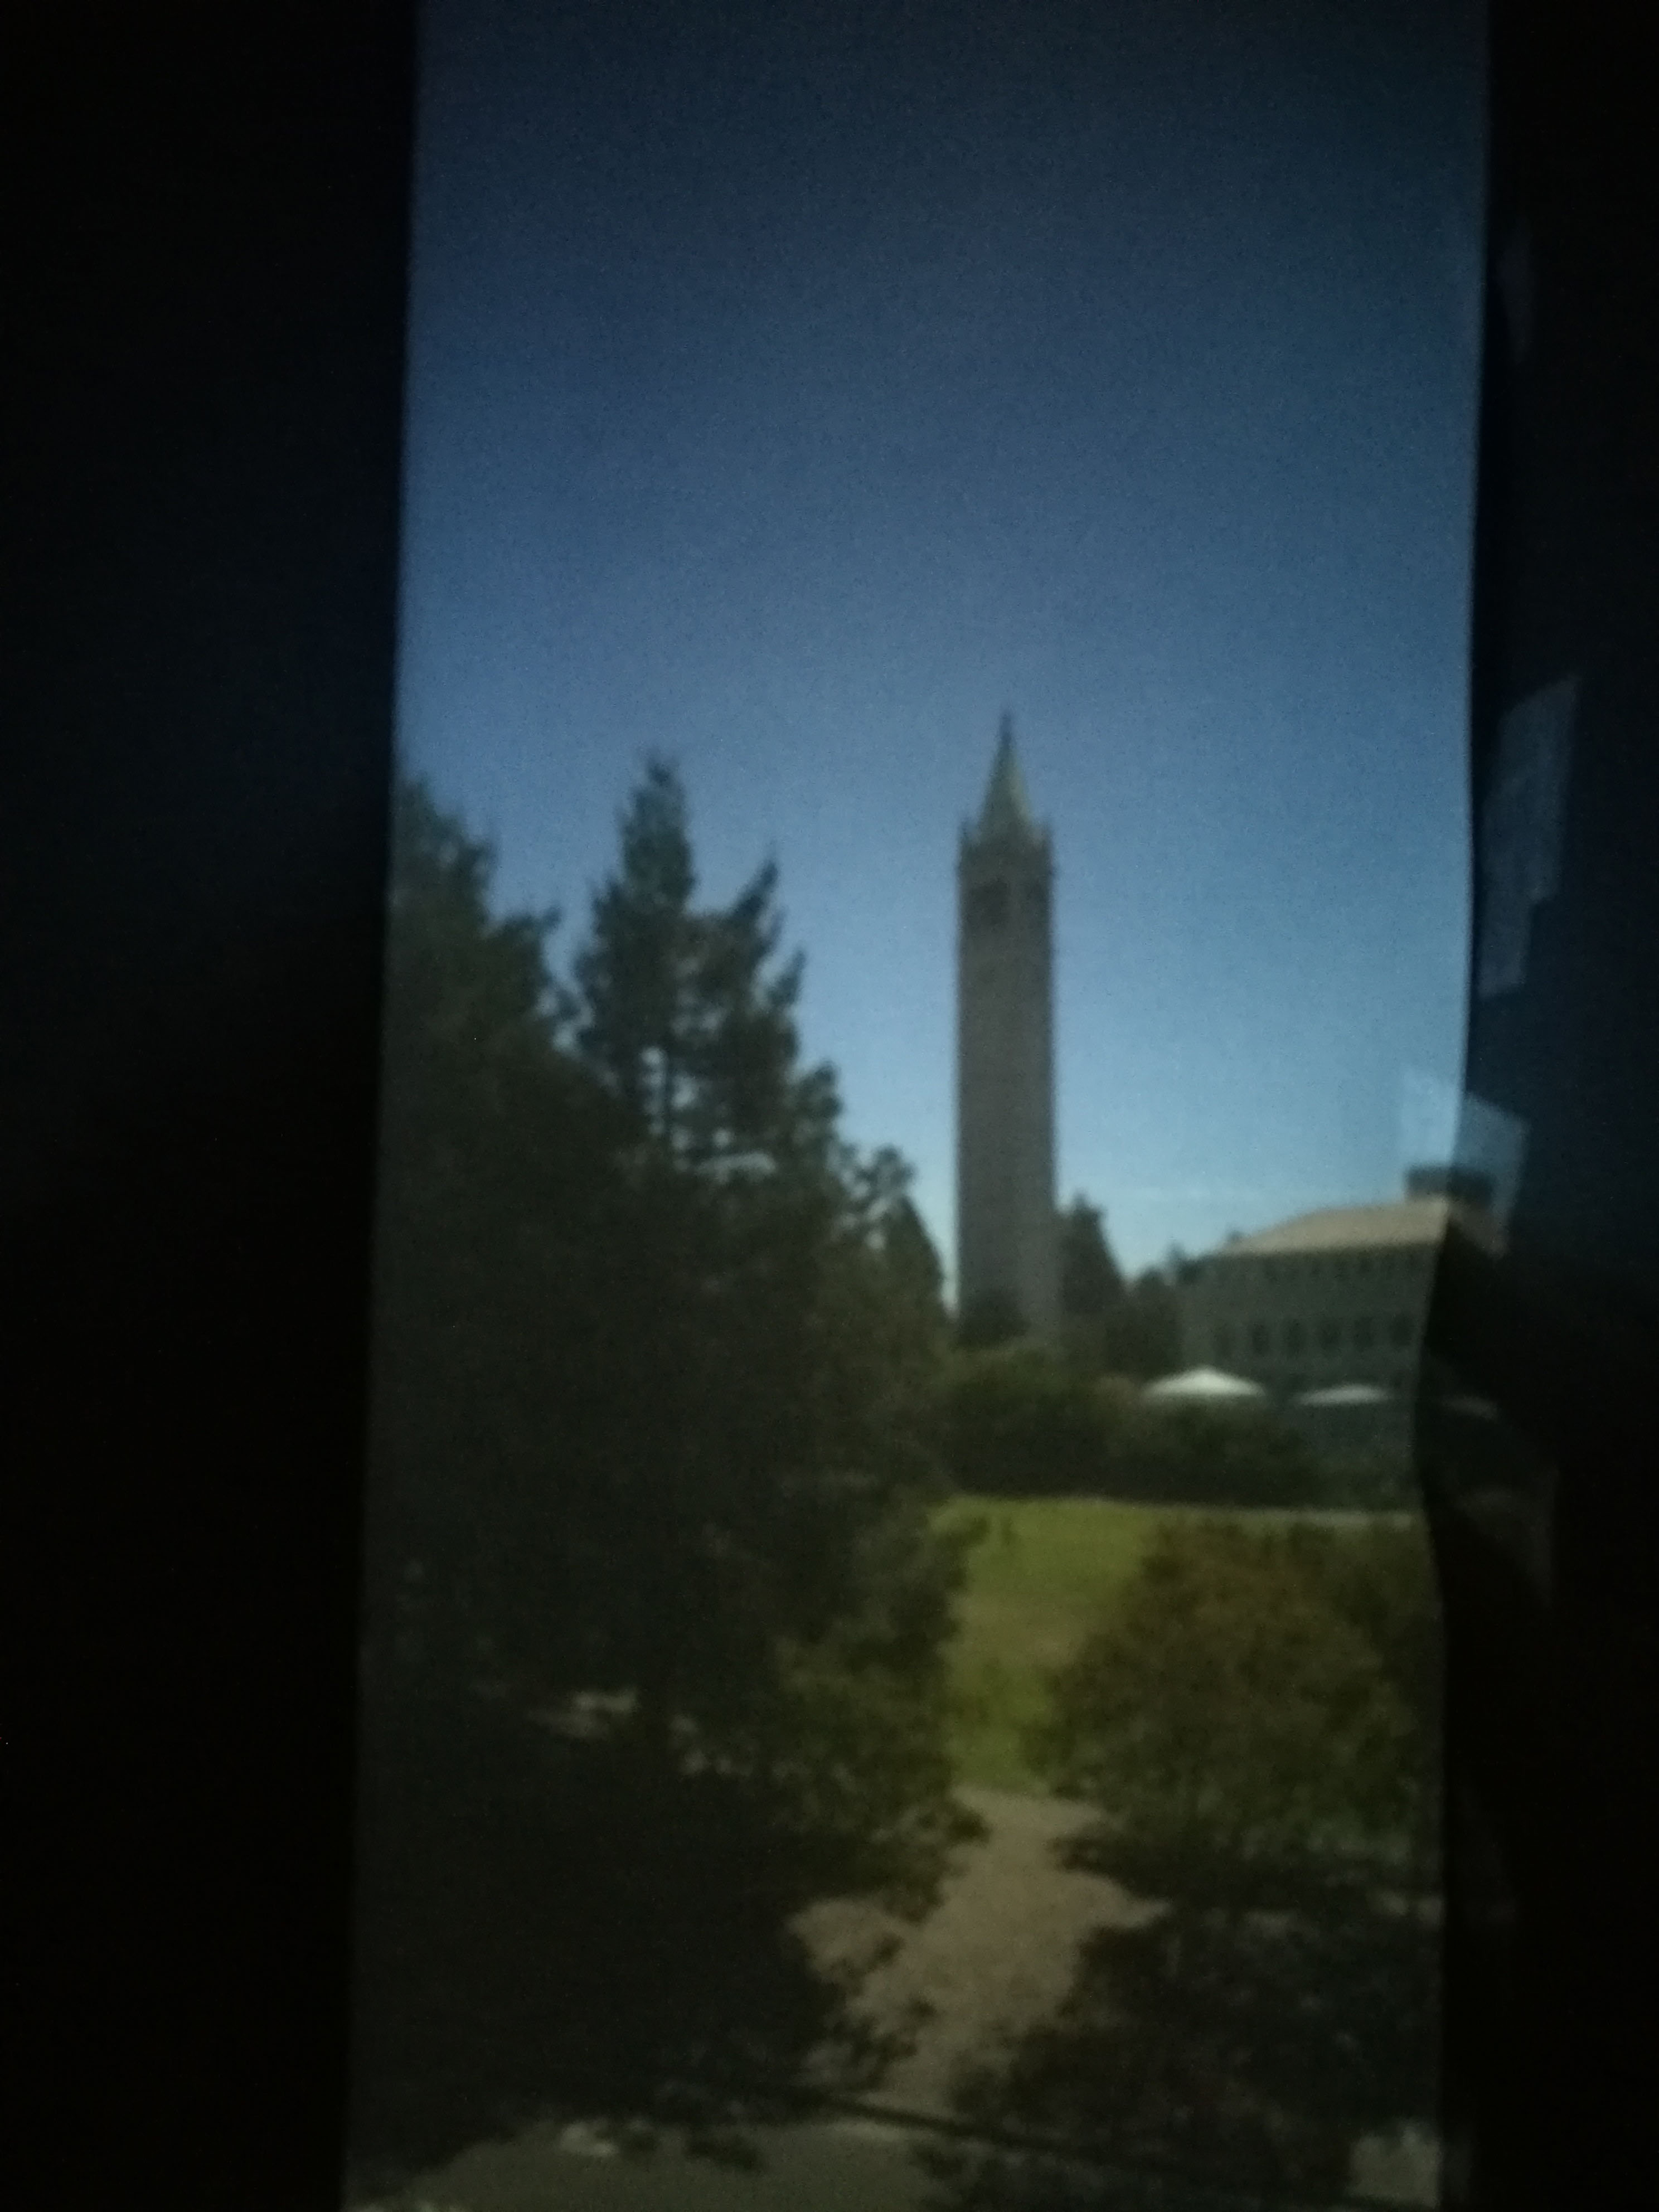
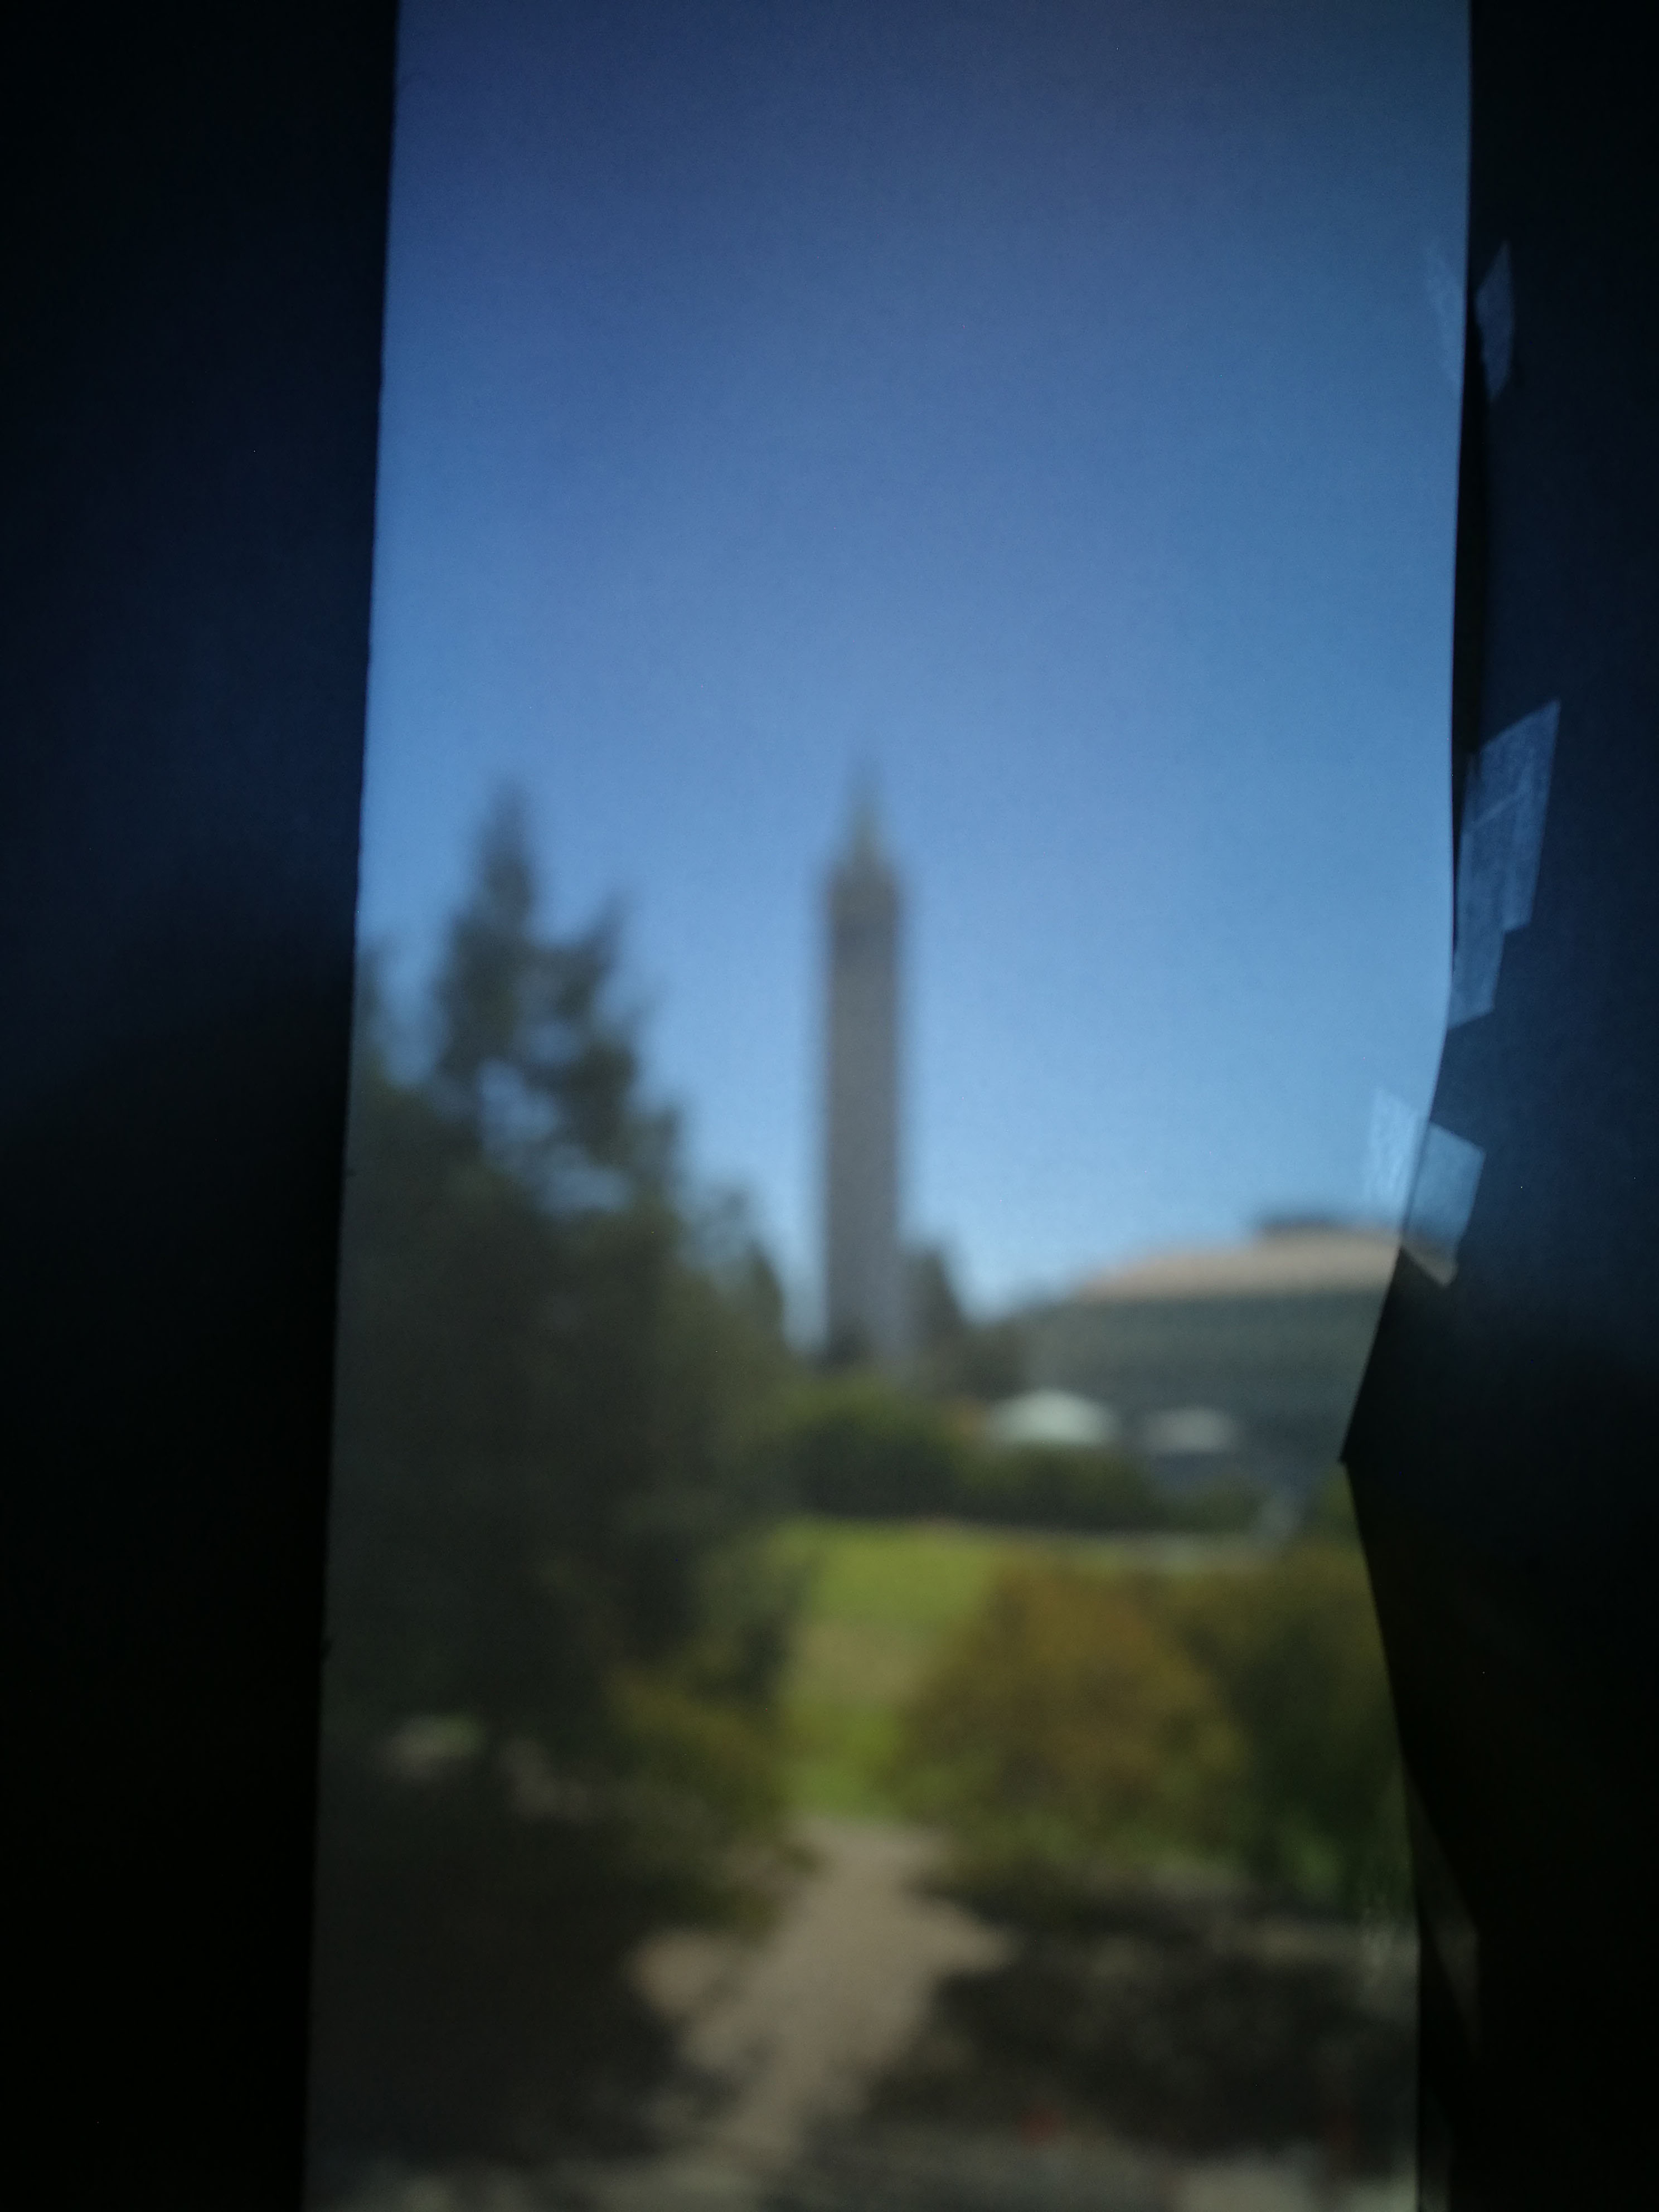
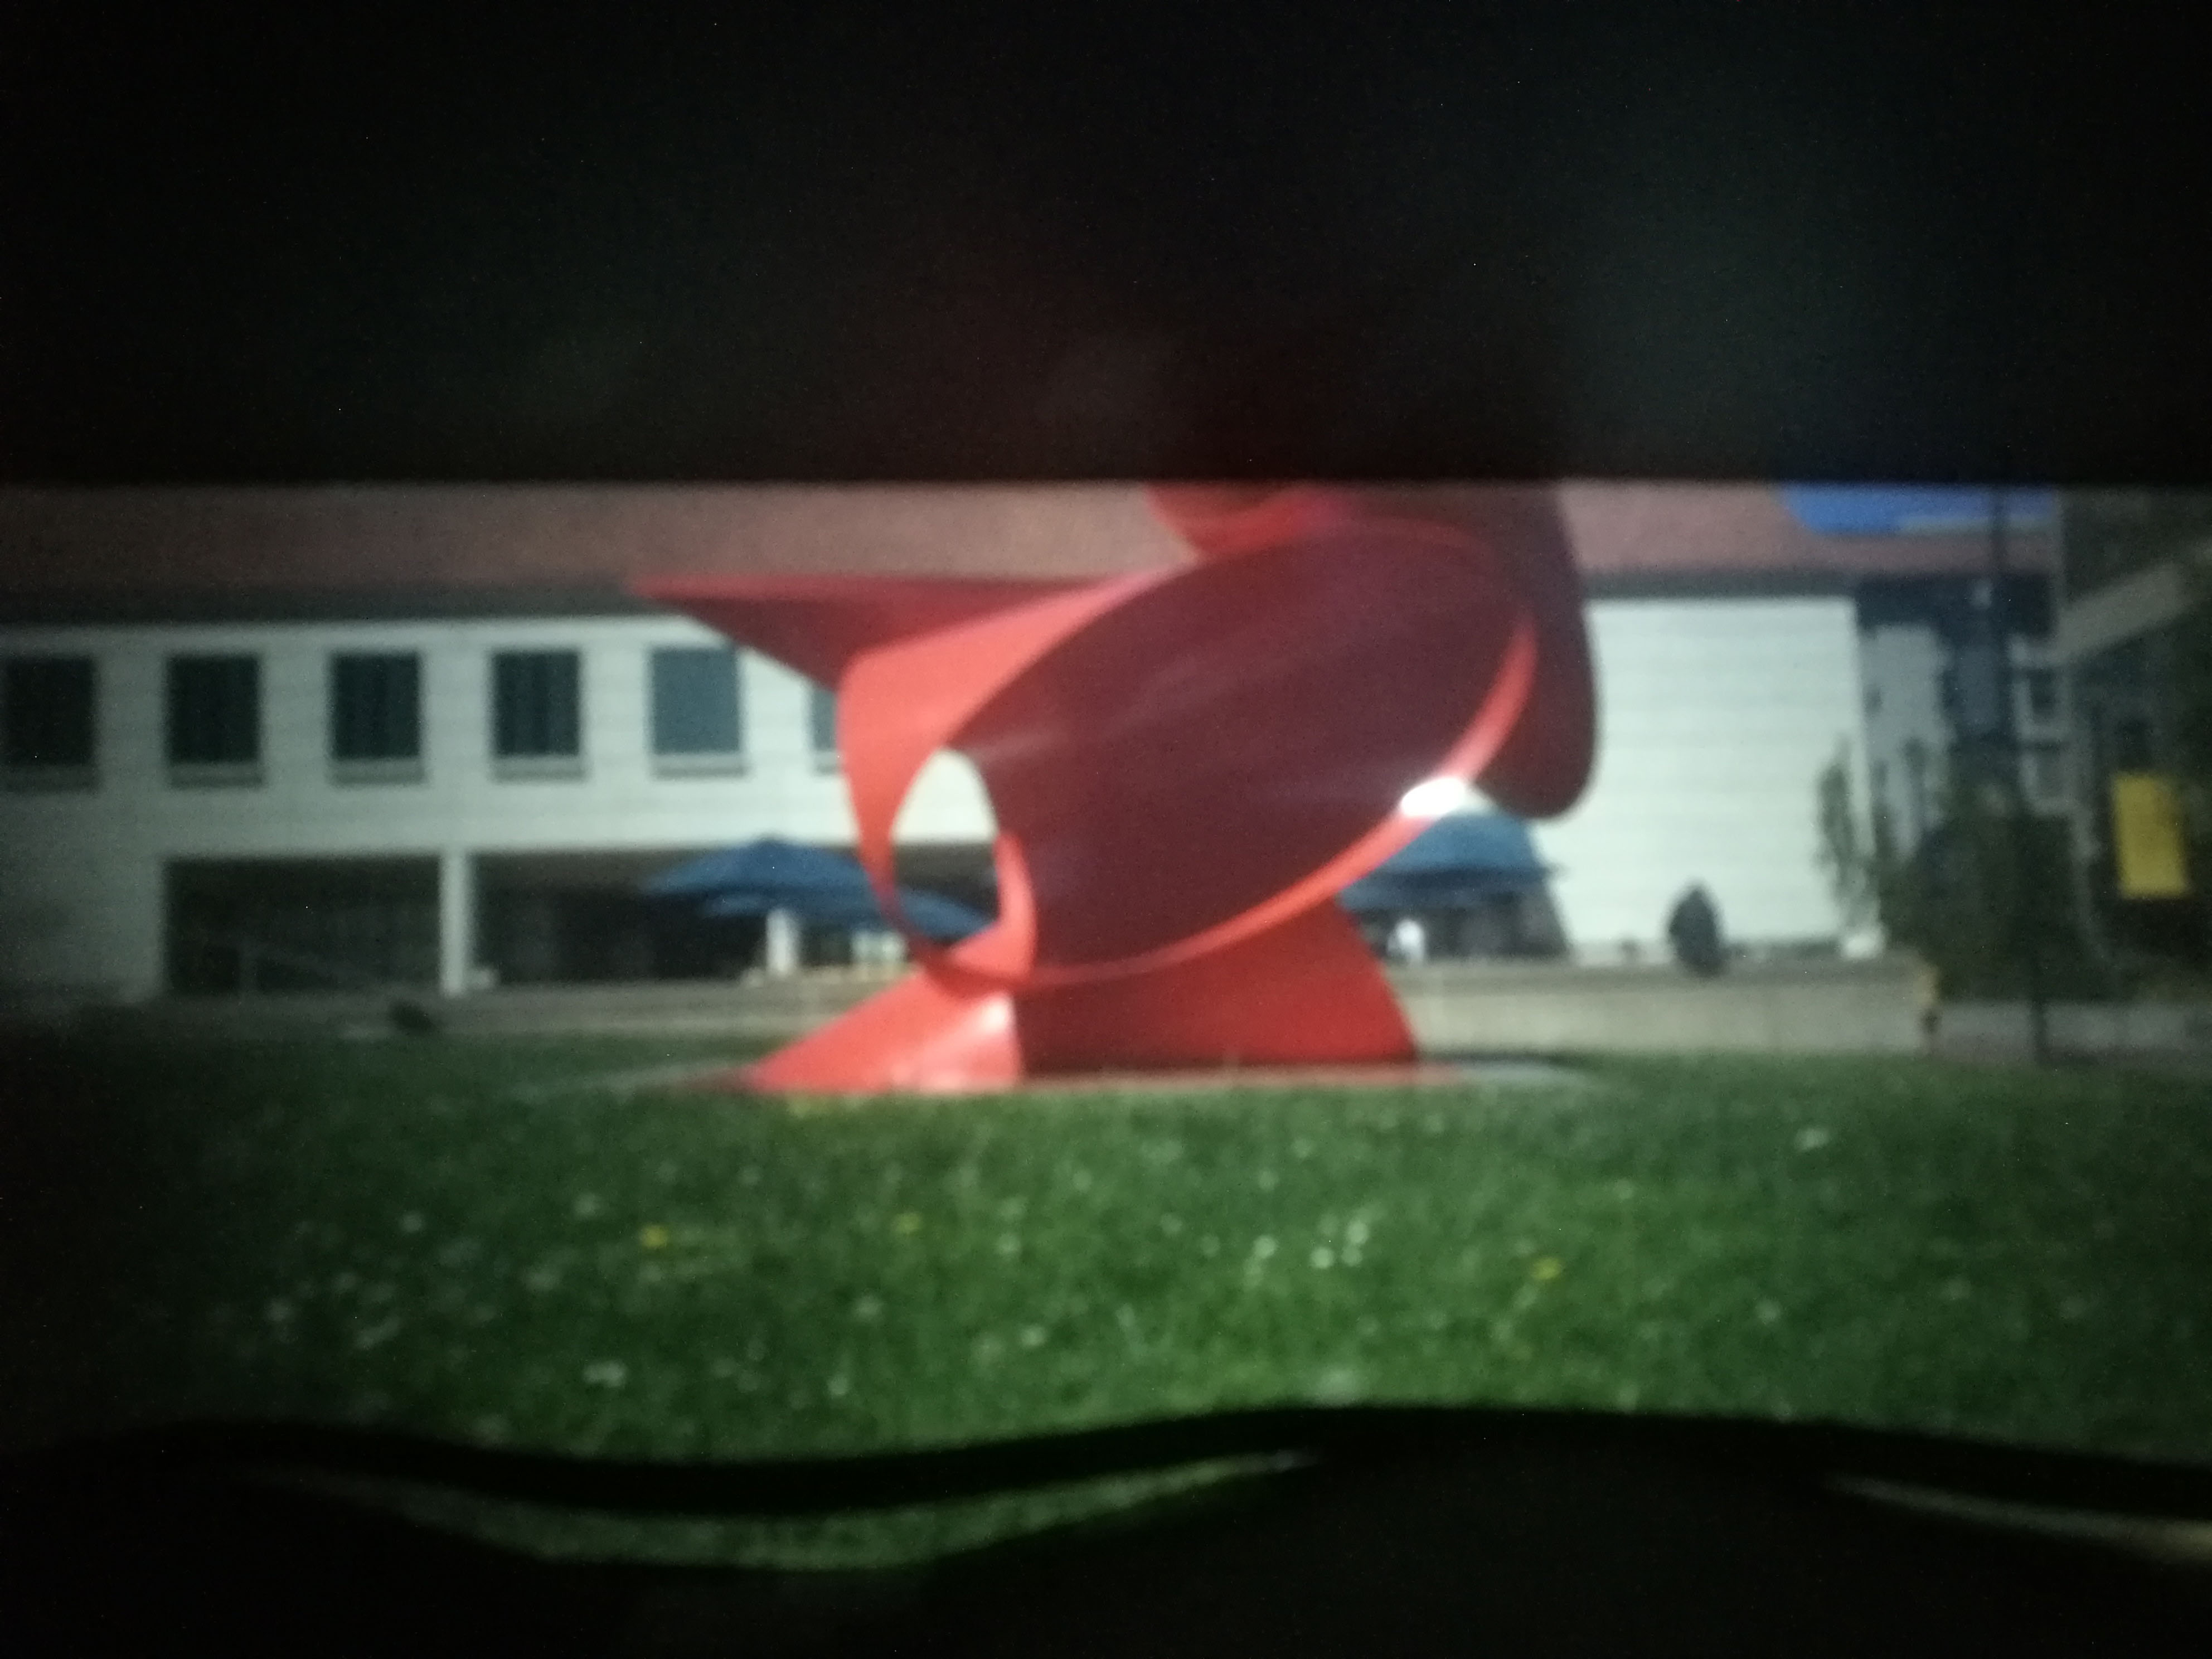
To compare the differing quality of these setups, we used the fountain on Sproul Plaza and the red statue outside of Li Ka Shing Center. The results are shown below:
|

|
|
|
|
0.5mm produced the sharpest image. The higher iso, however, introduced more noise. 1.0mm produced a less noisy image with similar sharpness. The larger apertures (2.0mm 5.0mm), were too large for our camera and produced blurrier images.

|
|
|
|
|
Here, the 0.5mm produced a blurrier image than expected, possibly due to diffraction and high intensity light, coupled with our compact camera size. That is not to say, that the 0.5mm is not viable. A couple good shots were taken with the 0.5 and are visible in the "Art Gallery." The benefits of the 1.0mm is now clearly visible. The larger apertures (2.0mm 5.0mm), once again, were too large for our camera and produced blurry images.
Bells and Whistles
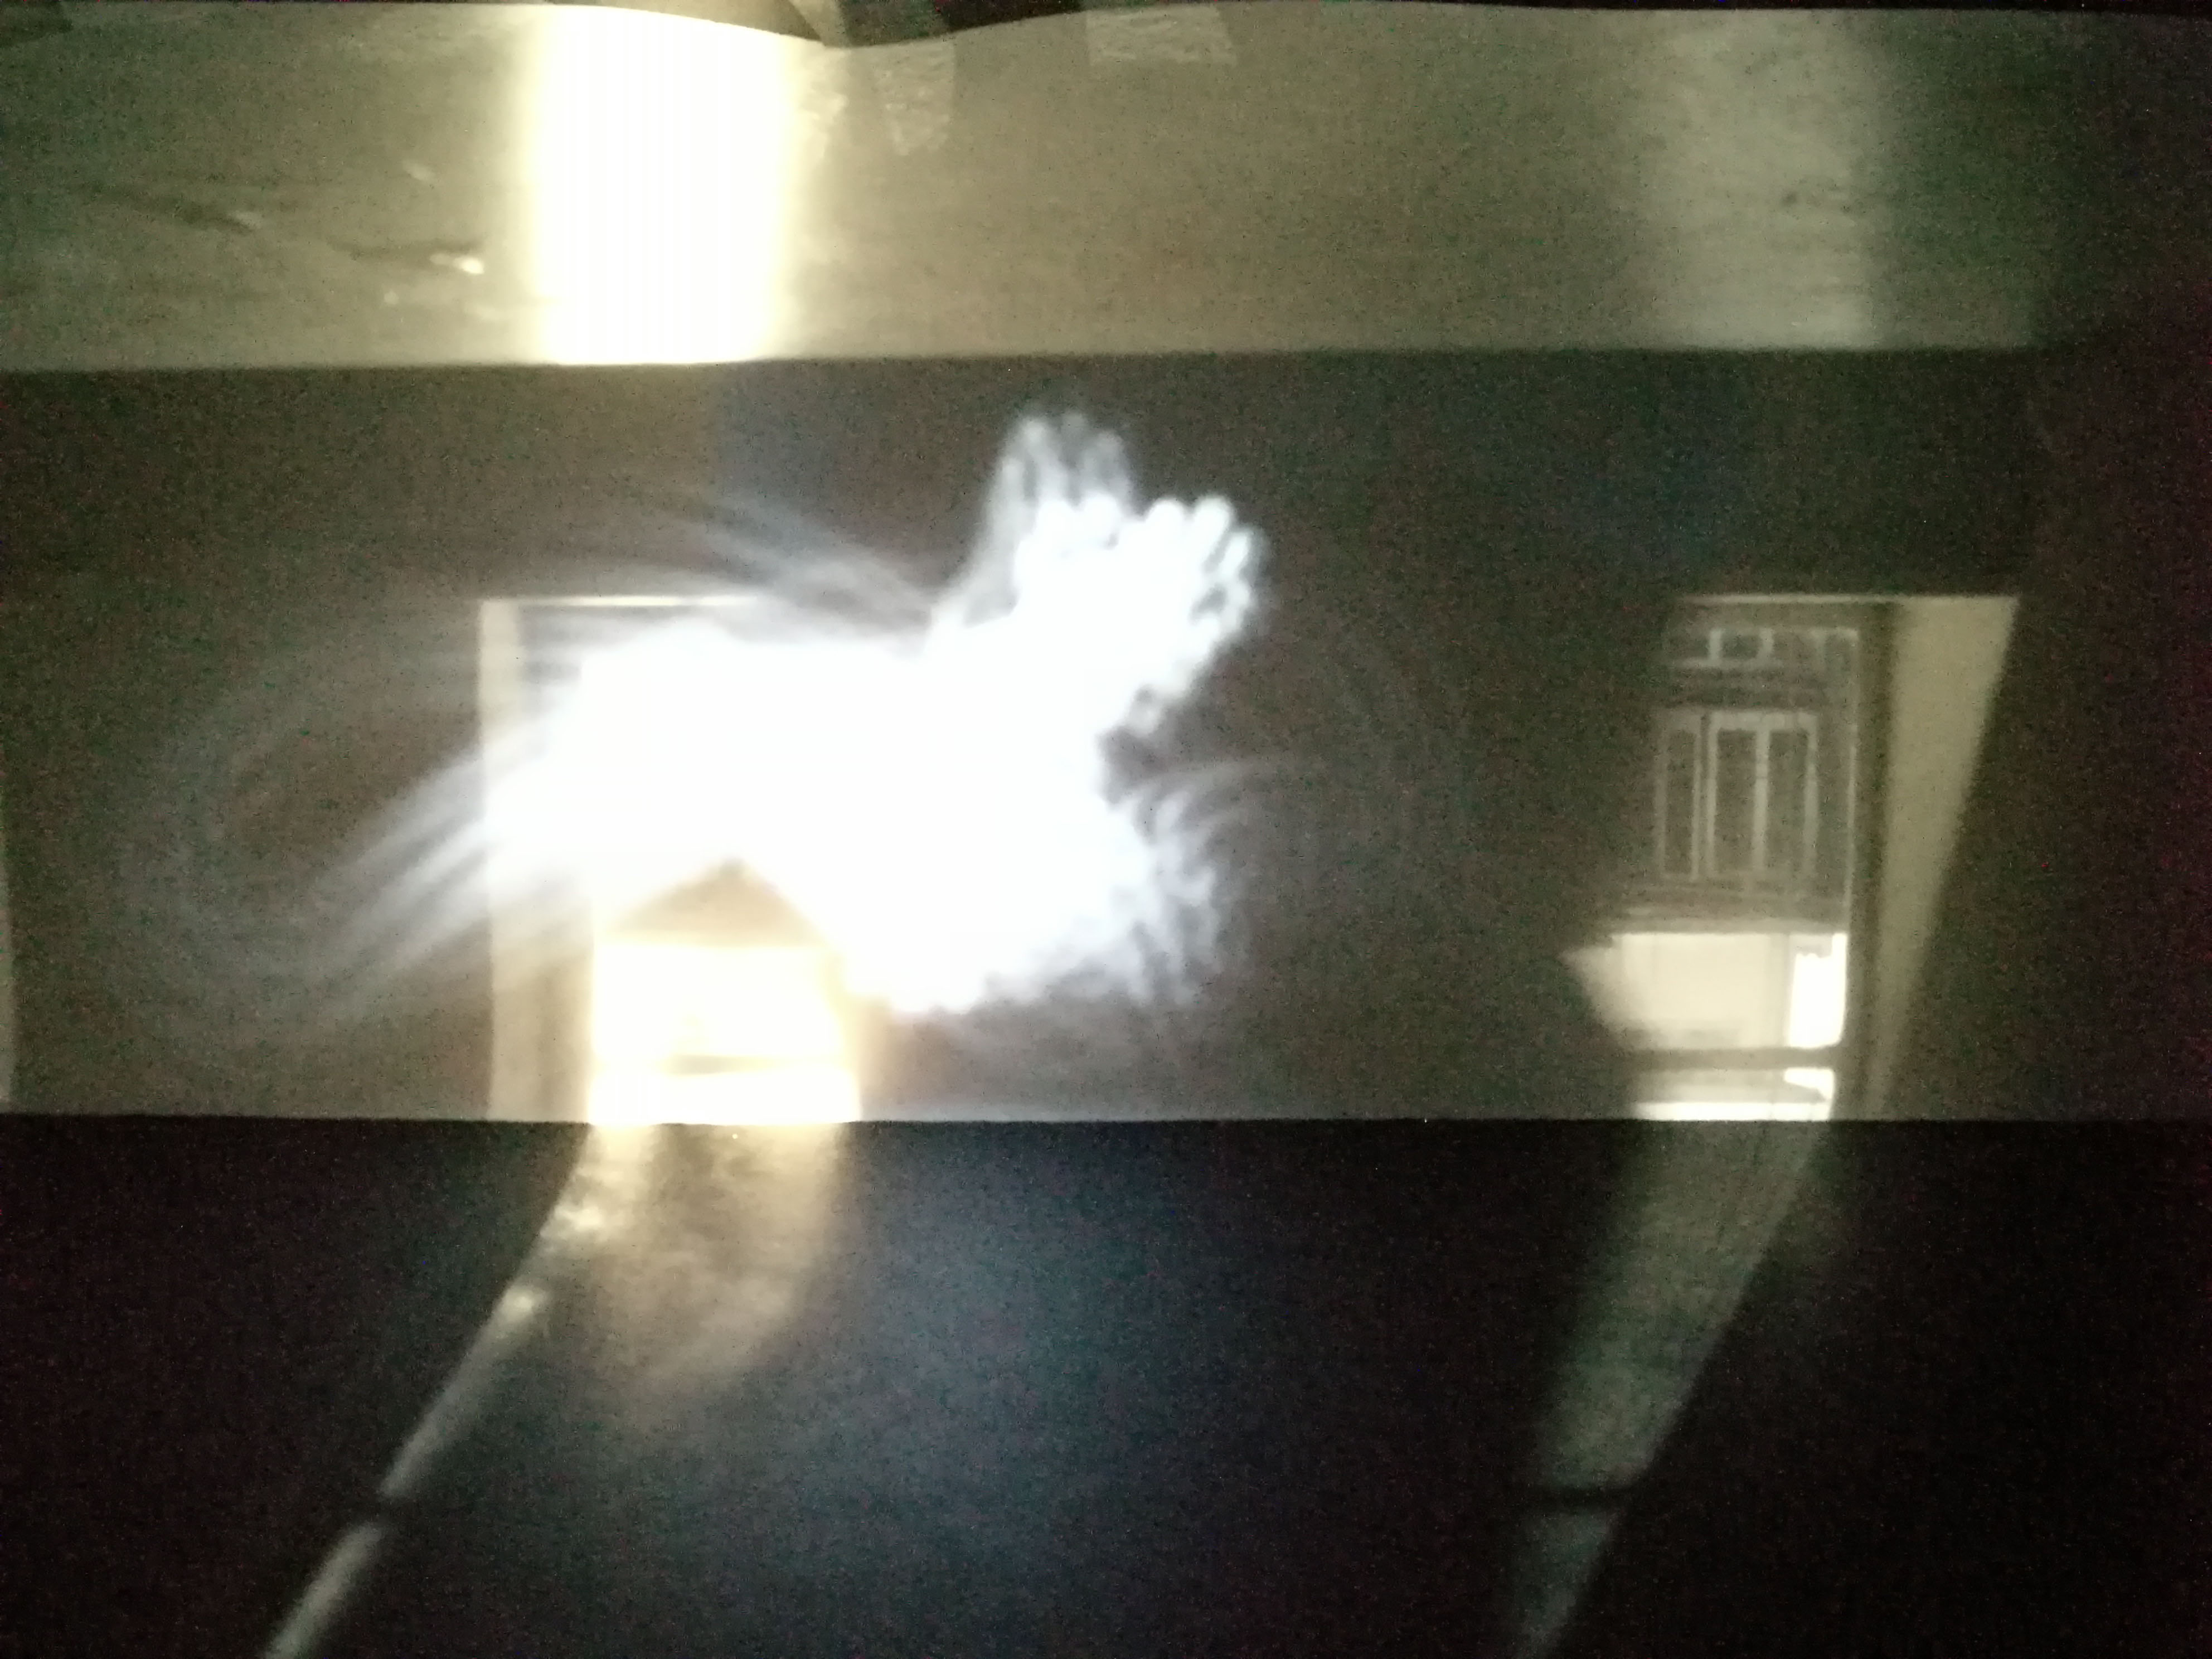
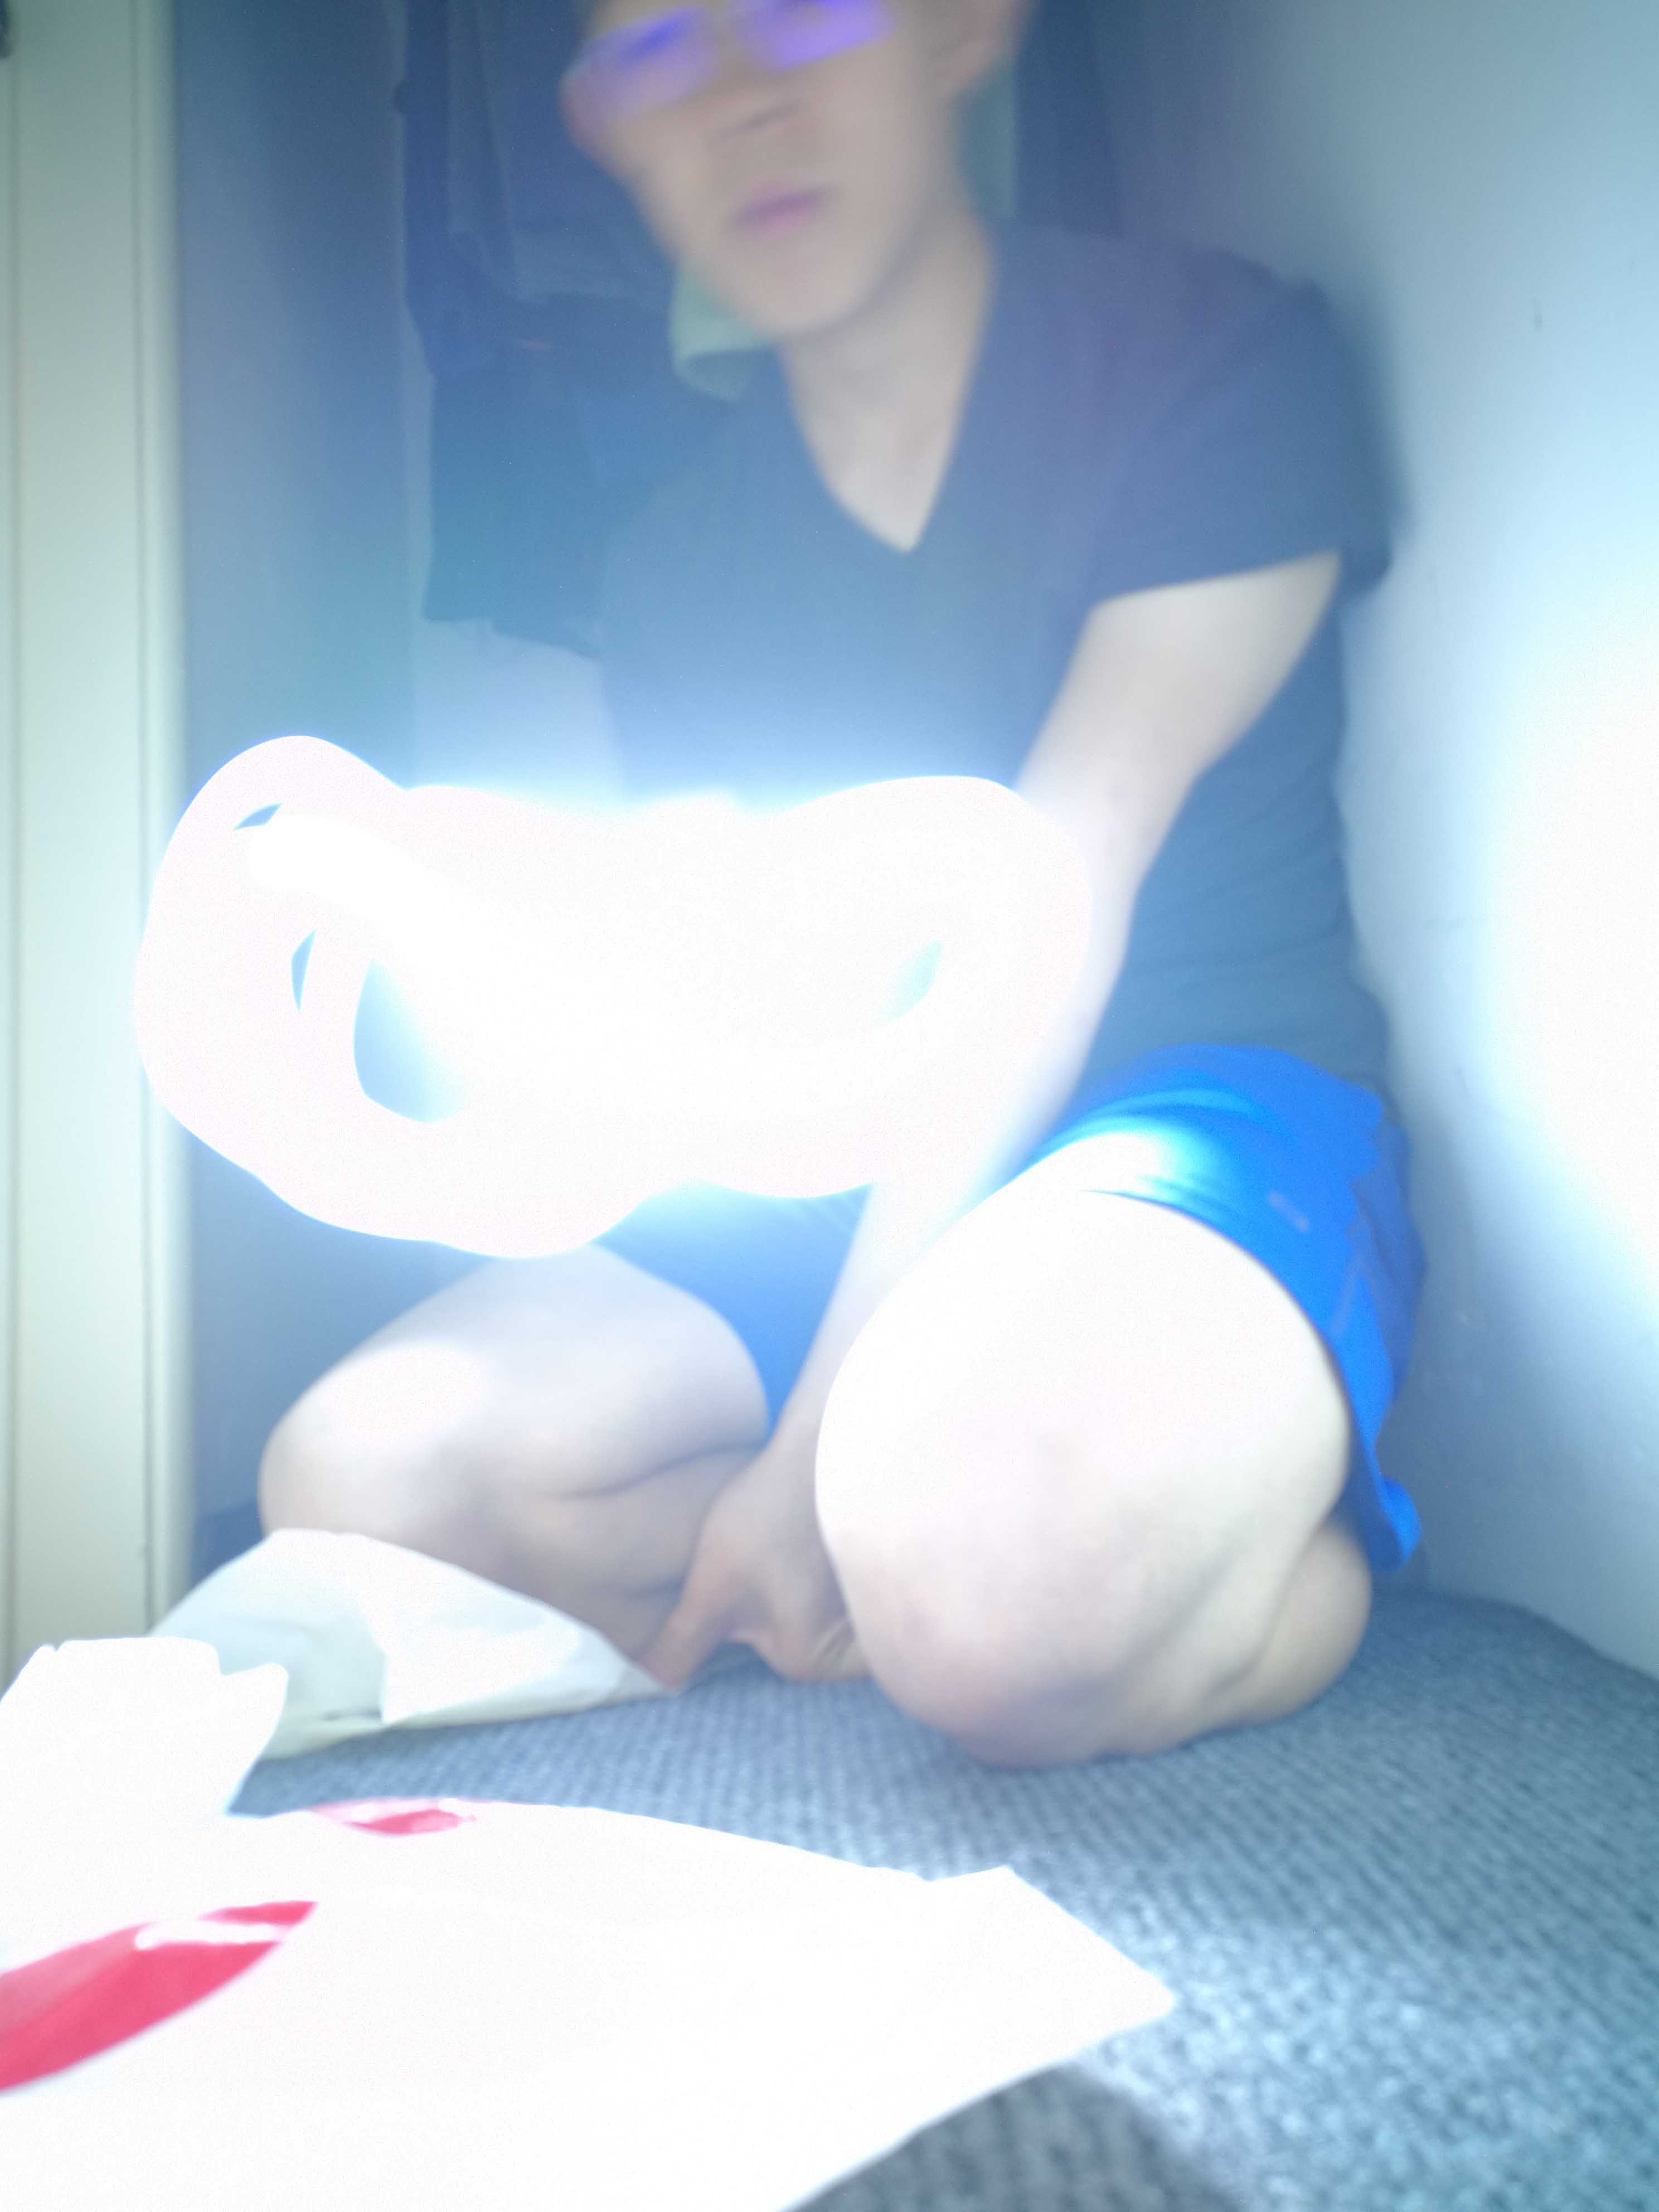
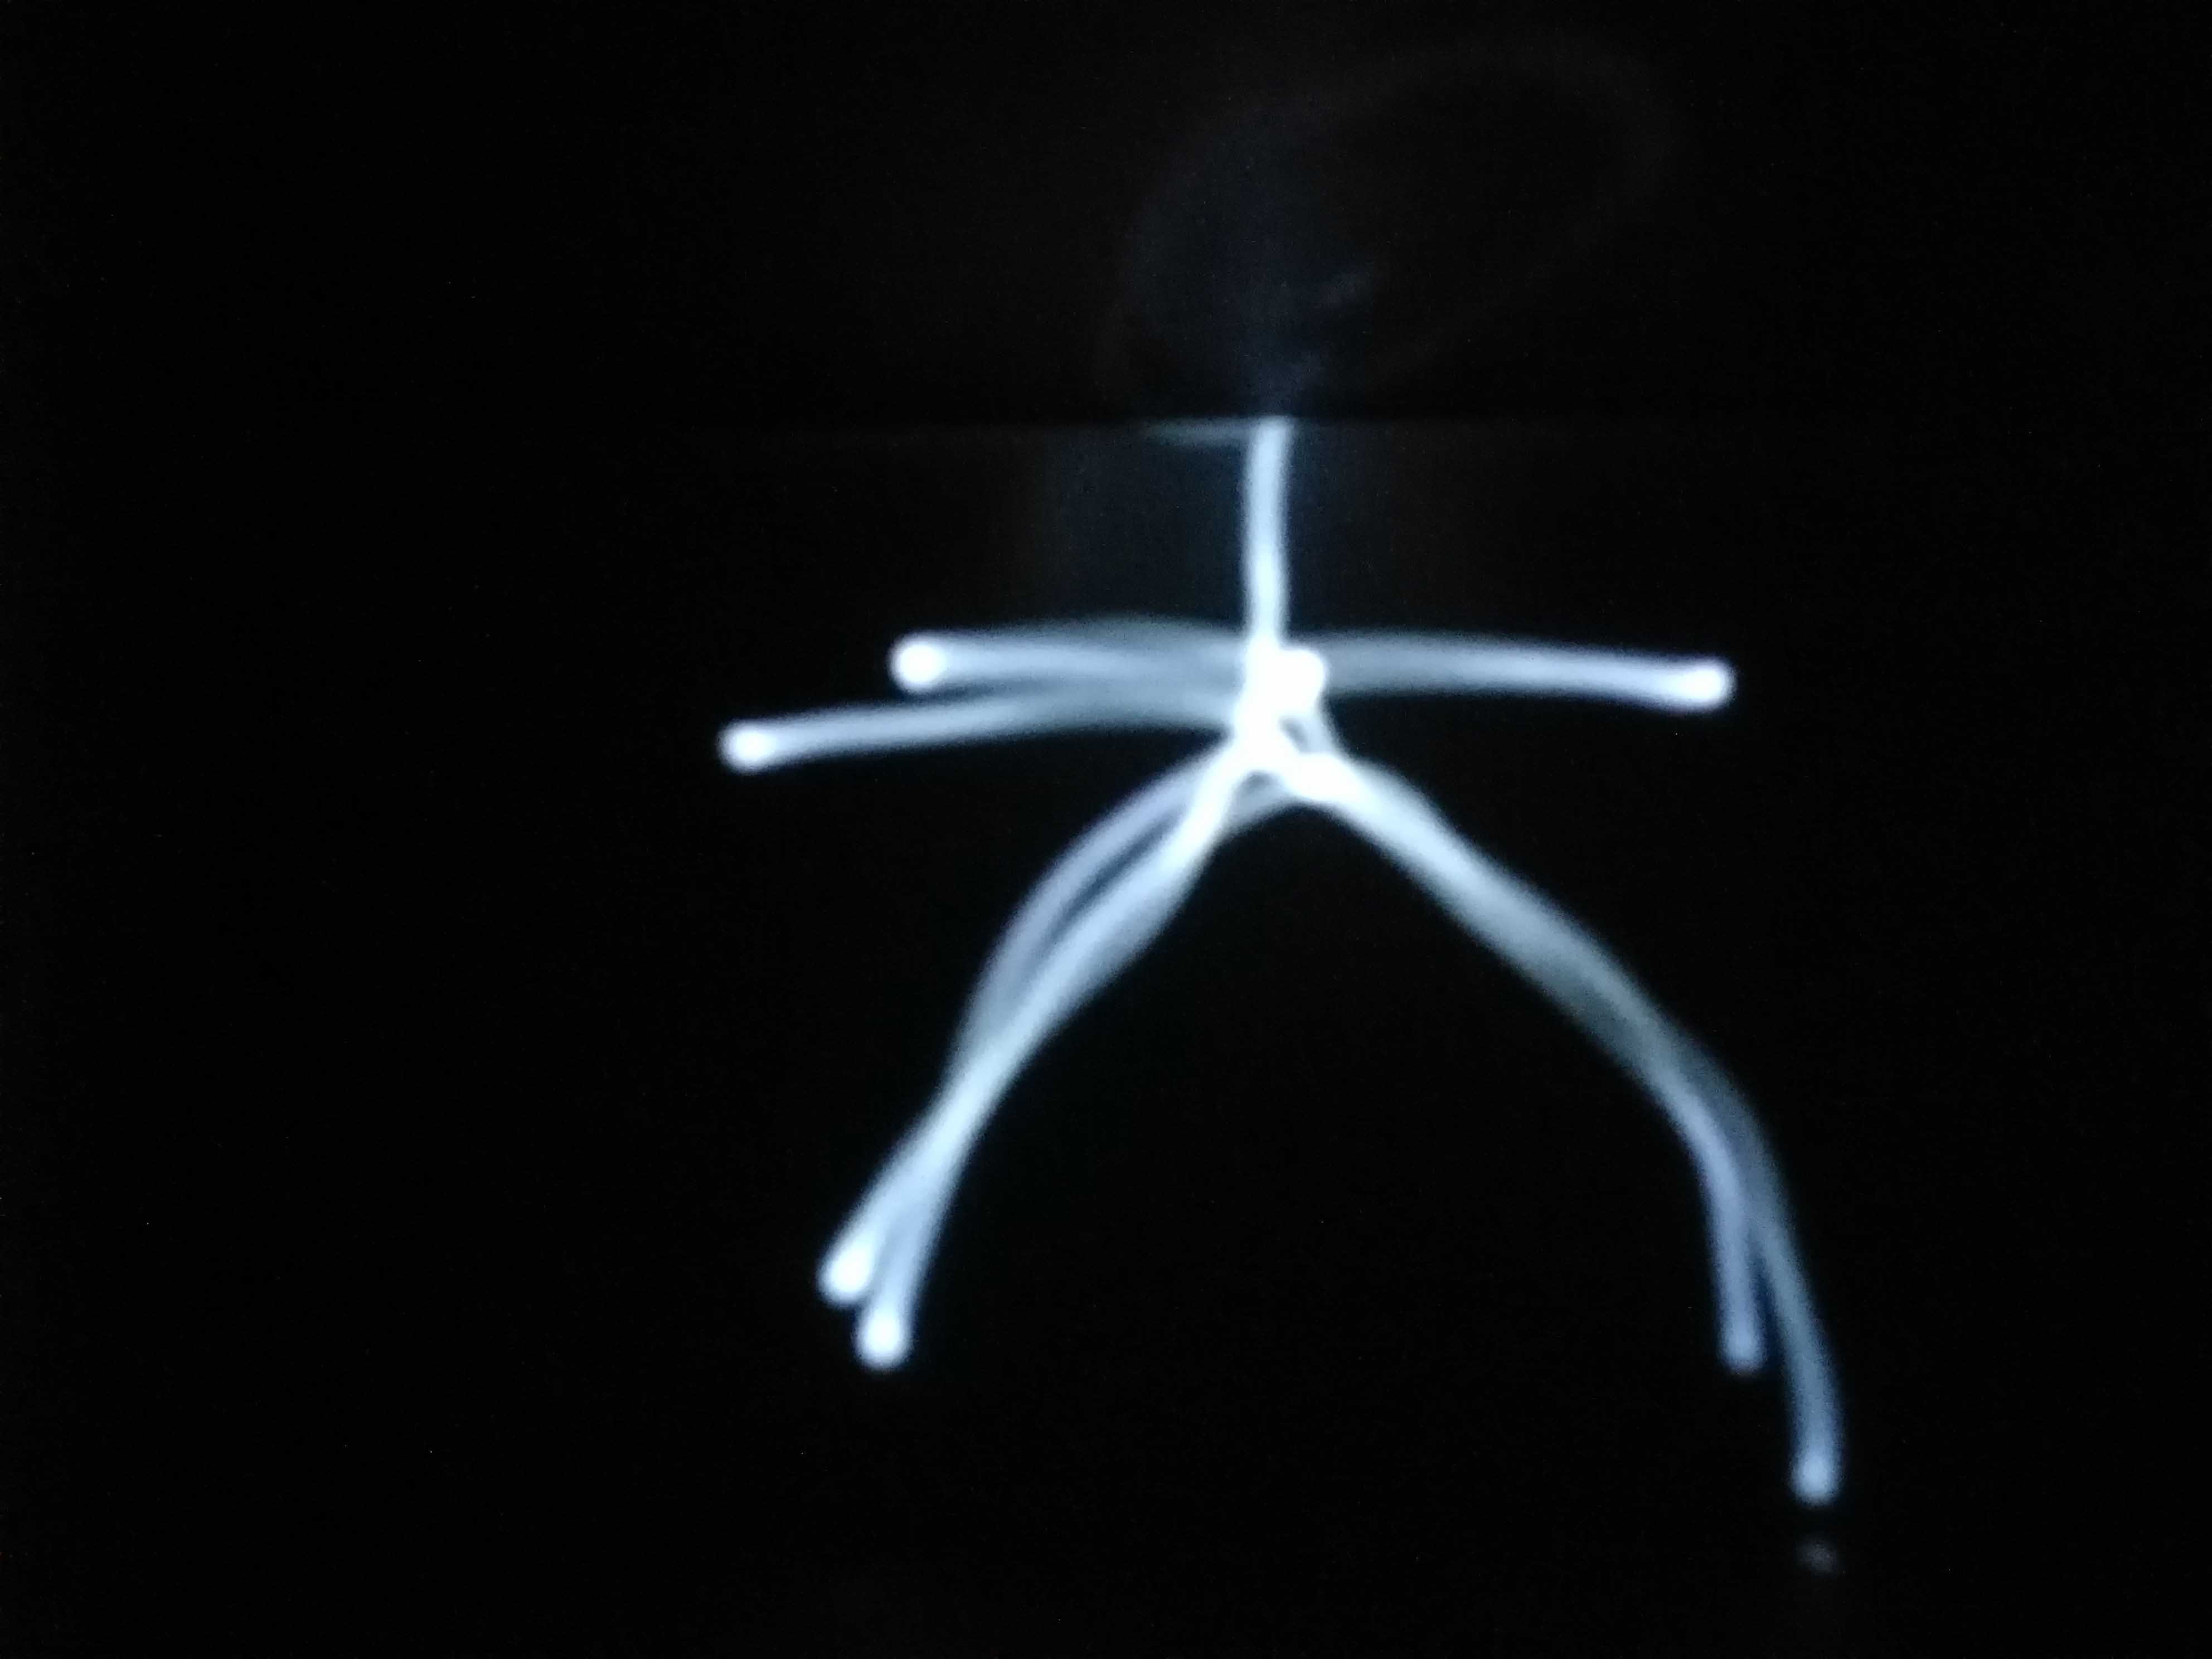
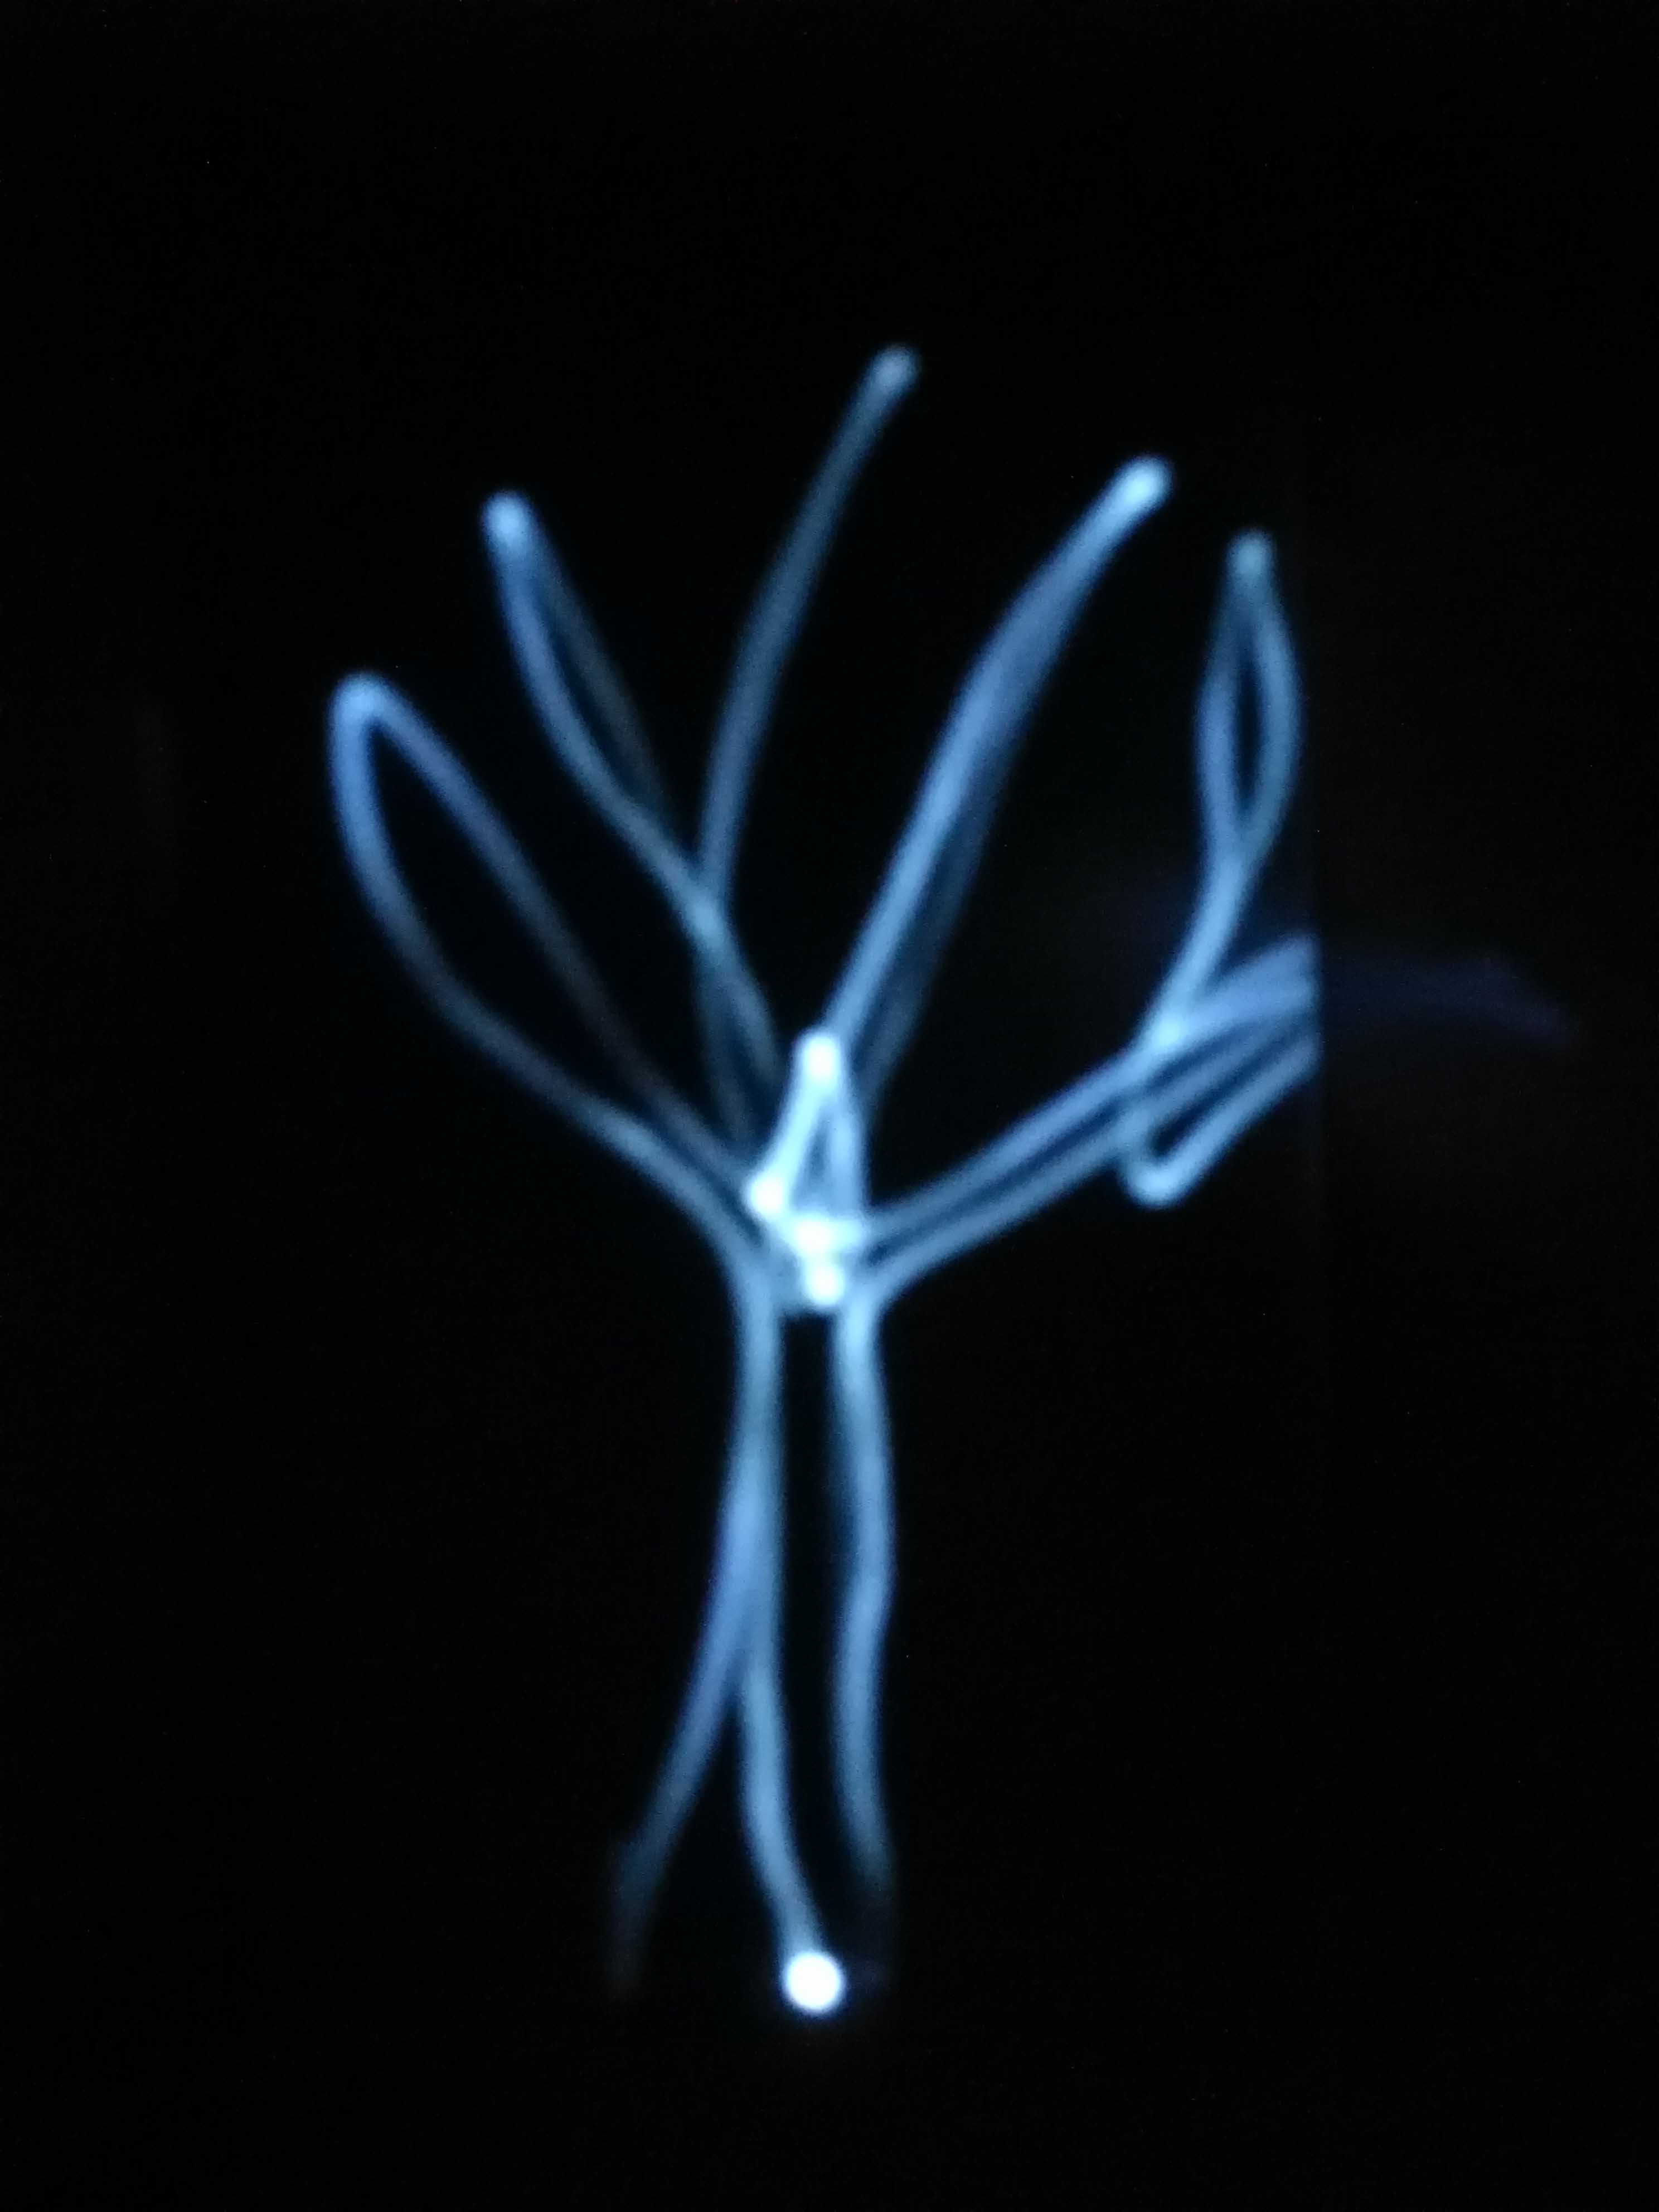
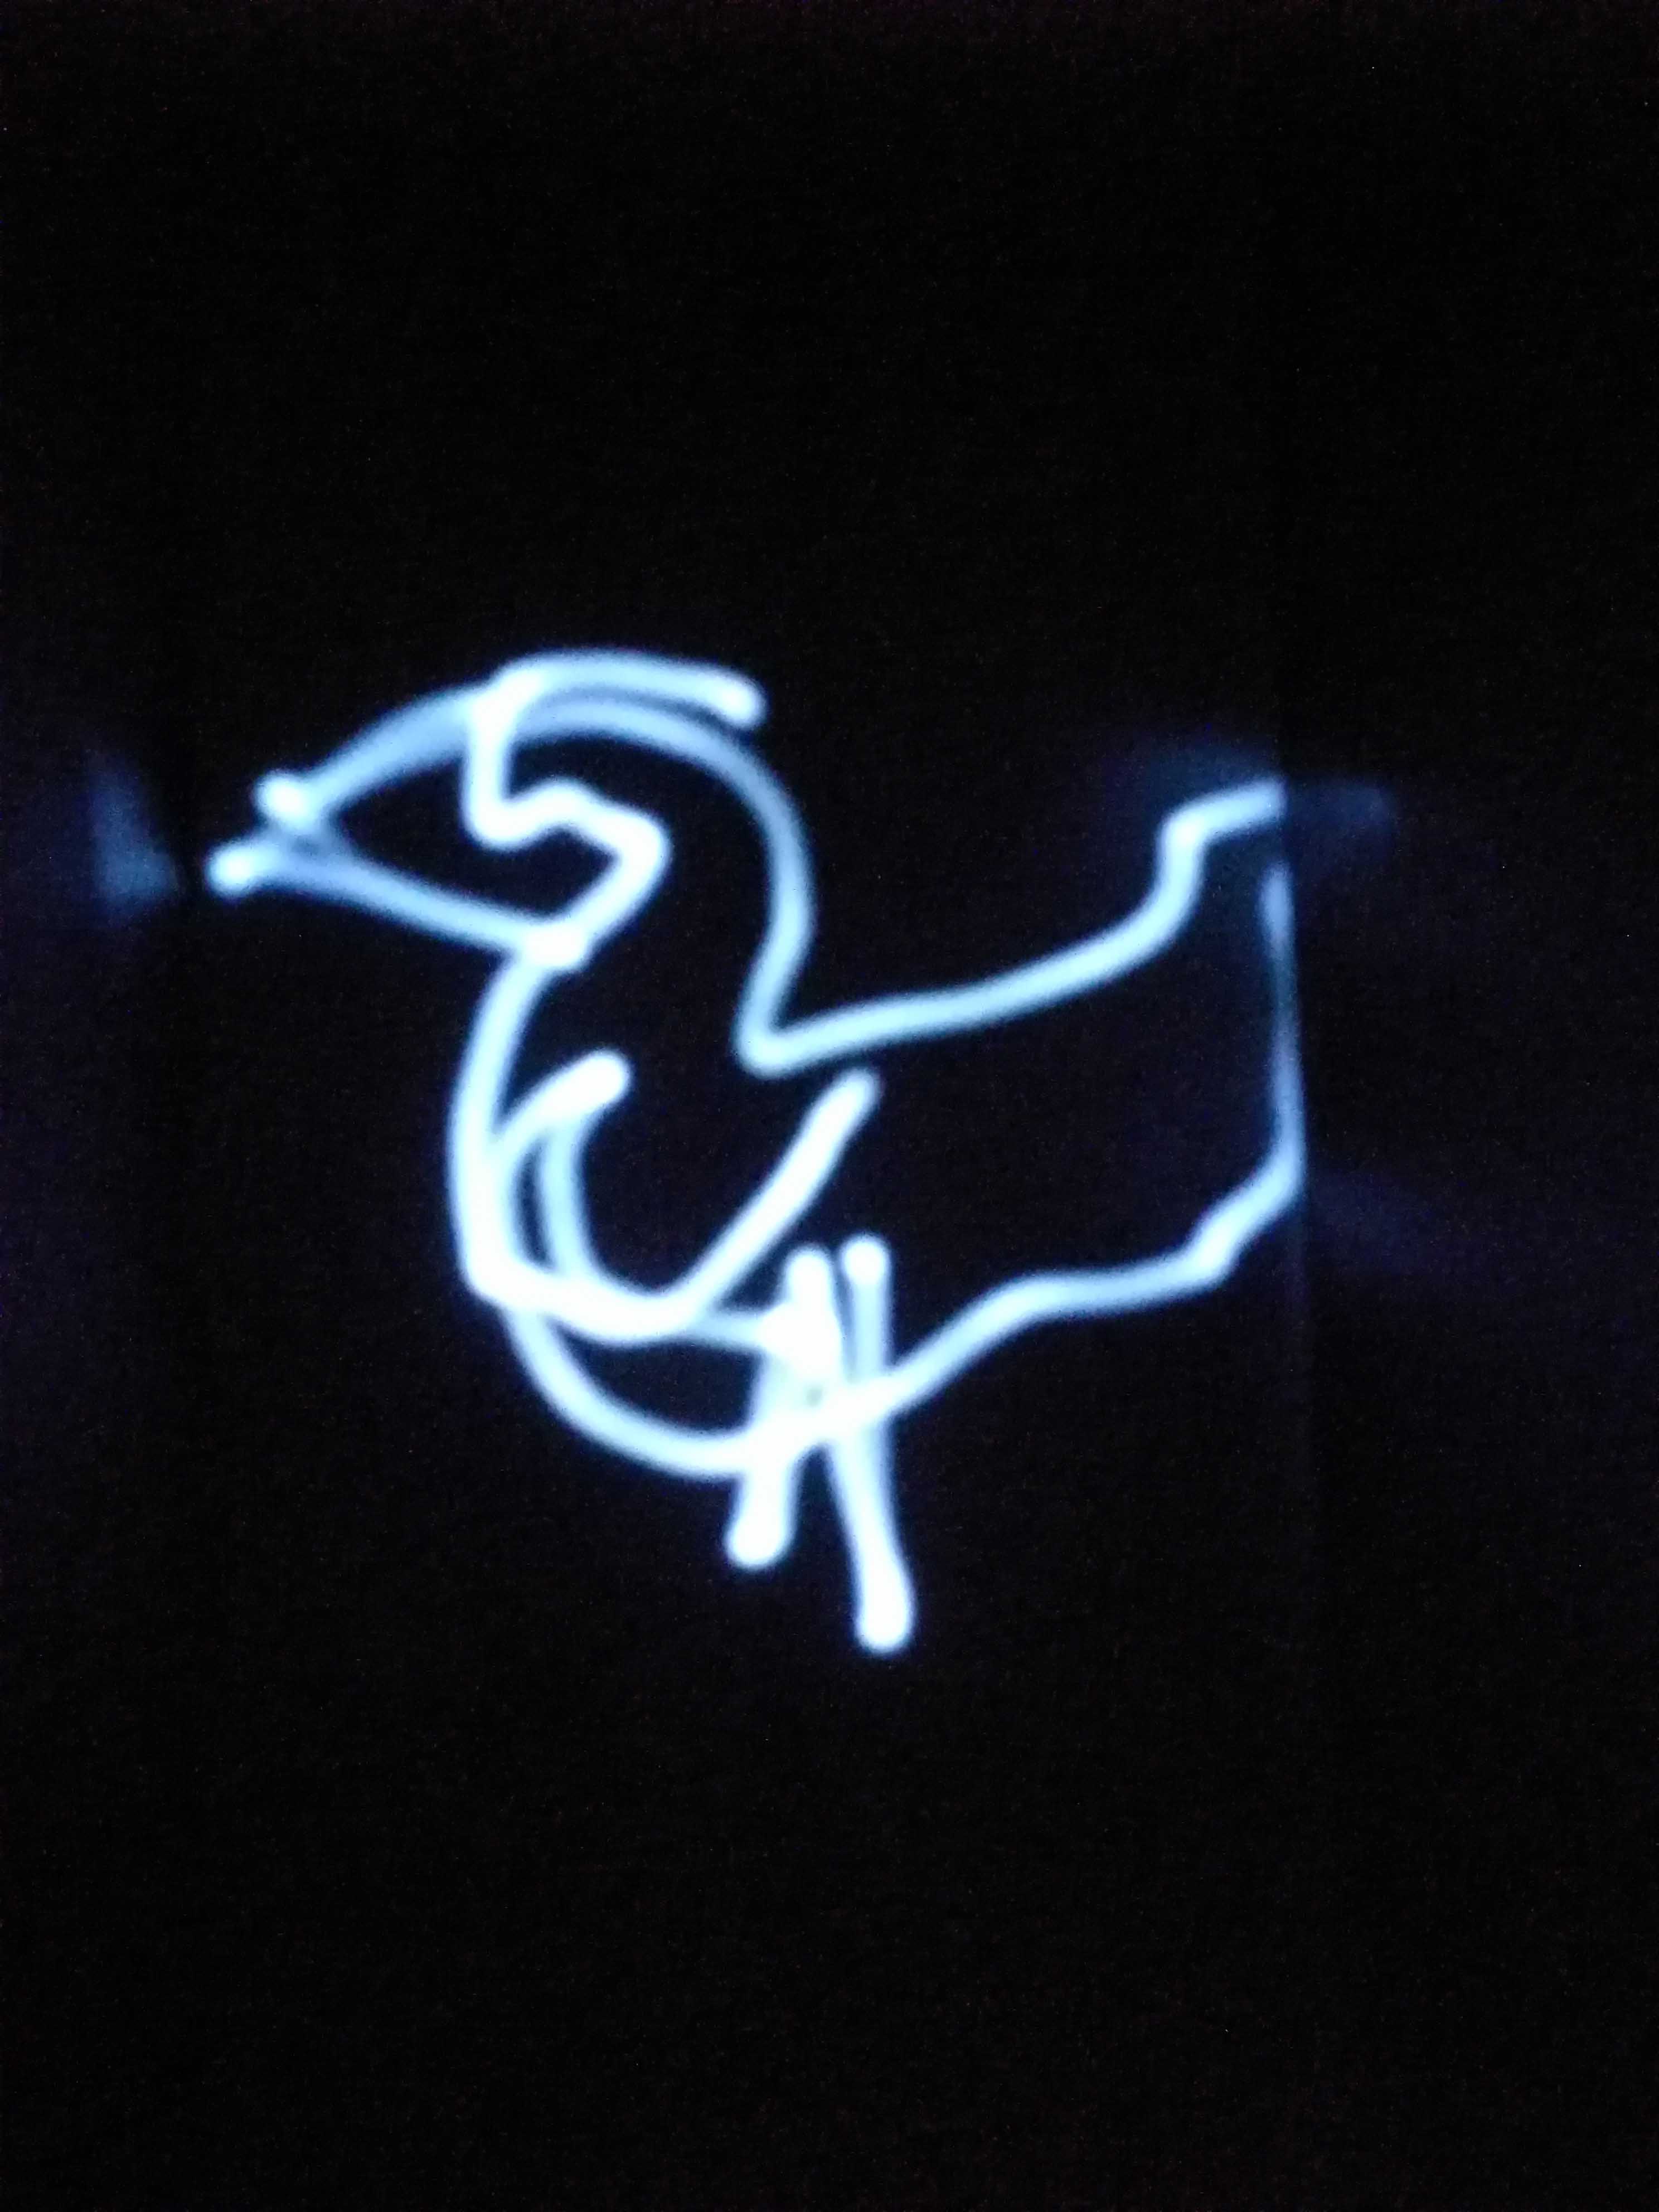
Light Painting
By waving a flashlight around in a relatively dark area in a premade shape, we can create light art over a long exposure time.
|

|

|
|

|
|
|

|
|
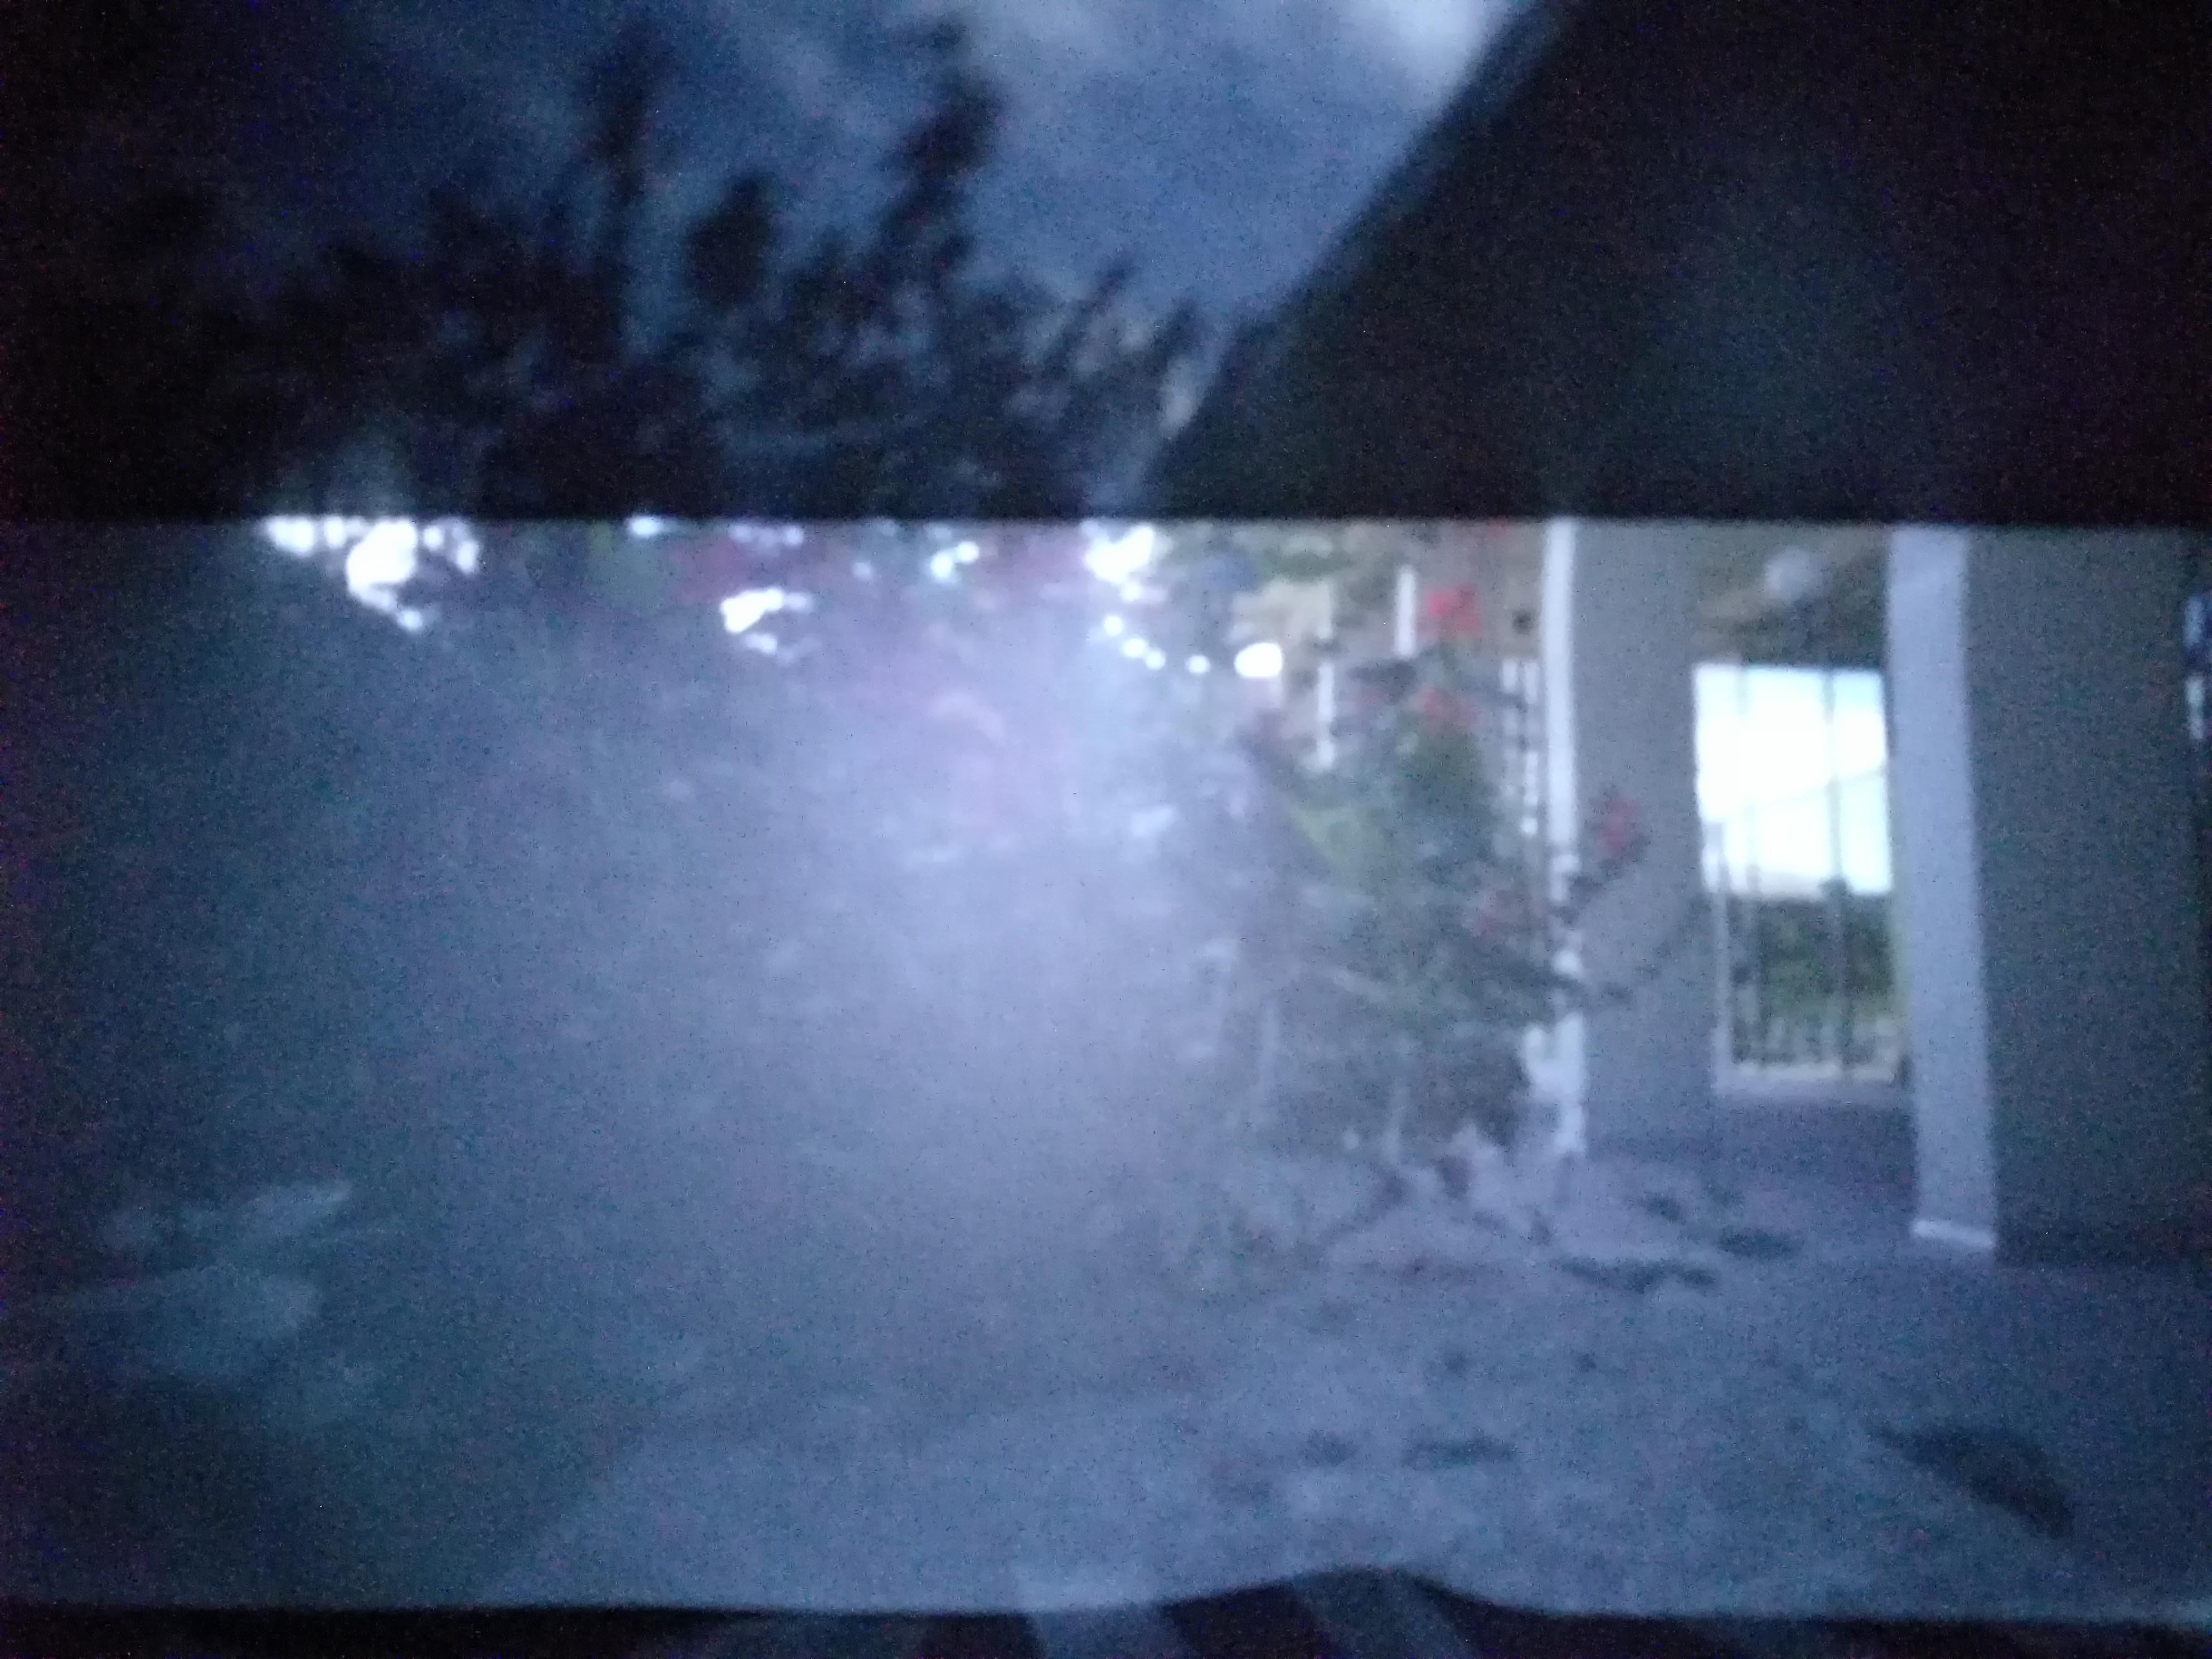
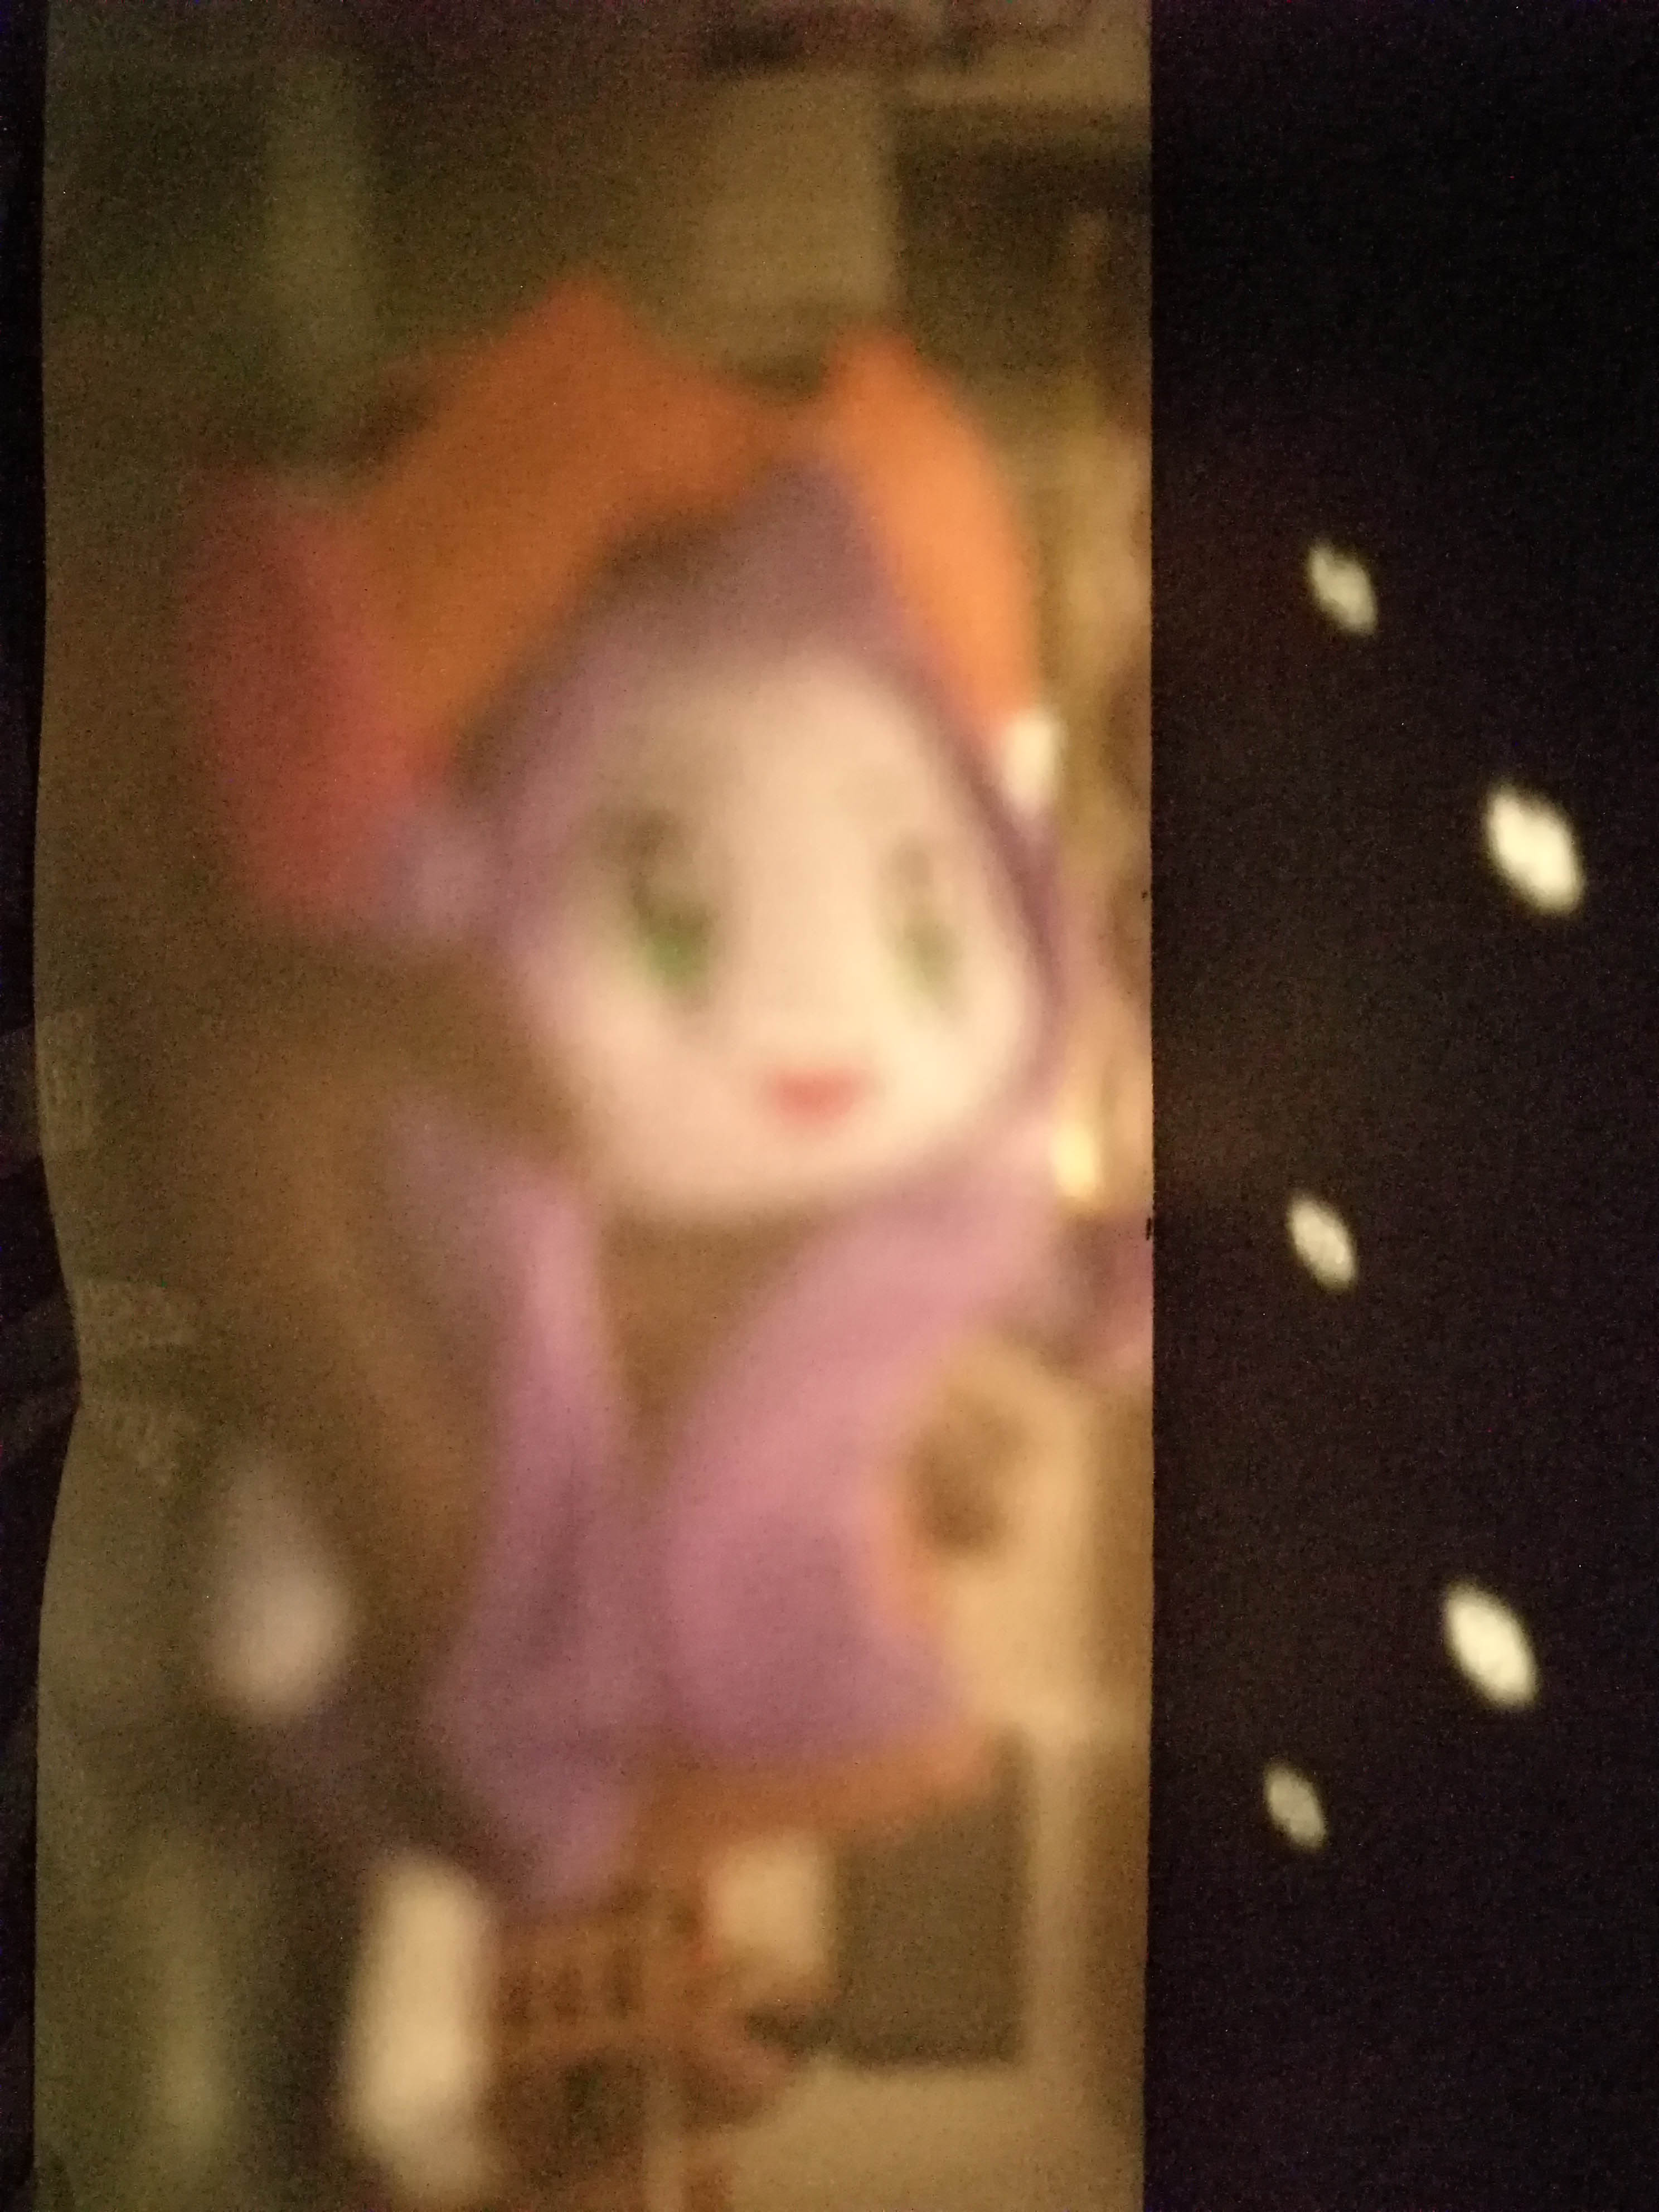
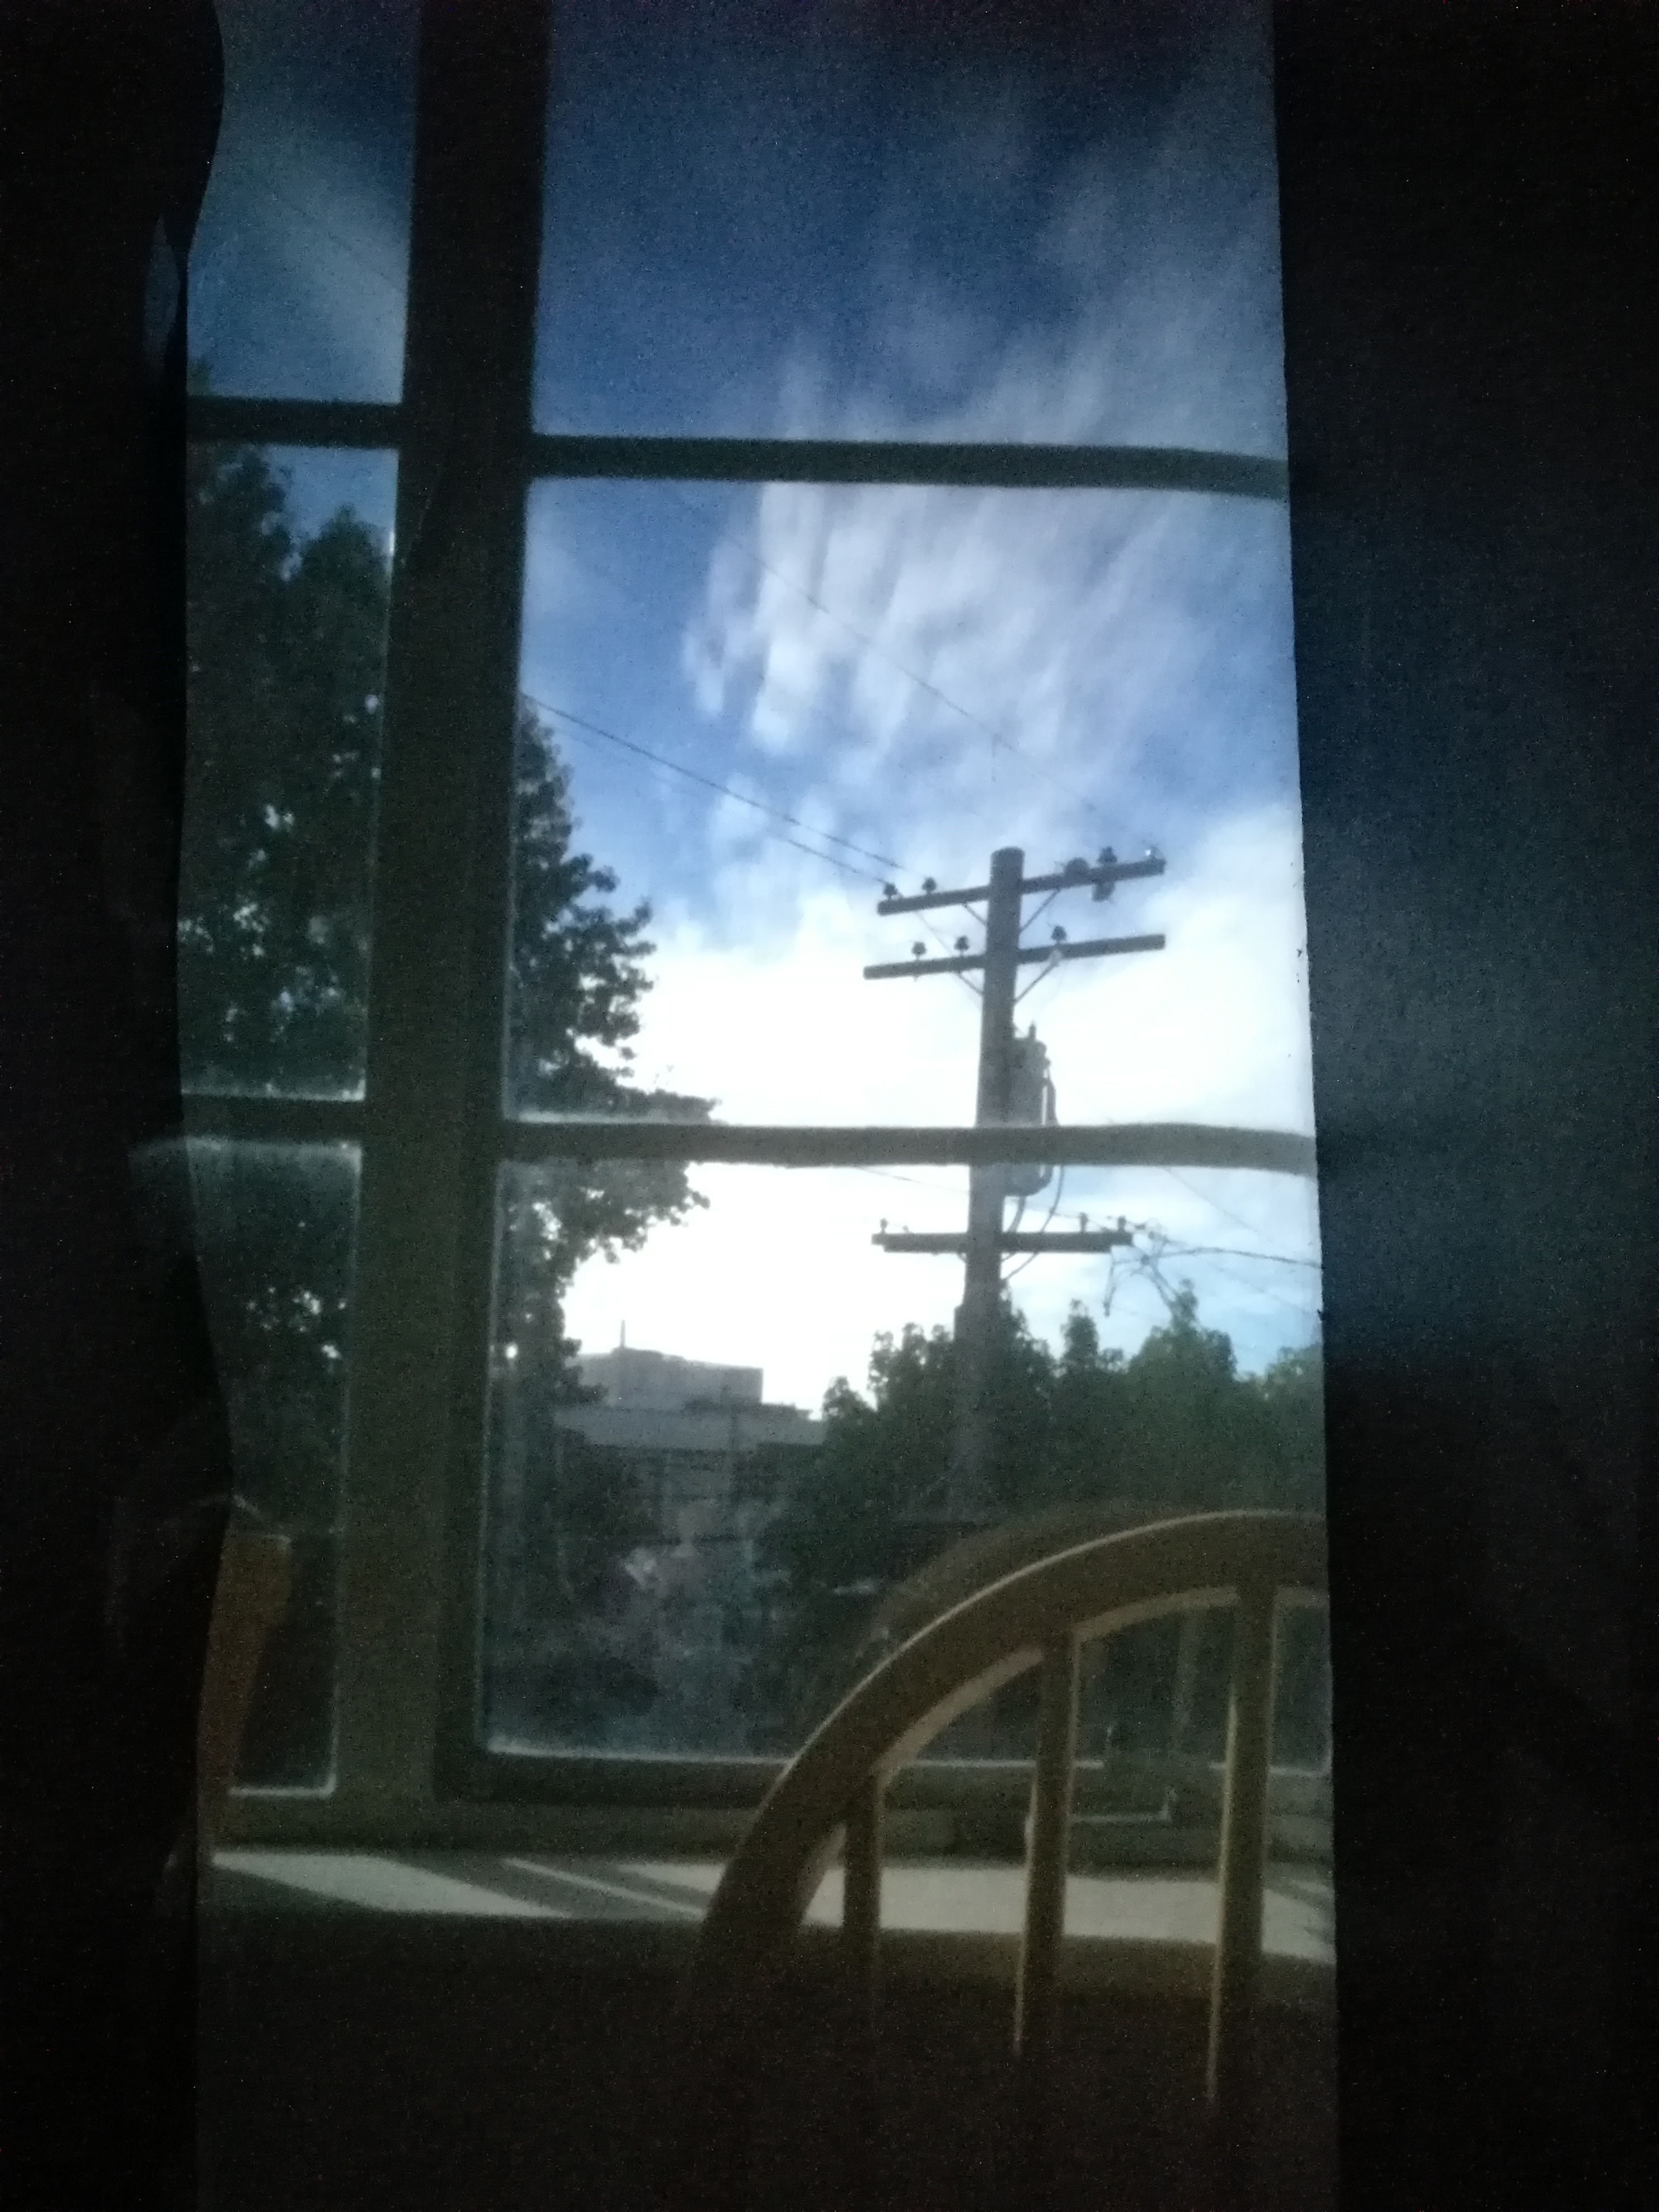
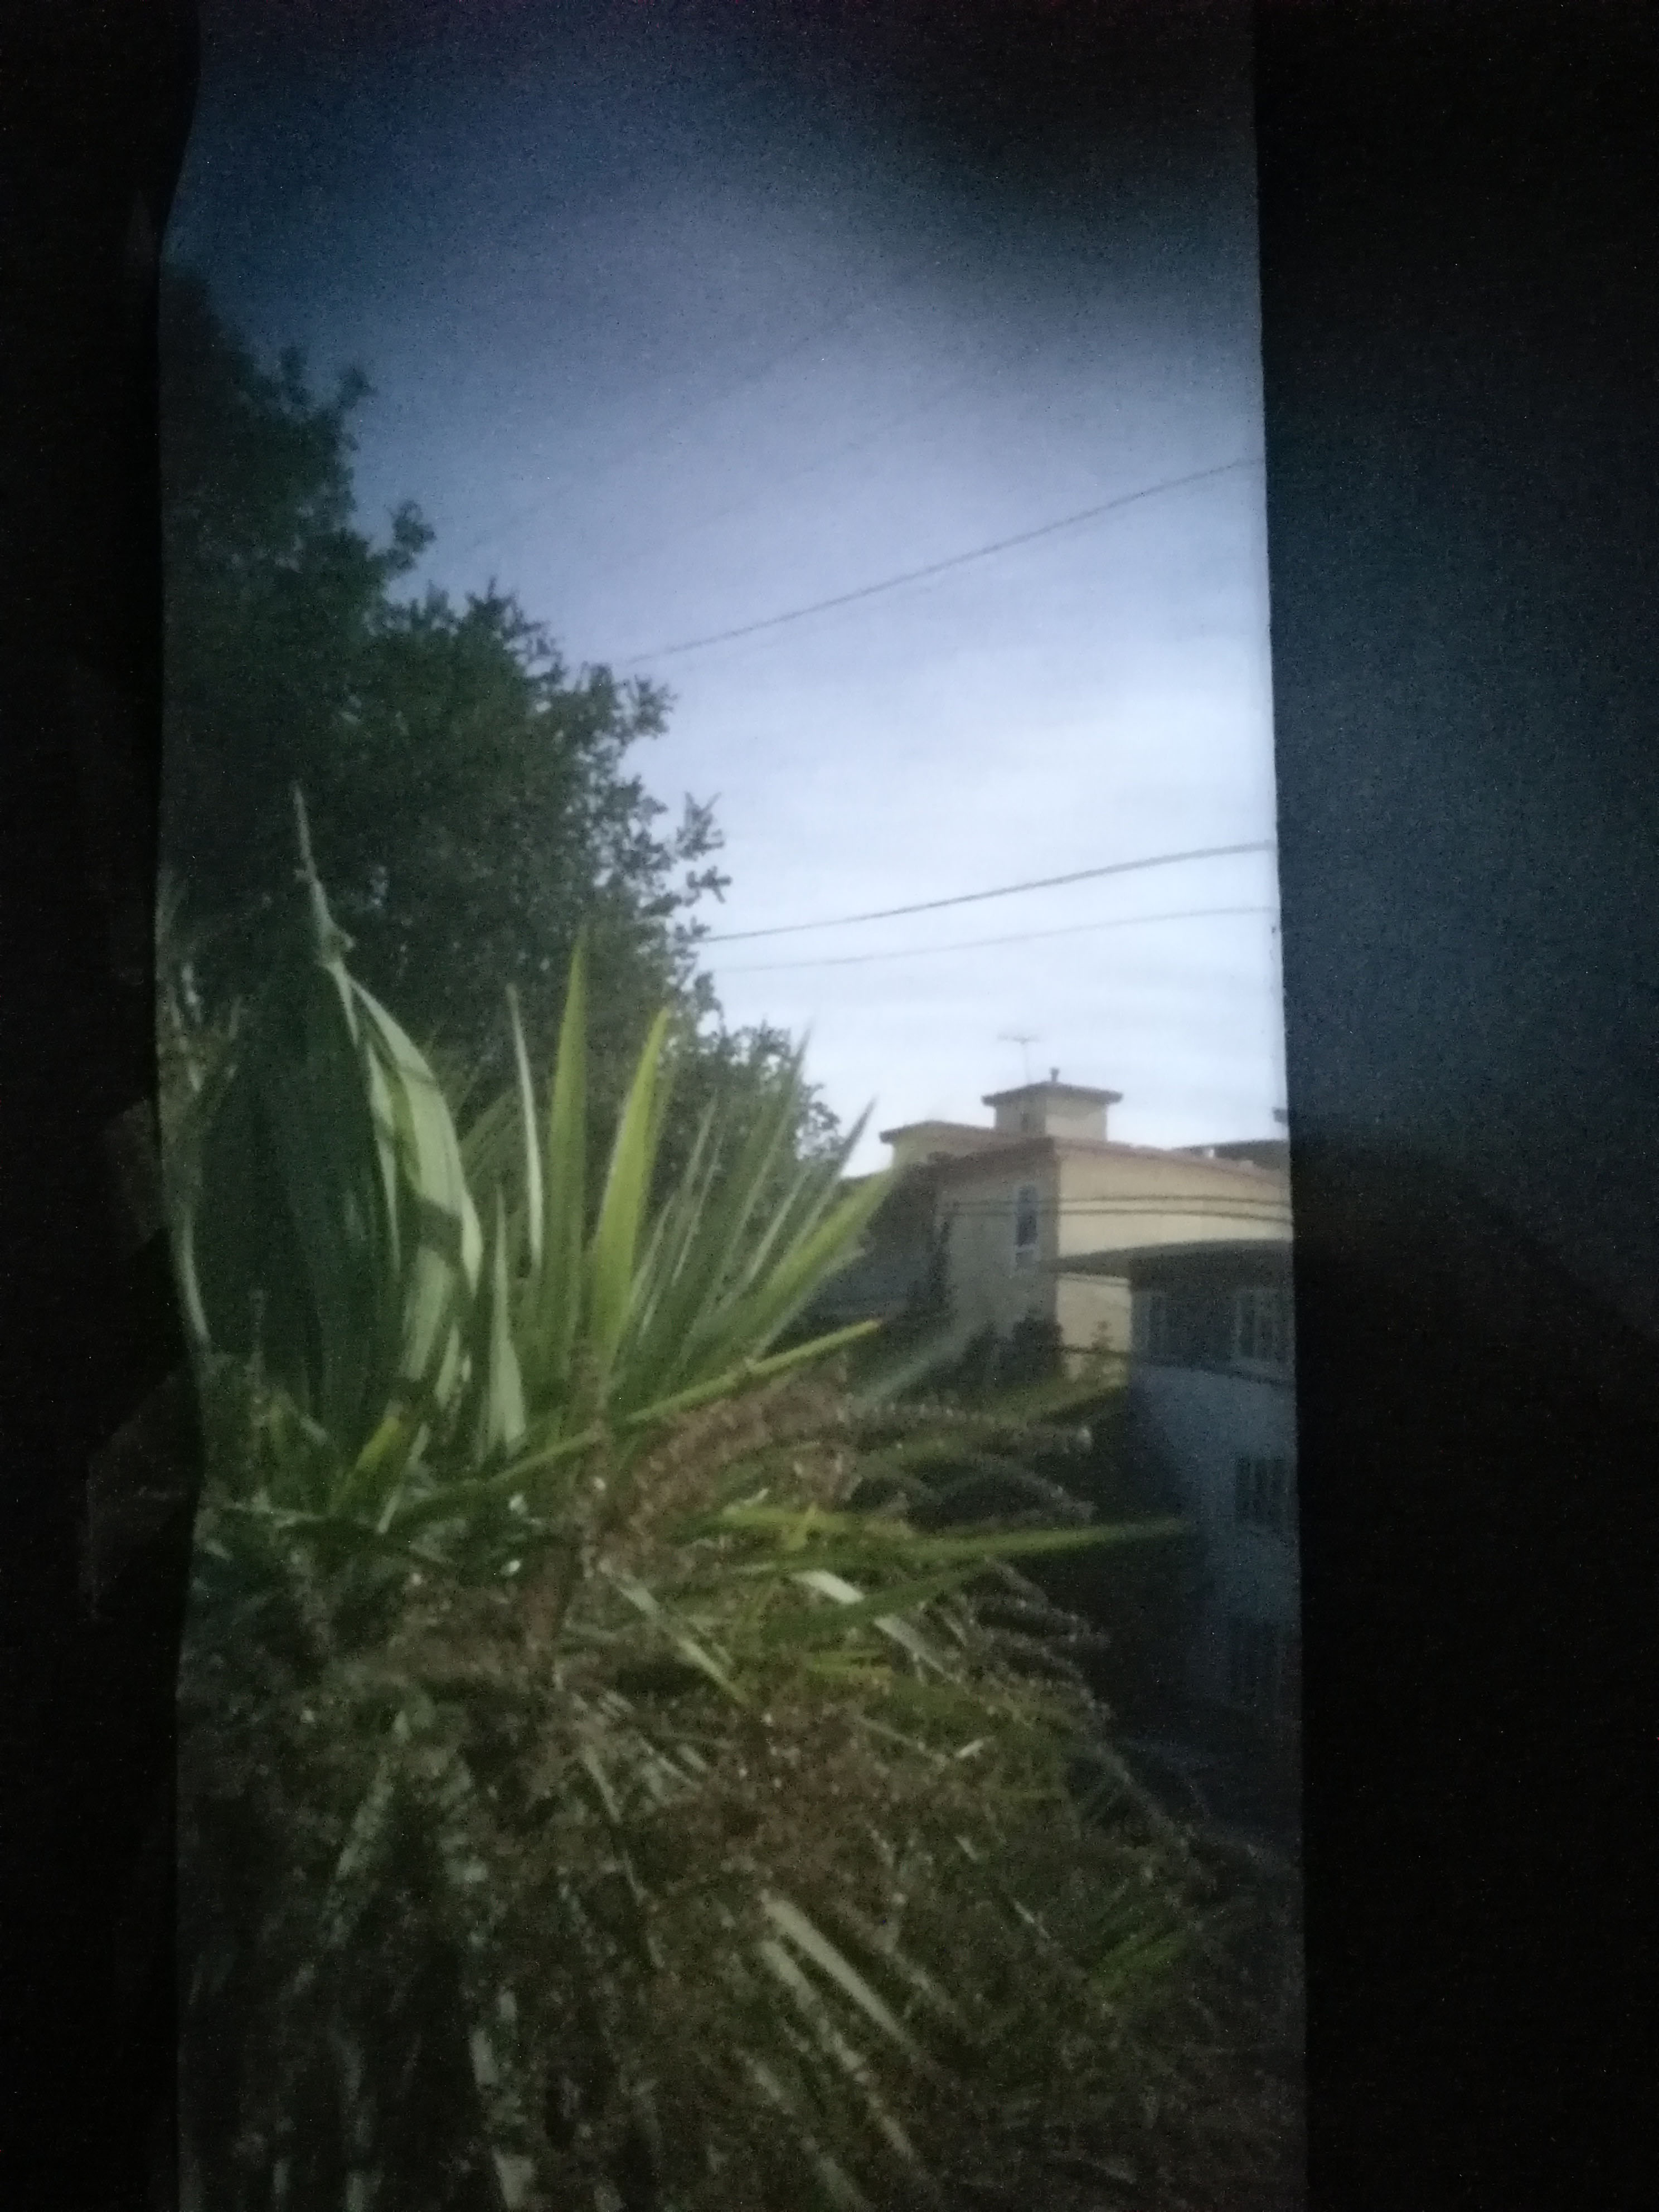
Art Gallery
|
|

|
|
|
|
|
|

|
|
|
|