Building a Pinhole Camera
Alex Stennet, cs 194-26-agn
Chris Allsman, cs 194-26-eal
In The Beginning, There Was Darkness
Two students. 7 Days. One goal: to build a pinhole camera. And nothing to do it with but a bunch of cardboard and some way too expensive tape.
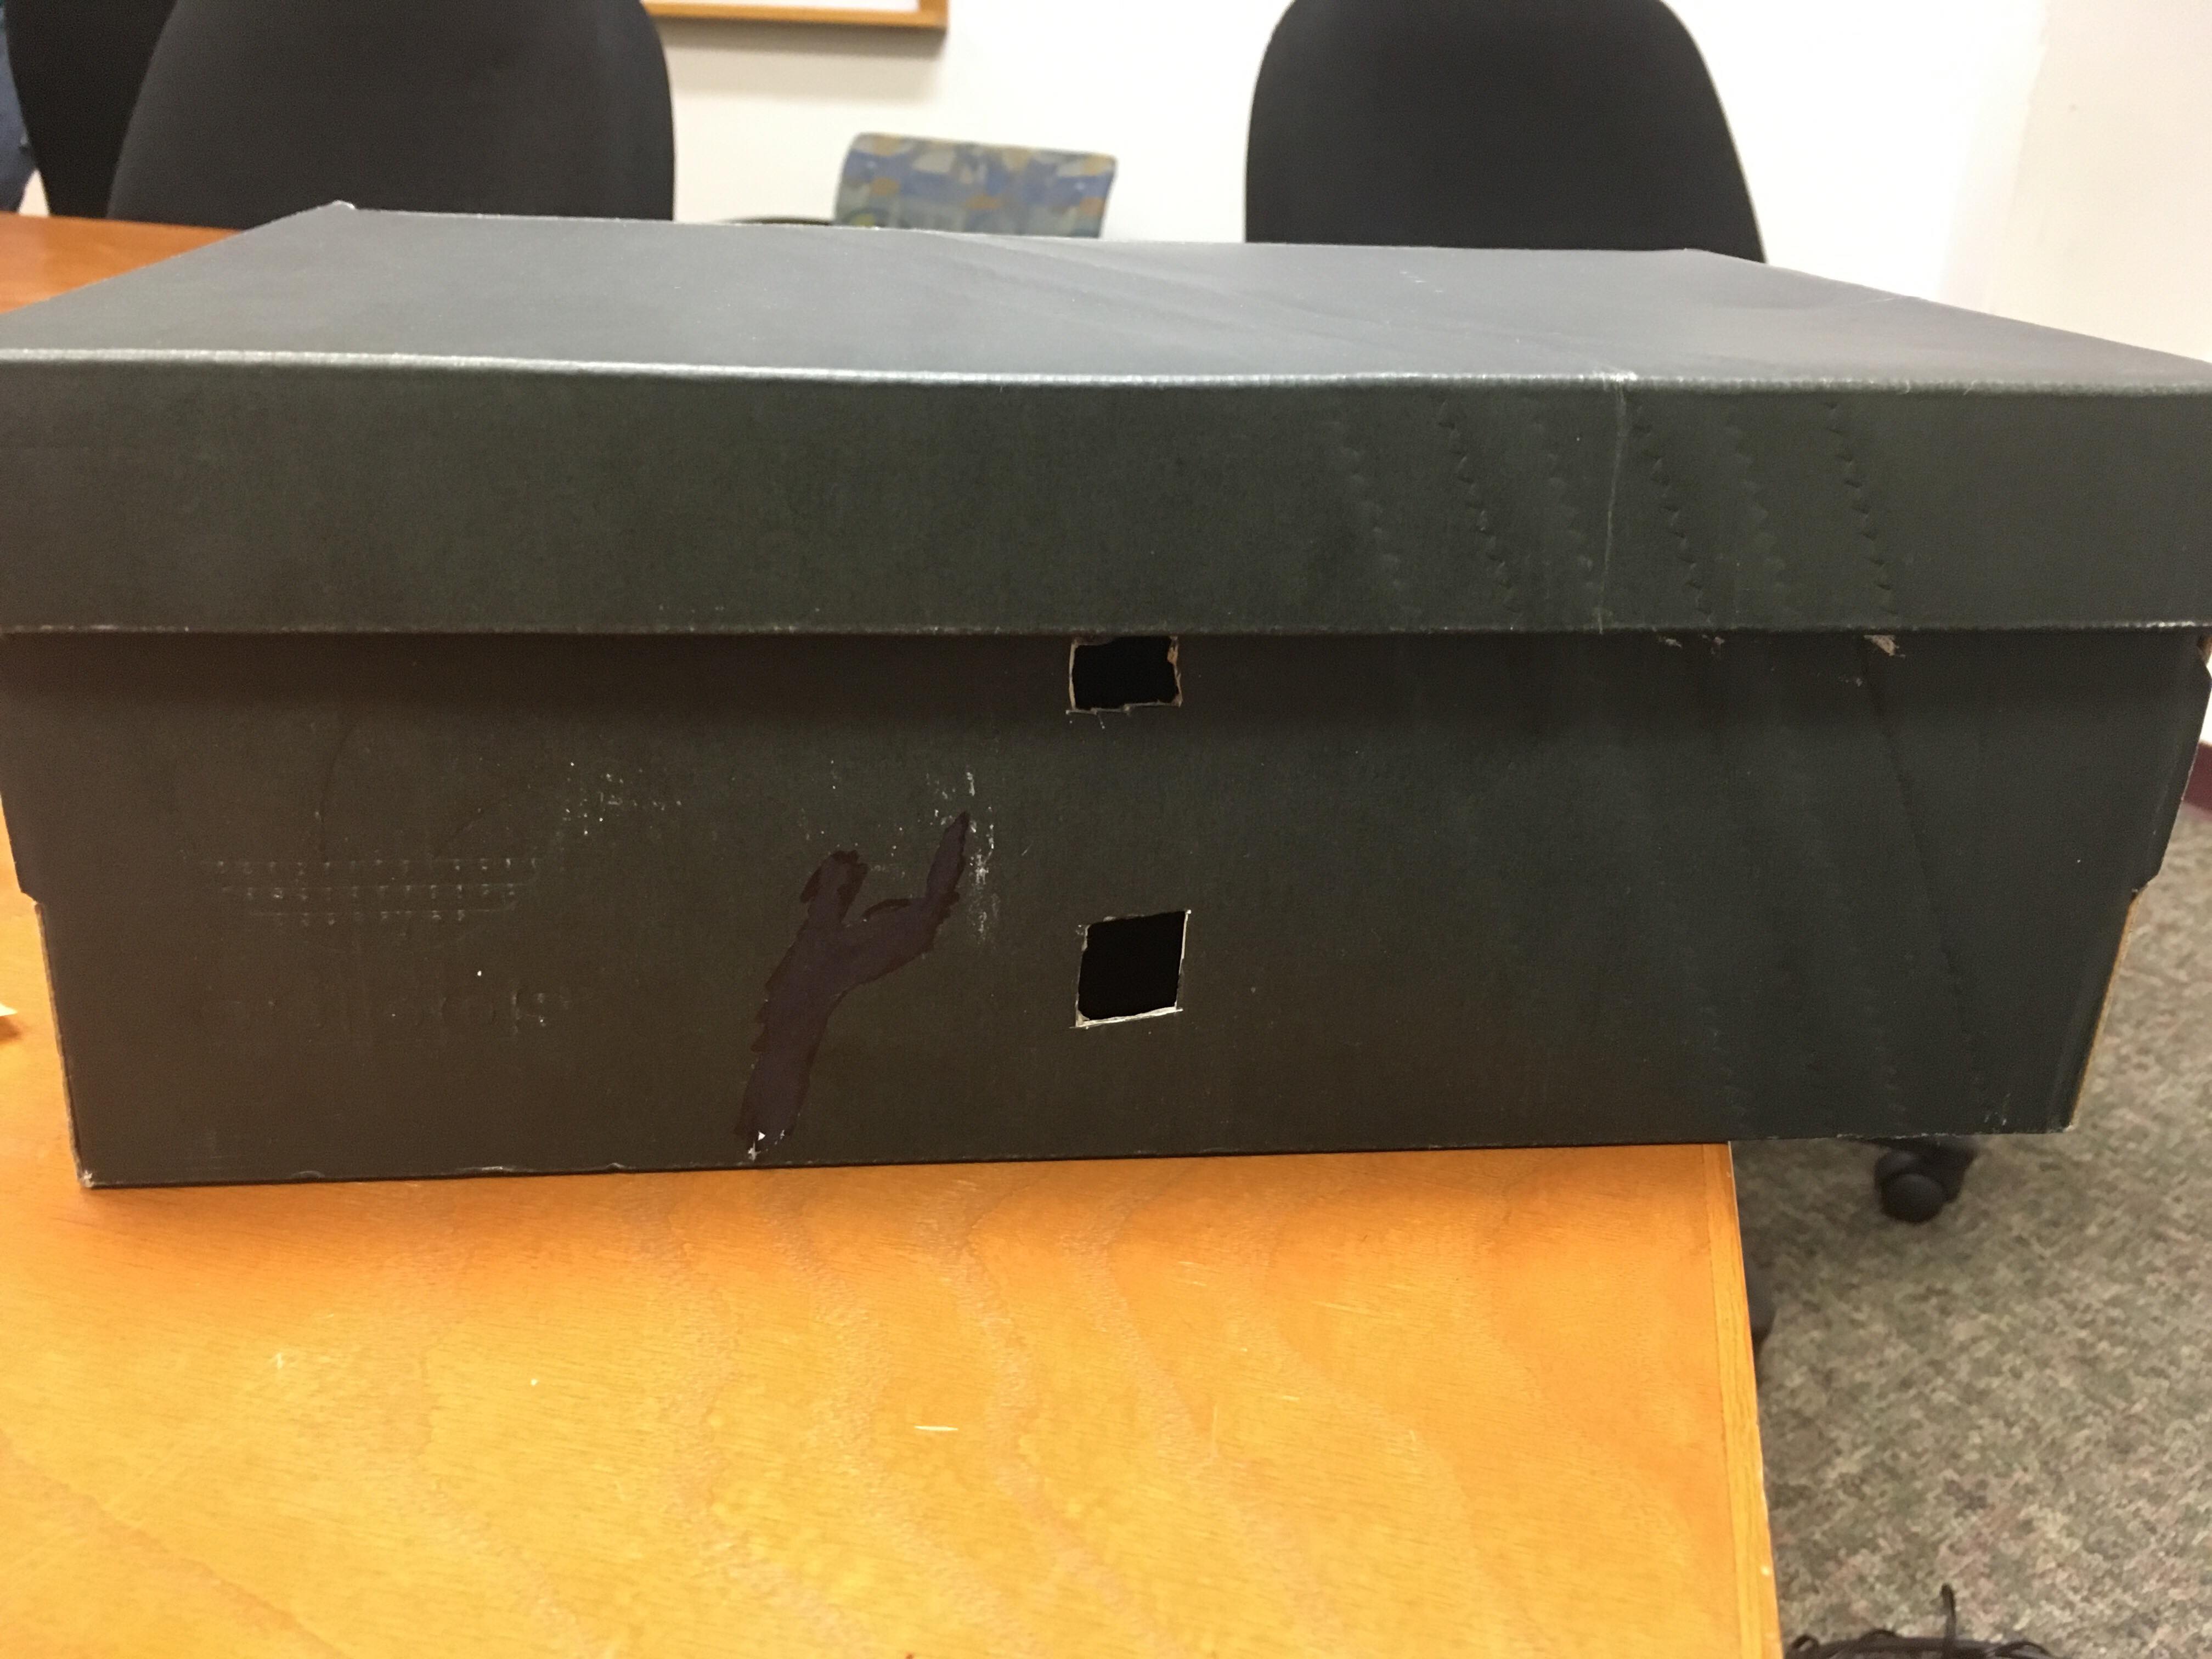
Step 1: Obtain shoe box and cut holes
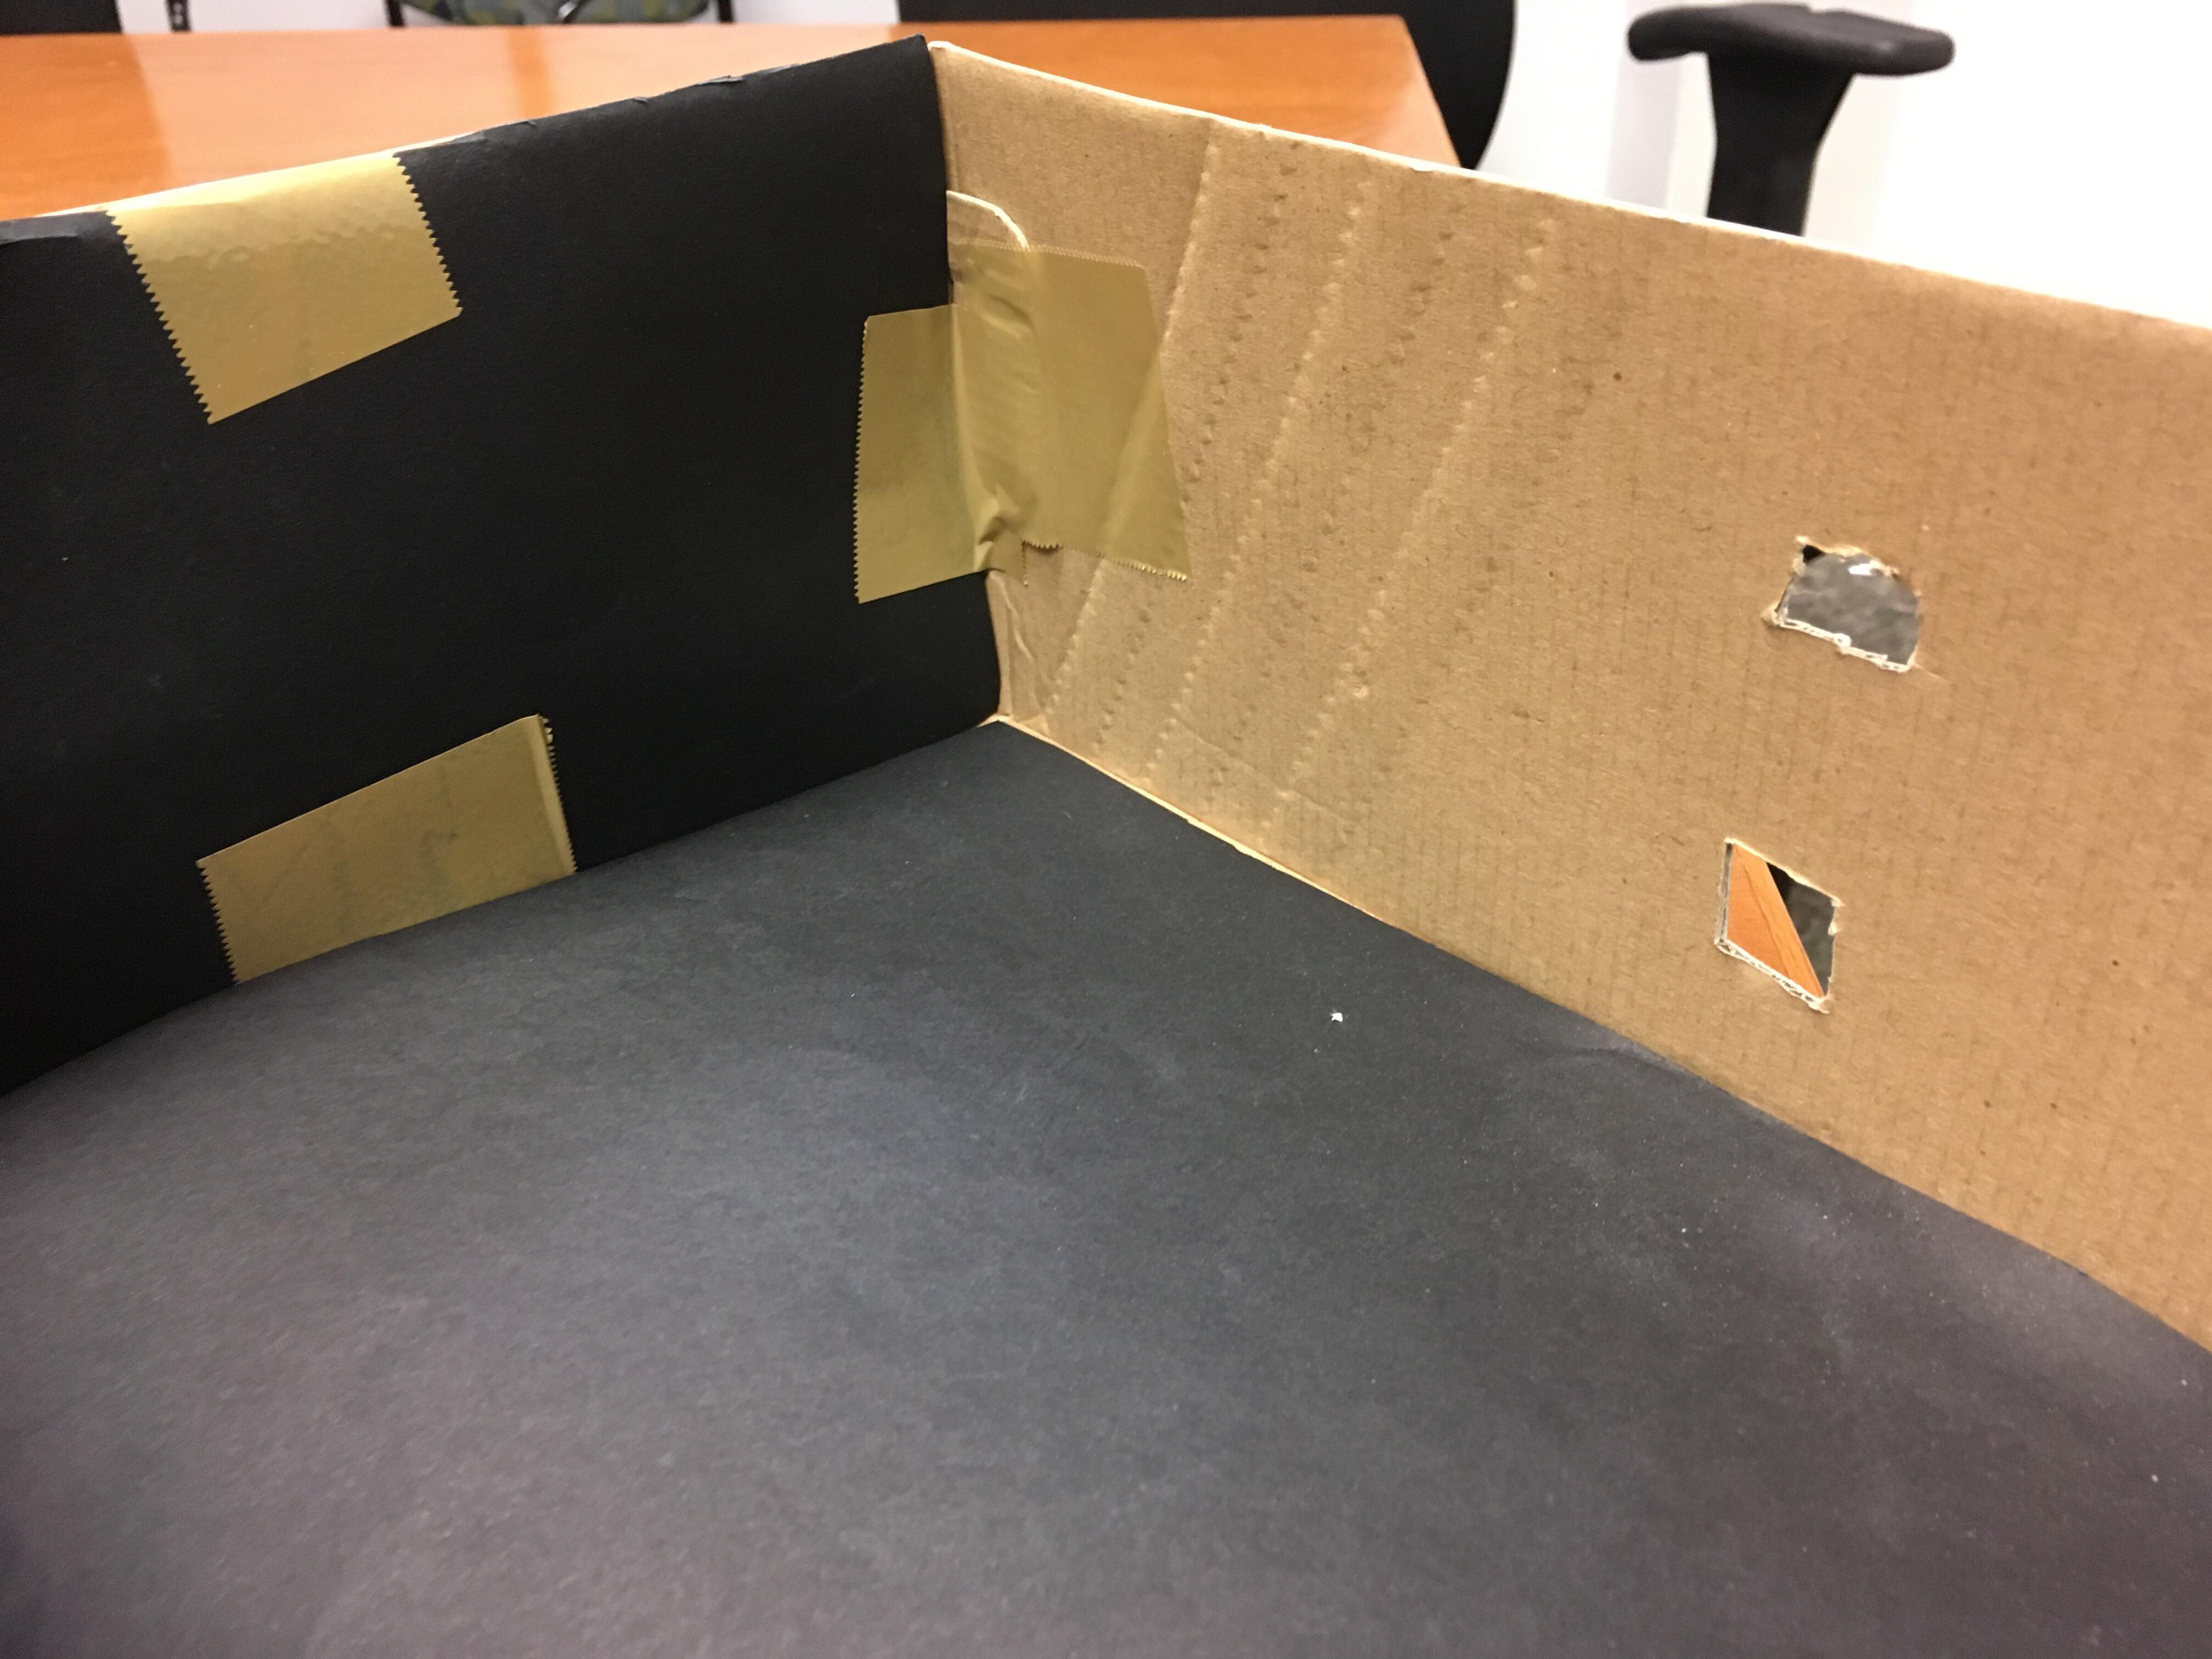
Step 2: Cover inside with black paper
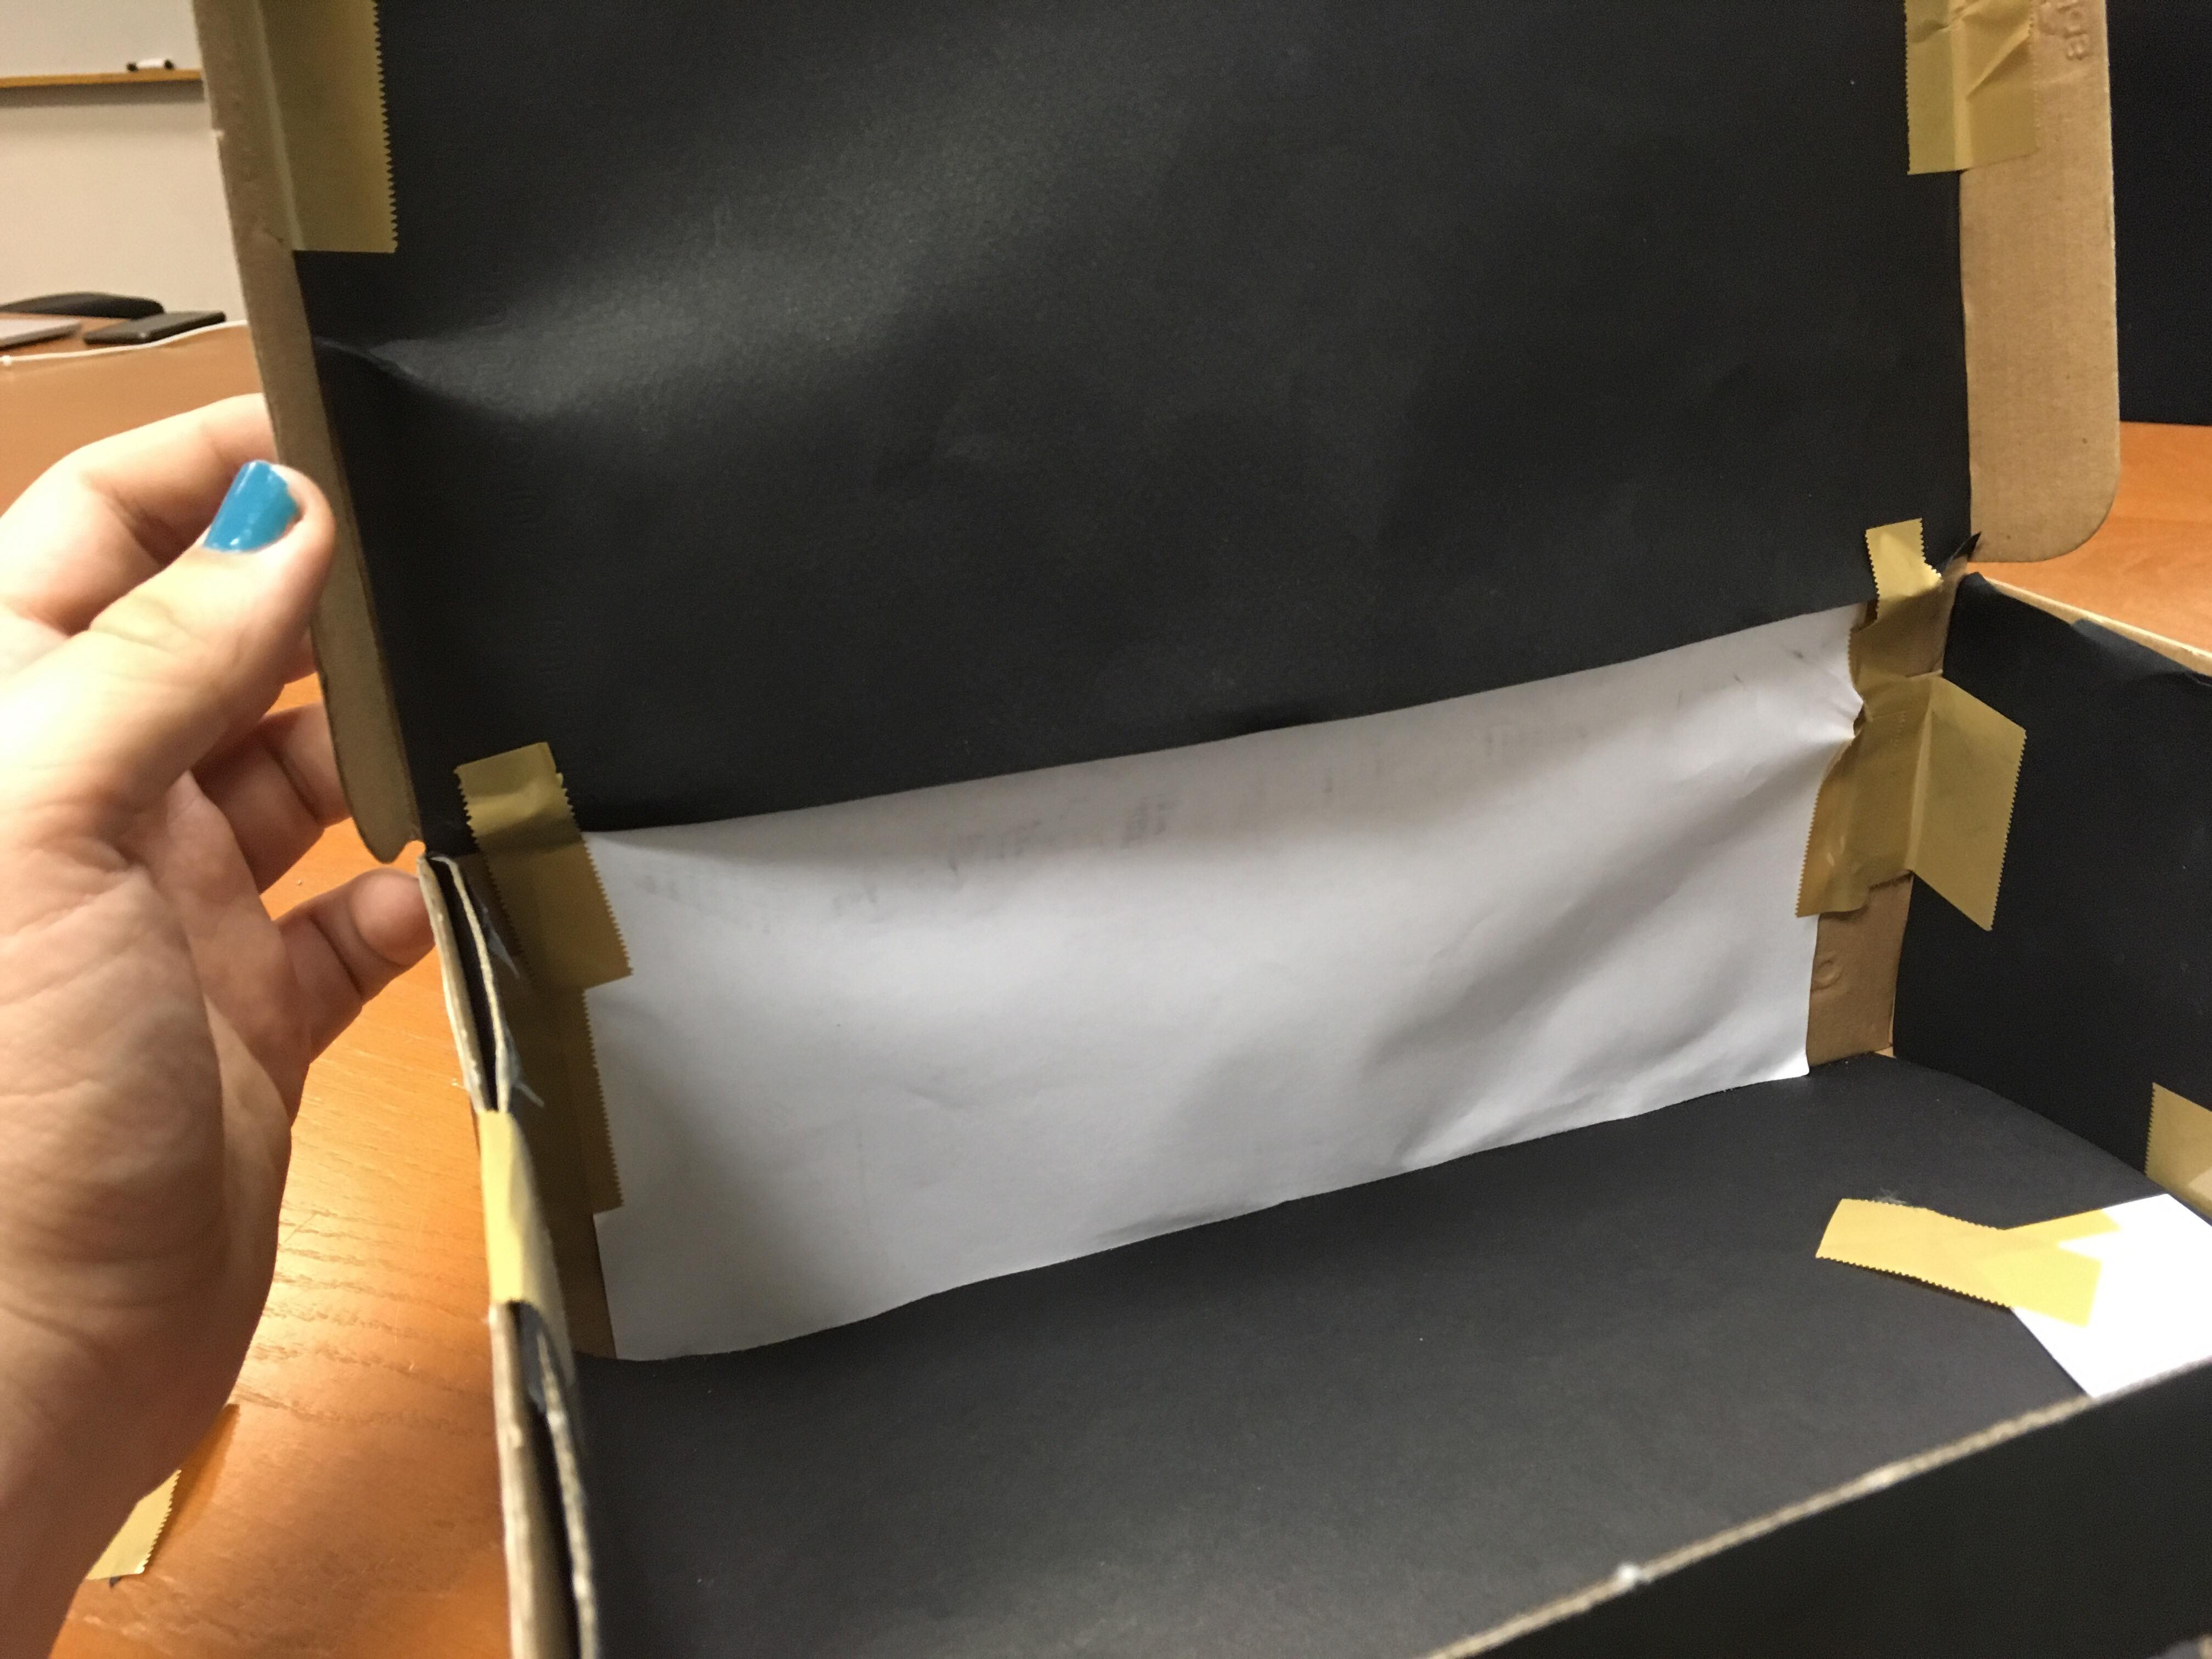
Step 3: Place white paper where the image is going to be projected
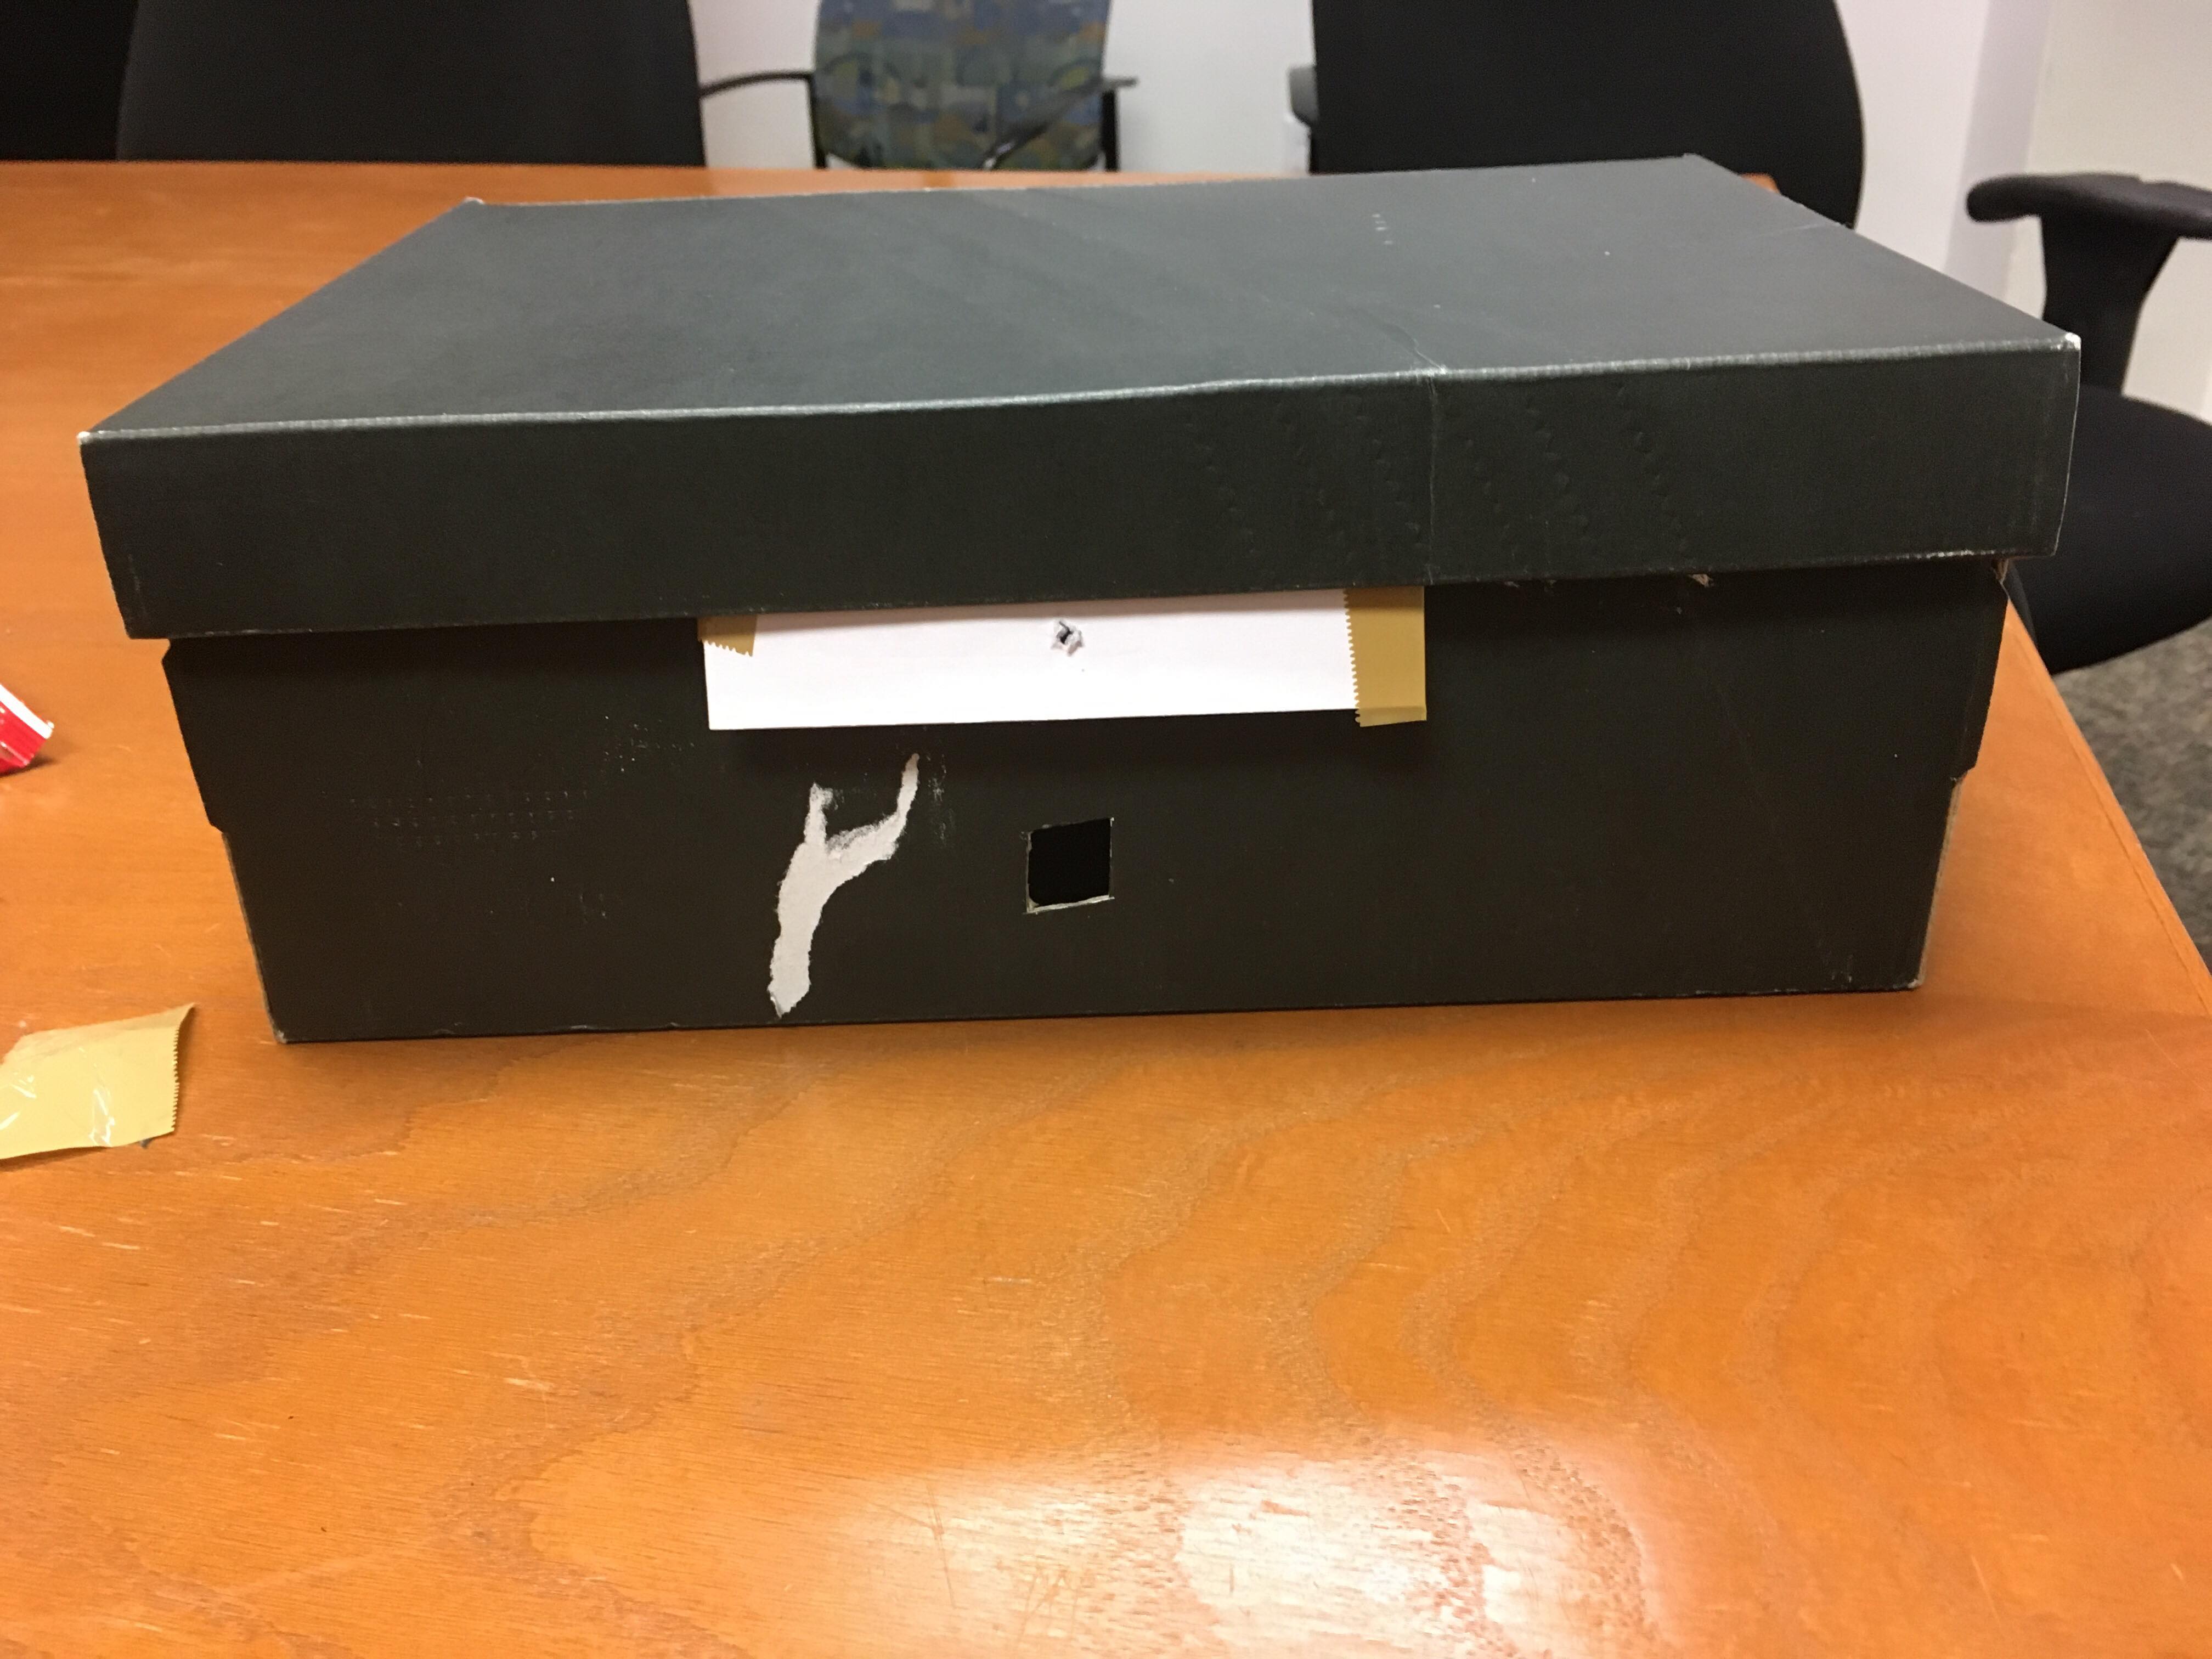
Step 4: Add a pinhole so you don't let too much light in and get a blinding image

Step 5: Get an image that looks somewhat recognizable!
How it Works
By sealing the box and covering the inside with black paper, the only light we can see inside the box is that which is reflected by the surroundings. If the hole is too big, however, the light we get is too spread out, and the image is unintelligible.
By shrinking the pinhole, we make it so that only a few rays of light enter our box from each point of the surrounding objects. Therefore, the image projected on the back will be formed of light that is more focused and will actually resemble the object its pointing to. However, because light does not enter the box parallel to the objects that the light is reflected off of, the points at the bottom of the projected image correspond to points at the top of the actual object, and vice-versa.
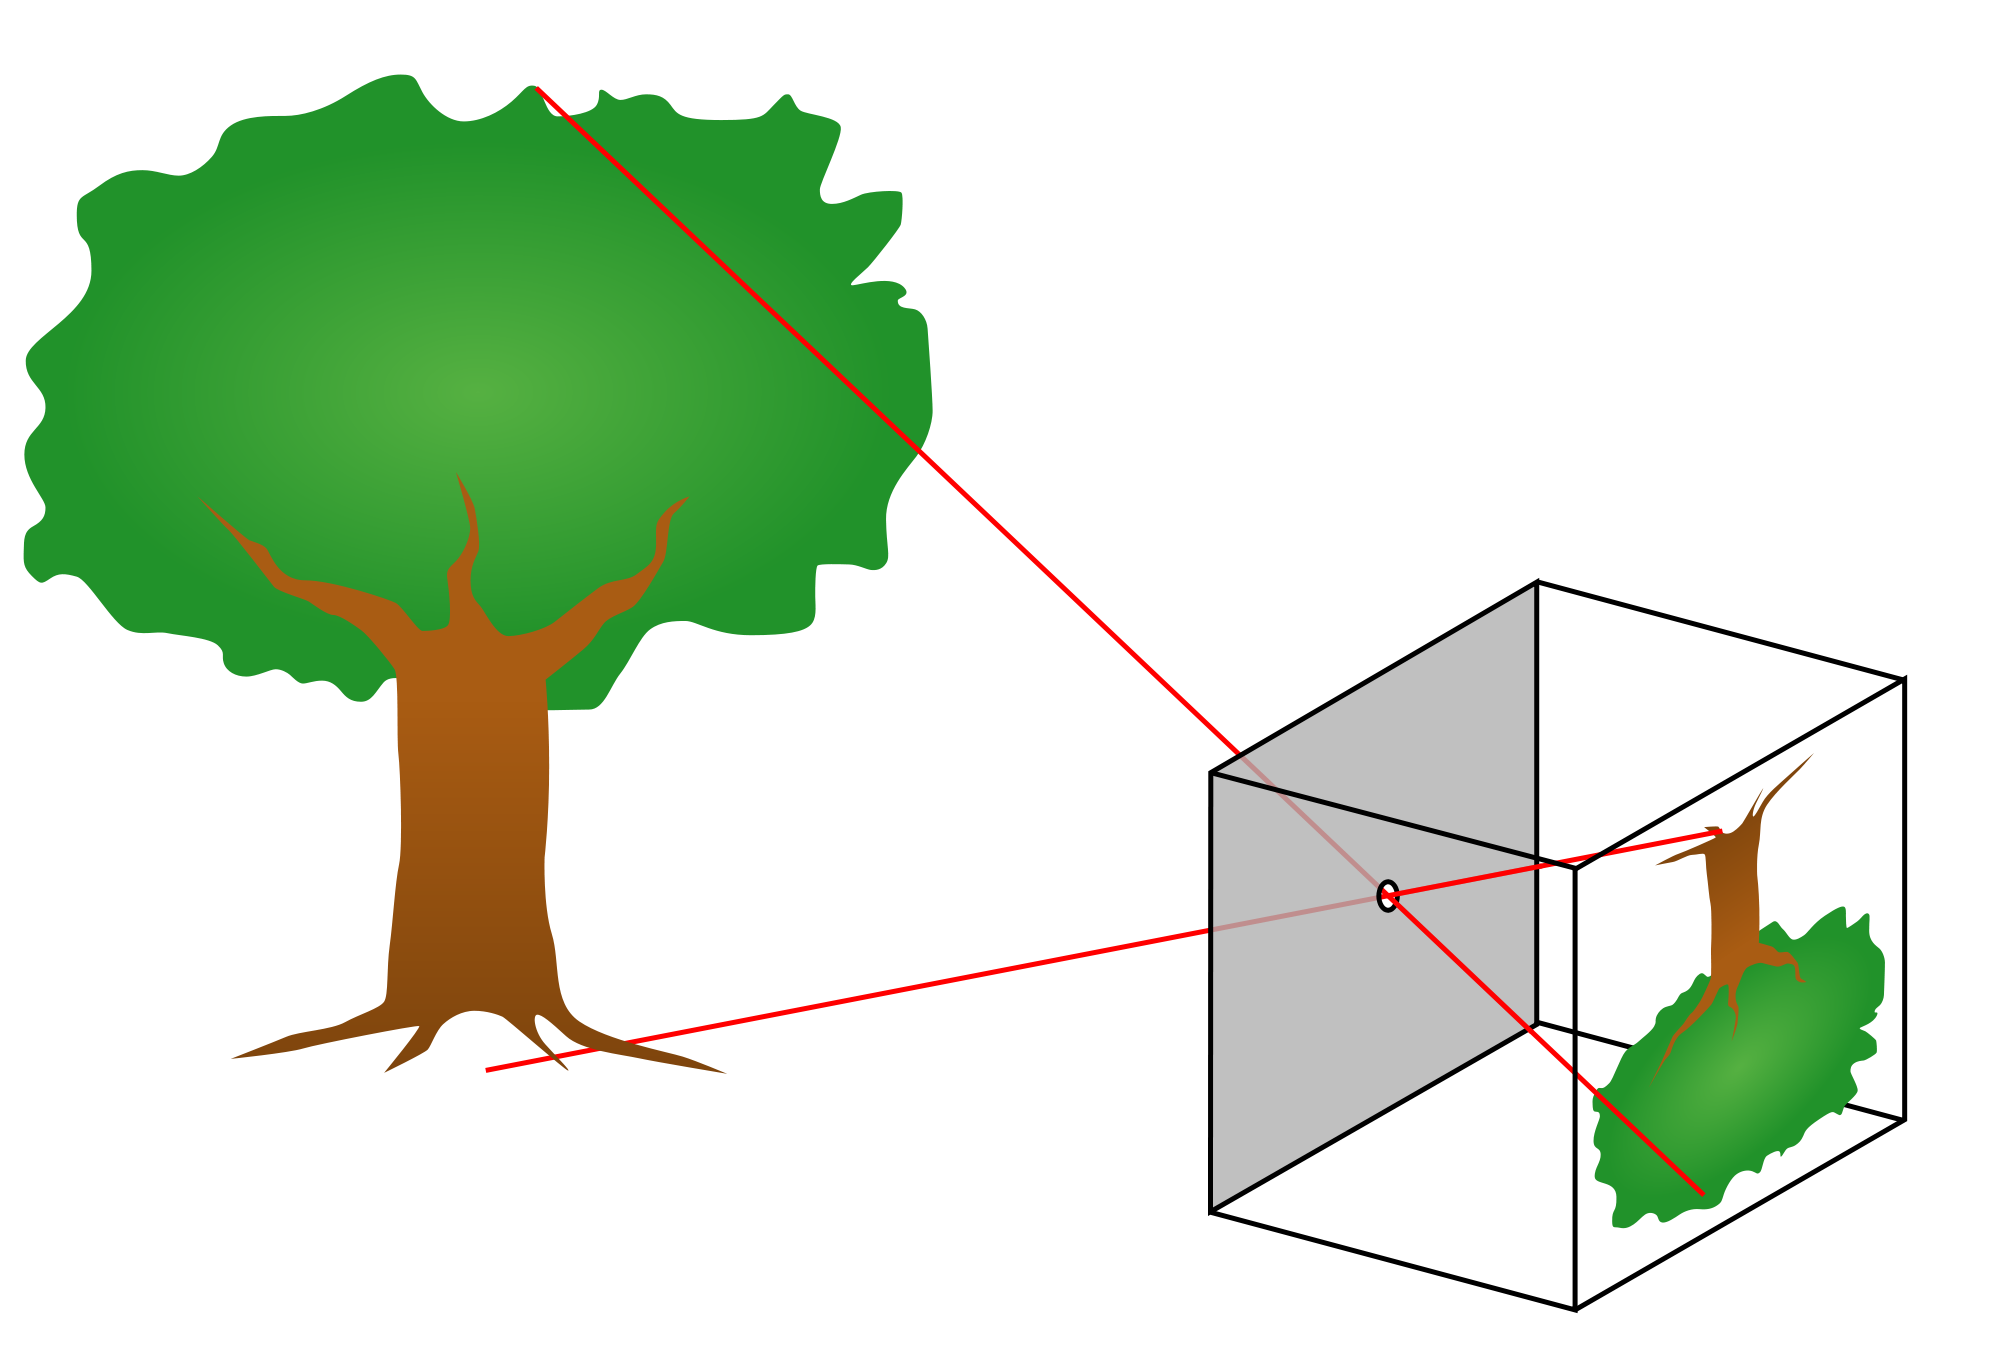
This means that the image is reversed inside our pinhole camera. When capturing the image projected, therefore, we'll have to flip it in order to get the orientation correct.

Let There Be Light
As we saw, letting in too much light leads to an image that is not recognizable. But letting in too little light will also cause the image to be difficult to capture without a long exposure time. The size of the aperture (pinhole) also affects the focal length of the image - meaning there is a specific pinhole size that will cause our image to be the most clear. In taking pictures, we tested 3 pinhole sizes: .1 mm (just created by poking a hole with a pencil), 3mm, and 5mm.
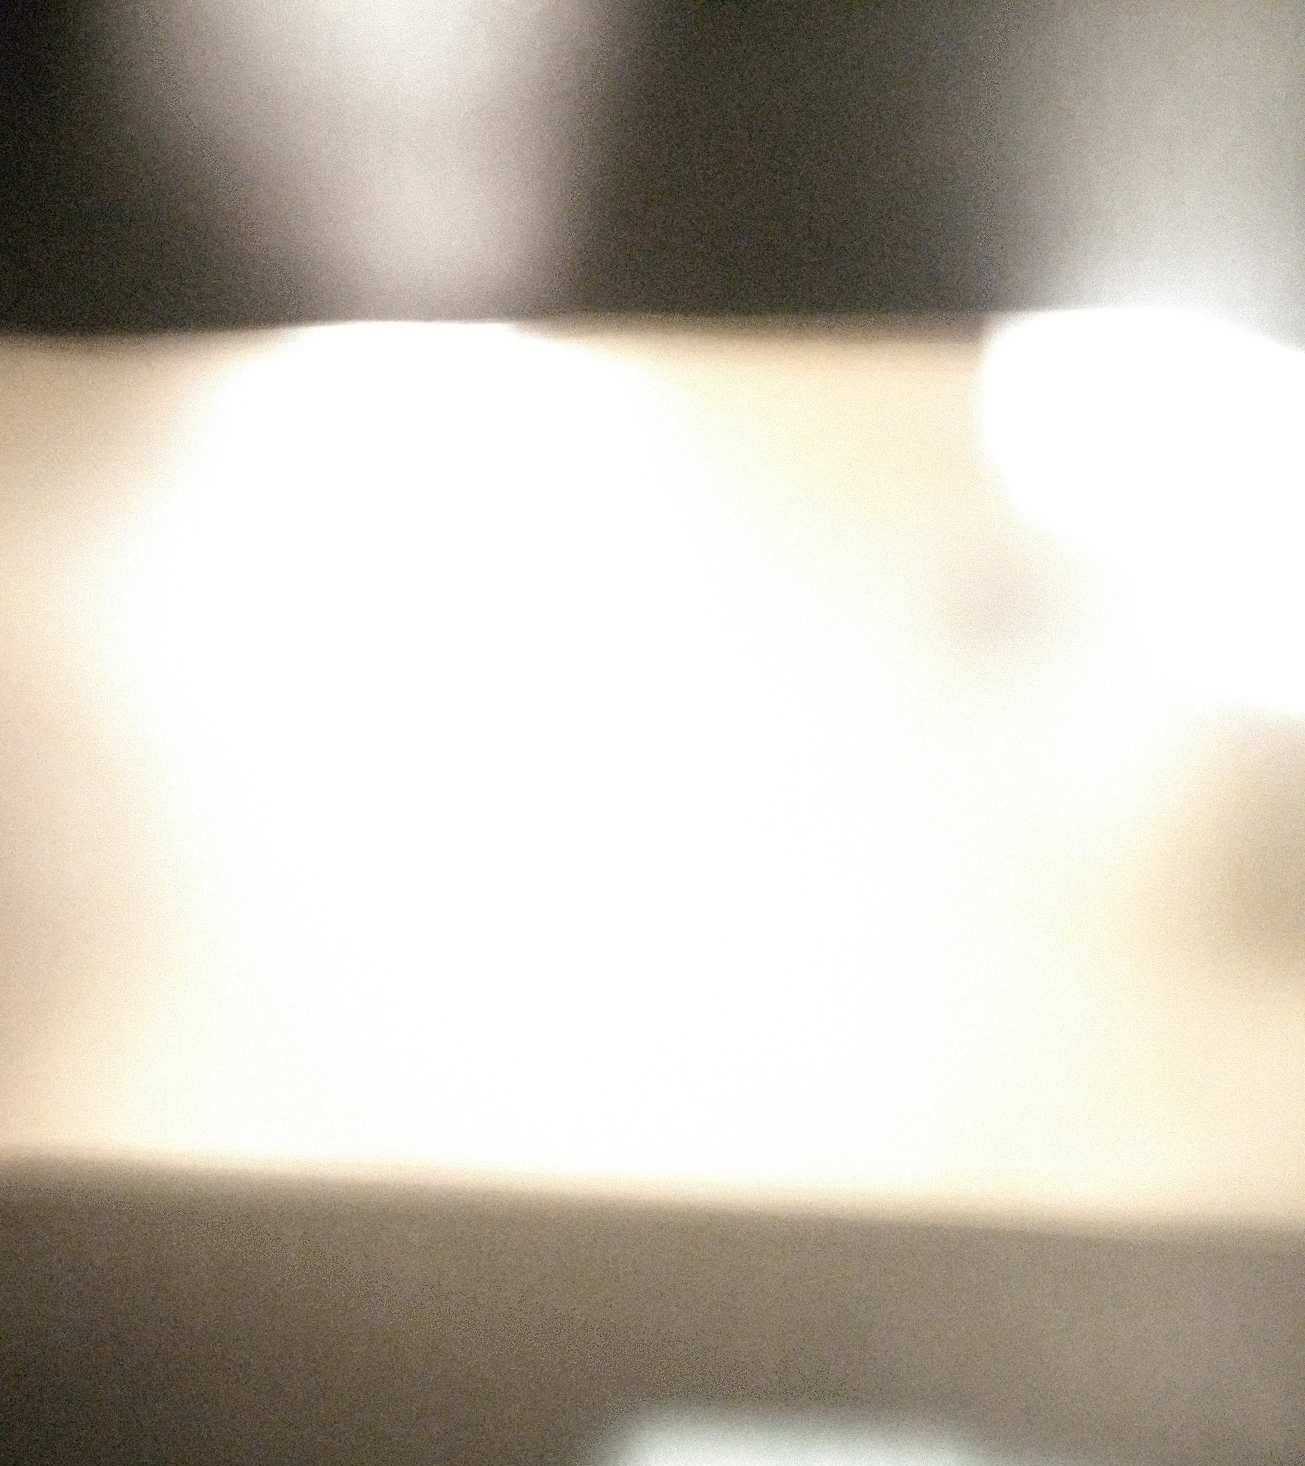
Breezeway
0.1mm
3mm

5mm
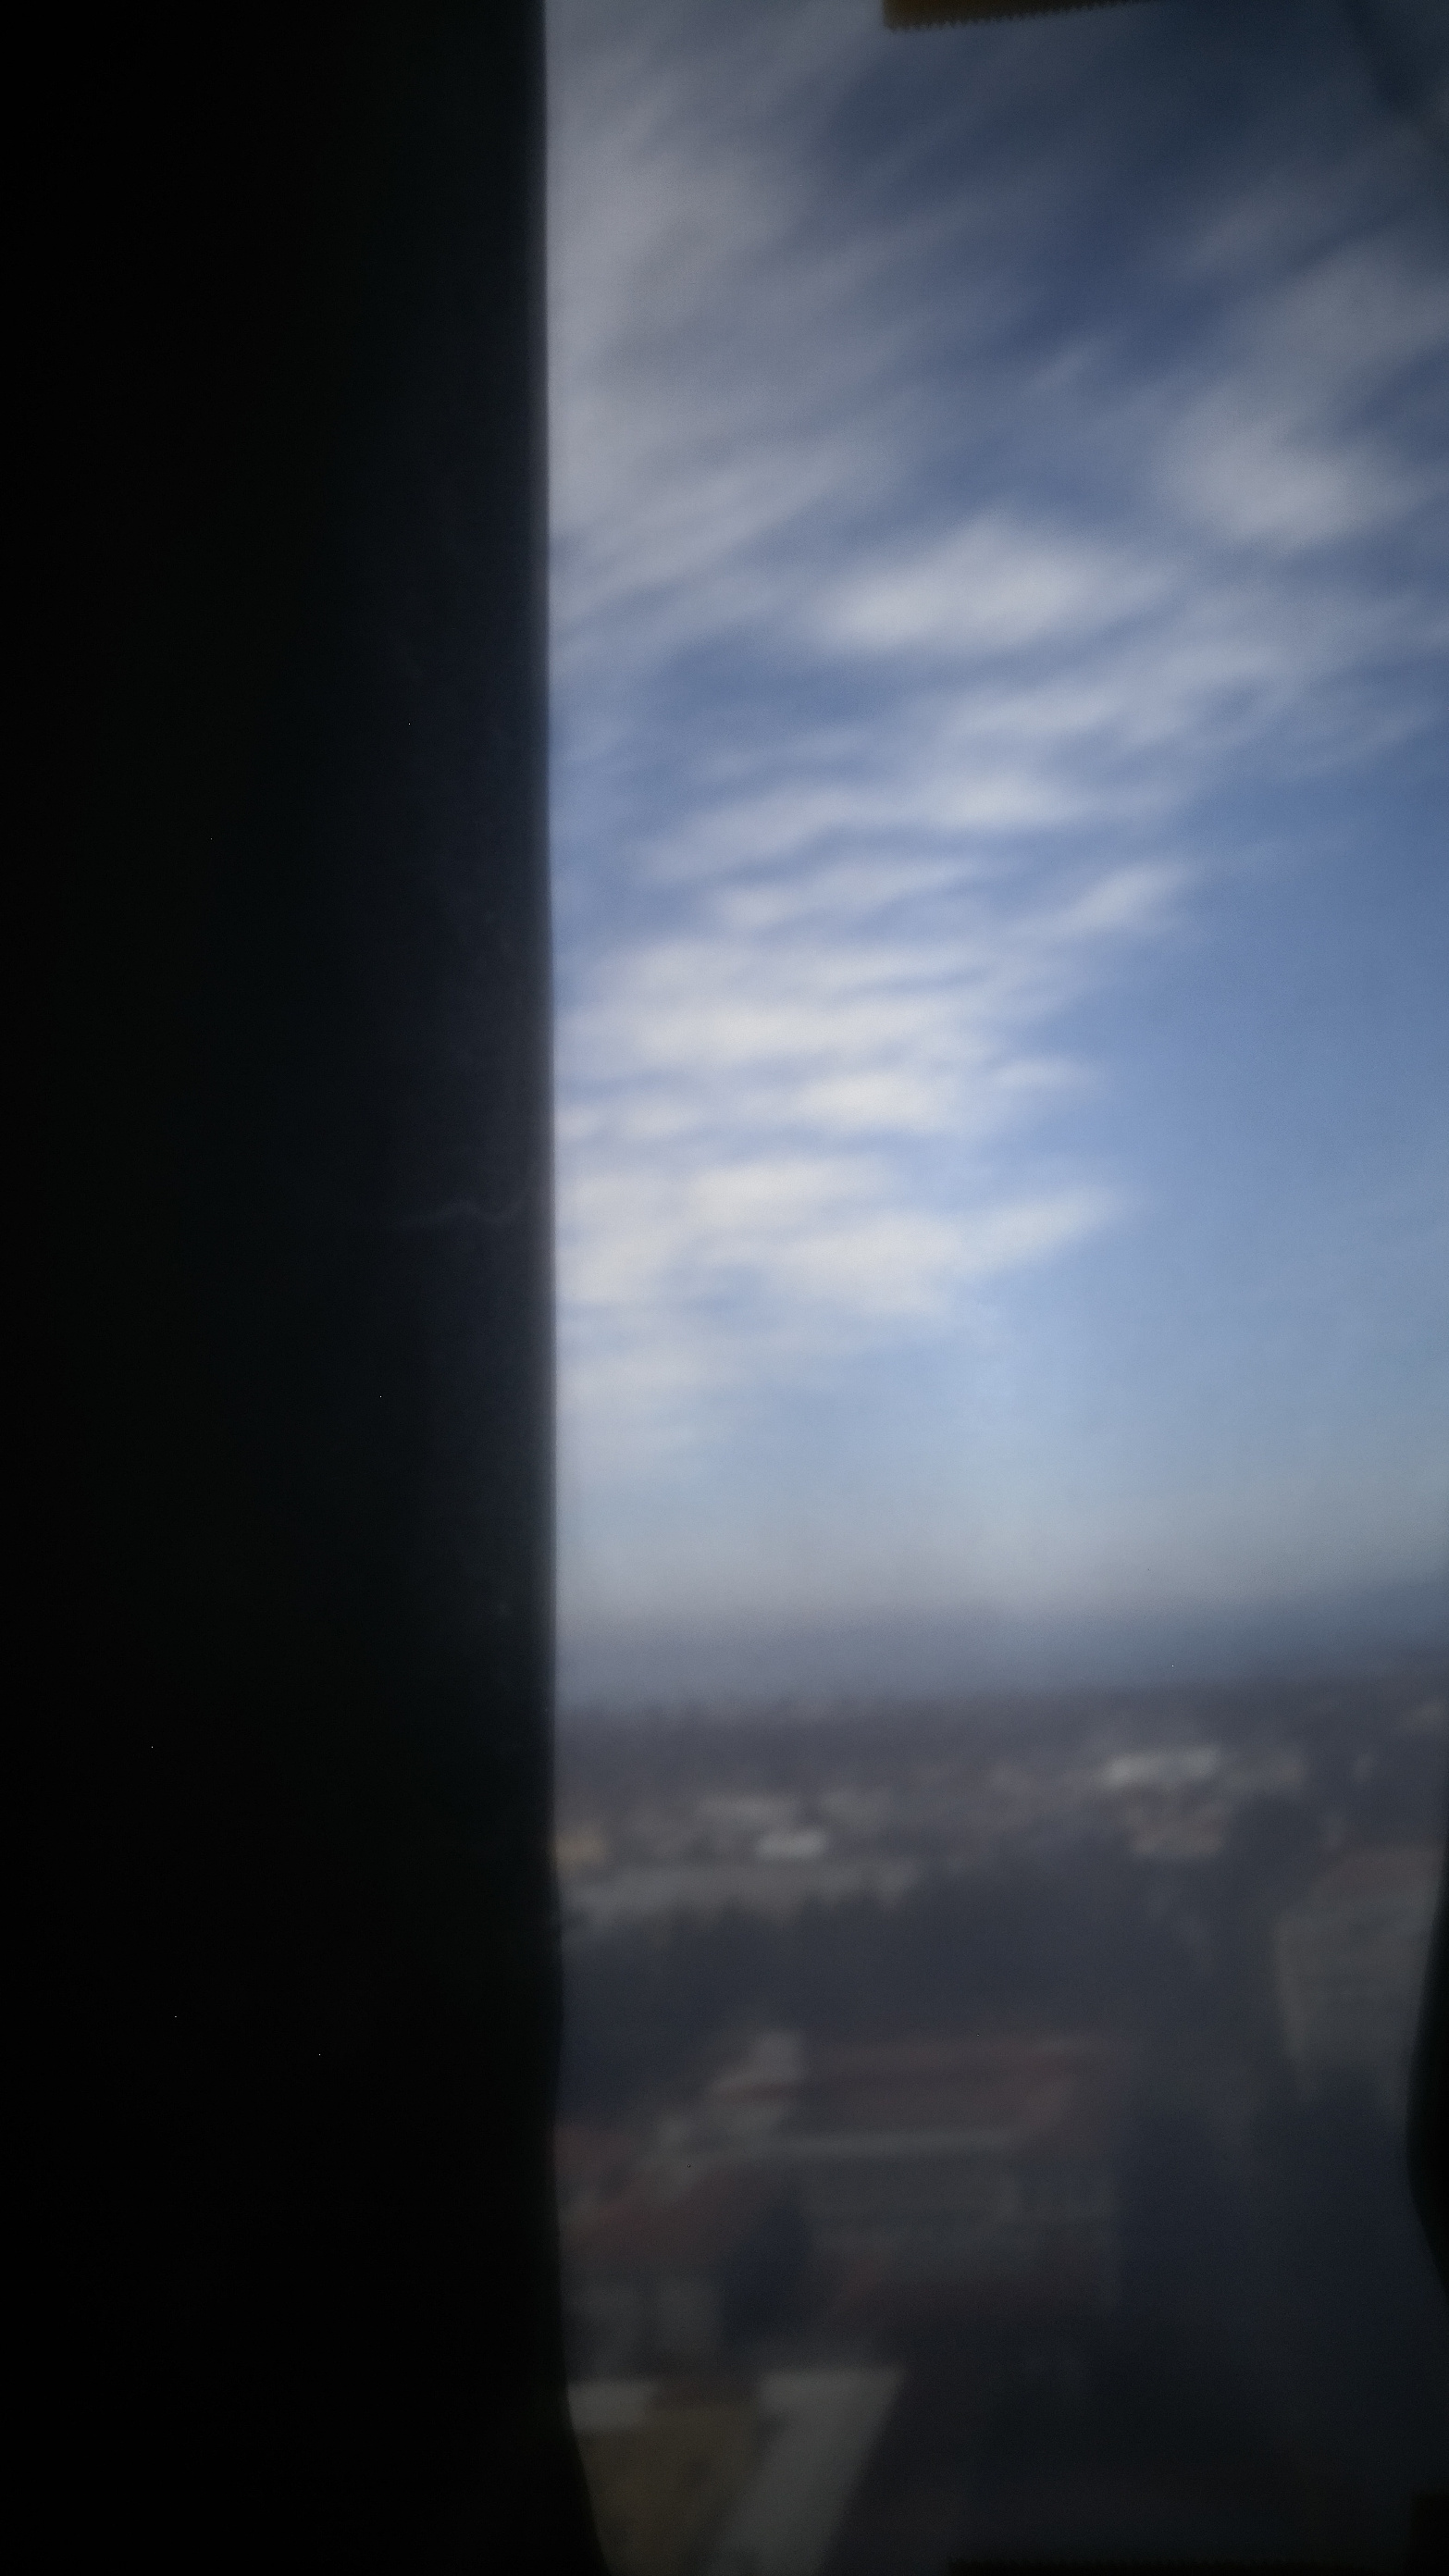
Campanile
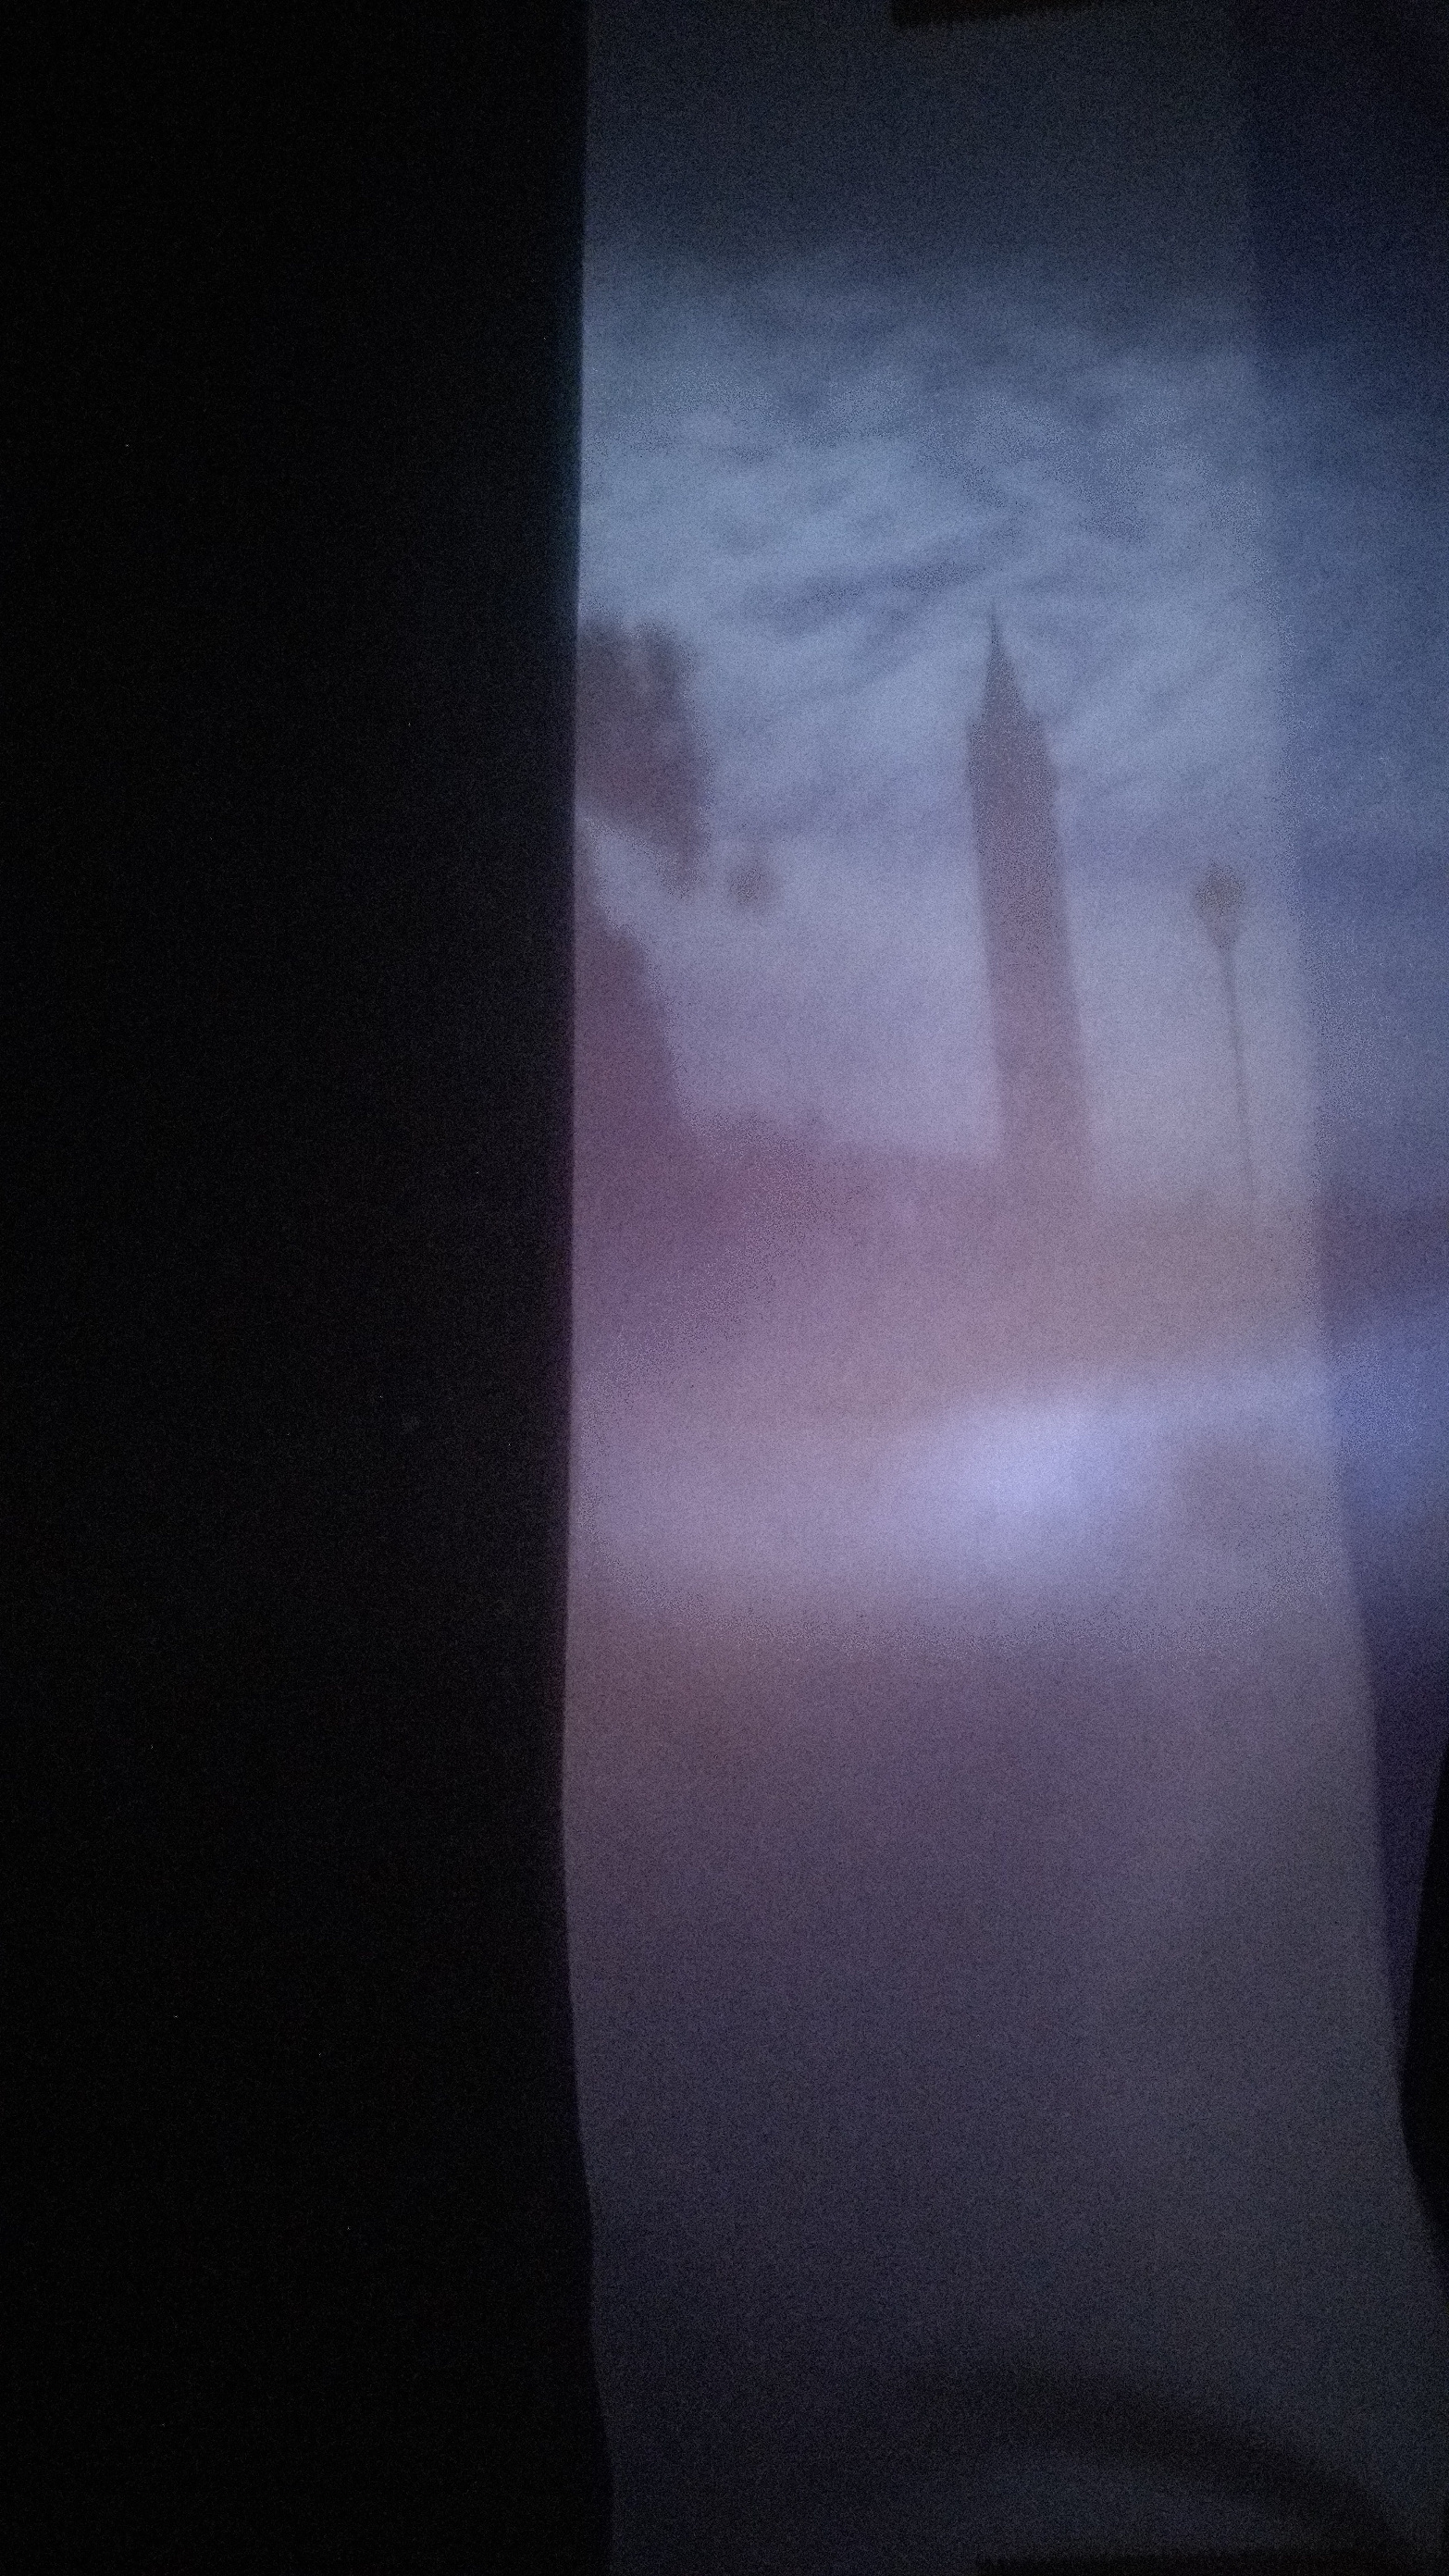
0.1mm
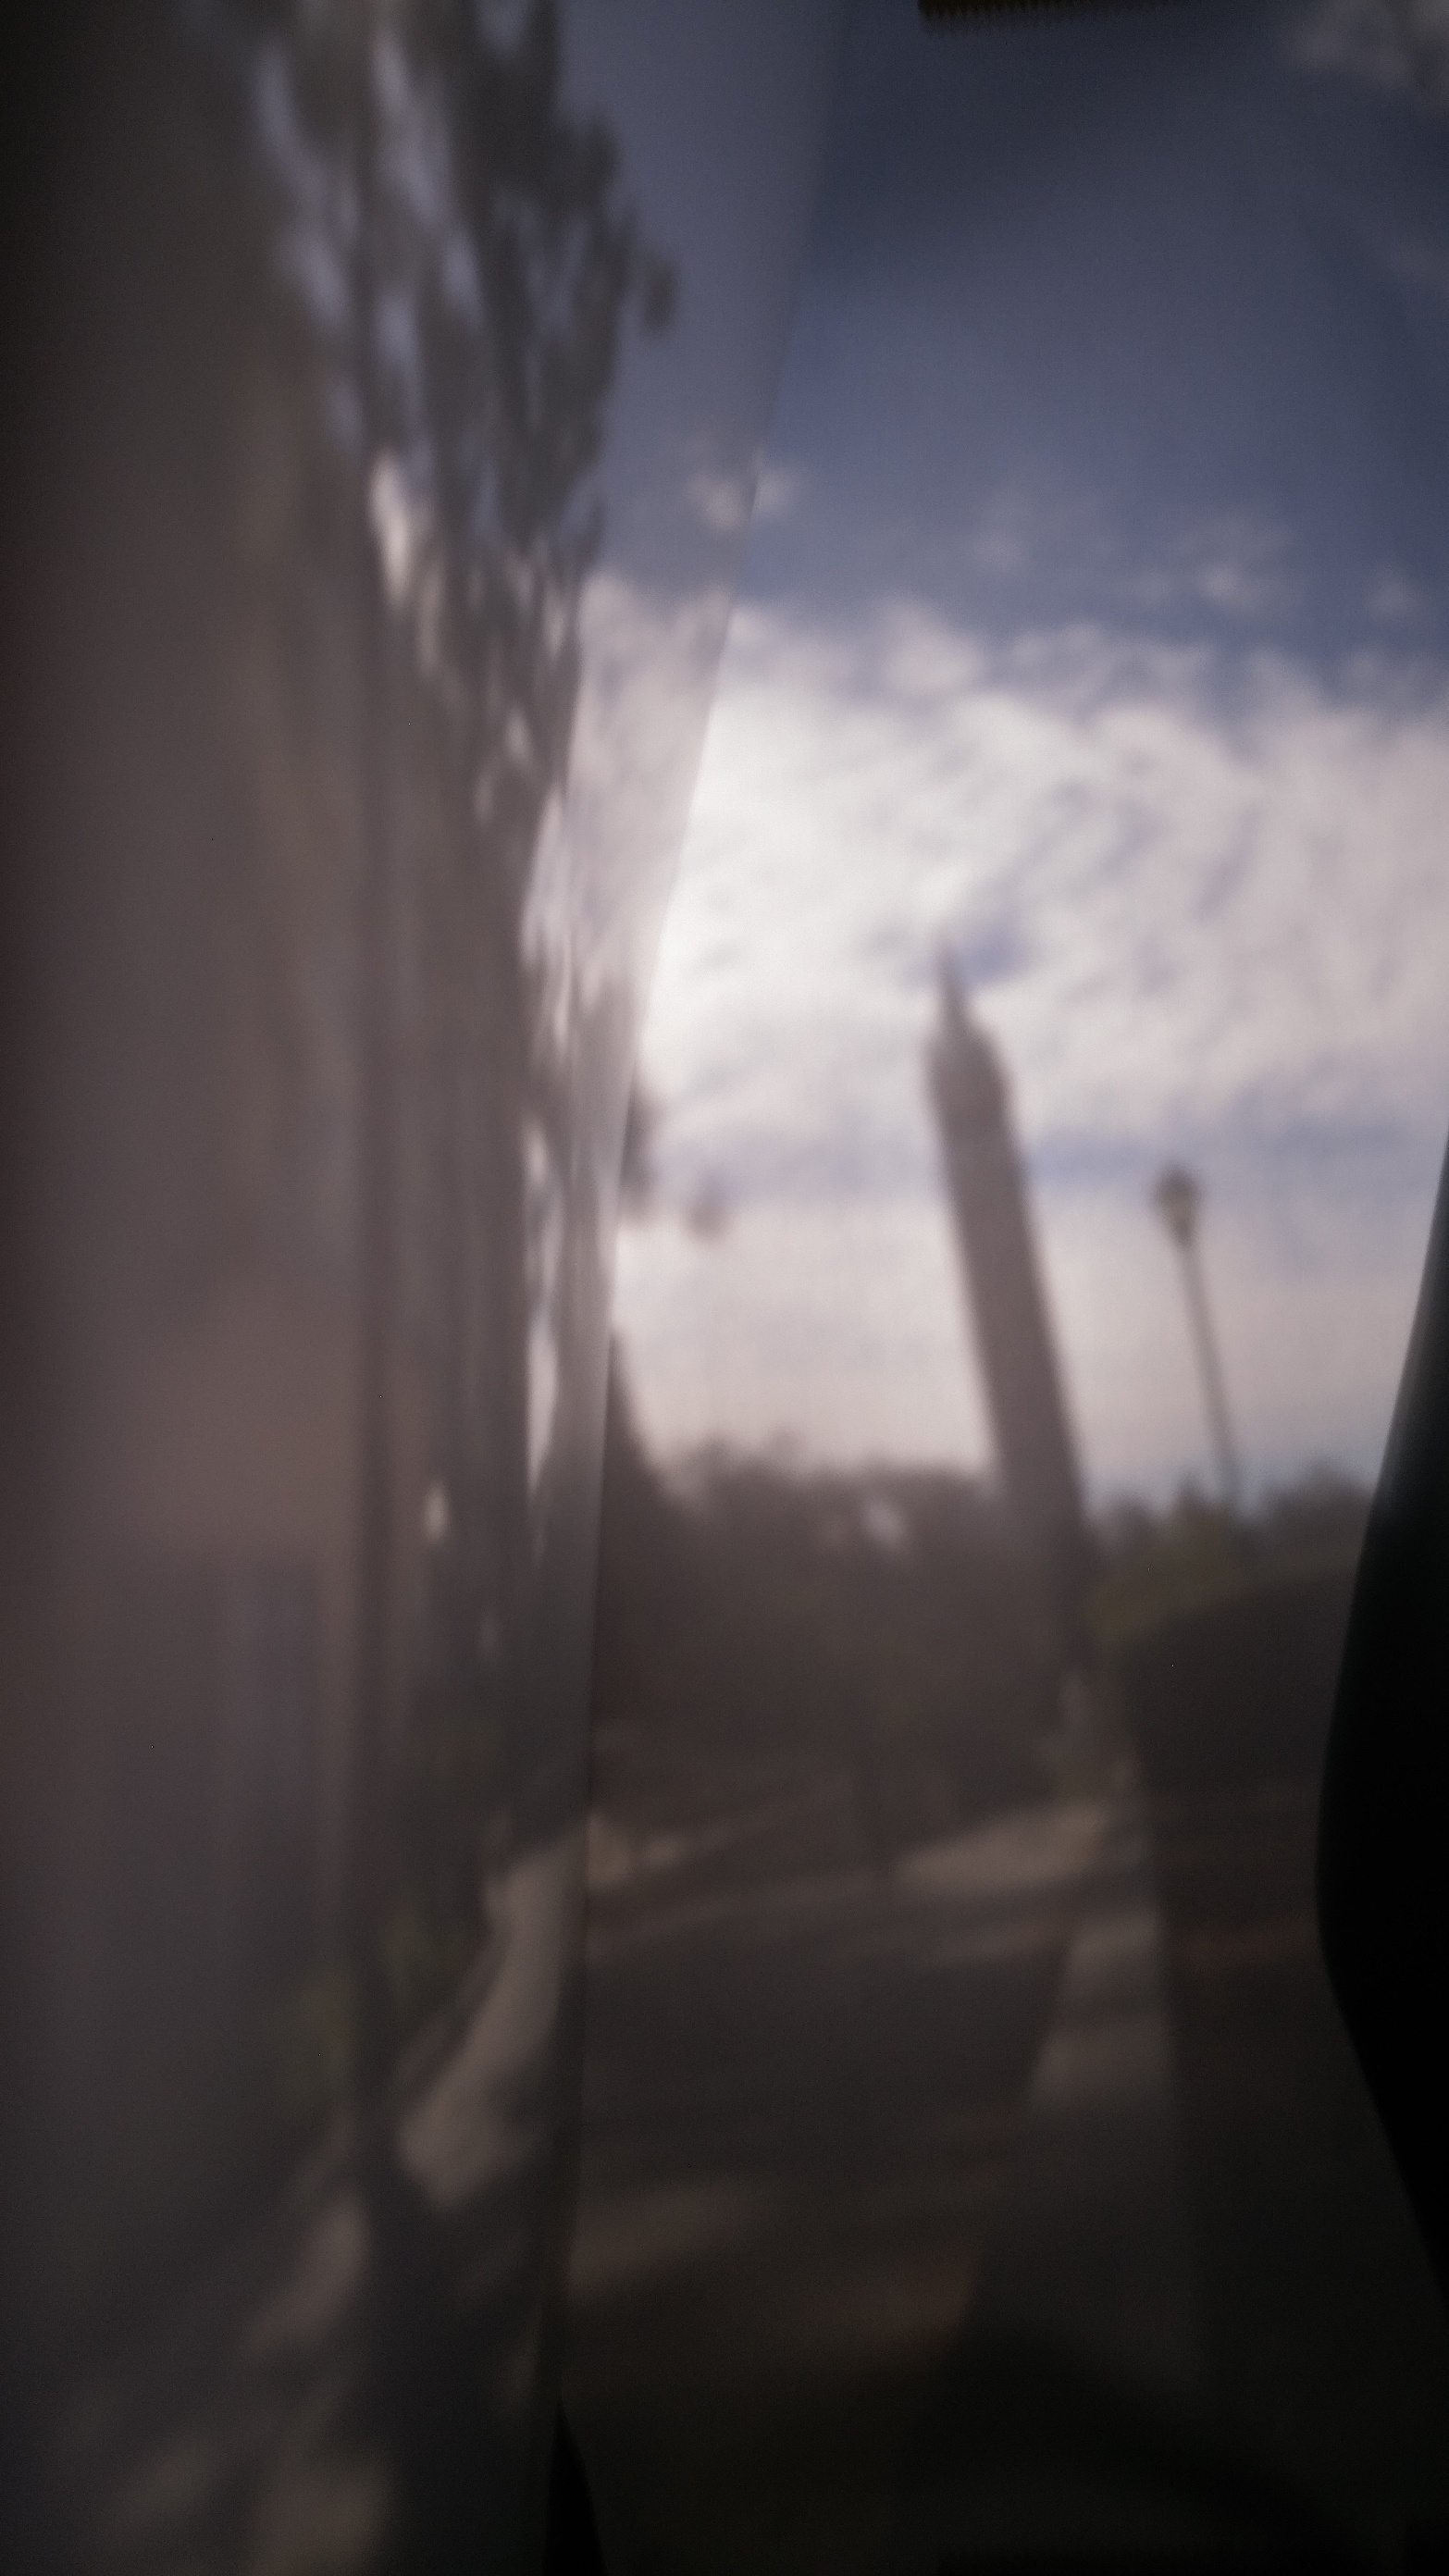
3mm
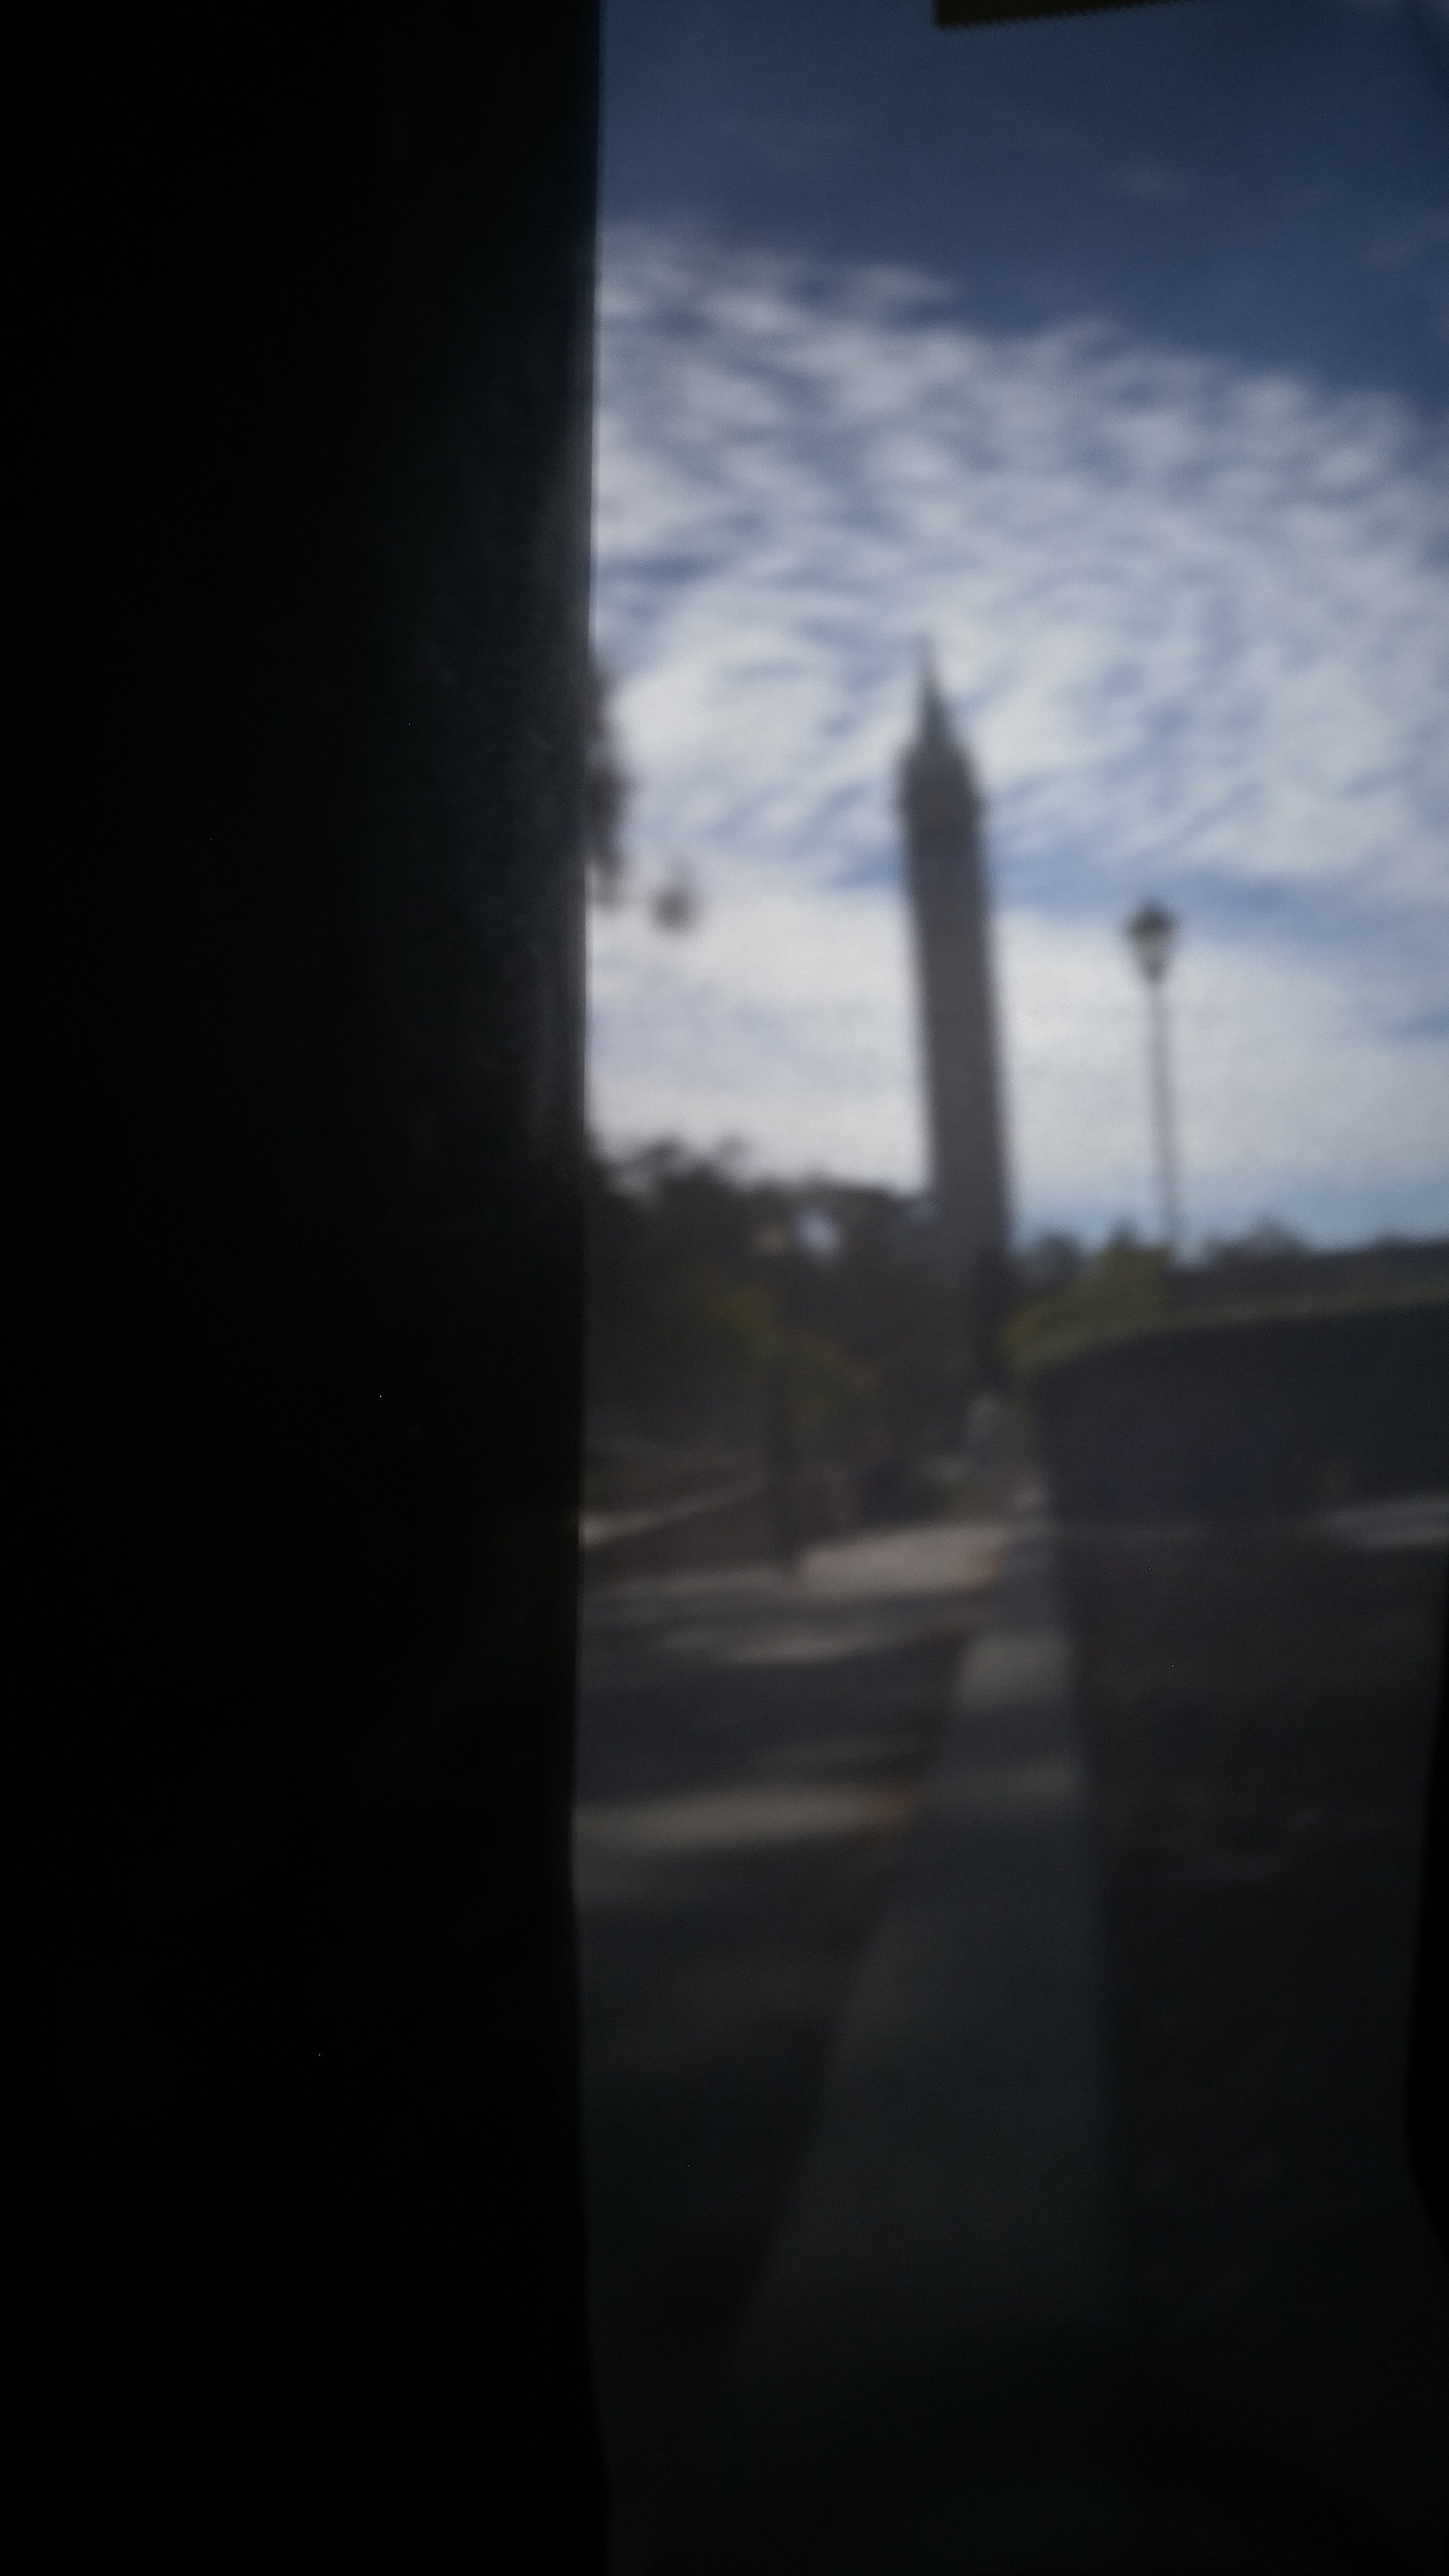
5mm
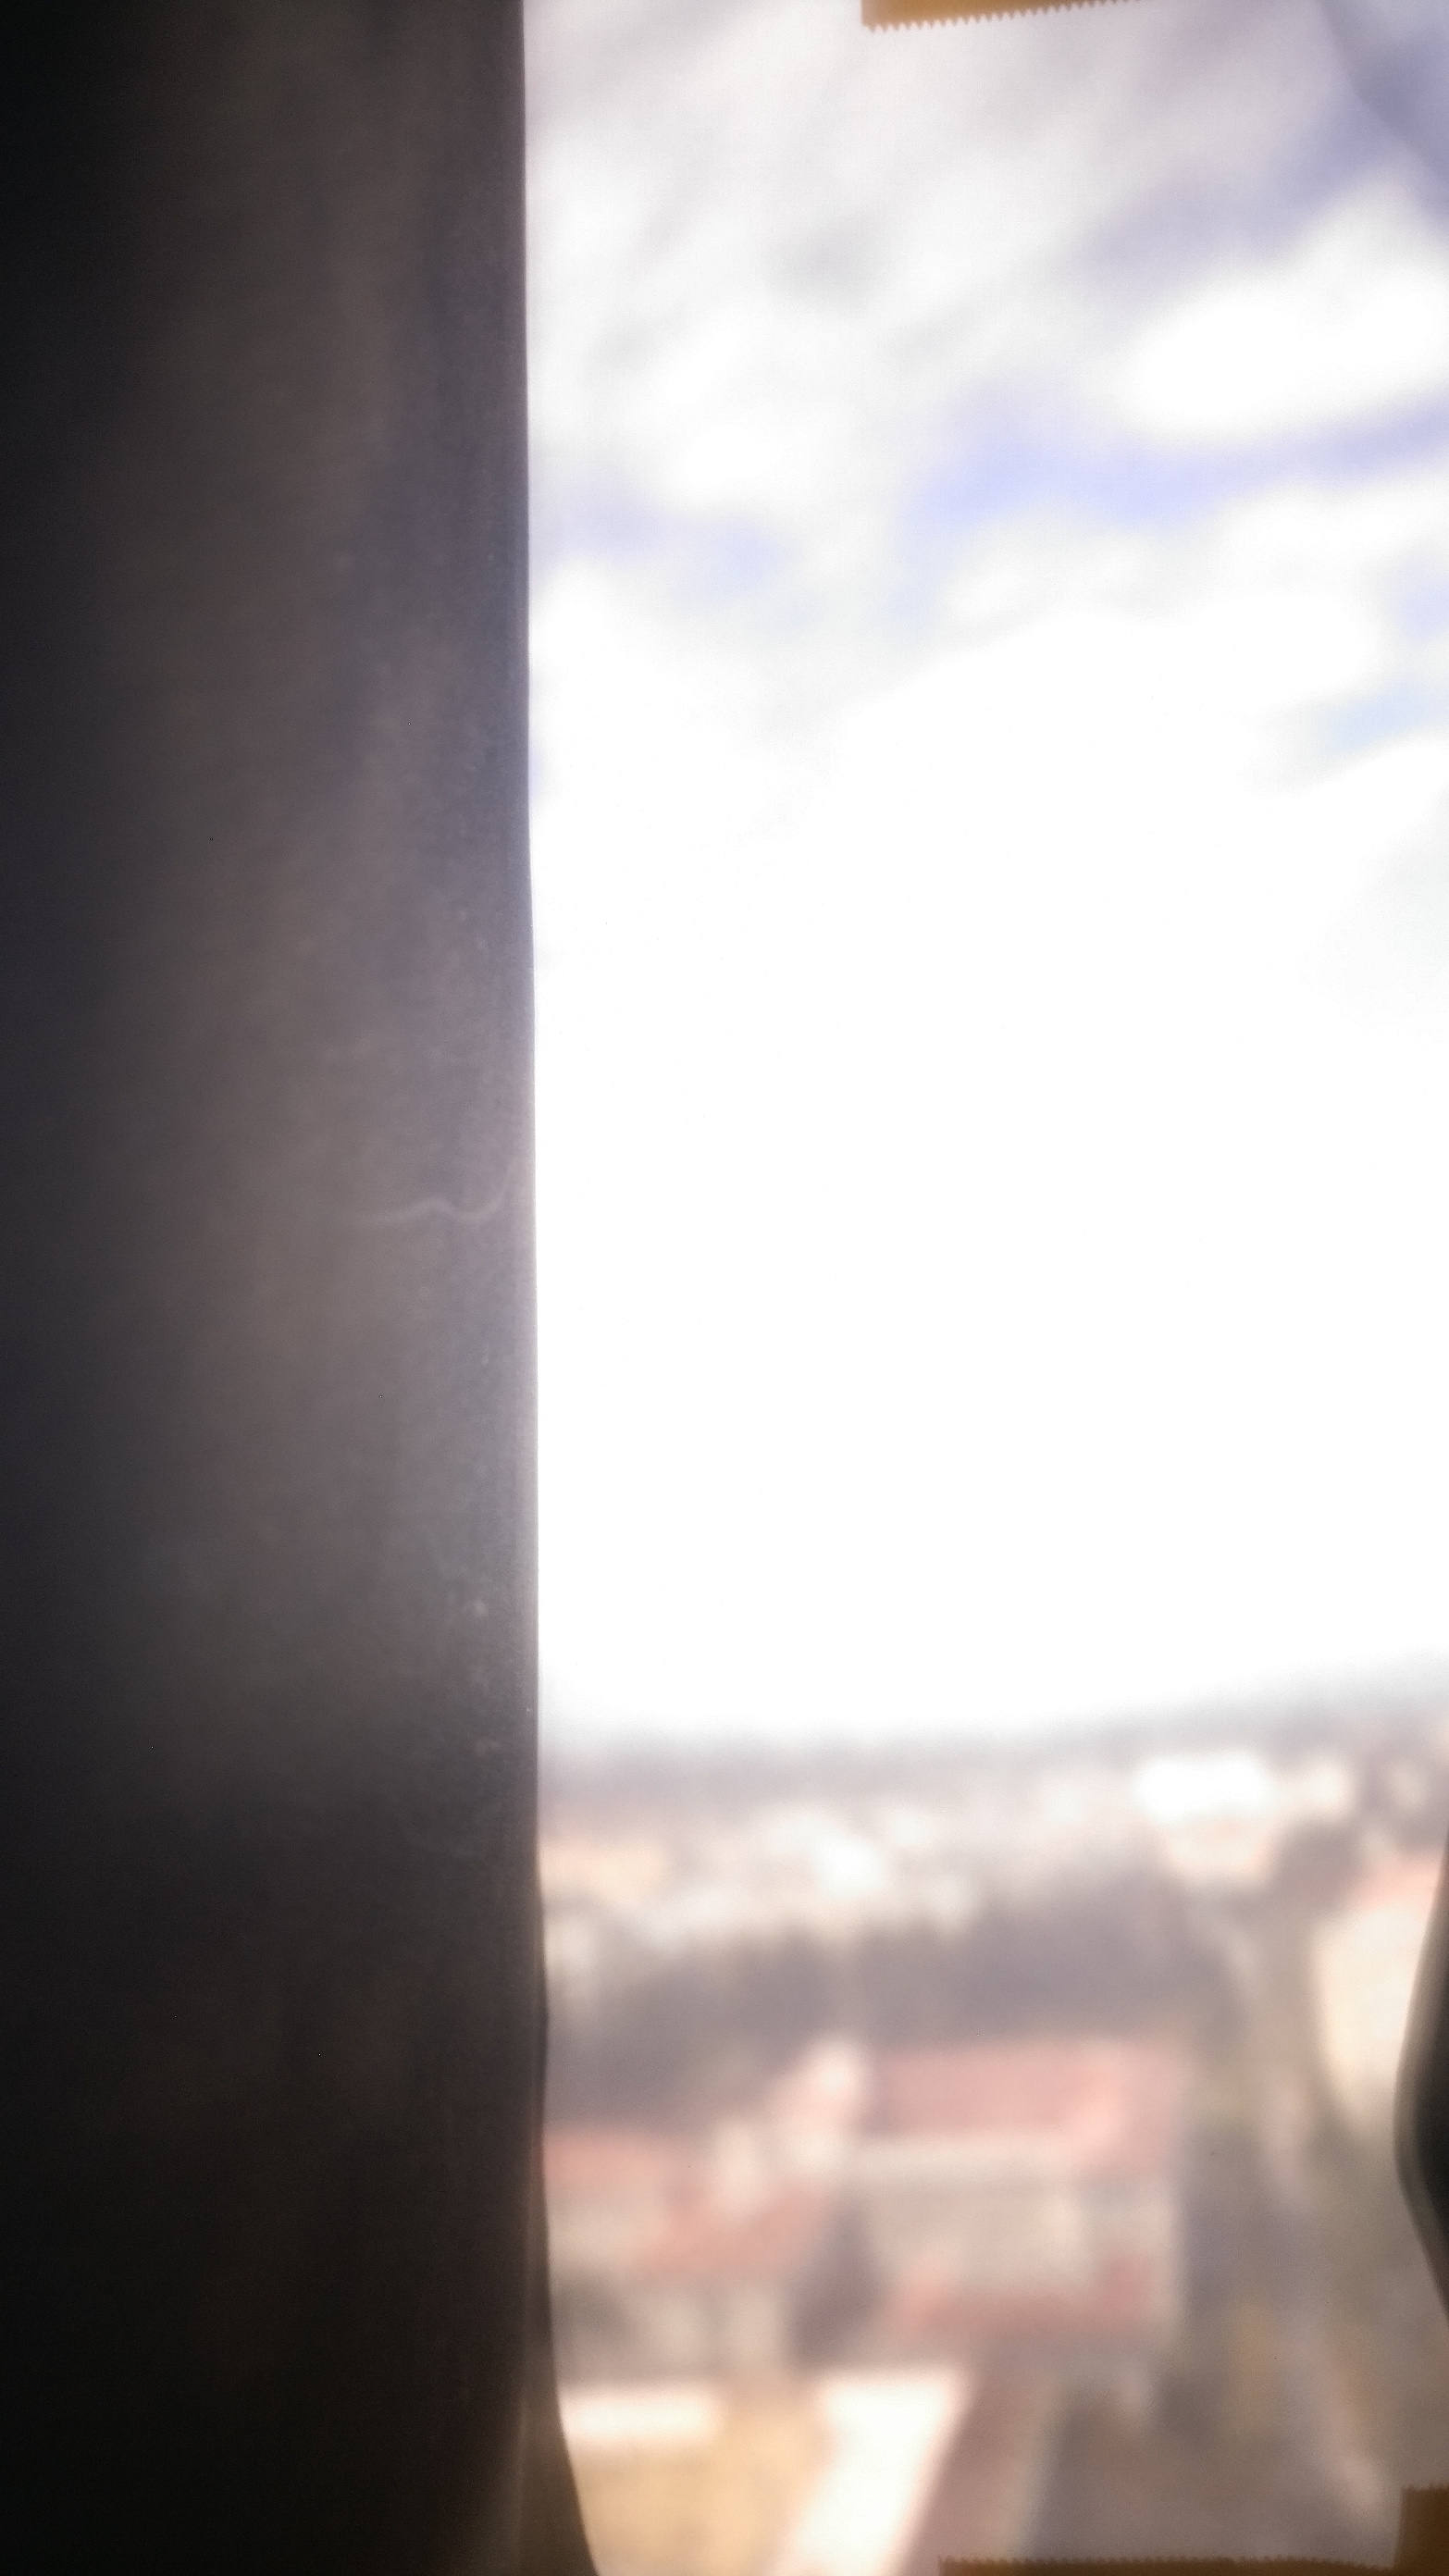
Top of campanile
0.1mm
3mm
5mm
Conclusion
In most cases, the 3mm pinhole had the best focus and brightness; however, an exception was the photos taken from the top of the campanile. This may be caused by the objects being farther away and the brightness of the surroundings.
How we could improve
In all of the photos there is a large black bar, this is because our camera was not center aligned on the screen. Better aligning would result in better photos. Additionally, our holes were poked with pencils so the resulting holes had roughness to the edges, having a more precise way to cut the hole may have resulted in a better image. Finally, and possibly most importantly, using a better camera. We used a smart phone but a DSLR maybe have resulted in much higher quality images.
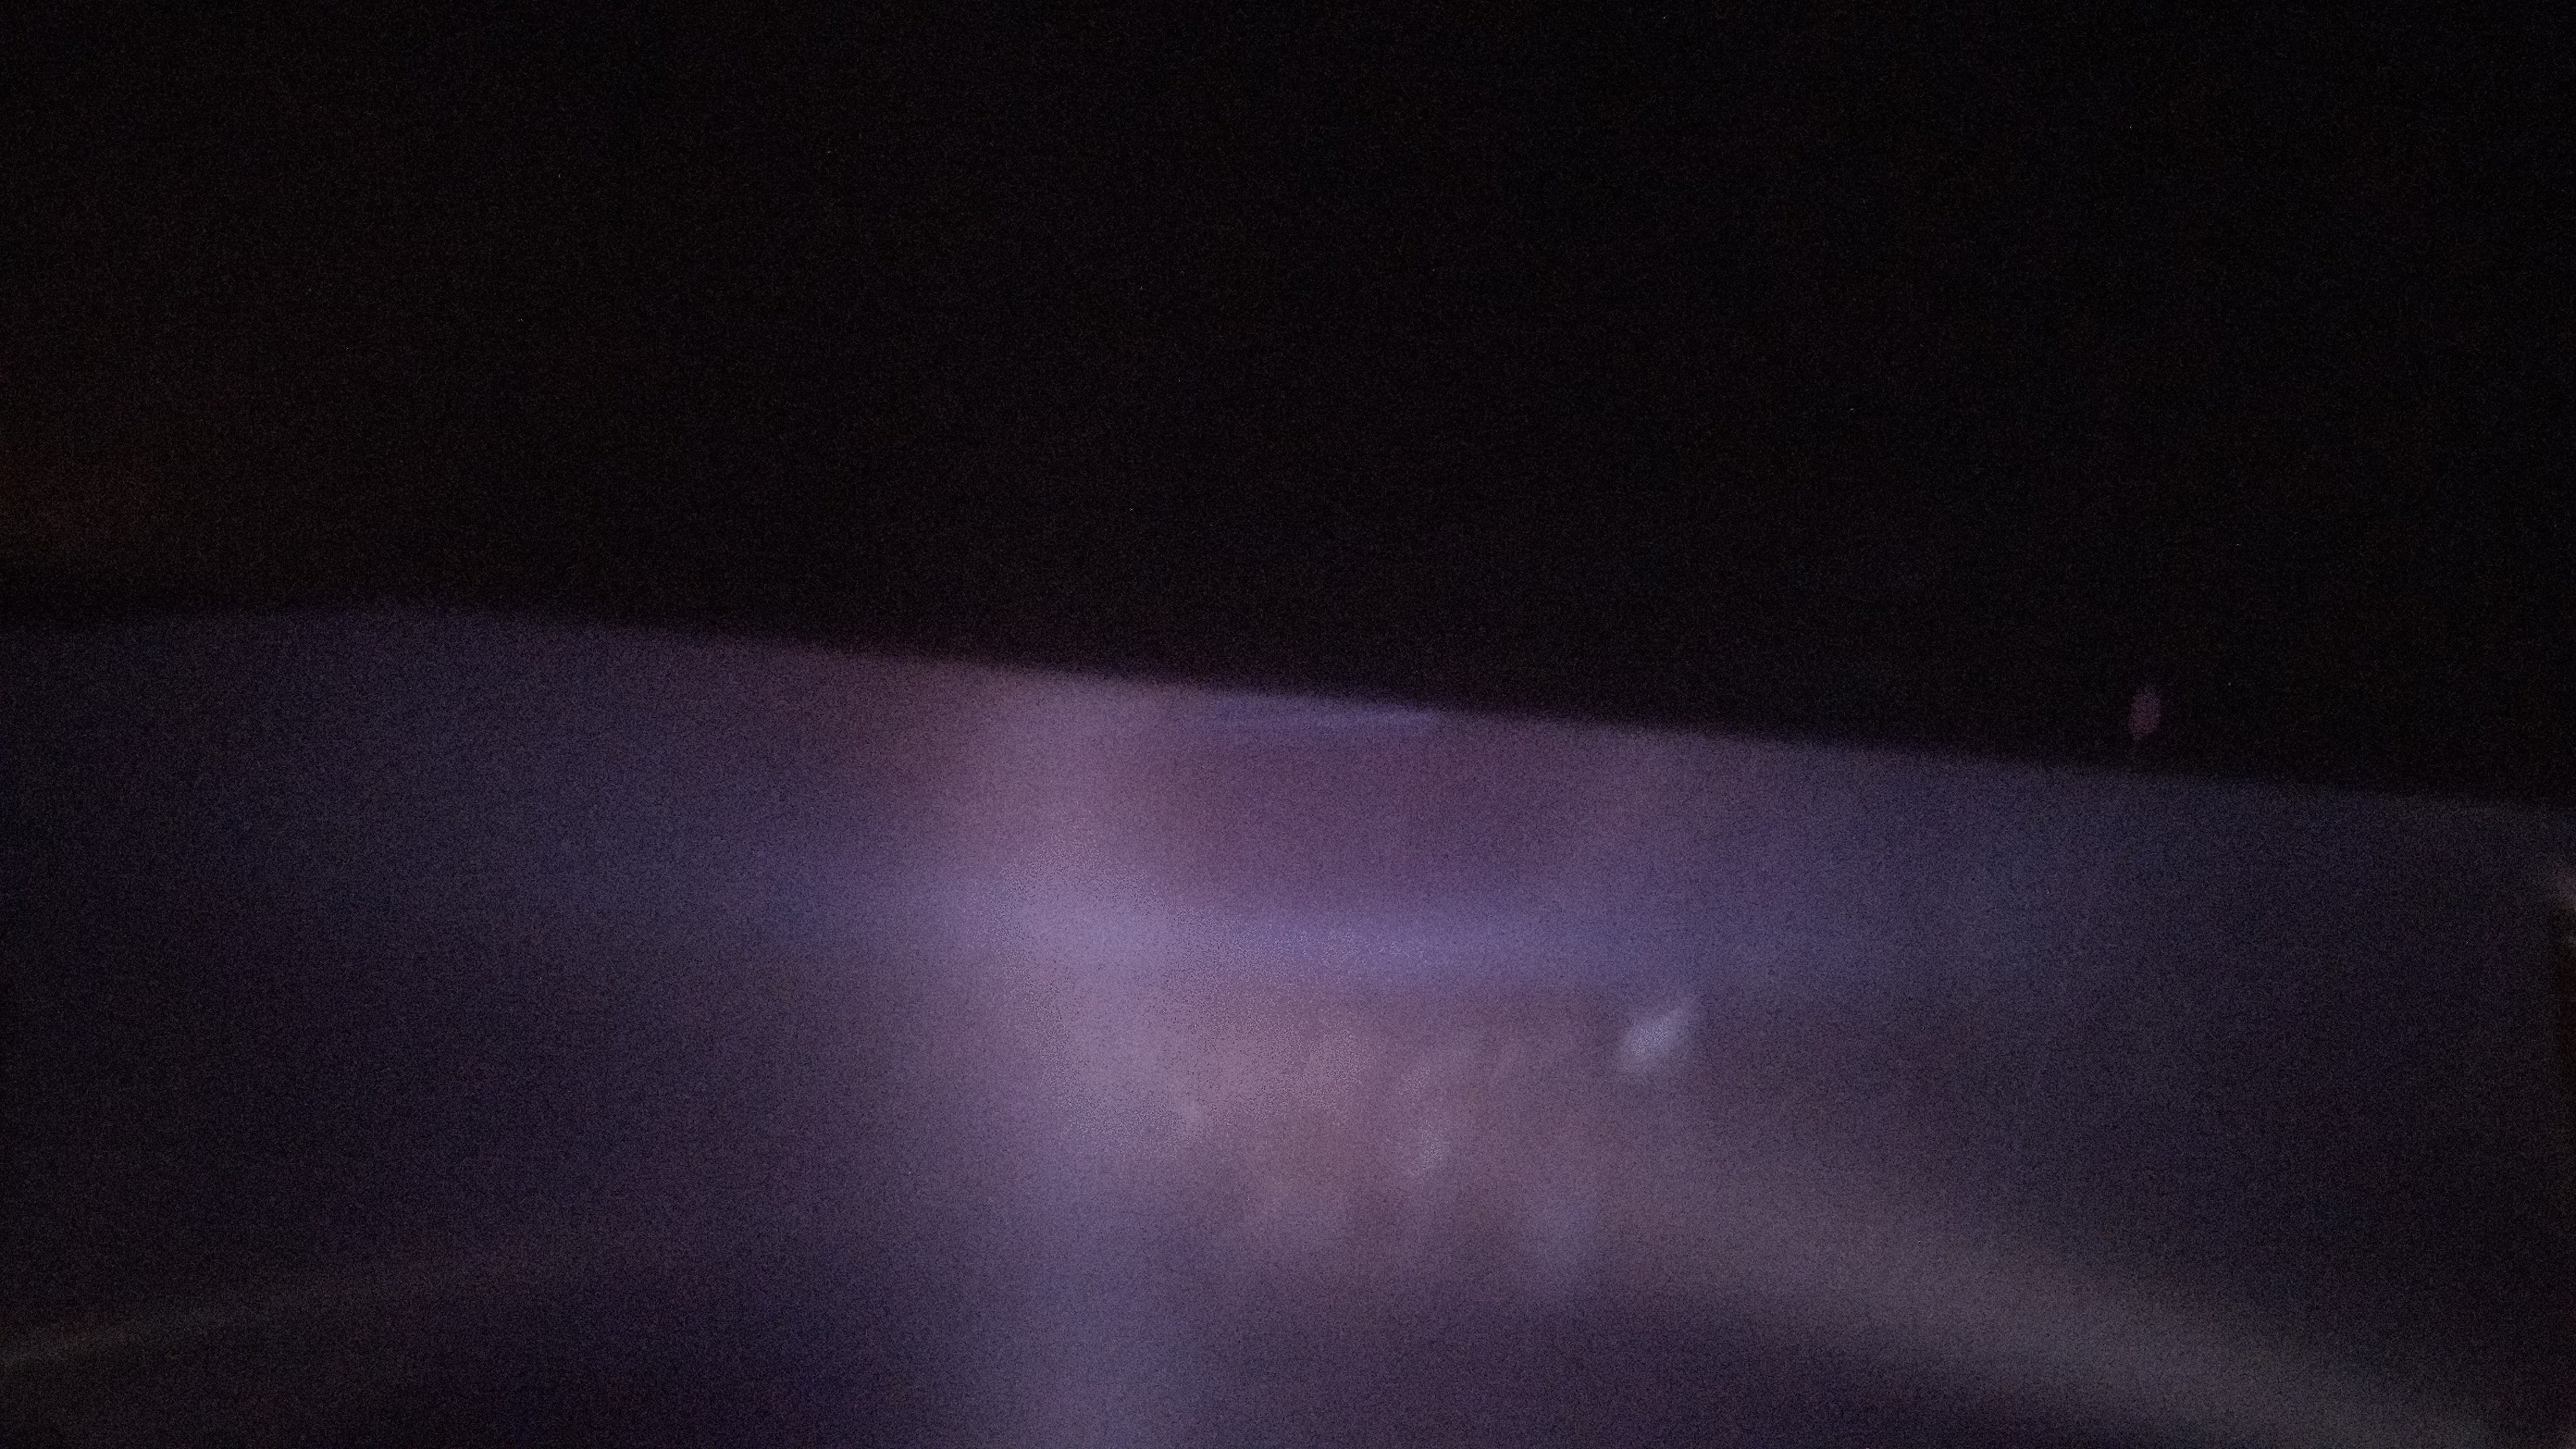
Extra Photos
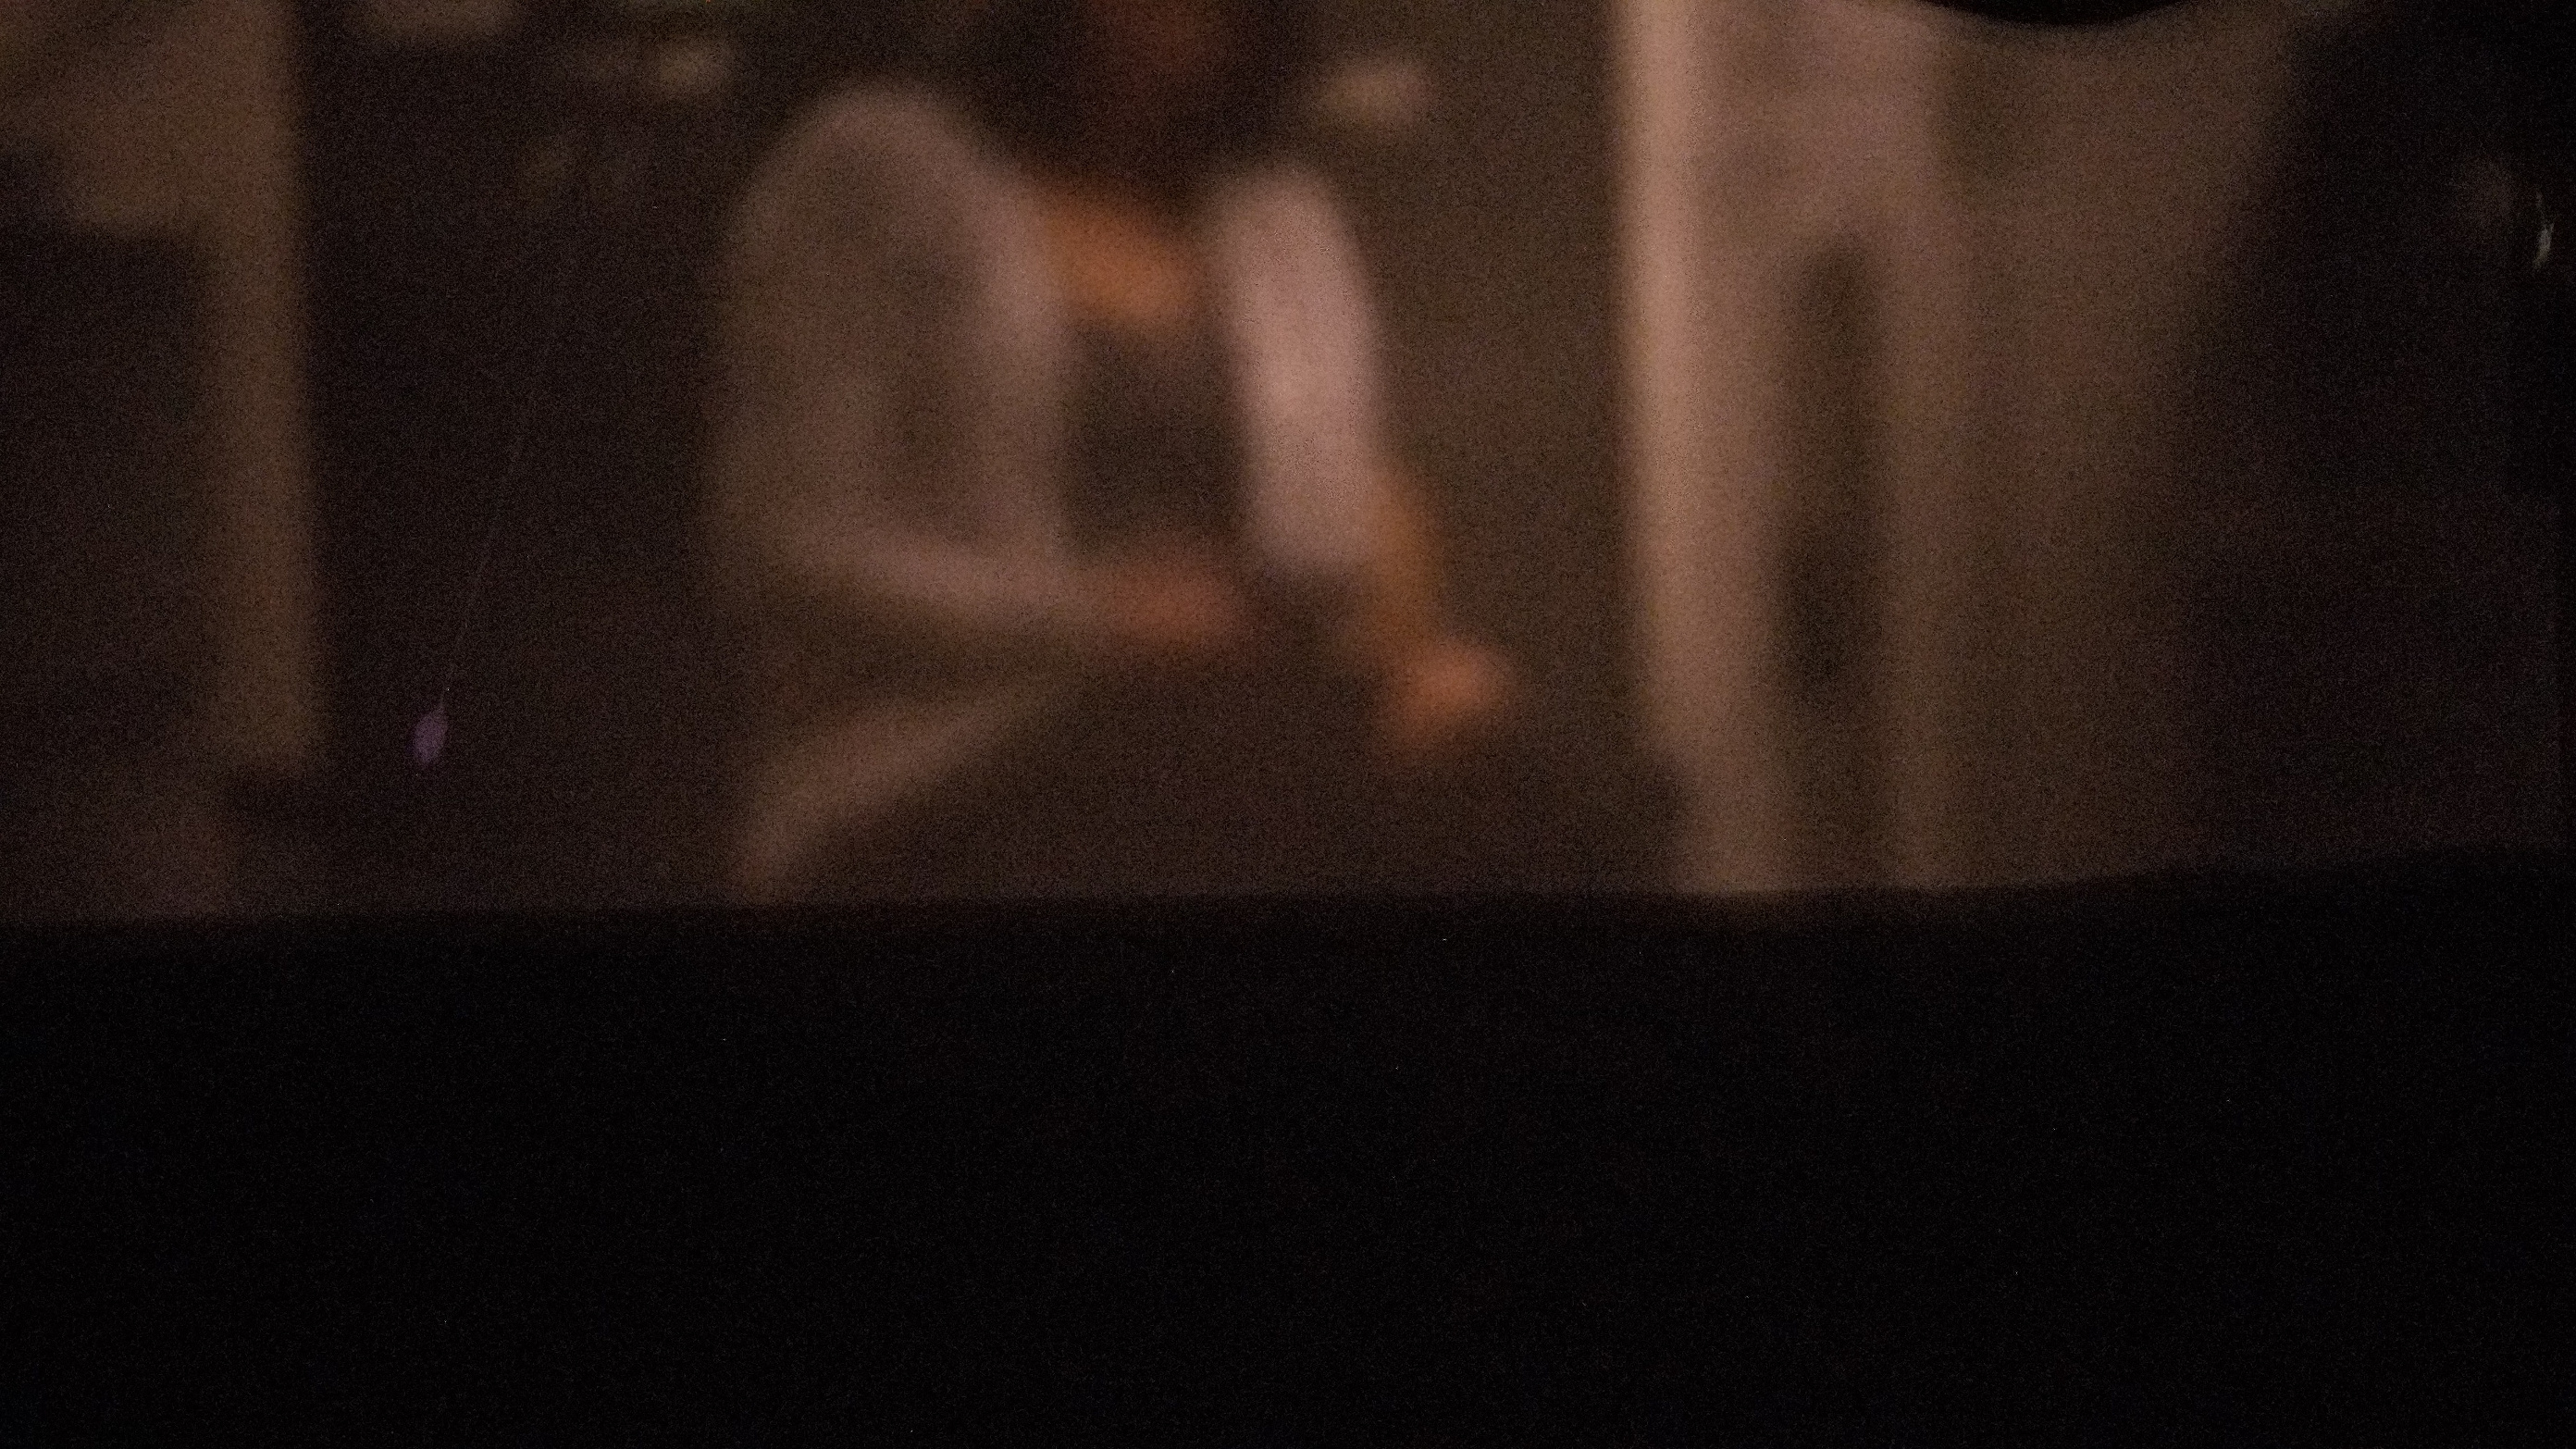
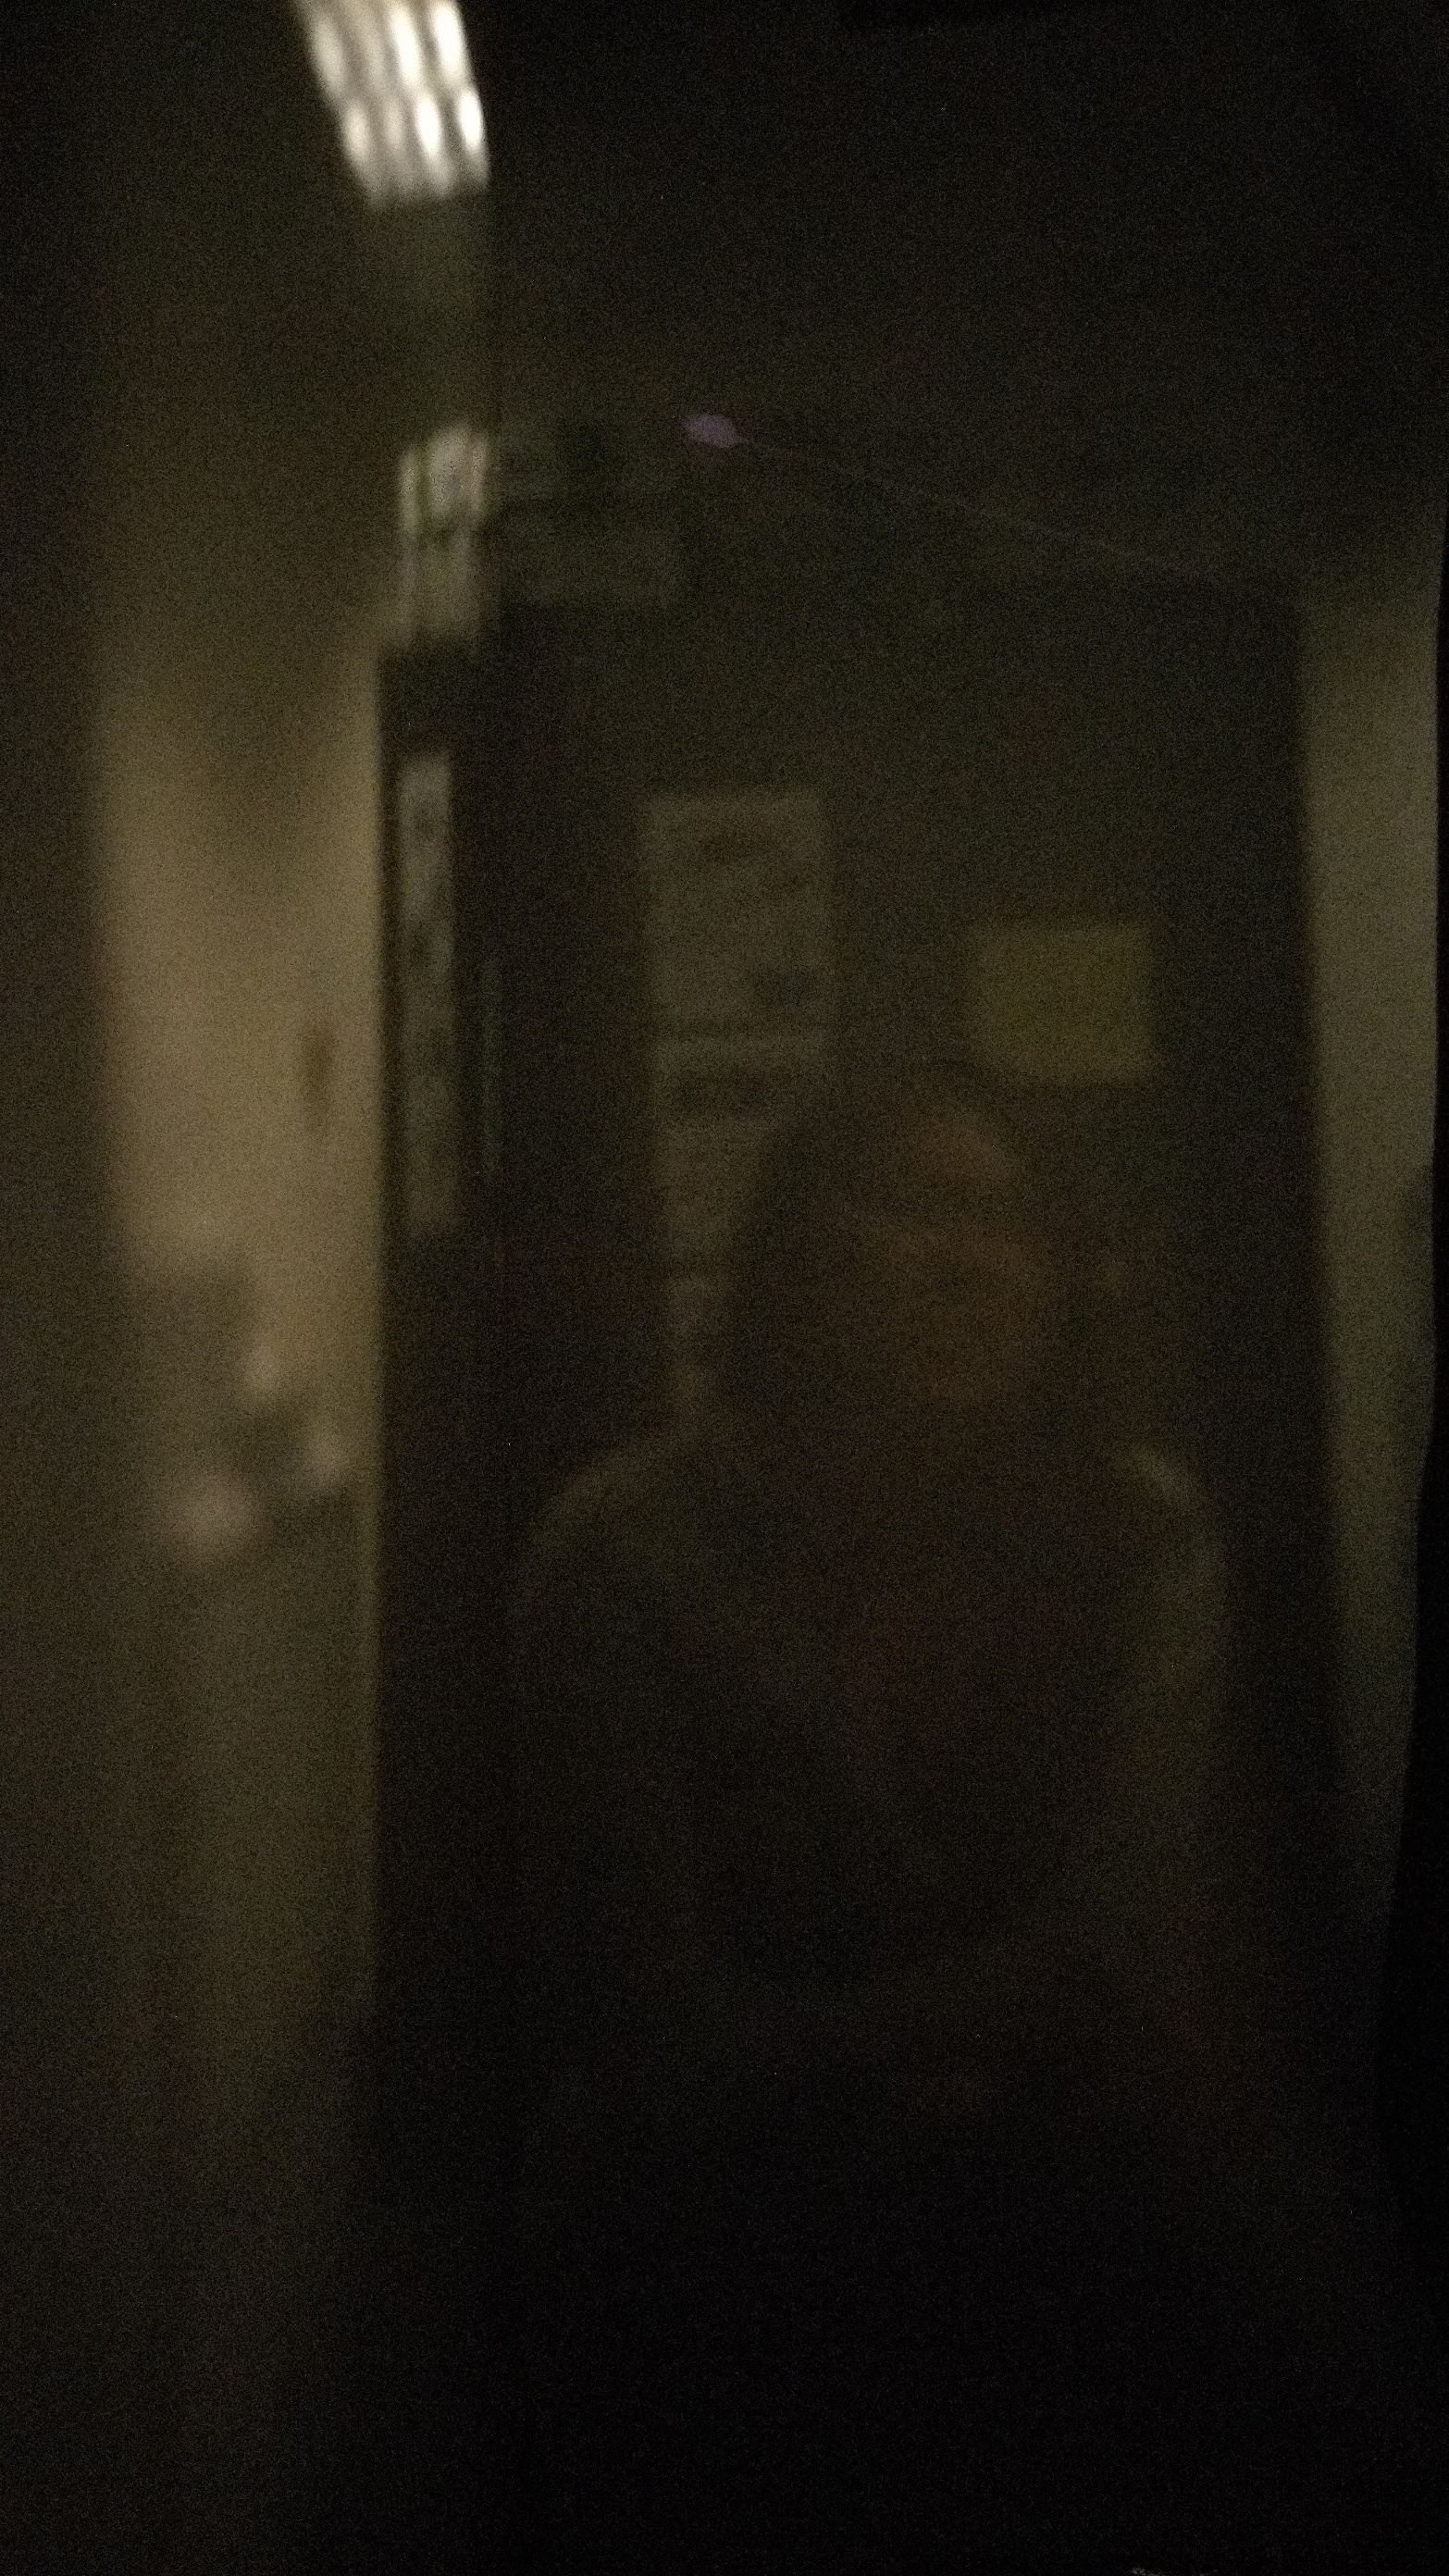
The above were two photos taken inside the Soda copy room (which was significantly dimmer than outside). This required a high exposure time (30s) and iso (3200).
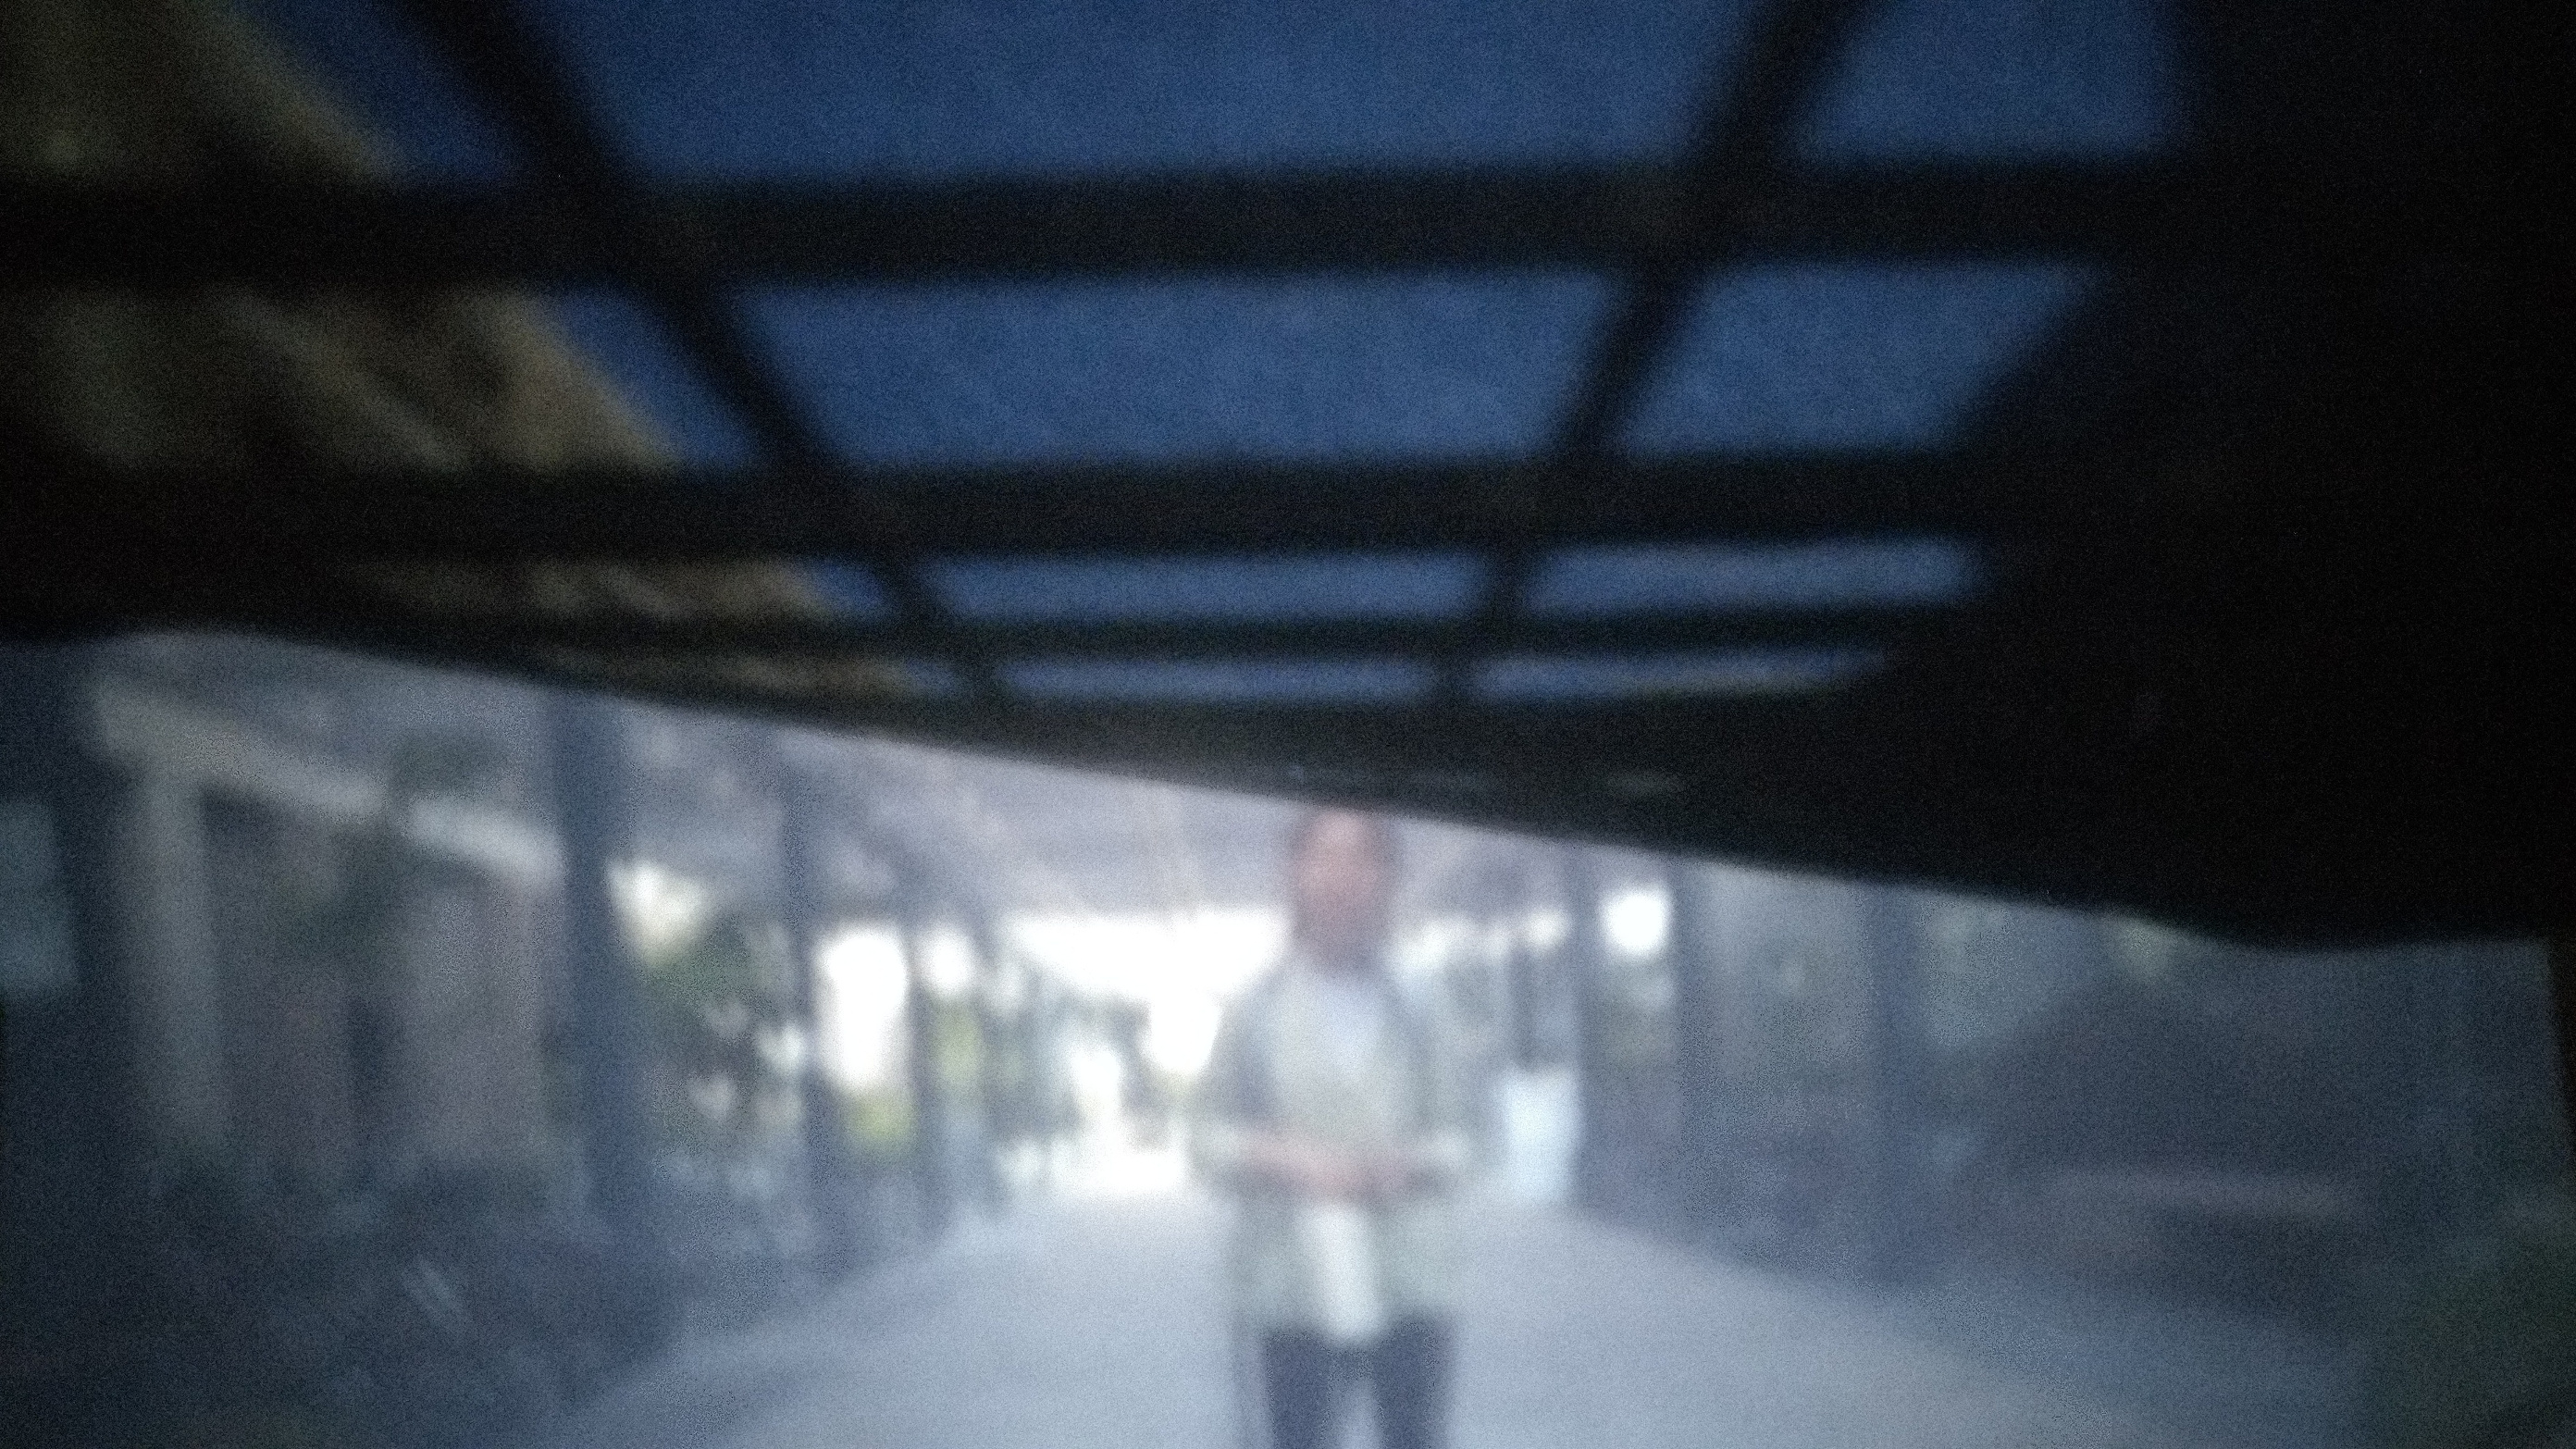
Photo of bridge between Cory and Sutardja Dai
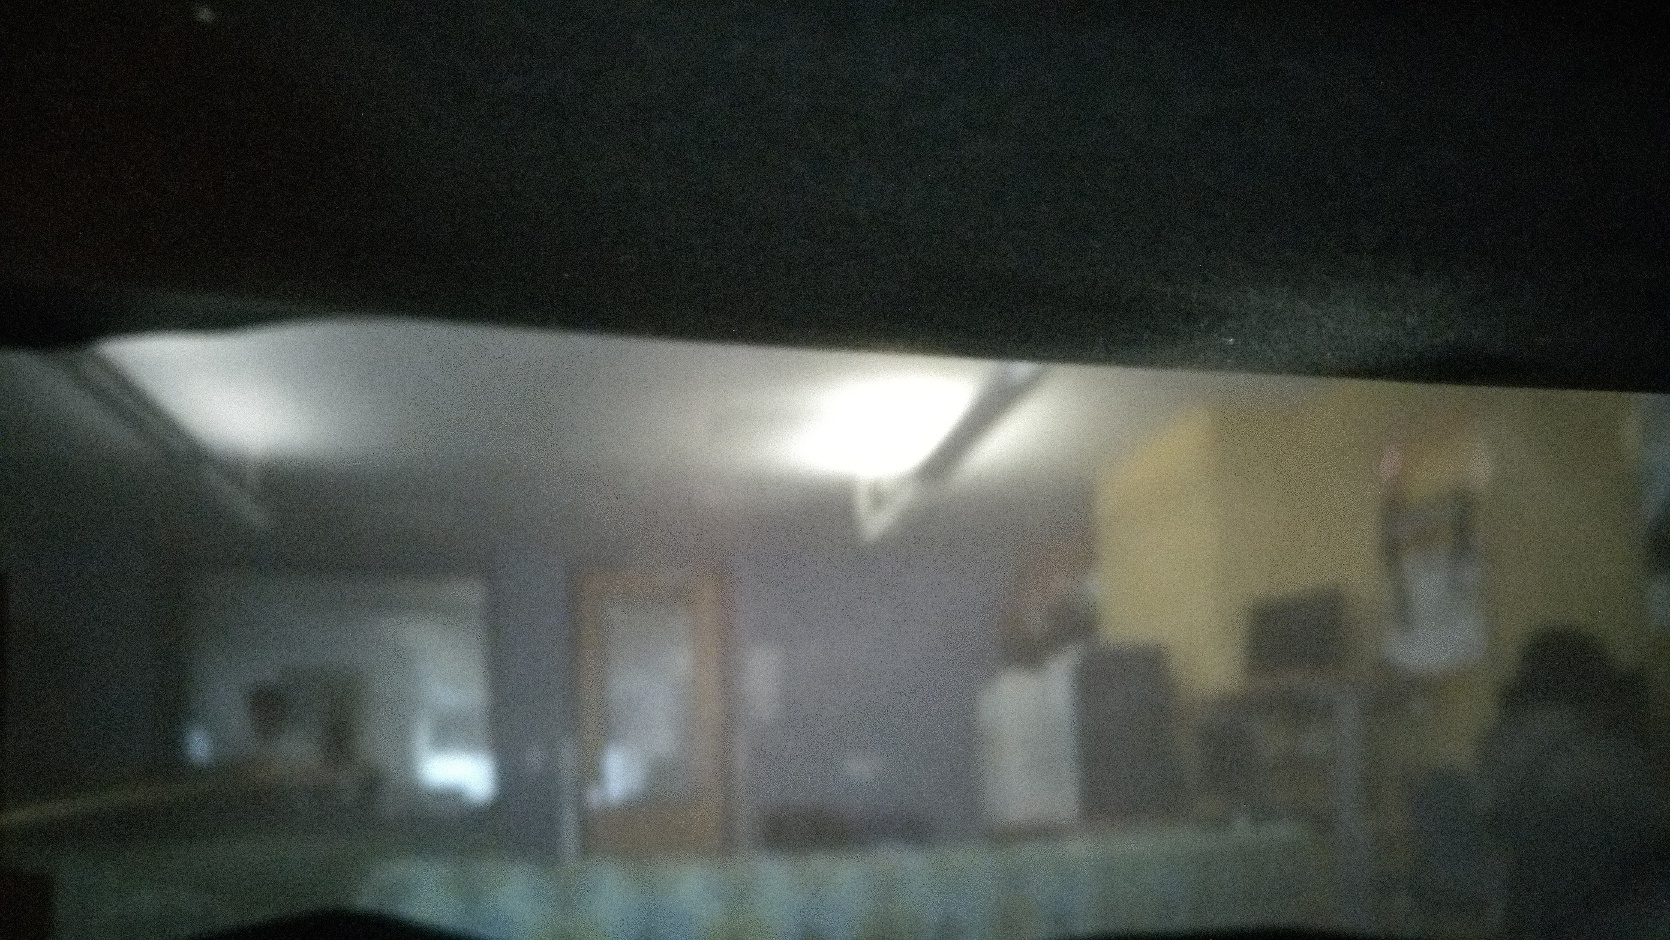
Photo taken inside of the lab in Cory 1st floor
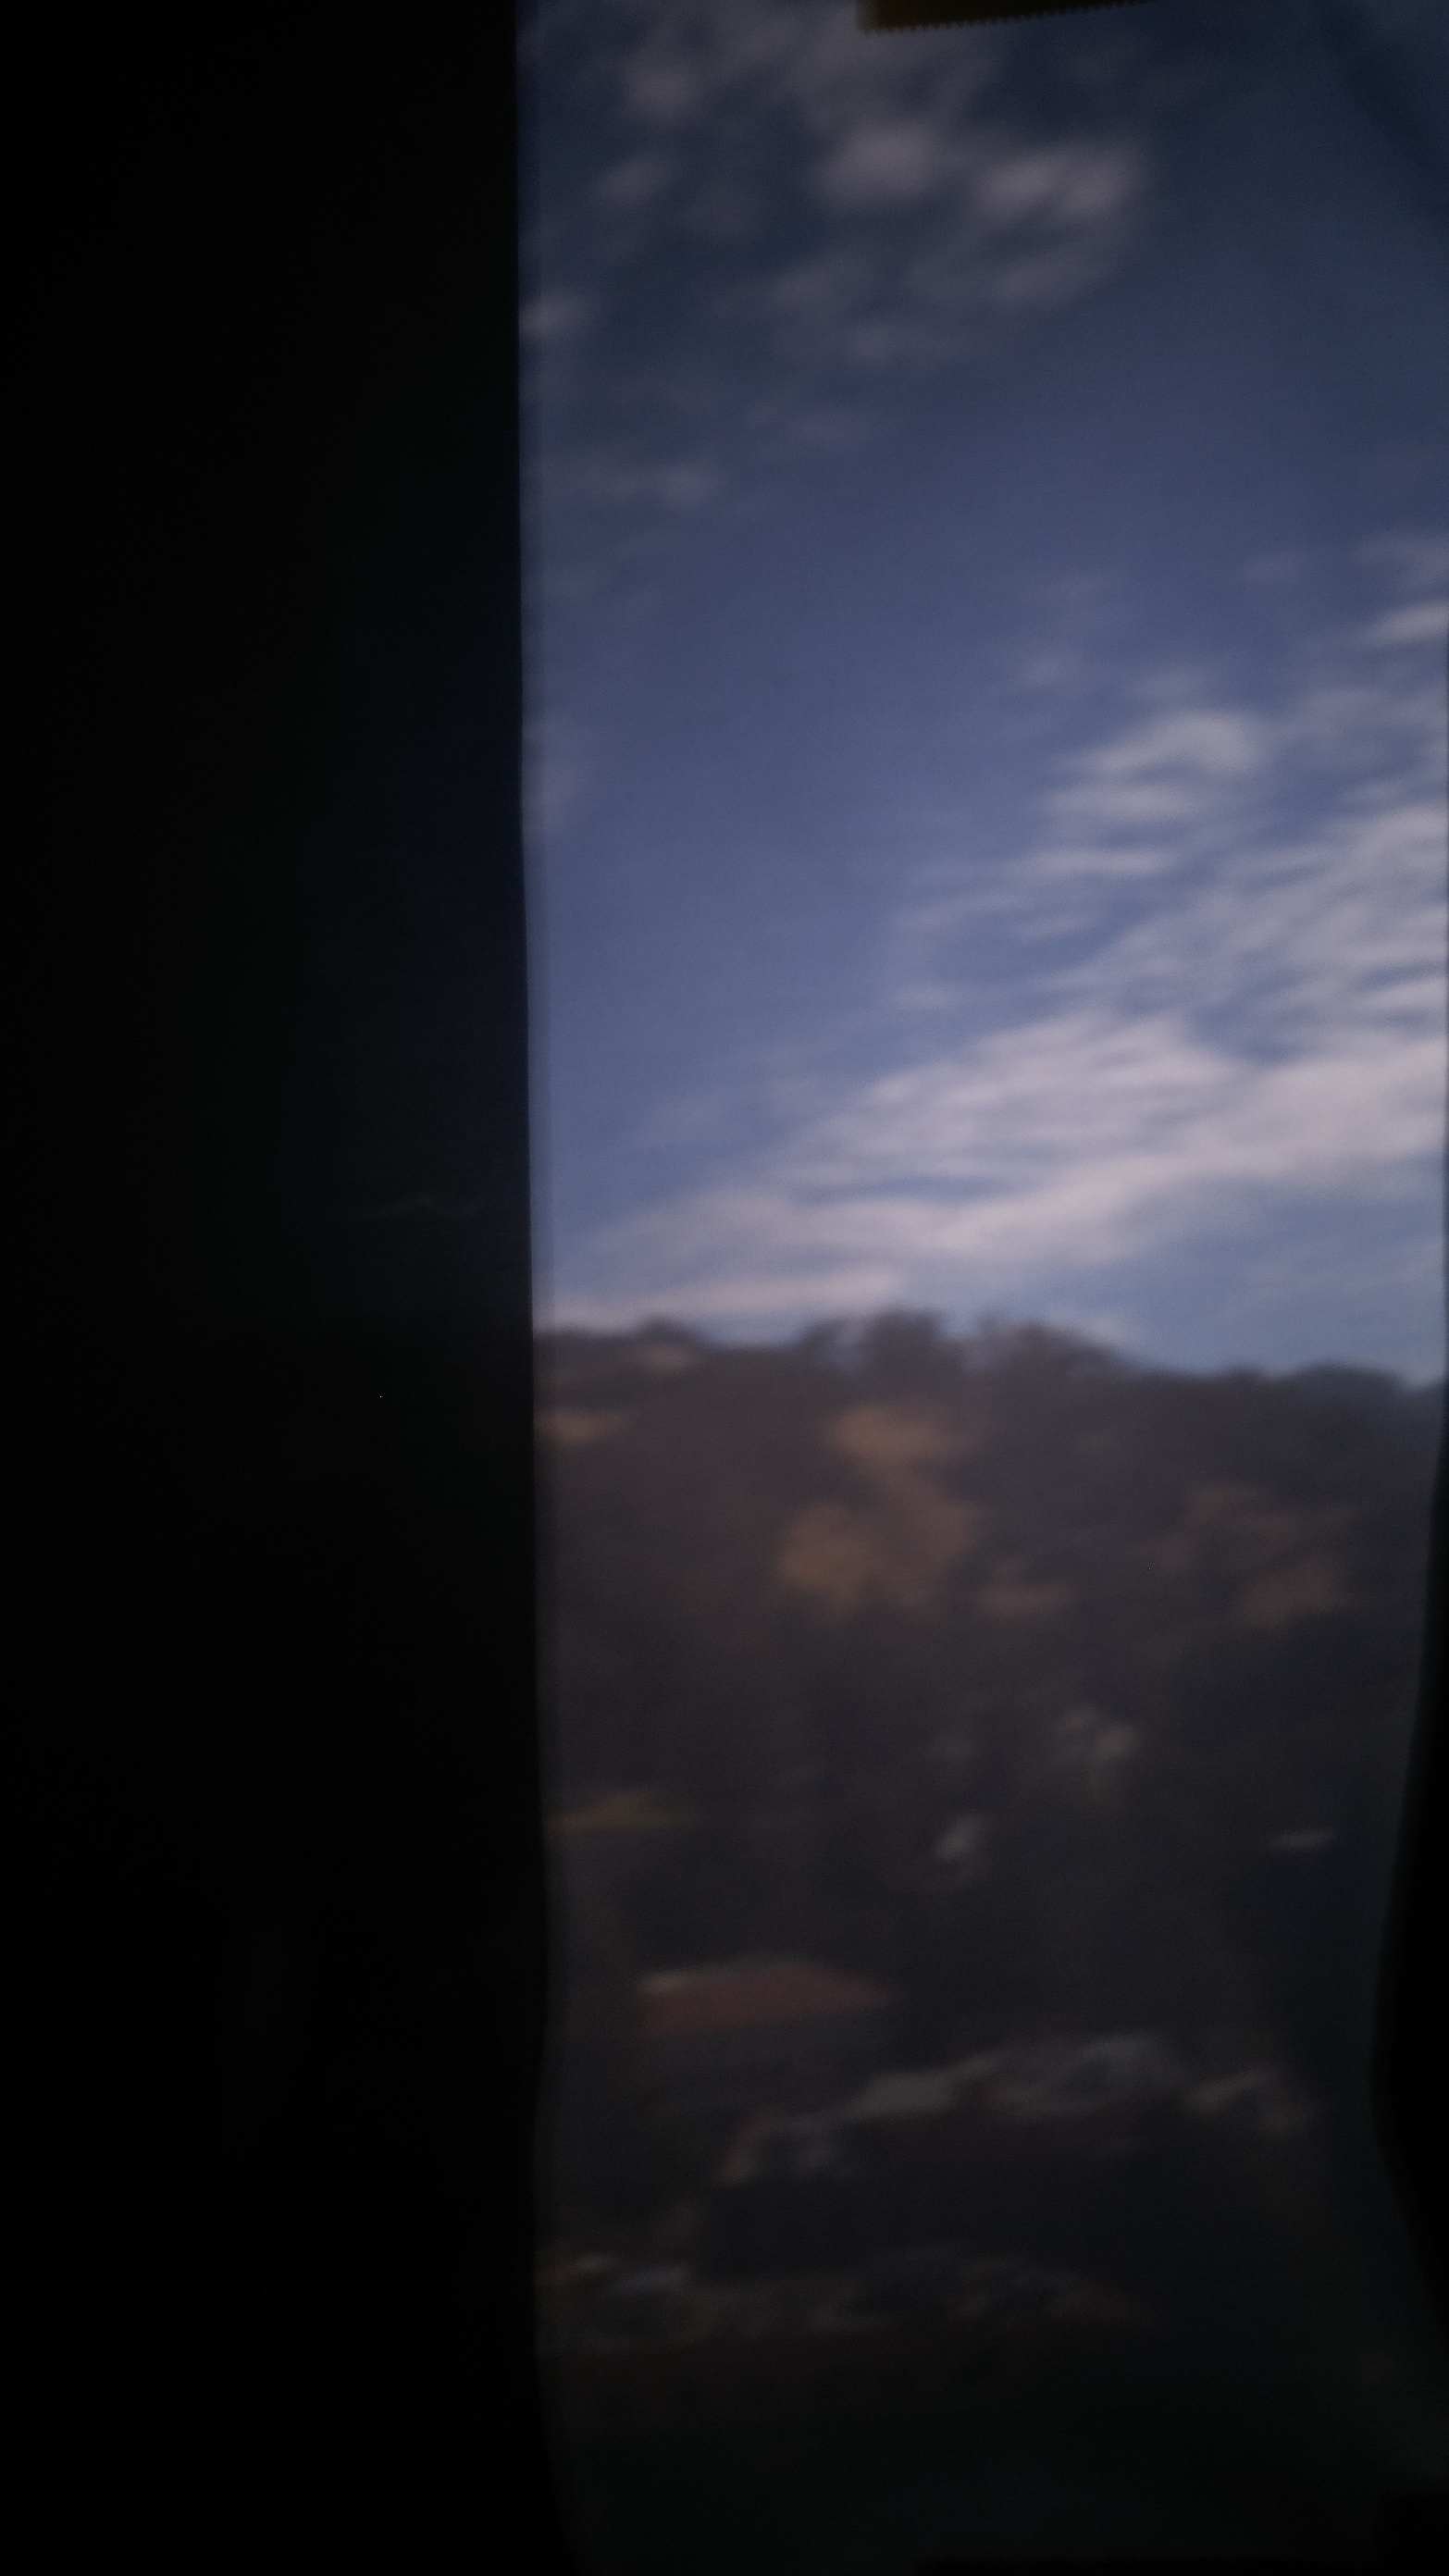
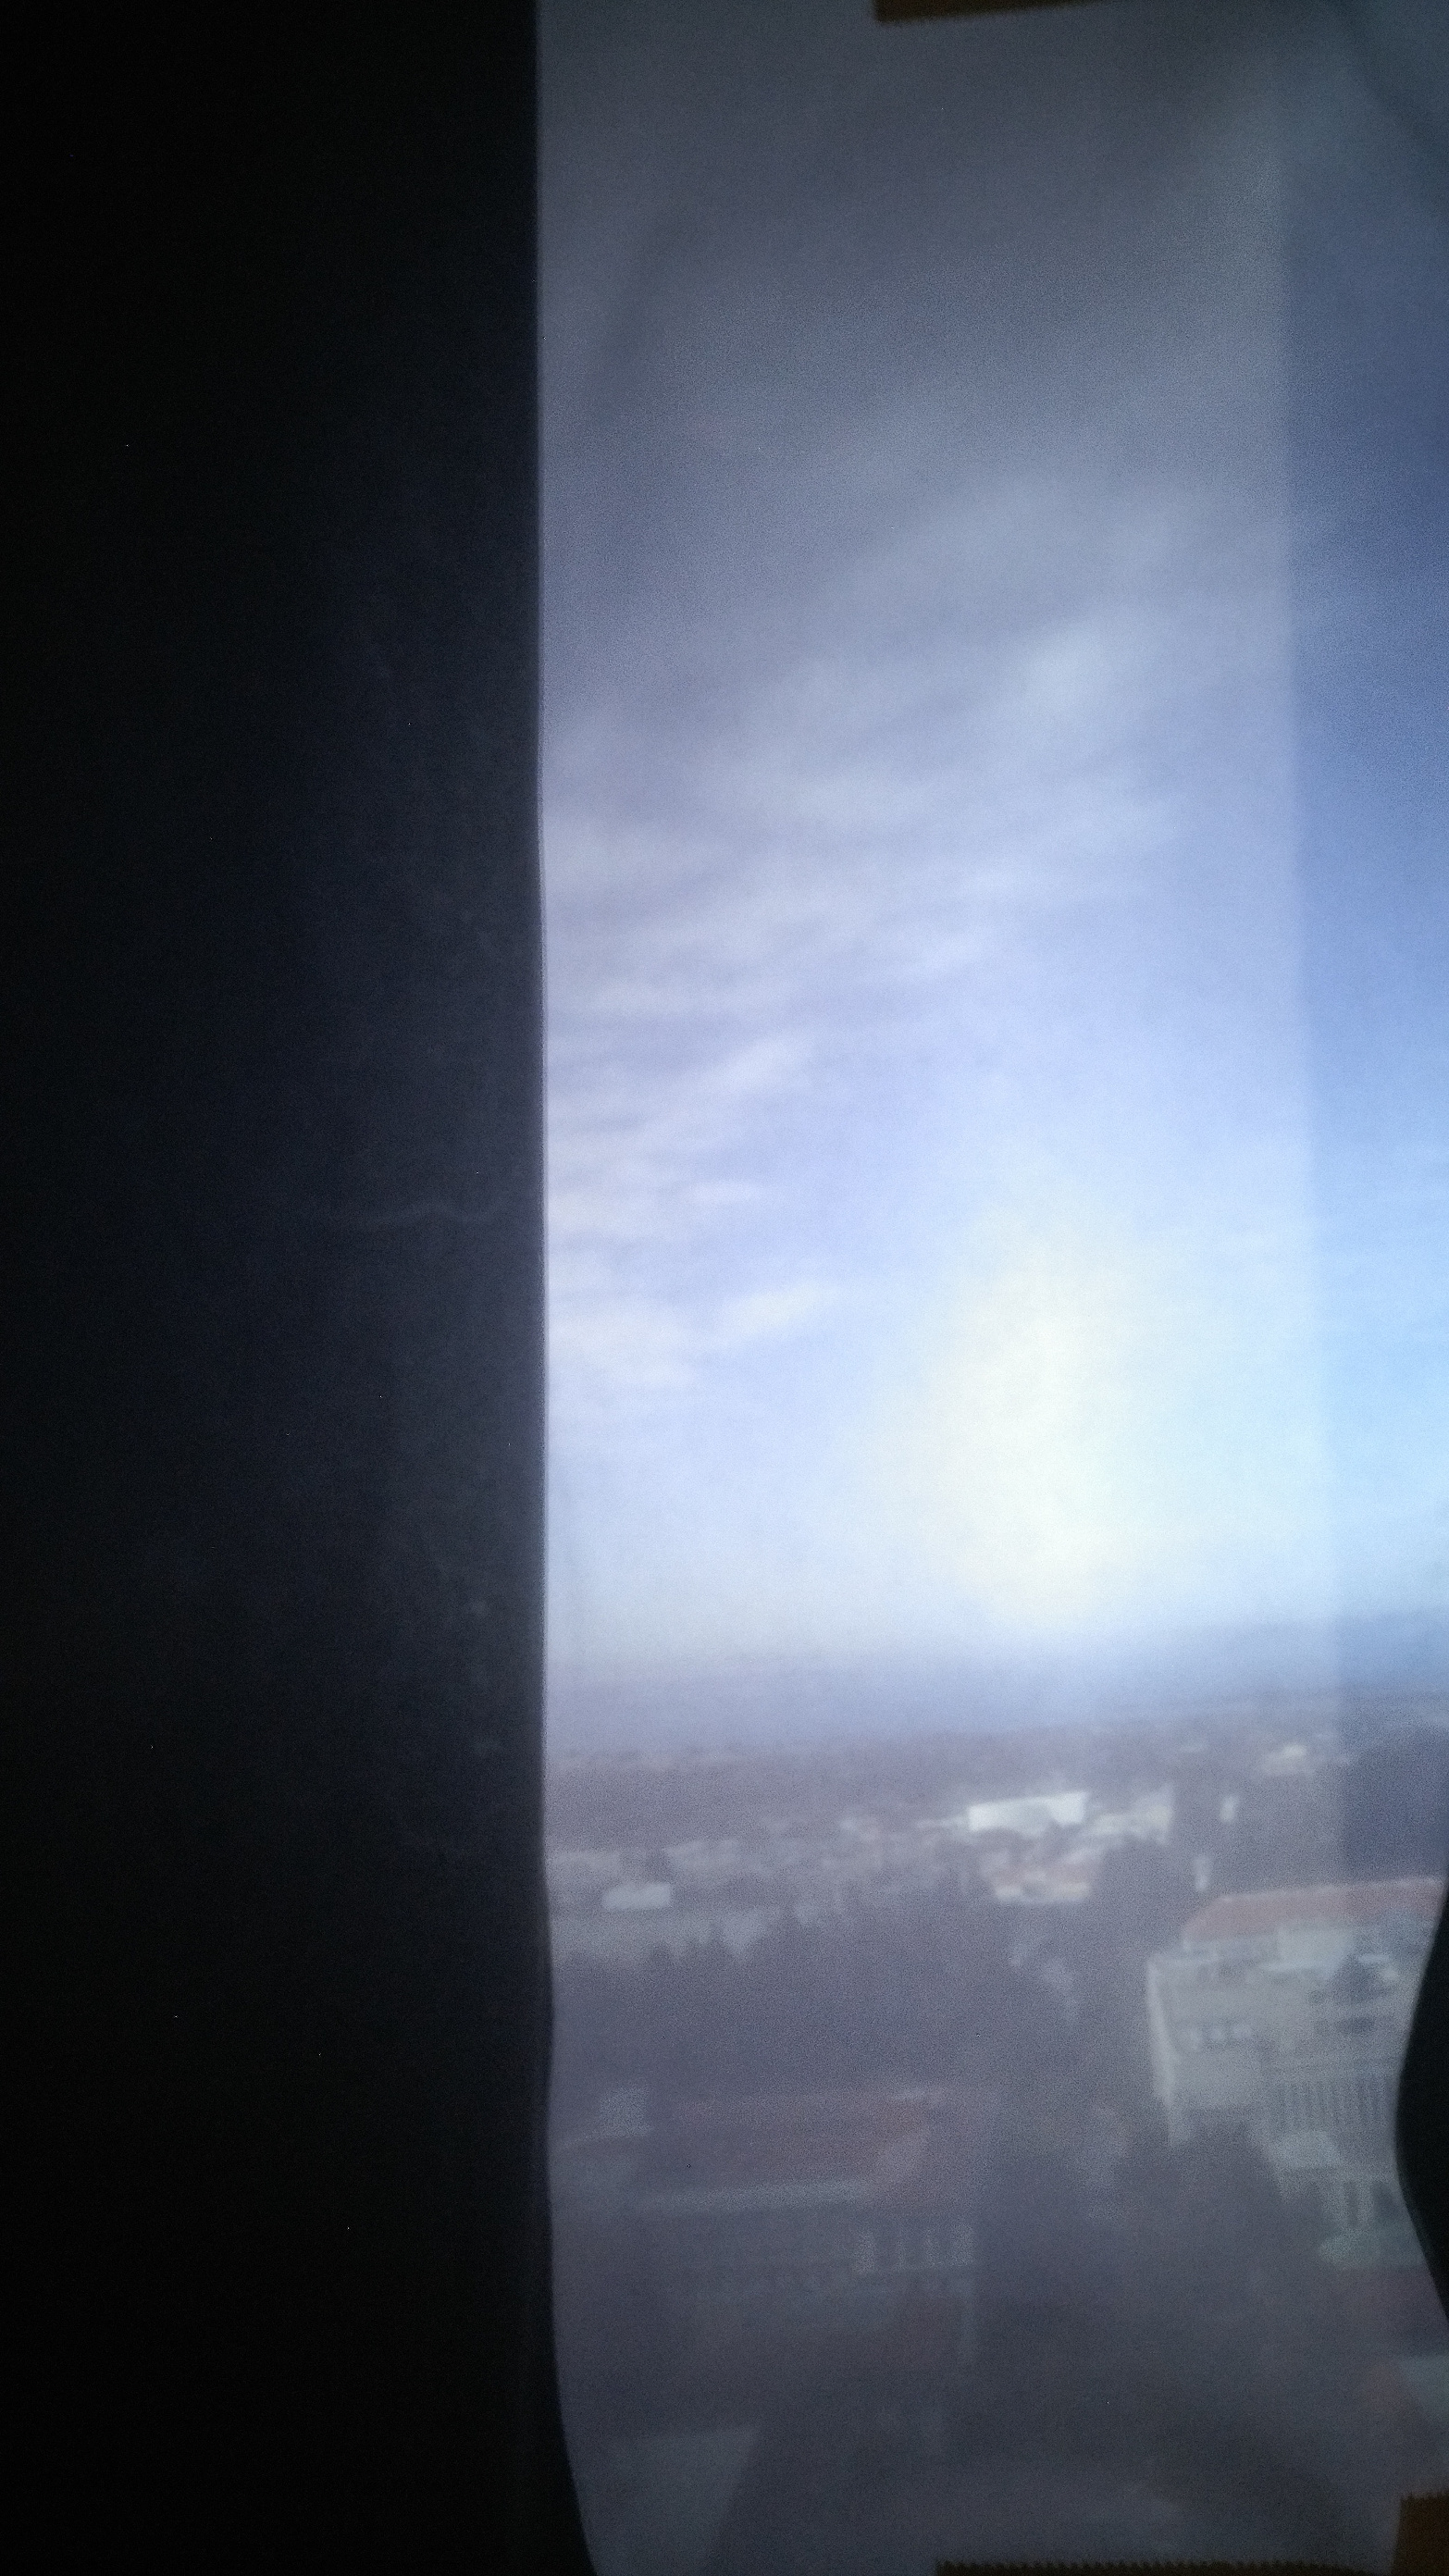
Photo of Berkeley hills from top of campanile