Pinhole Camera

Project 2     |     Eric Zhang (agq)  /  Ting Ding (acx)

Overview

We were tasked with constructing a camera obscura, which uses a pinhole to focus light which is casted onto a white screen. To see the images, we used a camera with a long exposure to take a photo of the screen. We didn't end up duct-taping the entire box because we needed to open and close it in order to focus the camera. To prevent light from leaking in, we used the ghetto method of putting a sweatshirt over the entire box. The box was about 12 cm high, so we cut the pinhole at 6 cm from the bottom. We created a hole about 7 mm in diameter which was the largest size we used for our image. We also used an index card with 2 other hole sizes: .7 and 3 mm for our other two hole sizes. the .7 mm pinhole we calculated to be the ideal size for our box using the length of our box which was about 29 cm. Inside the box, we covered all surfaces with black poster board except the side opposite our pinhole. That side we covered with white paper. We hot glued the paper onto the box and made sure to cover all areas with black paper so no light would bounce around inside of the box. We also taped the corners because light was leaking in through those areas. In the images below, it seems like there is no black paper at the creases of the box. This is okay because when we close the box, the creases go away and the edges of the papers meet.

Varying Pinhole Sizes

Pinhole Size 1
Pinhole Size 2
Pinhole Size 3

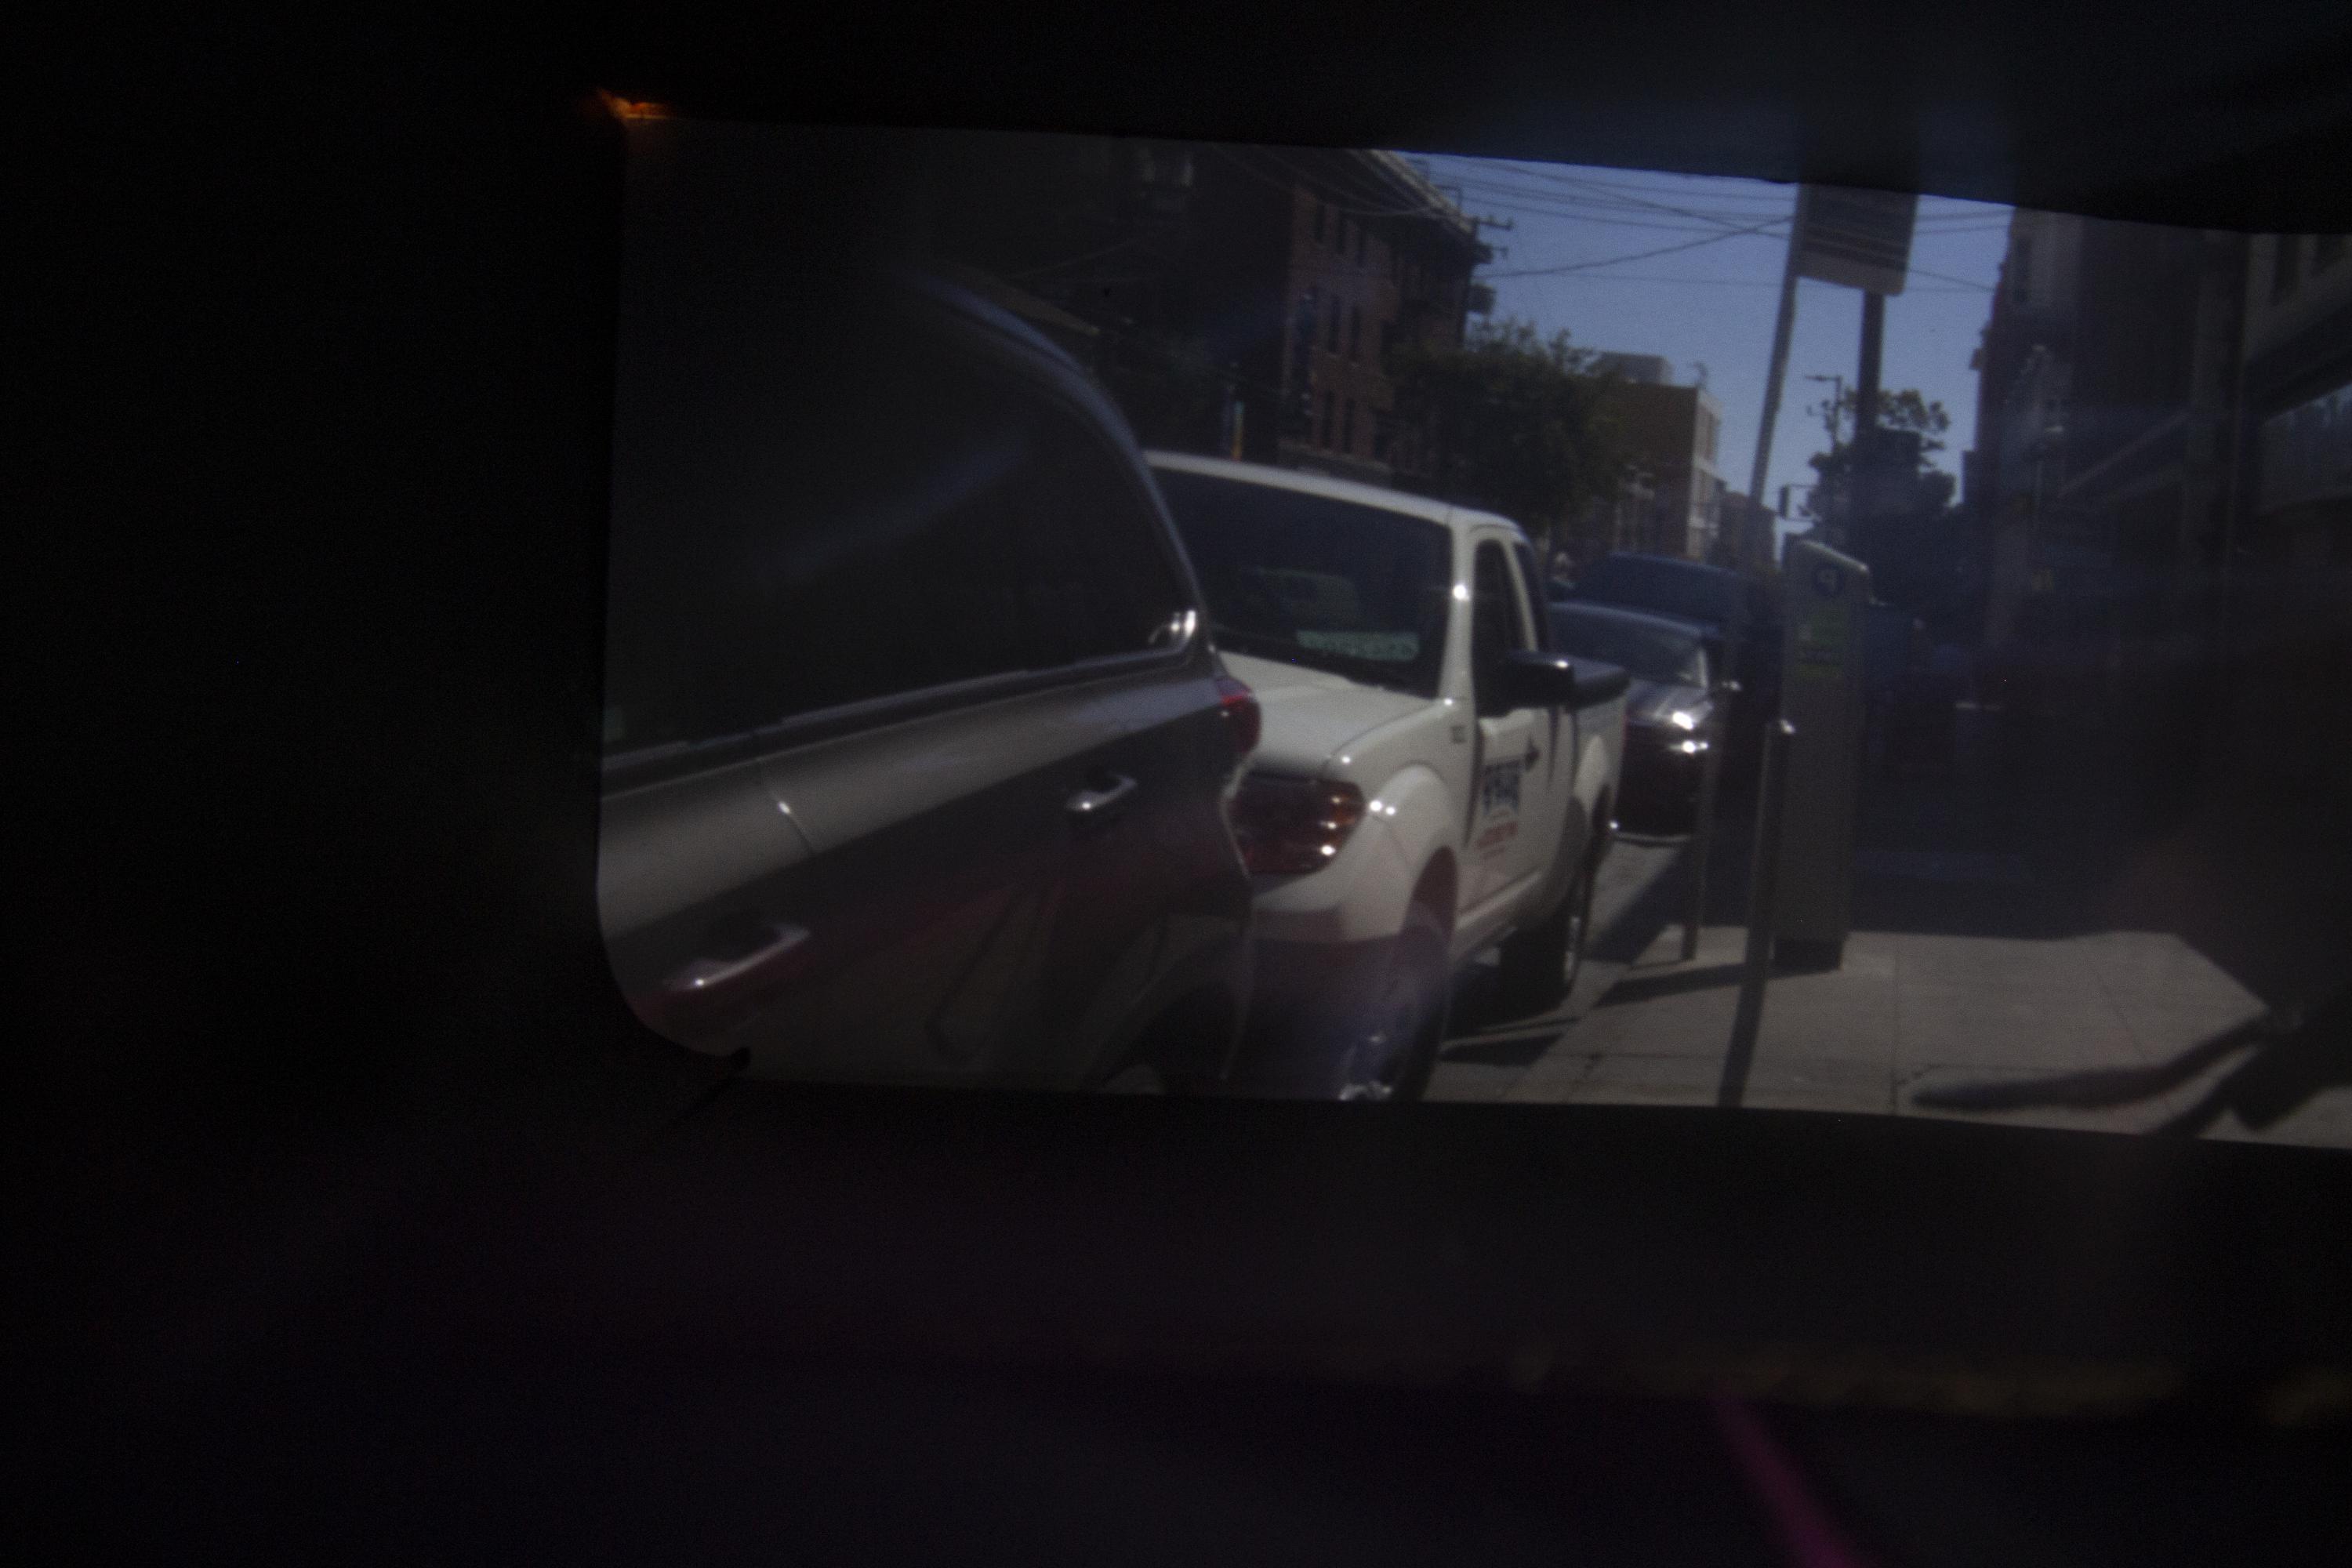
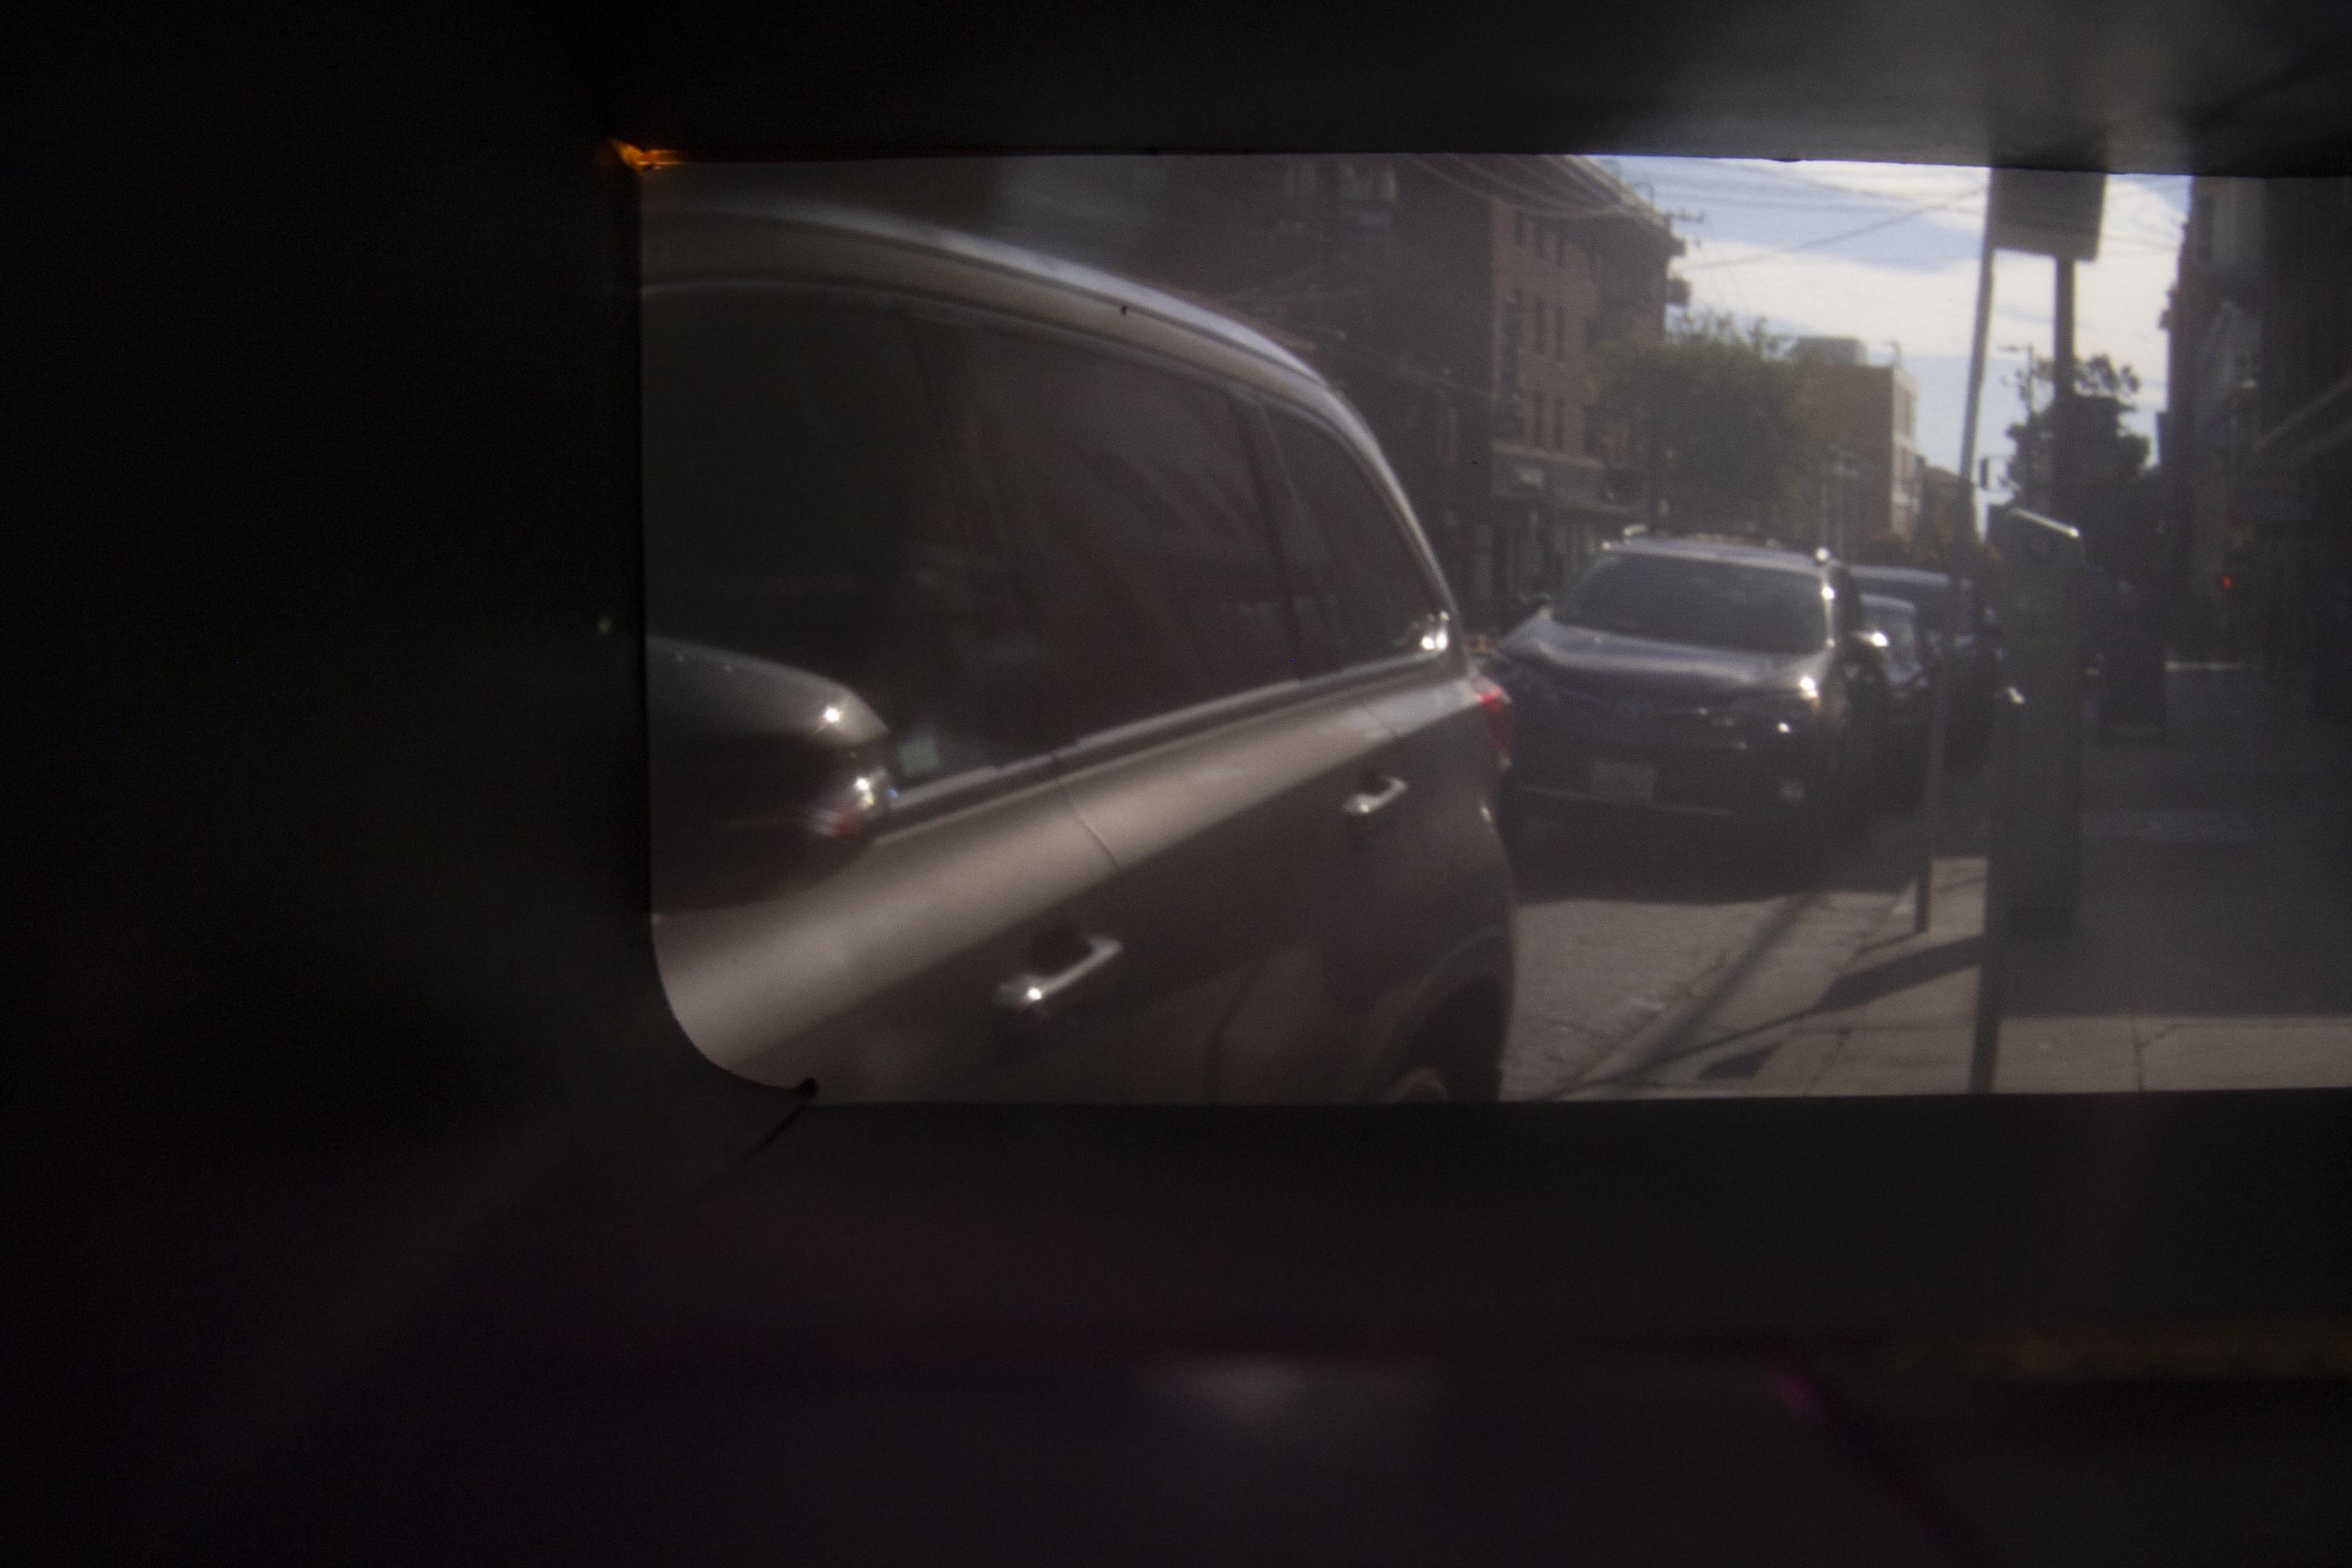
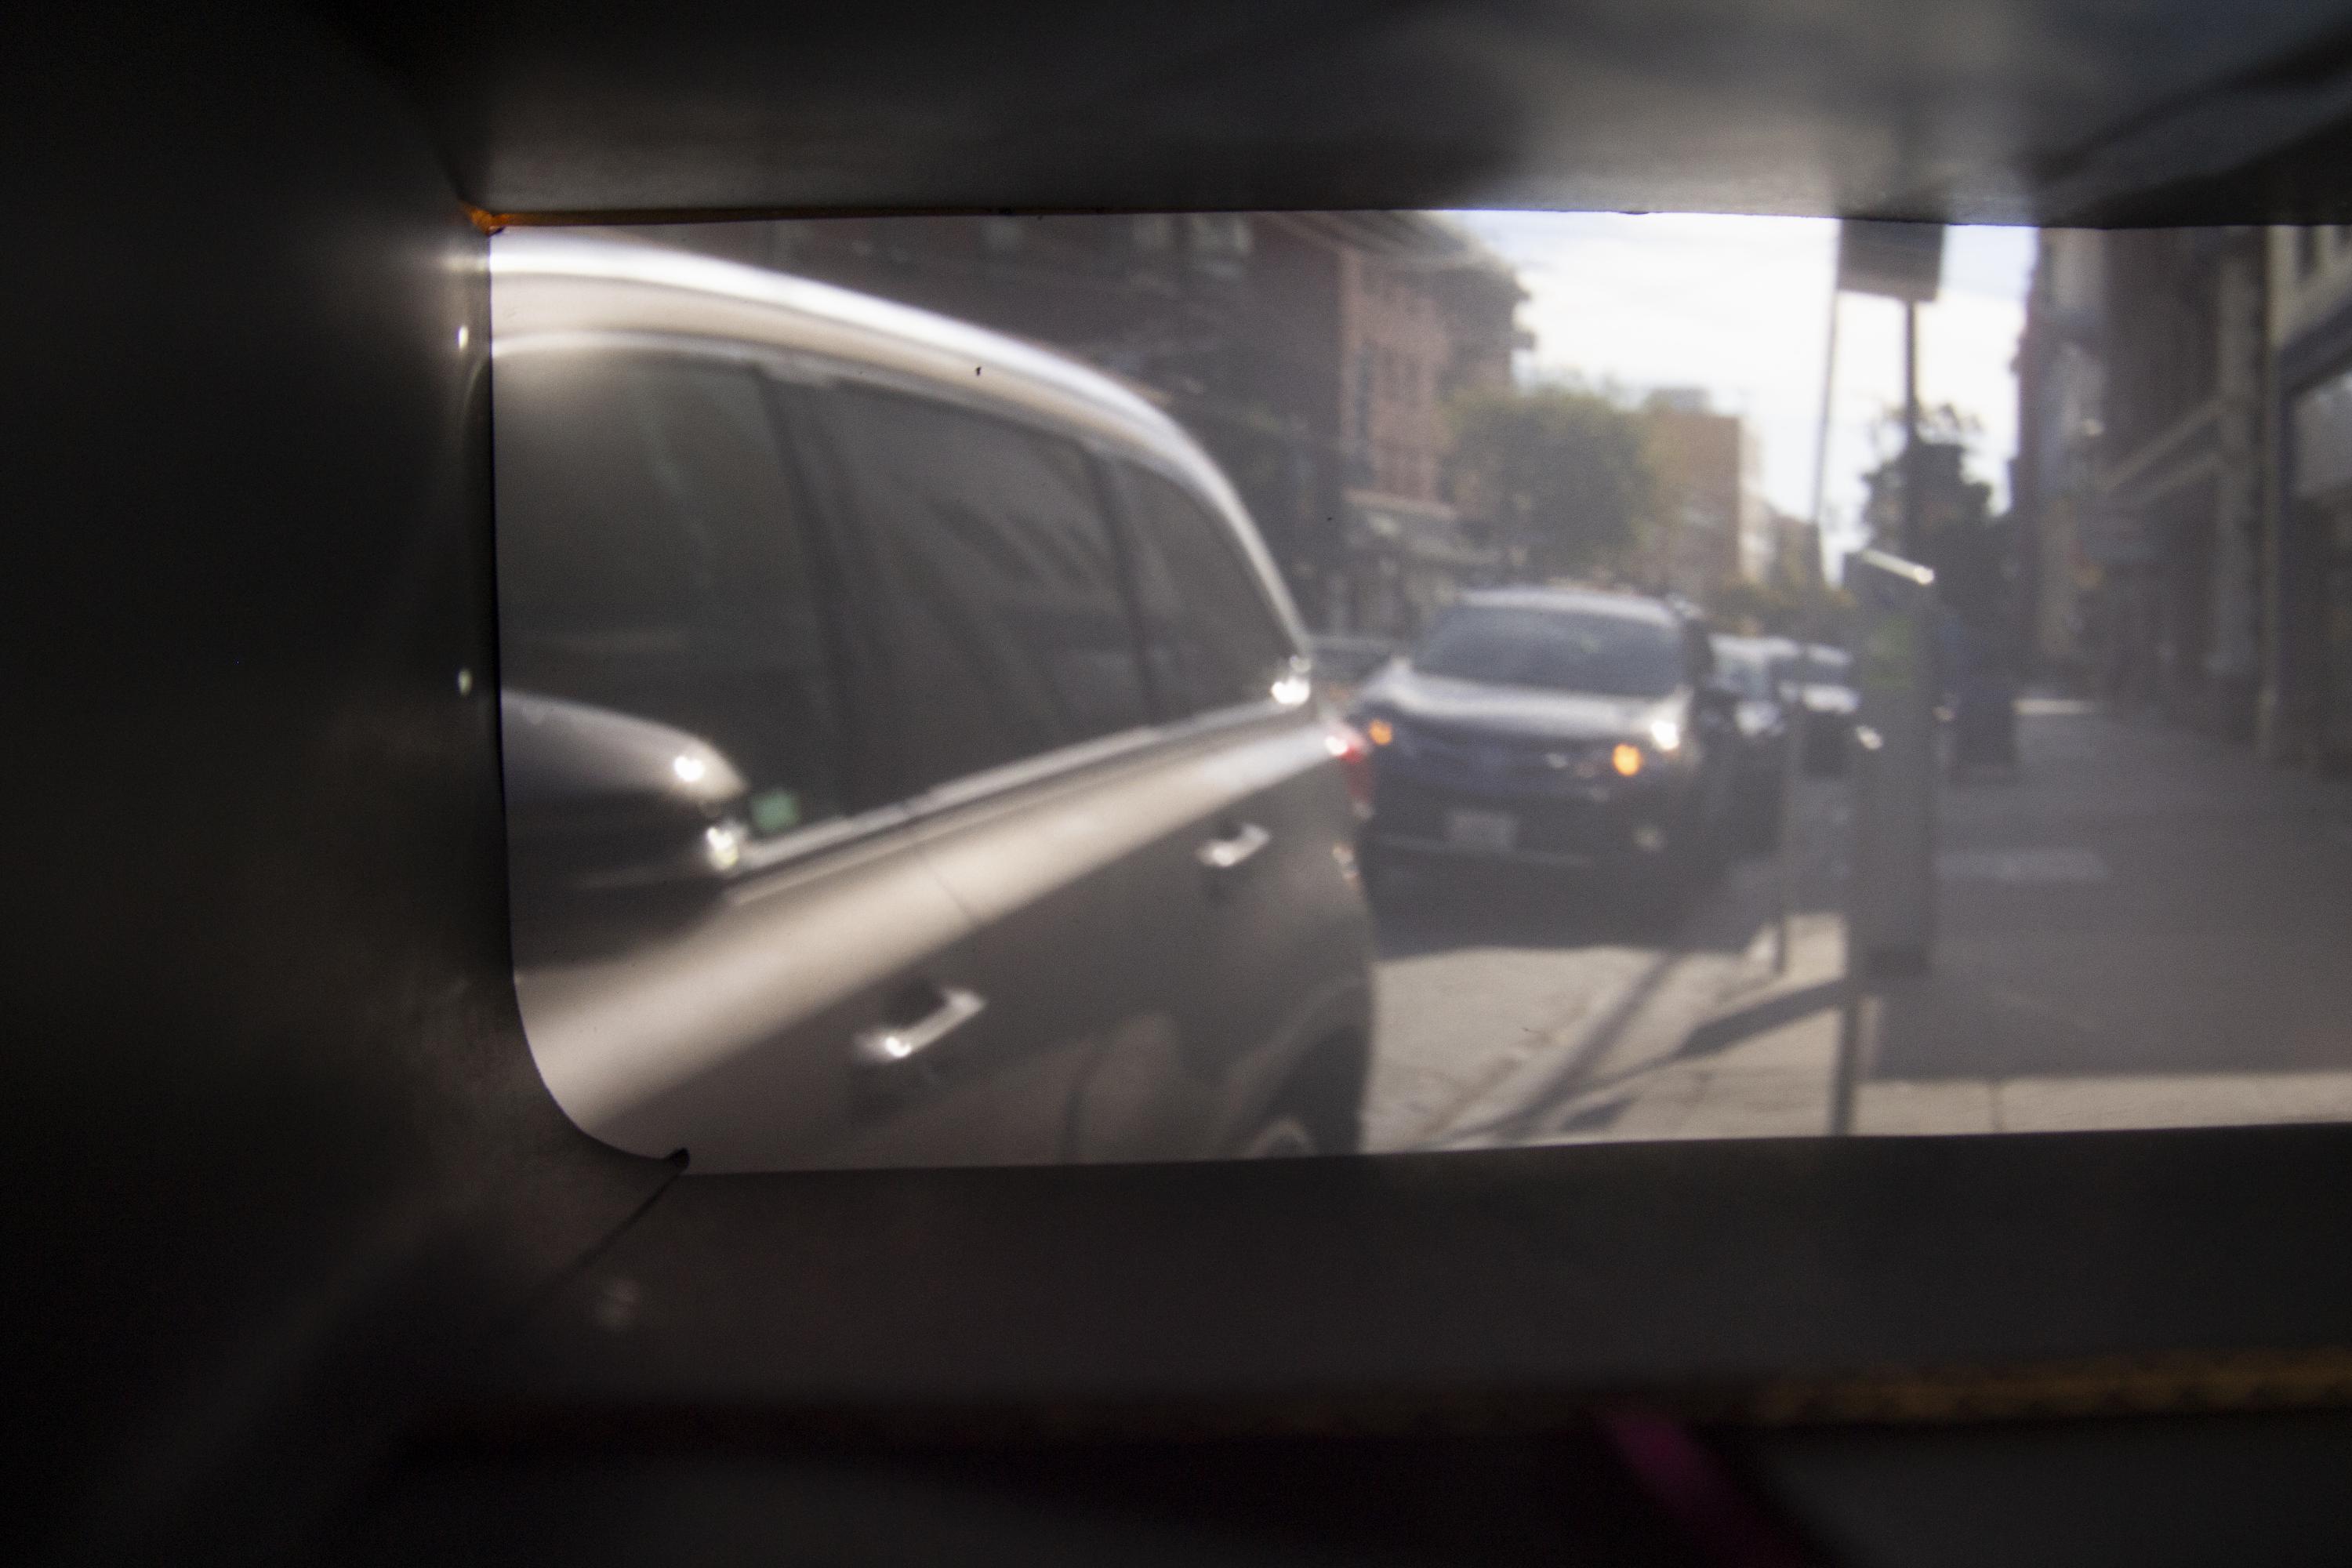
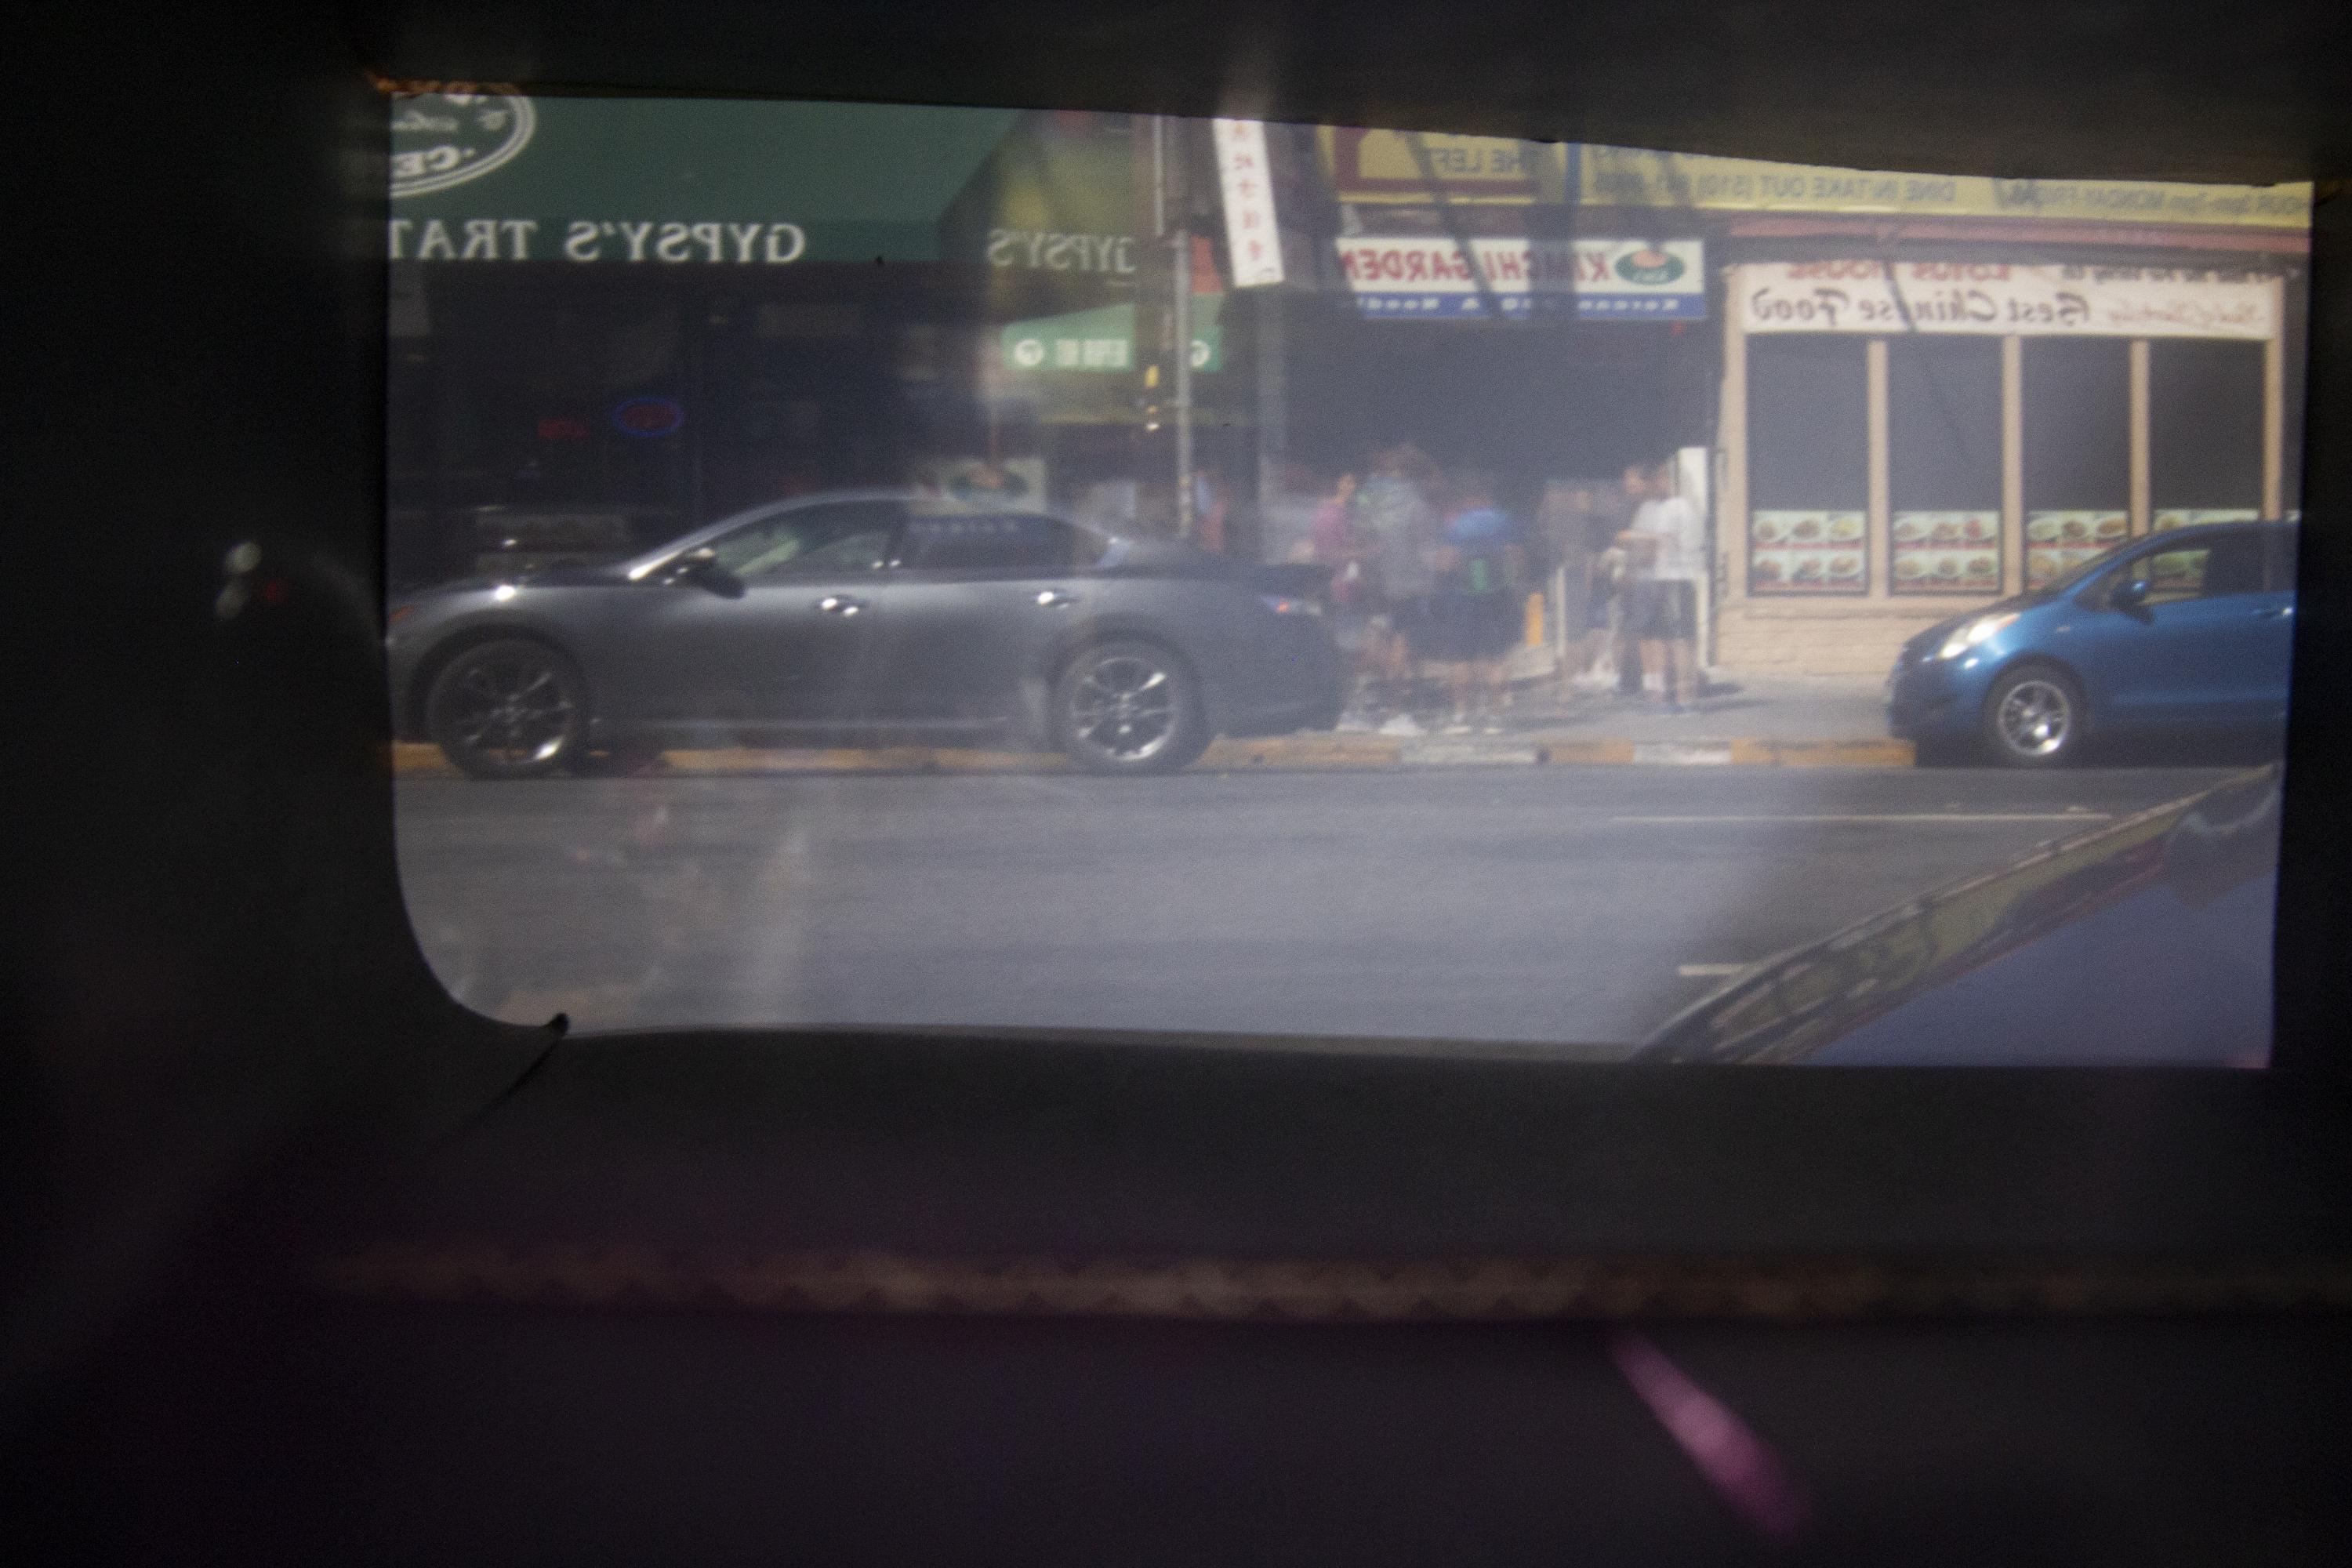
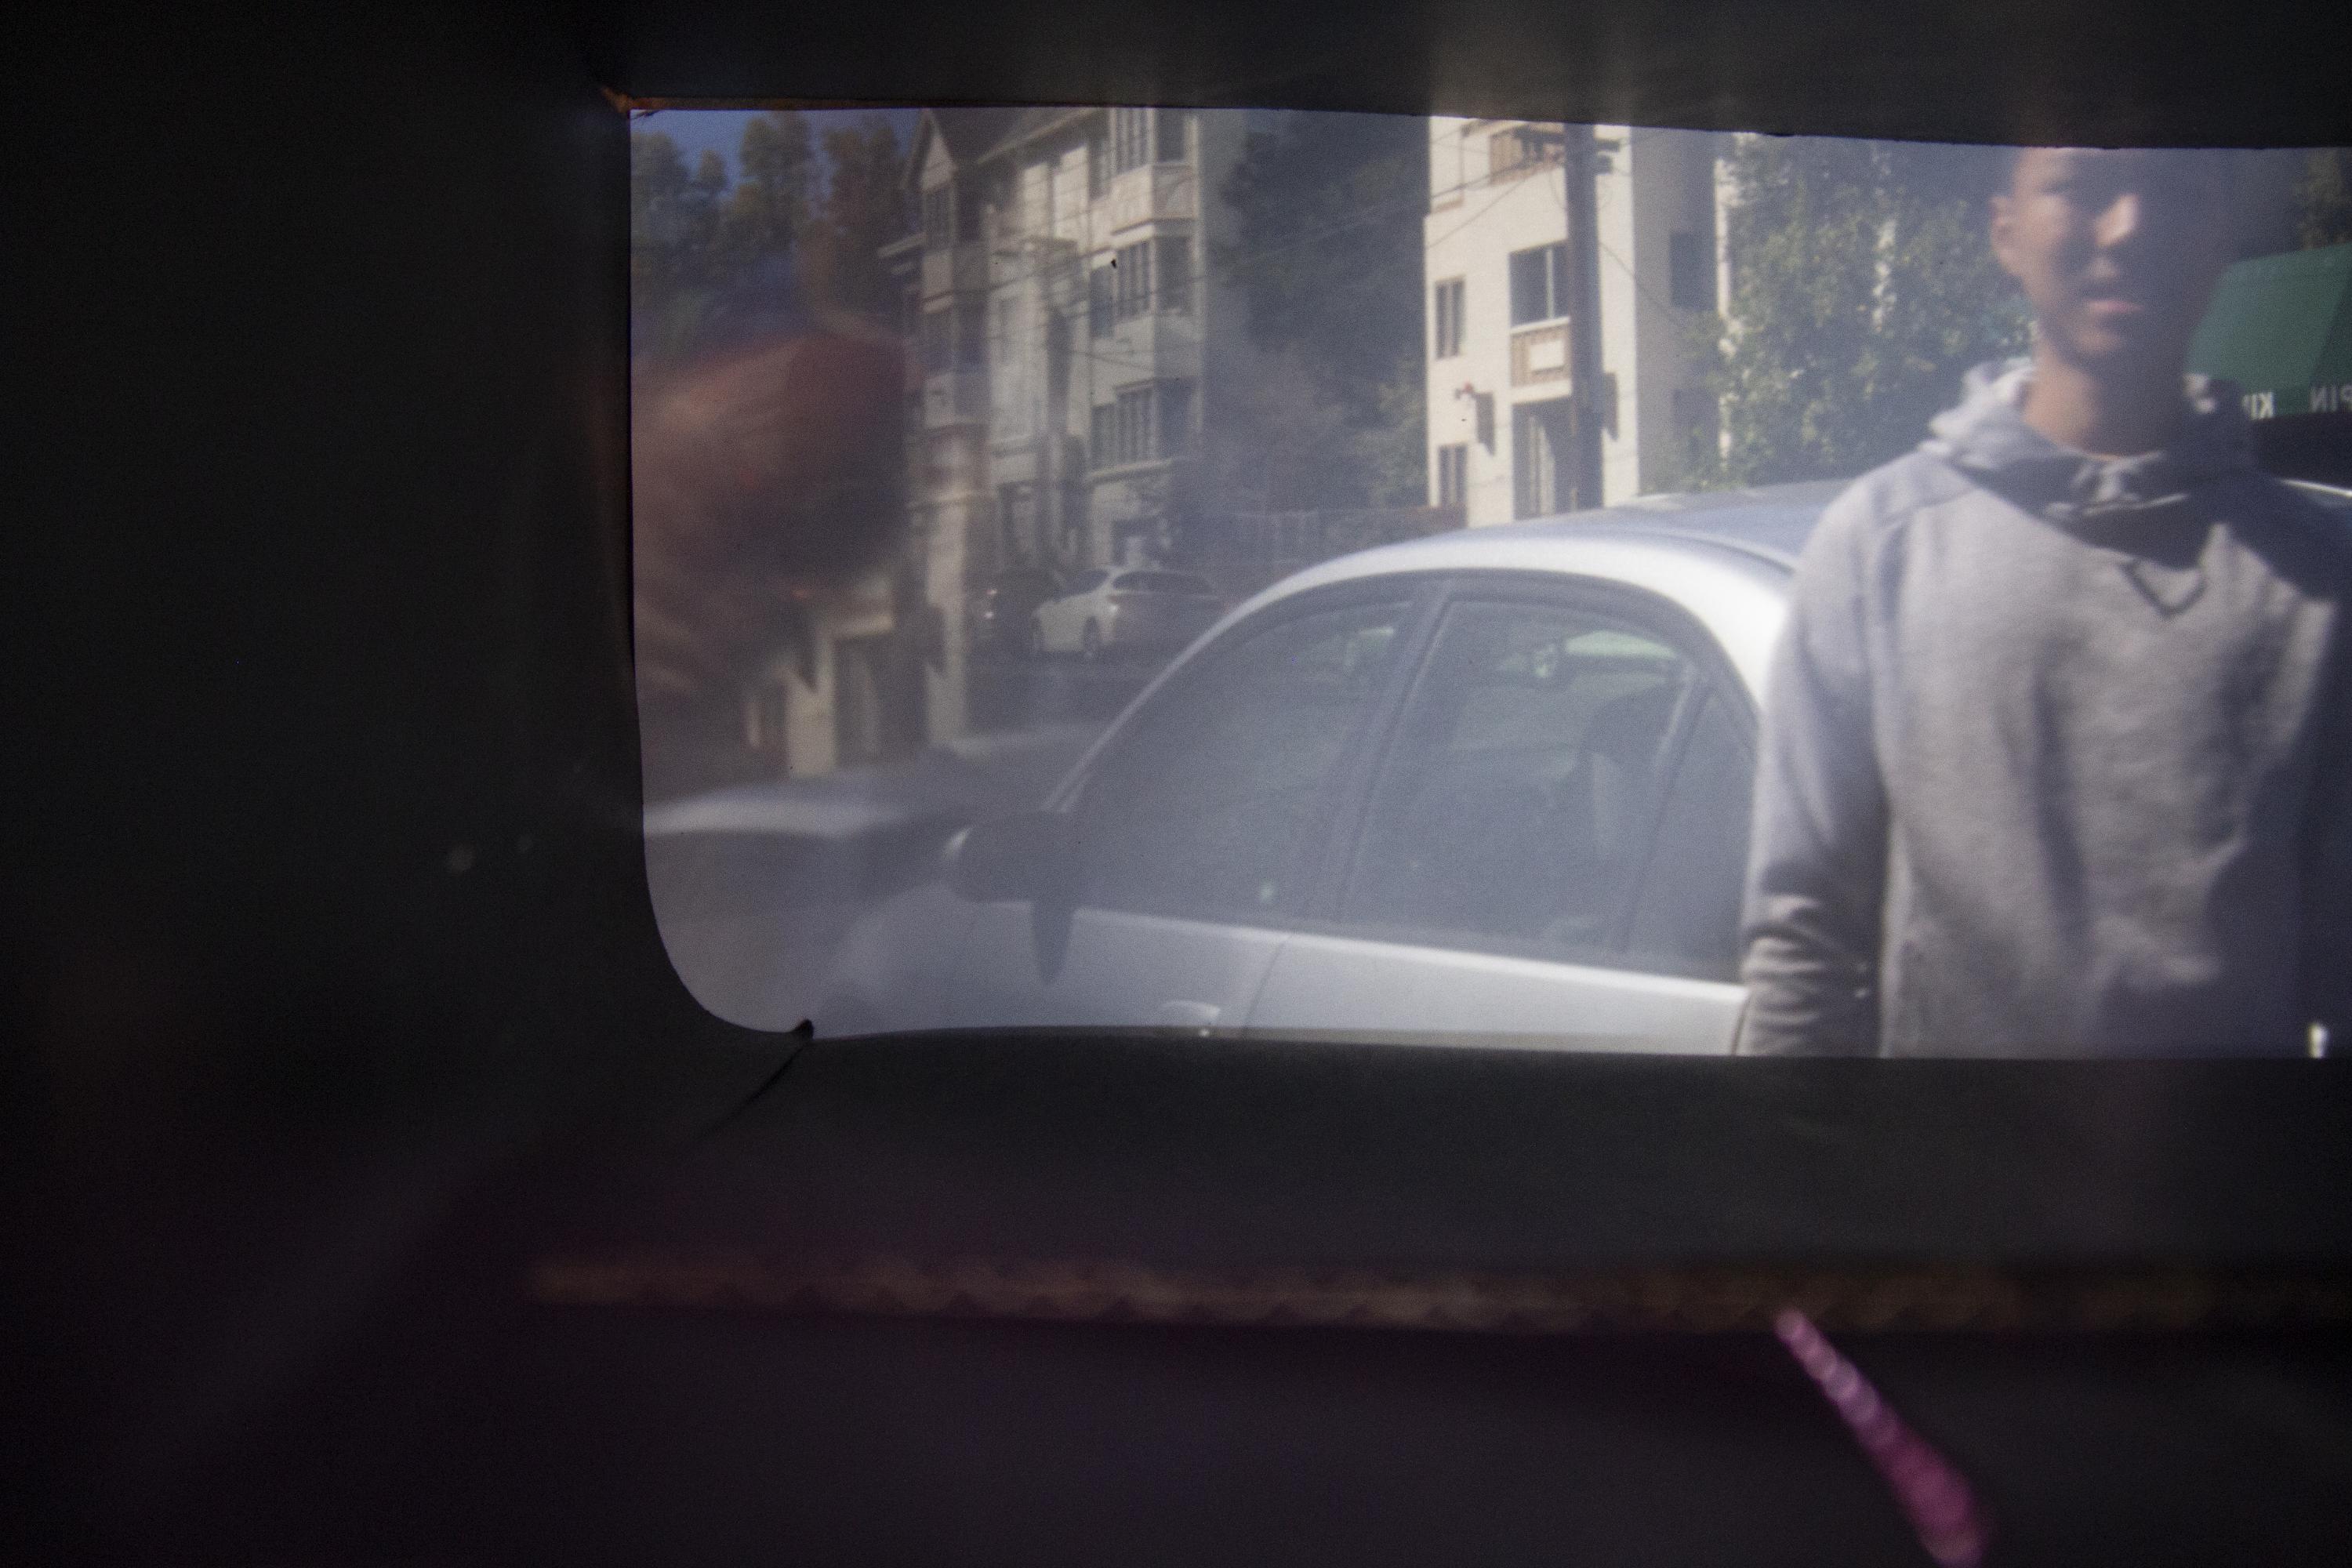
The pictures use pinhole sizes of .7, 3, and 7 millimeters and are presented in that order. The first picture (.7 mm) is very clear, with nice sharp edges and contrast. The second image uses the 3 mm pinhole which let a little more light in, hence why the image is a bit brighter. You can also tell that it looks slightly more blurry/hazy. The edges are not as sharp. You can tell in the images below that some definition of the handle is lost in the second image.

Pinhole Size 1
Pinhole Size 2
The third pinhole size has a lot more light and is a lot blurrier. The larger pinholes are more blurry because it allows light at other angles to stream in. This blurs the image.

Pinhole Size 1
Pinhole Size 2
Pinhole Size 3

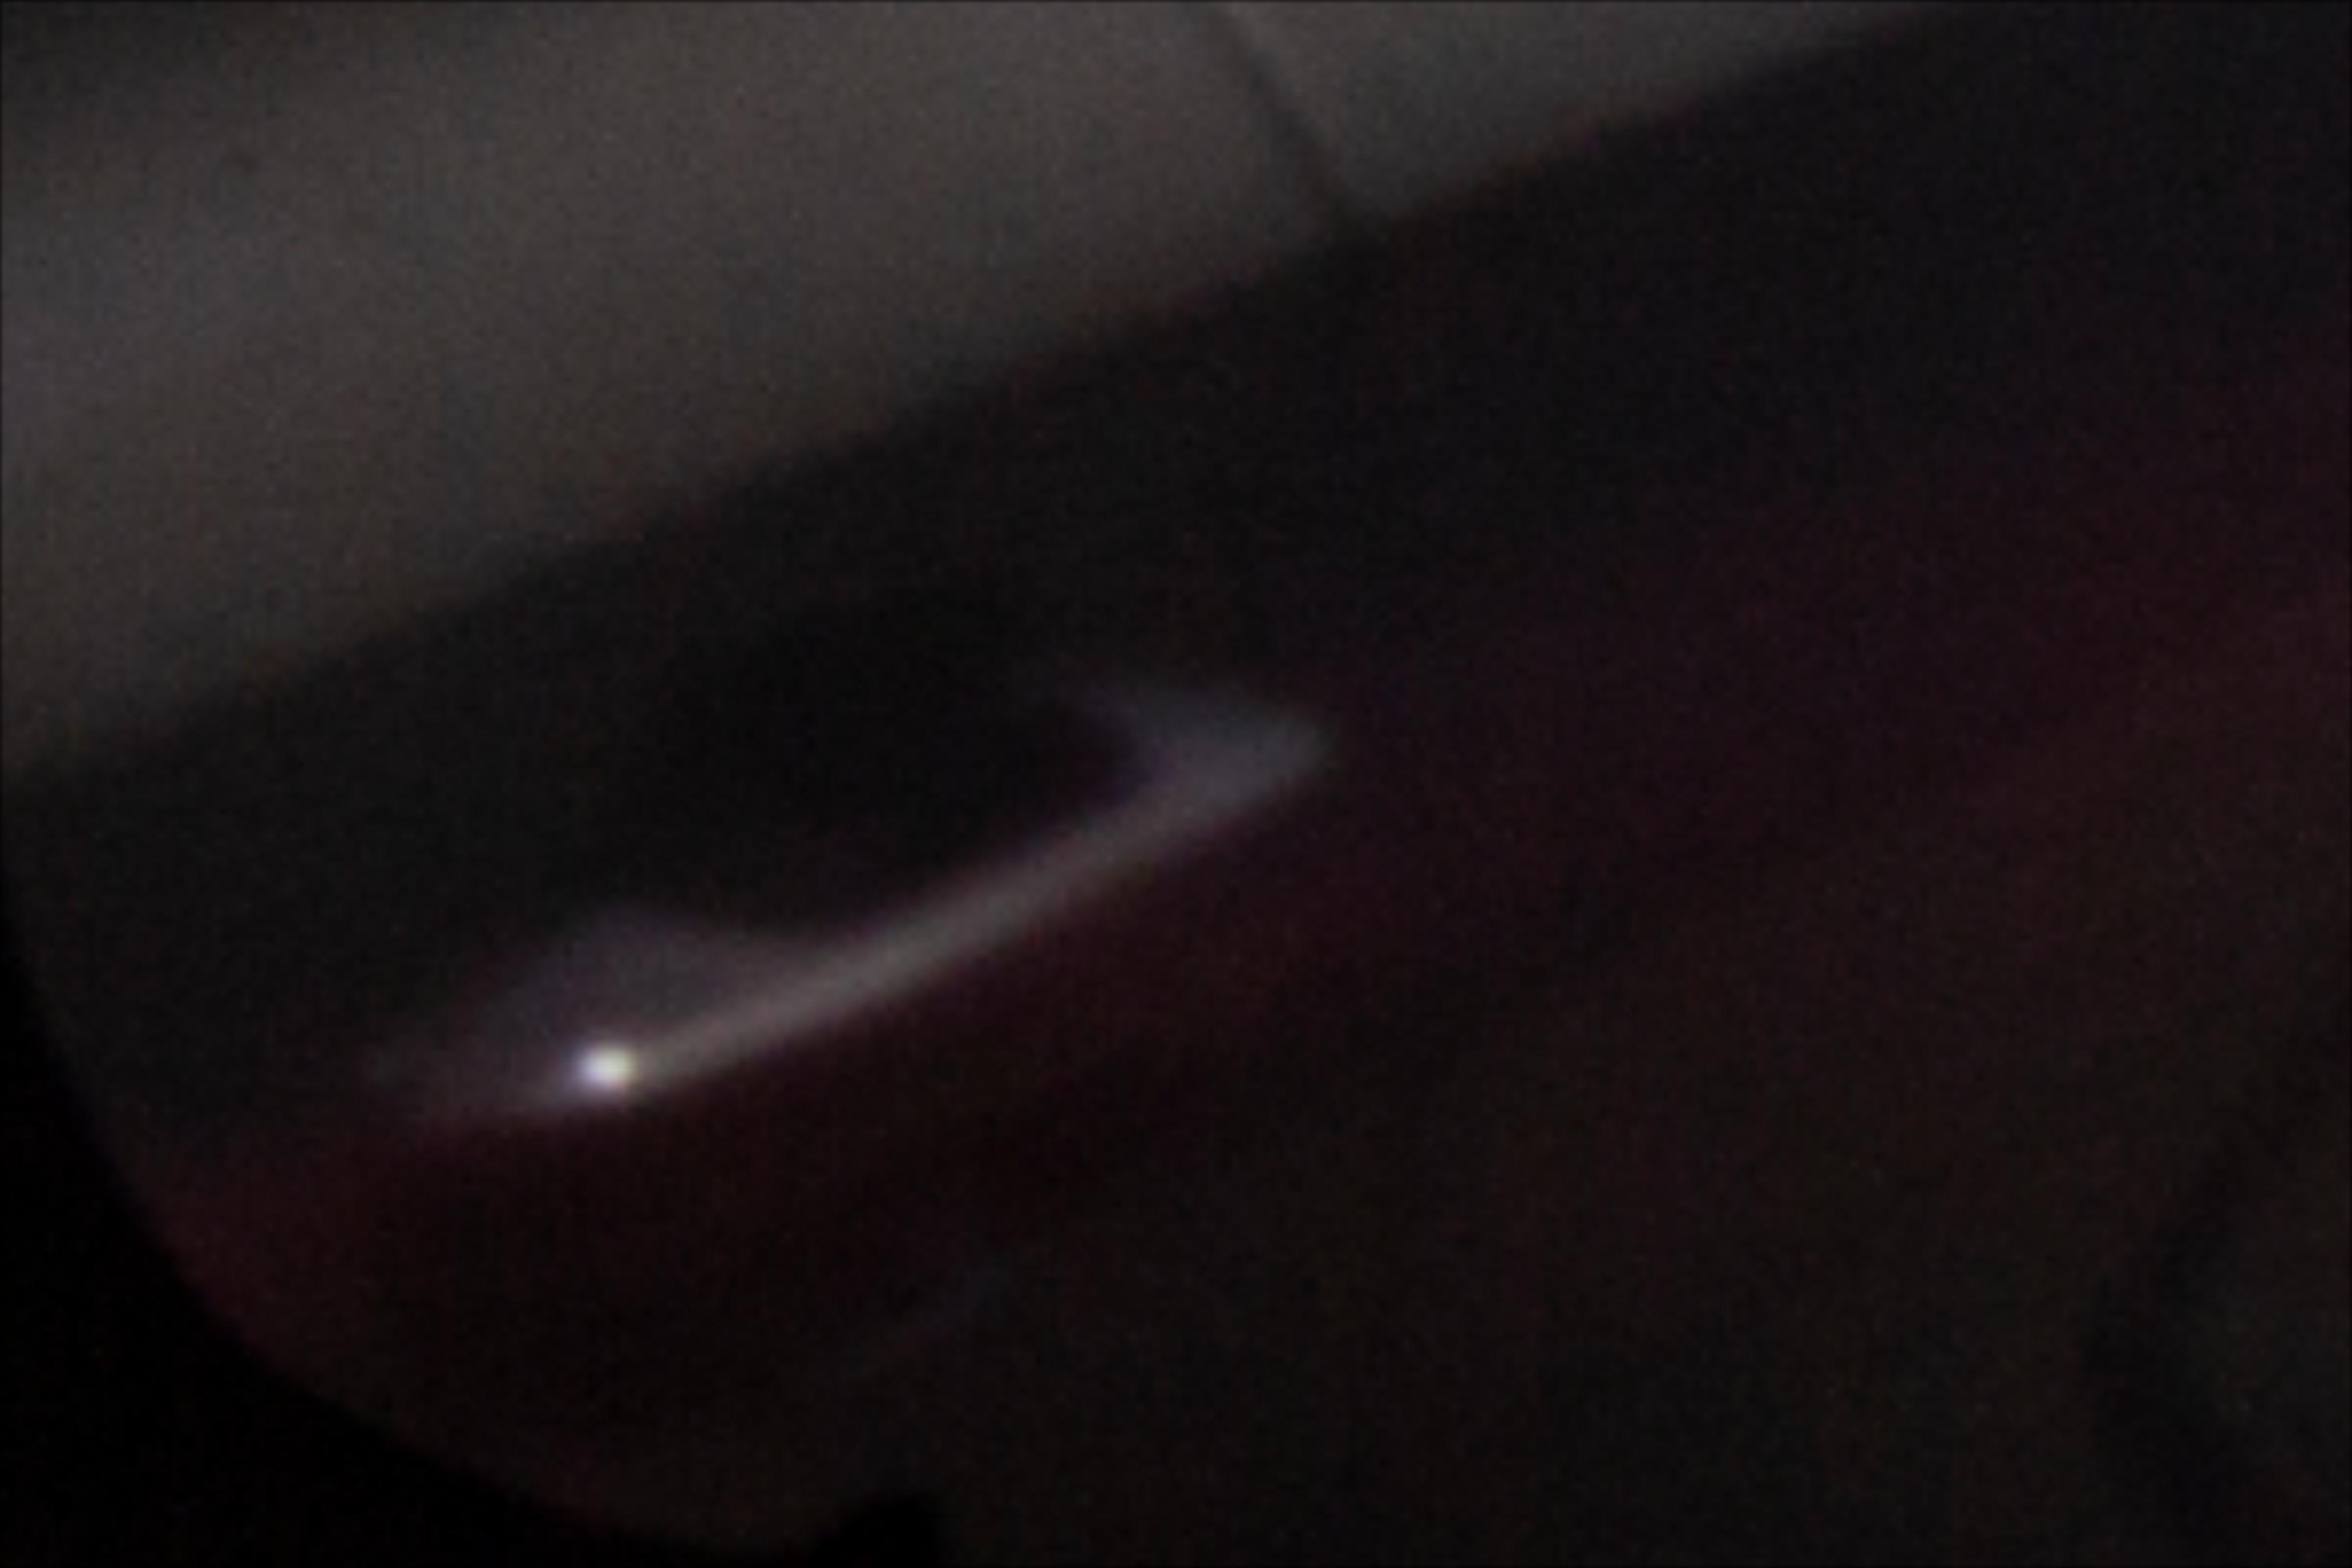
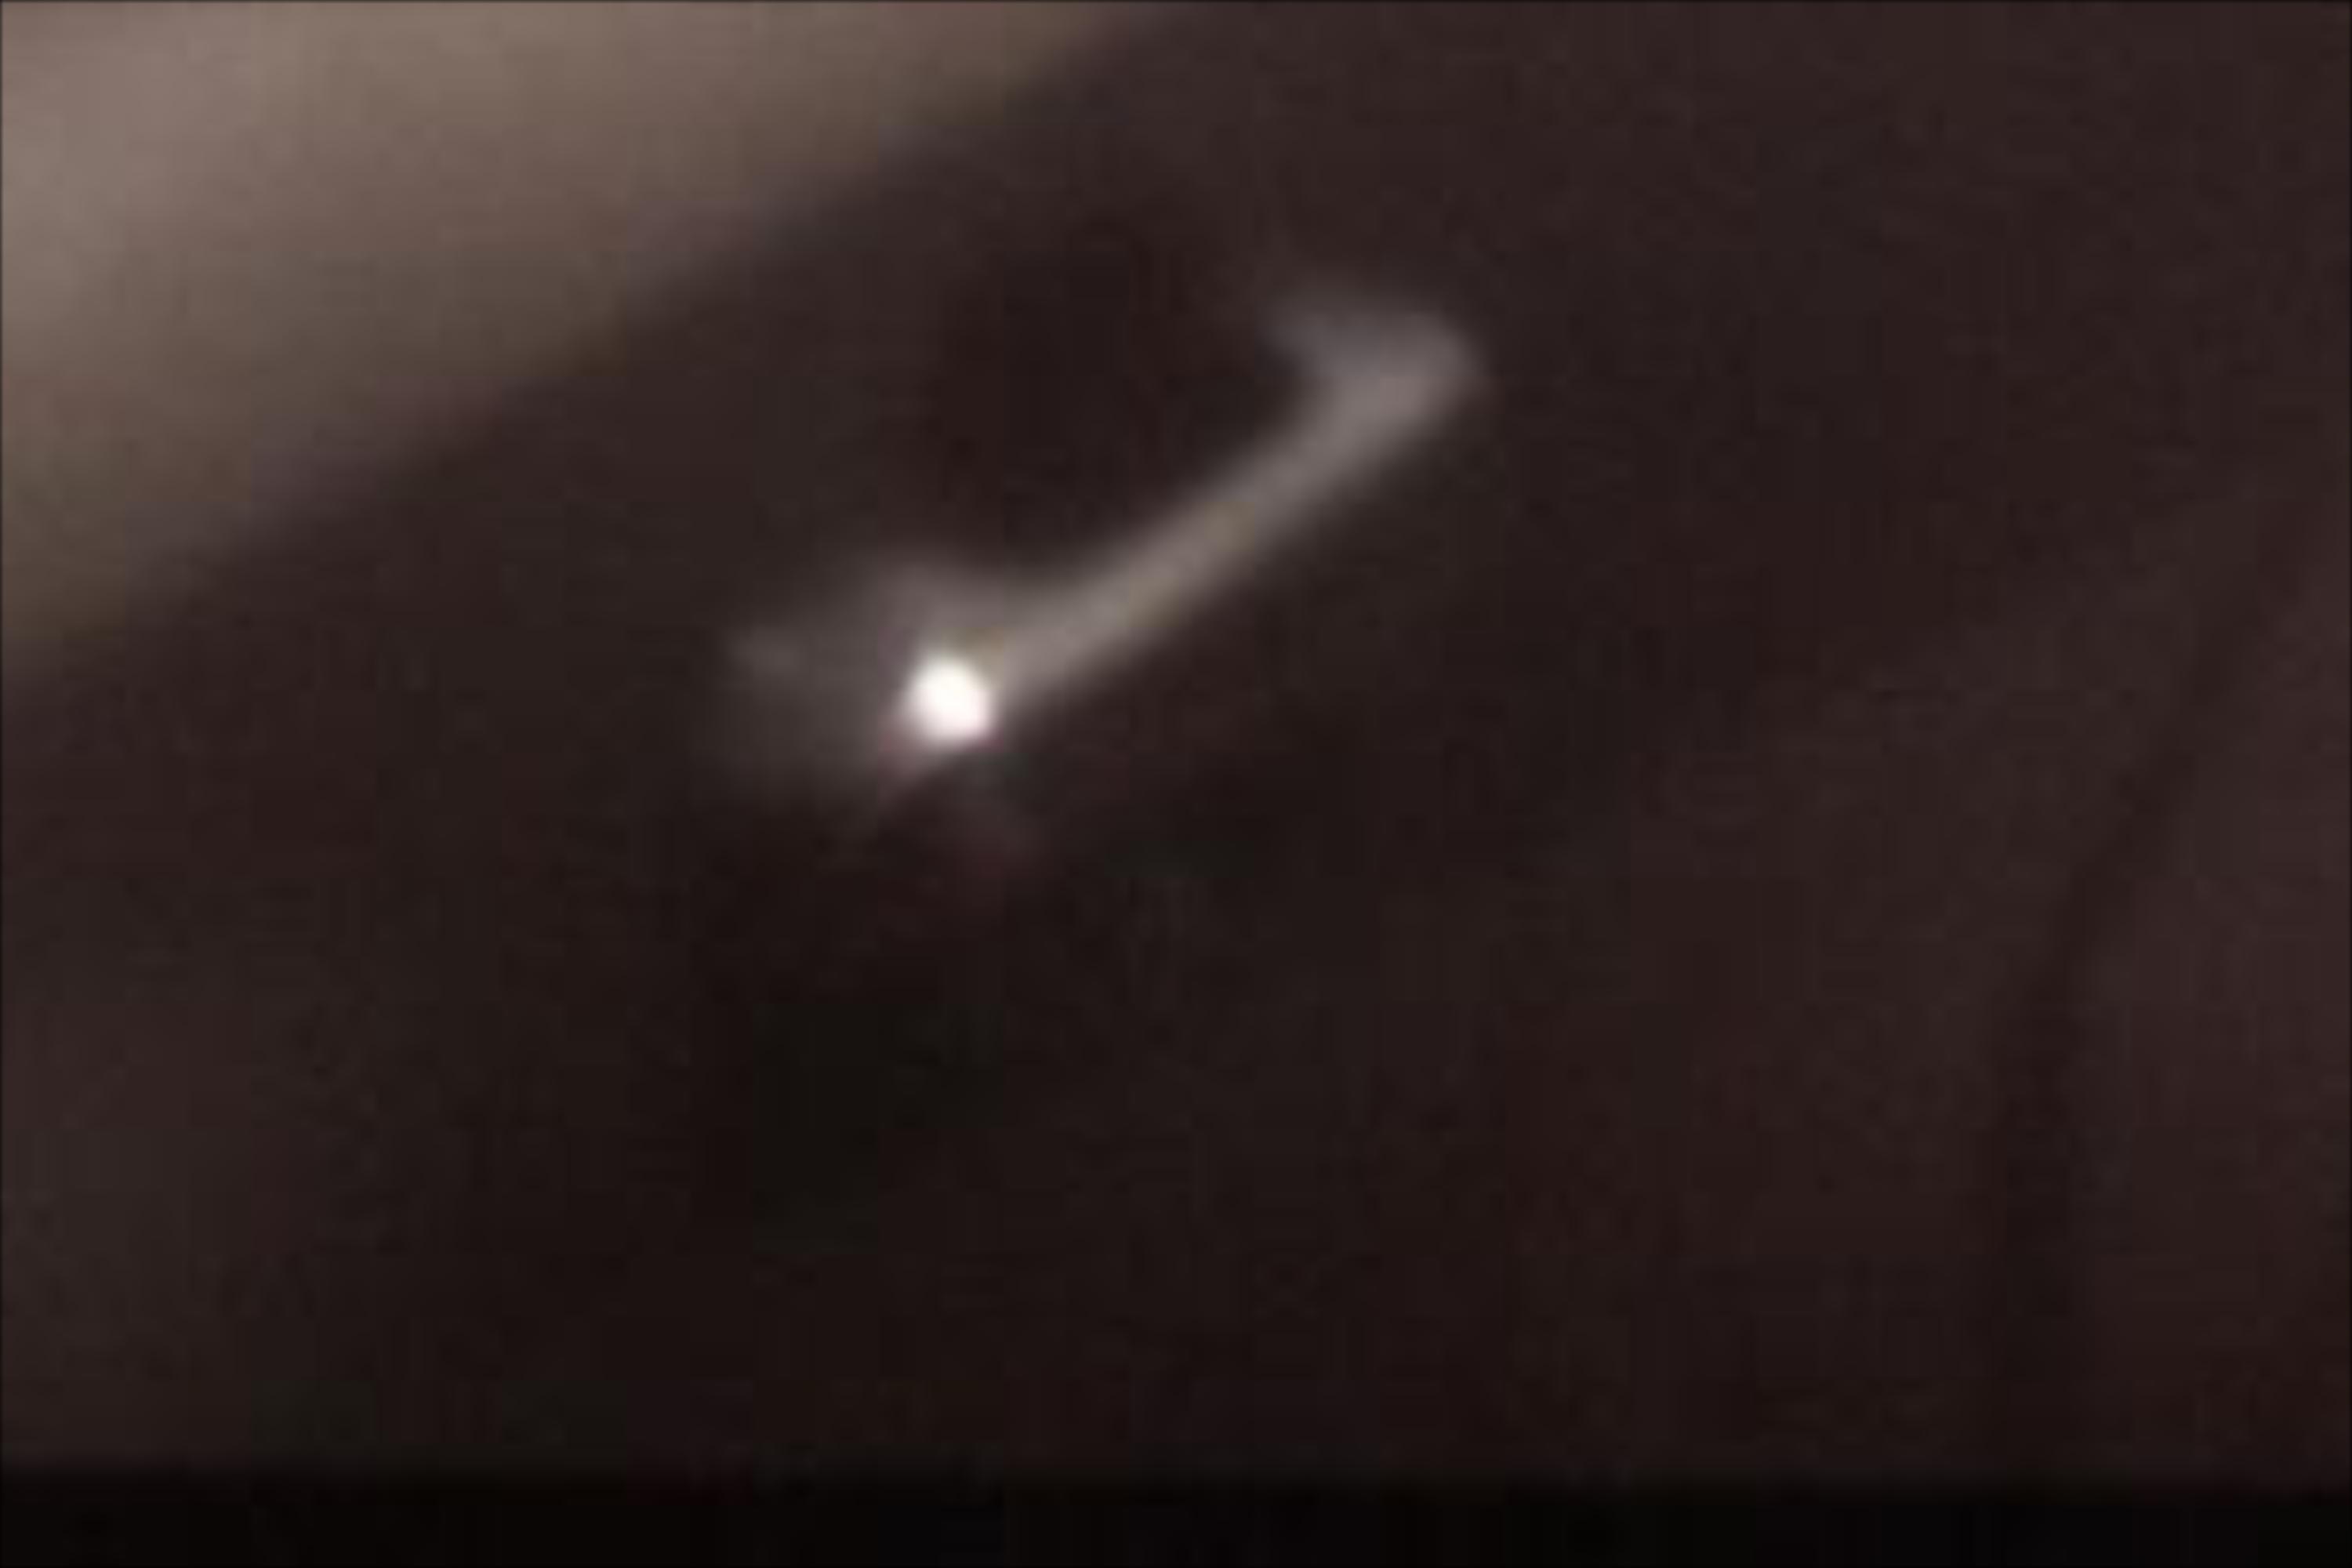
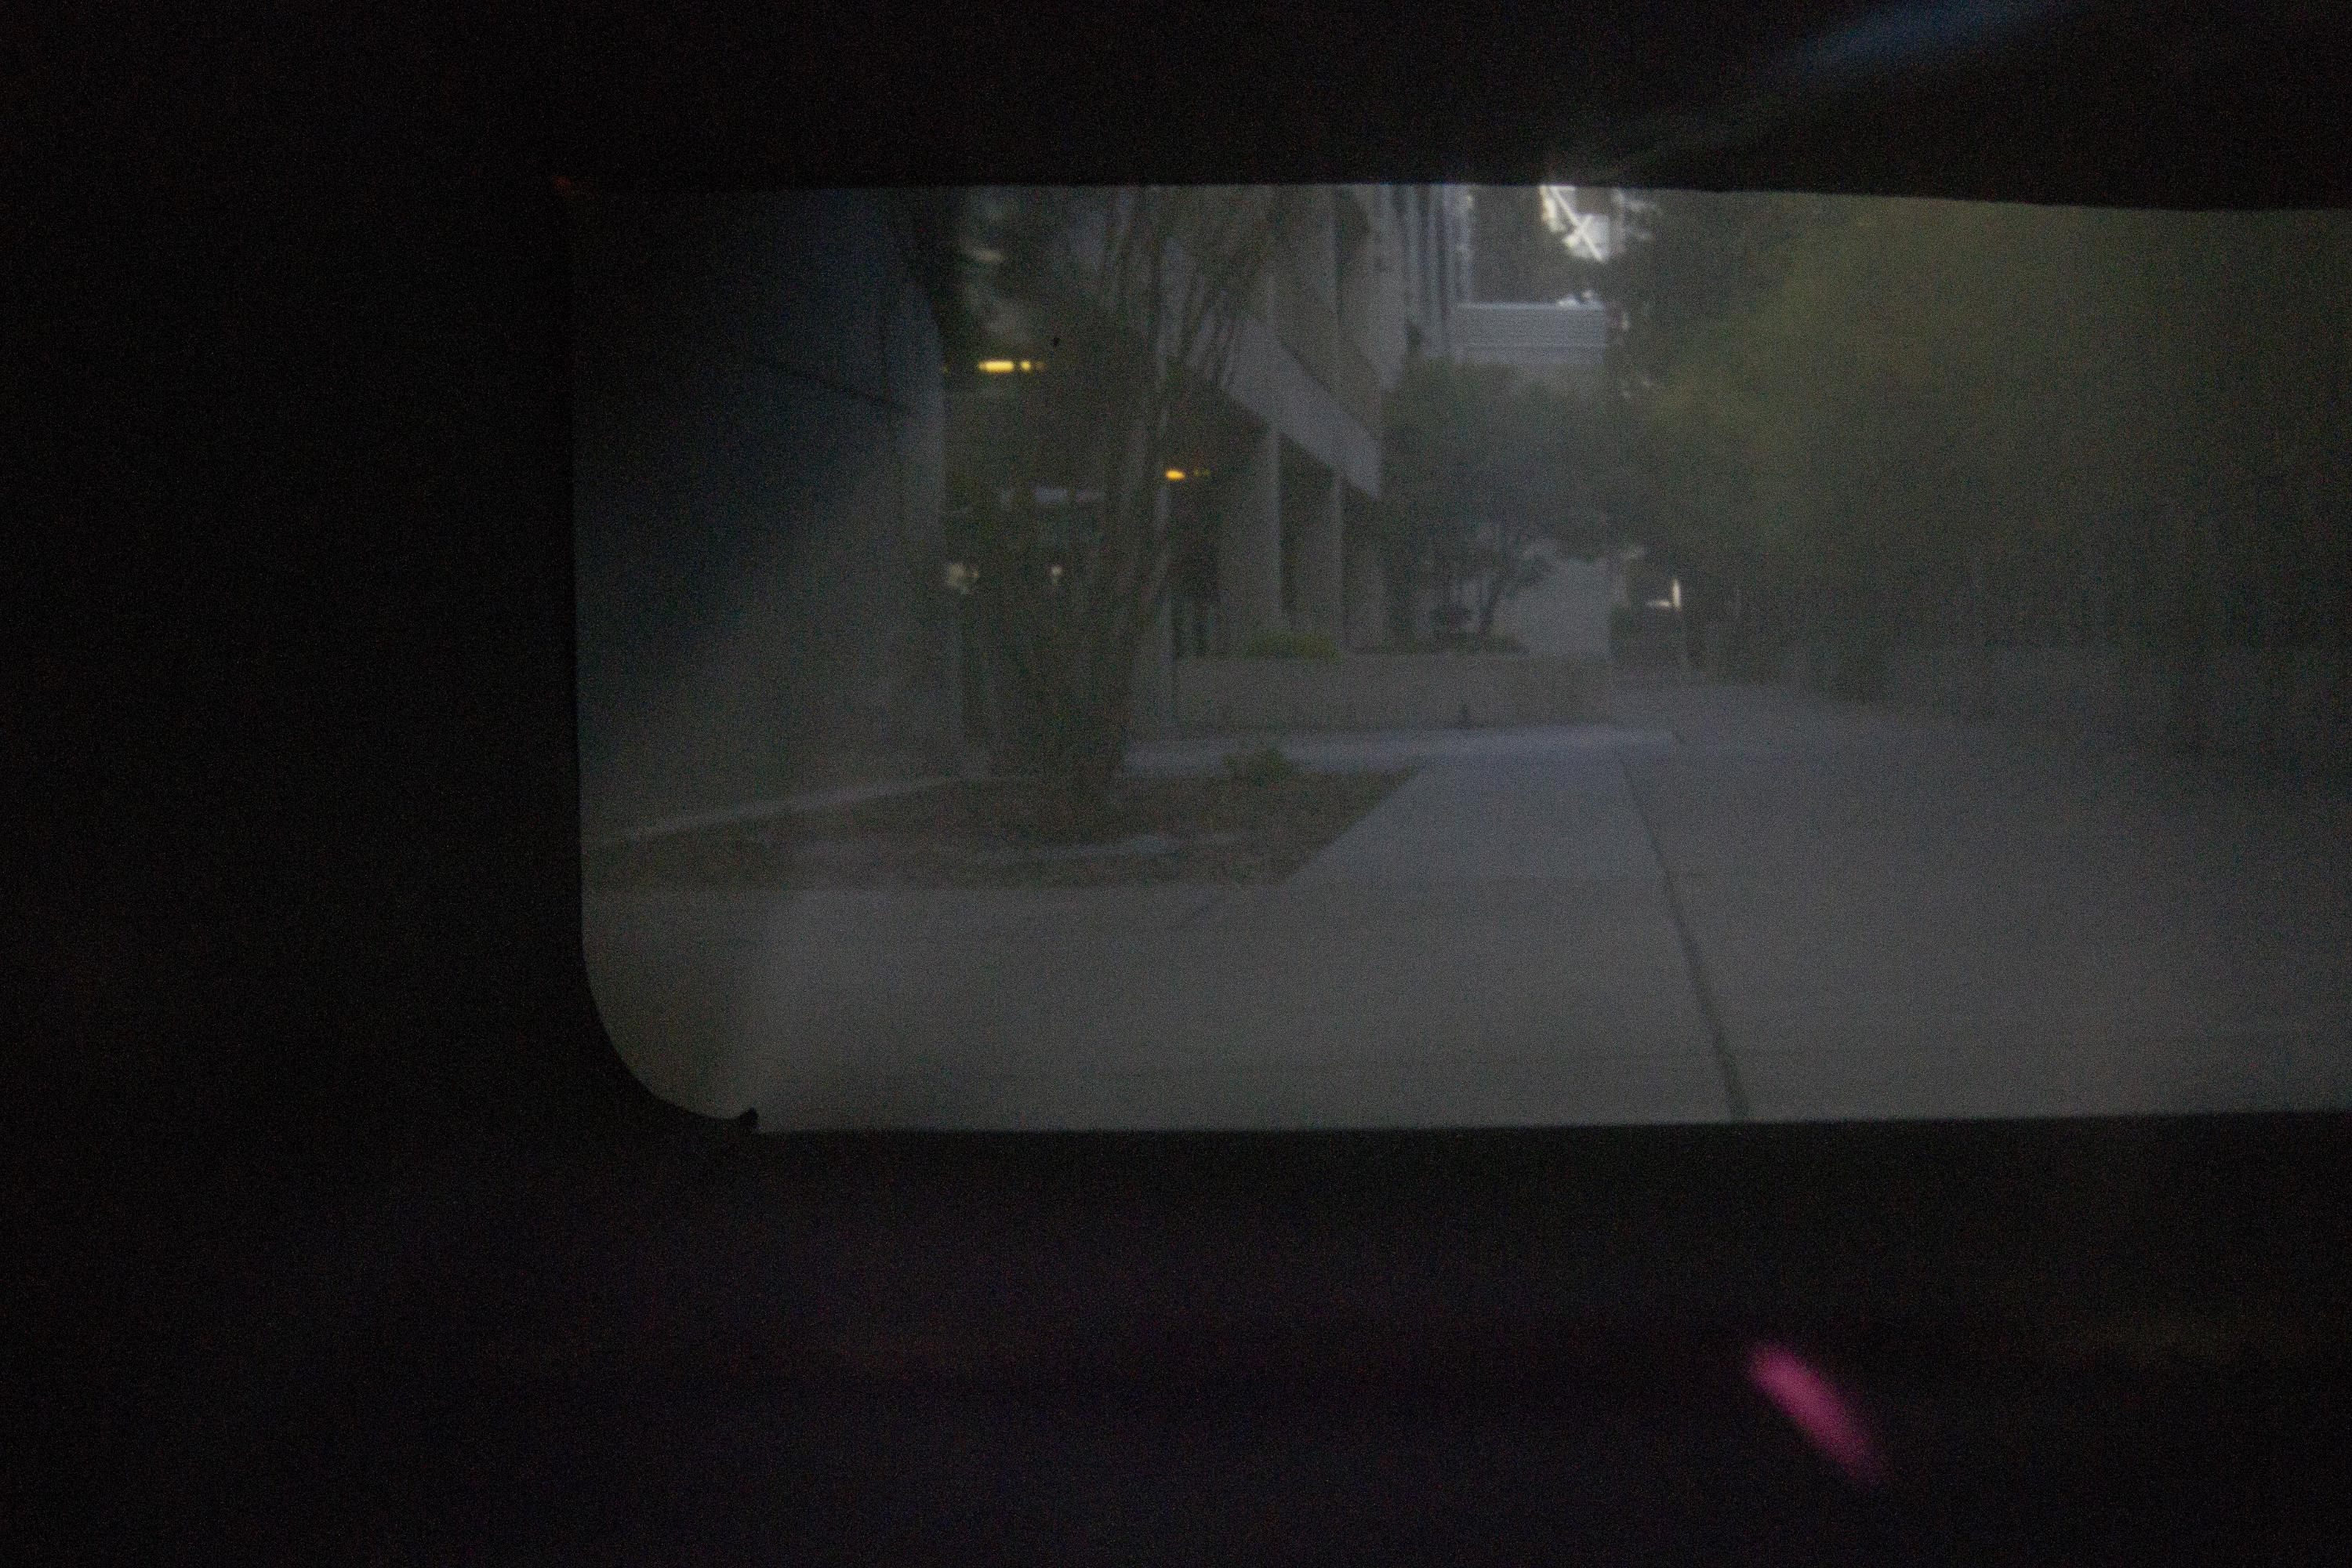
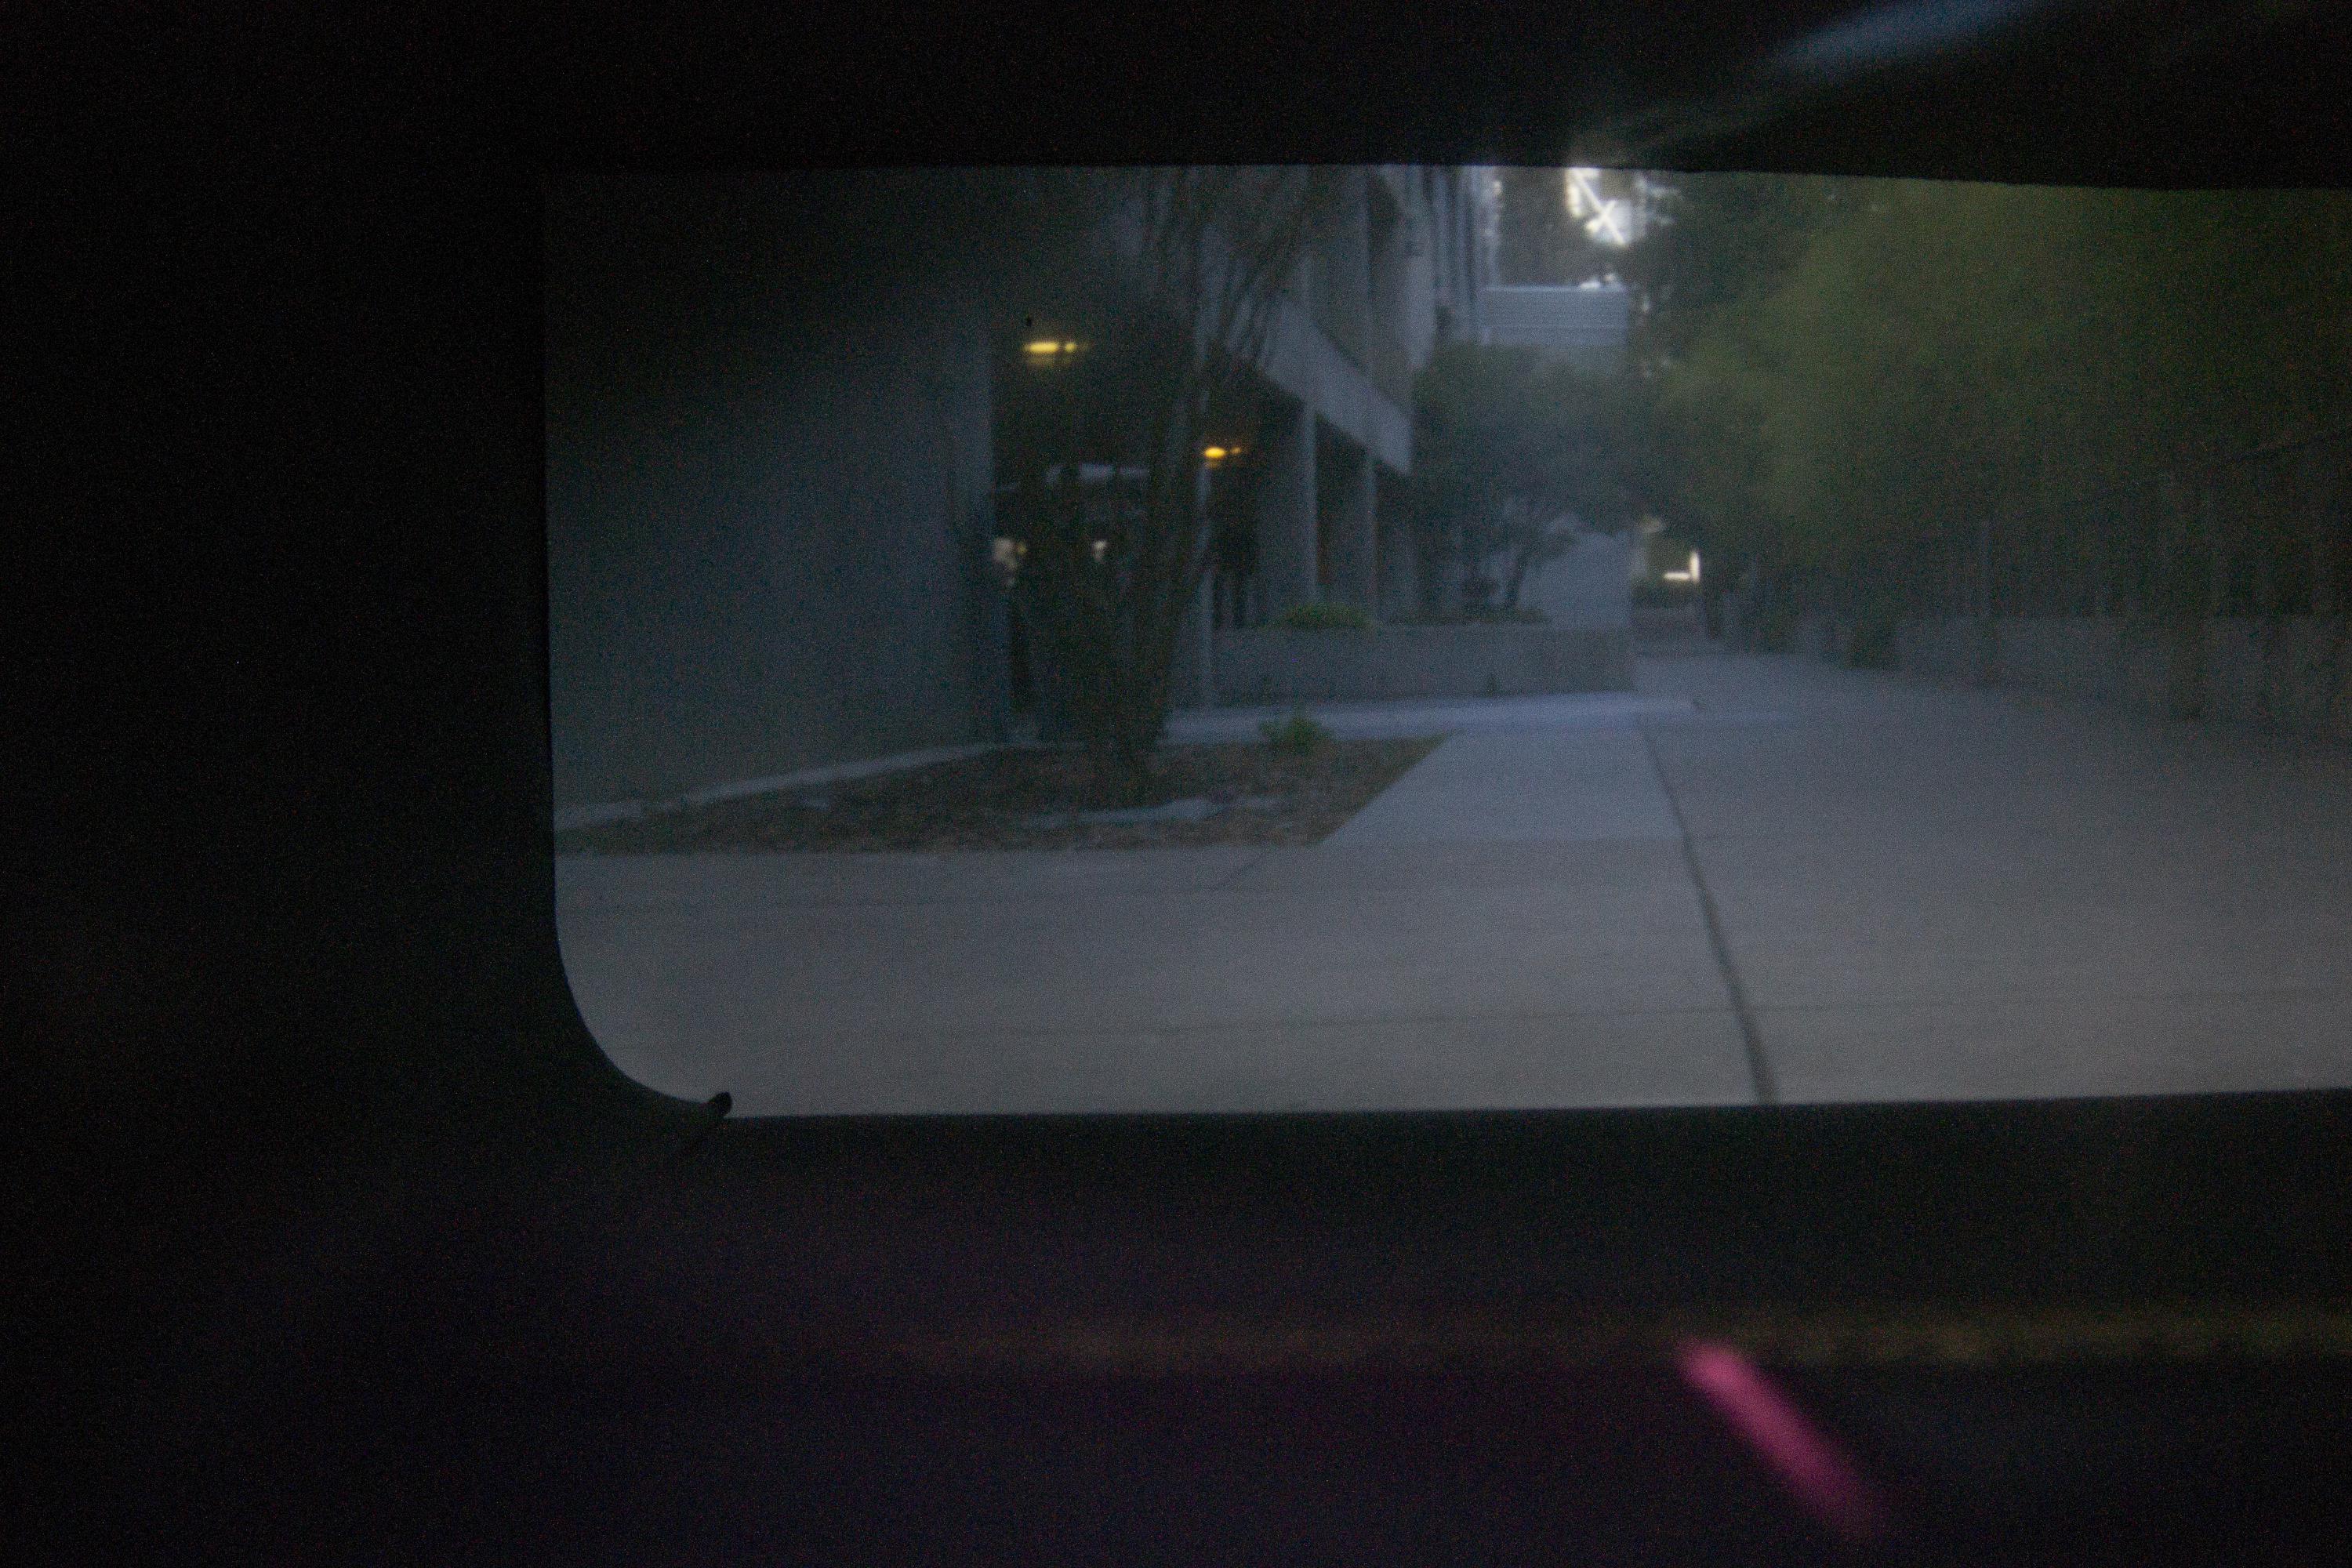
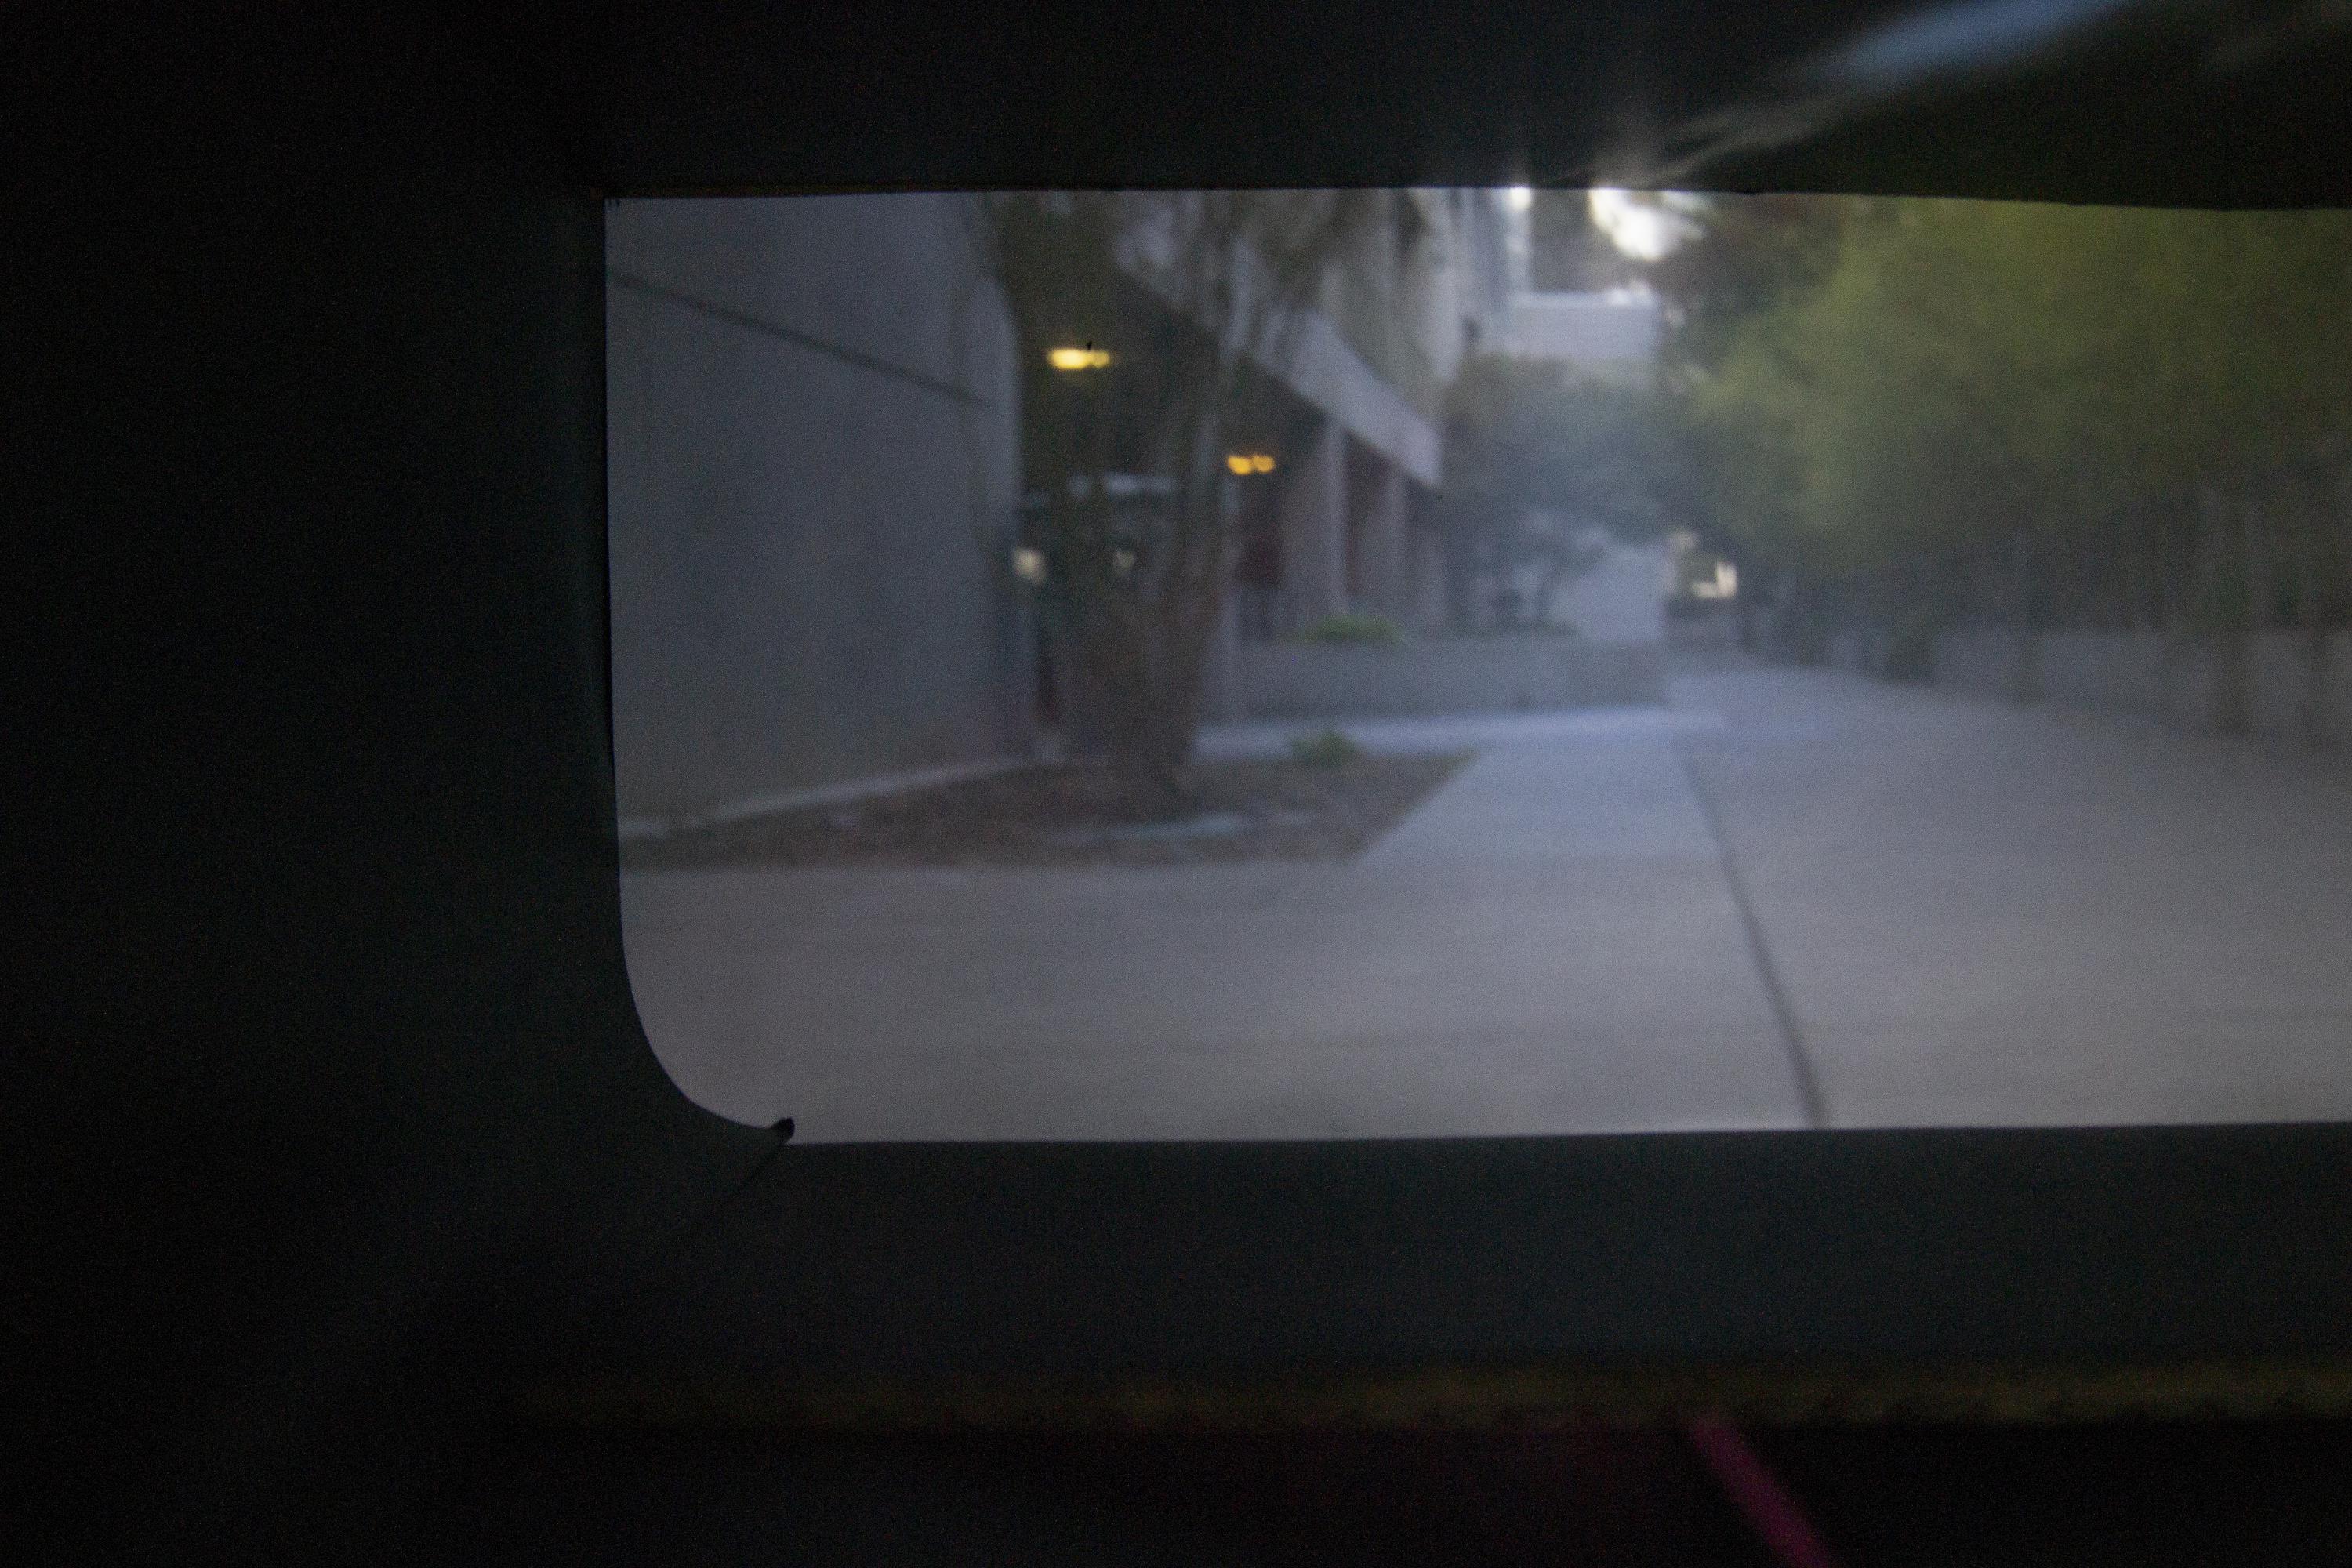
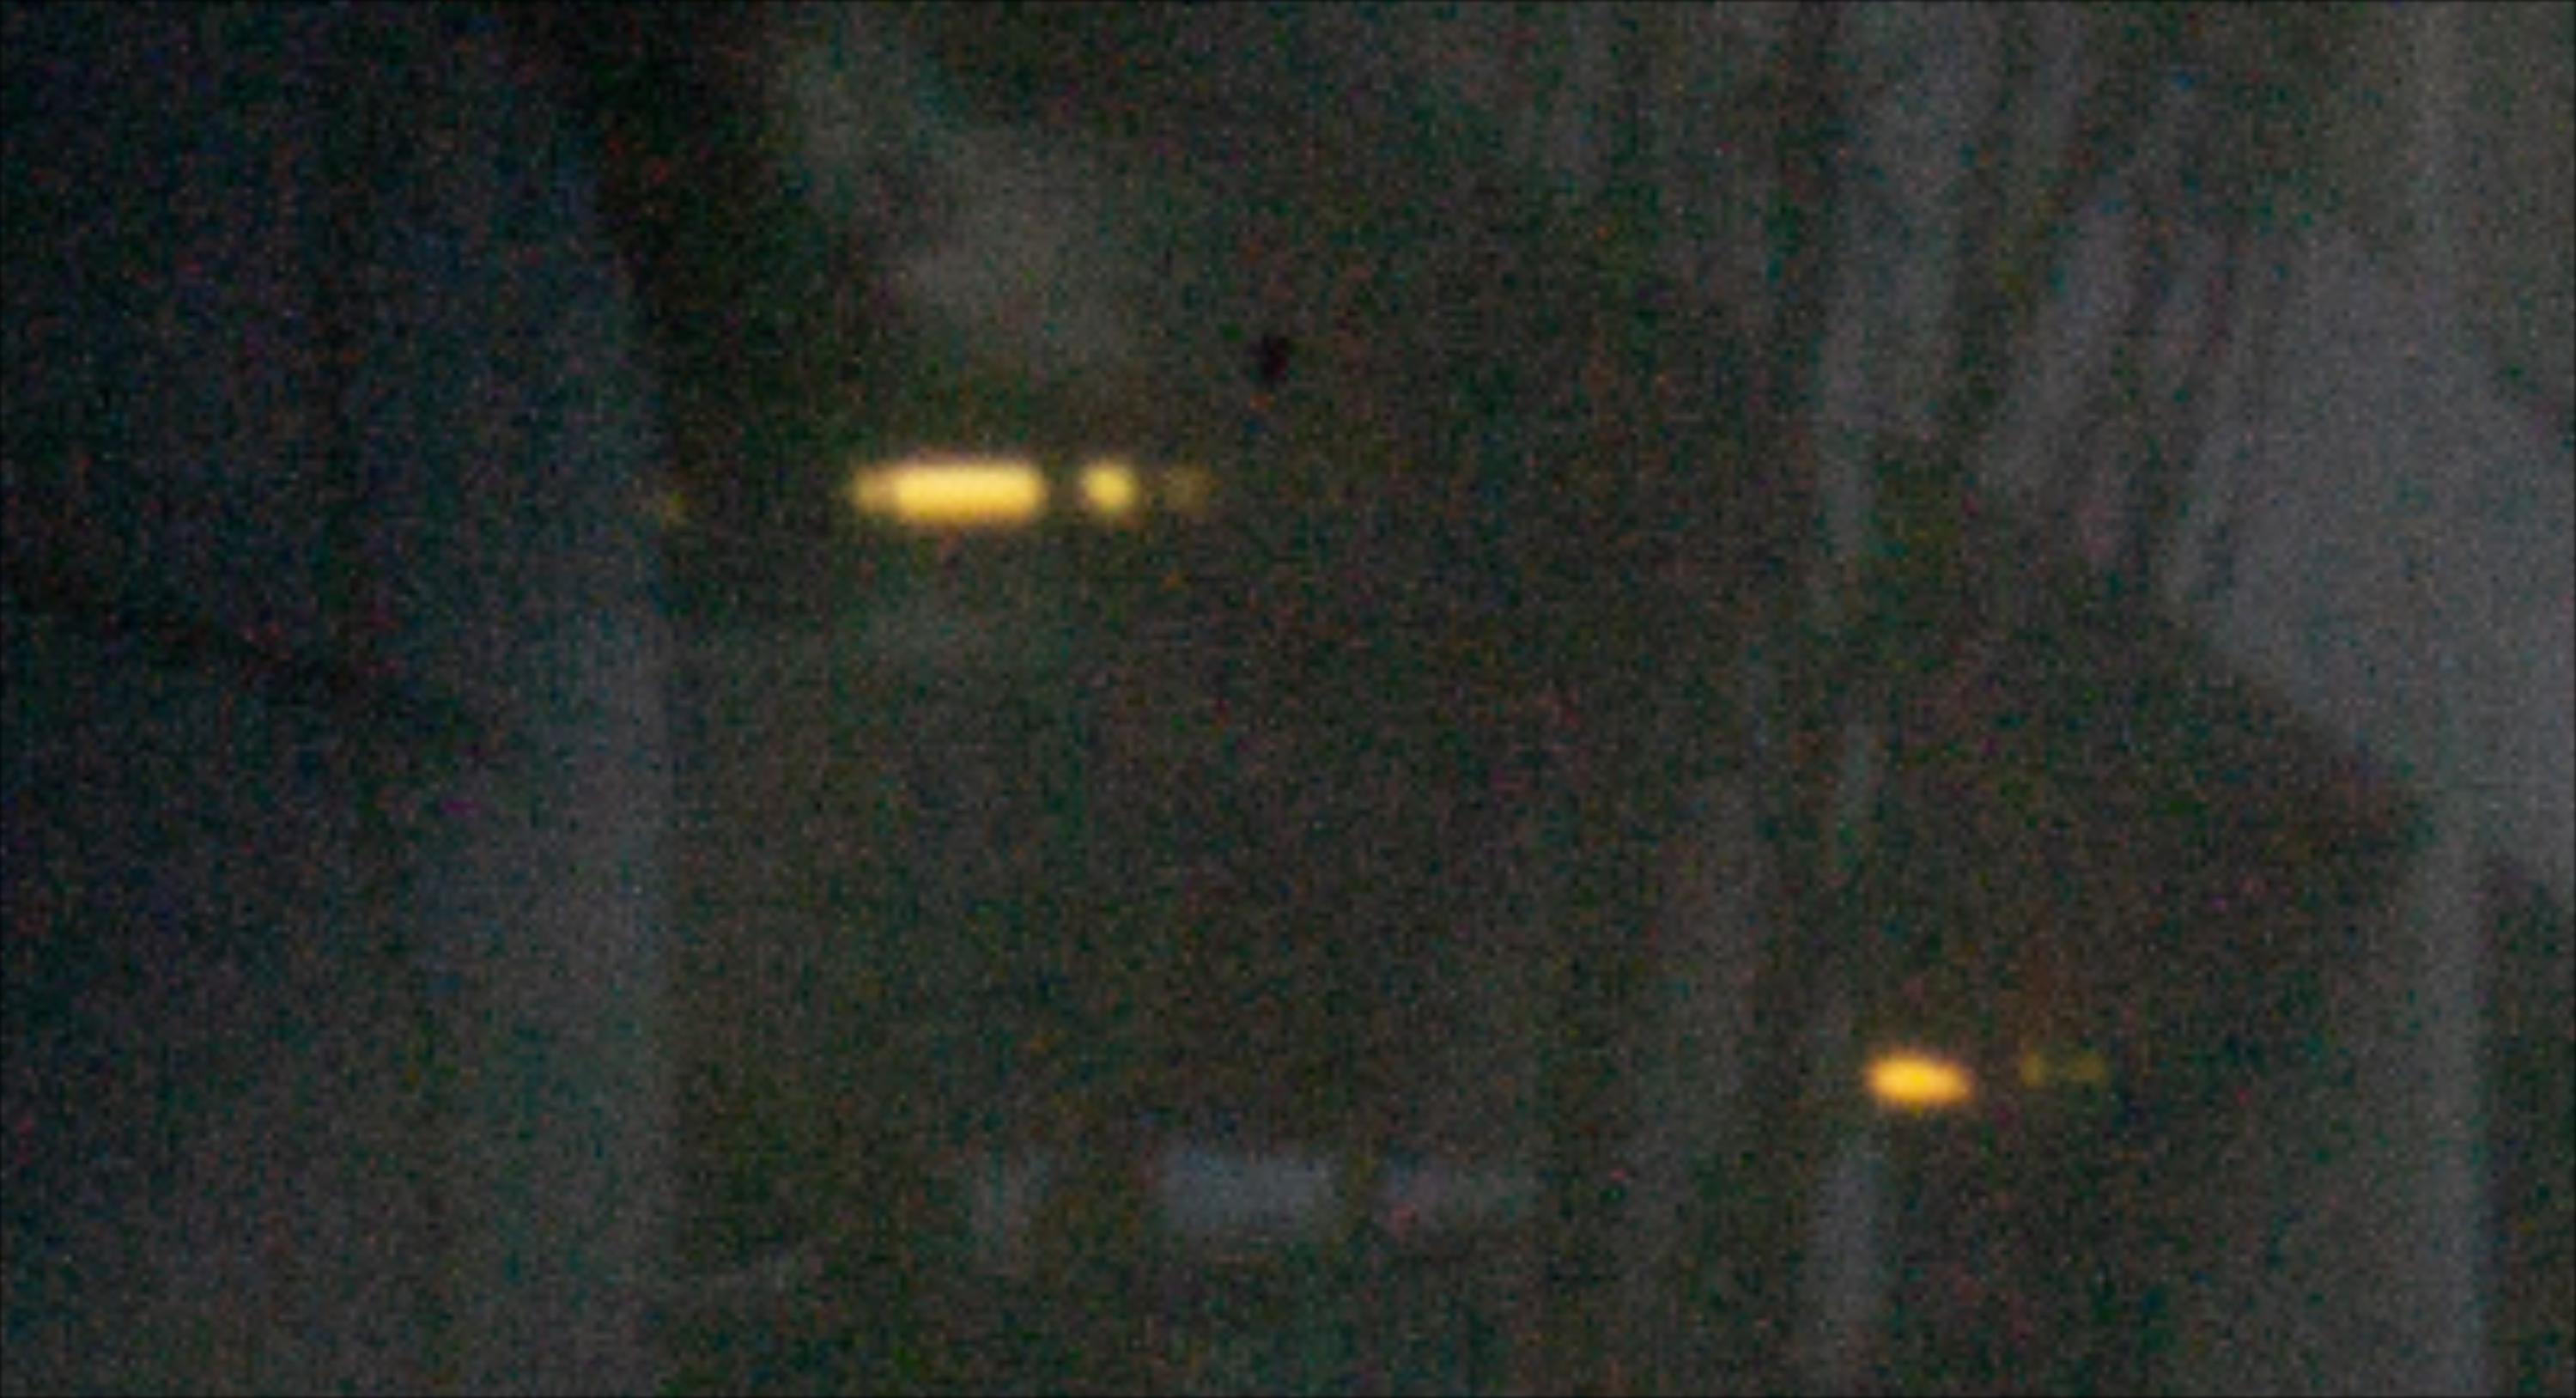
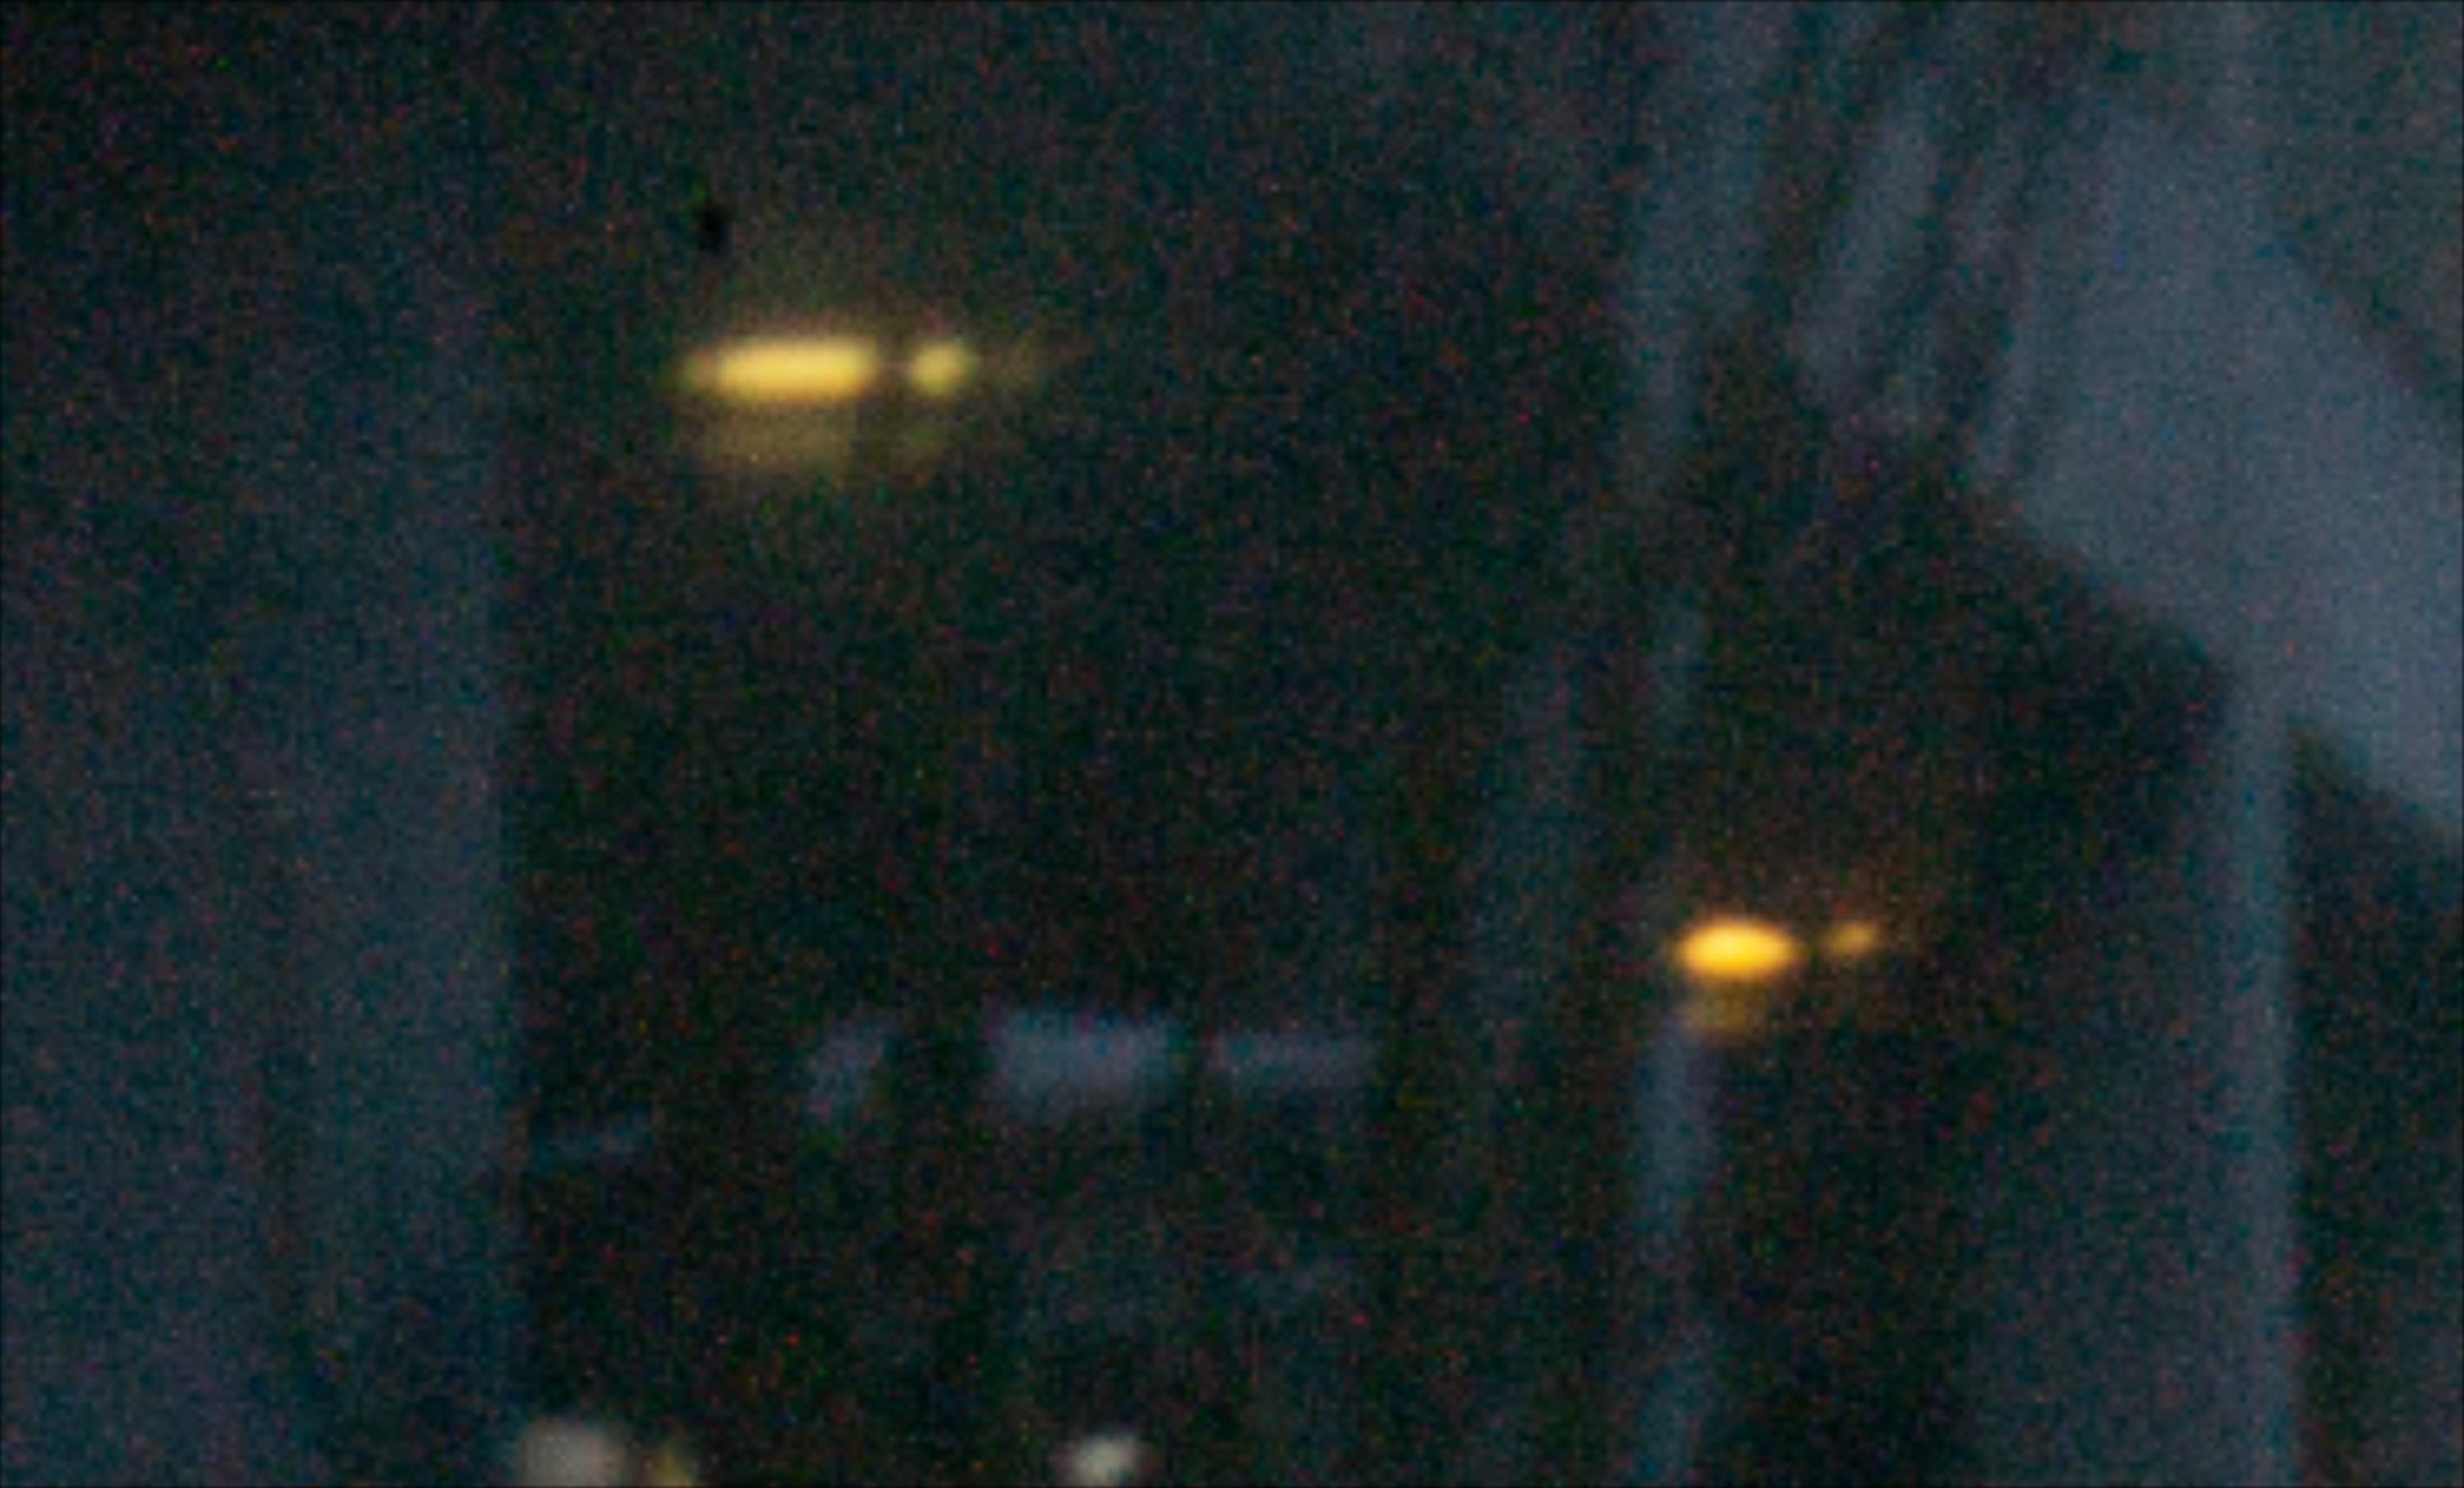
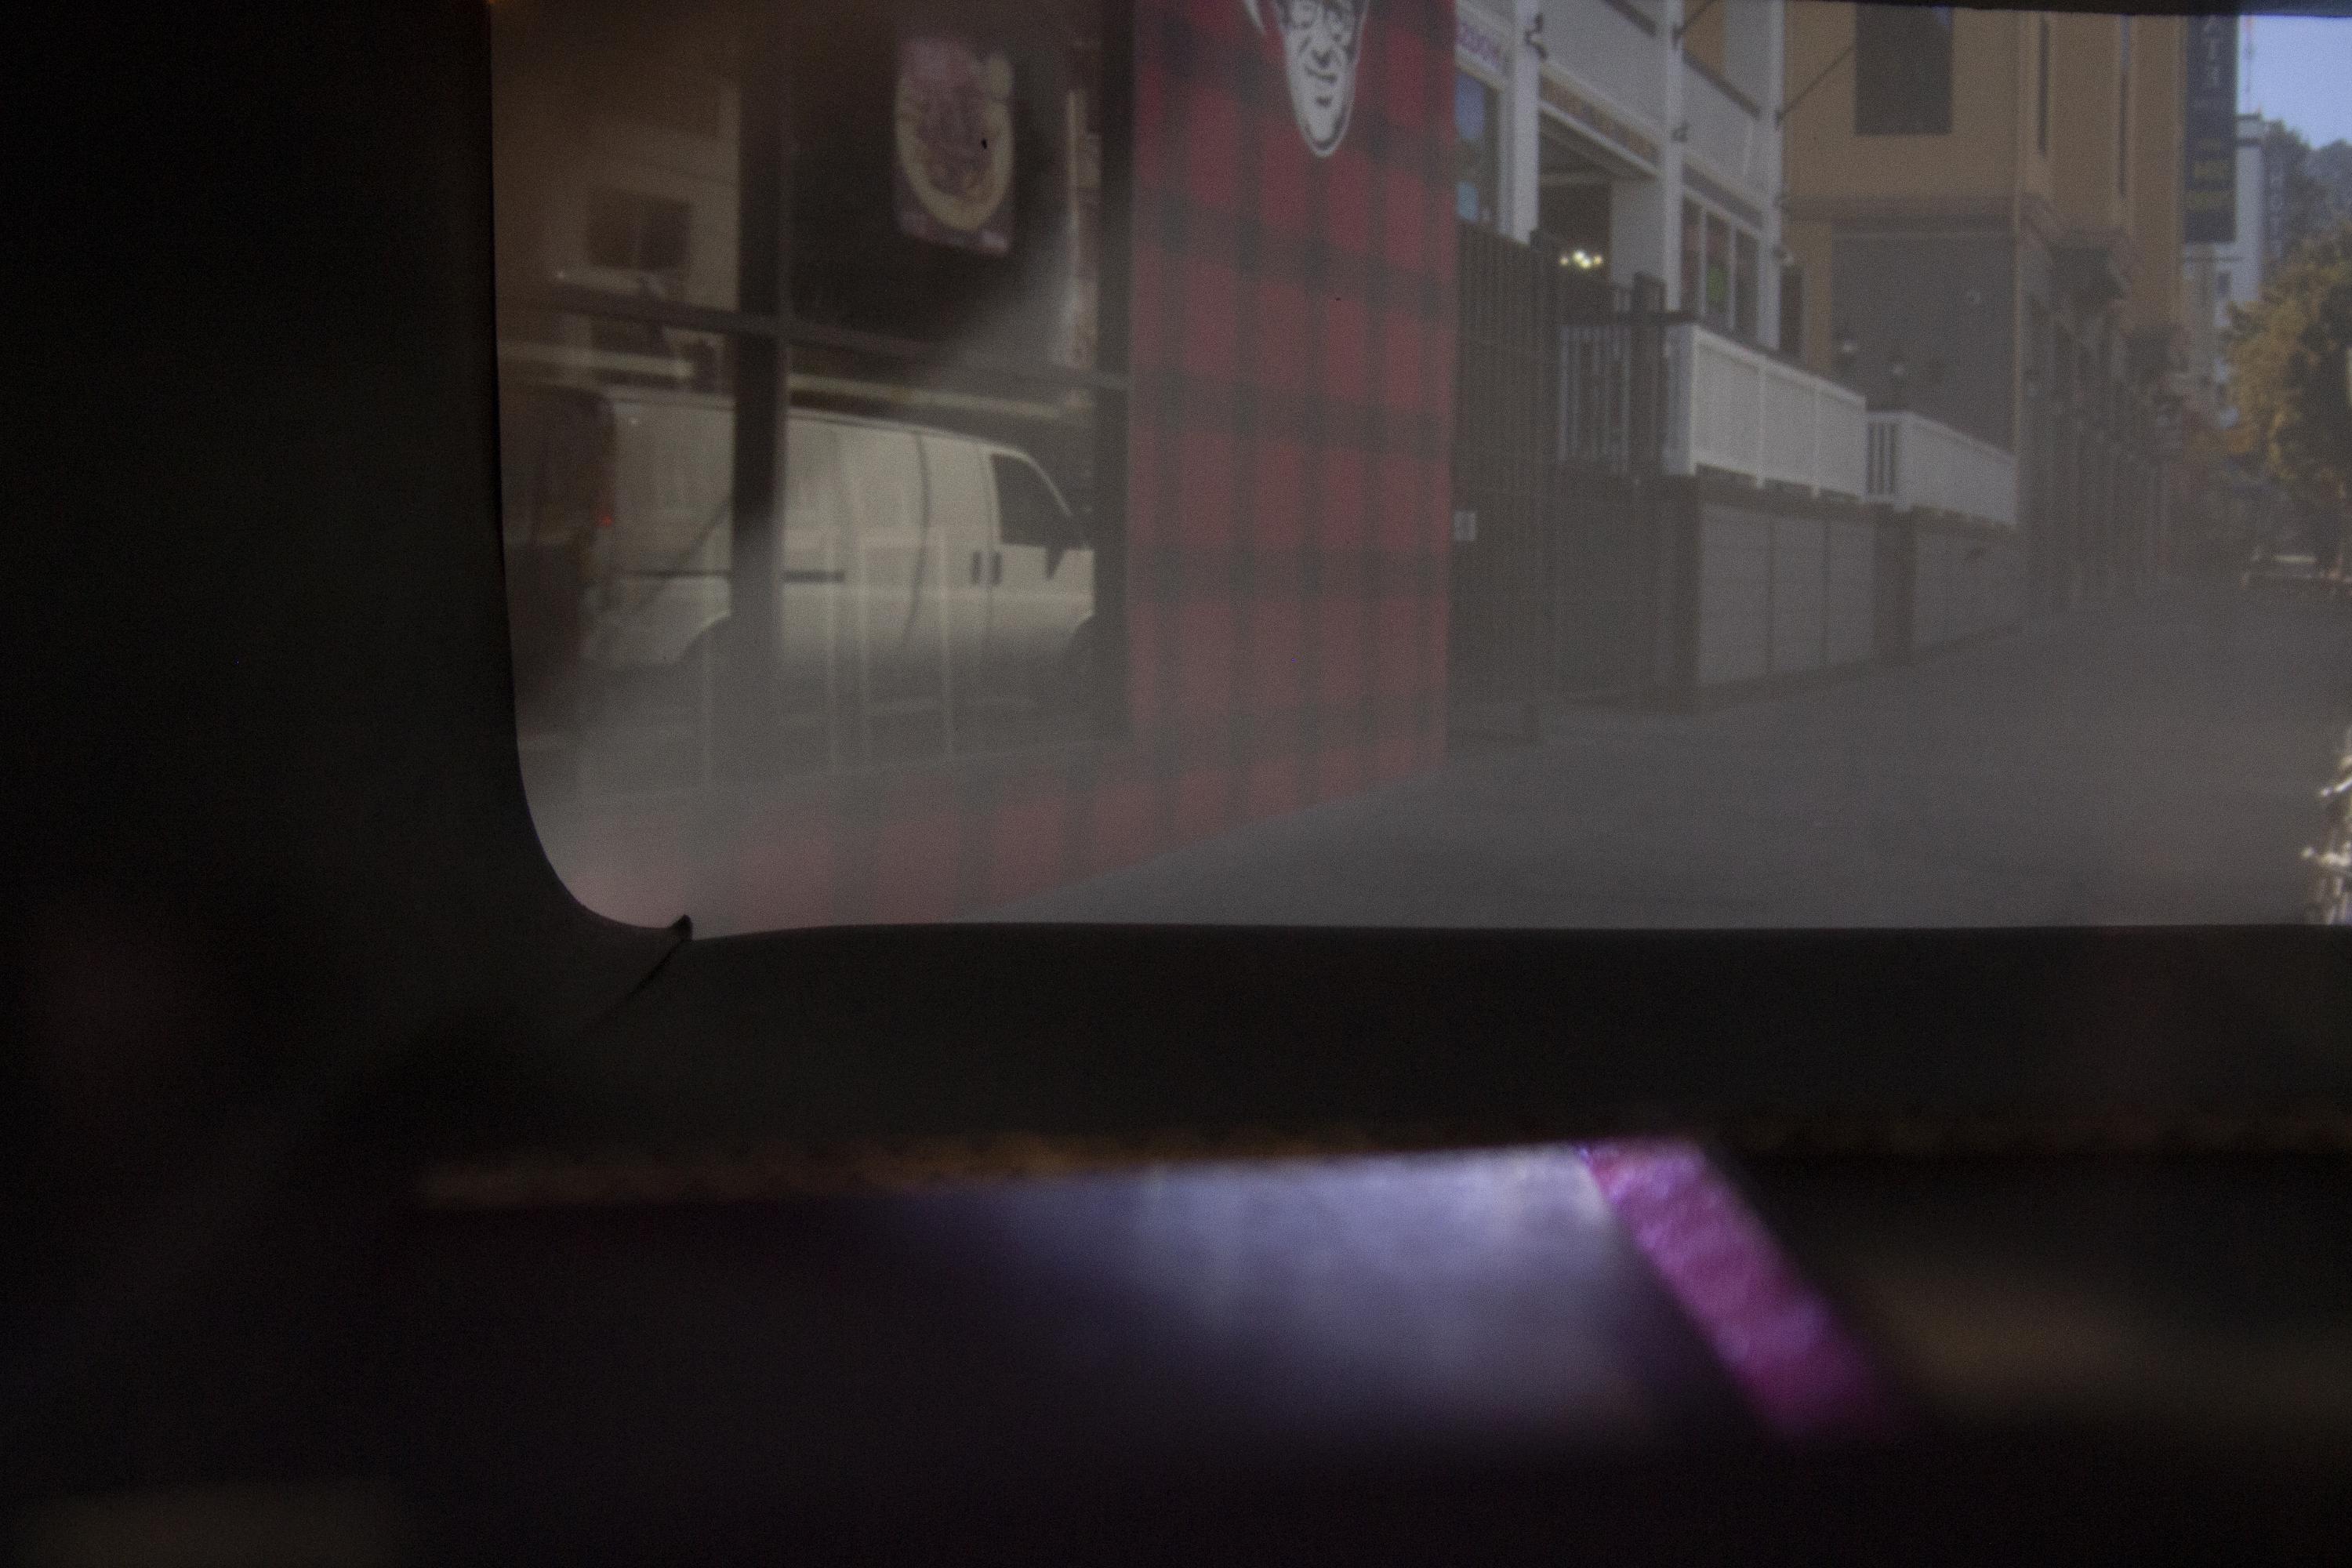
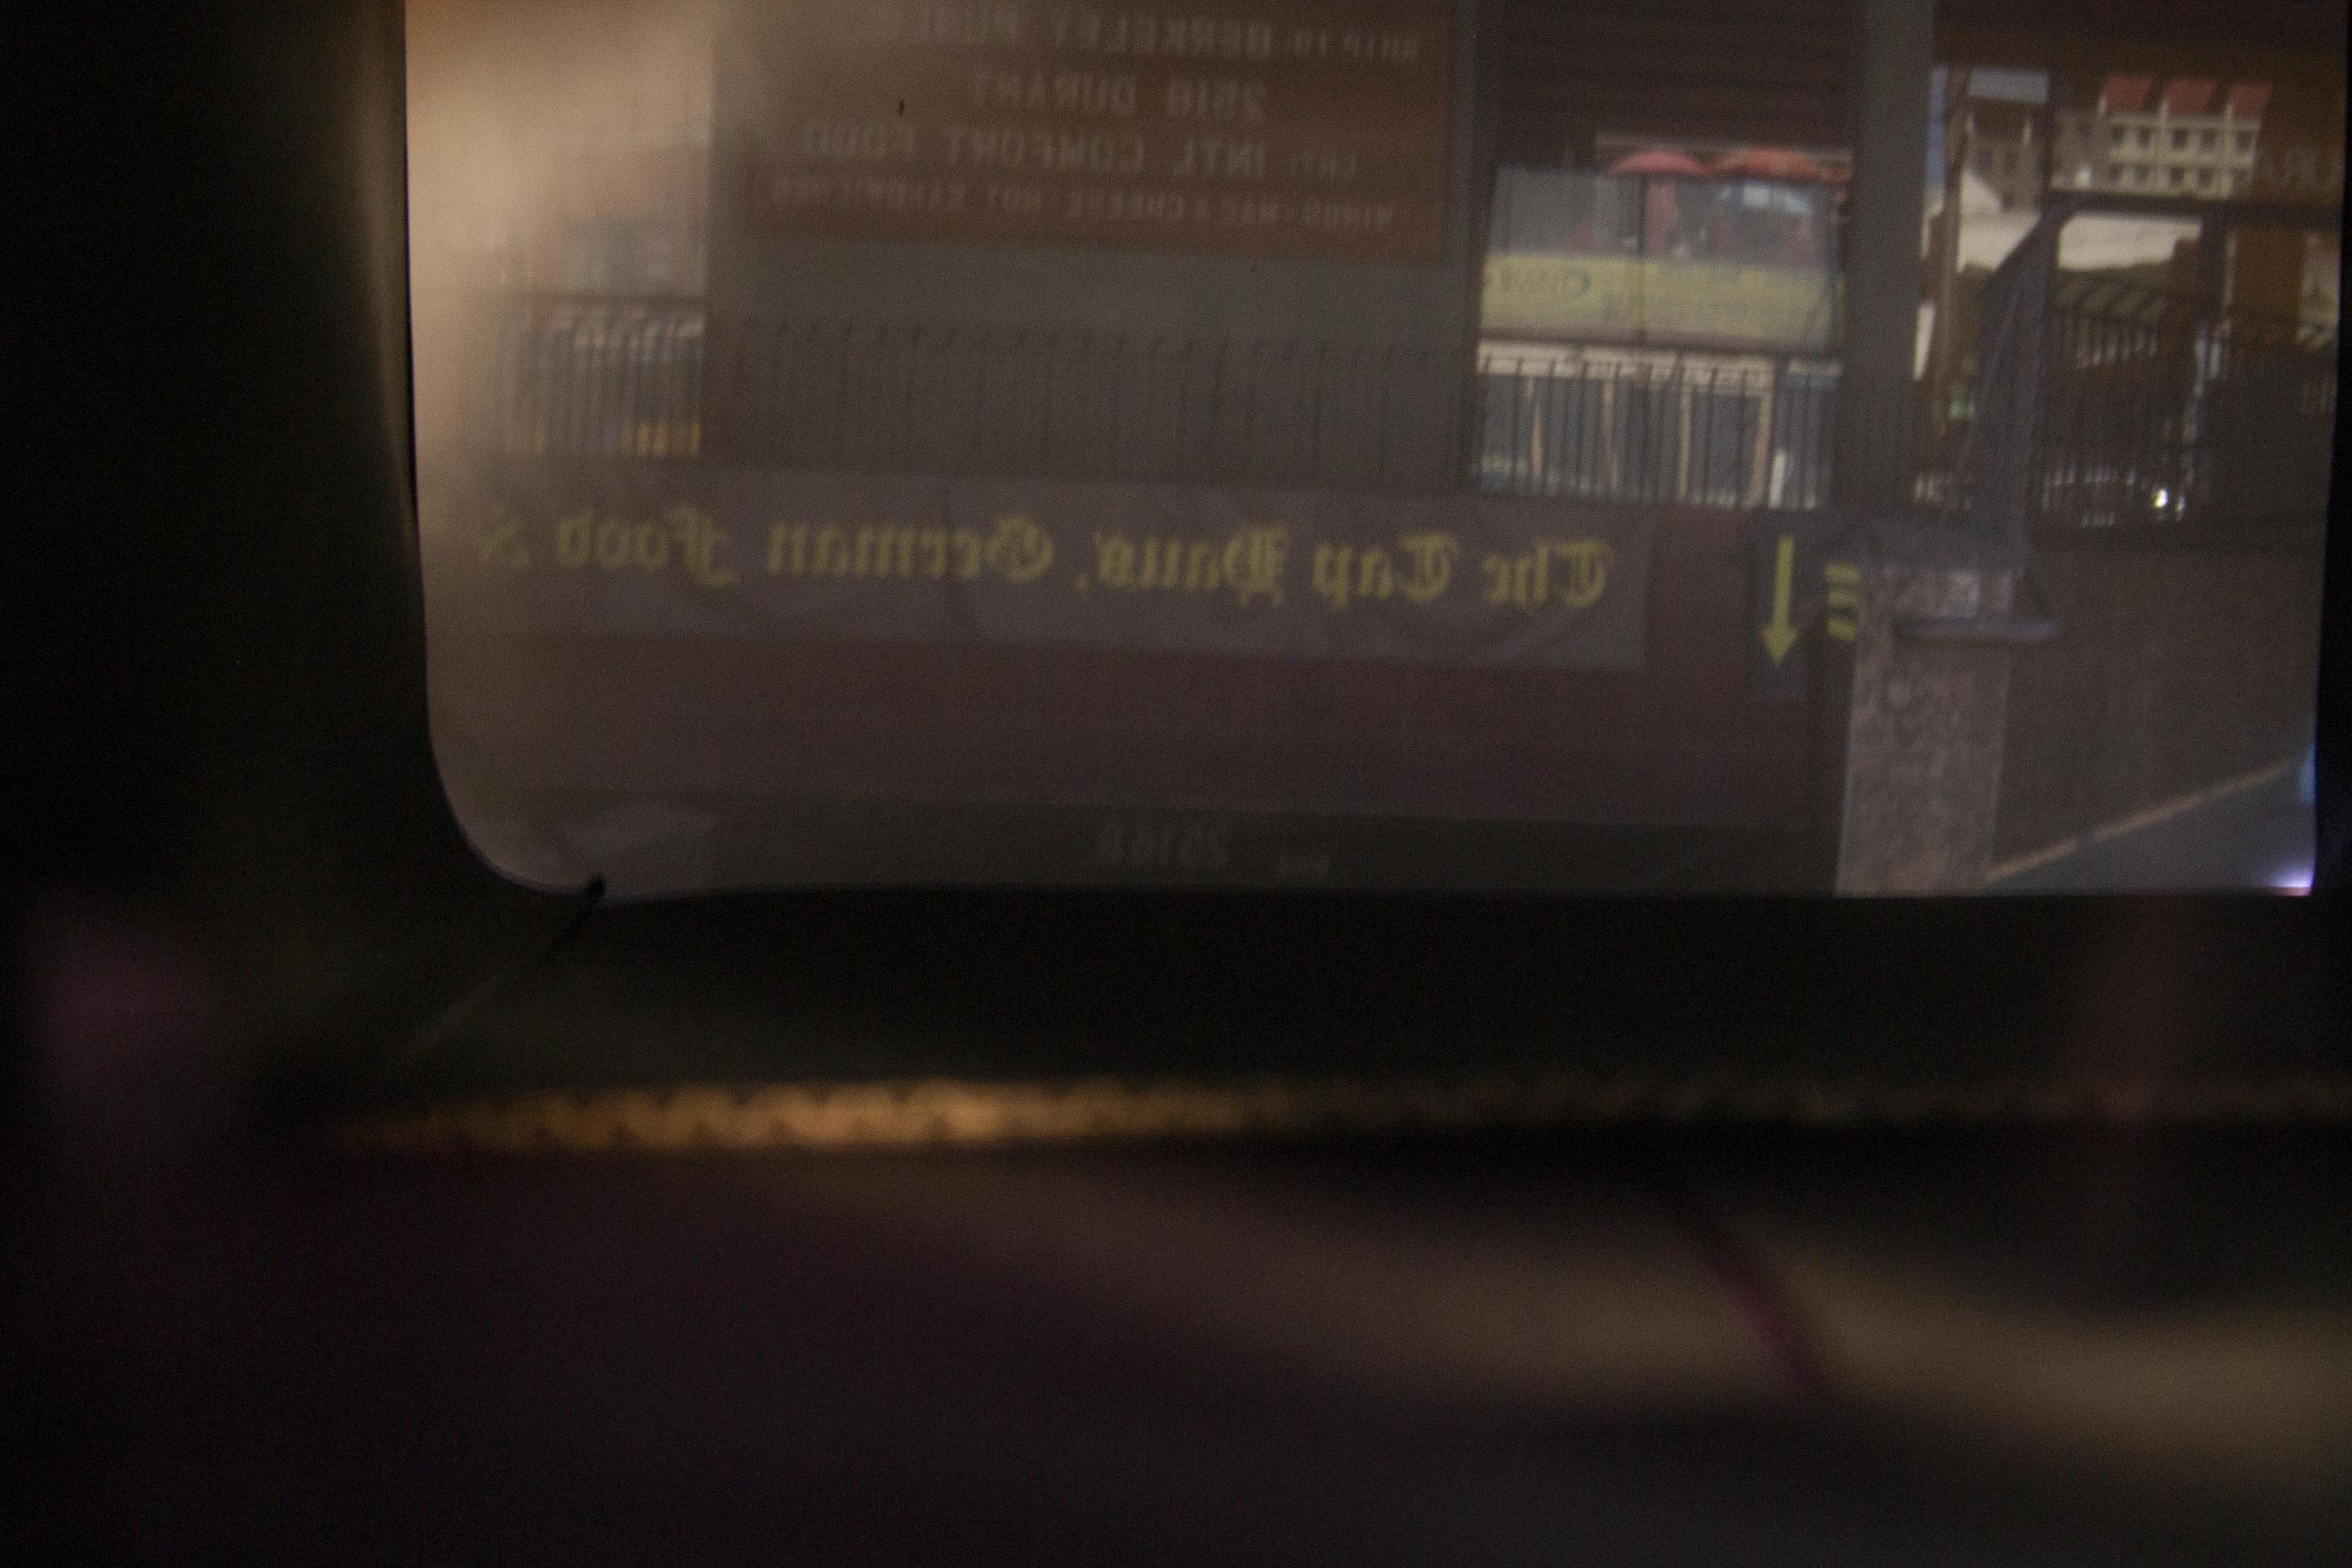
The pictures use pinhole sizes of .7, 3, and 7 millimeters and are presented in that order. Similar to the photo above, we see that the smallest pinhole created the clearest image. The brightness also increases since the bigger pinhole lets in more light. The difference in clearness between the first and second images is hard to tell, but you can see it a little if you focus on the lights in the garage. The image on the bottom has a bit more halo around the lights.

Pinhole Size 1
Pinhole Size 2

More Examples

These Small are taken from different views on Durant Ave. near Asian Ghetto

Gypsy's
Our Friend
Durant Sidewalk
Karaoke Bar

The Box

First Angle
Second Angle
Third Angle
Pinhole and camera hole
Index card with 2 more pinhole sizes