
For project 2, we build a pinhole camera, or camera obscura, and used it to take pictures of Berkeley landmarks. A camera obscura is a box that lets light in only through a pinhole. This light hits a white screen on the side of the box opposite the pinhole, creating an picture on the screen that is a mirror image of the world in front of the pinhole camera. We can use a camera to capture this picture.
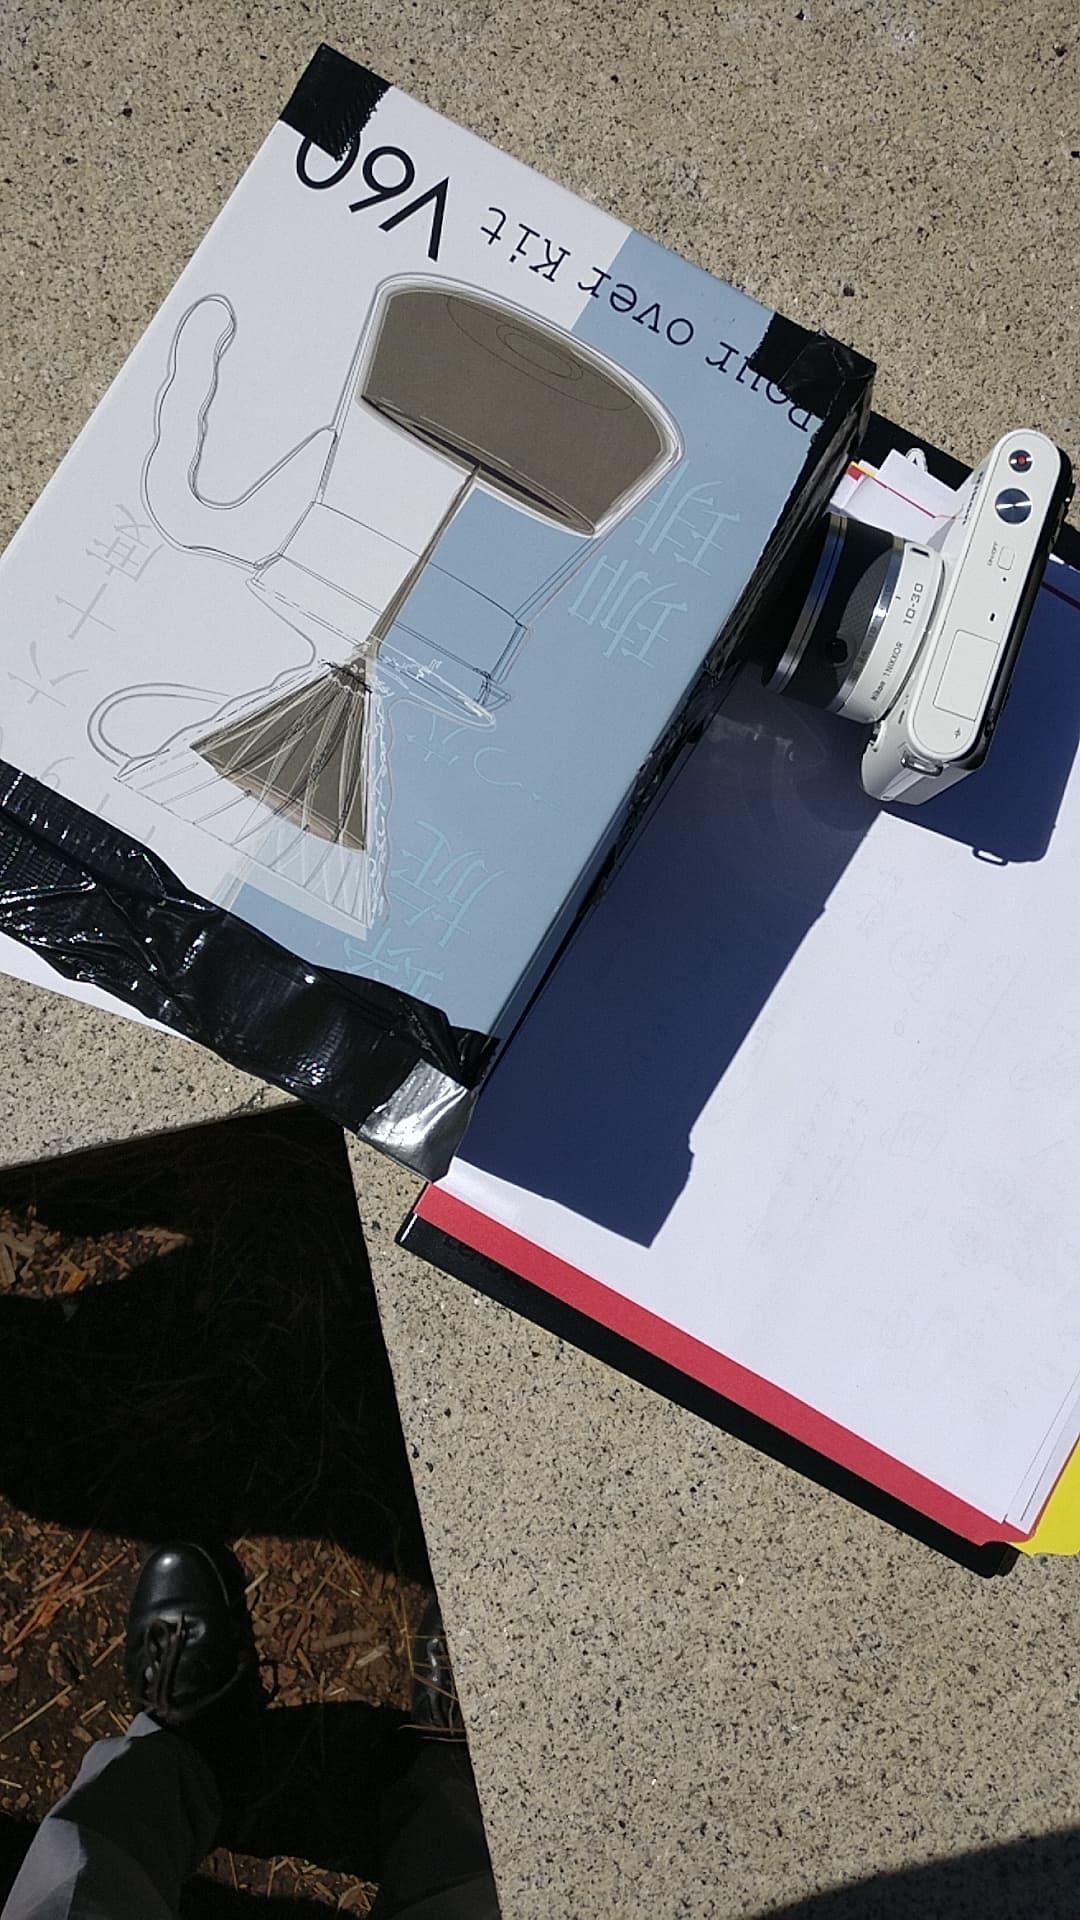
To make our pinhole camera, we started with a pour over kit box. We covered the inside with black cardstock except for one side, which we covered with white paper to make our screen. On the side opposite the screen we cut two holes, one for the camera and one for the pinhole. We covered the square camera hole with felt so that it did not let in light when the camera was inserted. We taped another piece of cardstock with the pinhole over the other cutout. Pictures of the top and side of the pinhole camera are below.
The camera we used was a Nikon J1. In order to take pictures with the pinhole camera, we increased the exposure time of the camera to 10 to 30 seconds depending on daylight. We also increased the camera's light sensitivity (ISO) to 400 to 1600 depending on daylight. These changes allowed us to capture the very faint images on the screen that did not register in a normal picture.
The sizes of pinholes we choose to use were 1mm, 3mm, and 5mm.
The first scene we took pictures of was looking towards San Francisco from in front of the Campanile. The pictures from each pinhole size are below.
1mm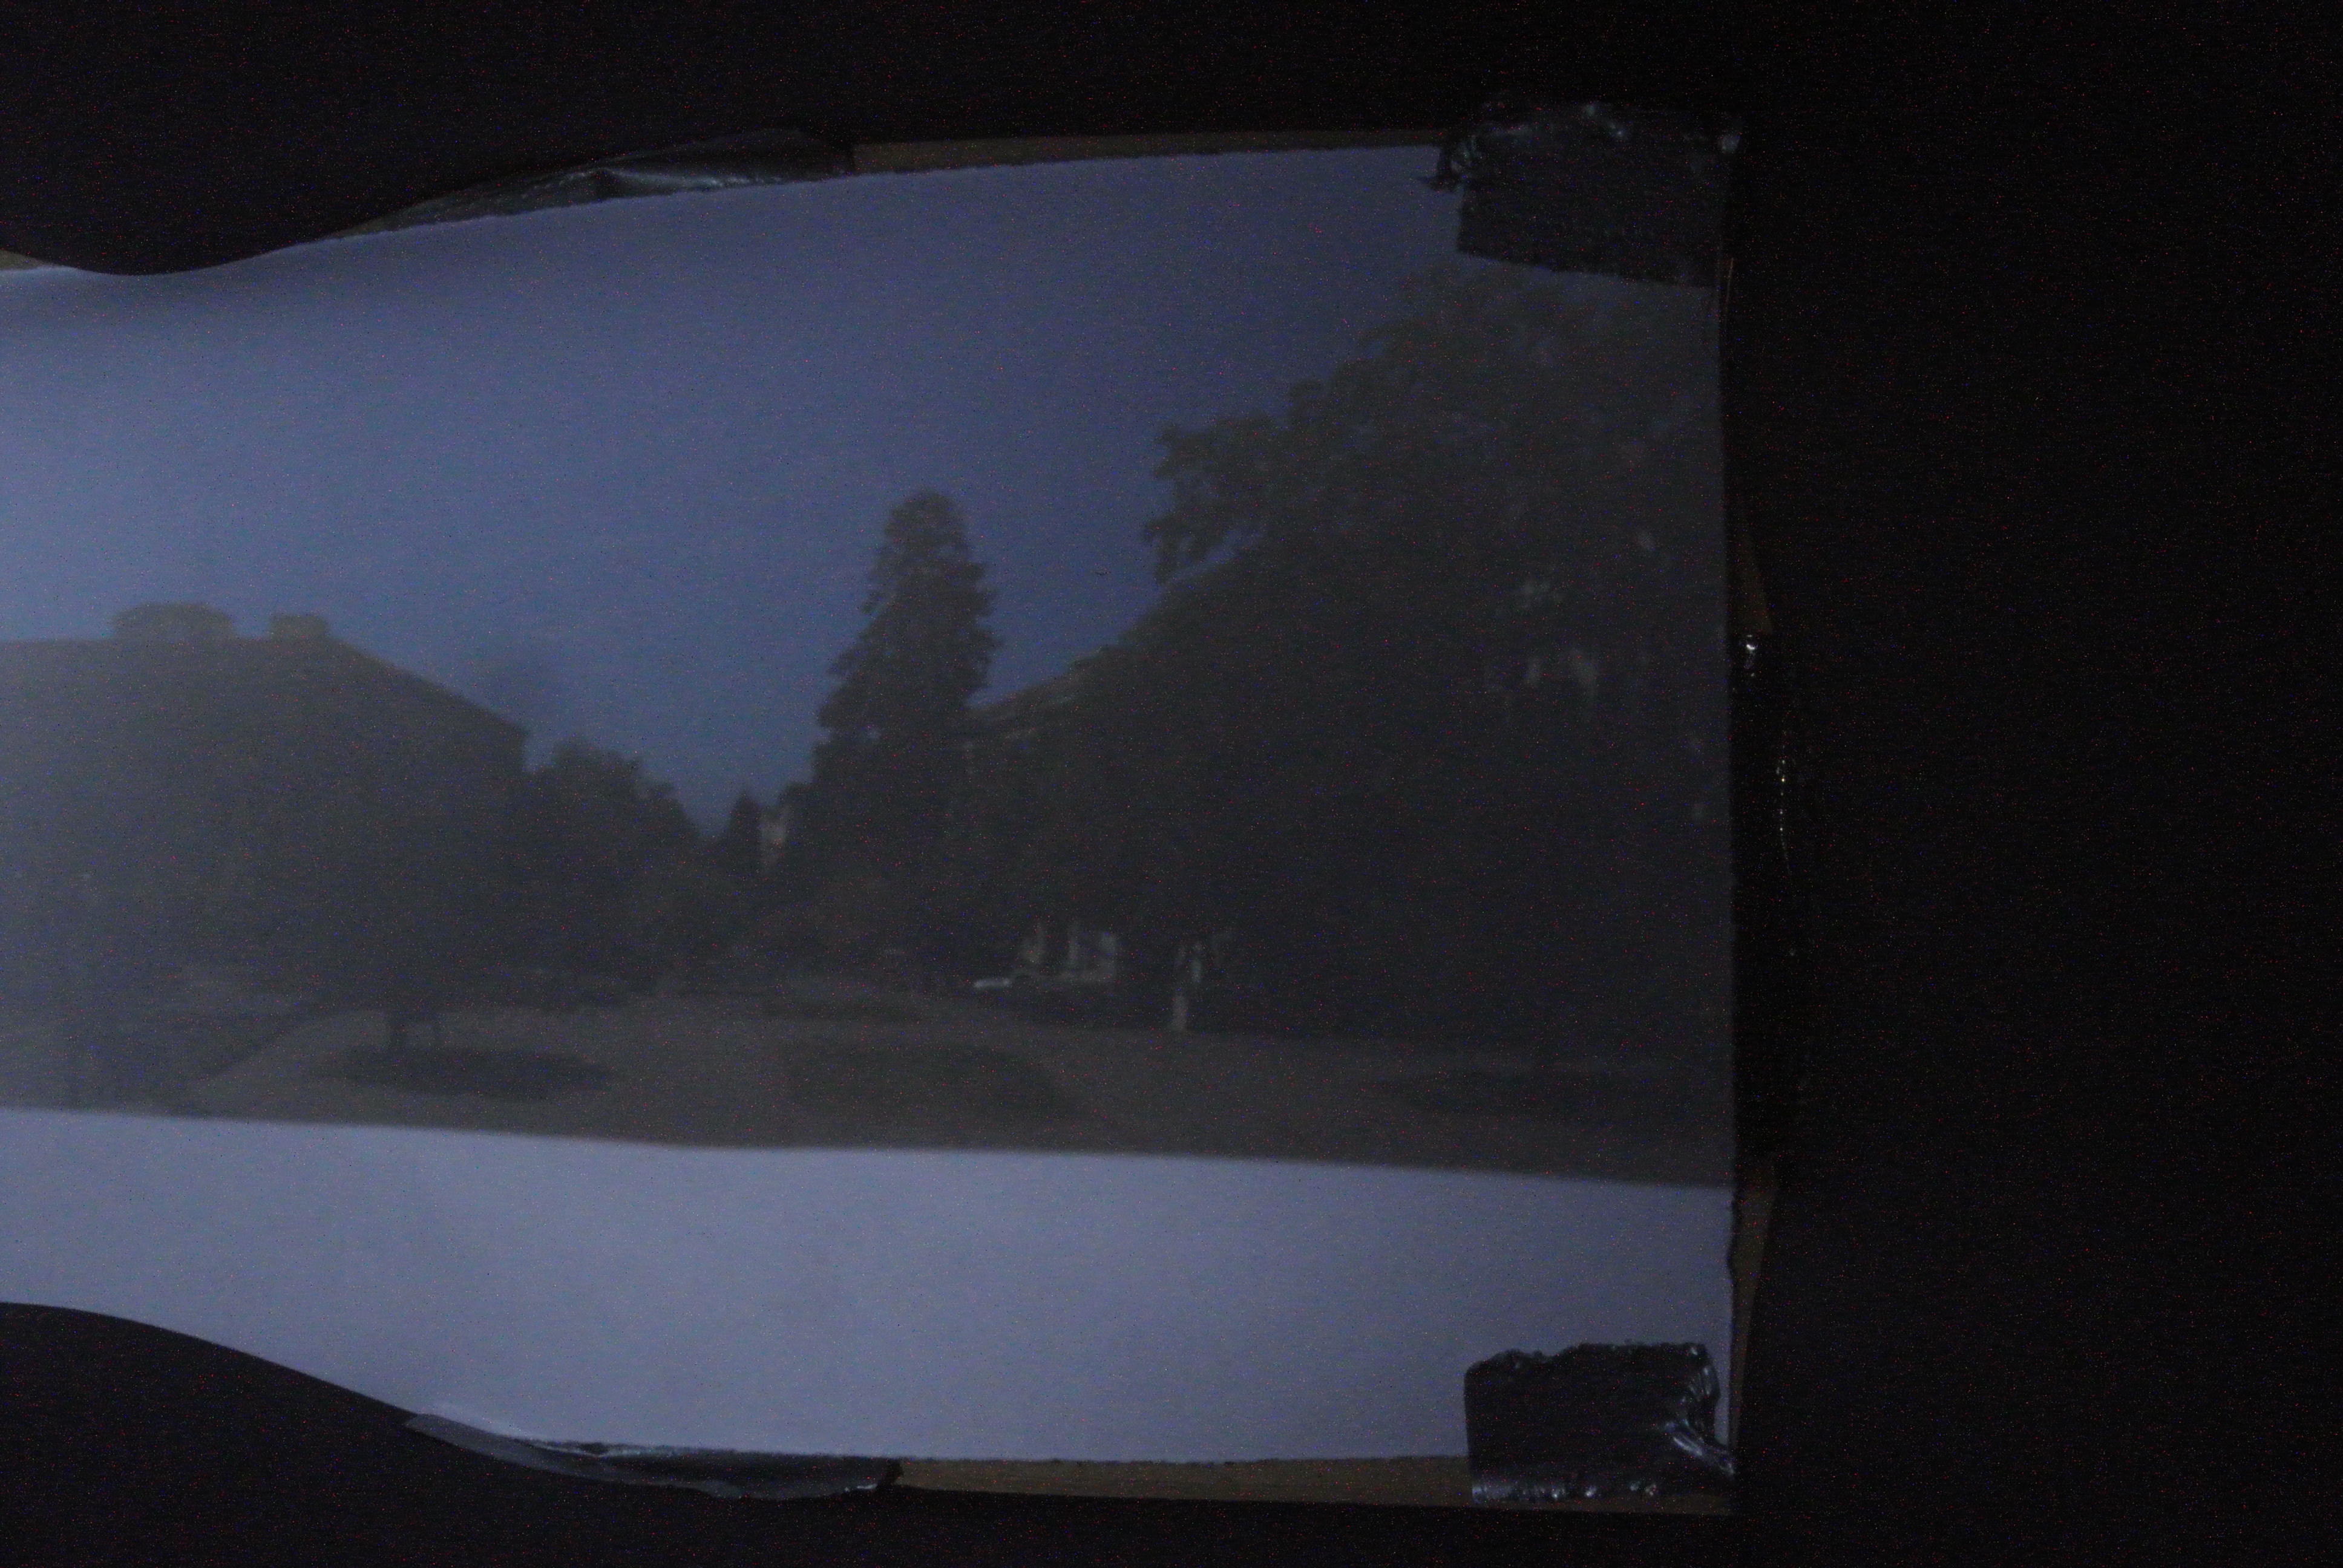
3mm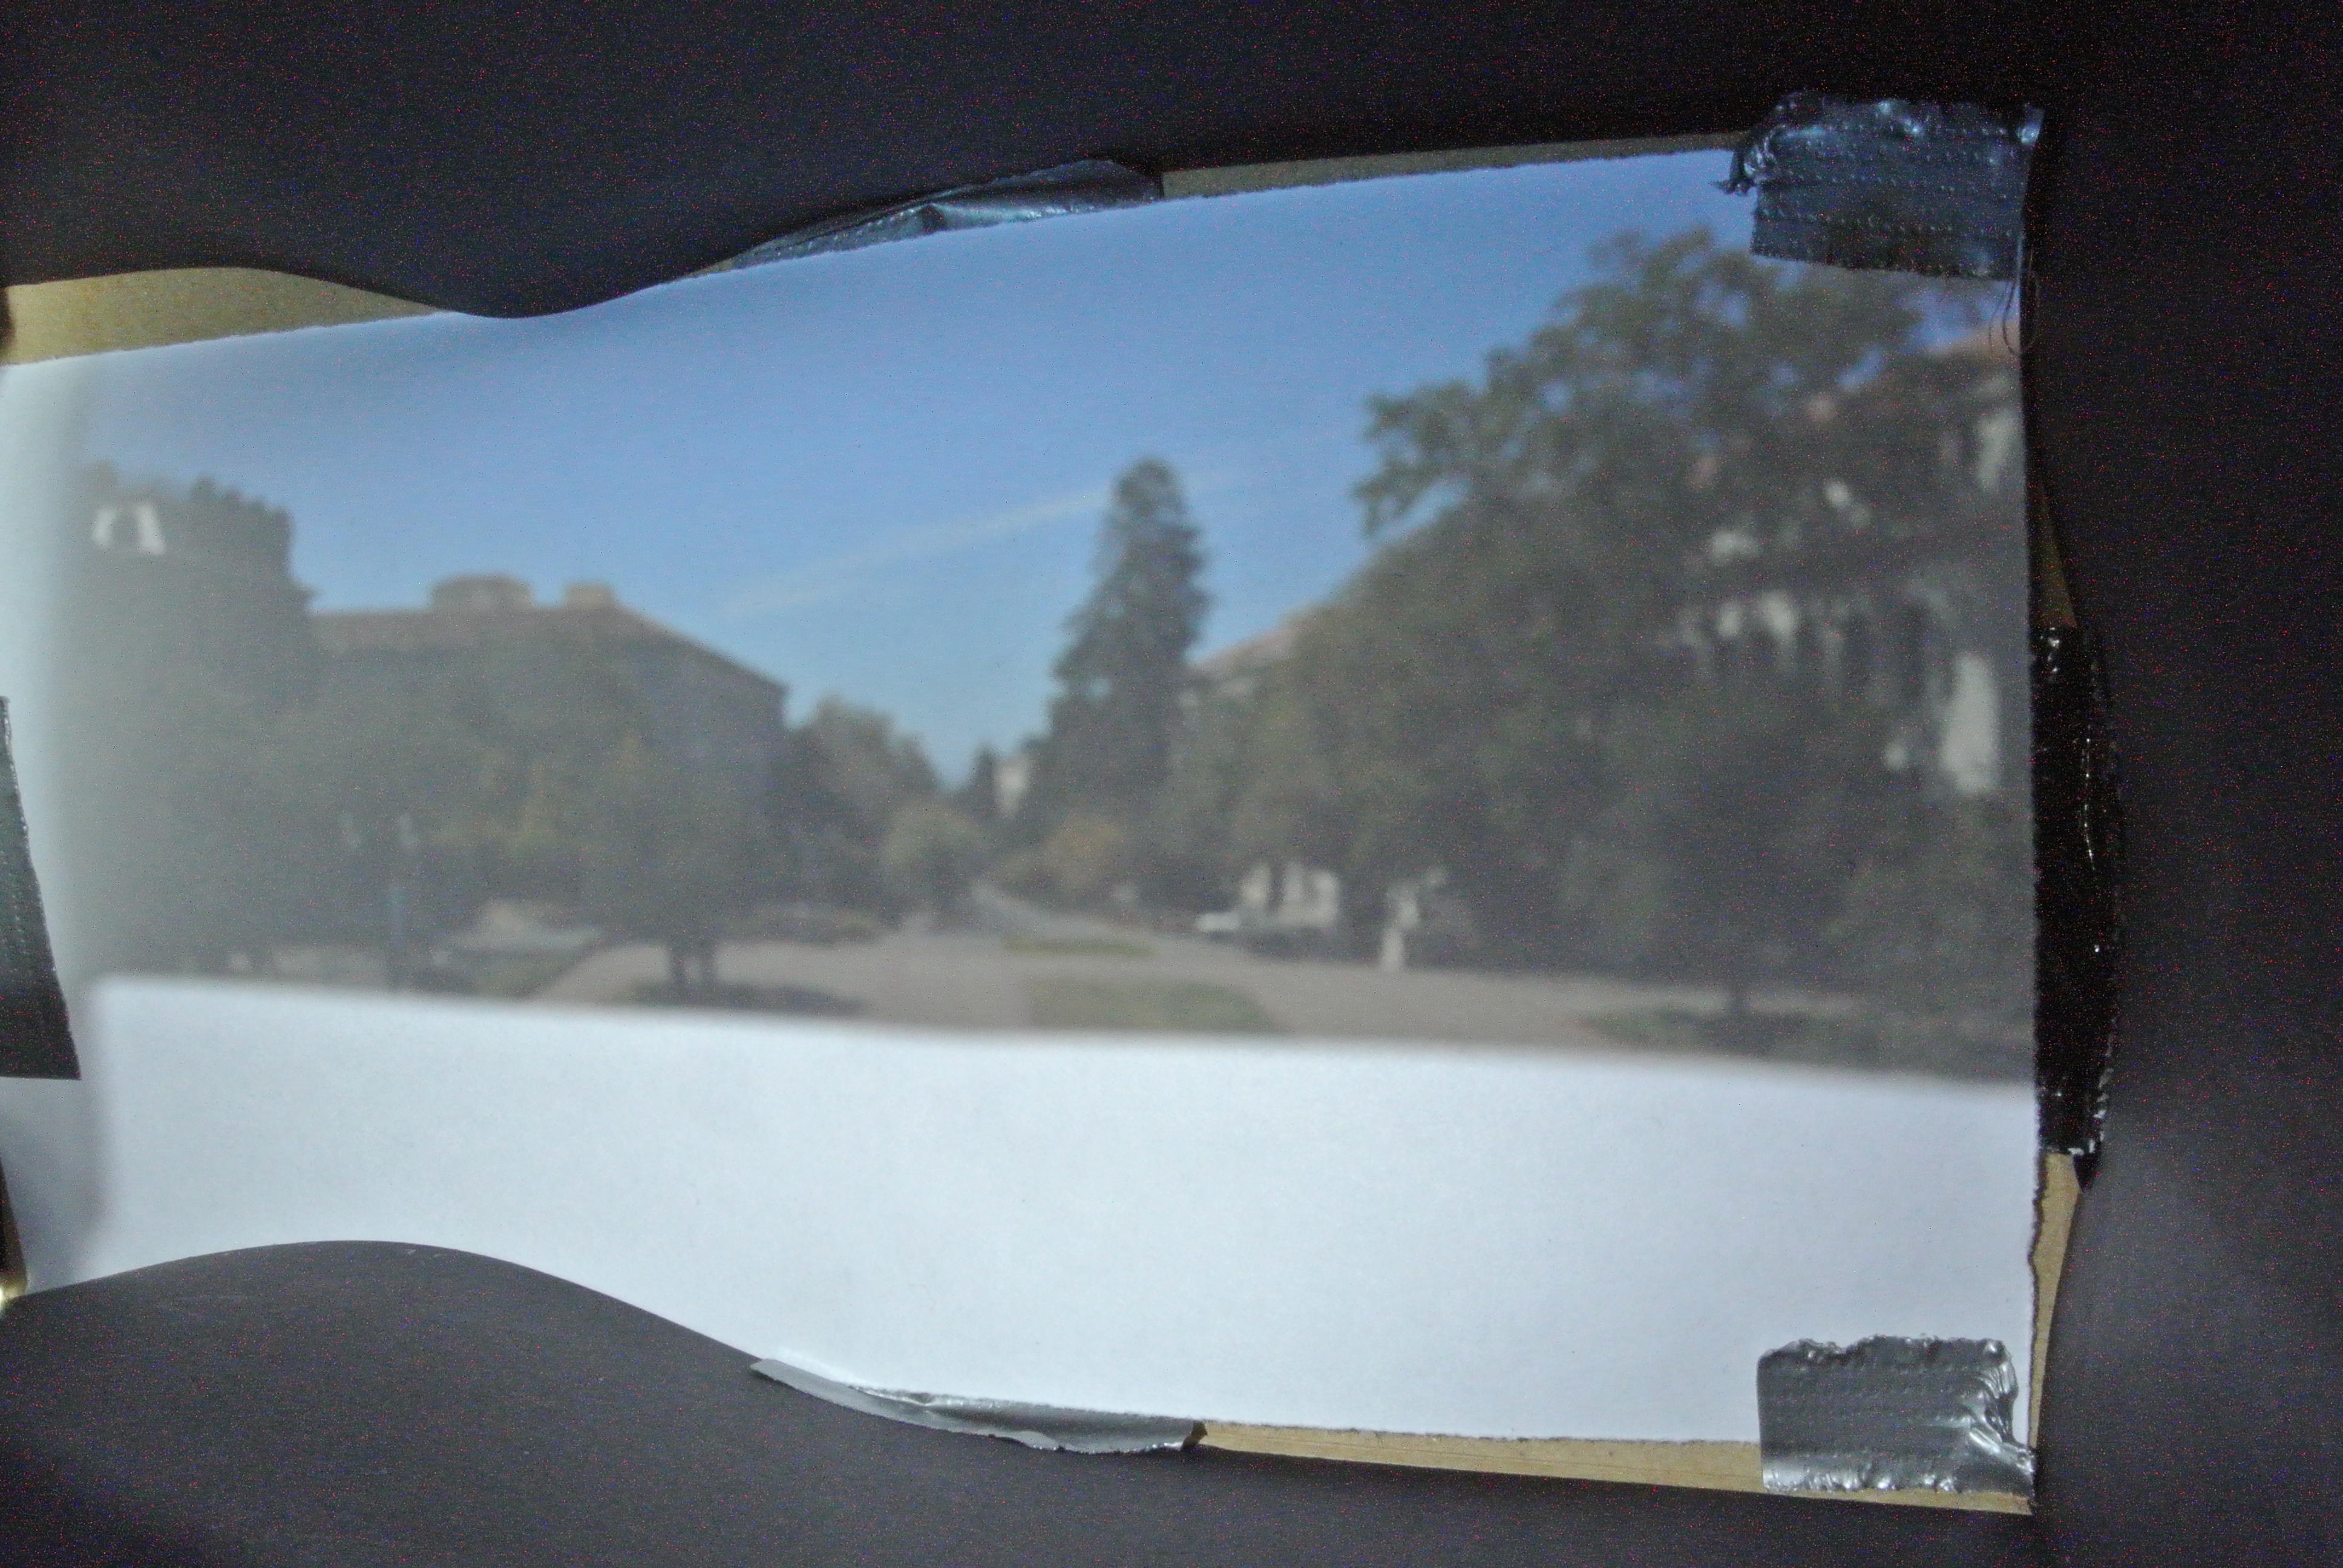
5mm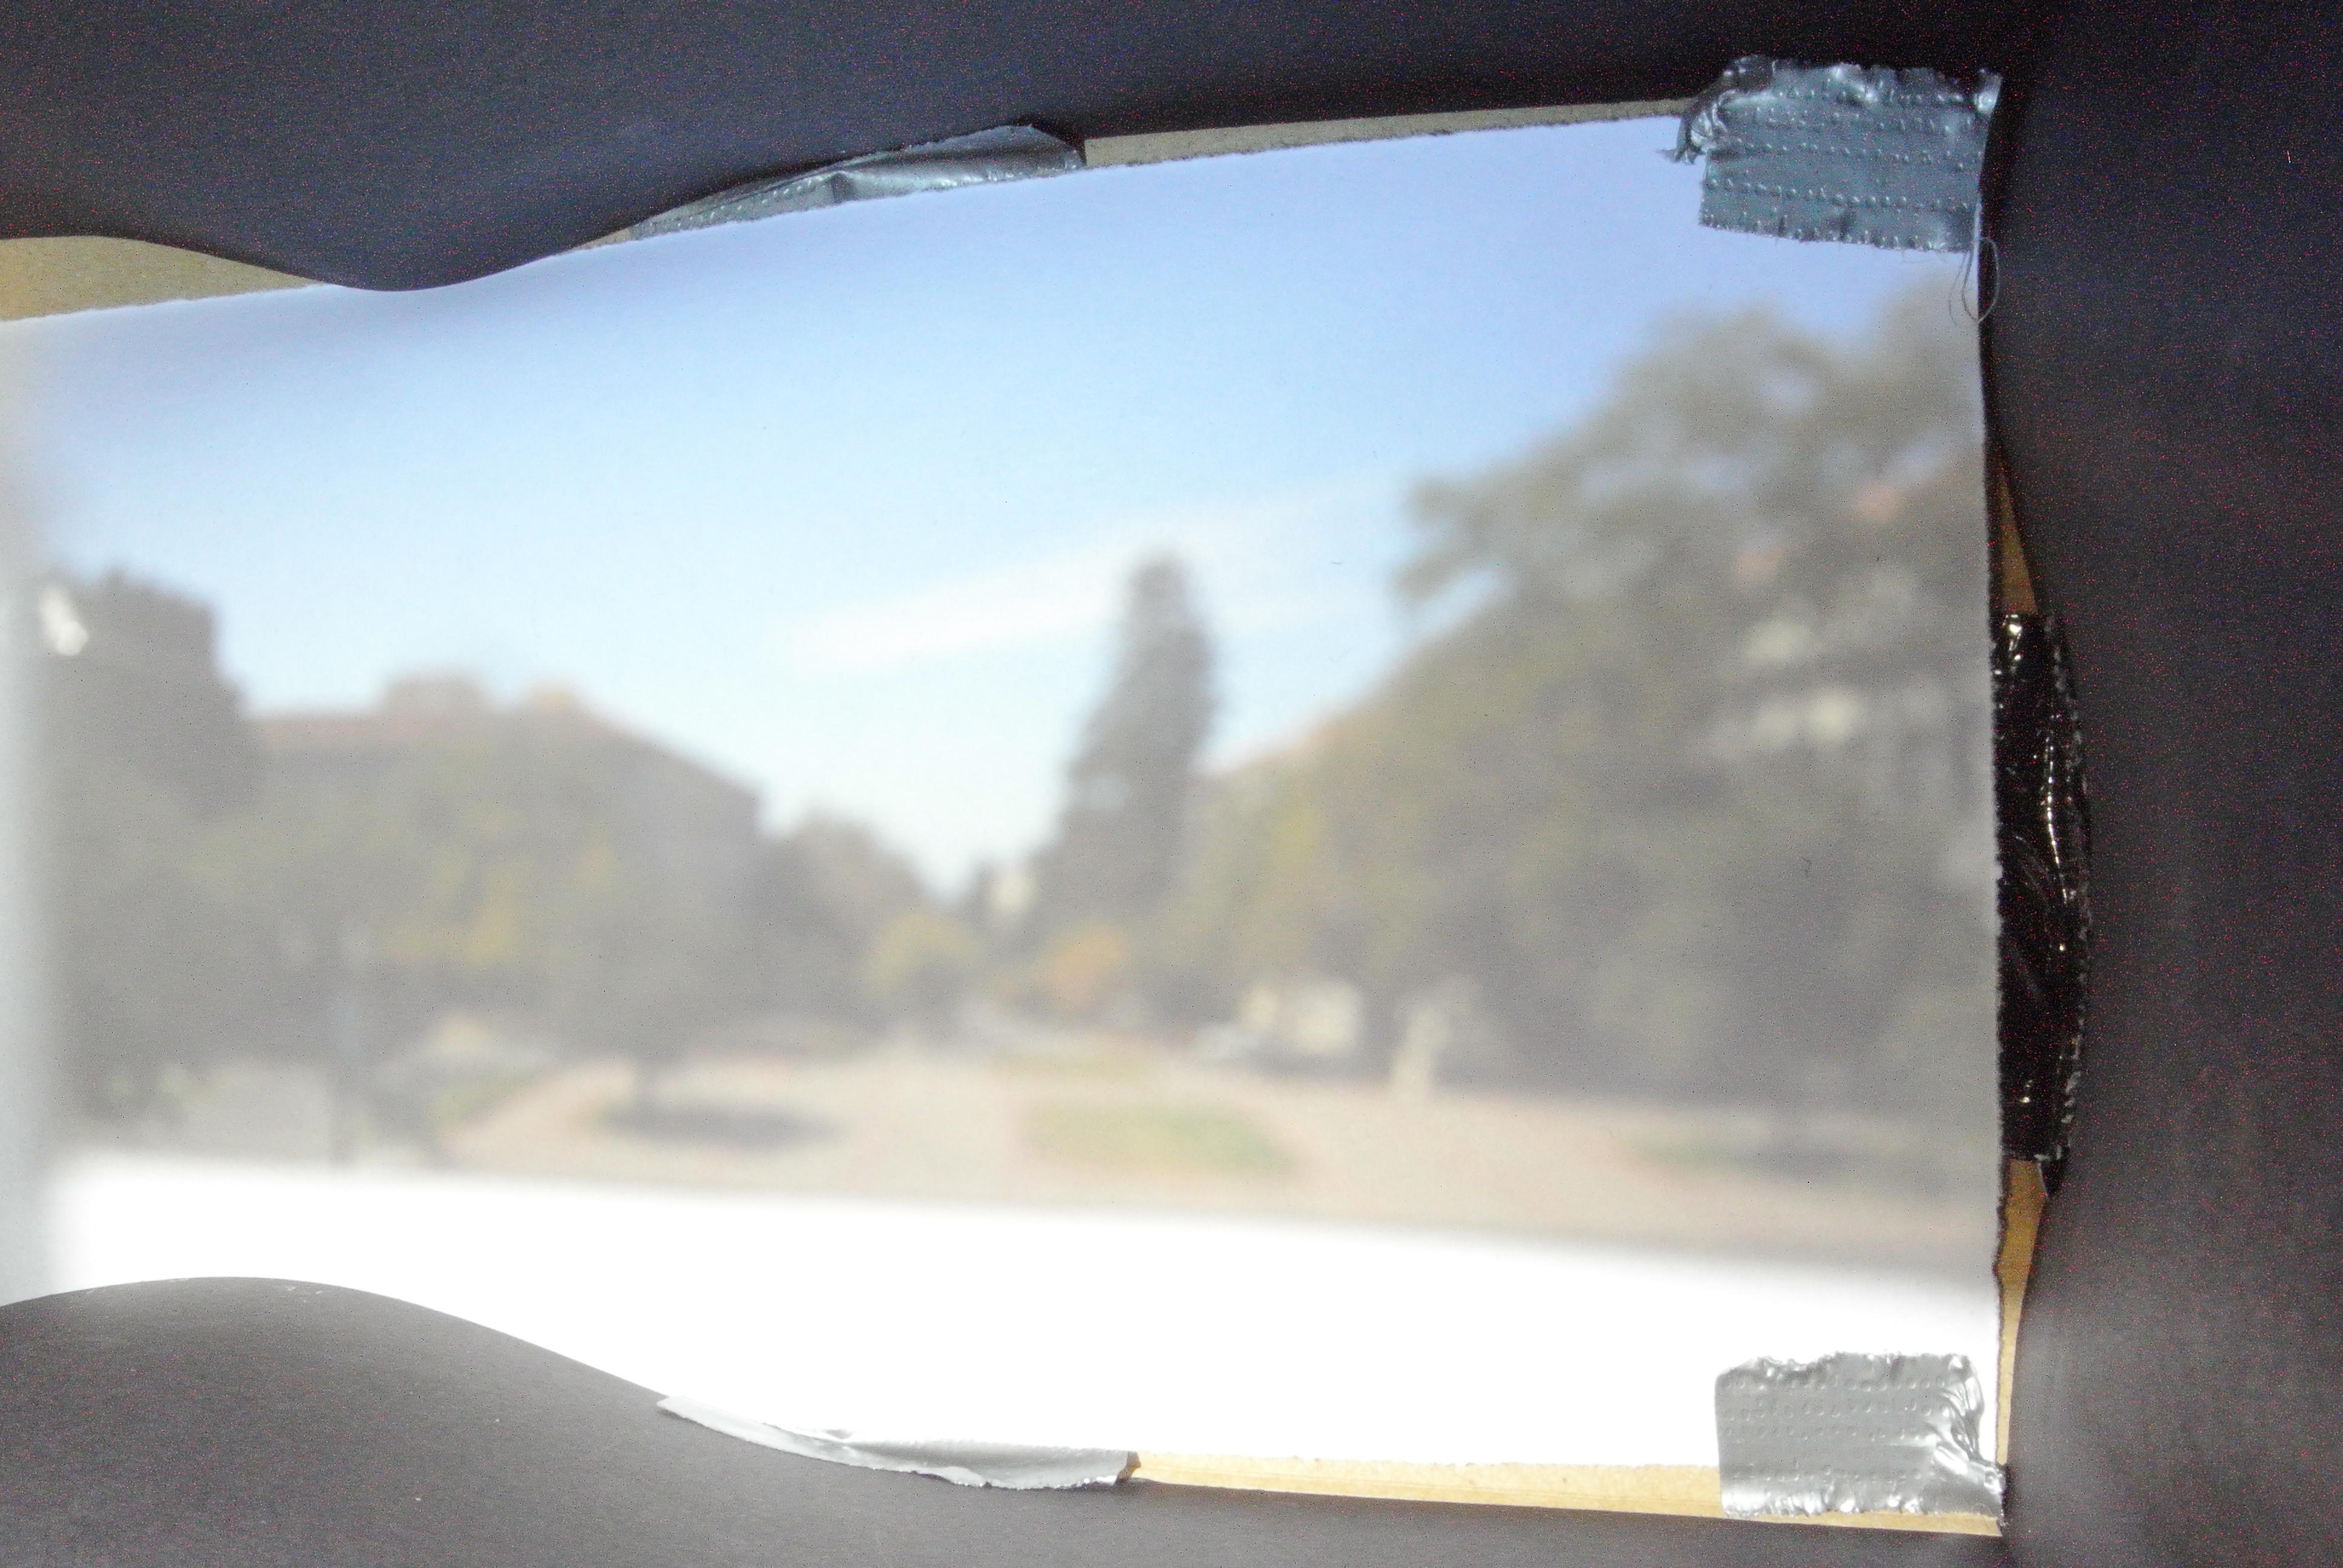
The second scene we took pictures of was the Campanile and the trees next to it. The pictures from each pinhole size are below.
1mm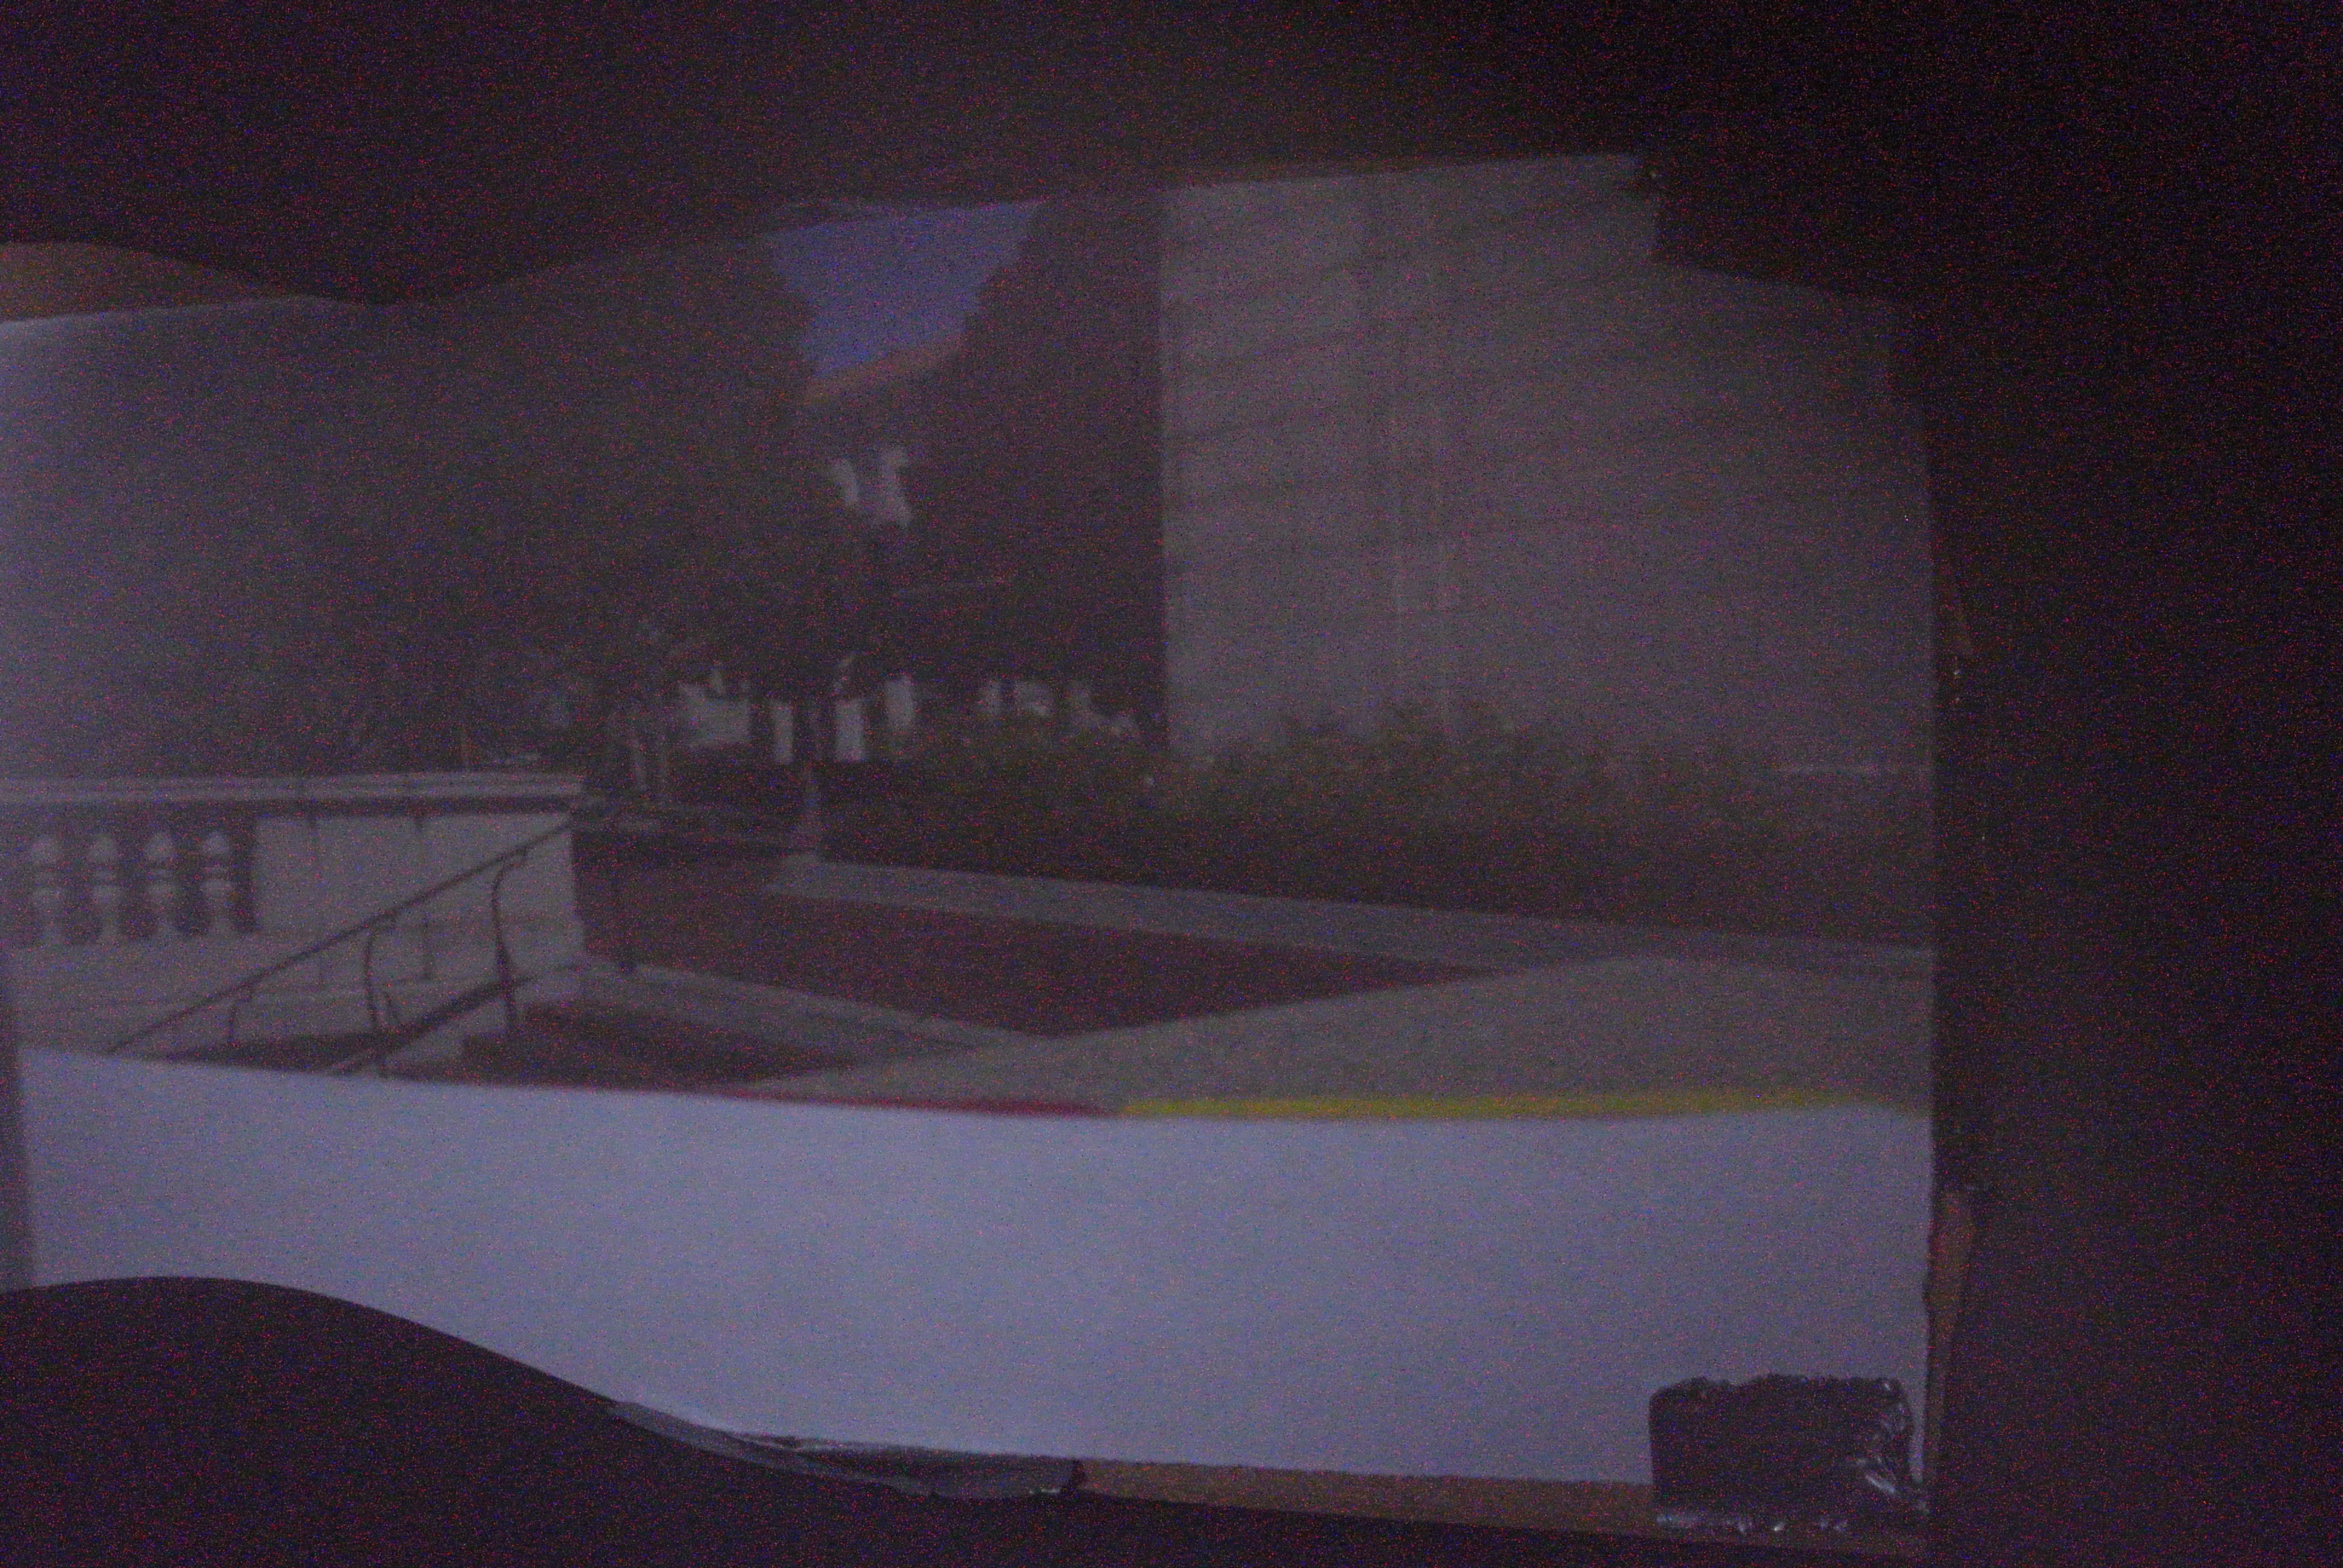
3mm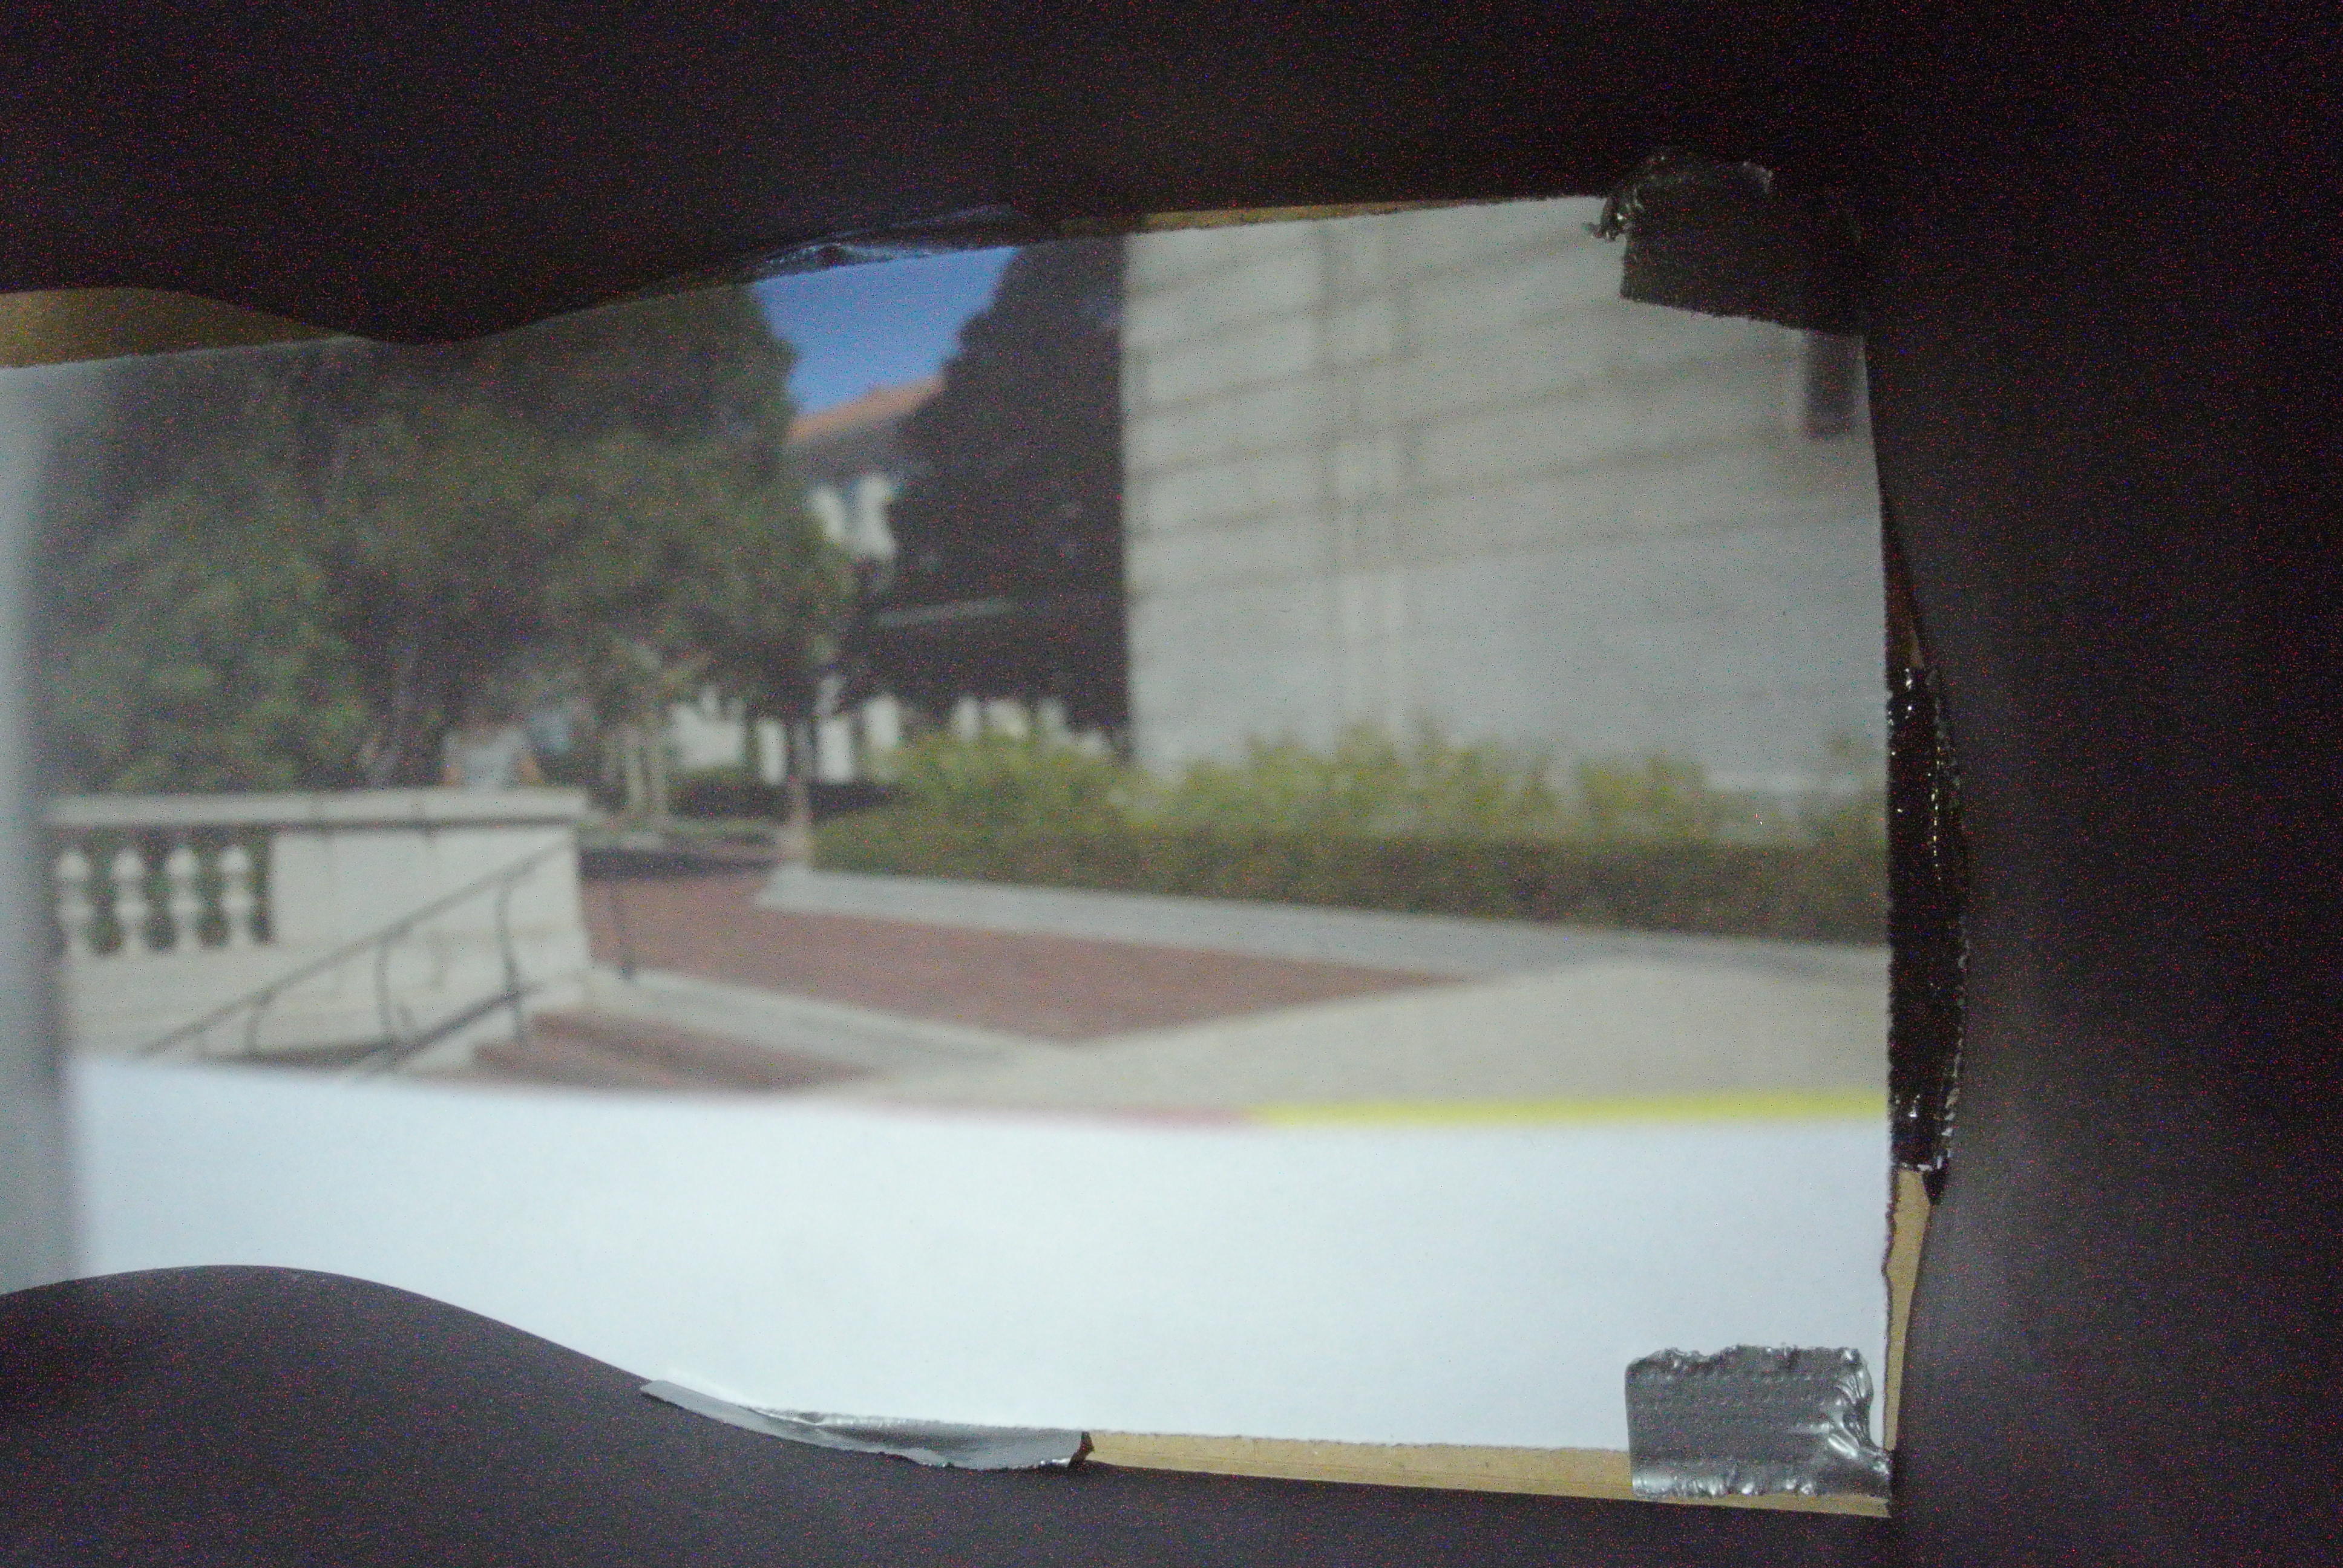
5mm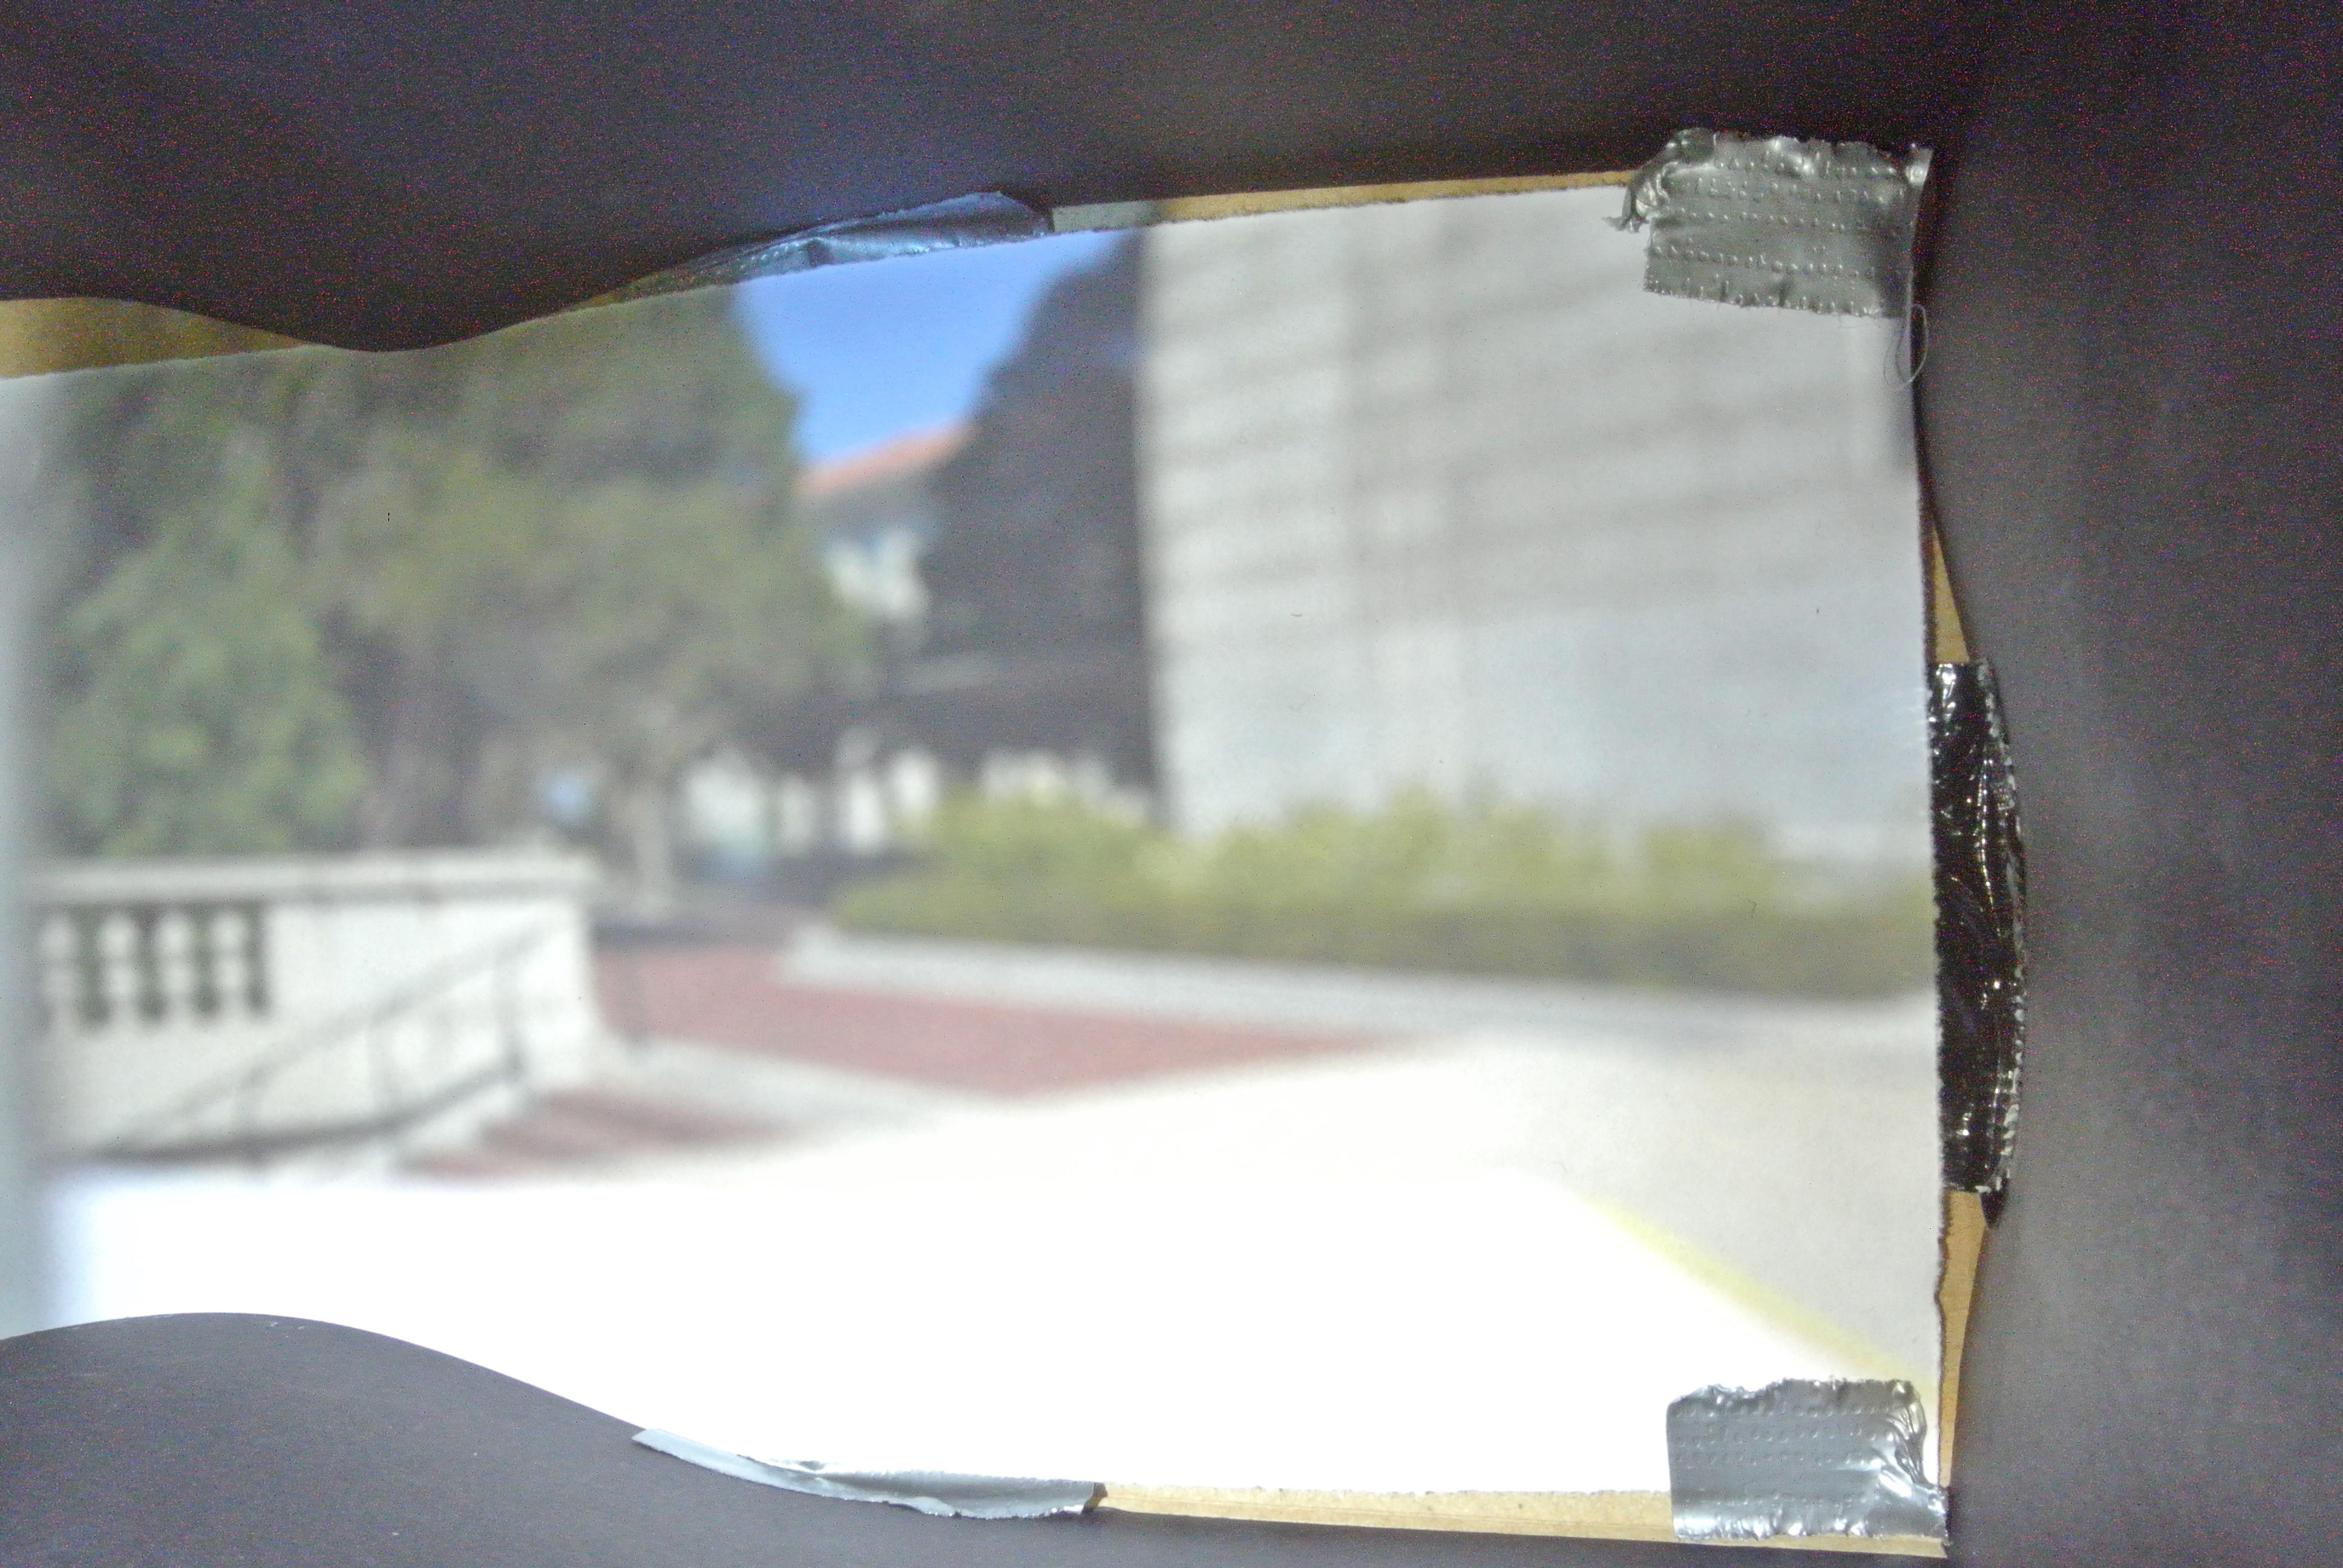
While we managed to take recognizable pictures with each of the pinhole sizes, the quality of these pictures varied significantly. Pictures taken with the smallest pinhole, 1mm, were the darkest and had the least color, but were also the sharpest. Pictures taken with the largest pinhole, 5mm, had the most color and were lighter but were also the blurriest. We found that the pictures taken with the 3mm pinhole were the best quality and we used this pinhole to take the extra pictures in the next section.
Soda Hall
Cory Hall Walkway
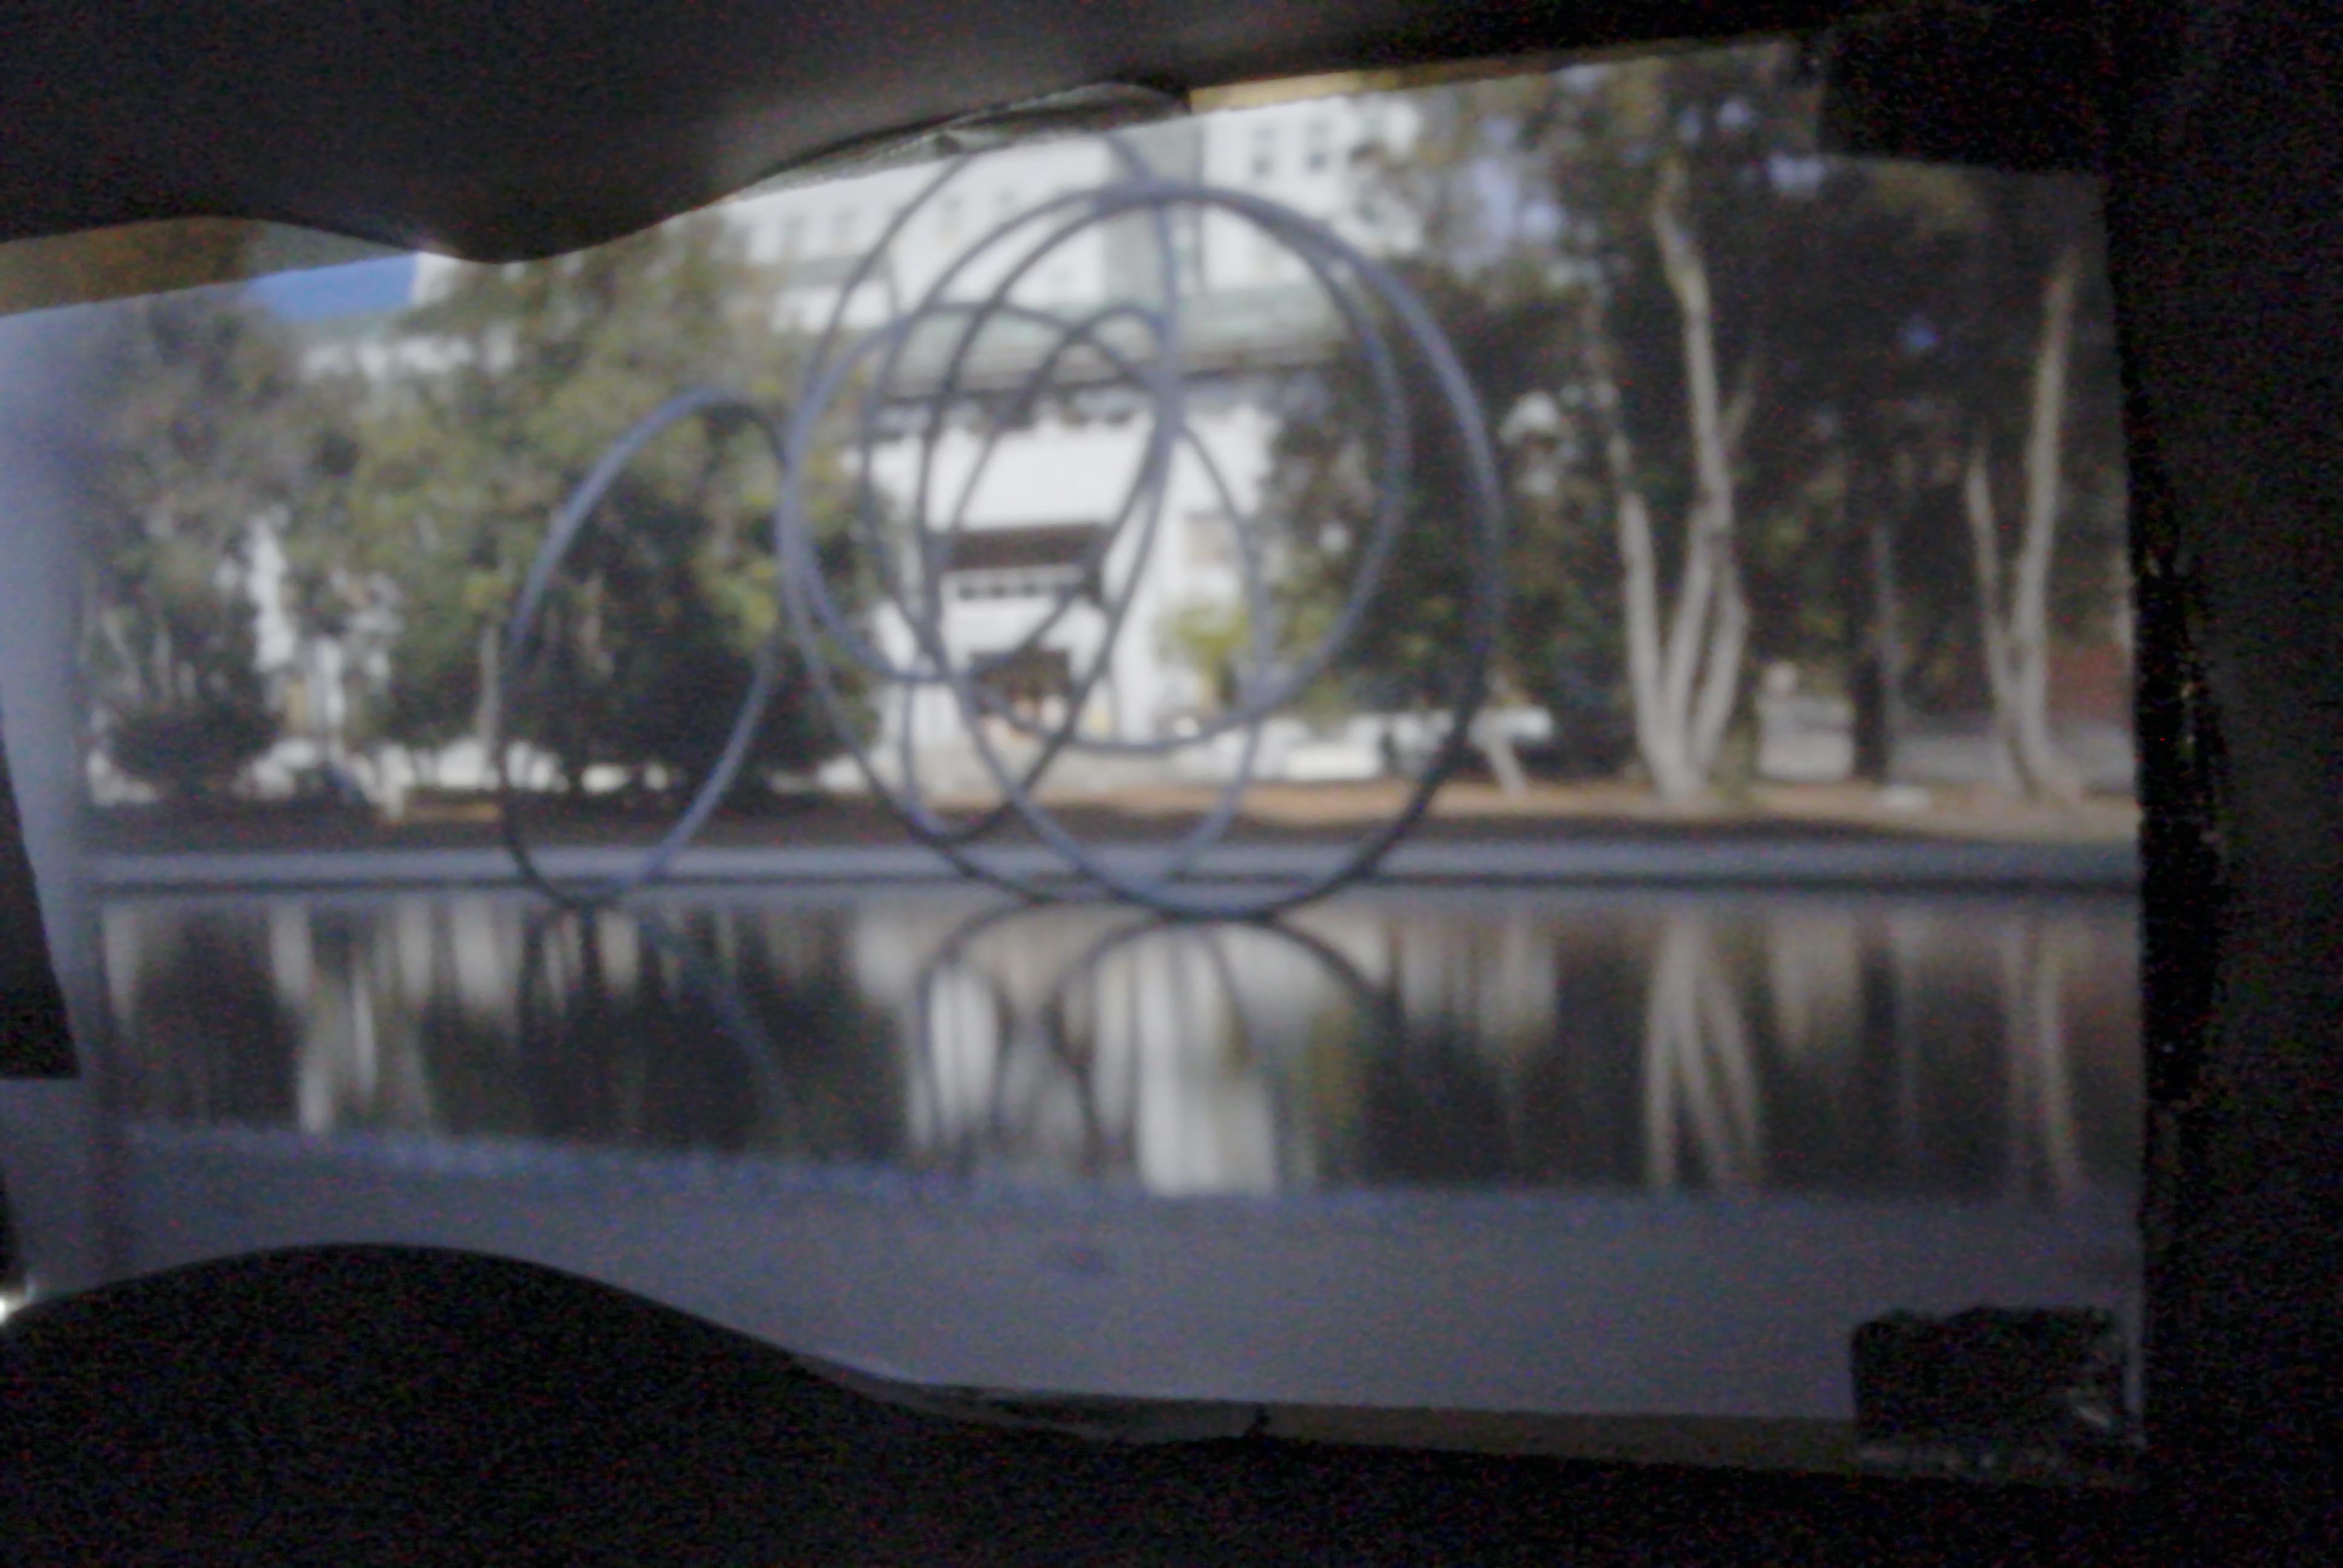
Hearst Mining Circle Fountain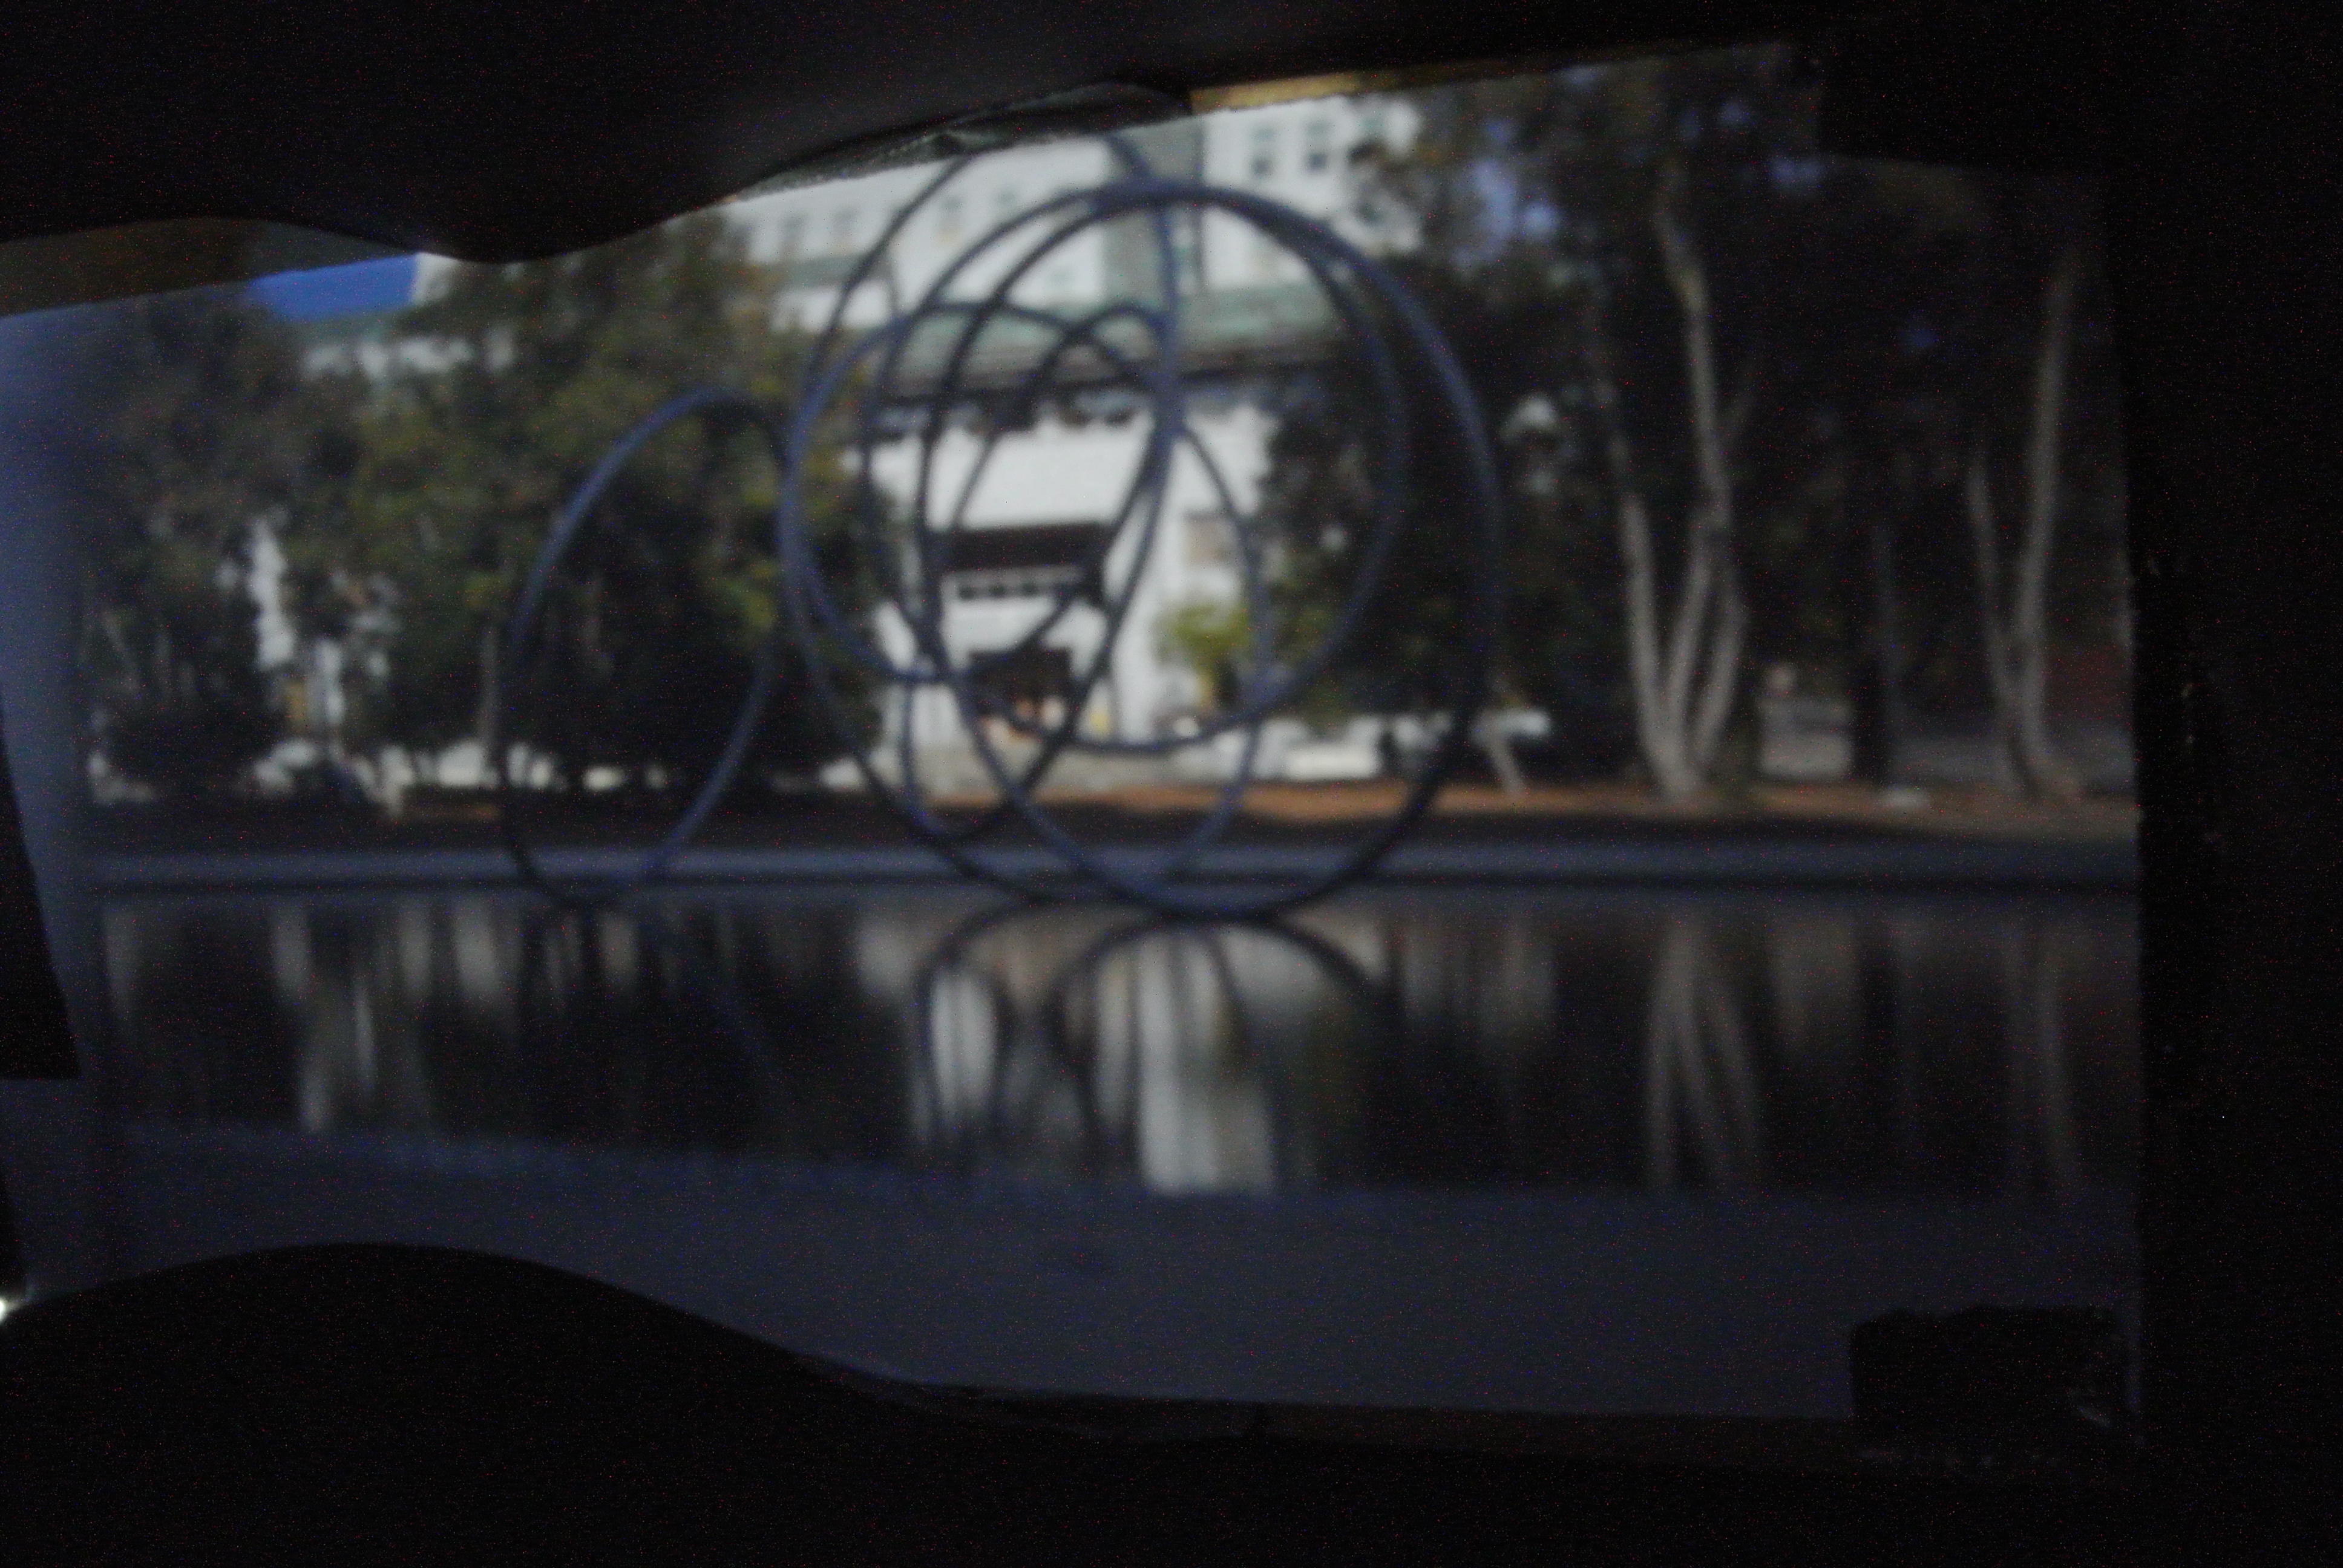
Hearst Mining Building
We took anaglyph images by cutting apart a pair of 3d classes and used the color filters to cover up 2 pinholes. By using 2 pinholes we could capture 2 differently colored perspectives at once.
When viewed back through 3d glasses, one can see a bit of depth. Unfortunately this was a last minute bell and whistle, and we only able to get images in relatively low lighting conditions.
We find it helps when you look at these images from a distance and really stare at it for a feeling of depth.
Images near Cory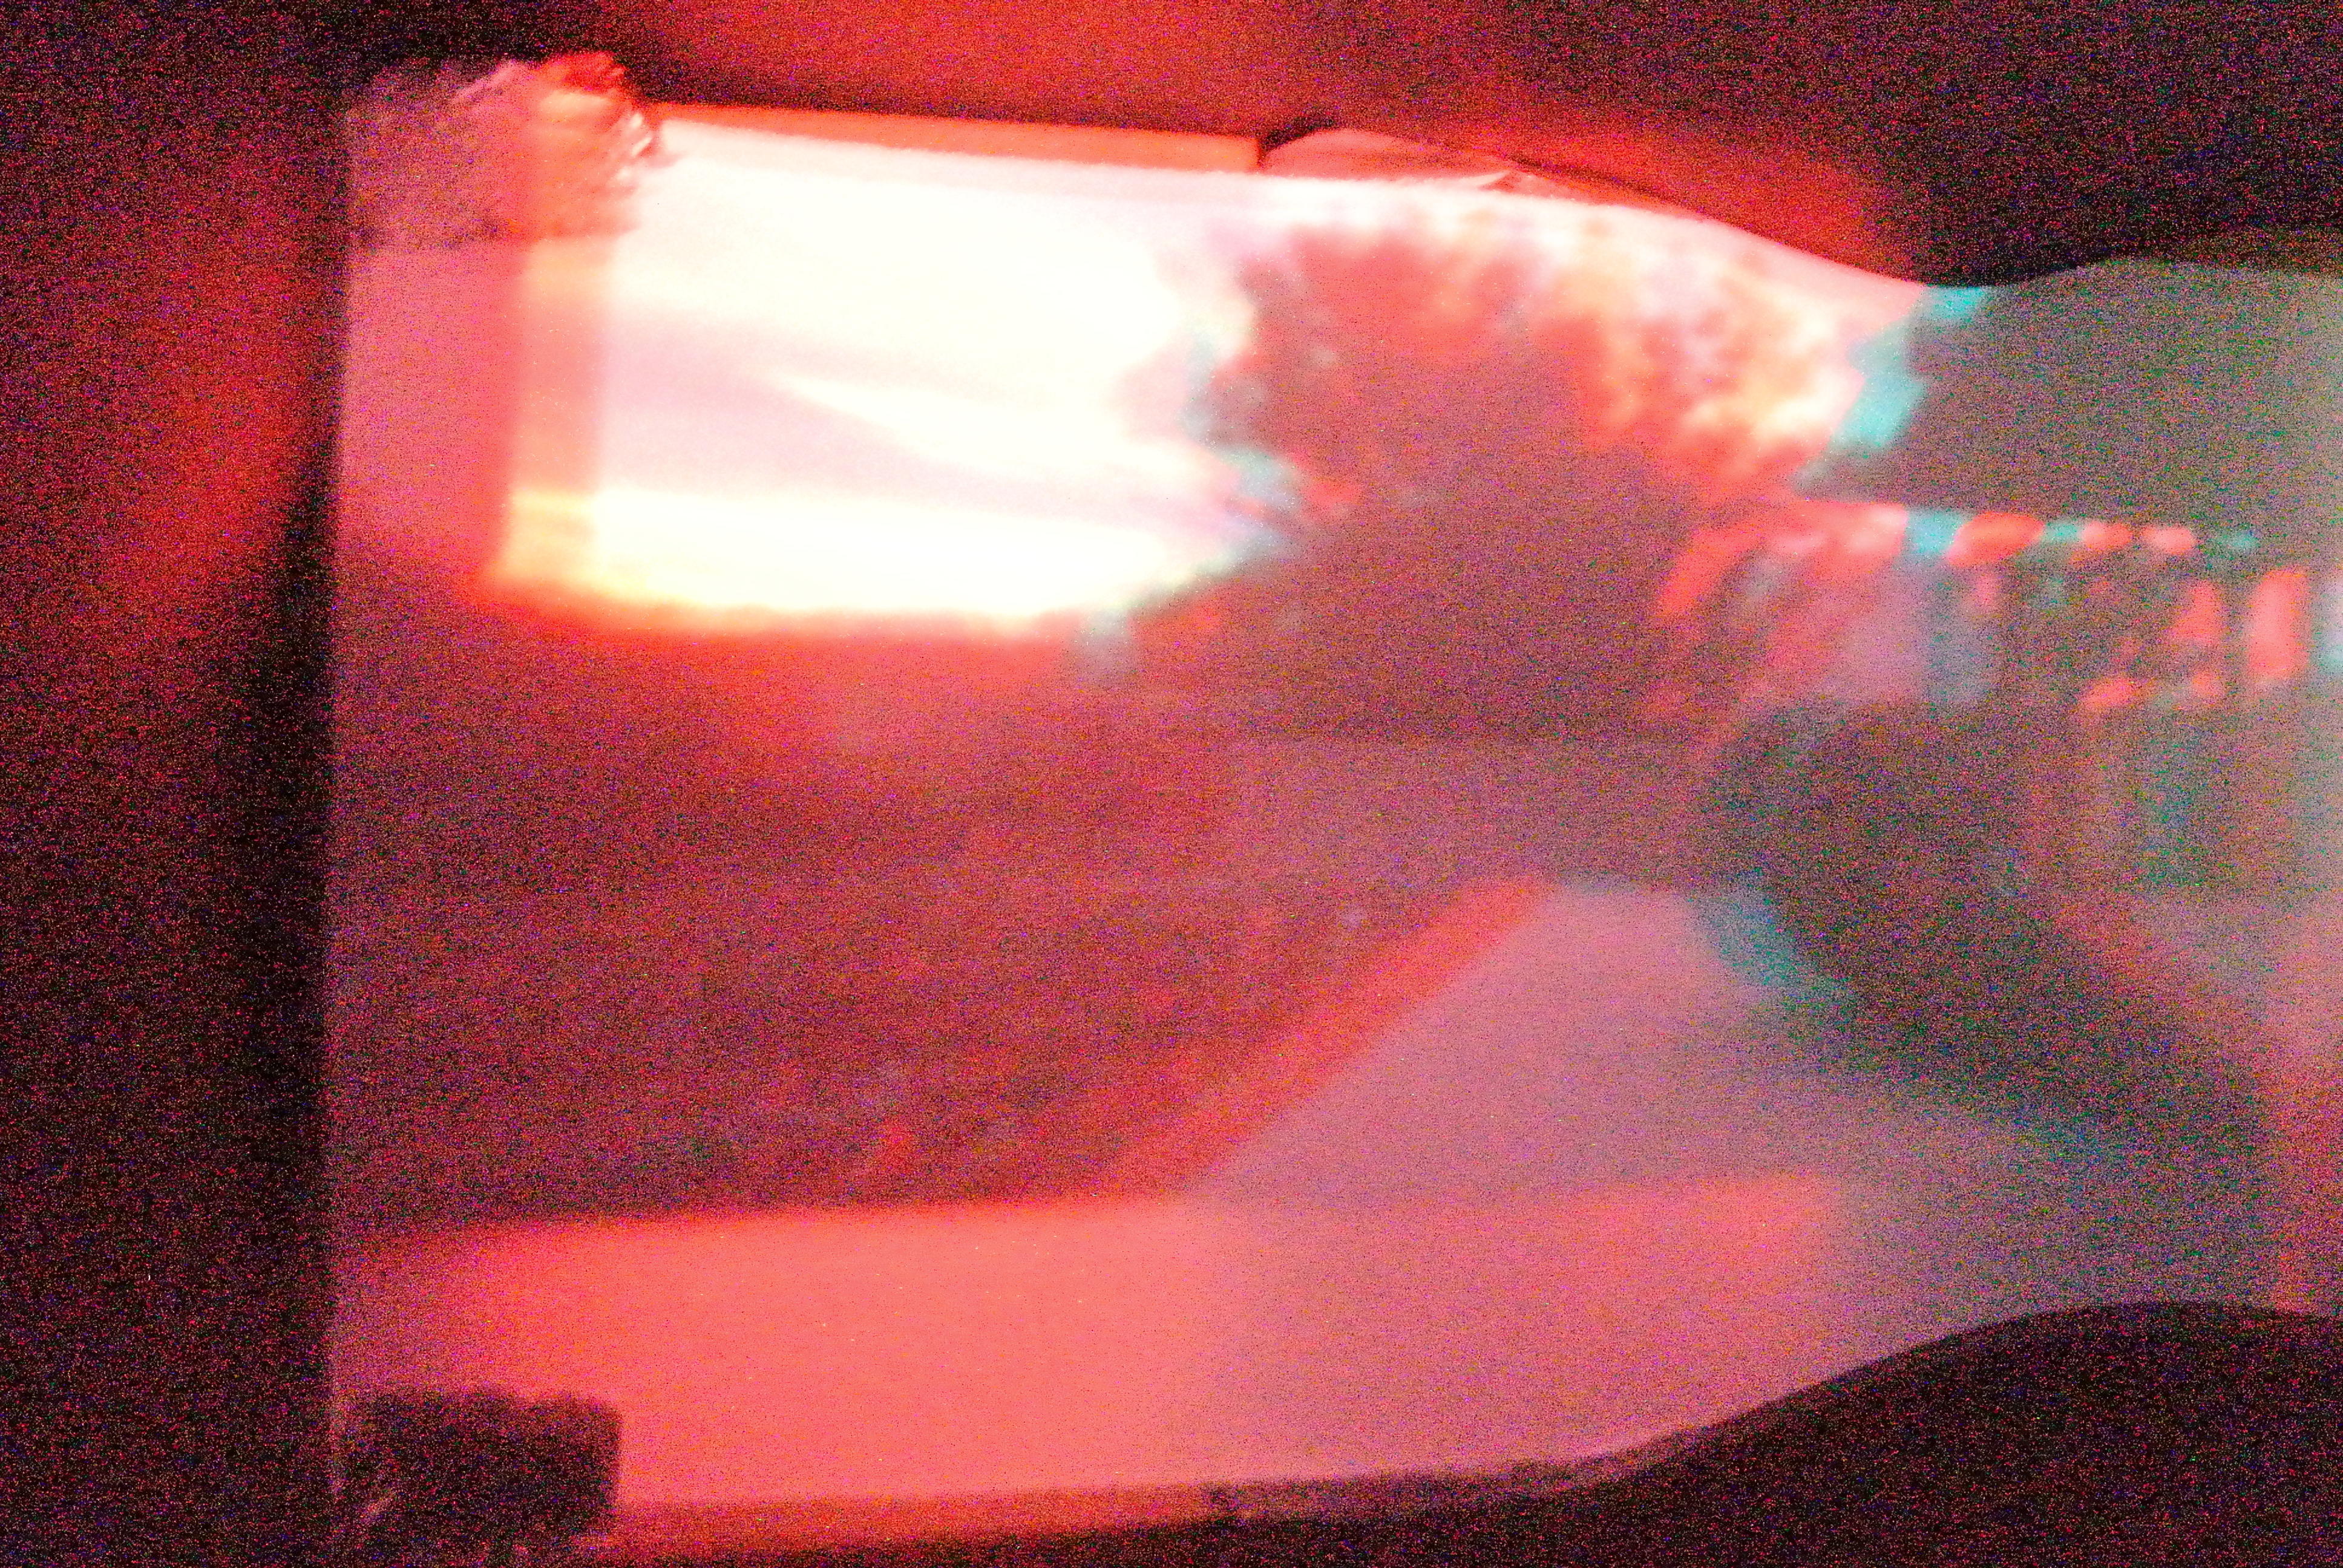
We took these in the Cory courtyard near the milk tea place. This was done with a 5mm pinhole
an ISO of 1600 and an exposure time of 30 seconds. We used an LED headlamp to draw the images.
Pacman
A most profound proof of P=NP, but the lighting's not good enough to contain it!
Smiley
Squiggles
The images we took with the pinhole camera were very dark, so we tried several methods to make them brighter.
We started by using a median filter on the images to remove noise. Below are images of the Hearst Mining Building before and after noise removal.
Hearst Mining Building
Hearst Mining Building after median filter
Next we attempted to brighten the images. We started by rescaling the pixel values so that the darkest pixel is 0 and the brightest is 1. This helped, but the image was still very dark.
Hearst Mining Building
Hearst Mining Building after rescale to (0, 1)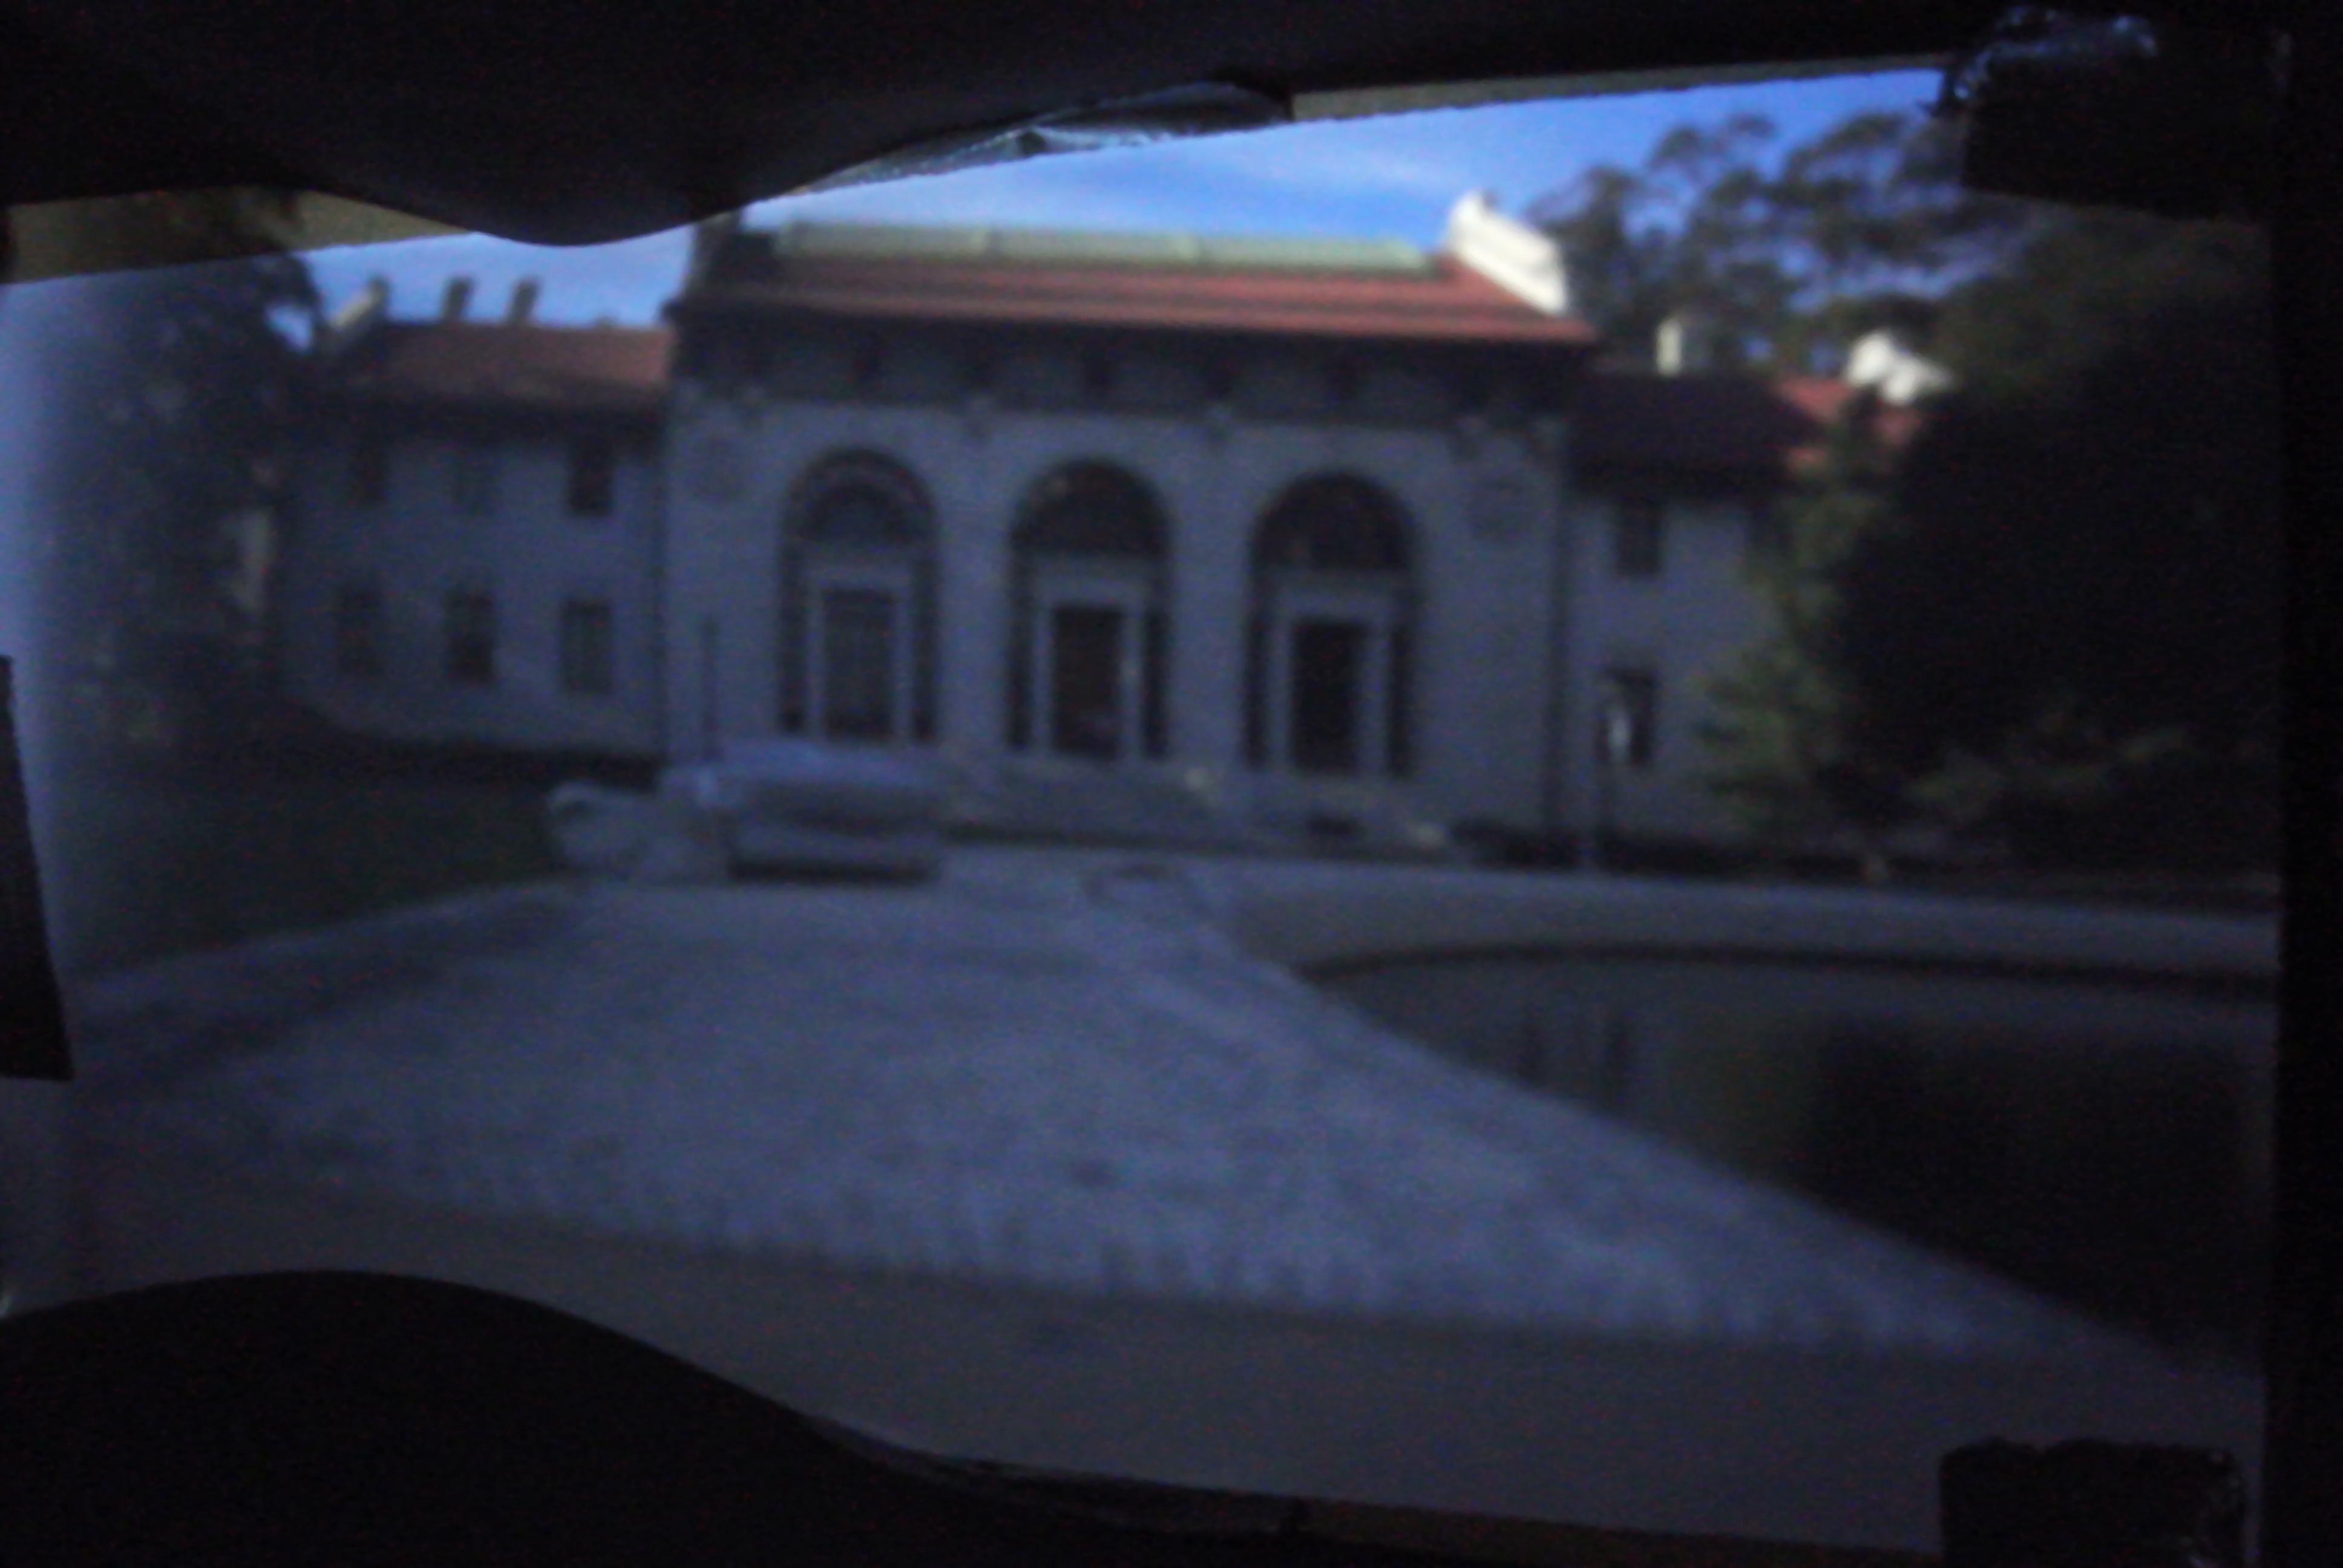
The next method we tried was to rescale the pixel values so that the darkest is 0 and the brightest is 1.5 and then clip the high values to be 1. This made the image brighter but distorted the blue of the sky.
Hearst Mining Building
Hearst Mining Building after rescale to (0, 1.5)
We tried creating a histogram of pixel values and using this to remap the pixels. This make the image too washed out.
Hearst Mining Building
Hearst Mining Building after histogram rescale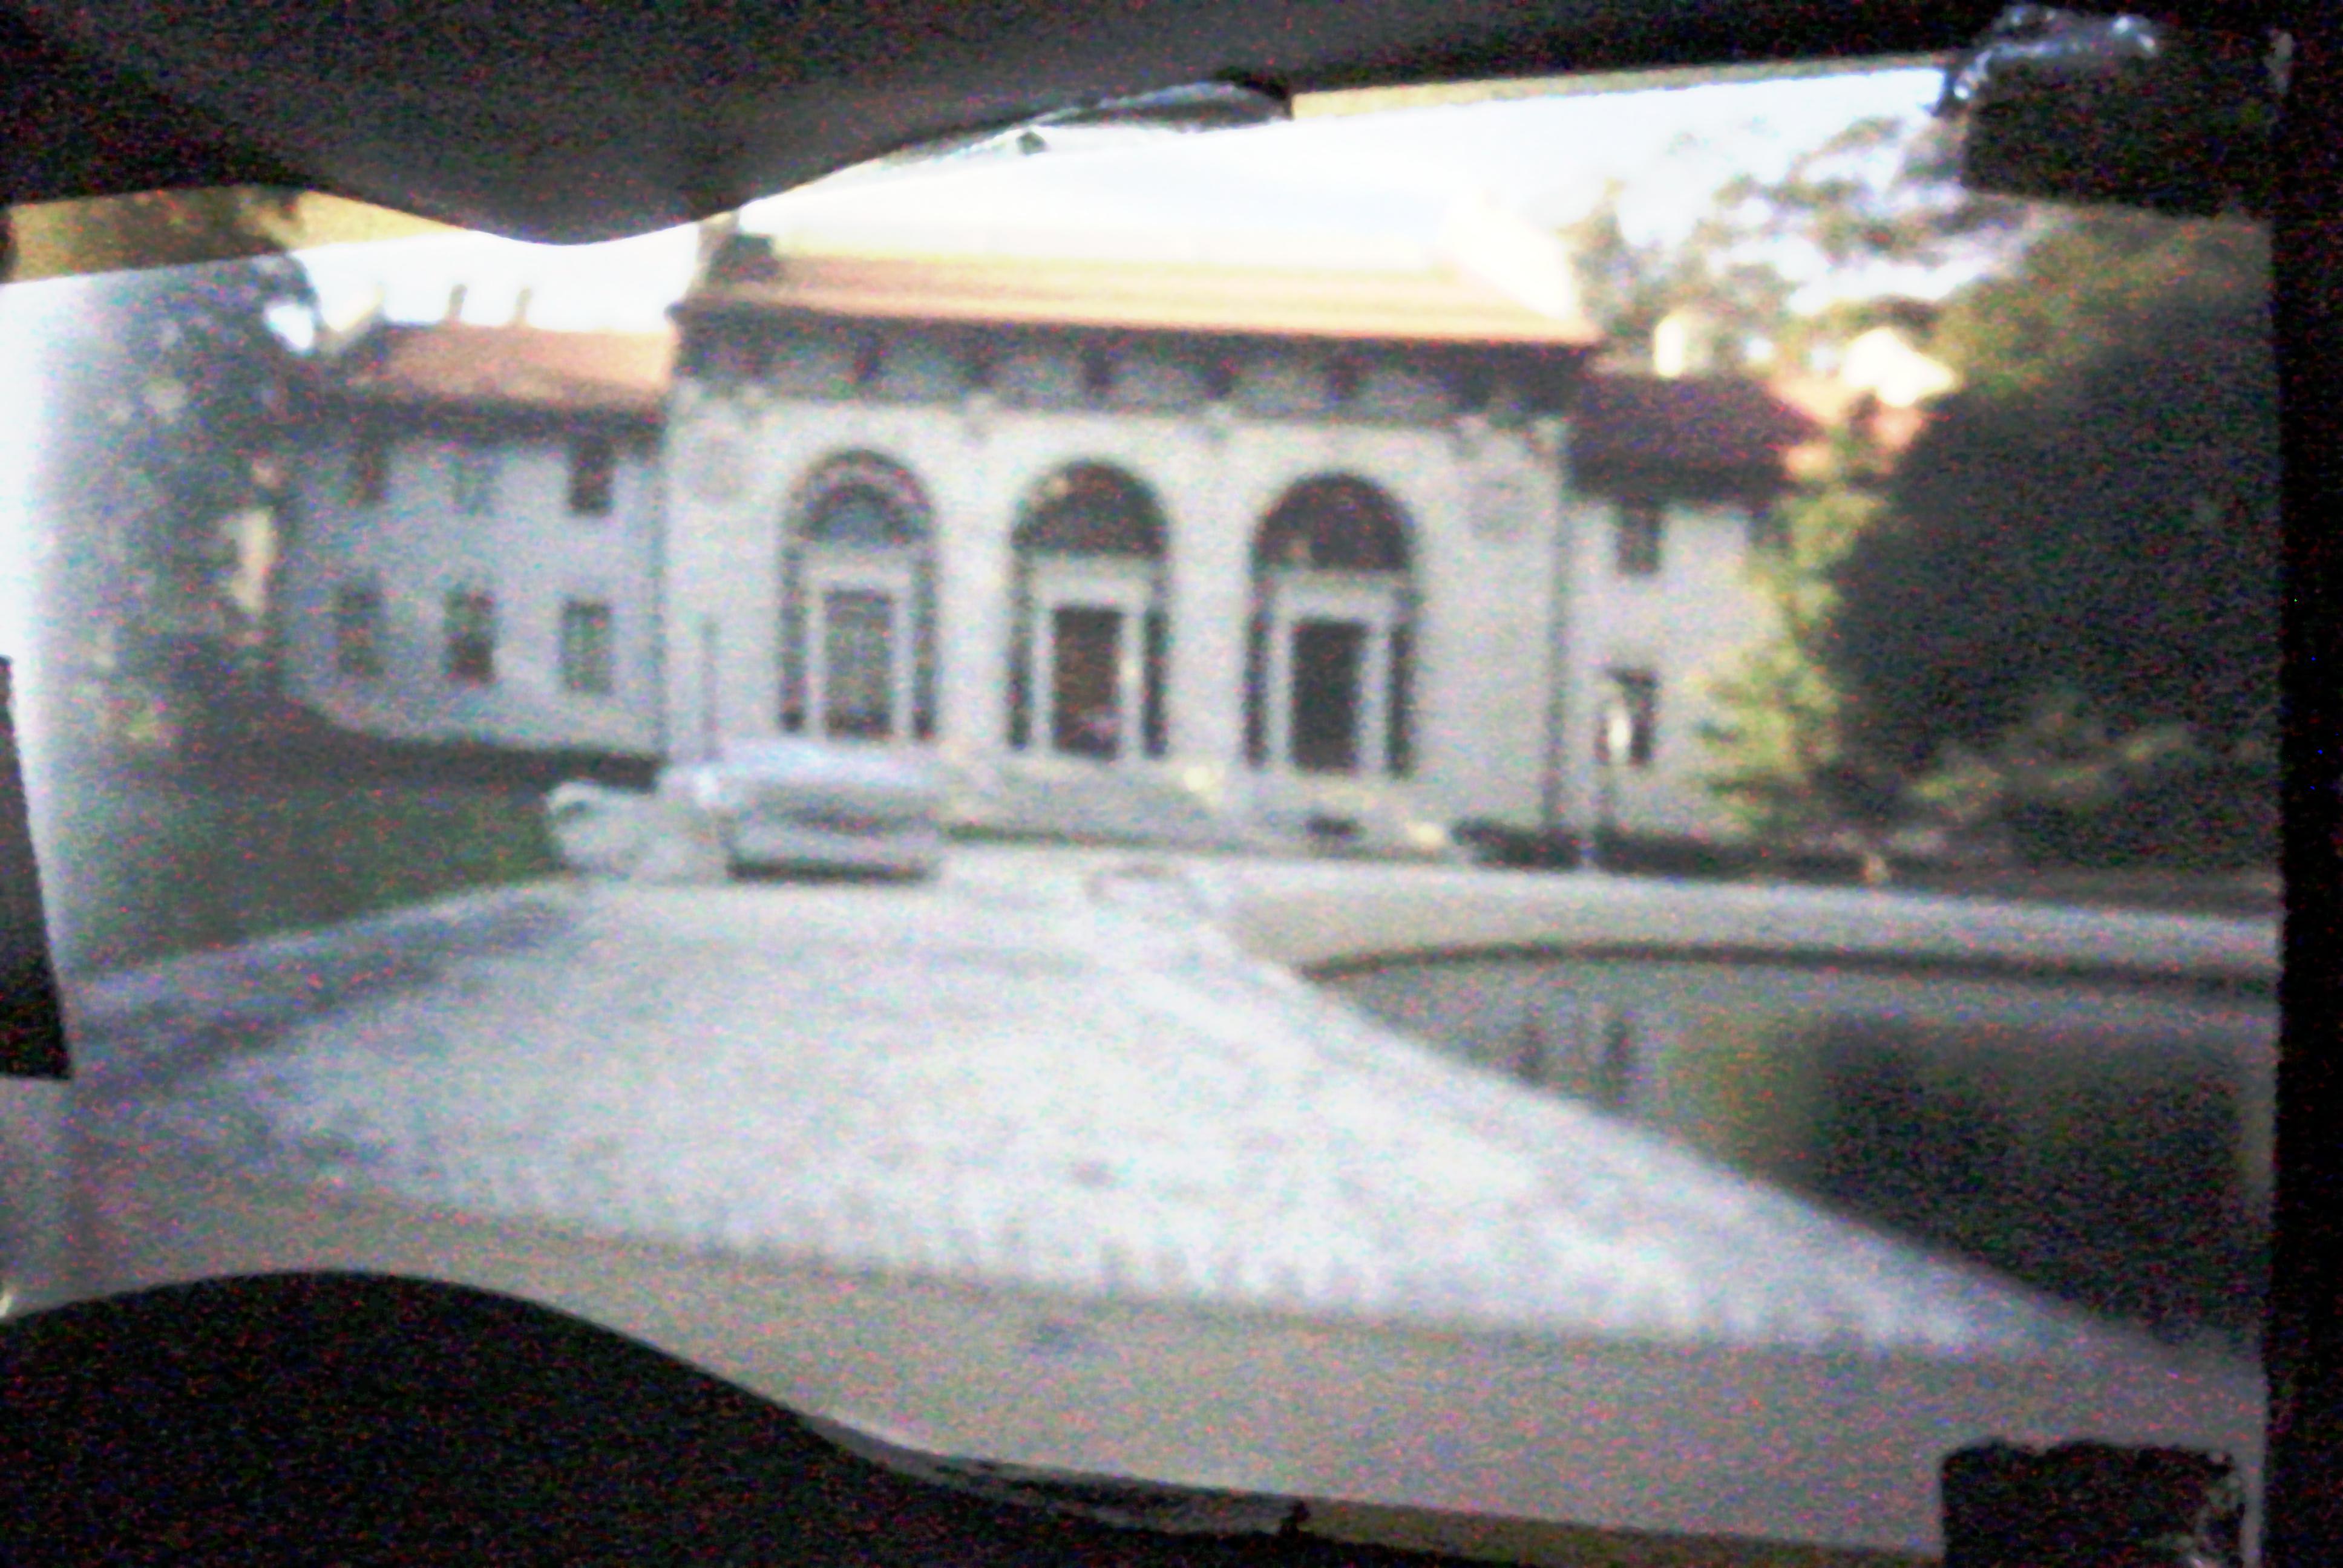
Finally, we tried averaging the original pixel value with the value returned by the histogram mapping. We weighted the original pixel value at 0.6 and the histogram mapping at 0.4. This gave us the best image of the Hearst Mining Building.
Hearst Mining Building
Hearst Mining Building after averaged histogram rescale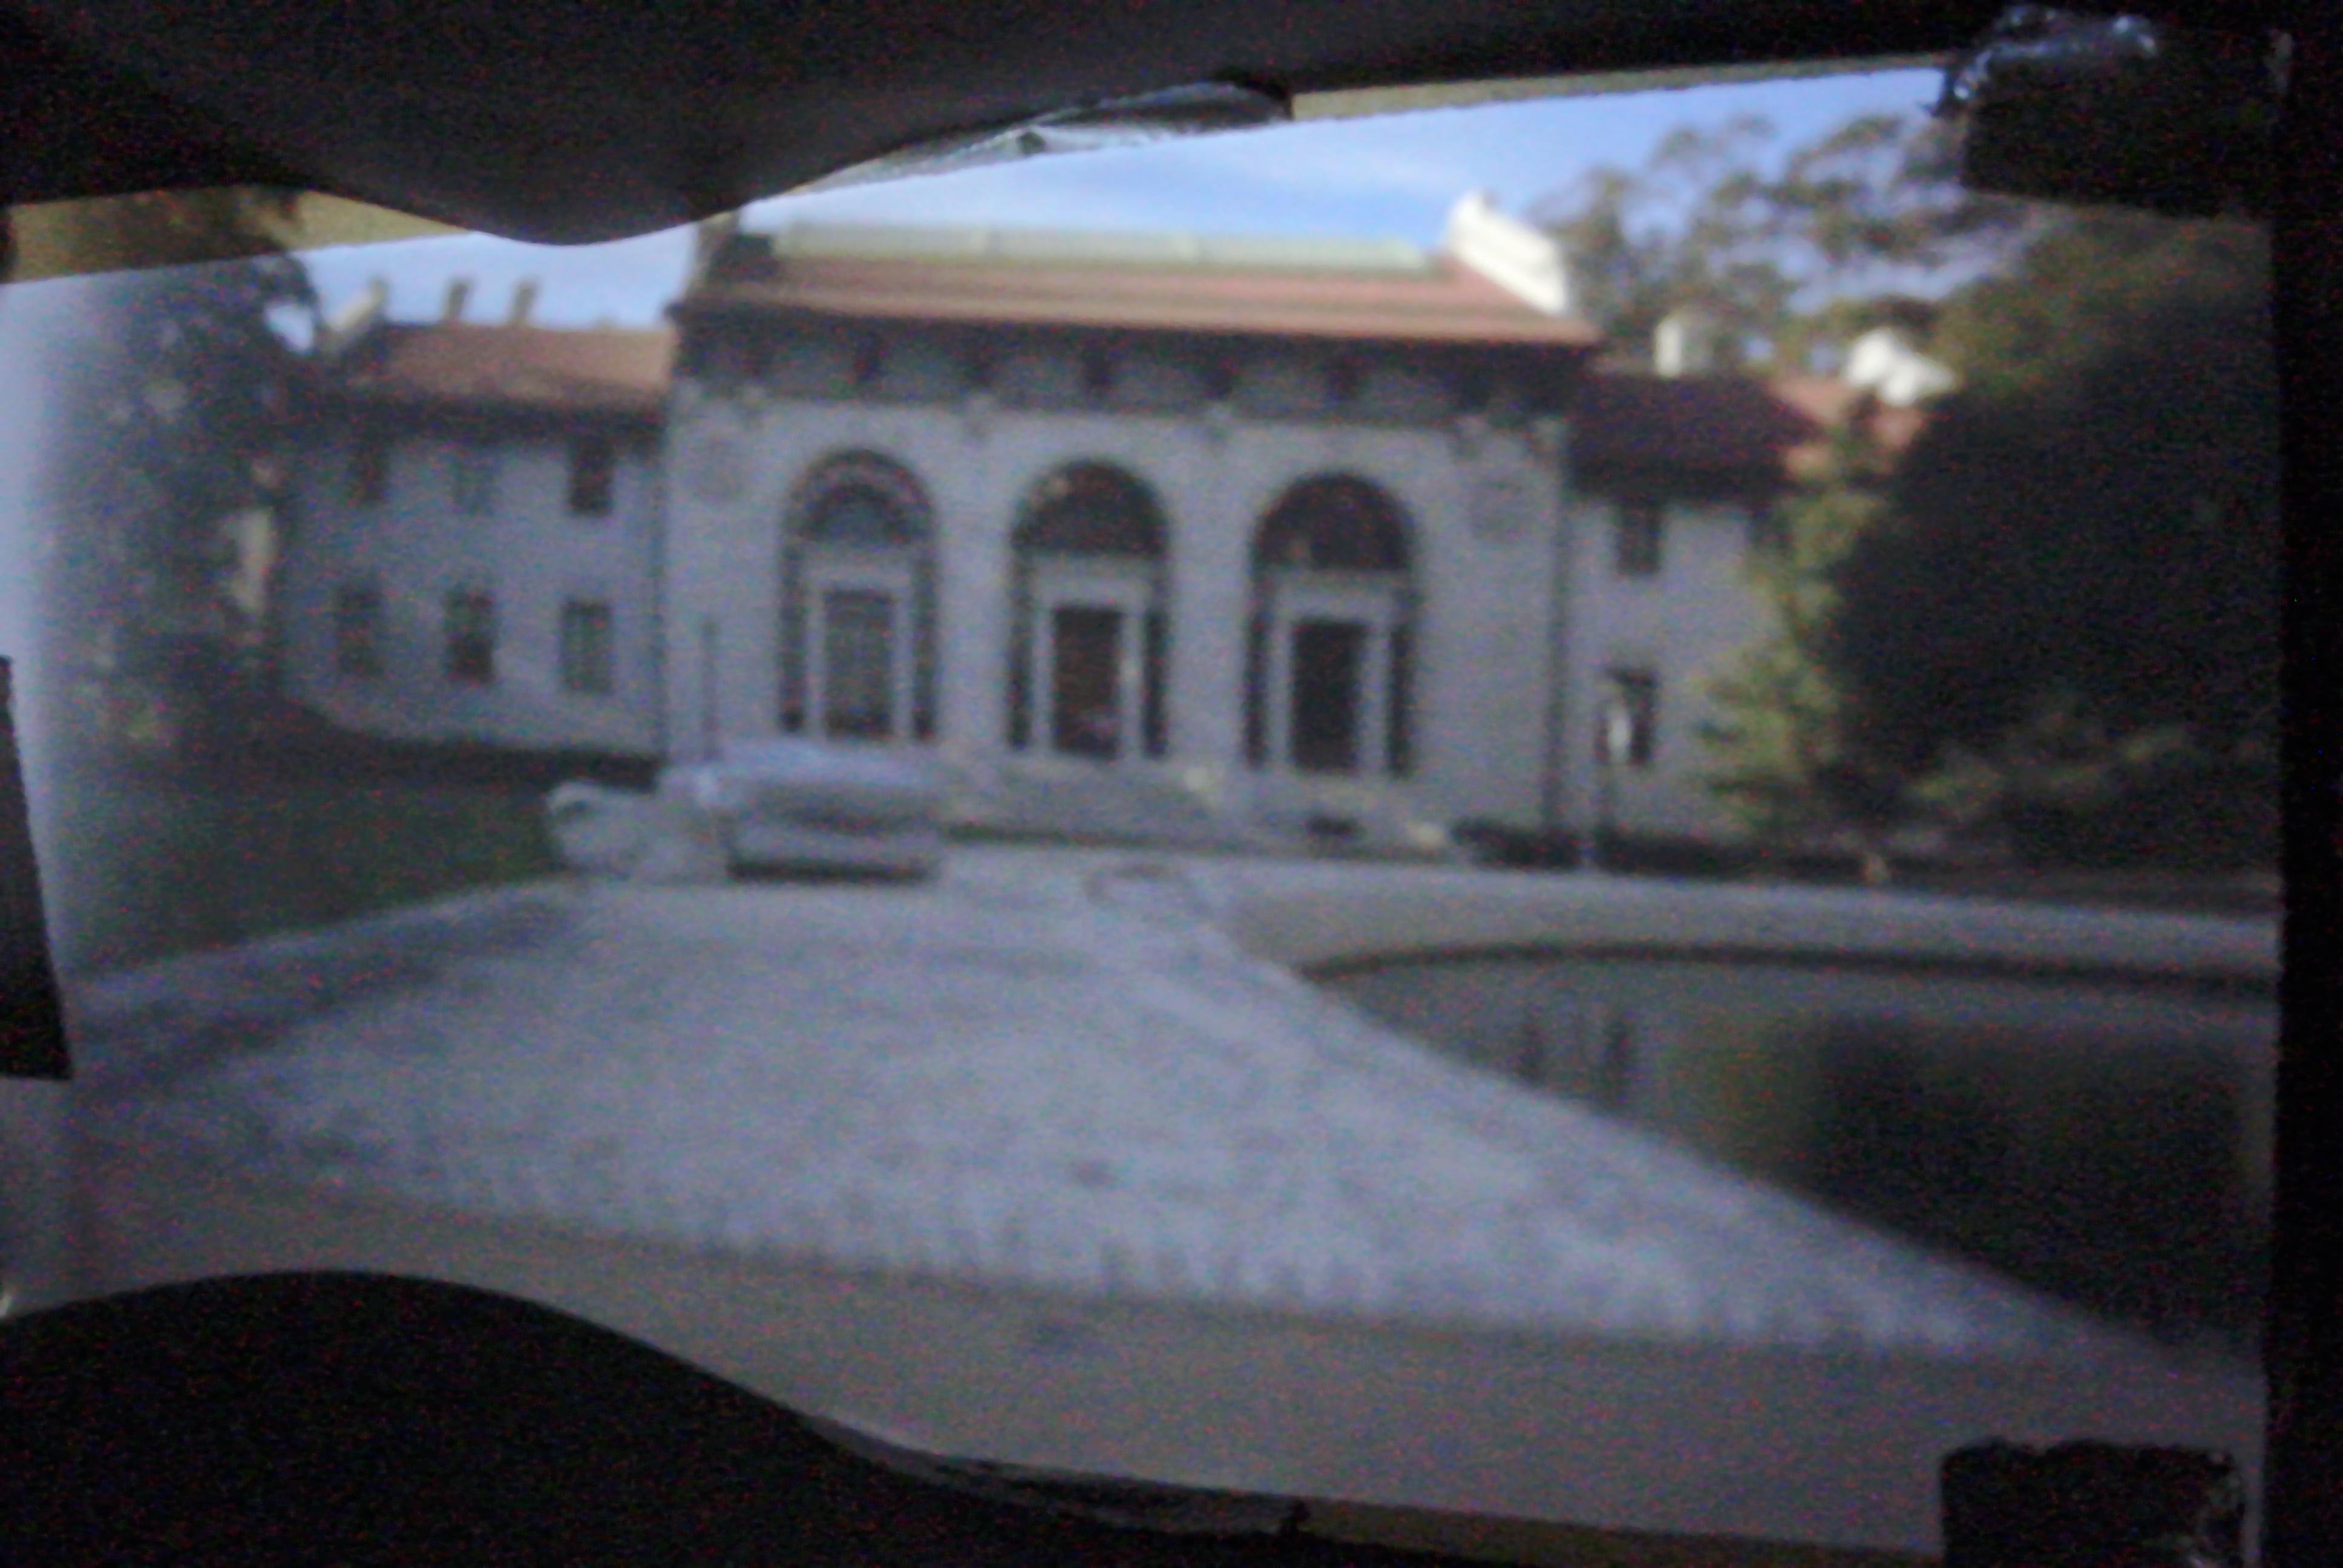
Below are the rest of the images after they have been denoised and brightened. The images of Soda and Cory were brightened by rescaling the pixels so their darkest pixel is 0 and the brightest is 1. The image of the fountain was rescaled by averaging the denoised image with the image from the histogram mapping.
Soda Hall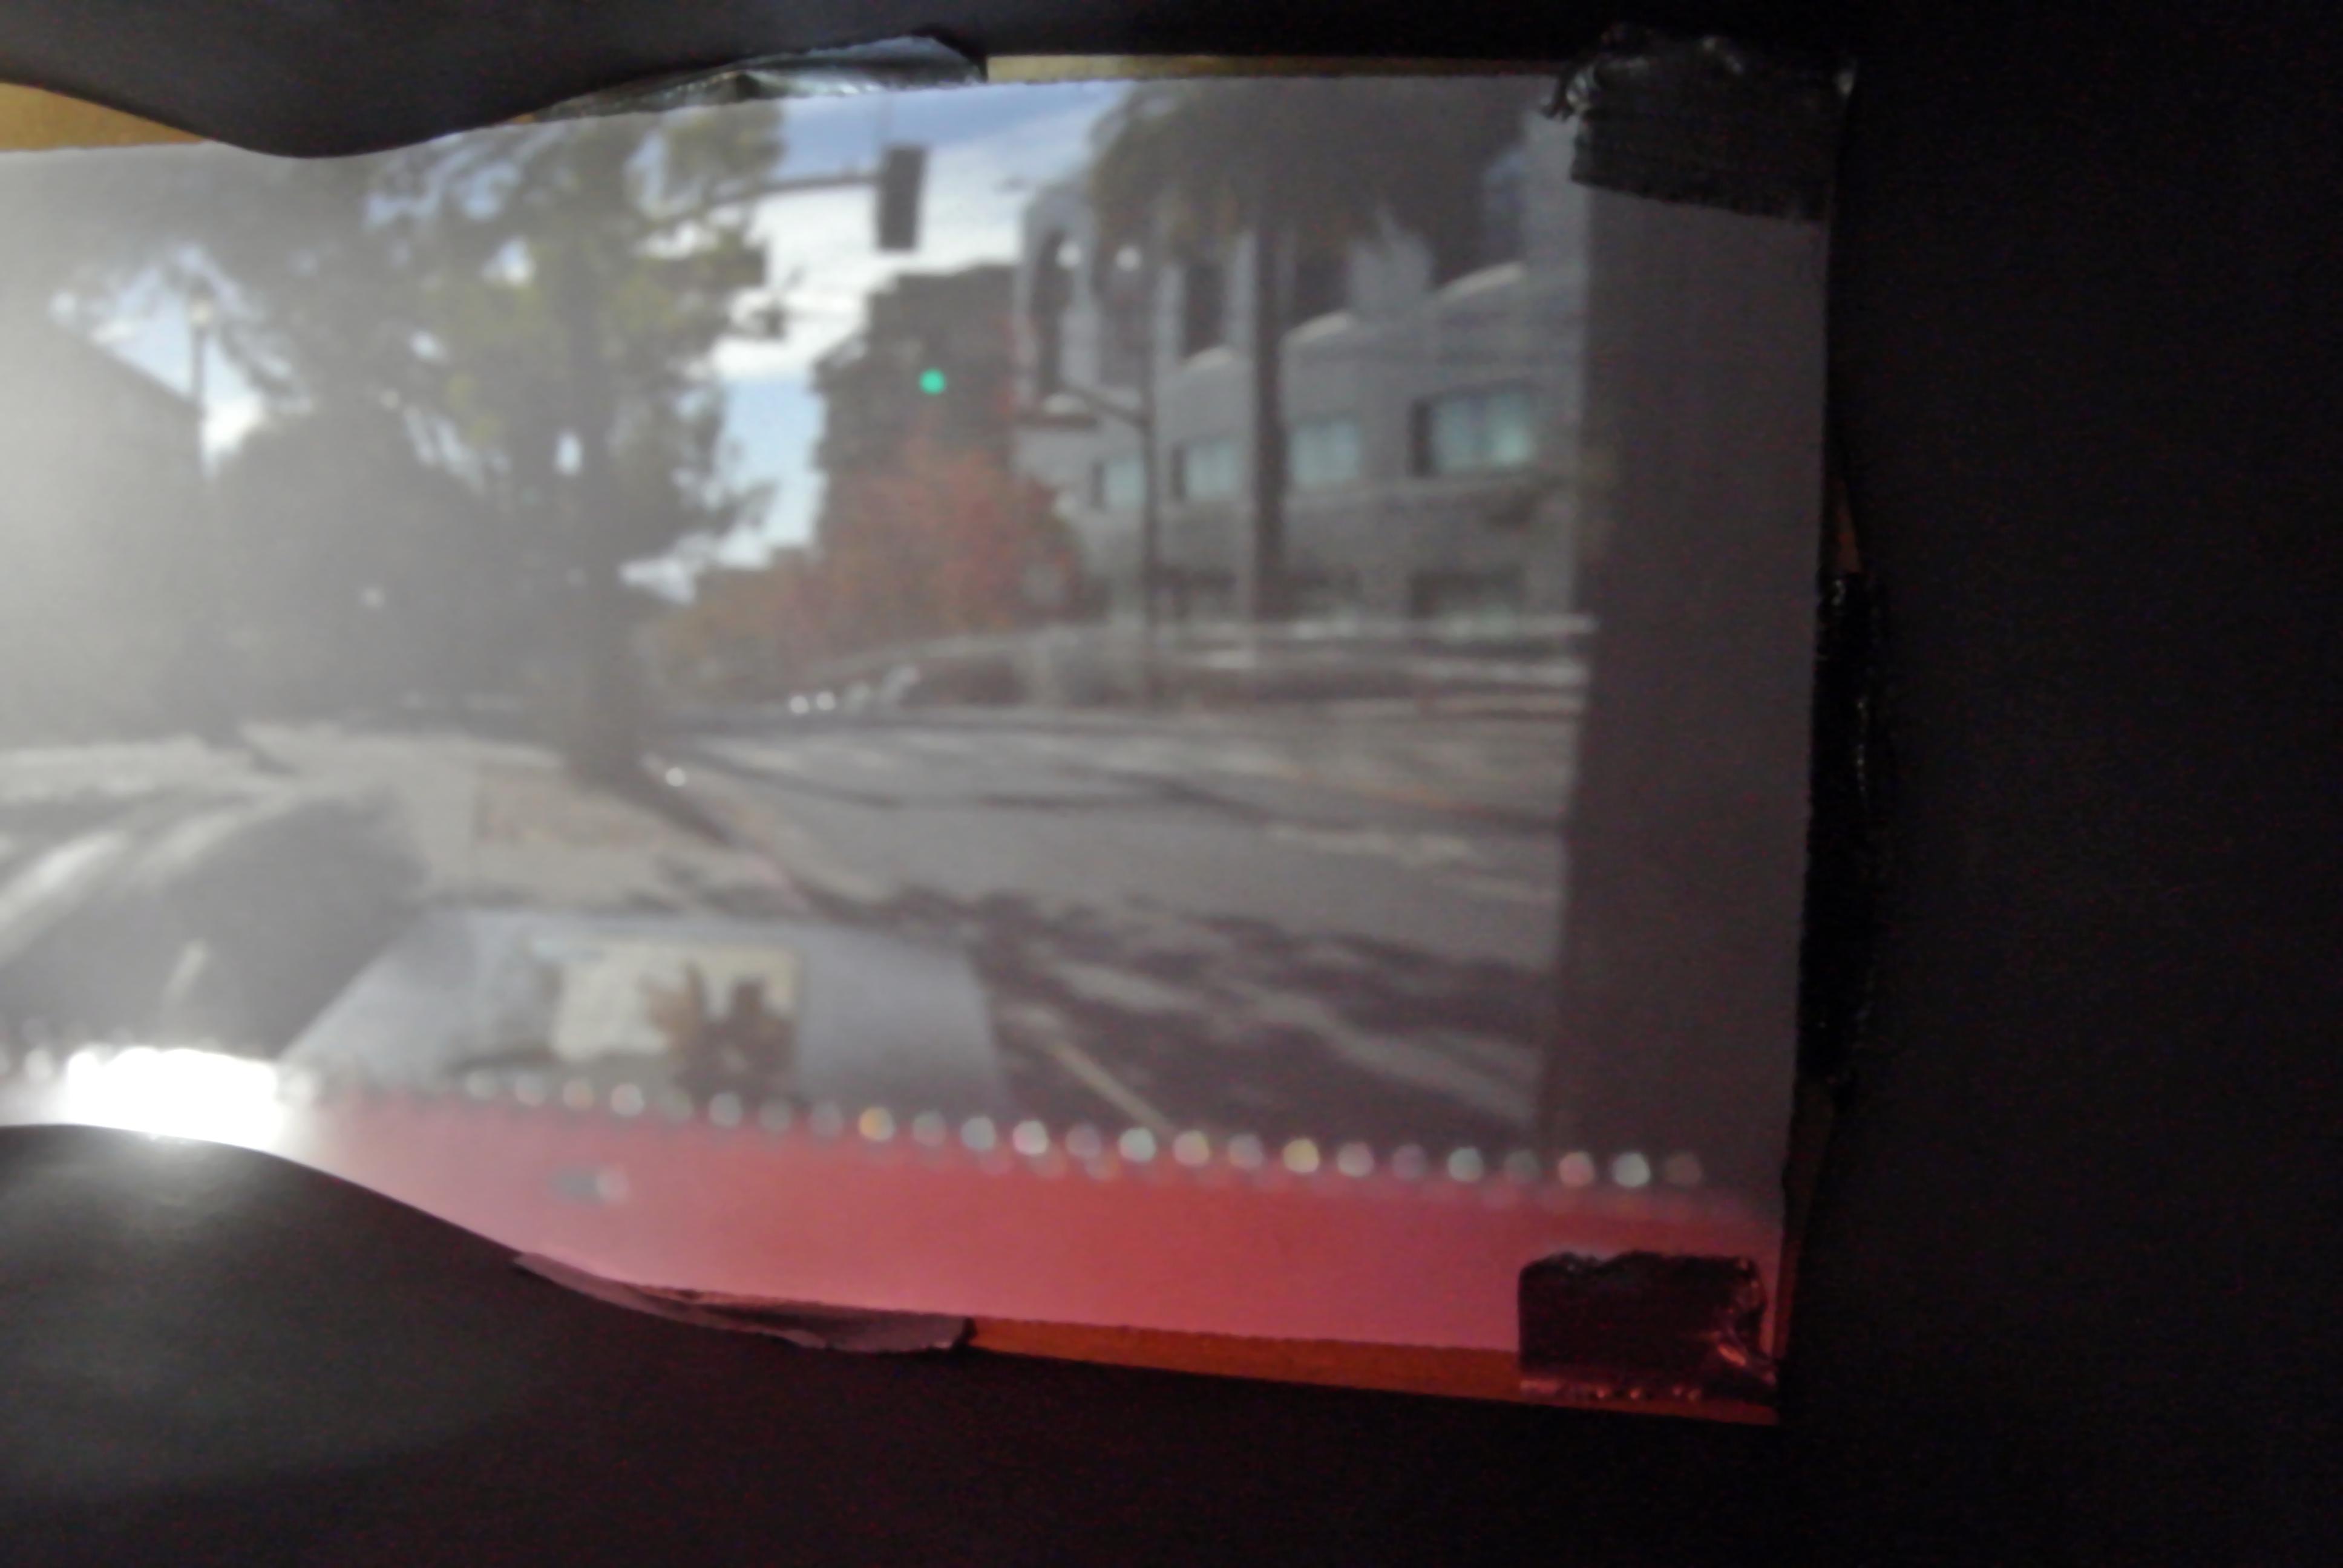
Cory Hall Walkway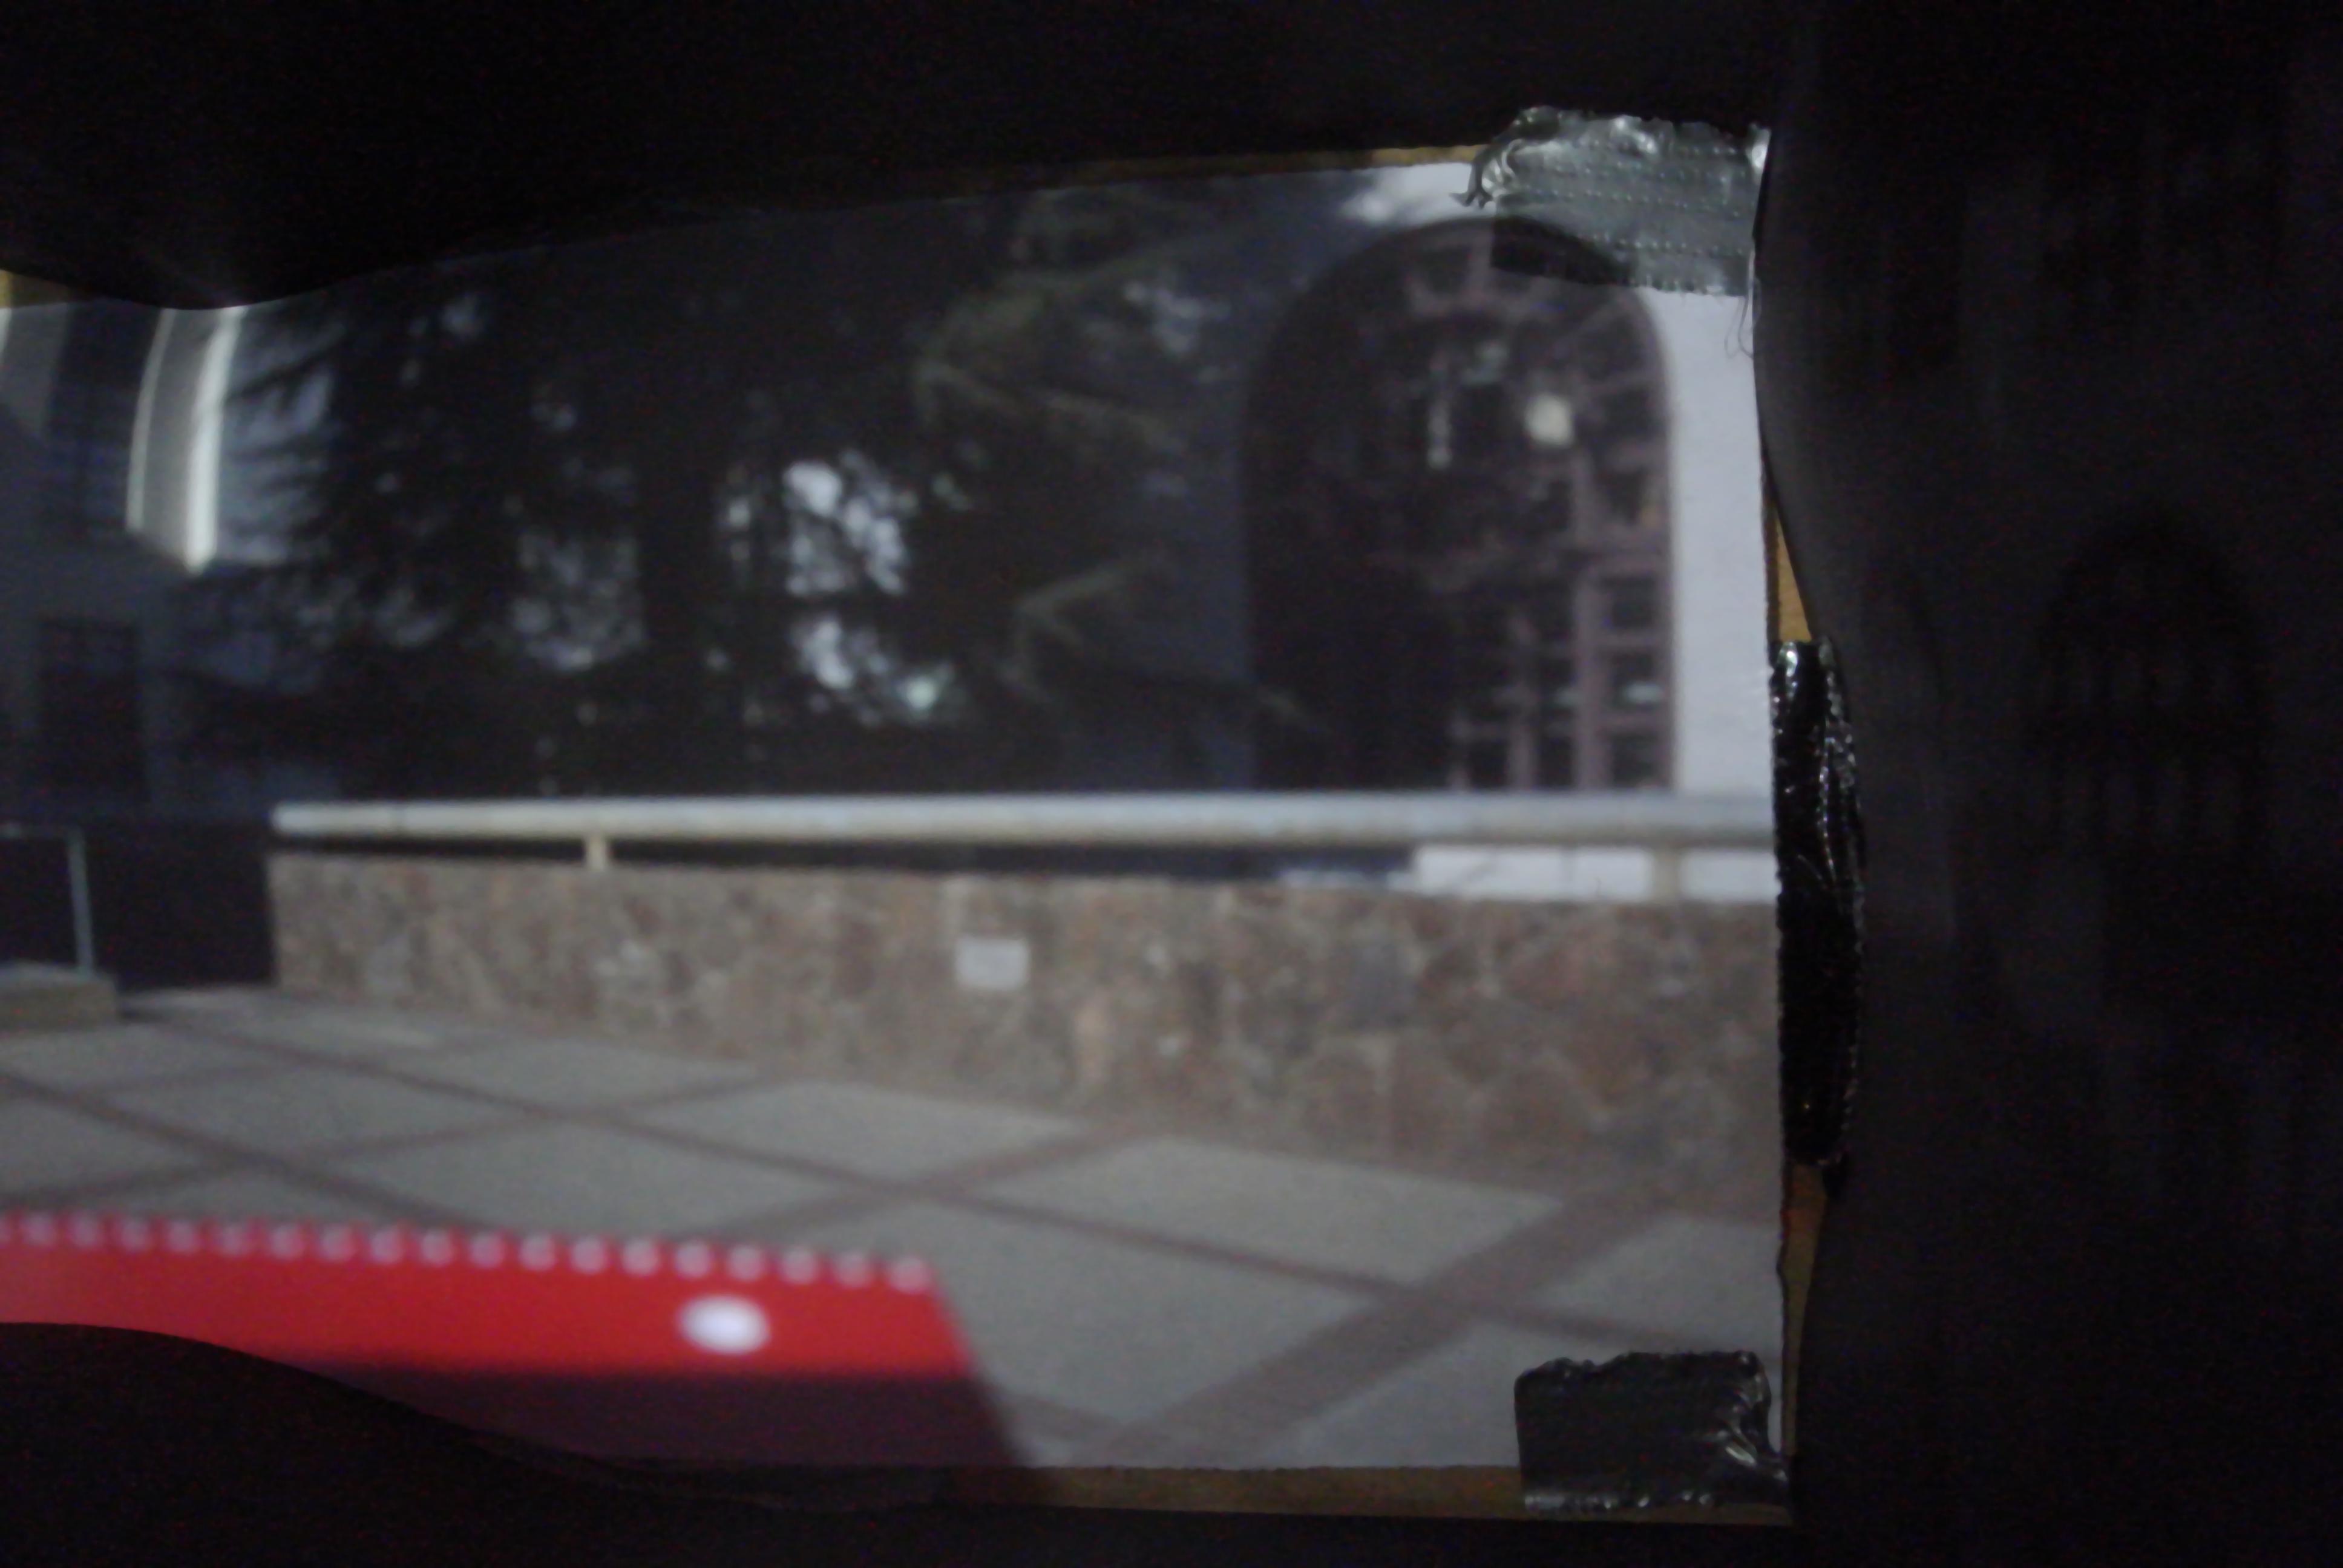
Hearst Mining Circle Fountain