Fun with Frequencies and Gradients
CS 194-26: Computational Photography, Fall 2018, Project 3
Zheng Shi, cs194-26-aad
1. Frequency Domain
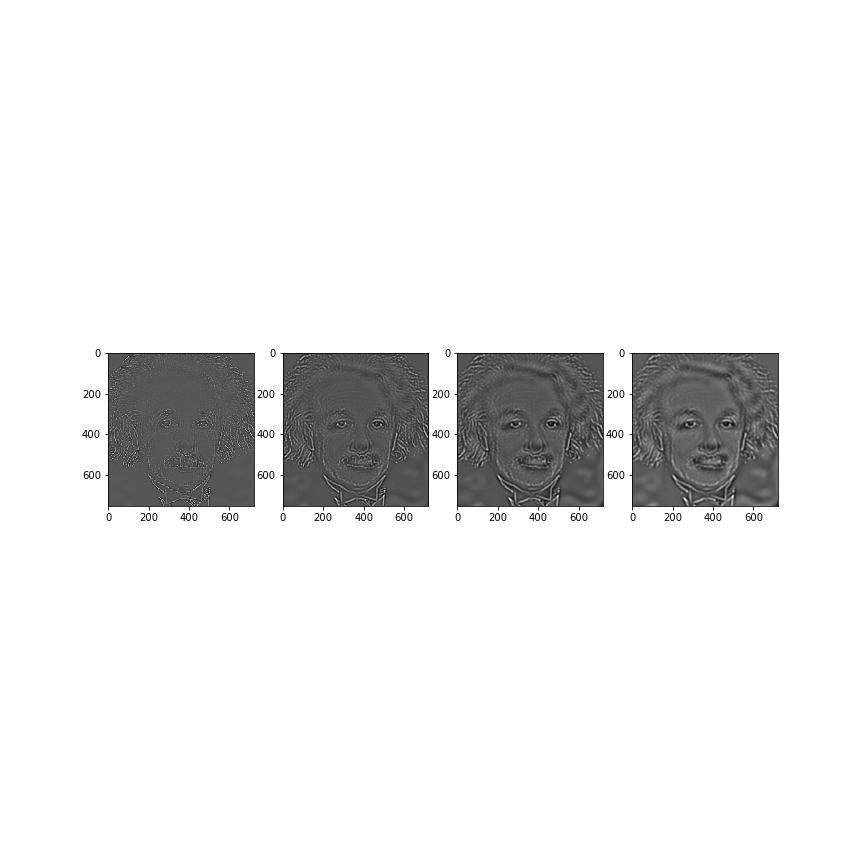
1.1 Warmup (sharpen)
Gaussian filter is a low-pass filter that takes high frequency information of the image away. Substracting the smoothed image from the original image, we get an image of detailed lines ("detail image"). The process is equivalent to applying laplacian filter to the original image. If we add a weighted version of the "detail image" to the original image, we get a sharpened image. Note that to get a normal image, we need to rescale the intensity of the whole generated image so that the values lie between 0 and 1. Same is done many times in this project.

1.2 Hybrid Images
Now that we can get low frequency portion of an image by applying Gaussian filter as well as get high frequency portion by substracting Gaussian filtered image from the original image, an interesting experiment to do is to combine the low-freq portion of one image with the high-freq portion of another. The idea is that high frequency portion tends to dominate perception when it is available, but at a distance only low-freq portion can be seen.
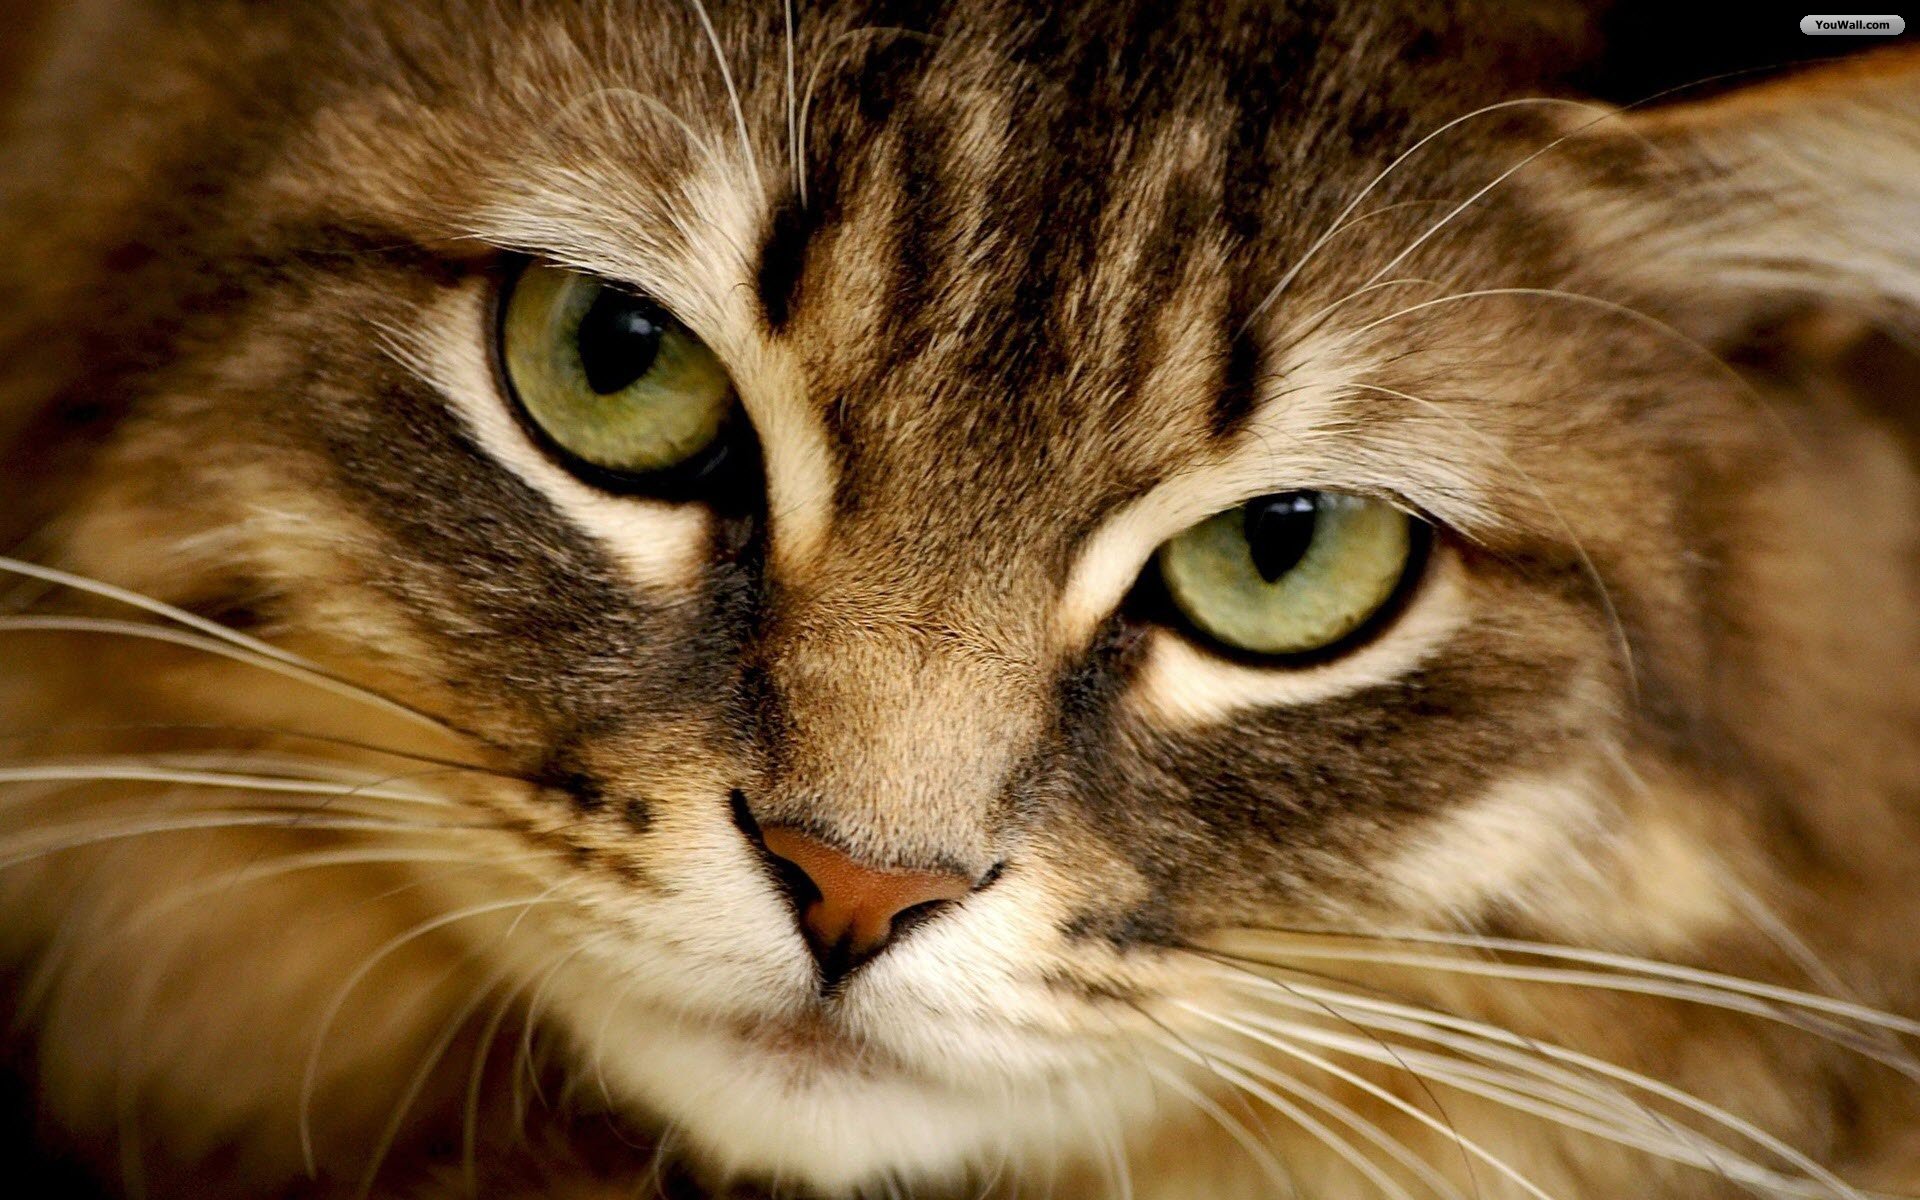
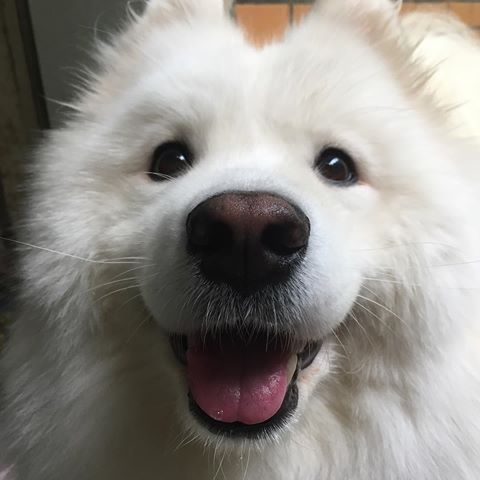
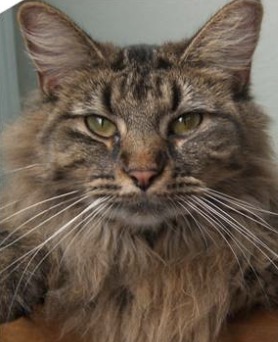
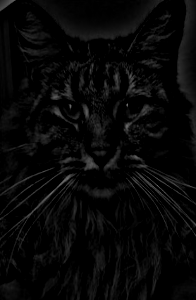
Cat + Samoyed
I tried to hybrid image of cat and Samoyed. The third image below combines high-freq of cat and low-freq of Samoyed, making cat dominate perception at normal reading distance. If you walk away from your screen, you'll find a cute Samoyed smiling at you. The fourth image does the opposite.

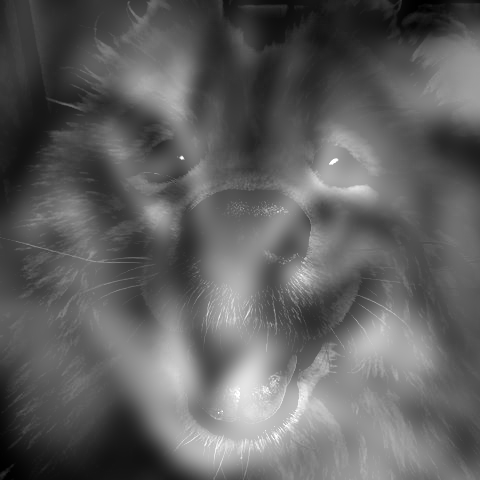
Nutmeg + Derek (with Fourier analysis)
Sometimes we need to do some preprocessing, like cropping and resizing, before stacking them together. I reproduced Dr. Derek Hoiem's work, hybriding him and his cat Nutmeg.
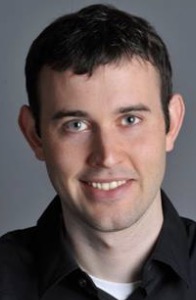


Shown above are high-freq part of Nutmeg and low-freq part of Derek in spatial domain.
Below are in frequency domain.
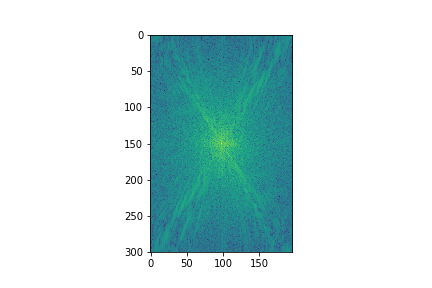
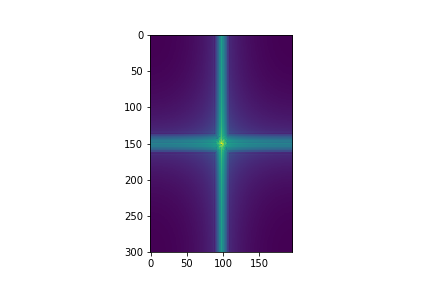
As you can see, in the high frequency plot of Nutmeg, there is no horizontal or vertical concentration, whereas in the low frequency plot of Derek, only horizontal and vertical lines are left.
Fourier transform allows us to hybrid two images into one. However, to make a good combination, it is necessary to find aligned image pairs and to tune the parameters of Gaussian filter. Even such a simple technique can create amazing synthesized images.
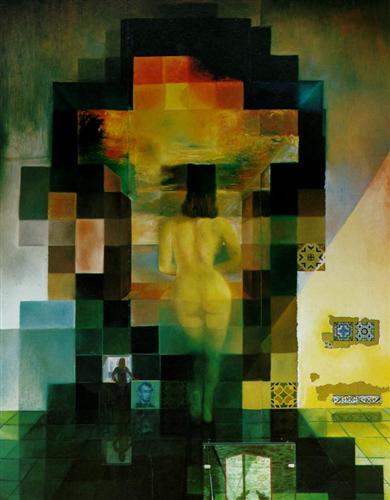
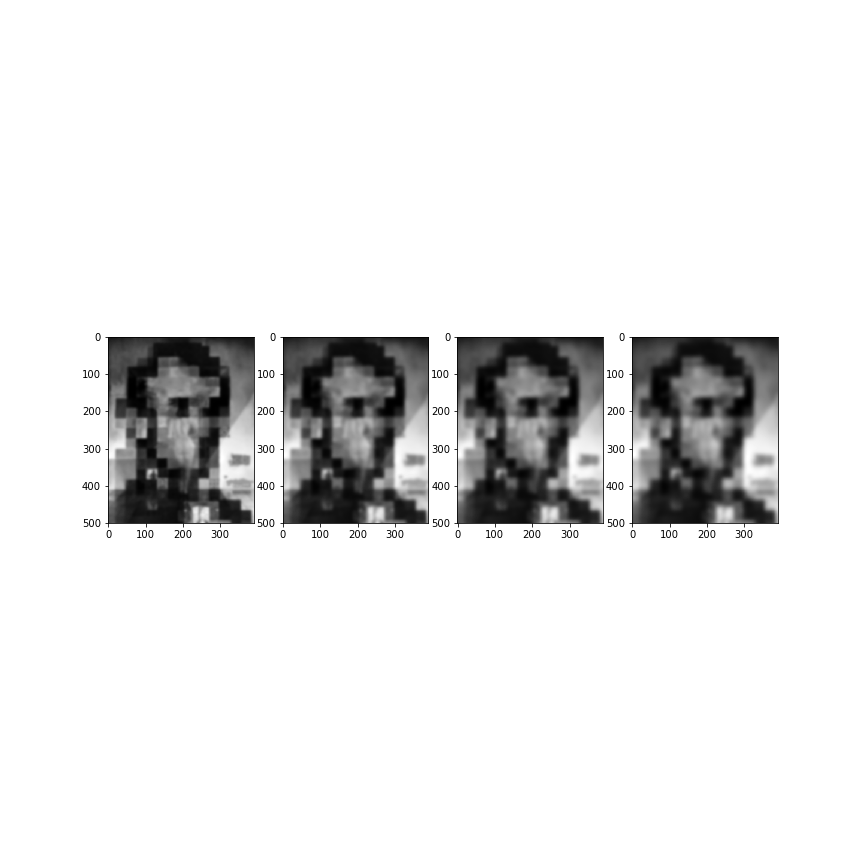
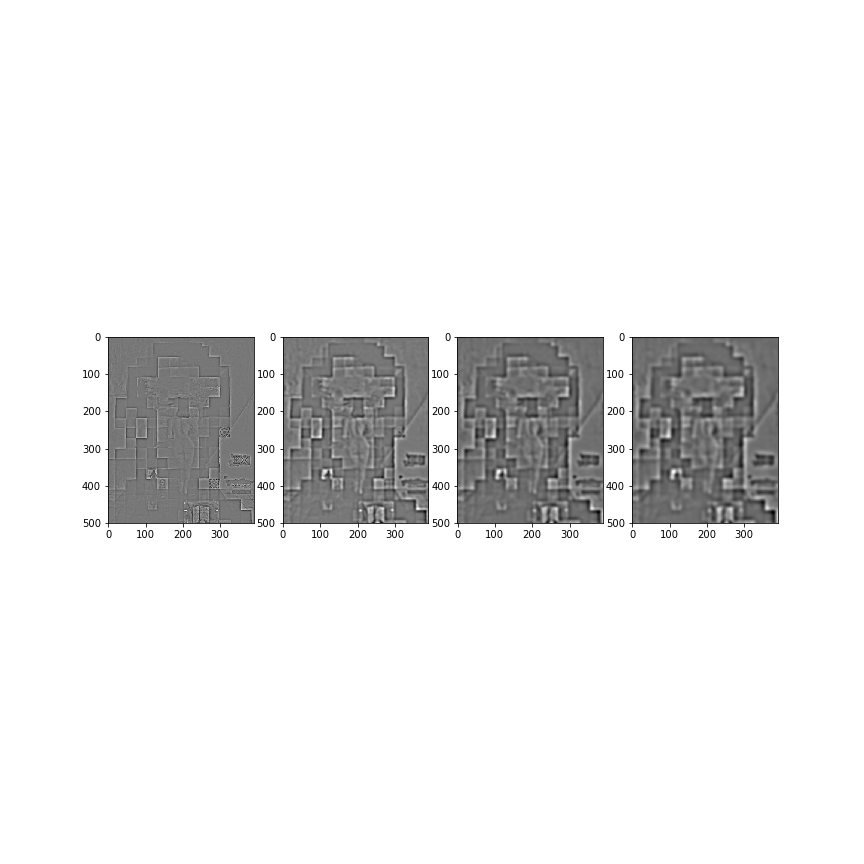
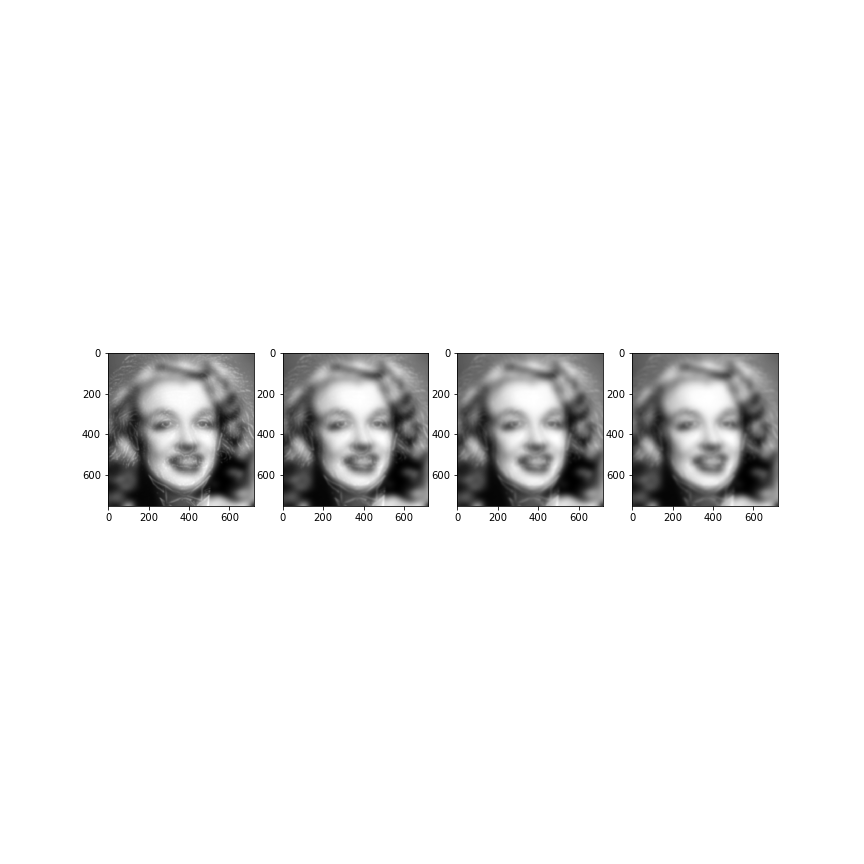
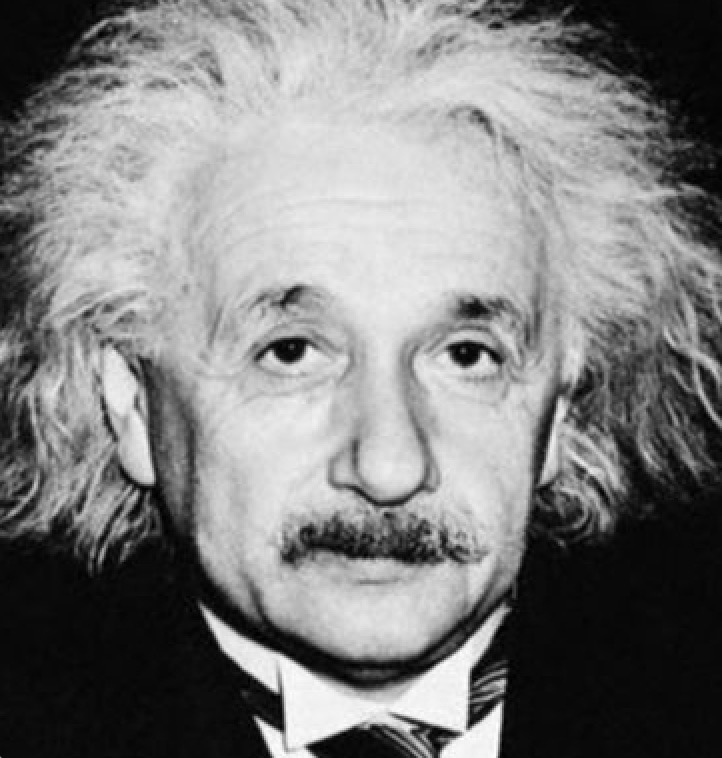
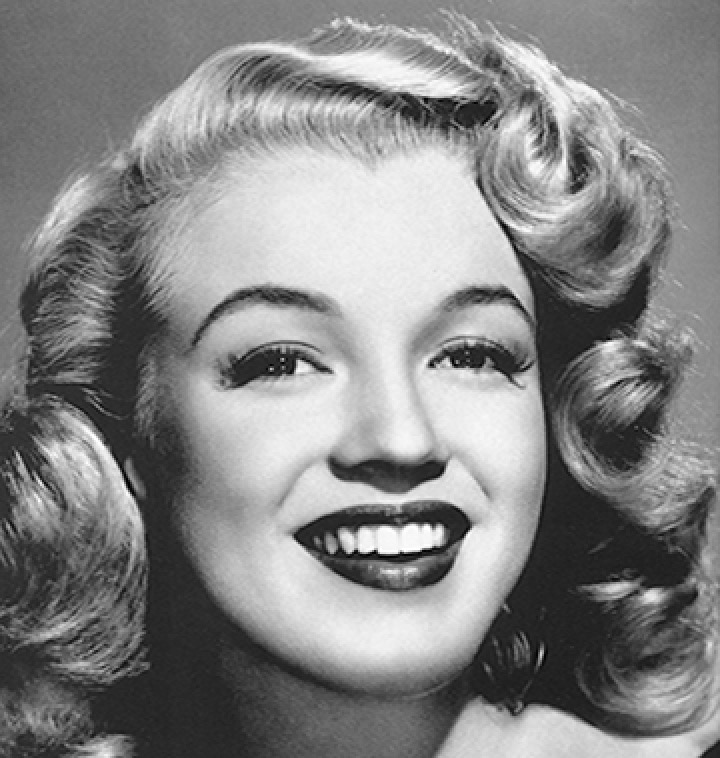
Einstein + Monroe
The hybrid of Albert Einstein and Marilyn Monroe is a famous one, and I reproduce it. It turns out to look quite nice. One of the reasons is that these two images are aligned very well.

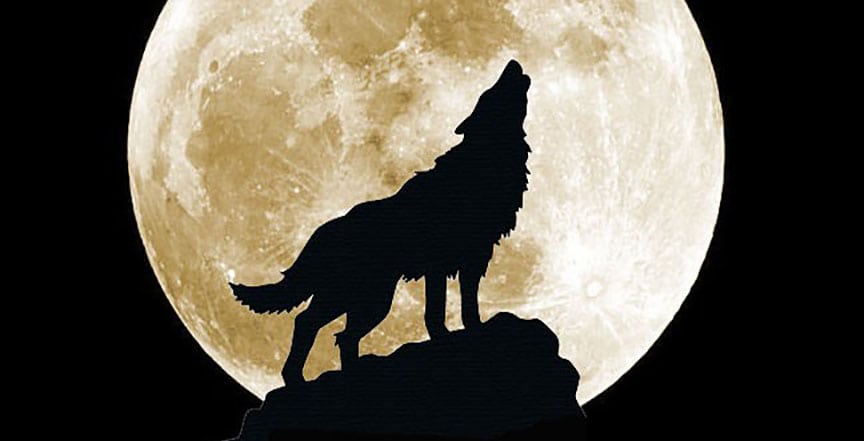
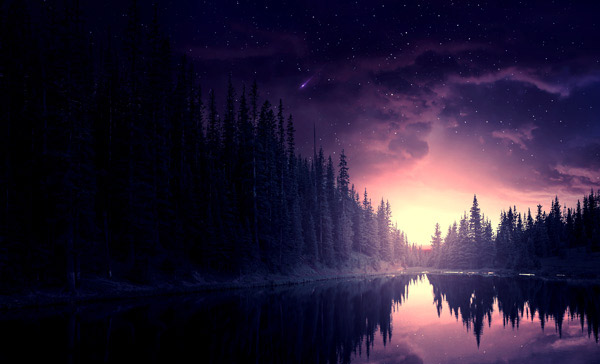
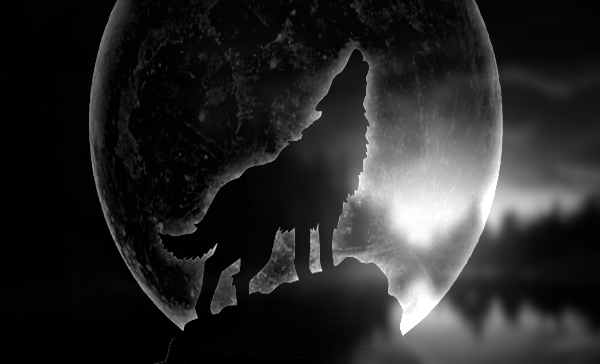
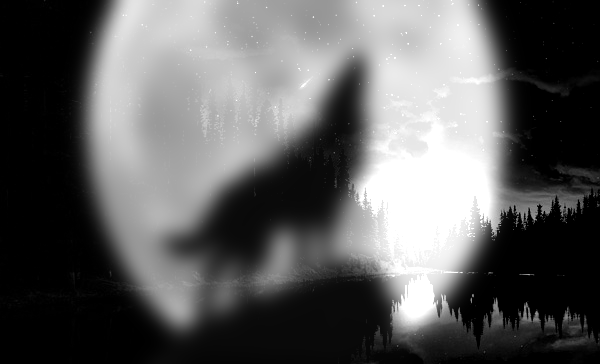
A failed attempt, Wolf + Night forest
To emphasize the effect of incompatibility, I chose two images, both of which have sharp edges and large dark sections. When I keep the high frequency of wolf image, the contour of moon is always visible no matter how far I see it from. When I keep the high frequency of forest image, the moon shape can never be hidden.
1.4 Multiresolution Blending (a.k.a. the oraple!)
With the Gaussian stack and the Laplacian stack implemented, we can now blend images in spatial domain. A technical detail for this problem is that we append the last level of Gaussian level to the Laplacian stack, so that the sum of the Laplacian stack is the original image. In this way, the Laplacian stack is actually a set of bandpass filtered images. We can first take the Laplacian of two images and the Gaussian of the mask. Then we alpha blend each band (Small window size for lower level and large window size for higher level). After that, we take the sum of blended image of each level and rescale intensity.
This time we use a small σ for Gaussian stacks so that Gaussian stack at deep level won't be too fuzzy, and a relatively large σ for Laplacian stack so that the seam won't look too abrupt.
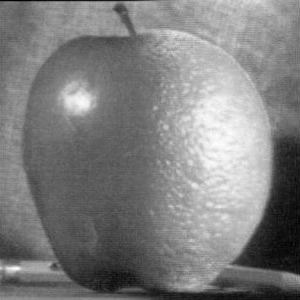
Apple + Orange
Seamless orapple


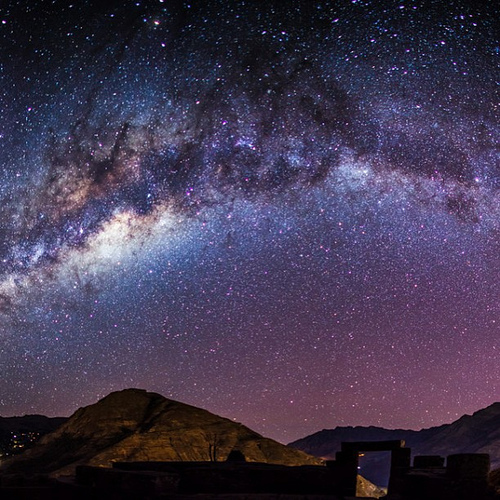
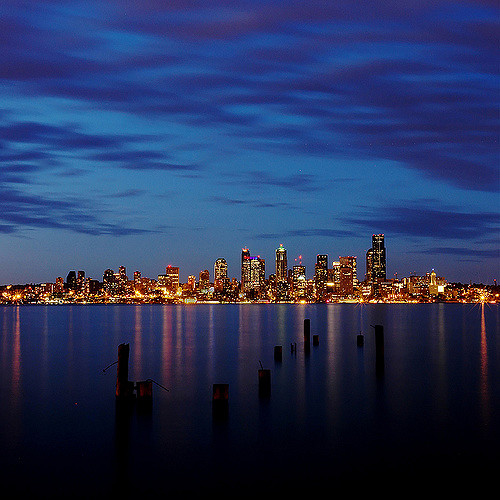
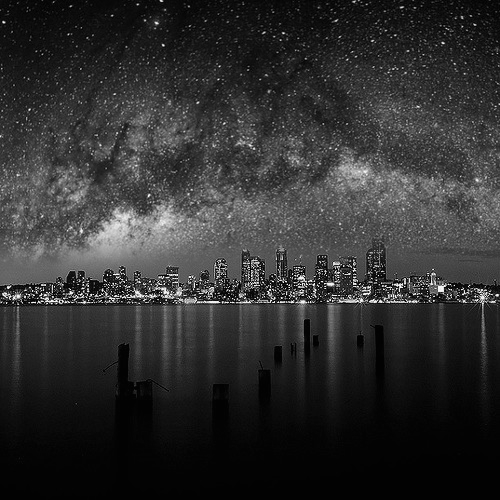
Milky Way + City Skyline
This blend is not very successful. On one hand, there are too many stars in the middle ground of milky way image, which makes the transition to the city unnatural. On the other hand, there is no easy way to reflection for the starry night sky.

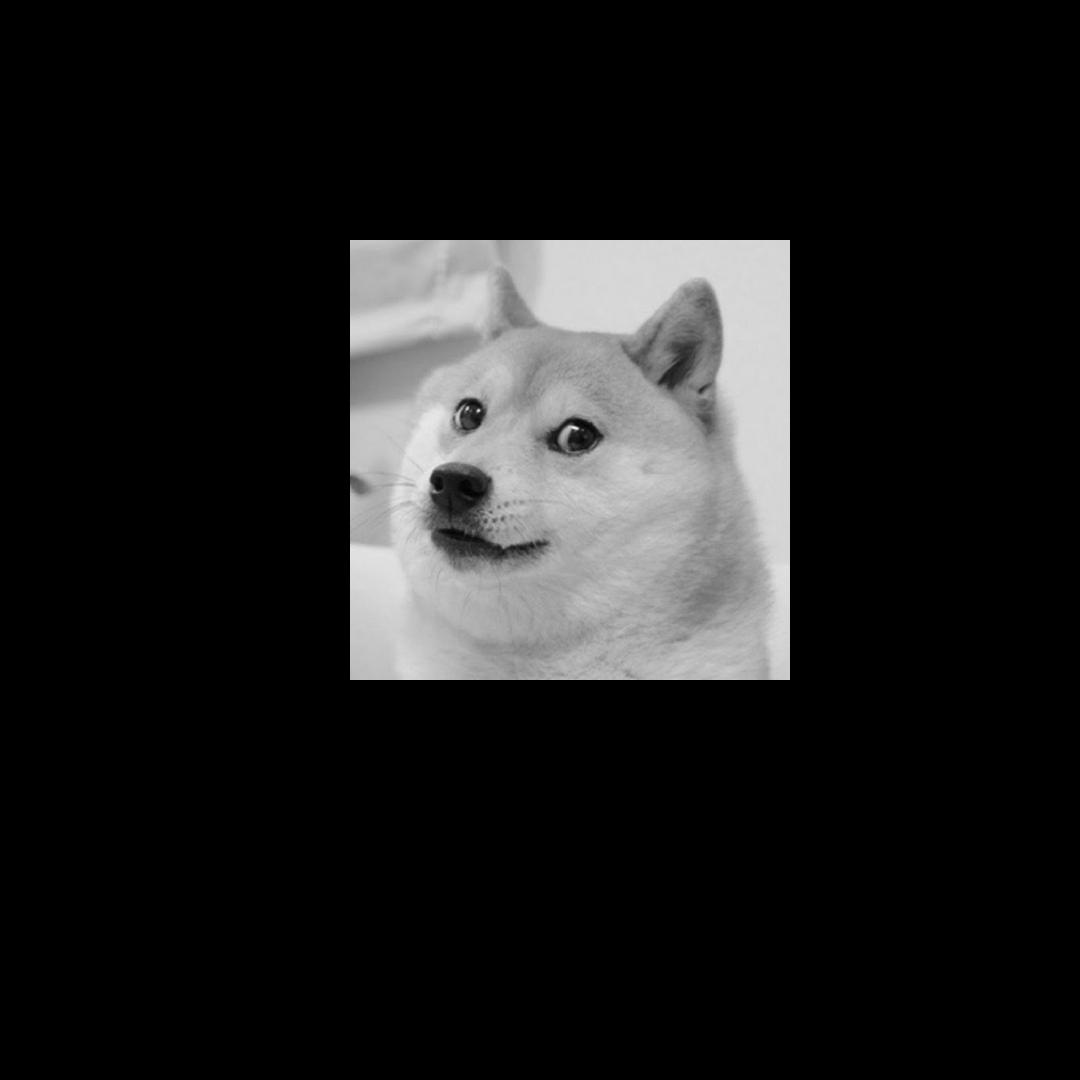
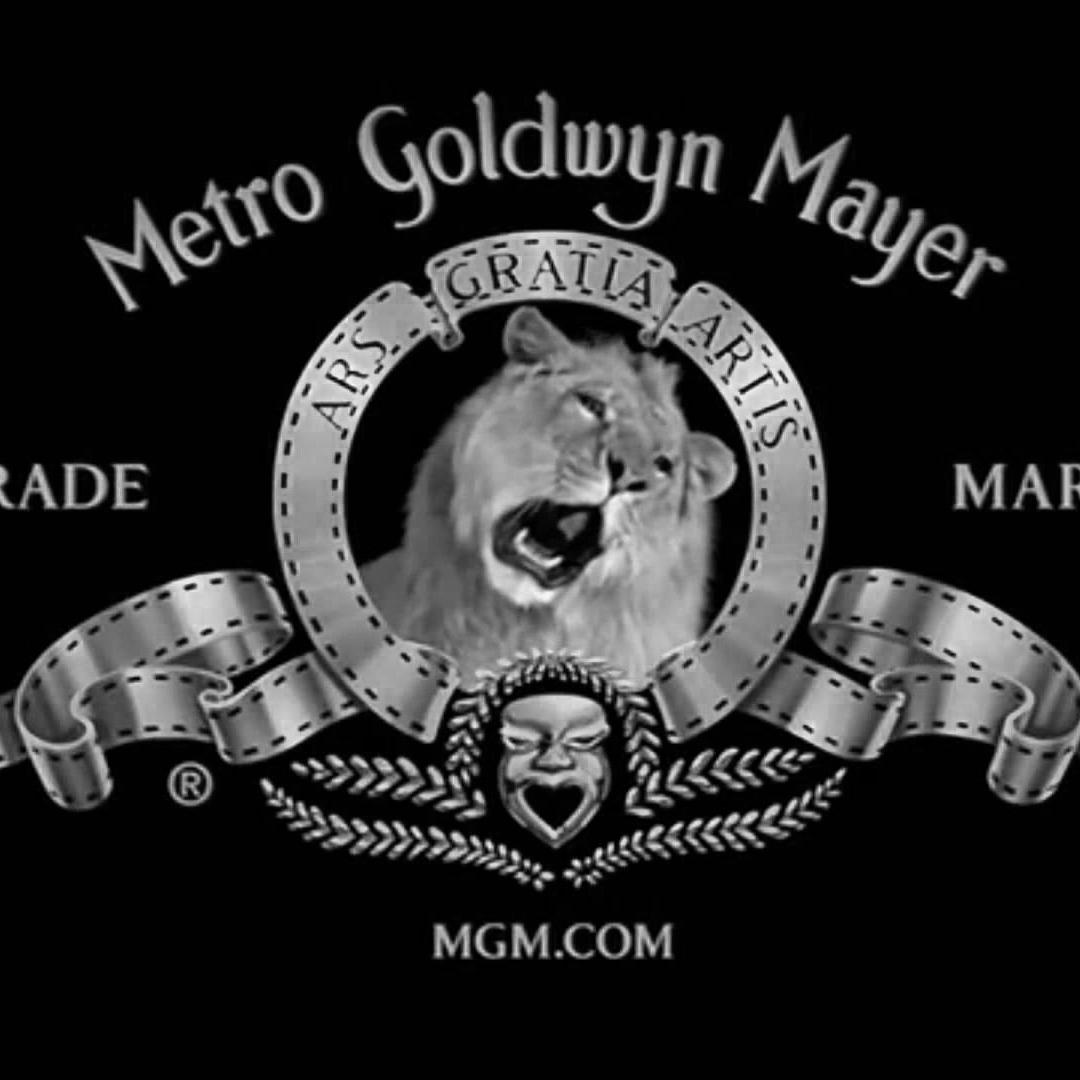
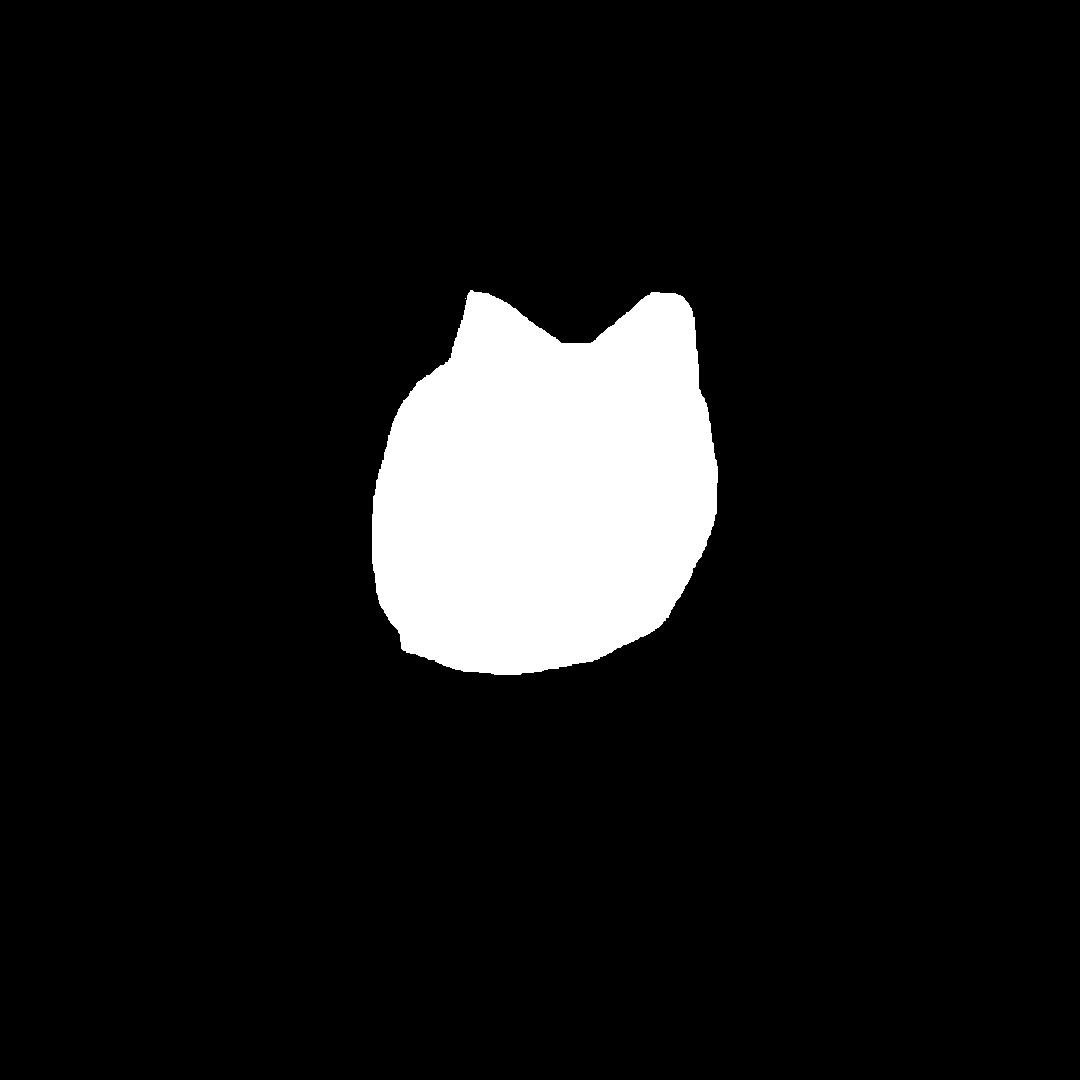
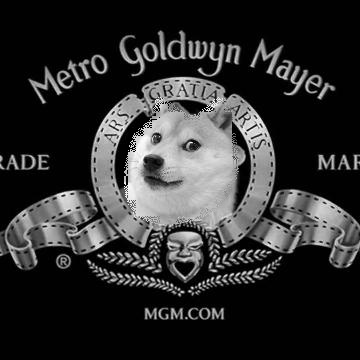
Doge + MGM
Doge is everywhere, even in the logo of MGM!
One dilemma is that if I make the mask by the shape of doge, then one ear of MGM lion will still be in the final image, and if I make the mask a circle, then some background of doge picture will be kept. More prepossessing needs to be done to get a nicer blending image.

2. Gradient Domain
Our eyes are sensitive to the relative color rather than absolute color. One mathematical concept, gradient, happens to depict the relative relation of adjacent pixels. So to blend a source image naturally into a target image, we want the gradient of synthesized image inside the section to be close to the gradient of source image. We also want the gradient of the systhesized image around the border of the region to be close to the gradient of target image (background of the synthesized). We can formulate it as an optimization problem. Fortunately, it happens to be a least square optimization. Since the matrix A is sparse, we can use lsqr in scipy to speed it up.
2.1 Toy Problem
I started with a toy problem, to understand how to construct the objective of the optimization problem.

They look the same as expected!
2.2 Poisson Blending
This time the variable is those pixels in the mask section. Iterate through every pixels on the canvans, make a pair with the pixel to its right and make another pair with the pixel to its bottom. For each pair of pixels, if both are in the mask section, then add an Type 1 Objective; if exactly one of them is in, then add an Type 2 Objective. Let scipy solve the least square. Lastly, copy the solved values into target image.
ET coming to stonehenge
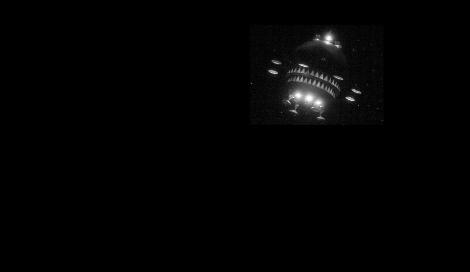
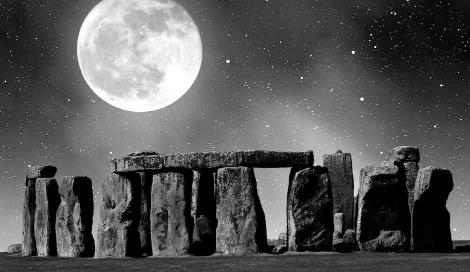

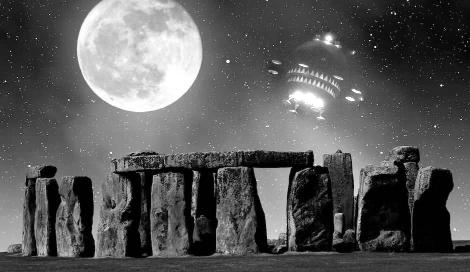
It turns out that I need to cut off outrageous values (rescale_intensity(image, in_range(0, 1))). When I move the spaceship from the dark background to a brighter background, optimized result of Poisson blending will make the lights of the spaceship even brighter (beyond 1). To keep the gradient unchanged, I drag those outliers back to the normal maximum 1.0.
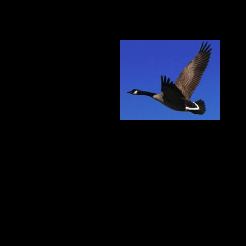
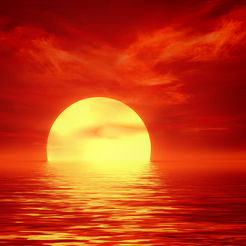
Goose at sunset
The lonely goose blends nicely into the scarlet sunset background.
To deal with color image, I separate the RGB channels, do Poisson blending for each channel, and put them together in the end.


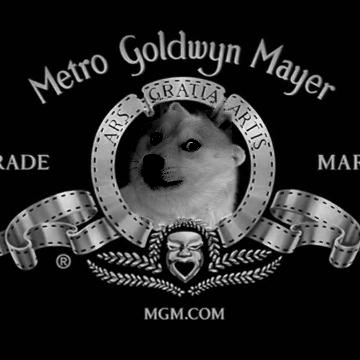
Doge takes over MGM (Failed)
Doge seems gloomy in MGM logo. My suspect is that Poisson blending wants to smooth out the change from black background to bright doge face. Since the mask I created is very close to doge face, part of it is compromised to make the transition slower. When the mask border does not lie on similar texture in either source or target image, the blending could cause side effect on the blended image.


Compare Multiresolution blending and Poisson Blending
Shown above are Multiresolution blended (left) and Poisson blended (right)
Poisson Blending has many advantages:
- The synthesized image looks natural as long as both source image and target image don't have abrupt changes at the border of the mask;
- You don't have to select the mask very close to the border of the object to be blended;
- Contour is clear rather than fuzzy;
Downsides:
- Solving least square for large matrix/vector is very time consuming; (Not linear to the image size)
- Copied source image may be compromised because of bad mask selection.