Here, I use the unsharp masking technique to sharpen images. The main idea behind this is to use a low pass filter such as a Gaussian Filter to get a blurry version of an image. Then I subtract this filtered image from the original image, to accentuate the edges and thus make the image sharper.
I used a Gaussian filter with a sigma of 10, and alpha of 2 (i.e., I took a linear combination of the original and filtered image, where I gave the original image a weight of 2, and the filtered image a weight of -1). This gave me a much sharper image, as shown below:
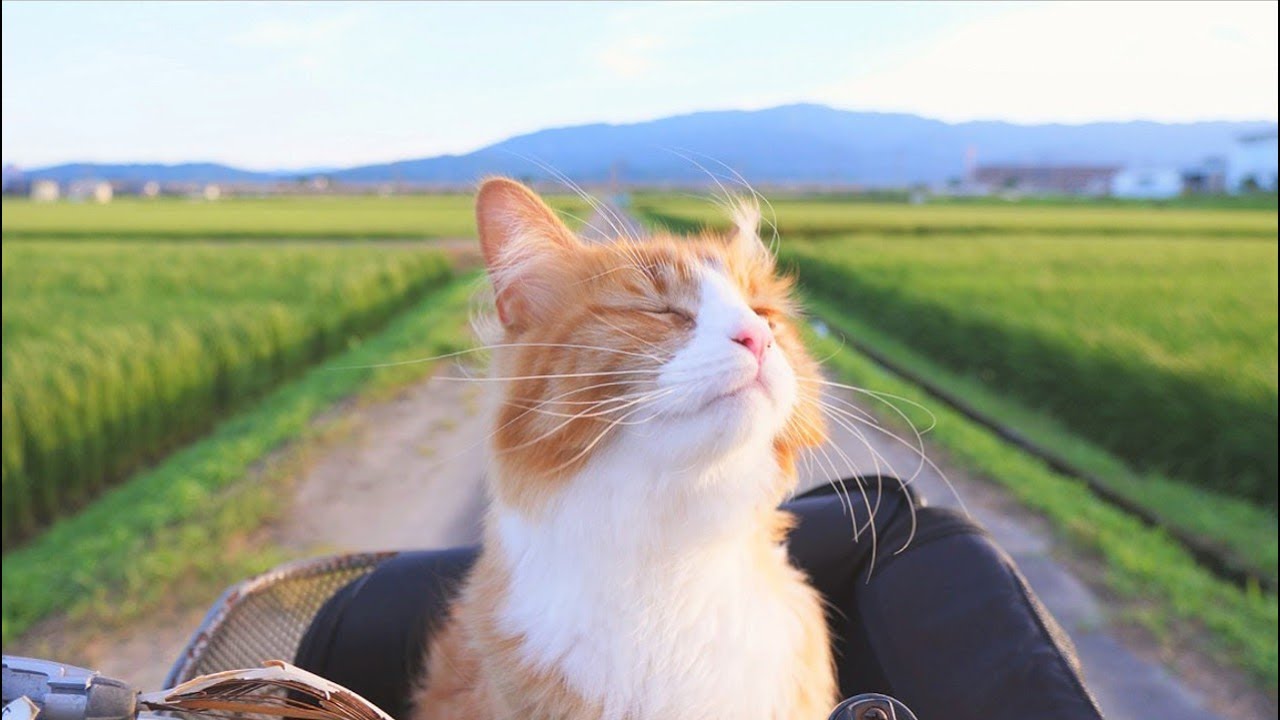 Original Image
 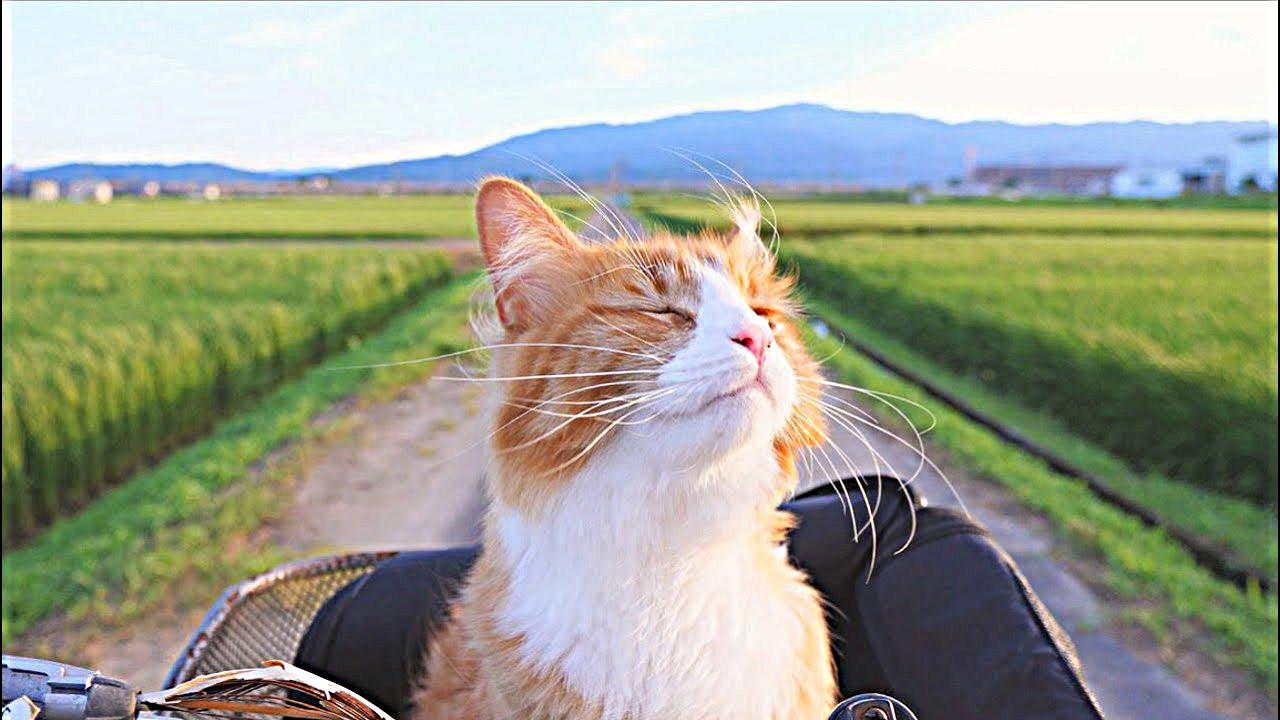 Sharpened Image
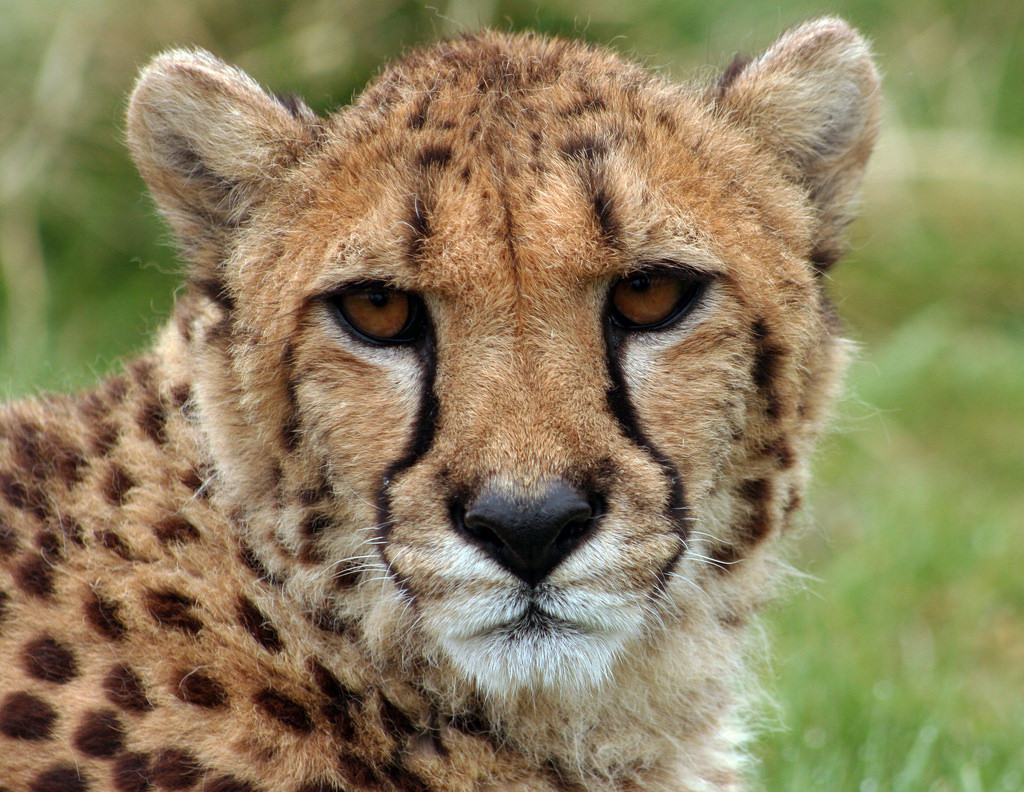 Cheetah (Highpass, Sigma = 10)
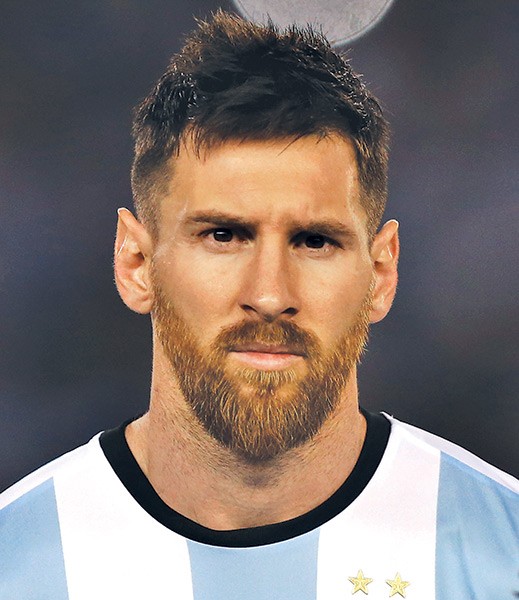 Messi (Lowpass, Sigma = 5)
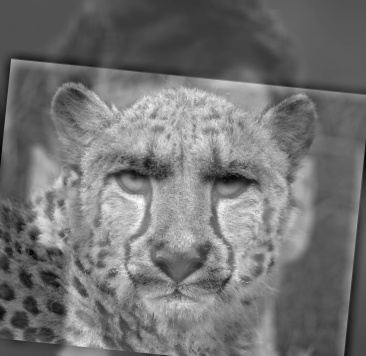 Blended Cheetah and Messi
 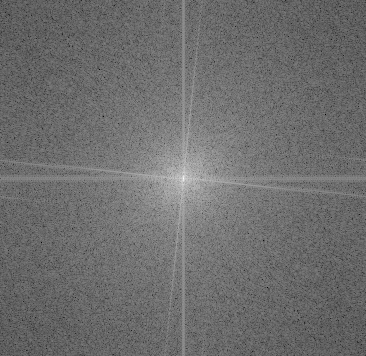 FFT of Cheetah
 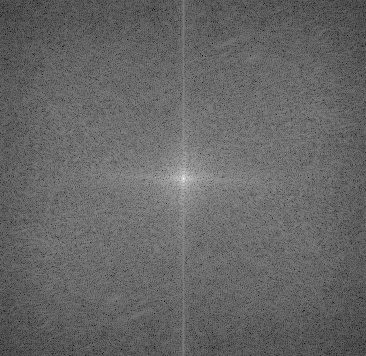 FFT of Messi
 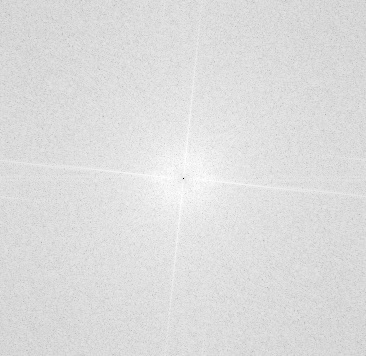 FFT of Highpass Filtered Image
 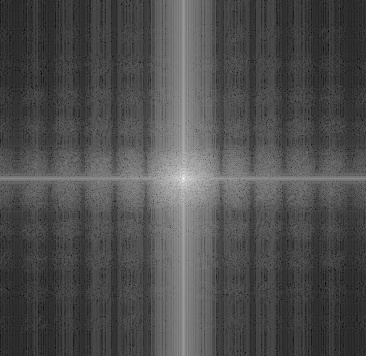 FFT of Lowpass Filtered Image
 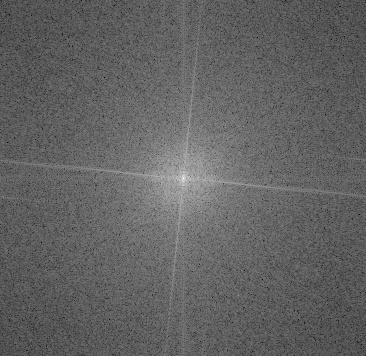 FFT of Hybrid Image
 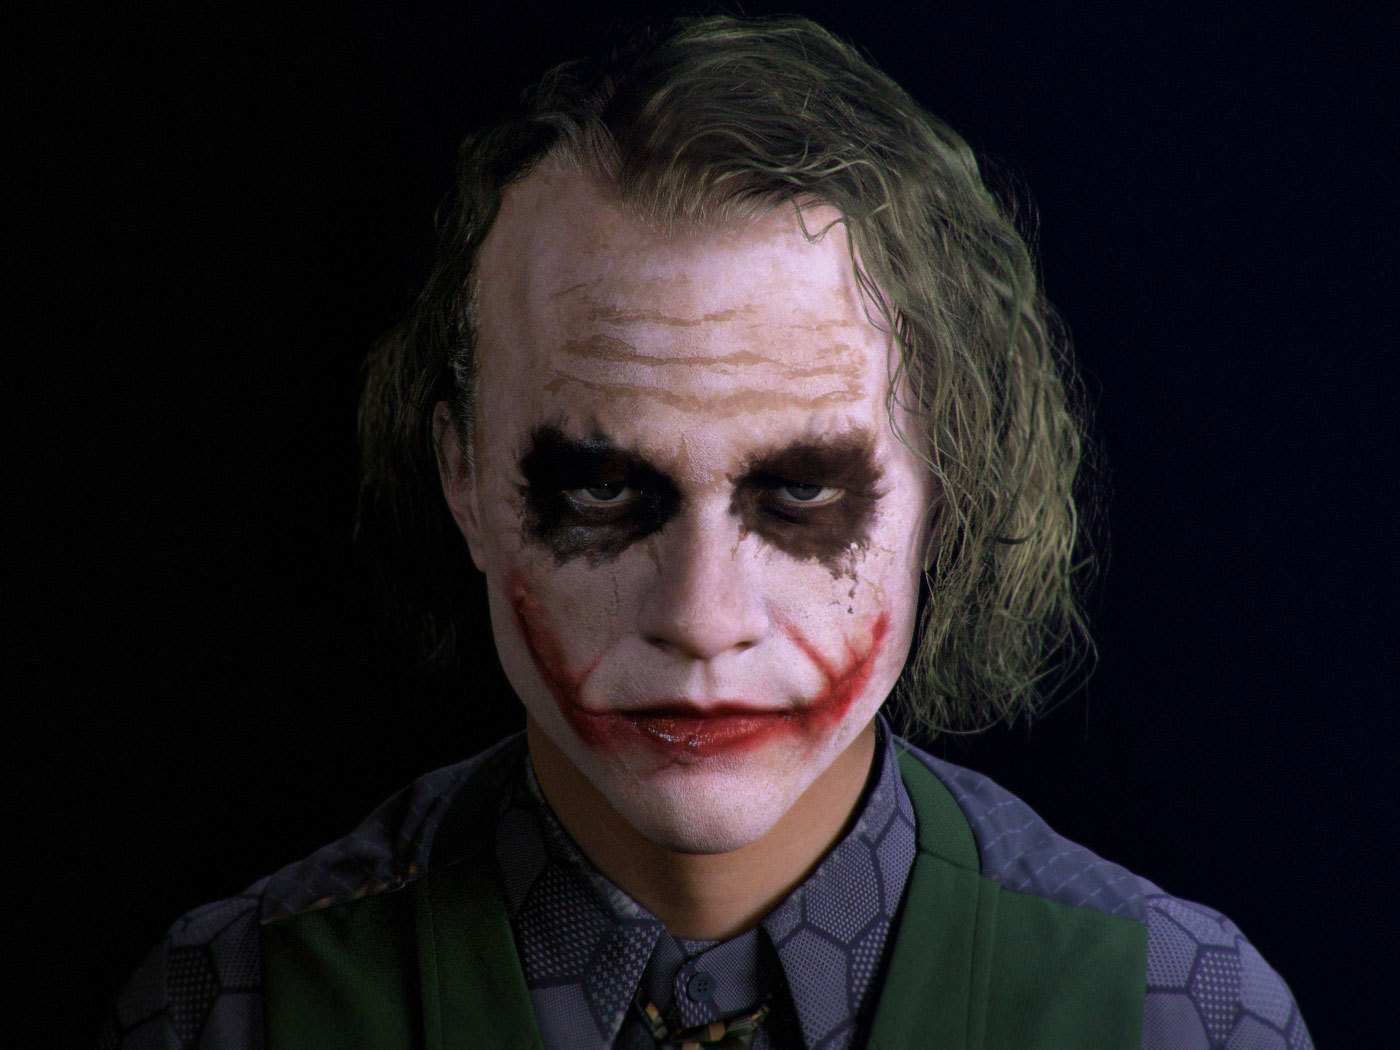 Joker (Highpass, Sigma = 25)
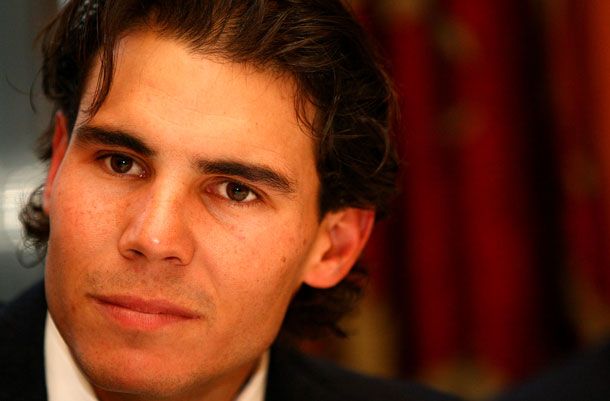 Nadal (Lowpass, Sigma = 7)
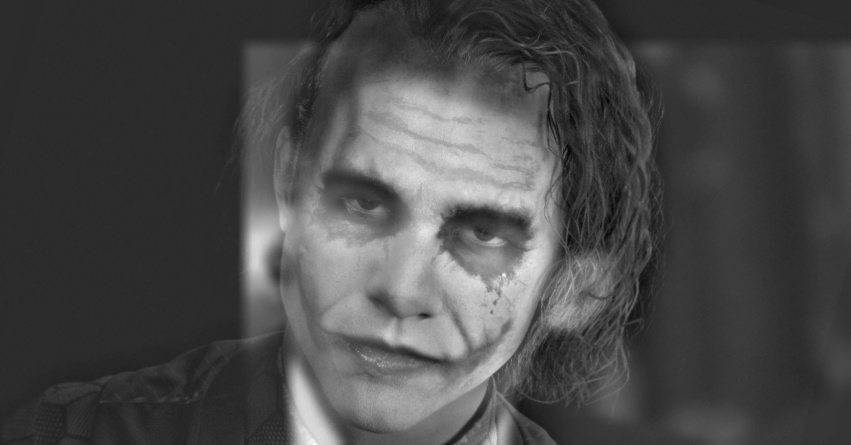 Blended Joker and Nadal
  Adult Harry Potter (Highpass, Sigma = 5)
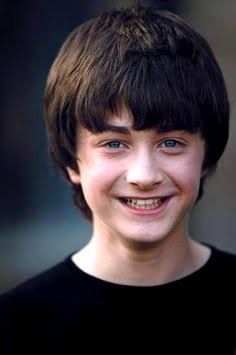 Child Harry Potter (Lowpass, Sigma = 5)
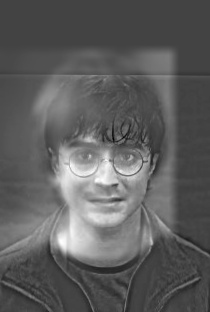 Blended Child and Adult Harry Potter
 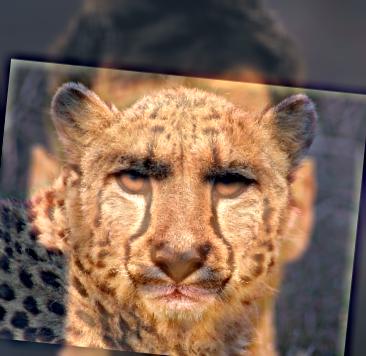 Blended Cheetah and Messi
 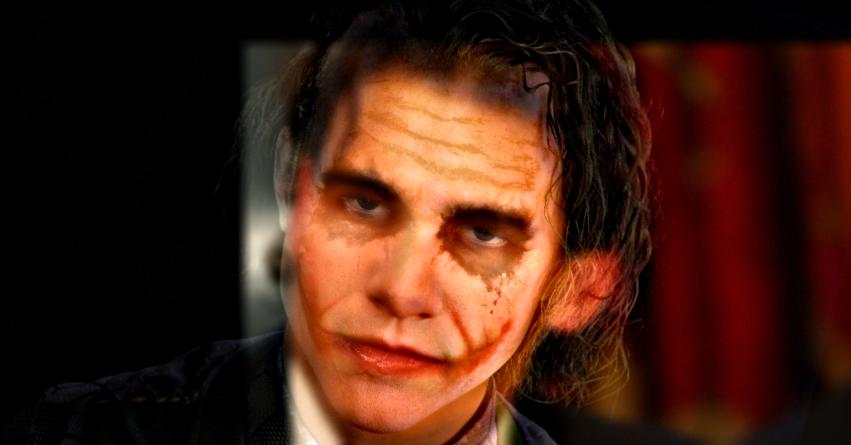 Blended Joker and Nadal
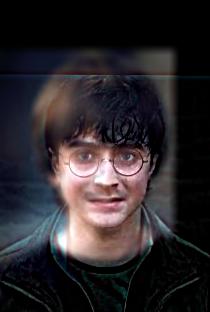 Blended Child and Adult Harry
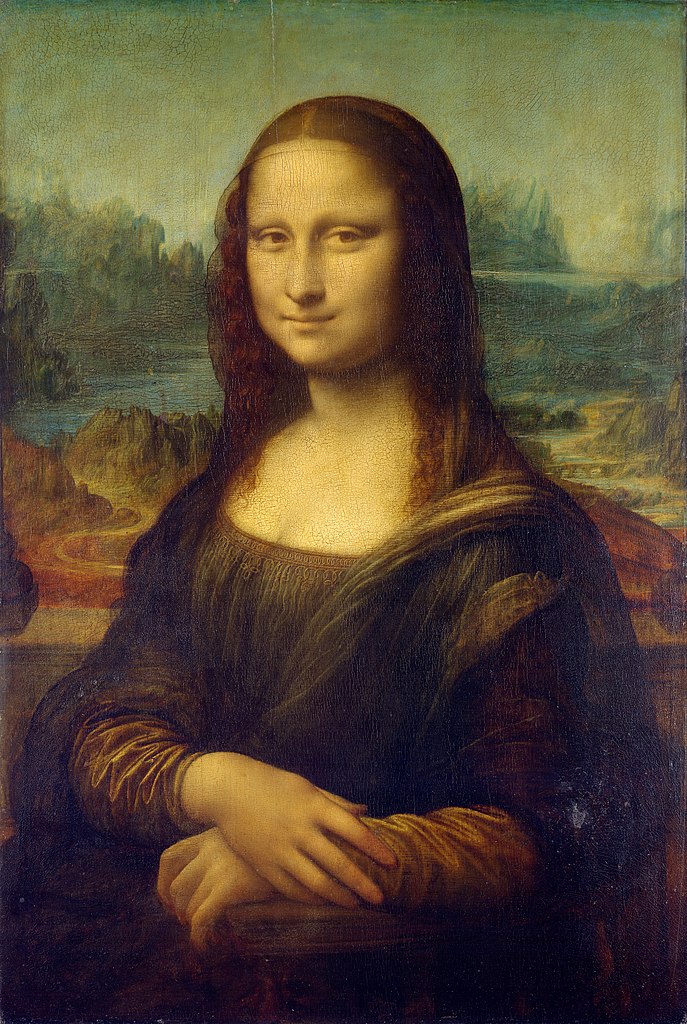
 Here, the goal is to create Laplacian and Gaussian Stacks of classic paintings and one of my hybrid images. A Gaussian Stack is obtained by repeatedly applying a Gaussian Filter to our image. As we progress further along the stack, we increase the sigma, and we obtain the image at level i of the stack by applying the filter to the image at level i - 1 of the stack (with the image at level 0 being the original image itself). A Laplacian Stack is obtained by taking at each level the difference between the image at the corresponding level in the Gaussian Stack and the image at the next level in the Gaussian Stack.
Gaussian Stack
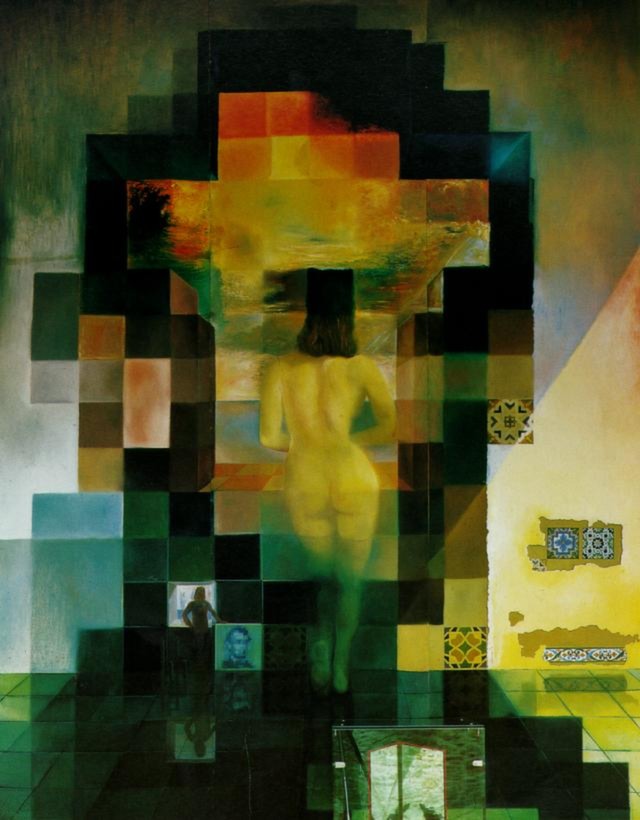 Original Image
 Height = 1, Sigma = 1
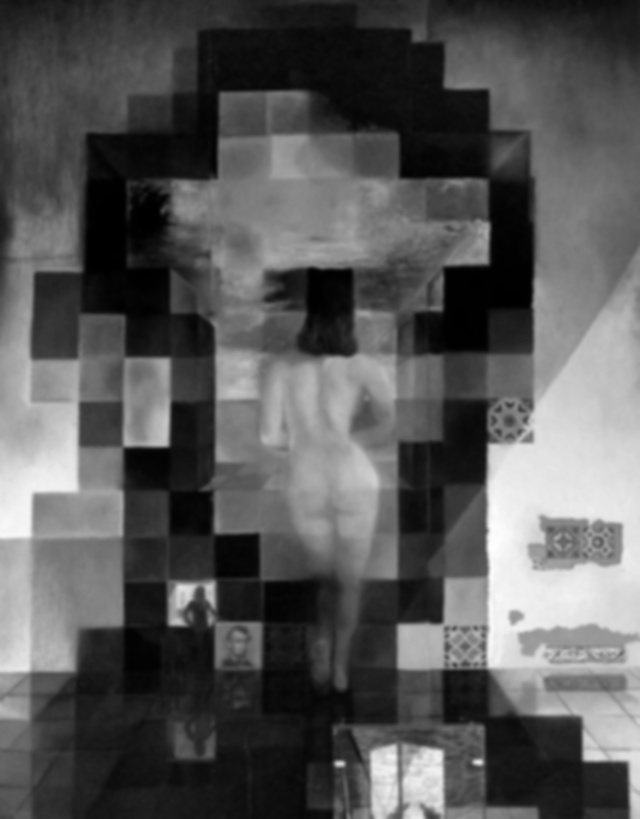 Height = 2, Sigma = 2
 Height = 3, Sigma = 4
  Height = 4, Sigma = 8
 Placeholder
Laplacian Stack
Original Image  Height = 1 (Laplacian)
 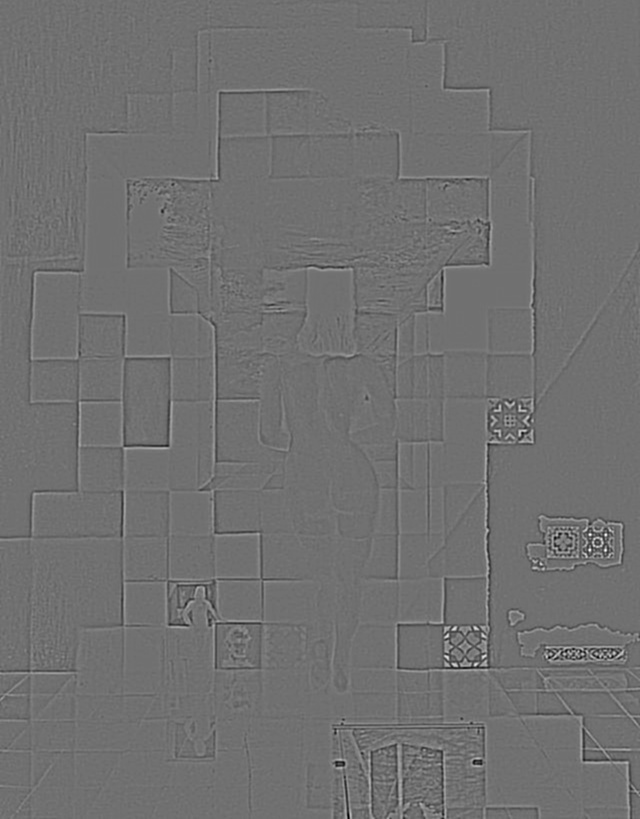 Height = 2 (Laplacian)
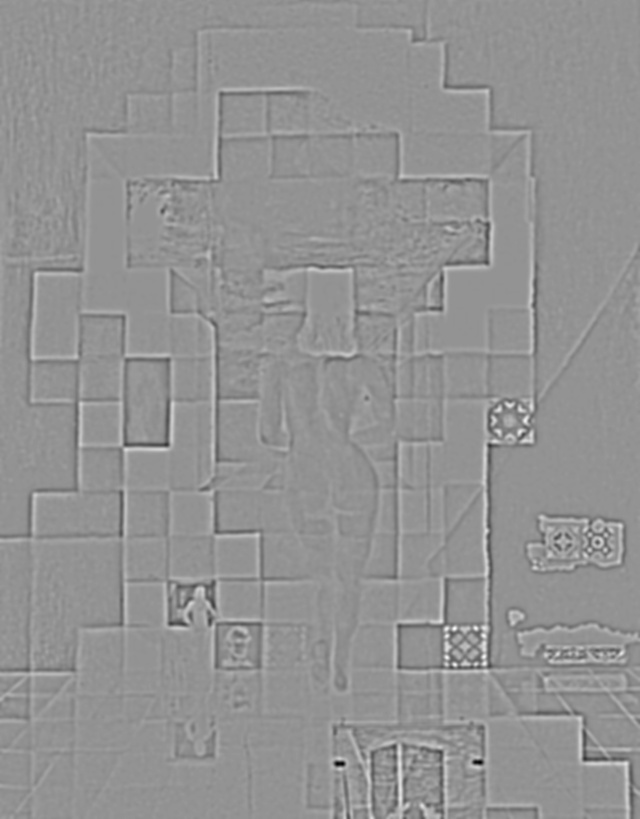 Height = 3 (Laplacian)
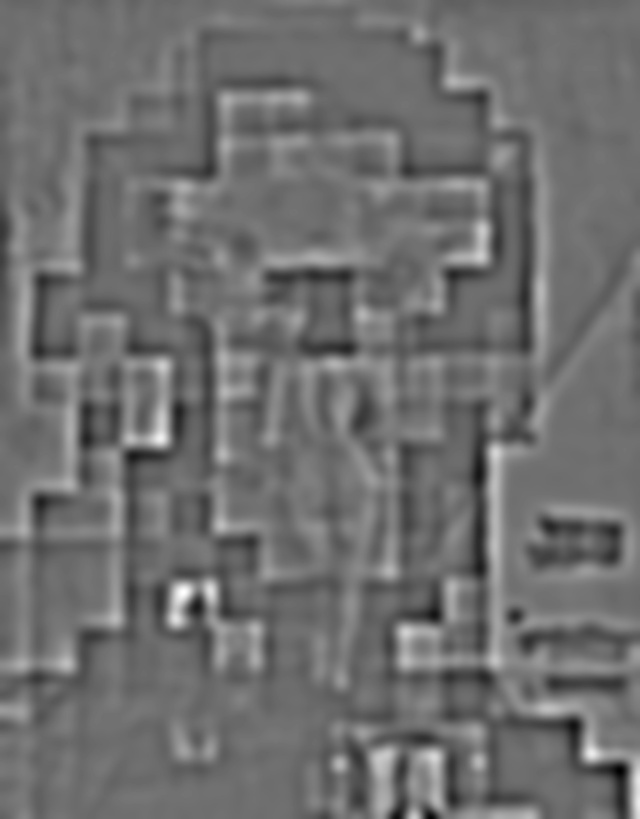 Height = 4 (Laplacian)
 Gaussian Stack
 Original Image
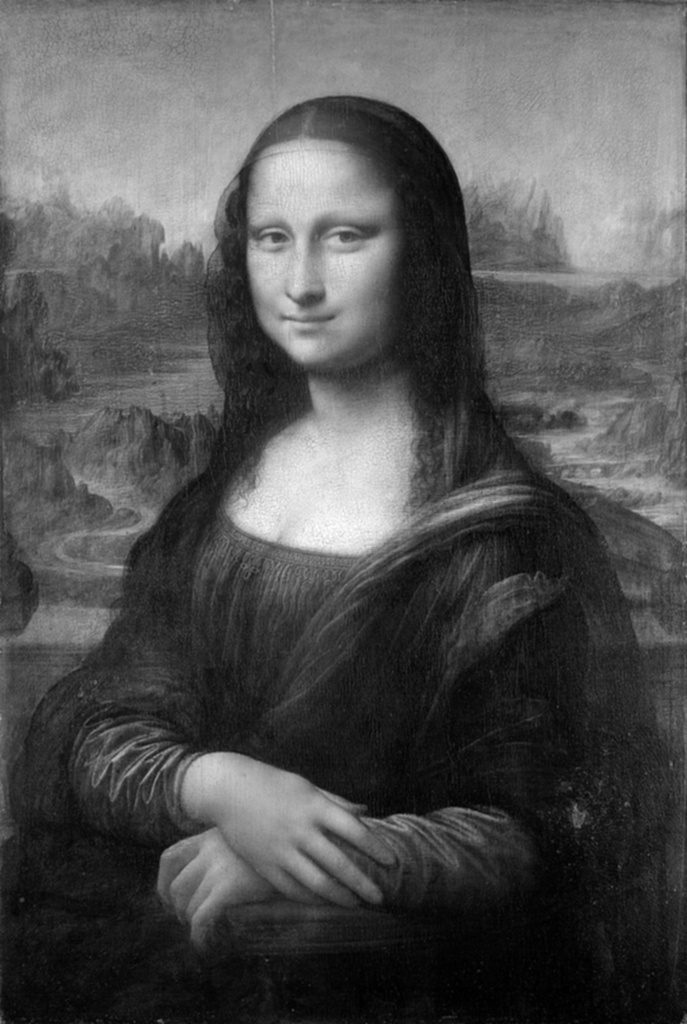 Height = 1, Sigma = 1
 Height = 2, Sigma = 2
 Height = 3, Sigma = 4
  Height = 4, Sigma = 8
 Laplacian Stack
Original Image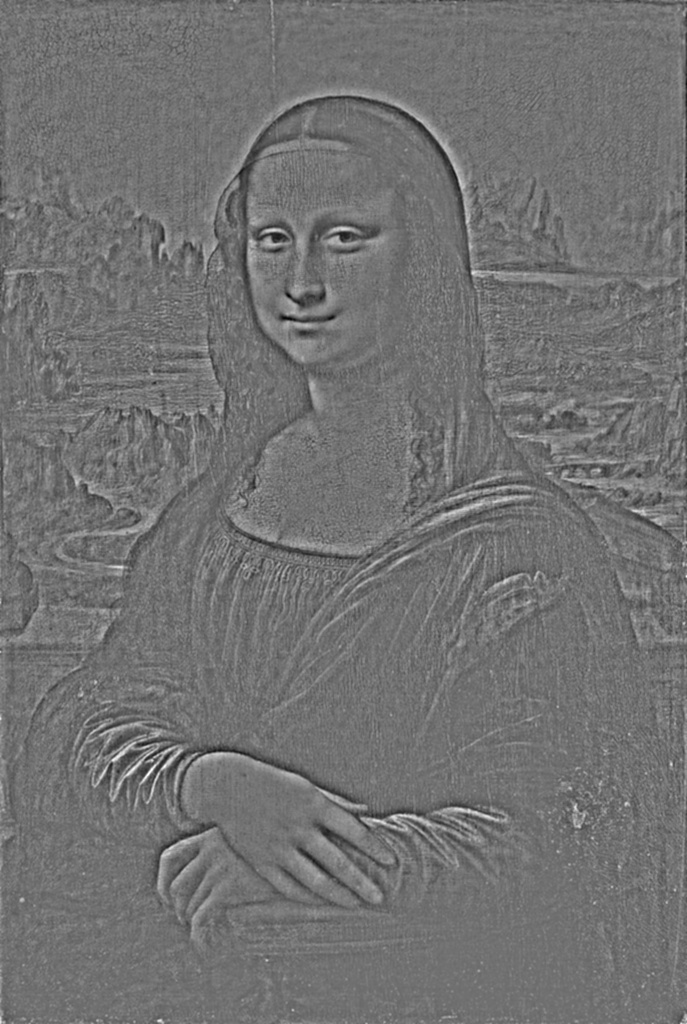 Height = 1 (Laplacian)
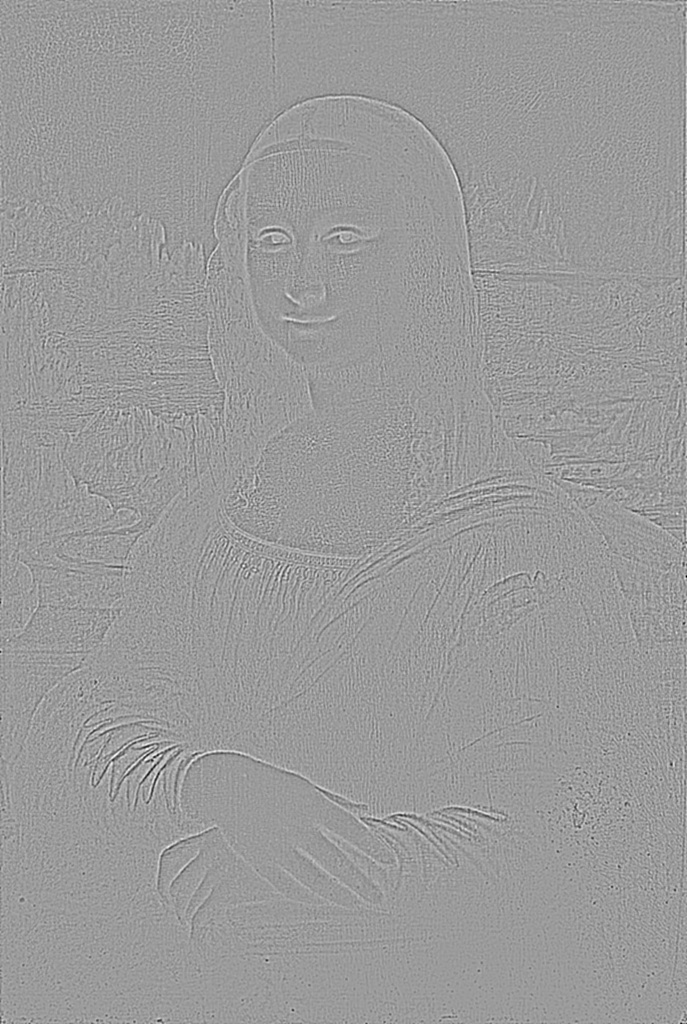 Height = 2 (Laplacian)
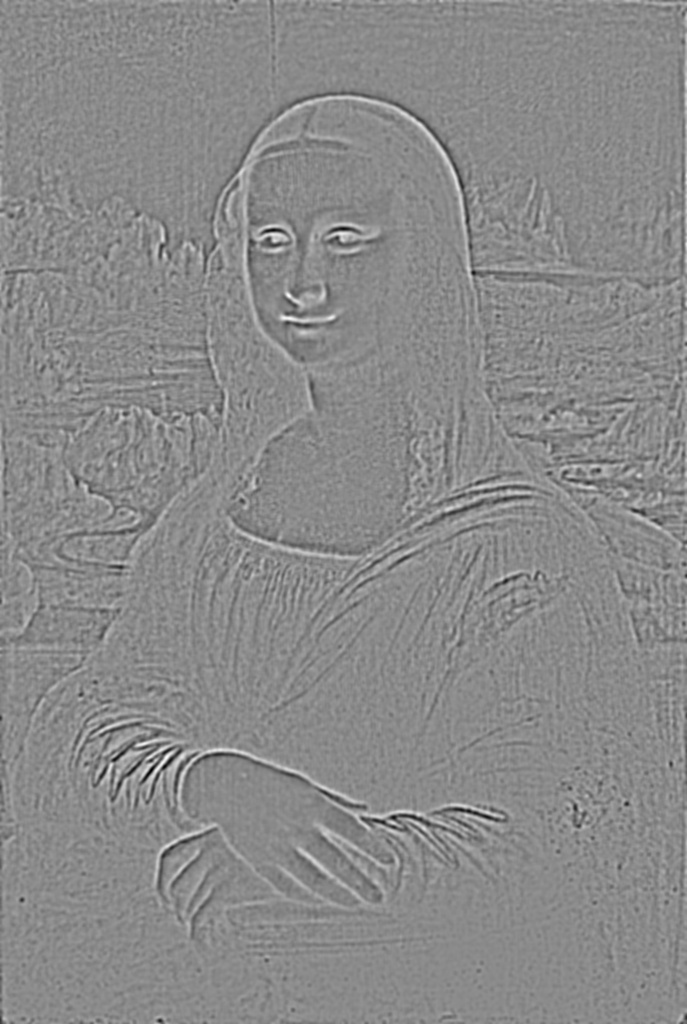 Height = 3 (Laplacian)
 Height = 4 (Laplacian)
 Gaussian Stack
Original Image Height = 1, Sigma = 1
 Height = 2, Sigma = 2
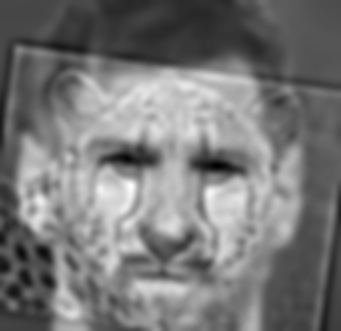 Height = 3, Sigma = 4
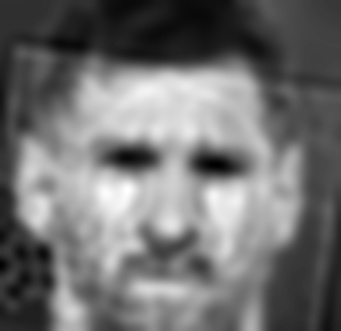 Height = 4, Sigma = 8
Laplacian Stack
Original Image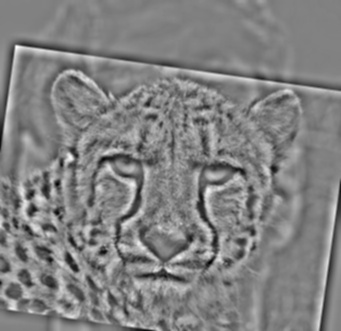 Height = 1 (Laplacian)
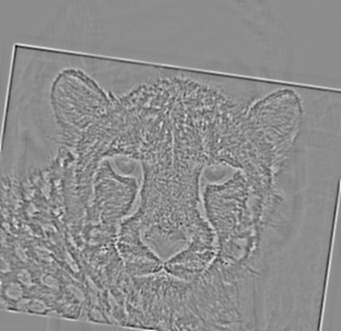 Height = 2 (Laplacian)
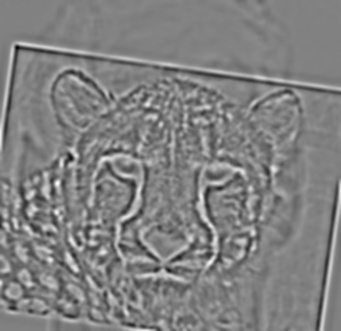 Height = 3 (Laplacian)
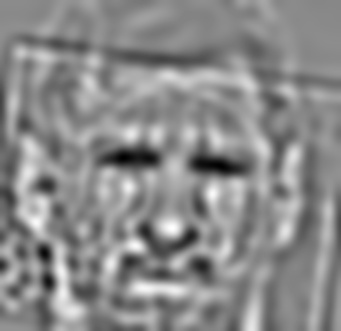 Height = 4 (Laplacian)
 We want to seamlessly blend two pictures together, and to achieve this goal, we can use an approach proposed by Burt and Adelson in 1983. In this approach, we first define a mask, and compute the Gaussian Stack of the mask. We then construct a Laplacian stack for our blended image by first computing the Laplacian Stack of both of our images, and then at each level, we perform a linear interpolation of the corresponding images in Laplacian stacks of both images, with the weight in the interpolation being the corresponding image in the Gaussian Stack of the mask. The final blended image is obtained by adding together all images in our Laplacian Stack for the blended image.
I found that this approached worked well when at each level, the sigma for the Gaussian Stack of the source mask was much higher than the corresponding sigma for Laplacian stacks of each images. I created Gaussian and Laplacian stacks of height 4 over here. For Gaussian Stack of the Mask, I used sigmas of [1, 4, 9, 16] for levels [1,2, 3, 4] respectively, and for the Gaussian Stack of each image (used to get Laplacian Stack of each image), I used sigmas of 0.5, 1, 2, 4] for levels [1,2, 3, 4] (I set the last level of the Laplacian stack to be the same as the last level of the Gaussian stack and found this to give me good results in this case).
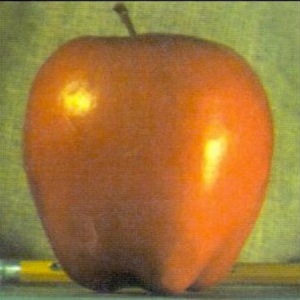 Apple
Apple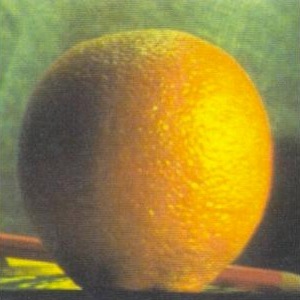 Orange
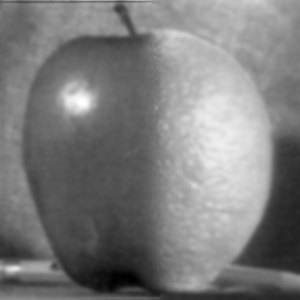 Blended Orange and Apple
 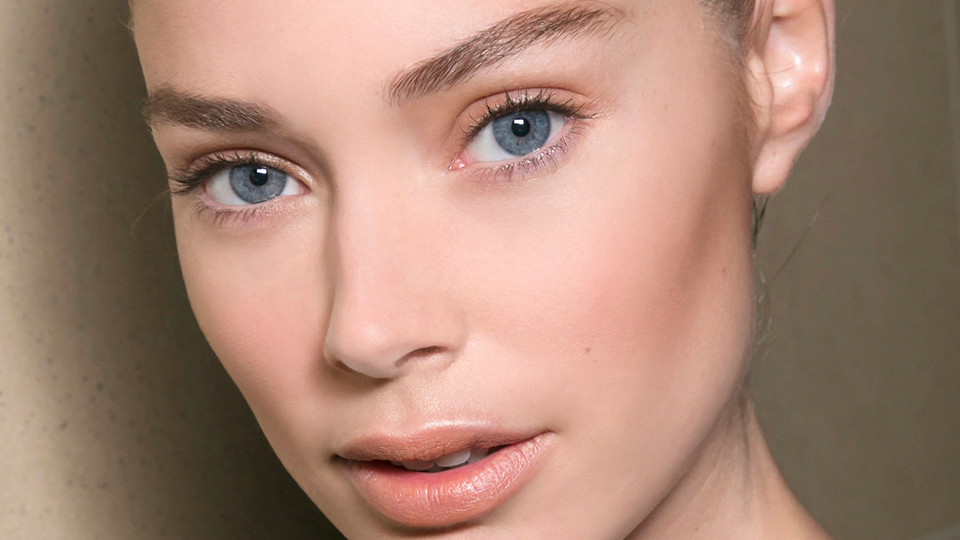 Eye
Eye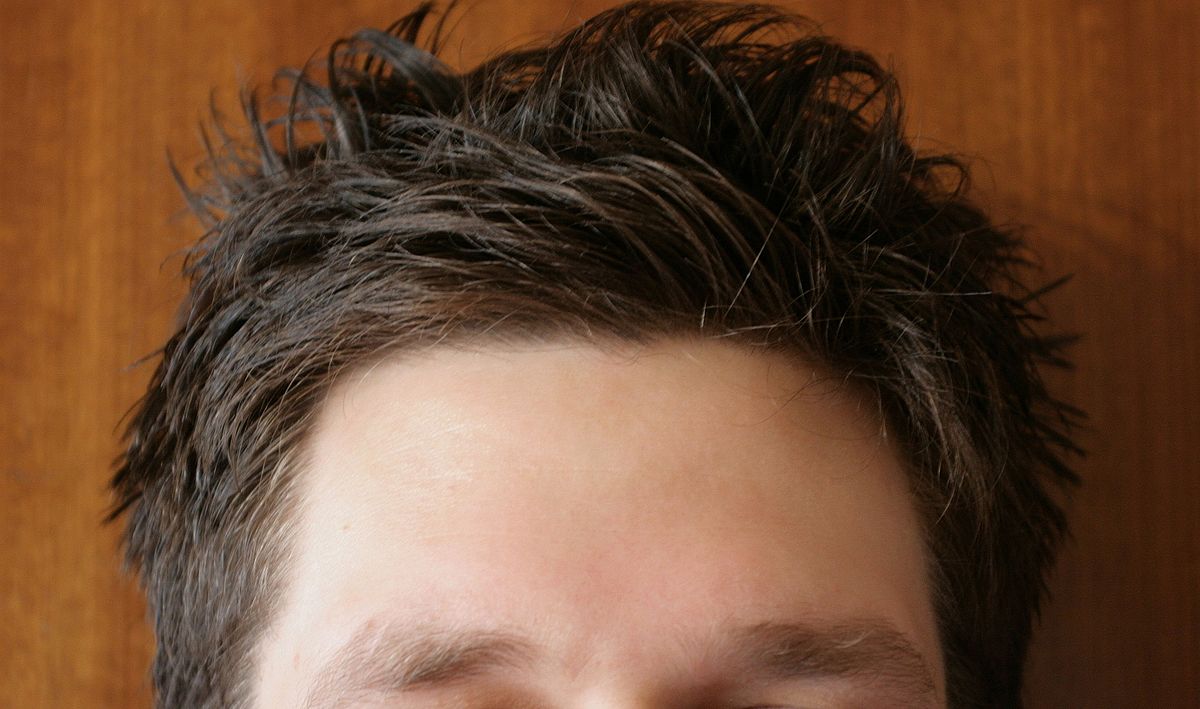 Forehead with Hair
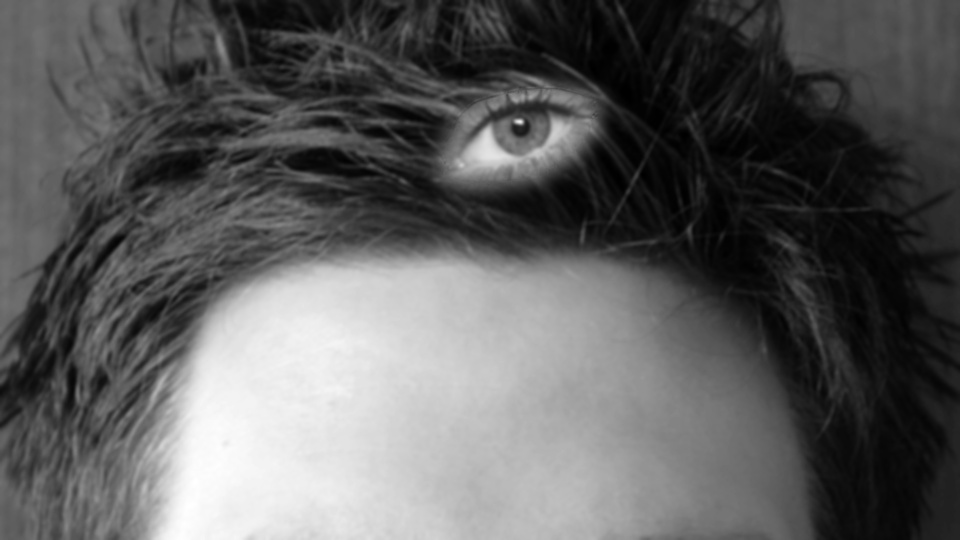 Blended Eye and Hair
 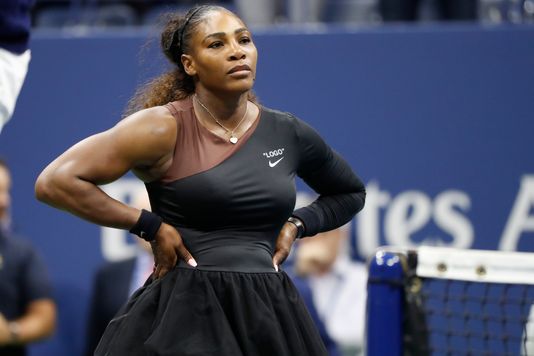 Serena Williams
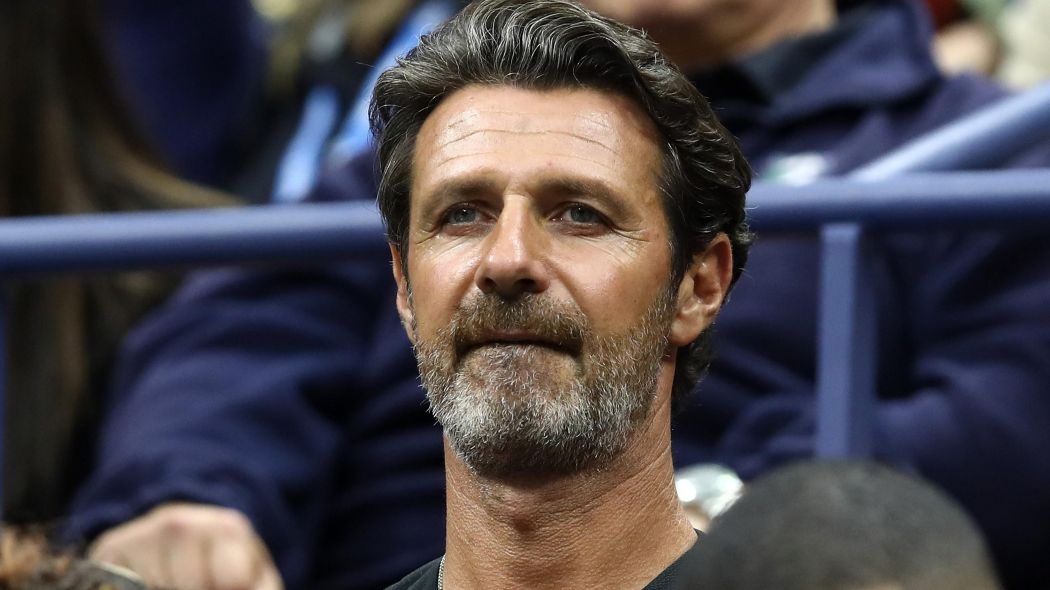 Serena's Coach
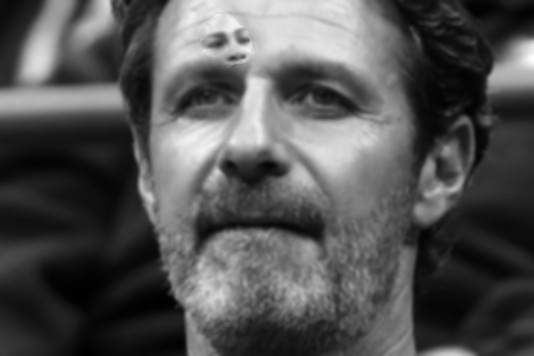 Serena on Coach's Forehead
  Blended Eye and Hair
 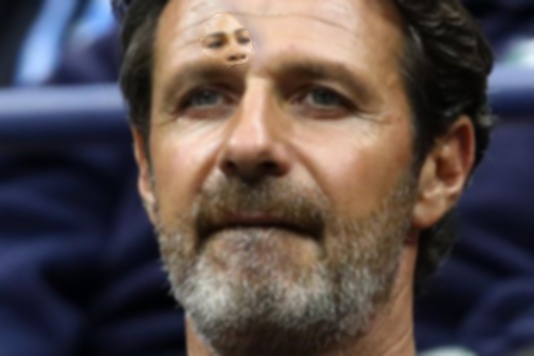 Serena on Coach's Forehead
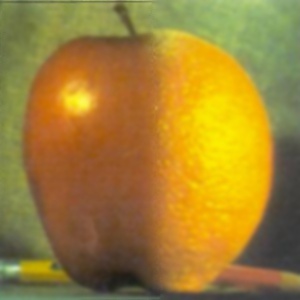 Blended Orange and Apple
 In the quest to solve the Poisson Blending problem, we first solve a simpler Toy Problem. In this problem, we try to reconstruct a given image, by making sure that the left most pixels of the reconstructed image and the original image are the same, and by also preserving the x and y gradients of the source image. Thus, we create a linear system of equations, and use Least Squares to obtain the reconstructed image, by minimizing the difference in the x and y gradients of the source and reconstructed image.
I was able to successfully reconstruct the image, as shown below:

In this part, I implement Poisson Blending. As described earlier, this approach maintains the the gradients of the portion of the source image being pasted onto the target image, and at the same time, we force the gradient of a pixel at the border of the source image mask and a bordering pixel in the target image outside the mask to be similar to the gradient of the corresponding pixel at the border of the source image mask and a bordering pixel outside of the mask in the source image - doing so helps us blend the images seamlessly. Thus, it is an extension of the Toy Problem above.
The results look very natural, as shown below:
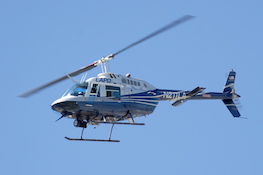 Source Image: Helicopter
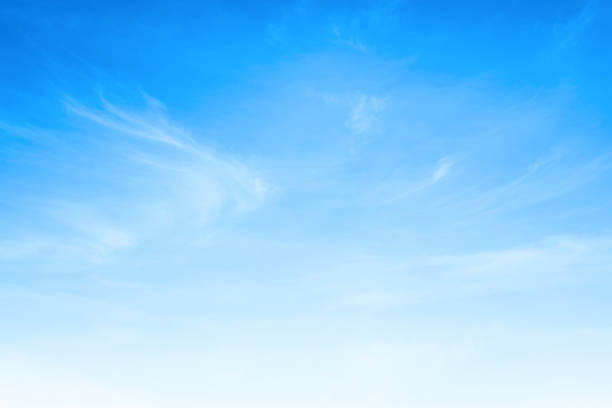 Target Image: Sky
 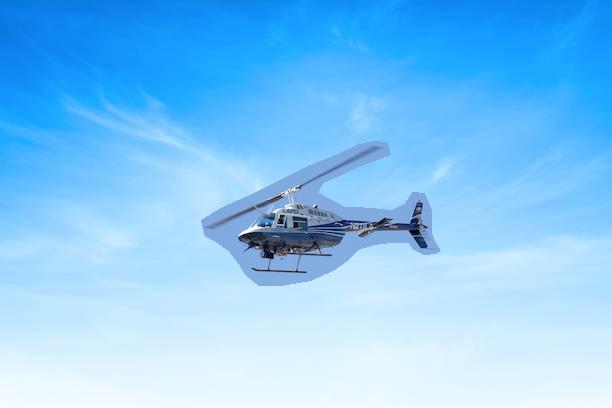 Naive Pasting
 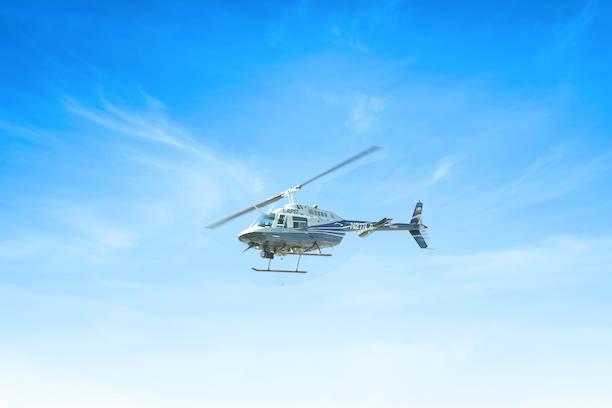 Poisson Blended Image
  Source Image: Red Star
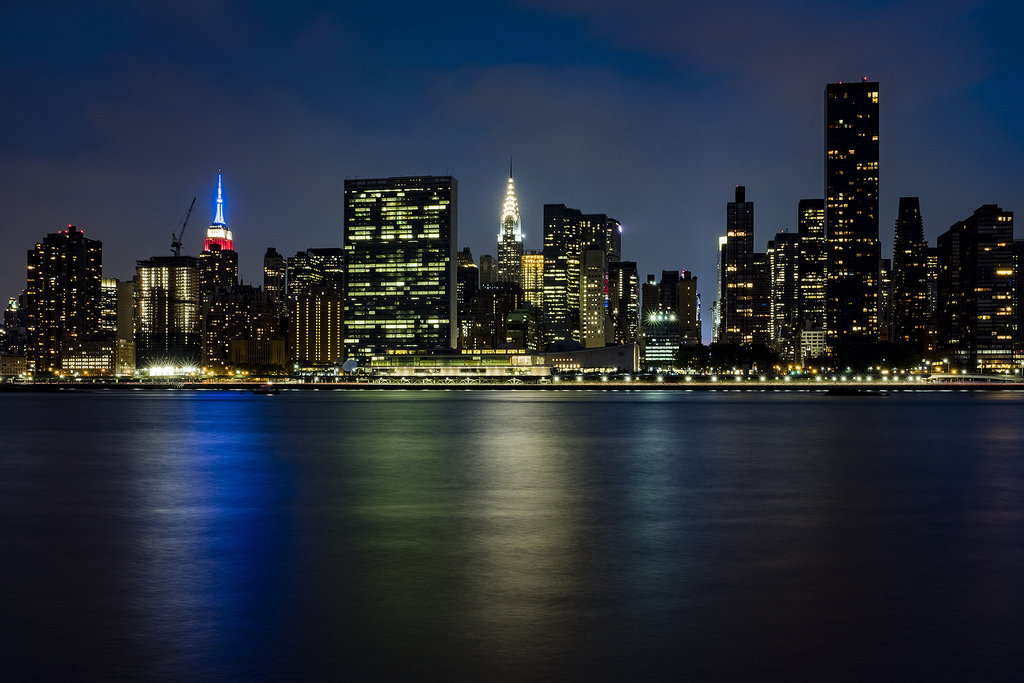 Target Image: New York
 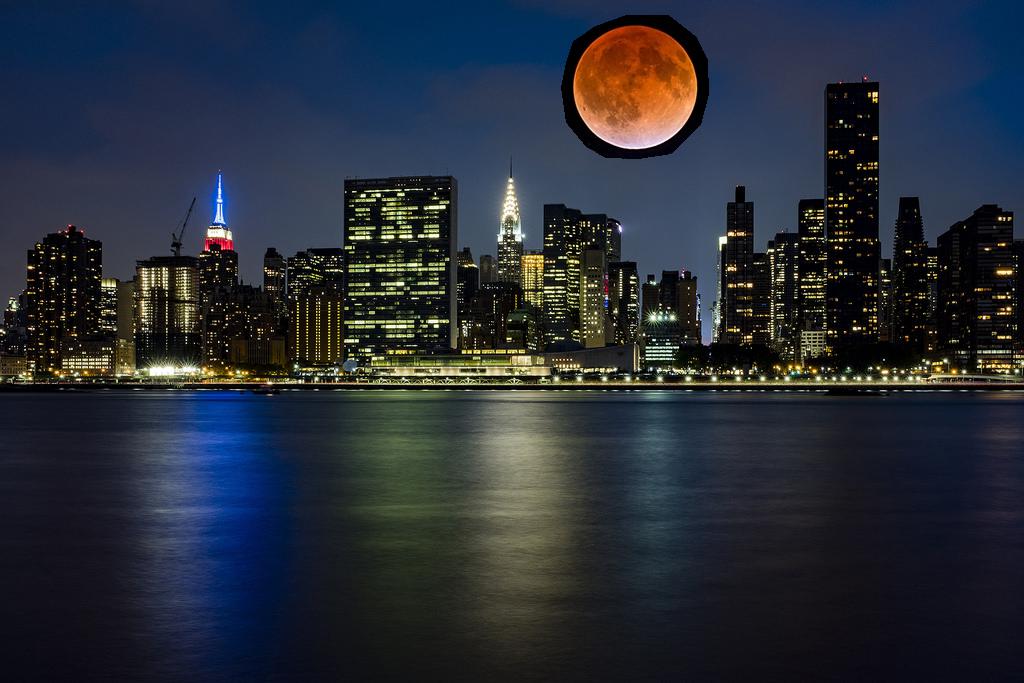 Naive Pasting
  Poisson Blended Image
 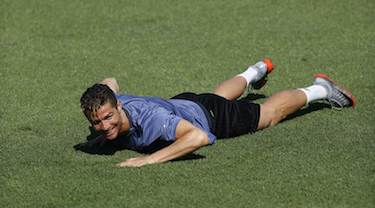 Source Image: Cristiano Ronaldo
 Target Image: Textured Grass Field
 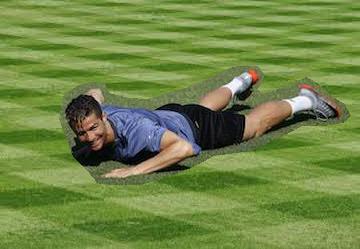 Naive Pasting
 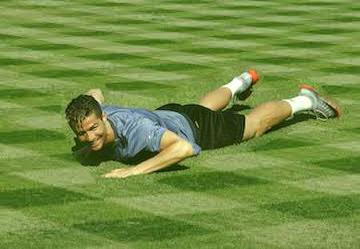 Poisson Blended Image
 I tried Poisson Blending to blend the eye and the hair like I attempted in Part 1.4. Below, we can see that Poisson Blending works better in blending the eye with the hair as the part surrounding the eye from the source image matches the color and texture of the surrounding the hair, whereas with Laplacian Stack Blending, the blend does not seem natural as the part surrounding the eye from the source image does not match the color and texture of the surrounding the hair. However, Poisson Blending changes the color of the eye. Laplacian Blending might work better if we blended two objects with more similar backgrounds, as it would not affect the intensity of the pixels in the part of the source image copied over, and would thus retain the original color.
Source Image: Eye Target Image: Forehead with Hair Laplacian Blending 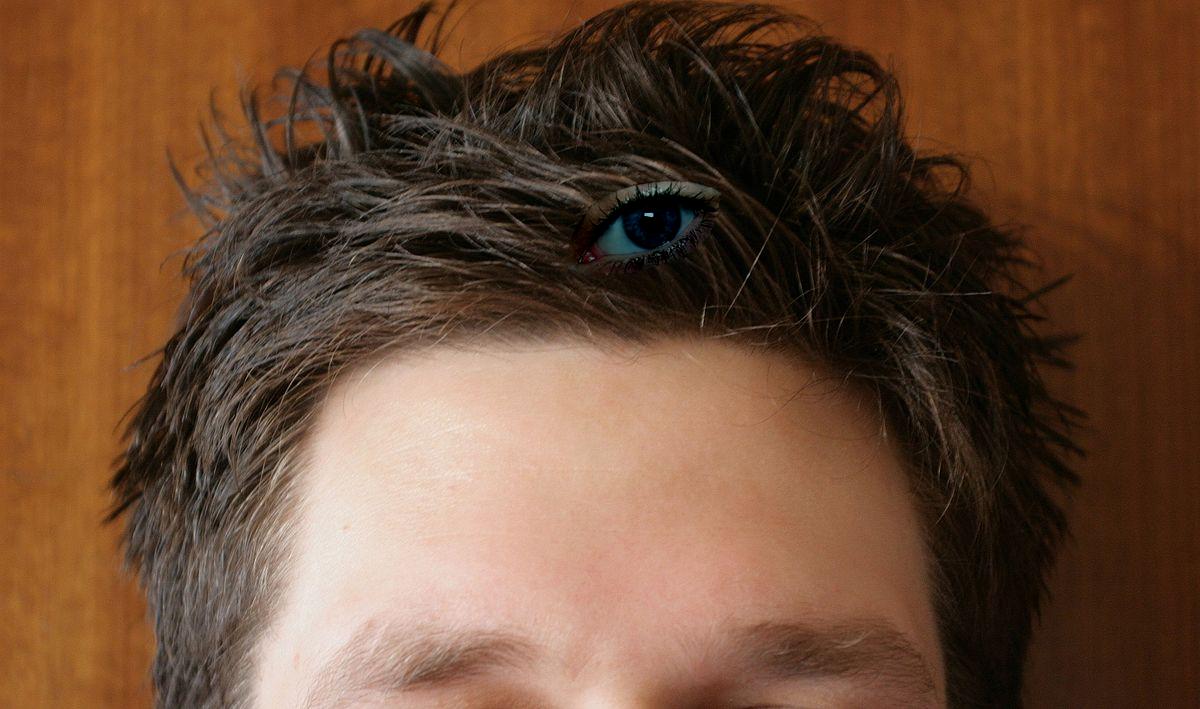 Poisson Blending