Results

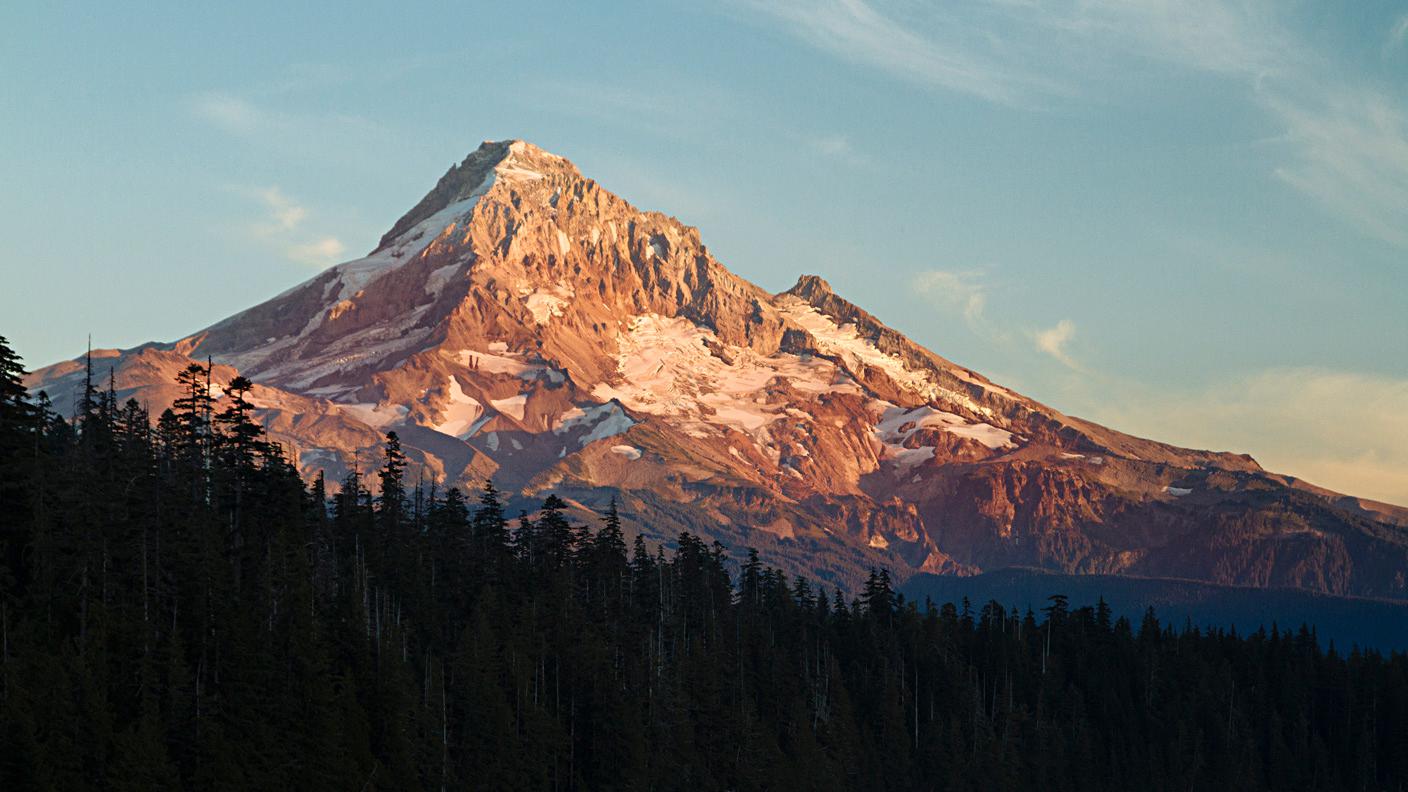
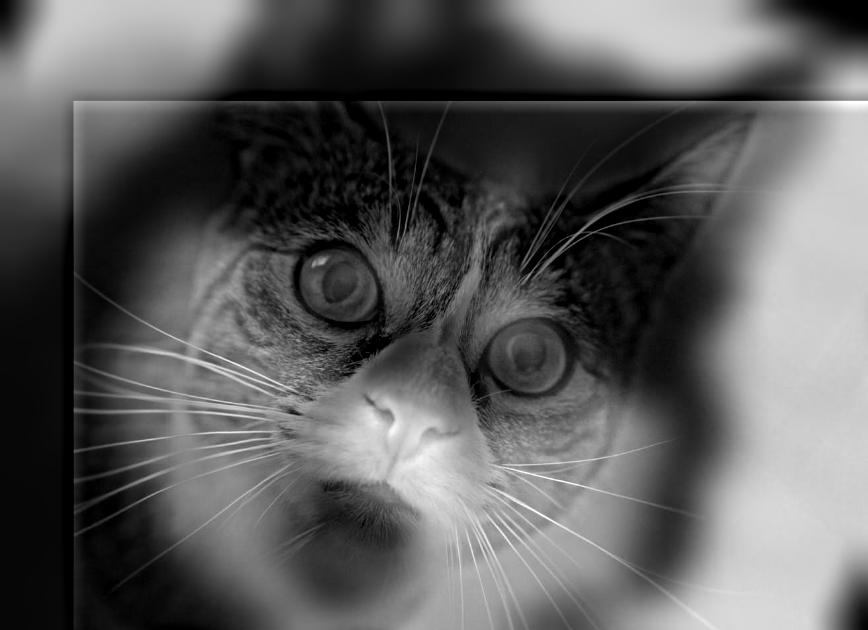
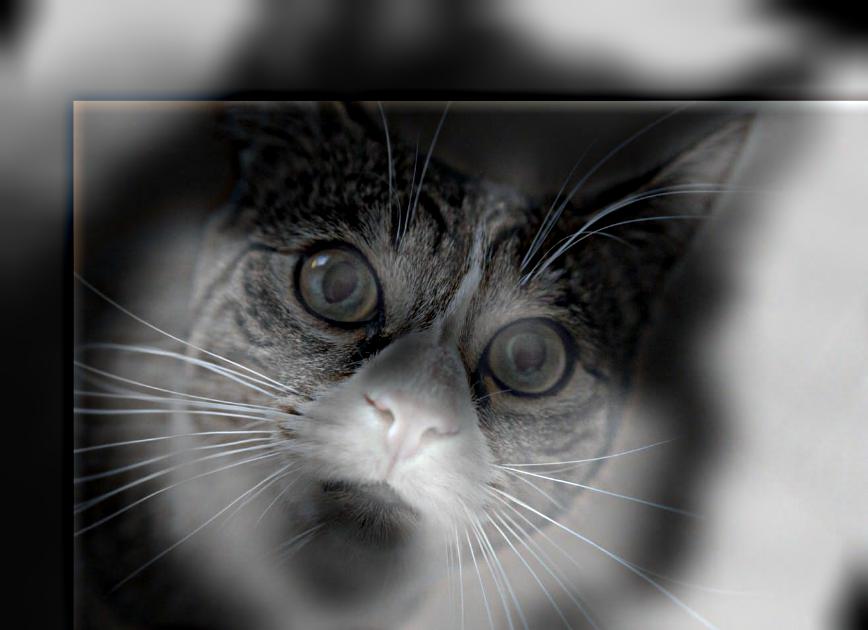
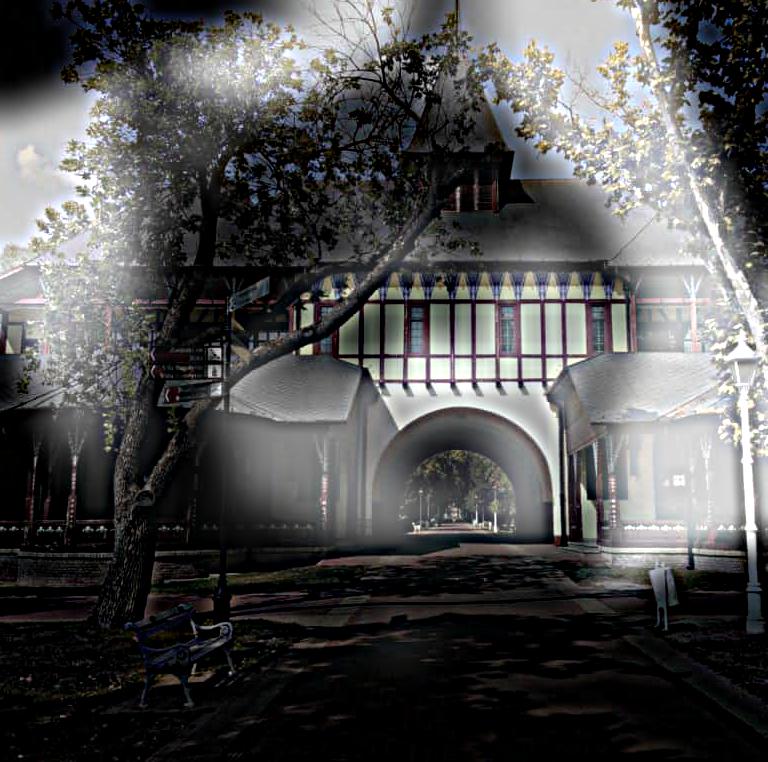
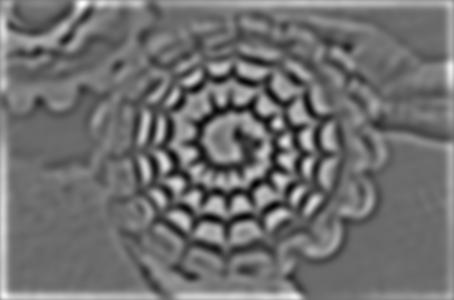
Original Image
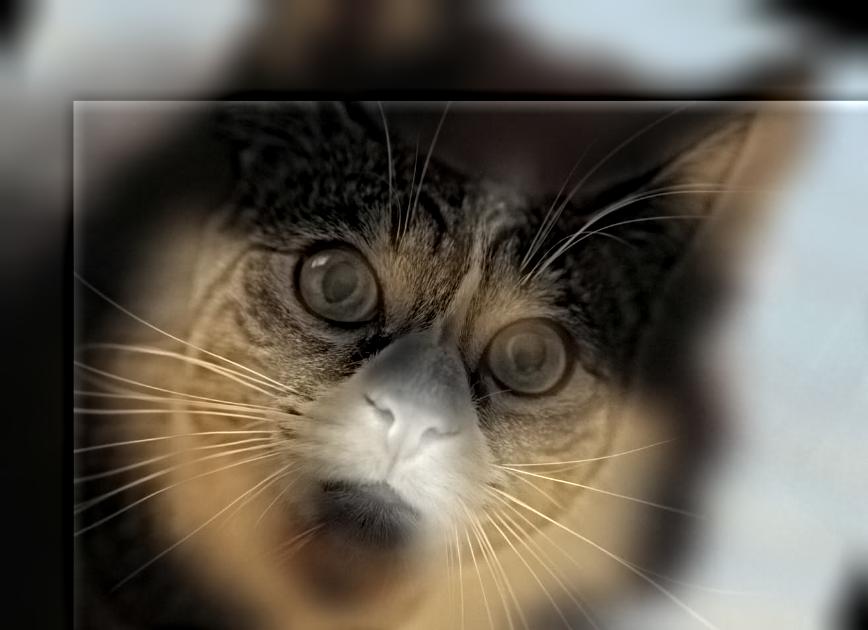
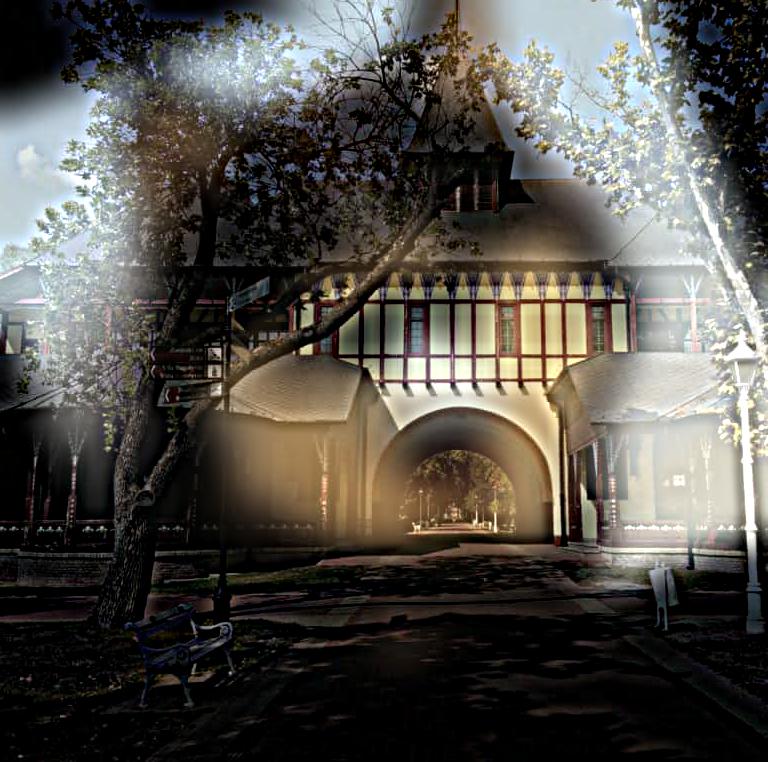
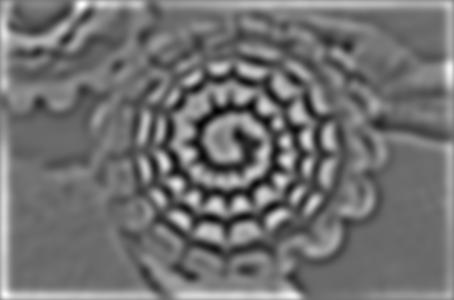
Sharpen Image with alpha = 0.3

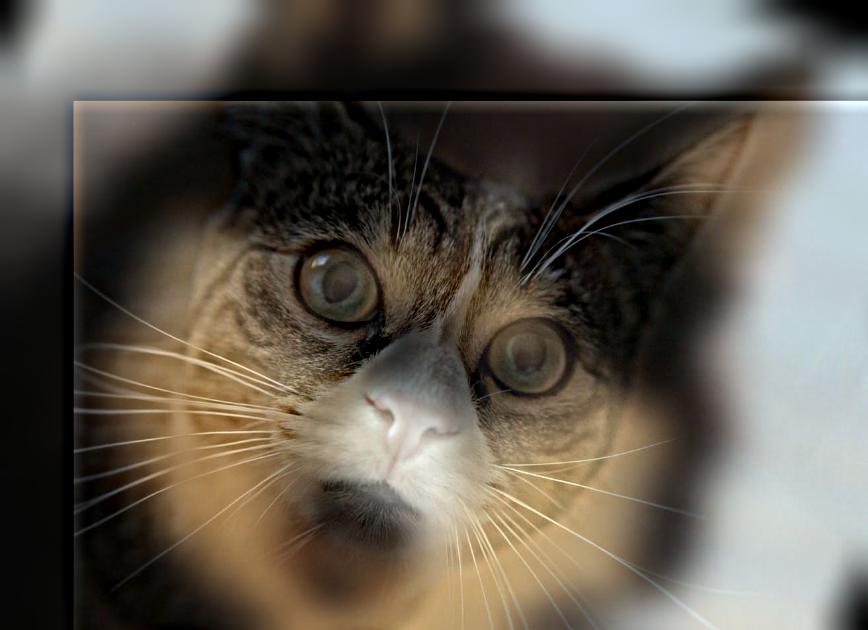
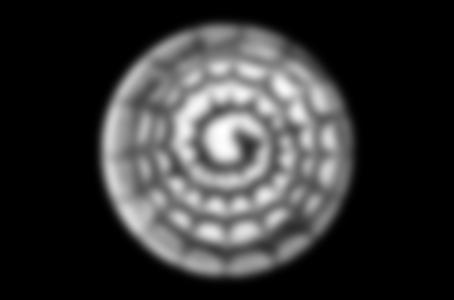
Sharpen Image with alpha = 0.599
We make images appear sharper using the Unsharp Mask Filter. To do so, we apply a Gaussian blur to the image and then subtract the blurred image from the original image.
This isolates the high frequency components in the image. We then add the high frequency components to the original image. Since we are including more of the fine details (high frequencies), the image looks sharper. Mathematically, if f is the image and g is the Guassian filter, the sharpen image is
(1+alpha)f + alpha(g*f)
where alpha is a parameter that controls how much of the high frequencies we add to the original image and * represents convolution. I used a kernel that was 25x25 with sigma = 4.1. I process each color channel separately to allow colored images.
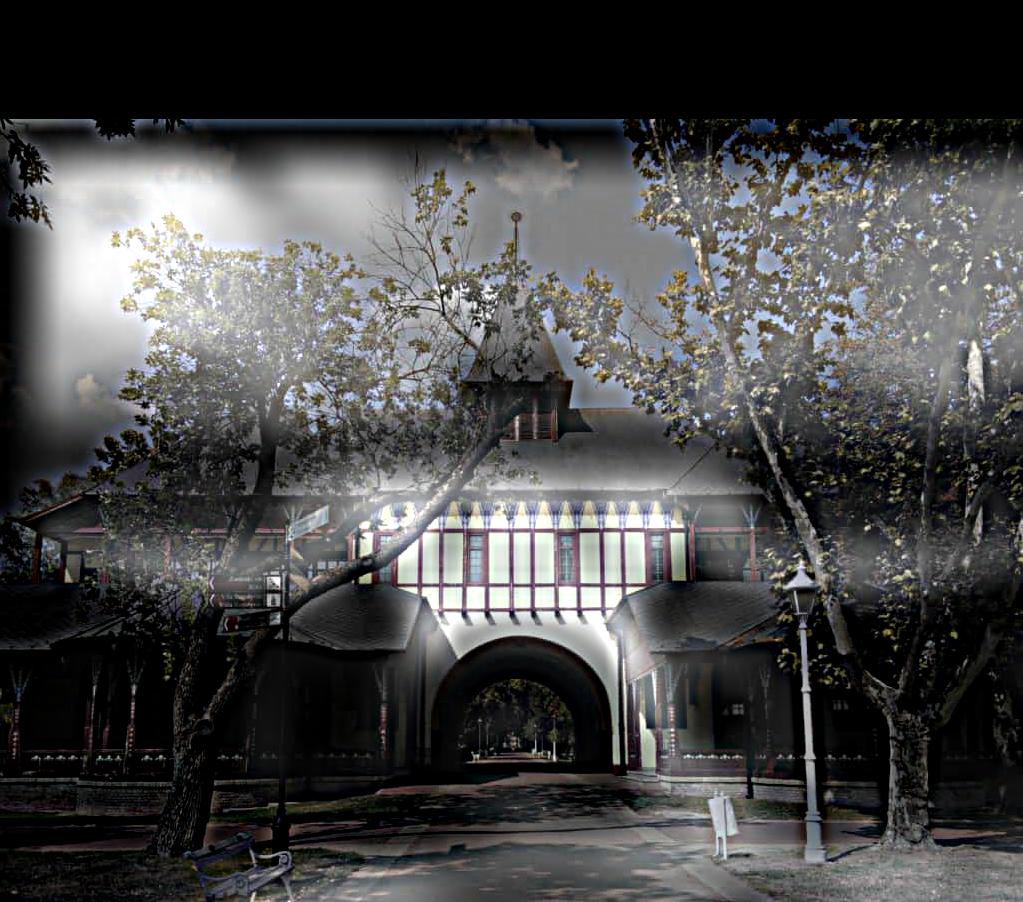
Original Image
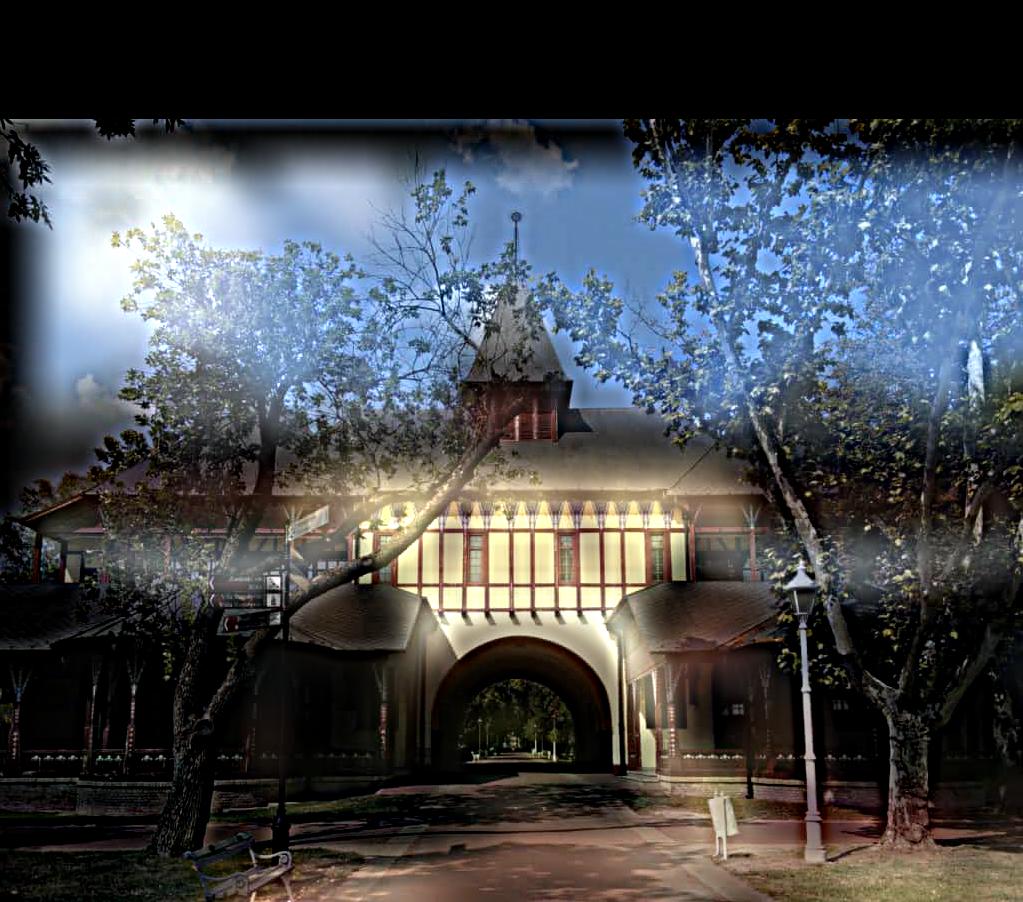
Sharpen Image with alpha = 0.3
Sharpen Image with alpha = 0.599
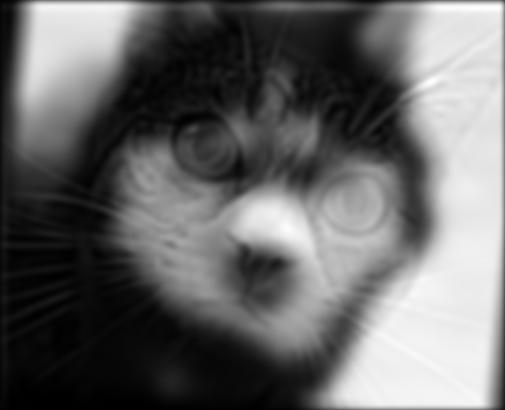
To create a hybrid Image, we take the high frequencies of one image and low frequencies of another image. The high frequencies are visiable when the viewer is close while the low frequencies are visiable when the viewer is far. Depending on the distance from the image, a hybrid images appears differently. To get the high frequencies I took the original and subtract the blurred image using a Gaussian Kernel of size 27x27 with sigma= 13. To get the low frequencies, I took Gaussian blur of the image with a kernel of size 55x55 with sigma = 27. I then added the two frequencies together.
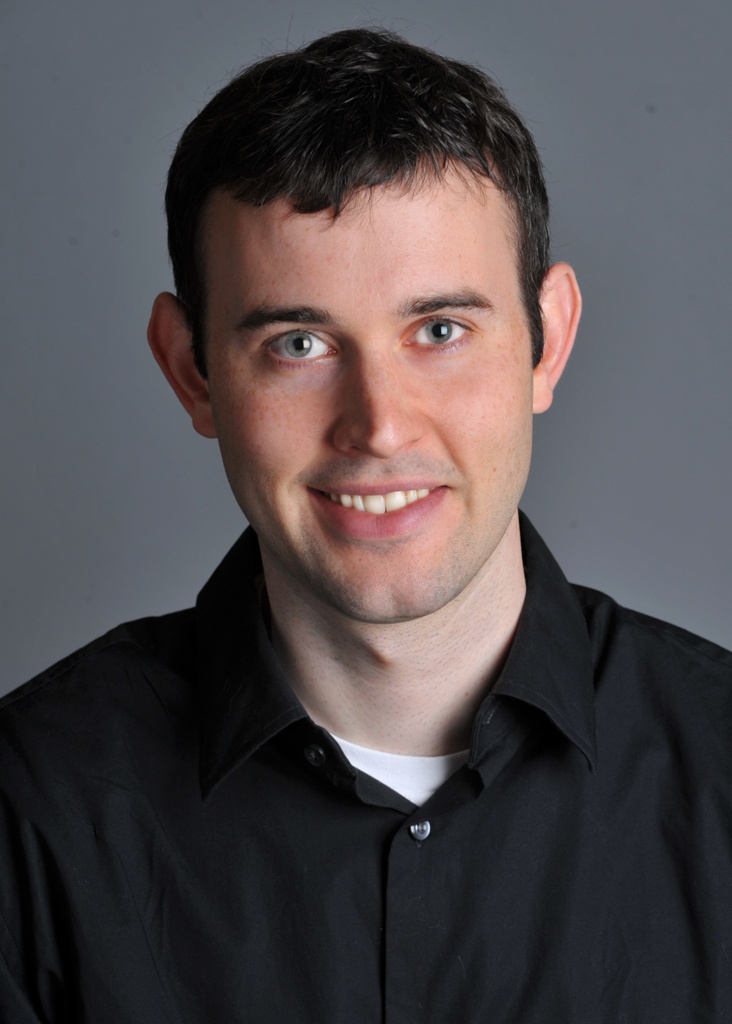
Derek plus
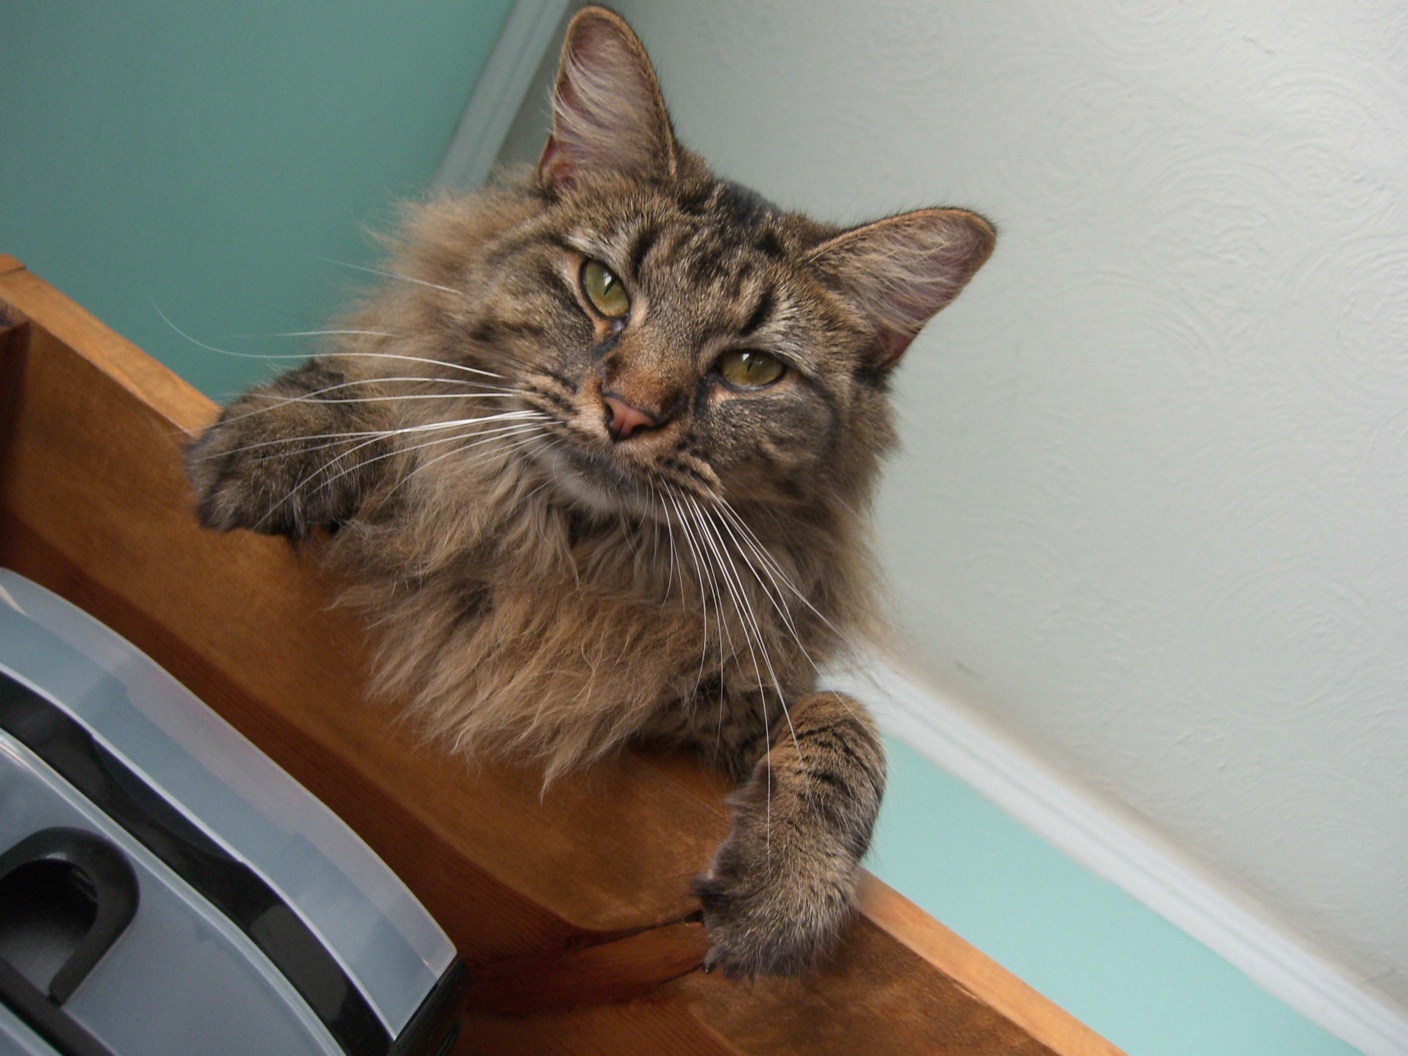
Cute Cat named Nutmeg equals
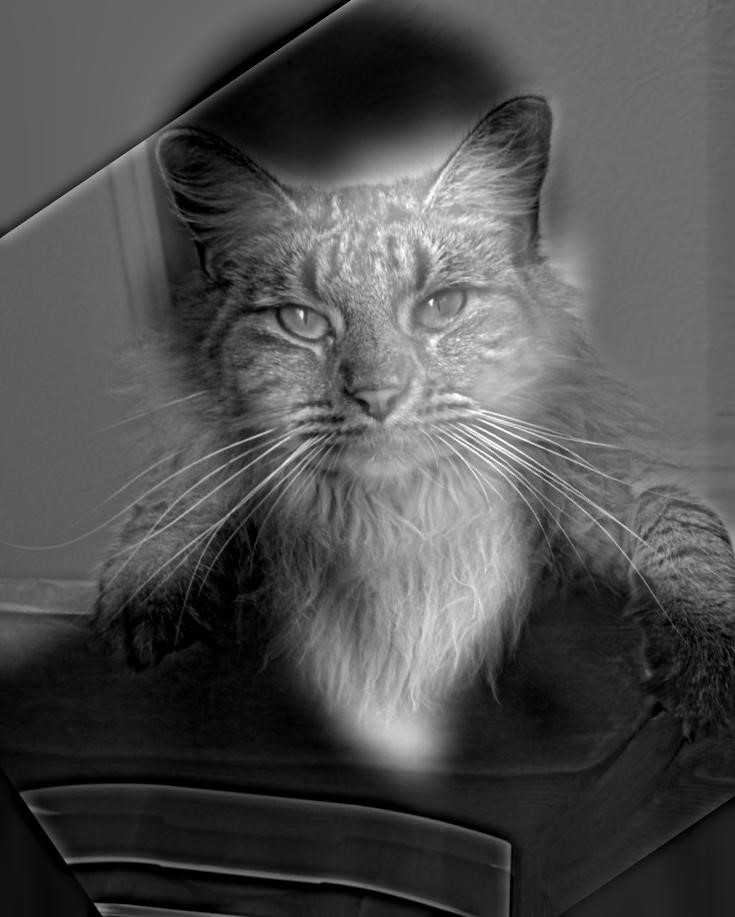
Hybrid Man Cat
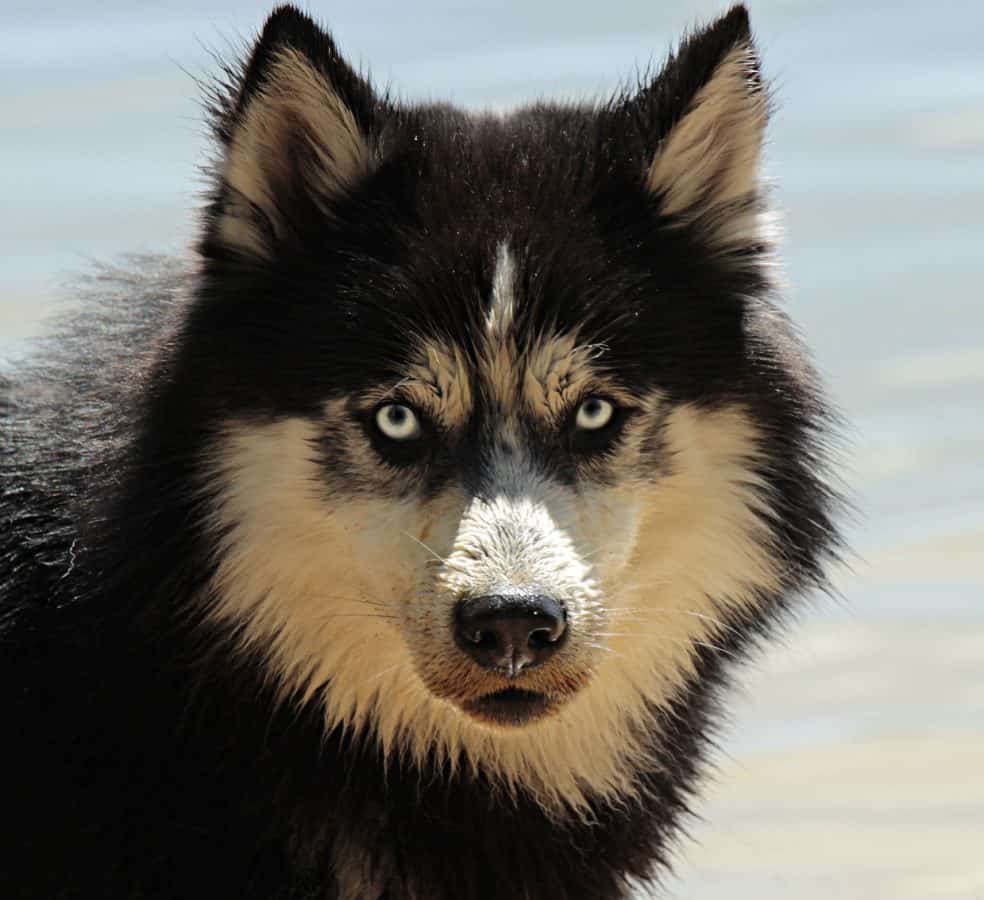
A wolf plus

A Cute Cat equals
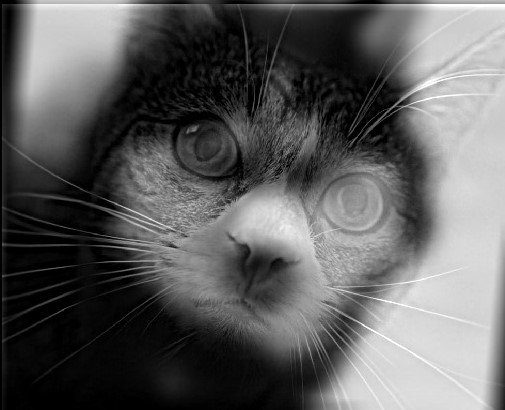
A wolf/cat hybrid
A wolf plus
A house equals
A Wolf House. Unfortunately, the lines on the house sometimes appear on the wolf's face.
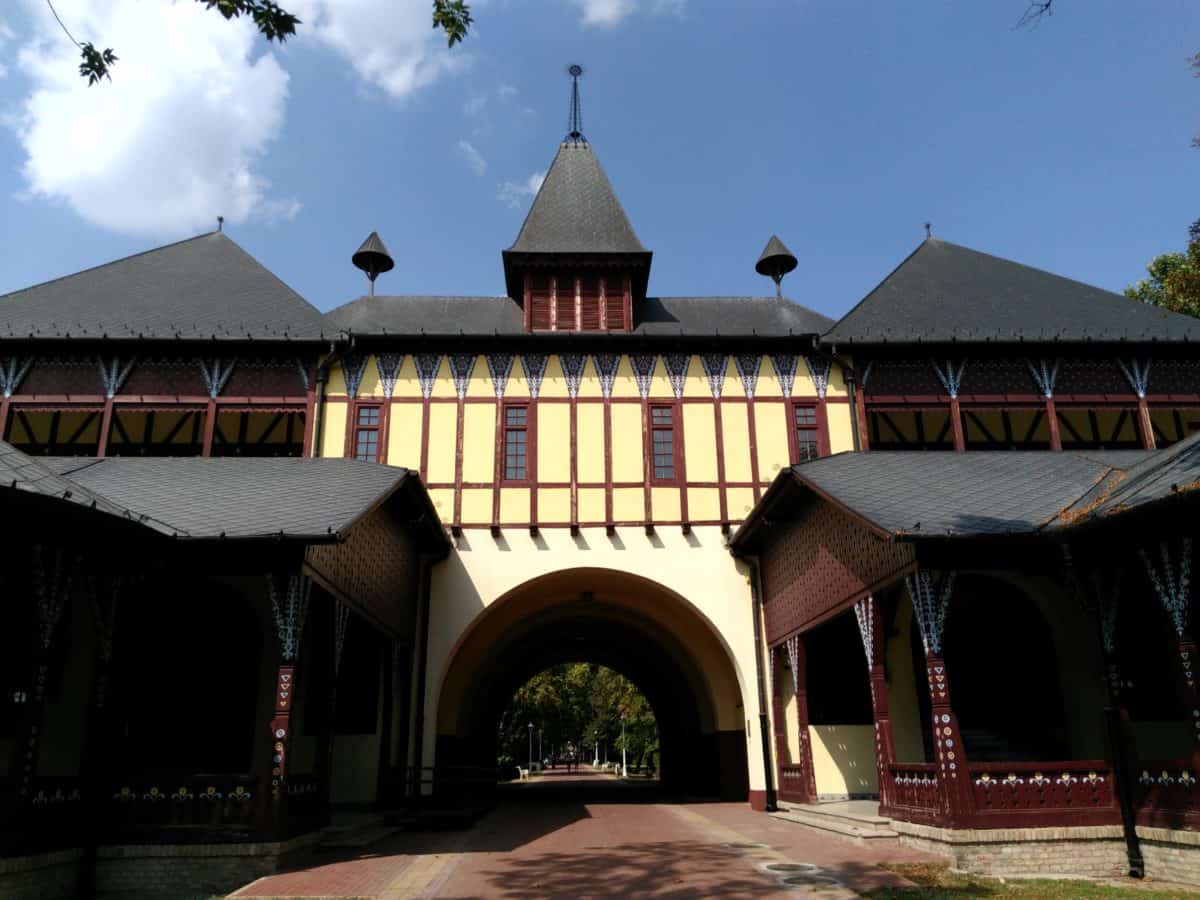
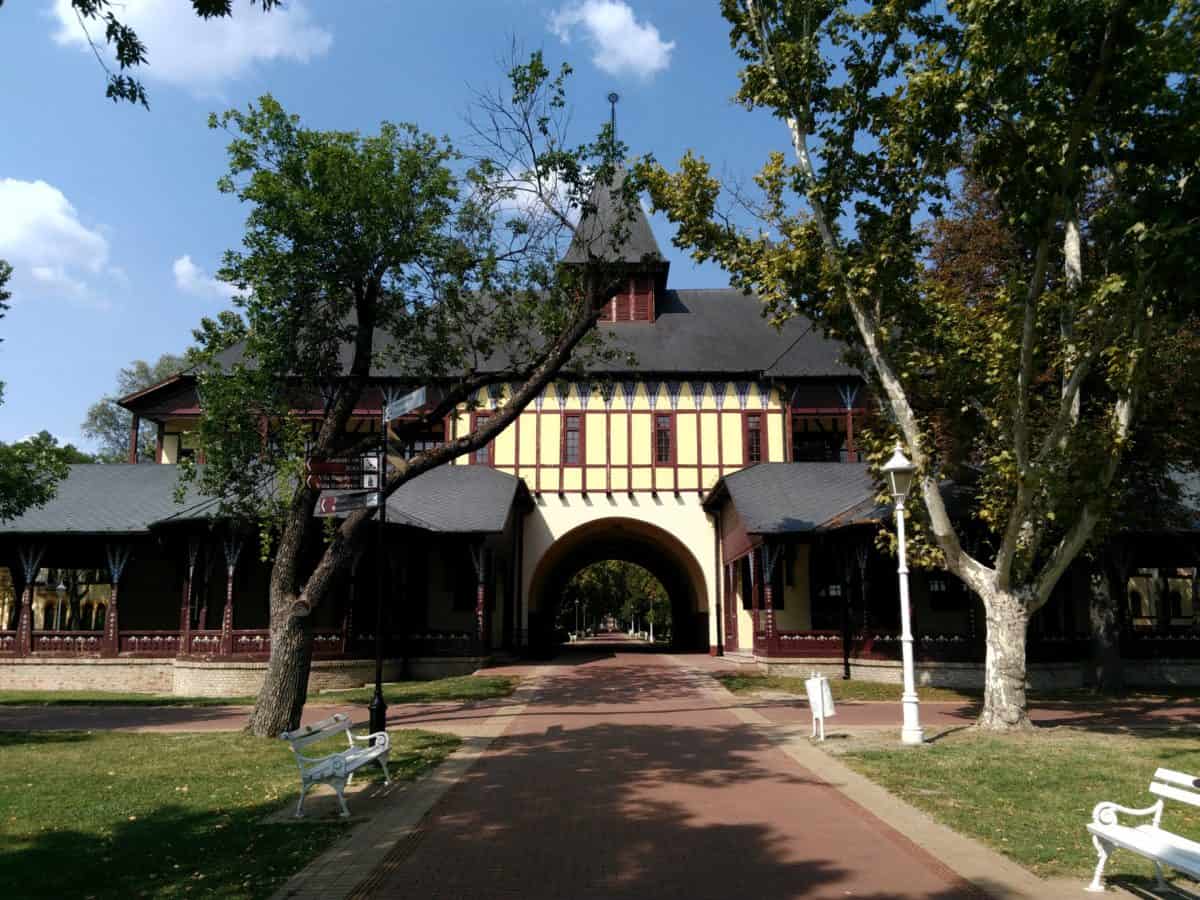
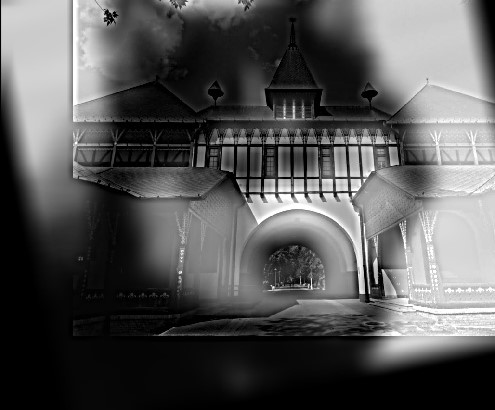
A building plus
A the same building from a distance equals
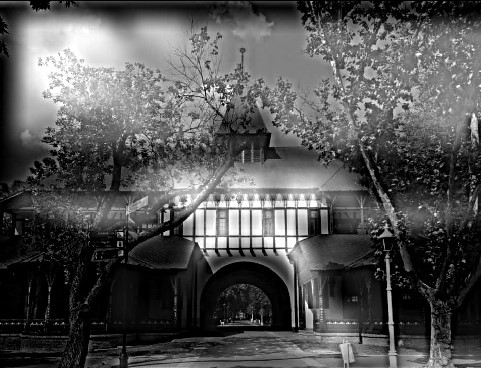
The building with Trees. This one did not work as well as the others since the images were very similar. I can only see the second image. :(
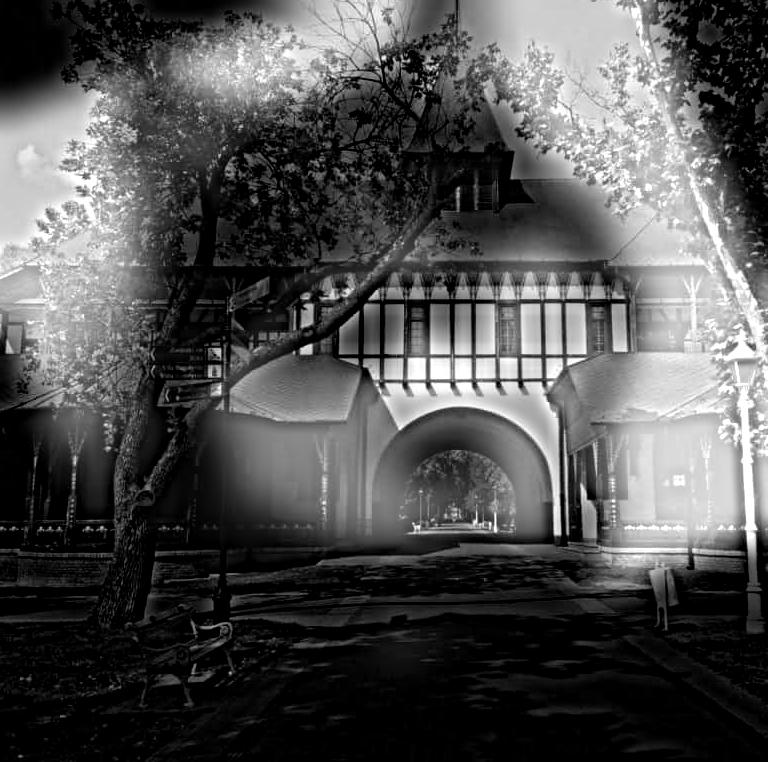
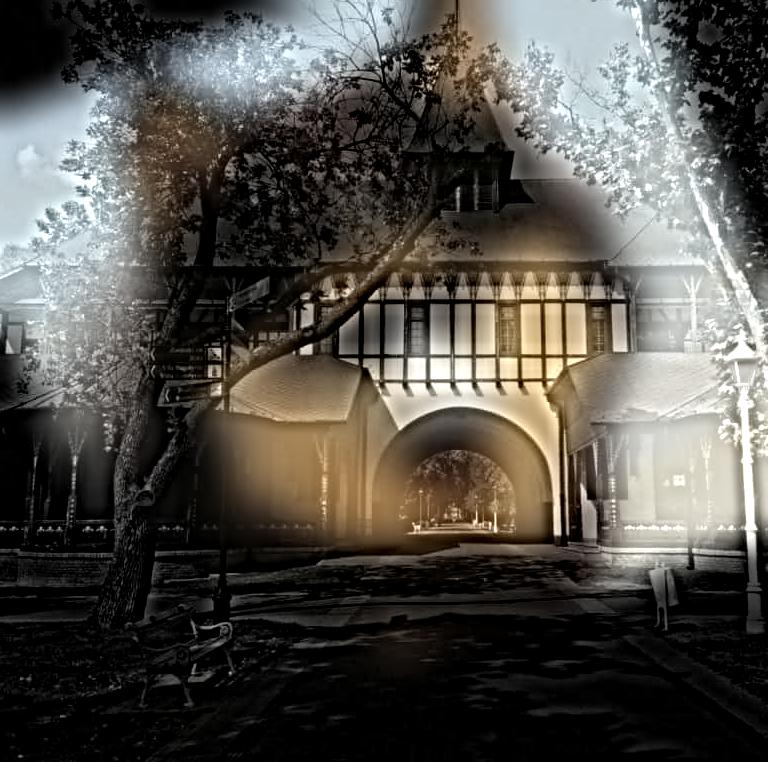
We can see the hybridization in the frequency space. Below is the frequencies of the Wolf, Cat, and Hybrid respectively. We see that the Hybrid contains the parts of Wolf close to the origin and the part of Cat far away from the origin. Looking at the frequency space of the two buildings, we see that they are very similar and mostly match near the origin. So, when I combine them, I can only see a house with trees.
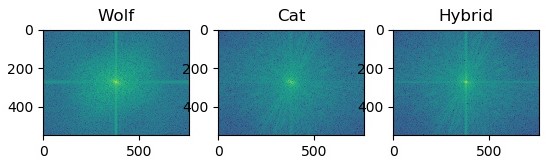
Wolf Cat Hybrid
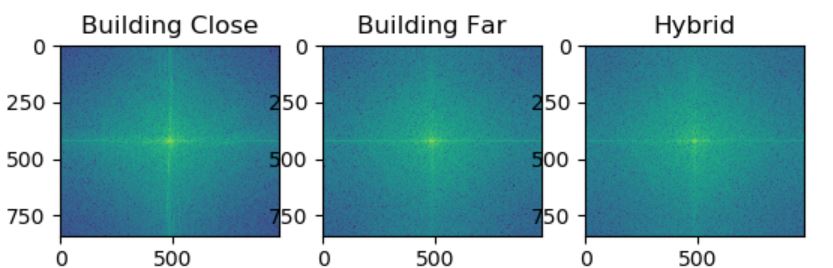
The Two Bulidings Hybrid
I added color to the hybrid images. To do so, I process each color channel of an image independently. The final hybrid image will have 3 color channels. If the image is grayscale, then I copy the result using the grayscale image to each color channel of the results. I feel that images look the best when the high frequencies are in color and the low frequencies are in grayscale.
GrayScale
Only Low Frequencies have Color
Only High Frequencies have Color
Complete Color

GrayScale

Only Low Frequencies have Color
Only High Frequencies have Color
Complete Color
GrayScale
Only Low Frequencies have Color
Only High Frequencies have Color
Complete Color
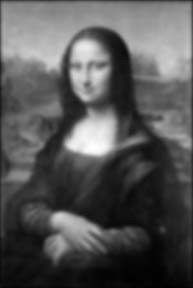
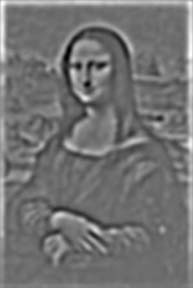
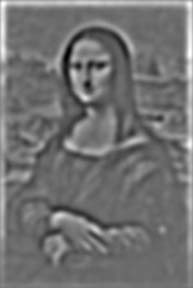
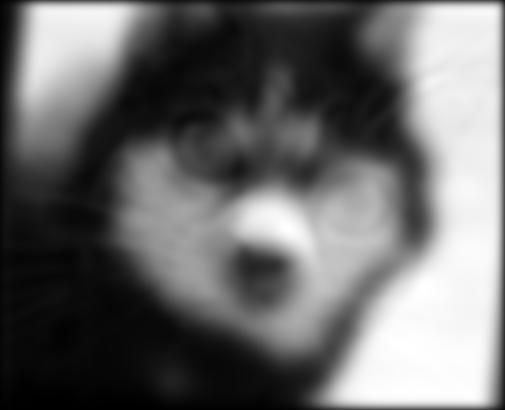
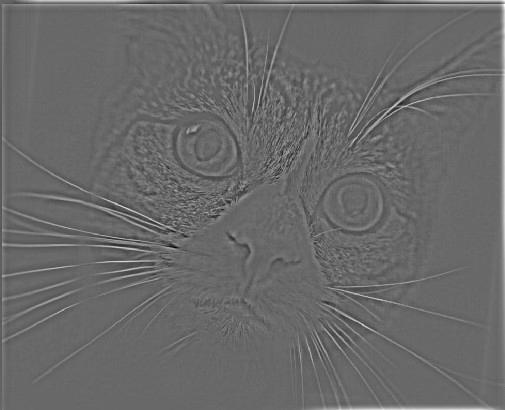
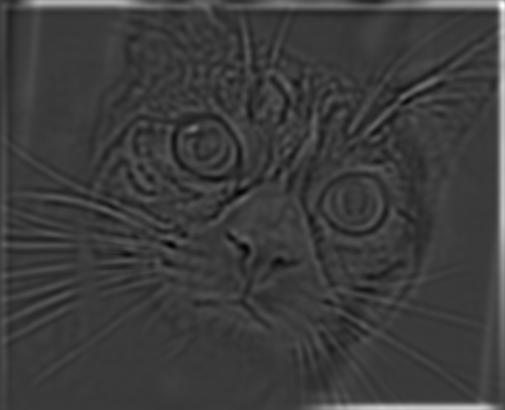
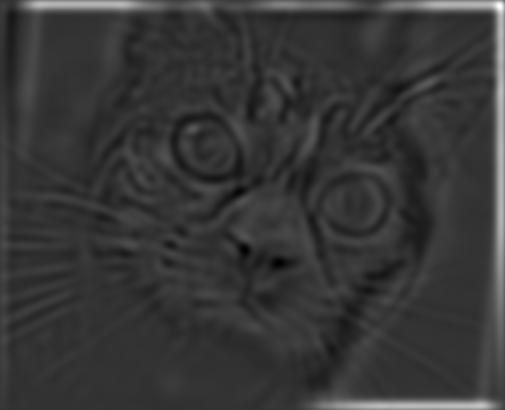
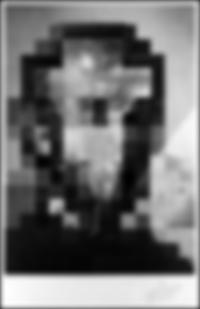
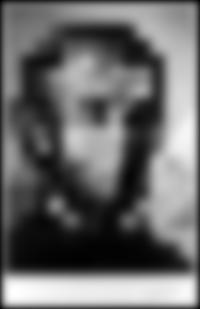
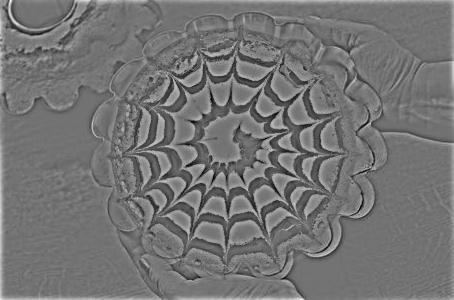
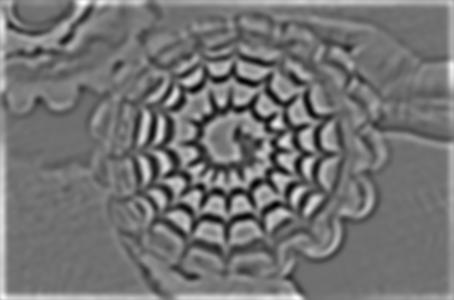
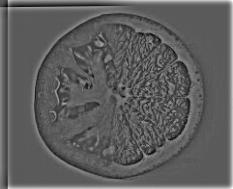
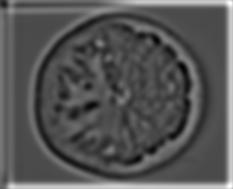
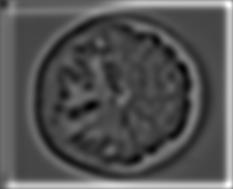
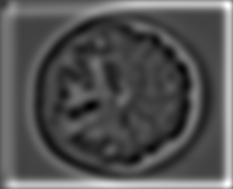
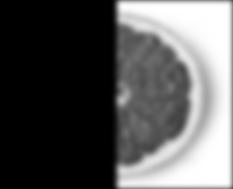
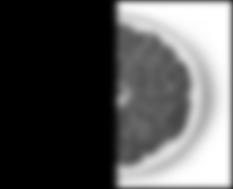
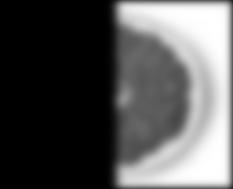
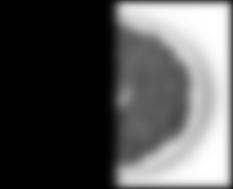
We can split an image into bands of frequencies using a Laplacian stacks. A Laplacian stack is created by subtracting different levels of a Guassian Stack. First, I created a Gaussian Stack by repeatedly apply a Guassian Filter of size 13x13 with sigma = 3. The first image in the stack is the blurred original and the last image is the blurriest image. To create a Laplician stack layer, I subtruct the (i+1)th Guassian Stack layer from the ith layer. The last image in the Laplician stack is the final image in the Guassian stack (all the low frequencies). We will omit that layer for brevity.
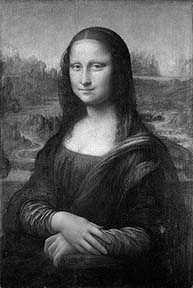
Mona Lisa
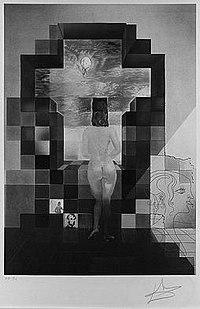
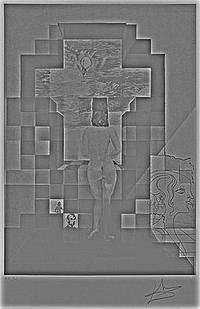
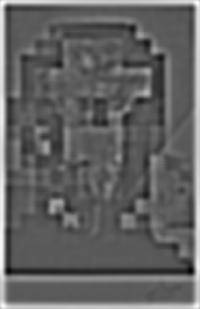
Salvador Dali painting of Lincoln and Gala
Wolf Cat Hybrid


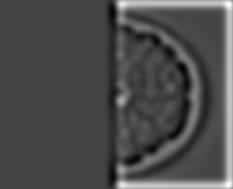
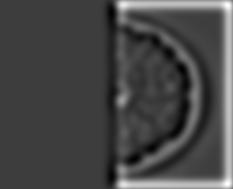
We can blend two images together with a smooth seam by using an image spline. An image spline spreads out the differences between the two images by gently disorting them. Multiresolution Blending creates an image spline by computing a gentle seam between two images independently at different bands of frequencies. Specifically, I created a Laplician Stack for each of the images. I created a binary mask that was 1 if and only if I wanted to take the pixel from the first image. I then create a Guassian Stack of the mask.
Finally, I combined the two stacks in a weighted sum using the values of the Guassian Stack as weights to create a Laplician Stack of the blended image.
To create each layer of the blended Laplician stack, I took the first image's Laplician Layer and times it by the mask's Guassian Layer. I then added the second image's Laplican layer times (1 - mask's Guassian Layer). The final result was the sum of all the Laplican layers of the blended Laplician stack.
I tried multiple masks (circle, thumb, squiggly, squashed circle, and vertical). I found that the symmetric masks (vertical and circle) were easier to align to images.
Circle Mask
A squiggly mask
The thumb mask

The vertical mask
The squashed circle mask
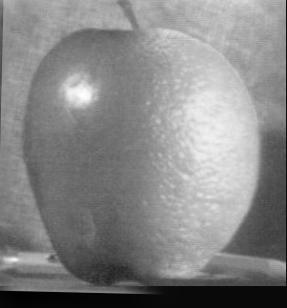
An apple combined with an orange using a vertical seam
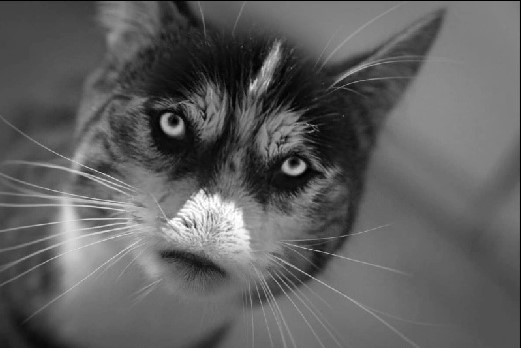
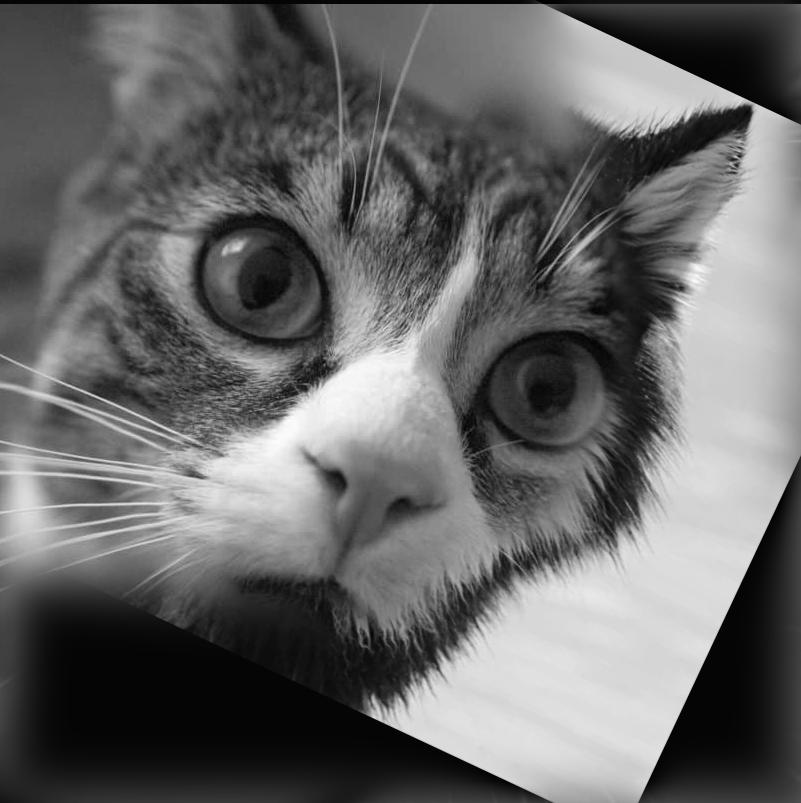
A cat with a wolf's eyes combined using a circular mask
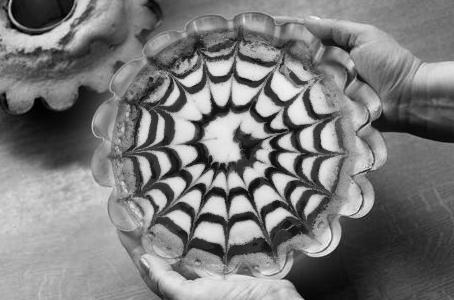
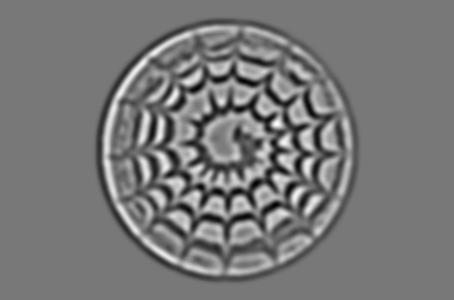
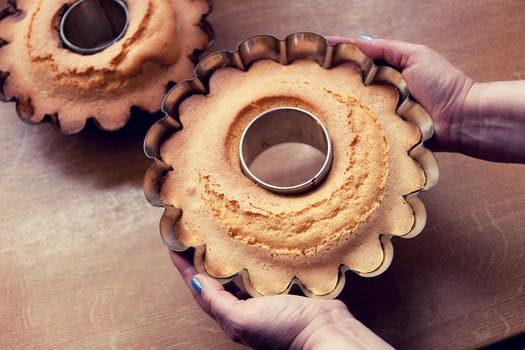
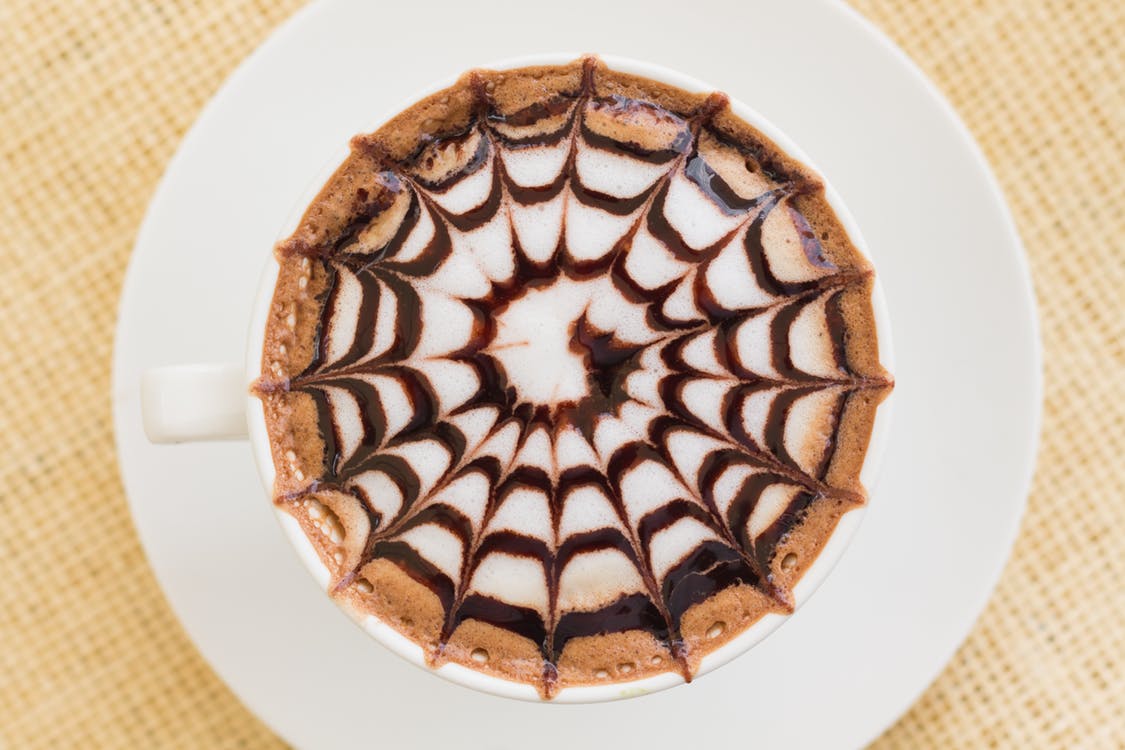
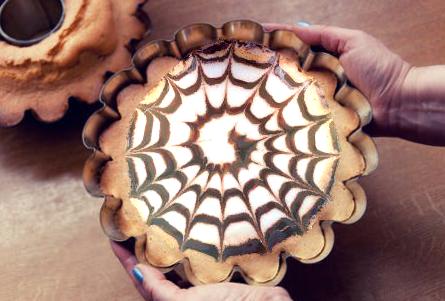
A cake pan containing coffee. Combined using a circle mask
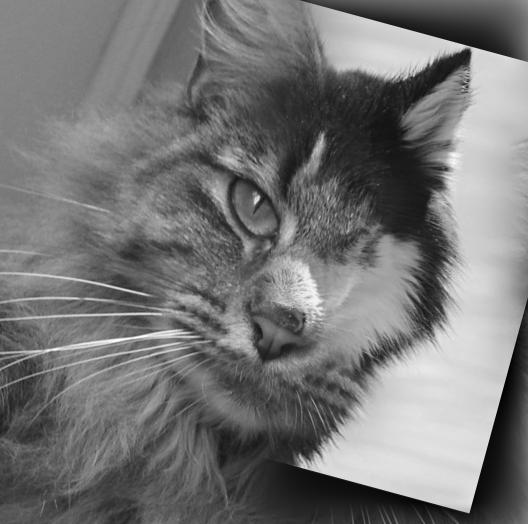
A kitty with a wolf ear. Combined using a squiggly mask.
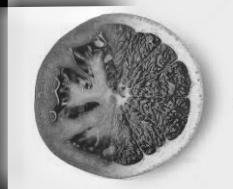
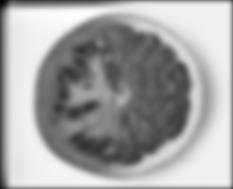
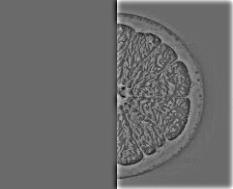
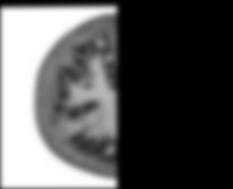
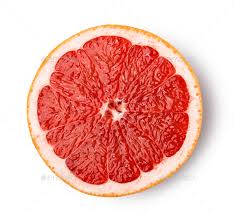
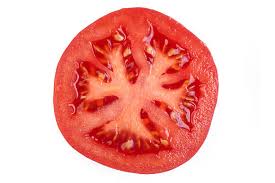
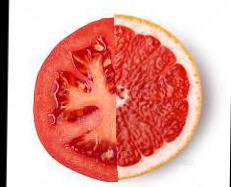
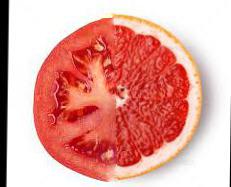
An grapefruit combined with an tomato using a vertical seam
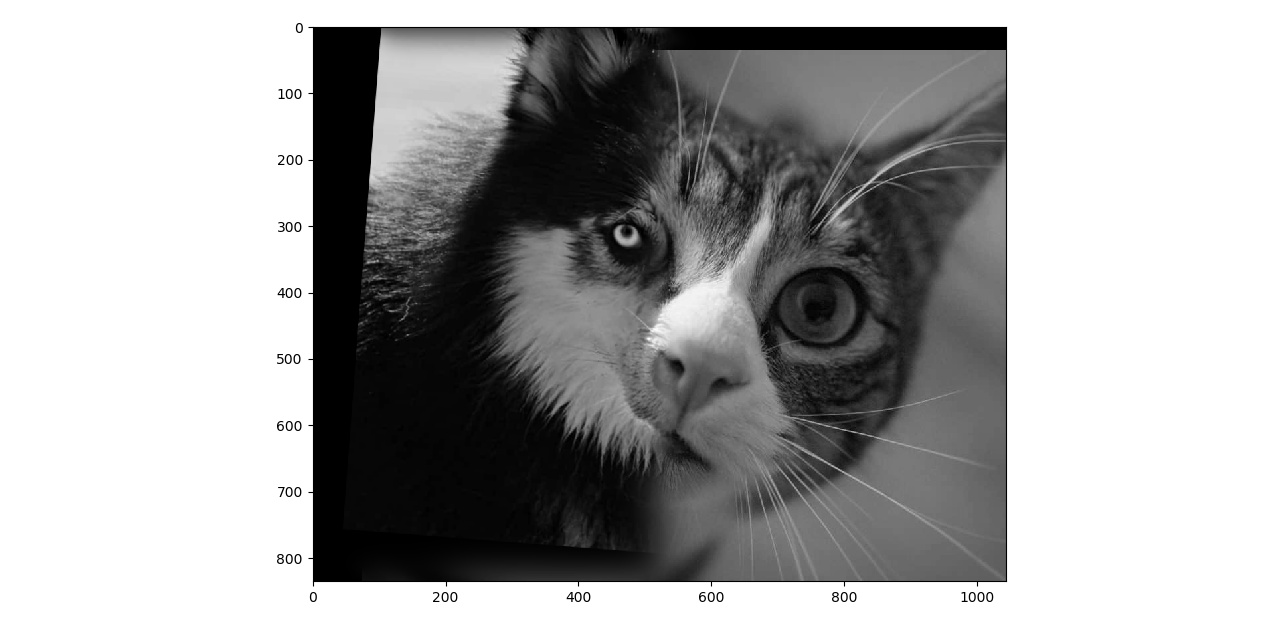
A cat combined with an wolf using a vertical seam
Nutmeg combined with a wolf using a vertical seam. She is a one-eyed pirate hybrid :)
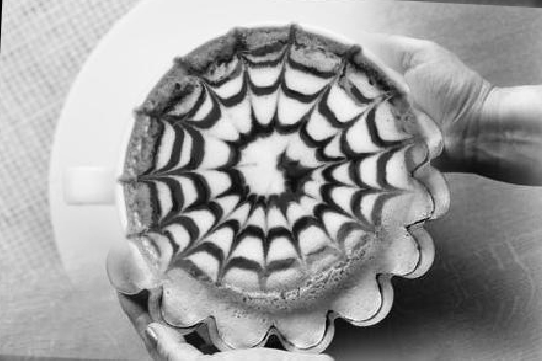
Cake combined with coffee in an attempt to make the hands hold coffee. Uses the thumb mask.


I added color to the spline images. To do so, I process each color channel of an image independently. I do Multiresolution blending on each color channel and then combine the results to get a color image.
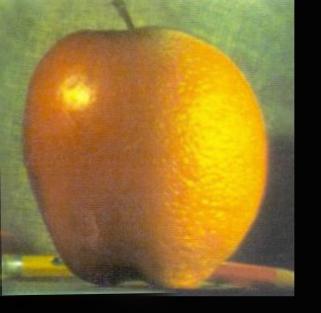
An apple combined with an orange using a vertical seam
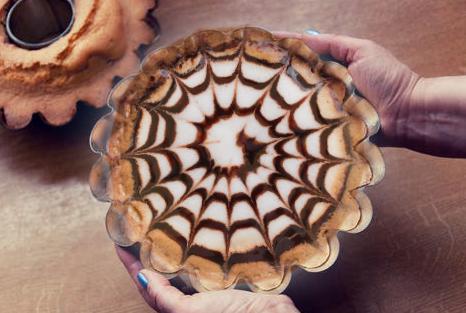
Cake pan containing coffee. Combined using a circle mask
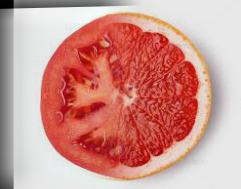
A tomato and grapefruit combined with a vertical seam
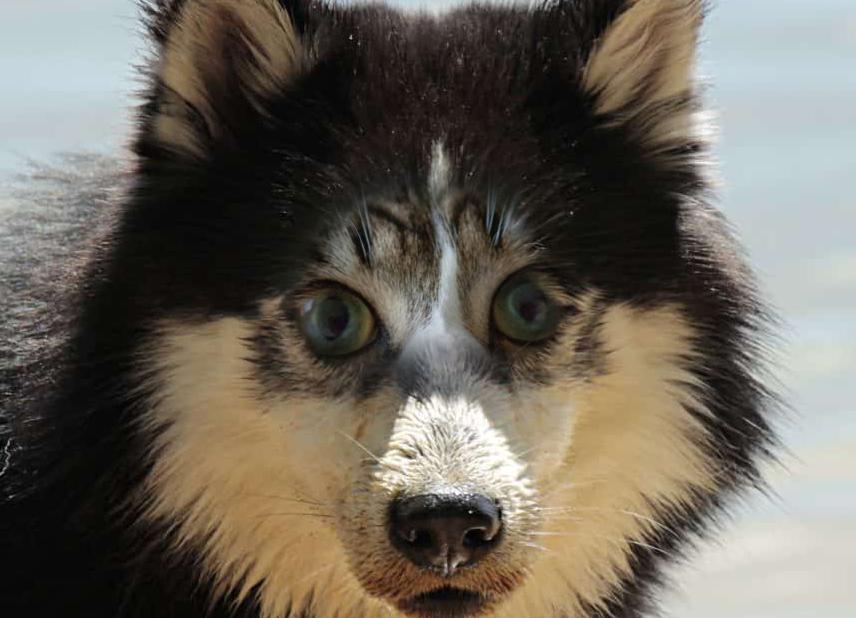
A wolf with kitten eyes. Uses a squashed circle mask.
We will first demonstrate how the gradients of an image can be used to recover the image. Specifically, we will set up a system of linear equations setting the difference between two neighboring pixels to be the gradient in the image.
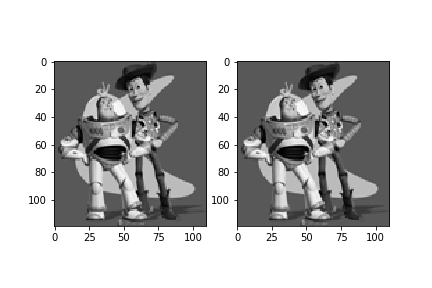
The result of our linear system is on the left and the original is on the right. We have recovered the original.
We will now use Poisson blending to combine multiple images. Specifically, we will select a portion of a source image that we want to transfer to our target image. We do this by creating a source mask. We will create a system of linear equations where the variables are pixels that we selected to move to the target image, eg the pixels where the source mask is one. We will create a constraint between every adjacent pixels in the source mask such that the gradients in the x and y direction match the source. Additionally, we will create a boundary condition for every pixel on the source mask that has a pixel next to it that is not in the mask (eg the source mask has value 0). The boundary condition is that the pixel in the source mask minus the pixel in the target image corresponding to the adjacent pixel that is not in the source mask equals the gradient in the source image. Thus, we are solving the followin equation:

Poisson blending works because human tend to see differences rather than specific values. So, we notice when pixels change from one color to another, but cannot identify the exact shade. Using this fact, Poisson blending might change the color objects in the image, but the objects remain identifiable. For instance, a hat might change from green to red, but it remains identifiable as a hat.
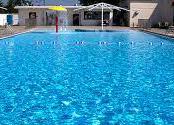
The target image of a pool
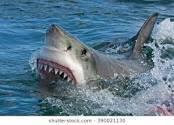
The source image of a shark
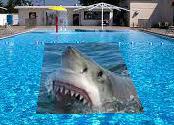
The shark pixels directly copied to the pool
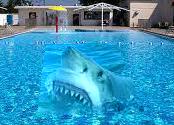
The shark in the pool after Poisson blending. The edges are visible since the source and the target had different textures for the water.
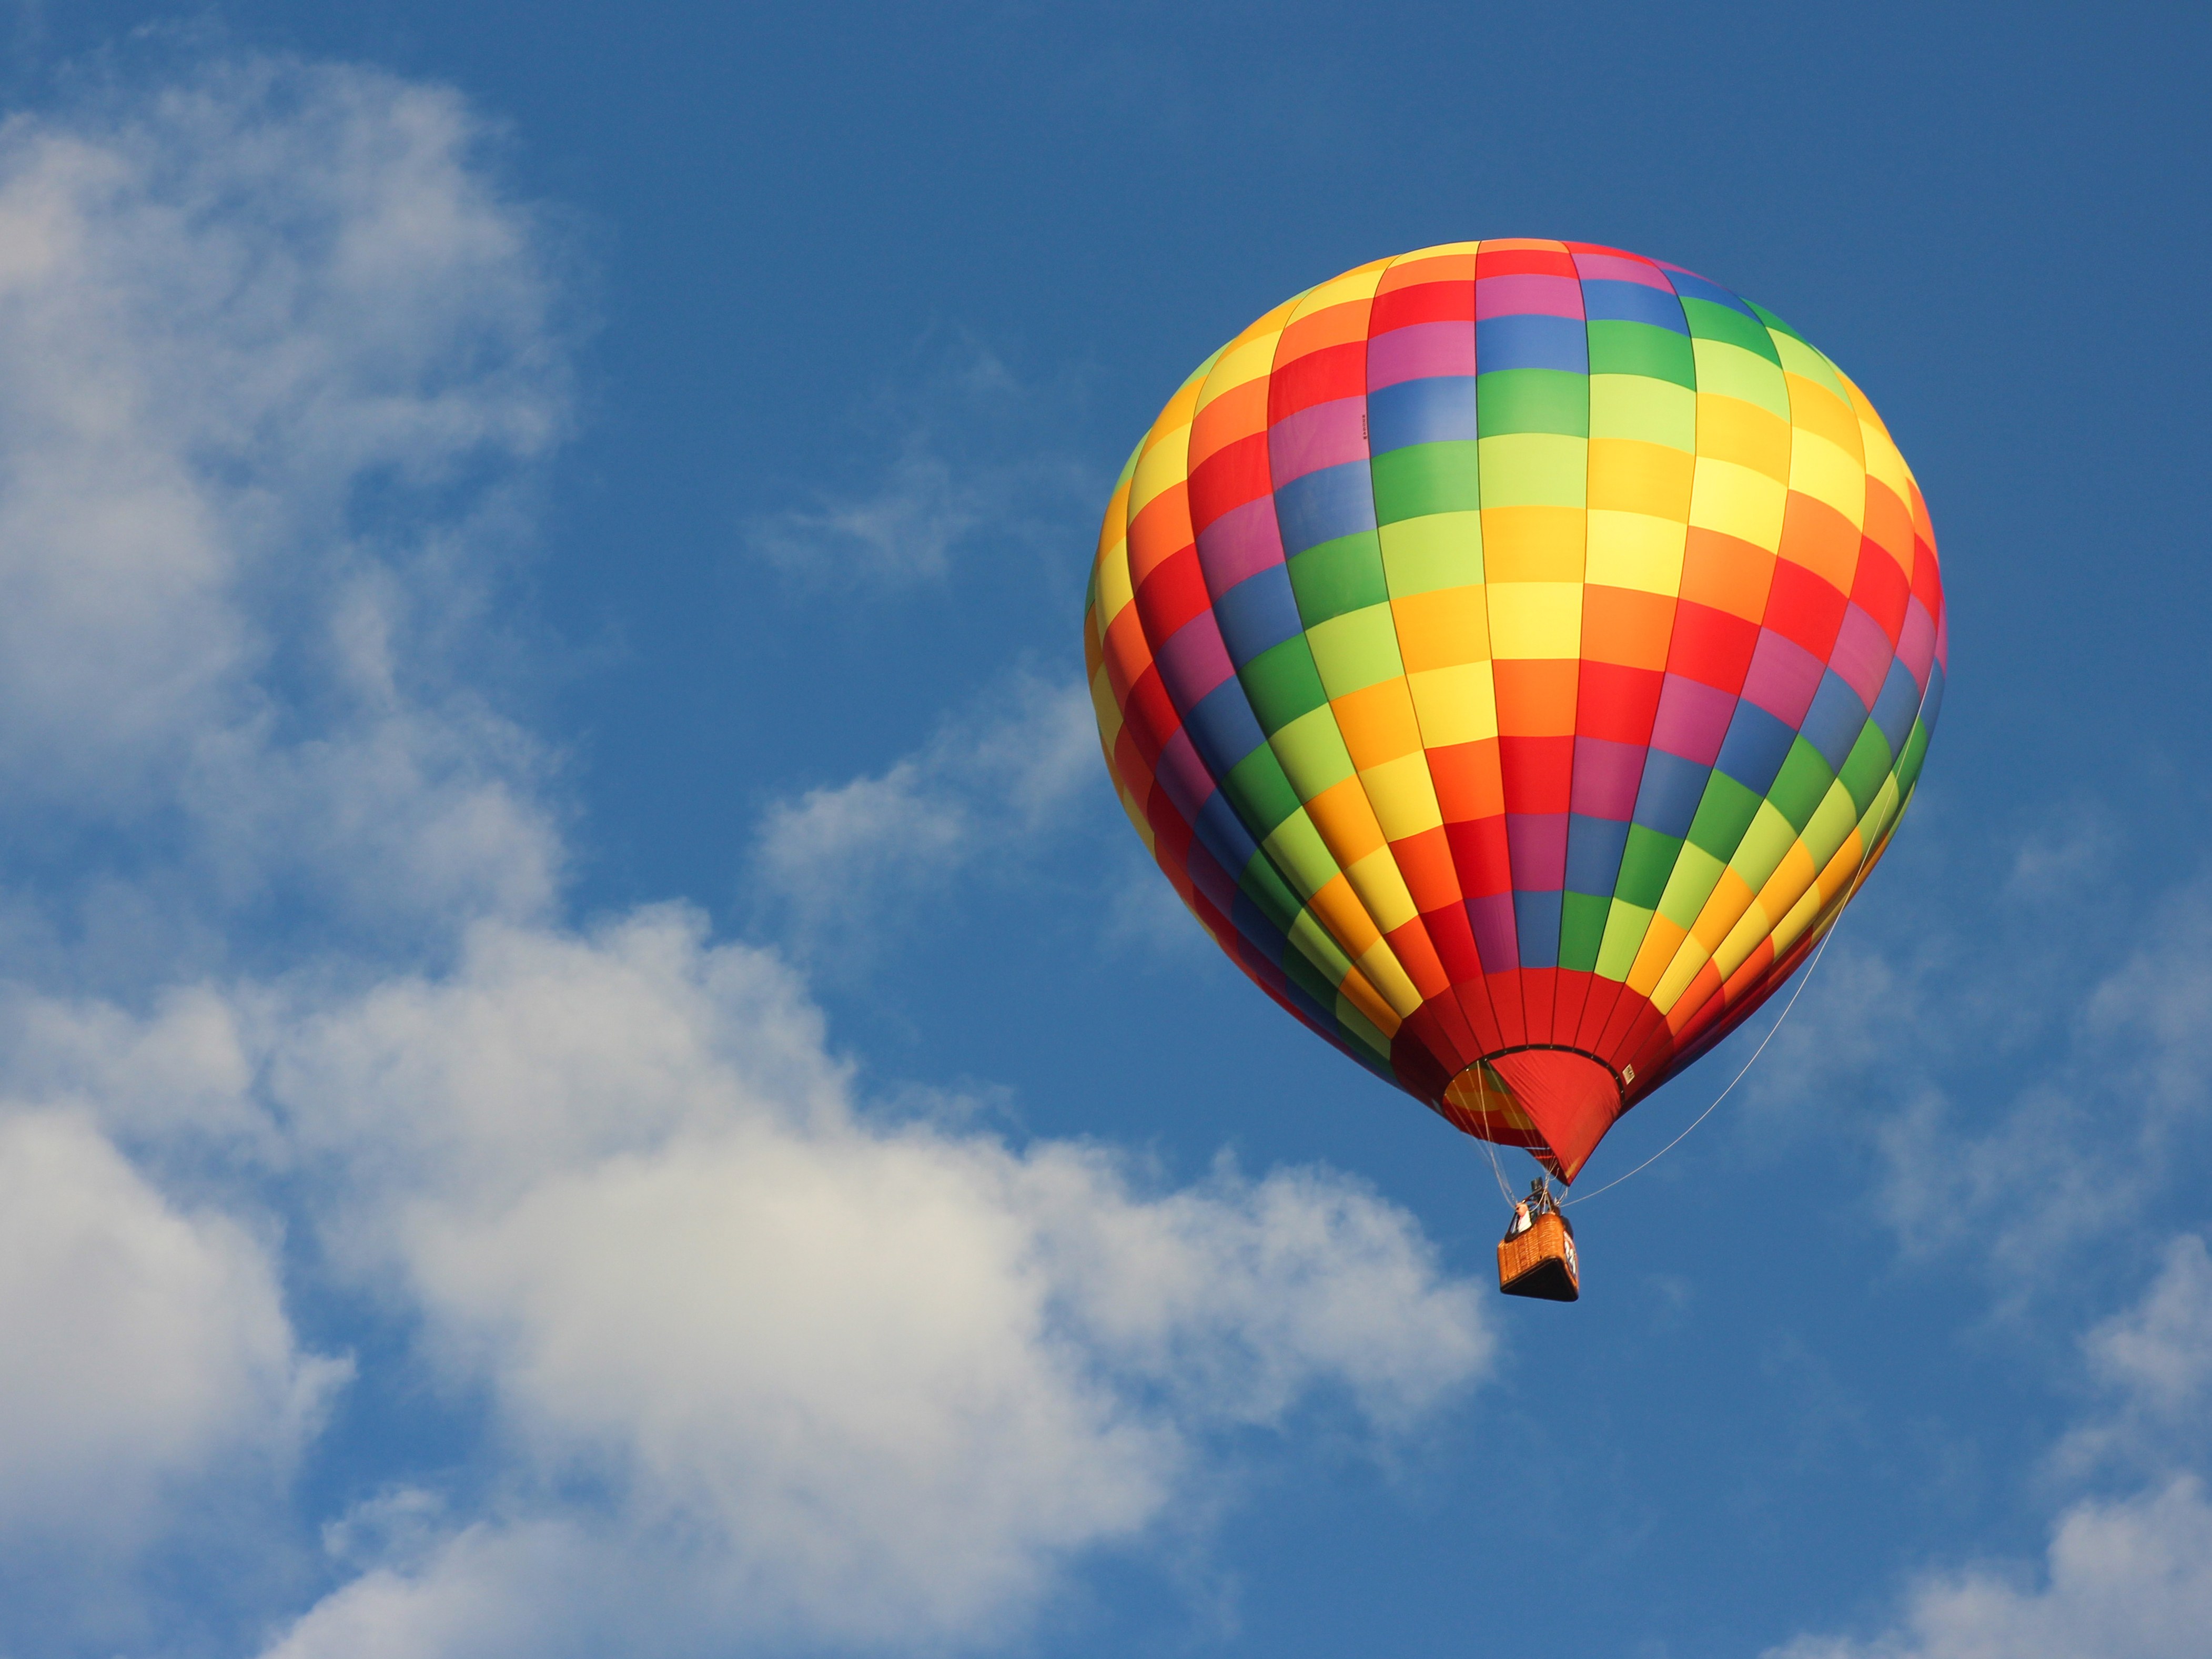
The target image of a Hot Air Balloon
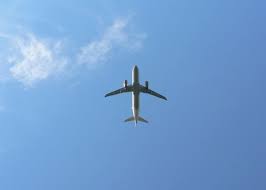
The source image of a plane
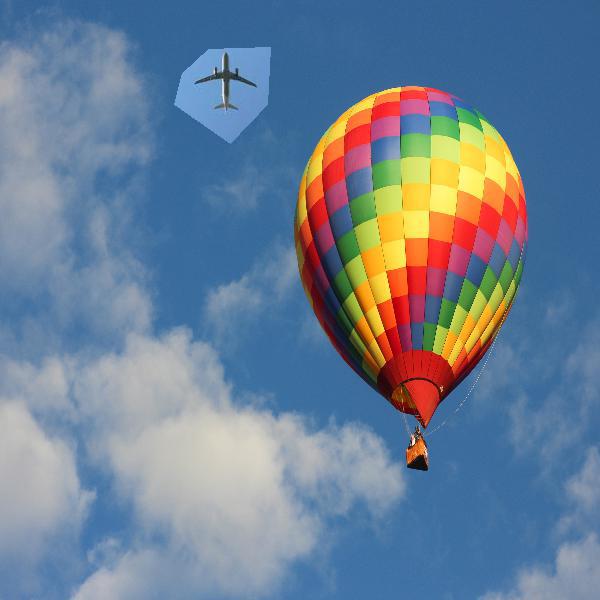
The plane pixels directly copied to the Hot Air Balloon
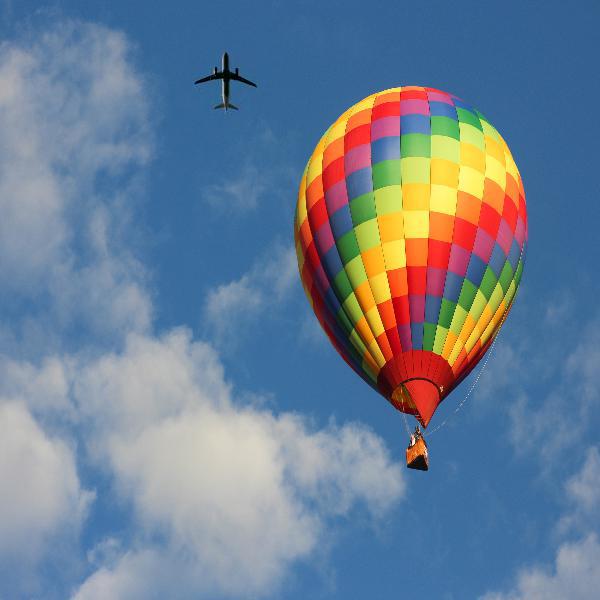
The plane and the Hot Air Balloon after Poisson blending Success!
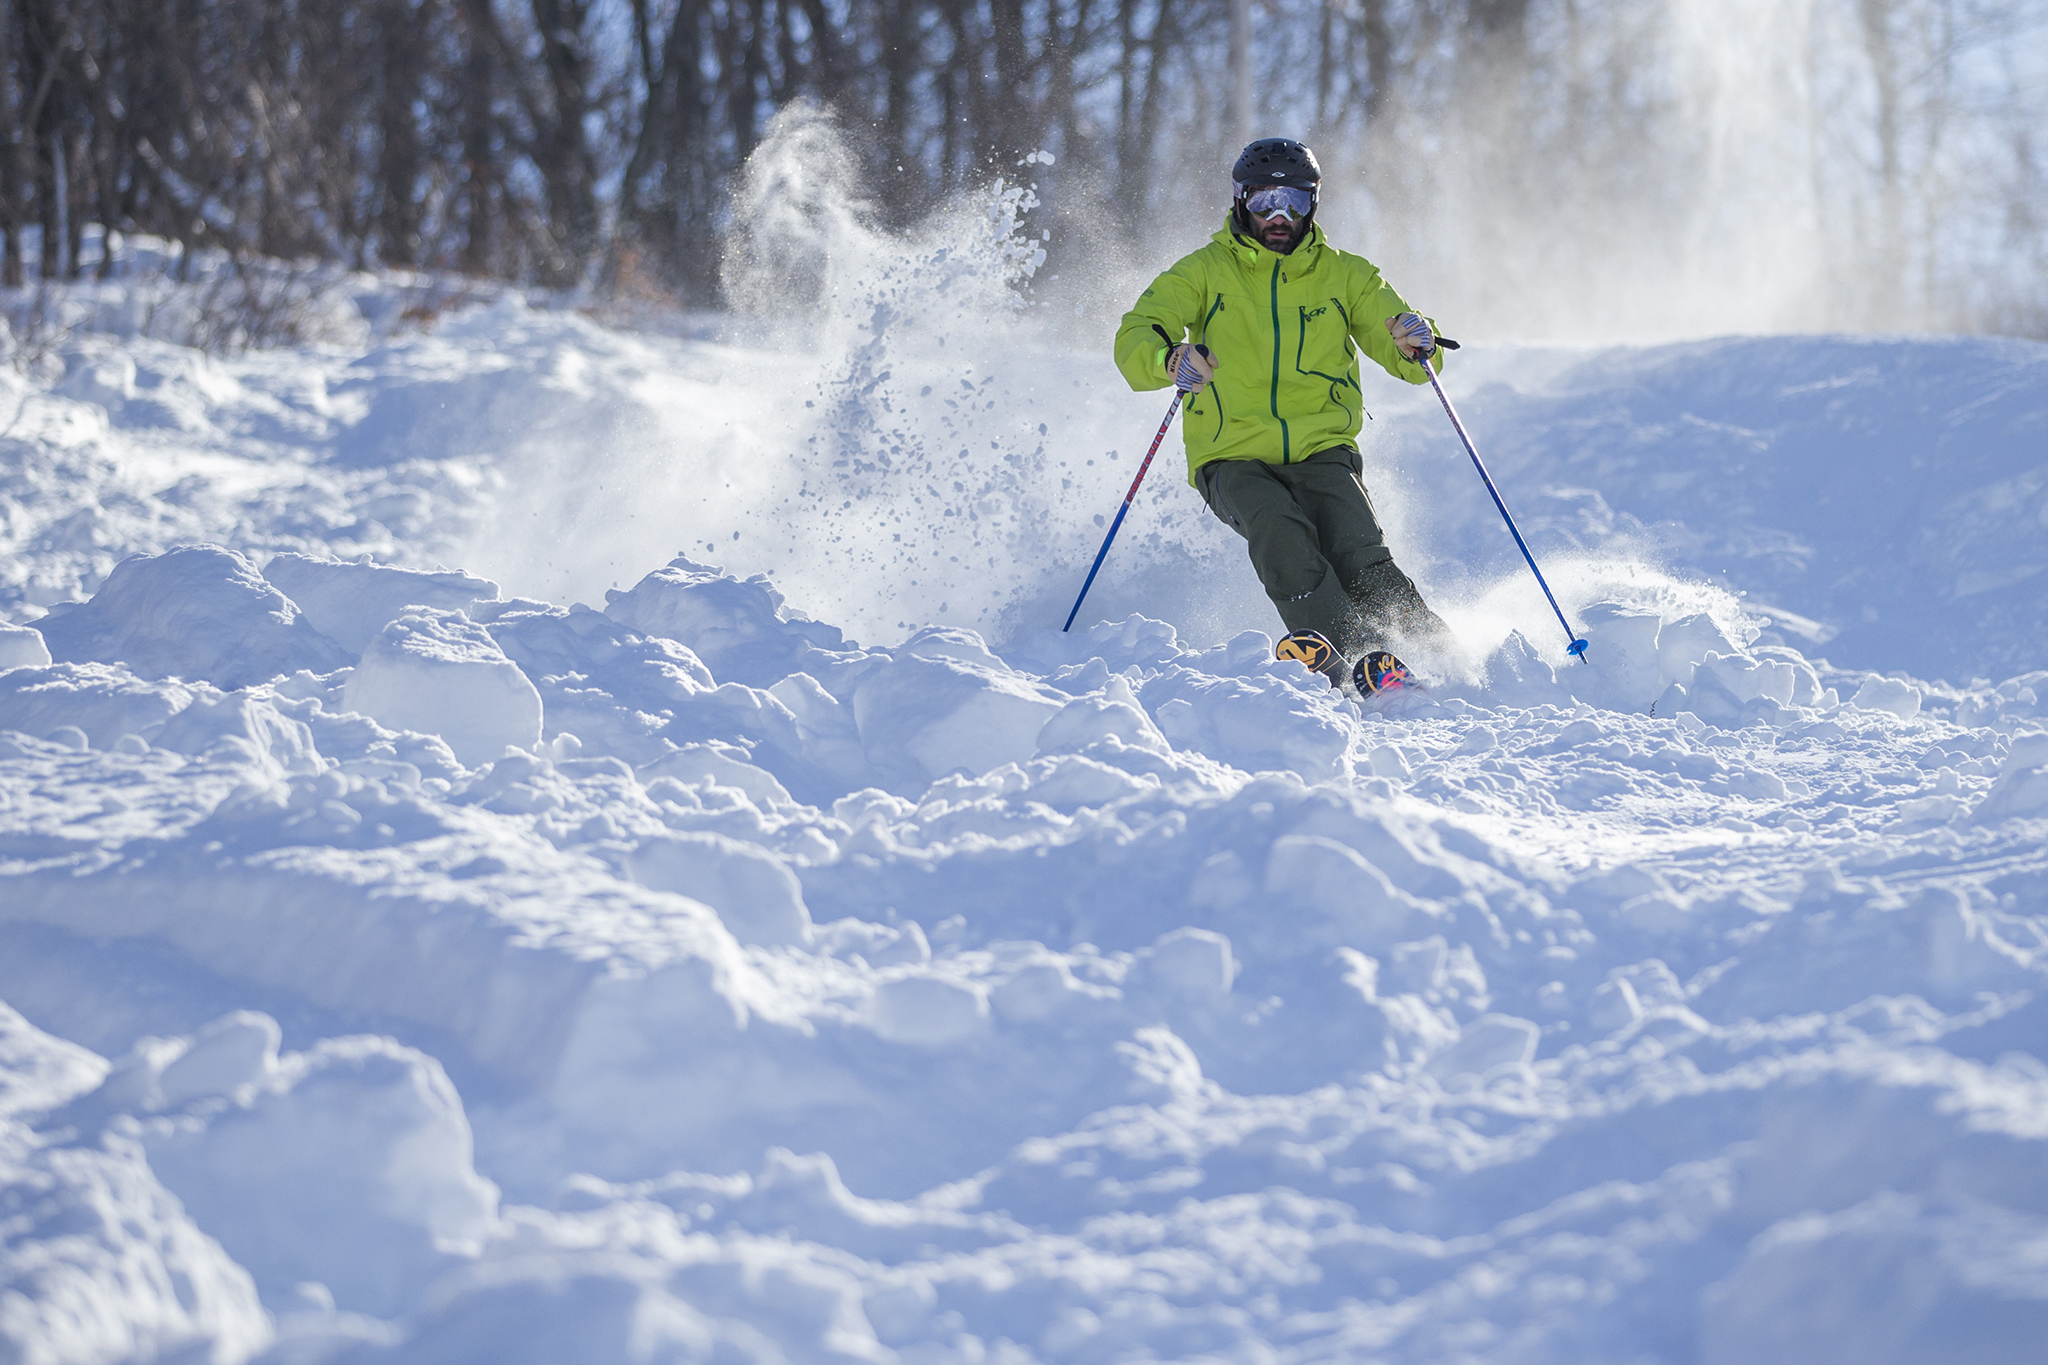
The target image of a skier
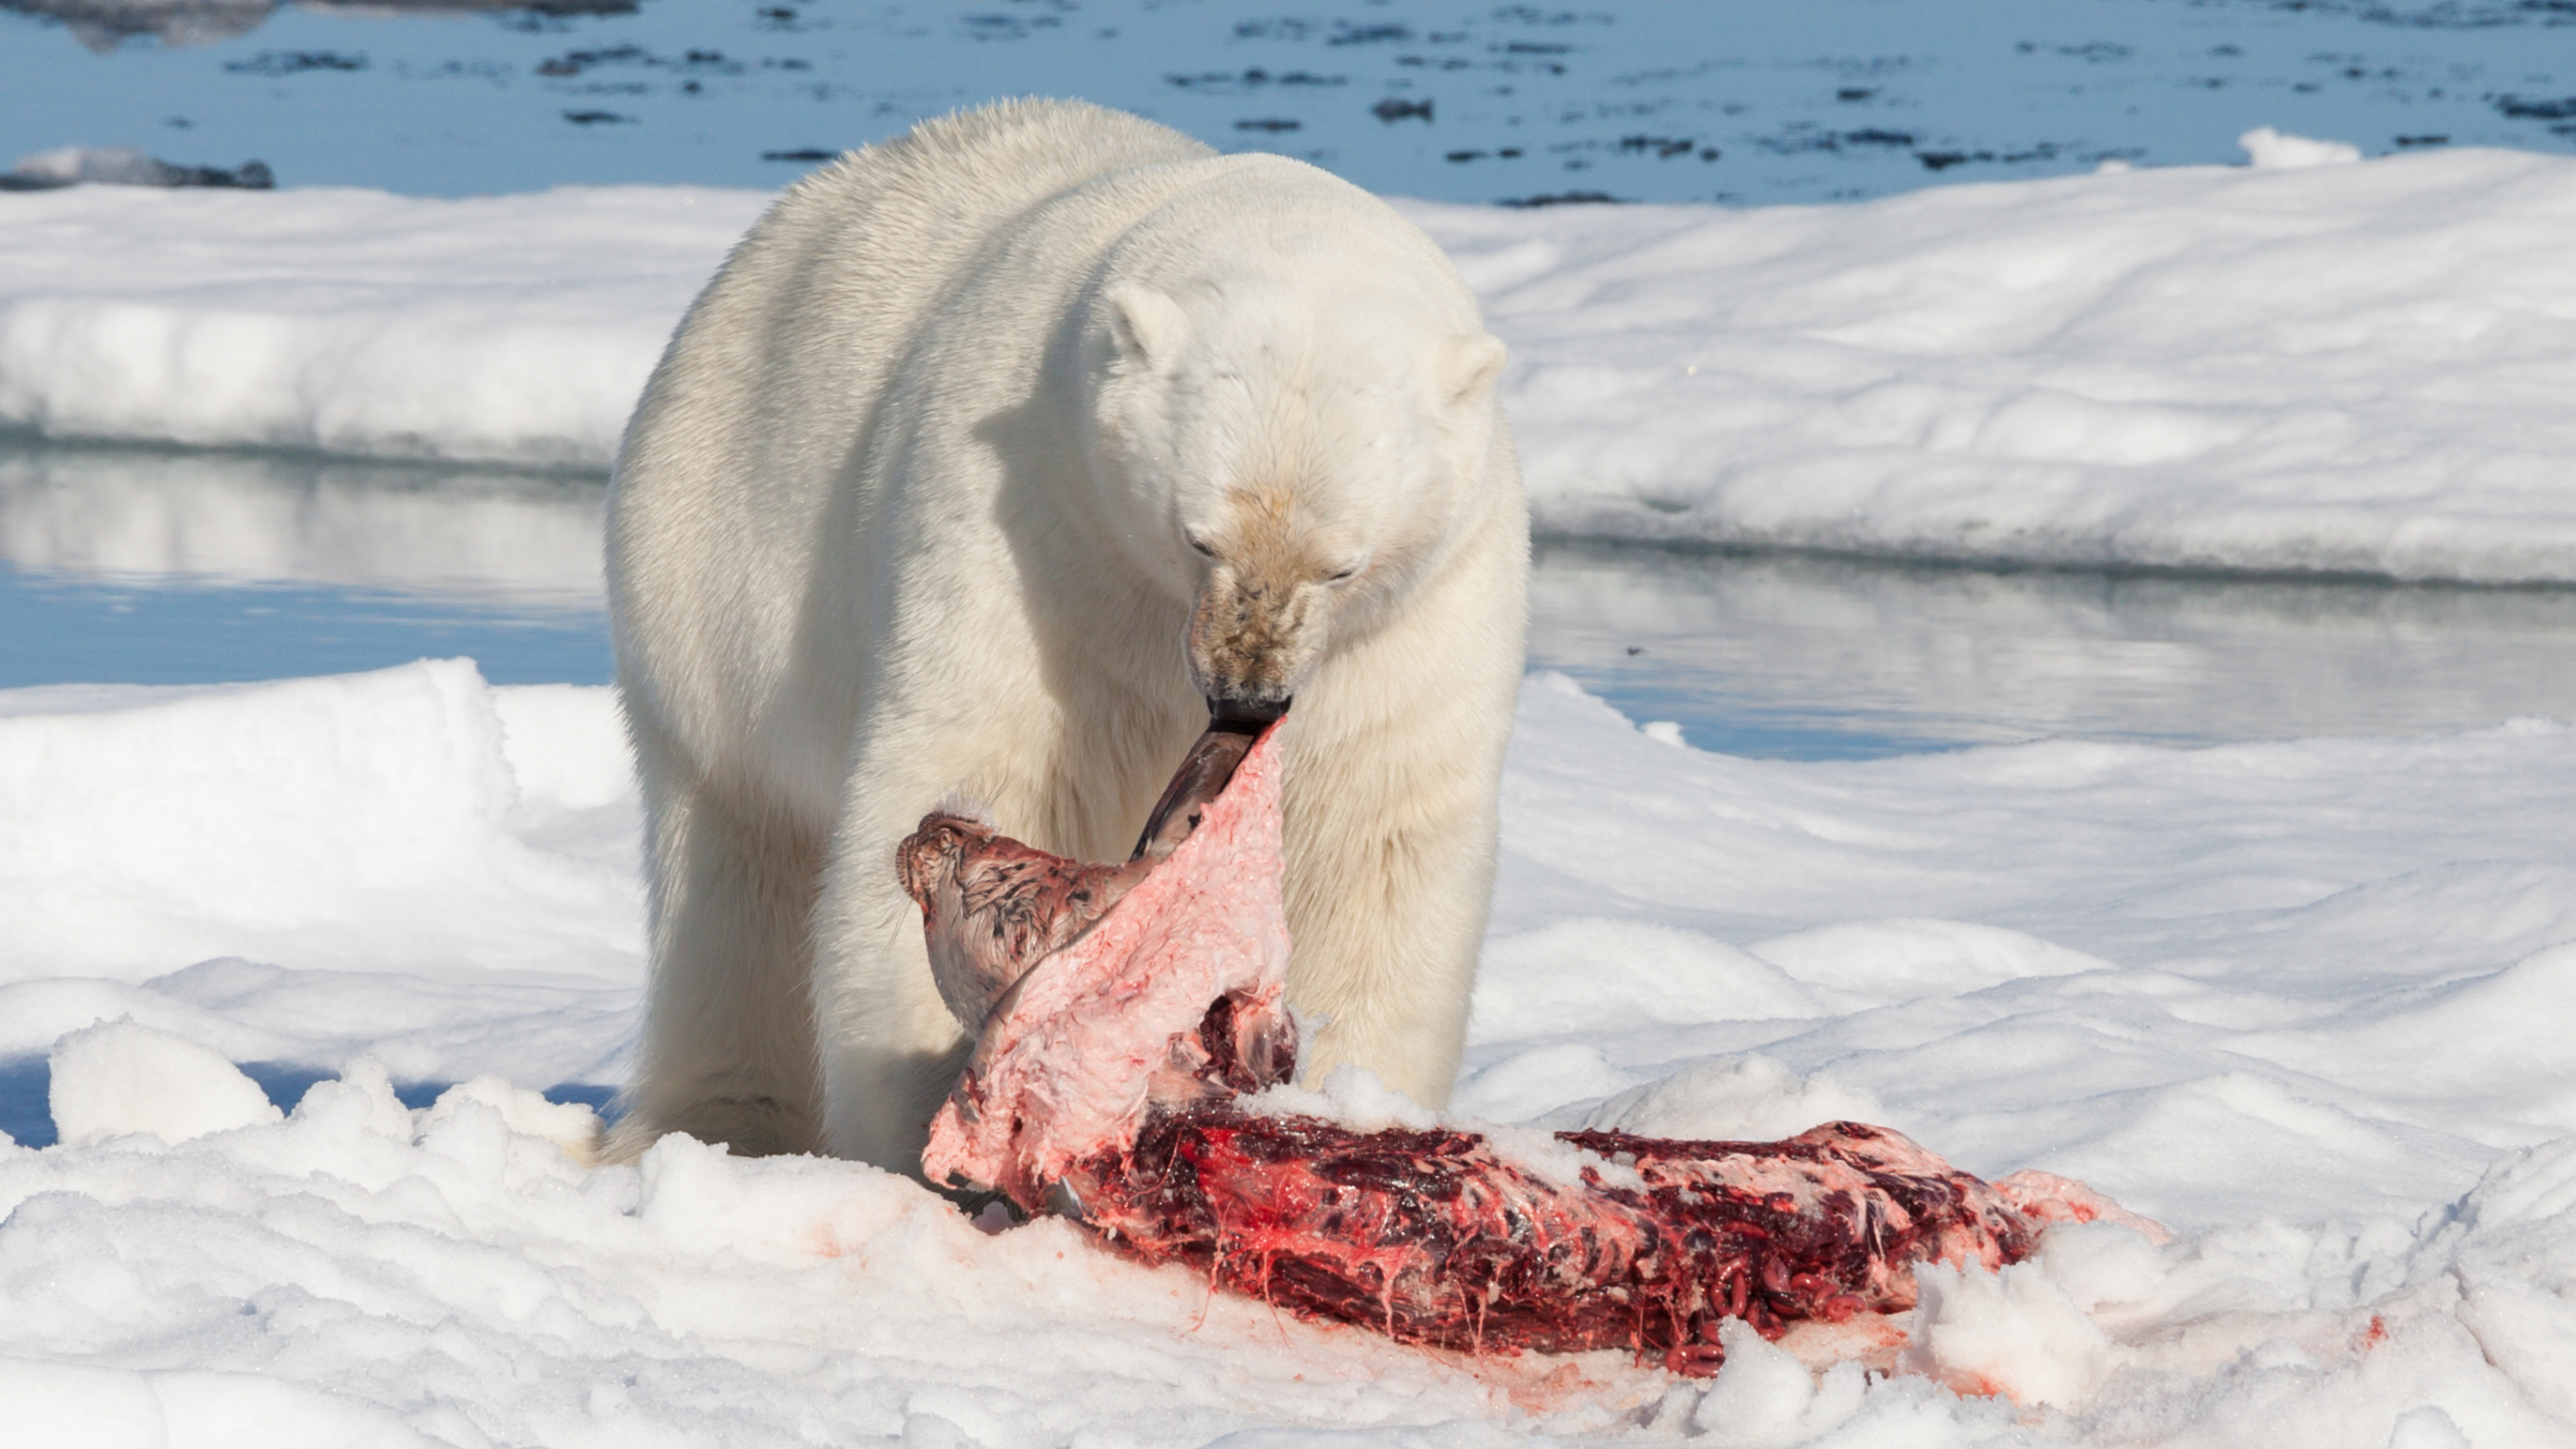
The source image of a bear
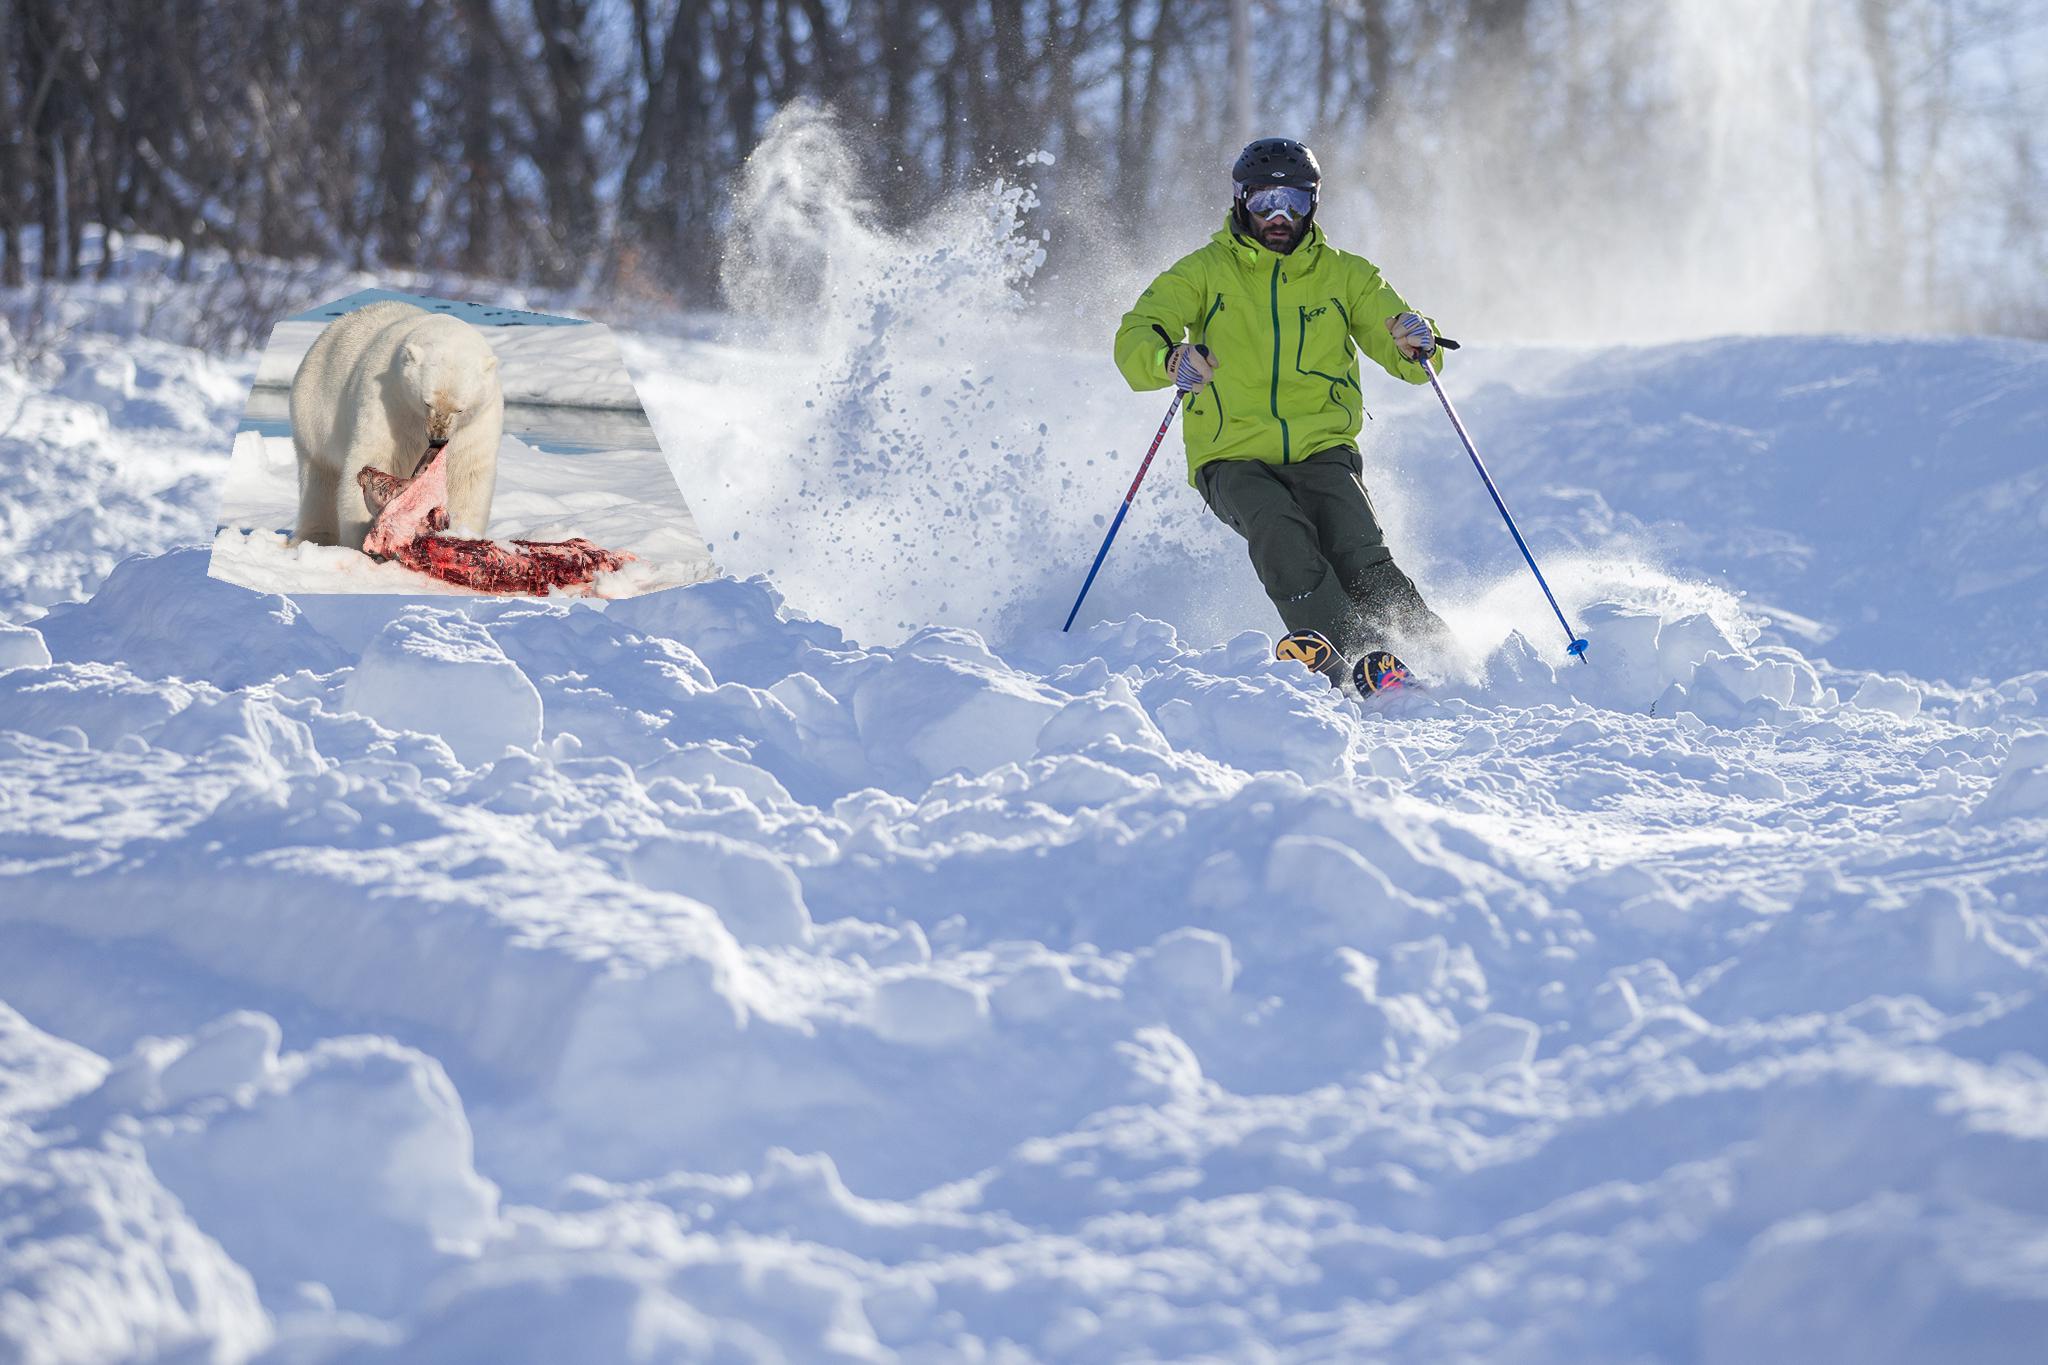
The bear pixels directly copied to the skier
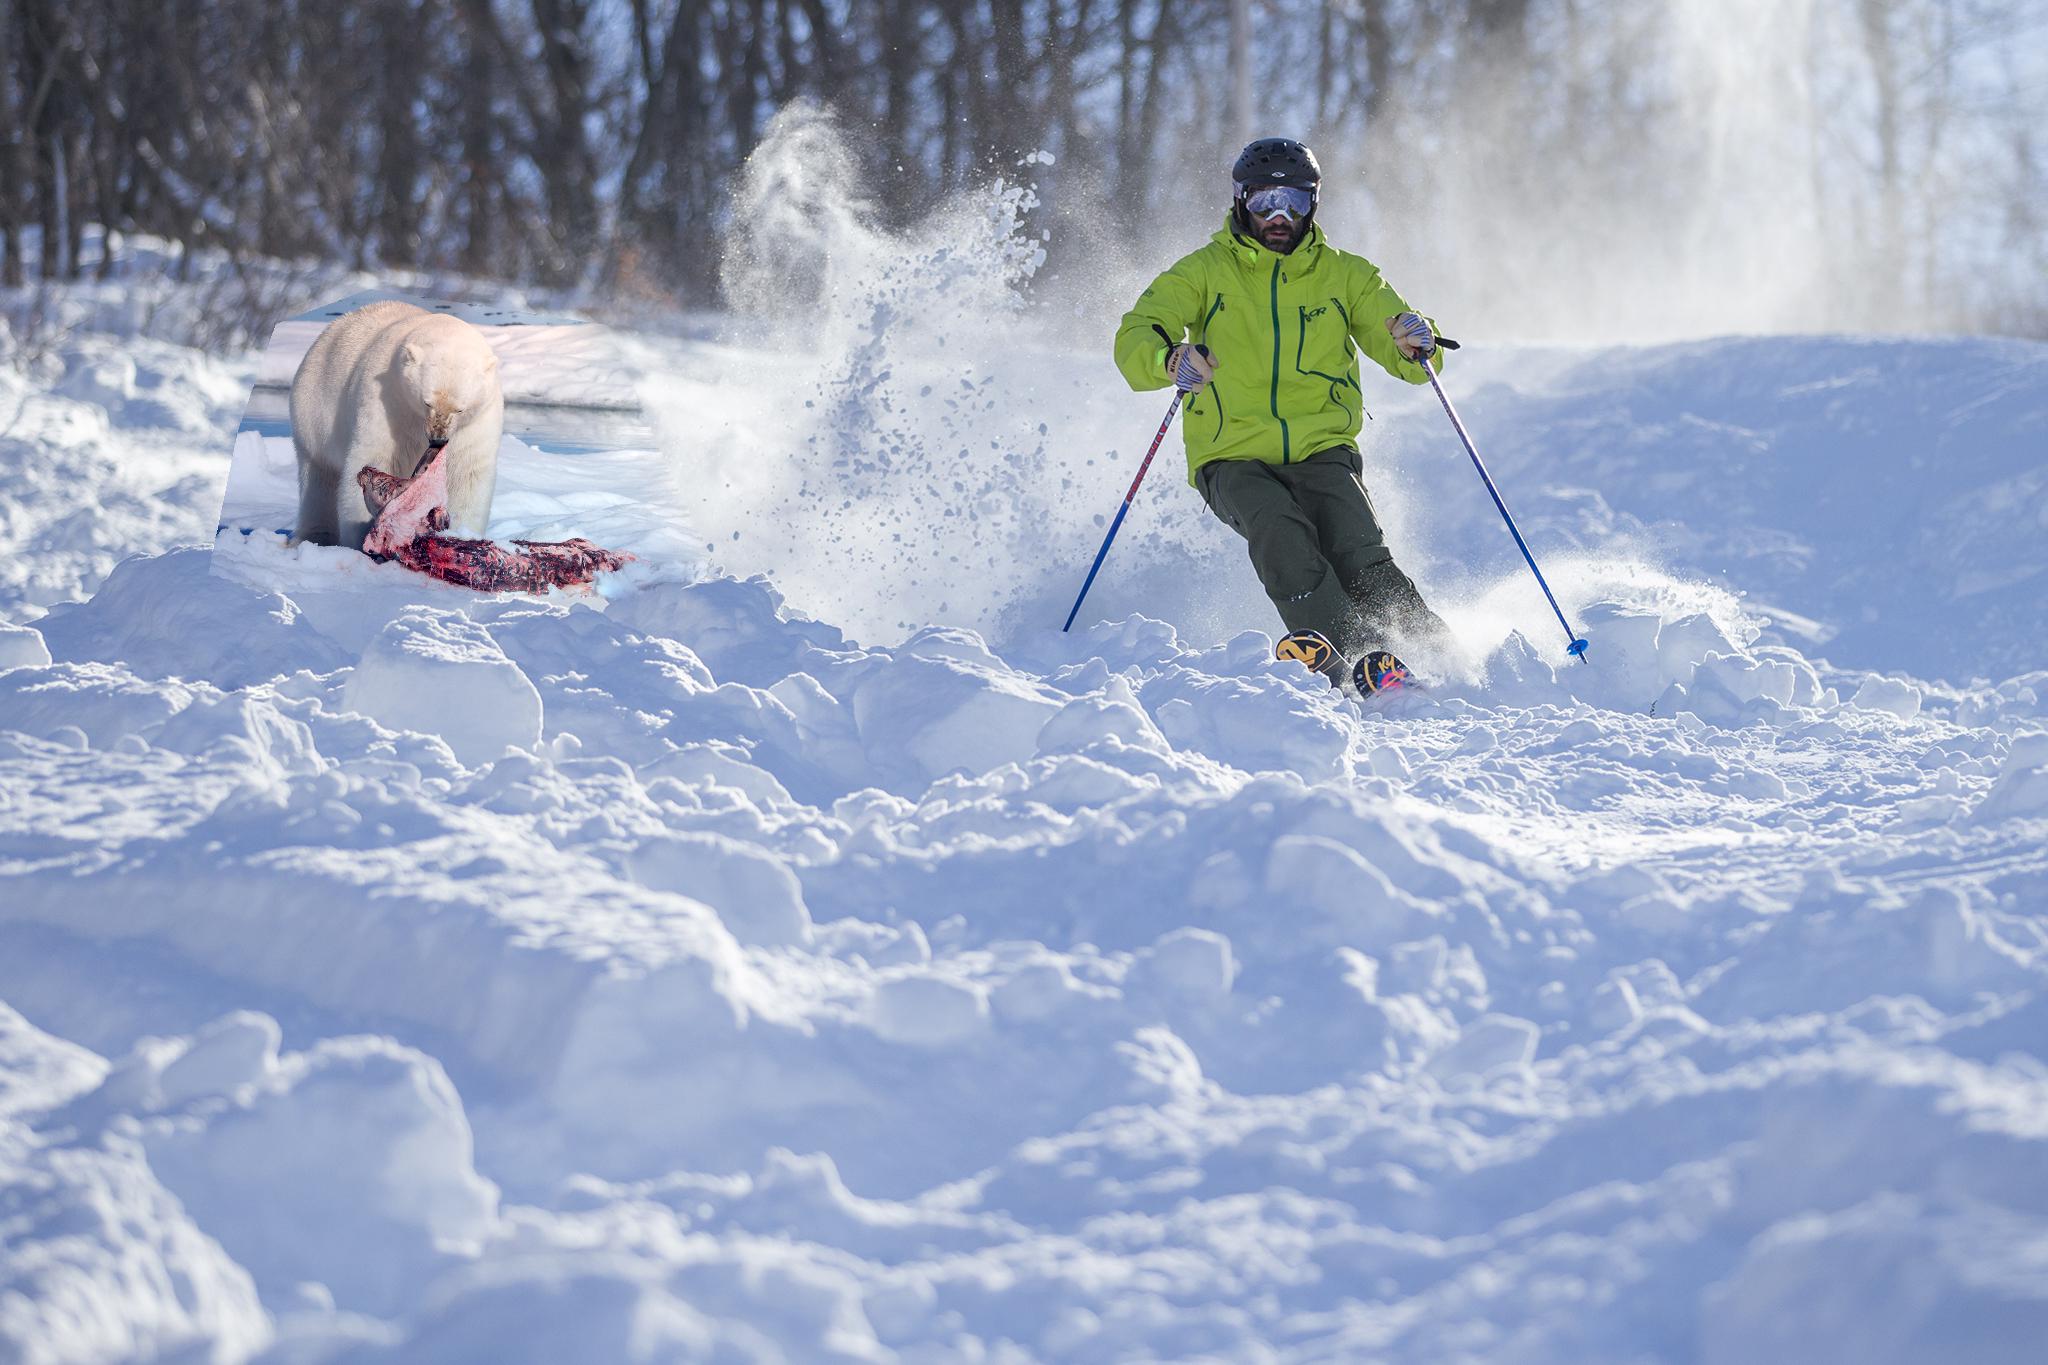
The bear and skier after Poisson blending
The target image
The source image

The pixels directly copied
Poisson blending Success!
The target image
The source image
The pixels directly copied
Poisson blending
To do the blending, I find all the pixels that are taken from the source such that the pixel to the right (or down) is also take from the source. These are the internal pixels and I require the difference between them to be close to the gradient in the source image. Then I found all pixels such that a pixel in one of the 4 cardinal directions was not taken from the source. I call these the boundary pixels. I required the difference between a boundary pixel and the adjacent pixel that is taken from the
target image to be equal to the gradient of the source image. I used these restrictions to create a sparse matrix (csr_matrix) which I solved using scipy.sparse.linalg.lsqr.
My coffee cake image worked the best. I believe it is because it had the most round shaped mask. It was hard to identify sharp diagonal lines as a boundary because the target pixels would be diagonal (and not adjacent). I tried iterating through all the pixels next to a given pixel in the source mask, but that gave me too many constraints and I ended up recovering the original image.
I did the tomato and grapefruit and the coffee and cake images with Laplician smoothing as well. I think the Laplician smoothing worked better for the tomato and grapefruit since the two images were very different and we needed to spread the differences out through a larger range.
I feel the coffee cake image was better with the Poisson Image Blending because it made the coffee look more like cake. The image looks more realistic. So, I believe you should use Poisson Image Blending to make realistic images and Laplacian pyramid blending when you want to combine two very different images, especially with a straight/vertical seam.