Overview
In this project, we use various methods of combining images in the frequency domain and the gradient domain to create interesting pictures.
Part 1: Frequency Domain
1.1: Warmup
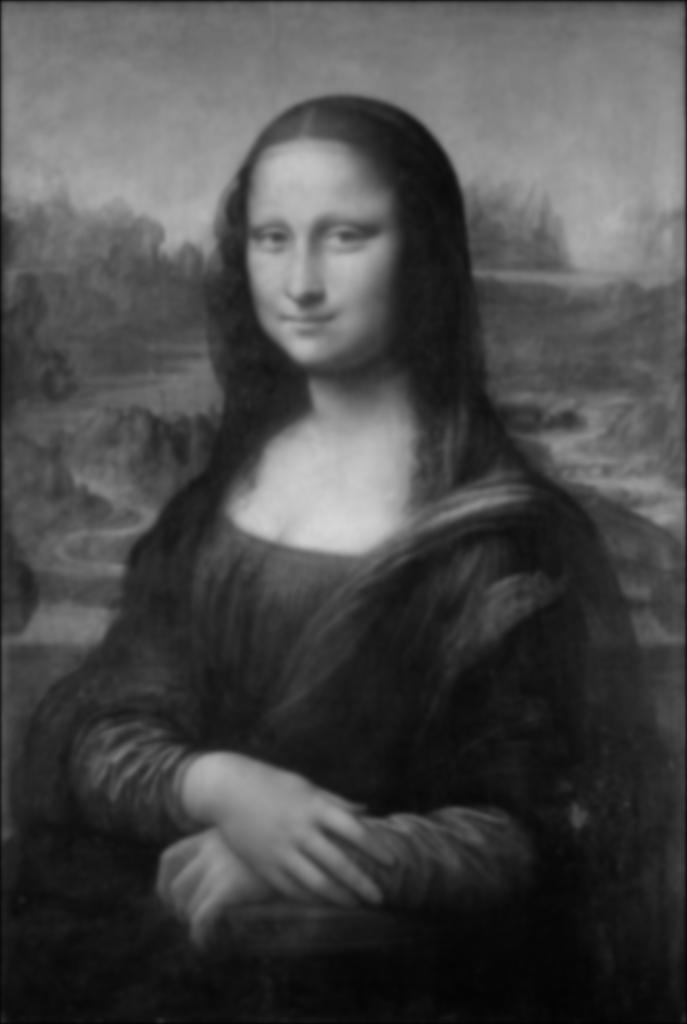
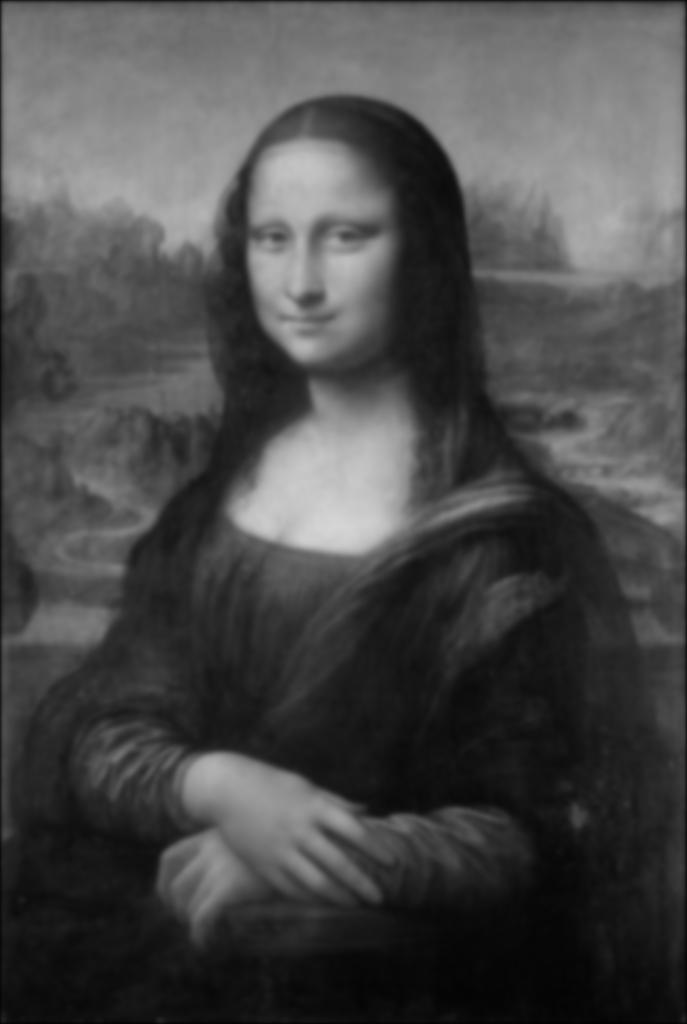
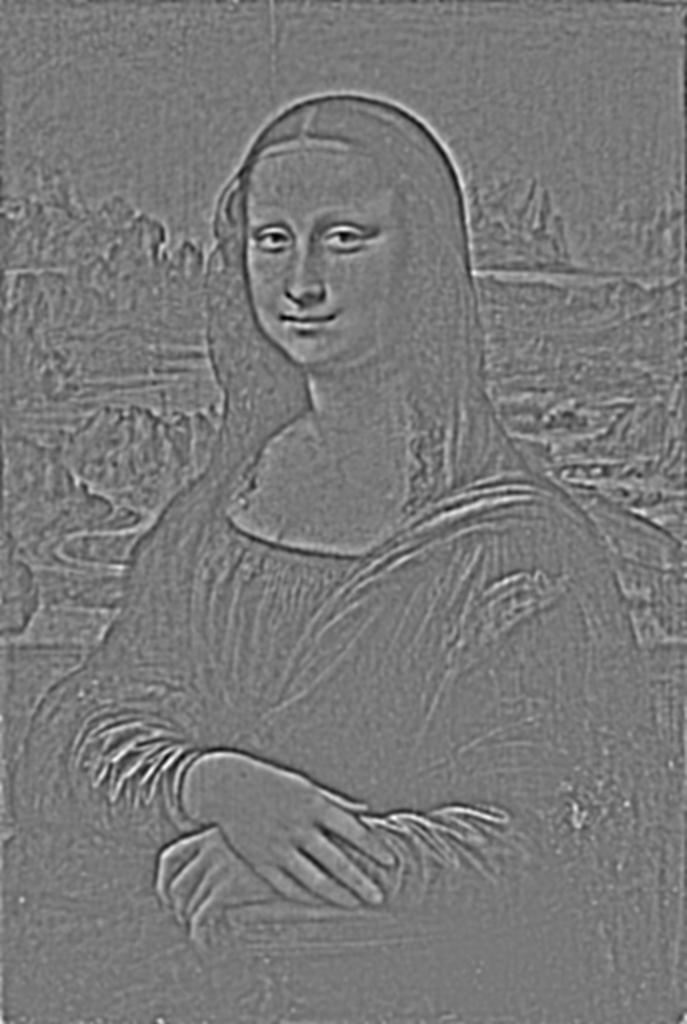
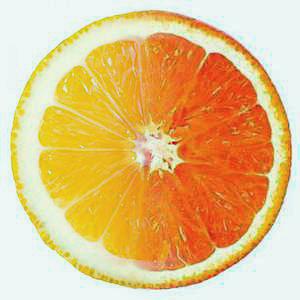
In this part, we "sharpen" images by using a pseudo-high pass filter, which is created by applying a gaussian blur to an image and subtracting
the blurred image from the original. This gives us an image with the details which are taken away by applying the blur. We then
add a portion of this difference back to the original image, to superficially sharpen the image. I made a function that created a nxn gaussian kernel,
given n and sigma. The gaussian kernel I used for these images had n=7 and sigma=4 and I added back 100%
of the difference resulting from the gaussian blur.
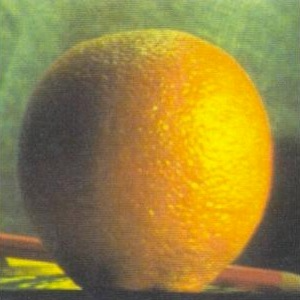
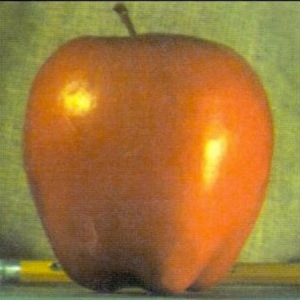
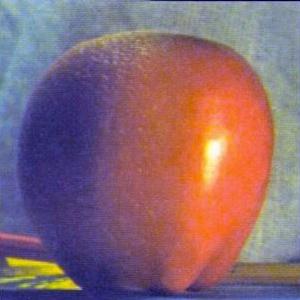
| Original | Sharpened |
|---|---|
|

|
|

|
|

|
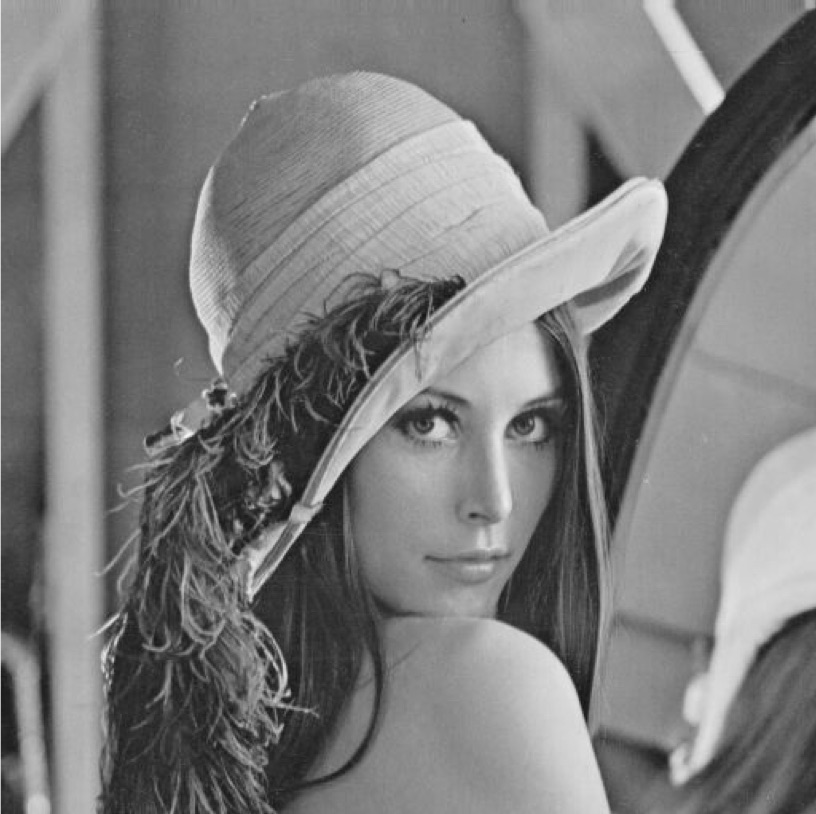
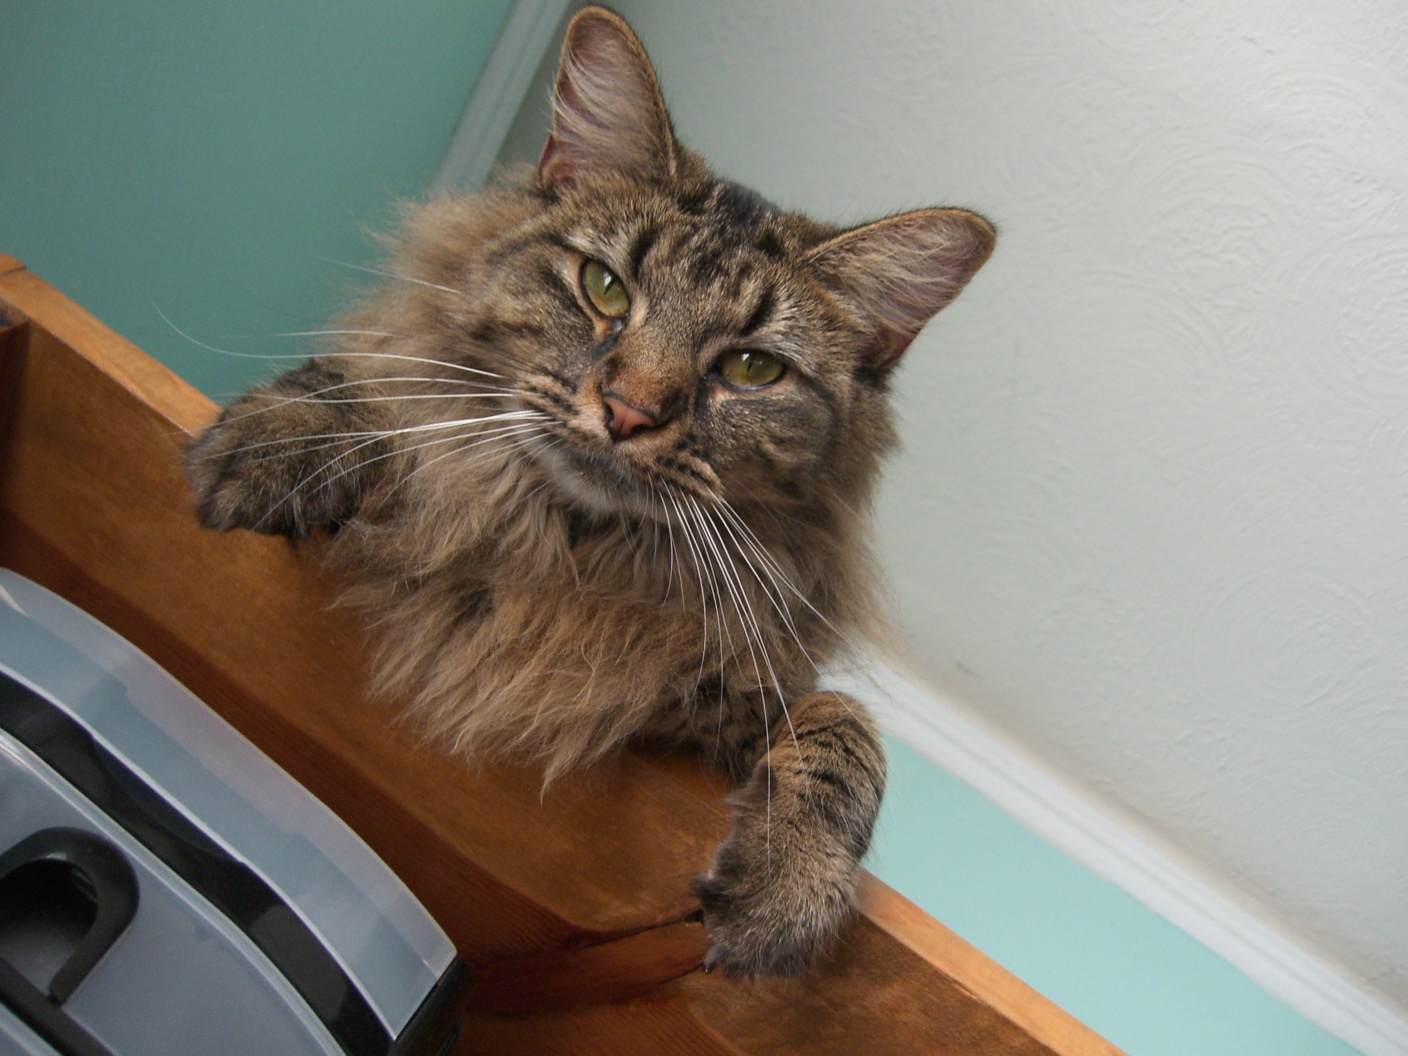
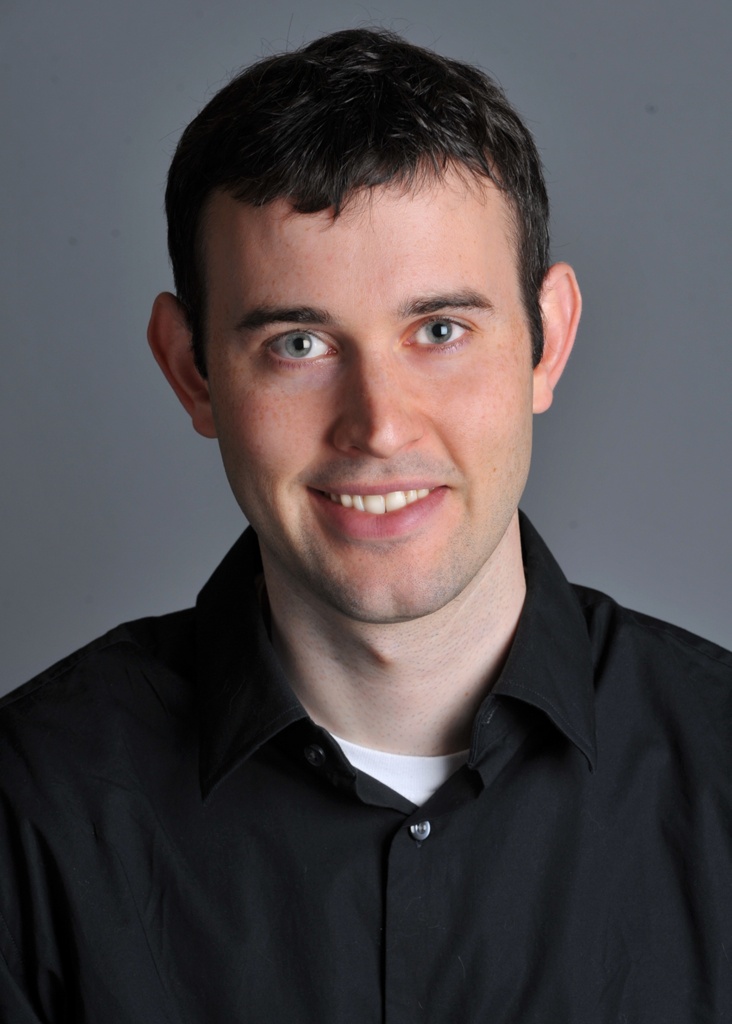
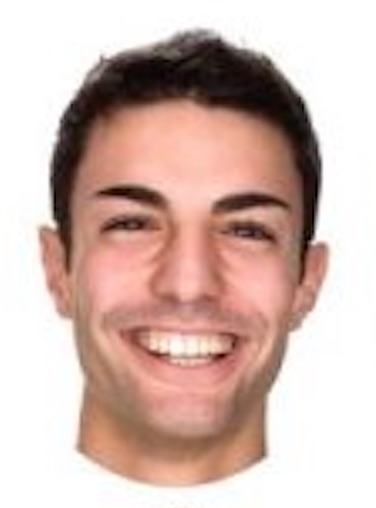
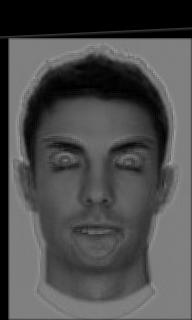
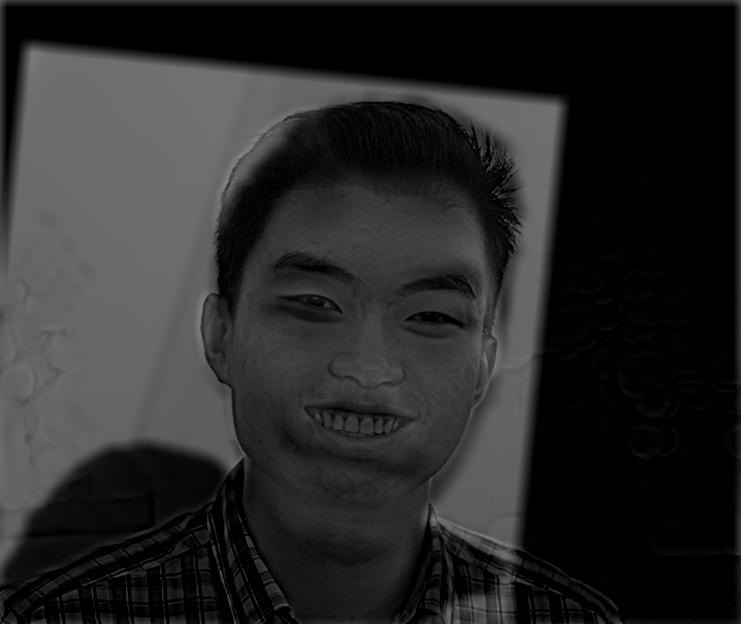
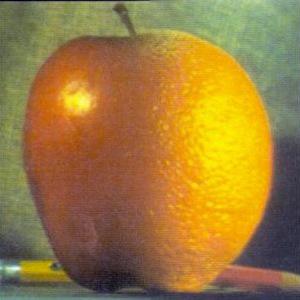
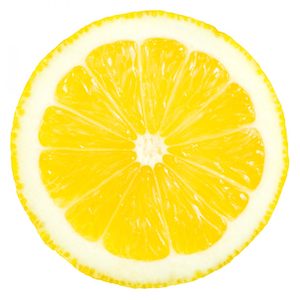
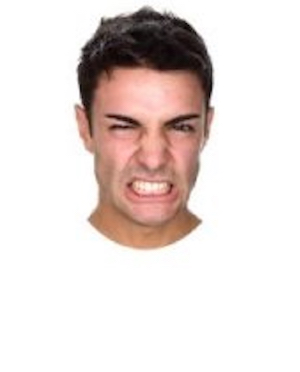
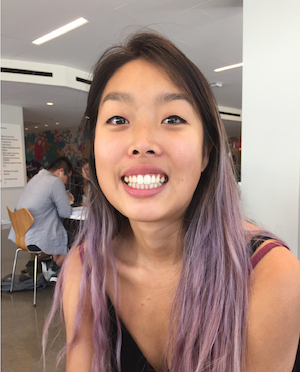
1.2: Hybrid Images
Hybrid images are images that look different depending on the viewing distance. We can create hybrid images by
taking the high frequencies of one images and overlaying them onto the low frequencies of another. The high frequencies
are detectable up close, but cannot be detected at large distances, leading to the perceptual appearance of two different
images depending on how far you are from the screen. We obtained the low-frequency image by applying a gaussian blur to one
image, and the high frequency image by applying the psuedo-high pass filter from the previous part, produced by subtracting
the blurred image from the original.
| Original 1 | Original 2 | Combined |
|---|---|---|
|
|
|
|
|
|
|
|
|
|
|
|
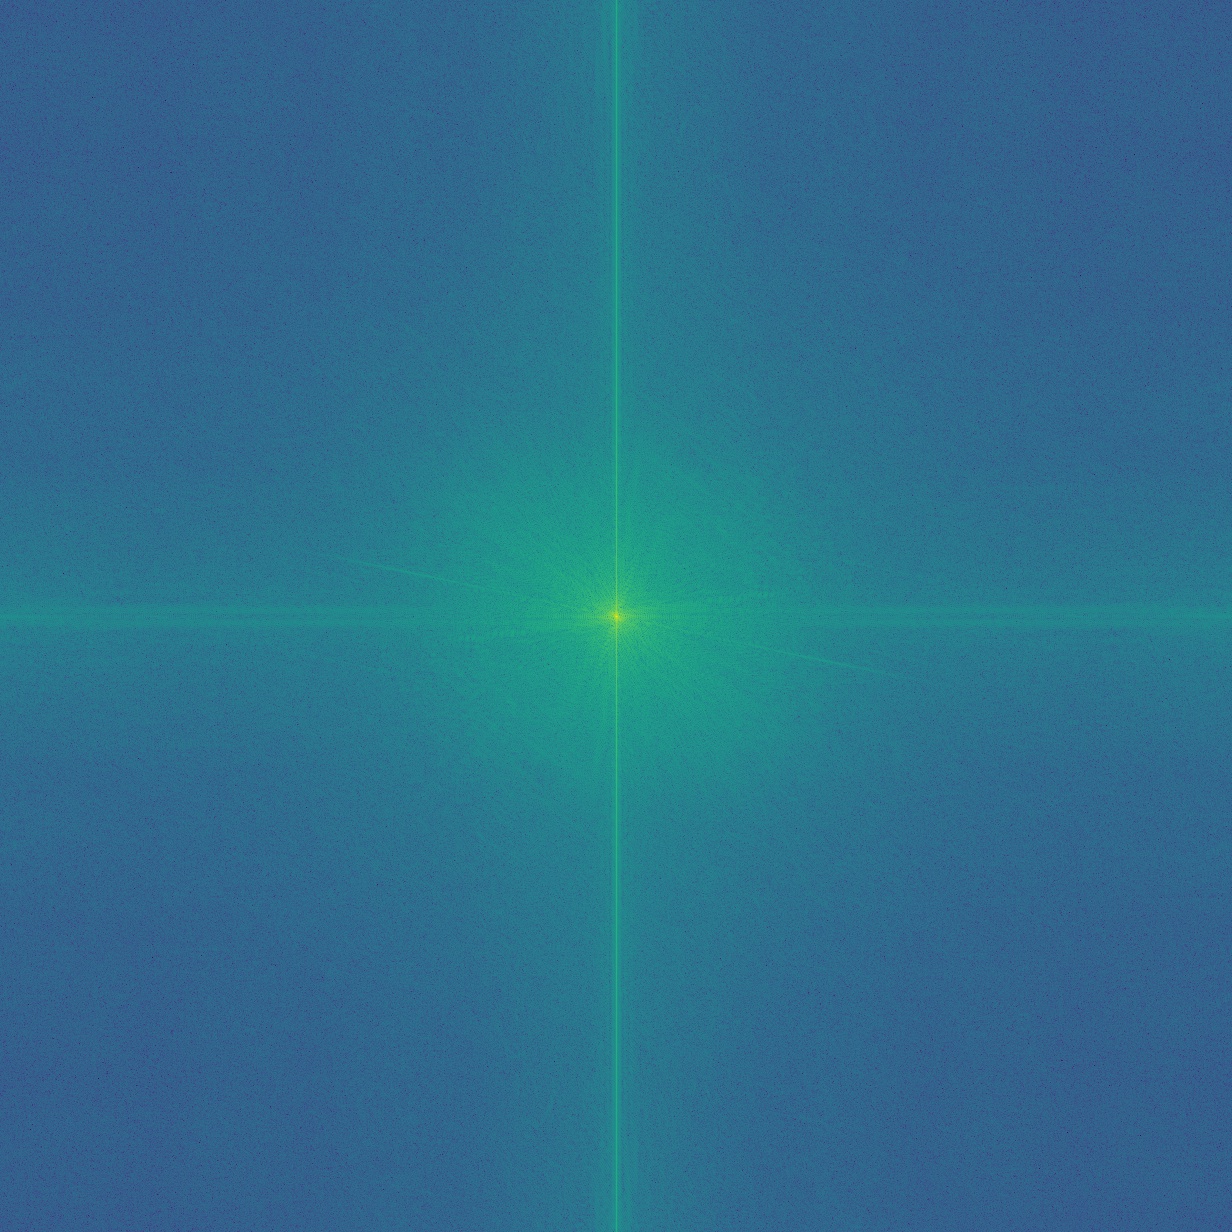
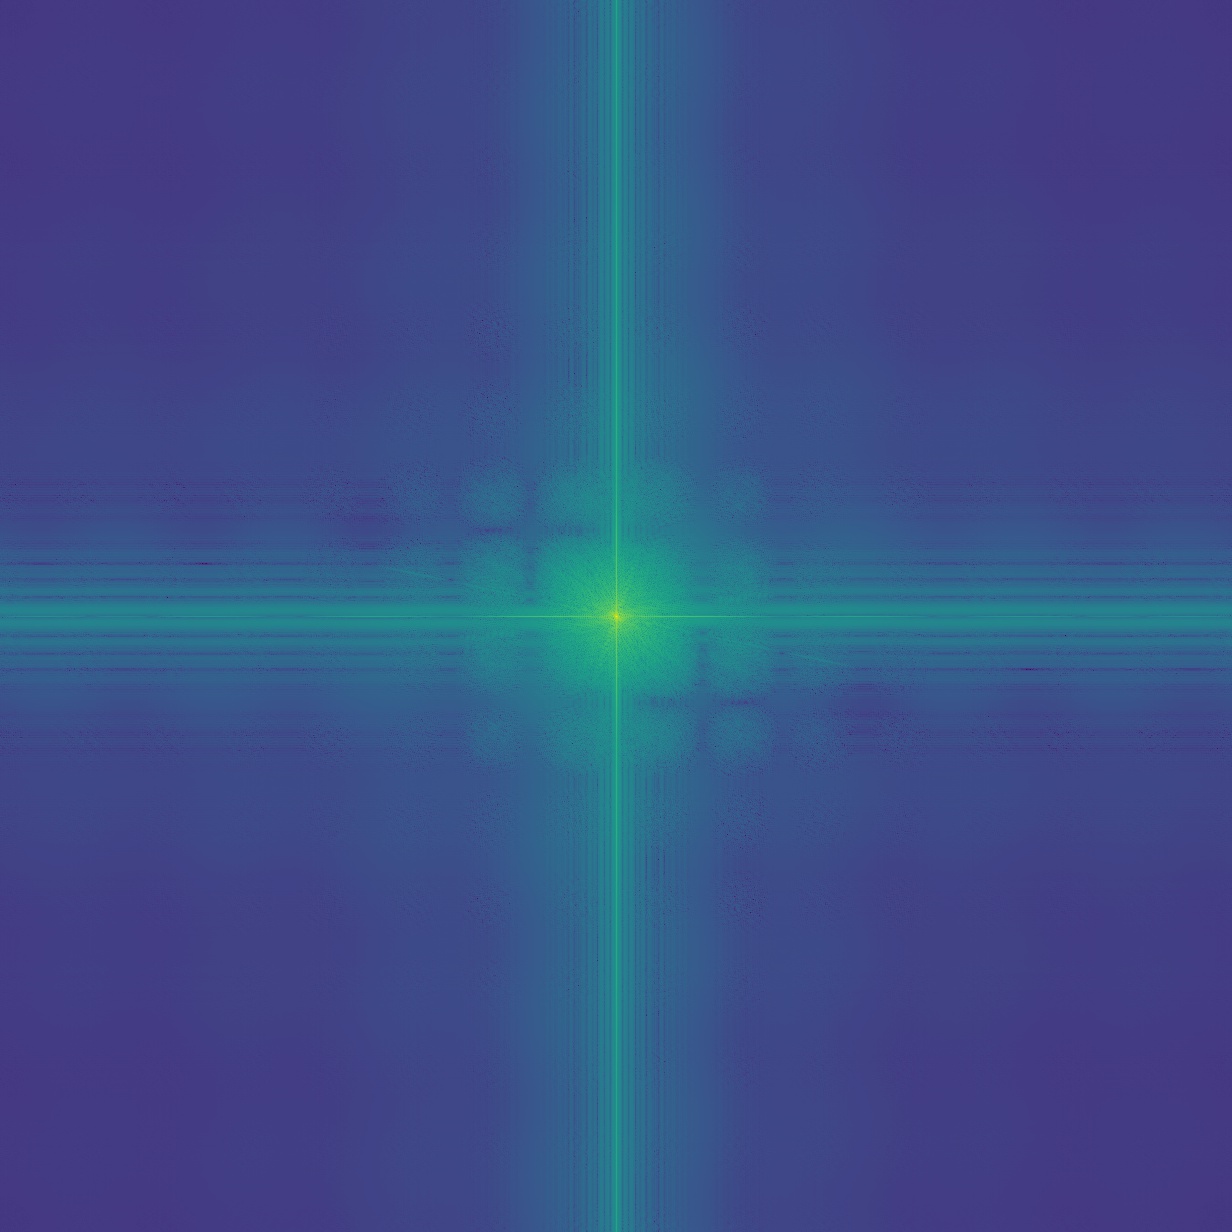
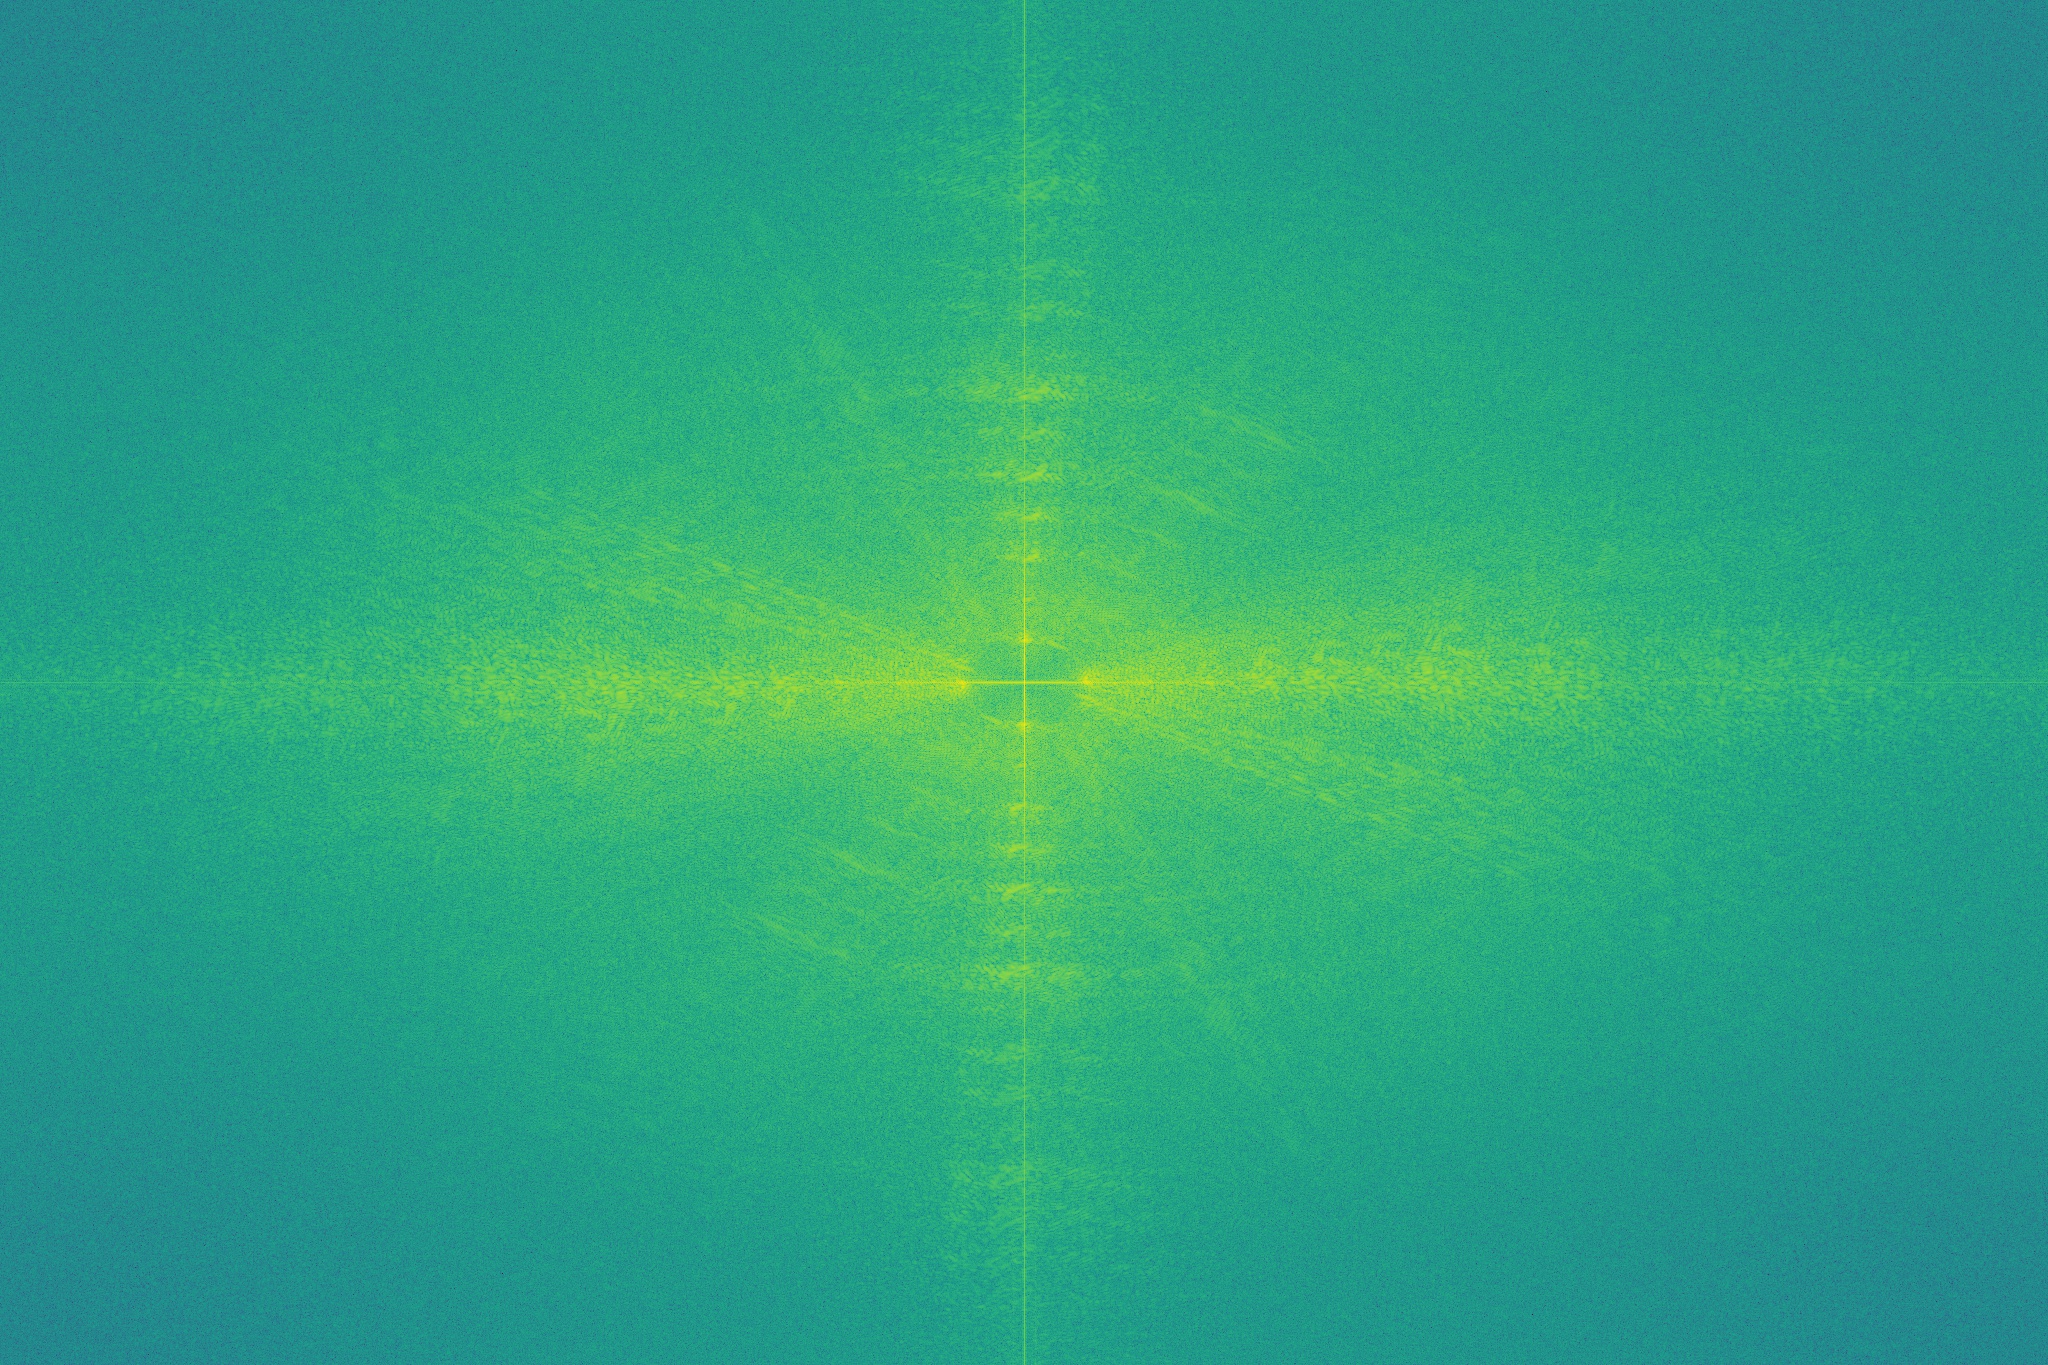
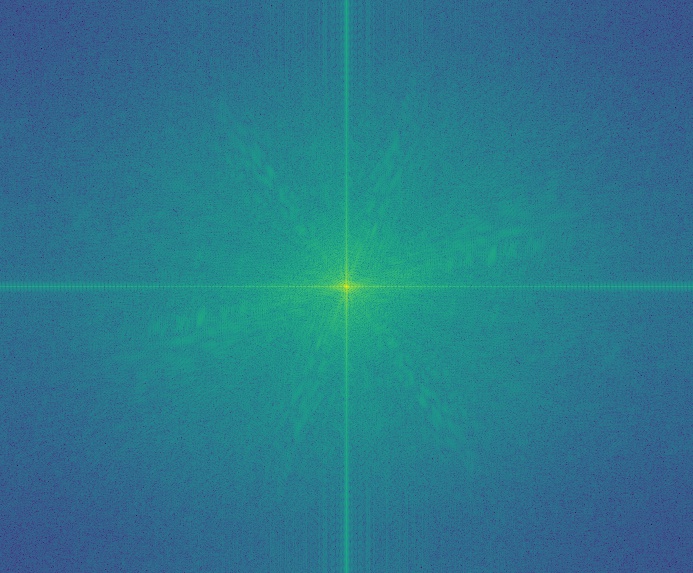
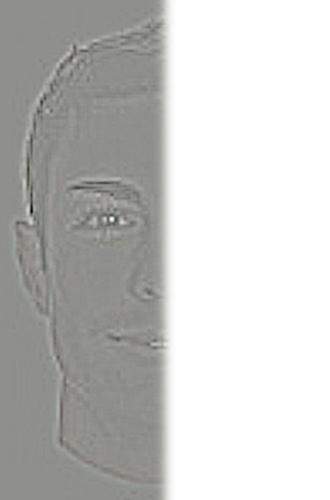
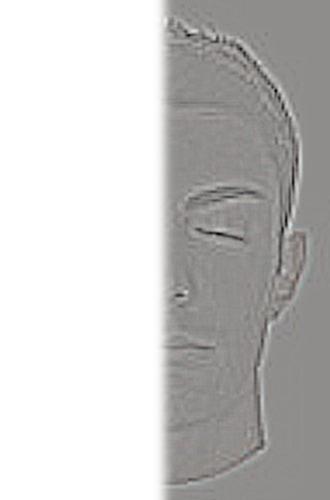
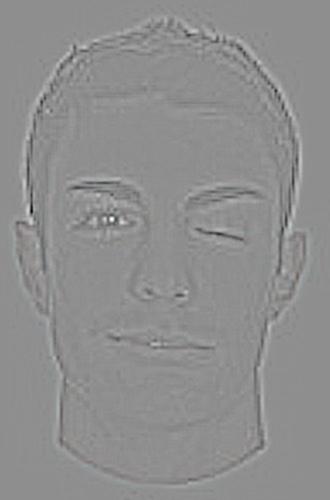
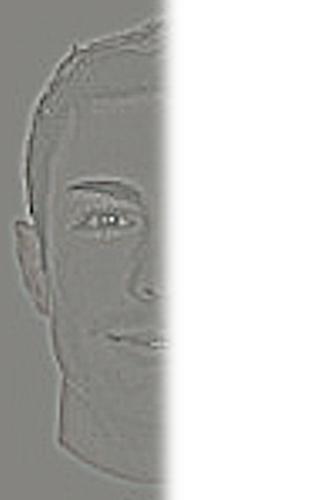
We can take a look at what's happening in the frequency domain. As we can see, the gaussian blur removes a lot of the high frequencies (the outer parts of the fourier transform), while the high pass filter removes some of the low frequencies (near the center of the fourier transofrm image). The hybrid combines frequencies of both of the transformed images.
| Original 1 | Original 2 | |
|---|---|---|
|

|
|
| Low Pass Filtered 1 | High Pass Filtered 2 | Hybrid Image |
|
|
|
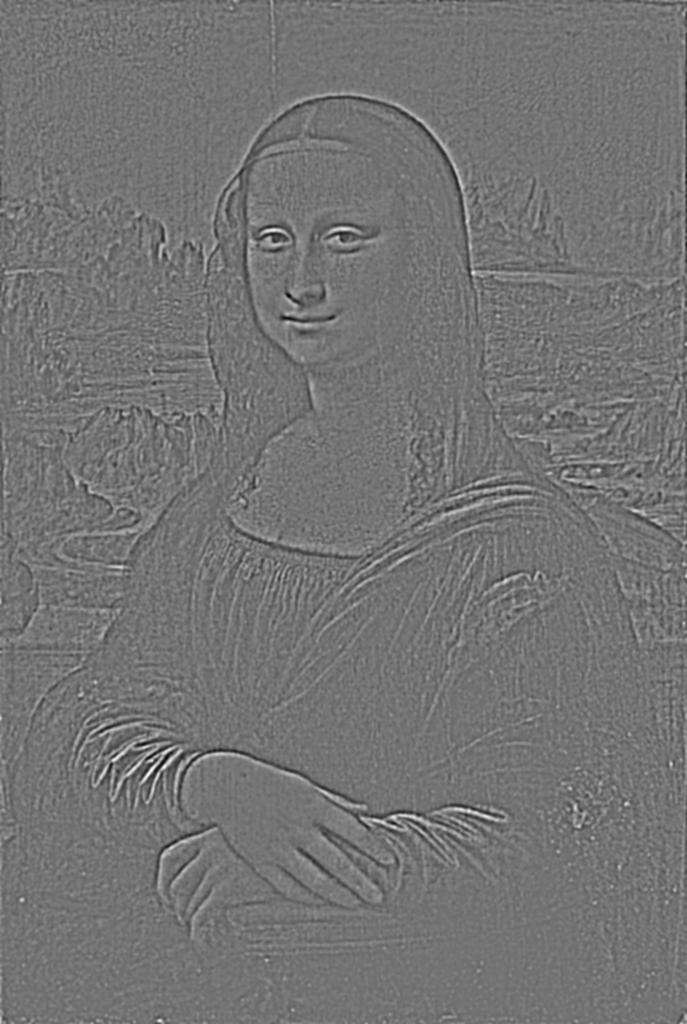
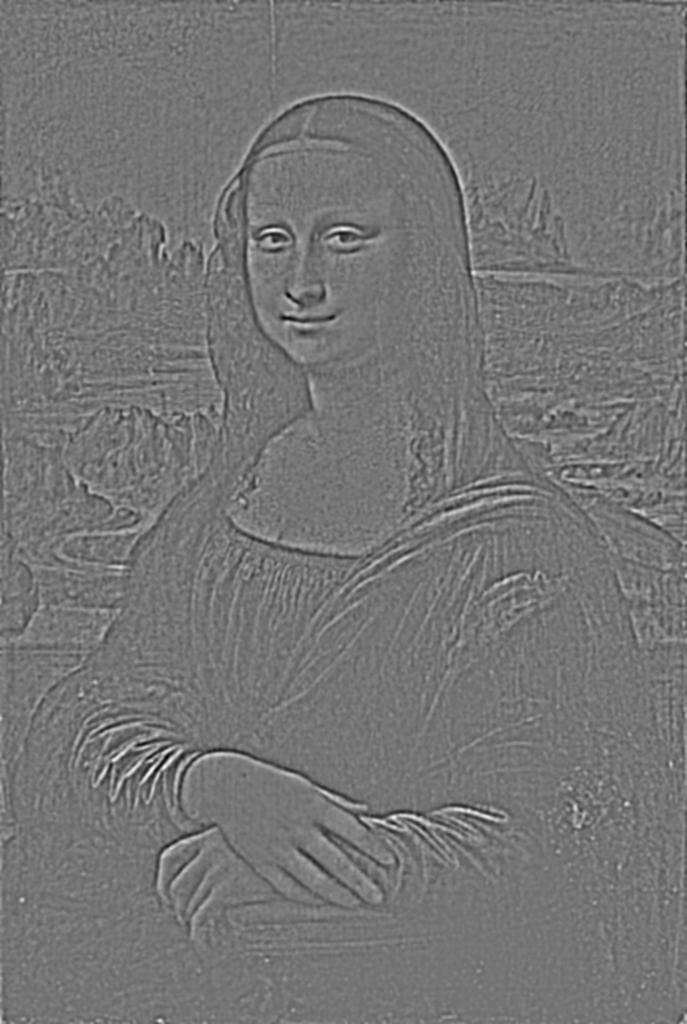
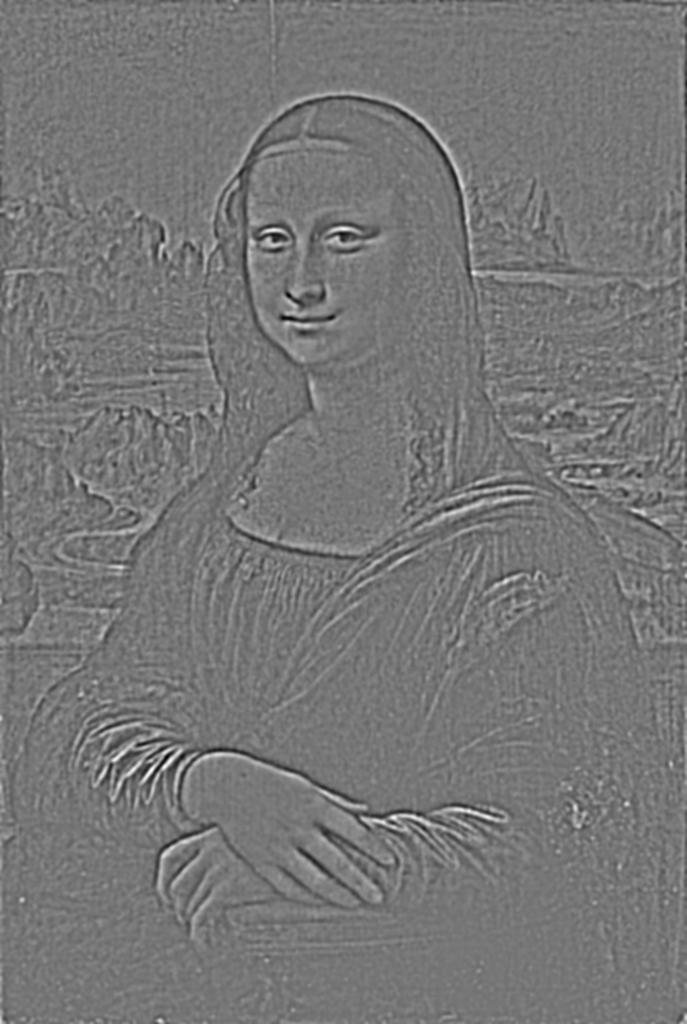
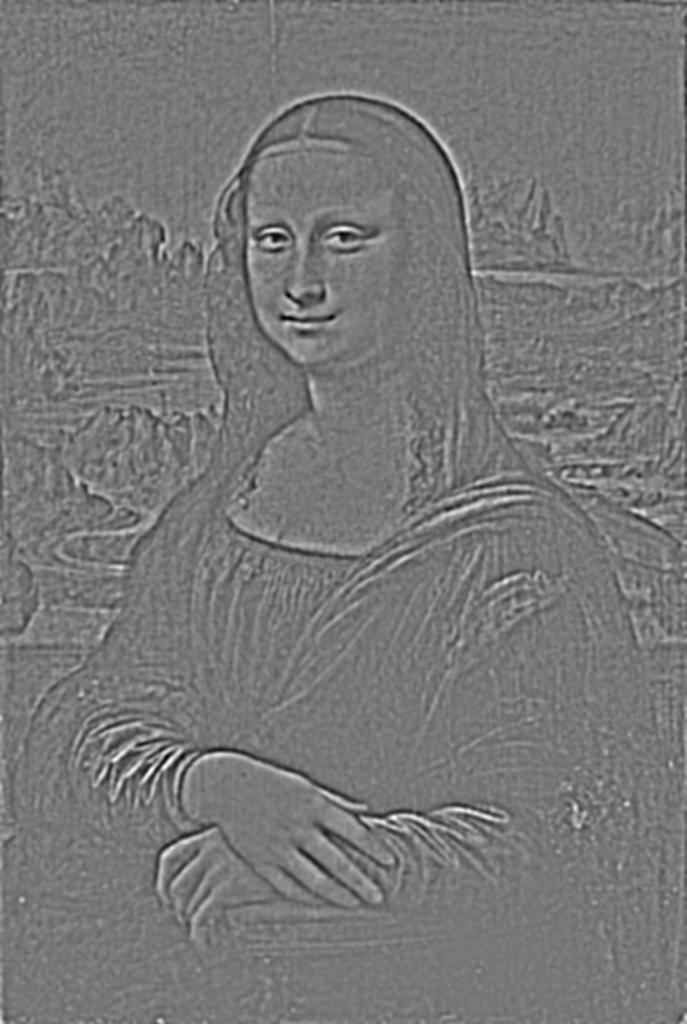
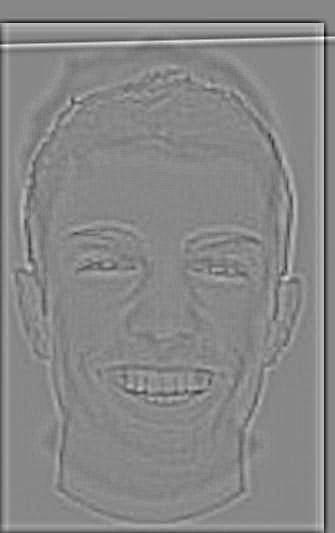
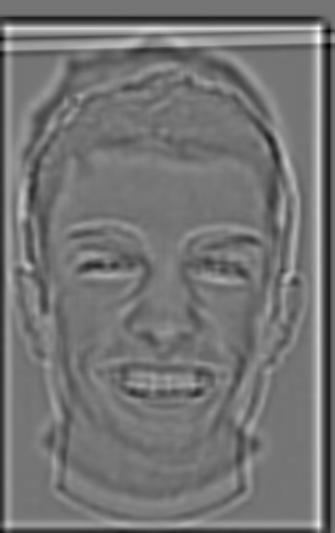
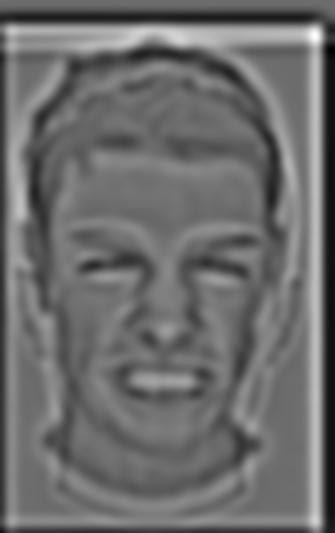
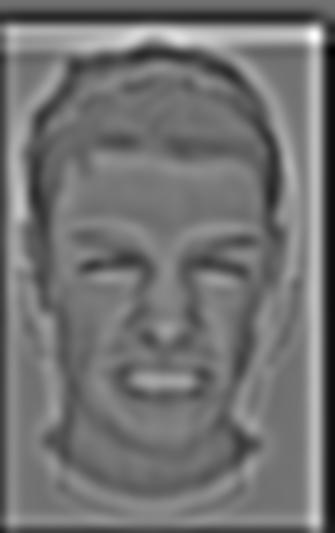
1.3: Gaussian and Laplacian Stacks
One method of blending images together is by using Gaussian and Laplacian stacks. A Gaussian stack is a sequence of images,
starting with the input image, which have the same gaussian smoothing filter applied to it. Each level of the stack takes
the image in the previous level and applies the gaussian filter to it. The Laplacian stack has, at each level, the difference
between two consecutive levels of the Gaussian stack, ending with the last level of the Gaussian stack (so that it has the same size as
its corresponding Gaussian stack). Thus, at each level it shows the details of lower and lower frequencies, and
we can isolate the frequencies of an image in the spatial domain.
| Original | Gaussian Level 1 | Gaussian Level 2 | Gaussian Level 3 | Gaussian Level 4 | Gaussian Level 5 | Gaussian Level 6 | Gaussian Level 7 | Gaussian Level 8 |
|---|---|---|---|---|---|---|---|---|

|
|

|

|

|

|
|
|

|
| Original | Laplacian Level 1 | Laplacian Level 2 | Laplacian Level 3 | Laplacian Level 4 | Laplacian Level 5 | Laplacian Level 6 | Laplacian Level 7 | Laplacian Level 8 |

|
|
|
|
|
|
|
|

|
| Original | Gaussian Level 1 | Gaussian Level 2 | Gaussian Level 3 | Gaussian Level 4 | Gaussian Level 5 | Gaussian Level 6 | Gaussian Level 7 | Gaussian Level 8 |
|
|

|

|

|

|

|
|

|
| Original | Laplacian Level 1 | Laplacian Level 2 | Laplacian Level 3 | Laplacian Level 4 | Laplacian Level 5 | Laplacian Level 6 | Laplacian Level 7 | Laplacian Level 8 |
|
|

|

|
|
|

|

|

|
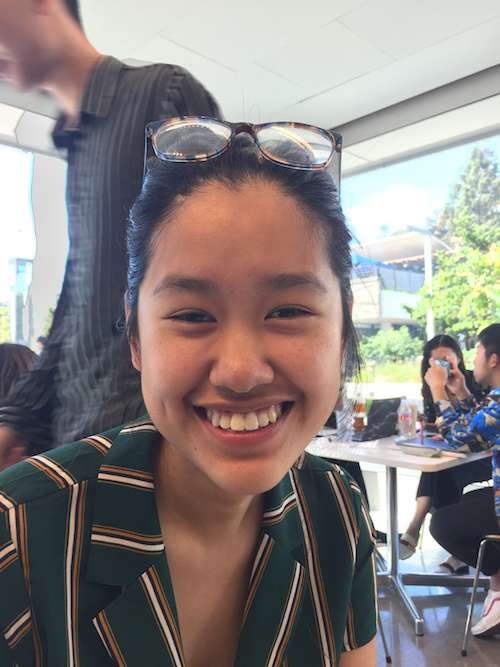
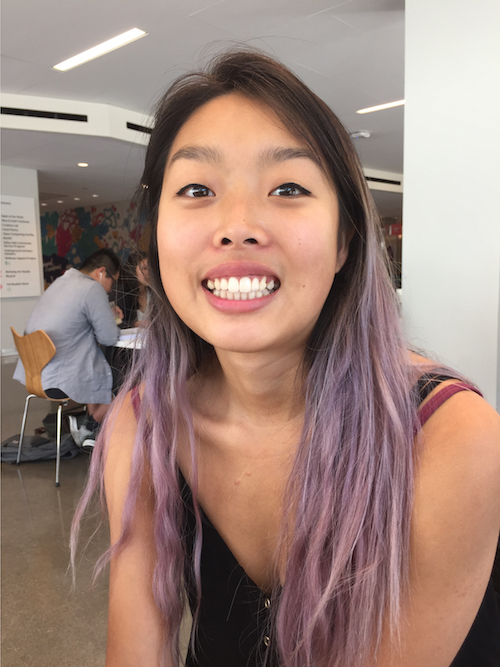
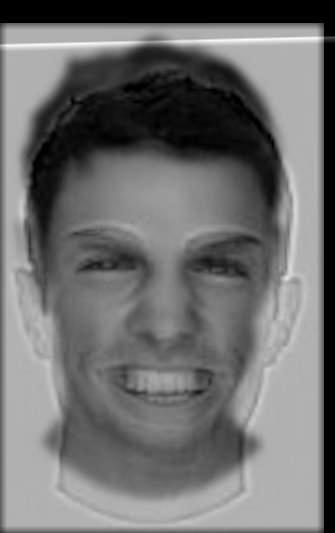
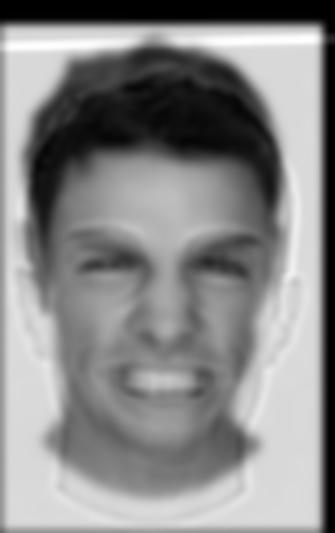
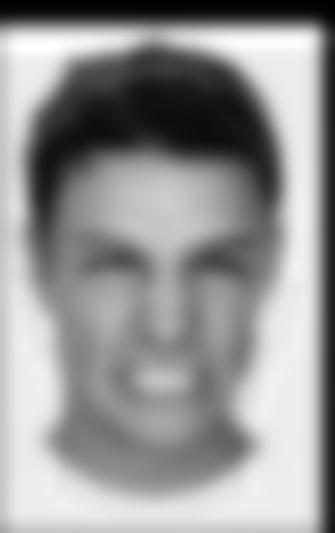
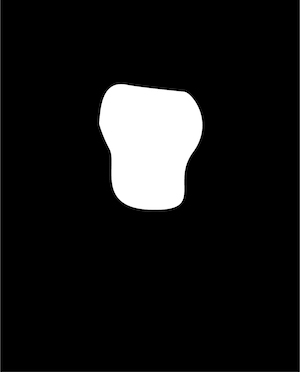
1.4: Multiresolution Blending
As mentioned before, we can use these Gaussian and Laplacian stacks to generate blended images. We do this by creating a mask, which is just an image with black and white patches. The white areas correspond to areas of one image that we want in the output, while the black areas correspond to areas that we want of the other image in the output. We make a Gaussian stack for the mask, as well as Laplacian stacks for the two input images. Then, we use each level of the mask's Gaussian stack as weights on the Laplacian stacks for the output pixels. This allows us to add minute details in a sharp line, and the low frequencies will be blurred out more.
This is the mask we used at each level.
| Level | Mask |
|---|---|
| 1 |

|
| 2 |

|
| 3 |
|
| 4 |

|
| 5 |

|
| 6 |

|
| 7 |

|
| 8 |

|
| 9 |

|
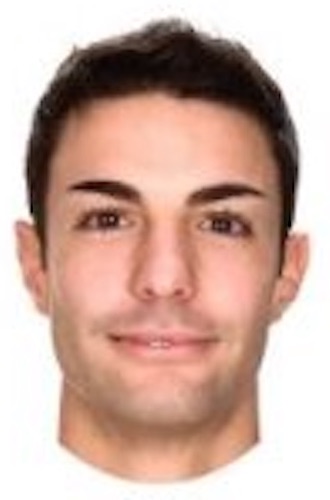
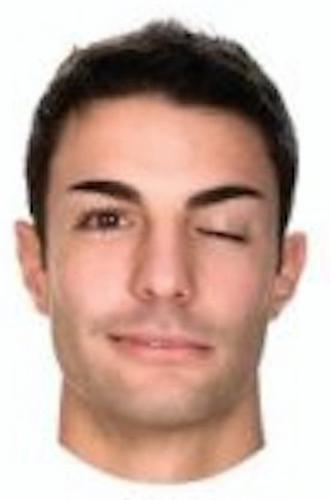
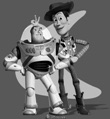
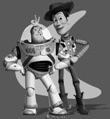
| Image 1 | Image 2 | Merged |
|---|---|---|
|
|
|
|
|
|
|
|
|
|
|

|
|
We can see what is being added to the final image at each level by taking a look at the blend at each level of the Gaussian and Laplacian stacks.
| Layer | Image 1 | Image 2 | Combined |
|---|---|---|---|
| 1 |
|
|
|
| 1 |
|
|
|
| 1 |
|
|
|
| 1 |
|
|
|
| 1 |

|
|
|
| 1 |
|
|
|
| 1 |
|
|
|
| 1 |
|
|
|
| 1 |
|
|

|
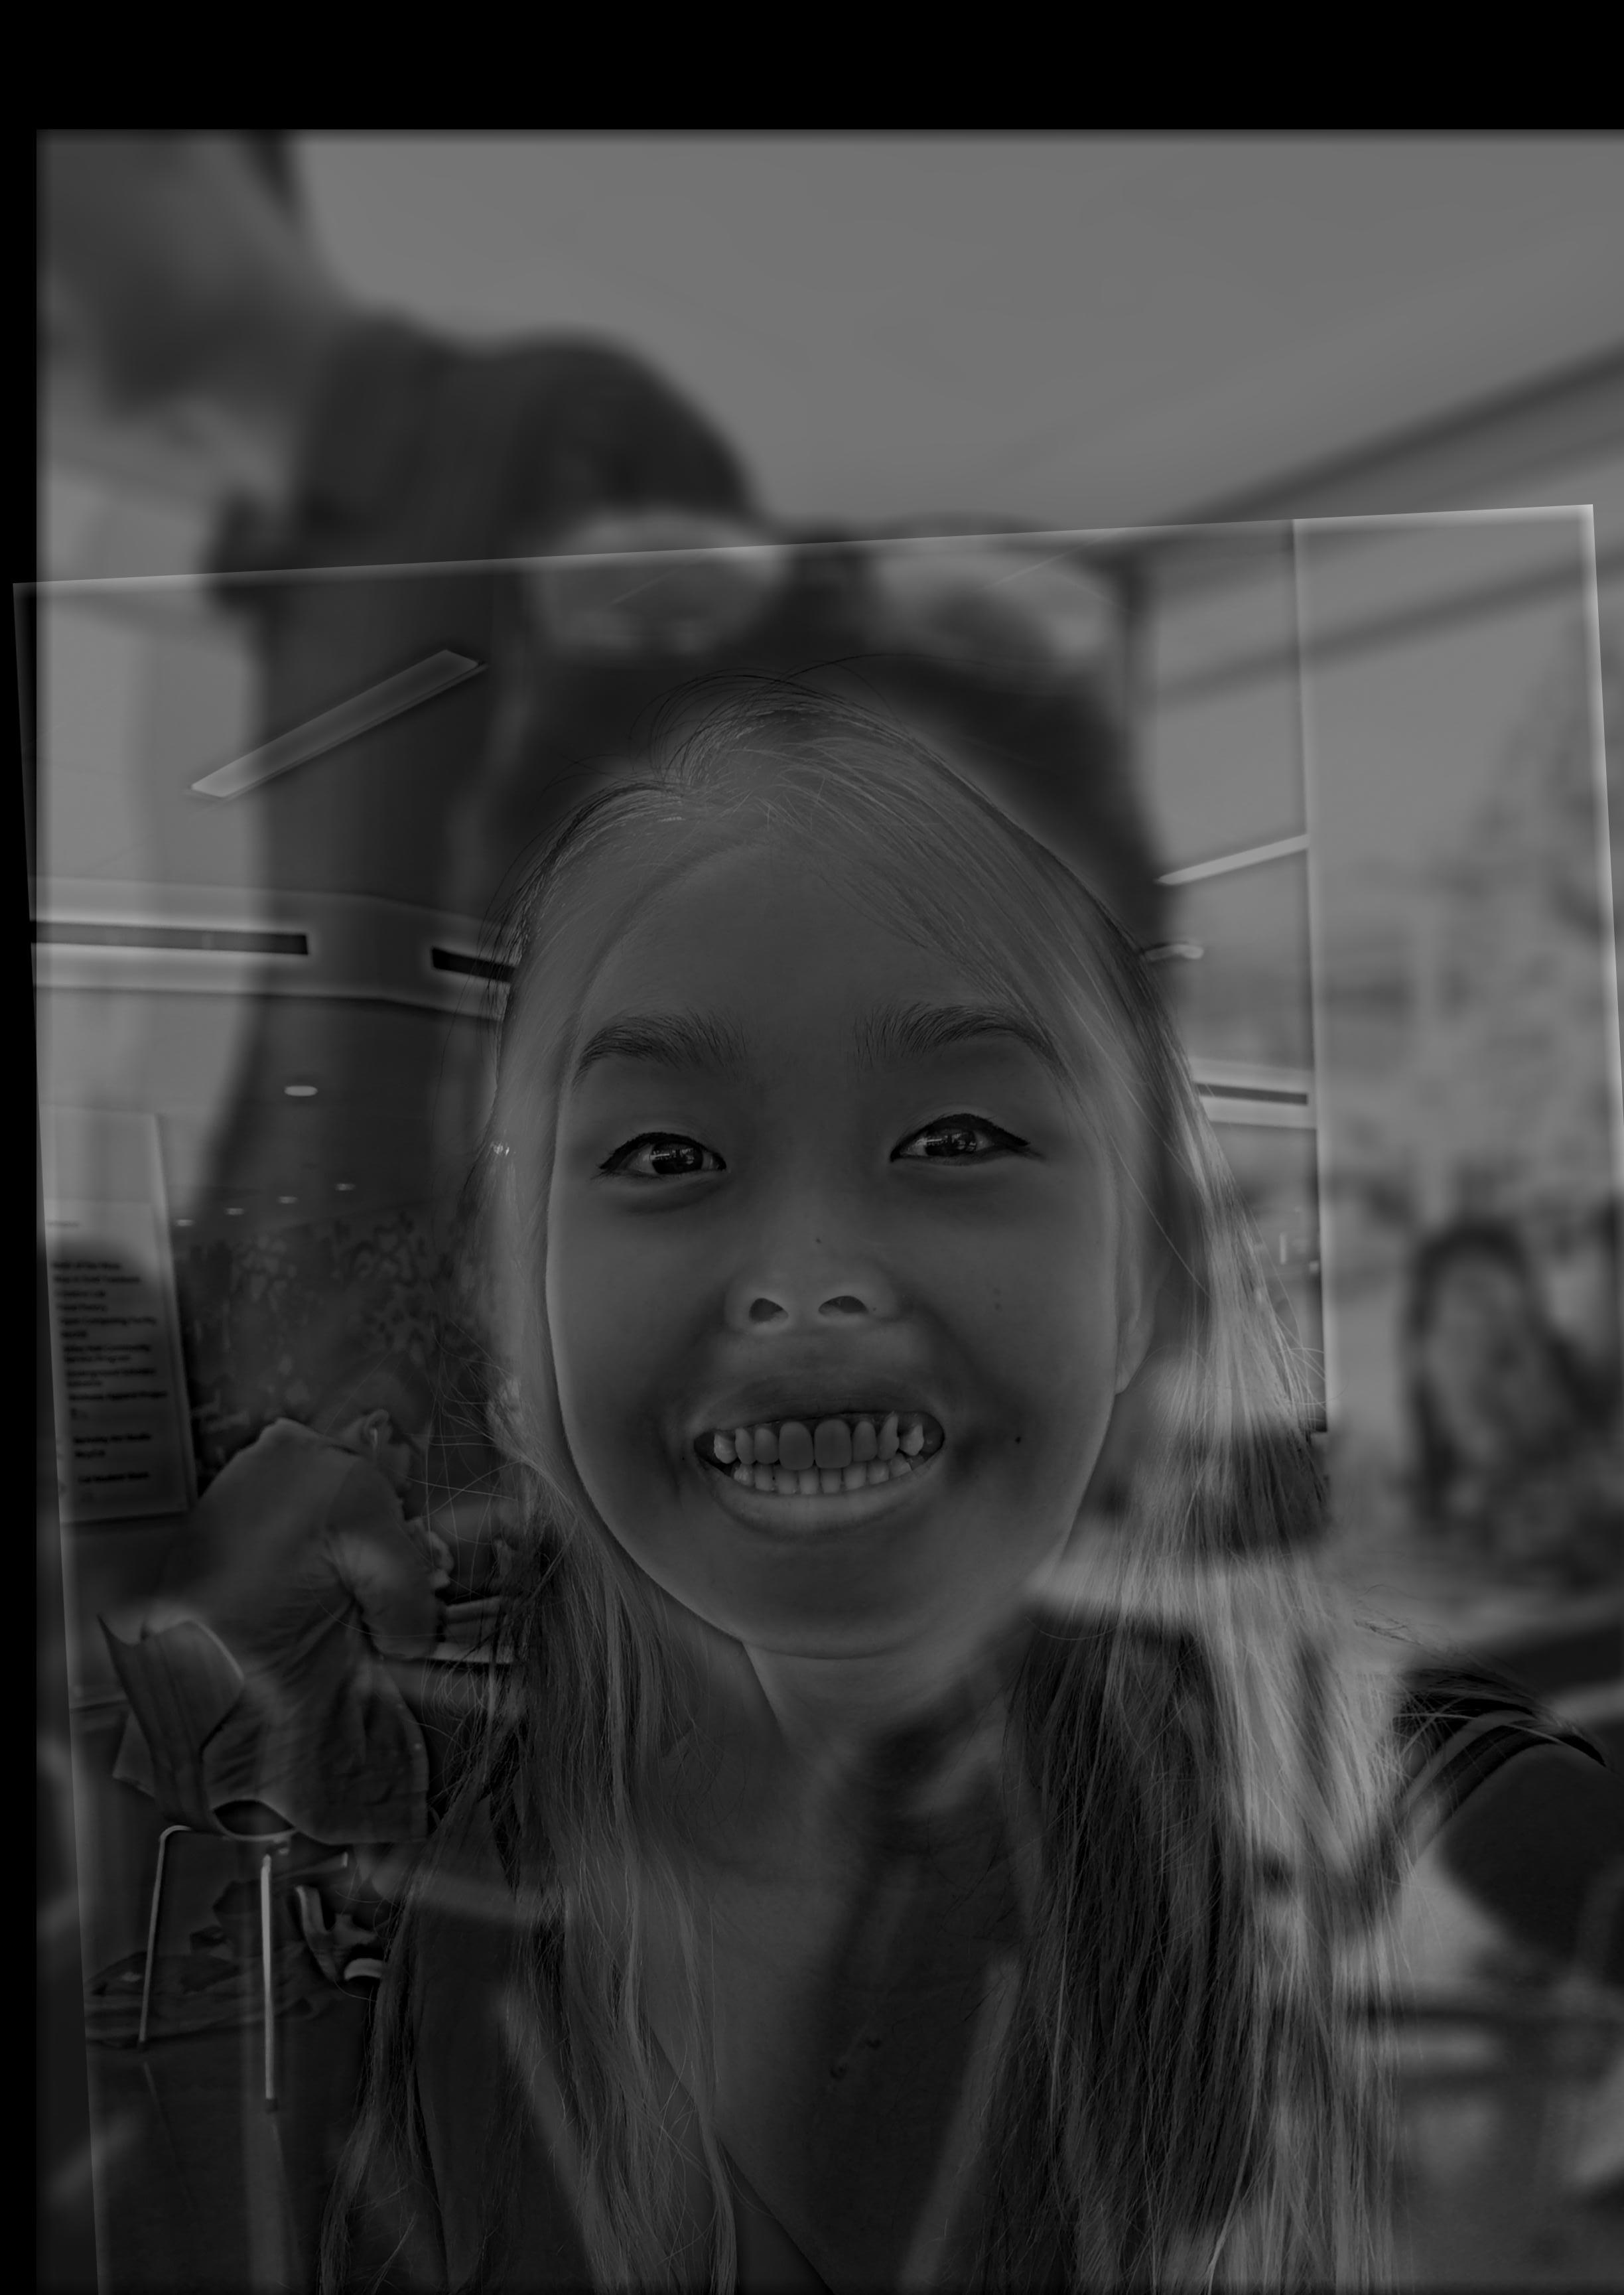
We can also create custom, irregular masks using tools like Illustrator or Photoshop, and use them to create more complex blended images.
| Image 1 | Image 2 | Mask | Merged |
|---|---|---|---|

|
|
|

|
|
|
|

|
Part 2: Gradient Domain Fusion
In this section of the project, we use gradient domain processing to place images onto a source image while making a seamless transition between the two. We do this by defining loss functions that we aim to minimize. We are trying to make the differences between neighboring pixels match the difference between neighboring pixels in the source as closely as possible.
2.1: Toy Problem
In order to start with a simple example, we will place a image onto a blank source, covering the whole area. If
done correctly, the output should be the same as the source image. For gradient domain fusion, we want the difference
between neighboring pixels in the output (v) to match the neighboring pixels in the source(s).
We do this by minimizing the following set of equations:

We can do this by solving the following overdetermined system of equations:
v(x+1, y) - v(x, y) = s(x+1, y) - s(x, y)
v(x, y+1) - v(x, y) = s(x, y+1) - s(x, y)
v(1, 1) = t(1, 1)
In order to represent this linear system, we use a sparse matrix, where the values are the coefficients for each variable in the system. Each column in the matrix corresponds to one pixel location. We can then use least squares to find the solution to the system that minimizes these errors.
| Input | Output |
|---|---|
|
|
Yay, we recovered the correct image!
2.2: Poisson Blending
That wasn't that interesting! This time, we will try to overlay images on top of each other. To do this, we define a mask that marks out the area of one image we want to place onto the other one. Once we've defined this mask, we want to blend it again, similar to the method used above, but with a different set of minimizing functions.

We can make a similar system of equations as before. However, we have to define different constraints for points inside the mask
and points outside of the mask. The target (t) here is the background image, and the source (s) is the
image we're masking and putting on the background image. For points inside the mask but neighbors inside the mask:
v(x-1, y) - v(x, y) = s(x-1, y) - s(x, y)
v(x+1, y) - v(x, y) = s(x+1, y) - s(x, y)
v(x, y-1) - v(x, y) = s(x, y-1) - s(x, y)
v(x, y+1) - v(x, y) = s(x, y+1) - s(x, y)
For points inside of the mask with neighbors outside of the mask:
v(x, y) = s(x-1, y) + t(x, y) - t(x-1, y)
v(x, y) = s(x+1, y) + t(x, y) - t(x+1, y)
v(x, y) = s(x, y-1) + t(x, y) - t(x, y-1)
v(x, y) = s(x, y+1) + t(x, y) - t(x, y+1)
For points outside of the mask:
v(x, y) = t(x, y)
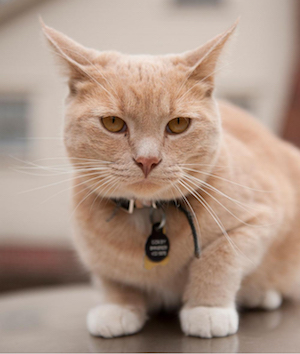
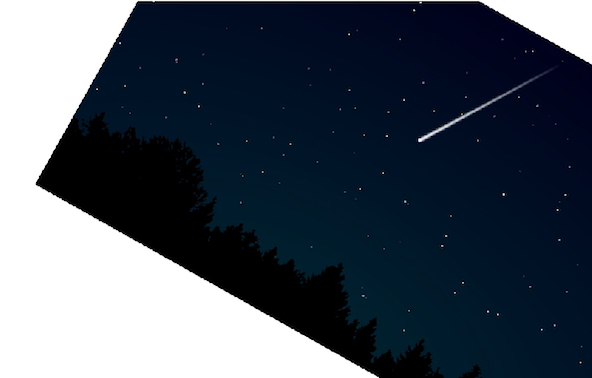
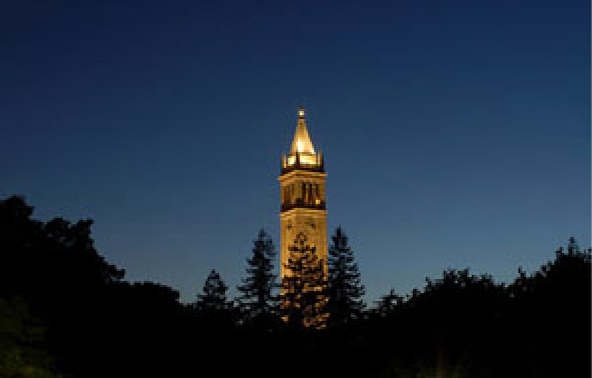
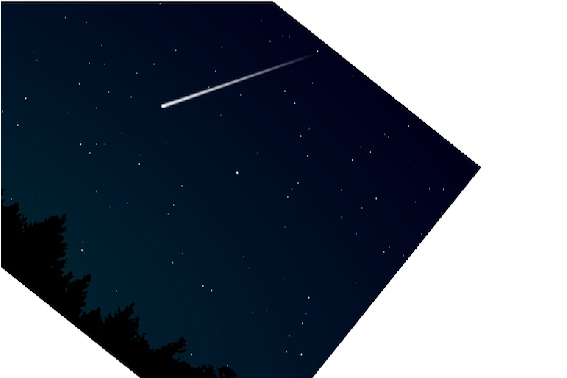
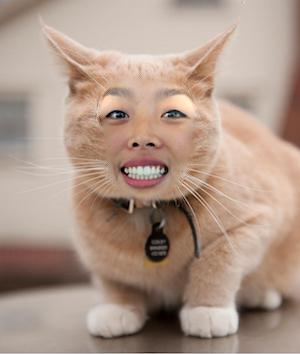
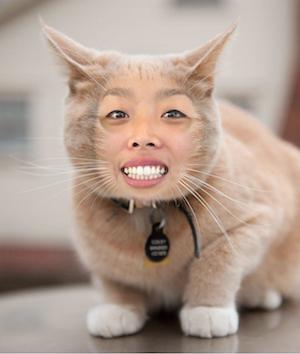
| Source | Target | Direct Overlay | Poisson Blend |
|---|---|---|---|
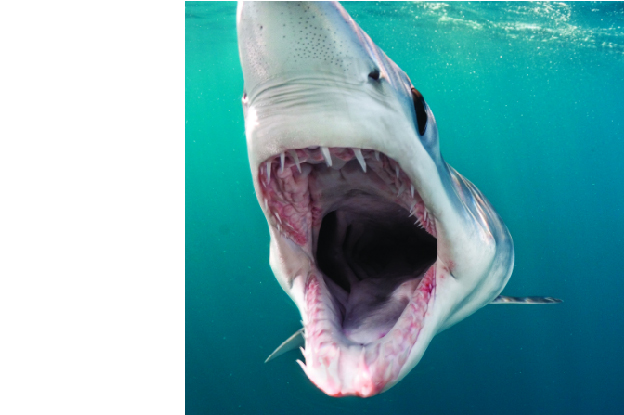
|
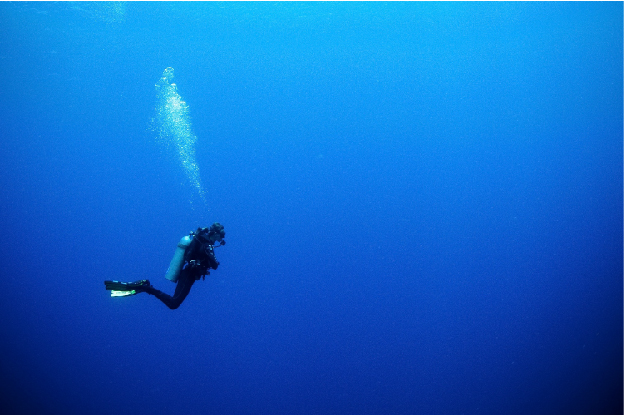
|
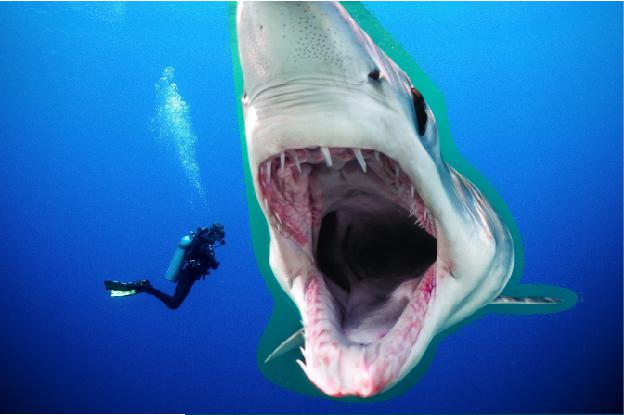
|
|
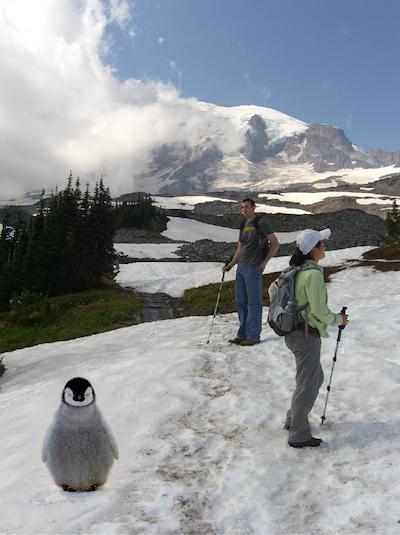
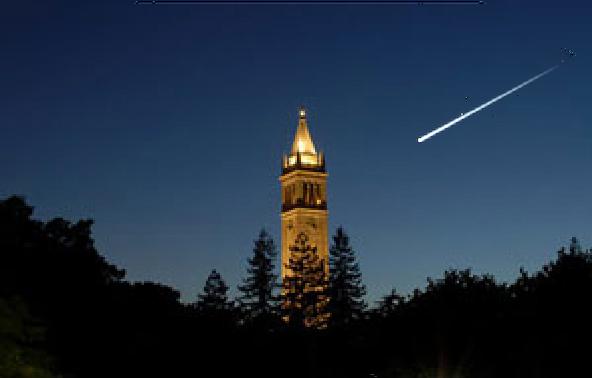
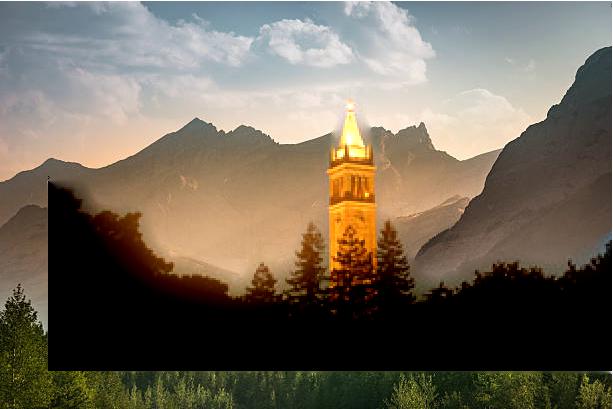
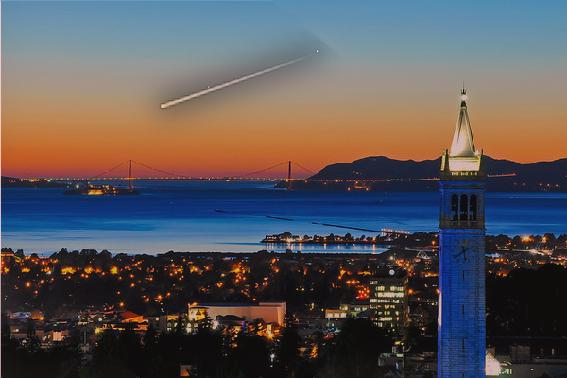
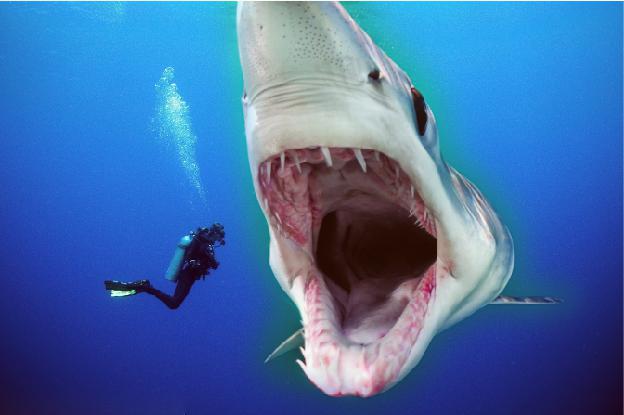
Here are some more examples of poisson blending.
| Source | Target | Poisson Blend |
|---|---|---|
|

|
|

|
|
|
|
|
|
|
|
|
|
|

|
|
|
|
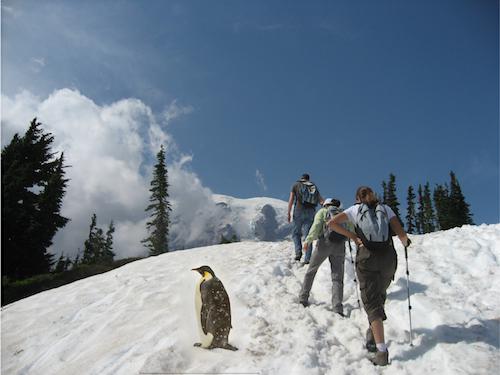
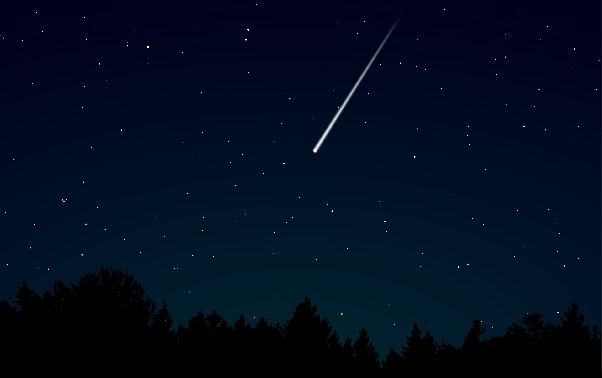
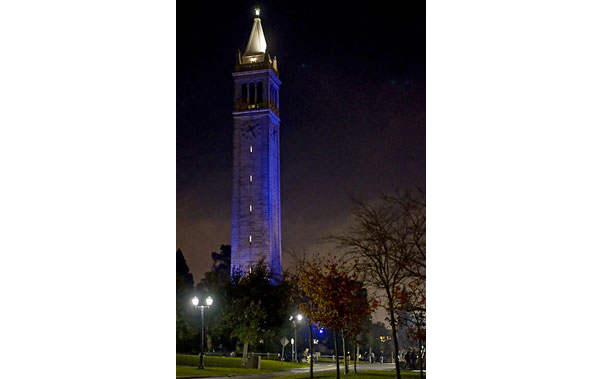
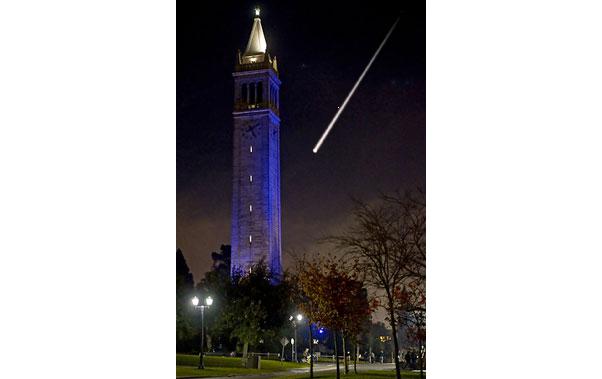
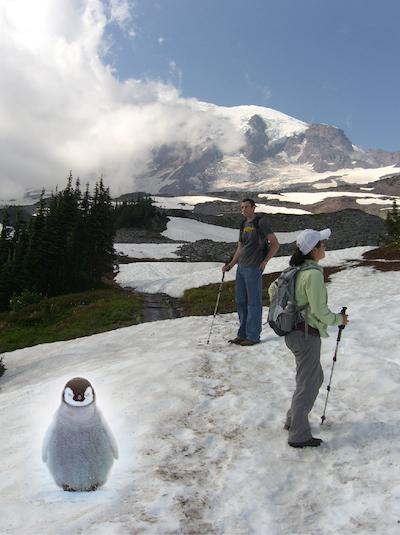
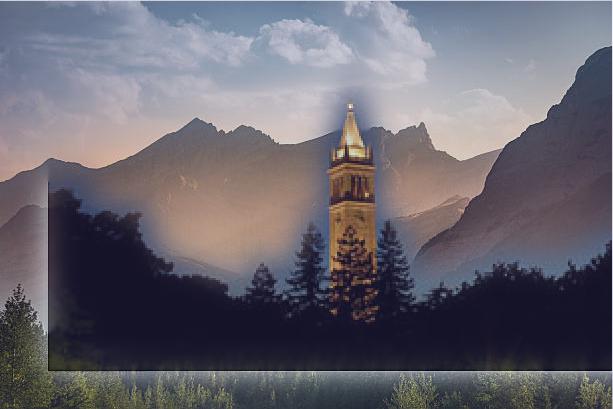
The second penguin image and the campanile in the mountains did not turn out very well. For the first one, it's not very believable that the penguin was from the original image, because there's snow falling in front of the penguin, but no snowfall in the surrounding scene. For the mountain, while the poisson blending technique was able to blend the top of the campanile image, the bottom portion has a stark edge, probably due to the harsh color difference between the target and the source.
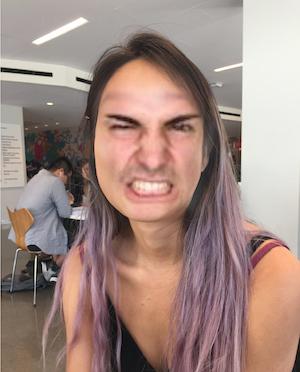
We can compare how the different blending methods work on various images:
| Source | Target | Poisson Blend | Laplacian Pyramid Blend |
|---|---|---|---|
|
|
|
|
|
|
|
|

|
|
|
|
|
|
|
|
|
|
|
|
|
|
|
|
|
|
|
|
|
|
|
|

|
|
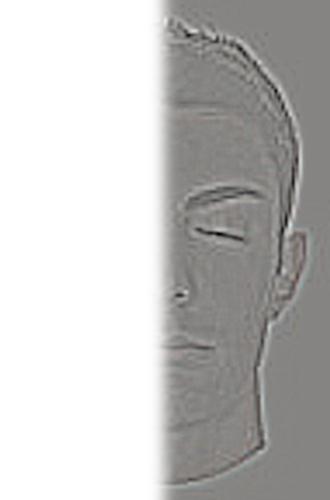
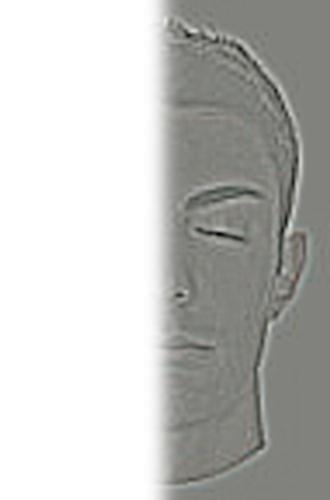
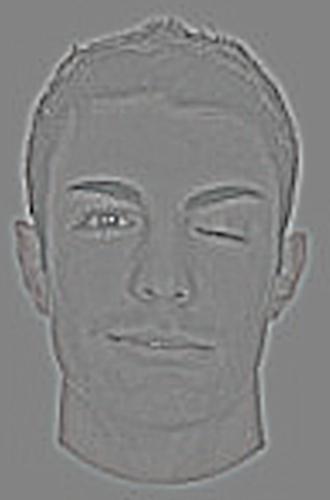
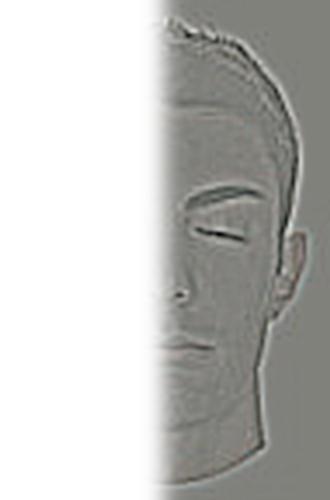
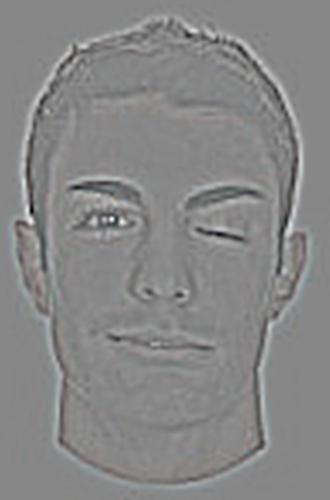
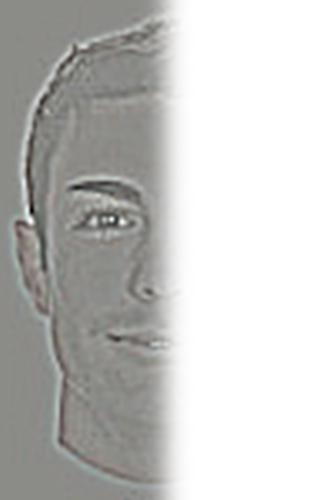
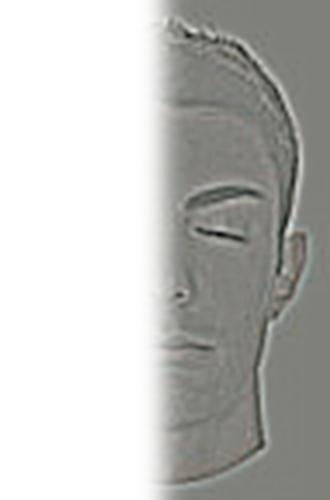
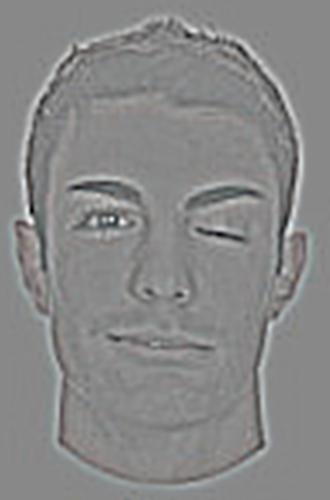
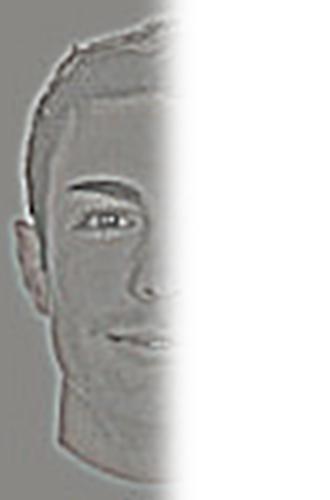
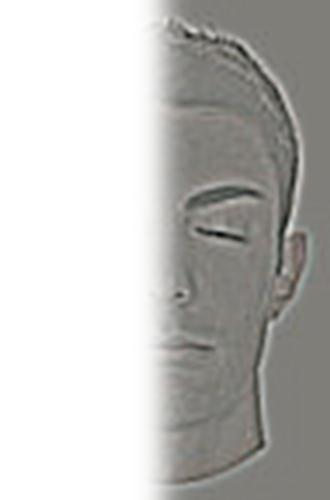
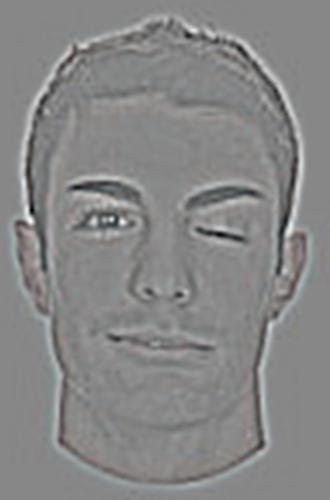
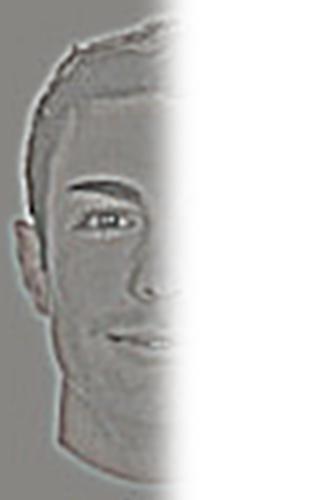
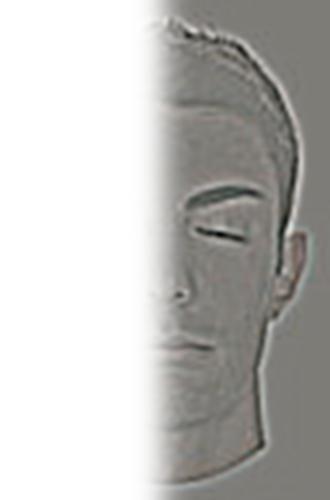
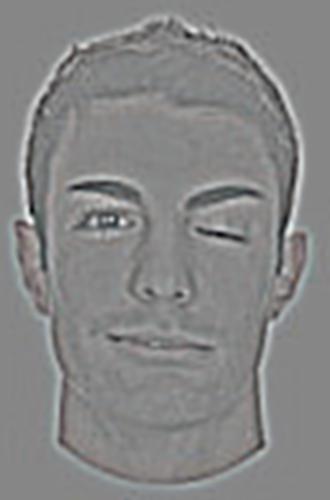
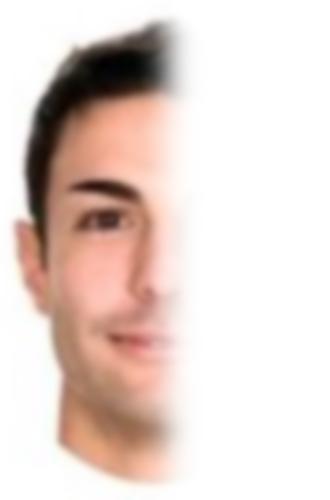
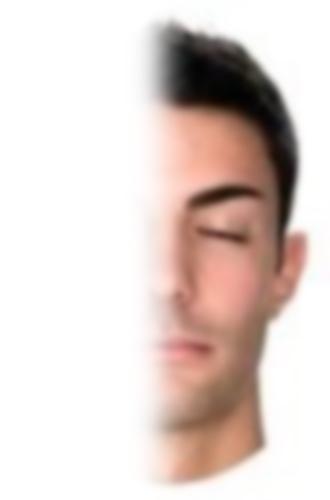
The poisson blending seems to generally work better; however, in the last image, the right side of the face is over-darkened near the hairline in the poisson blended image, while the laplacian pyramid blended image has a more natural blend near the hairline. This is probably due to the extreme differences between the skin tone inside the mask and the hair color outside; while the poisson blending tries to smooth the color differences, thus making the skin of the man's face inside the mask darker than it actually is, the laplacian pyramid blend doesn't make these kinds of adjustments to the color, making it a better blend in this situation, since we want to ignore the hair color in the blend.