CS194-26 Project 3: Fun with Frequencies and Gradients
By: Shaan Appel
Date: Oct. 1st, 2018
Contents:
Part 1
1.1: Warmup
Here we sharpen an image adding the high frequencies to the image. We get the high frequencies by substracting out a blurred image such that only high frequencies remain. The final result is given by: sharp_image = orig_image + (alpha x high_freq). Here we show the results for multiple alpha values.

Original Image

Sharpened: alpha = 0.5
Sharpened: alpha = 1.0
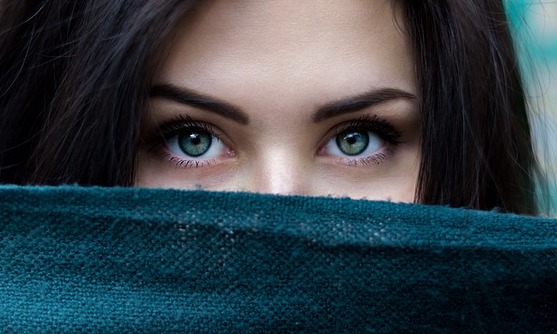
1.2: Hybrid Images
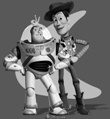
Here we make hybrid images by combining the low frequncies from one image and the high frequencies of another image. Low frequencies are visible from far away and high frequencies from up close, creating a hybrid.
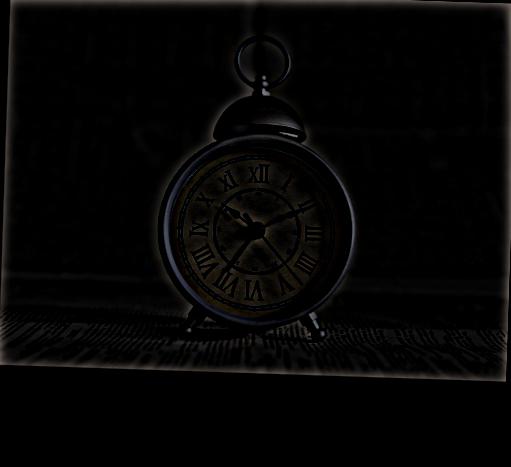
Clock Eye
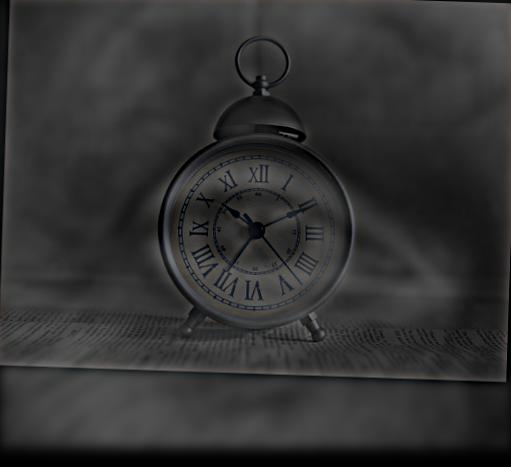
Hybrid Clock and Eye
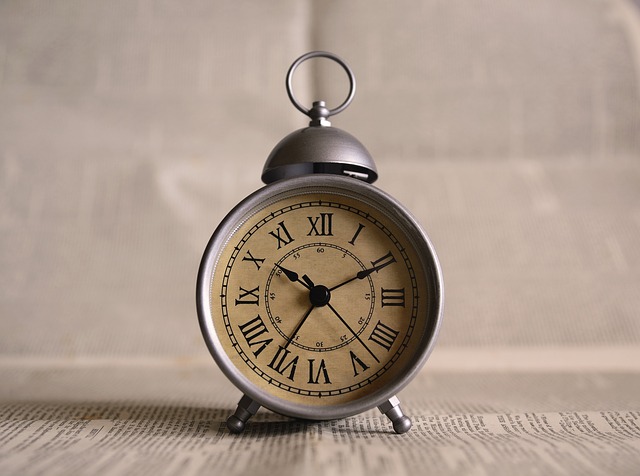
Original Clock

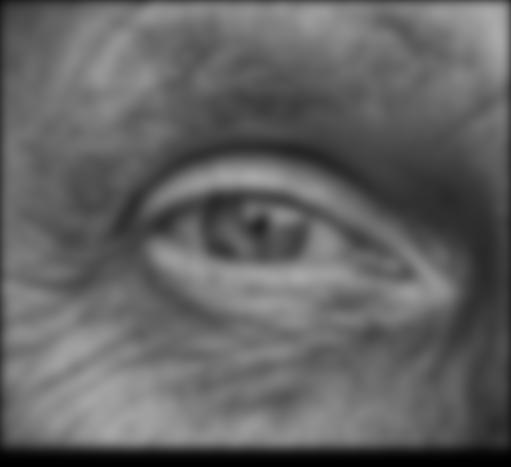
Original Eye
High Frequency Clock
Low Frequency Eye
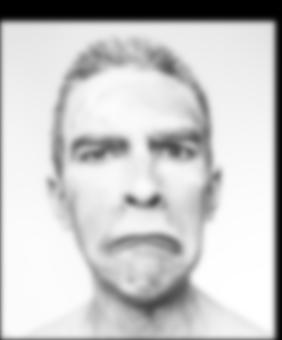
Happy Sad
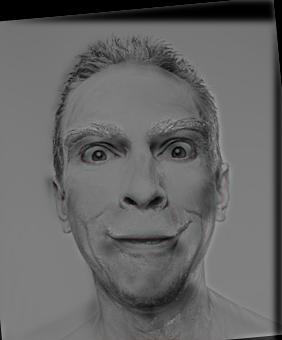
Hybrid Happy and Sad
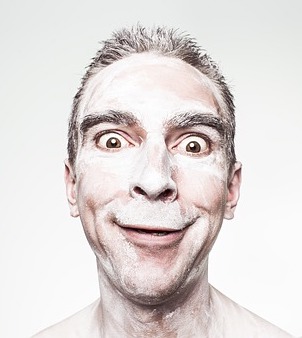
Original Happy
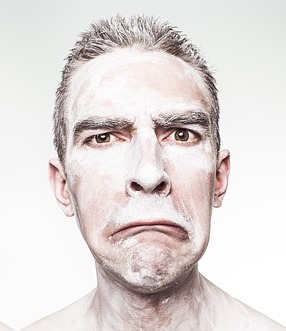
Original Sad

High Frequency Happy
Low Frequency Sad
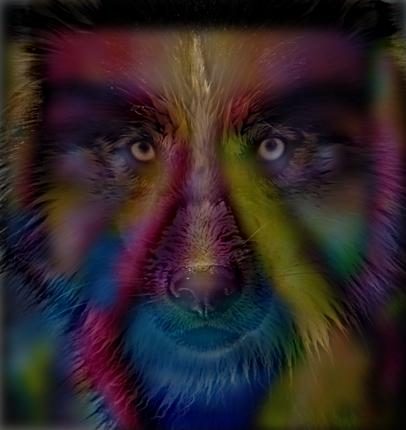
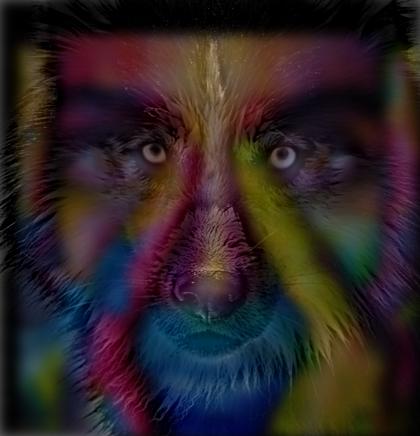
Monkey Woman
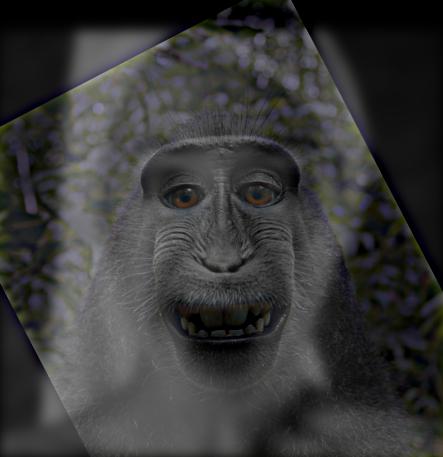
Hybrid Monkey and Woman
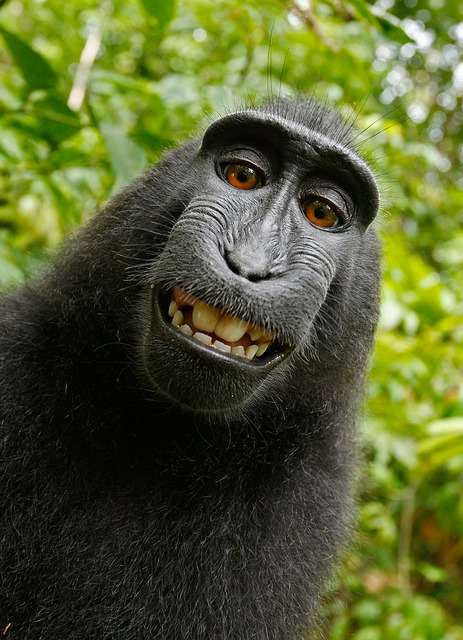
Original Monkey

Original Woman
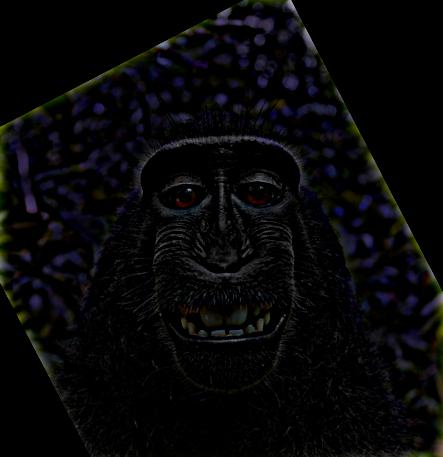
High Frequency Monkey

Low Frequency Woman
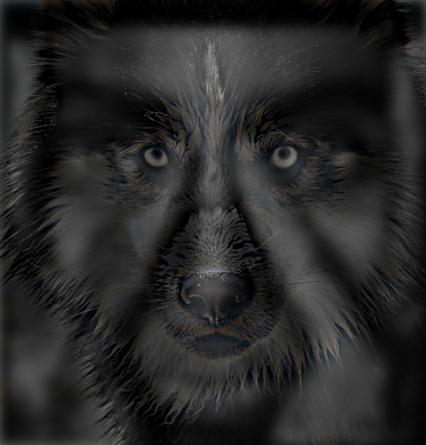
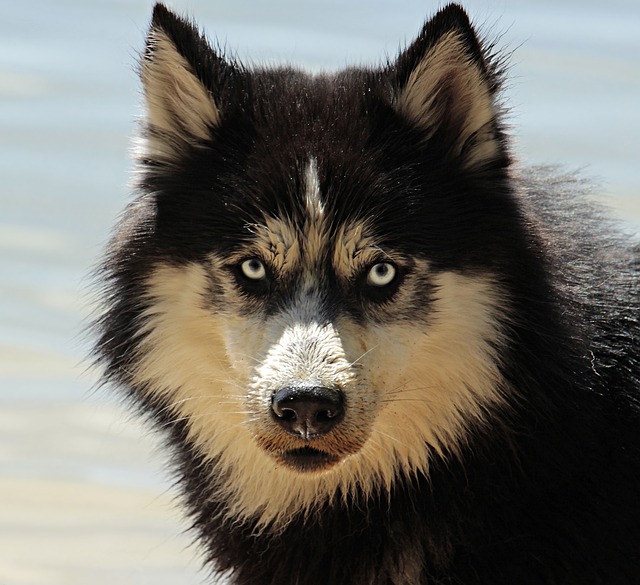
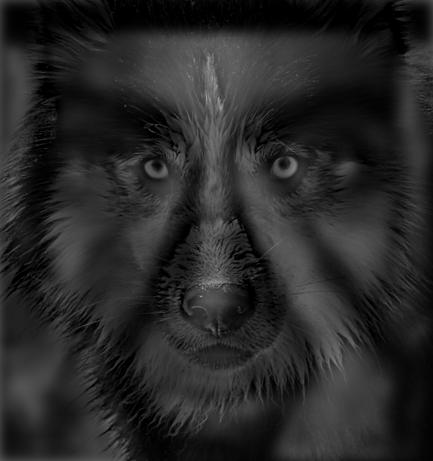
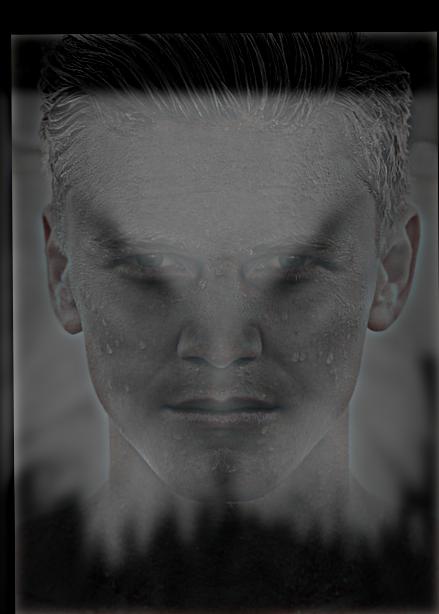
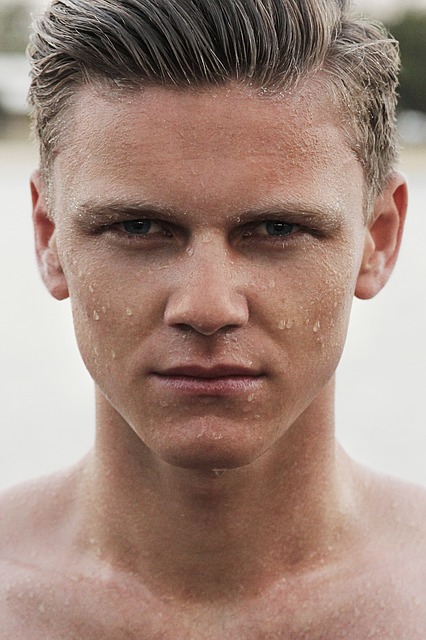
Featured: Husky Girl
We will use this hybrid to analyze the effects of using color as well as to visualize the frequencies in the frequency domain witha fourier transform.
Hybrid Husky and Girl
Original Husky
Original Girl

High Frequency Husky
Low Frequency Girl
Frequency Analysis:
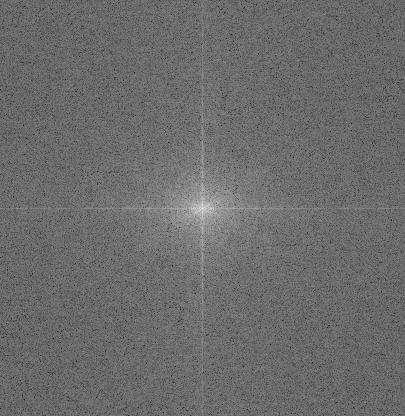
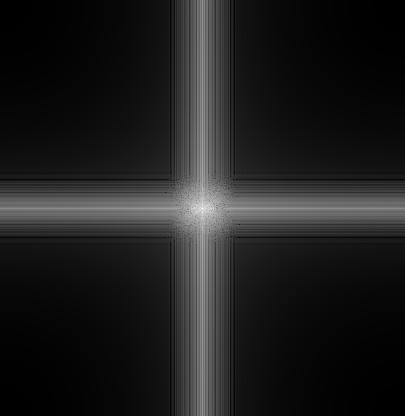
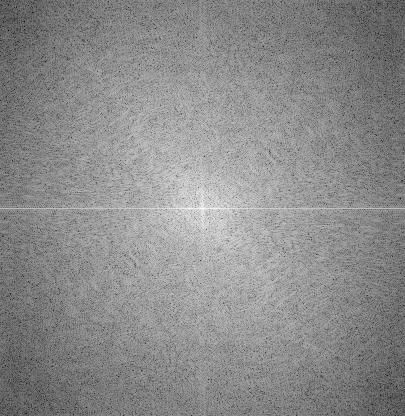
Here we look at the images in the frequency domain visually see the high and low frequencies. The high frequency image looks like it still contains lower frequencies, but as indidcated by the overall brightest this is a feature of the scaling in dispalying the image and is primarily high frequency features.

Original Husky Fourier
Original Girl Fourier

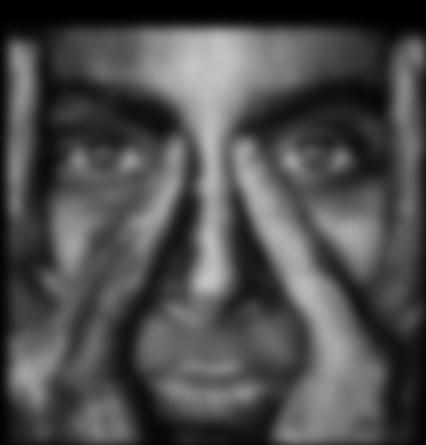
High Frequency Husky Fourier
Low Frequency Girl Fourier
Hybrid Husky and Girl Fourier
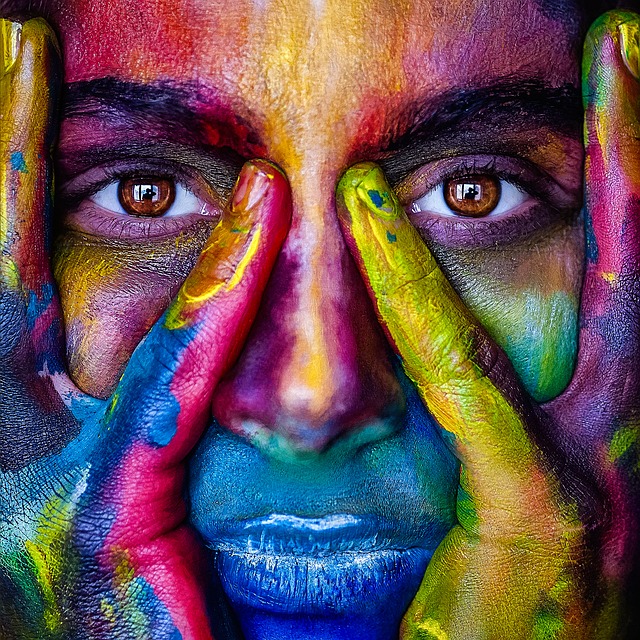
Color Analysis:
We chose to use color just in the high frequency picture. When using color in both images or just the low image, the color from the low frequency image dominates. This would work if we chose images in which the color already match, but to avoid the need for this we just have color in the high frequency image.
Both BW
Both in Color
High Freq - BW, Low Freq - Color
Chosen: High Freq - Color, Low Freq - BW
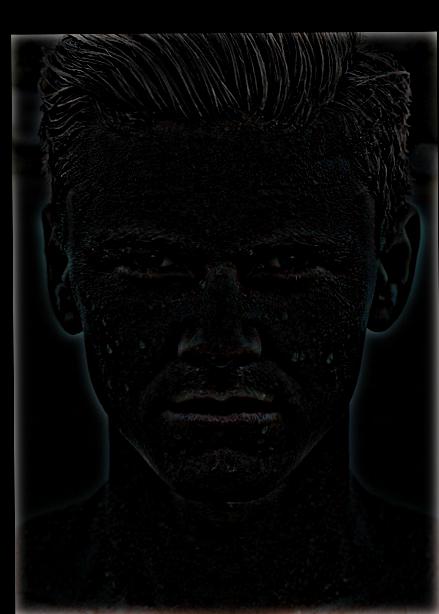
Fail Case: Man Eagle
This case did not really work as the images did not align well. The slit-like eyes of the eagle don't match up well with the man's eyes. Additionally, the feathered texture on the eagles comes through weirdly against the man's skin, so the texture doesn't match well either.
Hybrid Man and Eagle
Original Man
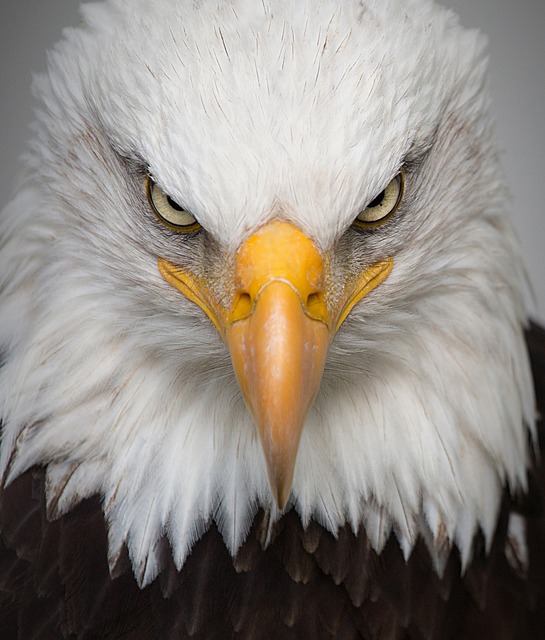
Original Eagle
High Frequency Man
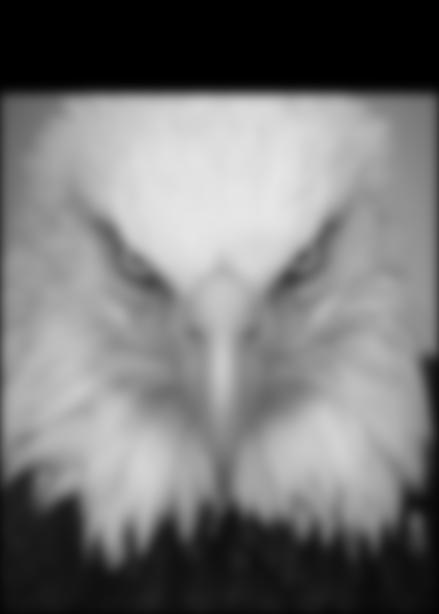
Low Frequency Eagle
1.3: Gaussian and Laplacian Stacks
Here we create Gaussian and Laplacian stacks such that we can visualize structures at various frequencies
Lincoln
Full Image
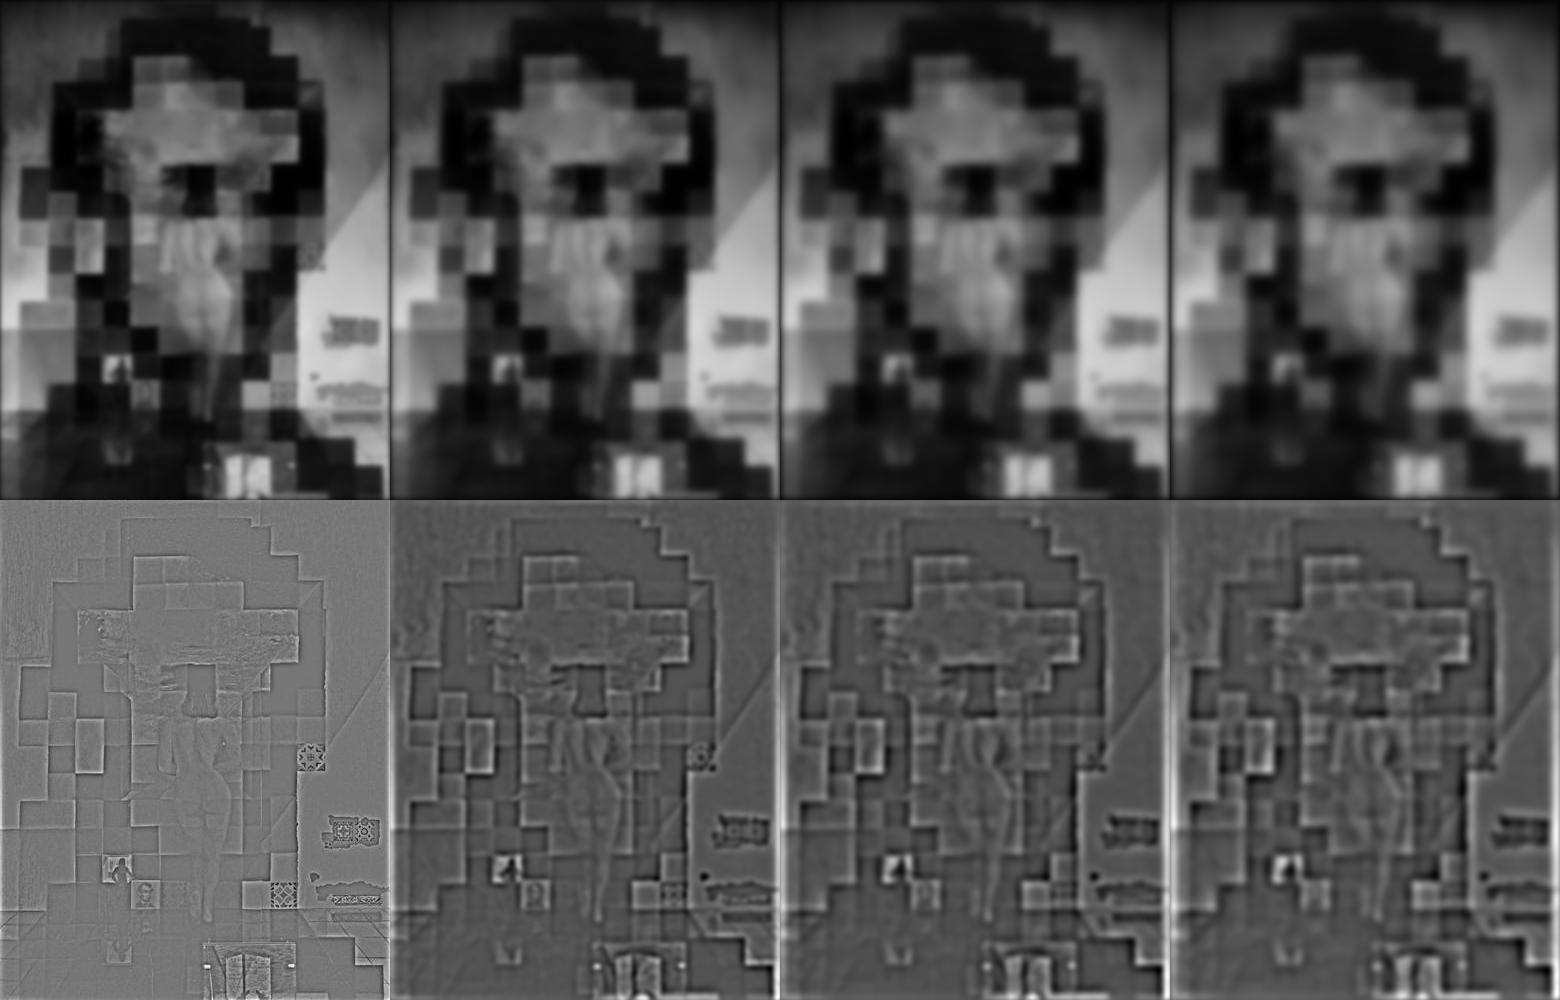
Top Row: Gaussian Stack - Lincoln Visible Bottom Row: Laplacian Stack - Woman Visible
Mona Lisa
Full Image
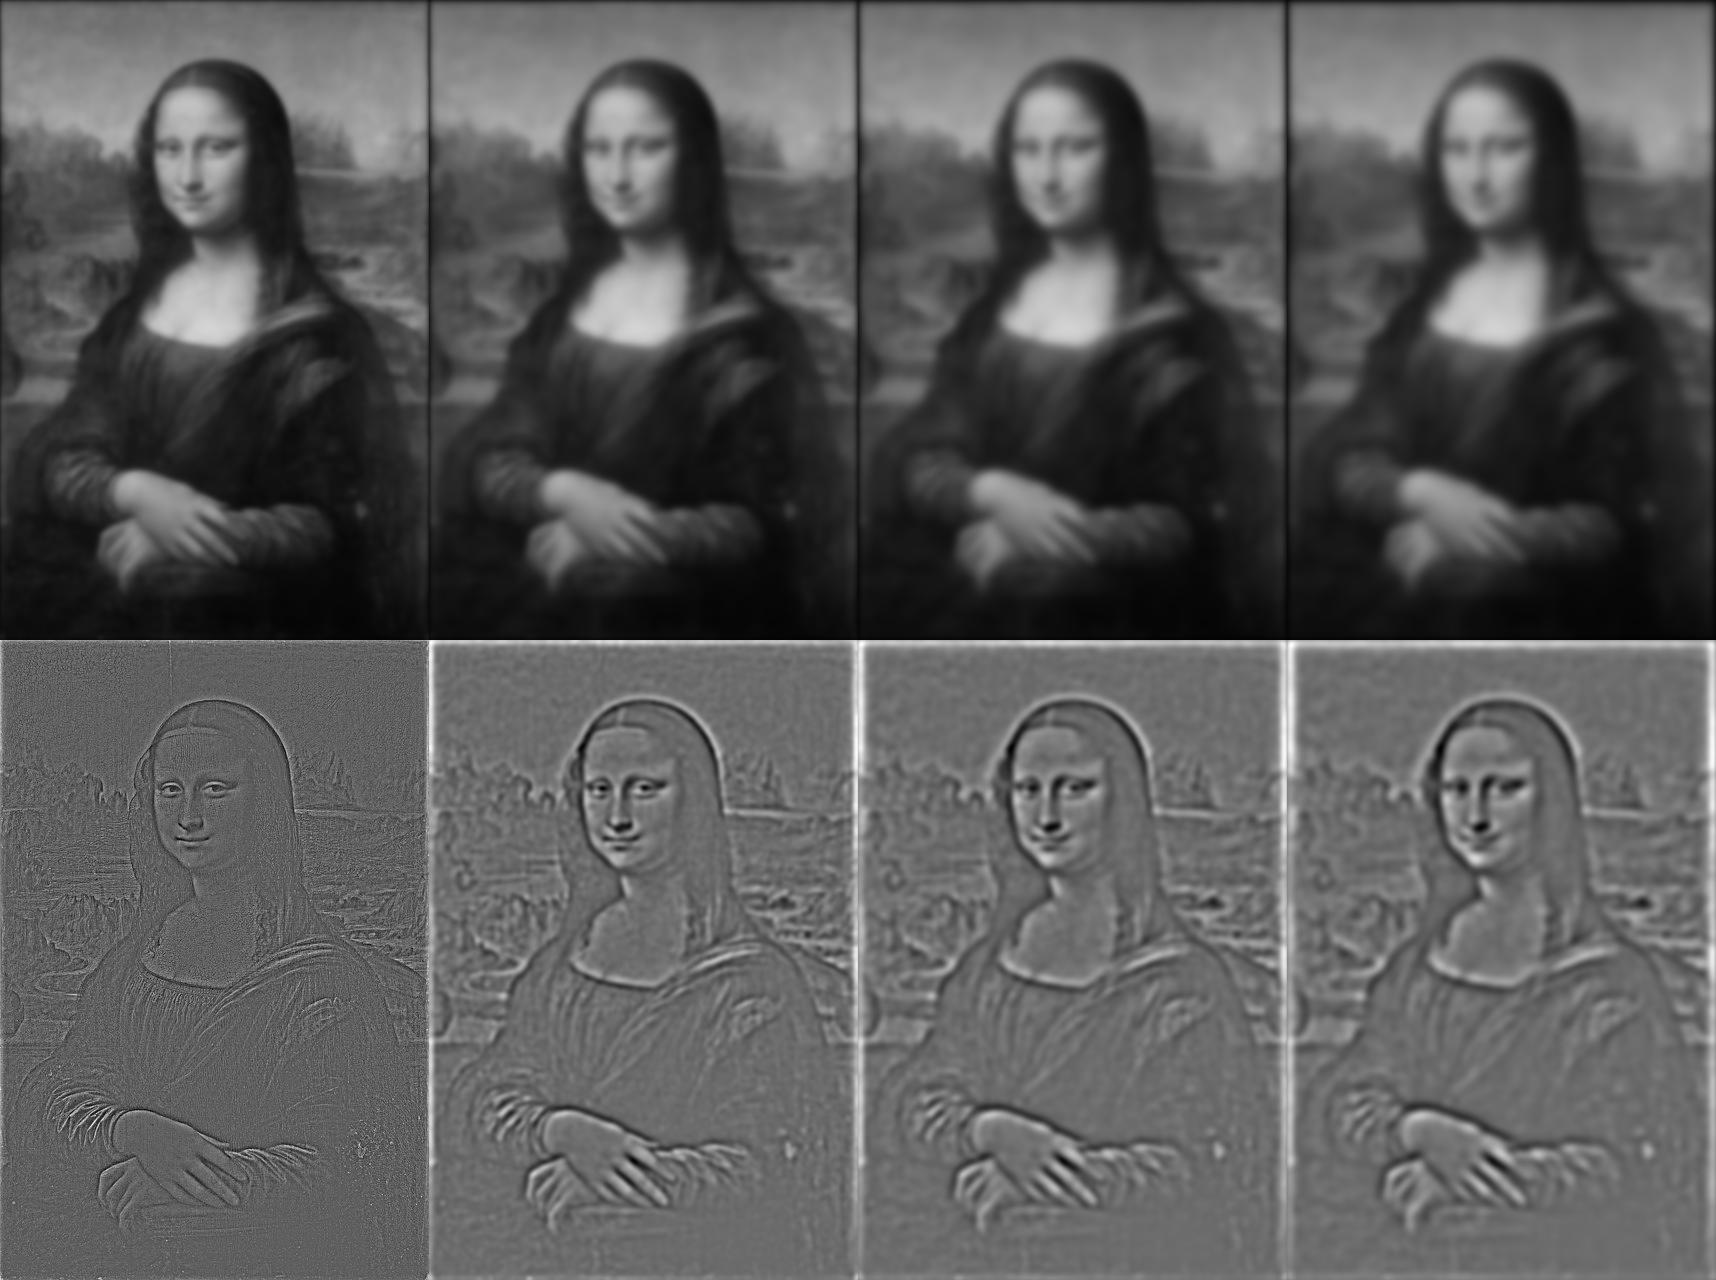
Top Row: Gaussian Stack - Smile Visible Bottom Row: Laplacian Stack - Serious to Smile
My Hybrid Image: Happy Sad
Full Image
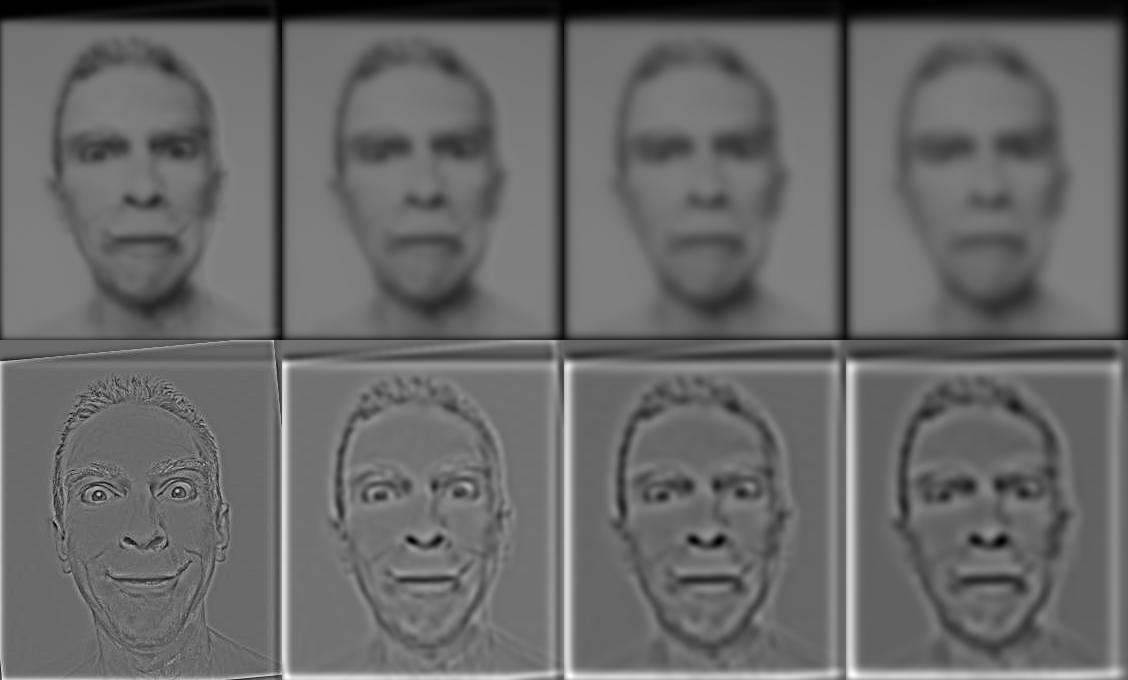
Top Row: Gaussian Stack - Sad Visible Bottom Row: Laplacian Stack - Happy to Sad Visible
1.4: Multiresolution Blending
Here we blend images together by splitting the images into frequency bands and blending each band with a seam. The high freuncy bands we use a crisp seam, and for low frequency bands we use a more blurred seam.
Heterozy - goat
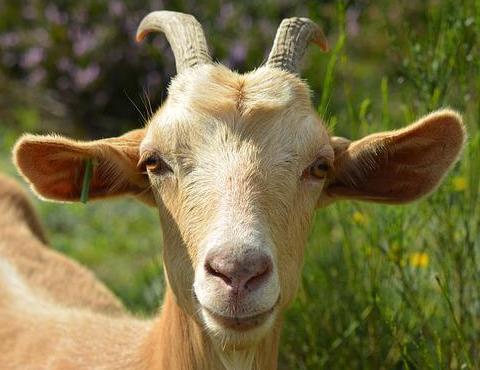
Goat 1
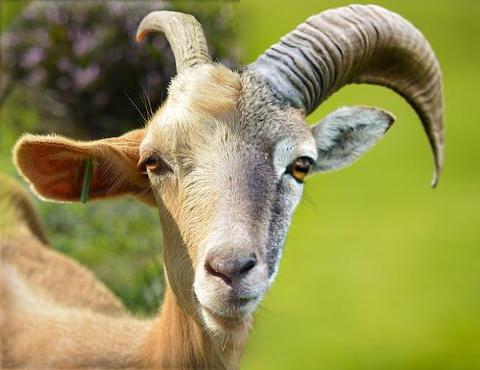
Vertical Seam Blend
Goat 2
Analysis with Stack:

Goat 1 Laplacian Stack

Goat 2 Laplacian Stack
Teddy - Bear
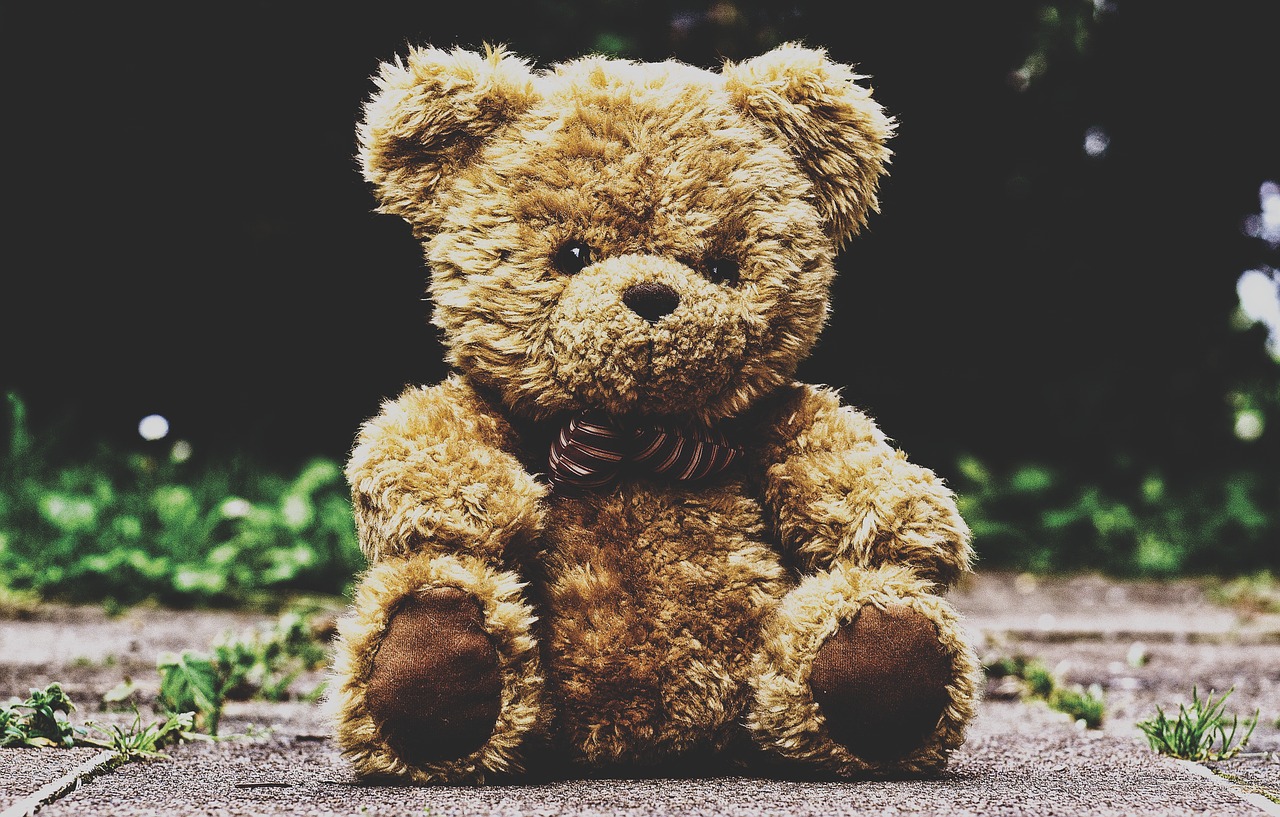
Teddy Bear
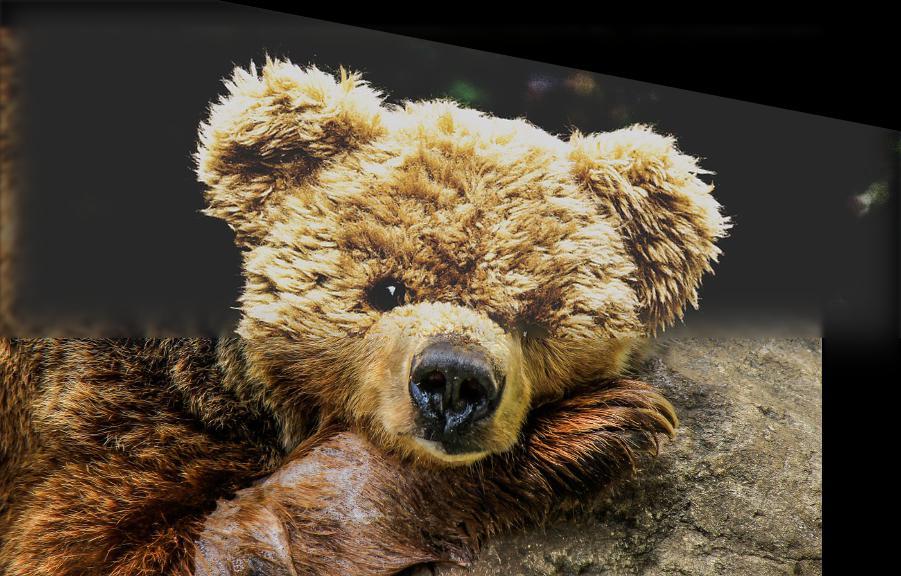
Horizontal Seam Blend
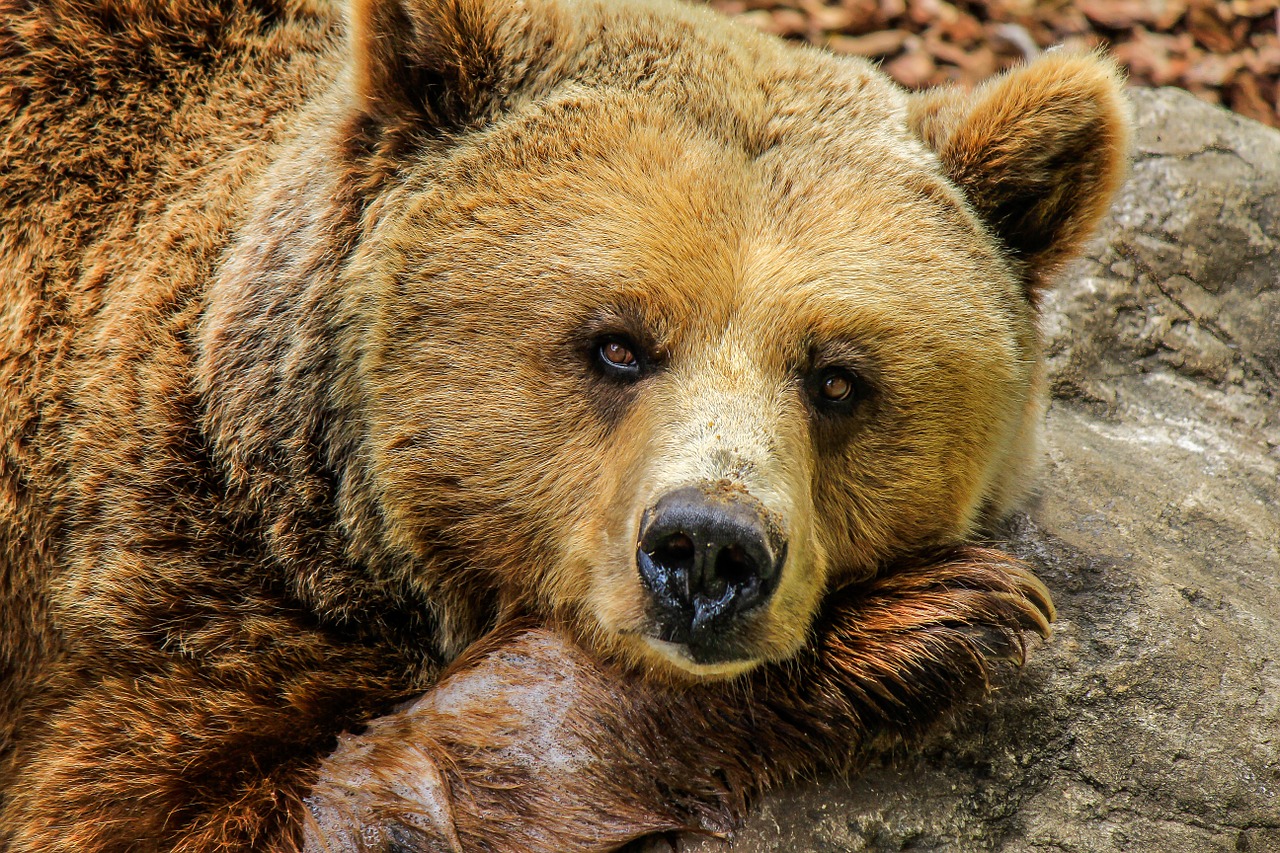
Bear
Third Eye
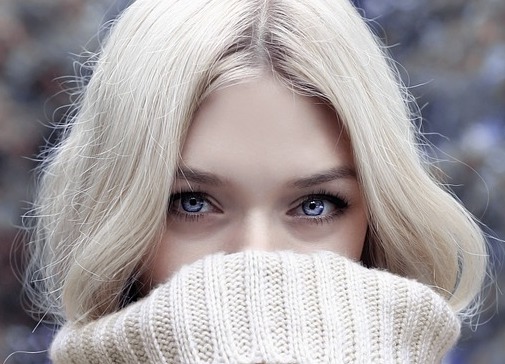
Third Eye Source
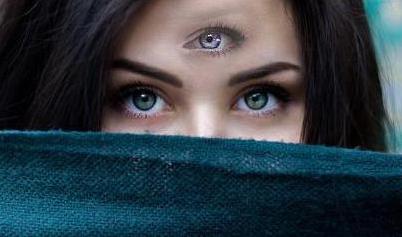
Irregular Seam Blend
Target Face
Owl Leopard
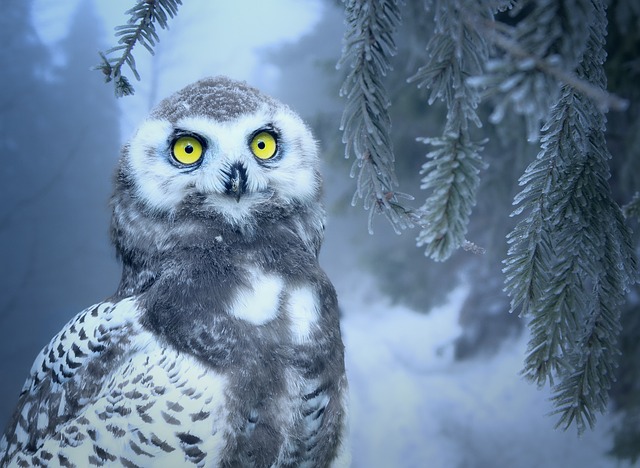
Owl
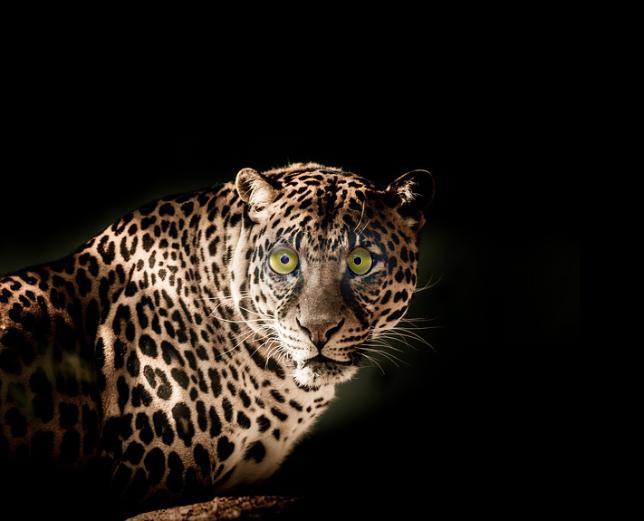
Irregular Seam Blend
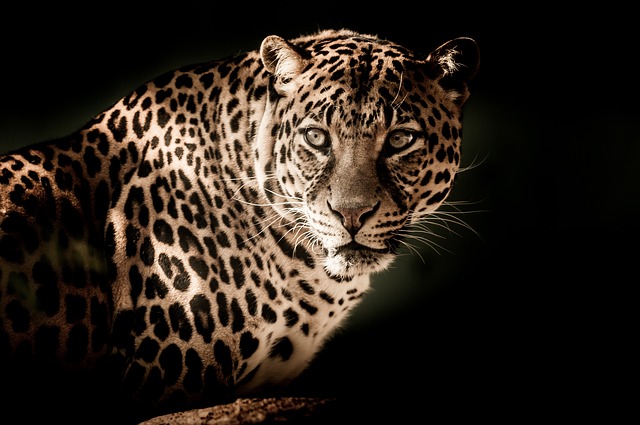
Leopard
Part 2
Background
In this part, we use gradient-domain processing to blend images. We specifically use "Poisson blending". This involves blending a section of a source image into an area of a target image. To do this we minimize two values to solve for the pixels placed in the target image. The first value is the squared error between the gradient of the new pixels and the corresponding source image pixels. The second value is for pixels on the edge of the image, we seek to minimize the gradient between the new pixels and the target image boundary with the corresponding source image pixels. We can do this by setting up a least squared problem solving for the pixels placed in the target image. For more information see the spec here
2.1: Toy Problem
Before attempting the full problem we first seek to recreate a toy image by solving for an image that matches the gradient of the original and the actual pixel value of one of the pixels.

Original Image
Caclulated Image from Gradient.
It's the same! Yay!
2.2: Poisson Blending
Here we implement the actual Poisson Blending
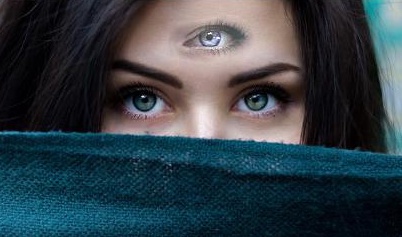
Eye Climber
This was my favorite blending result. The first step is to select a section of the source image and the placement of this section in the target image. This was done with the help of this wonderful code. I selected the mask such that climber might look like a teardrop, or simply hanging from the edge of the eye. Next we match the gradient within the new pixels to the source image and the boundary to the target image to create a smooth seam as described in the background. One very important part here is that the background textures are similar. The rock and skin happened to have similar textures, so there is so aparent seam as the textures change. This together made a nice piece that works well. (Note: I also scaled down the climber so it would fit in the eye area and the computation would run faster.)

Poisson Blend
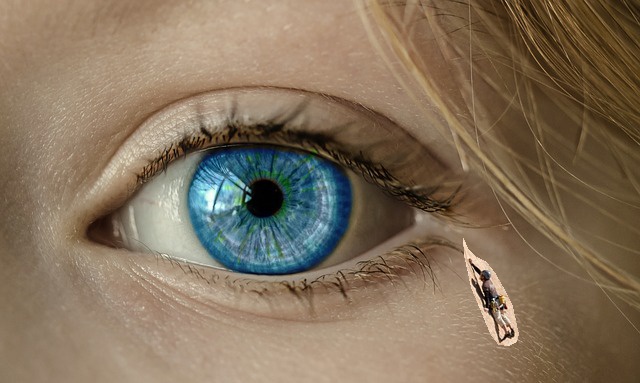
Directly Copied
Source: Climber
Target: Eye
Paradise Duck
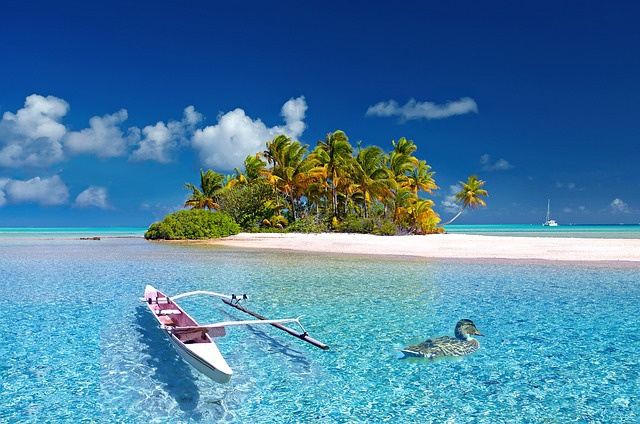
Poisson Blend
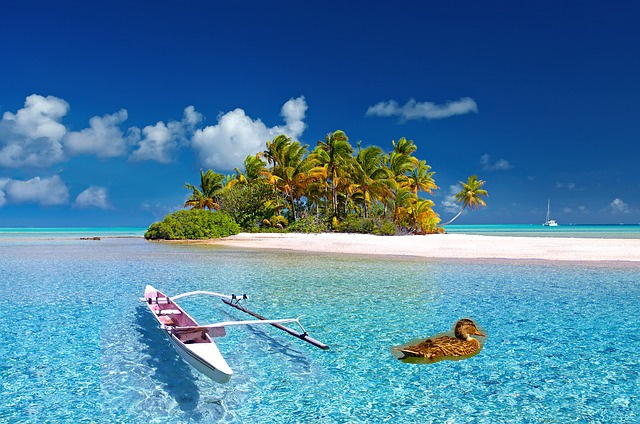
Directly Copied
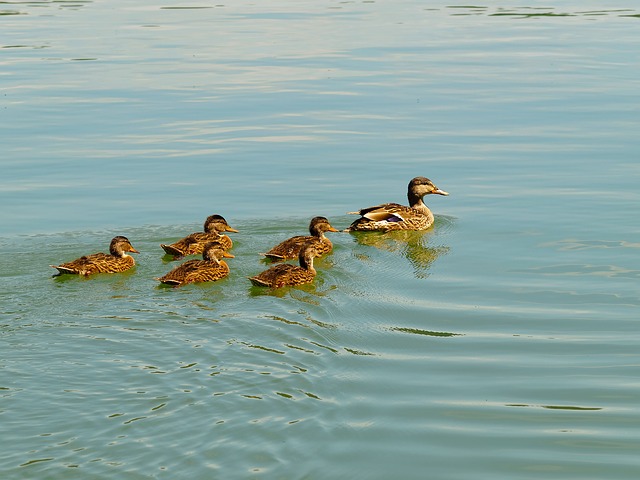
Source: Duck
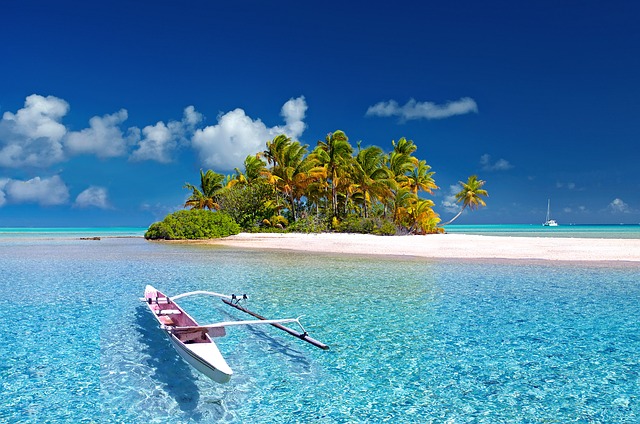
Target: Island
Swan Boat
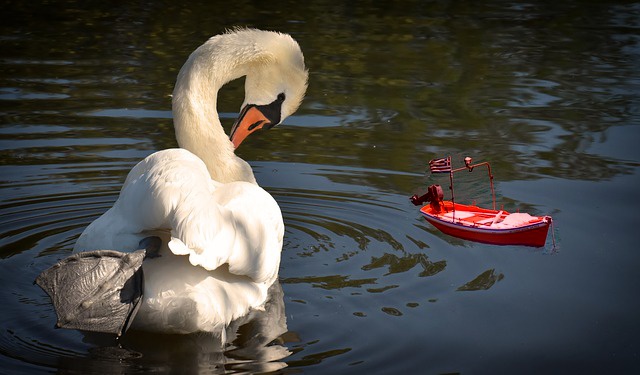
Poisson Blend
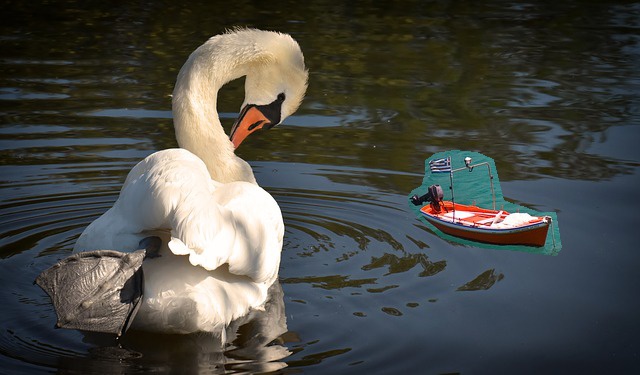
Directly Copied
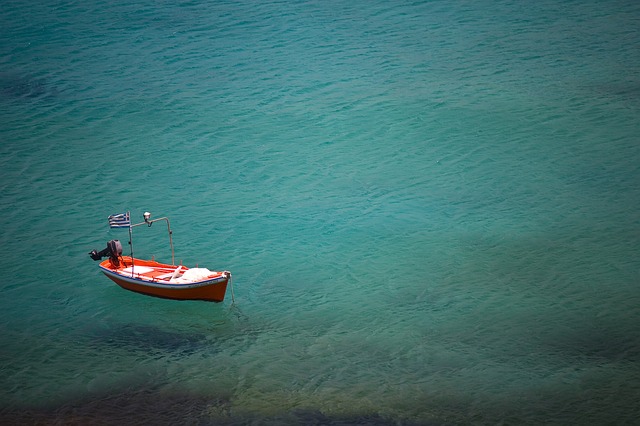
Source: Boat
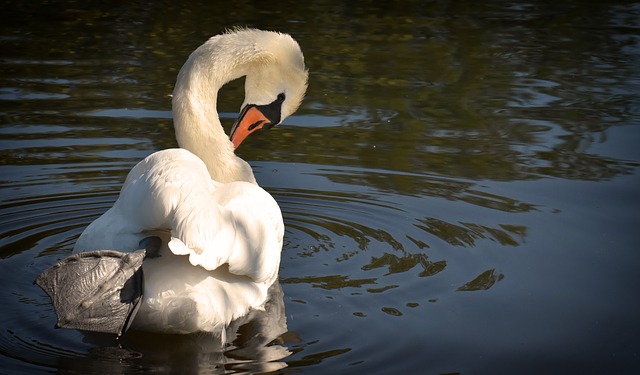
Target: Swan
Cow Heli Landing
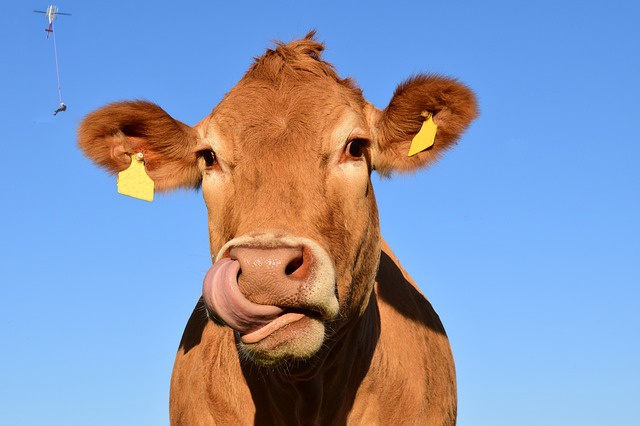
Poisson Blend
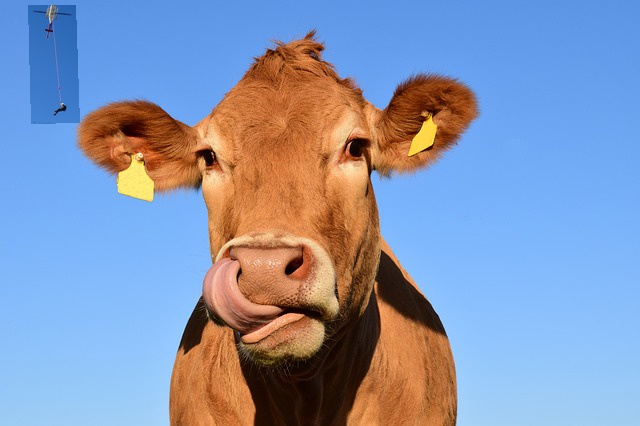
Directly Copied

Source: Helicopter

Target: Cow
Partial Failure: Penguin and the Squirrel
The biggest difficulty we ran into with blending photos was when the background textures did not match. By matching the boundary pixels we simply prevent a hard seam from forming. However, when the textures don't match the seam is still very apparent as our eyes pick up the difference clearly. Here we see the blending makes is much better than just copying, but we can still see the boundary around the penguin.
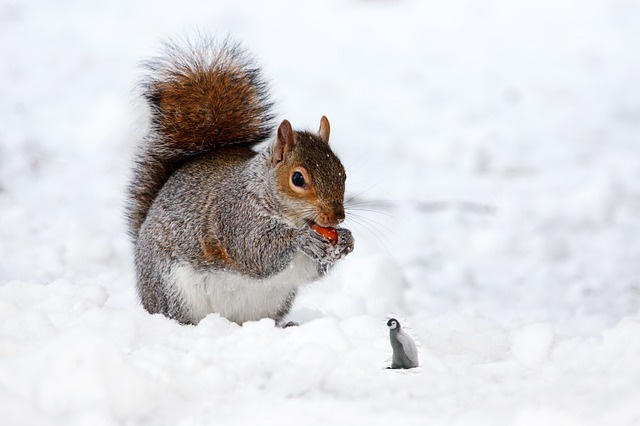
Poisson Blend
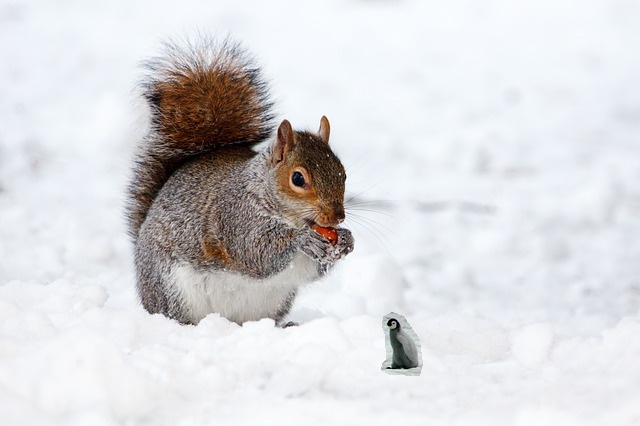
Directly Copied
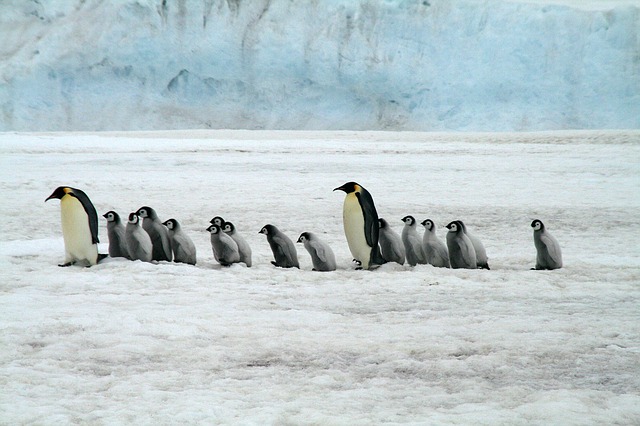
Source: Penguin
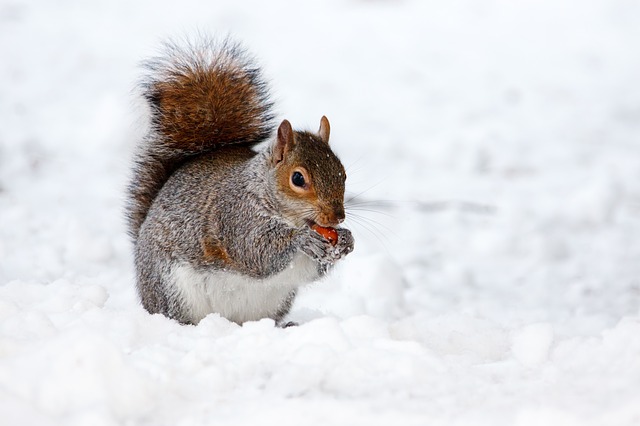
Target: Squirrel
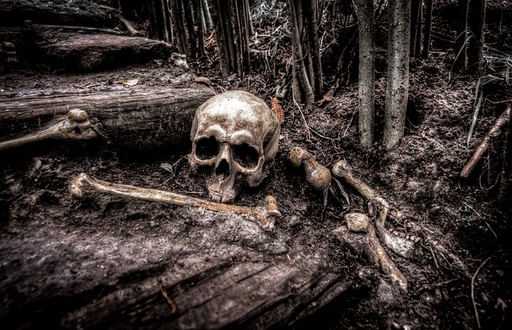
Full Failure: Skull on the Ostrich
Here we also run into the texture problem where the boundary above the skull is still very clear. Additionally, the skull itself is based on a boundary such that the top of the skull is trying to match a different background than the bottom of the skull. The result is that a new gradient is introduced into the skull that makes it look like it's fading. So for good pics you need to make sure to match textures and place in an area where the texture and color is consistent around the boundary.
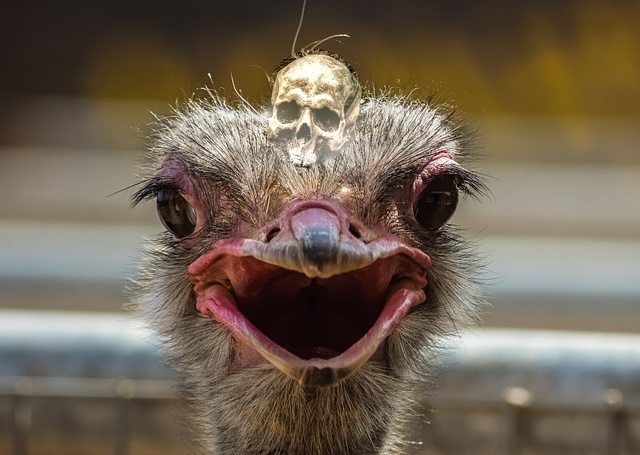
Poisson Blend
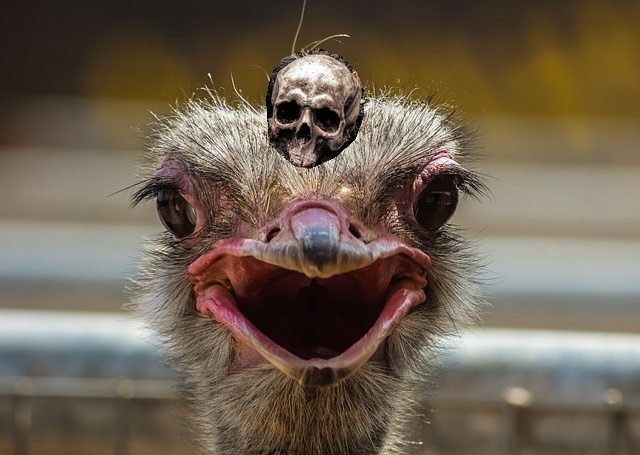
Directly Copied
Source: Skull
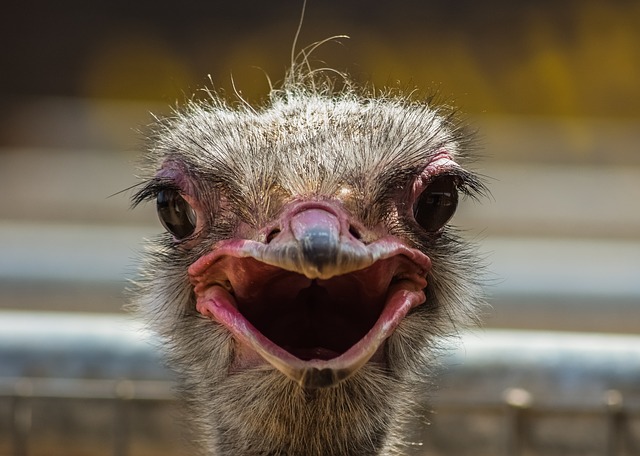
Target: Ostrich
Comparison: Laplacian vs. Poisson
Here we compare laplacian multi-resolution blending from Part 1.4 to Poisson blending for a given image. Here I prefer the Laplacian Multi-resolution blending. The shadows on the source face don't quite match up with the forehead of the target, creating a visible seam in the poisson blend. However, in the laplcian blend, the result is smooth. The one drawback here is the faded nature of the eyebrow and edges that are somewhat ghost-like. It seems that the poisson blending is somewhat tough, but the better option when the textures and gradients of the edges match up well already. The laplacian blending seems good in all other cases, especially when the background doesn't have many details in the boundary area that would get blurred.
Poisson Blend
Laplacian Blend
Source: Eye
Target: Face
Final Note:
The most important thing I learned about this project was how different frequencies affect our perception of the world around us. We can manipulate these frequencies to our advantage to create illusions, blending, and more! I finally understand why it might make sense to separate frequencies and modify low frequency tones while the details seem the same due to high frequencies remaining consistent. When you add in the ability to modify things with gradients it opens up a whole range of possibilities for manipulating photos and truly understanding how we percieve the world around us.