For this part of the project, we blended two images together by masking a certain portion of one image and blending the corresponding part of the other image through that using the gaussian and laplacian pyramids of the mask and both images. The equation used is the same as that in the paper: LS[l] (i, j) = GR[l](i, j)LA[l](i, j) + (1 - GR[l](i, j))LB[l](i, j), where (i,j) are coordinates of the image and l is the layer in the stack, and the full image is reconstructed through summing up the laplacian stack constructed by the equation above. I did this part in color (bells and whistles)
Part 2
For this part of the project, the goal was to explore gradient domain processing; this would enable us to splice different portions of images together and blend them seamlessly without making it immediately obvious from the image structure/seams that they are actually from two different images. This was done by attempting to keep the gradients of the portion copied from source image the same while making the border pixels around the source match the border pixels of the target image. This is called Poisson blending.
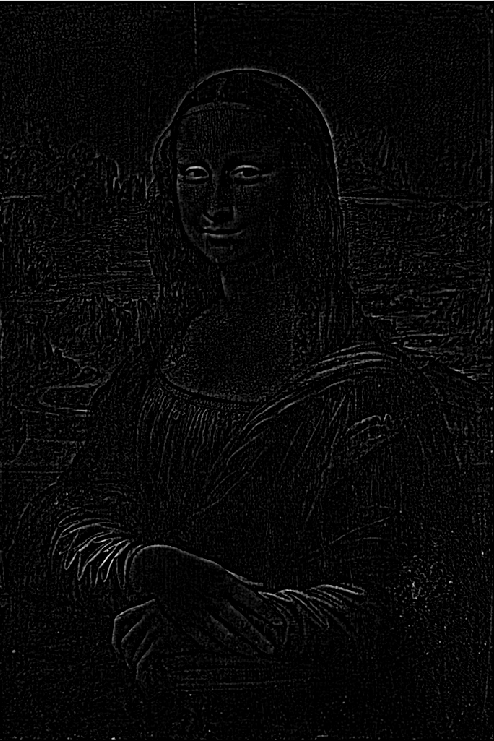
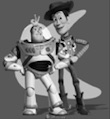
2.1 - We begin with a toy problem, in which we try to reconstruct a gray image of Woody and Buzz
2.2
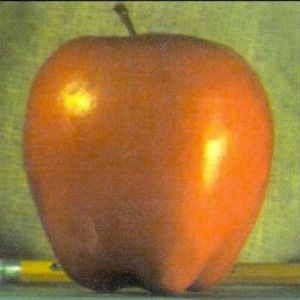
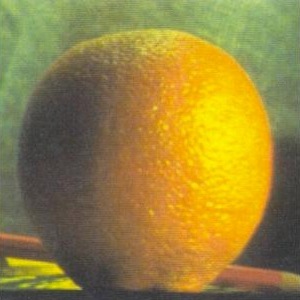
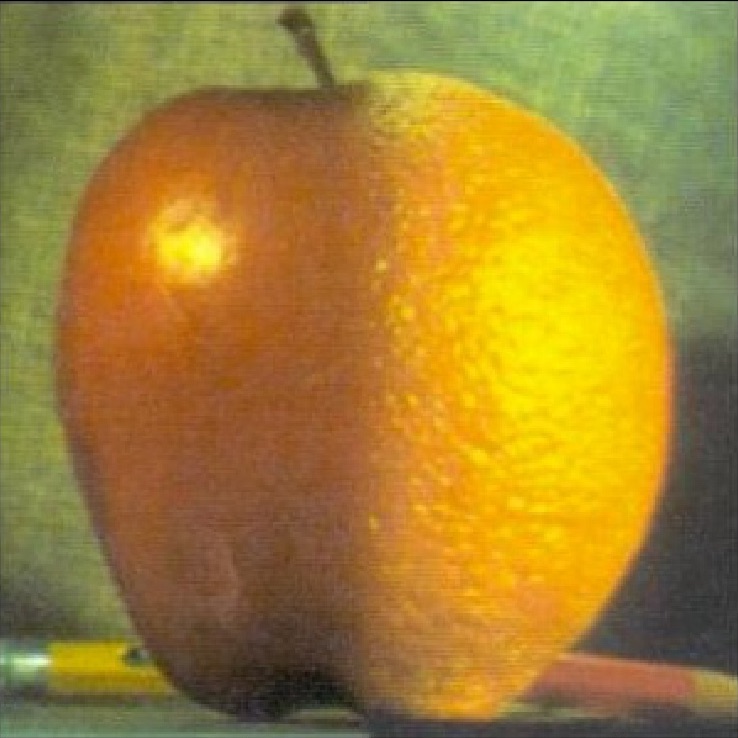
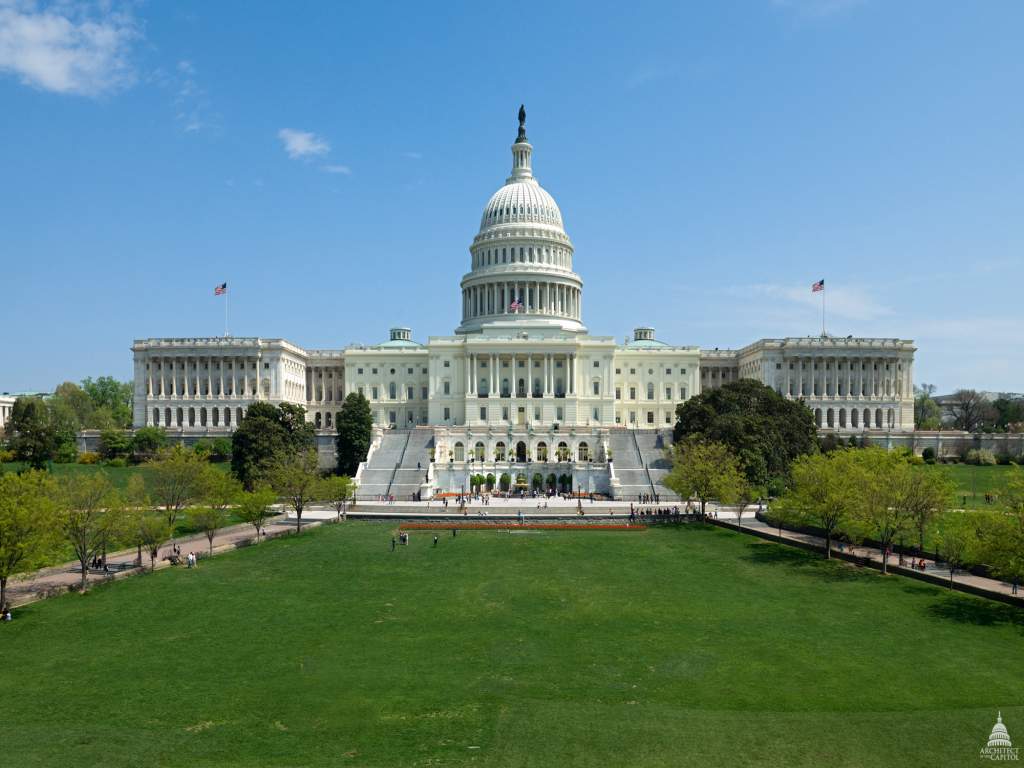
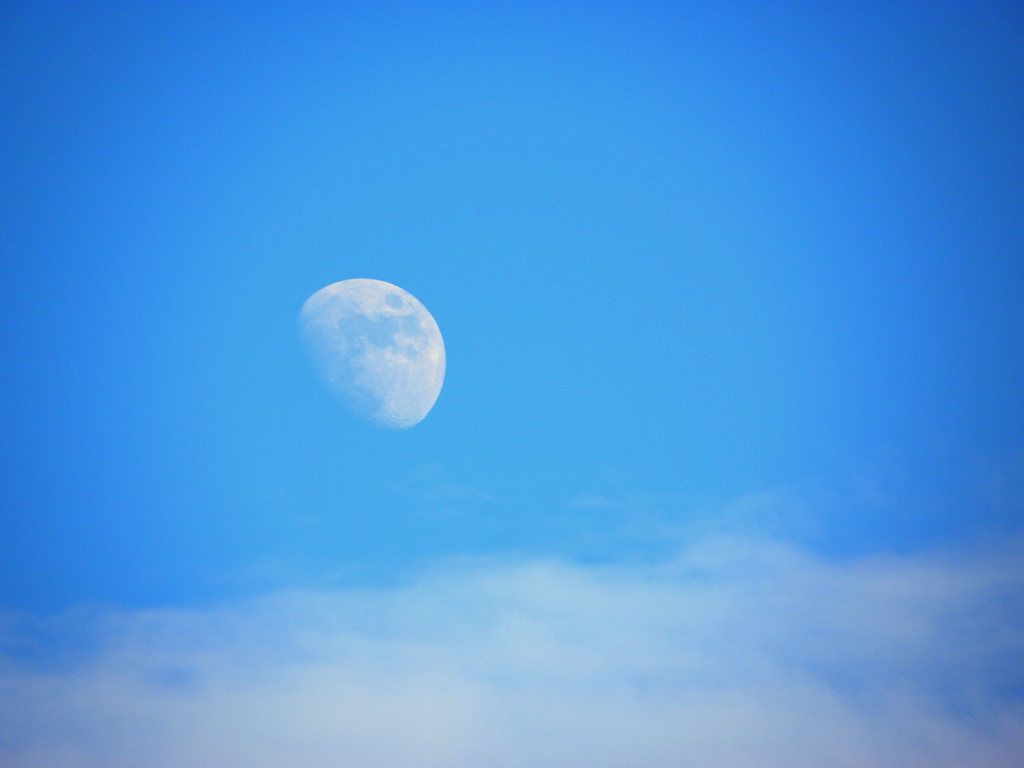
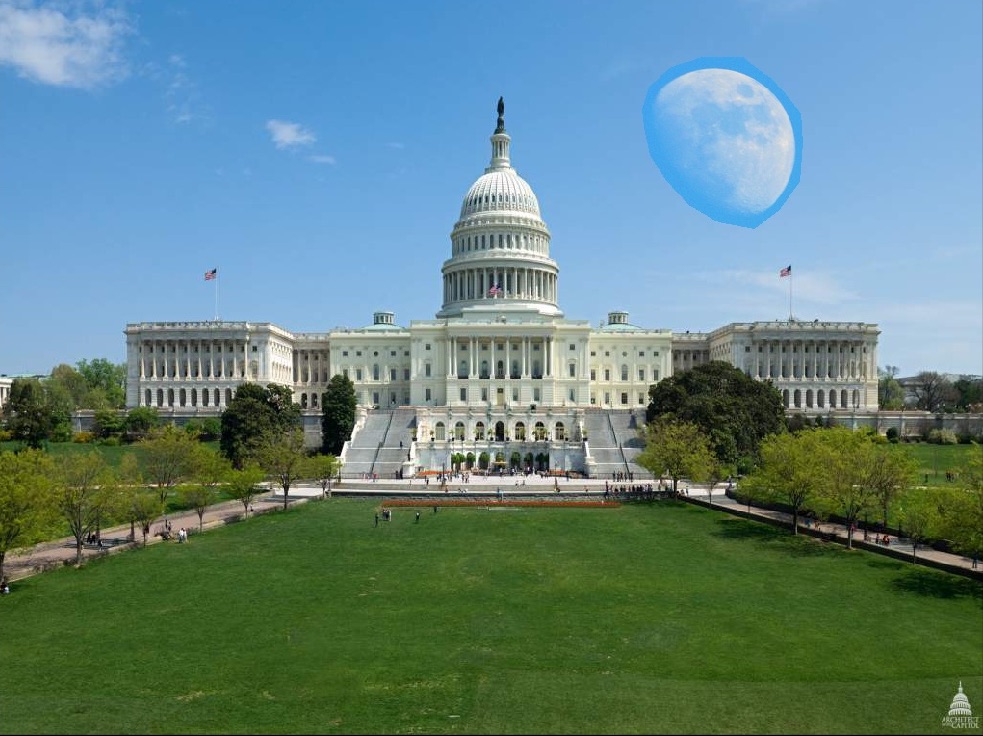
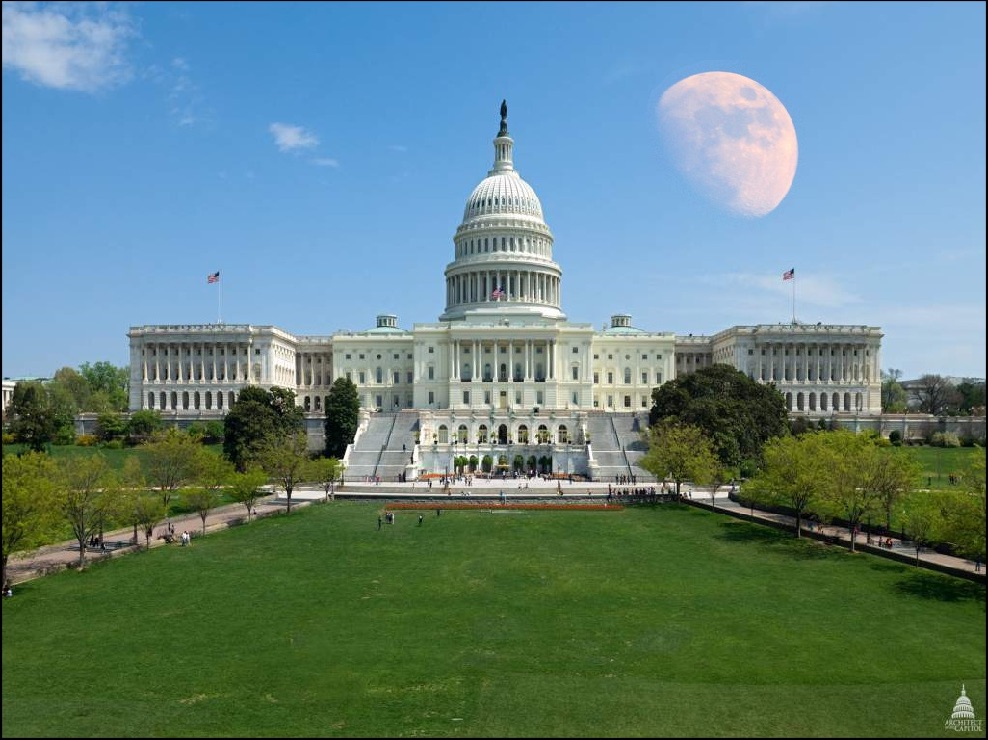
My favorite result, enclosed below, shows the US Capitol and the moon spliced into a segment above the Capitol. First, I generated the appropriate masks through the starter code provided. Then, I constructed a pixel mapping, in which each pixel mapped to an integer, and then kept the pixels corresponding to the masks. I then constructed a series of least squares equations for the x and the y gradients, identified the border pixels through brute-force for-loop methods, added additional constraints on the border pixels matching the corresponding target mask area exactly, plugged them all into a sparse matrix, and then called the sparse least squares solver on it. Then, I spliced the result into the mask on the target image. The images, in order, are: The target (the Capitol), the source (the Moon), the non-blended concatenation of the images, and then the blended result.
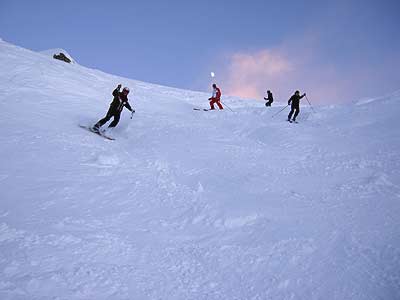
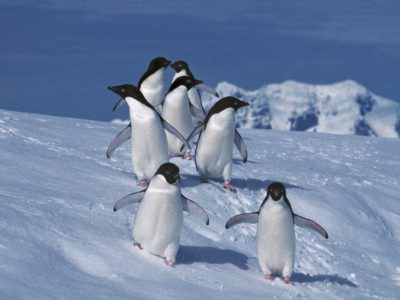
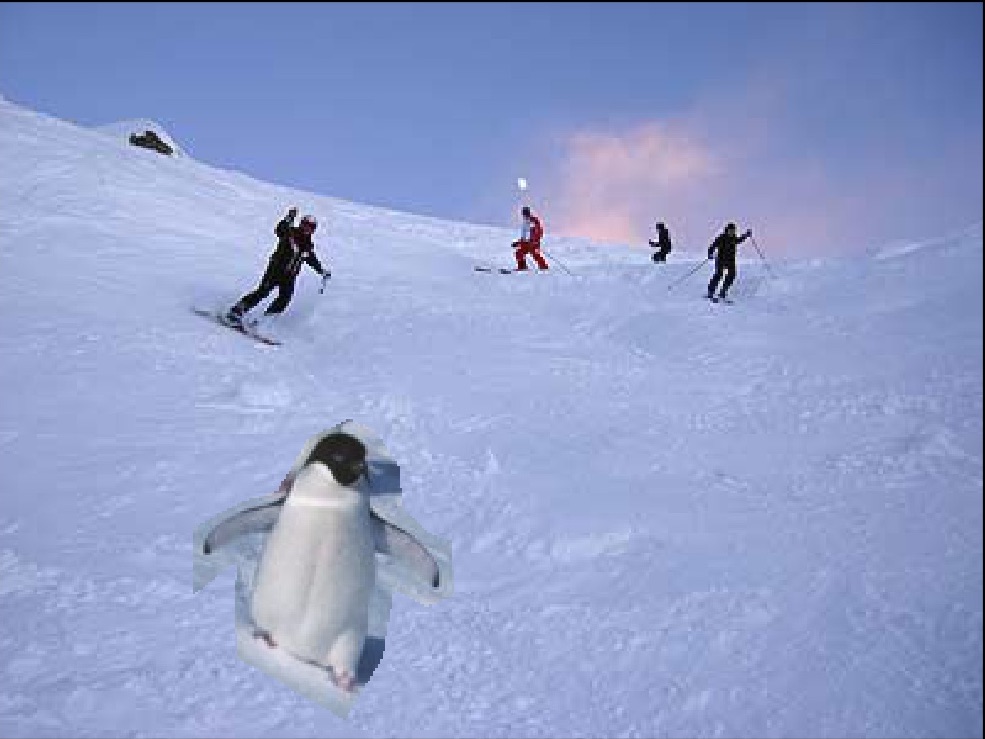
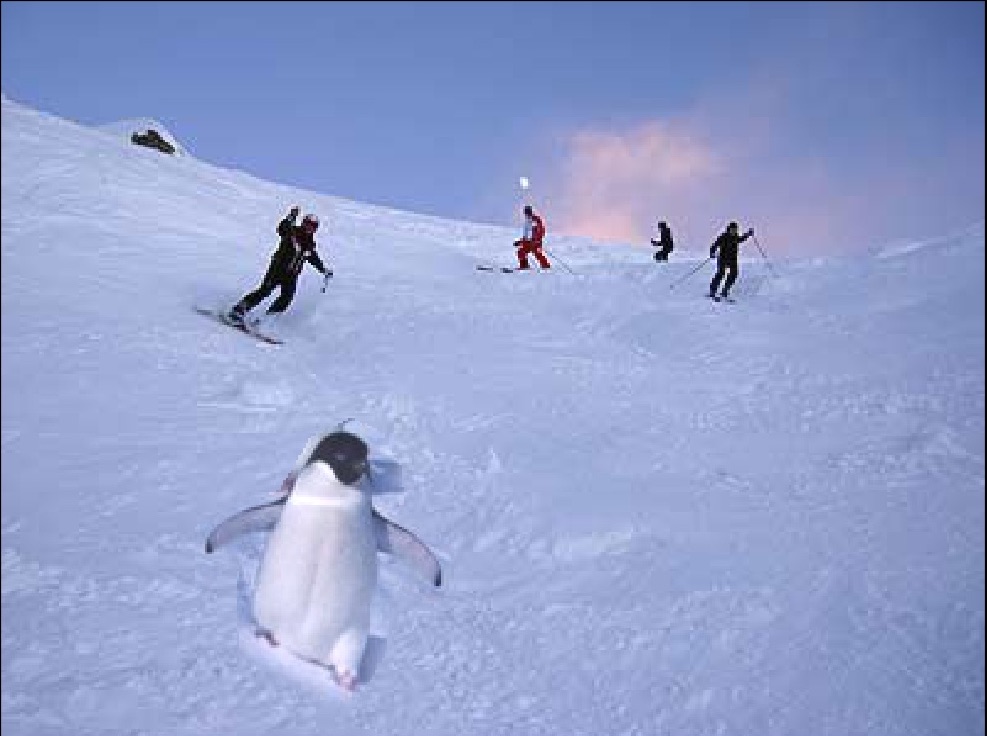
Here is a result of a penguin skiing. On the left is the target, followed by the source, the spliced (non-blended) image, and then the blended image. Note the clear gray seam around the penguin in the non-blended image that disappears after blending
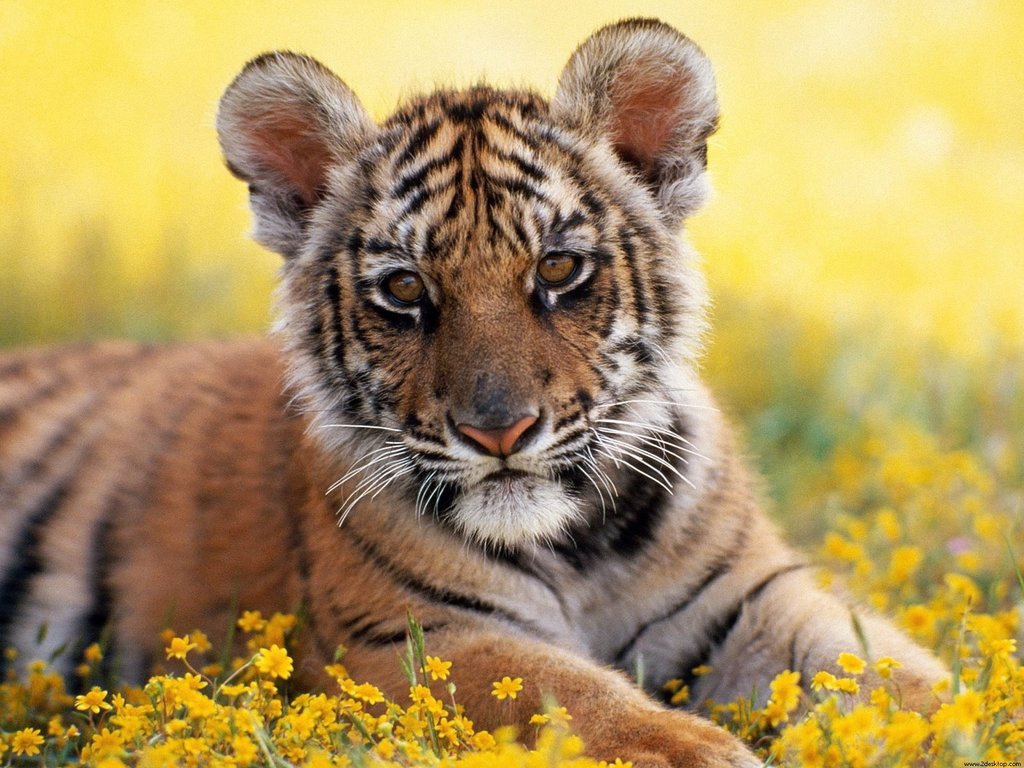
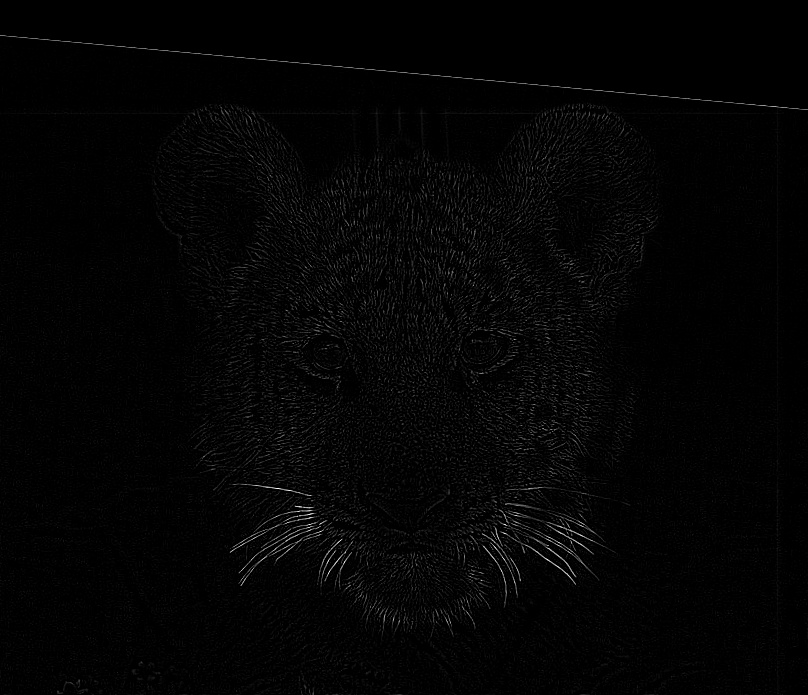
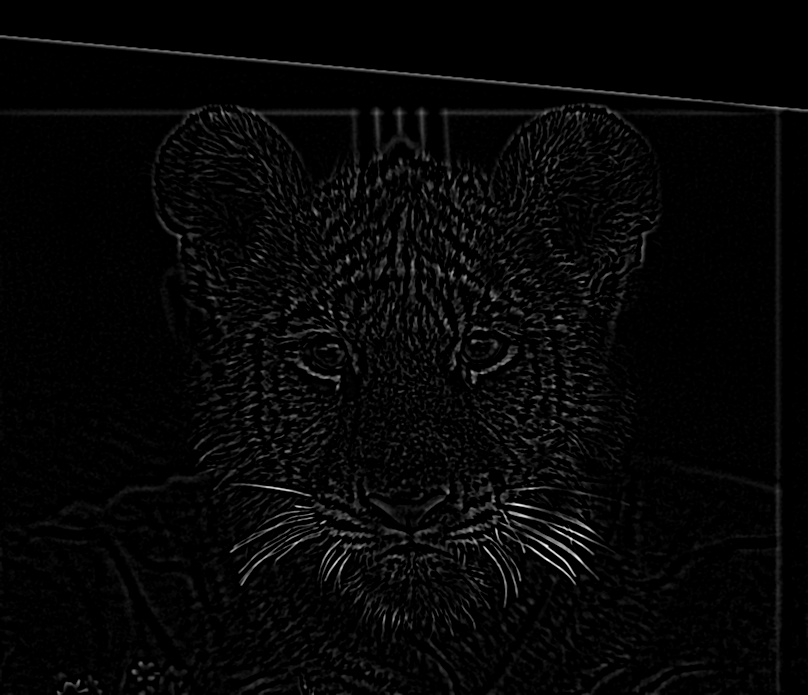
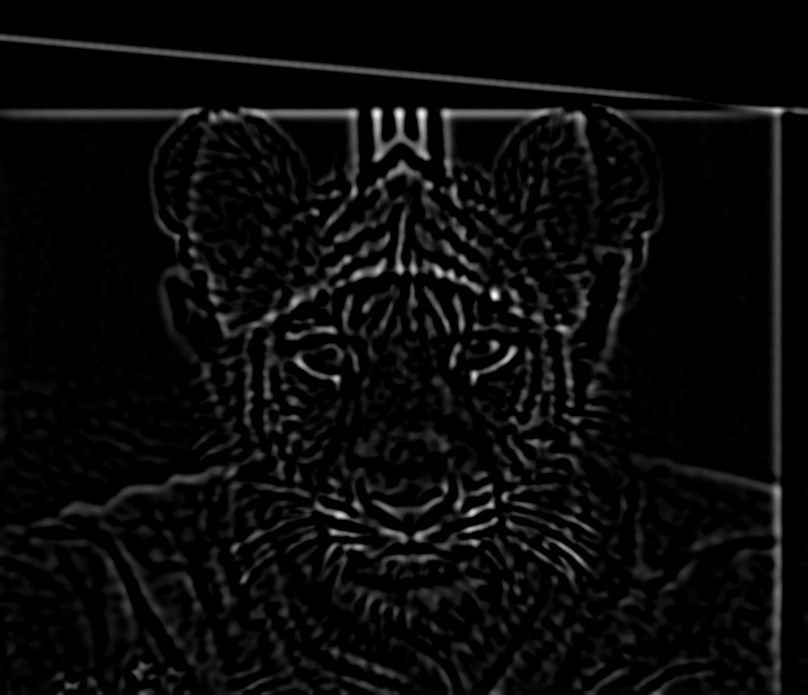
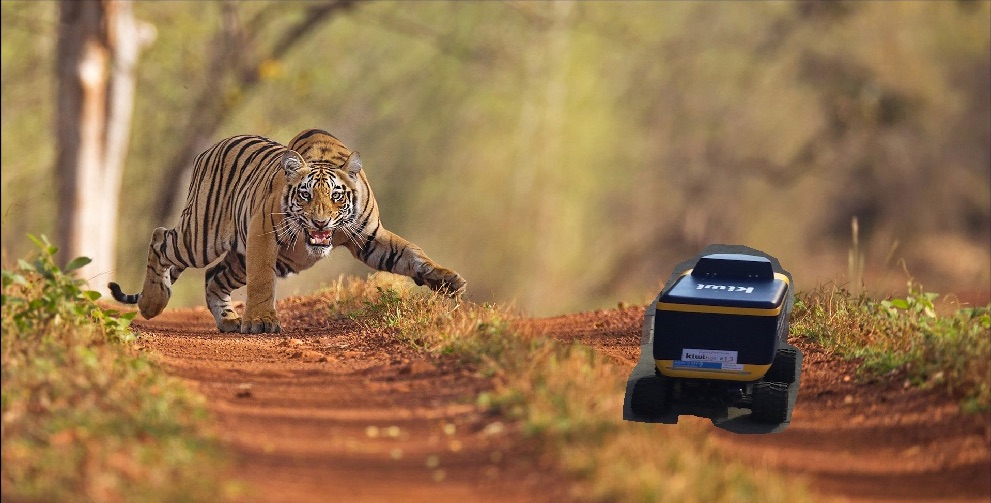
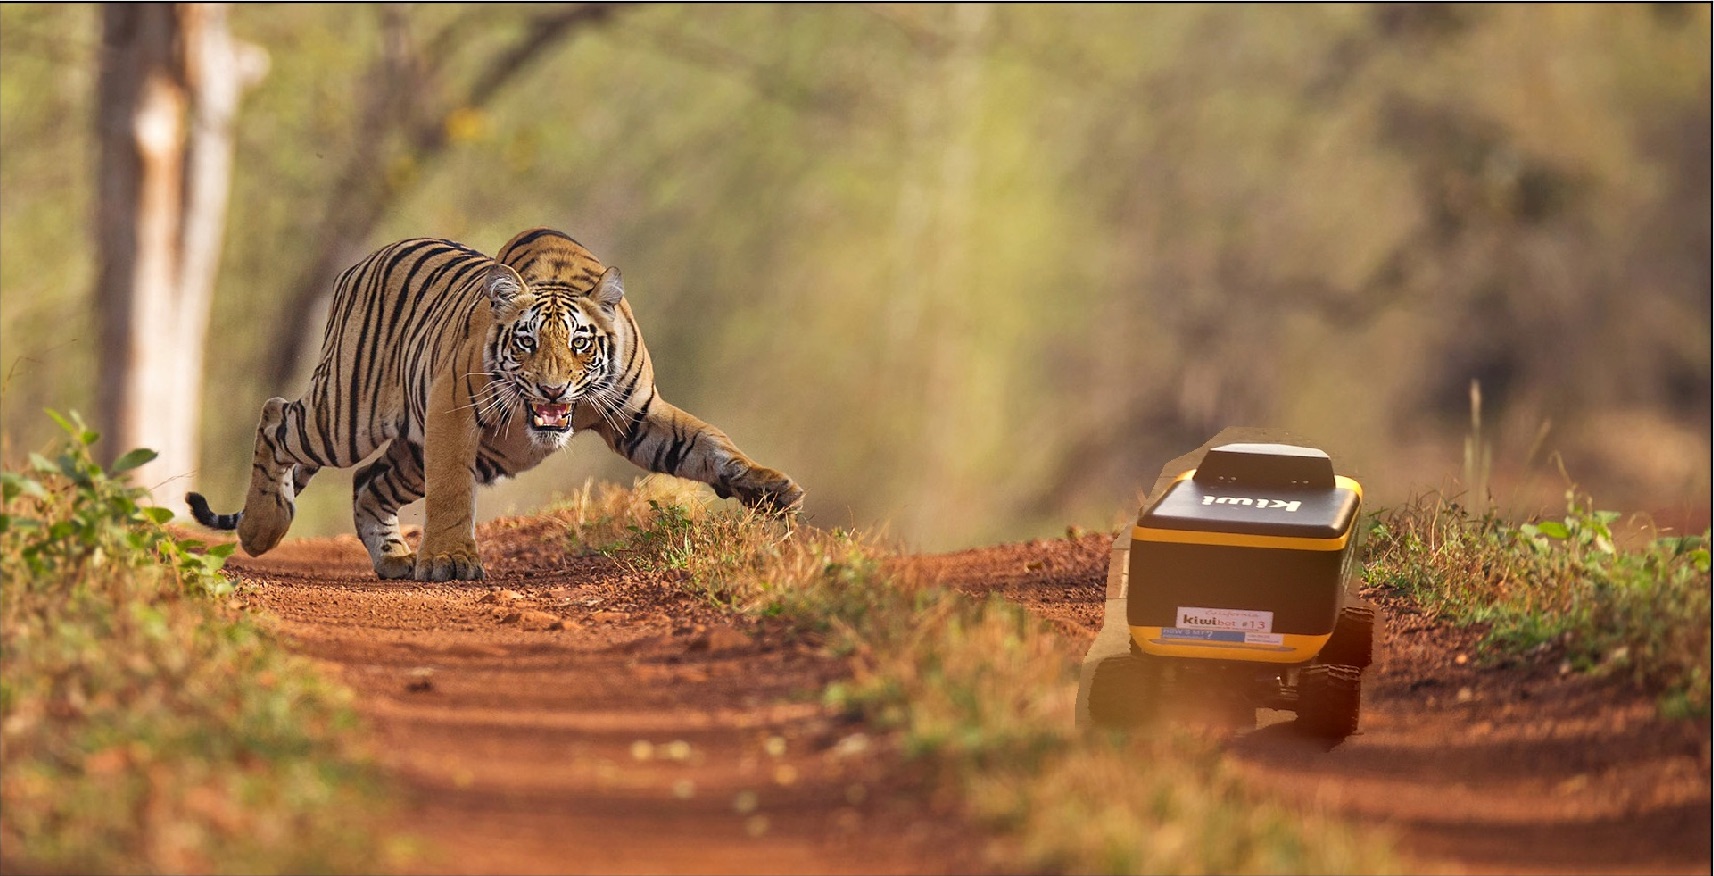
Here is a result of a tiger chasing a kiwibot -- this did not go as well. On the left is the target, followed by the source, the spliced (non-blended) image, and then the blended image. Unfortunately, because the background was so different in texture, layout, and composition, the blending process did not go nearly as well as hoped.

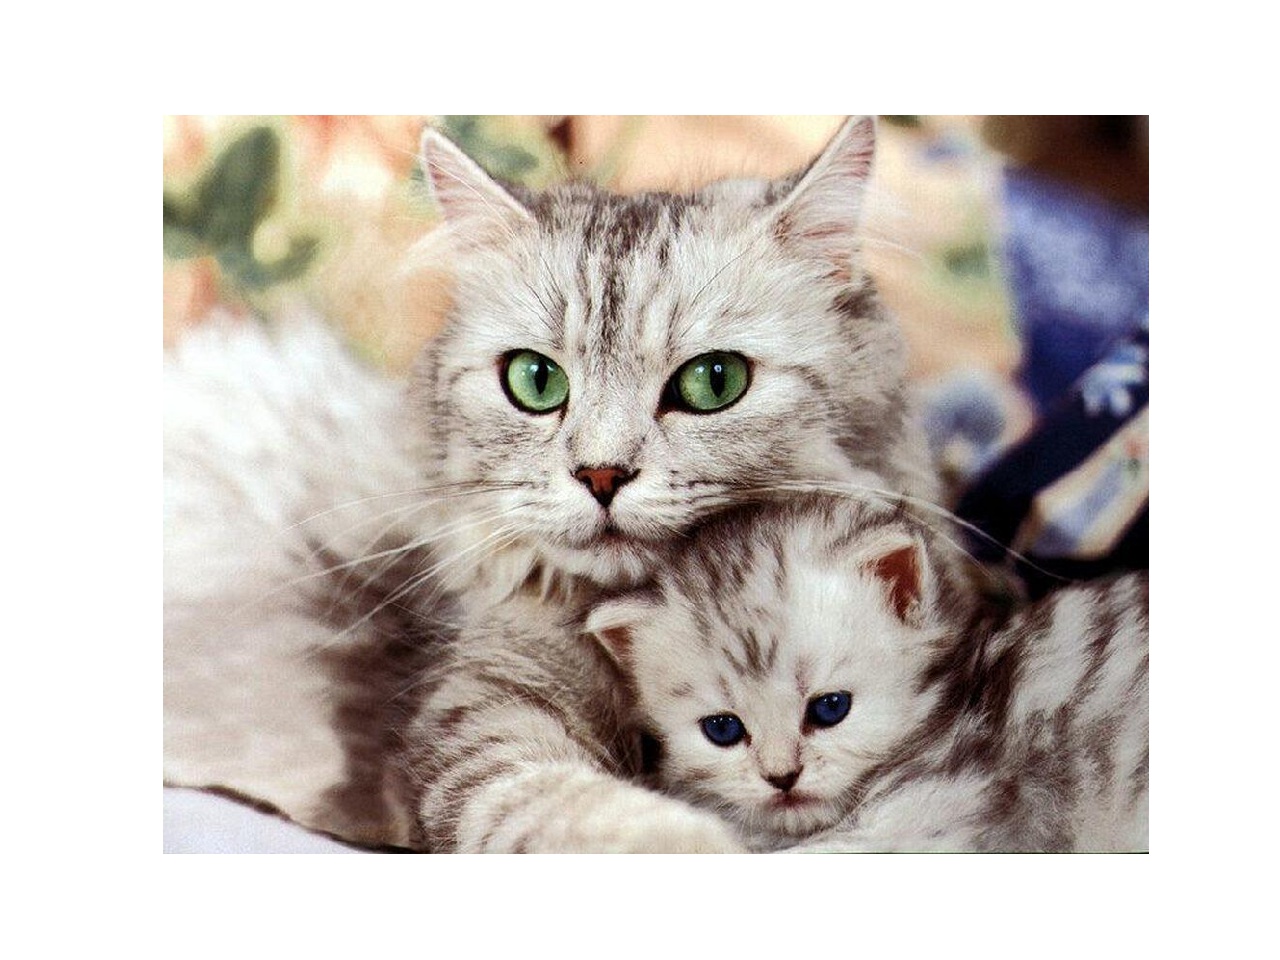
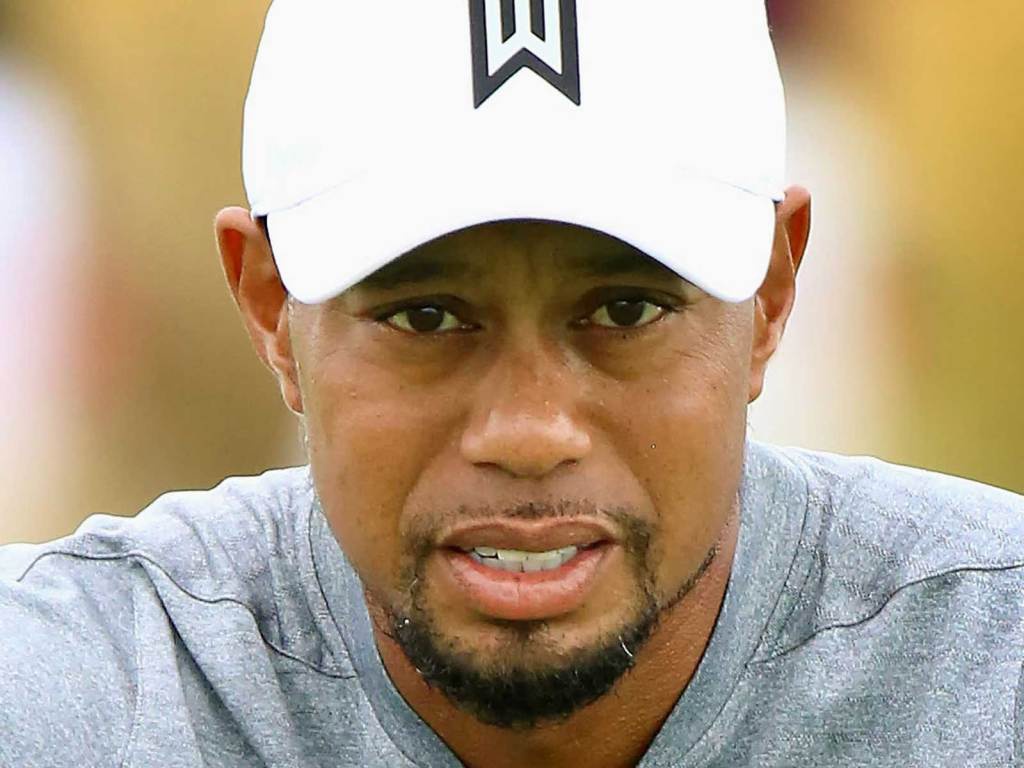
Here are some more poisson blending results
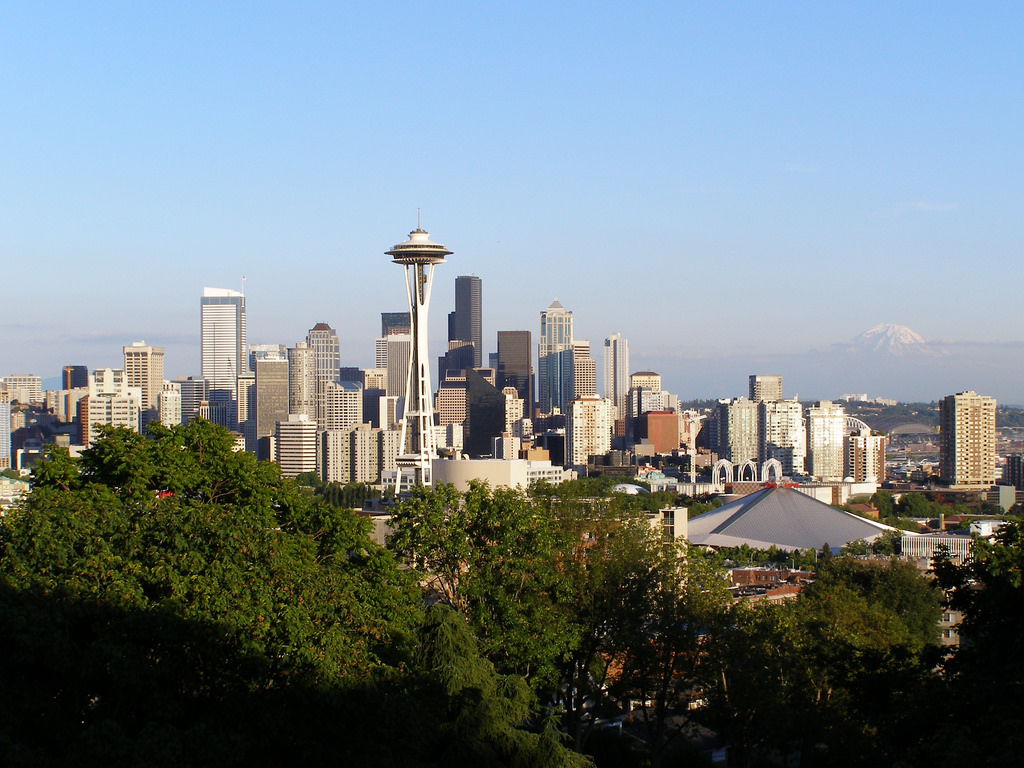
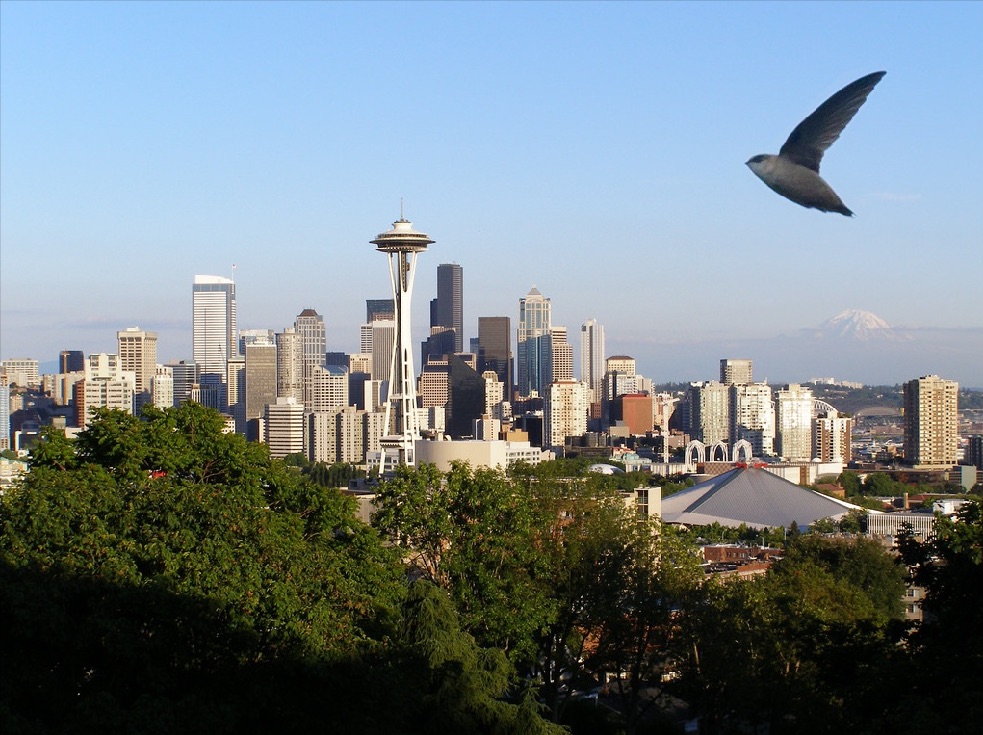
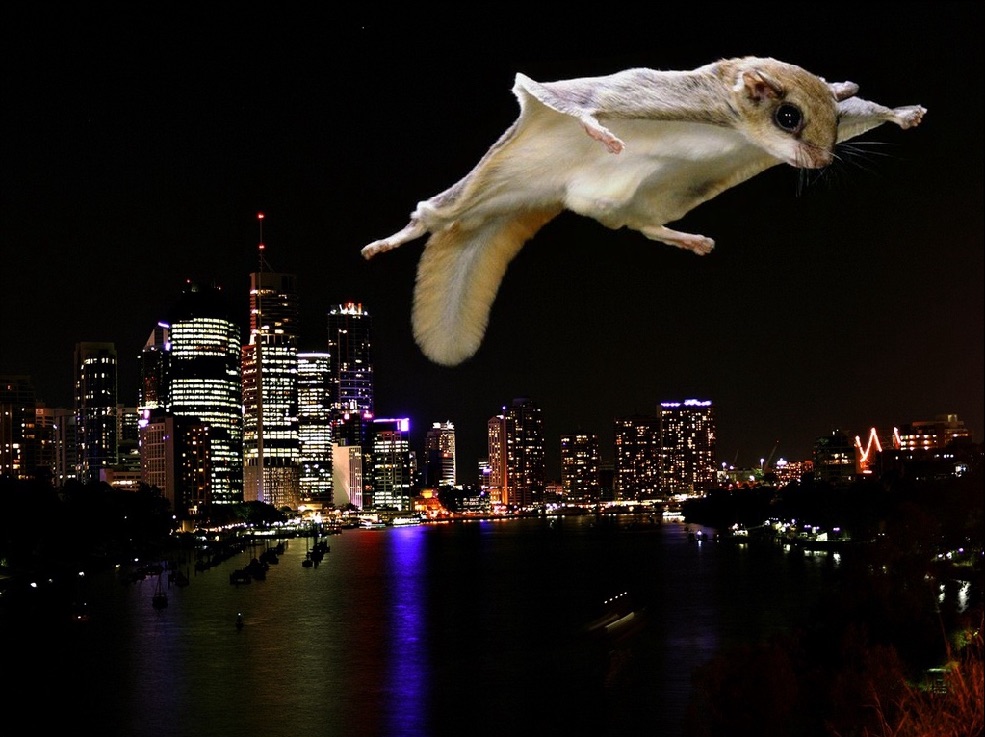
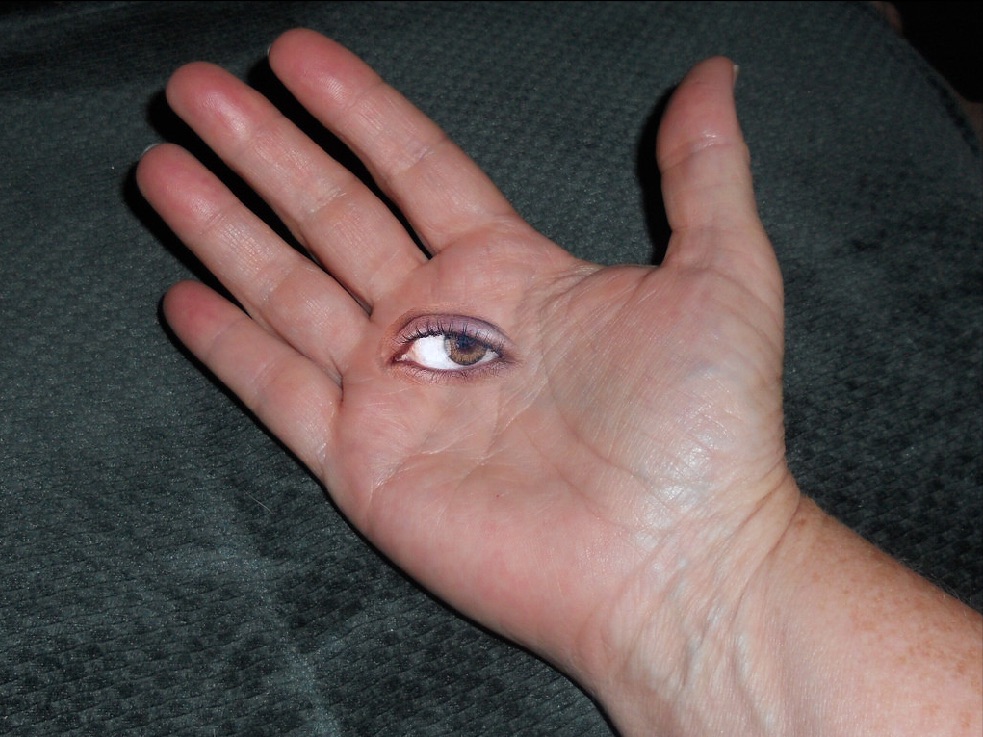
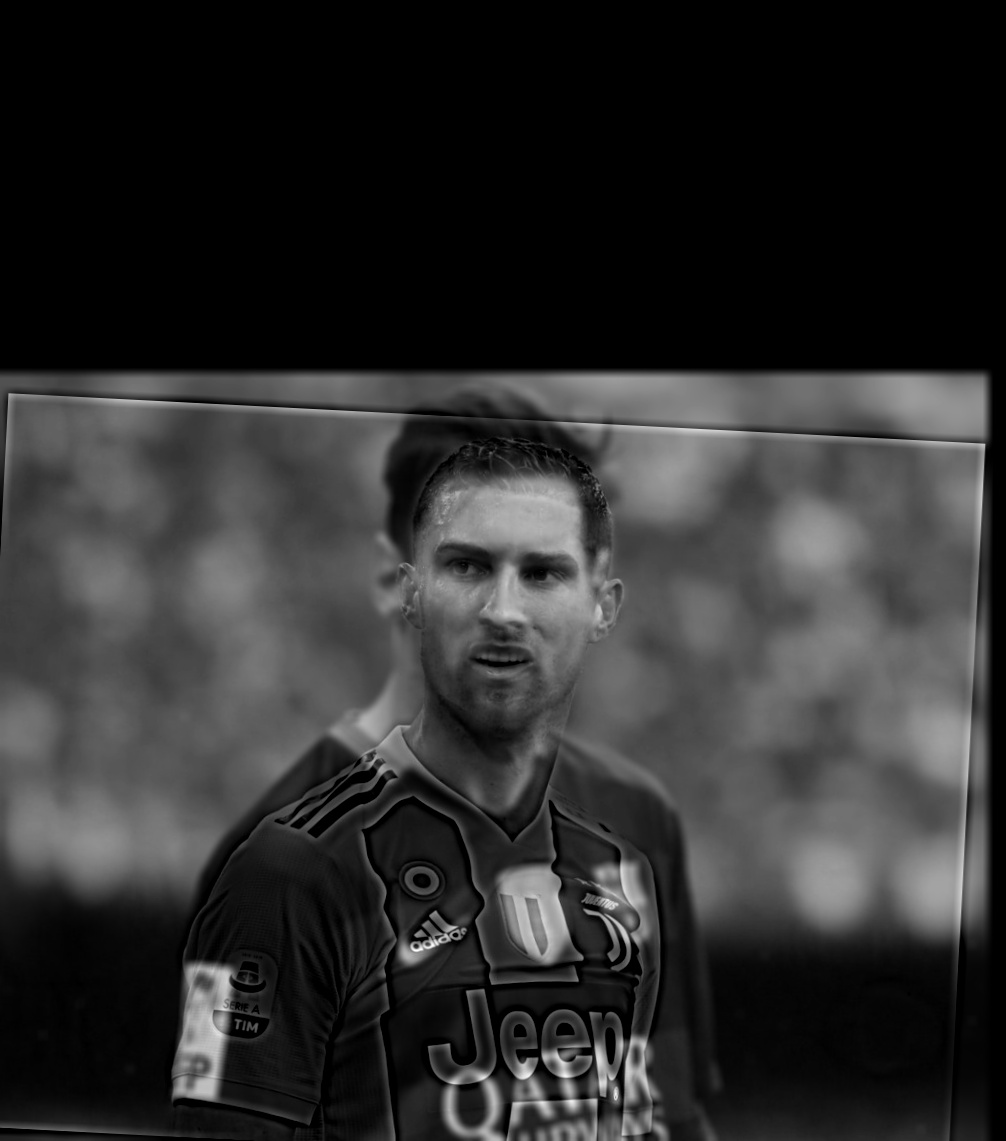
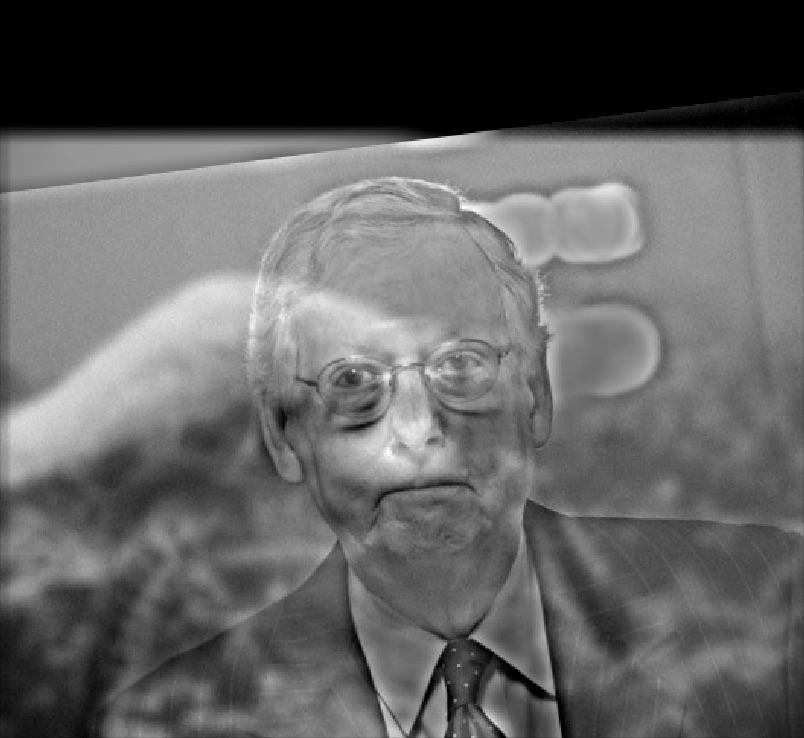
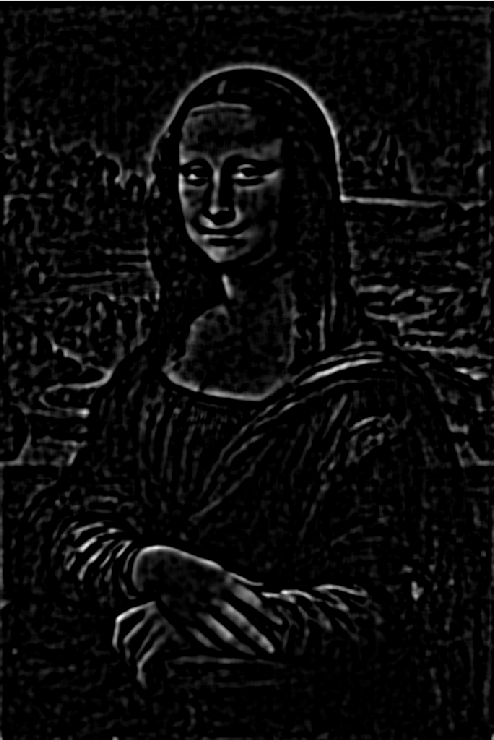
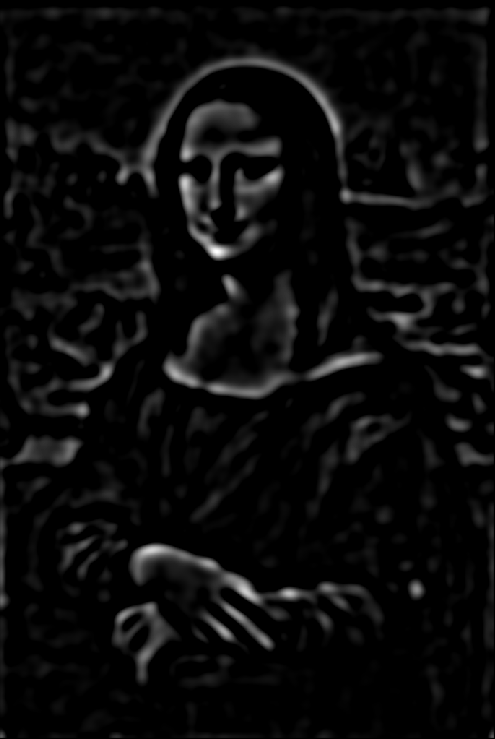
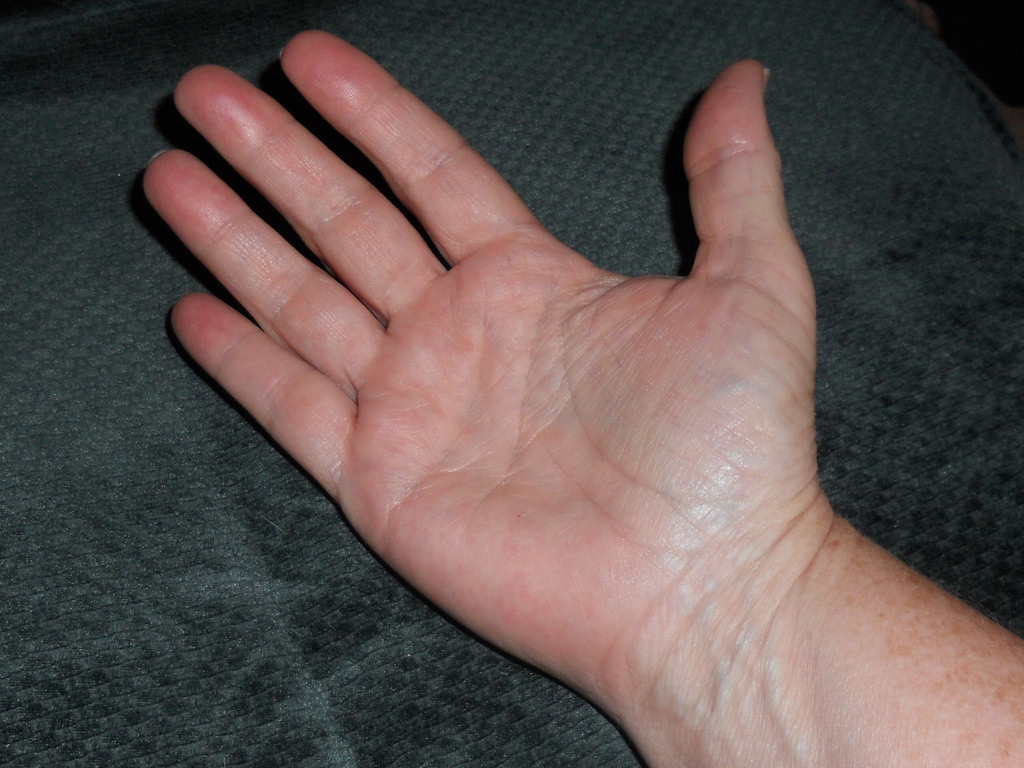
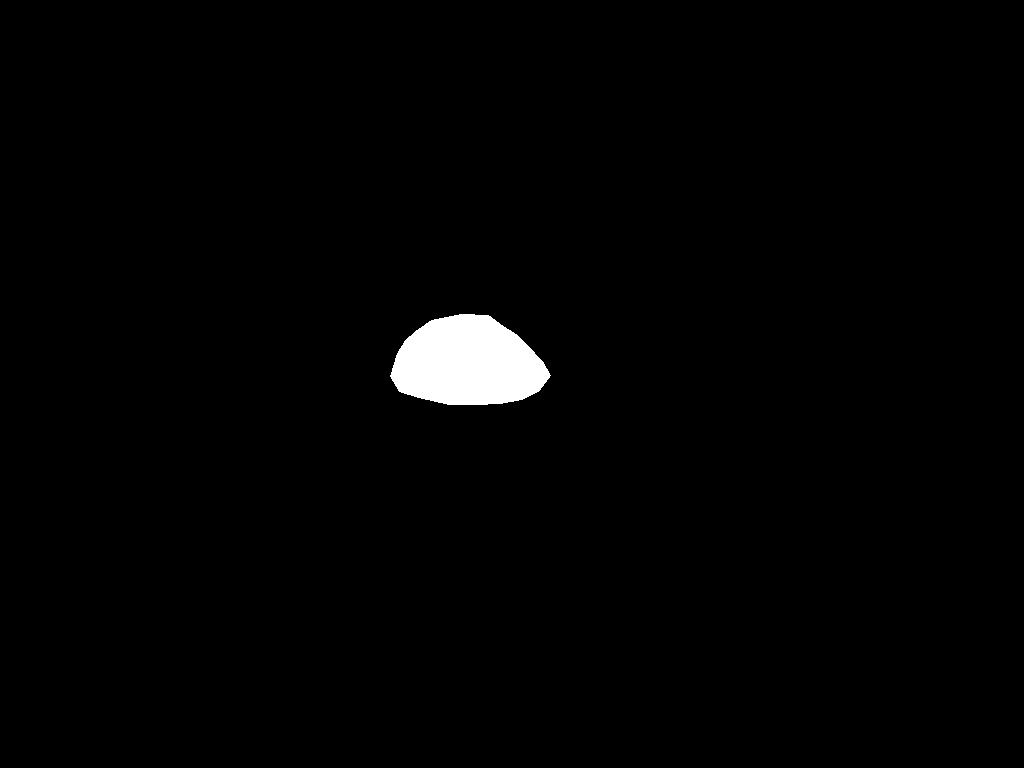
Now, we try using poisson blending on the irregular mask image of a hand and eye blended together in part 1.4. On the left is the result of multiresolution blending, and on the right is the result using poisson blending. We see that because poisson blending attempts to match the edge to the background colors of the target, the color of the eye changes as a consequence of the attempt to change the border colors to match the hand colors while maintaining the gradients of the source image as best as possible. Poisson blending seems to be good if we want something to blend in seamlessly into the background. Multiresolution blending, which takes both images and literally blends them both together without matching background colors -- it blurs the edges to create a smooth transition instead. So, if we want to create a blend of two images in which we wish to preserve the properties of the source image, multiresolution blending is better. This was actually the part of the project I enjoyed the most -- understanding how different methods of blending work and when one is better than the other was really enjoyable to learn about.