Part 1
Part 1.1: Warmup
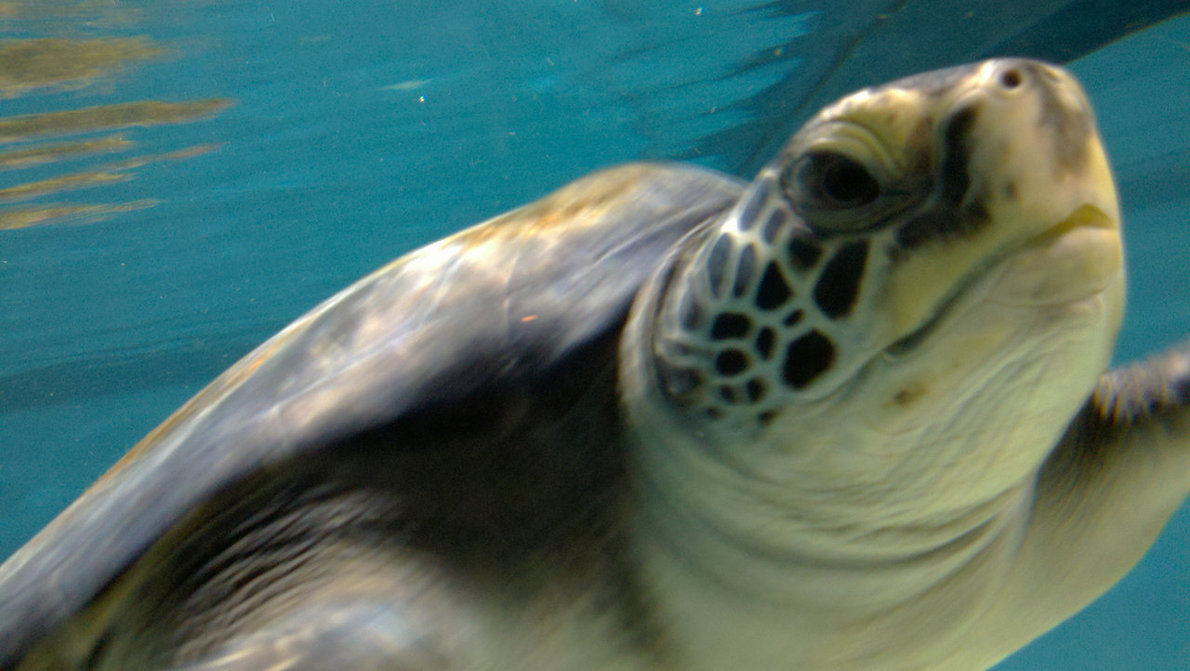
Original Image
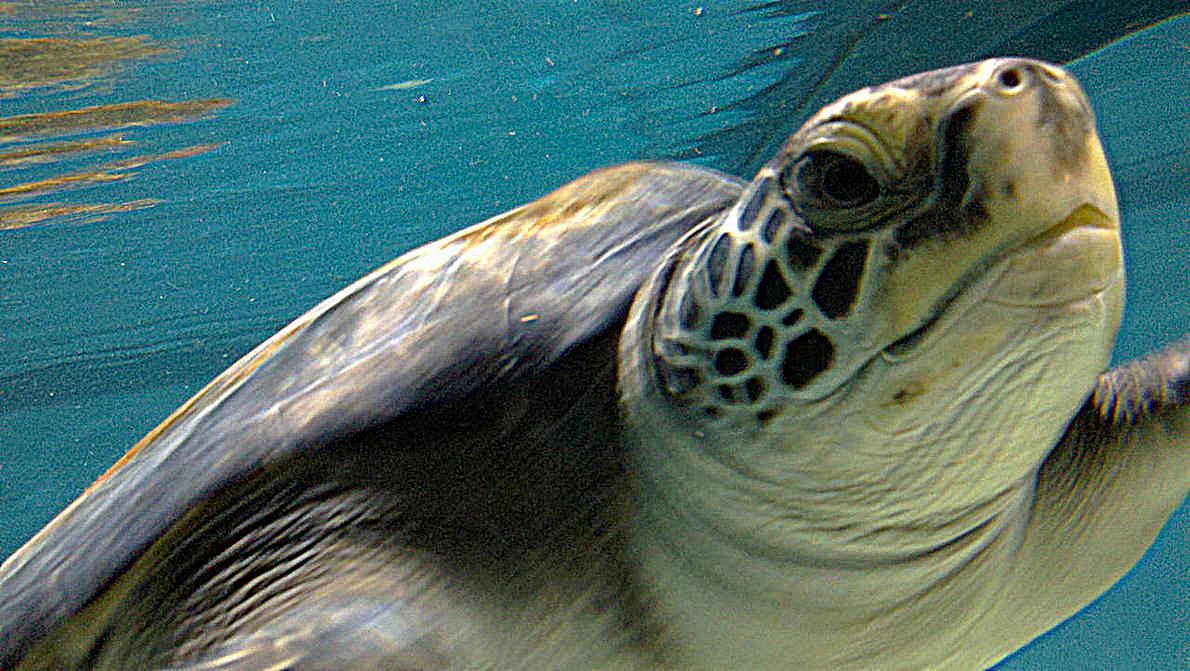
Image Sharpened
The unsharp masking technique is done by taking the low frequencies of the original image by taking a Gaussian filter and subtracting from the original image. This gives us the sharpened details of the original image and we multiply these details by alpha and add them back into the original image to get a sharper one. Here, alpha is 5 with a sigma of 5 for our Gaussian.
The equation is sharpened = original + α(original - blurred)
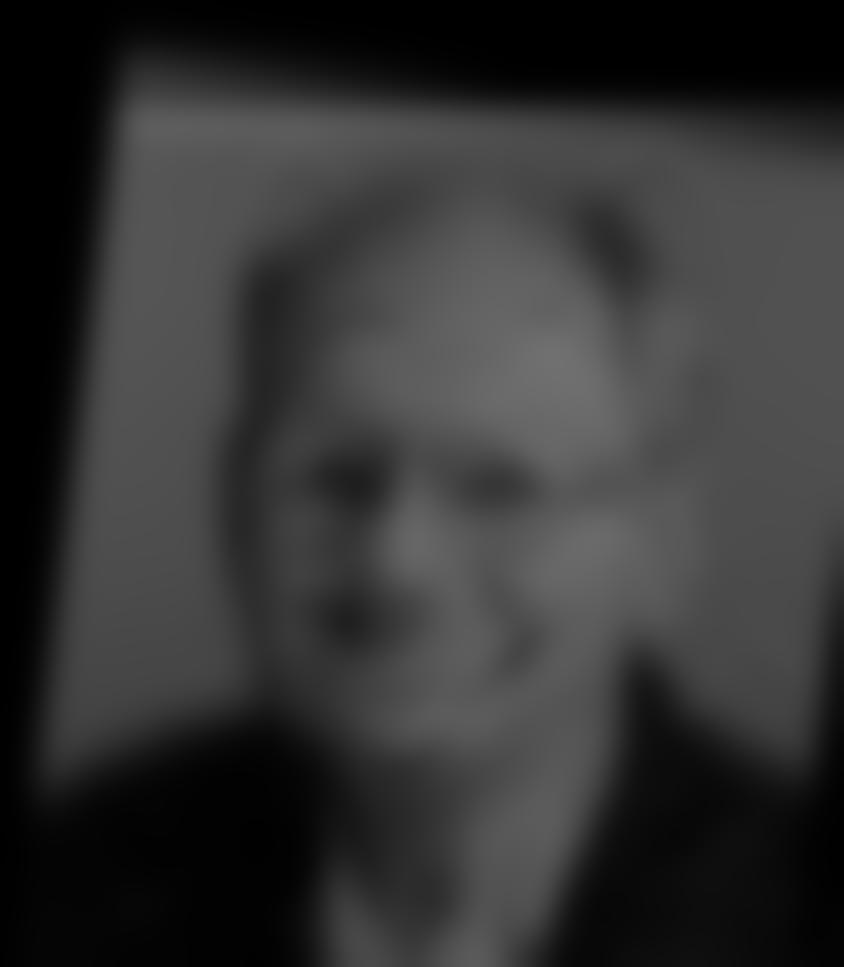
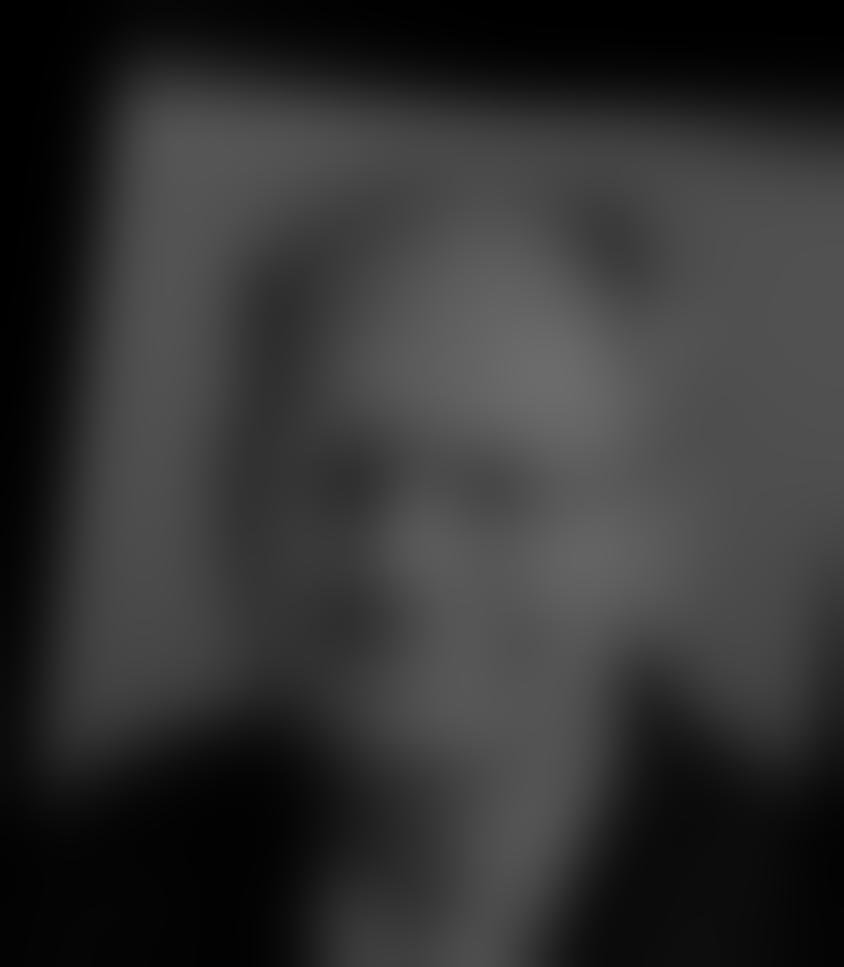
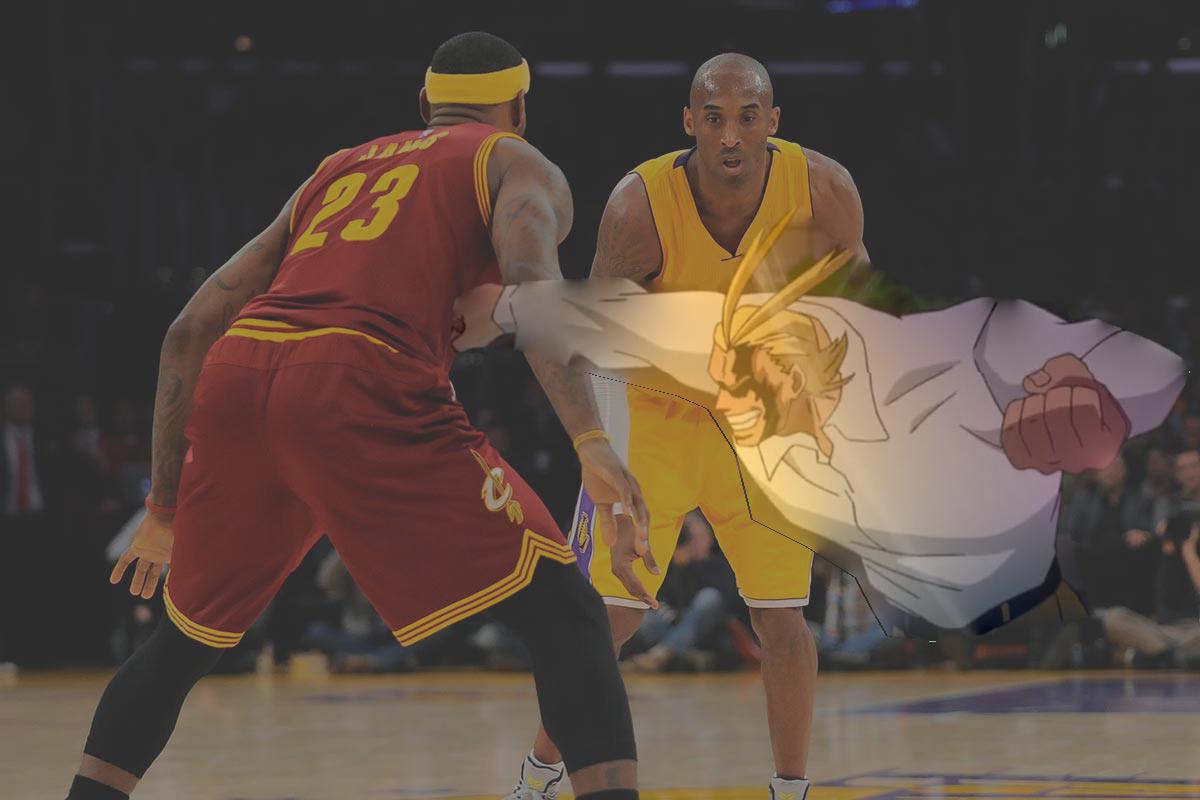
Part 1.2: Hybrid Images
In this section we explore the idea of hybrid images. Hybrid images are created by using a high pass filter on an image, a low pass filter on another image, and outputting the average of the two. Using the high pass filter, we get high frequencies, which can only be seen from closer. Using the low pass filter, we get the low frequencies which can be seen from farther away. Then, when we blend, we see the high pass image when close and the low pass image when farther away.
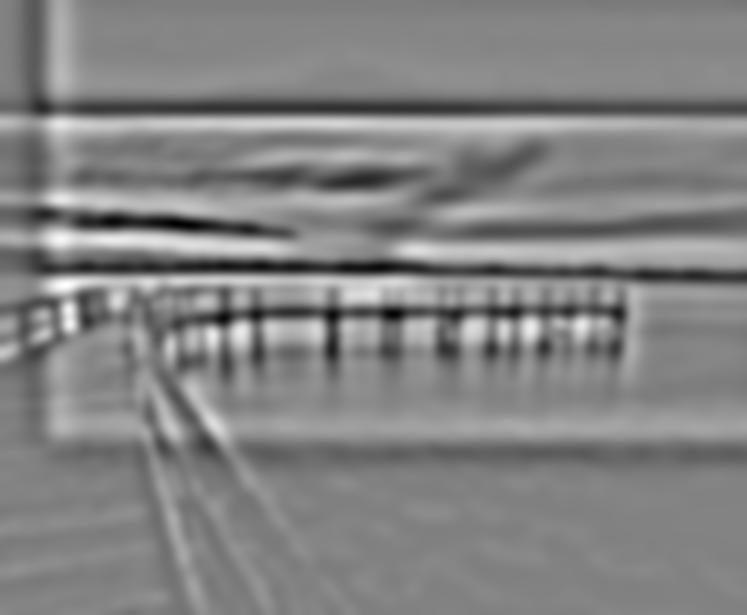
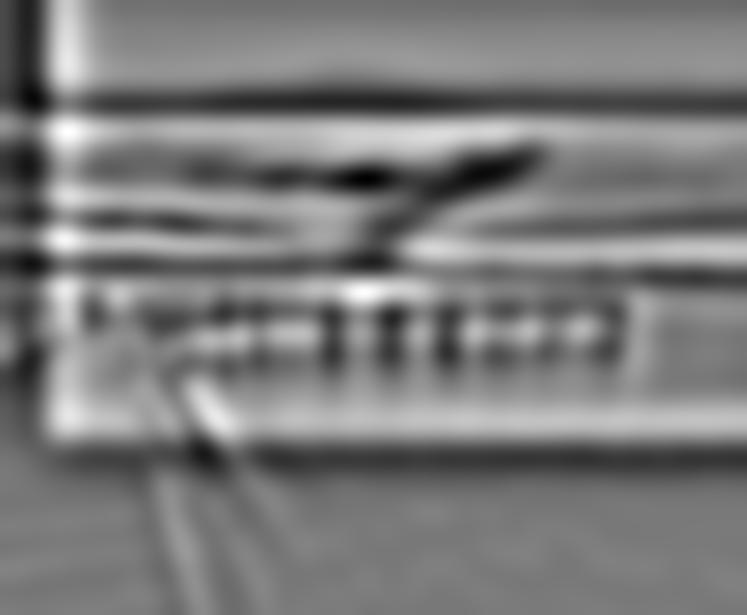
Fourier Analysis - Whale and Bridge
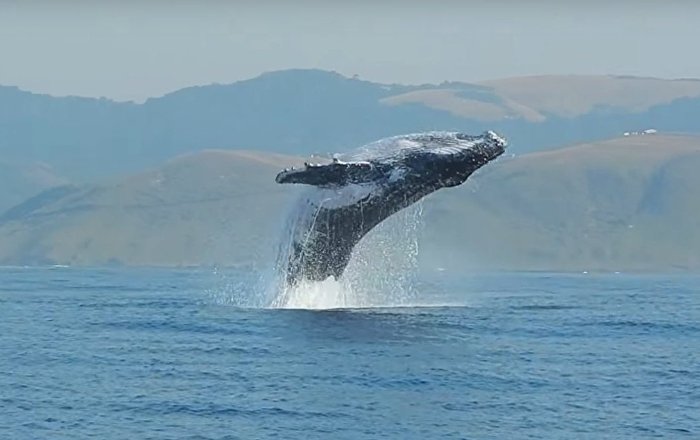
Whale
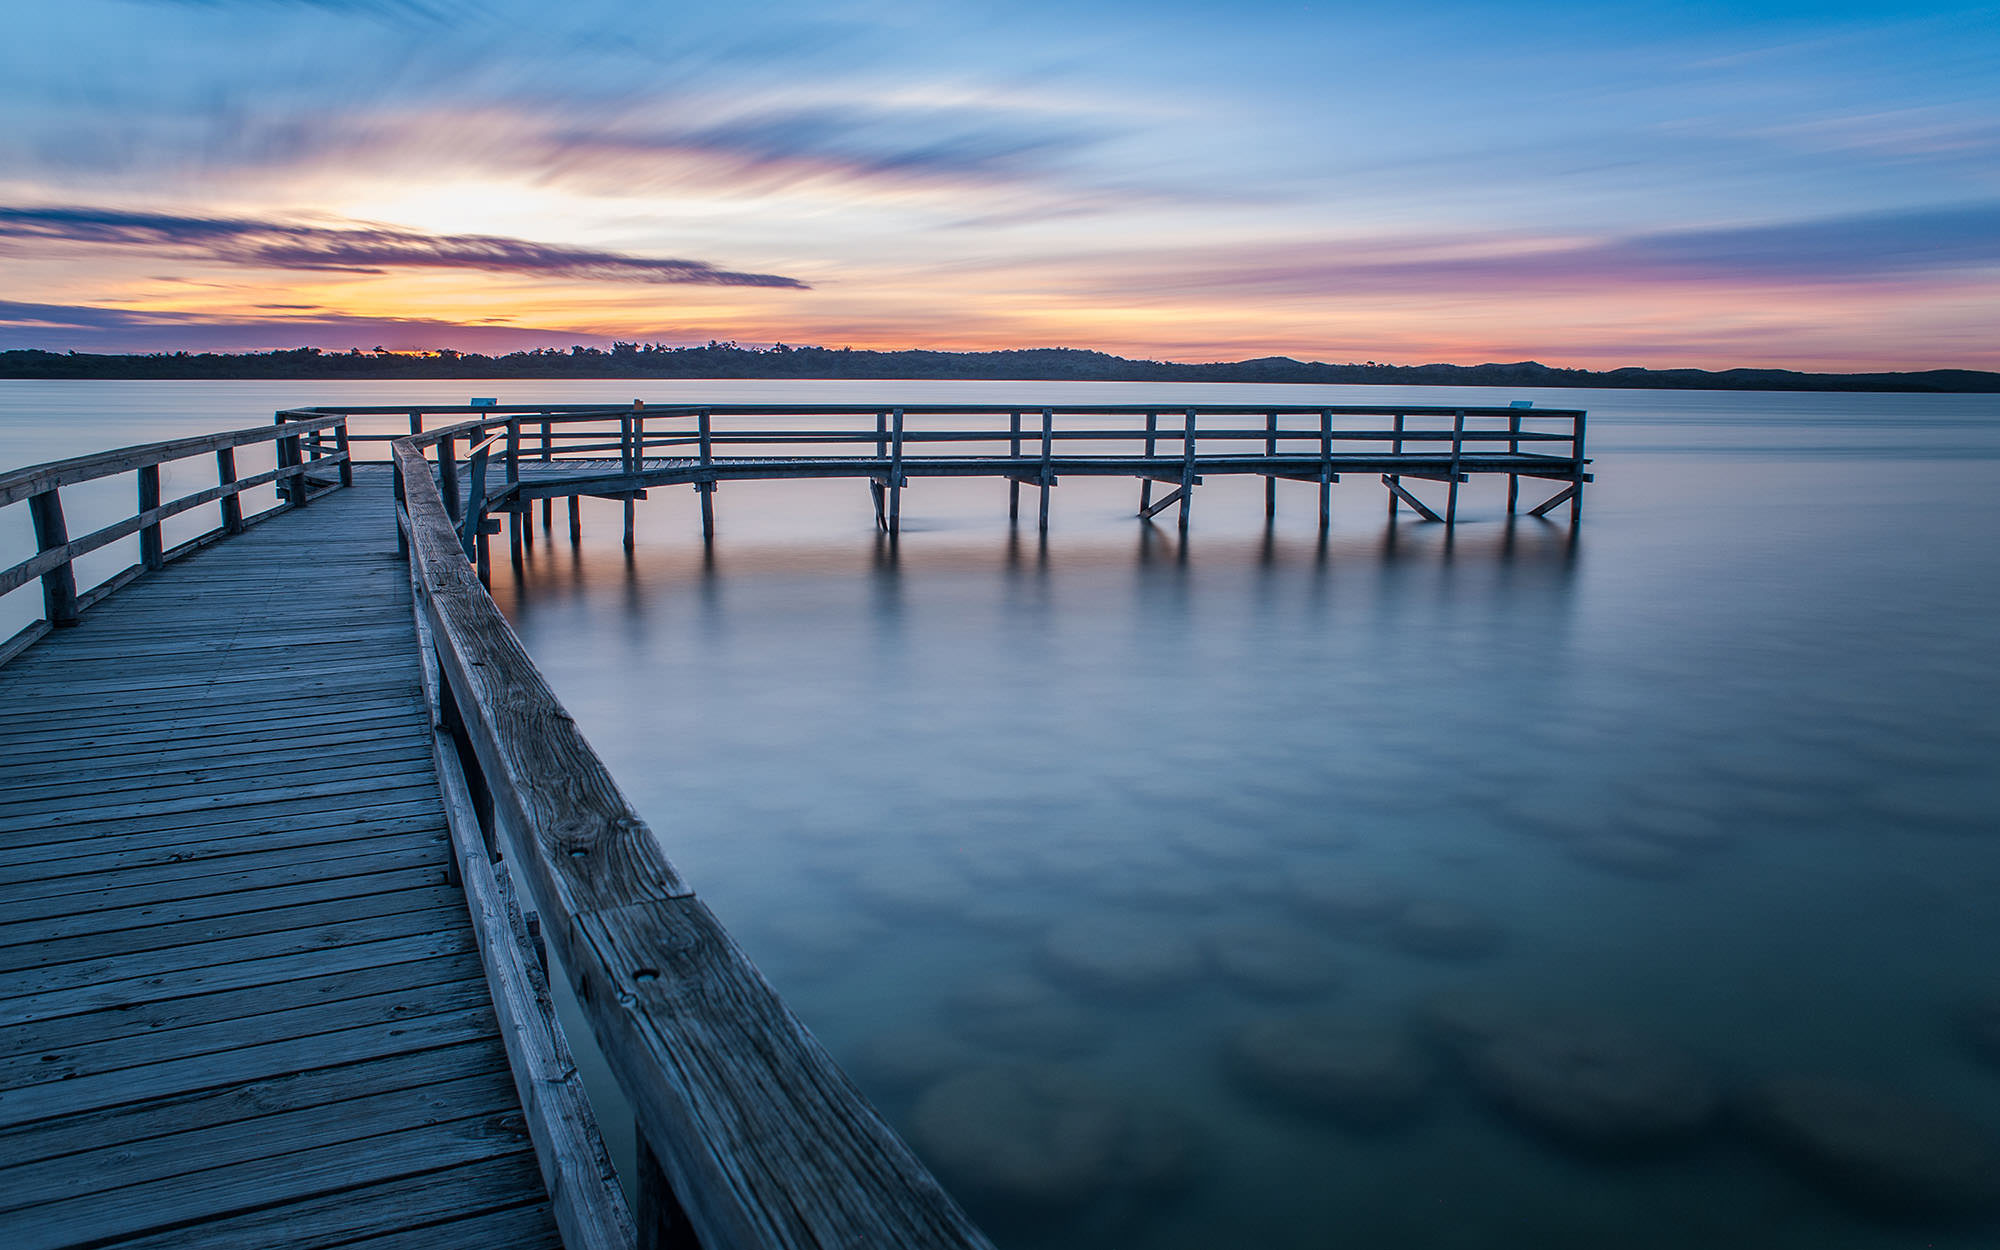
Bridge
Whale Bridge
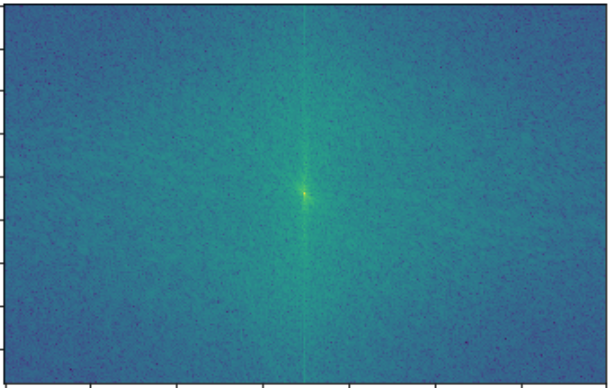
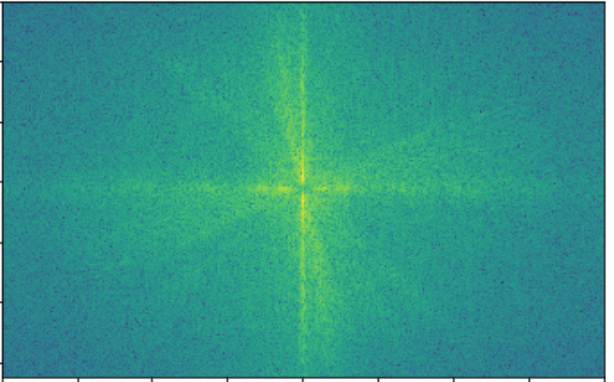
Fourier Transform of Whale
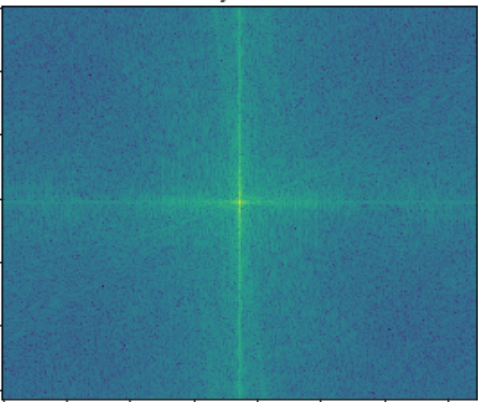
Fourier Transform of Bridge
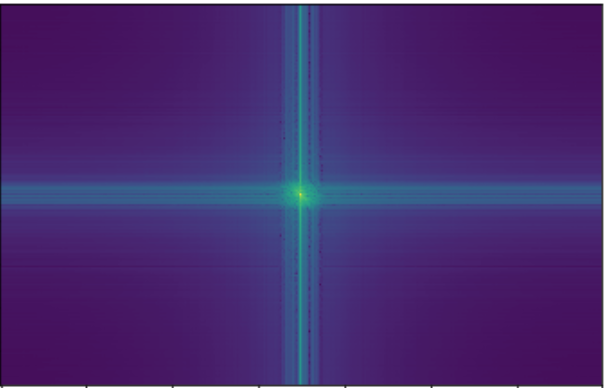
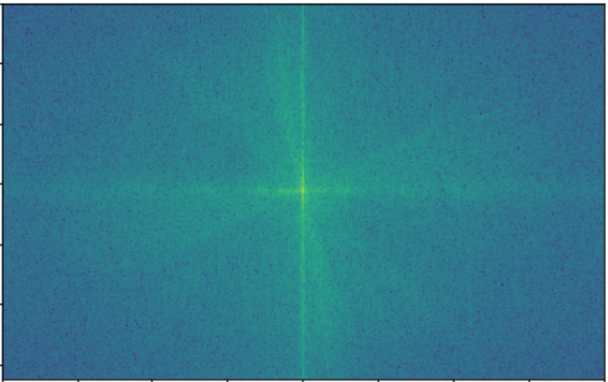
Fourier Transform of Whale with Low Pass Filter
Fourier Transform of Bridge with High Pass Filter
Fourier Transform of Hybrid
Other Results
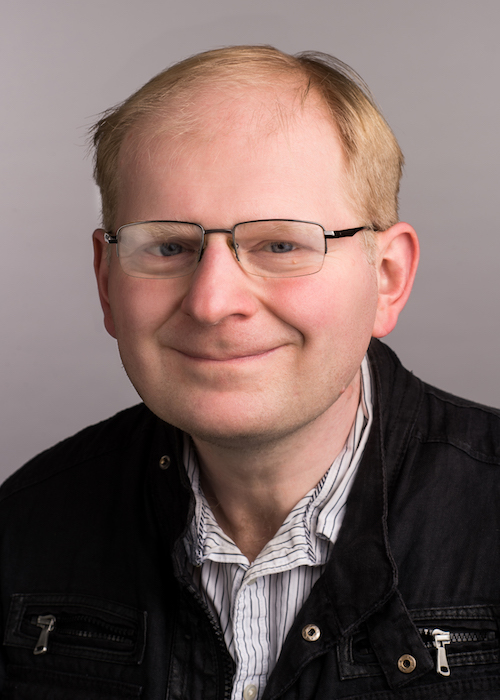
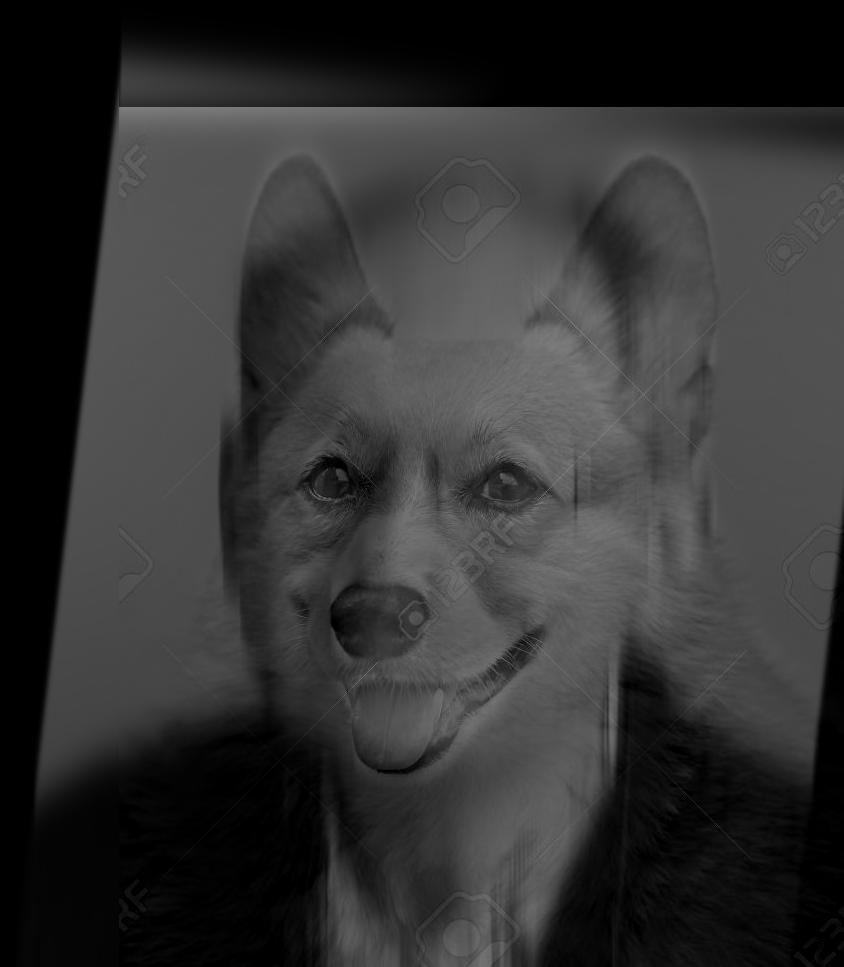
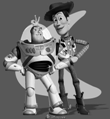
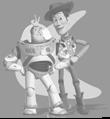
Professor Efros
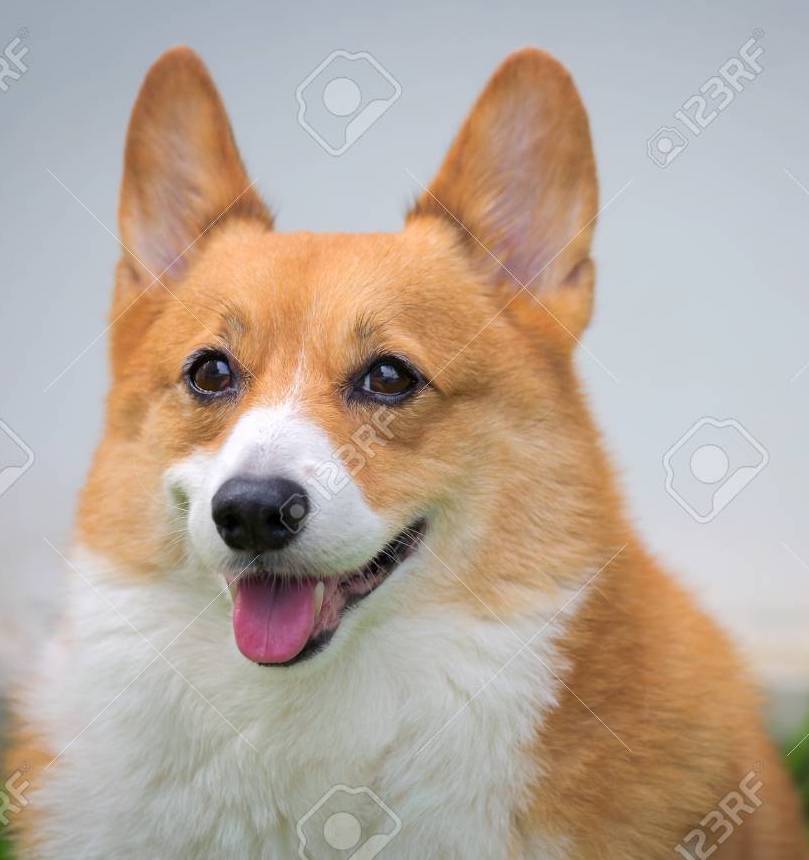
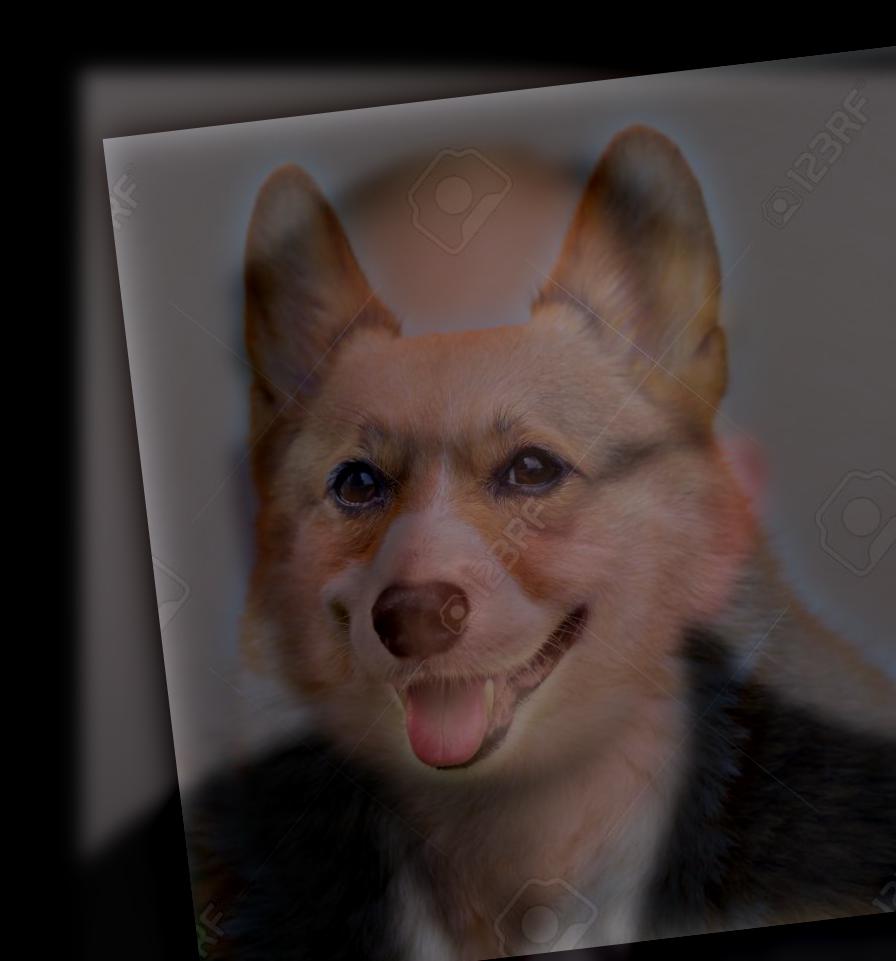
Corgi
Hybrid
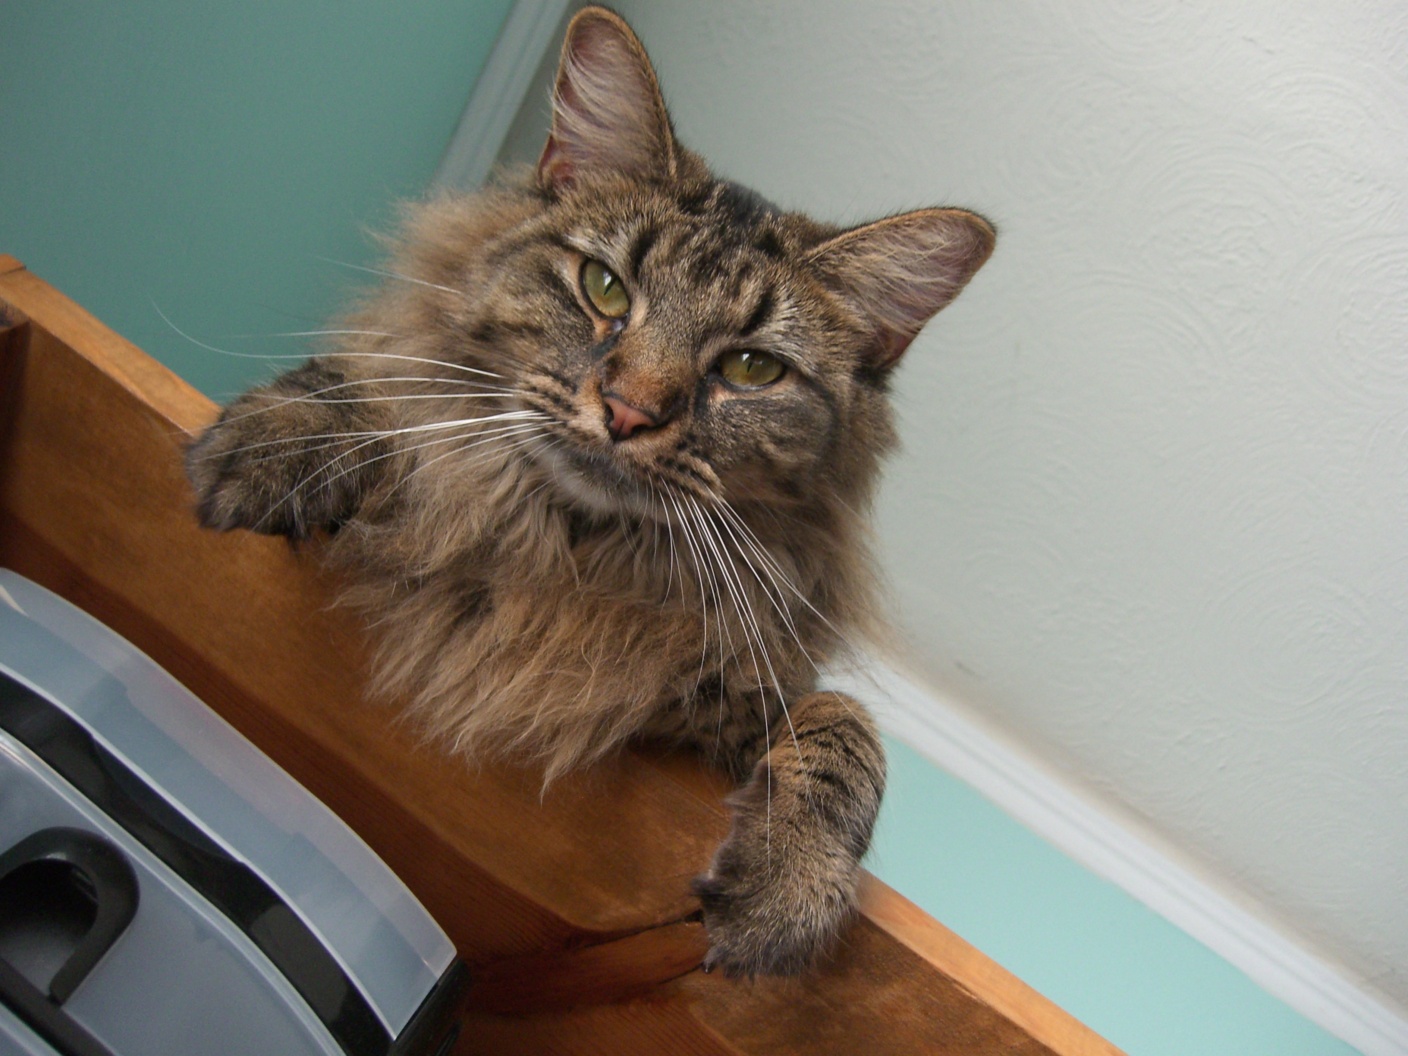
Nutmeg
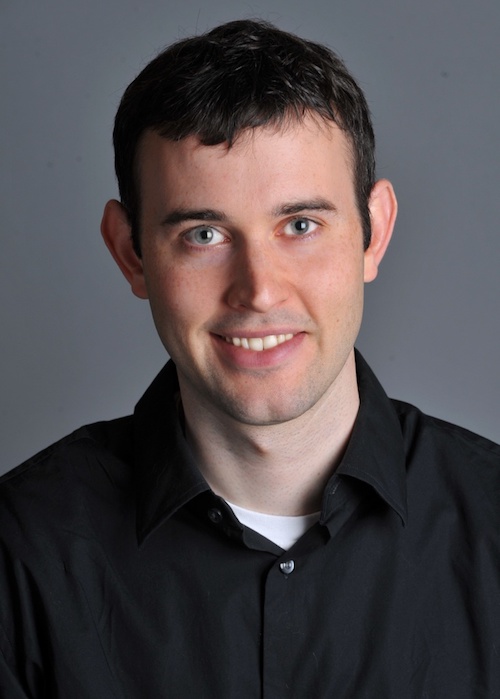
Derek
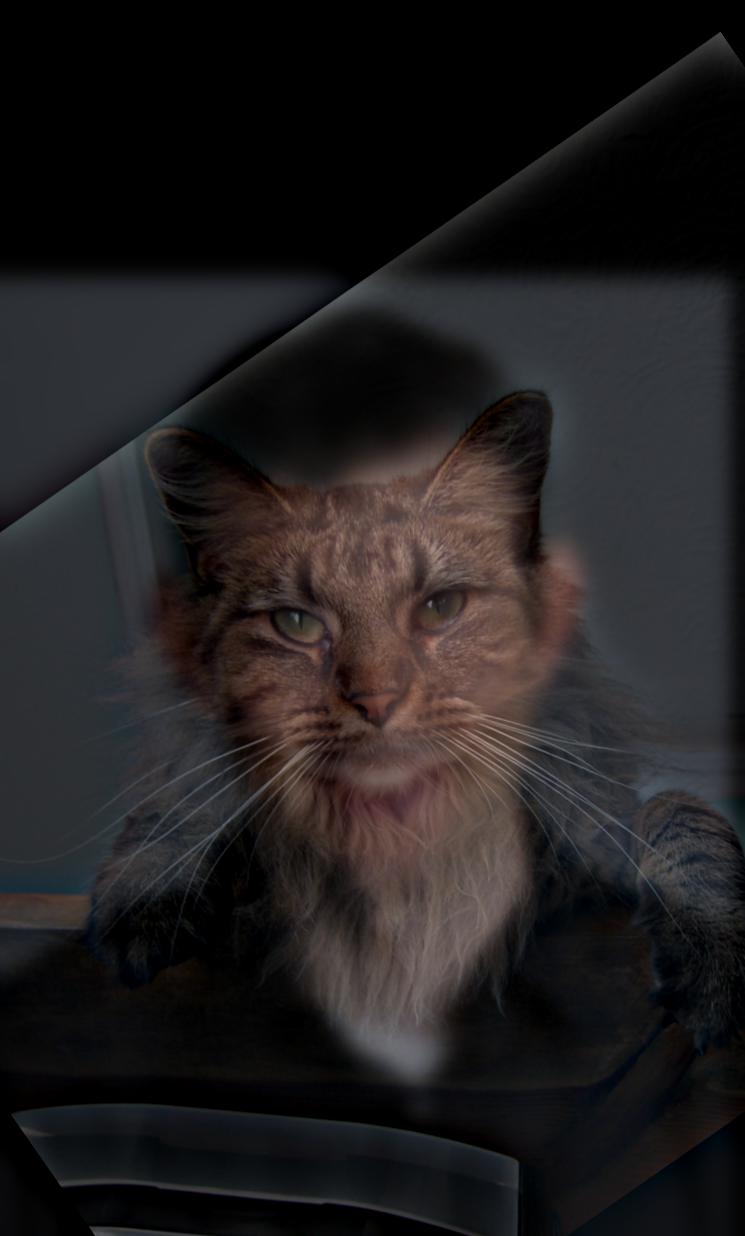
Hybrid
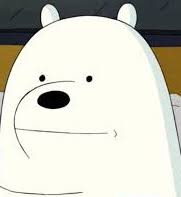
Ice Bear
Corgi
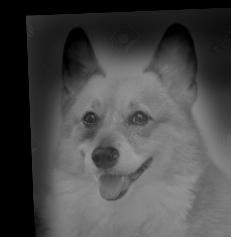
Corgi Bear
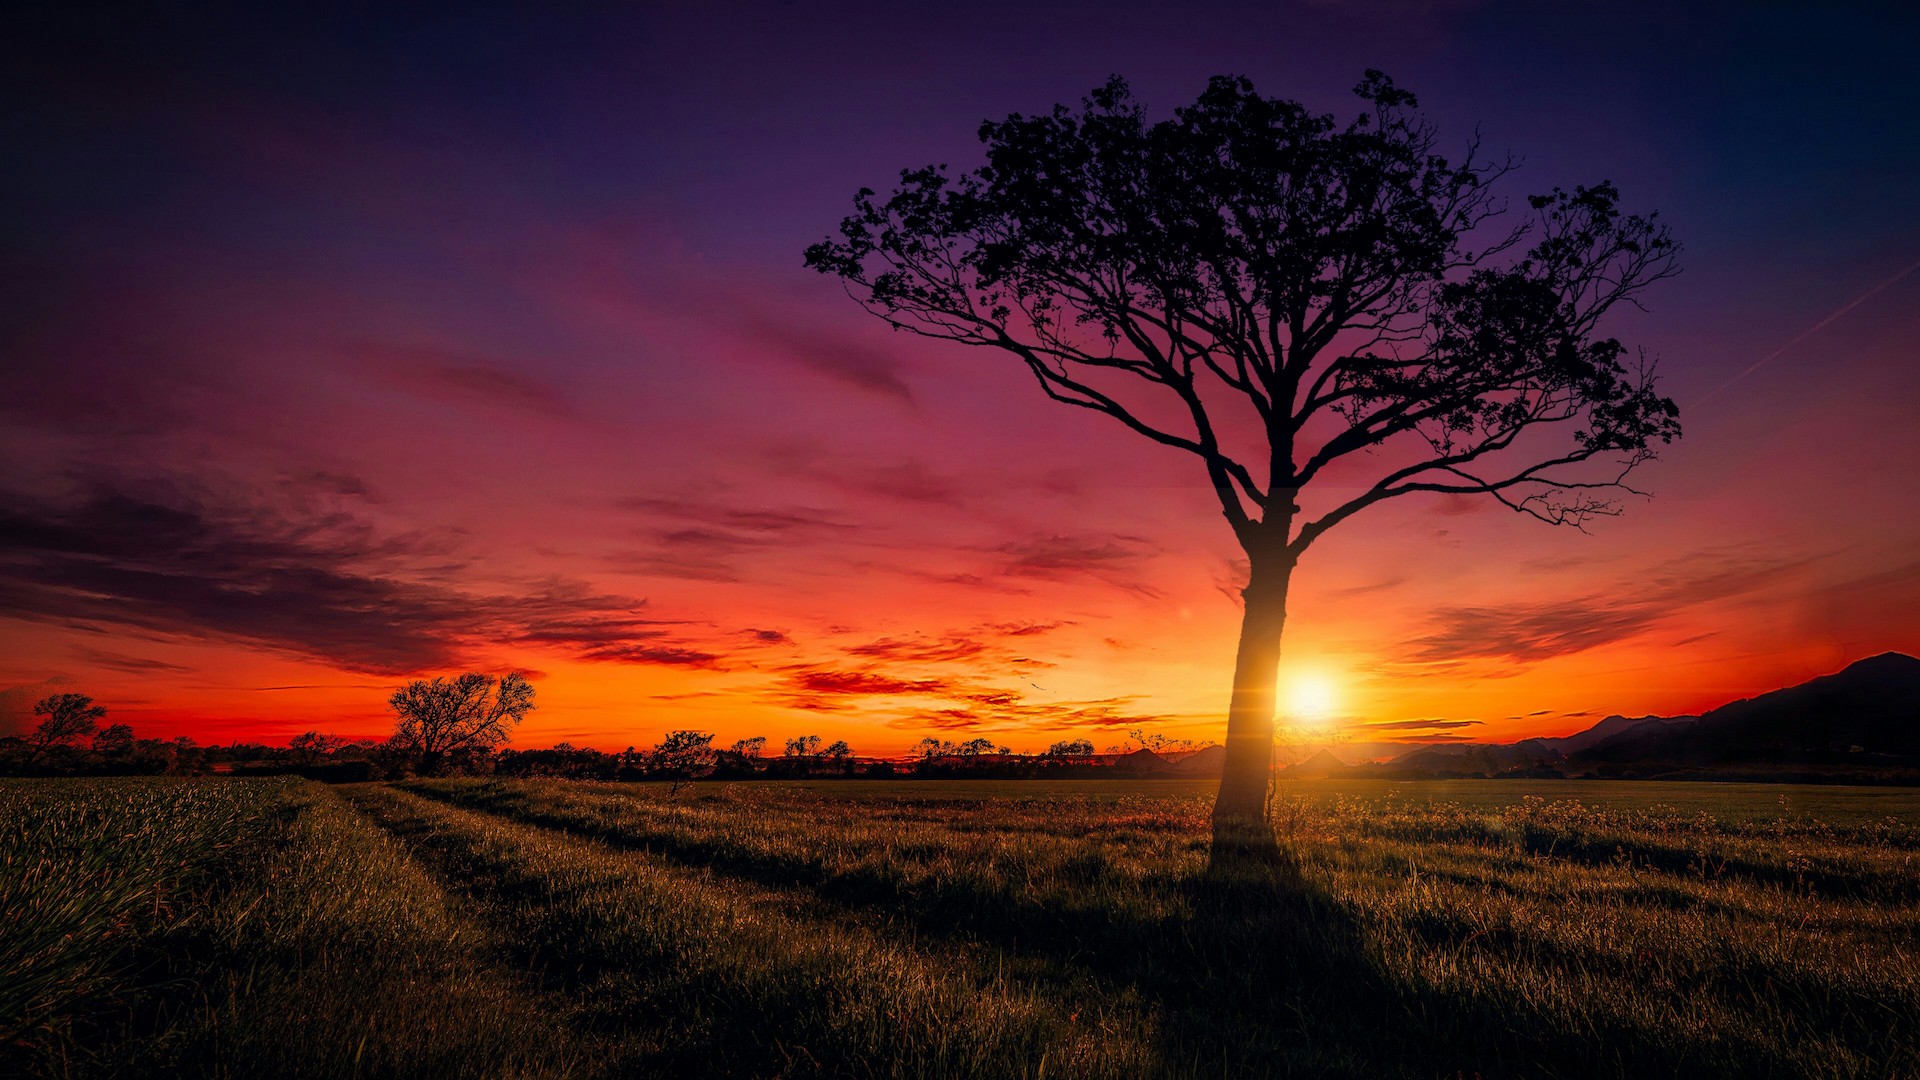
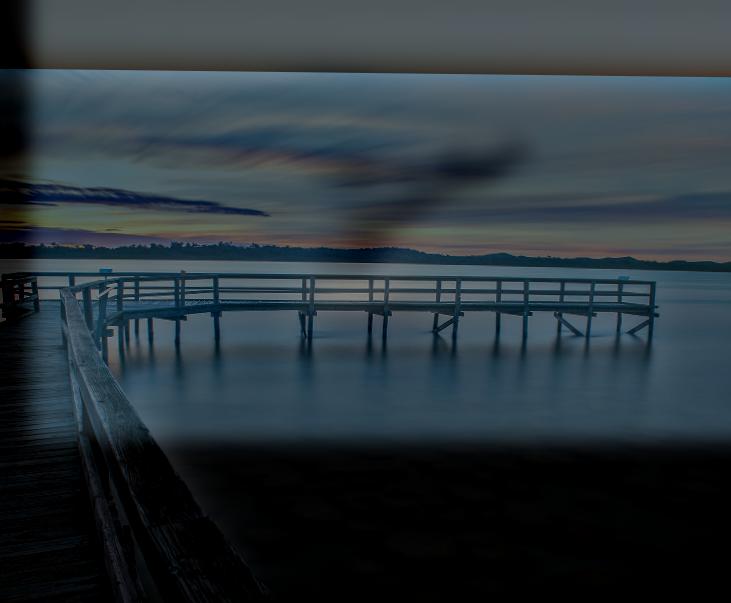
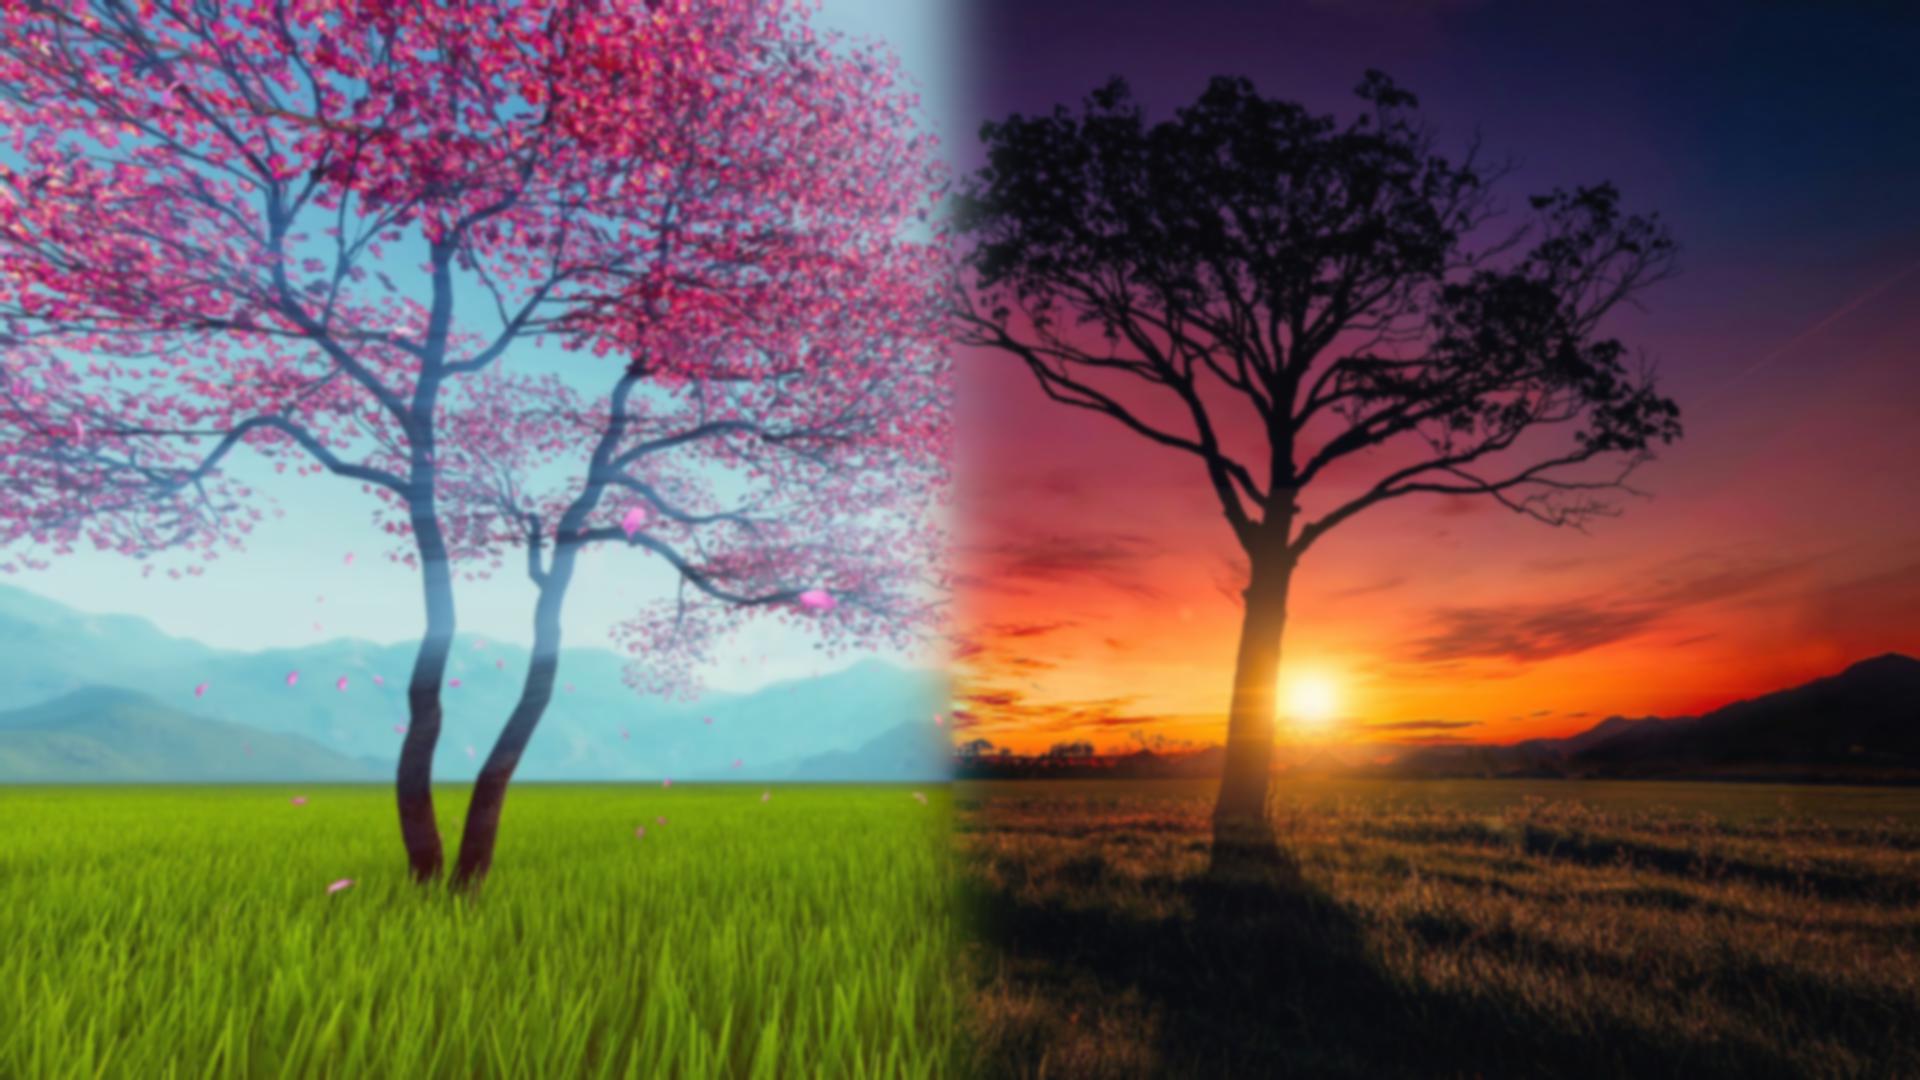
Sunset
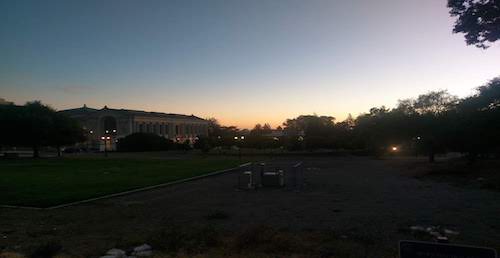
Doe
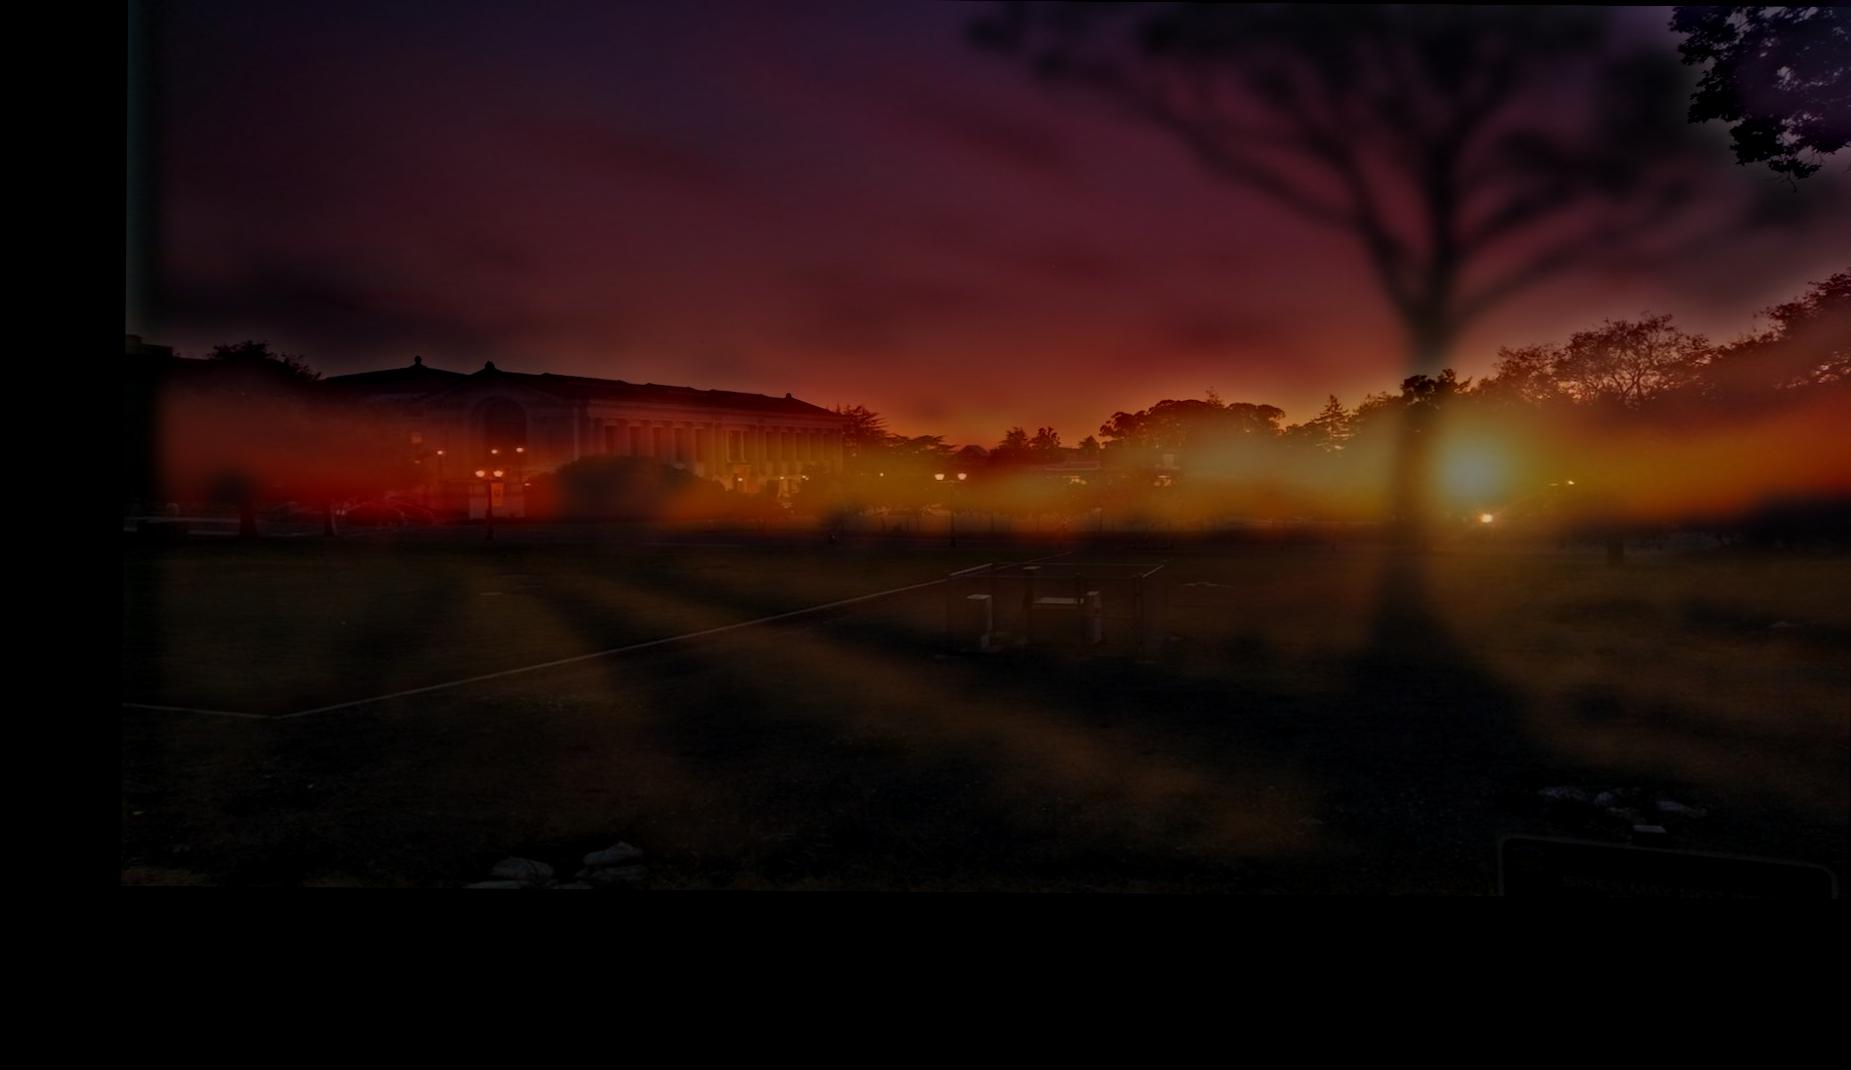
Sunset at Doe
This last result can be considered a failure because at any distance, it's rather difficult to make out the shape of Doe library. The alignment is not good and allows the coloring of Doe in general is very dark and gets covered up especially with how I rescaled the intensities to make the pictures more visible for myself when working in python notebook.
With regard to using color, it seems like using color in both images produces better results although using just color in the low pass iamge outperforms using it in just the high pass it seems.
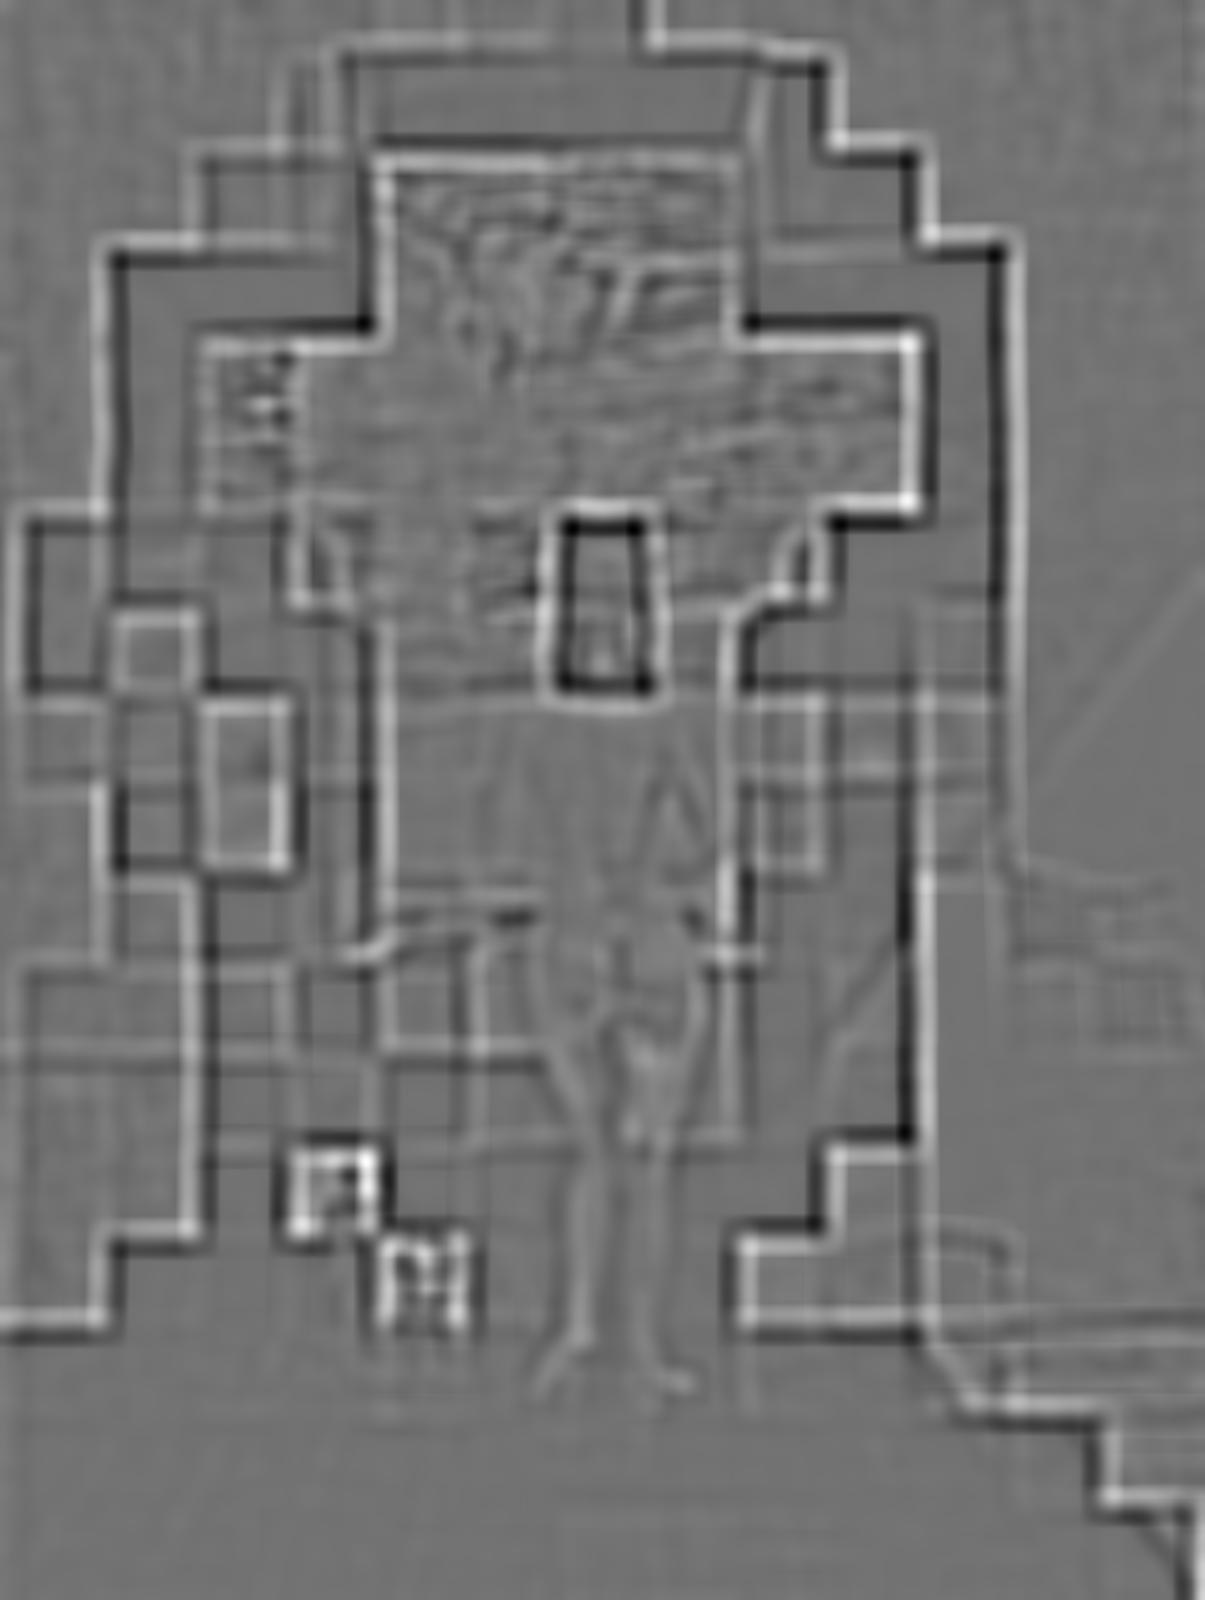
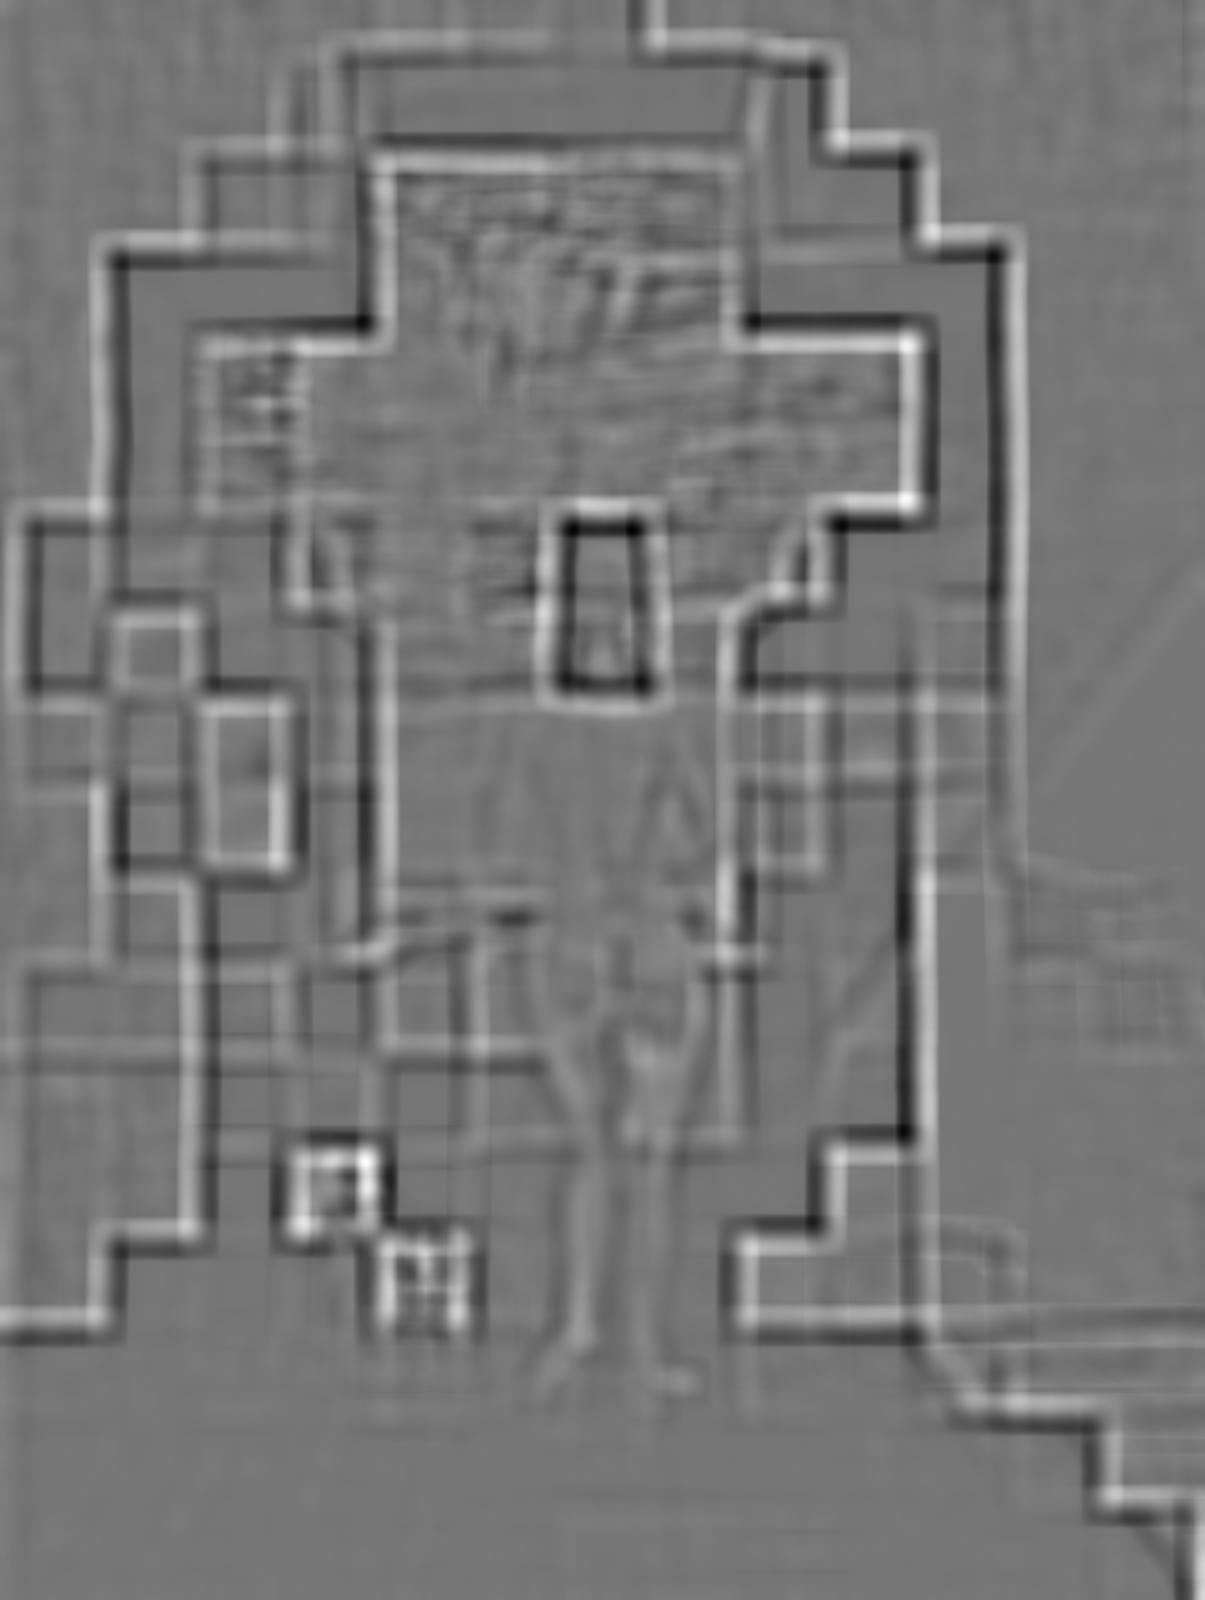
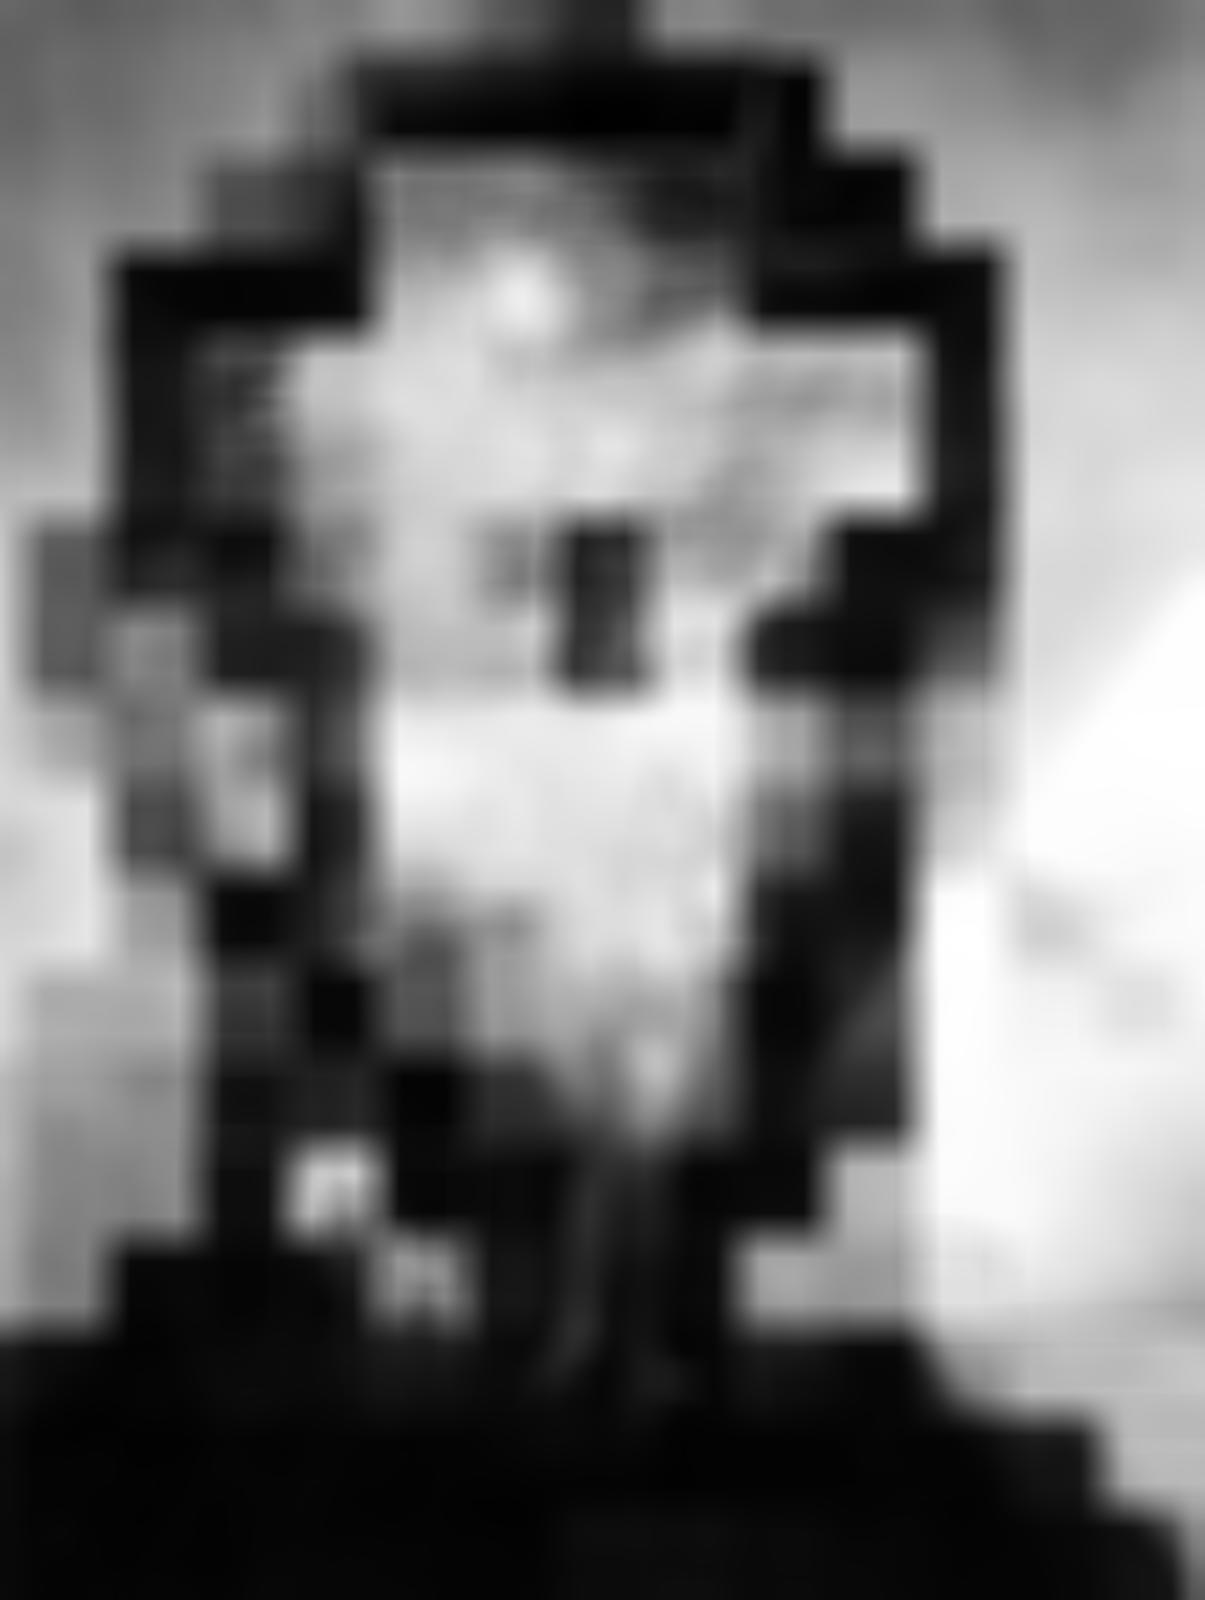
Part 1.3: Gaussian and Laplacian Stacks
In this section, we create Gaussian stacks by blurring images repeatedly along each layer of the stack, and then take the differences between the layers to create the Laplacian stack. Using the formula provided in the paper, we create a Gaussian stack for the mask and then at each level, multiply one image by the corresponding filter in the mask stack then add 1 - that multiplied by the second image. We keep a running sum of these to reproduce the image we want.
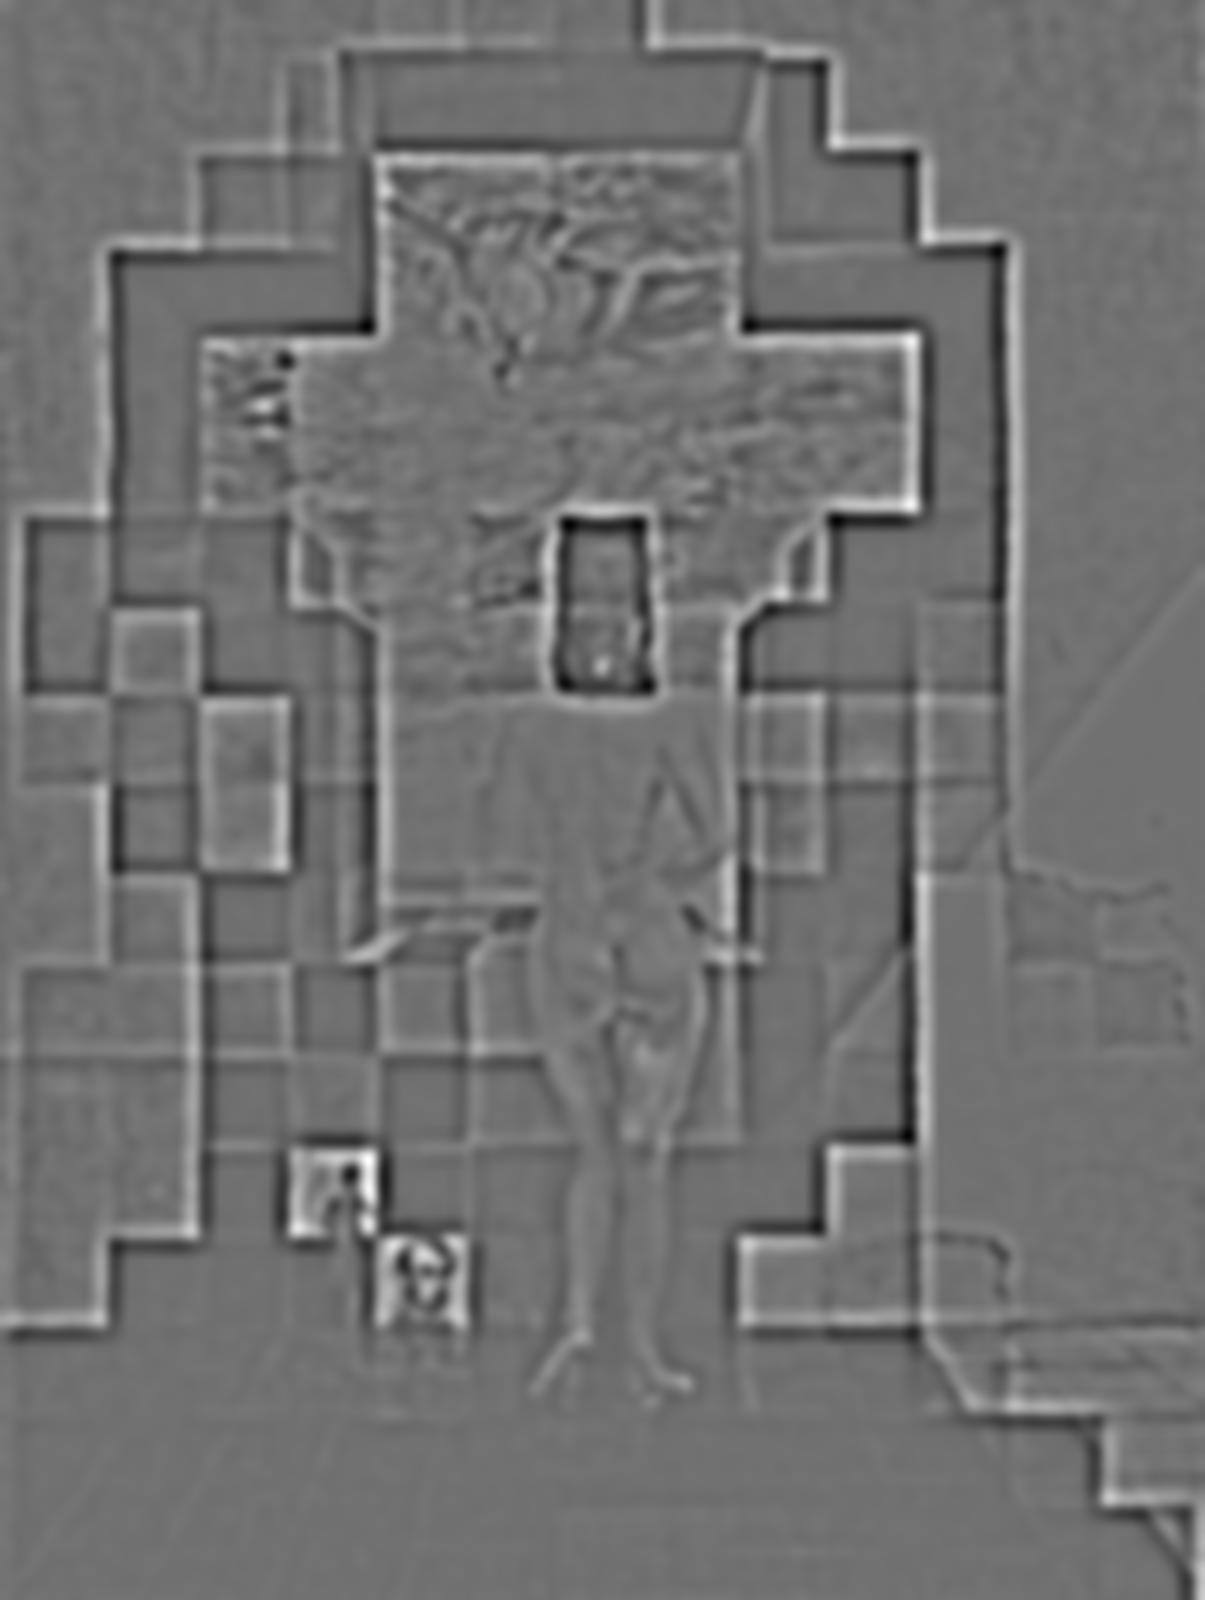
The Laplacian stack images are normalized to gray for better visibility and display
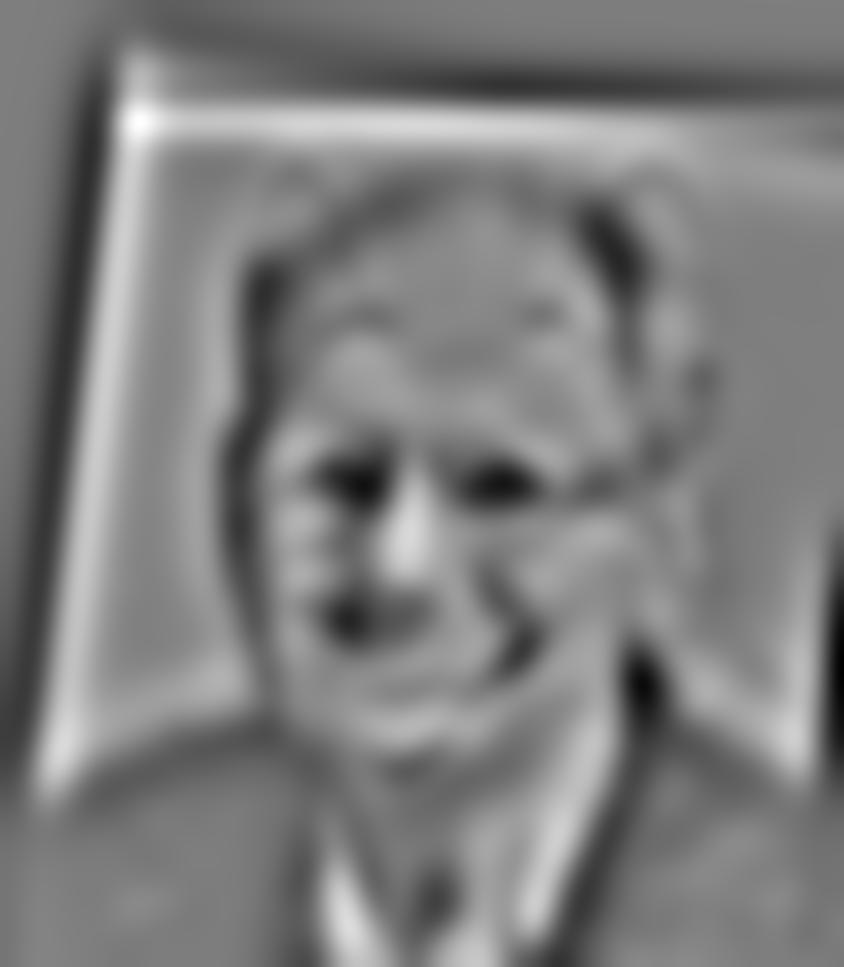
Lincoln in Dalivision
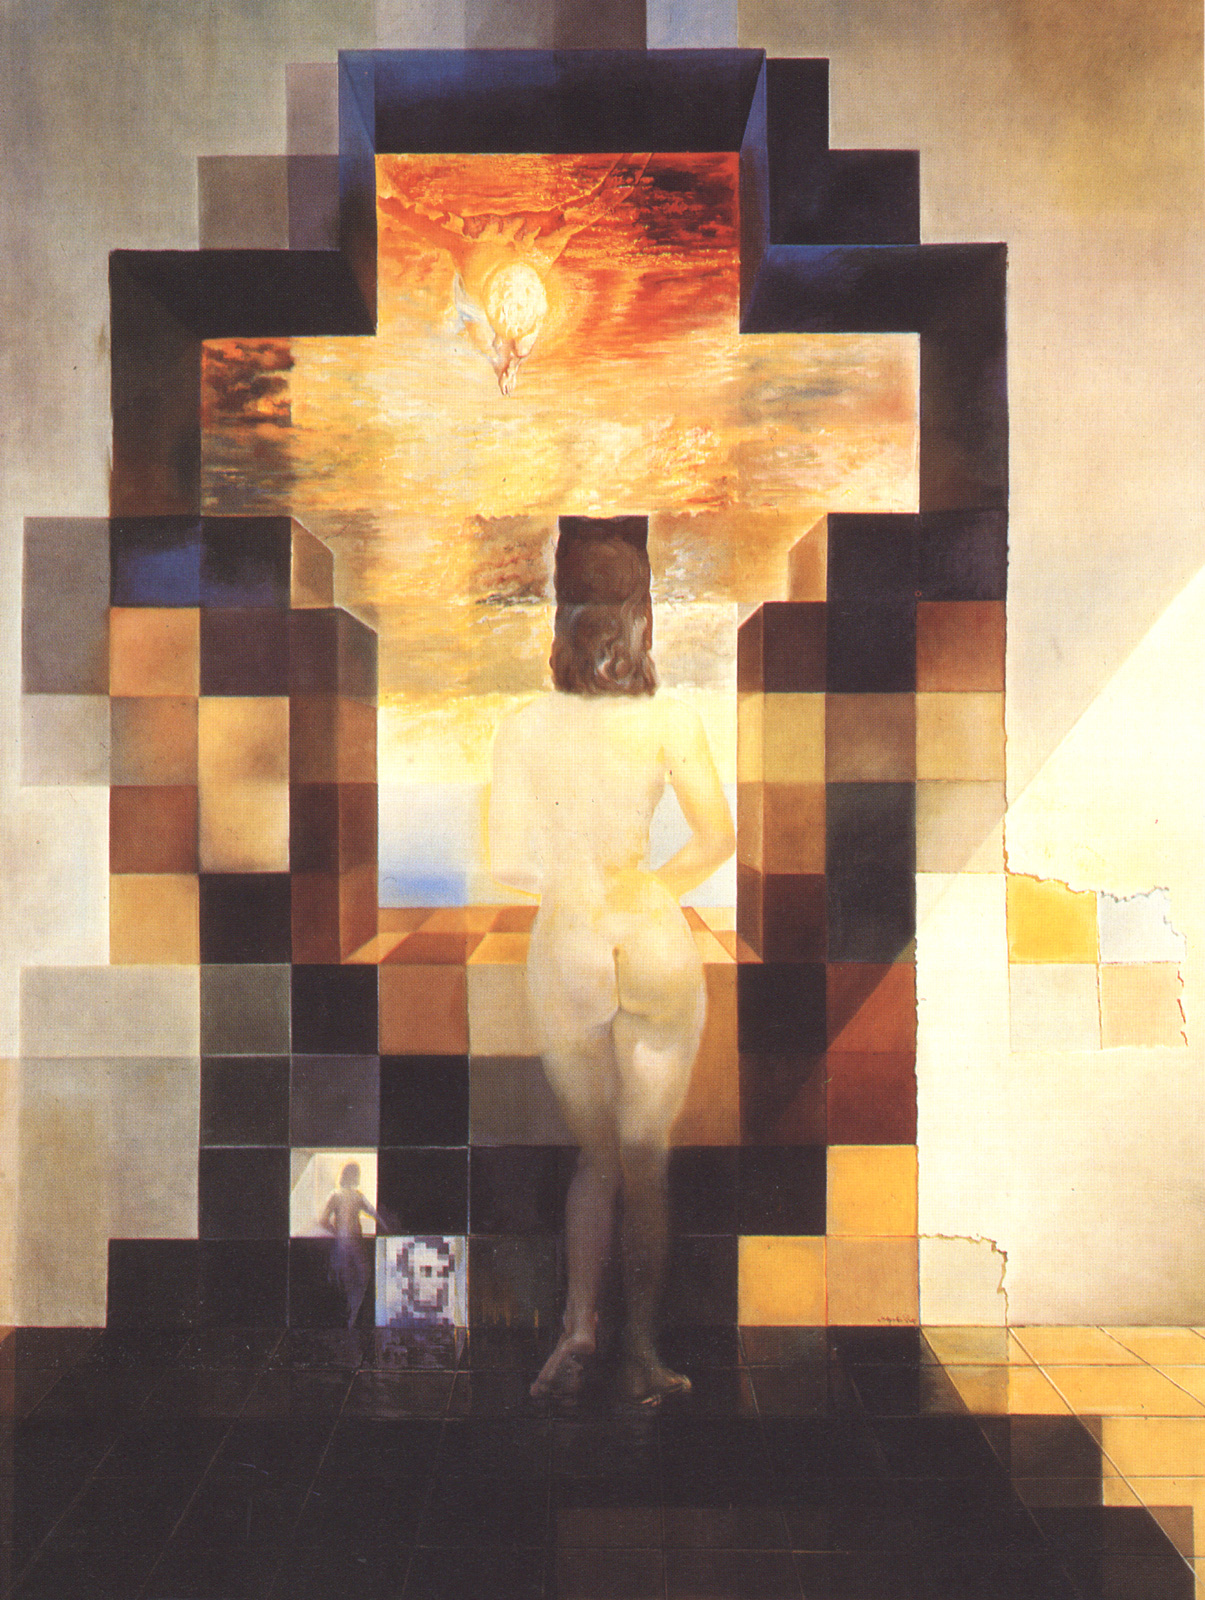
Original
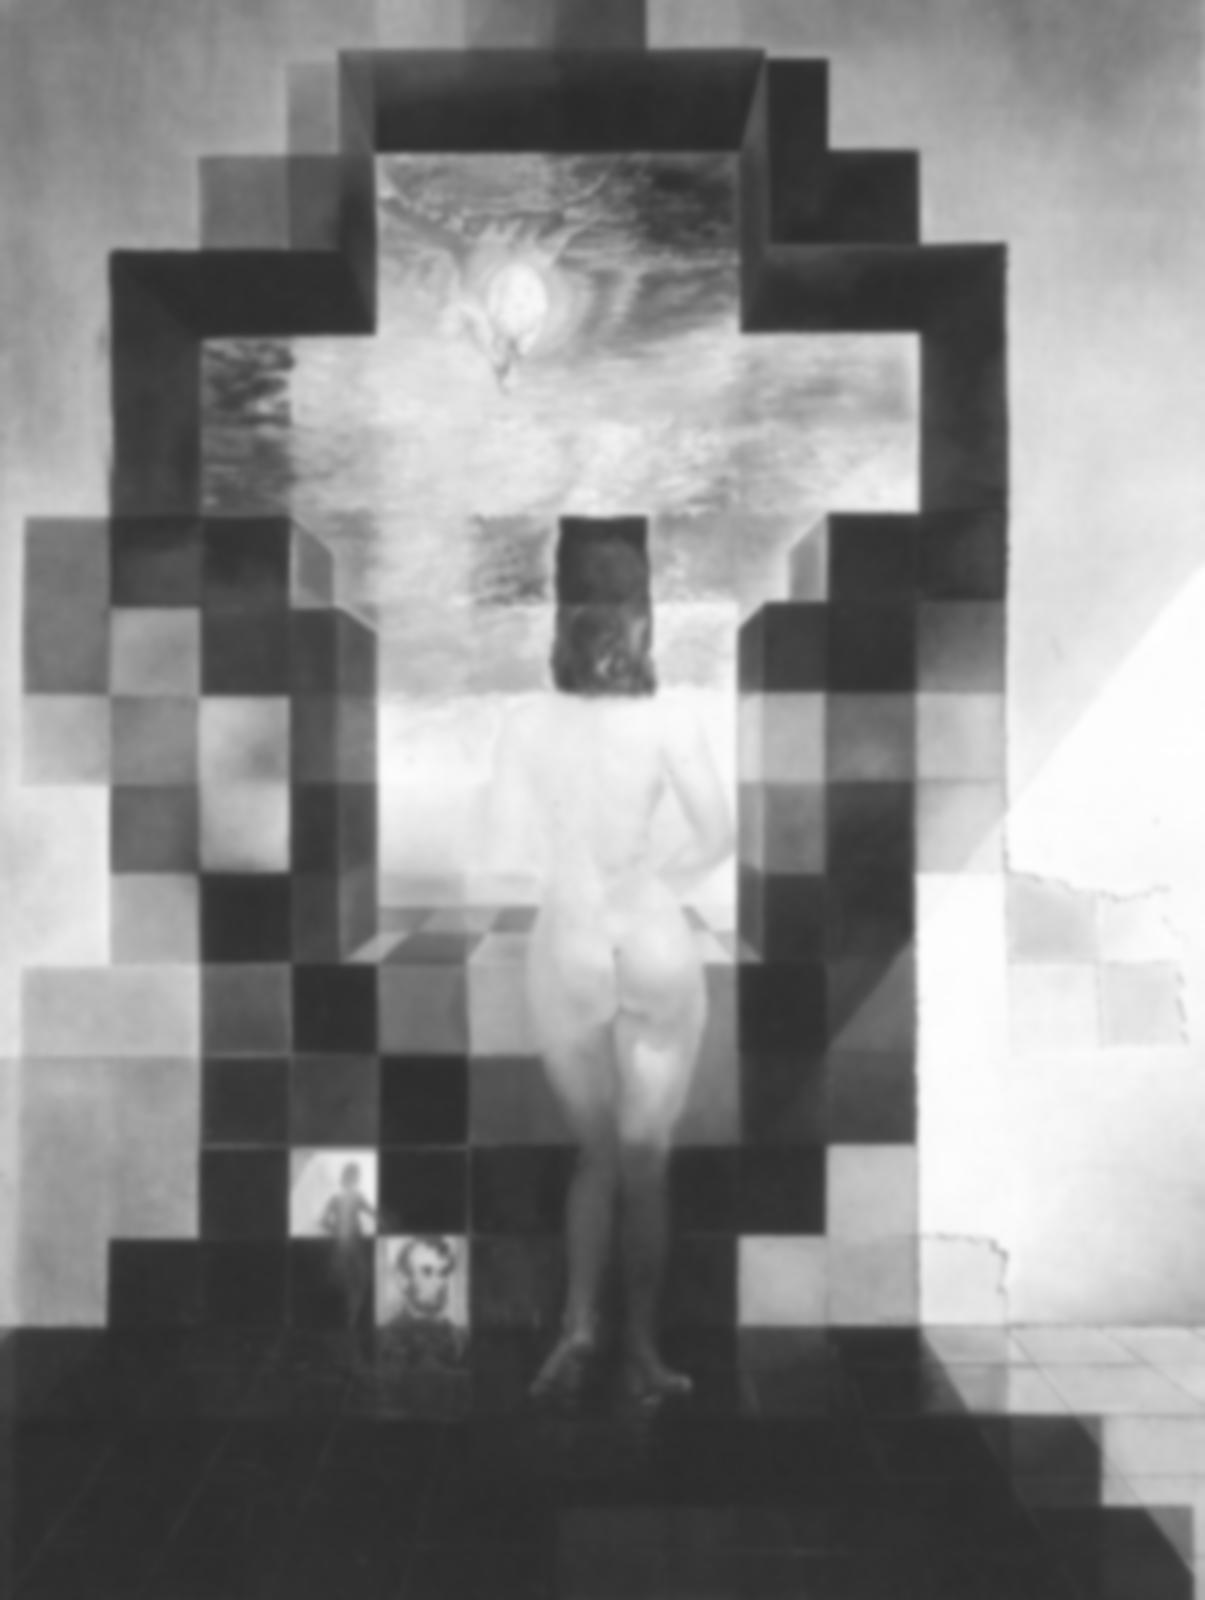
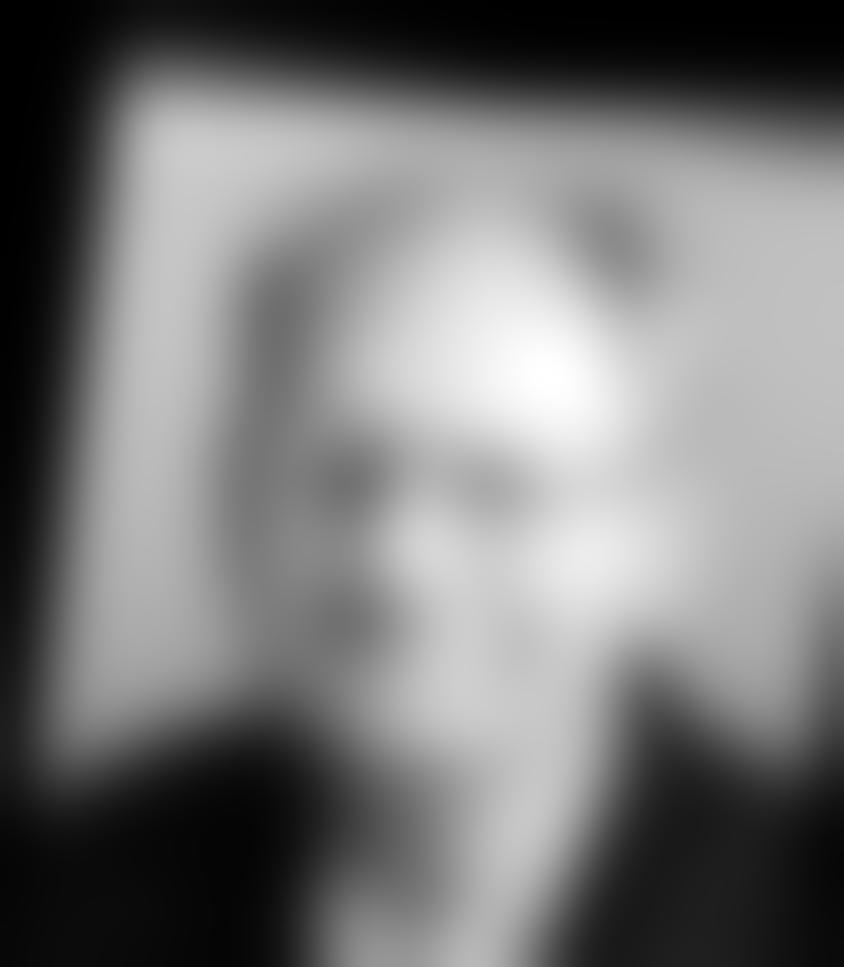
Stack Level 0

Stack Level 1

Stack Level 2

Stack Level 3

Stack Level 4

Laplacian Stack Level 0
Laplacian Stack Level 1
Laplacian Stack Level 2
Laplacian Stack Level 3
Laplacian Stack Level 4
Whale over Bridge
Original
Stack Level 0
Stack Level 1
Stack Level 2
Stack Level 3

Stack Level 4
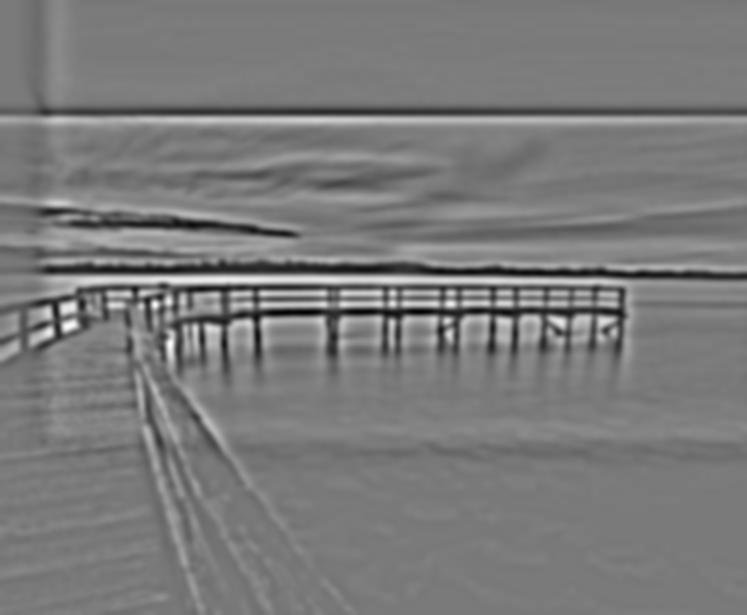
Laplacian Stack Level 0
Laplacian Stack Level 1
Laplacian Stack Level 2

Laplacian Stack Level 3
Laplacian Stack Level 4
Efros Corgi
Original

Stack Level 0

Stack Level 1

Stack Level 2
Stack Level 3
Stack Level 4
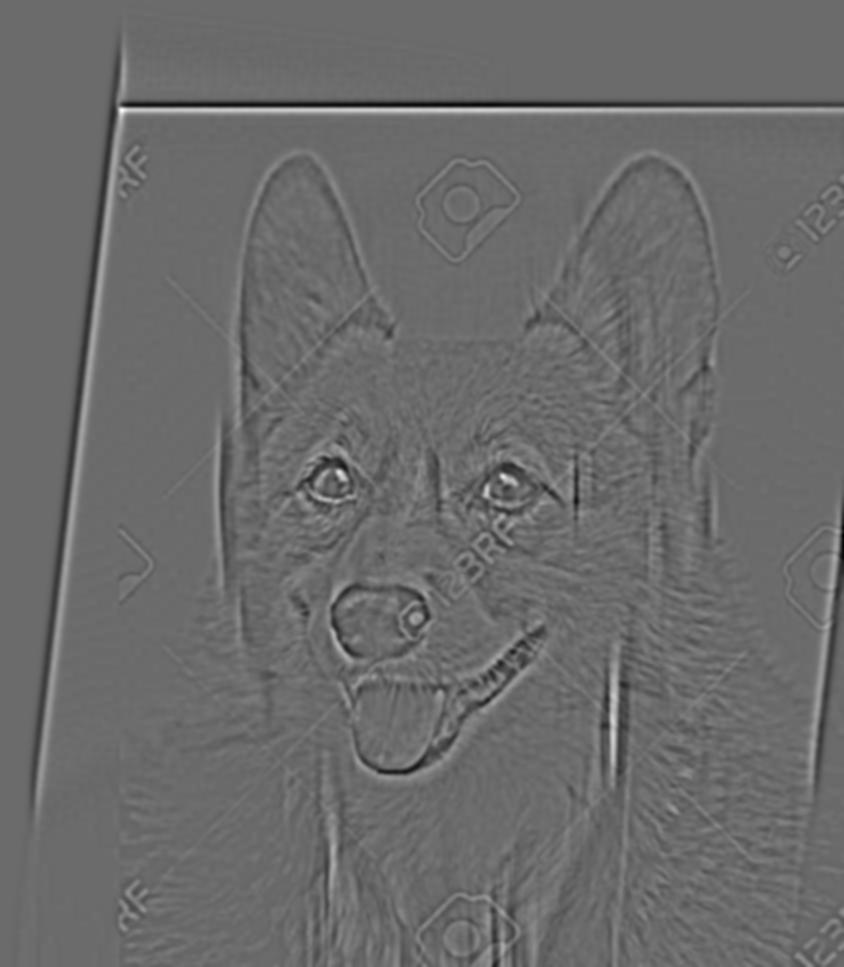
Laplacian Stack Level 0

Laplacian Stack Level 1
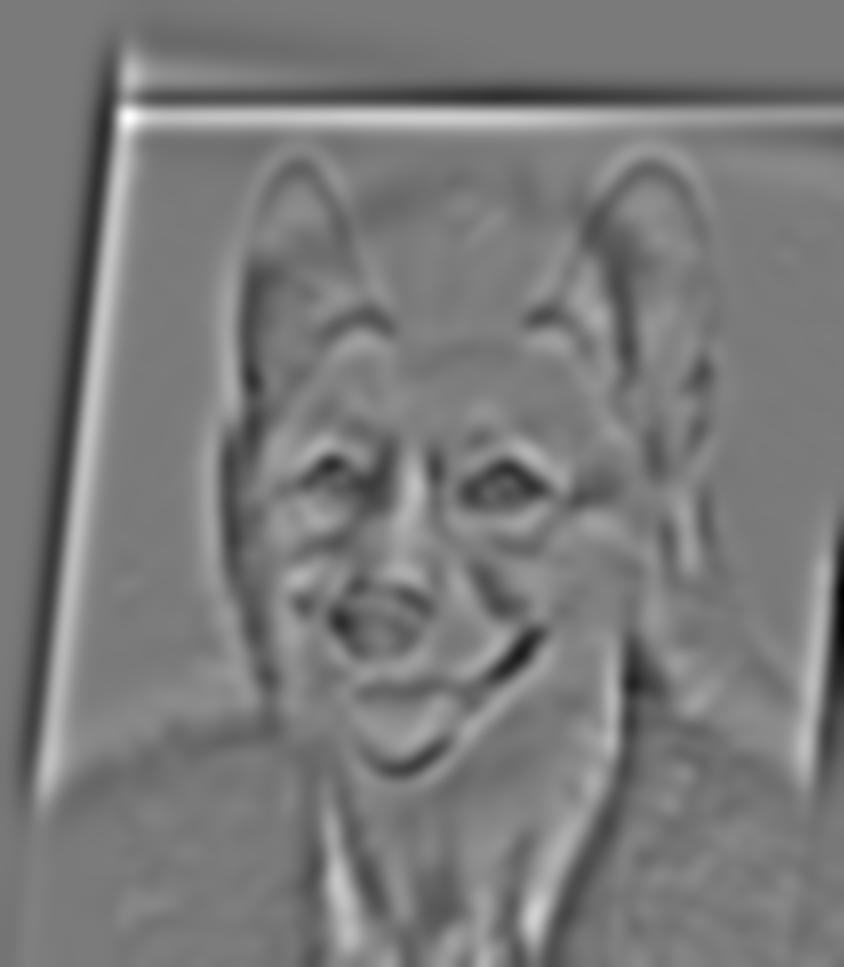
Laplacian Stack Level 2
Laplacian Stack Level 3
Laplacian Stack Level 4
Part 1.4: Multiresolution Blending
In this section, we create Gaussian stacks by blurring images repeatedly along each layer of the stack, and then take the differences between the layers to create the Laplacian stacks. Using the formula provided in the paper, we create a Gaussian stack for the mask and then at each level, multiply one image by the corresponding filter in the mask stack then add 1 - that multiplied by the second image. We keep a running sum of these to reproduce the image we want, that is, the blended version of two which takes advantage of the Laplacian stacks of both images.
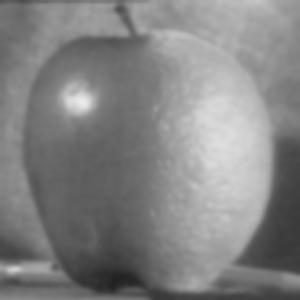
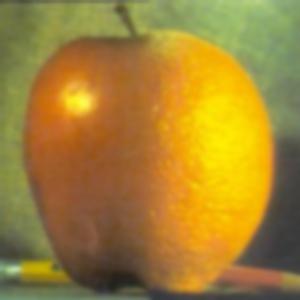
Orapple

Left, Apple

Right, Orange
Grayscale
Multiresolution Blending
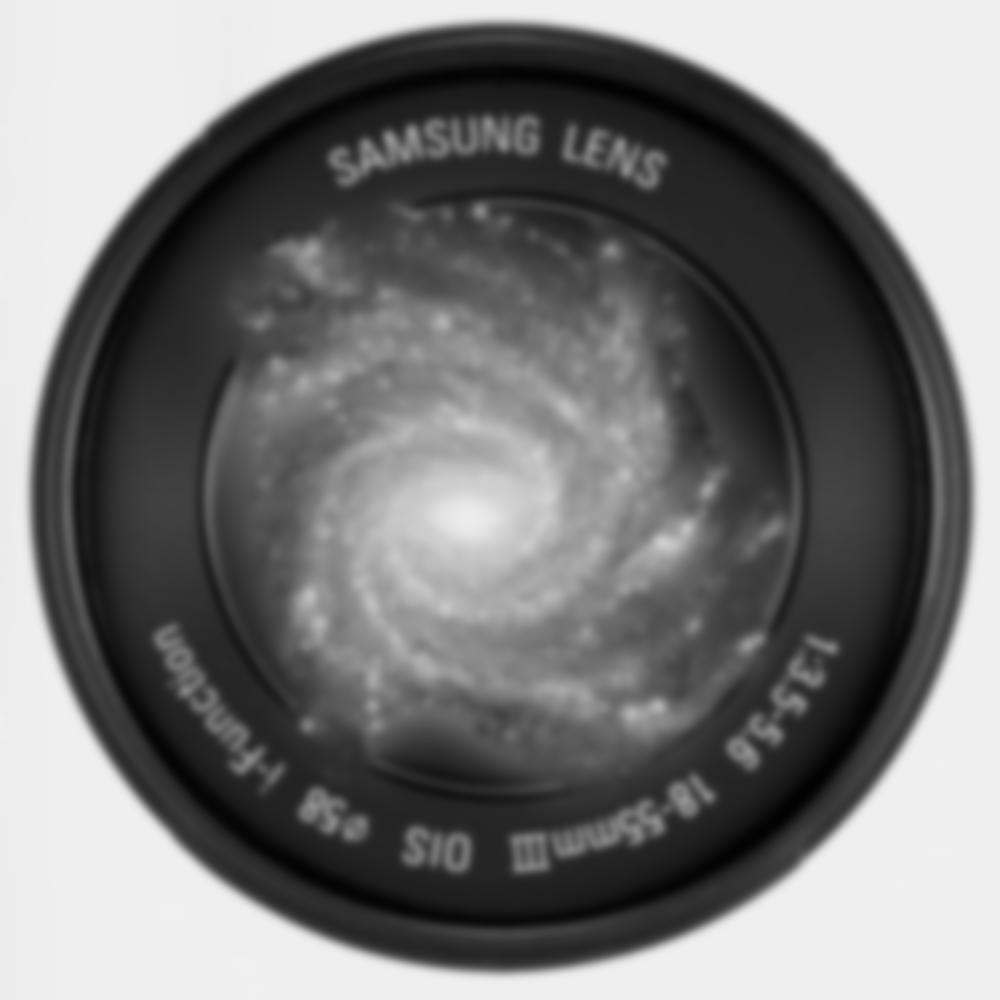
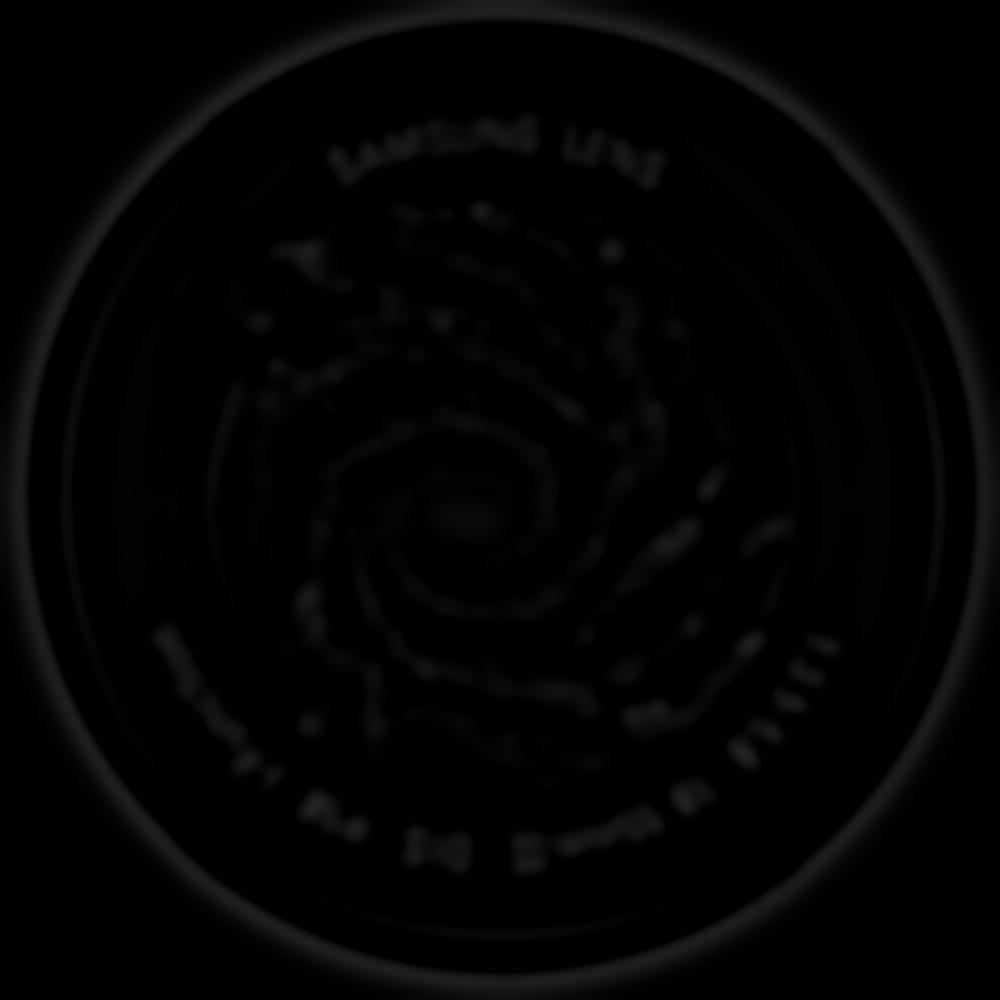
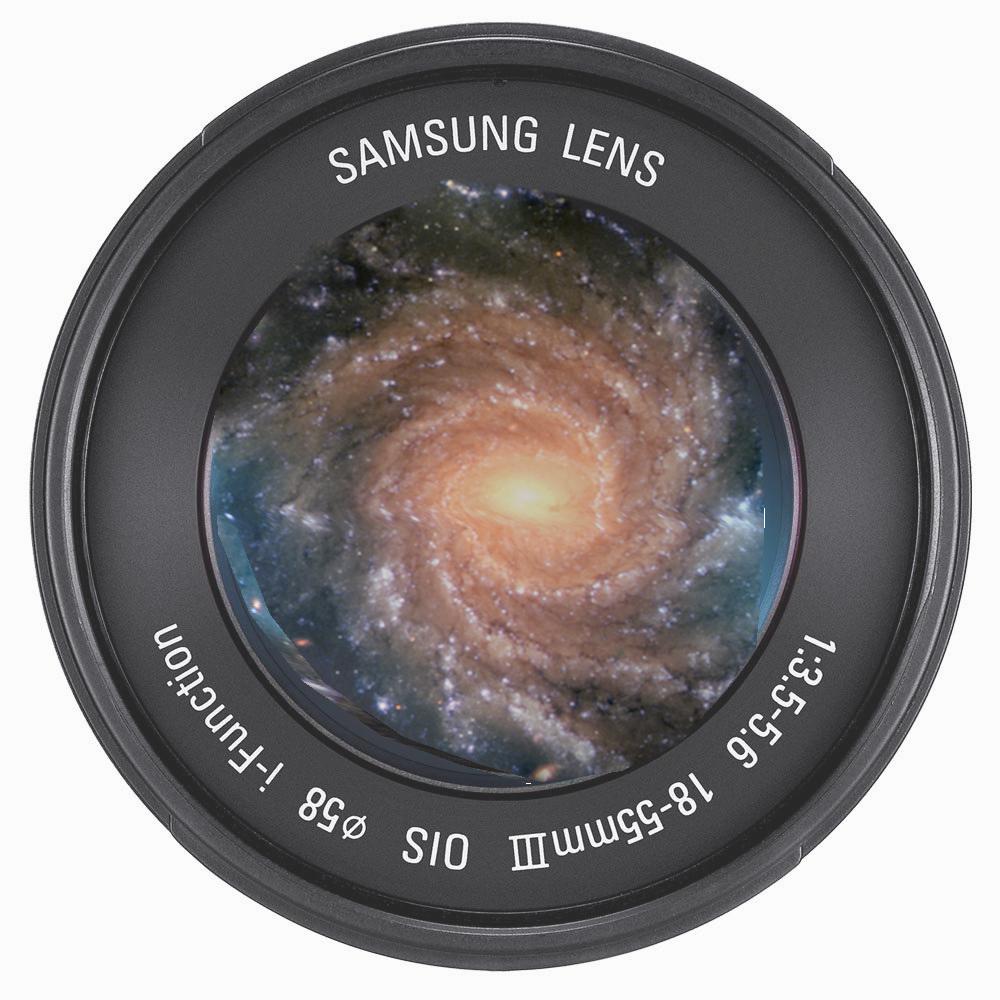
In the Lens
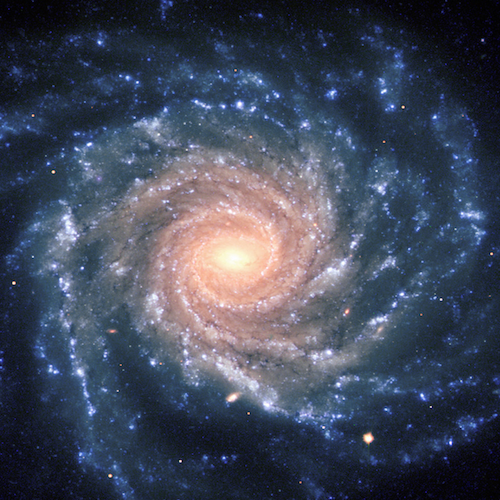
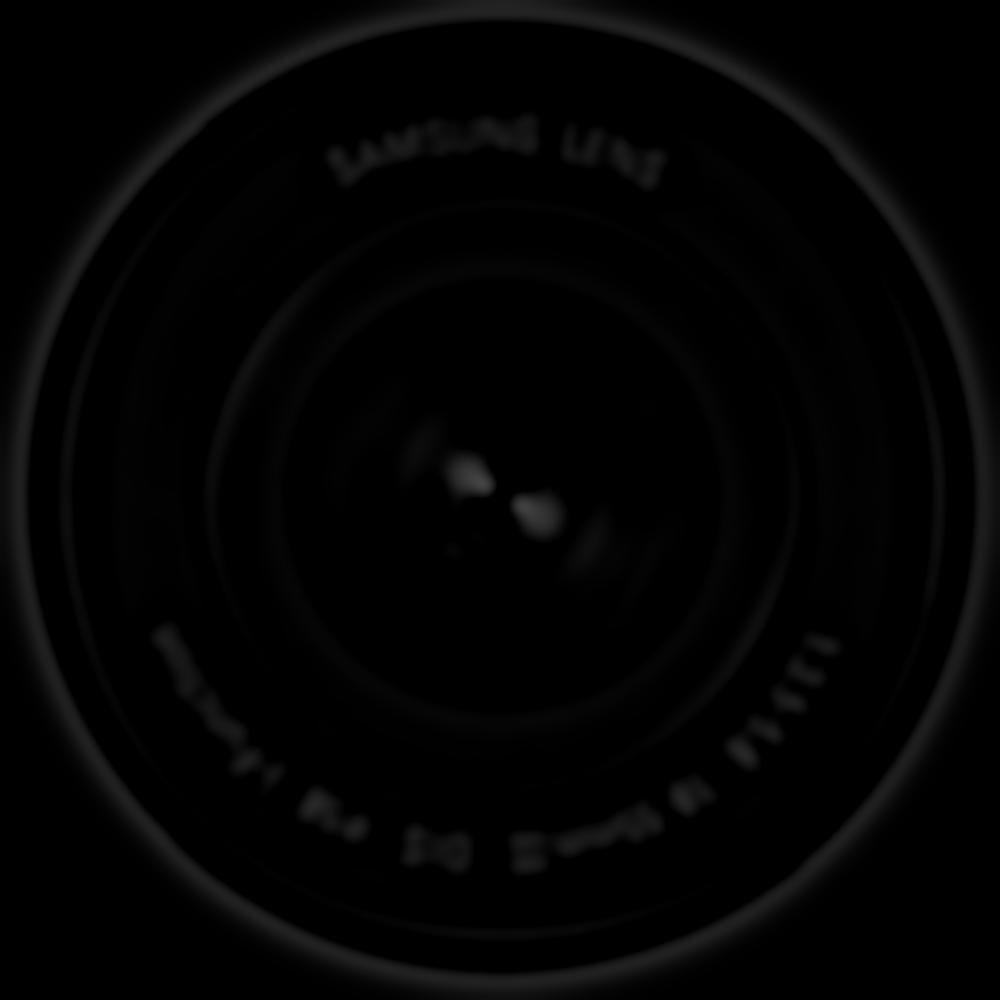
Left, Galaxy
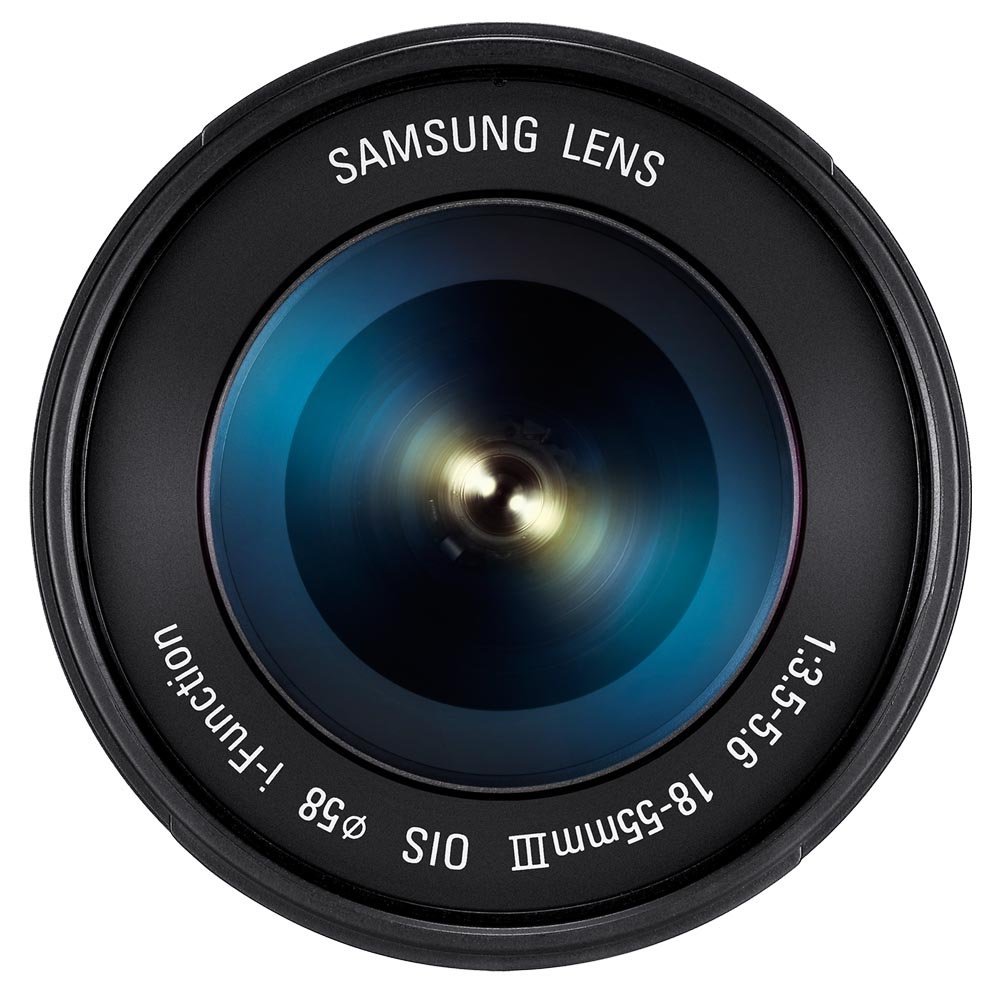
Right, Lens
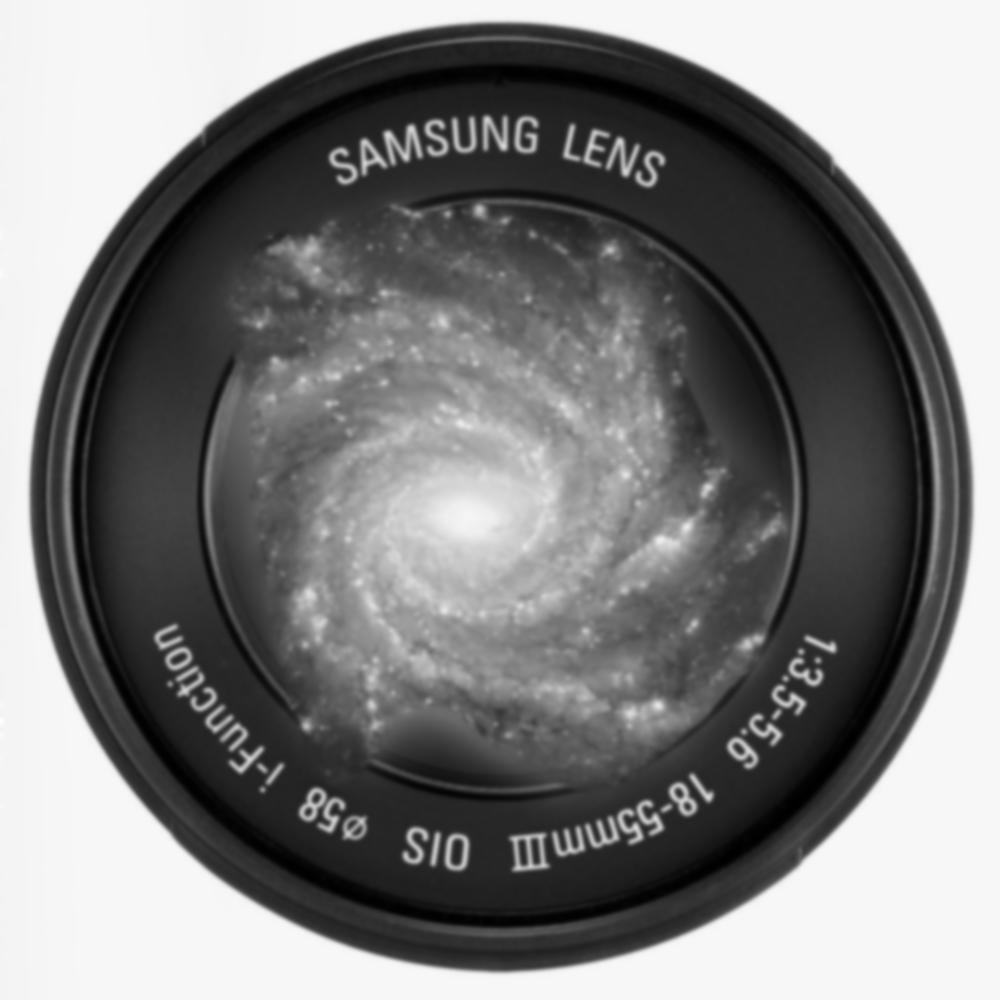
Multiresolution Blending Grayscale
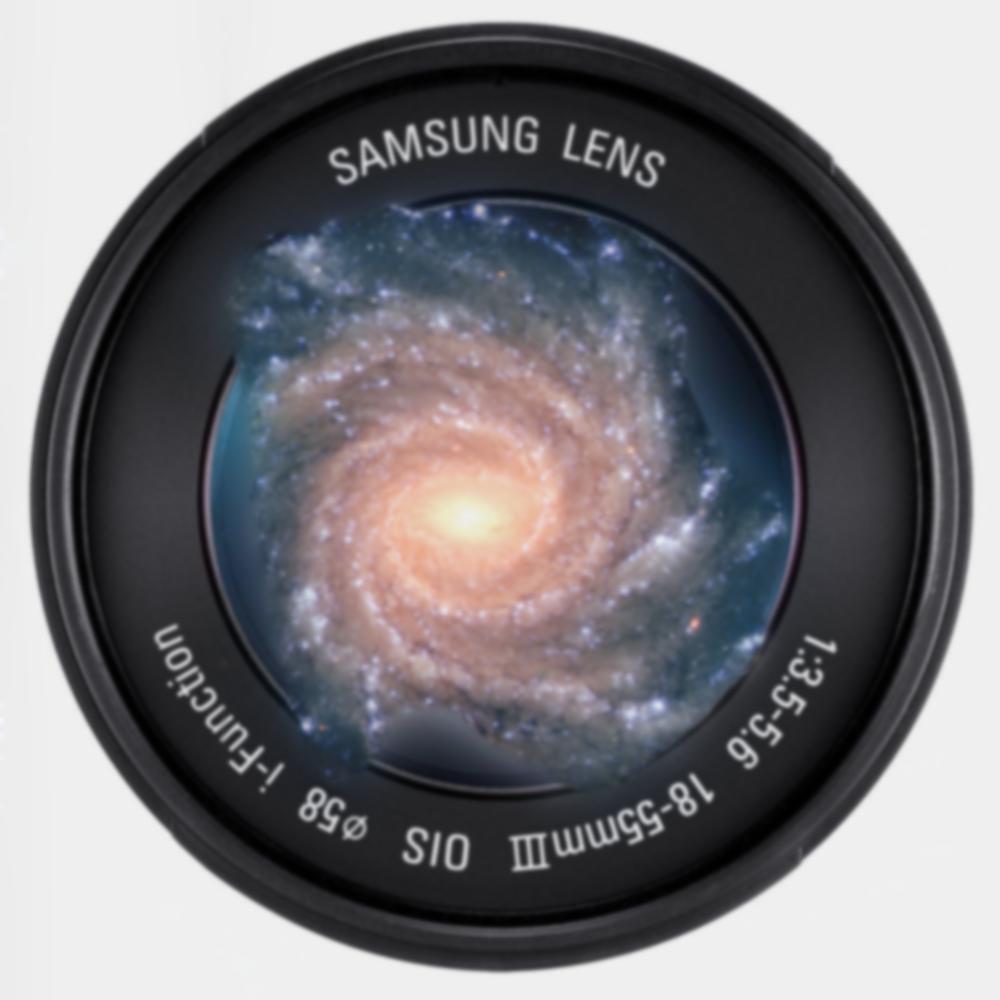
Multiresolution Blending
Laplacian/Gaussian for In the Lens image
Original

Stack Level 0
Stack Level 1

Stack Level 2

Stack Level 3
Stack Level 4
Laplacian Stack Level 0
Laplacian Stack Level 1
Laplacian Stack Level 2
Laplacian Stack Level 3

Laplacian Stack Level 4
Below are the individual Laplacians of the two input images. The Laplacians show up rather darkly but show up better in the Jupyter notebook. Unfortunately, we have to zoom in rather close to see the Laplacians stacks as they are very dark inherently.
Laplacian Stack Level 0
Laplacian Stack Level 1
Laplacian Stack Level 2

Laplacian Stack Level 3
Laplacian Stack Level 4
Laplacian Stack Level 0
Laplacian Stack Level 1
Laplacian Stack Level 2
Laplacian Stack Level 3
Laplacian Stack Level 4
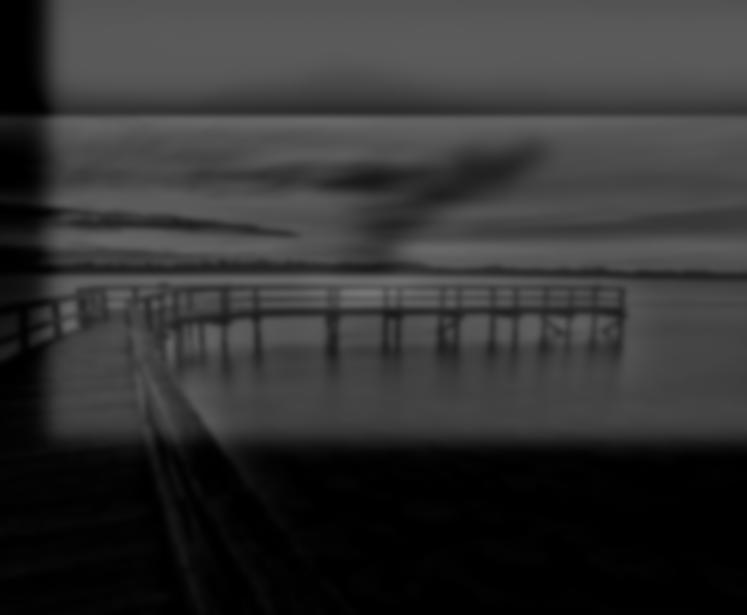
More Multiresolution Blending Results
2 Sceneries
Original
Target
Blended
Part 2: Gradient Domain Fusion
In this part of the project, we focus on gradient domain processing through poisson blending. Essentially, we are trying to minimize the difference in gradients from the source image inside the region of the mask we are blending into and trying to also minimize the difference in gradients along the border between the source and the target image we are trying to blend into. We are following this equation:

The first part of the equation asks has to do with minimizing the difference in gradients in the original source image. The second part has to do with constraints along the border of the mask. Solving this optimization problem gets us v, which is a vector containing the pixel values that will be filled into the area of the target image where we want the source to be.
Part 2.1 Toy Problem
Original Image
Reconstructed Image (lighter due to rescaling)
As seen above, applying gradient domain processing with the target and source to be the same returns the same image.
Part 2.2 Poisson Blending
Pneguin Sample

Target
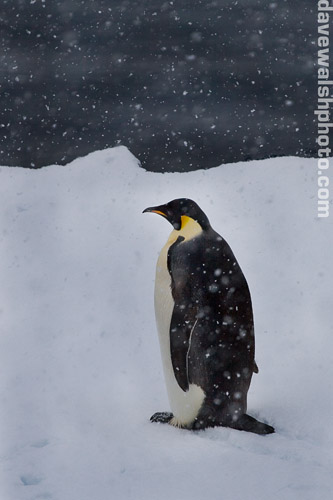
Source
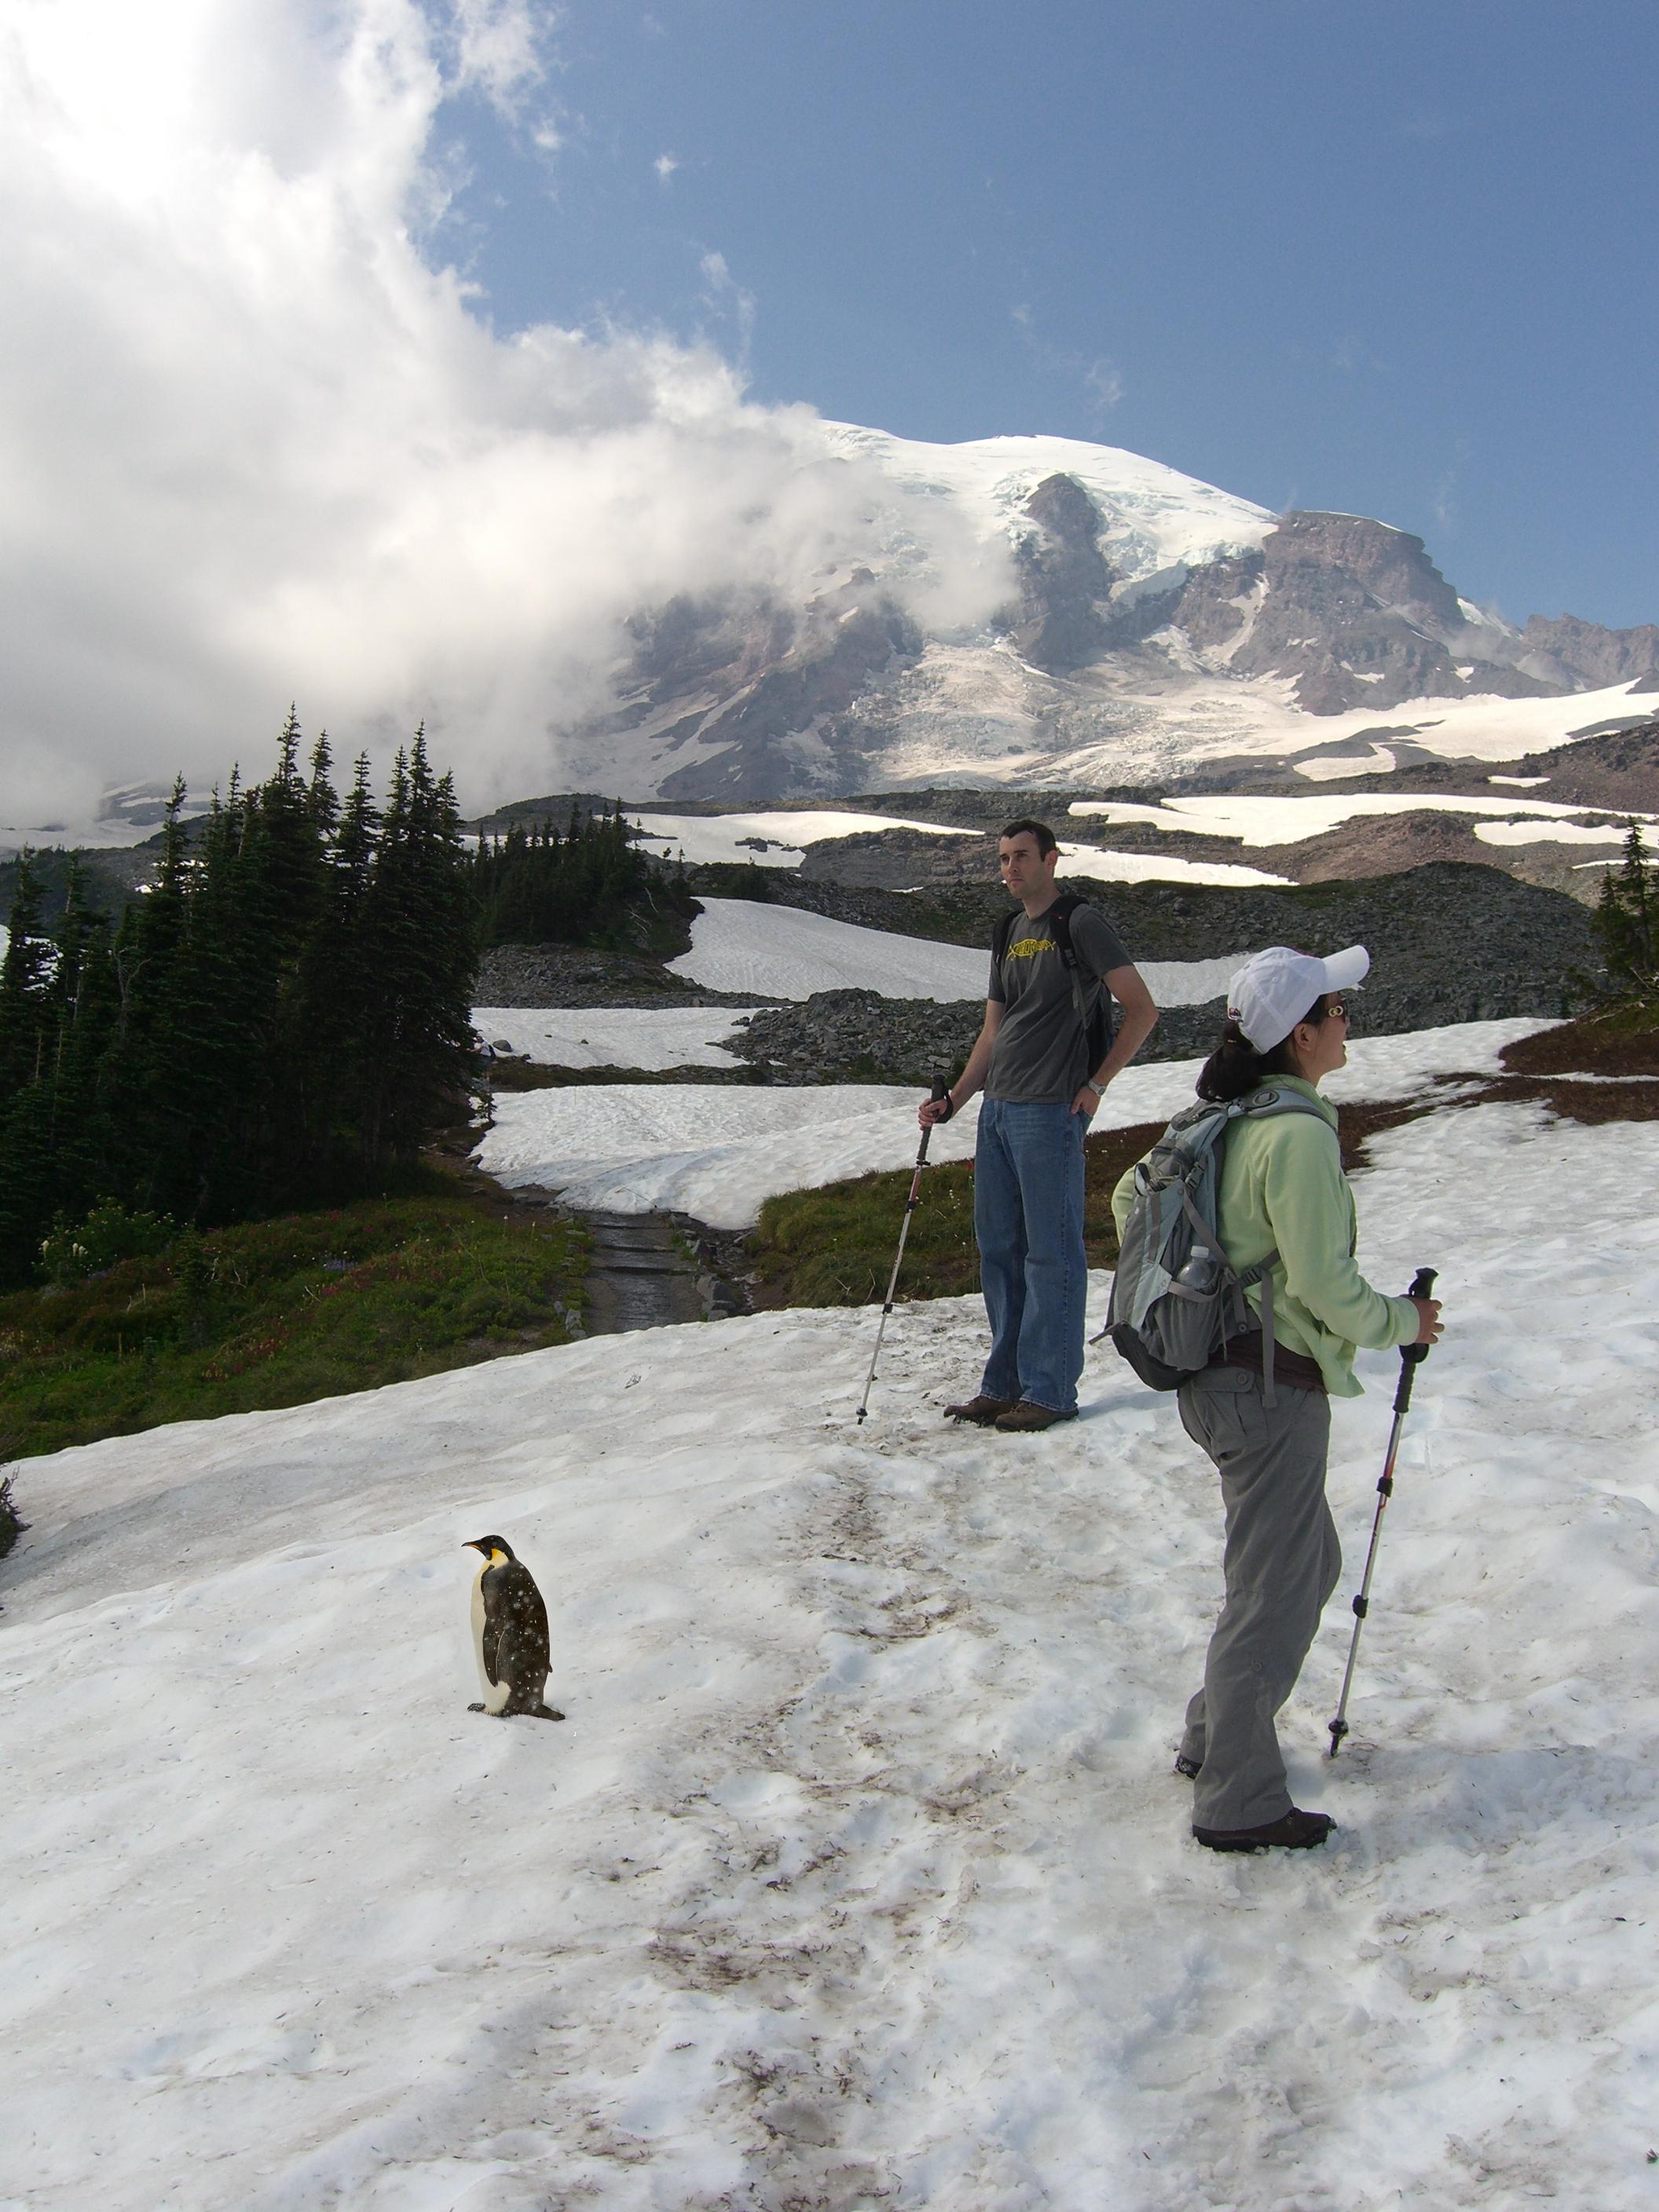
Blended Result
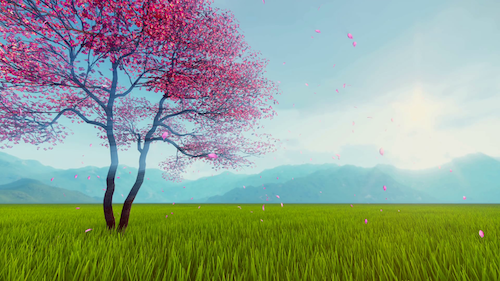
Spring Scenery
Target
Source
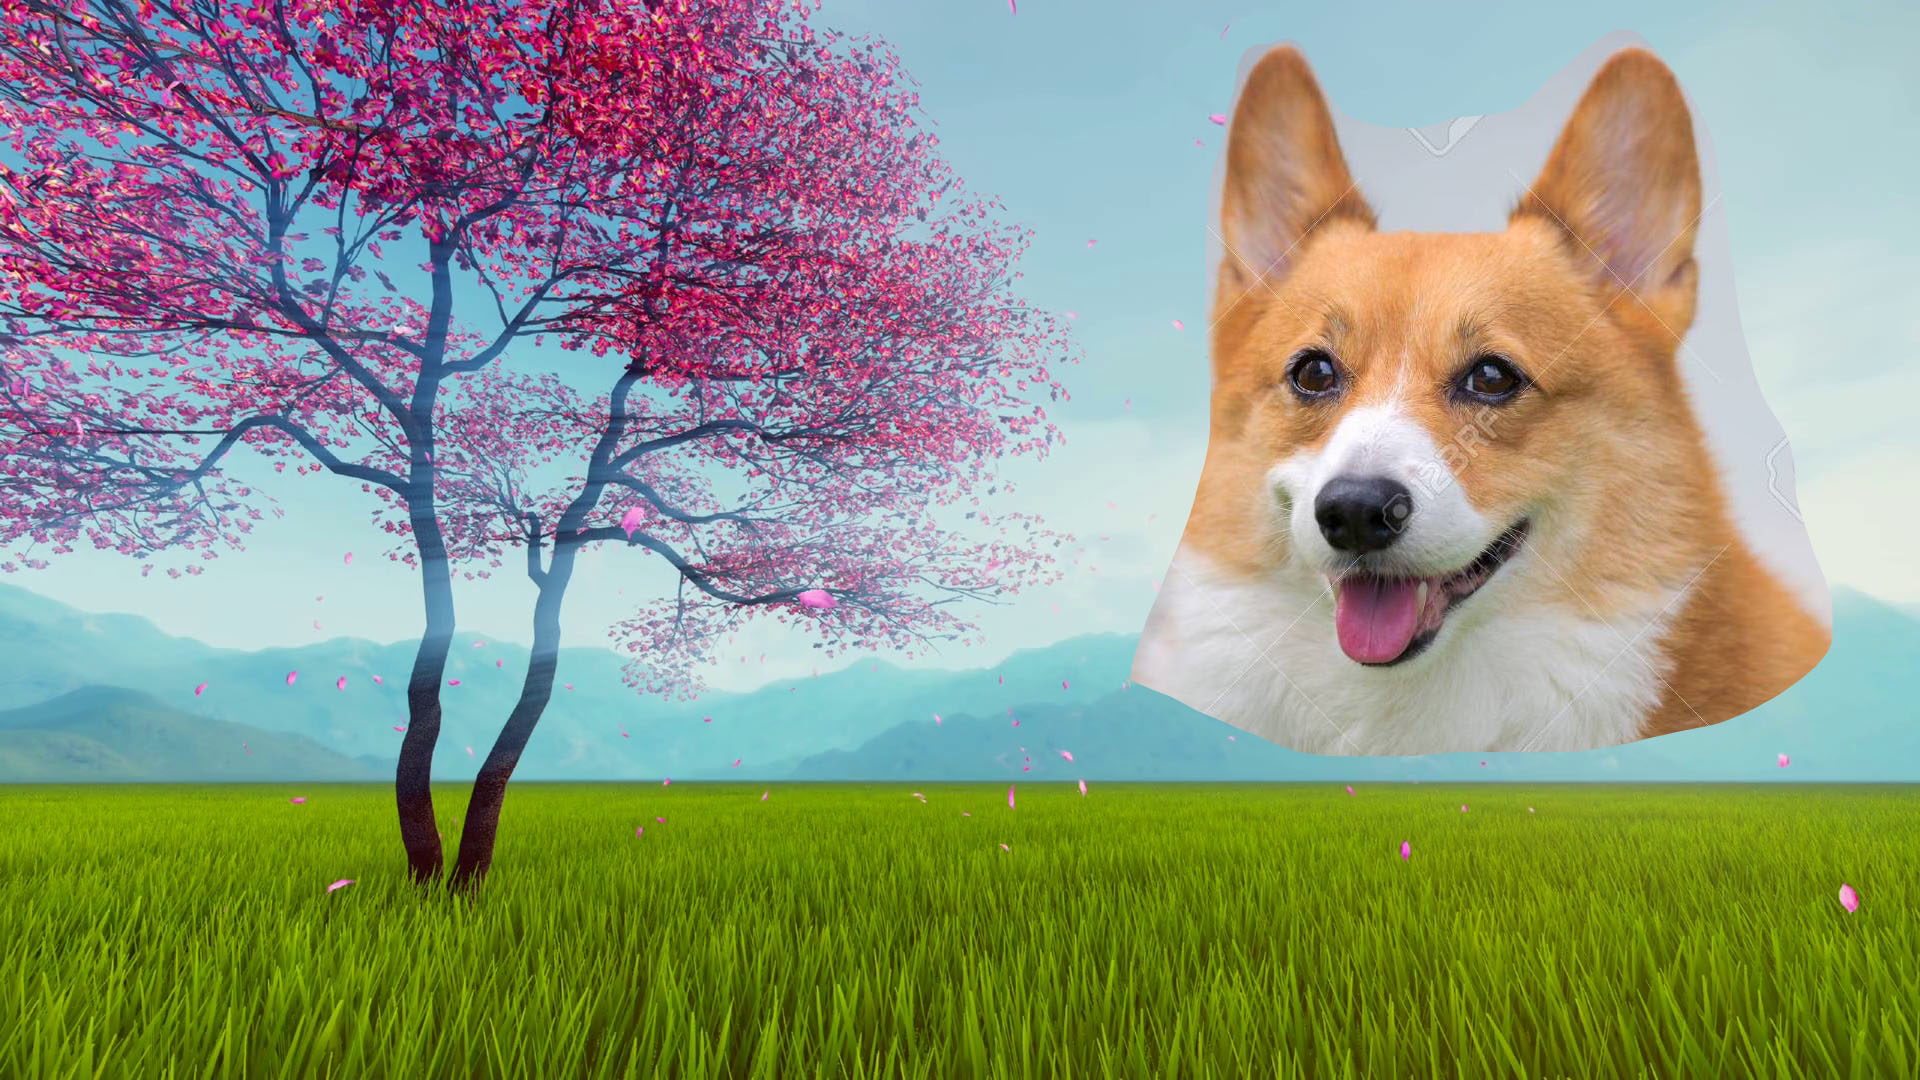
Source Pixels Direct Copy
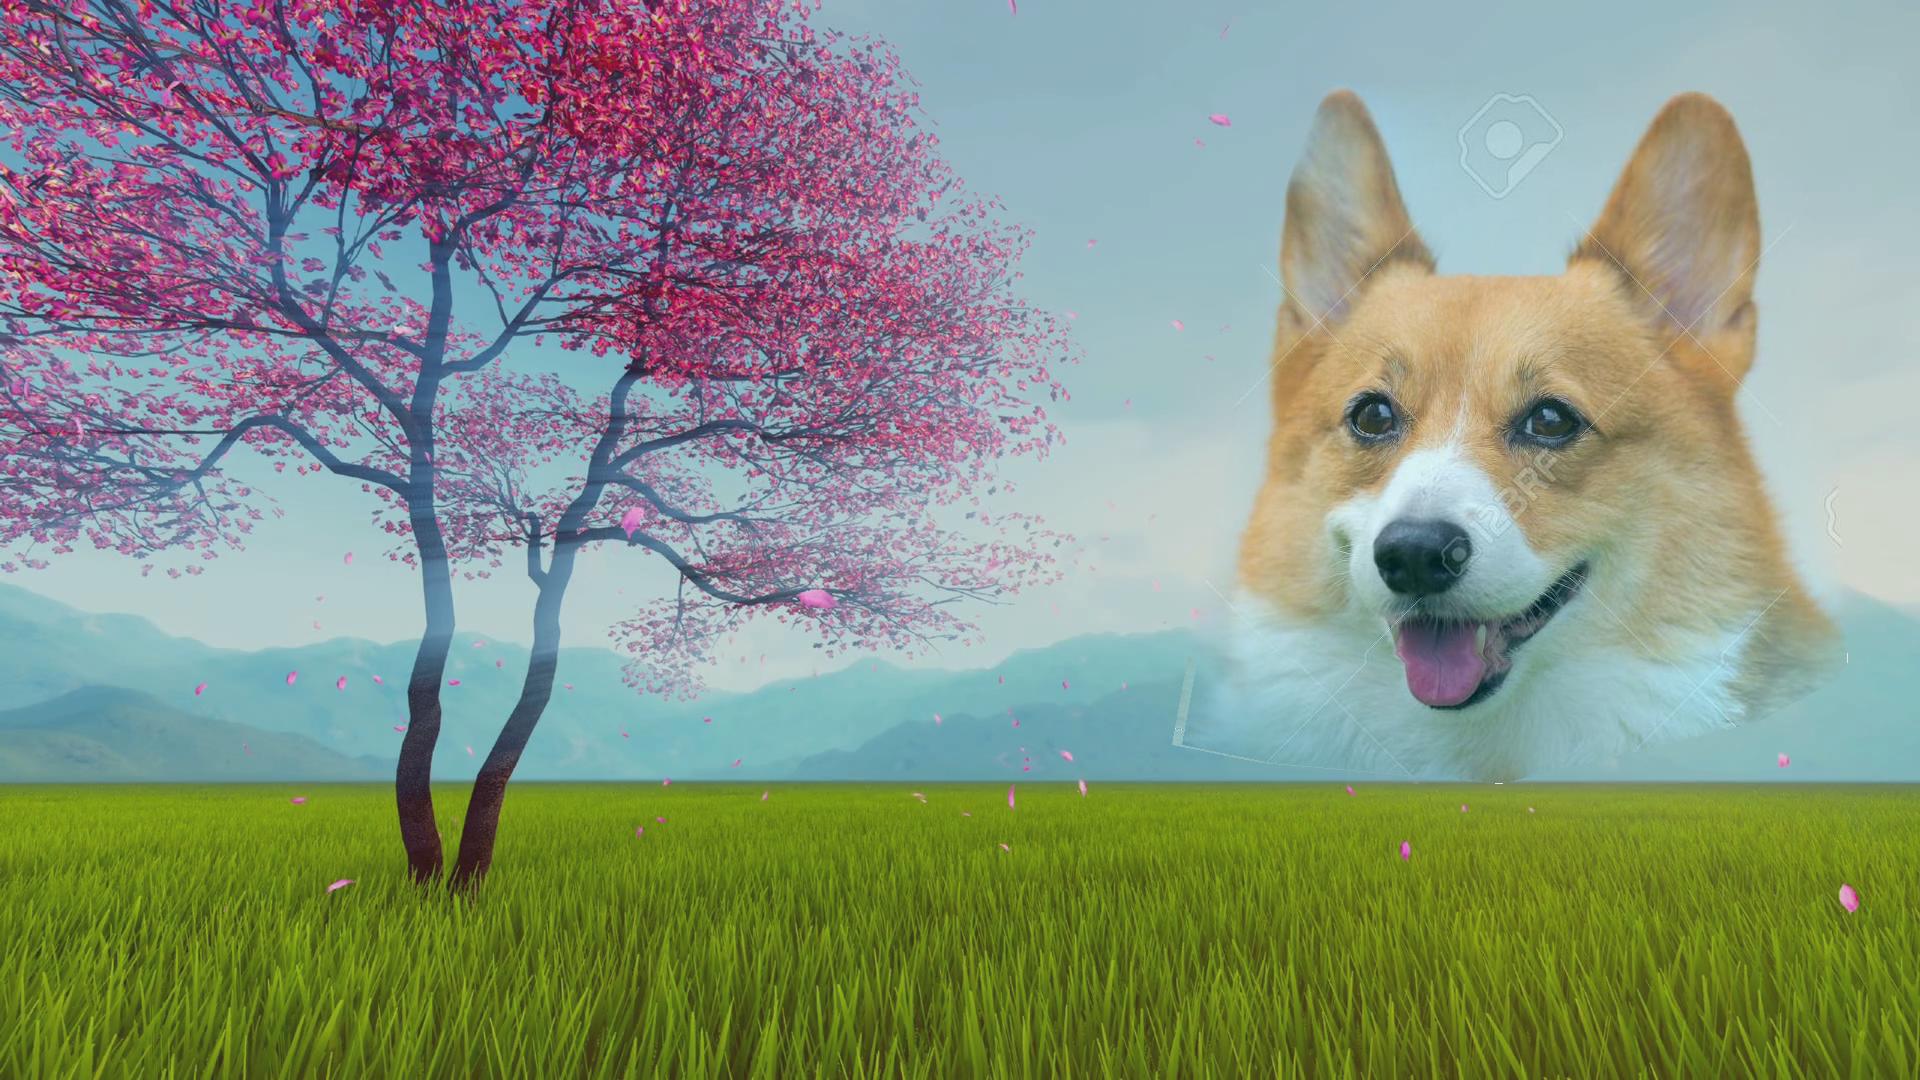
Blended Result
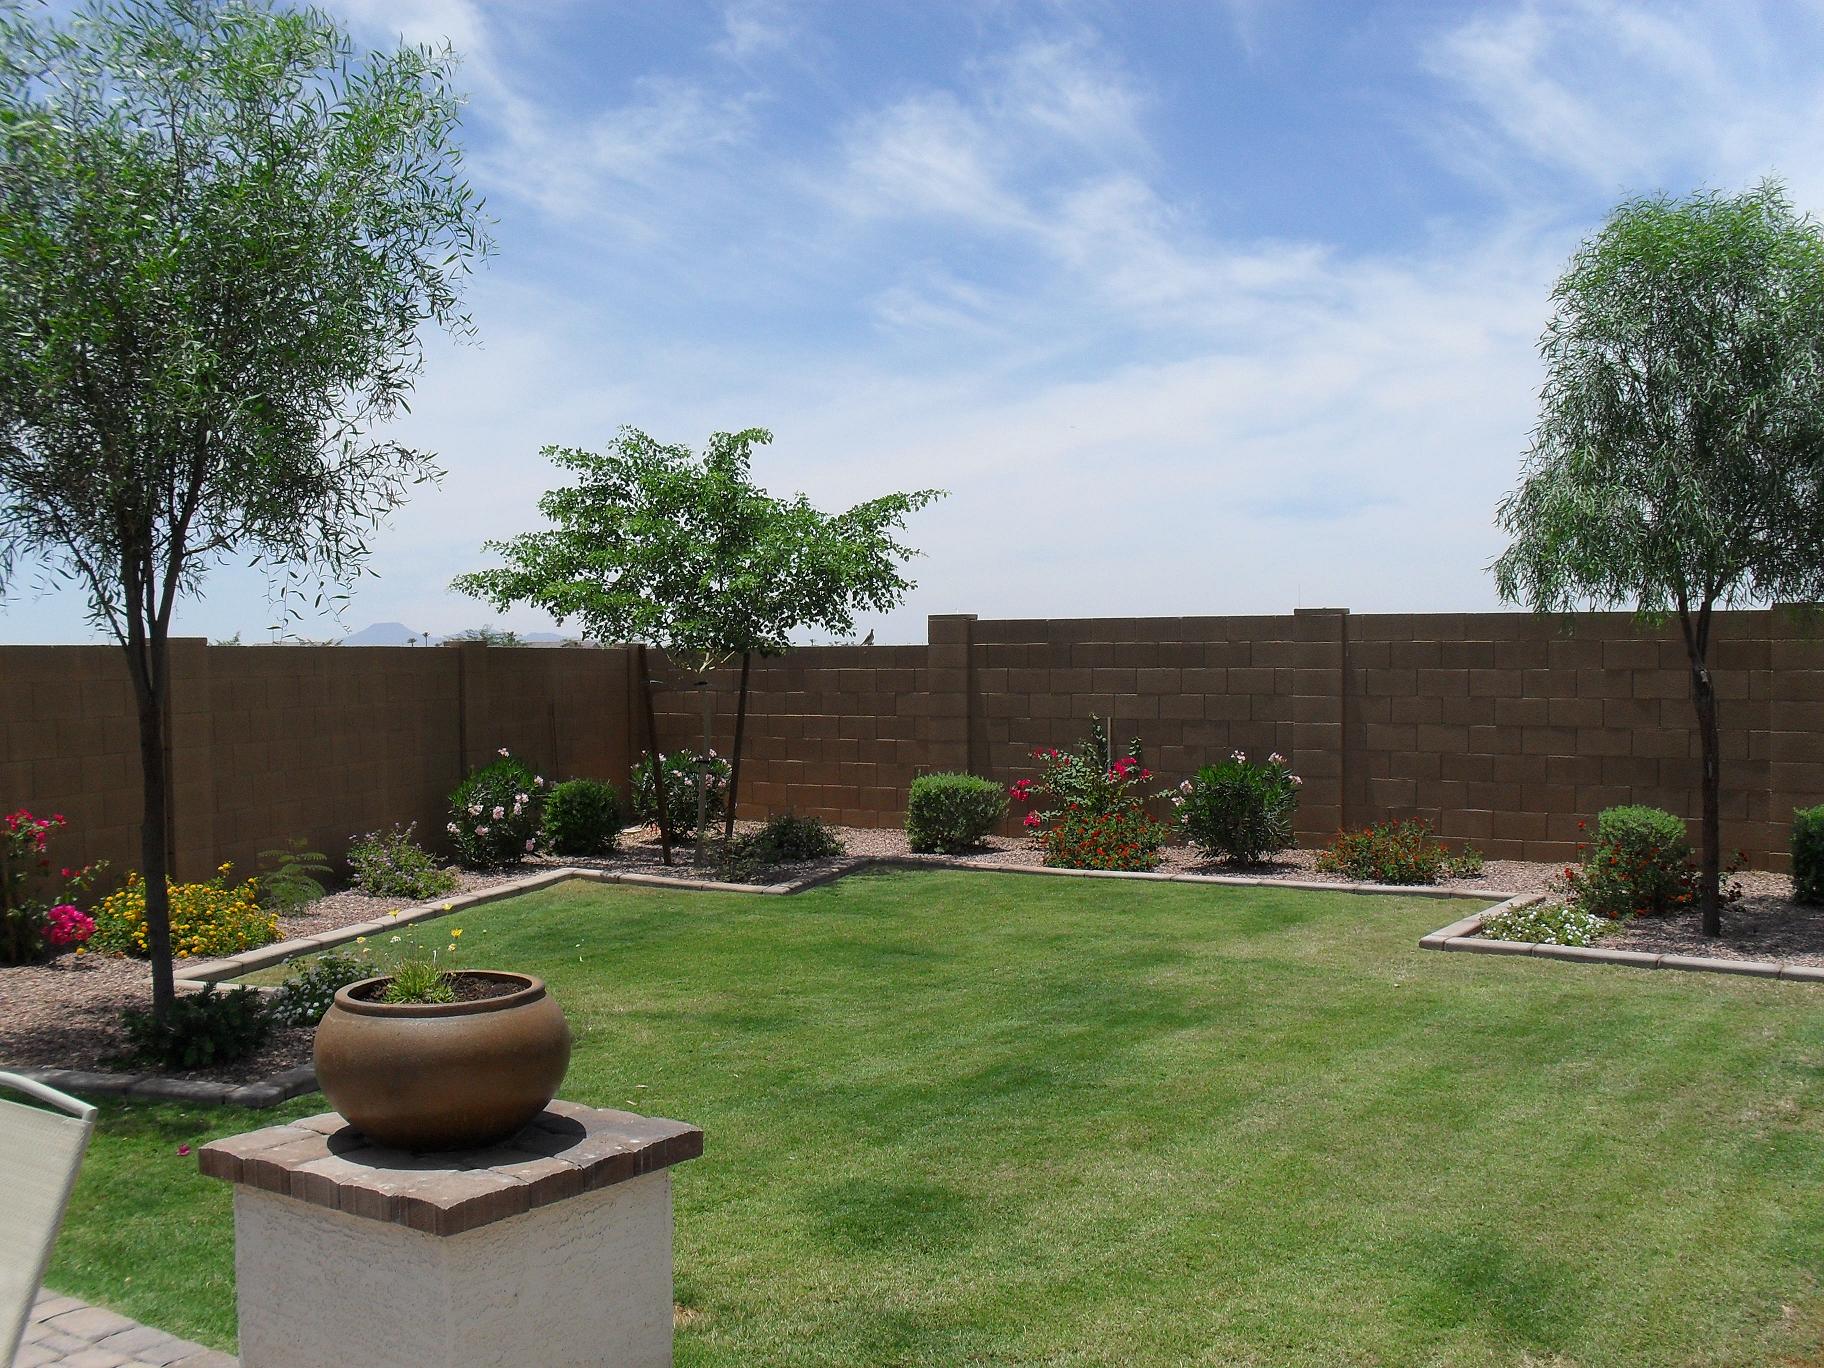
Eiffel Tower Backyard (Failure Case)
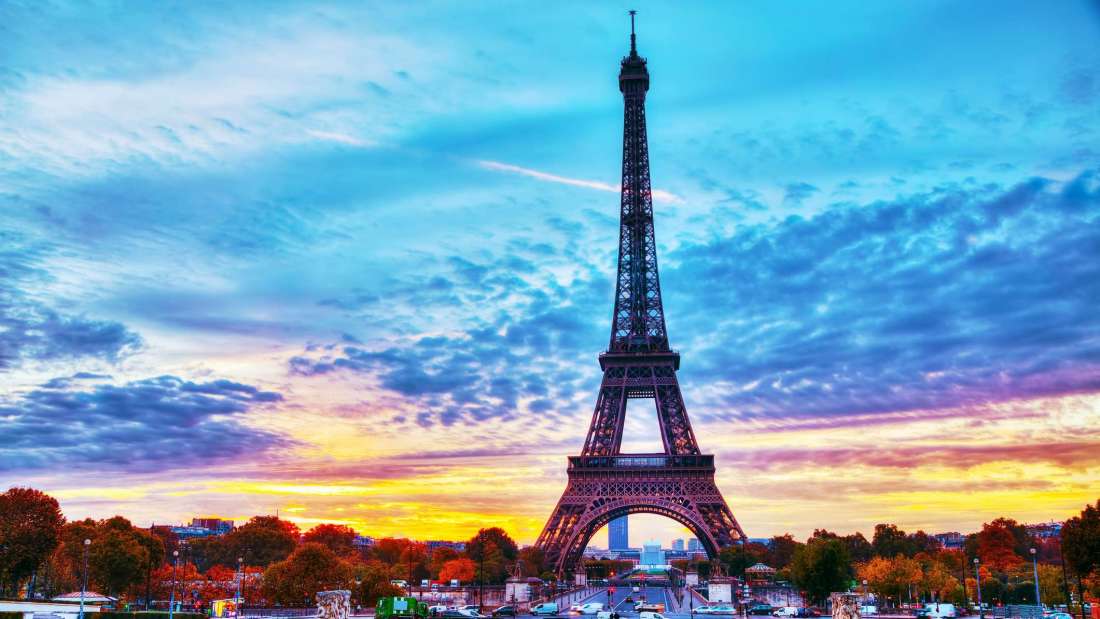
Target
Source
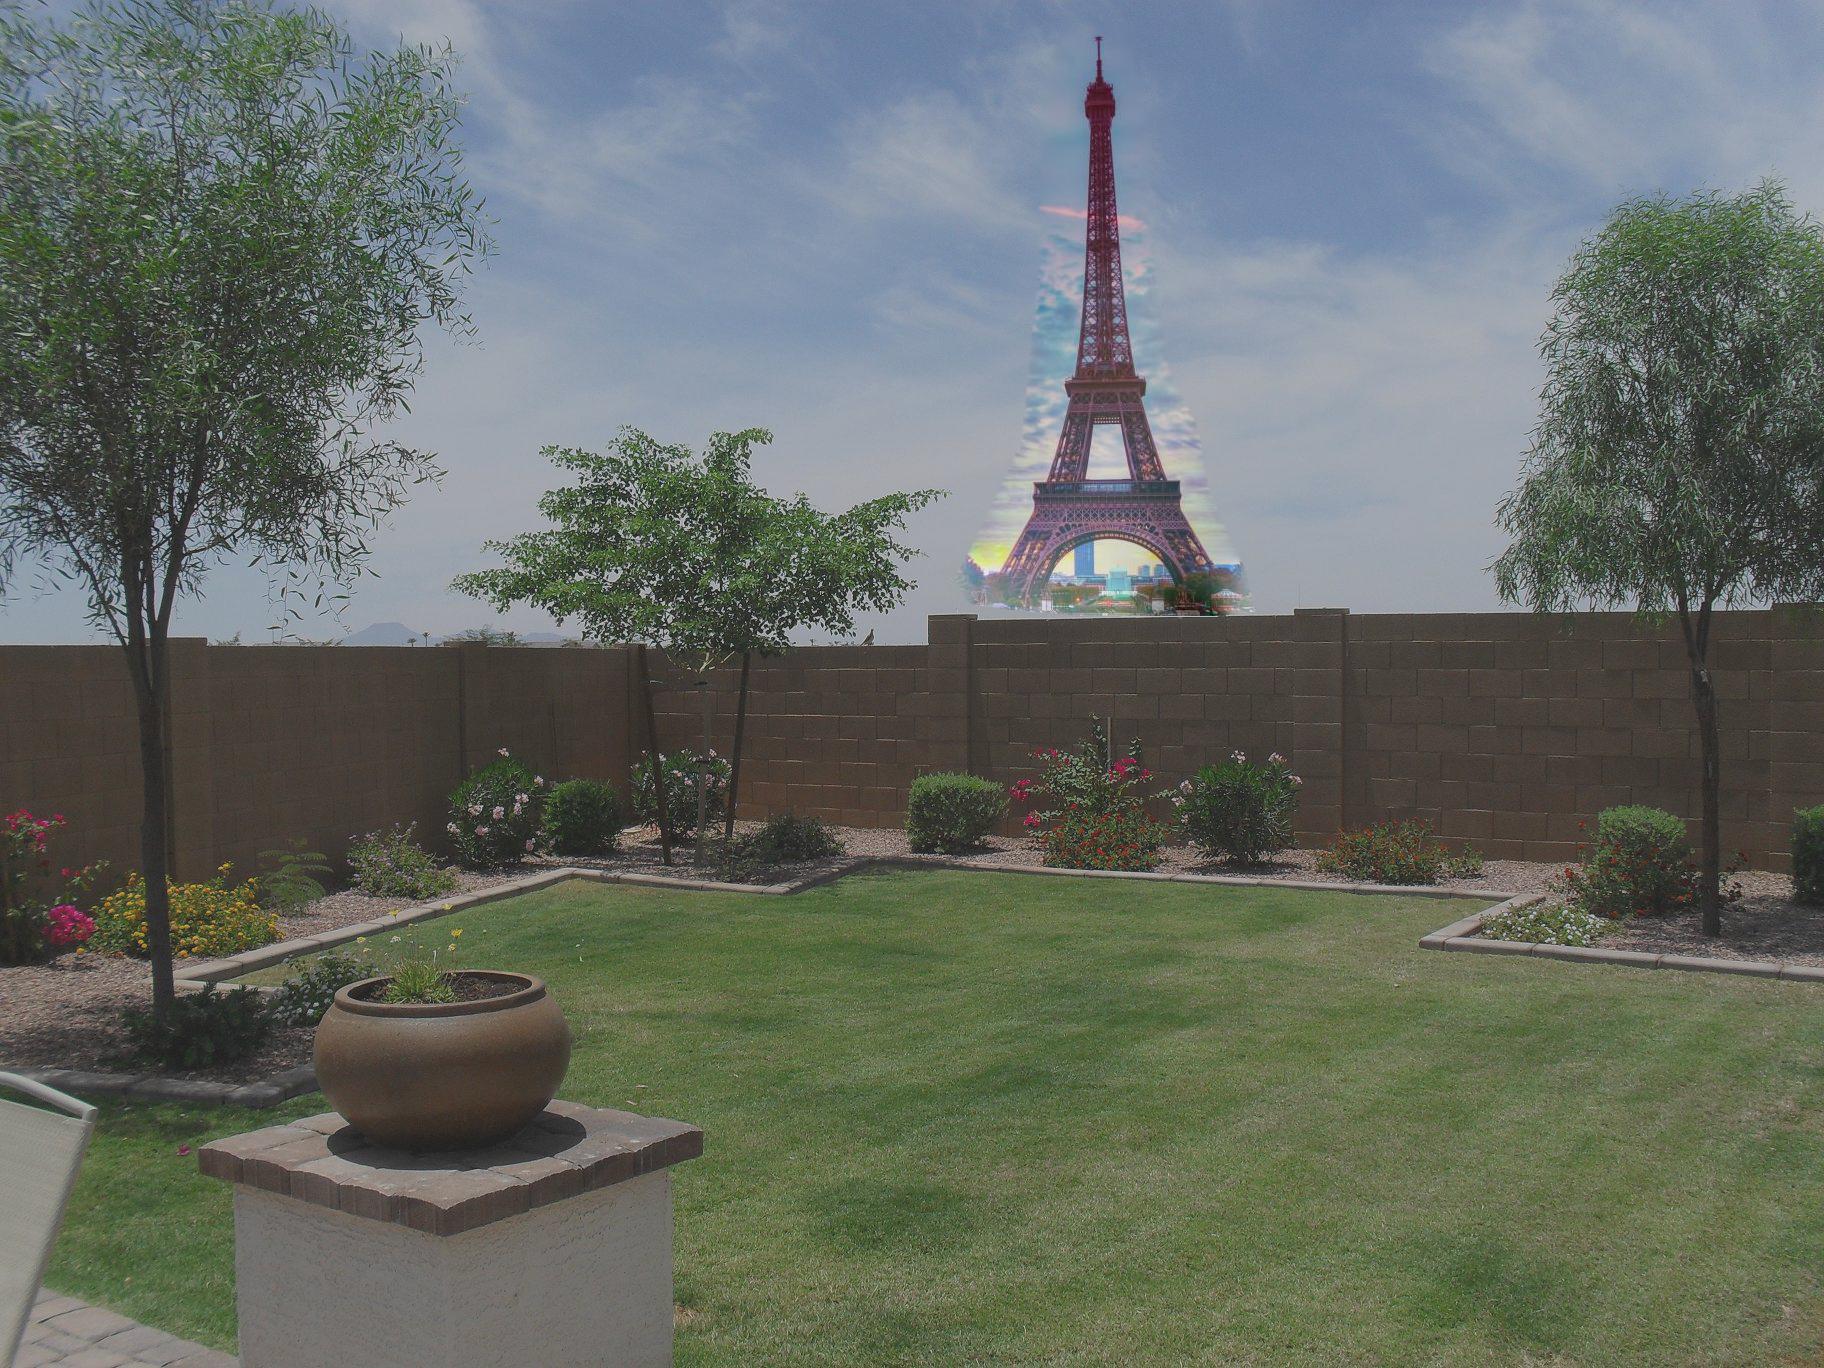
Blended Result
In this case, the color difference between the tower image and the backyard image is too great so the blending is not great in all places. Towards the top it is better, but the differences in color down towards the bottom are too great. Moreover, because of the dullness in general of the backyard image, the tower itself loses some shine on the inside of the image to distribute the difference in gradients. Another difficulty is making sure the mask is entirely in the page as the code has not been optimized to be able to blend as the matrices would be mismatched sizes by the construction of how we carry out Poisson blending.
More Results
???
Source
Target
Blended
Comparing Multiresolution Blending to Poisson Blending
Galaxy in Lens
Target
Source
Multiresolution Blending
Colored Poisson Blending
In most cases, I think that poisson blending would do a better job of pasting an object or mask into another image. However, in the lens in galaxy case, I think multiresolution blending actually works better in that for this case, it is more likely that we would actually only want the inside of the circle to be showing and so we dont want some sort of transition between the camera lens edge and the galaxy.
Reflection
I think I have found that from this project, I understand that there is no perfect method for carrying out blending as certain things work better in certain cases. Moreover, we have to keep in mind how to make sure our code can run efficiently given the very large number of pixels and what sort of methods can be efficient for the tasks we are trying to complete.