Warmup
We first sharpen an image using the unsharp masking technique. I picked an image I took over the summer in Alaska of Mt. Denali. Due to the low sunlight at 4AM, the image came out a little blurry. Here I sharpen it:
 Original
|
 Blurred image of the mountain.
|
 The high frequency I will add to sharpen my image.
|
 The sharpened image.
|
Hybrid Images
In the warmup, we added a high frequency pass of an image to itself to sharpen it. We will now experiment with combining a low frequency pass of one image and a high frequency pass of another different image. The result we get is a hybrid image that is static but is percieved differently depending on viewing distance due to the way humans interpret images. When you are farther away from the image, you see the low frequency image. However, as you draw nearer, the high frequency image begins to dominate perception.
We first combine the high frequency pass of nutmeg, the cat, and the low frequency portion of Derek.
I now try this technique on a few of my friends. The first being of Bubbles and my friend Newton. This one didn't work out too well as Bubbles was too animated for a real life human and her sharp lines are quite prominent. I had to fiddle a lot with how much of the high pass filter of Bubbles I added as small changes would make big differences and most of the time, Bubbles was too prominent. Thus, I would regard this one as a failure.
Next up is Yi and a walrus. The walrus' whiskers do not fit as well to Yi's head as I expected. Instead we get a furry Yi and poor results.
My friend Taka and this horse were making a similar expression. I try to combine them. I had to fiddle a lot with this one too as the horse was tricky to work with.
Now we get to my favorite one. My friend Jade got a haircut and she posted a tweet with the following two images saying she and the lead singer of our favorite band, Death Cab For Cutie, are now twins. With her permission, I tried to combine them and felt it worked out nicely!
 Jade
Jade
|
 Ben Gibbard
|
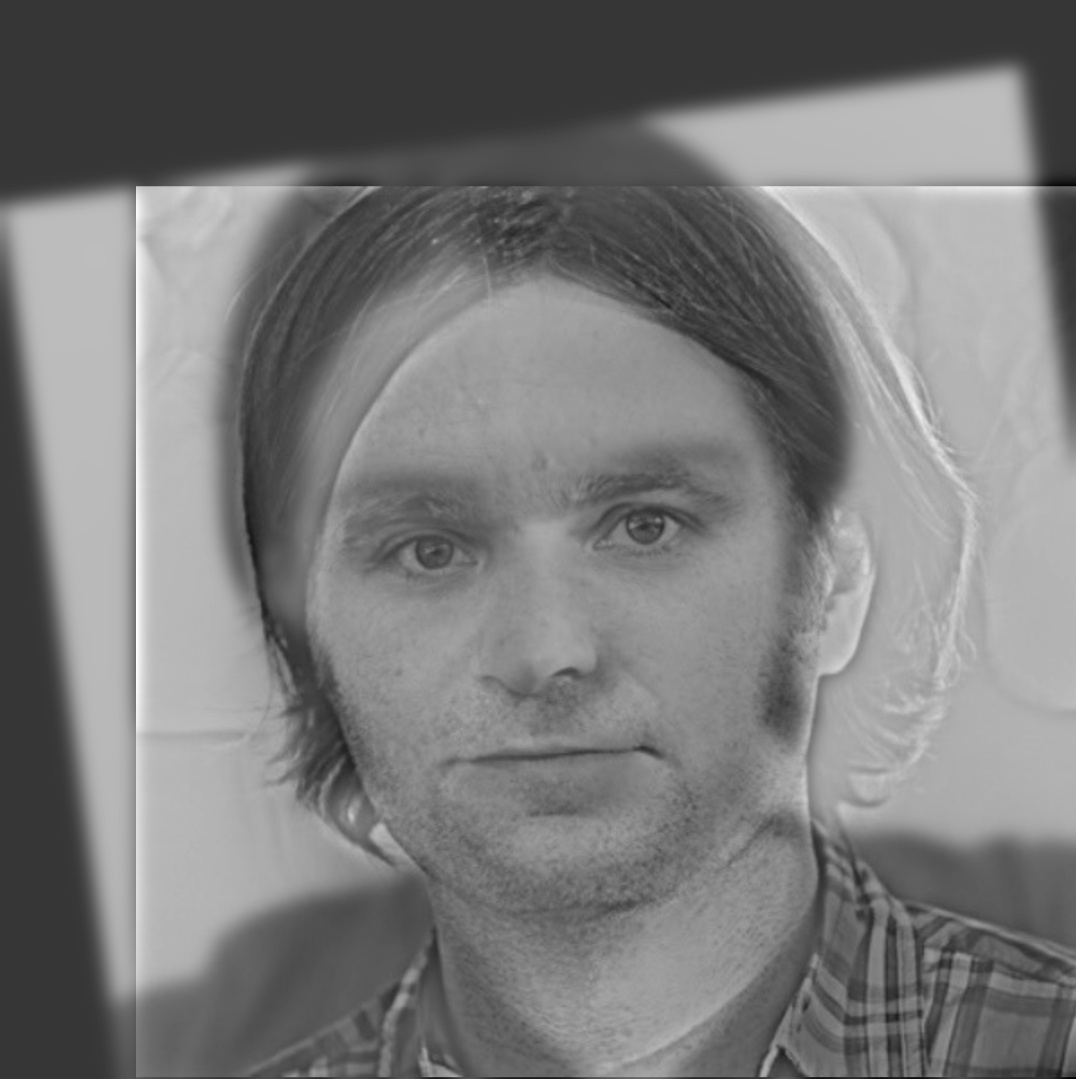 Jade Gibbard
|
Frequency Analysis
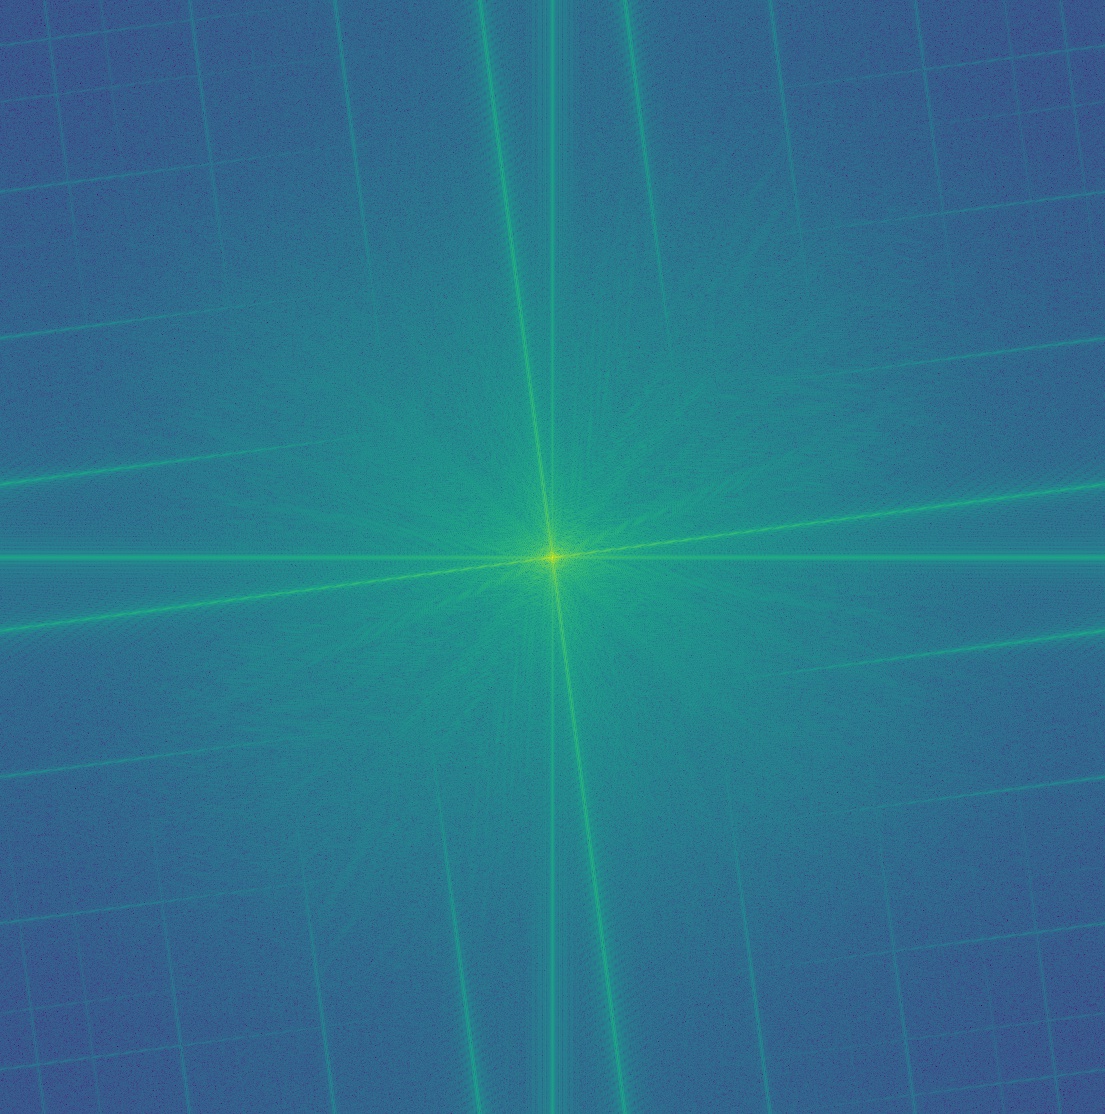
Here, to analyze our results, I apply the log magnitude of the Fourier transform on the images of Jade and Ben. I also display the 2D transform being applied to their respective low pass and high pass filtered images as well as to the hybrid image.
 Jade
Jade
|
 Ben
Ben
|
 Low pass filter of Jade
|
 High pass filter of Ben
|
 Hybrid
|
Gaussian & Laplacian Stacks
To further illustrate our process, we show the gaussian and laplacian stacks for the Jade Gibbard result above. These stacks help highlight and inform us of the pixels that are visible at different frequencies. In addition, we break up our images into the building blocks of different frequency portions.
Salvador Dali made his own hybrid image in a painting. When viewed far away, we see an image of Abraham Lincoln. However, from up close, we can clearly see a woman looking through a window.
Lastly, we do the same for the famous painting, the Mona Lisa. Perhaps we can see if theres more to her strange expression due to a mixture of frequencies.
Multiresolution Blending
Now we move along into multiresolution blending - a technique to seamlessly blend two images together. This is done by computing a gentle seam between the two images at multiple bands of frequencies and then adding them up back together. We first do this with the classic apple and orange example. We have an image of an apple, an orange, and using the mask below, we blend them together. First we do this in black and white and then in color.
First we evaluate a failure case. I tried to blend together these two images of Bubbles and Blossom, but due to a misalignment, we get an odd looking output.
Next I try doing a different mask. To make the fade more dramatic, I use a mask that is already partially blurred.
Now here are some examples of me experimenting with more irregular masks.
 The background textures aren't similar leading to an obvious placement. Still cool :D Figuhsagna!
|
 FAILURE: I should have made the mask a little closer to me and my dad as there is a VERY obvious placement factor.
|
To illustrate the incremental process, here I display the laplacian stack for one of my favorites! I first display the laplacian stack for each image with the mask and then the final result laplacian stack.
Gradient Domain Fusion
We now try another approach to seamlessly blending images together. This time, we deploy poission blending where, rather than using the approach before where we blend by combining together images at their different bands of frequencies, we take advantage of the fact people care much more about the gradient of an image rather than overall intensity. Thus, we set up the problem as one where we try to find values for the target pixels that maximally preserve the gradient of the source region without changing any of the background pixels. Thus, if we were to paste some lava into an ocean, the lava would take the neighboring target image pixels of the ocean to guide its color and become blue. However, we preserve the gradient so the tecture of the lava will still be there. We model this problem as solving the following equation:

To illustrate that gradients are powerful, we begin with a simple reconstruction exercise. We take an image, compute all the x and y gradients, and then, using these gradients and a singular pixel value from the image, we will reconstruct the original image. This is shown below.
 Original image
|
 Reconstructed image
|
Let's begin doing poisson blending! We take two images, a target and a source, construct a mask to designate which pixels in the source image we want to put on the target, and then, after solving the equation above by calculating all the densities of the source image and including the target image pixels whenever we encounter a boundary pixel, we get our blended result.
 Target image
|
 Source image
|
 Naive overlay
|
 Blended result
|
 Target image
|
 Source image
|
 Blended result
|
 Target image
|
 Source image
|
 Blended result
|
 Target image
|
 Source image
|
 Blended result
|
This one didn't work too well since the bike's background is white and the sky is blue. Consequently, the bike turned blue. This is because, the bike relative to the white background is black. However, since the white pixels are boundary points with the sky, they want to preserve the blue sky and thus turn blue. Thus, now the gradient of the bike pixels with the white background pixels turn the bike blue as well.
 Target image
|
 Source image
|
 Blended result
|
Other difficulties I had were mostly due to a poor mask and poor choice of images. In order for poisson blending to work well, the colors of the boundary source pixels and the target pixels should be similar, otherwise there will be a drastic change in color. In addition, in some images I found I had to give some buffer and provide additional pixels in the source image around where the white pixels would be in the mask image, otherwise edges would be more drastic.
Lastly, we compare one of the results from the multiresolution blending technique with the poisson technique applied to the same images:
 Target image
|
 Source image
|
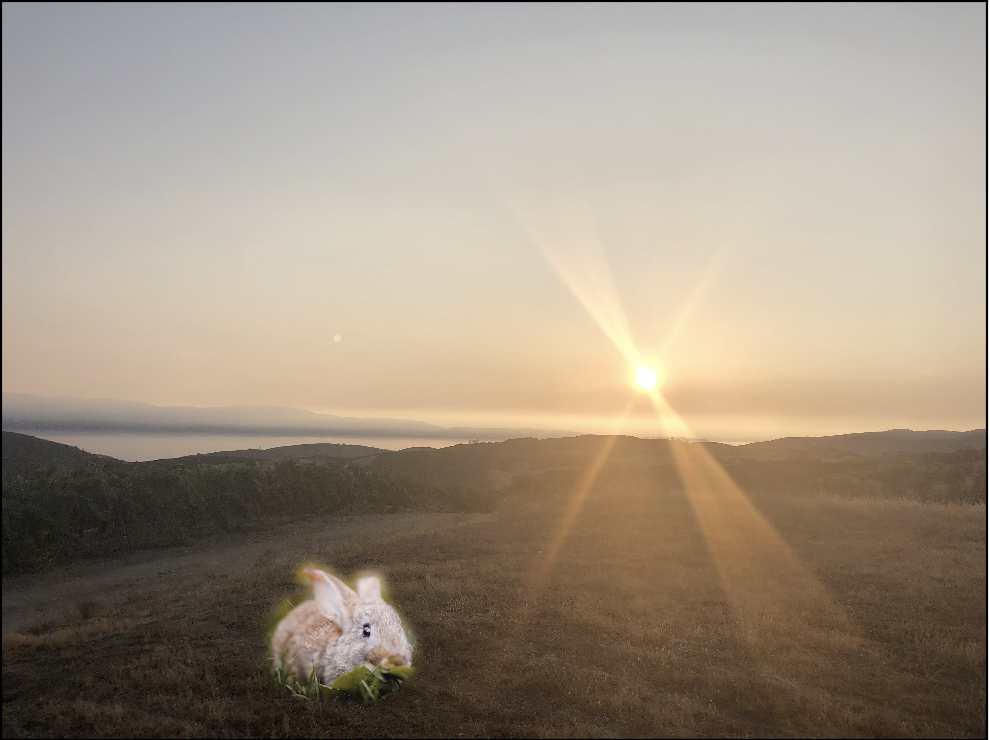 Multiresolution Blending
|
 Poisson Blending
|
This was a very peculiar set of images as I feel poisson blending did not go too well as the bunny's colors are a little strange due to the grass surrounding the bunny being a dirtier color than the green in the original image. However, multiresolution blending provides an image that has clearly been photoshopped due to the bunny appearing to be in midday sunlight during a sunset. Poission blending tries to remediate this by making the using the target image's pixels to influence the pixel values. Thus I feel that multiresolution blending is better for situations where the lighting of the two images are similar already and when you want to place an object on target pixels that are of a different color and you want to maintain this color difference. Poission blending is better for situations where the source and target surrounding areas are similar, such as both being bodies of water or in the sky, and you want the source image to blend in by changing its color to look more seamless. For this case, I personally like the muiltoresolution result better but both are just alright.