Part 1.1: Warmup
This section consisted of using a gaussian filter to "sharpen" an image. The gaussian filter that I ran over my images acts as a low pass filter, filtering out any of the high frequencies in the image. I can then subtract the filtered image from the original image to get the high frequencies in the image, and then add a scaled version of that difference to the original image to essentuate the high frequencies in the original picture, making it look sharper. By playing around with the sigma value in the gaussian filter, I realized that higher sigma values (to a certain point) lead to better results. I also played around with how much of the high frequency portion of the image I scaled and then added to the image, and realized too high of a scaling factor would distort the image and too low wouldn't have a significant effect on the image.

Part 1.2: Hybrid Images
This next section consisted of combining two images and creating a hybrid image. This consists of aligning two images, and then running a gaussian filter over one of them and a laplacian filter over the other. Afterwards, you simply overlay the two filtered images over each other to produce an image that looks like the one below:

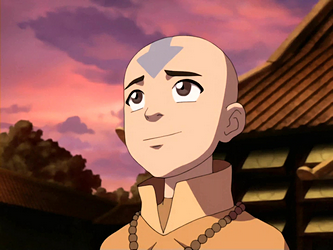
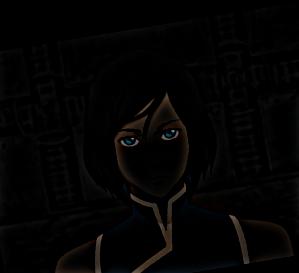
The process of how I got these images is better demonstrated here. The following are the original images, scaled.
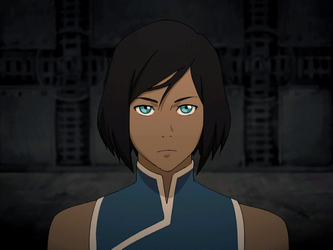
The following are the log magnitude of the log magnitude of the Fourier transform of the two images.
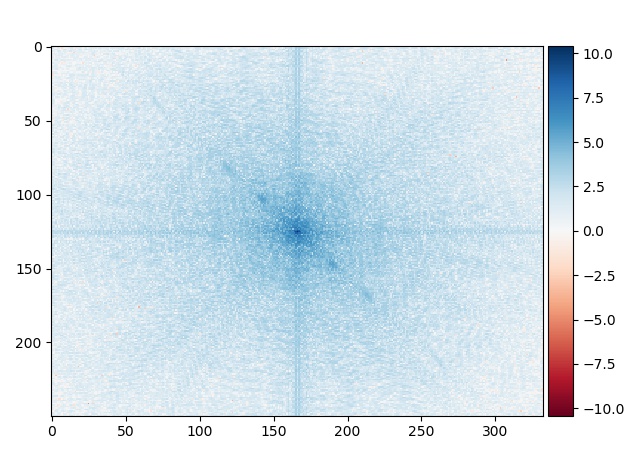
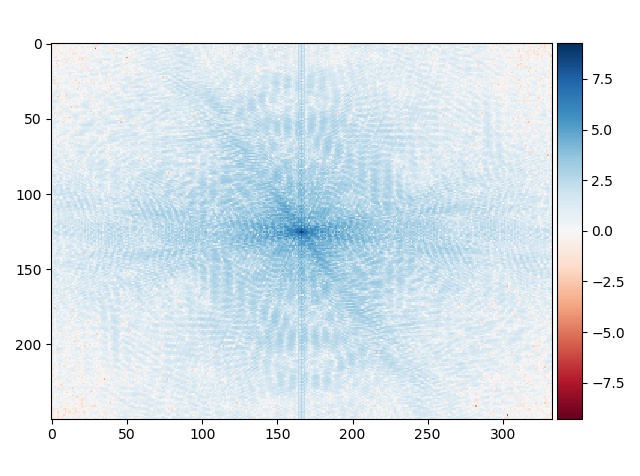
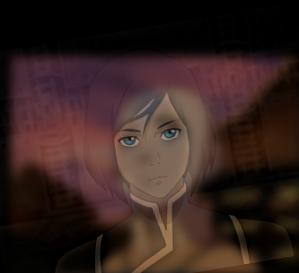
The following are the gaussian filtered version of Aang (the left original picture) and the laplacian filtered (original picture - gaussian) version of Korra (the right original picture)
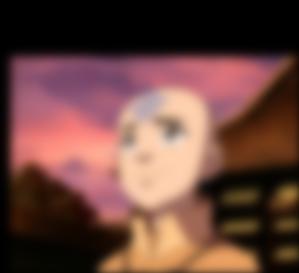
And finally, here is the combined version of the two original pictures
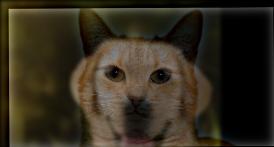
Here are two more examples of hybrid images, combining a cat and a dog as well as Michael Jordan and Lebron James.
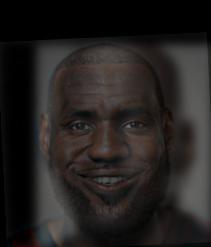
The hyrbid picture of Michael Jordan and Lebron James did not turn out as well as expected and I suspect this to be the case because the two original pictures were too similar in color scheme, frequencies, and overall shape, which leads to indistinguishability between the two images.
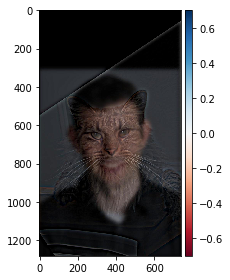
Part 1.3: Gaussian and Laplacian Stacks
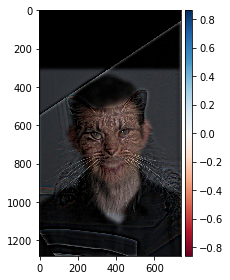
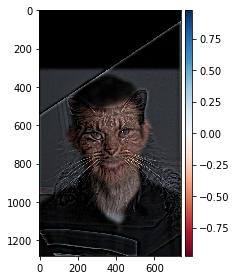
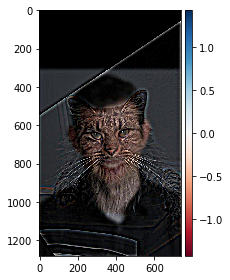
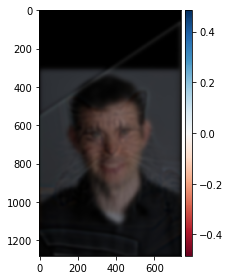
This portion consisted of creating a laplacian and gaussian stack to better see the progression of the effects of a laplacian and gaussian filter has on images. A gaussian and laplacian stack has more benefits than just visualization, as will be see in the next part of the project. Each of these stacks are constructed by consecutively applying either the gaussian or laplacian filter on the image to multiply the effects of the filter The following is a laplacian stack of the nutmeg + Derek hybrid picture I created in the previous portion of this project, starting with the original picture.

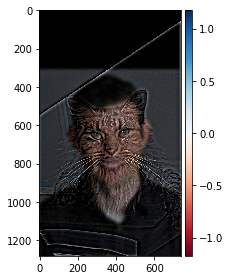
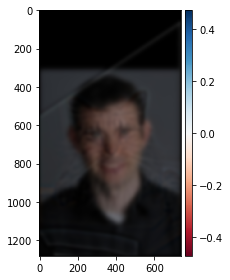
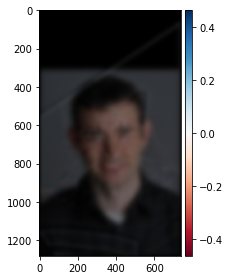
And the following is the gaussian stack of the nutmeg + Derek hybrid picture.


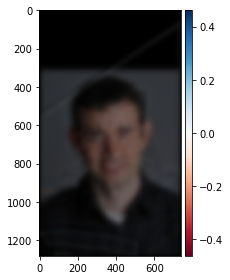
The following are the laplacian and gaussian stack of the Marylin Einstein hybrid picture as well as Dali's hybrid picture of his wife and Abraham Lincoln.
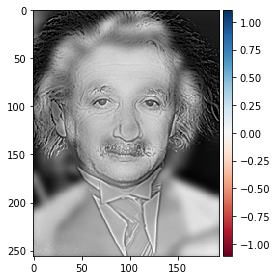
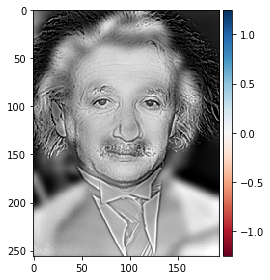
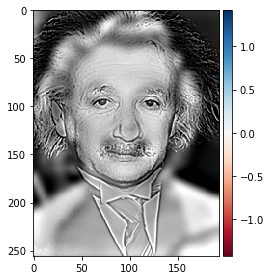
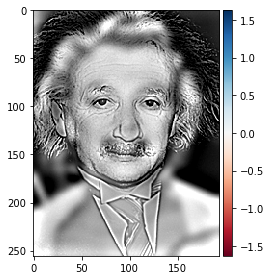
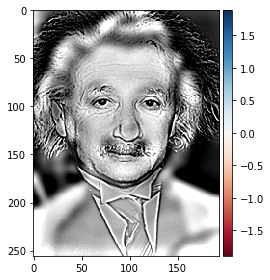
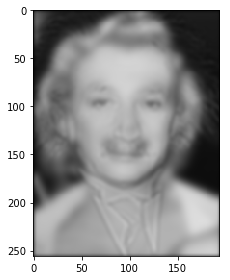
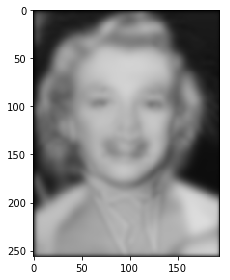


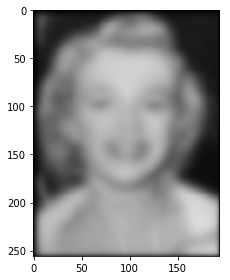

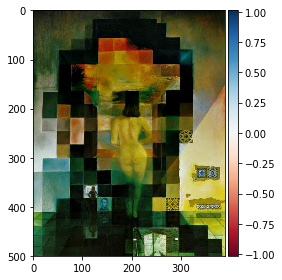

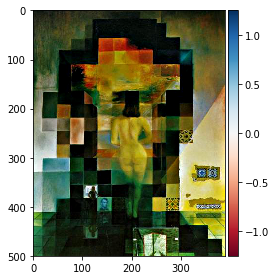


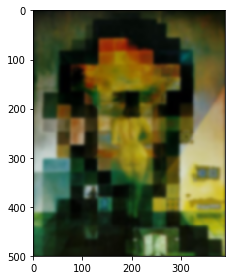


What the laplacian and gaussian stacks do in the context of hybrid images, is that it essentuates one of the original pictures over the other because the high/low frequencies are highlighted. The laplacian stack eccentuates Nutmeg while the gaussian stack shows Derek much more clearly.
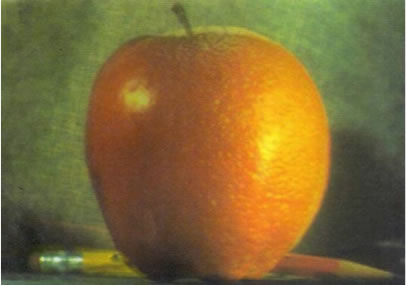
Part 1.4: Multiresolutional Blending
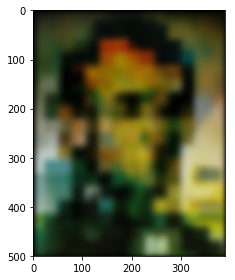
This part of the project consisted of taking two images, and blending them in a smooth way. You would first want to align the images and then take roughly half of the image on both sides as displayed below:
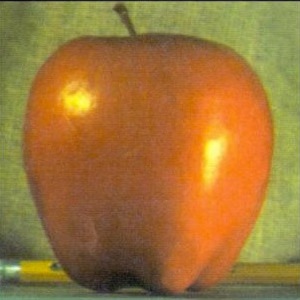
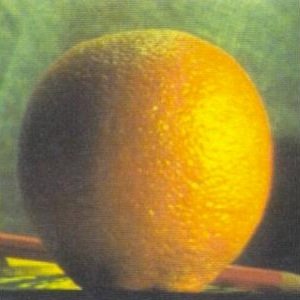
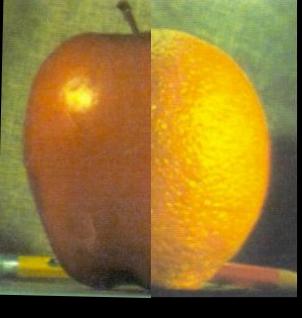
Afterwards, you would want to create a mask for the overlapping regions between the two images, which would essentially be point at which the two images would be blended together. You would then create a laplacian stack of the two halves of the original images, and then align/combine the two halves at each level of the stack. For the overlapping region, you would take the gaussian of the mask and use that as a weight value to determine how much of the left half you would show vs the right half. You would then work your way up the stack until you get the final, blended image.
Part 2
To be honest, I did not have enough time to implement this part of the project, but I'll do my best to explain how this works based on what I learned in class. A problem with blending on pixel values is that when a source image is blended into the destination image, it does not fit well with the feel and color atmosphere of the destination image. As a result, it benefits us to instead blend using the gradient (both x and y) of the image instead of looking at the raw pixel values. We can solve the following equation in order to figure out the pixel intensities of the source image in relation to the destination image where s is the source image, t is the destination image, and v are the pixels within the source region.

Solving this equation does two things for us. It not only ensures that the pixel values in the area change in the destination image are as close to the pixels to be moved in the source image, as well as ensuring that the target area in the destination image blends in as well as possible with the rest of the image. By minimizing these two differences, we create as smooth of a blend as possible.