CS194-26: Image Manipulation and Computational Photography
Fun with Frequencies and Gradients
by Zeyana Musthafa (agw)
Sharpening Images
I've always seen the option to sharpen images on photo editing apps and wondered how it works. The effect is actually achieved in a pretty straightforward way. It relied on, as did much of the first part of this project, convolving our image with a 2D Gaussian to create a low pass filter. Or to put it in plain English, we're going to blur the image.
The key to sharpening the image is taking that blurred image and subtracting it off the original image. This nicely leaves us with a somewhat equivalent to "edges" in the original image. All we need to do then is add some multiple of this newly constructed "edges" image with our original image.
The main parameter we have to vary is alpha that essentially determines how sharp the image should be. And wa-lah:
Before Sharpening
After Sharpening (Using sigma=5, ksize=45)
Hybrid Images
The way these hybrid images work is by taking only the lower frequencies of one image and slapping on the high frequencies of another image. All of a sudden you get the supposed effect of seeing more of the higher frequency image up close and the lower frequency image from a distance. Once again, the gaussian filter comes to our rescue because it gives us the lower frequency image. And the higher frequency image we can get by just subtracting off the lower frequencies (a.k.a what we get after applying the gaussian filter) from the other image.
I've got to admit that initially I wasn't fully convinced that this method looks that different by looking closer and farther. But this was based on moving my face a little bit more backwards in my chair and expecting it to look dramatically different. So once I actually zoomed the heck out of the image, the high pass filter does in fact "disappear".
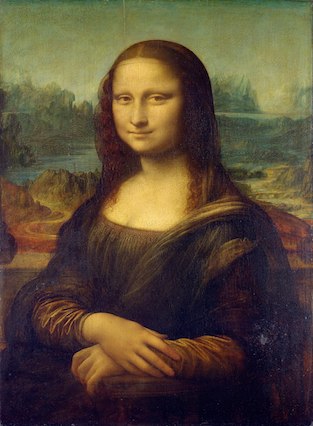
Low-pass filter on Mona Lisa
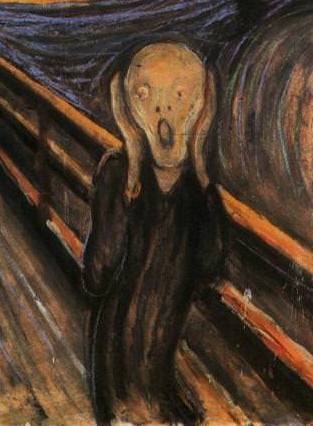
High-pass filter on Scream
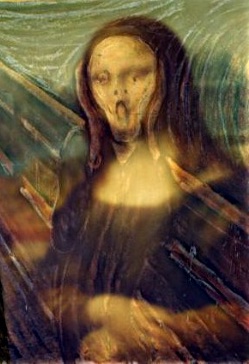
Screaming Lisa (sigmas: high-pass=2 low-pass=5)
I've included a zoomed out view of the hybrid image, for those non-believers. Notice how you can see Mona Lisa, but not really the scream face anymore?

Check out the Fourier transforms of the images, filtered images and final hybrid image. Before filters are applied, both images have some degree of high and low frequencies. But notice how the low pass is mostly just low frequencies, whereas the high pass filter has a lot of high frequencies.
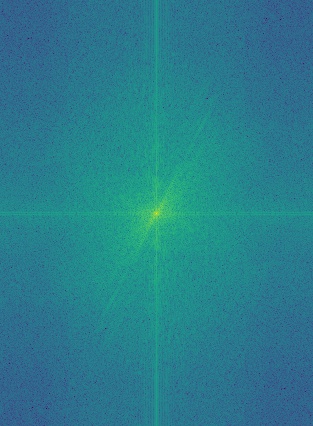
Mona Lisa's FFT

Scream's FFT
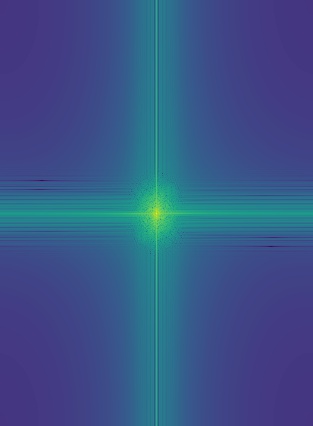
Low Pass Lisa' FFT
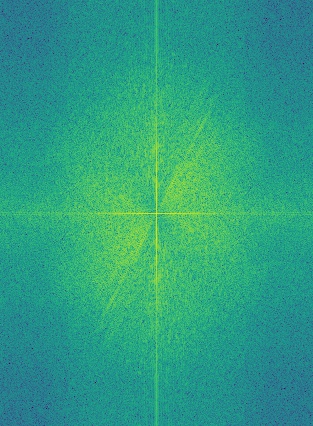
High Pass Scream's FFT
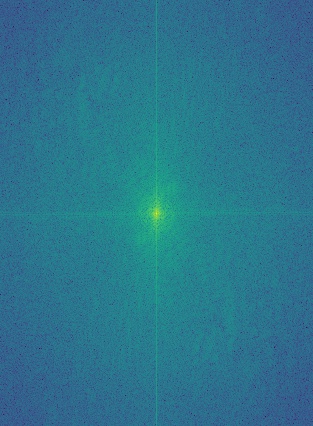
Screaming Lisa's FFT
Other Hybrid image Examples:
Derek and Nutmeg
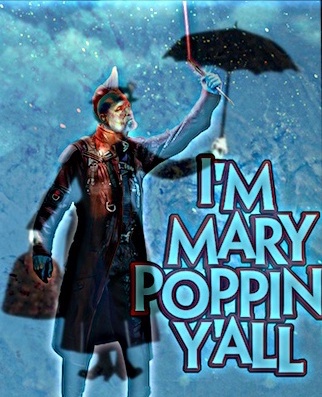
Yondu and Mary Poppins (Failed case because they didn't align well)
Gaussian and Laplacian Stacks
This part is mostly setting up for the next part. As you can see we've got our image in a Gaussian stack and a Laplacian stack.
Apple image's Gaussian Stack:

Level 1: Original img

Level 2: sigma=2

Level 3: sigma=4
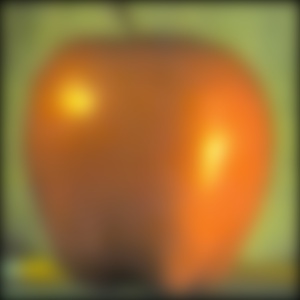
Level 4: sigma=8
Level 5: sigma=16
The Laplacian stack is just the difference between two Gaussian stack levels. And the final level of the Laplacian stack is the final level of the Gaussian stack.
Multi-resolution Blending
Using our Gaussian and Laplacian stacks, we can start to do some cool stuff like multi-resolution blending. The way it works is by creating a black and white mask and creating the Gaussian stack for it.
We also construct the Laplacian stacks of the two images we want to blend.
And the magic happens when we combine them together with this equation:
LS(i, j) = GR(i, j)LA(i, j) + (1 - GR(i, j))LB(i, j)
As you might expect, I found that having a larger sigma (starting with 5 and incrementing by a multiple of 20's what I settled on) for the alpha mask allowed it to blend better. But I kept the sigma used to create the images' Gaussian stack the same as the previous part. I also used a 5 level stack as before.
Some Results:
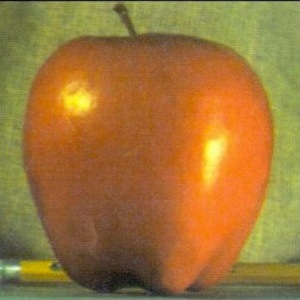
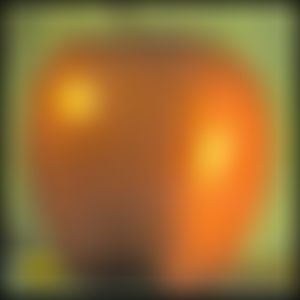
Apple

Oraple Mask
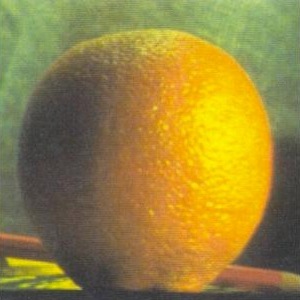
Orange
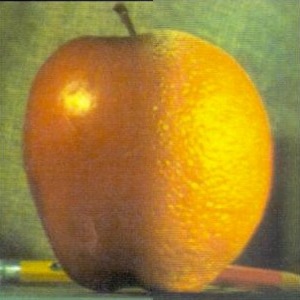
Oraple
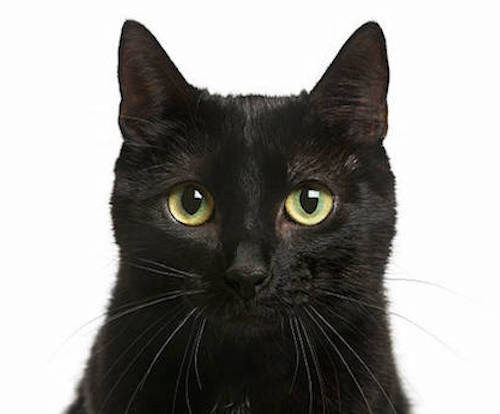
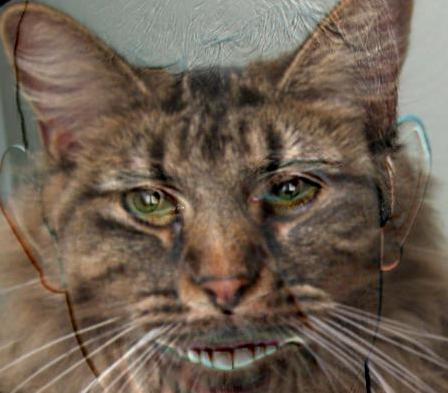
Cat

Cog Mask
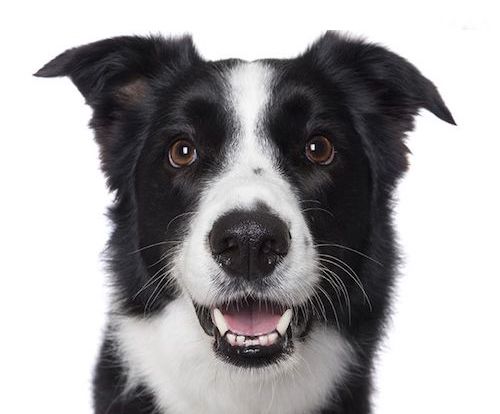
Dog
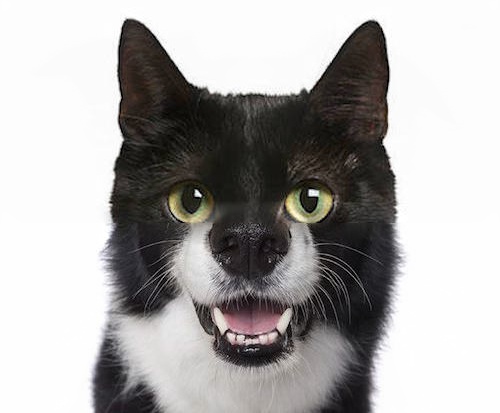
Cog
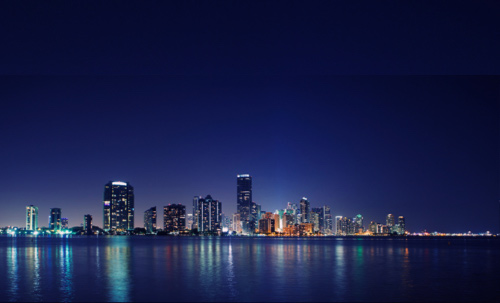
City
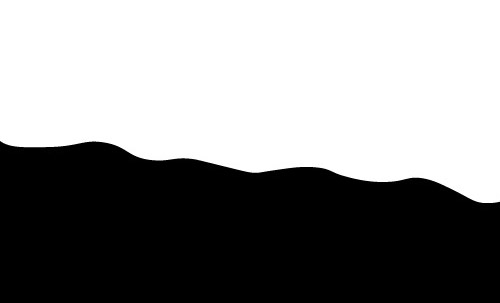
Irregular Mask
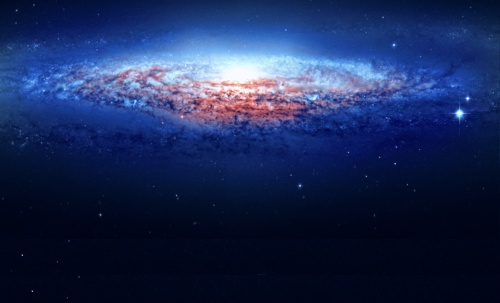
Galaxy
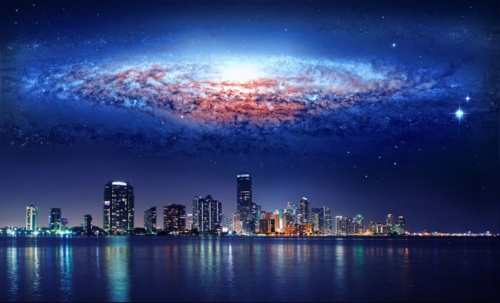
Galactic City
Gradient Domain Fusion
We've been getting not too shabby results using multi-resolution blending but can we do better? Yes! And one potential way is using gradients. We can set up a system of equations where we try to keep the final gradients within an image as similar as possible to the original source image. At the same time we try to minimize the gradient at the border between the source and target image.
The new magic formula we'll be following is poisson blending:

I implemented the formula slightly differently from the way the specs suggested. For the b vector, I used np.roll to shift a modified version of the source and target image up, down, left and right by 1. Then I subtracted it from the source image. By stacking the 4 results I had the final b vector.
To construct the sparse version of the A matrix, I got the positions of where the 1 coefficients need to go by flattening the mask image and removing the positions that didn't belong inside the actual mask region. For the -1 coefficients, I did something similar as for the b vector by shifting the mask image in the four directions by 1. Then I multiplied each of the results with the original masks and then by -1. I then used a flattened version of the mask image but with variable numbers assigned to all the positions in the mask regions. This told me where the negative coefficients needed to go.
Finally, once I had A and b, I used a least squares solver to find the unkown pixels.
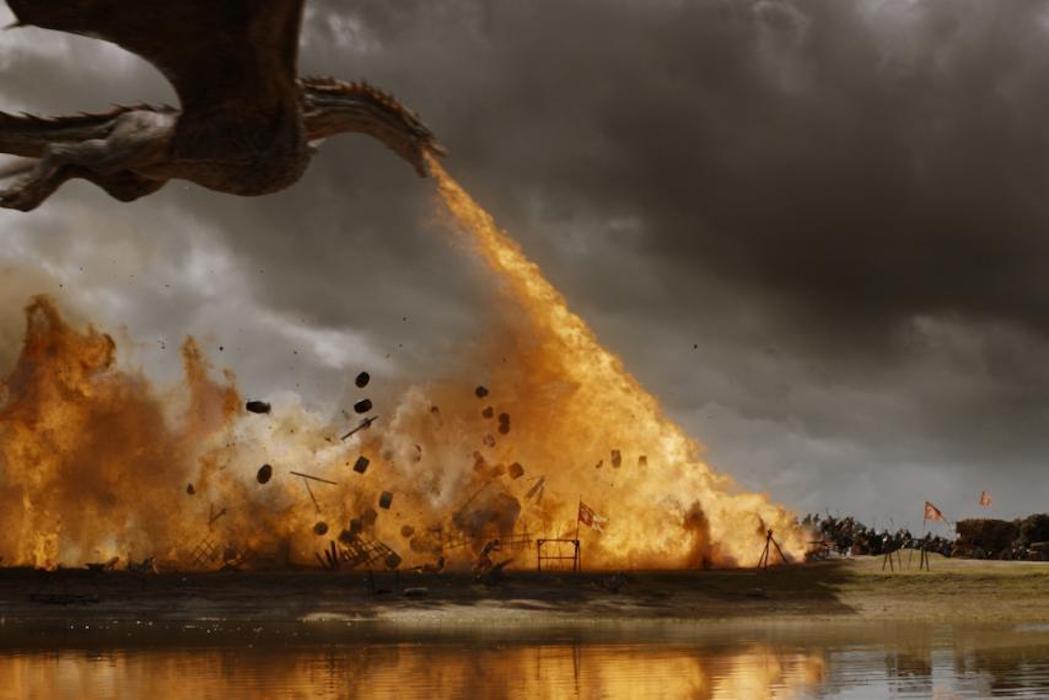
Dragon
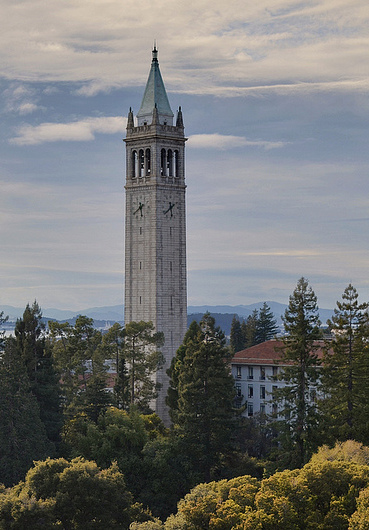
Campanile
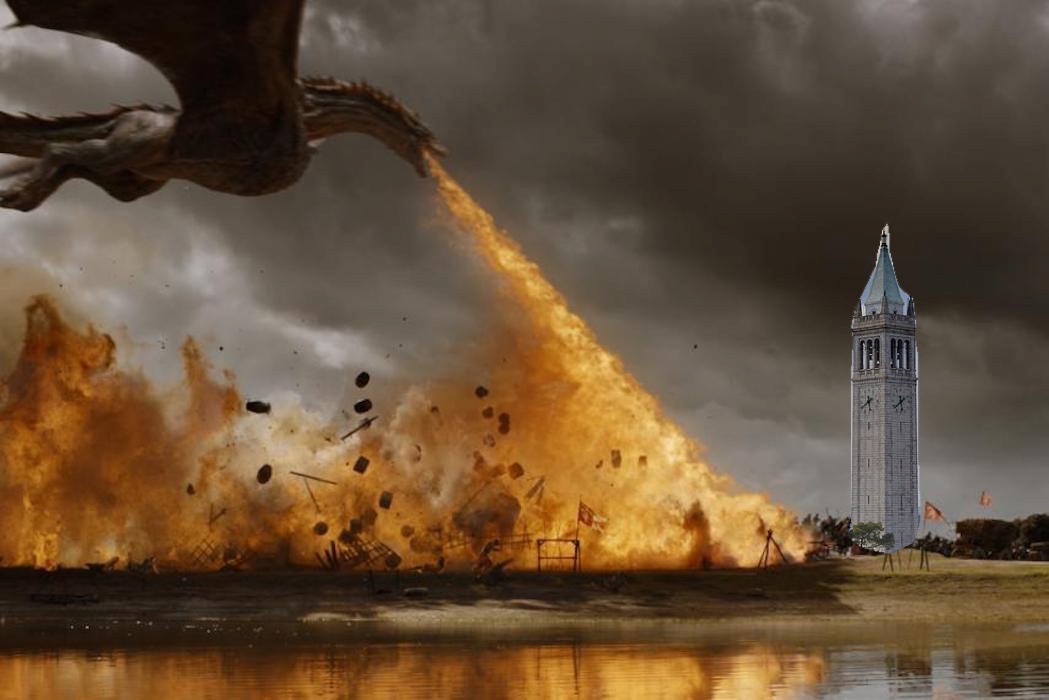
Directly Copied Campanile on
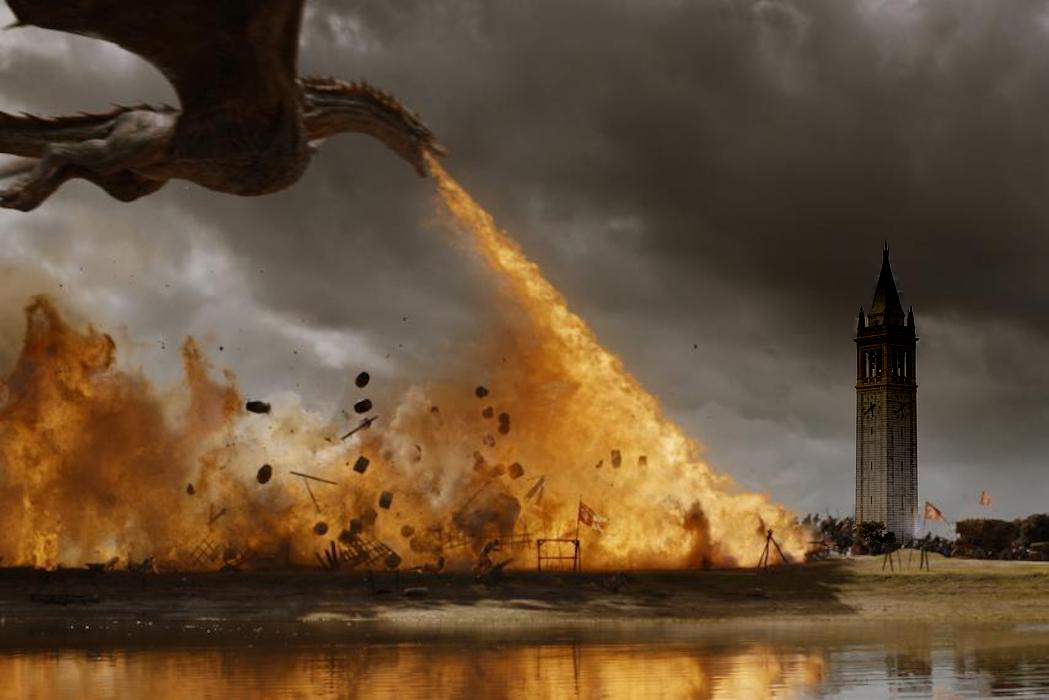
Poisson blended: Dragon attack on Campanile
I liked how the blending gave the Campanile a darker tone, so it ended up fitting more with the dragon scene.
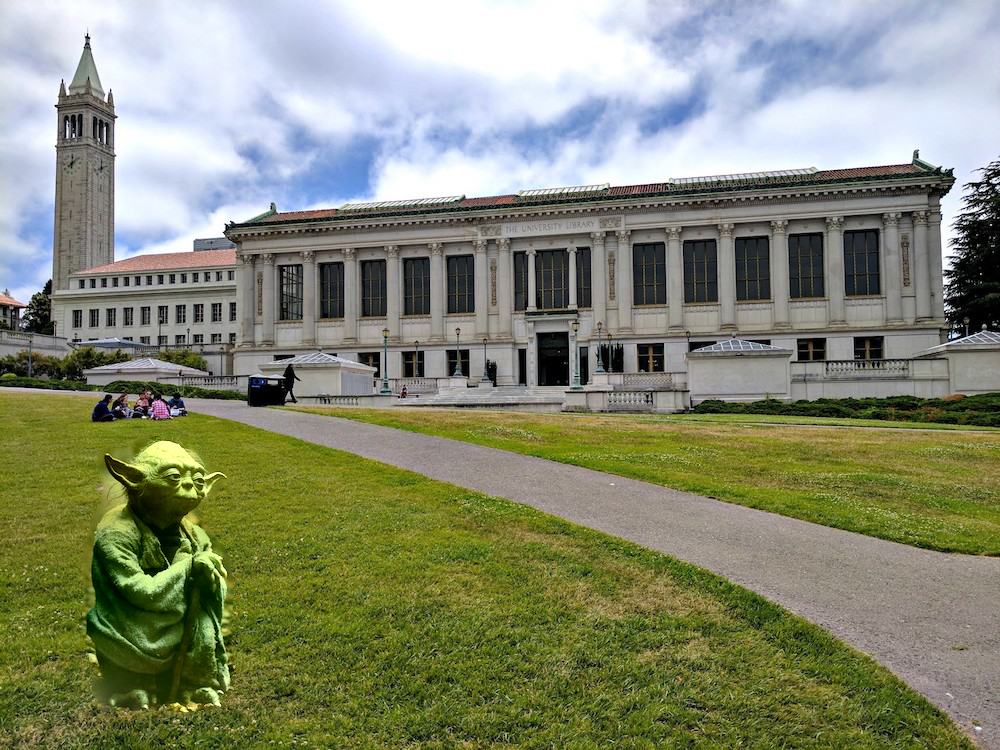
A very green Yoda chilling on the glade
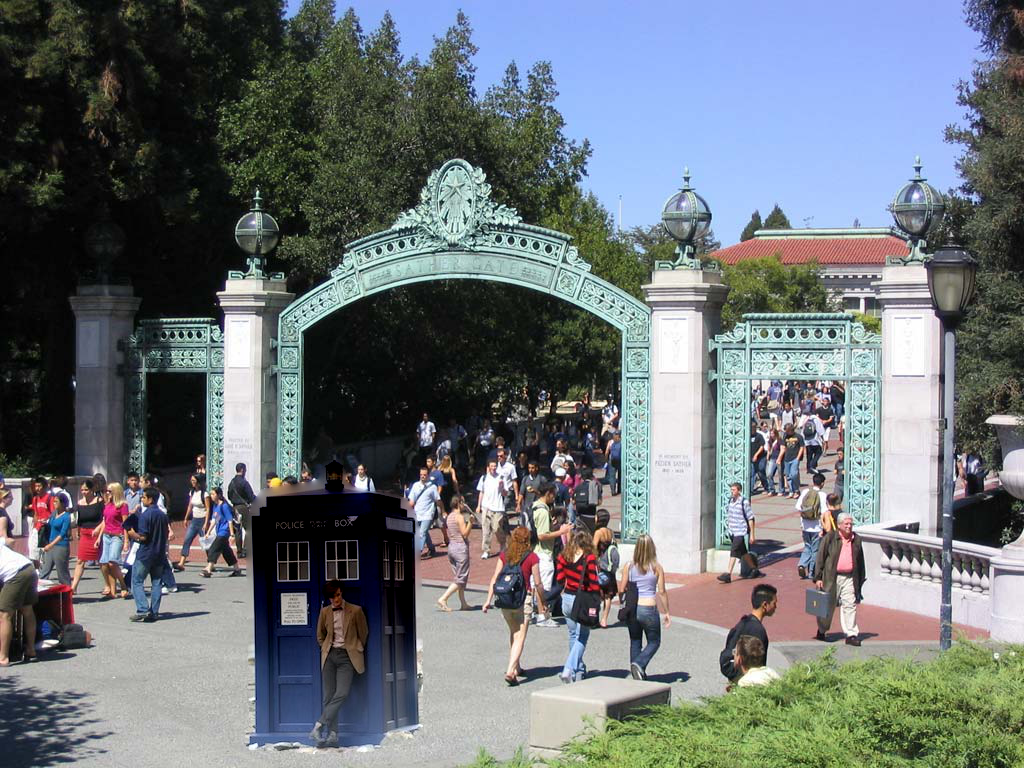
Tardis on Sproul (Failed case because there was too much difference around the border)
Galactic city with Mult-resolution blending
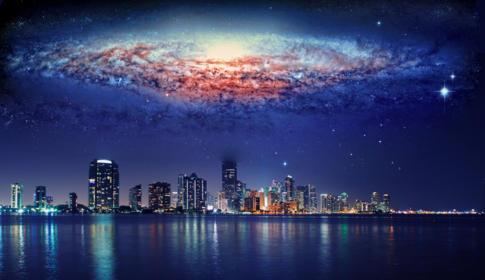
Galactic city with Poisson blending
You can see how poisson blending was able to create a much smoother result. However, the technique is a little picky because when the backgrounds aren't similar enough, the results don't turn out very good. We also have to be ok with the source image's colors being modified. I think in the galactic city, it made it look slighlty more realistic so I liked the effect for this case. But it doesn't always work in our favour.
Wrap Up
One of the biggest takeaways for me is that the results depend just as much on the images you choose as the technique you try. And it's not always guaranteed that one method will work better so it was very much a trial and error process.
Getting the code for all the parts was a bit of a struggle, but it was fun playing around with them once they were functional.
Bells and Whistles: Mainly just doing the first part of the project in color since it only involved doing the same process but on each individual color channel.
Credits to bootswatch for the fancy bootstrap template.