CS 194-26: Image Manipulation and Computational Photography
Project 4: Face Morphing
Ryan El Khoury, CS196-26-aah
Part 2: Computing the "Mid-Way Face"
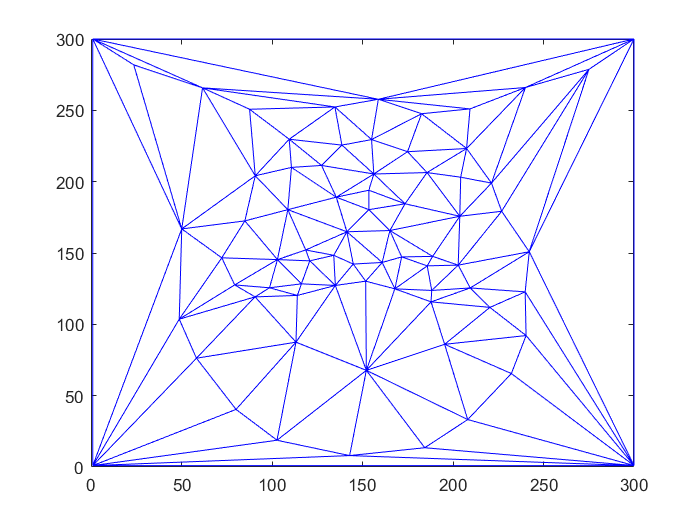
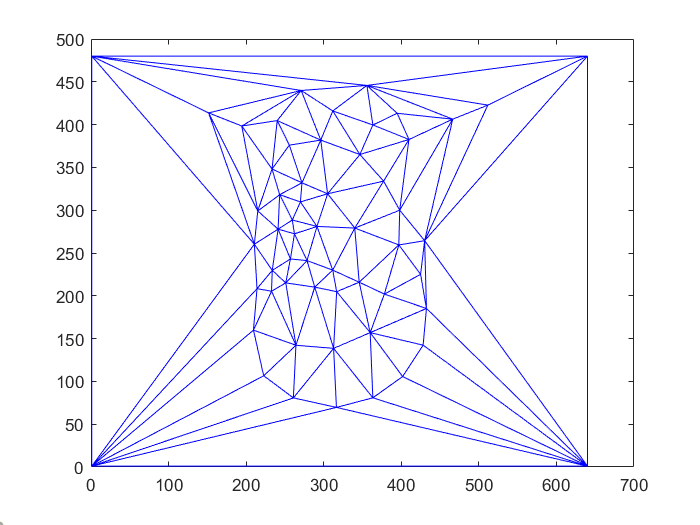
Talk about process of calculating midway face (3 steps), delaunay hijinks (thin triangles)
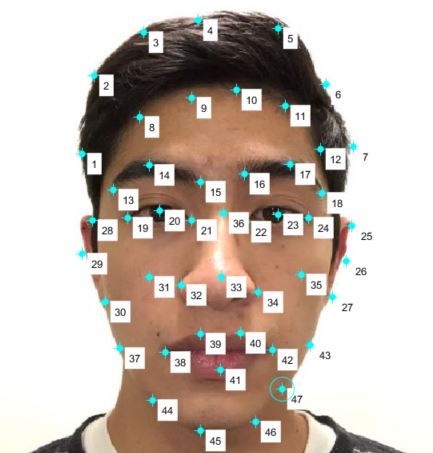
The mid-way face starts with the delaunay triangulation as its base. Each triangle in the mid-way face represents what the corresponding triangles in
the source and target images will morph into. The transition from the start triangles to the mid-way triangles changes the facial structure of the source
image. This is because the features represented by the pixels in the source shift (not change!) to their new positions in the mid-way face.
Calculating where the pixel values should shift to requires an inverse transformation on the pixels in the mid-way triangles. Since the movement from
the source triangle to its corresponding mid-way triangle can be classified as an affine transform, we can invert this transform. Applying the inverse
transform to a pixel within the mid-way triangle will give us the approximate location of the corresponding pixel in the source image. Since this location
is not exact, we need to interpolate to find the best match. We perform the same calculations on all triangles in the target image.
The appearance of the face changes when we interpolate between the pixel intensities of the start and target image. We have already calculated which
pixels "ended up" at this mid-way face so by interpolating between the intensities of these source and target pixels, we can convey the appearance
transformation of the source image and target image to the mid-way image.
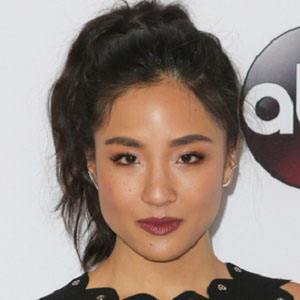
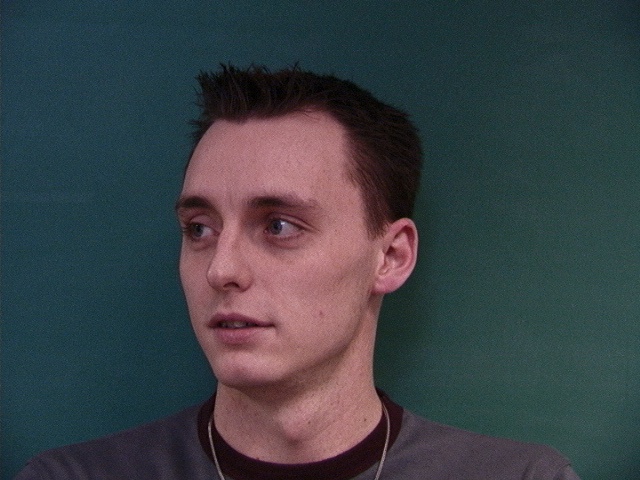
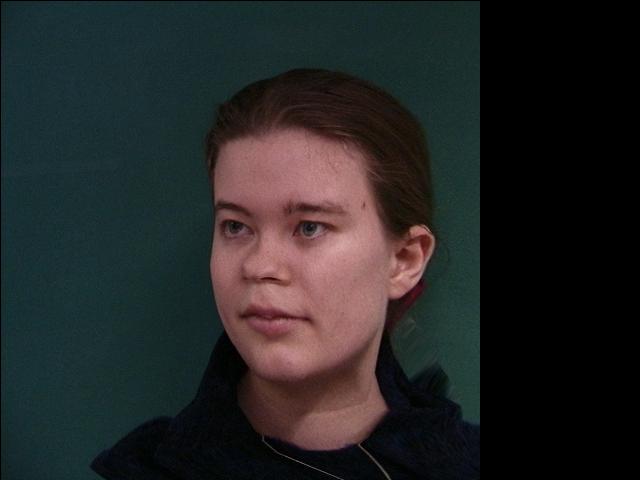
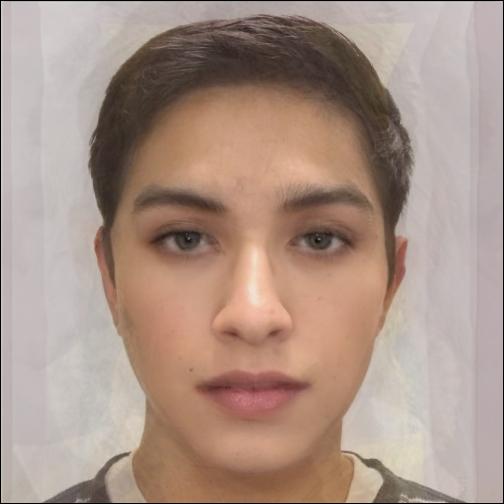
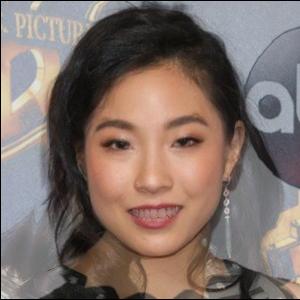
 Source image, with shape transformed to mid-way face.
|
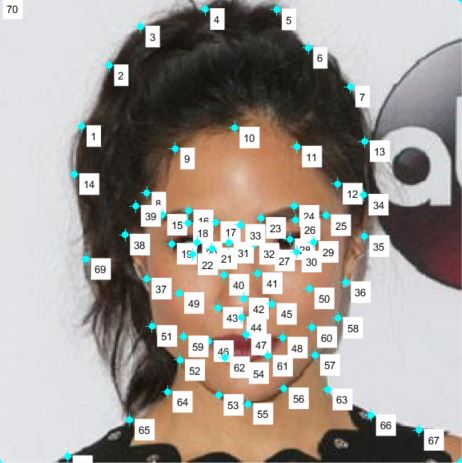
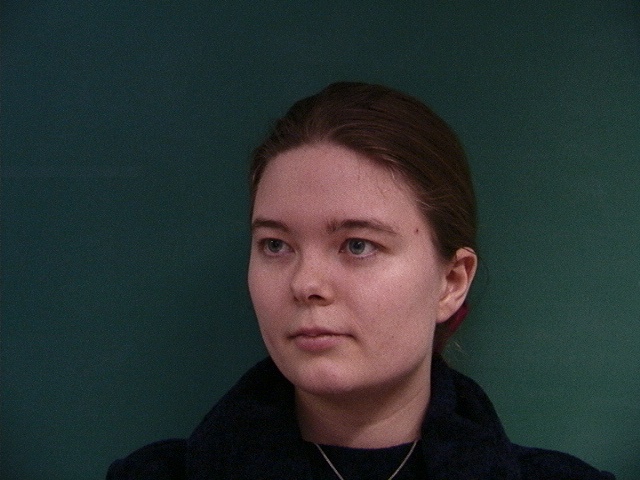
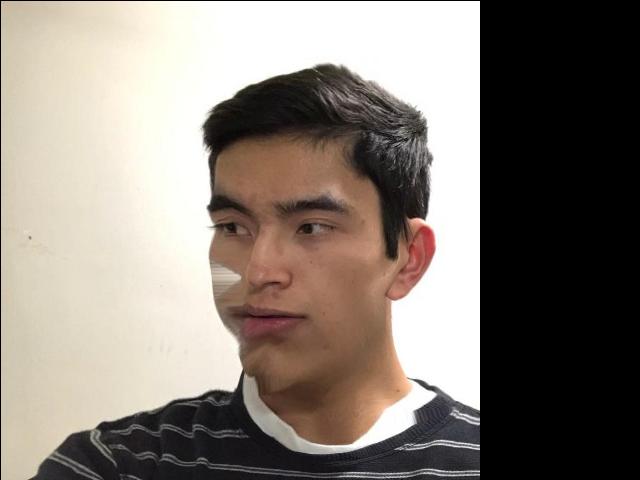
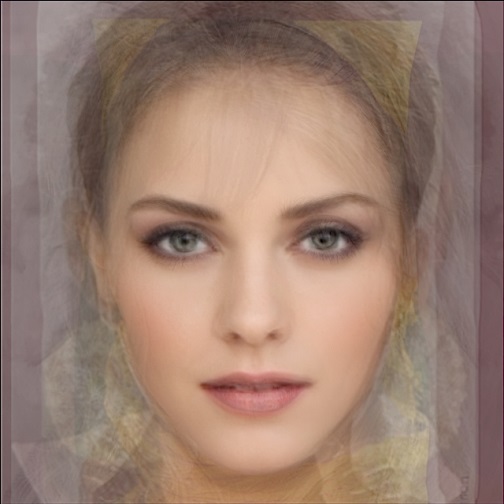
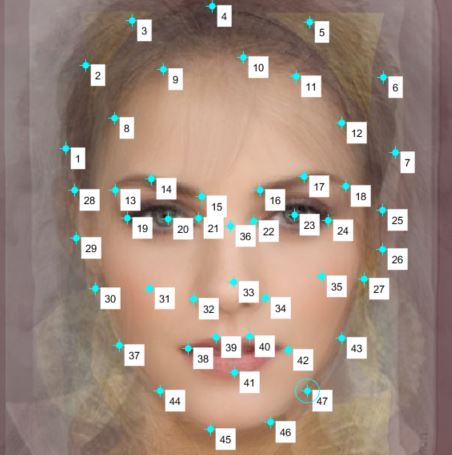
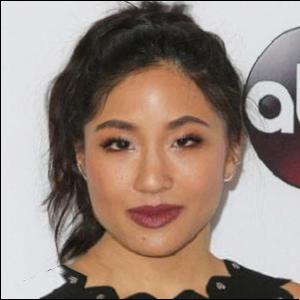
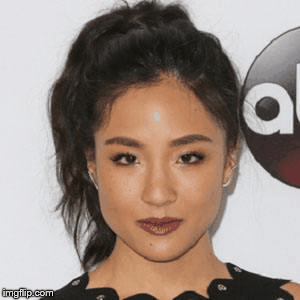
 Target image, with shape transformed to mid-way face.
|
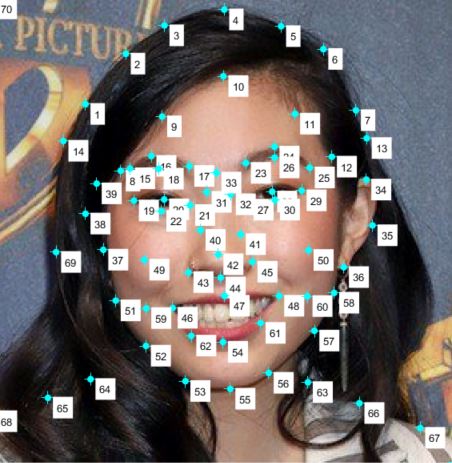
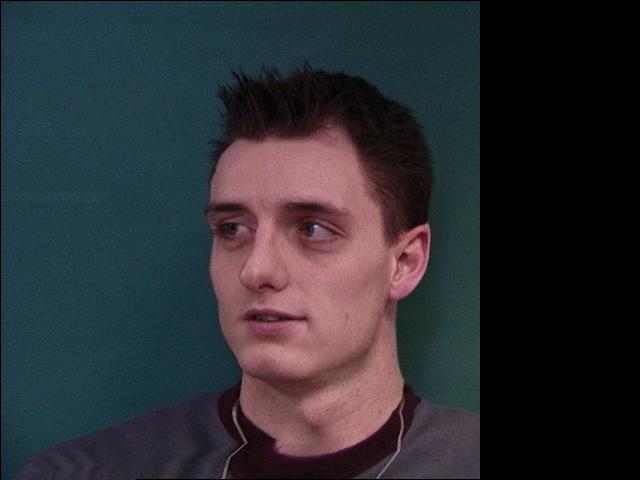
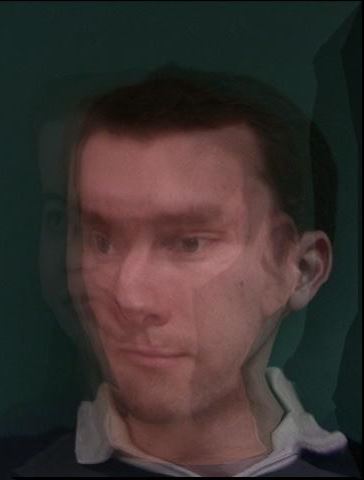
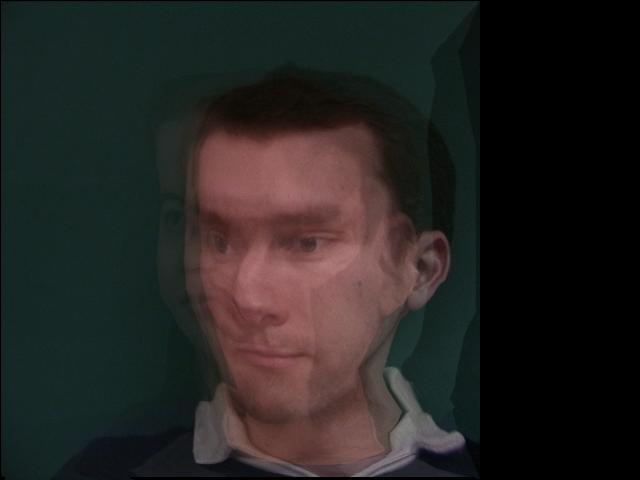
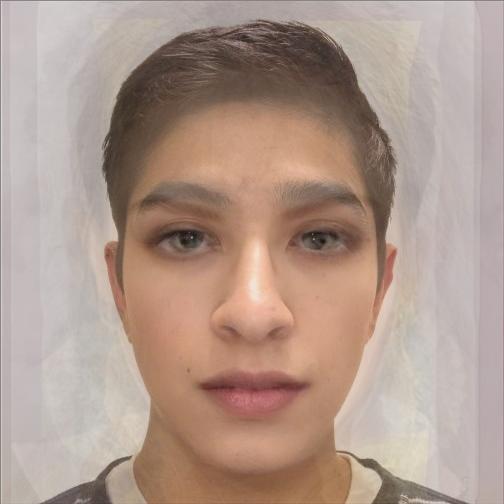
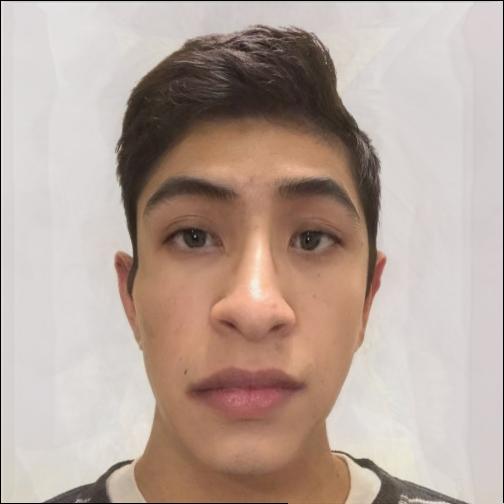
 Midpoint image, with both shape and appearance transformed.
|
Part 3: The Morph Sequence
The morph sequence consists of interpolating both the shape and appearance transformation over an interval of [0 1]. The "mid-way" image we calculated
is the midpoint of this sequence, with the interval being around 1/2. As the interval nears 1, the image will resemble the target image more, in both shape and appearnace.
The step size of the interpolation was 1/45. This results in 45 frames, with frame 0 being the start image and frame 45 being the end image.
 Animated gif of transformation
|