Face Morphing
CS194-26 Fall 2018
Andrew Campbell, cs194-26-adf
Introduction
The goal of a face morph is to transform one face image into another as seamlessly as possible. To do this, we will need to compute “in-between” faces that begin as the first image and transition into the second image. Naively, this can be achieved with alpha blending: given two images \( A \) and \( B \), compute a blended image \( C \) as follows:
for \( 0 \leq \alpha \leq 1 \). Varying \( \alpha \) from 0 to 1 will produce a cross-dissolve sequence. Of course, this isn’t going to look good. We need facial features to be aligned for this to work. To achieve this, we need first establish pixel correspondences. From there, we can transform the two faces into their average geometry. Then we can simply cross-dissolve the colors as before.
1. Correspondences
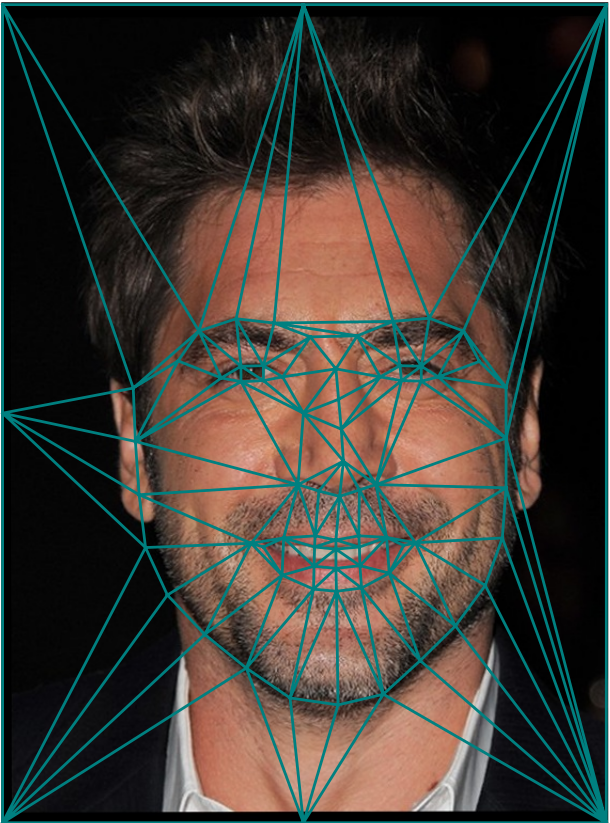
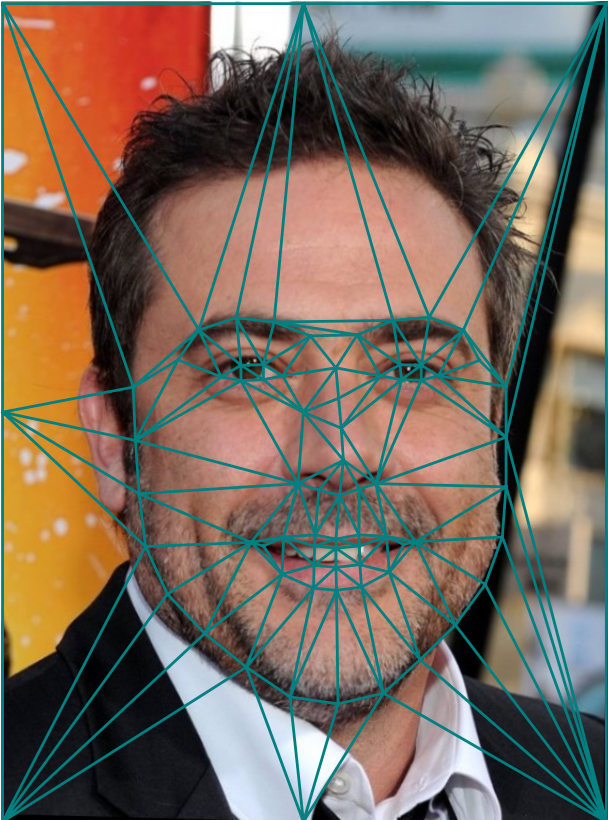
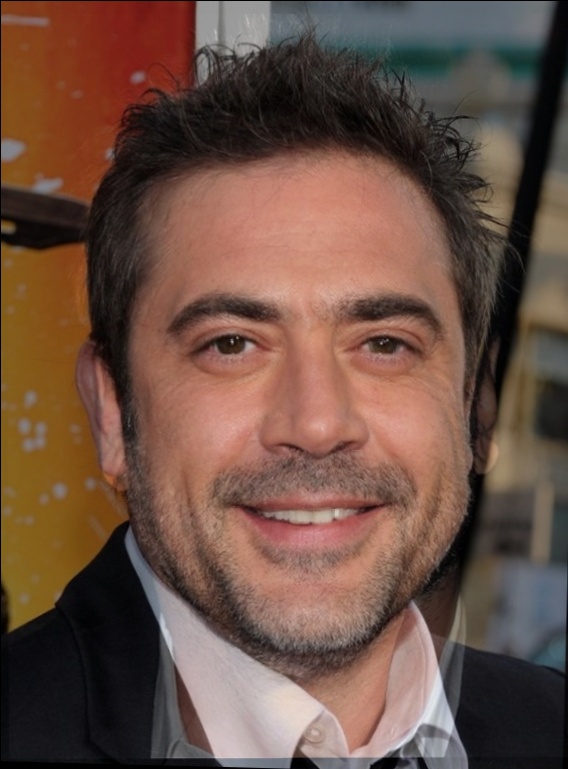
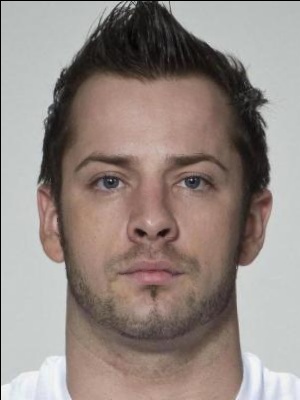
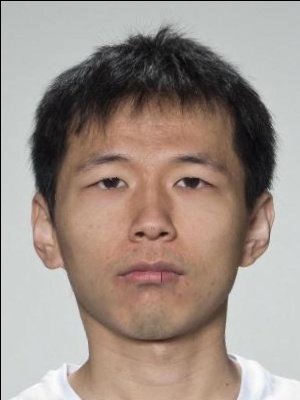
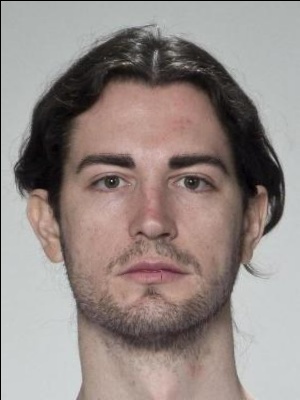
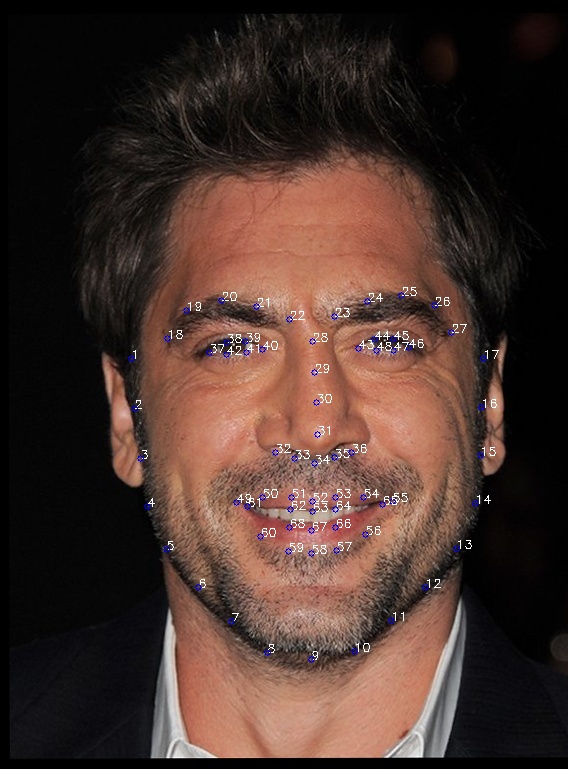
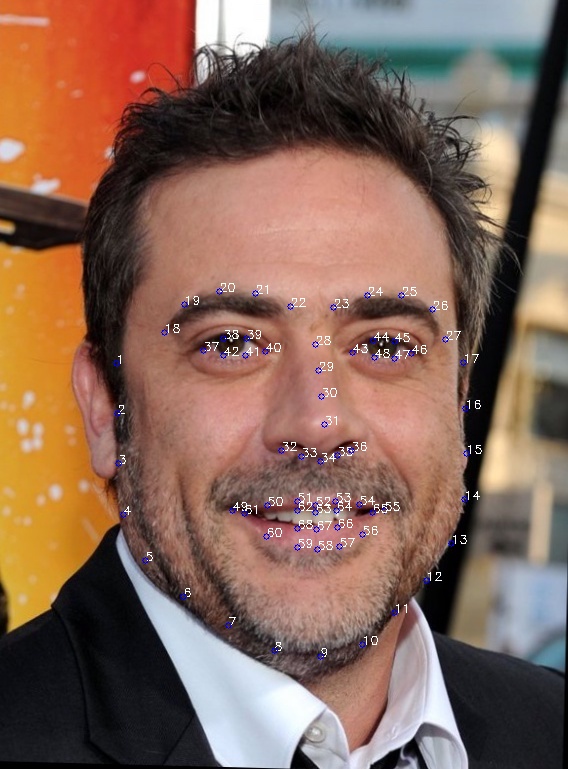
Let’s say we want to morph the following pictures of Jeffrey Dean Morgan and Javier Bardem, perhaps just to prove how that they’re practically the same person.


We first need pairs of corresponding points. Correspondences should map eyes to eyes, mouth to mouth, chin to chin, ears to ears, etc. The labeling must be consistent, i.e. the keypoints in the two images must appear in the same order. For now we will have to manually click a handful of pairs of points that correspond to similar facial features between the two images.
2. Triangulation
We can compute the average geometry of the correspondences by simply averaging each pair of points. Now, we have a handful of points that match up in each face, but the rest of the correspondences are unknown. One way we can solve this is by breaking the images into smaller patches by computing the Delaunay triangulation on the averaged correspondences. A Delaunay triangulation is a particularly good choice because it does not produce overly skinny triangles, which helps minimize distortions.
Note that before doing the Delaunay triangulation, we need to append boundary points of the images to the set of correspondences. I used the corners of the image and half-way points between those corners. This is done in order to ensure the entire image is contained within some triangle.
Overlaying the average triangulation onto our images, we now have the following:
3. Producing the Mid-way Face
We’re now ready to perform affine transformations on the triangles to morph the faces into the average geometry. The idea is to pick a triangle in the source image and the corresponding triangle in the destination triangulation (which is just the averaged triangulations of the two images). Then we calculate the affine transform that maps the three corners of the triangle to the three corners of the corresponding triangle in the morphed image. We do this for each pair of triangles.
Once we’ve morphed both images into the average geometry, we can simply cross-dissolve them to produce a “mid-way” face. The mid-way face is shown center below:
4. Creating a Morph Sequence
To produce a morph sequence, we simply vary \( \alpha \) from 0 to 1. This time, \( \alpha \) controls both the weighting of the correspondences (i.e. shape) and pixel values (i.e. color). I used ffmpeg to help with the video creation. The resulting morph is shown below.

The “Mean face” of a population
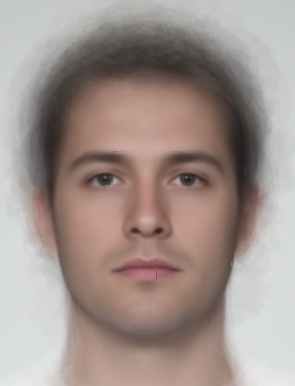
For this part of the assignment I downloaded a subset of headshots from faceresearch.org. Specifically, I obtained 30 photos of men and 30 photos of women, most of whom are young and lighter-skinned.
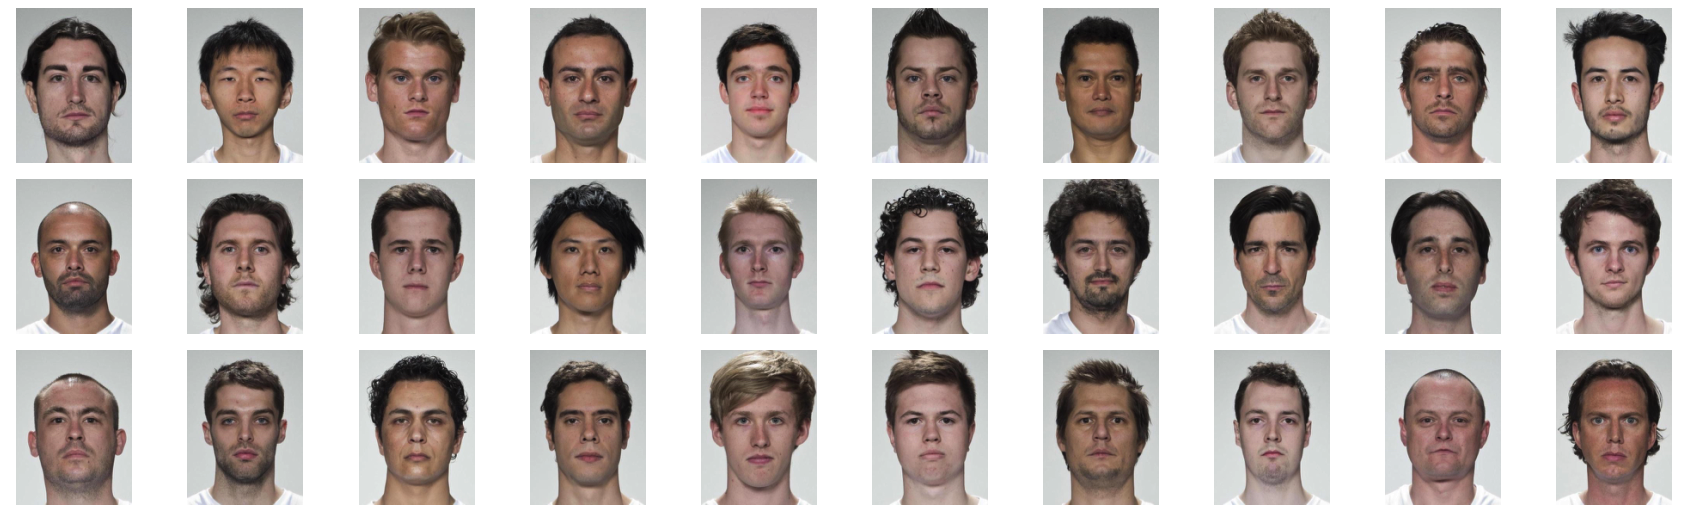
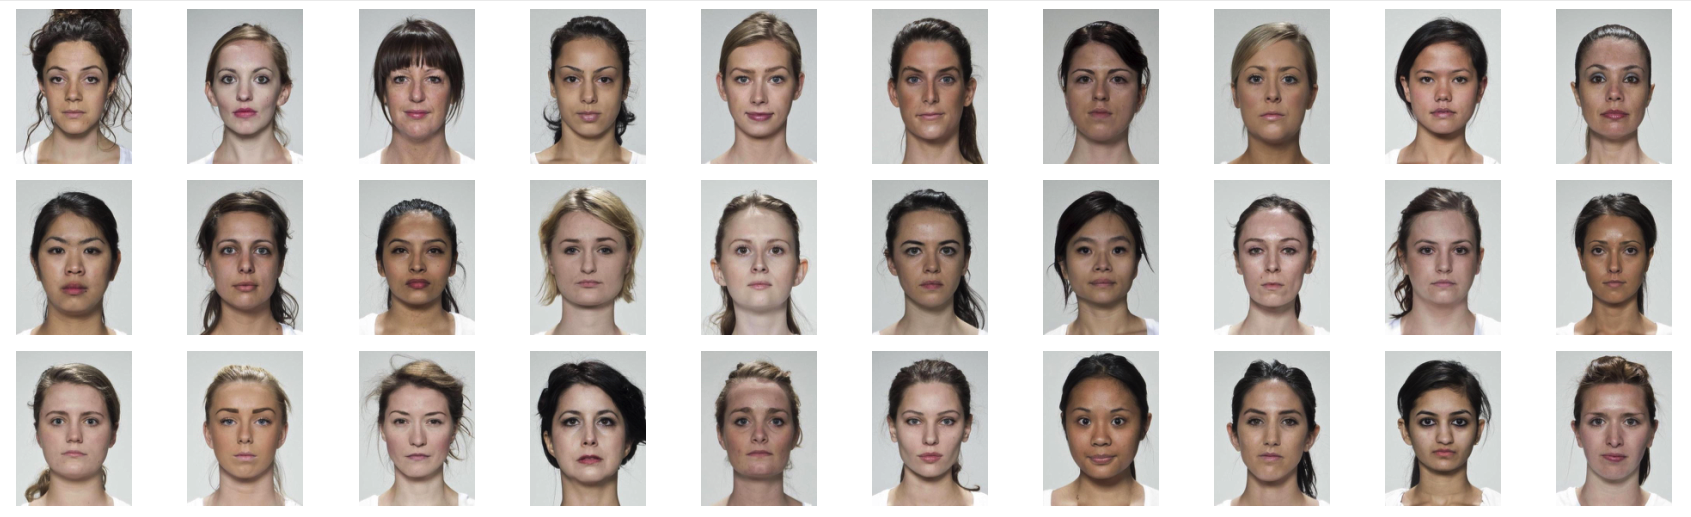
To compute the average face, I found correspondences for each subset (using the automatic method described later), computed the average geometry, warped each image into the average geometry, then averaged the pixel values.
Some examples of faces warped into the average geometry are shown below.


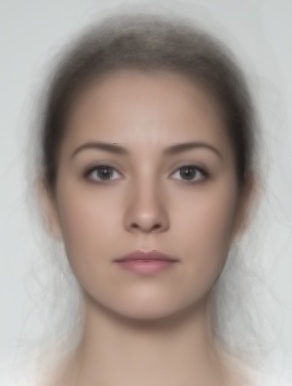
The average face over all men (left) and women (right) are shown below.
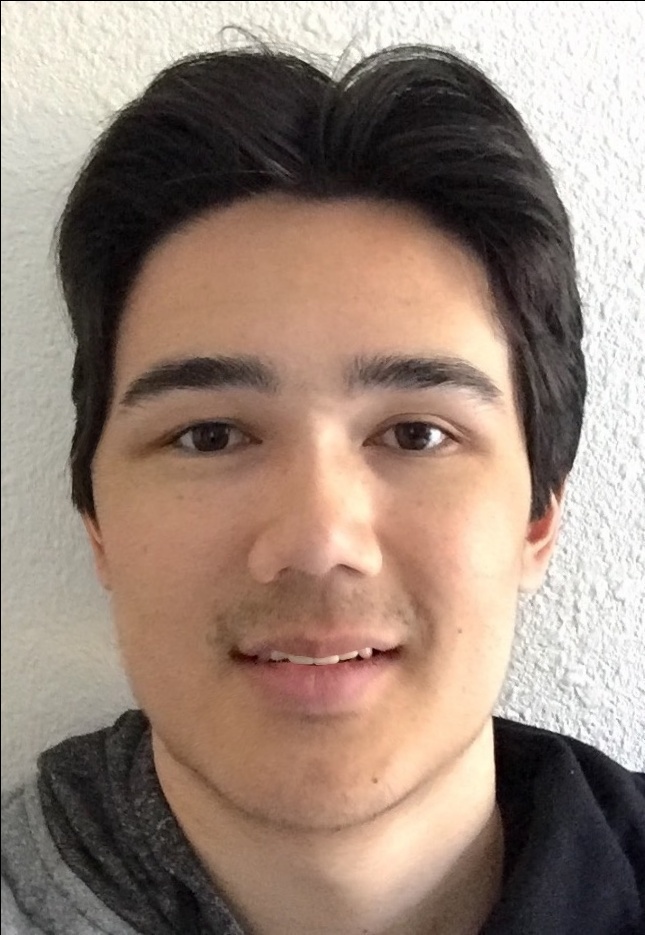
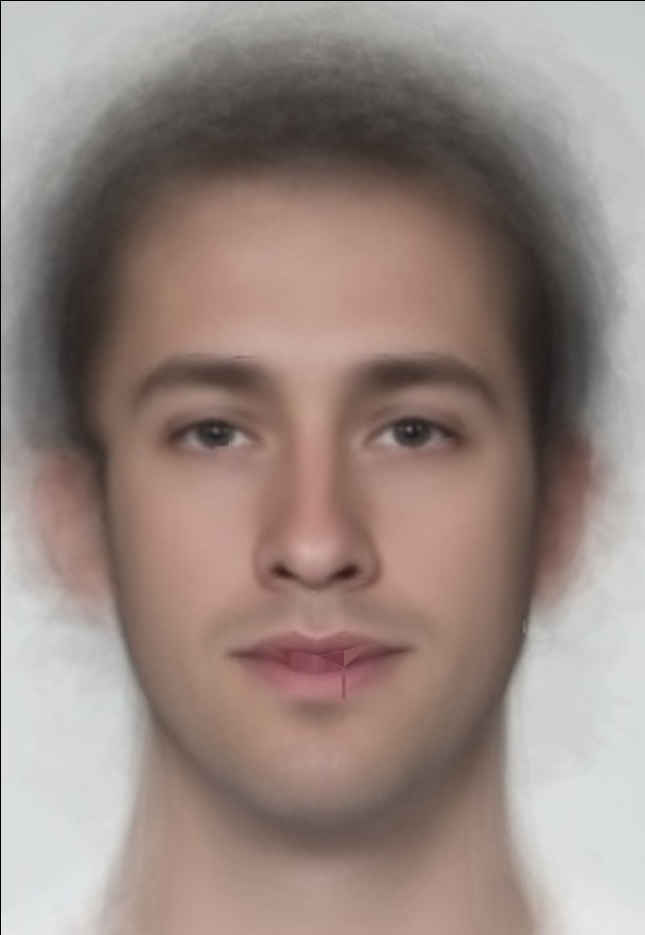
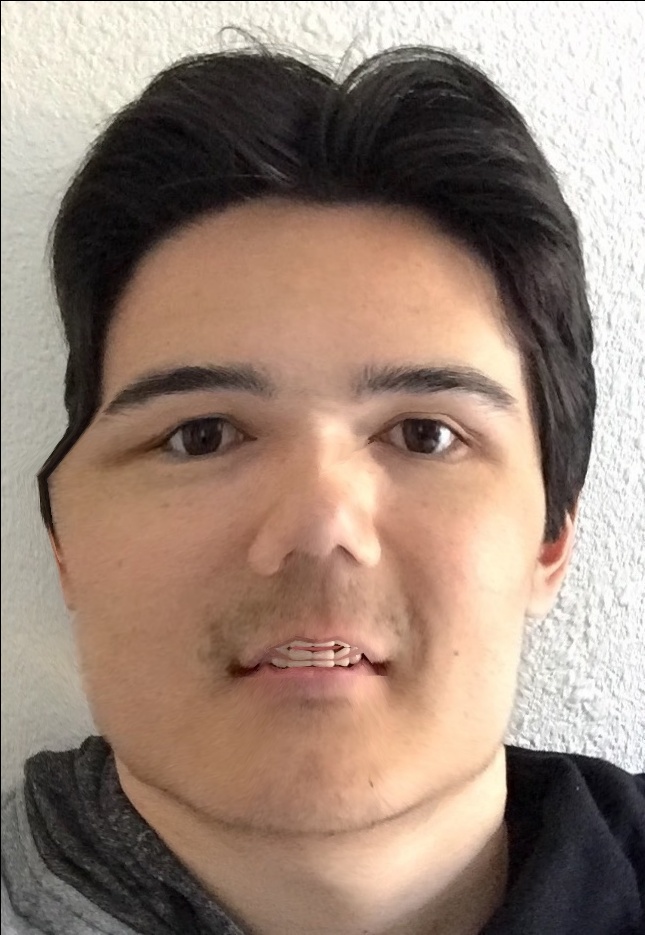
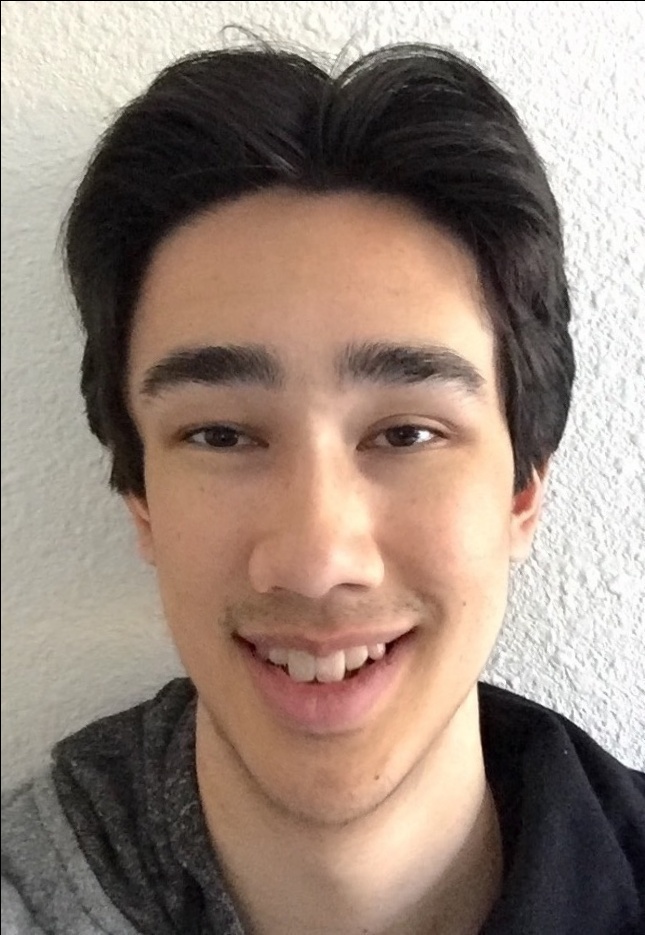
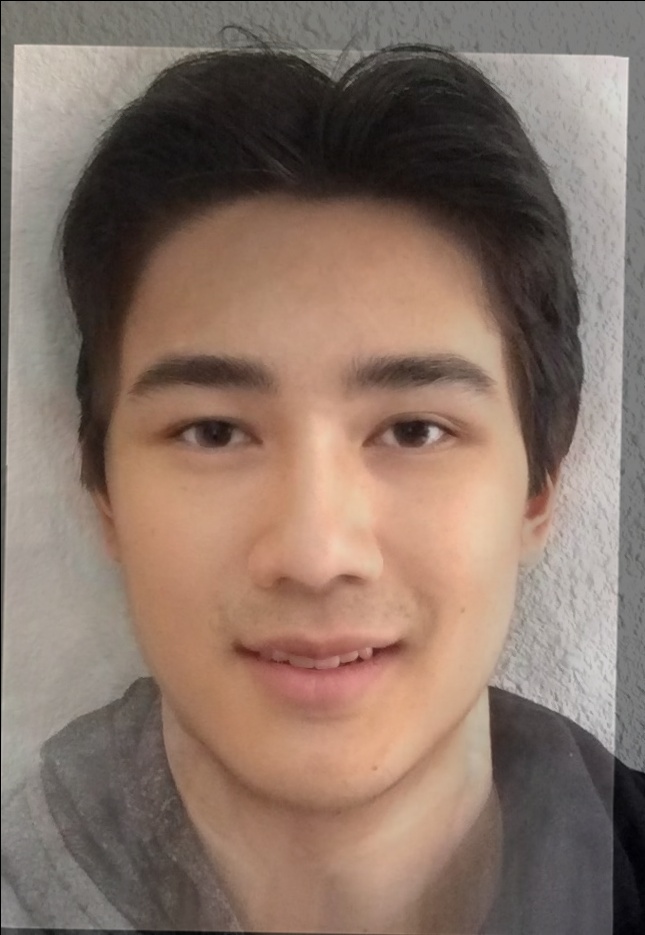
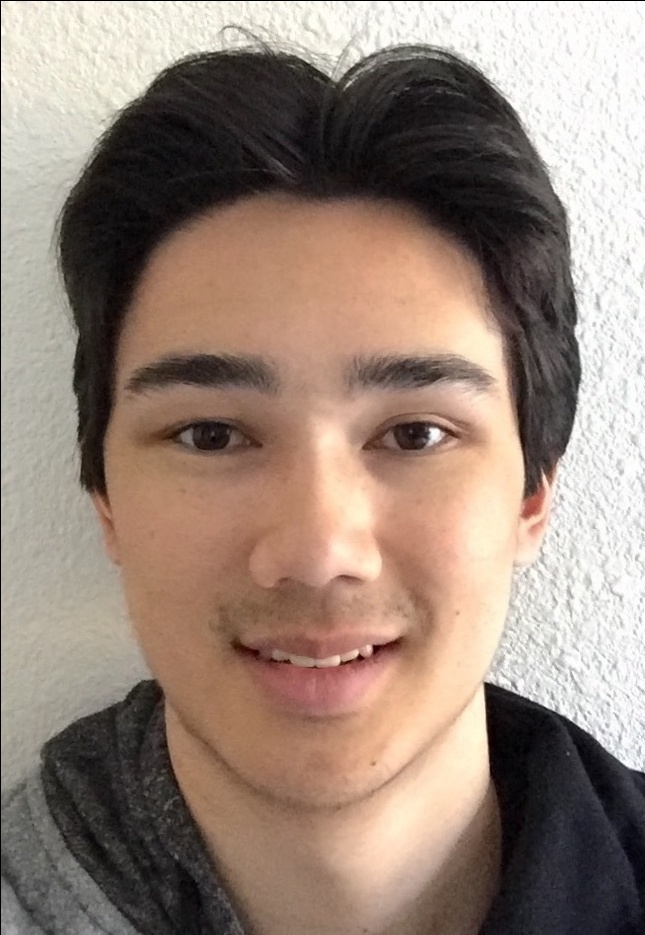
We can use the same technique to warp new images according to the average. Below is my face (left), my face warped to the average male geometry (center), and the average male face warped to my geometry (right).

Caricatures
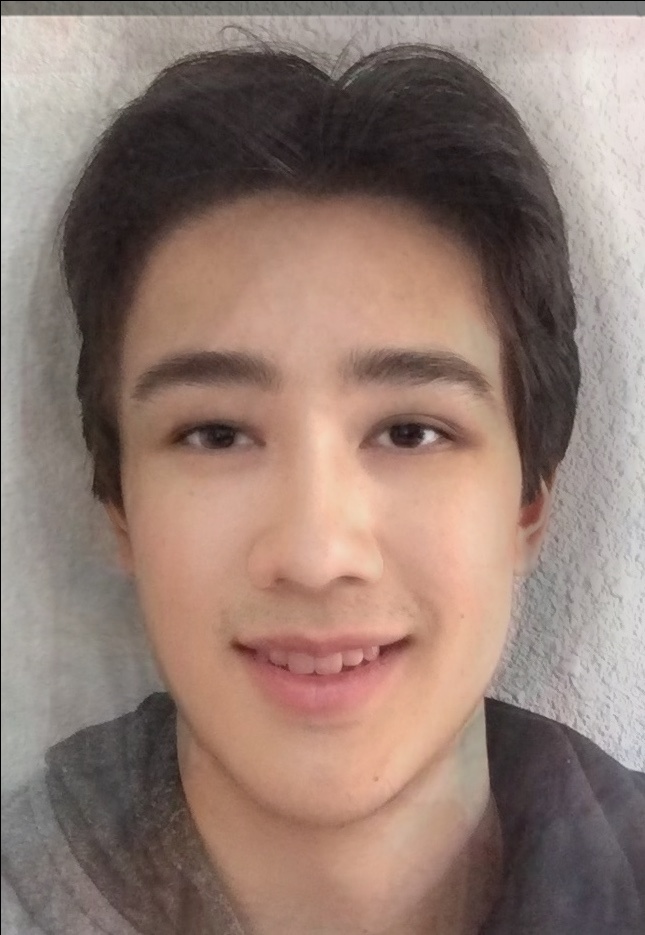
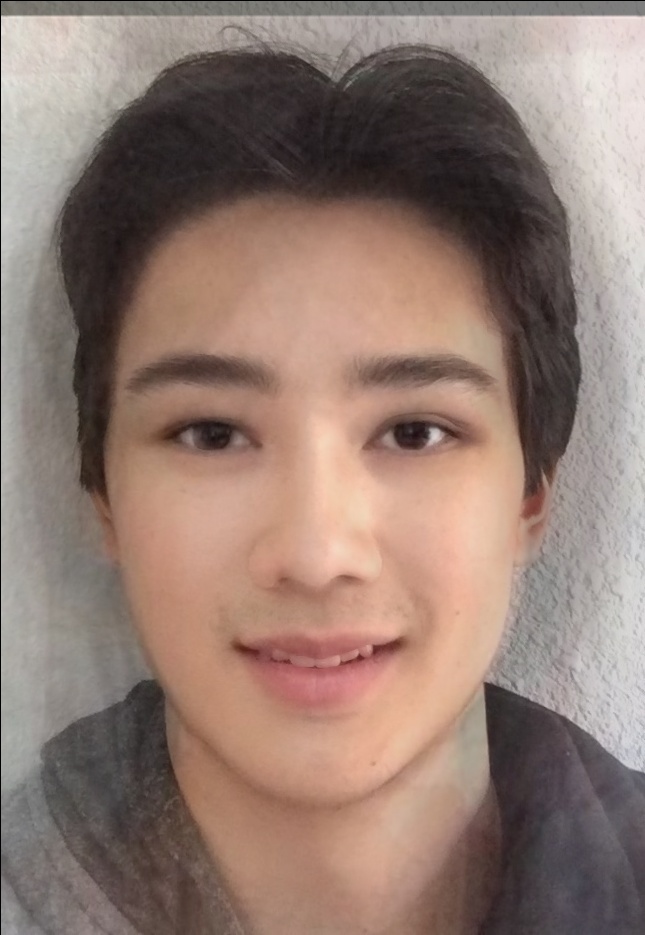
A caricature is an exaggerated representation of features. We can mimic this by pushing points towards or away from a target triangulation. The easiest way to do this is to allow \( \alpha \) to take on values outside of \( [0,1] \); in this way we can extrapolate away from or towards the mean. The following caricatures of me were produced by warping my geometry to the average male geometry using \( \alpha=1.5 \) and \( \alpha=-0.5 \), respectively.
Yikes.
Bells and Whistles: Changing Age/Gender
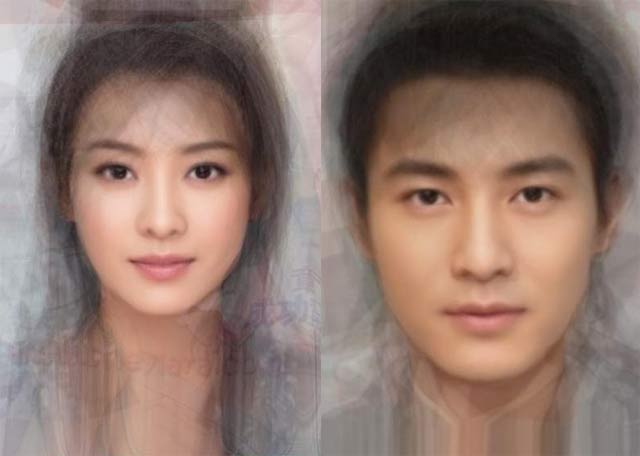
Below we have the average face of Chinese actresses (left) and actors (right).
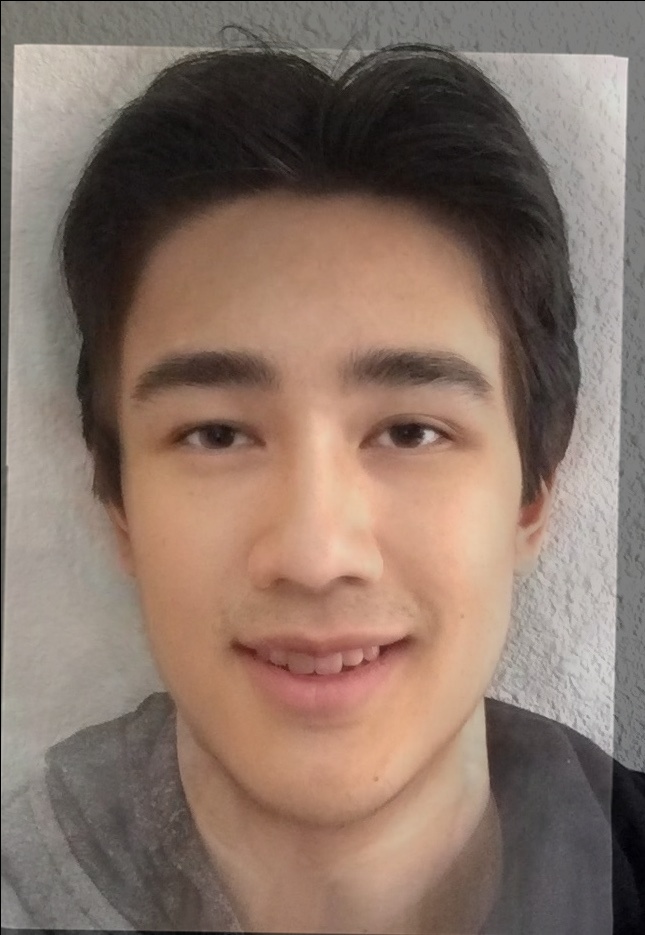
Using the same technique as above, I warped my face into these average faces. Shown below is a morph of just the shape (left), just the color (center), and both.

Bells and Whistles: Automatic Morphing
Defining correspondences by hand sure is tedious. Luckily there is a great software library called Dlib with support for automatic facial landmark detection. Dlib implements the algorithm described in the paper One Millisecond Face Alignment with an Ensemble of Regression Trees by Vahid Kazemi and Josephine Sullivan. The predictor requires a pre-trained model which can be downloaded here.
The result of this is that we can now create morphs between pairs of images without any user input. Shown below are the 68 facial landmarks automatically detected in our example images:
Bells and Whistles: Morphing Music Video
Now that we have automatic correspondences, we can create several morphs in sequence with very little effort. I wanted to make something similar to the (now deprecated) “face movie” feature of Picassa, which automatically aligned face images and cross-dissolved them.
The first step was to align the input images by face. I adapted some of the code from here for this purpose. It uses something called a procrustes analysis to find an affine transformation matrix, considering all pairs of facial correspondences. I save the aligned results from this step into a temporary directory. For aesthetics, I overlay images on top of each other and added a thin white border.
We could stop here and simply cross-dissolve the faces; that’s what Picassa did. But we can go further by applying our face-warping procedure to the aligned face images. This is simply performing a pairwise morph on each of the images in sequence.
An example output is shown below. It is a morph of Daniel Radcliffe from 2000 to 2018.