Overview
In this project, we generated a "morph" animation that transforms my own face into someone else's, produced the "mean" face of a specific population, and extrapolated from that mean to create caricatures.
Face Morphing
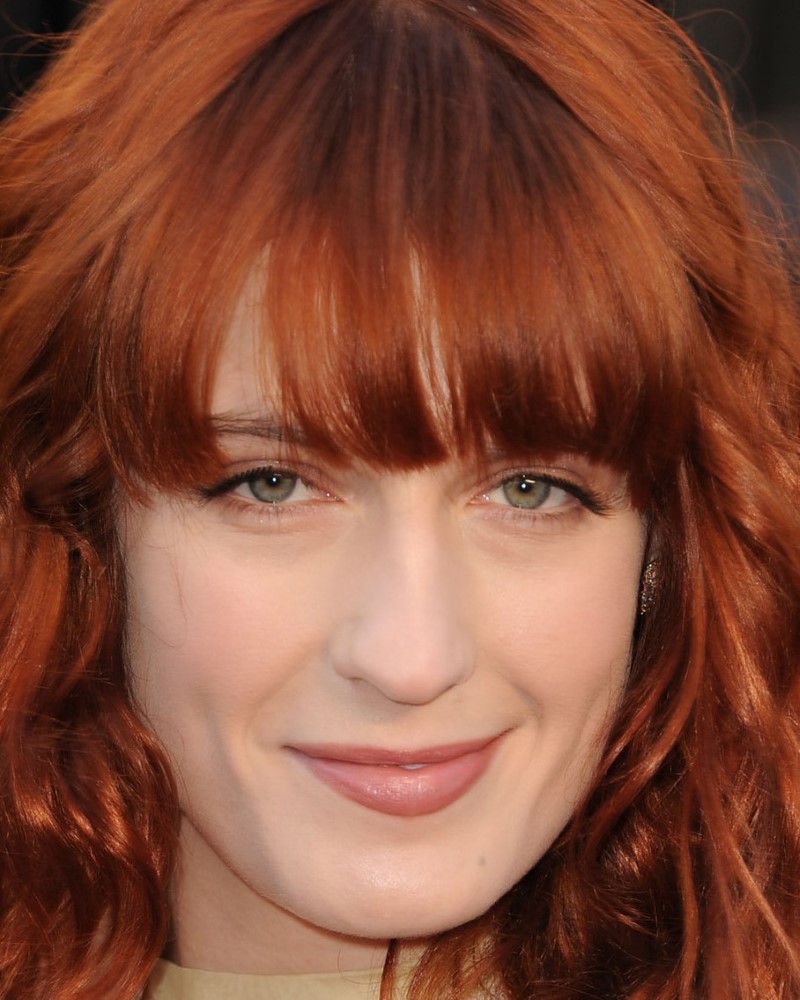
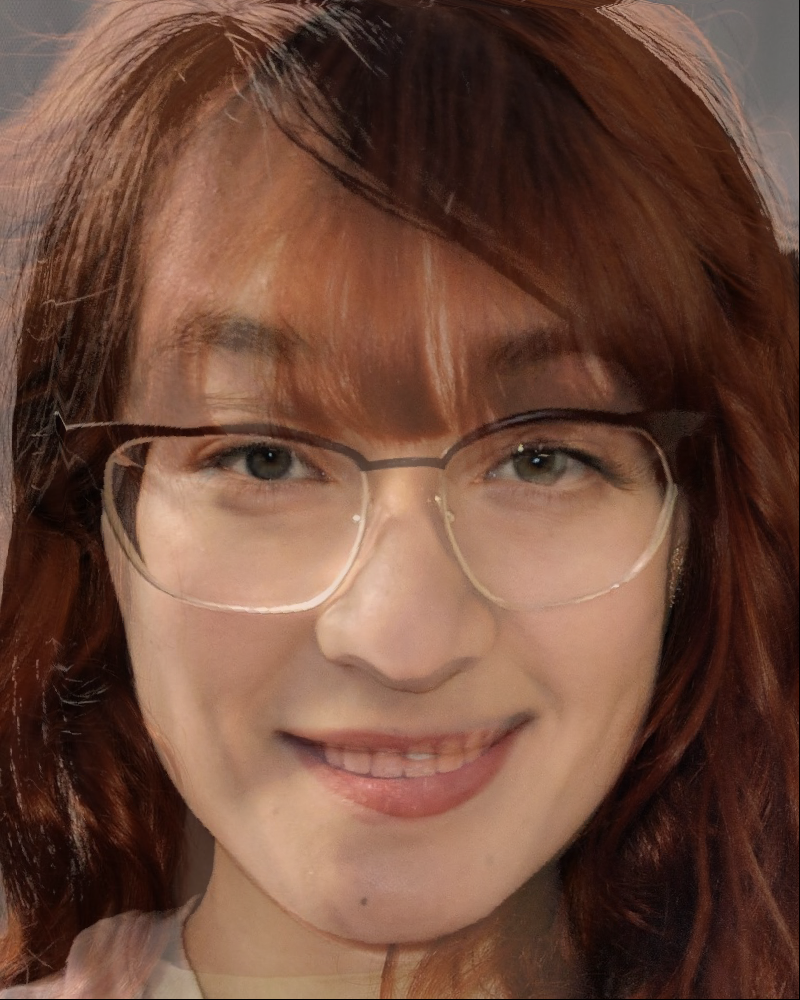
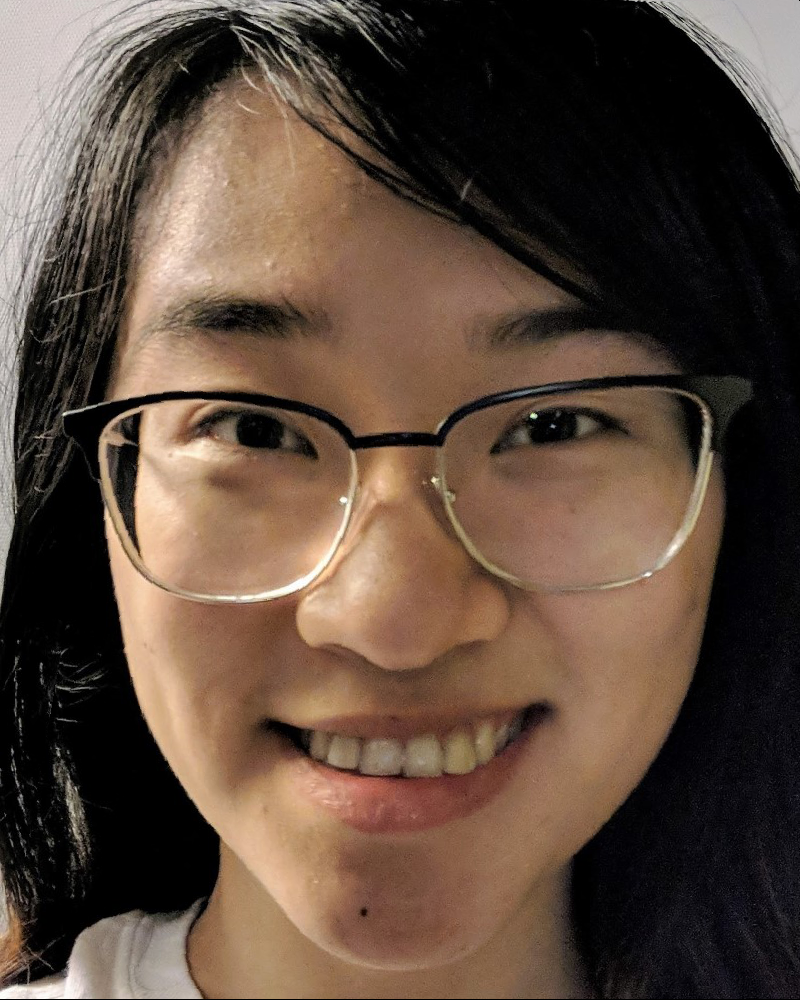
In this section, the goal is to change my face into that of Florence Welch, the lead singer of Florence + The Machine.

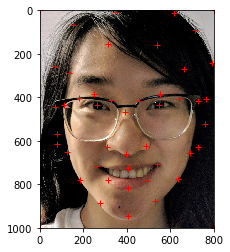
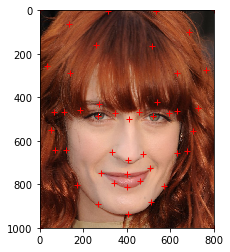
Defining Correspondences
We begin by defining 47 correspondence points between my face and Florence's. We need to define this so that we know which exact parts of my face correspond to the same parts of Florence's face, so that we get a controlled, smooth-looking face warp. The points were selected and ordered according to this reference image: https://imgur.com/a/HMOxskg.
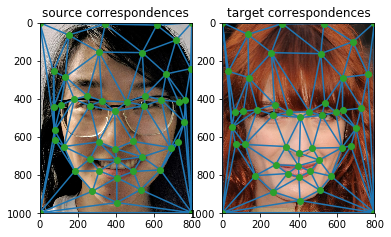
Once we accomplish this feat, we need to define a triangulation to use in our morph - this is so we can sparsely define the warp and morph from one face to the other by transforming the triangles formed on each image. We choose to use a Delaunay triangulation because it has the property of not producing triangles that are too skinny.
Note that this triangulation must remain the same throughout the morph, or else the intermediate triangles will not necessarily be corresponding transforms of the source and target triangles. Moreover, we choose to average the correspondence points of the source and the target and use the points at the midway shape so that the triangles are less likely to deform while transforming from source to target.
Computing the "Midway Face"
Before we jump into the full morph sequence, let's first compute the "midway" face, i.e. the face that is the halfway point in morphing from my face to Florence's. To do this, we must:
- Compute the midway shape.
- Warp both faces into said shape.
- Average the pixel colors of both warped faces.
(Note that in practice, we will actually be looking for the inverse warps; that is, from the average triangle to the source triangle and from the average triangle to the target triangle. This is because going from source/target to average, we may find that the source/target pixels map to a location in between pixels in the average image. which can lead to gaps in the resulting image.)
Computing the affine transform from a source triangle to a target triangle is as follows (in Python):
M = np.dot(T, np.linalg.inv(S))...where
M is the 3x3 matrix representing the affine transform,
S is the 3x3 matrix representing the vertices of the source triangle
(using homogeneous coordinates), and T is the 3x3 matrix
representing the vertices of the target triangle (using homogeneous coordinates).
Thus, to get the midway face, for each midway triangle, we get the affine transform from average to source triangle and from average to target triangle. Then, for each pixel in that average triangle, we compute the pixels it corresponds to in the source and target images, interpolating values where appropriate. We then calculate the mean color value between the source and target pixels and assign this as the color of the average pixel. This results in the following:
The Morph Sequence
Now, all that's left to do is take our logic from computing the midway
face and generalize it to a weighted average instead of a mean.
In the previous section, the midway face uses 0.5 for both of the parameters warp_frac
(controlling the shape warping) and dissolve_frac (controlling
the amount of cross dissolve). Now, for each frame in our morph sequence,
we allow these two parameters to vary from [0, 1], where being close to 0
means interpolating values closer to those of the source image and being close to 1
means interpolating values closer to those of the target image. This results in
the following animation, consisting of 45 distinct frames played at 30 FPS:
The Mean Face of a Population
In this section, we leverage this database of Danish faces (http://www2.imm.dtu.dk/~aam/datasets/datasets.html), focusing on the second pose of only Danish men to find the "mean" face. That is, let's discover what the average Danish man looks like!
First, we must parse the correspondence points for each man. Having this, we find the mean of the correspondence points. We then try to warp each man's set of correspondence points into this set of mean correspondence points. Below are a few examples of men warped into the "mean face shape":
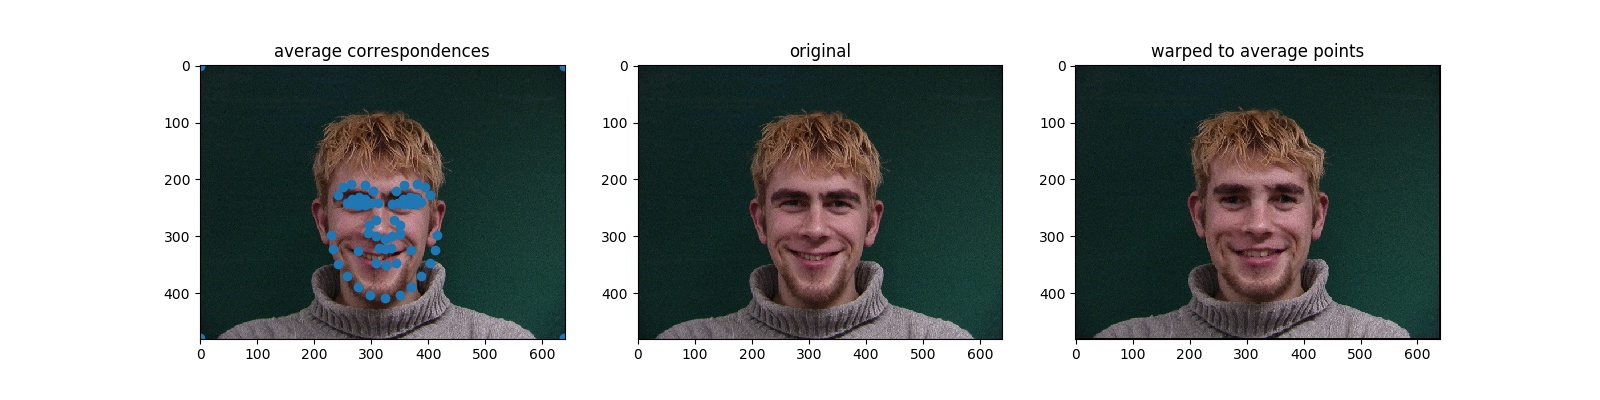

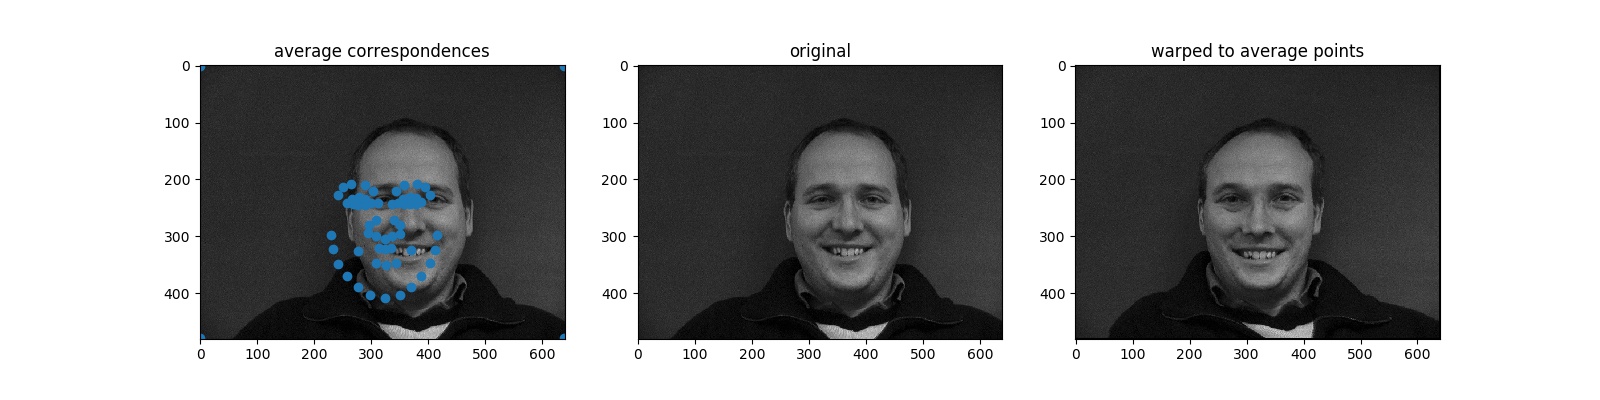
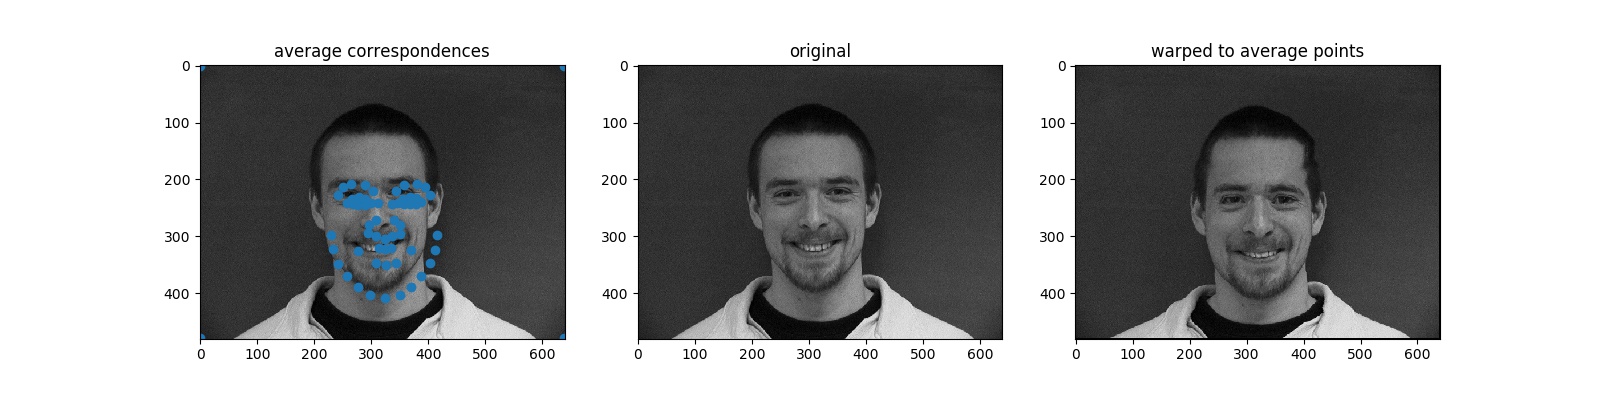
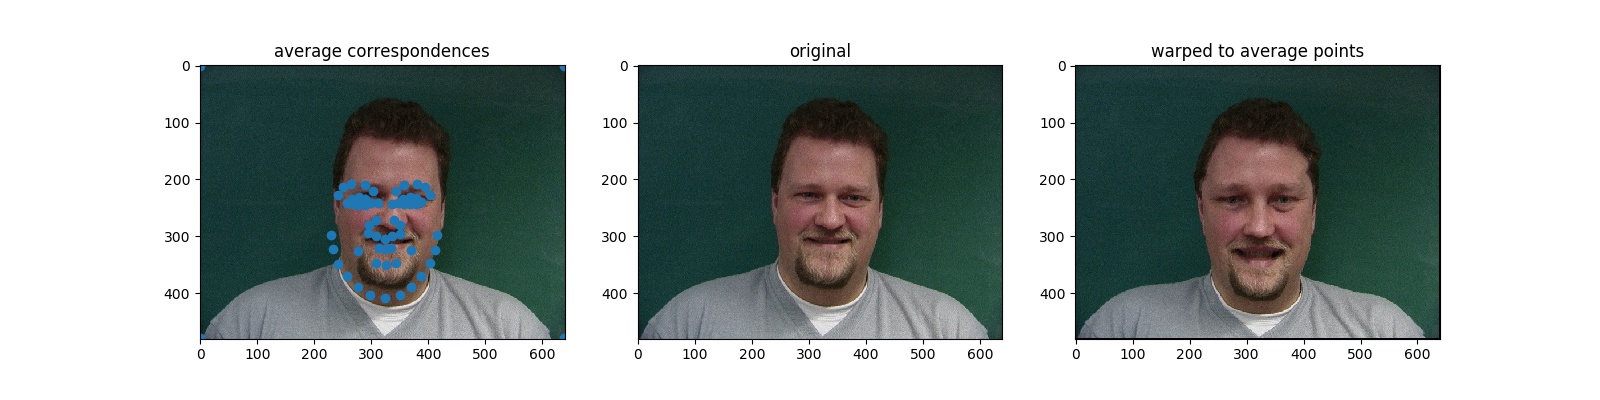
Once we have all these warps-to-the-average-shape, we add them all together and divide by the number of warps. That is, we take the average of the warps. This gives us the "mean face"!
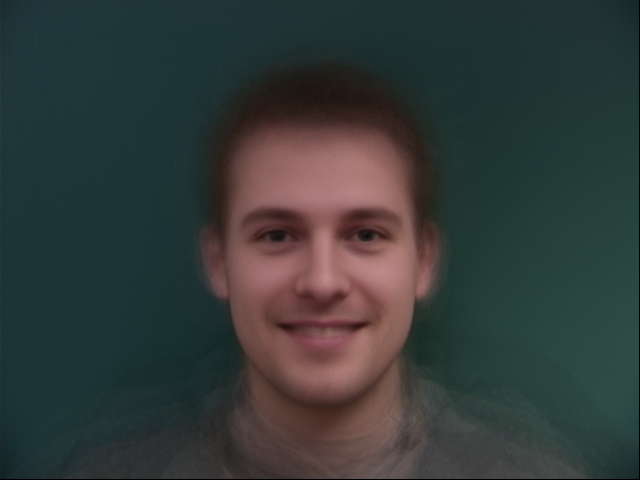
We can get some fun results with this!
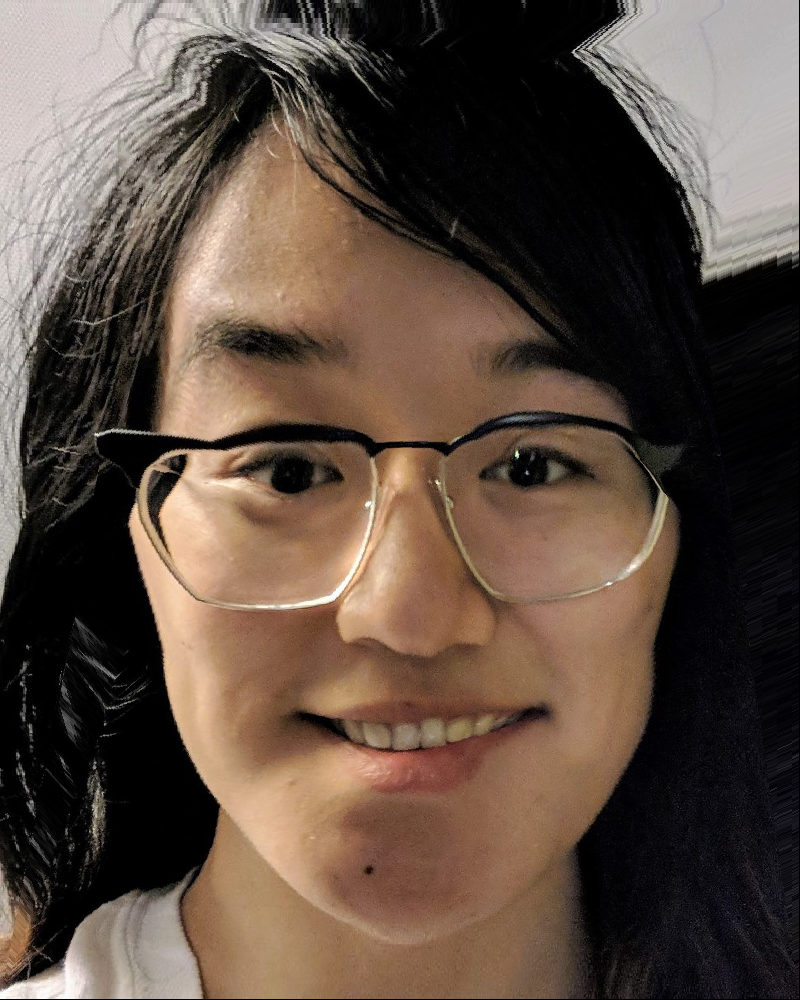
Here is me if I looked more like a Danish man! ...More or less. Specifically, this is my face's correspondence points warped to the average Danish man's correspondence points. My chin has gotten a bit broader and my cheeks have gotten a bit less rounded.
Now, here is a Danish man who looks kind of like me! Or, at least, sharing a similar expression. (This is the average Danish man's correspondence points warped to my face's correspondence points.) The cheeks are a bit rounder/pointier and the chin narrower.

Caricatures
Let's use the Danish male mean face to extrapolate caricatures of me!
We can achieve this extrapolation by using the same morph function
we used to generate the face morph sequence. This time, however,
rather than choosing warp_frac to be within [0,1],
we choose warp_frac to be less than 0. This results in
weighting the features of my face more strongly while also "removing"
features of the average Danish male face. The result should be a
"less white", "less male" version of me.
(Note: we use dissolve_frac=0 because we want all the
colors to be sampled from the source image of me.)
warp_frac=-0.25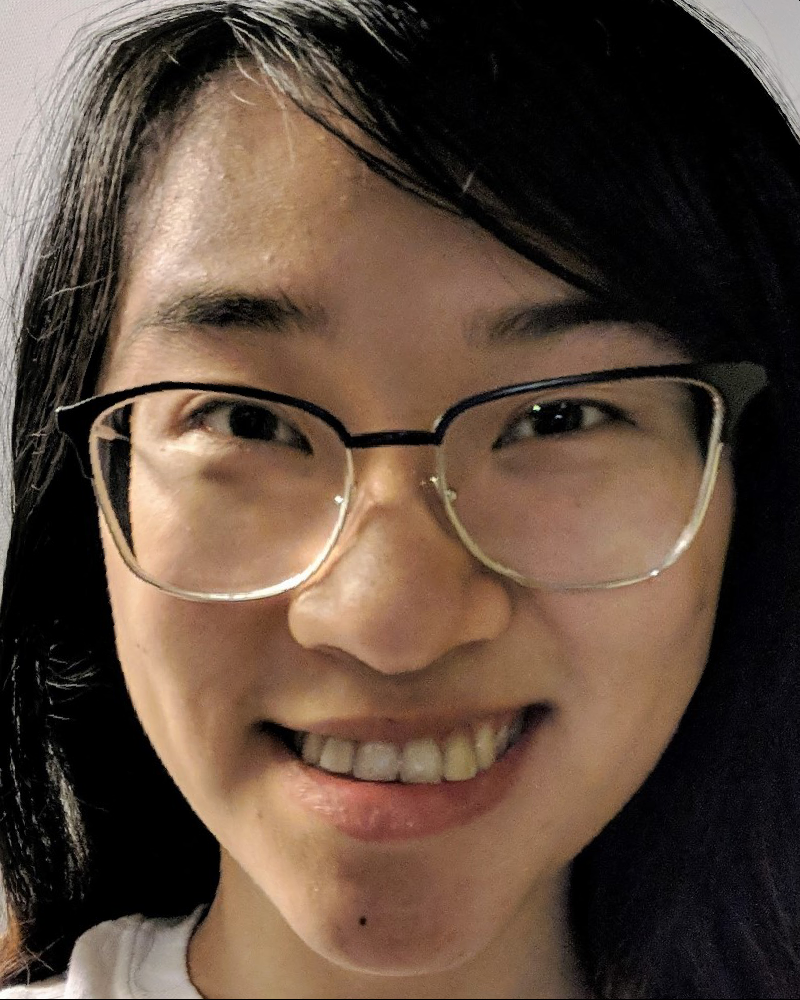
warp_frac=-0.50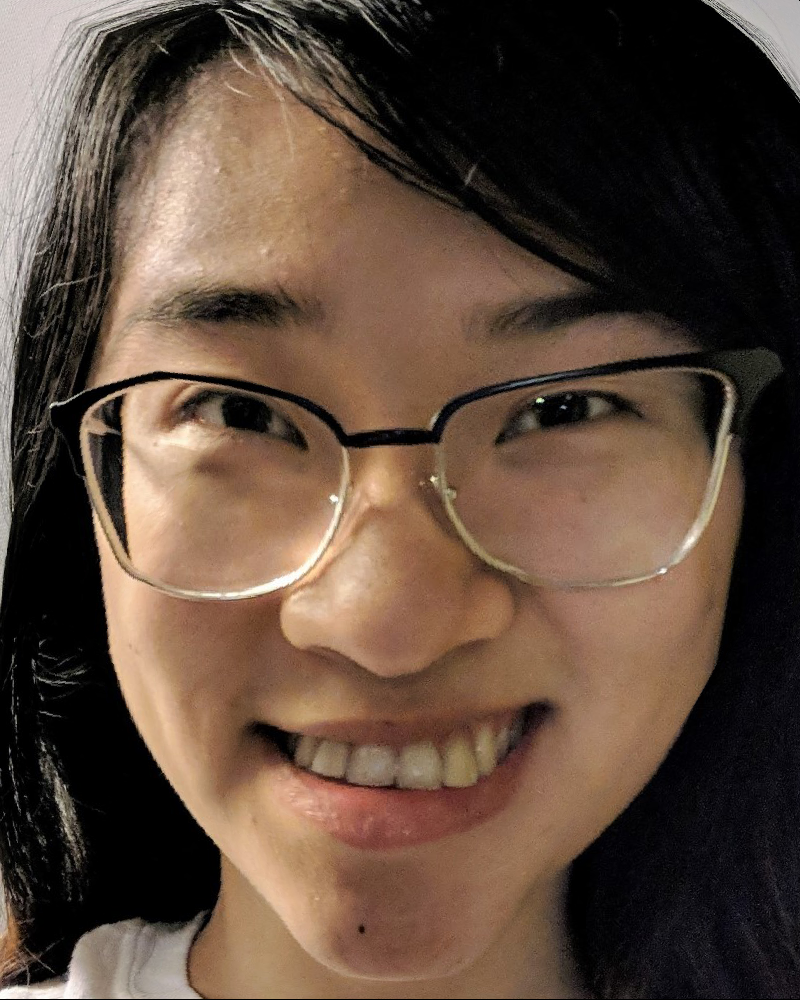
warp_frac=-0.75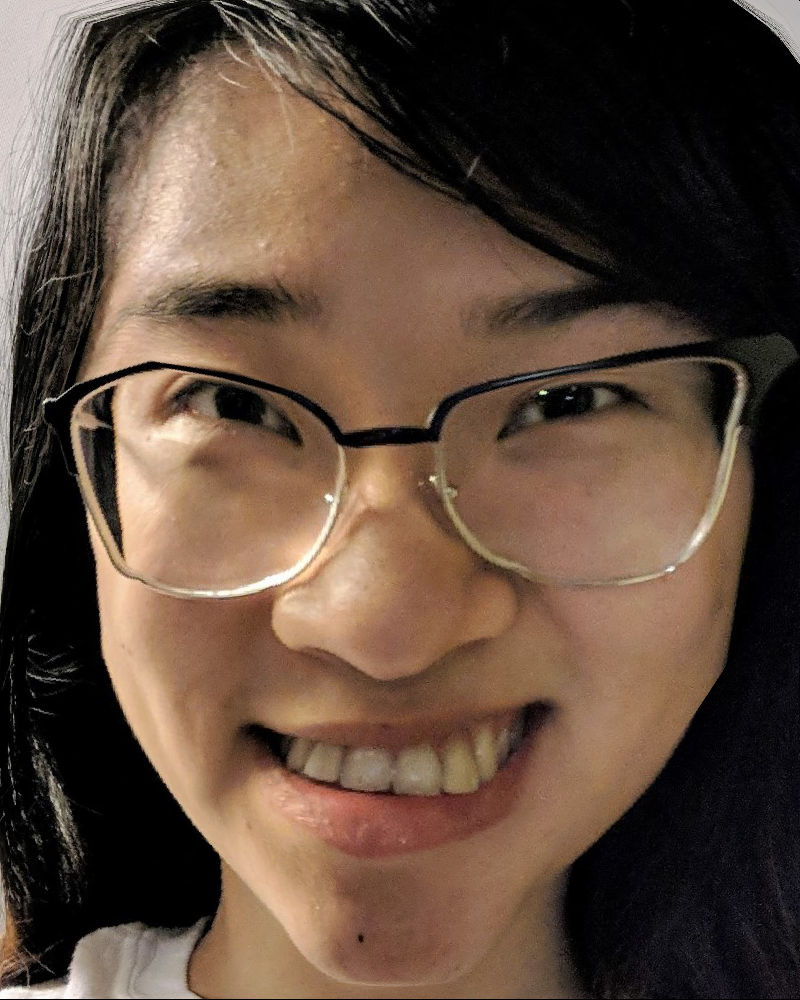
warp_frac=-1.0
We can see that as warp_frac grows in magnitude, the
features of my face grow more and more exaggerated. My chin gets
pointier, my cheeks get larger and rounder, my eyes get narrower, my
nose gets larger, etc. Of course, this extrapolation isn't perfect -
my glasses also get warped in a very strange way.
Bells & Whistles
Class Morph
I participated a morph sequence with a bunch of my classmates! The class warp was organized by Michelle Hwang and edited together by Dorian Chan.
(In case the embedded video doesn't play properly, the video can also be seen here: https://www.youtube.com/watch?v=h-Oow96qhck.)
Music Video
Introducing, the Seoul Dynasty!
One of my favorite Overwatch League teams is the Seoul Dynasty. They have an official intro song for when they walk out onto the esports stage, so it only seemed fitting to make a team-morph "music video" for it. Seoul Dynasty Fighting!!
(In case the embedded video doesn't play properly, the video can also be seen here: https://www.youtube.com/watch?v=88YKbwKsPVI. Alternatively, enjoy the silent gif version!)

Acknowledgements
To improve the parallelism/vectorization of my image warp computations, I received some tips and tricks from Tianrui Guo.
The code to produce gifs from a sequence of images (i.e. to produce the morph sequence animation) is largely sourced from Sean Lobo's gif-making code.
To parse the .asf files from Danish database, I got help
from Nikhil Patel and Sean Lobo.